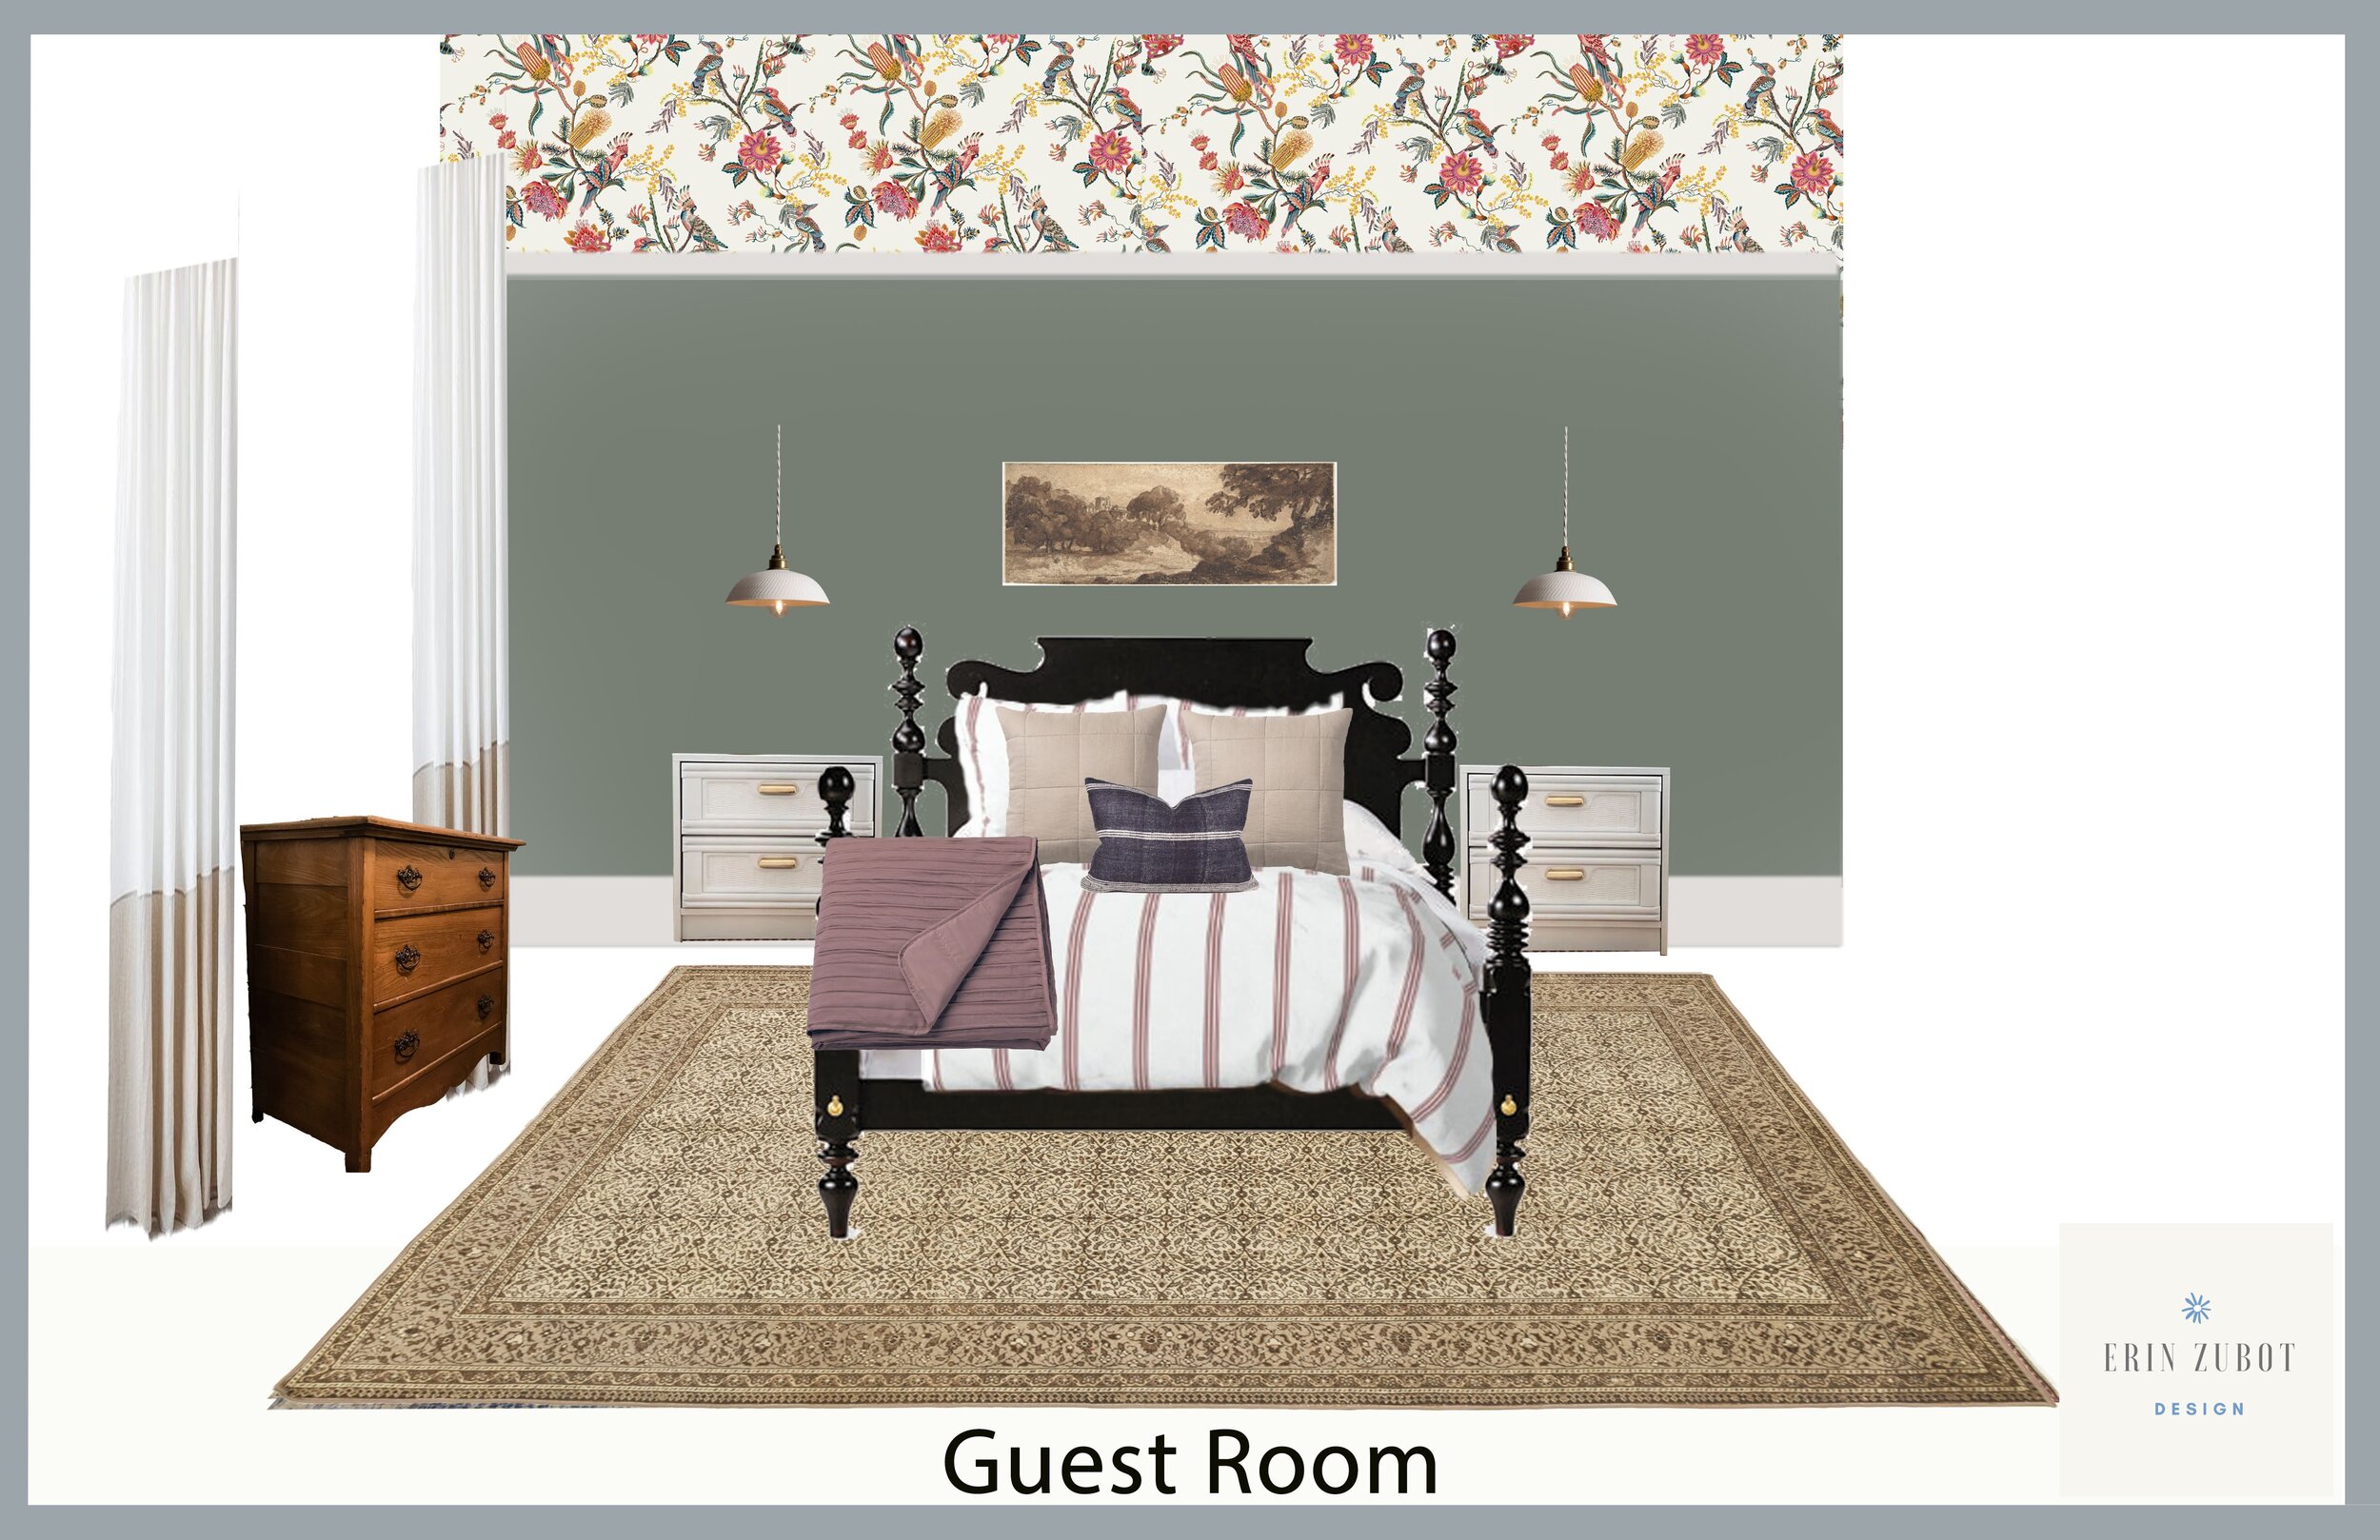
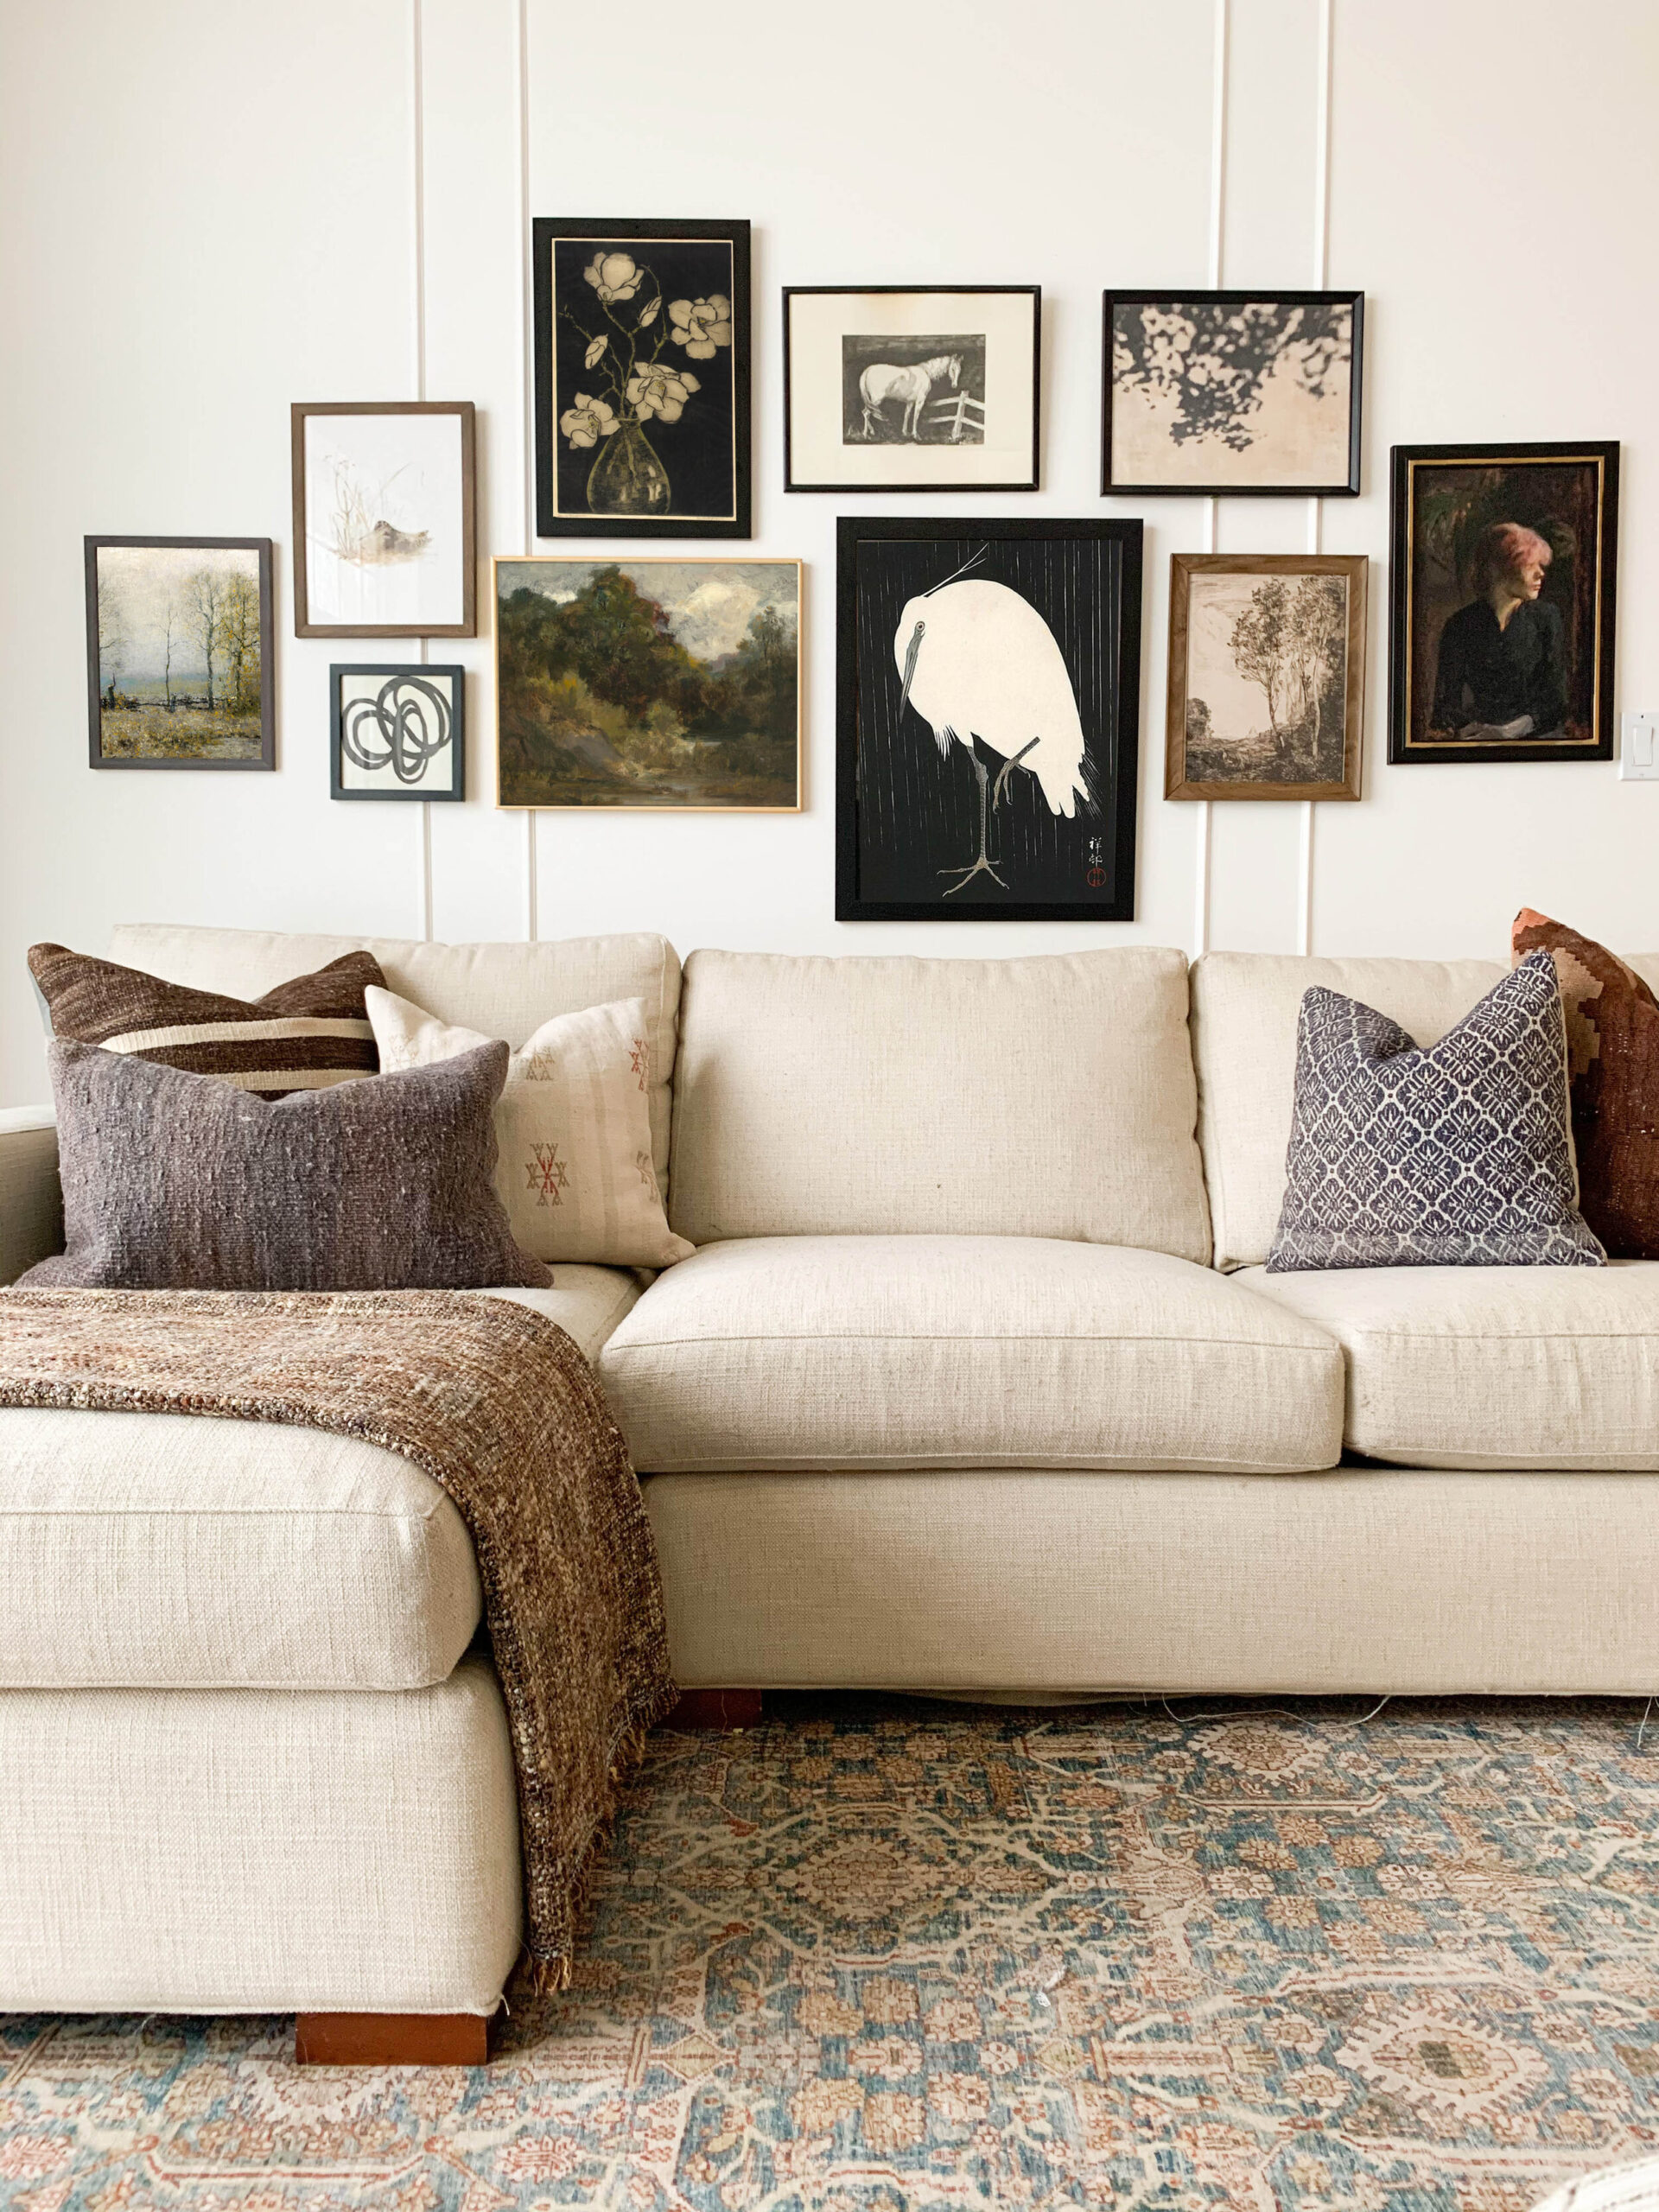
A few weeks ago I asked my Instagram followers if they wanted to know some of my decorating tips and tricks, where do I start a room design and how to get to the final product. Overwhelmingly the answer was yes, and I intended to do a few tips and tricks in Instagram “stories”. I…
If you have clicked over from the One Room Challenge Website, welcome! I’m glad you are here! I am an interior designer and serial DIY’er based in Red Deer, Alberta, Canada! You can catch up on my One Room Challenge project in the last week’s posts here: Week 1/ Week 2/ Week 3/ Week 4…
Well hello! If you have clicked over from the One Room Challenge Website, welcome! I am very happy you have joined me for a little low down of the project I am tackling for the One Room Challenge Fall 2020! This is my third time participating in the One Room Challenge, and it’s so much…
Let’s talk accessories; they are the finishing touch, the final dressing, the jewelry, the often overlooked and underestimated final finesse to add to a room that can take a room from good to FANTASTIC! Today I’m going to focus on a few DIY and hand made accessories and tutorials for them, and next week you will be able to see all the accessories come together in the final reveal!
With the cancellation of Week 5’s post, there is a lot to catch you up on this week! Last week’s post was going to be about the furniture, and this week’s post was going to be about textiles – so I’m going to combine these this week.
I love a traditional space and I also love how the addition of moulding helps any room feel more polished and designerly, and a lot more high end. But moulding is actually not all that expensive, and depending on the type can be fairly easy to add to any room.
When I consider what to add to a space, be my own or someone else’s, I like to consider the style of the rest of the home so the home feels cohesive. I do not feel like craftsman style board and batten belong in the same house as an intricate and detailed box moulding. If your house does not have a style and is fairly builder basic, I think you can go ahead and define a style but once you have decided what you are doing, you should really try and stick with it.
Well hello there! If you have clicked over from the One Room Challenge Website, welcome! My very new blog and I are very happy you have joined us for a little low down of the project I am tackling for the One Room Challenge Spring 2020!
I thought today I would go back and write a little post about the $300 laundry room refresh I did for my mom a few months ago. That little makeover got a lot of buzz and was even featured in Apartment Therapy! If you are interested in reading the AT post, you can find it here. I think the reason it was so popular was because it involved zero actual construction and had a very low price tag but yet it still packed a really big punch. I have had a few questions about the products and methods I used to update the space so I thought I would write a blog post with some of those answers for you, all in one place. This is a meaty post so let’s get into it!
Hello everyone! Or hello no one, since this is the first ever blog post I’ve ever written, there is a good chance it may just go entirely unread. Oh wait, I’ll probably make my mom read it. Hi, mom!
Anyway, I’m new to the blogging scene and I thought I would get my feet wet with a quick post with some tips on affordable art! In the past year or so I have drastically increased my art around the house, and it has brought me so much joy! I’ve added art to the kitchen, leaning on shelves, in gallery walls, oversized, or stacked. You name it, I have tried it! With all this influx of art, I needed to find a way to keep the budget in check.