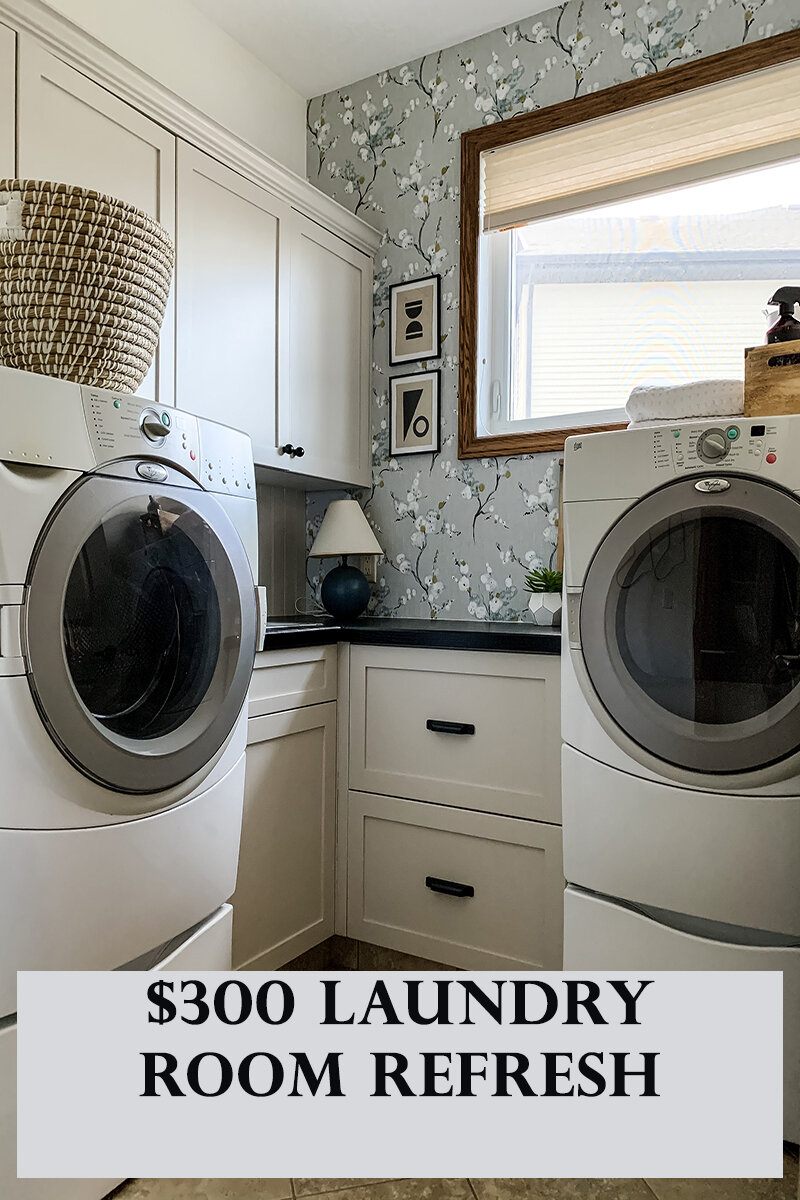
$300 Laundry Room Refresh
I thought today I would go back and write a little post about one of the room makeovers I did for my mom a few months ago. That little makeover got a lot of buzz and was even featured in Apartment Therapy! If you are interested in reading the AT post, you can find it here.
I think the reason it was so popular was because it involved zero actual construction, small changes, and had a very low price tag but yet it still packed a really big punch. I have had a few questions about the products and methods I used to update the space in this DIY tiny laundry room makeover, so I thought I would write a blog post with the full details, all in one place for easy access. This is a meaty post so let’s get into it!
This post may contain affiliate links. That means if you purchase anything from these links I earn a small commission, at no extra cost to you! This helps support my blog, so thank you!
Table of Contents
- Before and Inspiration for DIY Laundry Room Makeover
- Paint – Walls and Cabinets
- Wallpaper
- Countertops – Peel and Stick Contact Paper
- Cabinet Painting
- The Finishing Touches for the DIY Laundry Room Makeover
- Cost of this DIY Laundry Room Makeover
- You might also like:
Before and Inspiration for DIY Laundry Room Makeover
I would just like to give a shout out to one of my design idols, Sarah from Room for Tuesday for the laundry room inspiration for this makeover. She had just completed a budget makeover in her own laundry room, and I was so impressed by how… well, NICE at all it looked. It looked fabulous and not cheap at all and I was completely inspired. You can read her original blog post here.
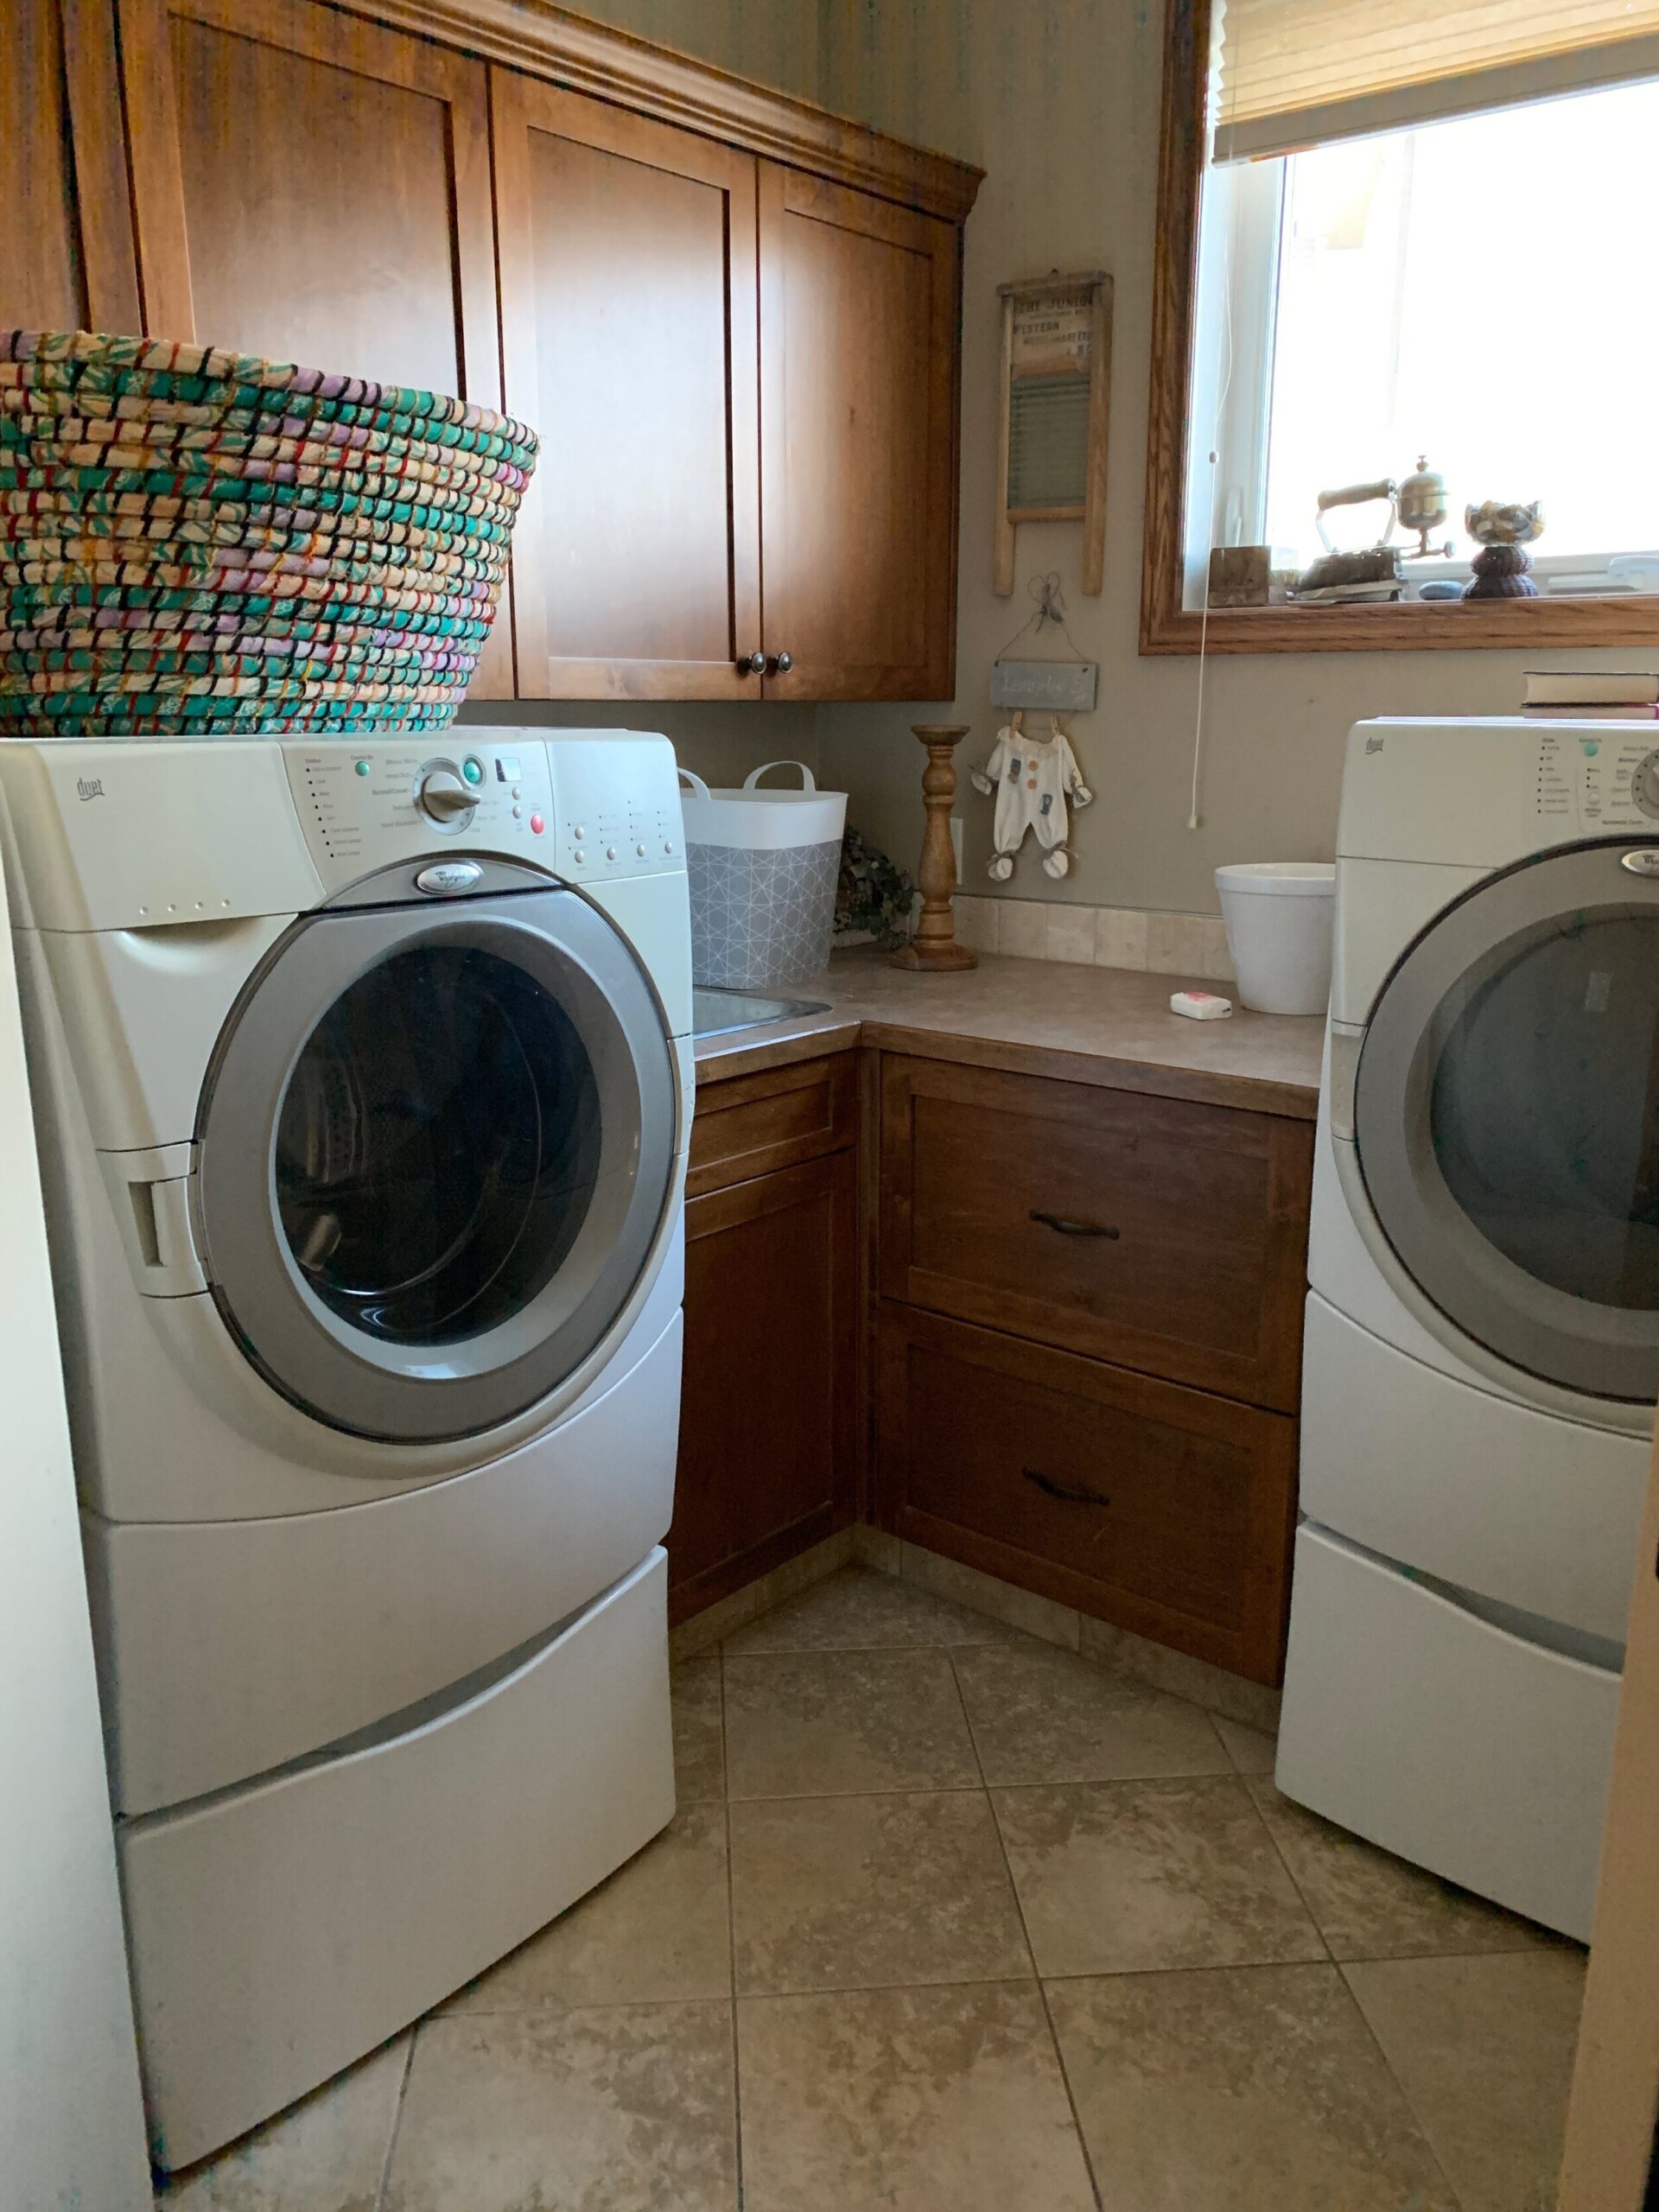
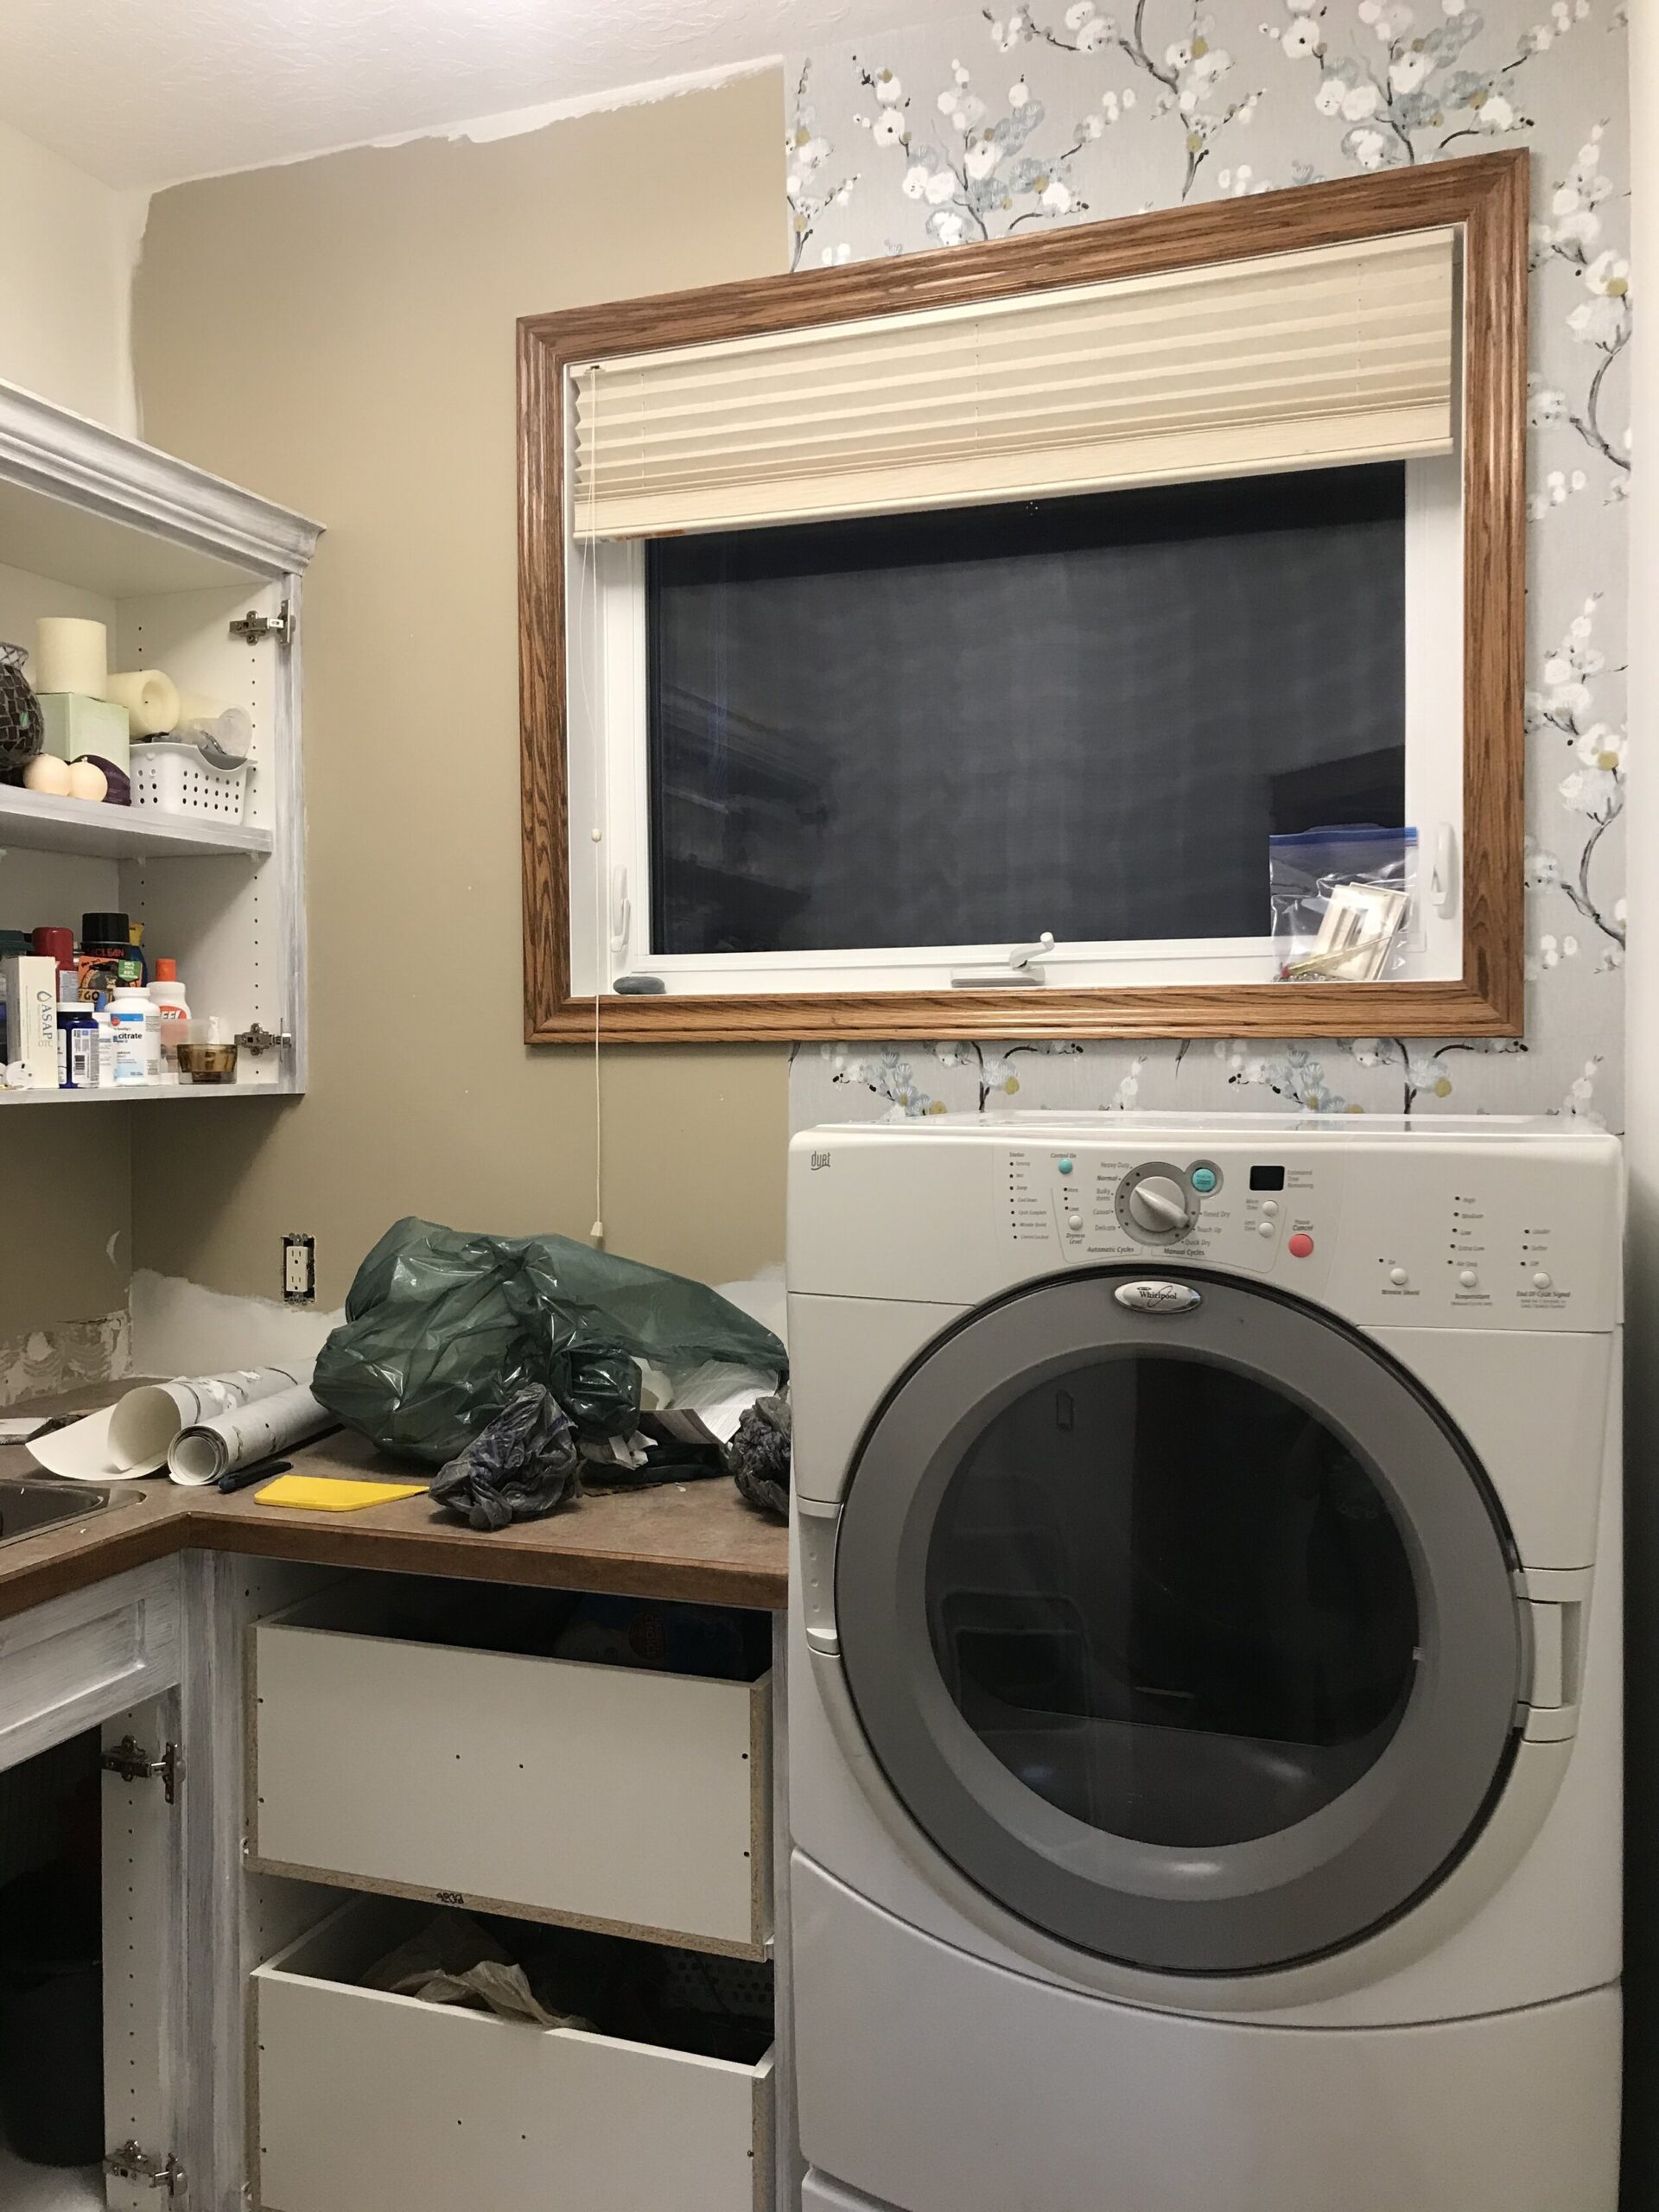
First of all, this is the laundry room before. This is located right next door to the powder bathroom, one of my previous projects that I updated for my mom last year for the One Room Challenge, and is one of the most used rooms in the house. When you walked down the hall you got a good view into both rooms.
My mom was in the habit of keeping this door closed, because it really was nothing special to look at! Just a LOT of beige on beige on brown in this laundry space with no different colors to add contrast. This house was built in the early 2000s during the height of the beige era!
I asked my mom if she wanted me to give this small space a little makeover. I told her I would try and keep it under $300, would do all the work for her, and promised her she would love it. She’s come to trust me over the years and she responded with a resounding YES!
Paint – Walls and Cabinets
So what to do with the limited budget? We did not want to do a complete overhaul and she did not need new appliances or additional storage, it was a functional laundry room.
The obvious first thought is always a fresh coat of paint, as its no secret that paint has the biggest bang for your buck! In this case I decided to paint both the walls and the lower and upper cabinets. New cabinets were not necessary, as the old ones were in great shape and there is enough room for my mom’s laundry supplies as is.
The first thing we did was give a fresh coat of white paint in a warm off-white using some leftover paint I had from another project. The wall color is Sherwin Williams Alabaster. The original cabinets got a lick of paint next, using Benjamin Moore’s Revere Pewter which is a warm grey/beige.
I removed the cabinet doors and took those home to spray in my garage over the next few days as my parent’s house had limited space. You can find a full tutorial on how to paint cabinets here!
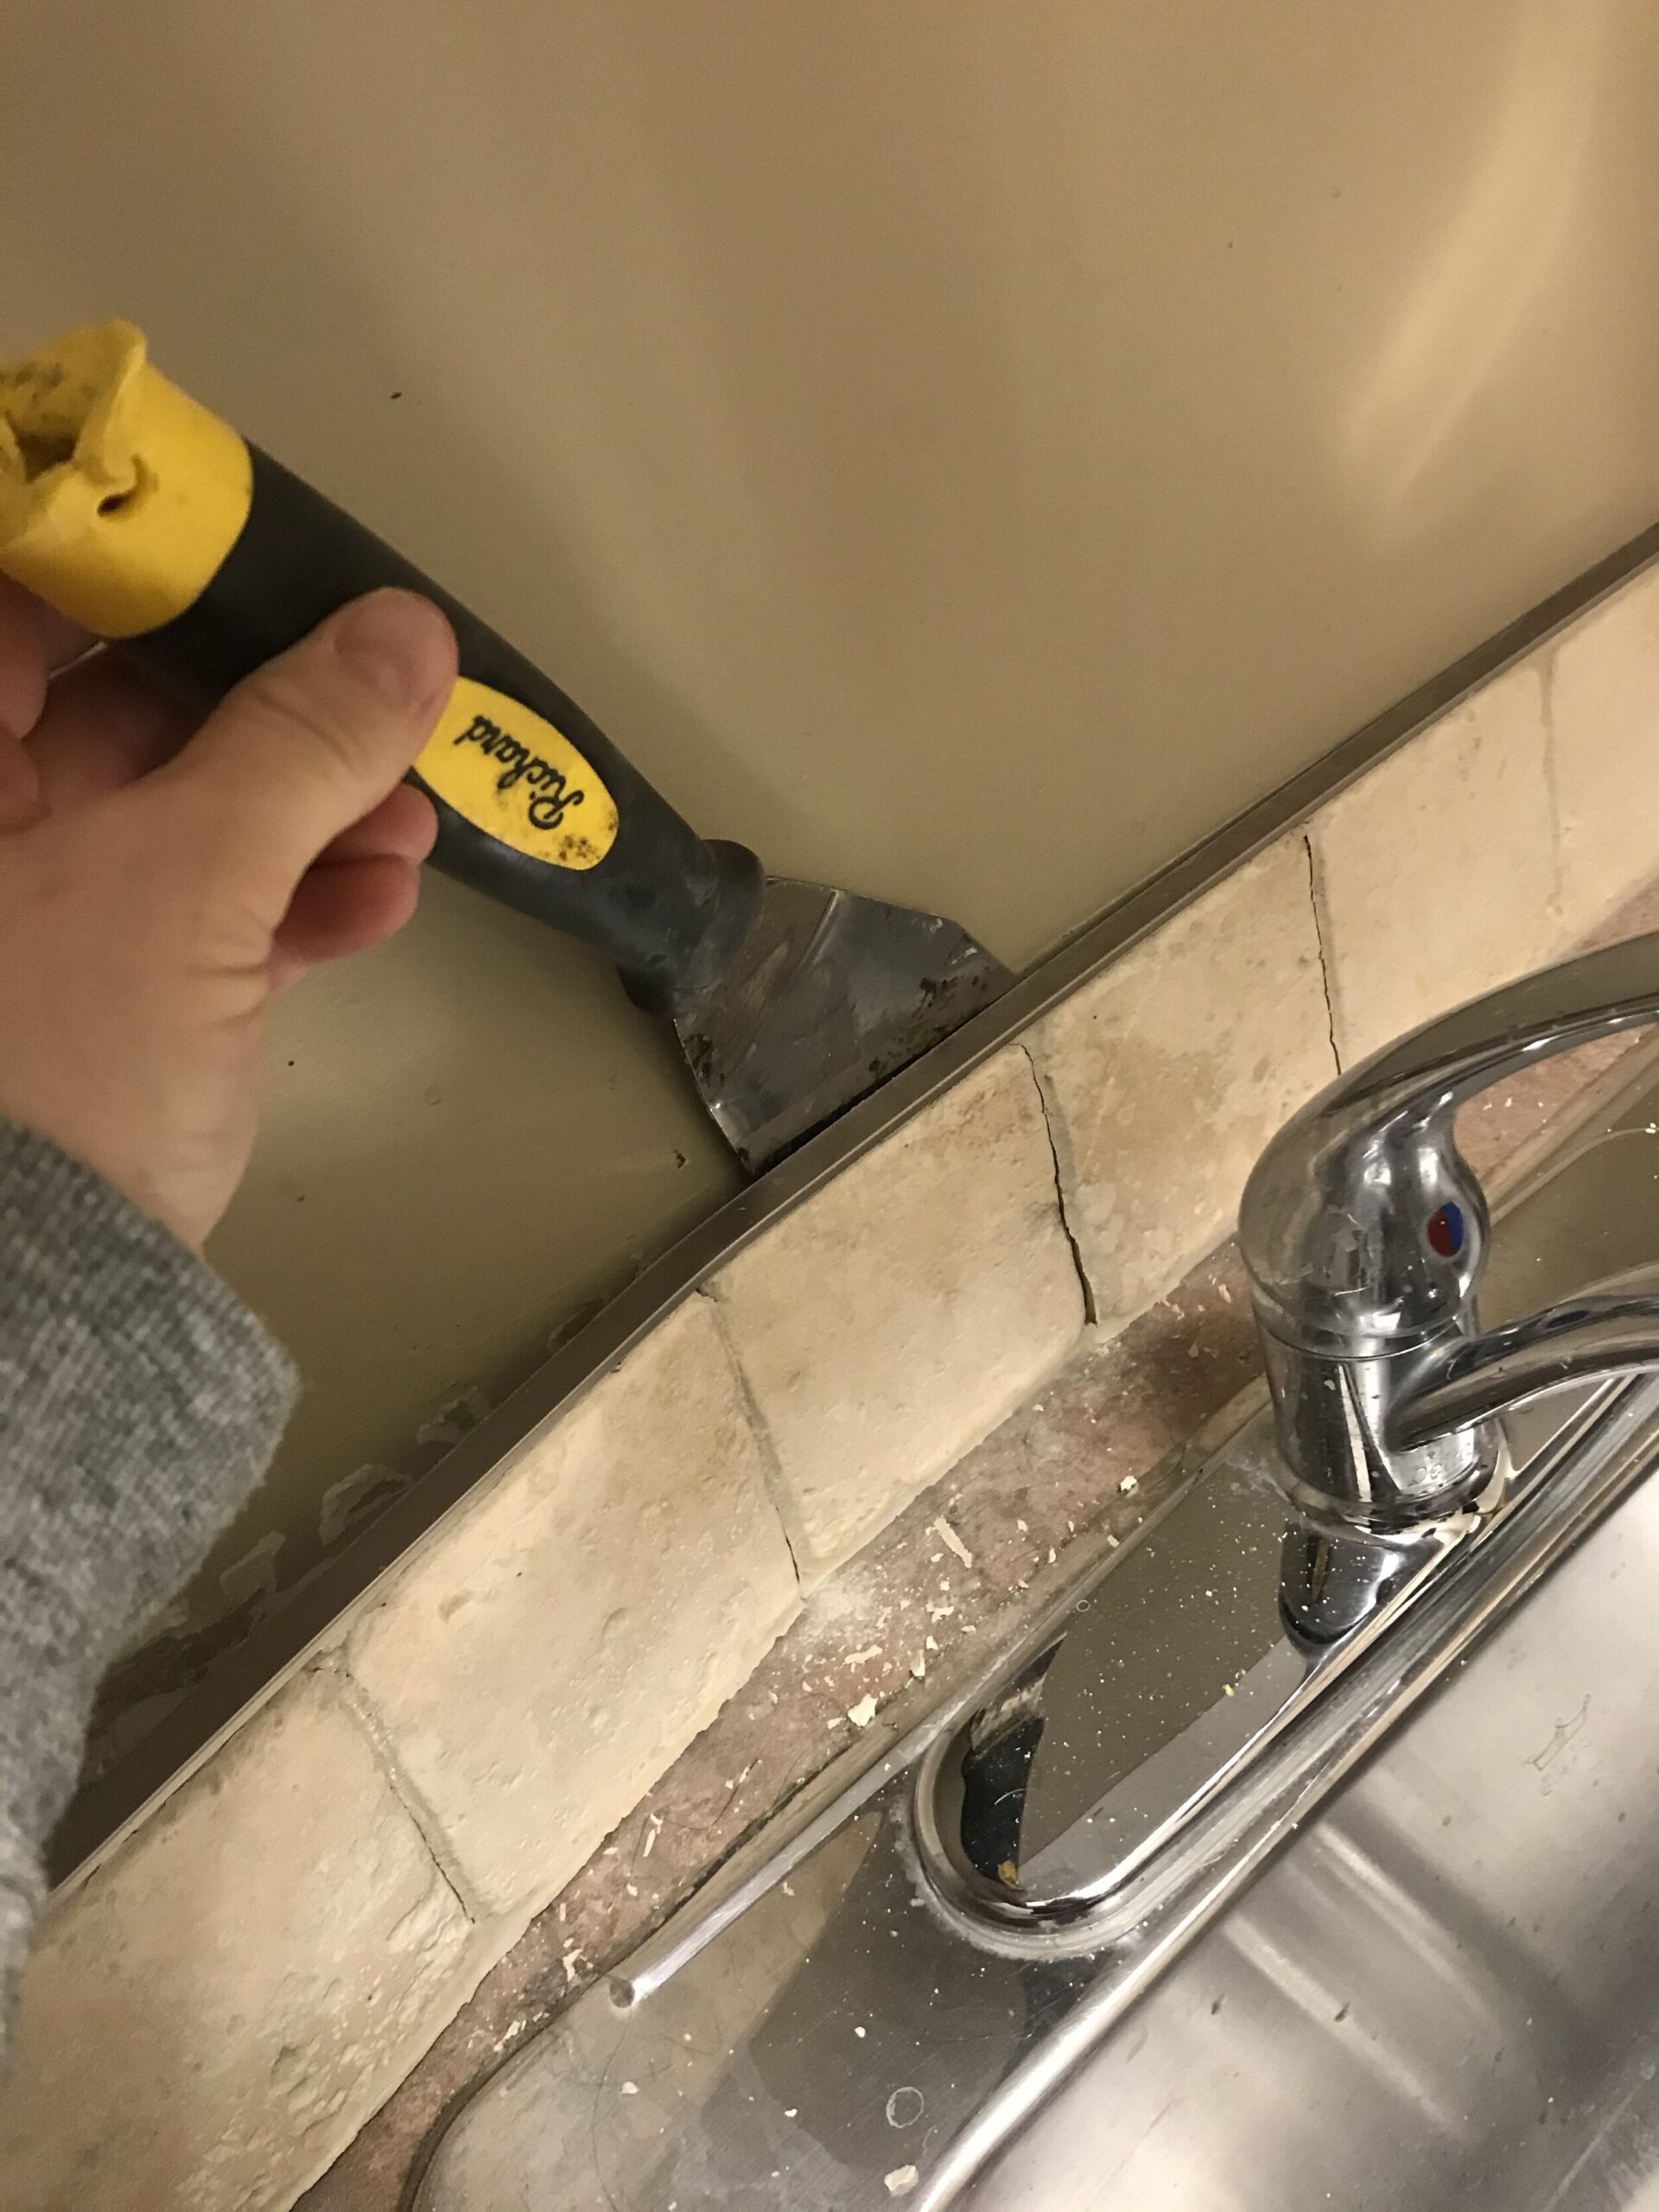
There was a little row of tile along the countertop that I pried off and then the wall behind the sink I installed a little beadboard backsplash using some leftover materials I had on hand. This was painted to match the cabinets.
Wallpaper
The off-white walls with the beige cabinets was a nice subtle contrast, but it needed a little somethin’ somethin’ for that little wow factor. I wanted to make sure I added a bit of contrast and coolness to the warm beige tones and also tie in the blue bathroom next door.
I scoured Amazon to find a few contenders for affordable peel and stick wallpaper – to give the laundry room walls a bit of pizzaz! We chose this pretty paper with just a touch of blue and got to work installing it on the window wall and it made a big impact!
We ended up running out due to the large pattern repeat and the window size and had to order a second roll. The wallpaper made a huge impact in here!
Countertops – Peel and Stick Contact Paper
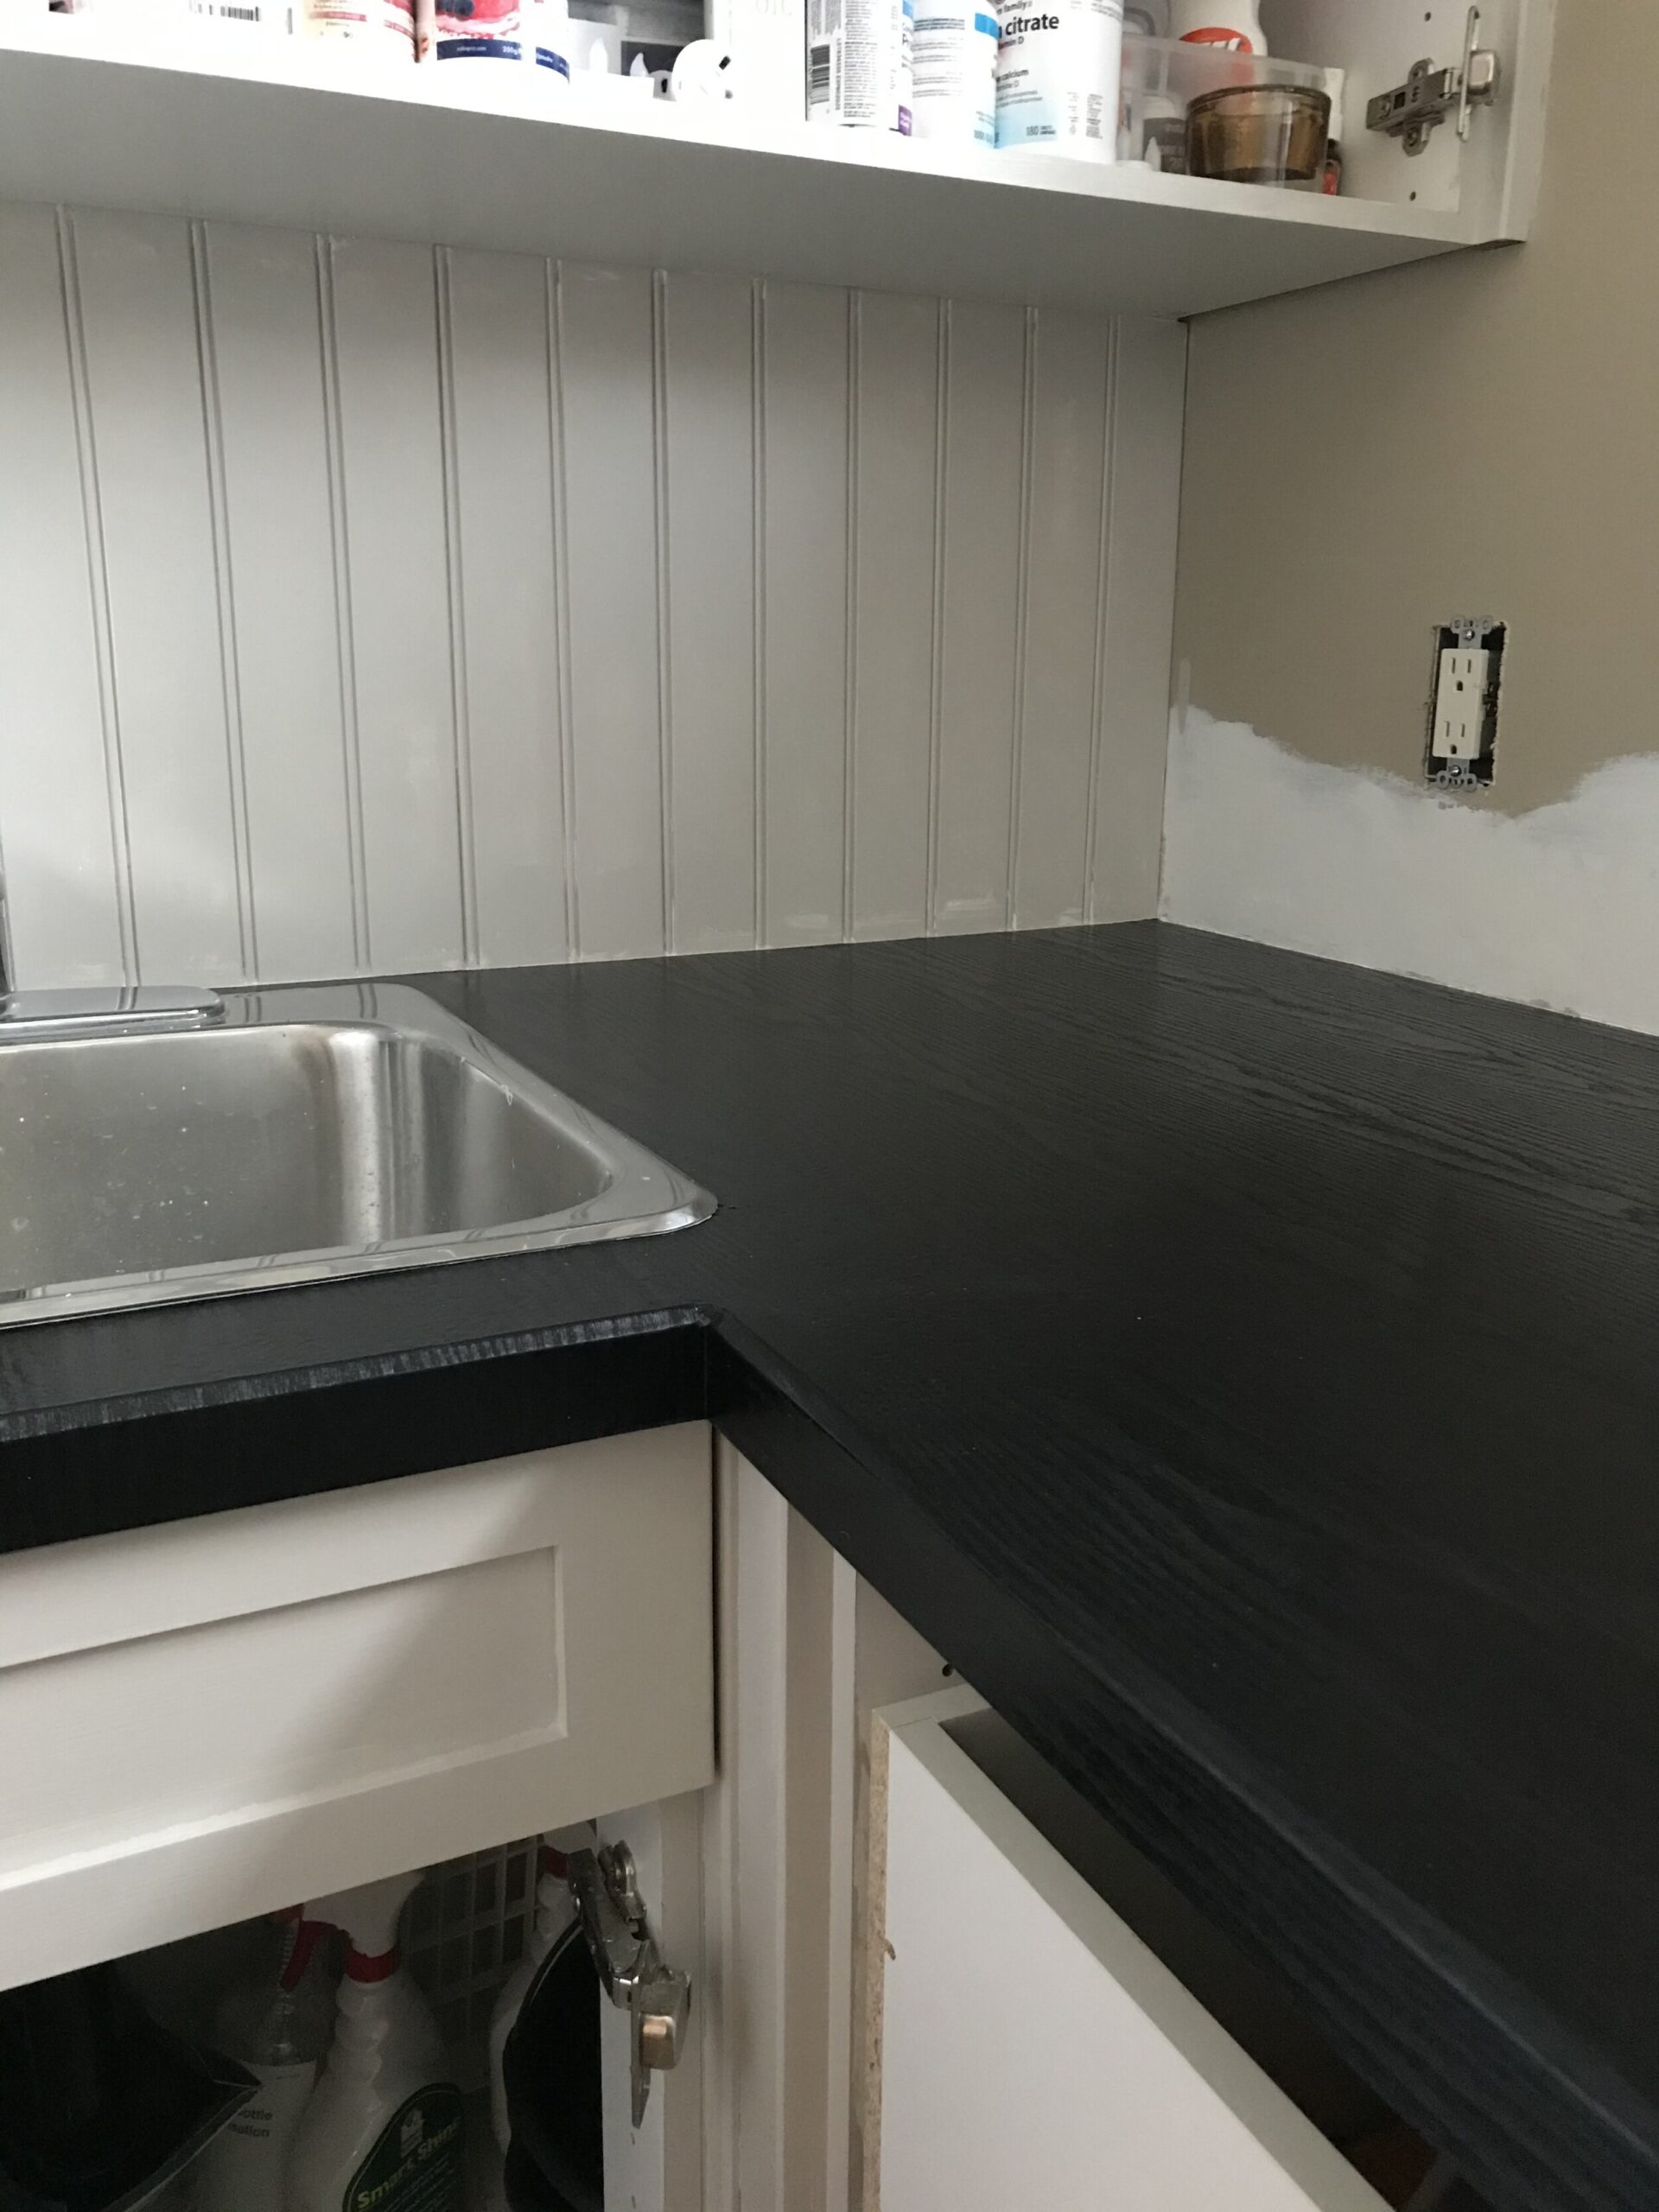
Let’s talk about those countertops. They were a tad dated, but replacing them didn’t fit within the small budget. So I tried some new-to-me product for this – contact paper!
I thought if it didn’t work, we peel it right off and no harm done. But guess what? It did work! It was easy, it looks fabulous, and it’s holding up really well! It is one of my favorite things in this laundry room makeover. What a great way to get a new look on a small budget!

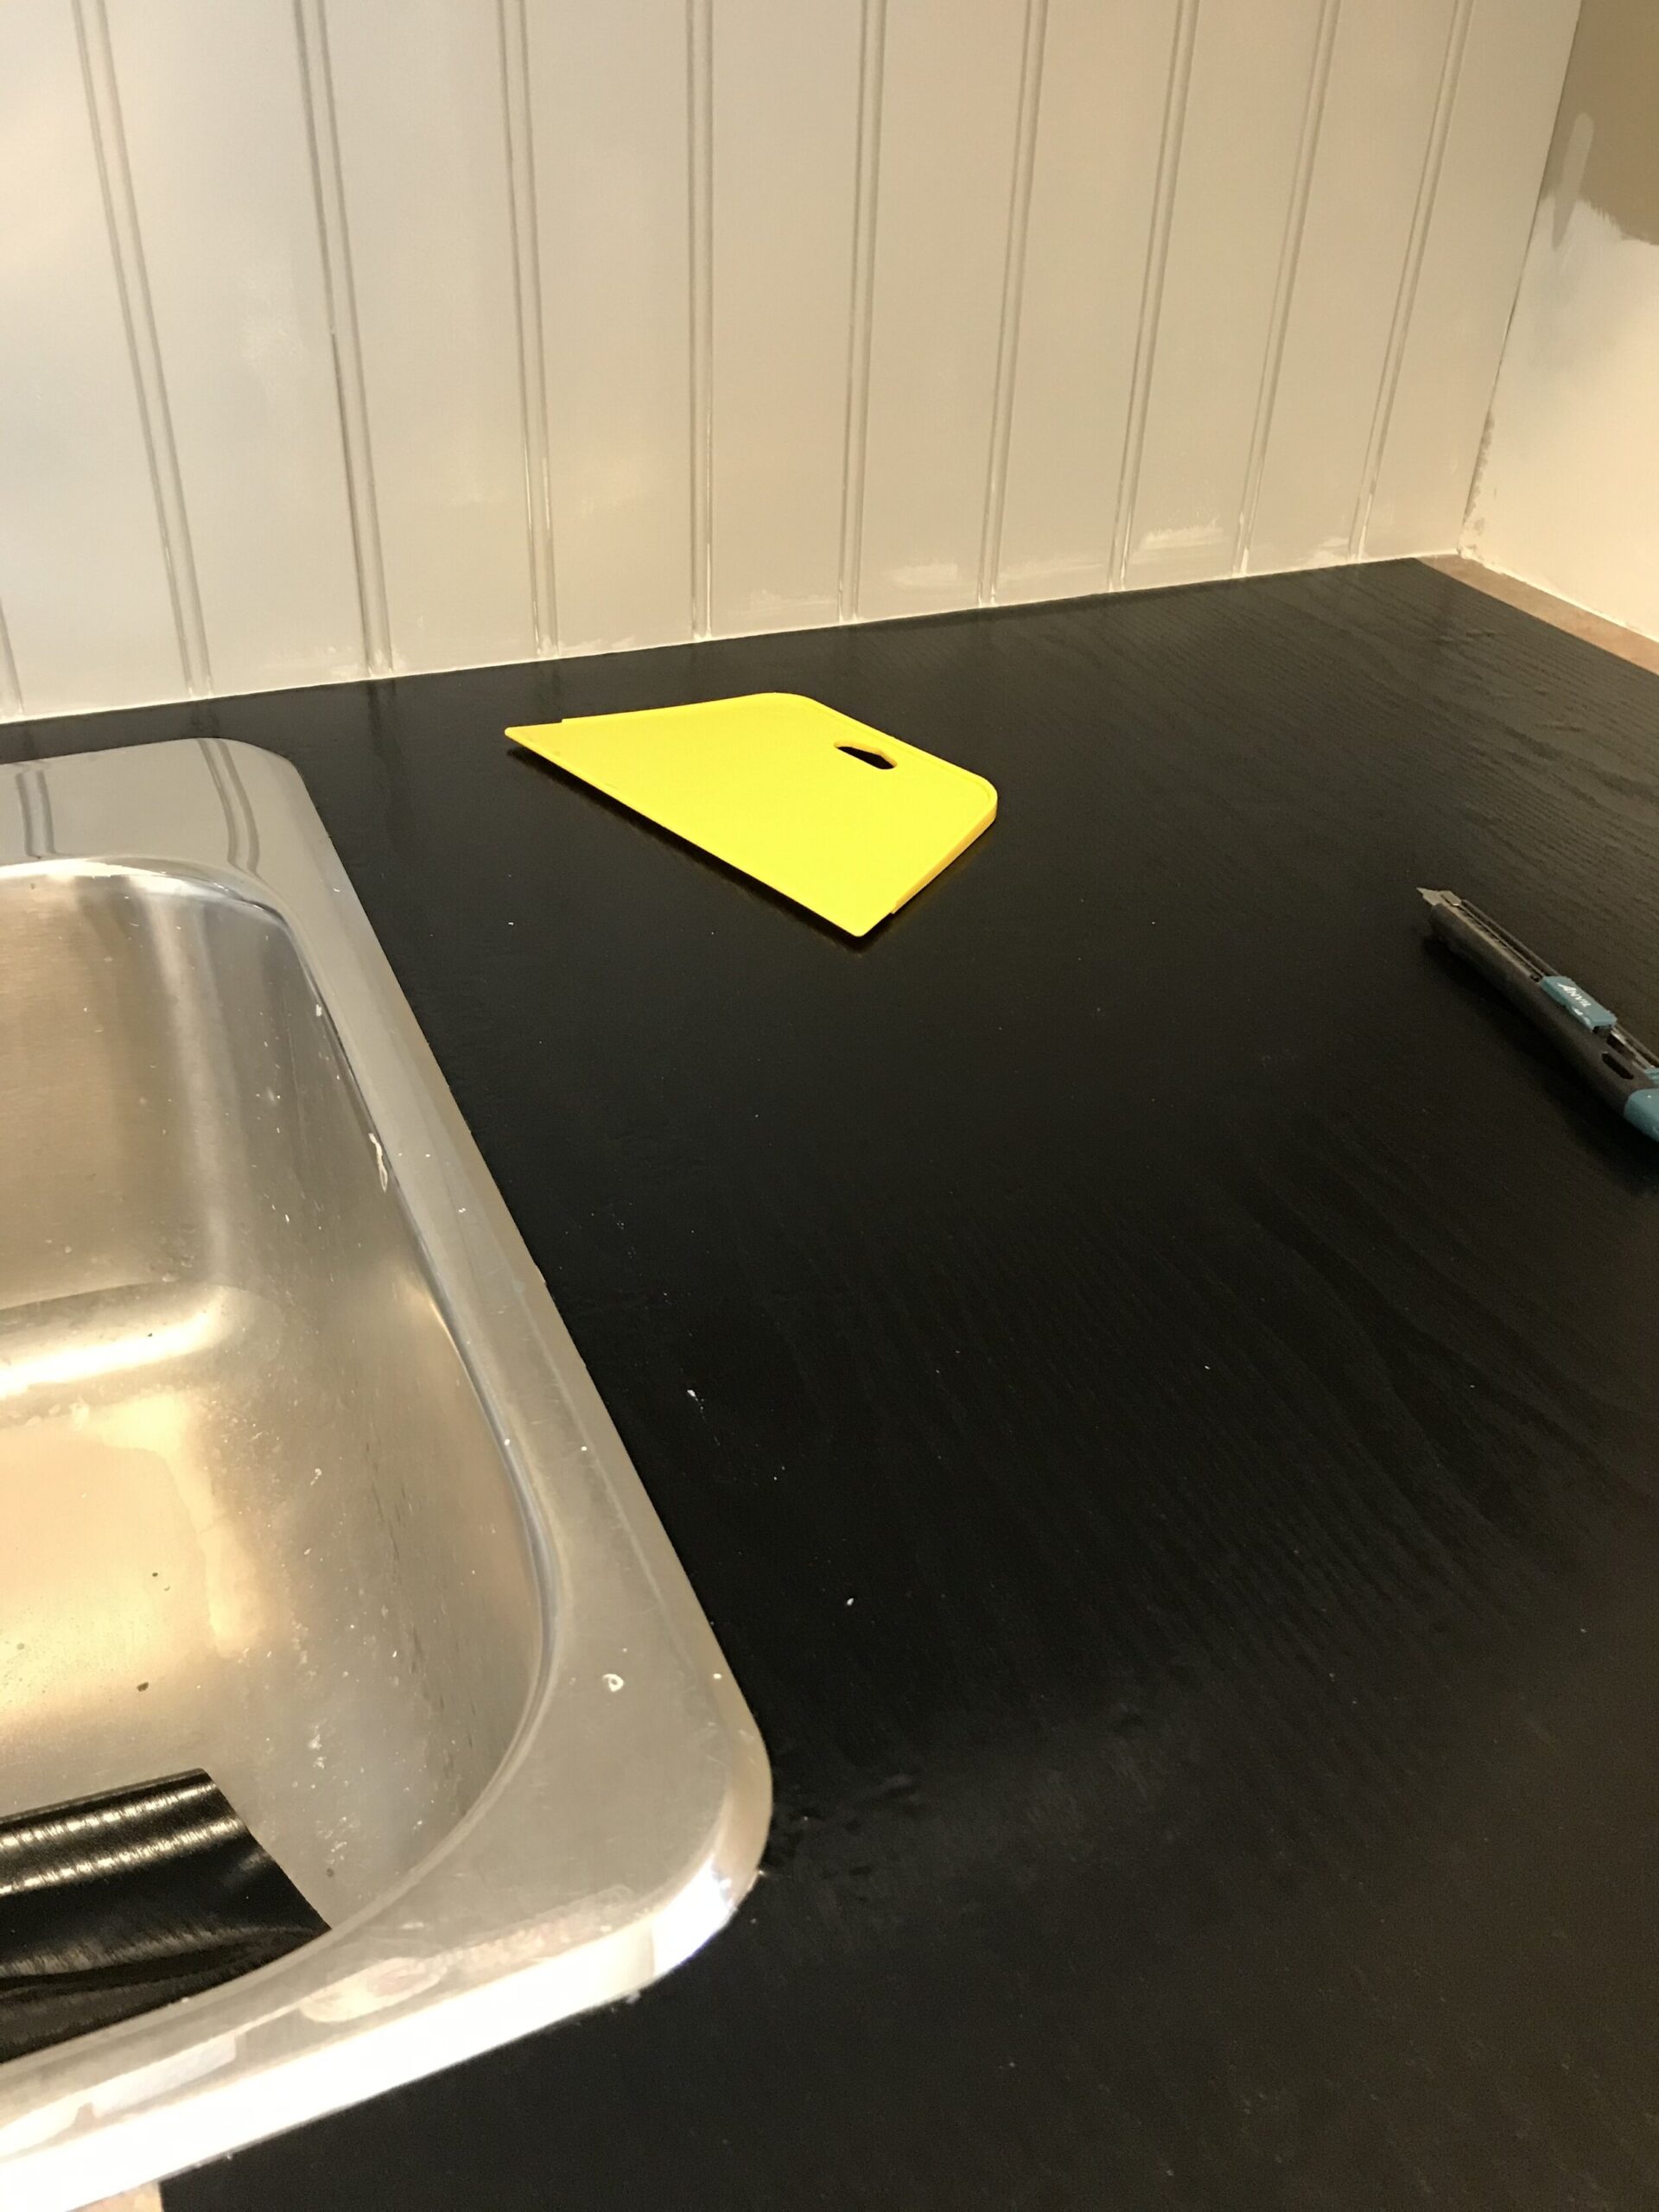
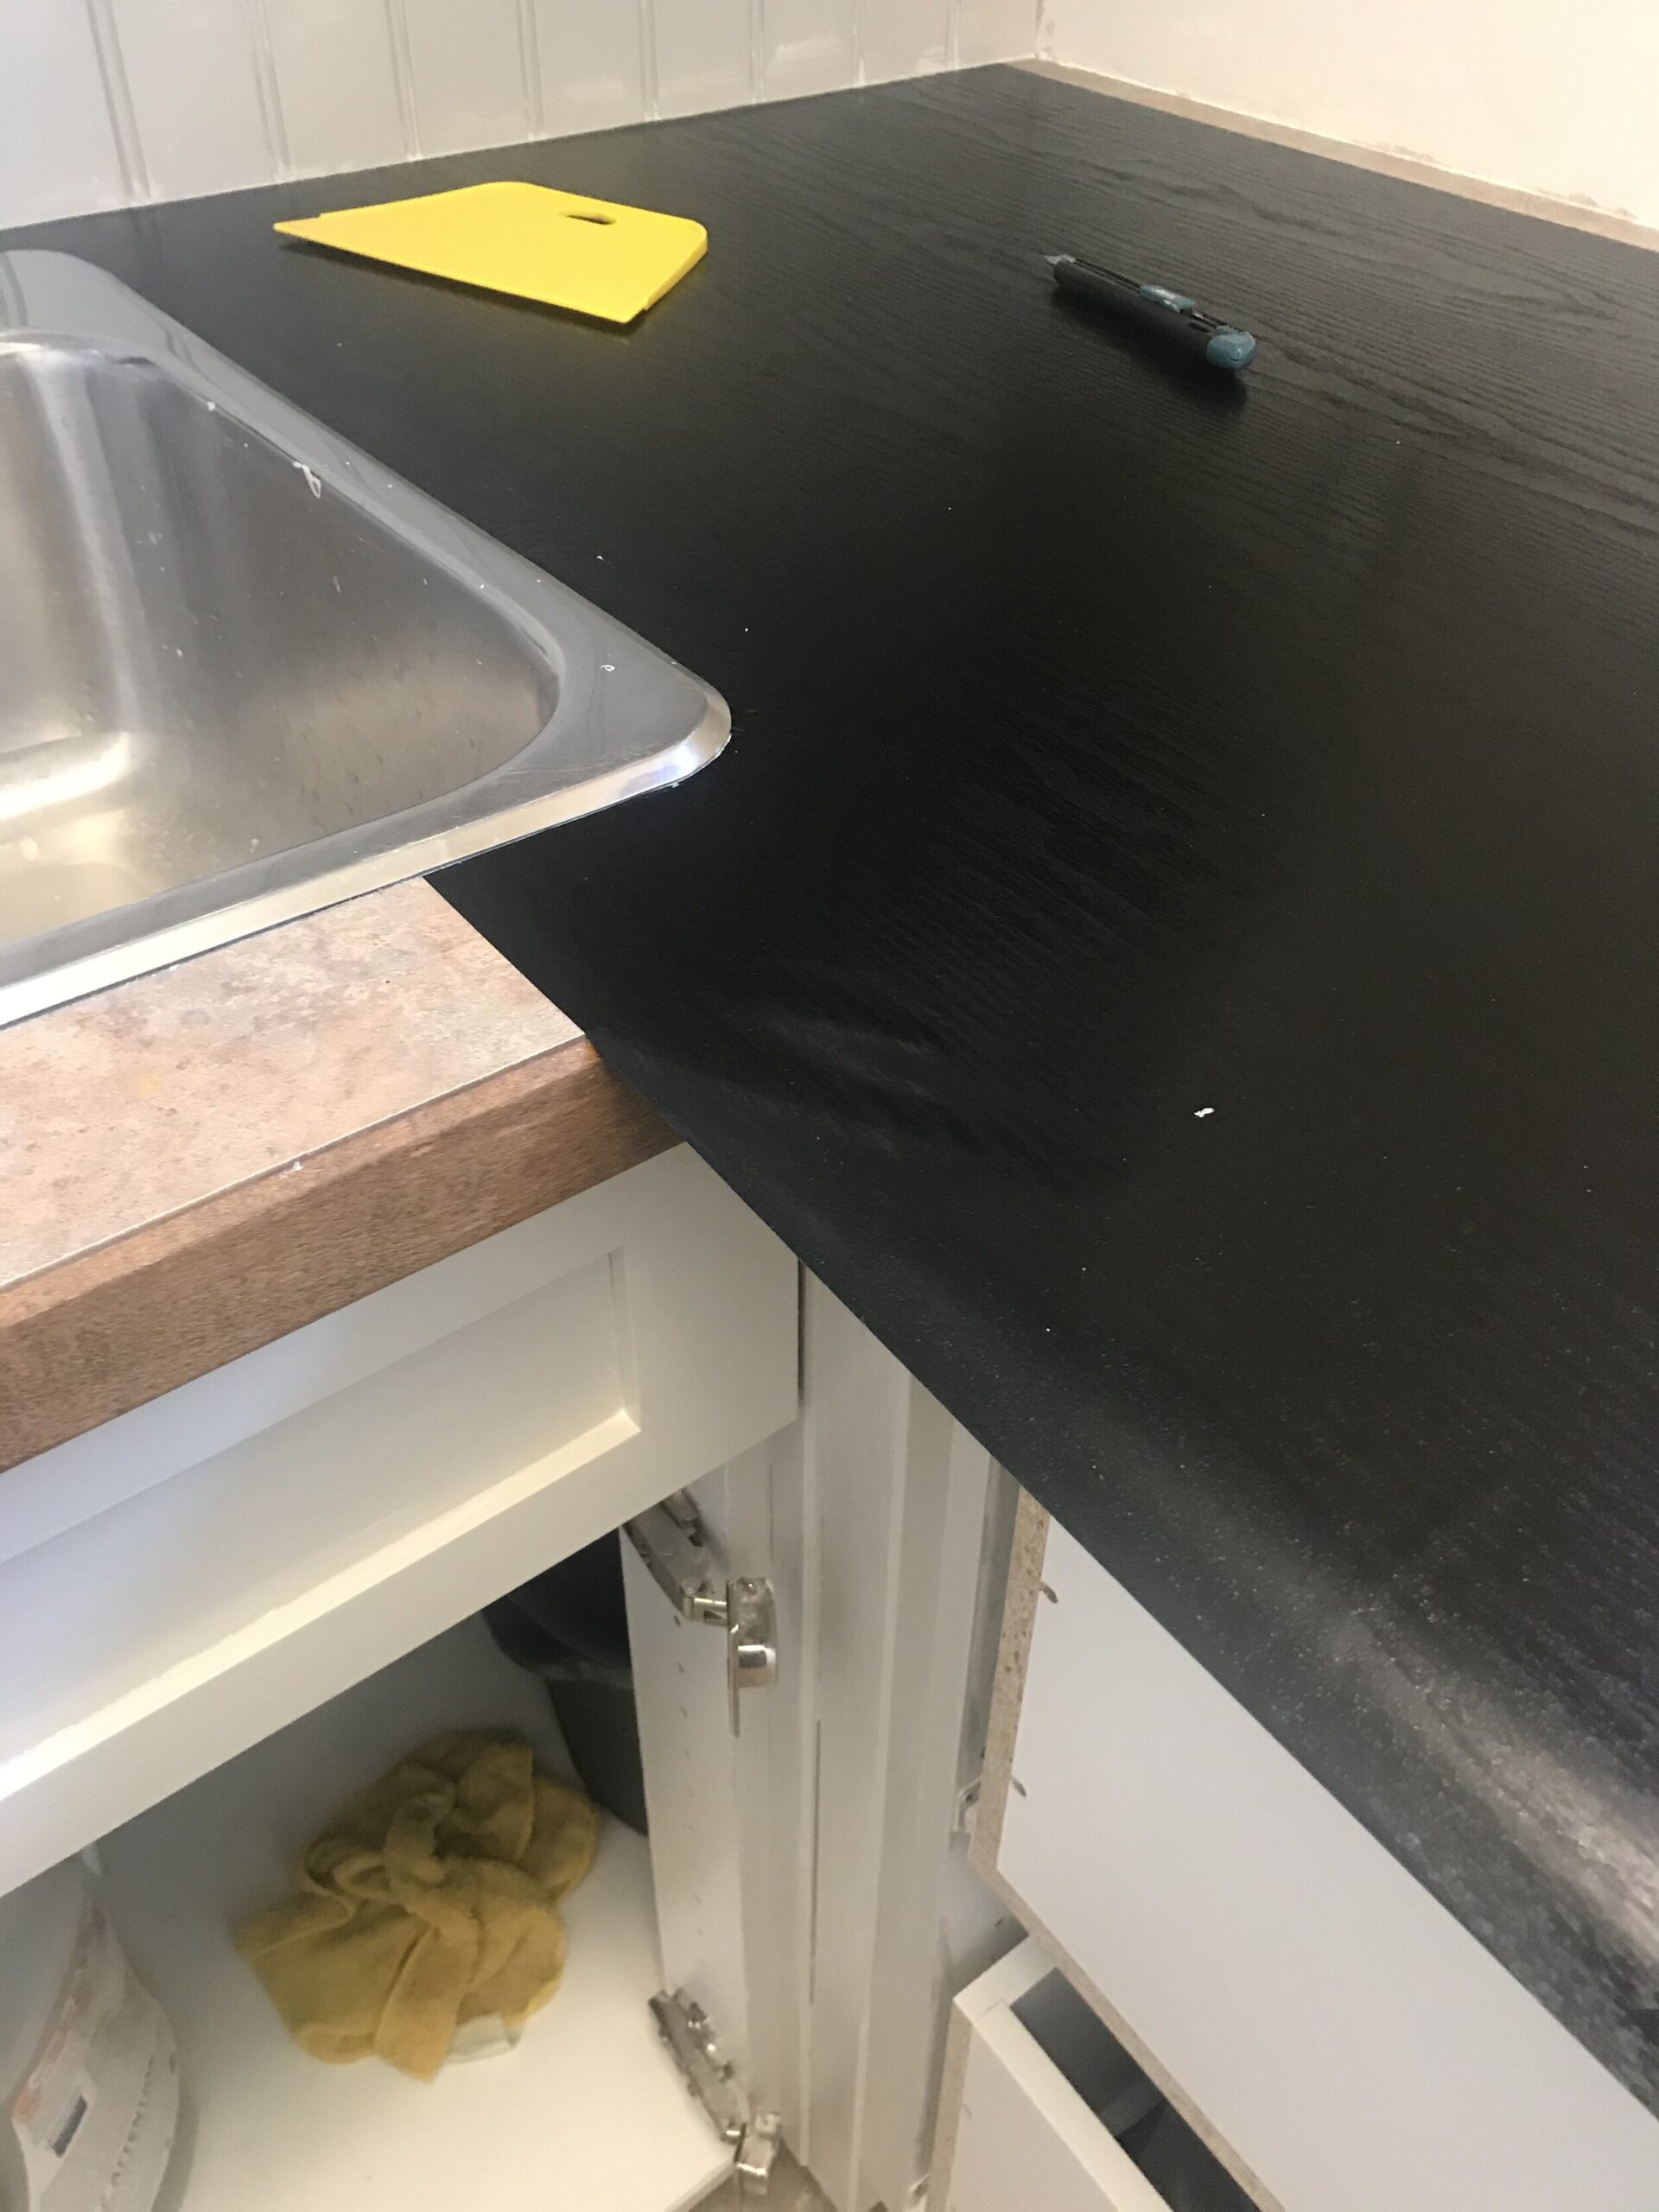
If you are wondering how to do this, there is really nothing much to say. My mom and I stuck it to the counters, working from one end to the other, working out air bubbles with a flat edge as we went. If something didn’t look right, we peeled it up and tried again.
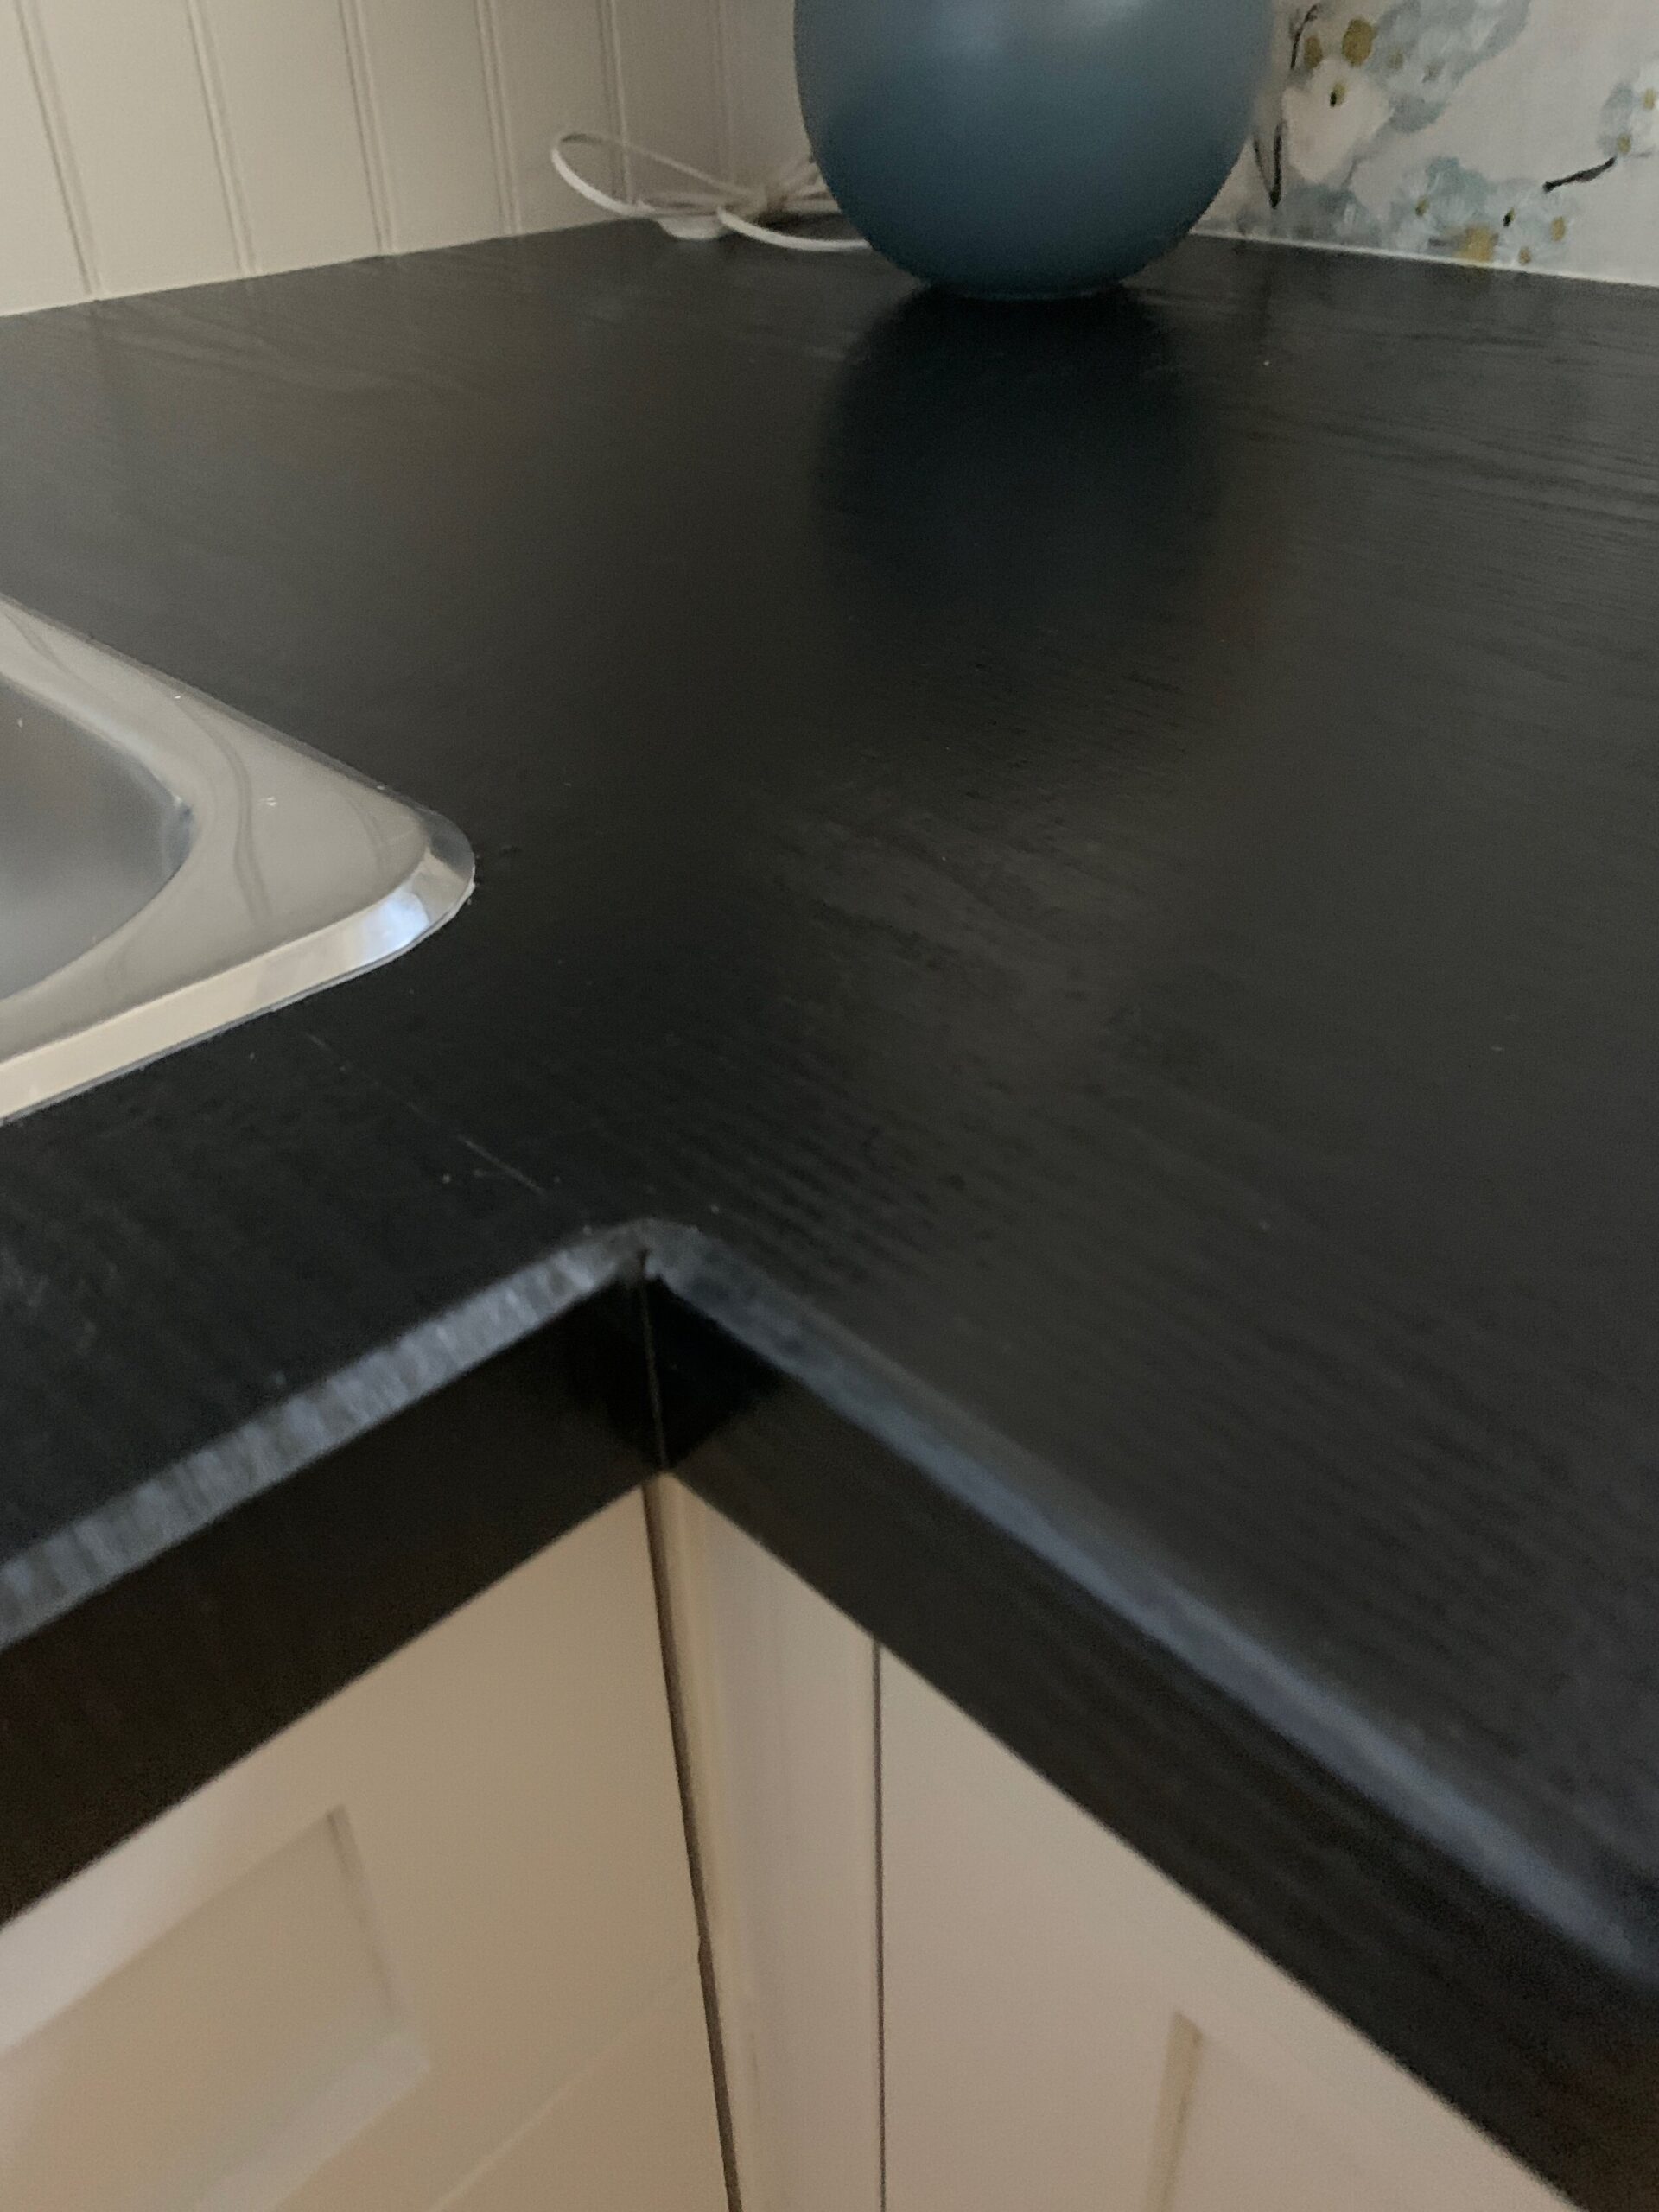
We found the best way to do the edges was to use a hair dryer to warm the edges and corners and pull them super tight. When butting the seams, we took care to butt them very closely and the seams are virtually invisible. We trimmed the contact paper around the utility sink with a utility knife.
The end result? It’s beautiful! If you know that this is contact paper you can tell if you look closely, but the casual observer would think this is a wood or laminate counter, which is such an easy DIY trick!
I don’t know how this would hold up around a busy sink or in a kitchen, but for this little used counter in a laundry room it worked great!
Cabinet Painting
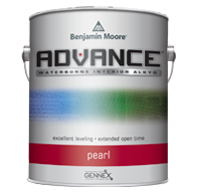
I de-glossed and primed the cabinets using an oil-based primer for maximum adhesion. I took the doors home to spray in my garage for the best finish possible. After priming, the paint I used was Benjamin Moore Advance, which is an Enamel paint that dries to a super hard and durable finish. I used my favorite Finish Max Sprayer.
Side note – I love this little sprayer! I have used it for furniture, cabinets, and doors and it’s easy to use and clean and gives me that factory finish I love! At any rate, I am planning an upcoming post on how I paint furniture and cabinets so I will spare you too many details on the process just yet.
(Update: I wrote a post all about how to paint cabinets and furniture and also the best primer to use when painting cabinets!)

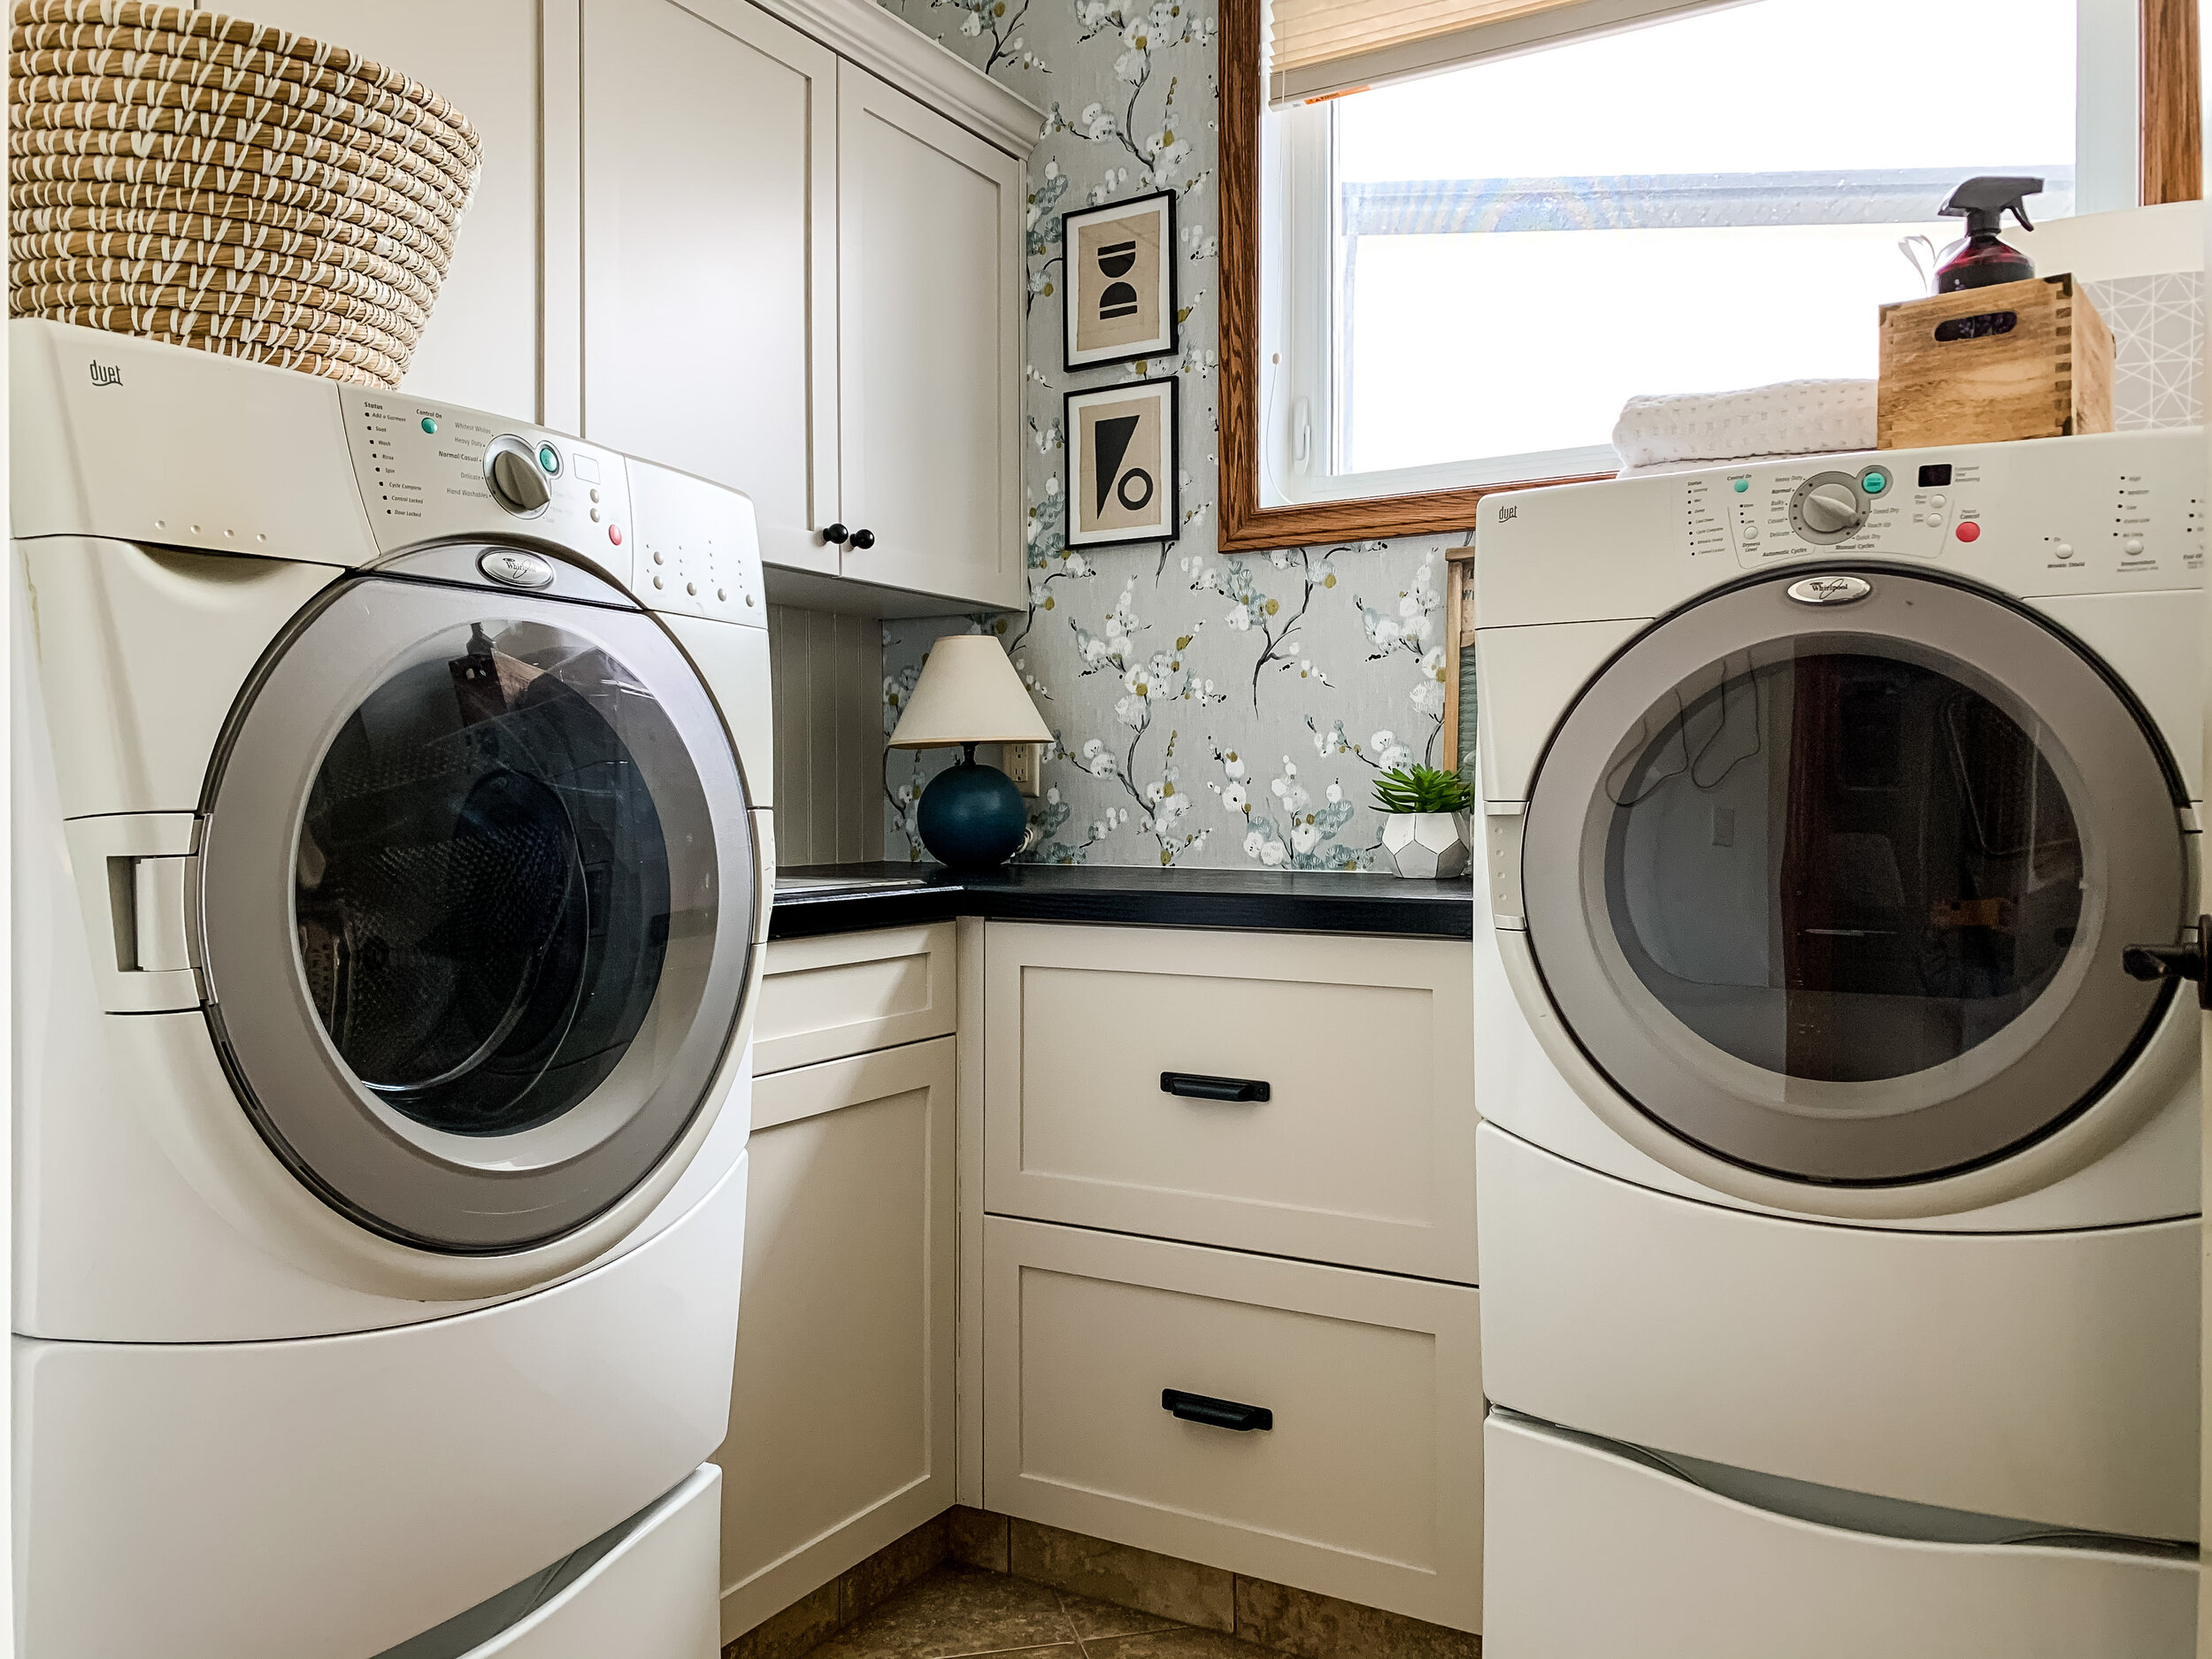
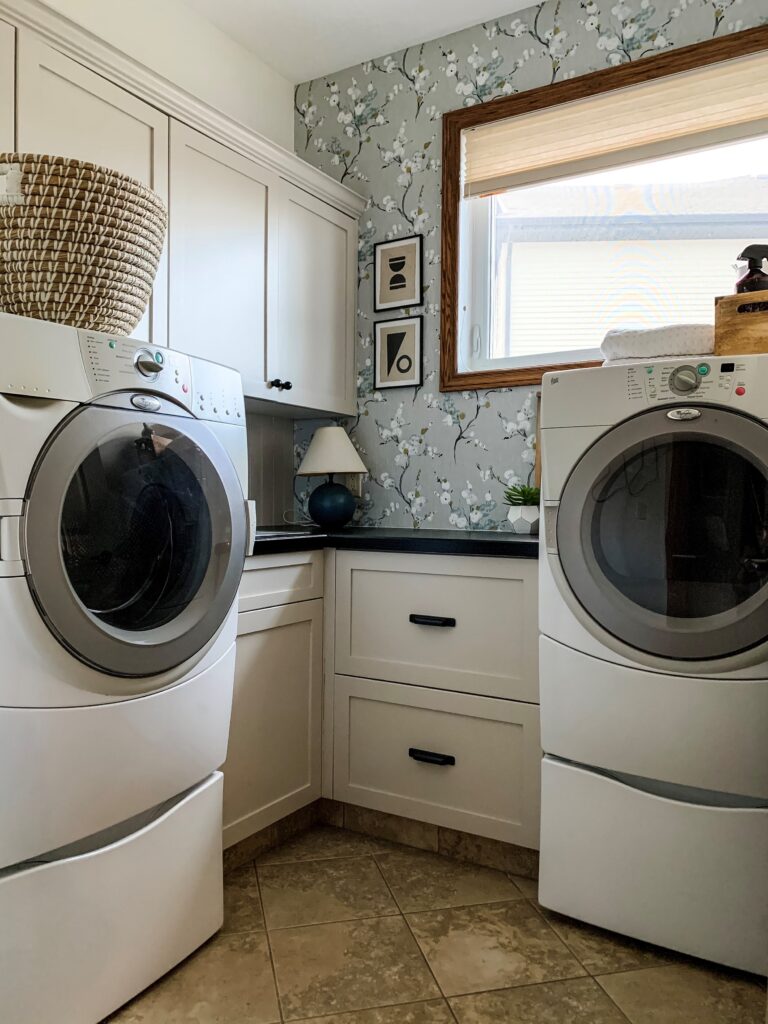
The Finishing Touches for the DIY Laundry Room Makeover
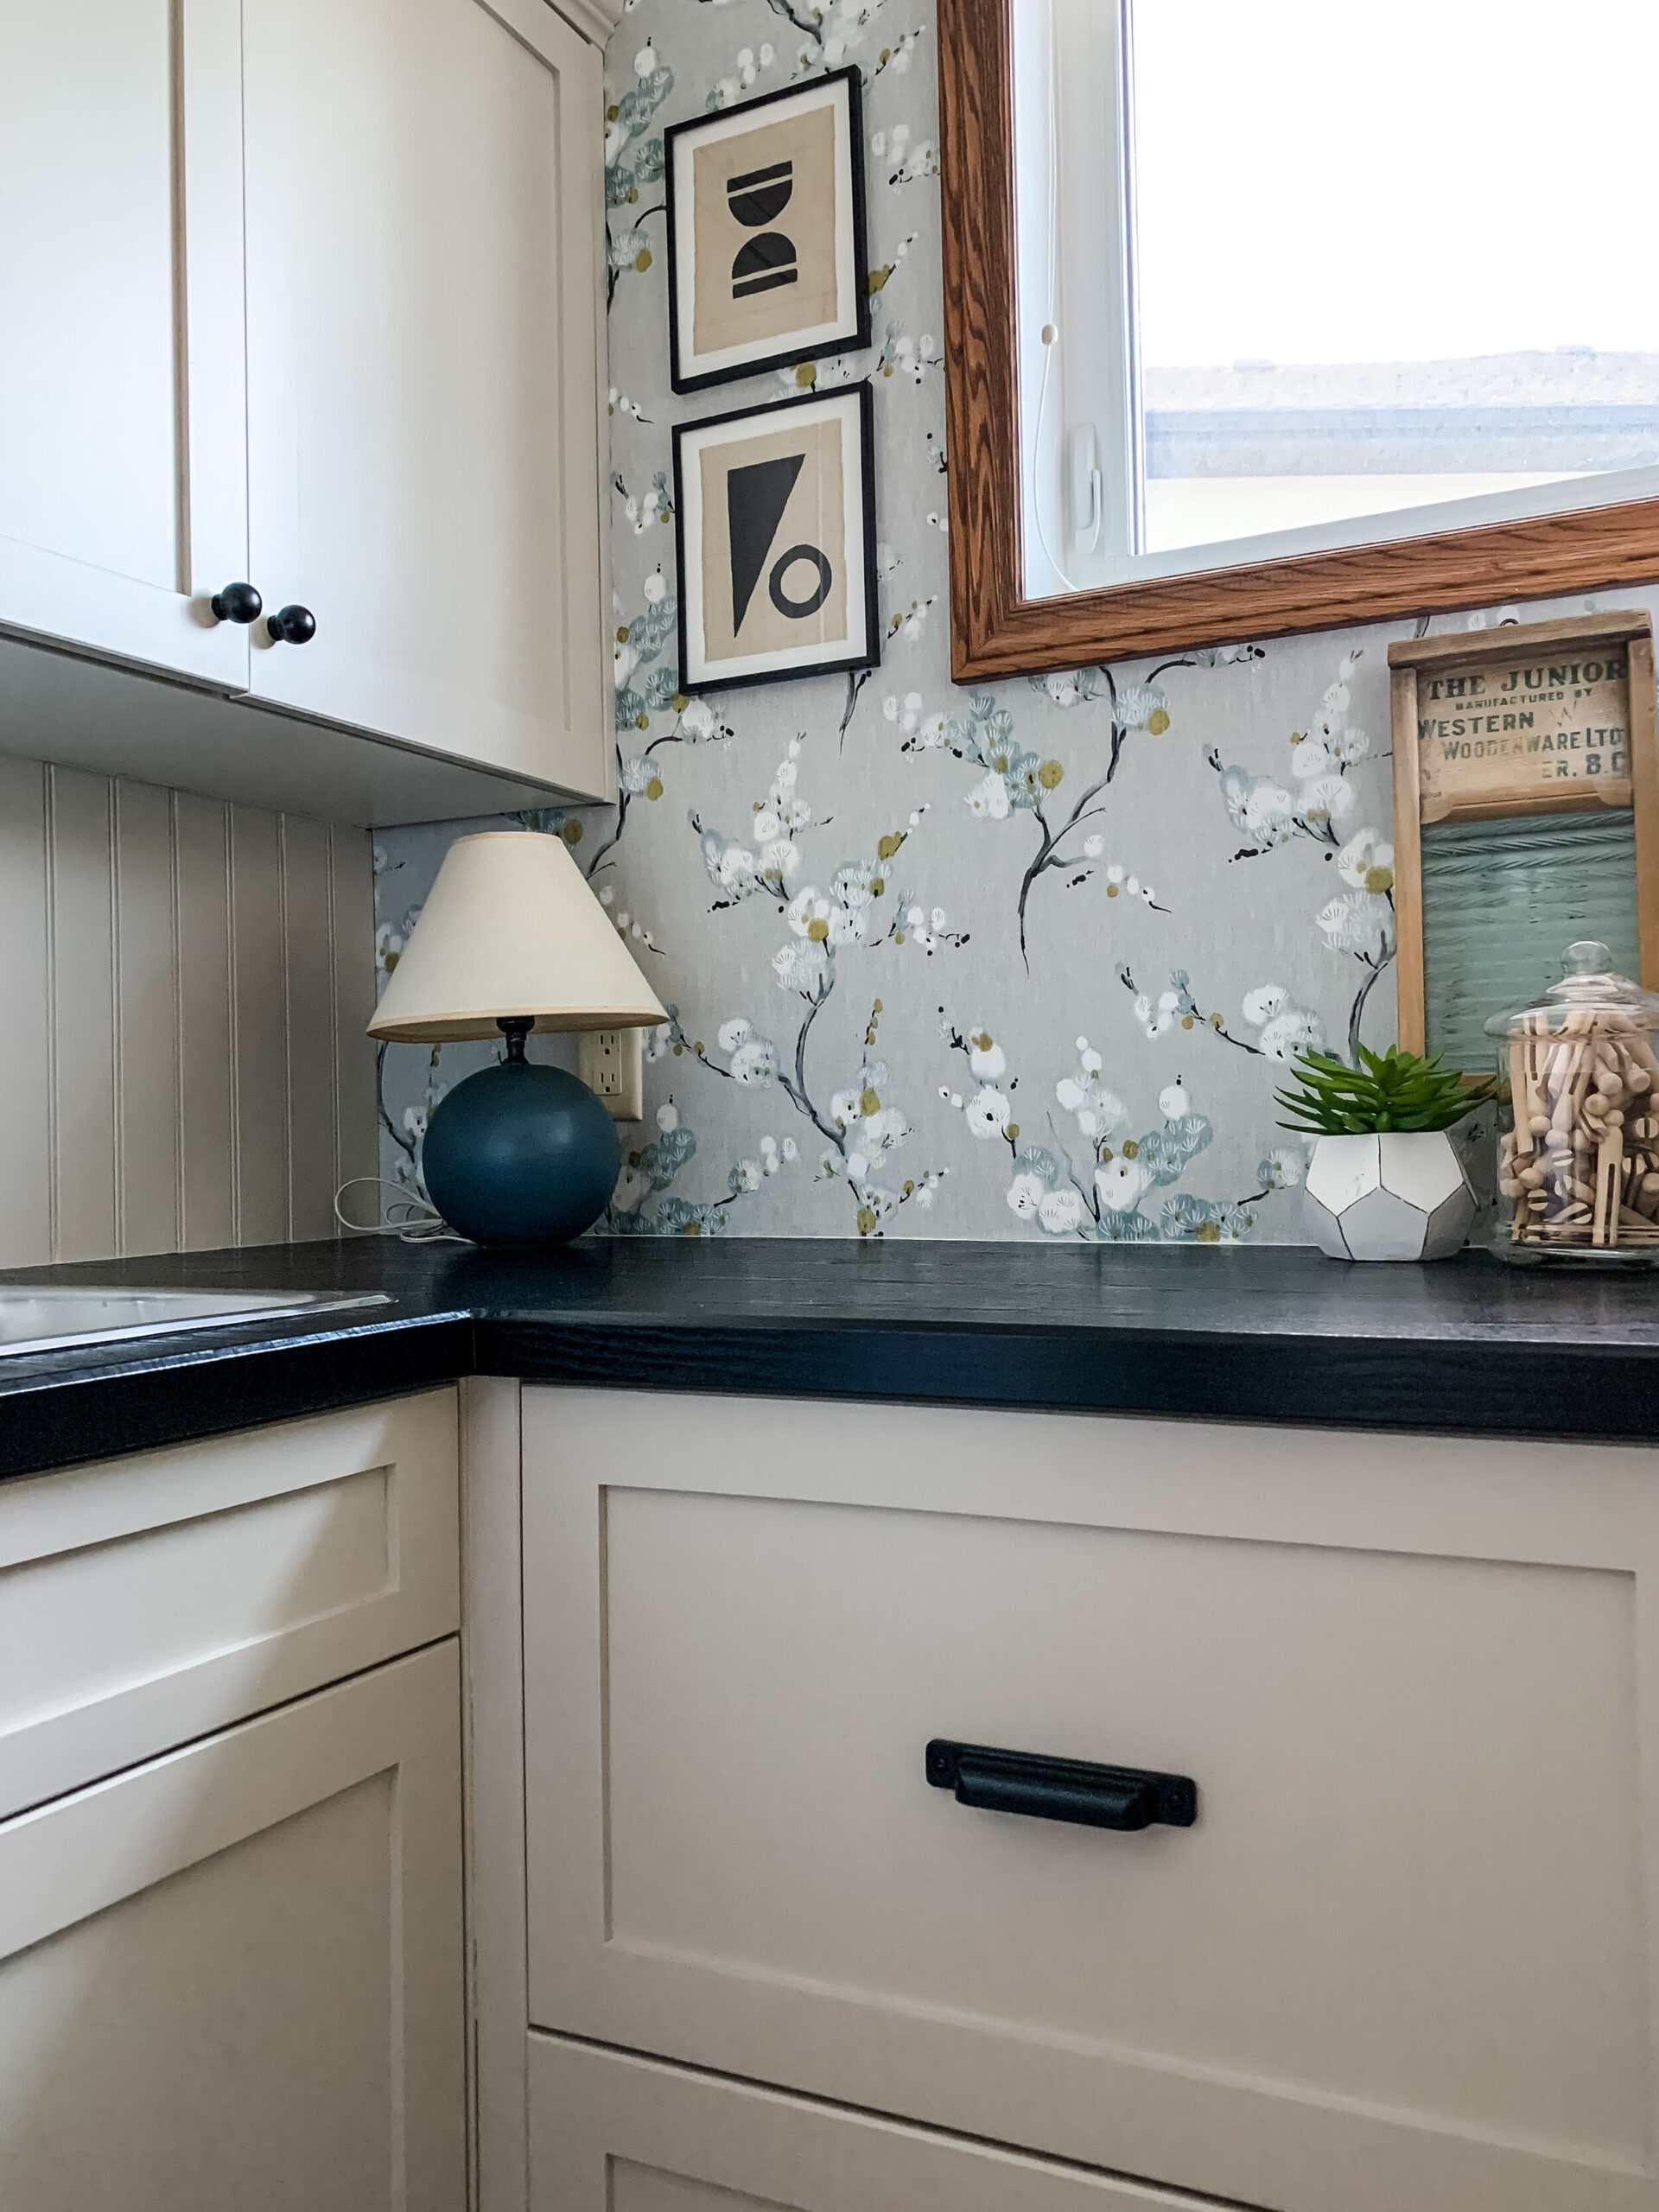
I chose some new hardware in black to coordinate with the black countertops and the “construction” phase was complete.
I thought about covering the porcelain tiles with a peel and stick product or painting it, but at the end of the day the floor tile worked alright with the room and my mom wasn’t very keen on any of my ideas to change it, and so we decided to leave the old flooring.
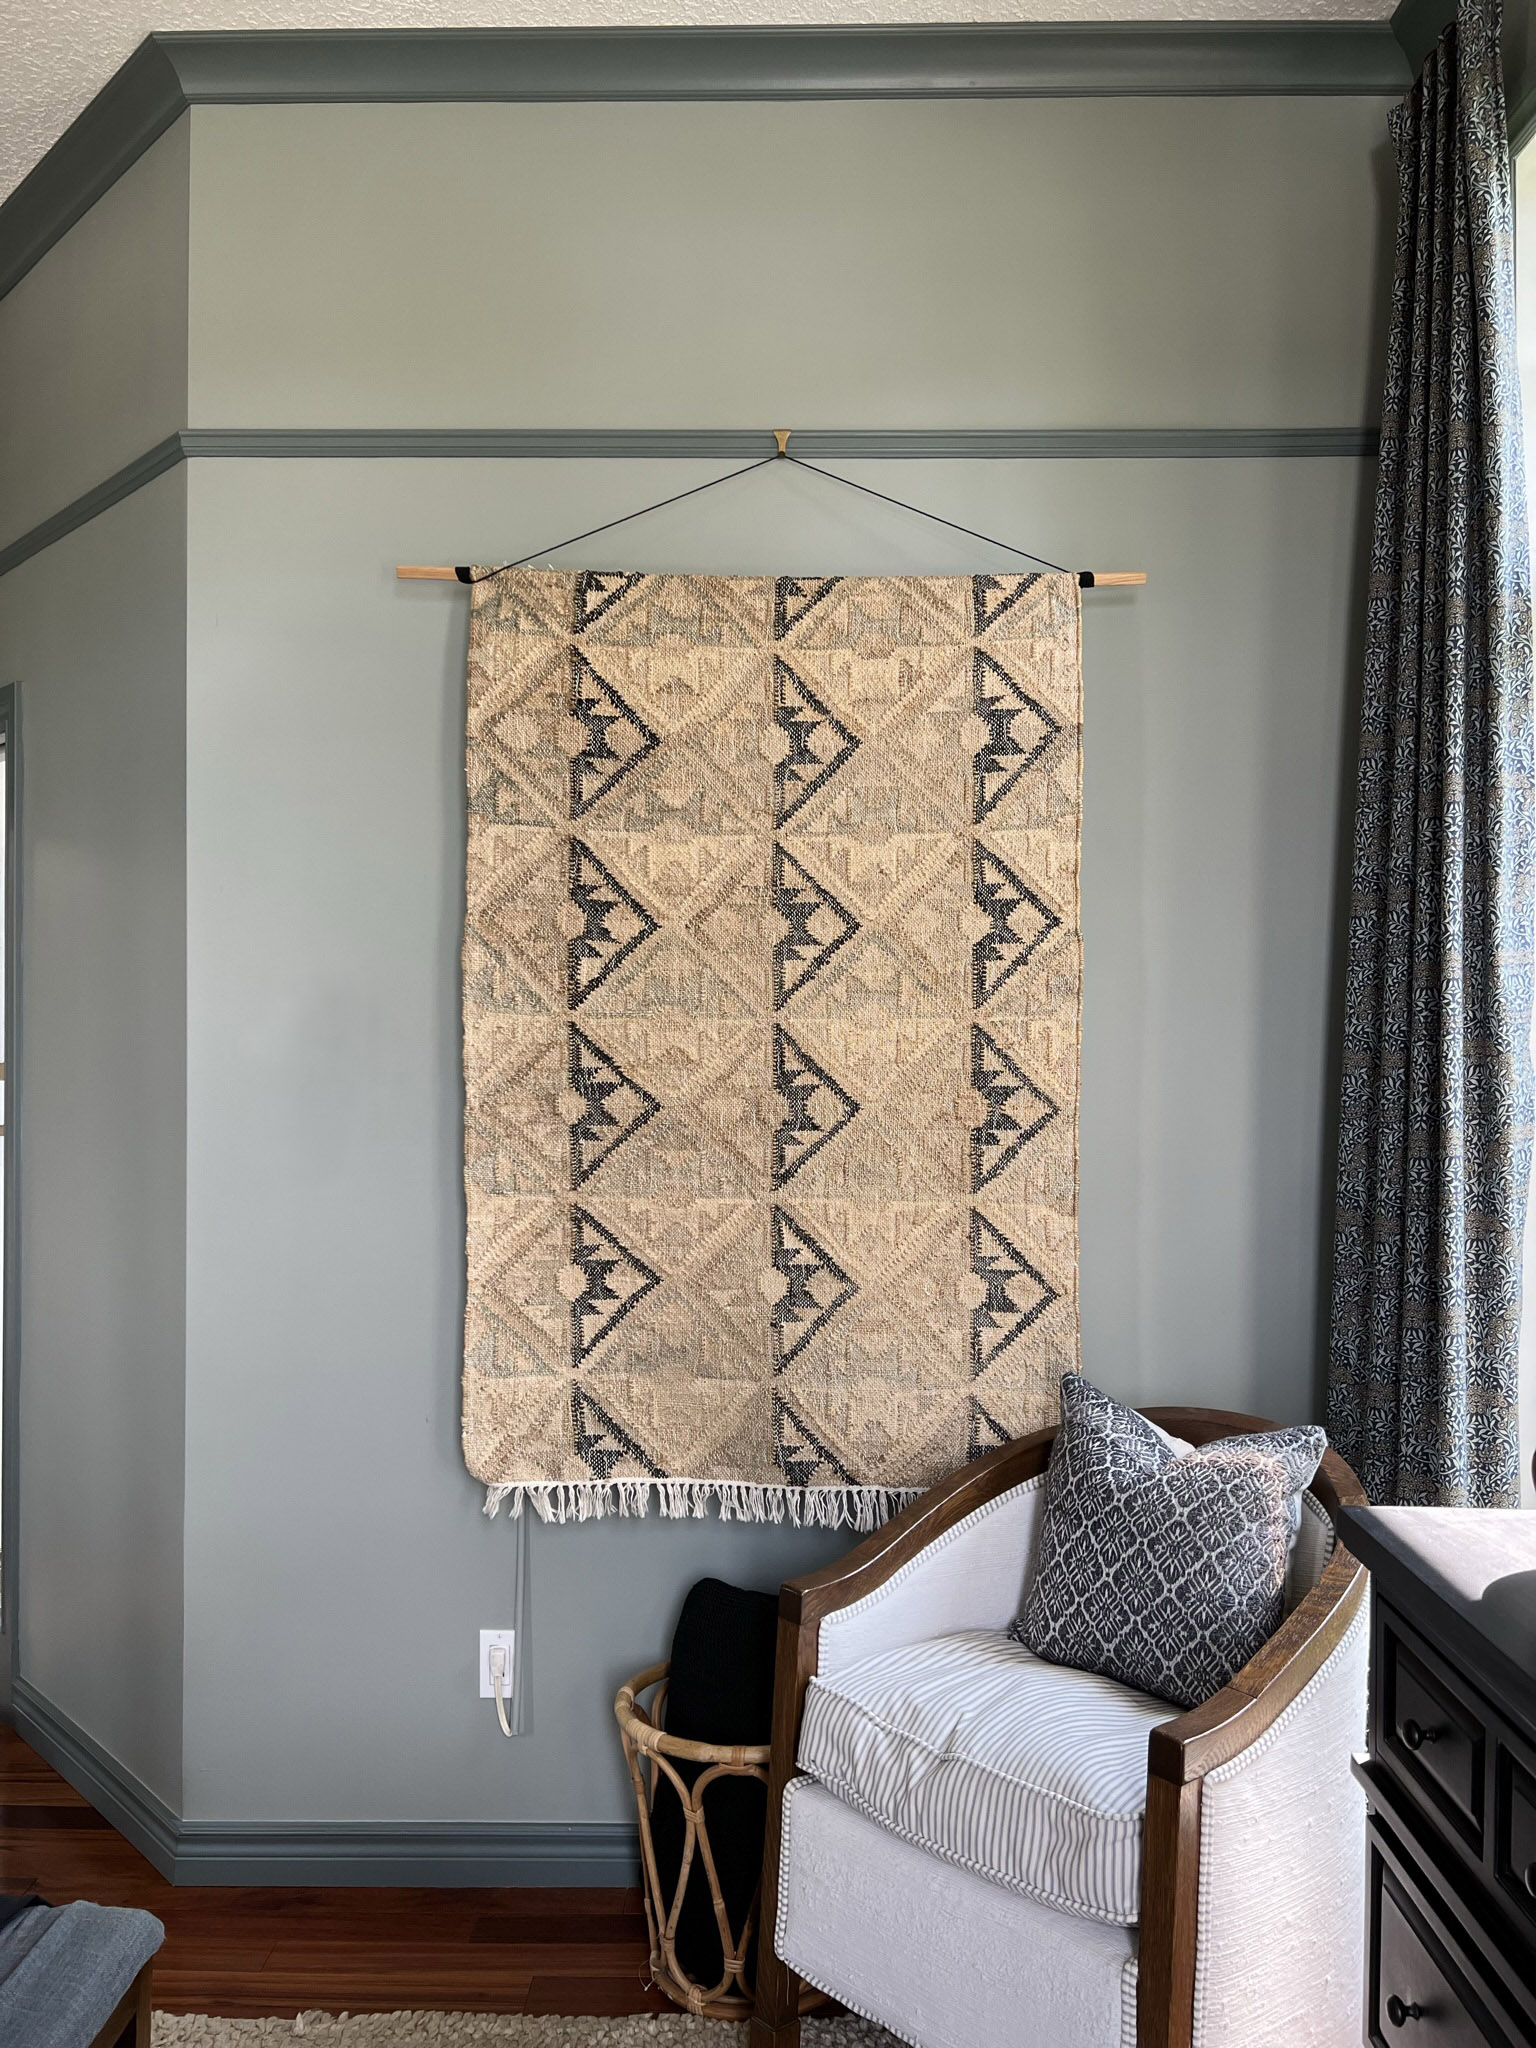
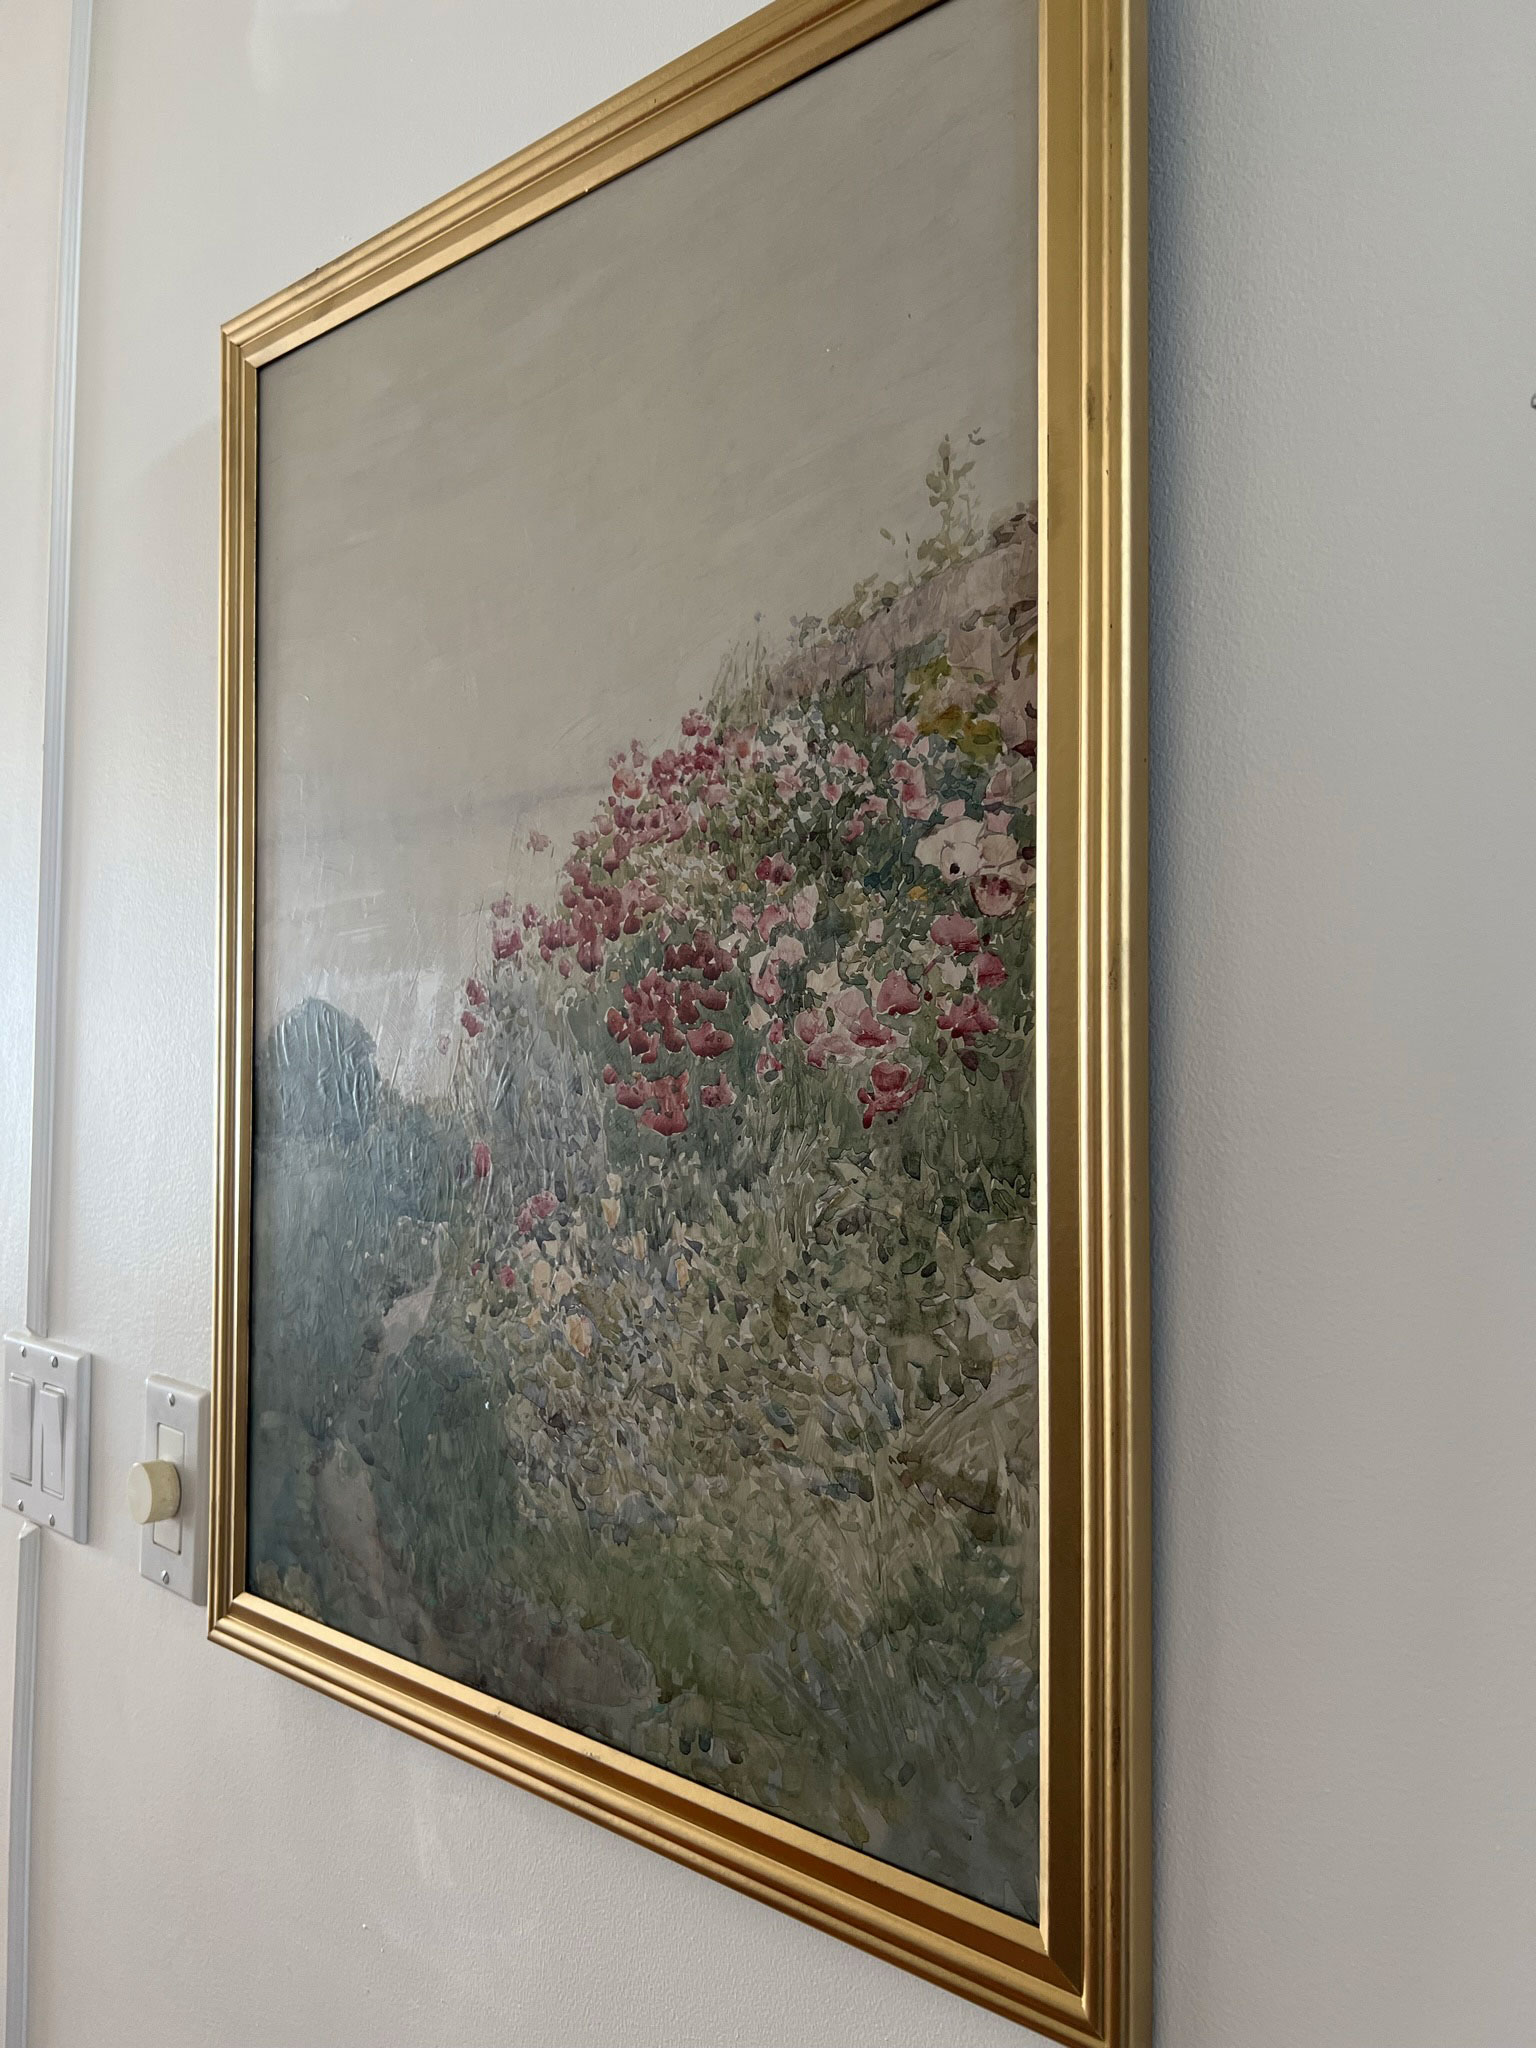
I added a few accessories to warm the space up, including this $4 thrift store lamp I painted the blue of the bathroom next door for a pop of color, and some DIY modern textile wall art to juxtapose against the more traditional wallpaper.
The rest of the accessories were things my mom already had like wicker laundry baskets. I considered painting the window trim, but in the end I thought the wood tones brought in through the accessories worked with the wood trim and a little wood is always nice to keep things feeling warm.


Cost of this DIY Laundry Room Makeover
Are you ready for a budget breakdown? This is one of my favorite budget-friendly DIY projects and made the room feel brand new! It was super fund to do this small laundry room makeover for my mom and turn it into a beautiful room for her!
It was a lot of hard work but she’s worth it. I love working in my own home but there is something even more fun about doing something for someone else, and using creative ideas to keep costs in check with this laundry room remodel without spending much money!
Contact Paper for Counters: $21.98
Peel and Stick Wallpaper (2 Rolls): $93.58
Beadboard Backsplash – leftover – free!
Paint for Cabinets (BM Revere Pewter) – $82.68
Paint for Walls – Sherwin Williams Alabaster – leftover – free!
Cabinet hardware – $69.80
Frames for DIY Art – $18.88
Thrifted Lamp – $6.80
Total – $293.72
Not bad for such a big change! Where I could, I’ve included links for products below. Click directly on the image to be redirected.

Some of these are affiliate links, which means if you purchase from the links I earn a small commission on the sale – at no extra cost to you! I only recommend products I have tried and approved of. Thank you for shopping my links!
I hope this is helpful if you are considering a budget makeover of your own!