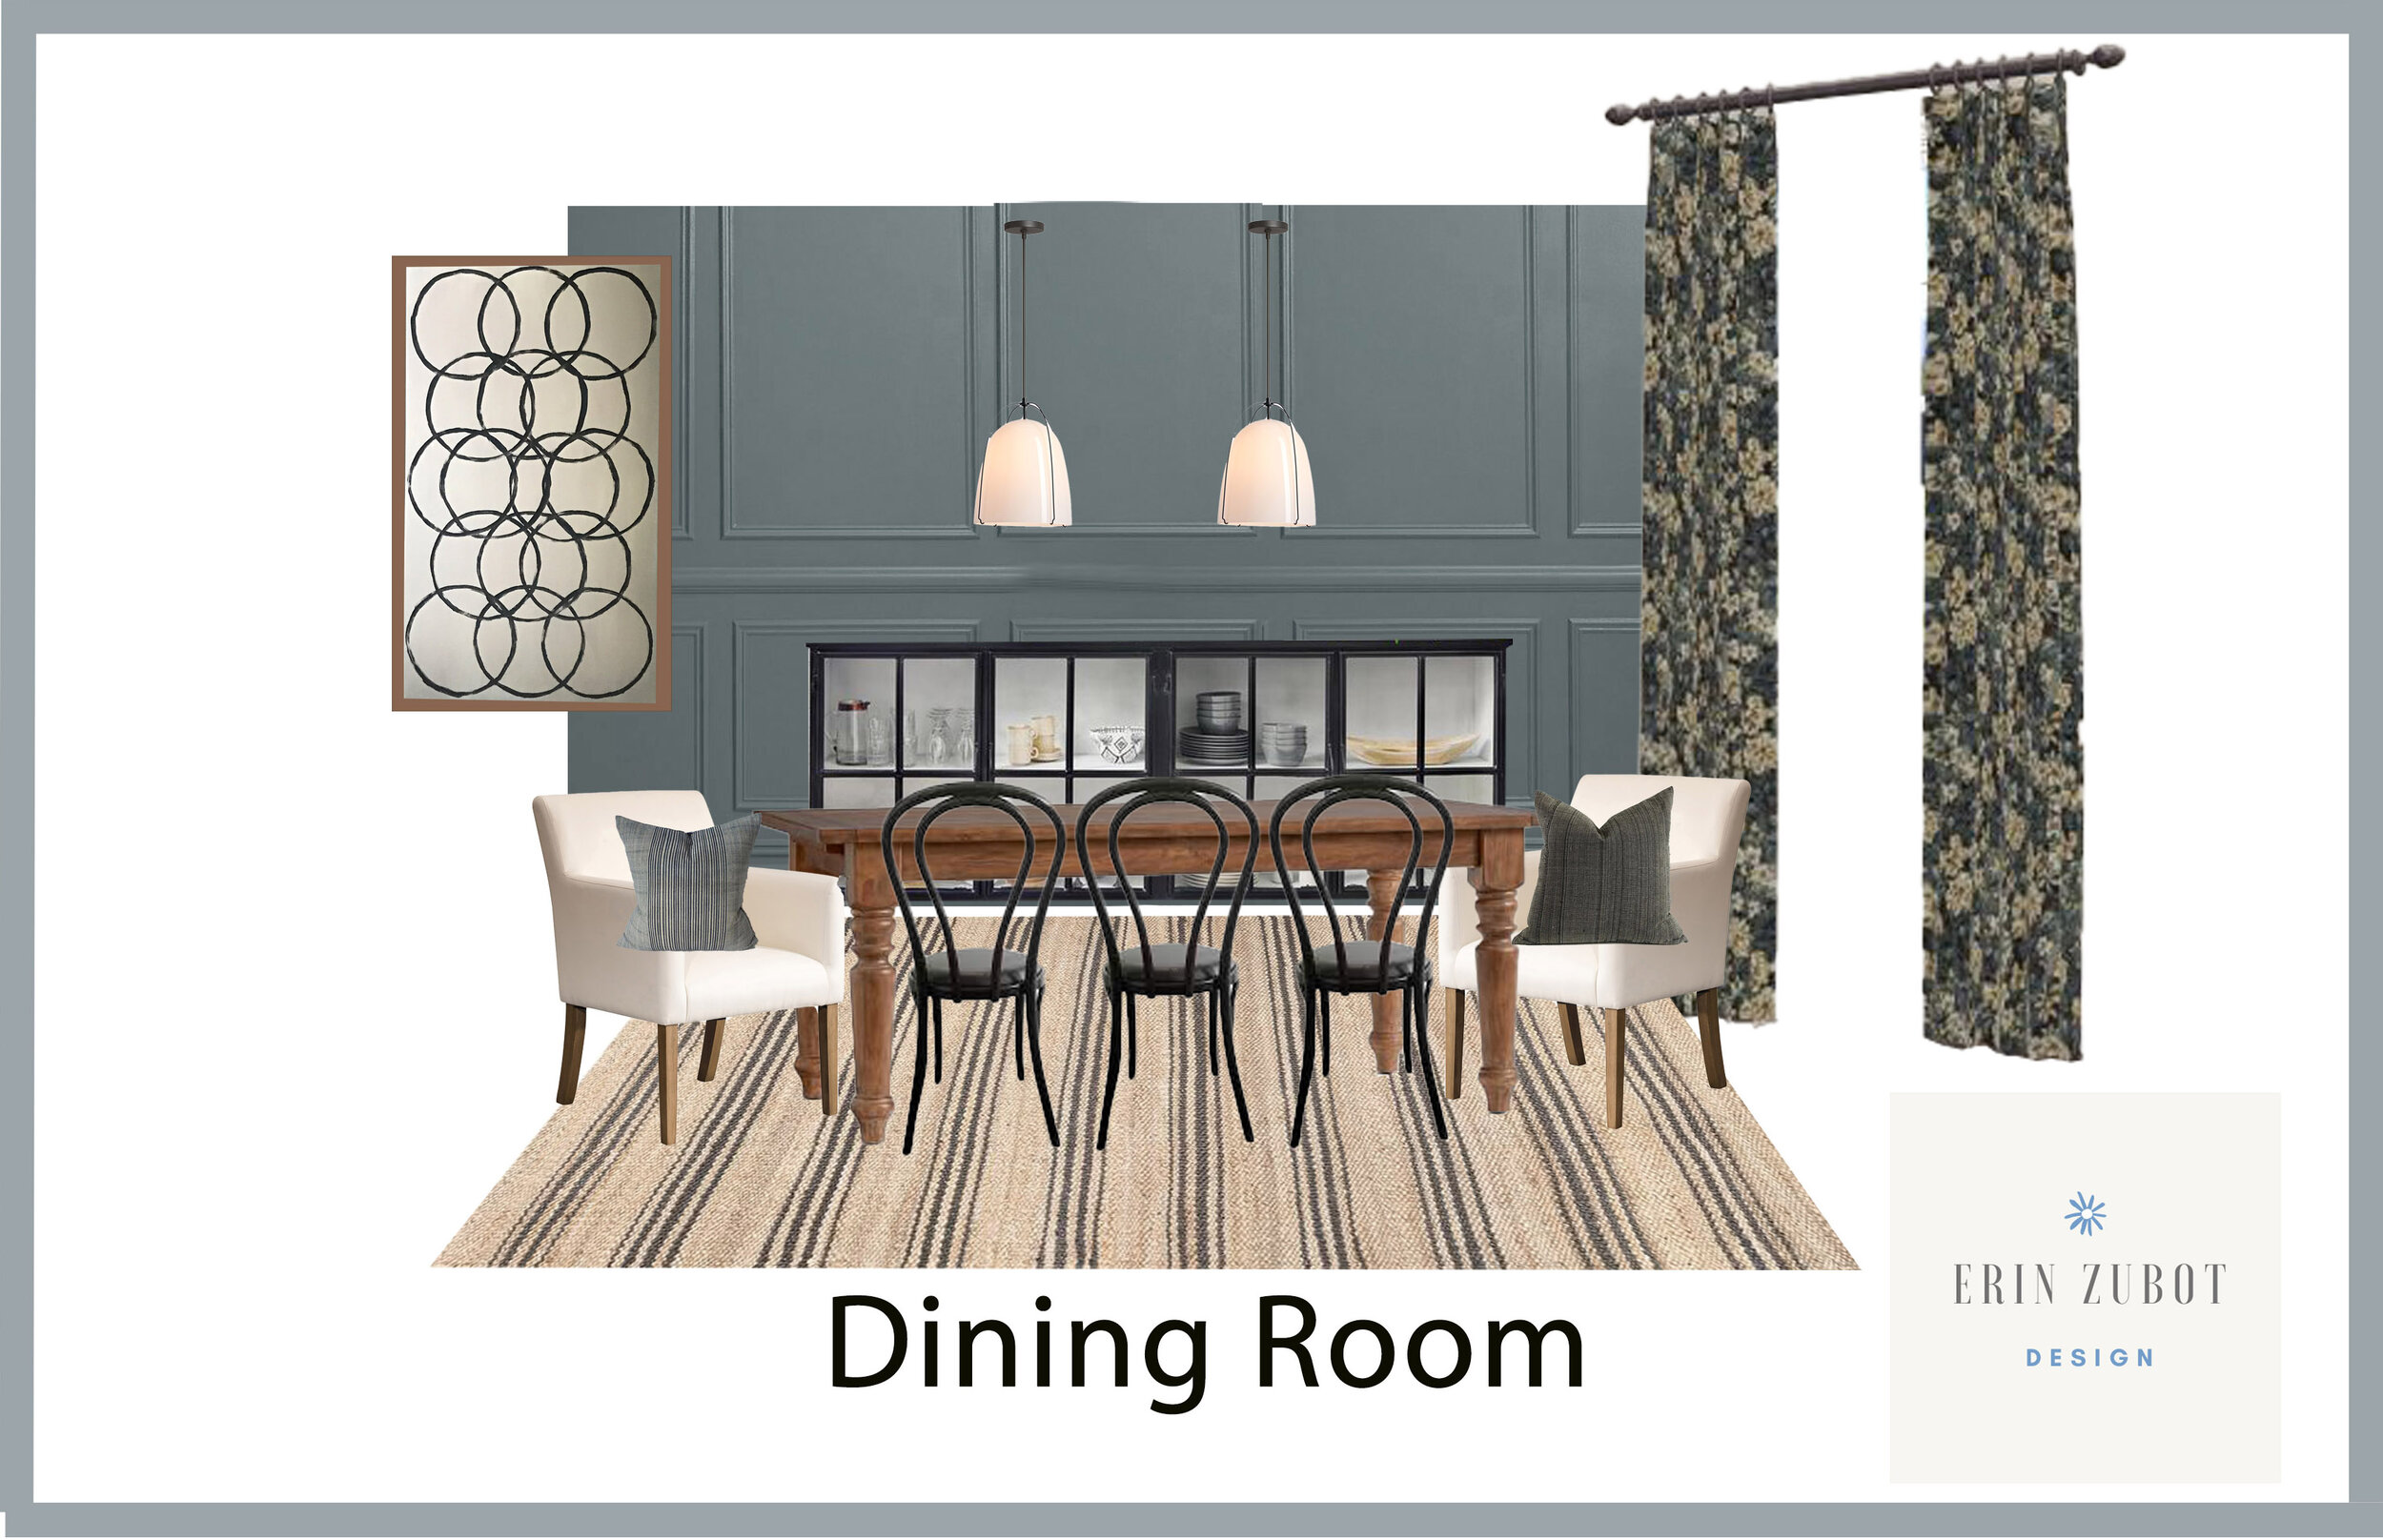
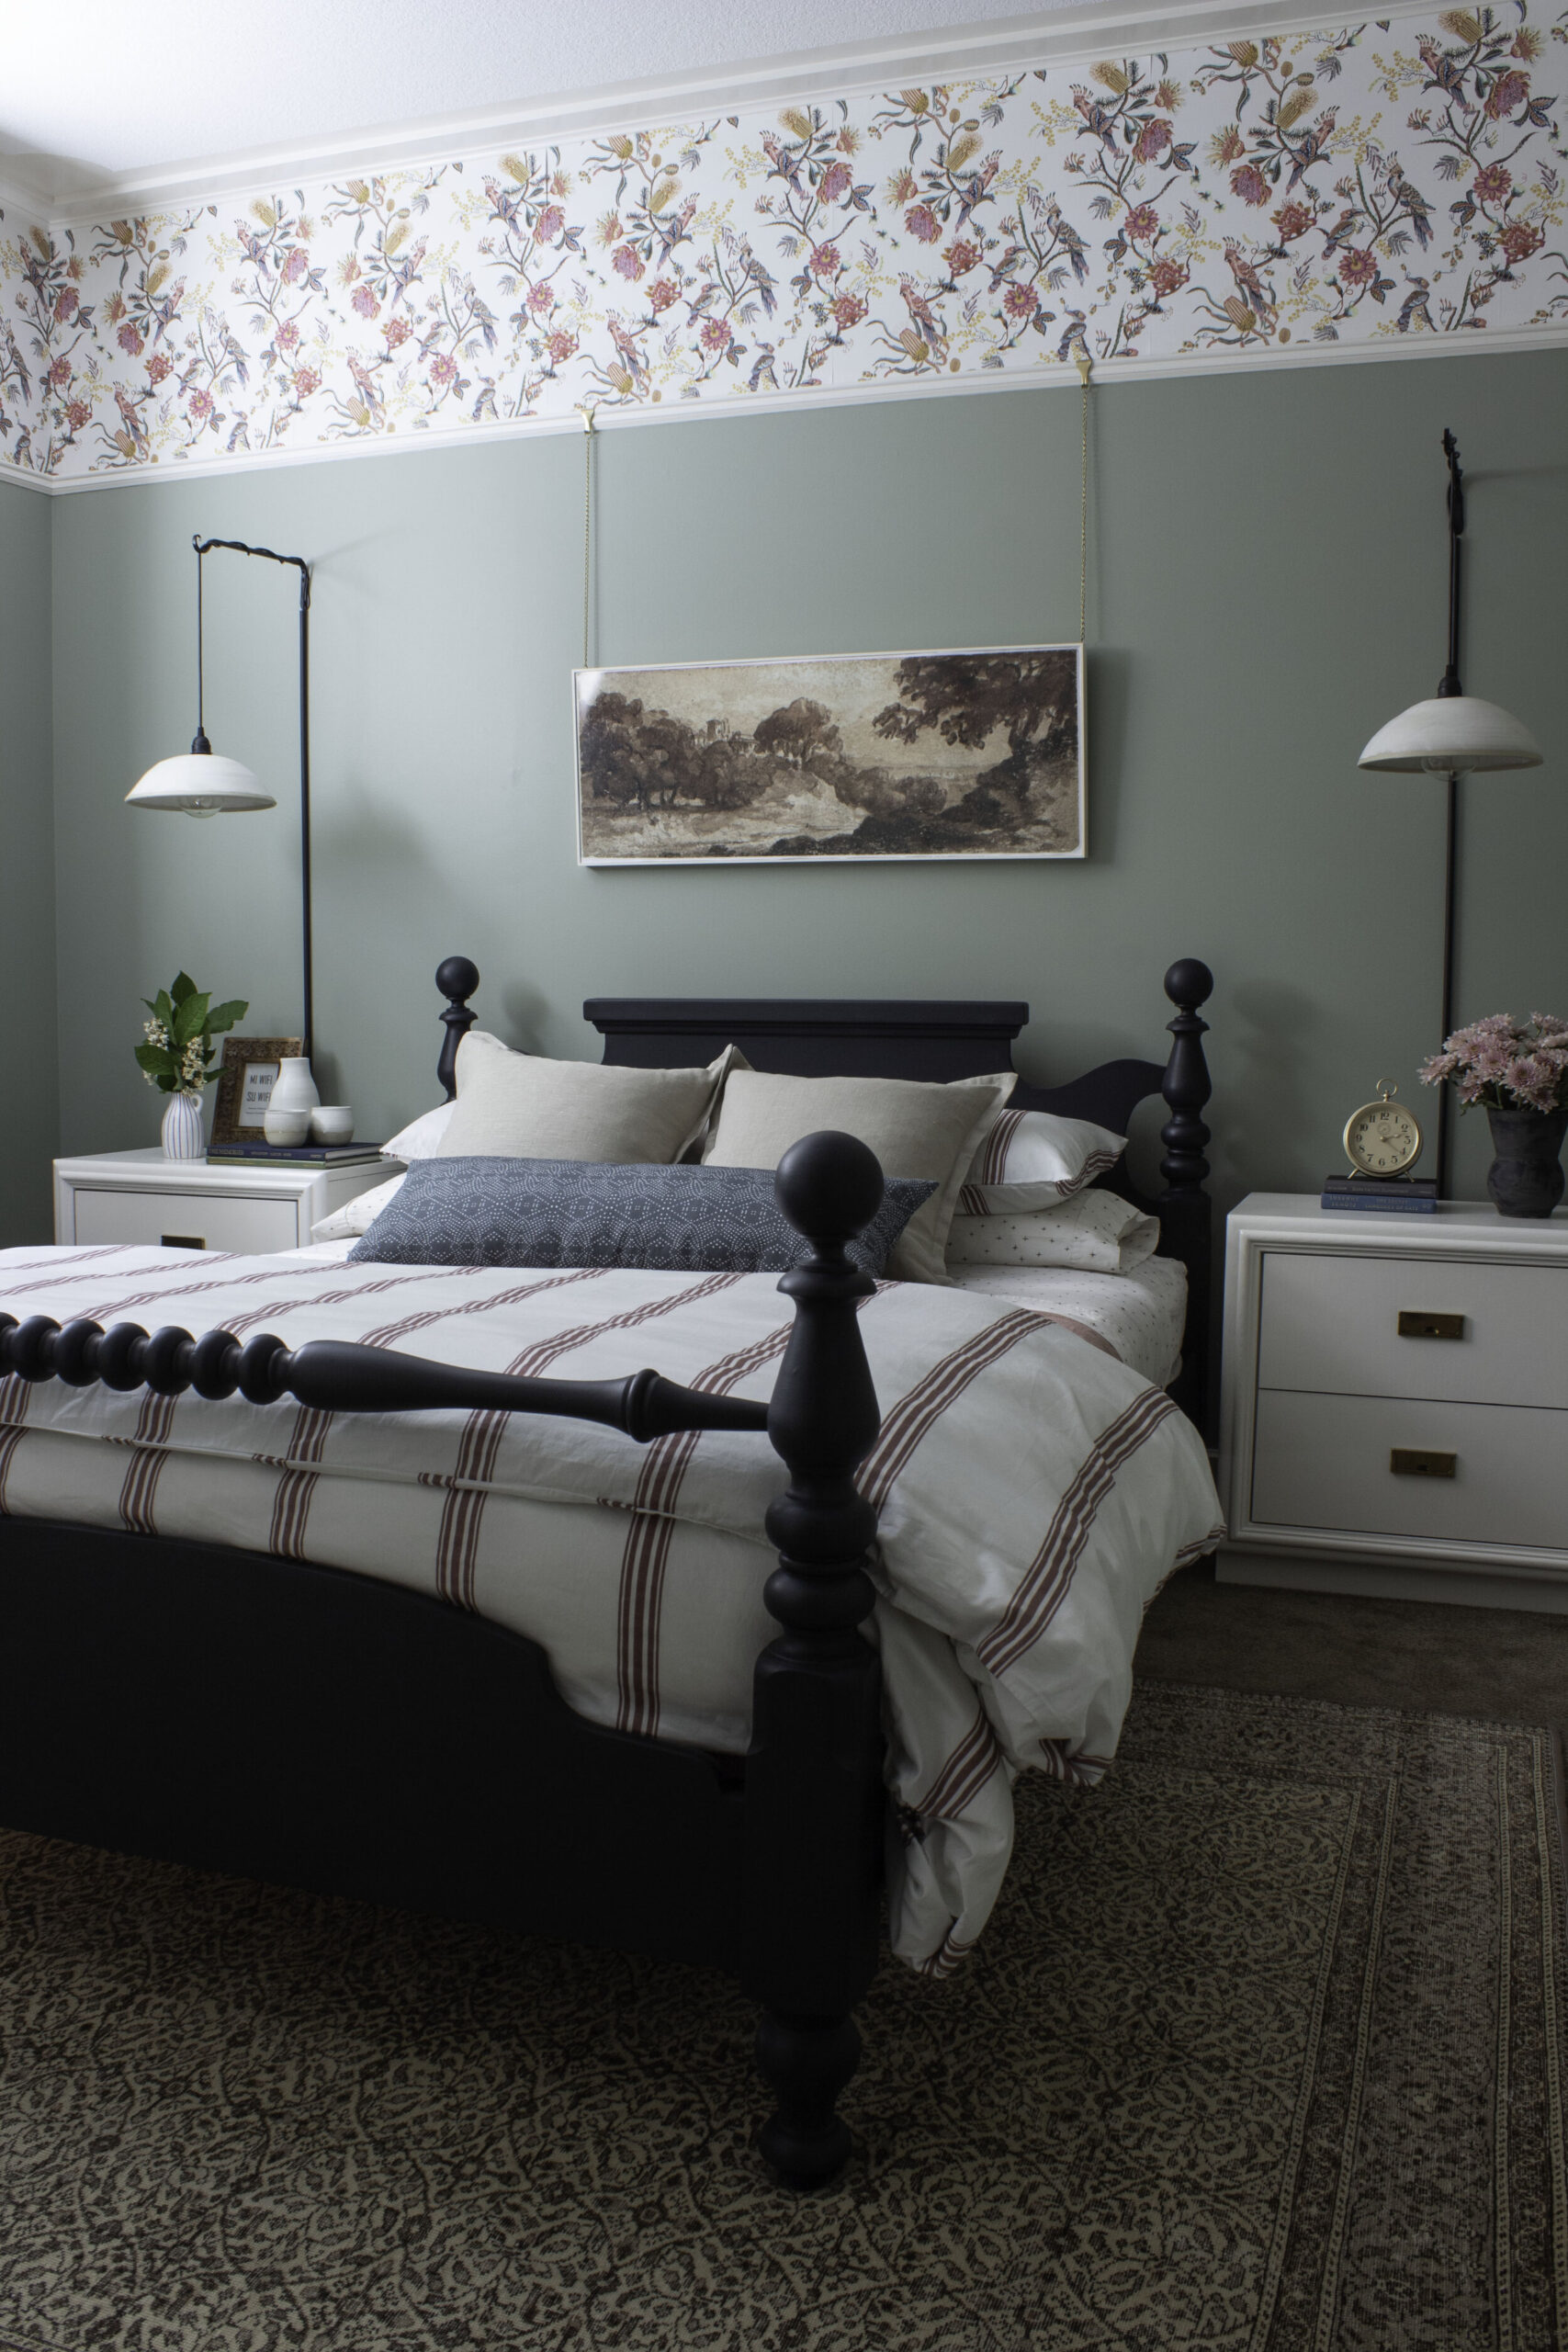
Well hello! If you have clicked over from the One Room Challenge Website, welcome! I am very happy you have joined me for a little low down of the project I am tackling for the One Room Challenge Fall 2020! This is my third time participating in the One Room Challenge, and it’s so much…
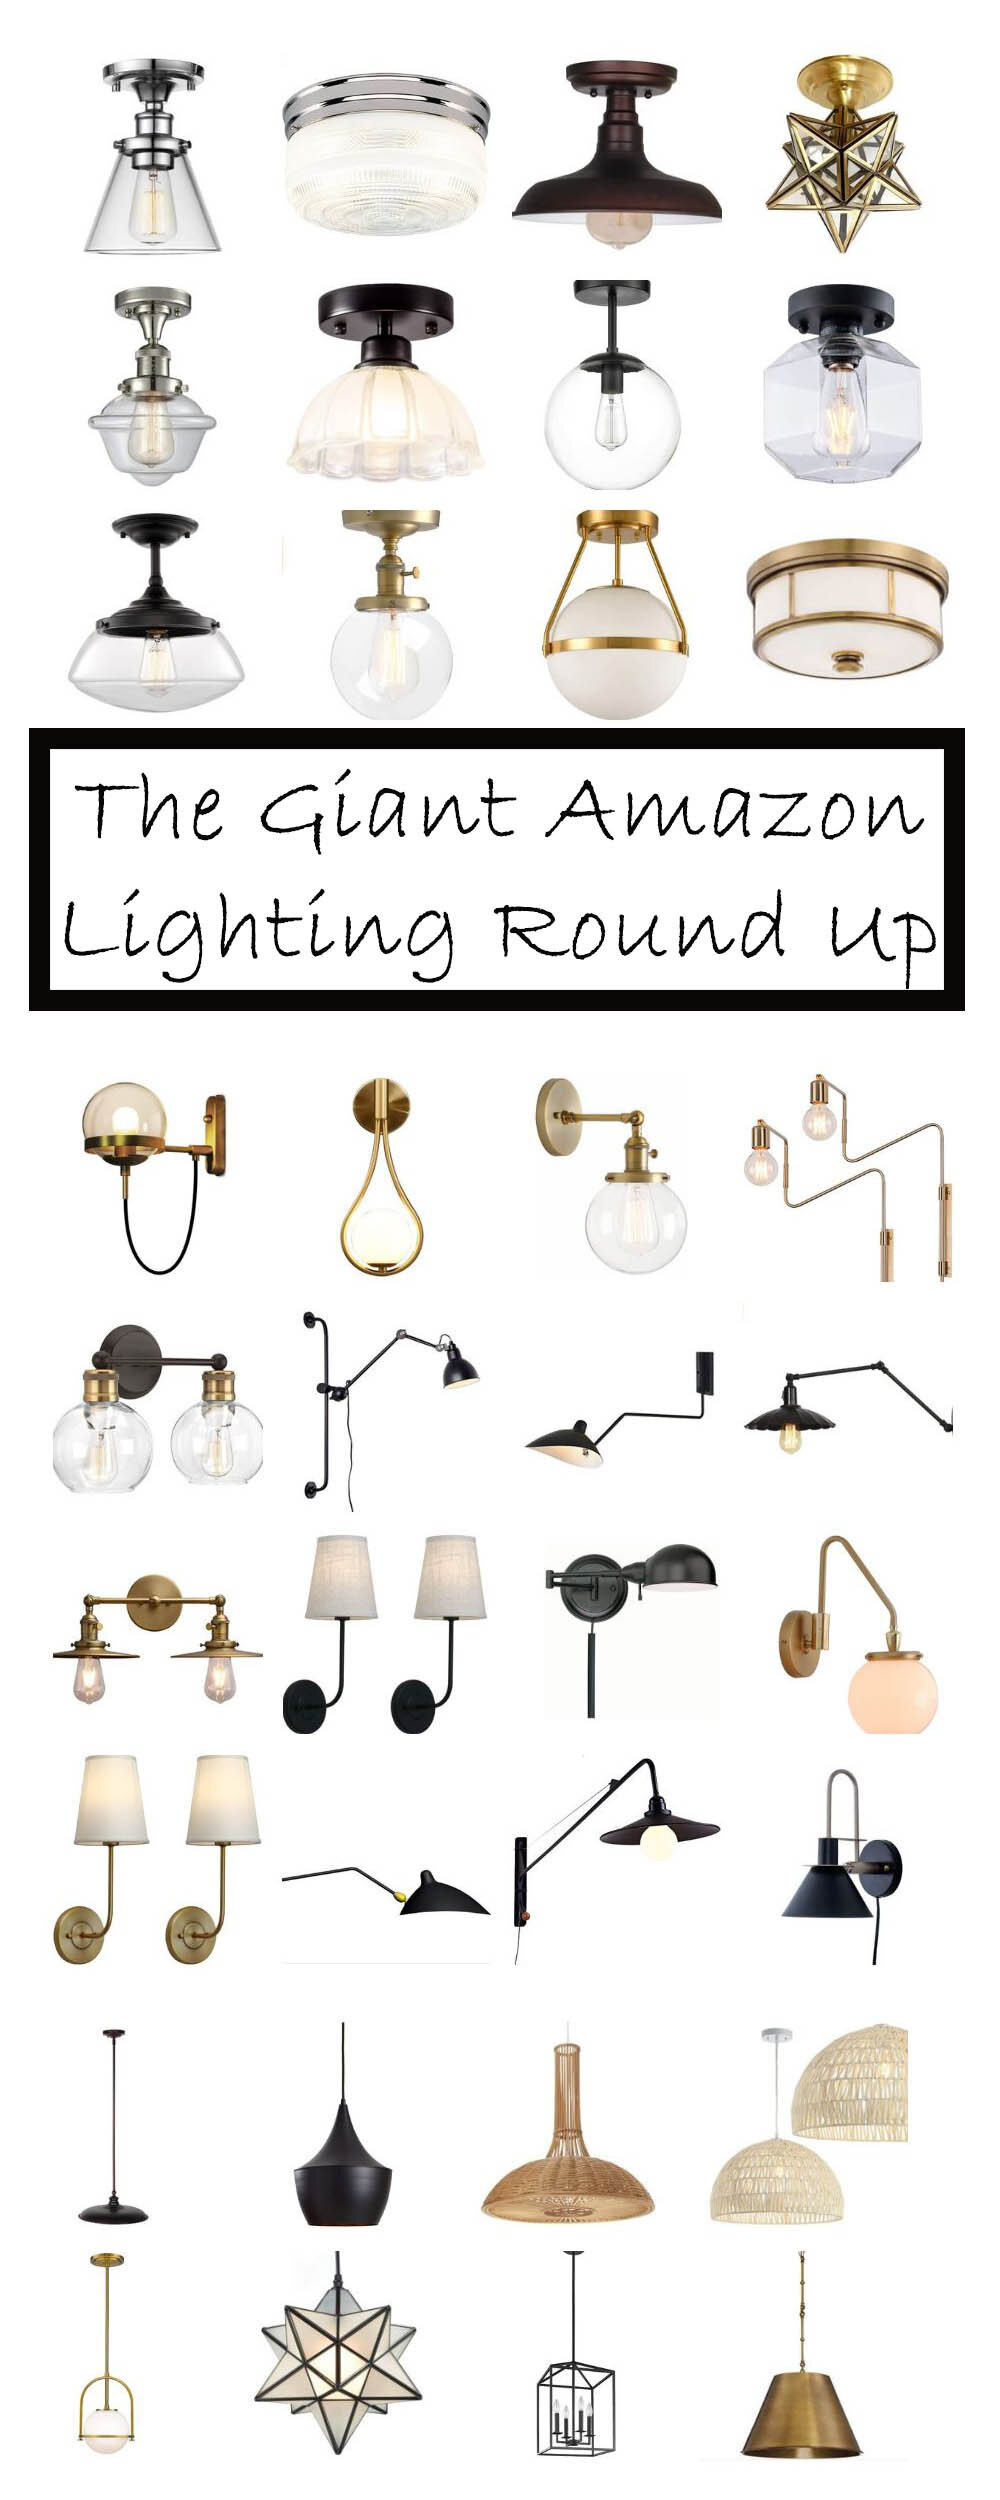
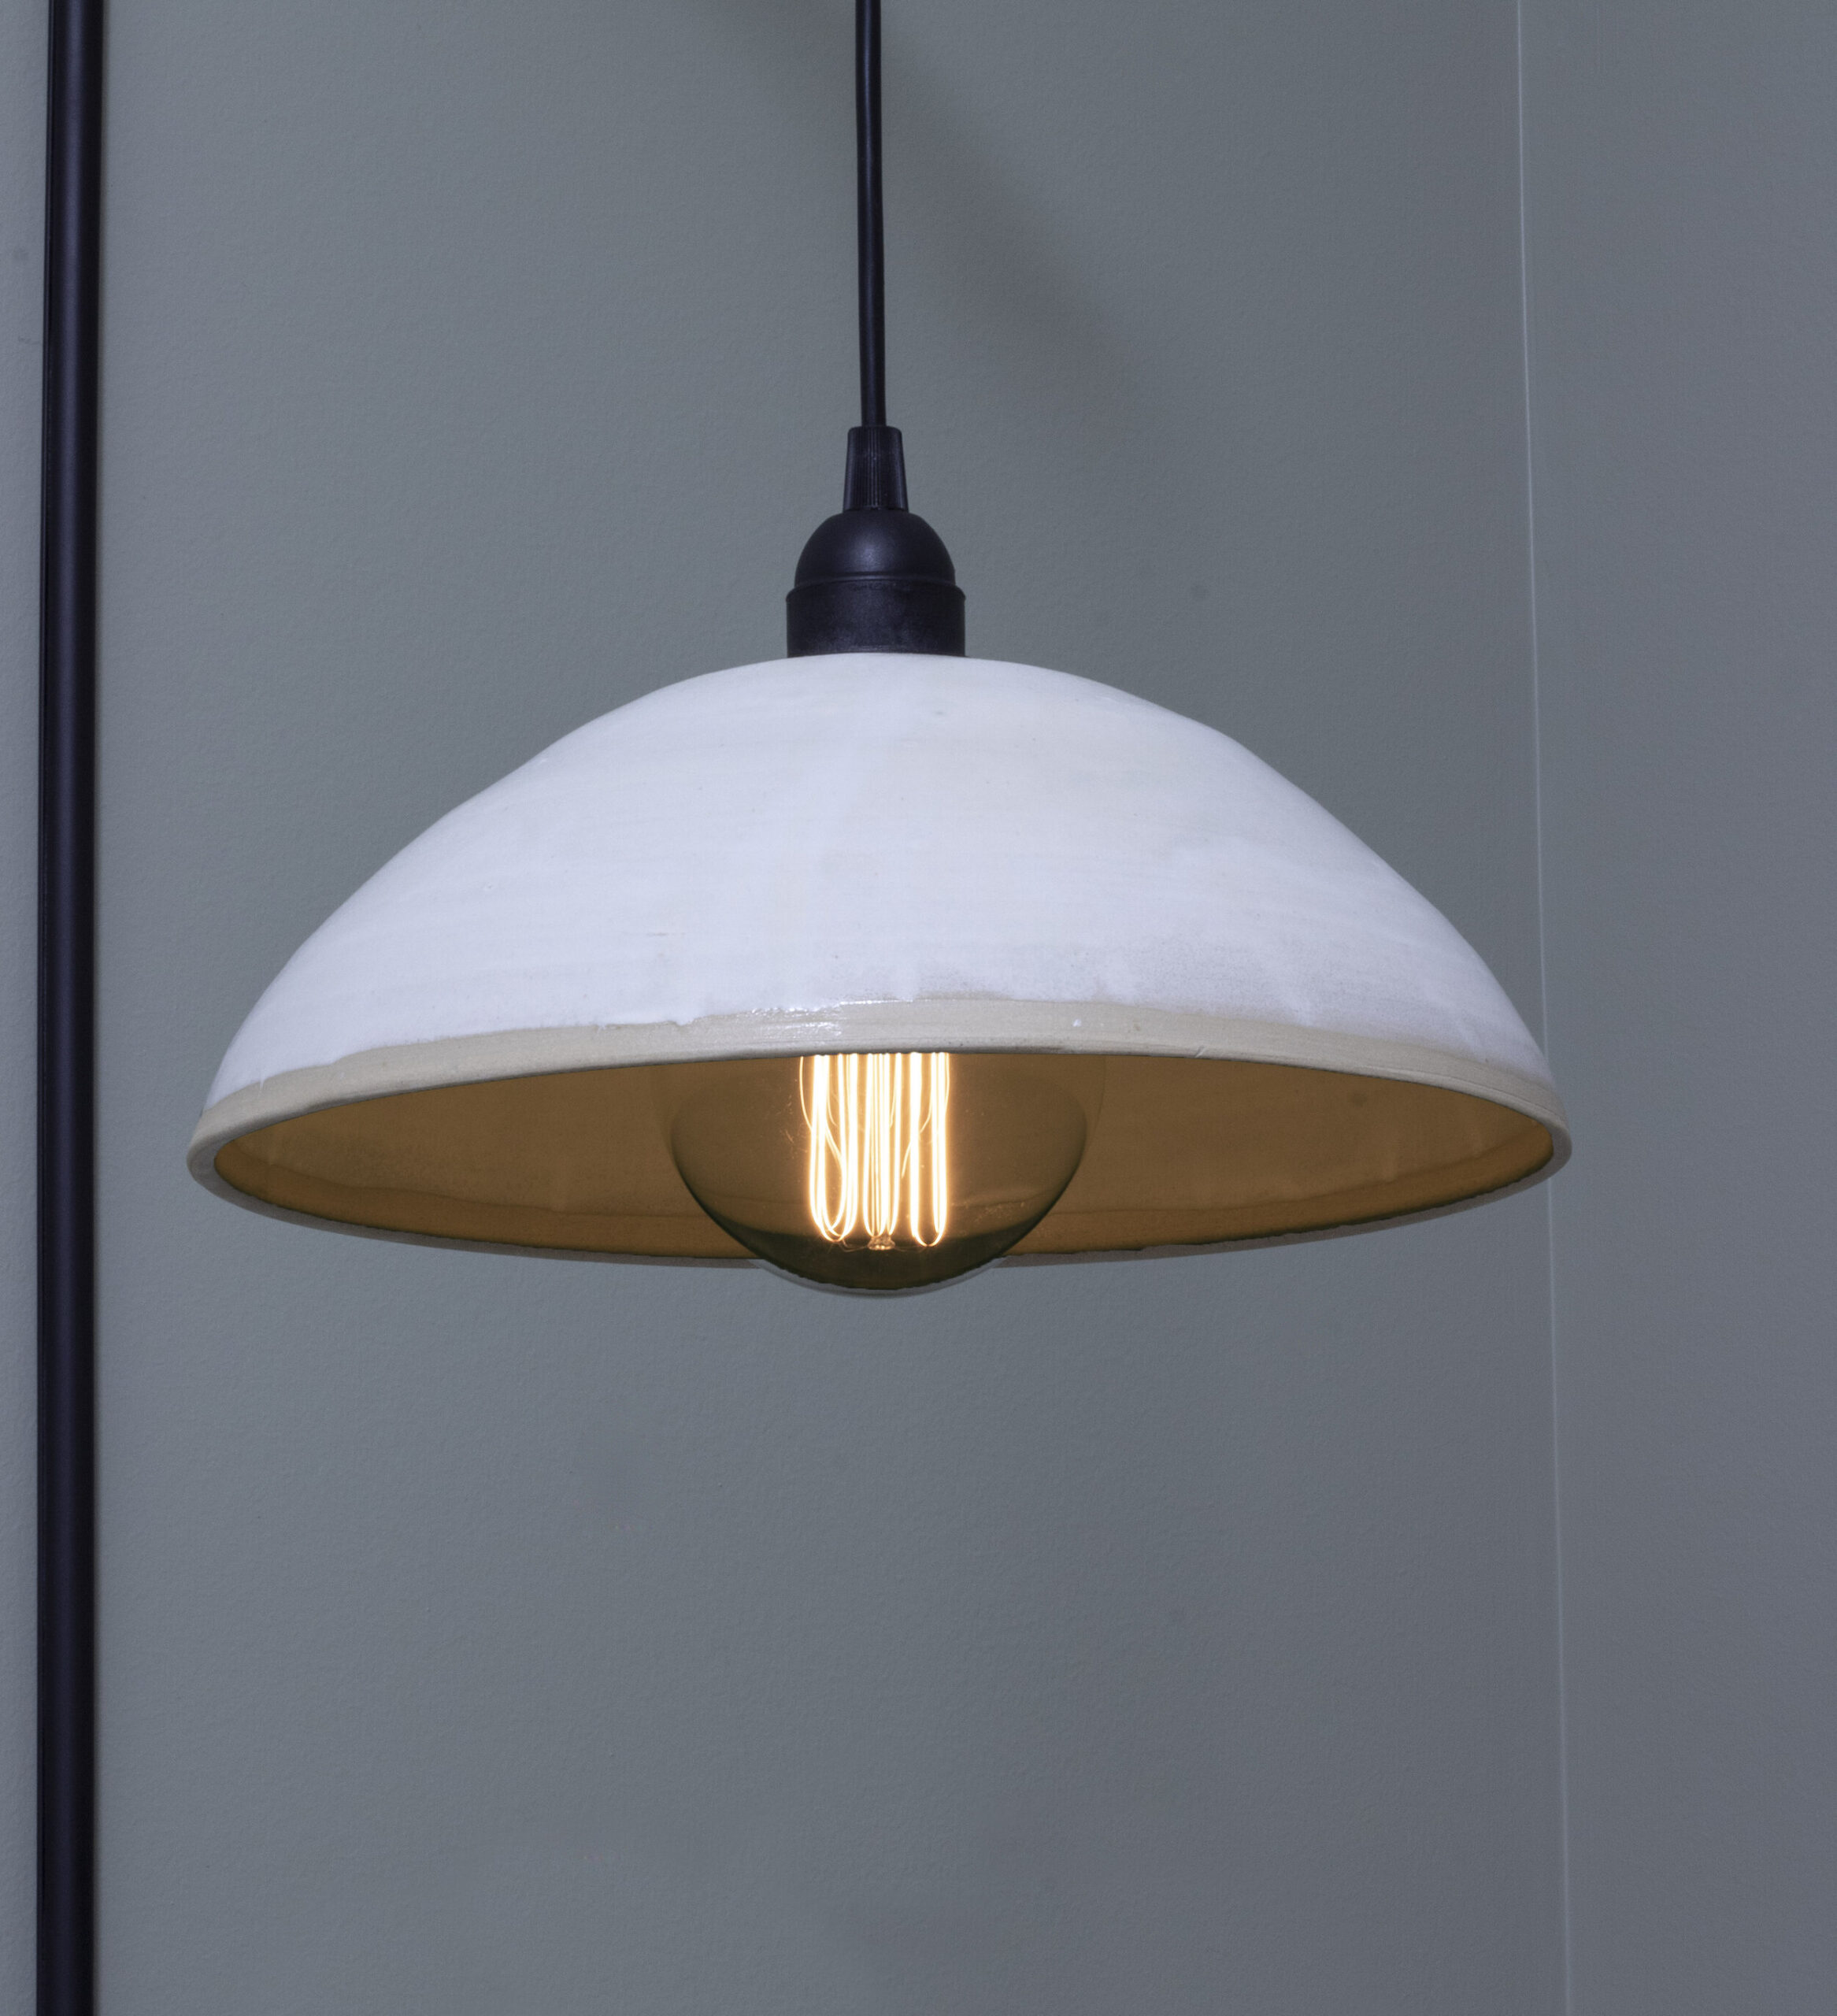
I was talking with a friend the other day that was looking for some affordable lighting to replace a boob light in her home, and she was having trouble finding affordable and stylish solutions. I asked her if she had tried Amazon… and she groaned. She said she did but that the site is overwhelming…
Today is the day we have all been waiting on for oh so long, the Spring 2020 One Room Challenge Reveal day! Personally, I have been planning and working on this space in one form or another since about January, so I am very happy to have it totally complete and to be able to share it with you today.
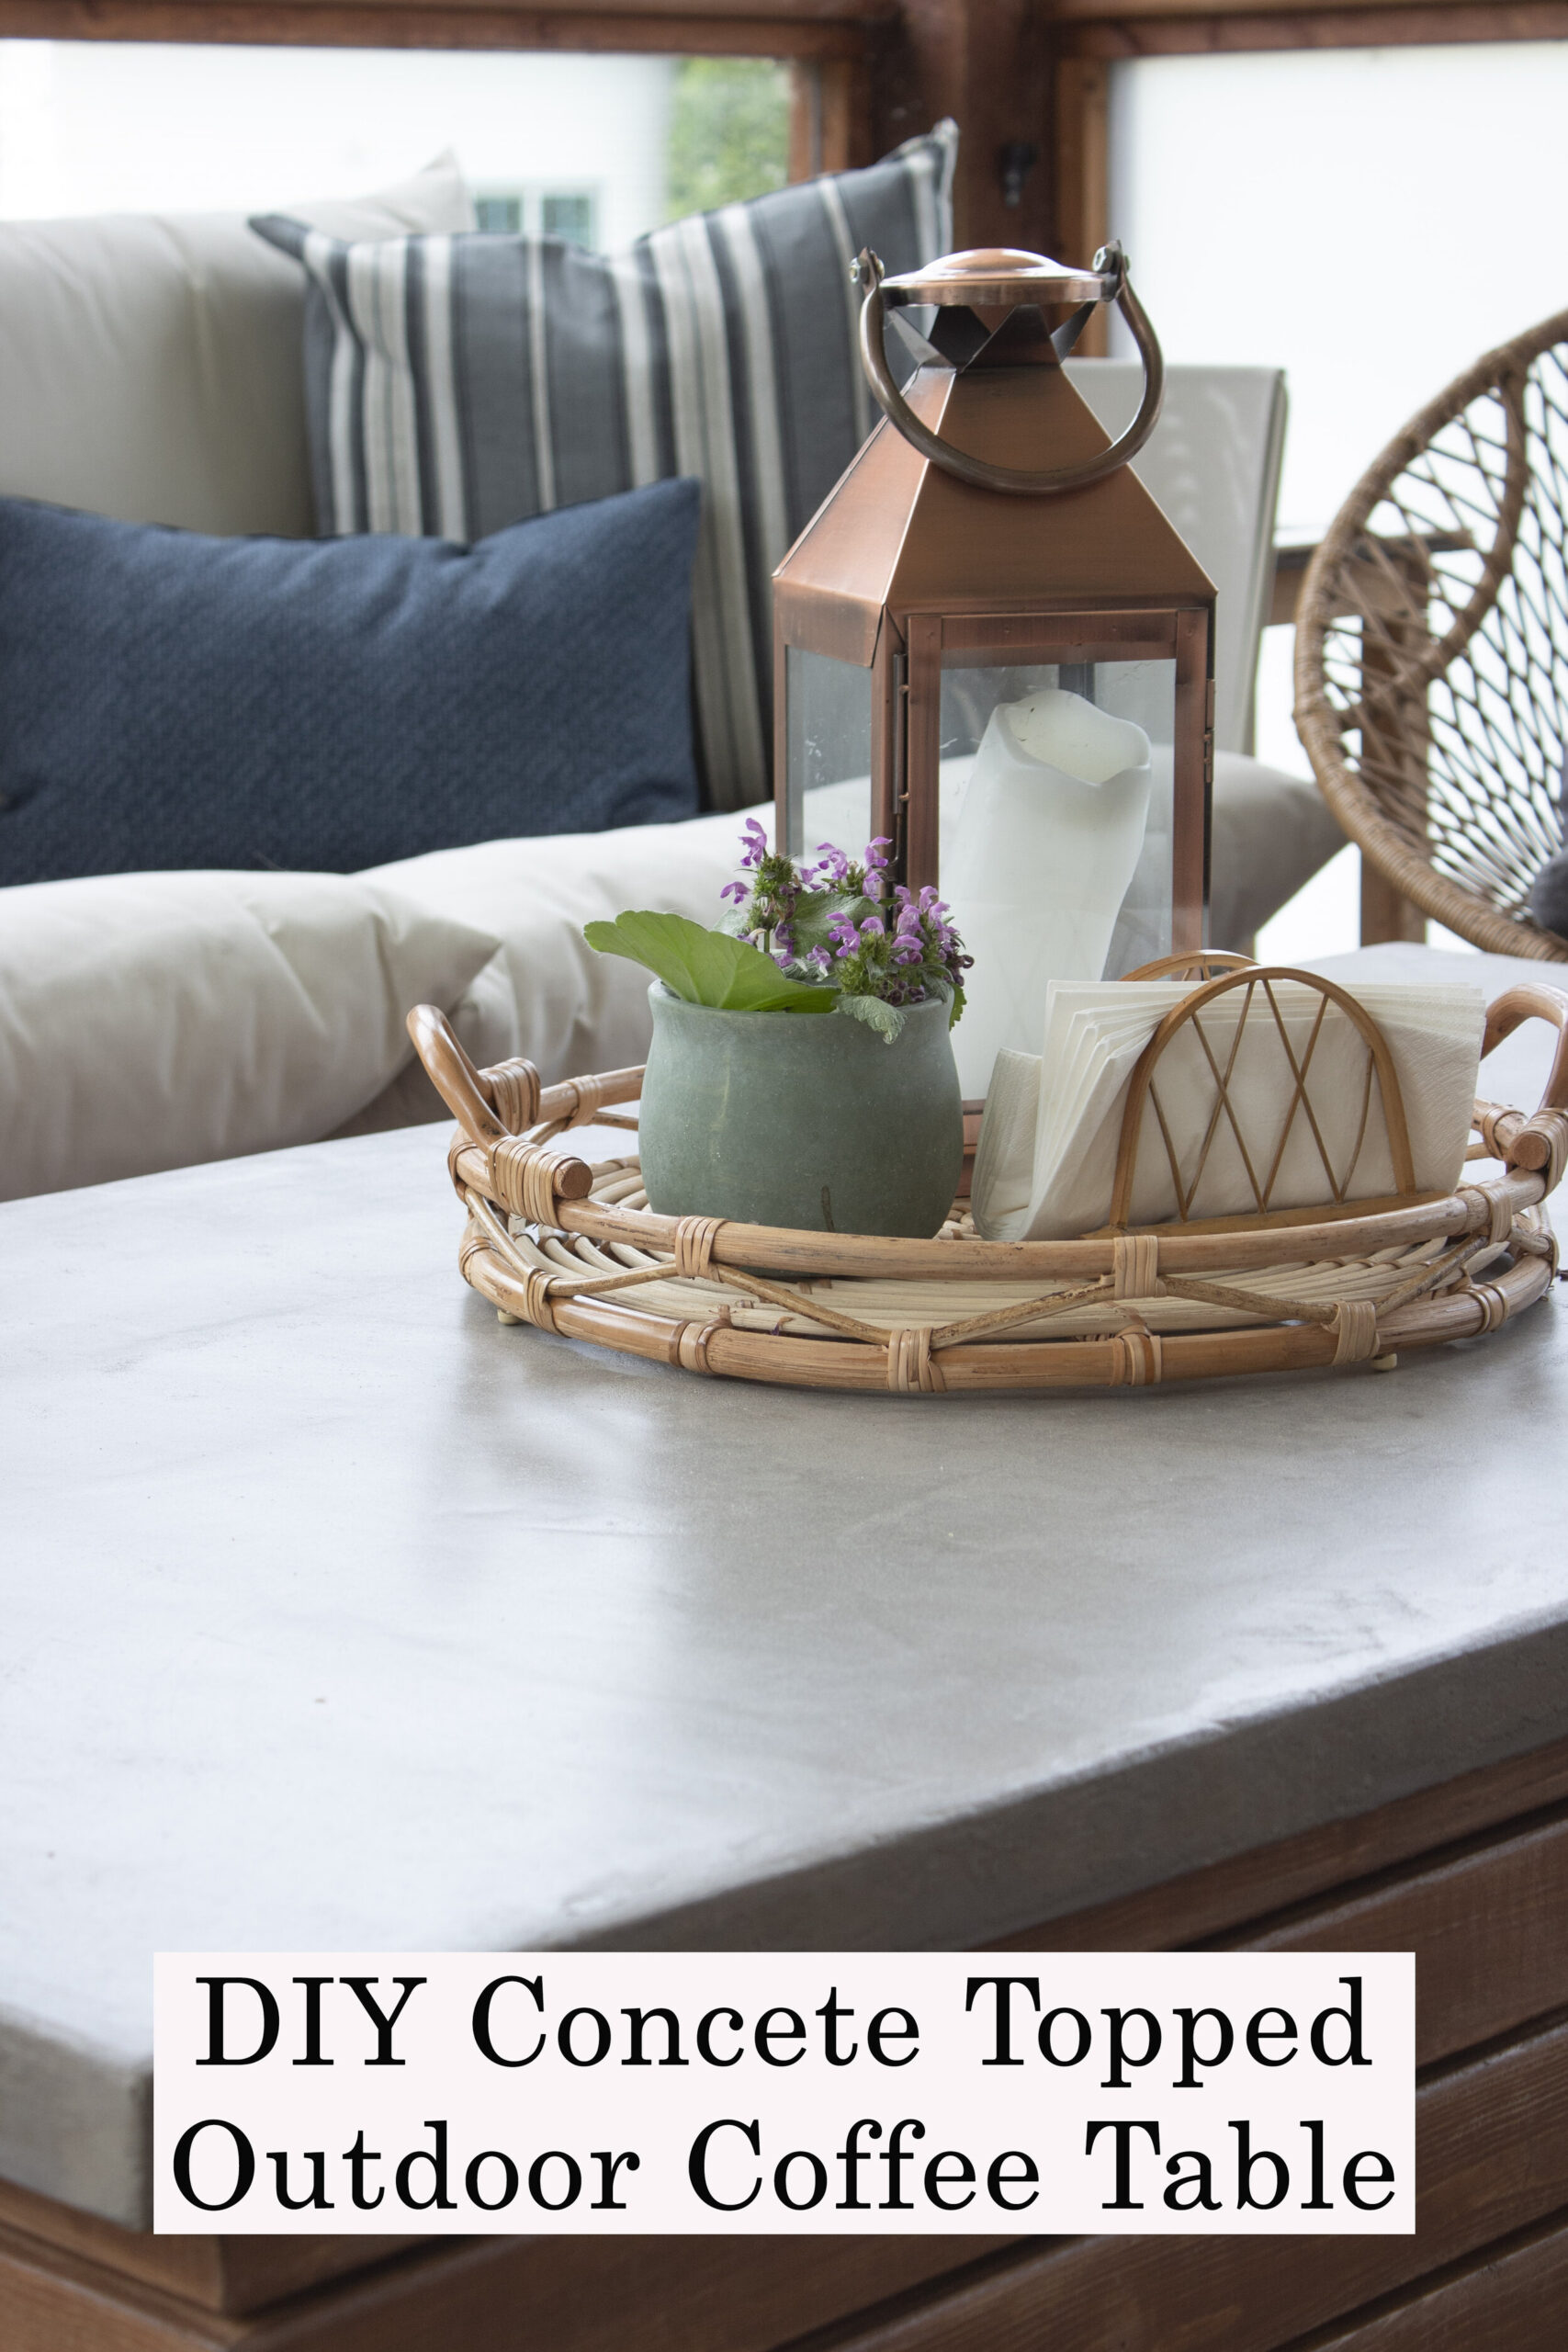
Let’s talk accessories; they are the finishing touch, the final dressing, the jewelry, the often overlooked and underestimated final finesse to add to a room that can take a room from good to FANTASTIC! Today I’m going to focus on a few DIY and hand made accessories and tutorials for them, and next week you will be able to see all the accessories come together in the final reveal!
With the cancellation of Week 5’s post, there is a lot to catch you up on this week! Last week’s post was going to be about the furniture, and this week’s post was going to be about textiles – so I’m going to combine these this week.
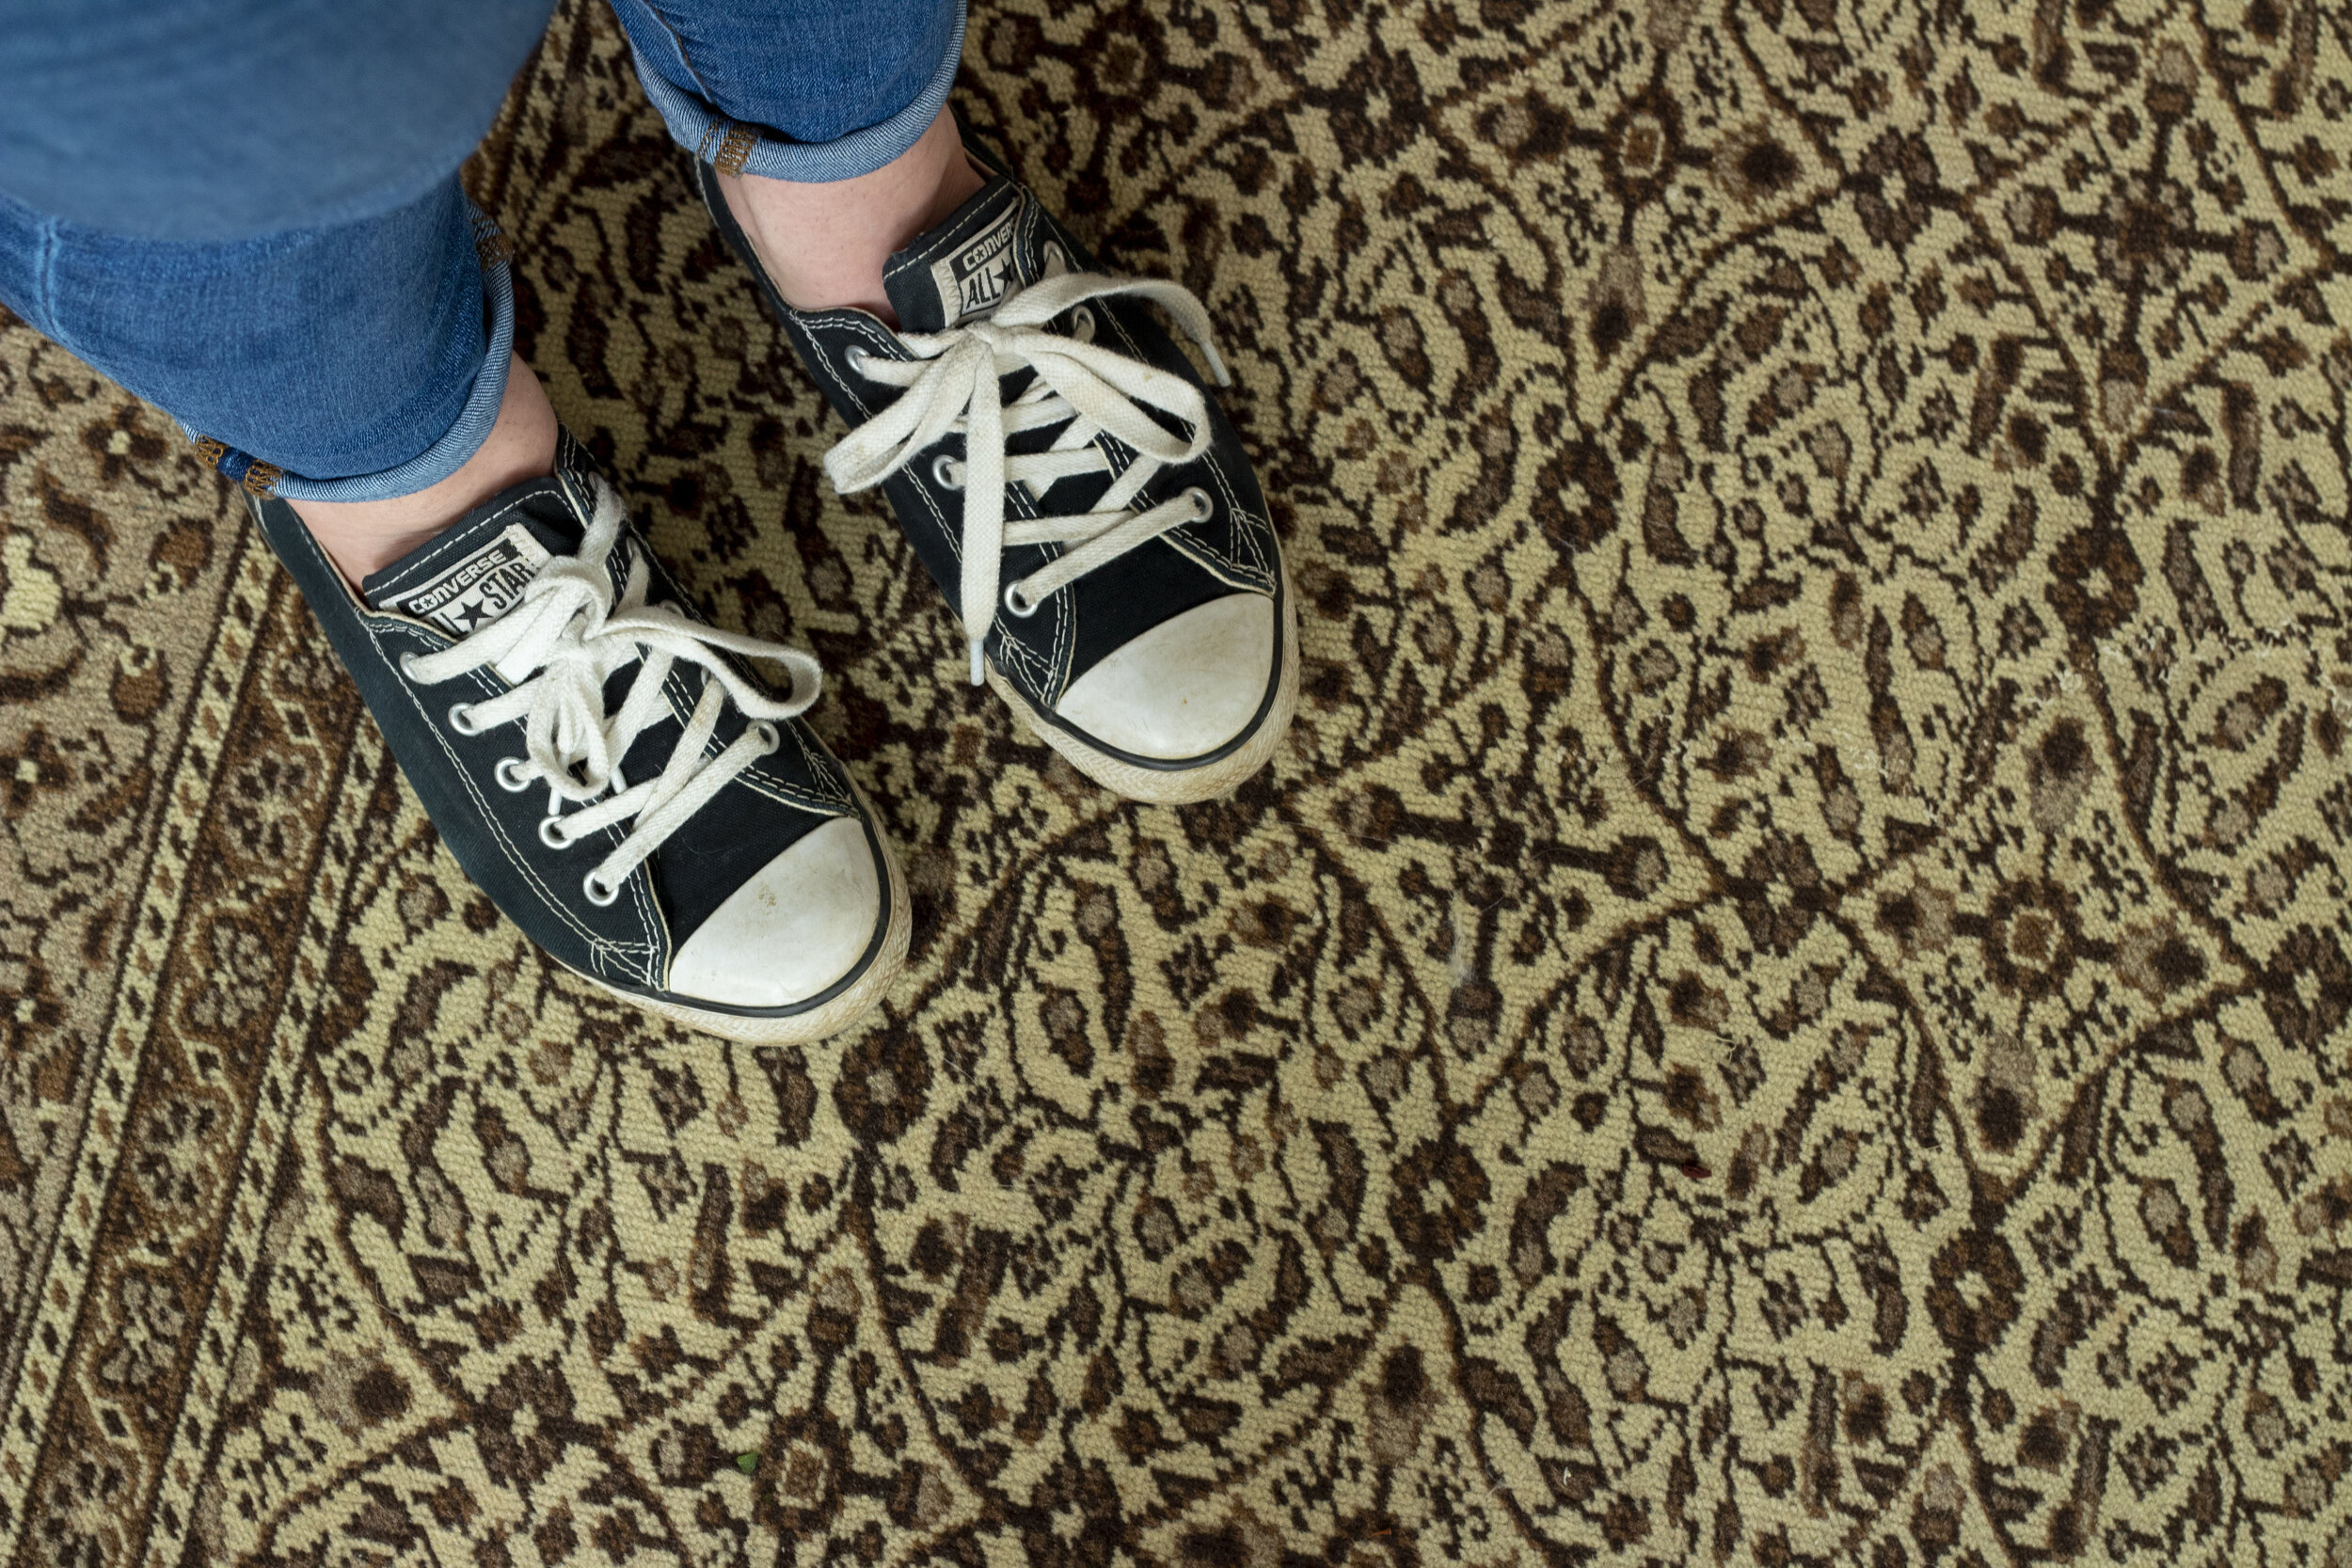
I am starting to think of myself as a bit of a Rug Drama Queen. I am really not about drama in other parts of my life, but drama seems to follow me around with every rug decision! It may just be me, but I also think it might be about the rugs! Rugs are sometimes hard to get right but when you do, they are the highlight of any room. So when deciding on the rug for the One Room Challenge guest room, it is no surprise that there was a little bit of drama. Read on to hear about my rug challenges and how they have been overcome!
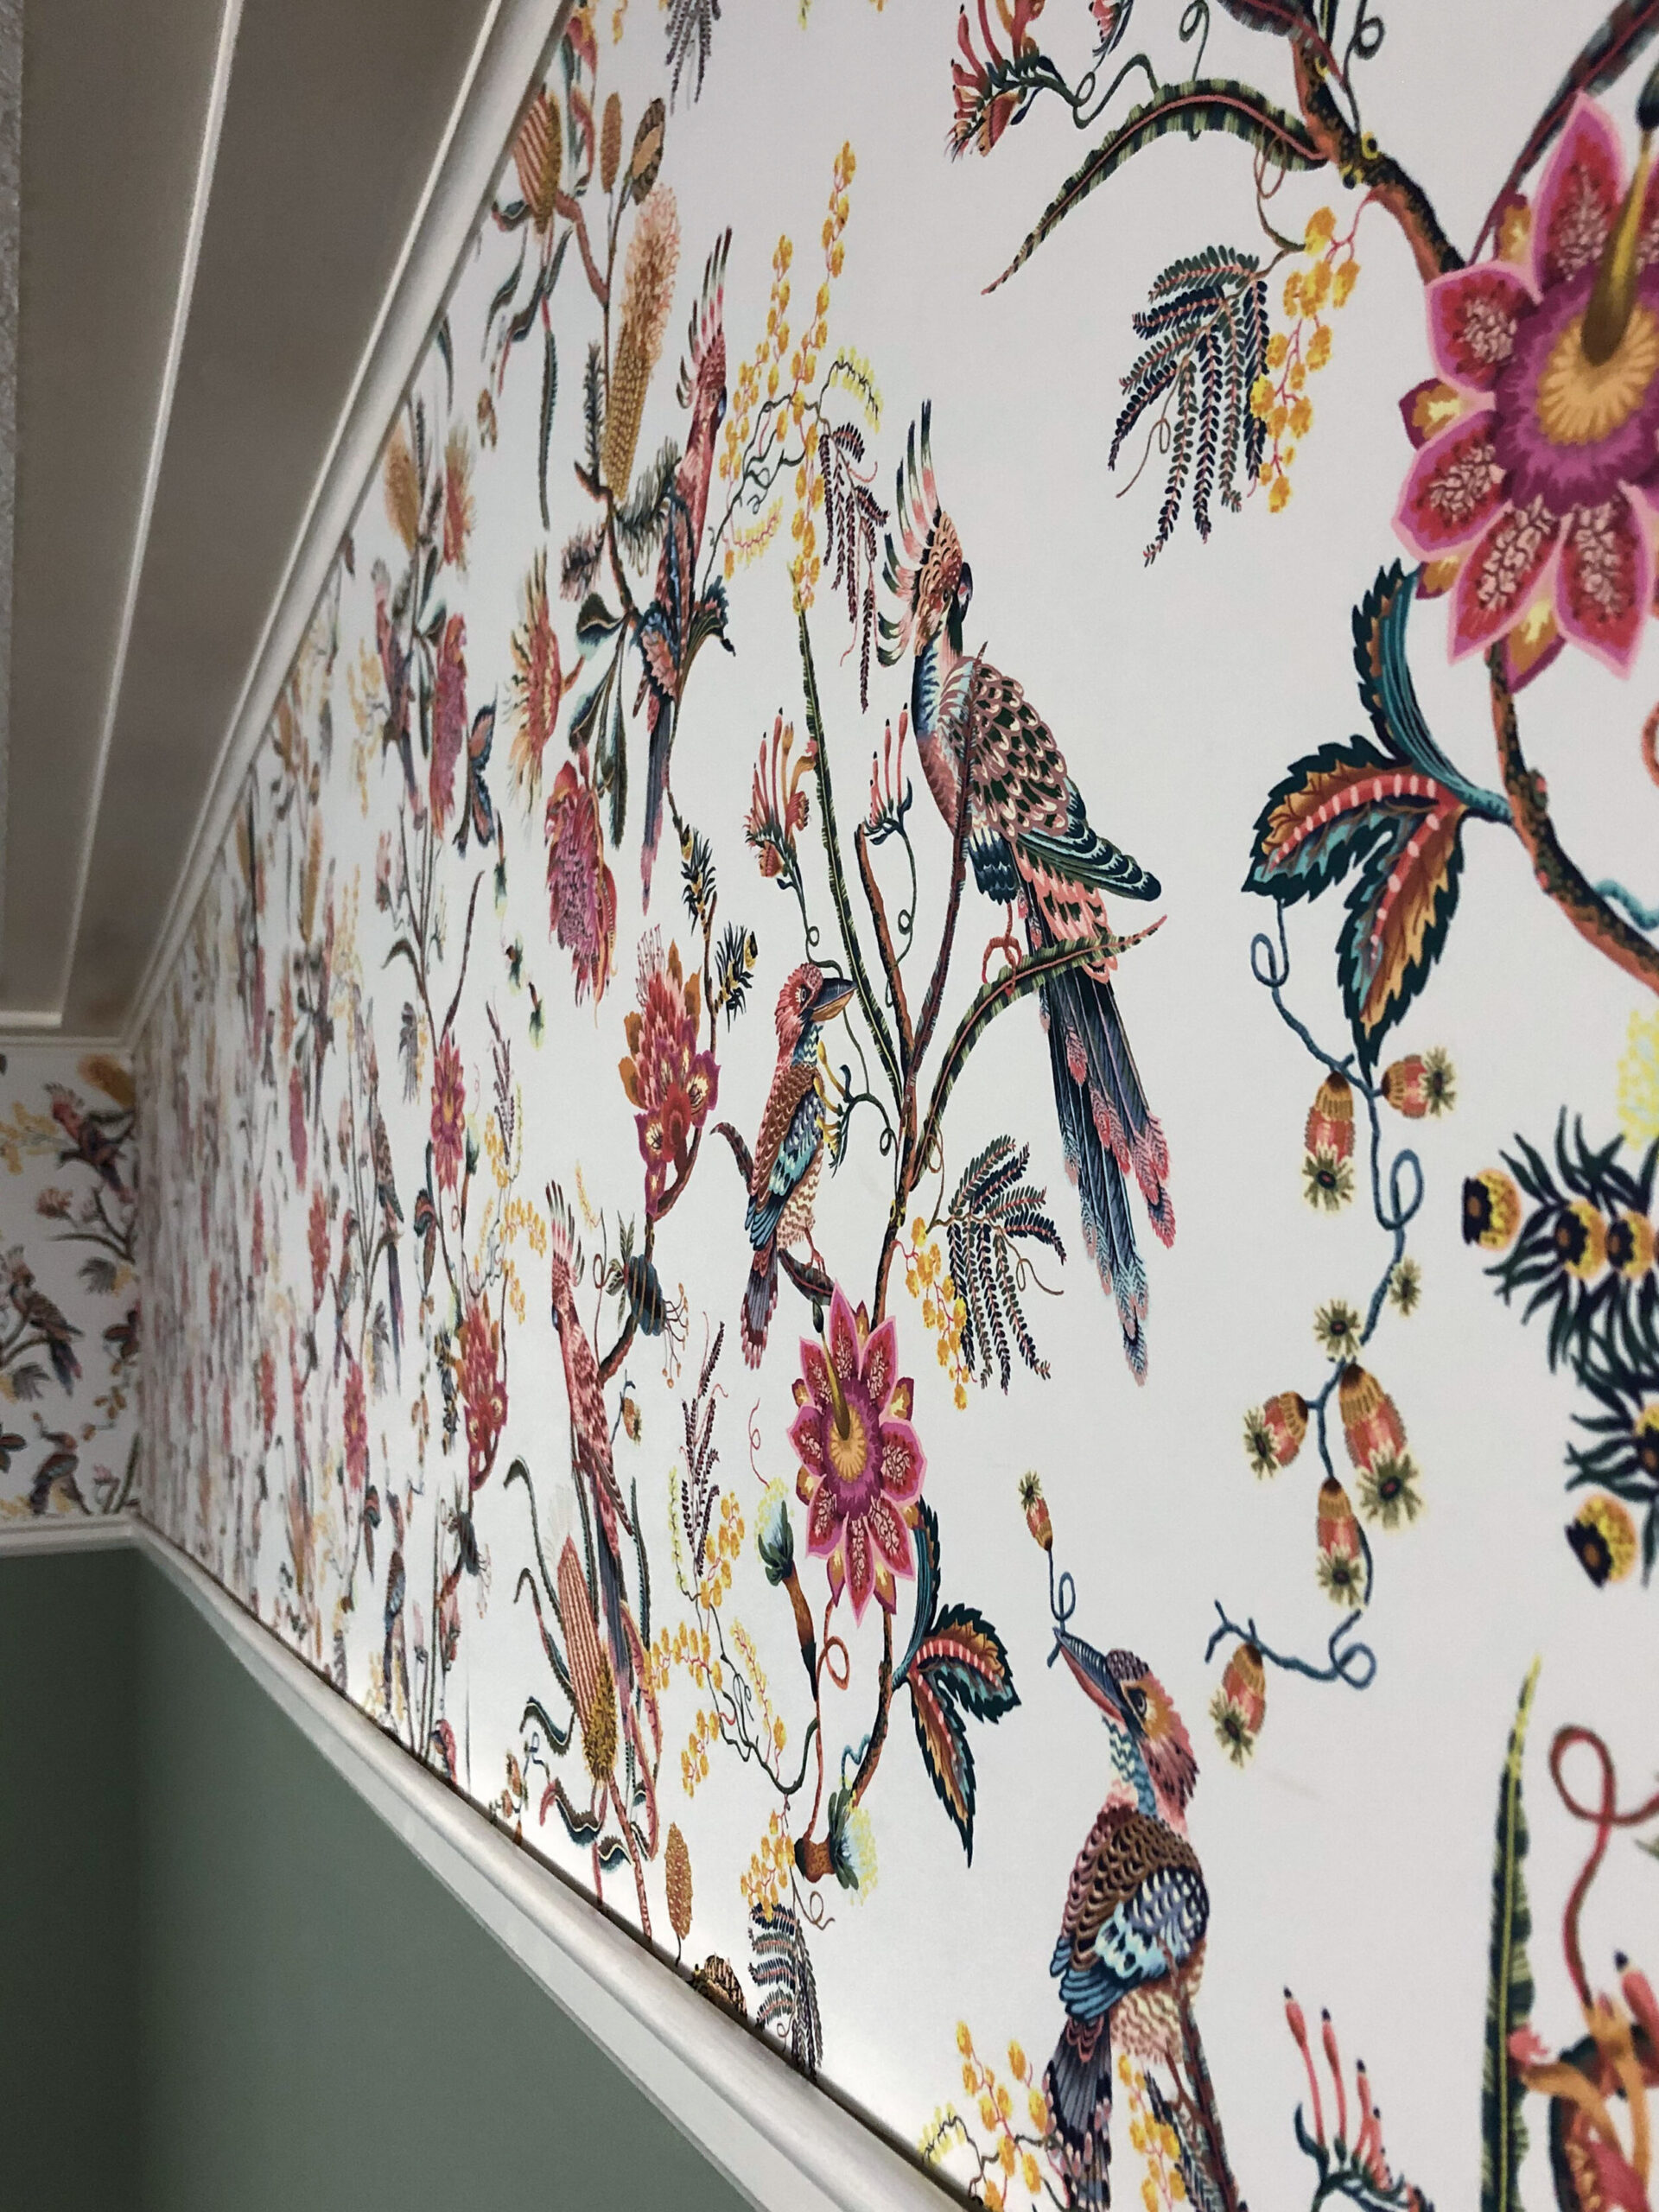
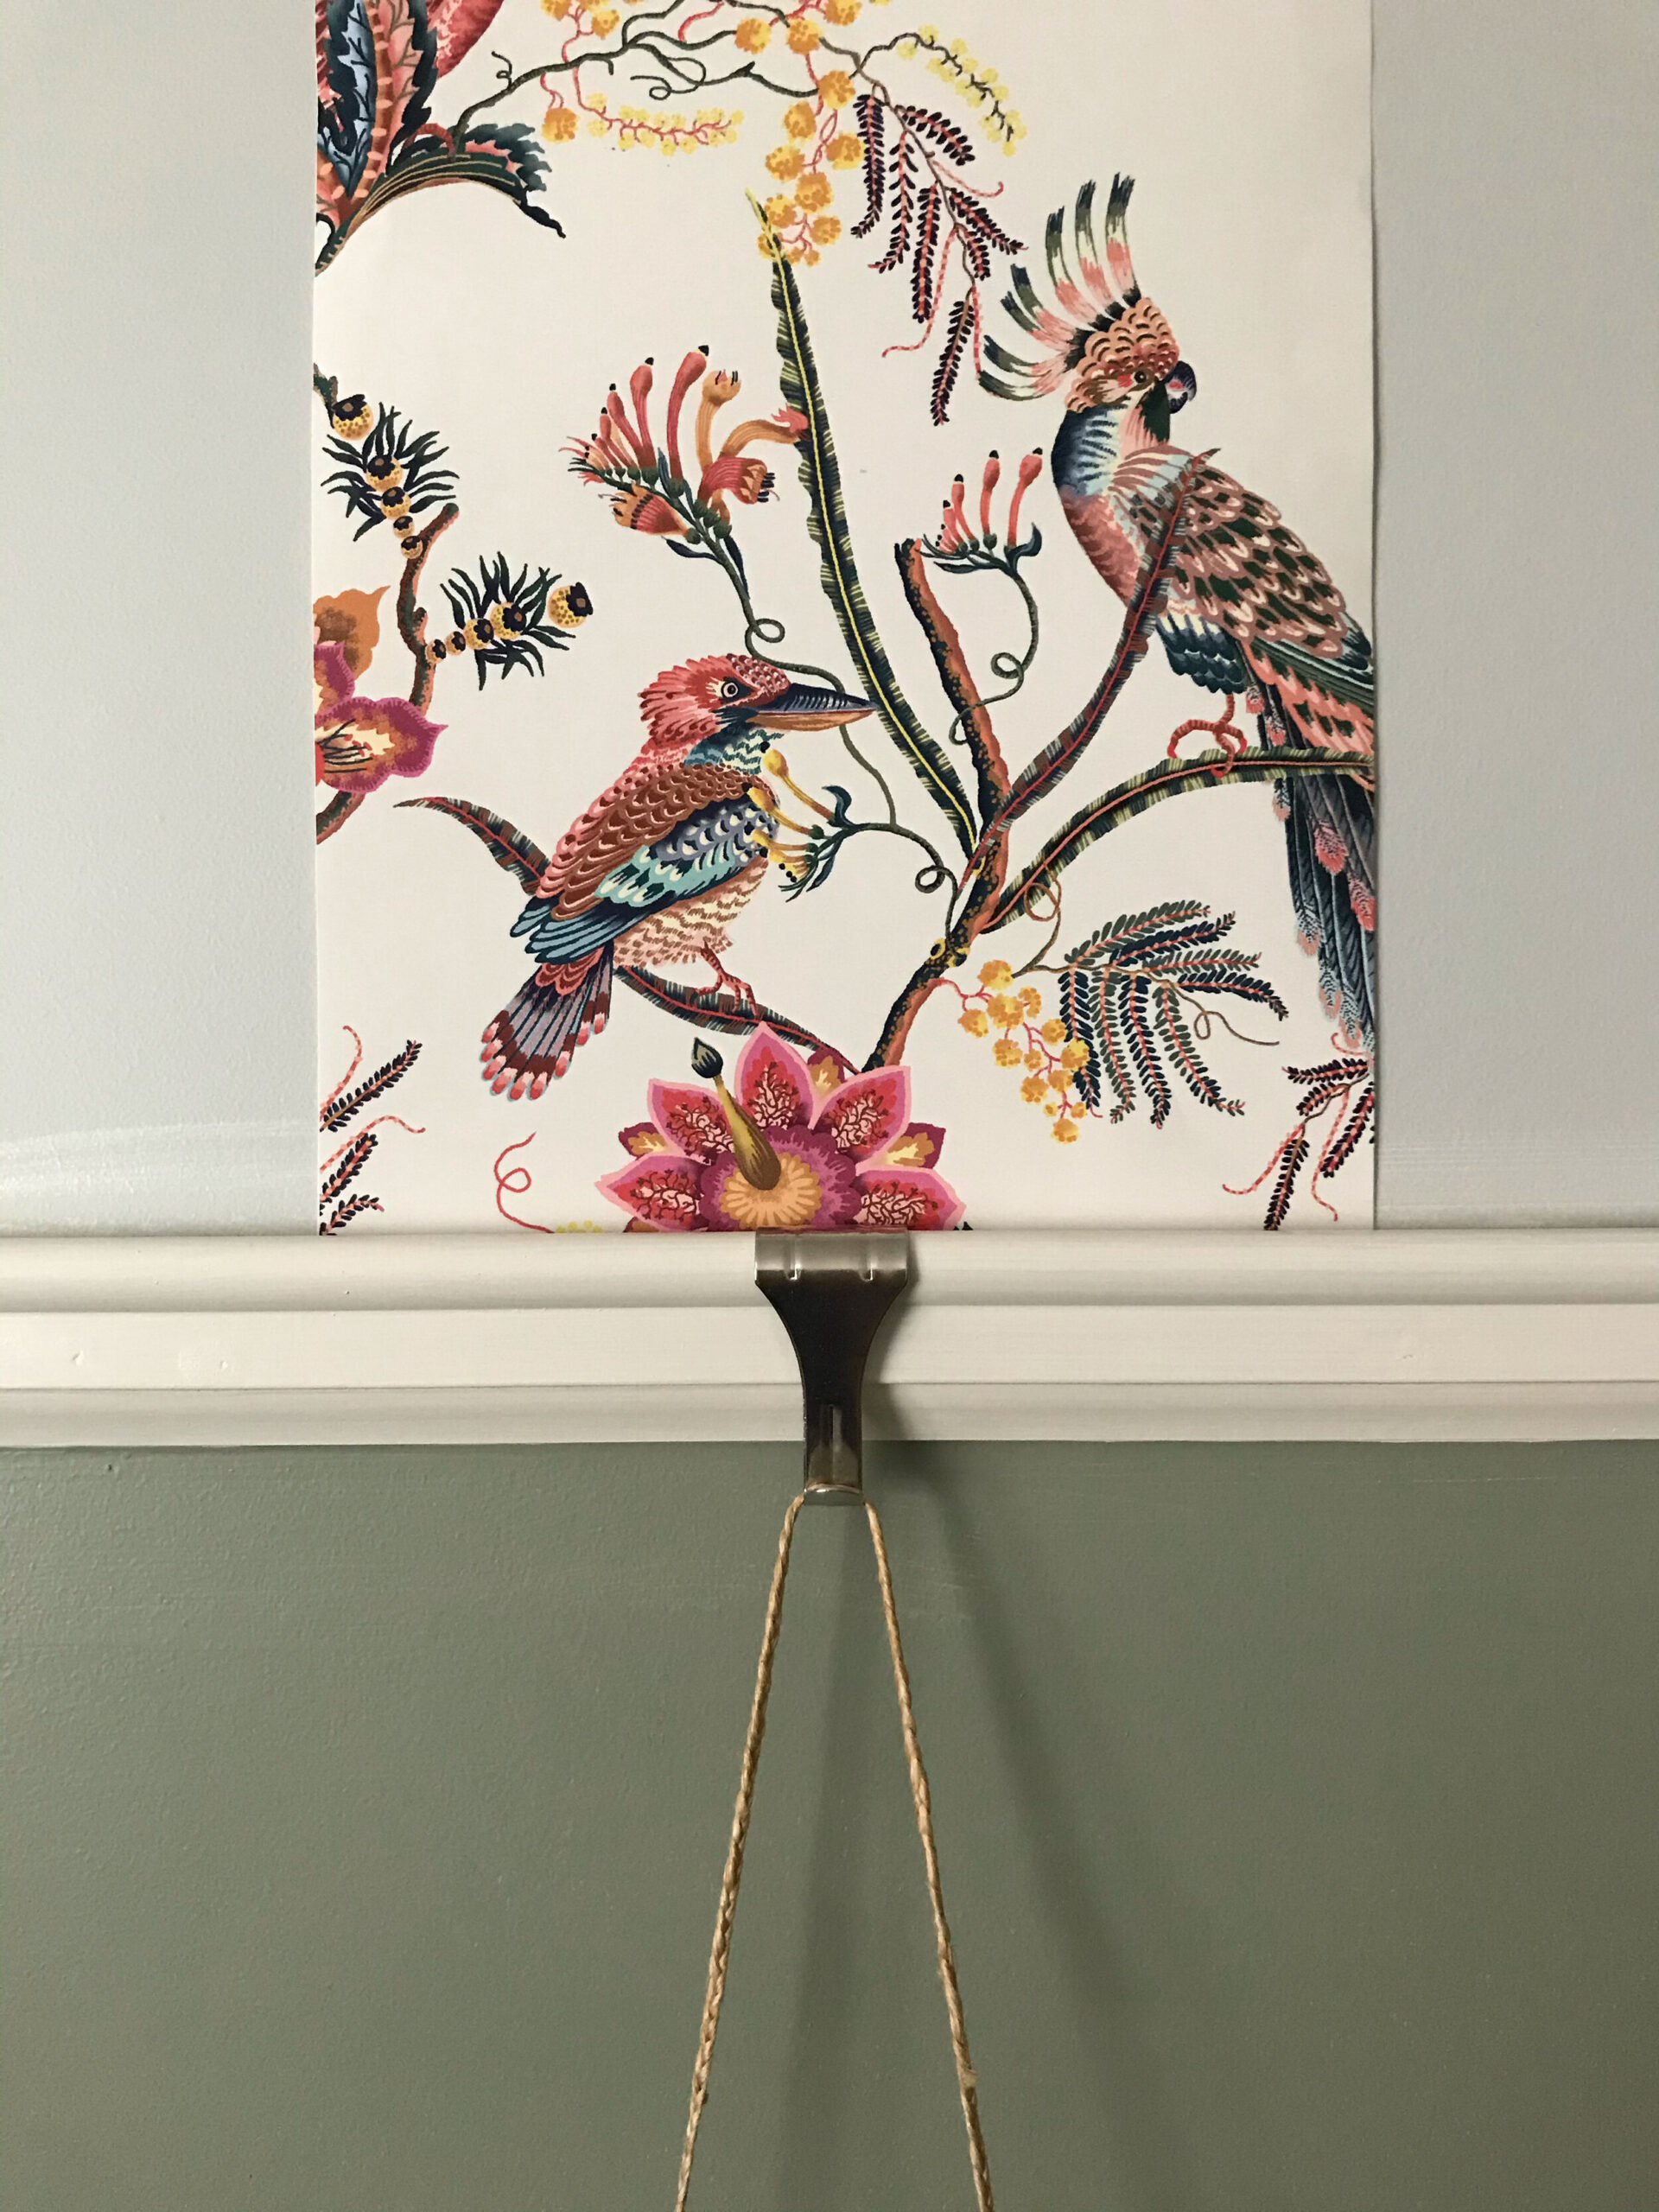
I knew almost as soon as I decided to redo this guest room that I wanted to use wallpaper. Wallpaper is a great way to incorporate a little colour and pattern and almost always adds a big wow factor in any design plan.
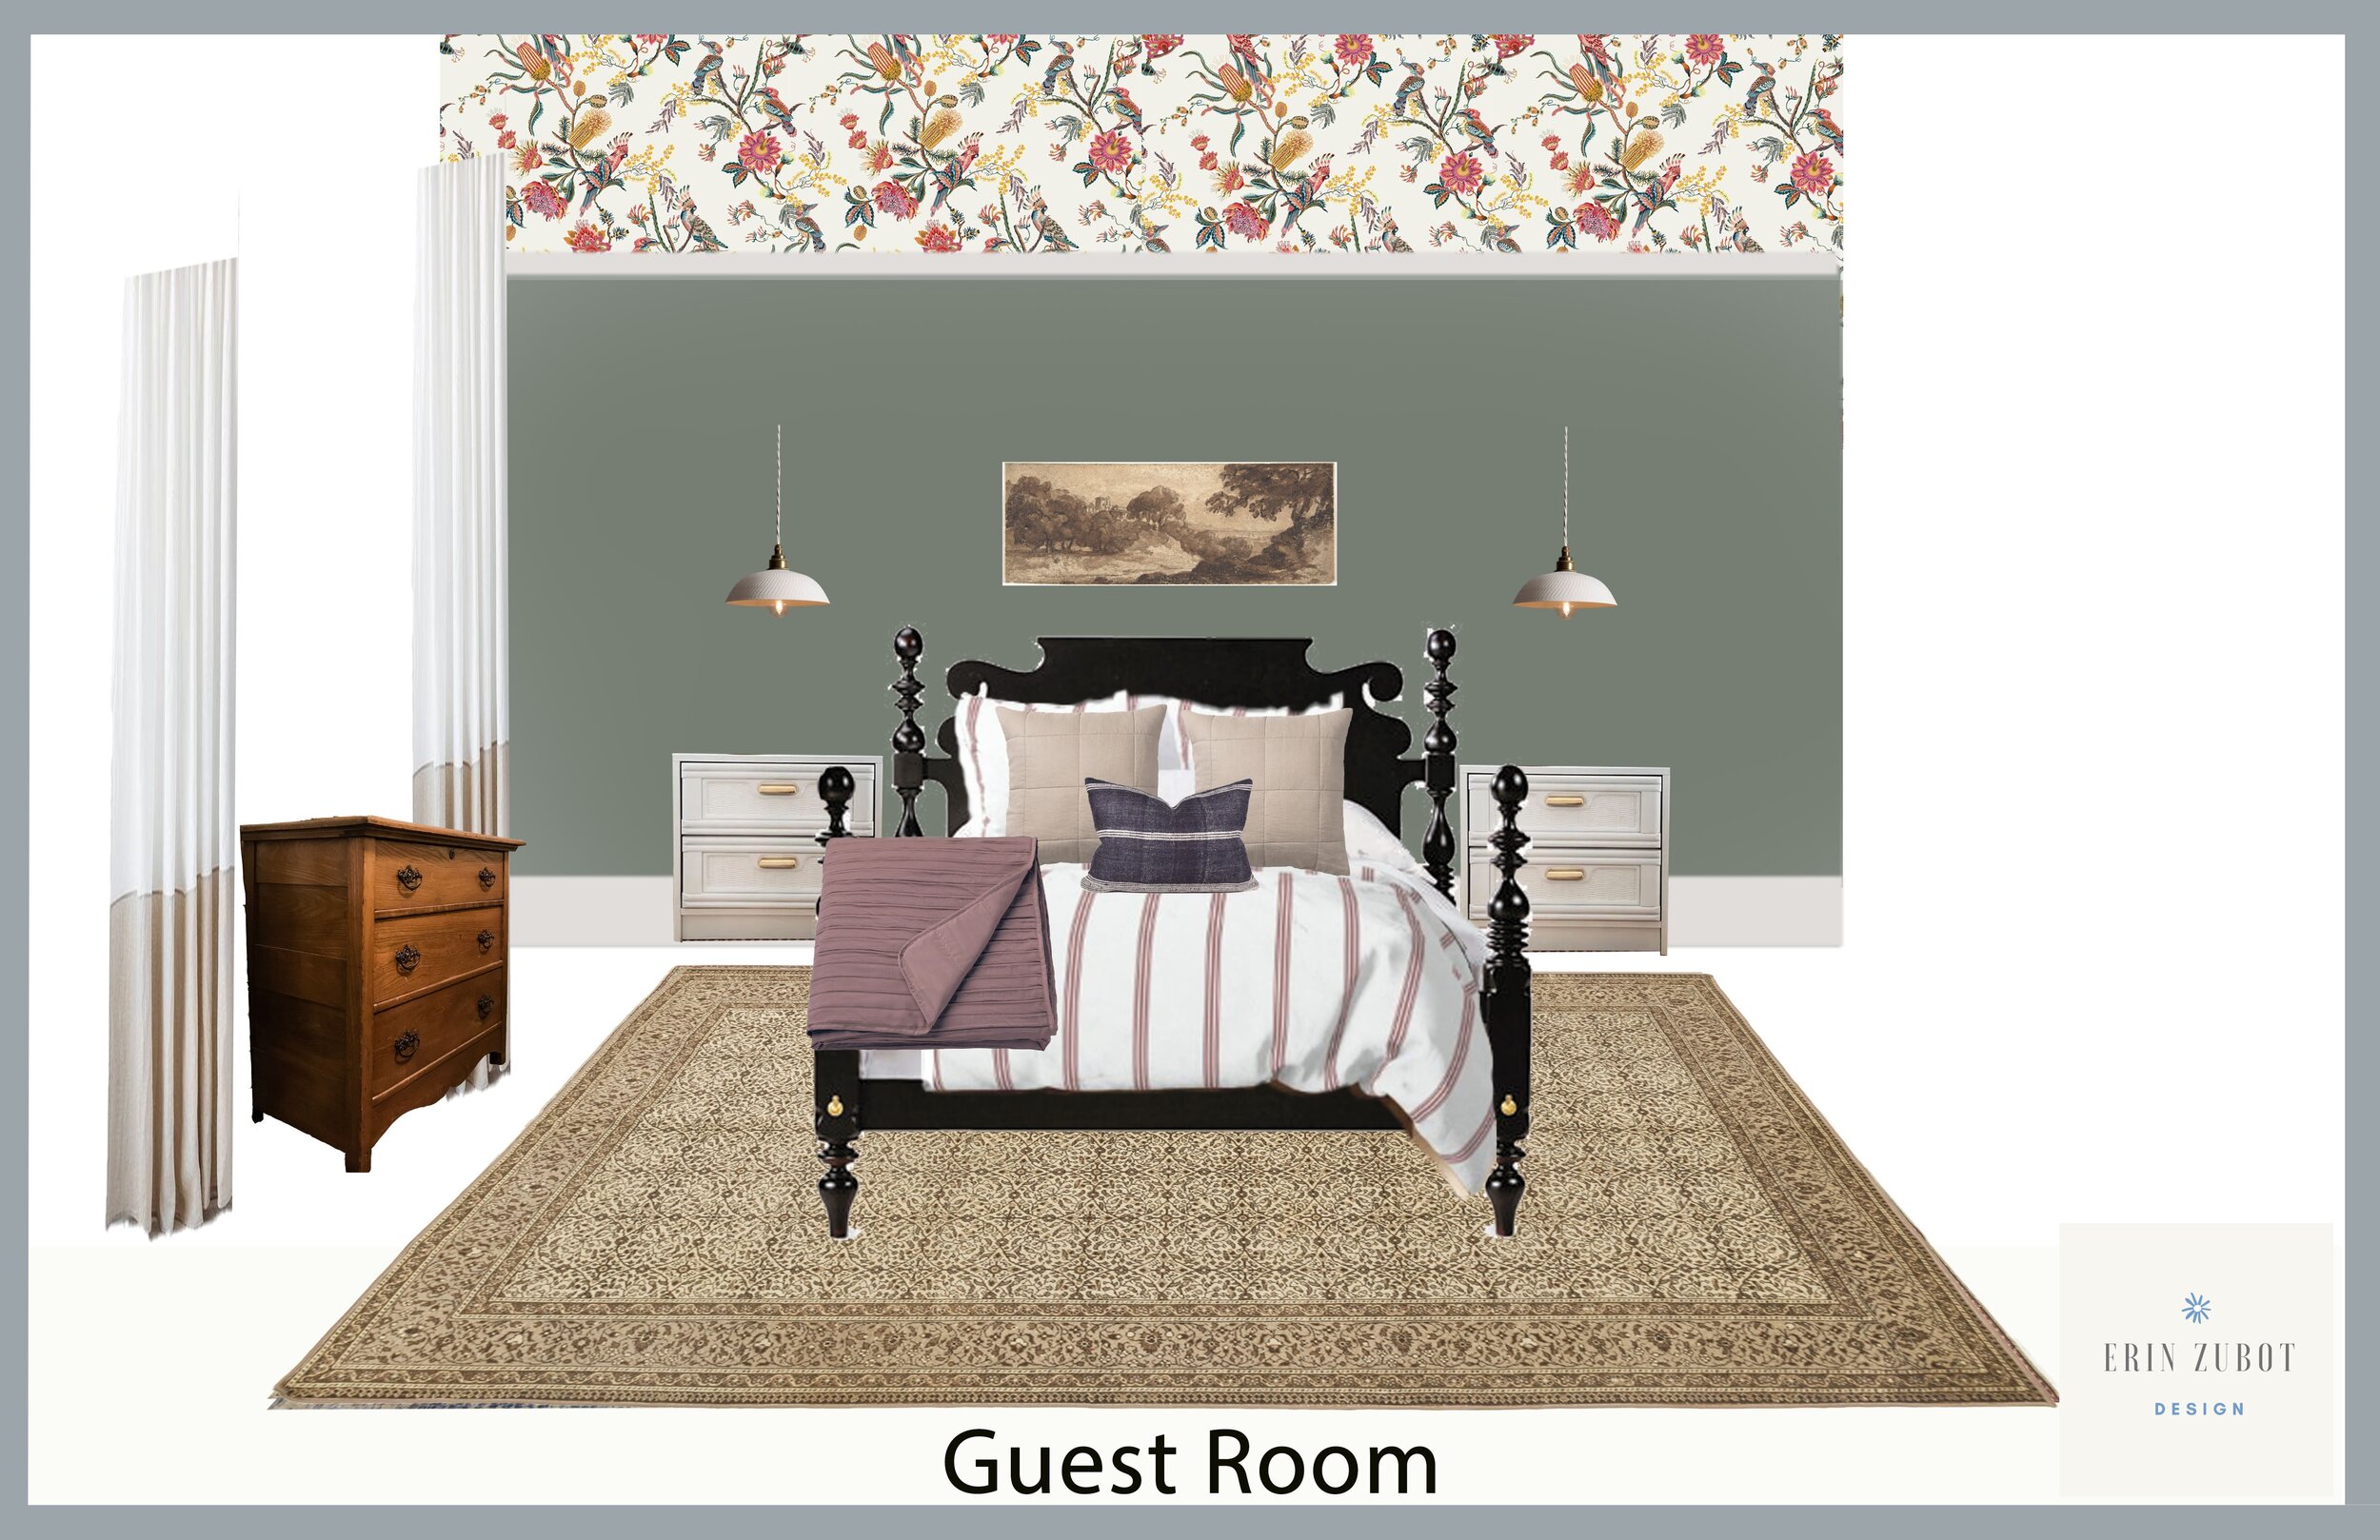
Before I started looking at papers, I really needed to decide how the wallpaper would be placed in the room. The obvious choice would have been to use it as a feature wall behind the bed, which is pretty common in a bedroom. However, I had the idea in the back of my mind that I was going to use moulding somehow, and I really wanted to make sure the moulding and the wallpaper worked together so I knew I didn’t want to have the wallpaper on just one wall.
I love a traditional space and I also love how the addition of moulding helps any room feel more polished and designerly, and a lot more high end. But moulding is actually not all that expensive, and depending on the type can be fairly easy to add to any room.
When I consider what to add to a space, be my own or someone else’s, I like to consider the style of the rest of the home so the home feels cohesive. I do not feel like craftsman style board and batten belong in the same house as an intricate and detailed box moulding. If your house does not have a style and is fairly builder basic, I think you can go ahead and define a style but once you have decided what you are doing, you should really try and stick with it.
Well hello there! If you have clicked over from the One Room Challenge Website, welcome! My very new blog and I are very happy you have joined us for a little low down of the project I am tackling for the One Room Challenge Spring 2020!