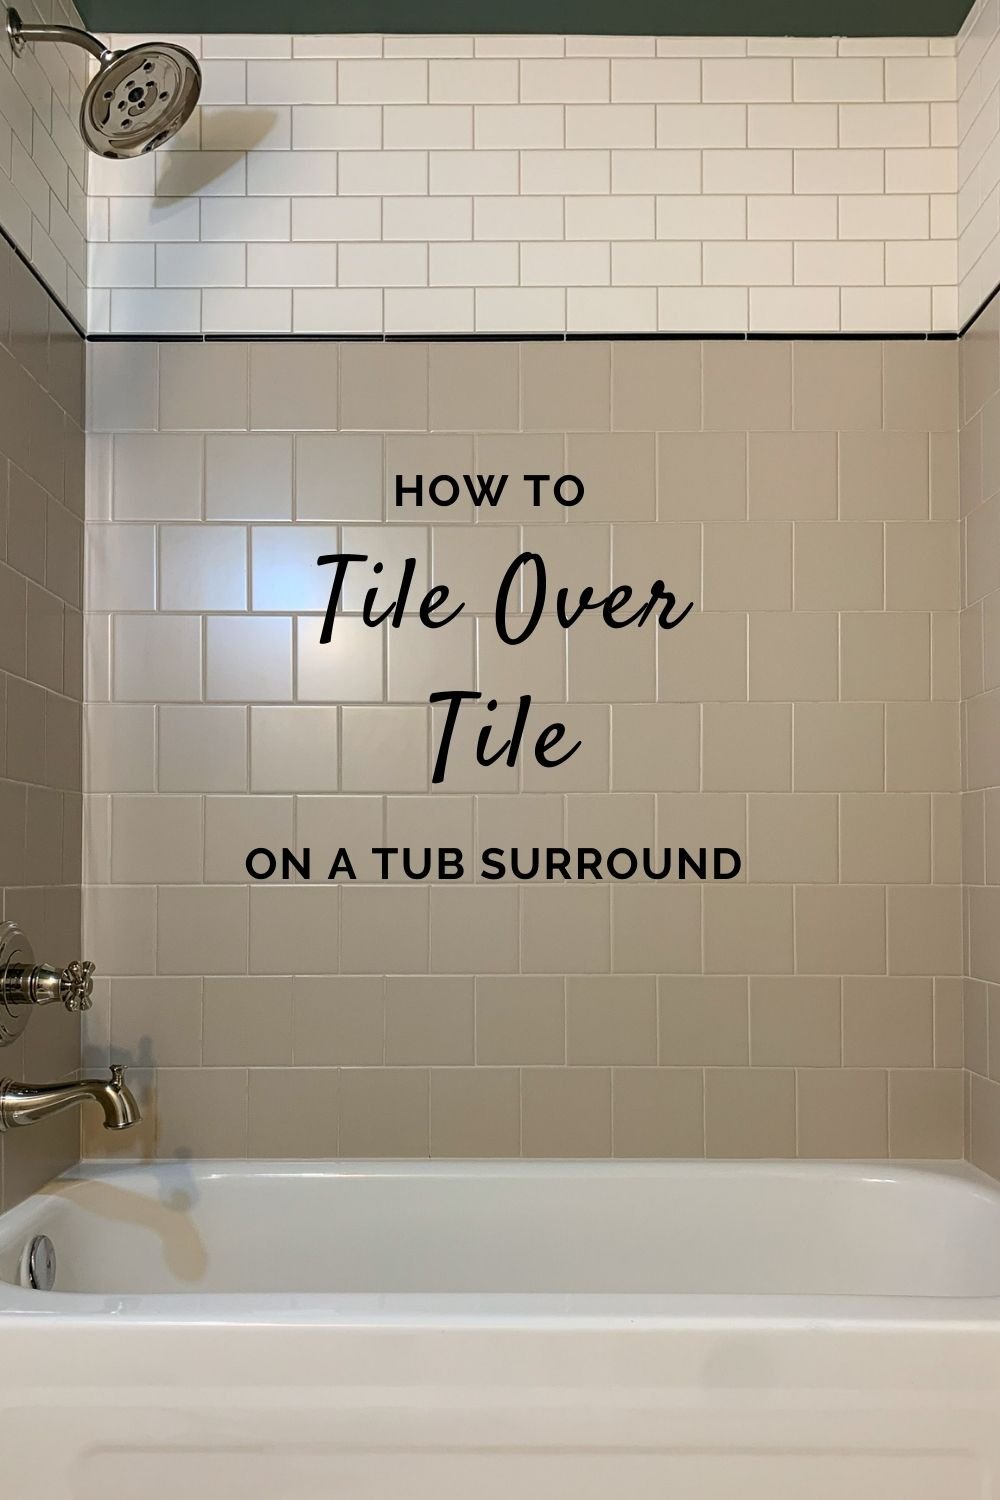
How to Tile over Tile!
One Room Challenge Spring 2022 – Week 5
If you’ve hopped over from the One Room Challenge website, welcome! If you found this tutorial because you want to learn how to tile over tile, welcome to you, too! We are in the thick of the renovation of our guest/hall bathroom. If you want to catch up on the plan and the progress to date, read all about it here:
Week 1/ Week 2 / Week 3/ Week 4
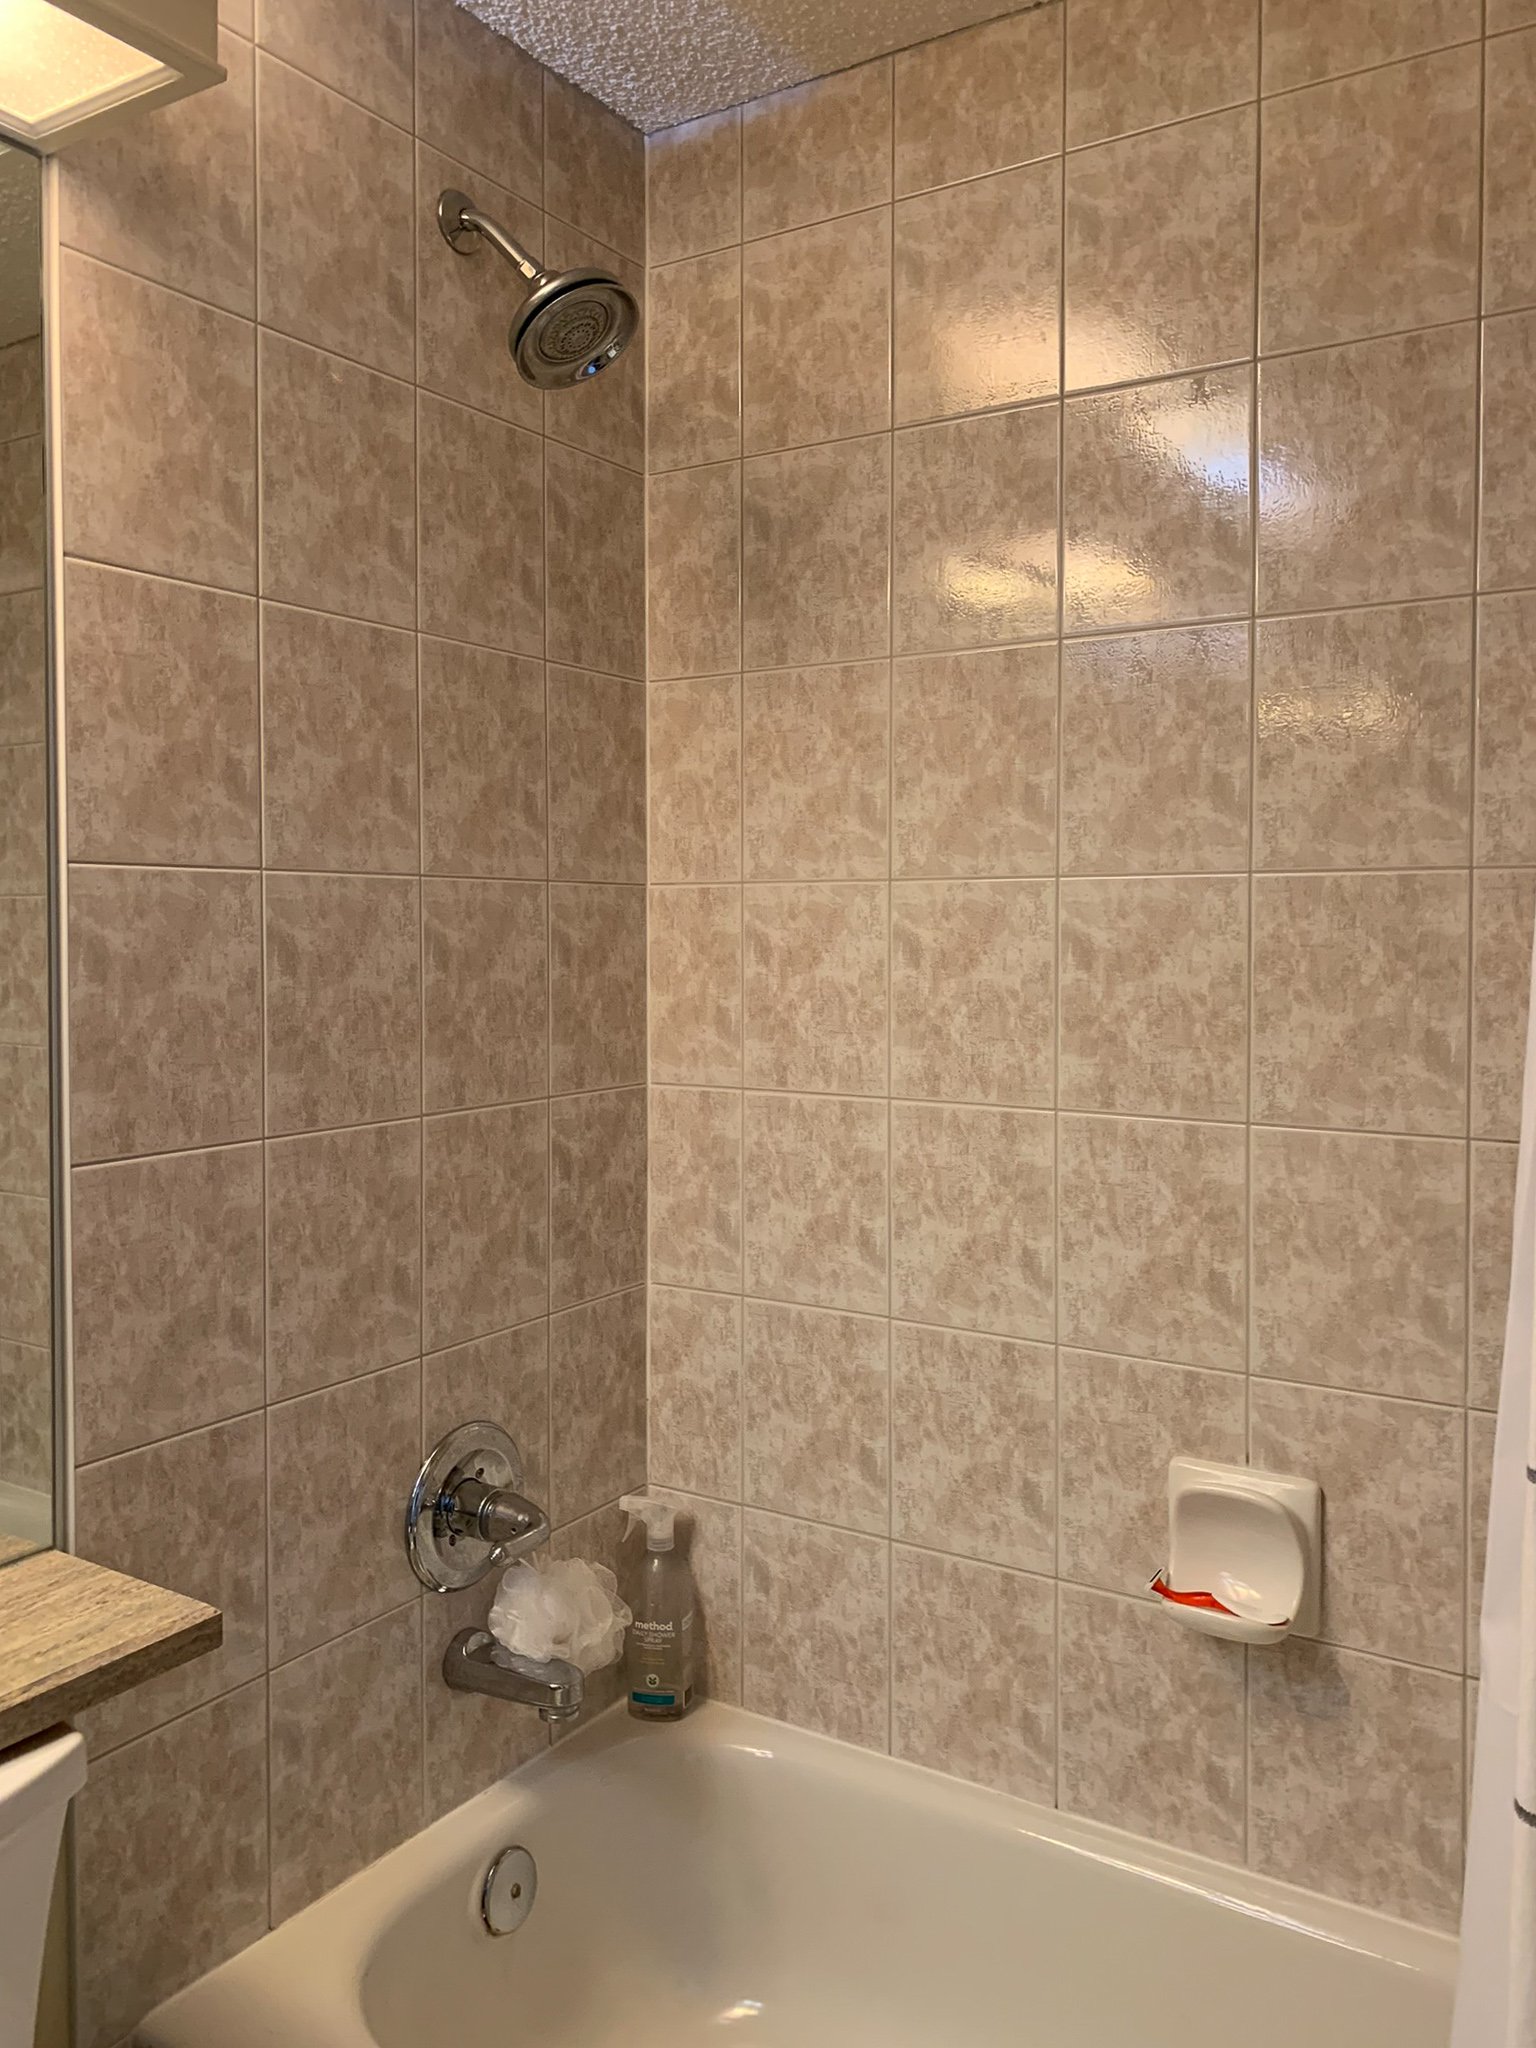
This week, I tiled the tub surround! And I went right over my existing original tiles. Ever since I announced I was going to tile over my existing ceramic tiles, so many people have reached out about how exactly that was going to work? I think I have successfully ironed out the details and this post is all about how I tiled over top of old tiles including when I think it’s appropriate to do so, what products I used and the question on everyone’s mind… how much money did I save?
This post may contain affiliate links. That means if you purchase anything from these links I earn a small commission, at no extra cost to you! This helps support my blog, so thank you!
Table of Contents
- One Room Challenge Spring 2022 – Week 5
- The Results!
- When to Consider Tile over Tile
- How to Tile Over Tile – What to Do Before You Start Tiling
- Tile
- How to Deal with the Fixtures
- How to Deal with the Tile Edge if you Tile over Tile
- Cost Comparison – Tile over Tile versus New Surround
- FAQ's – Where Else can I Tile over Tile?
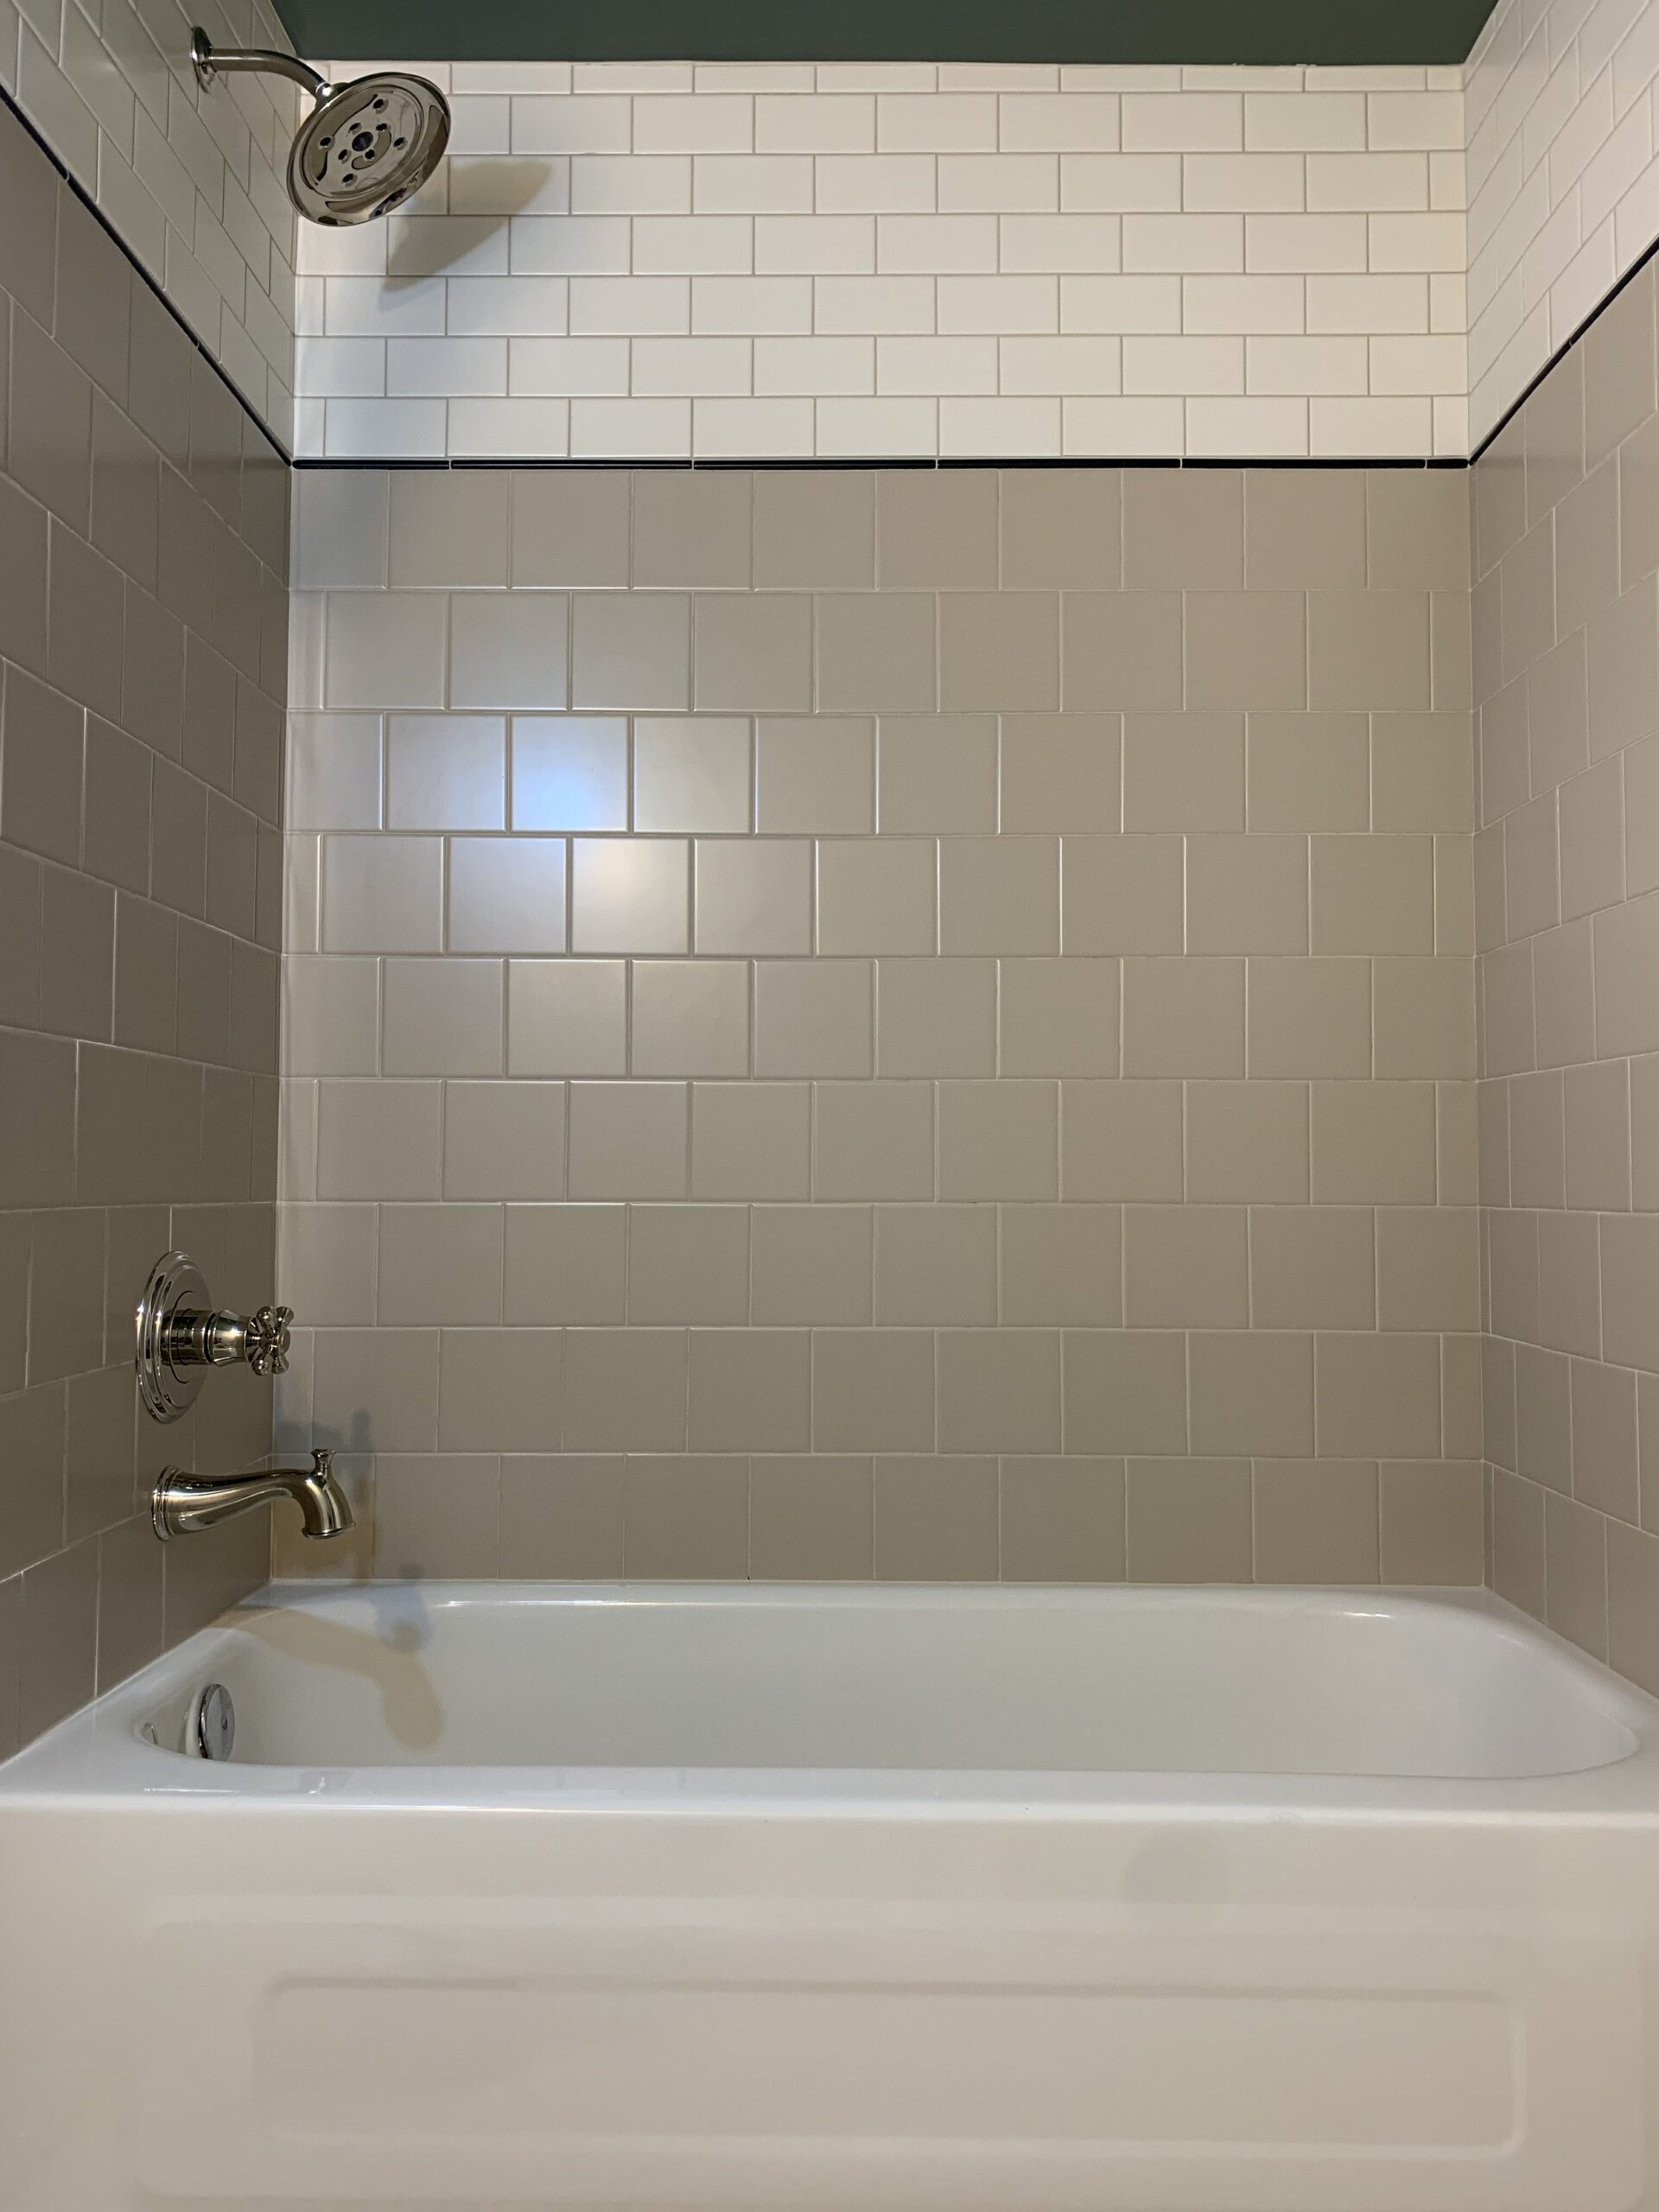
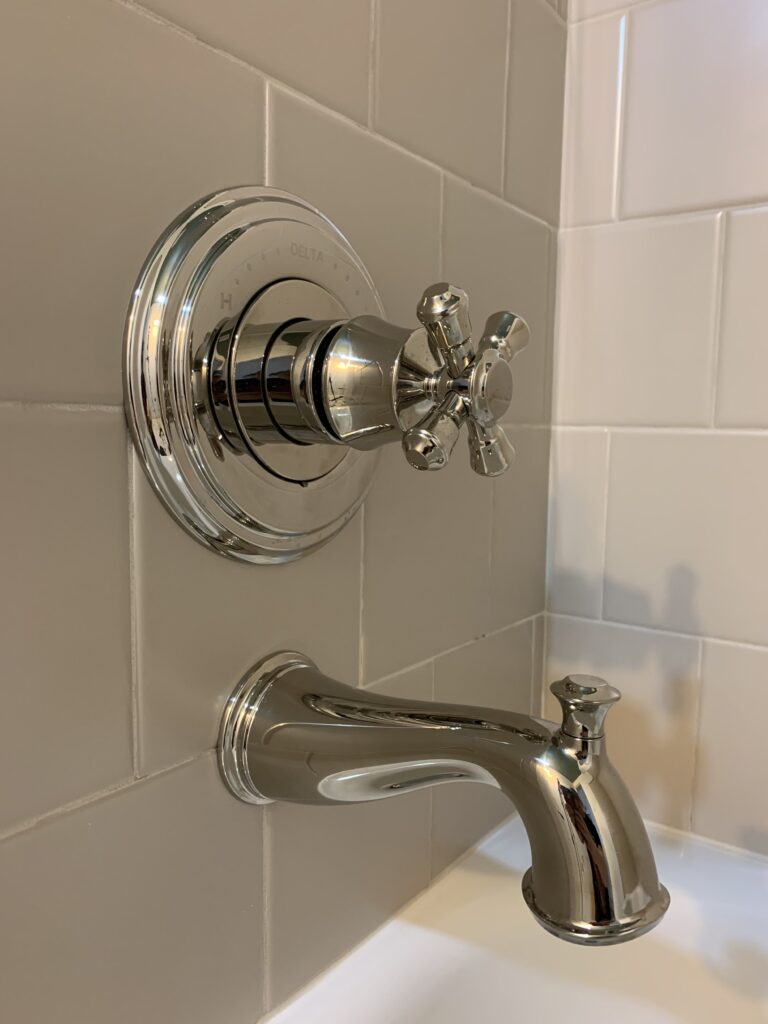
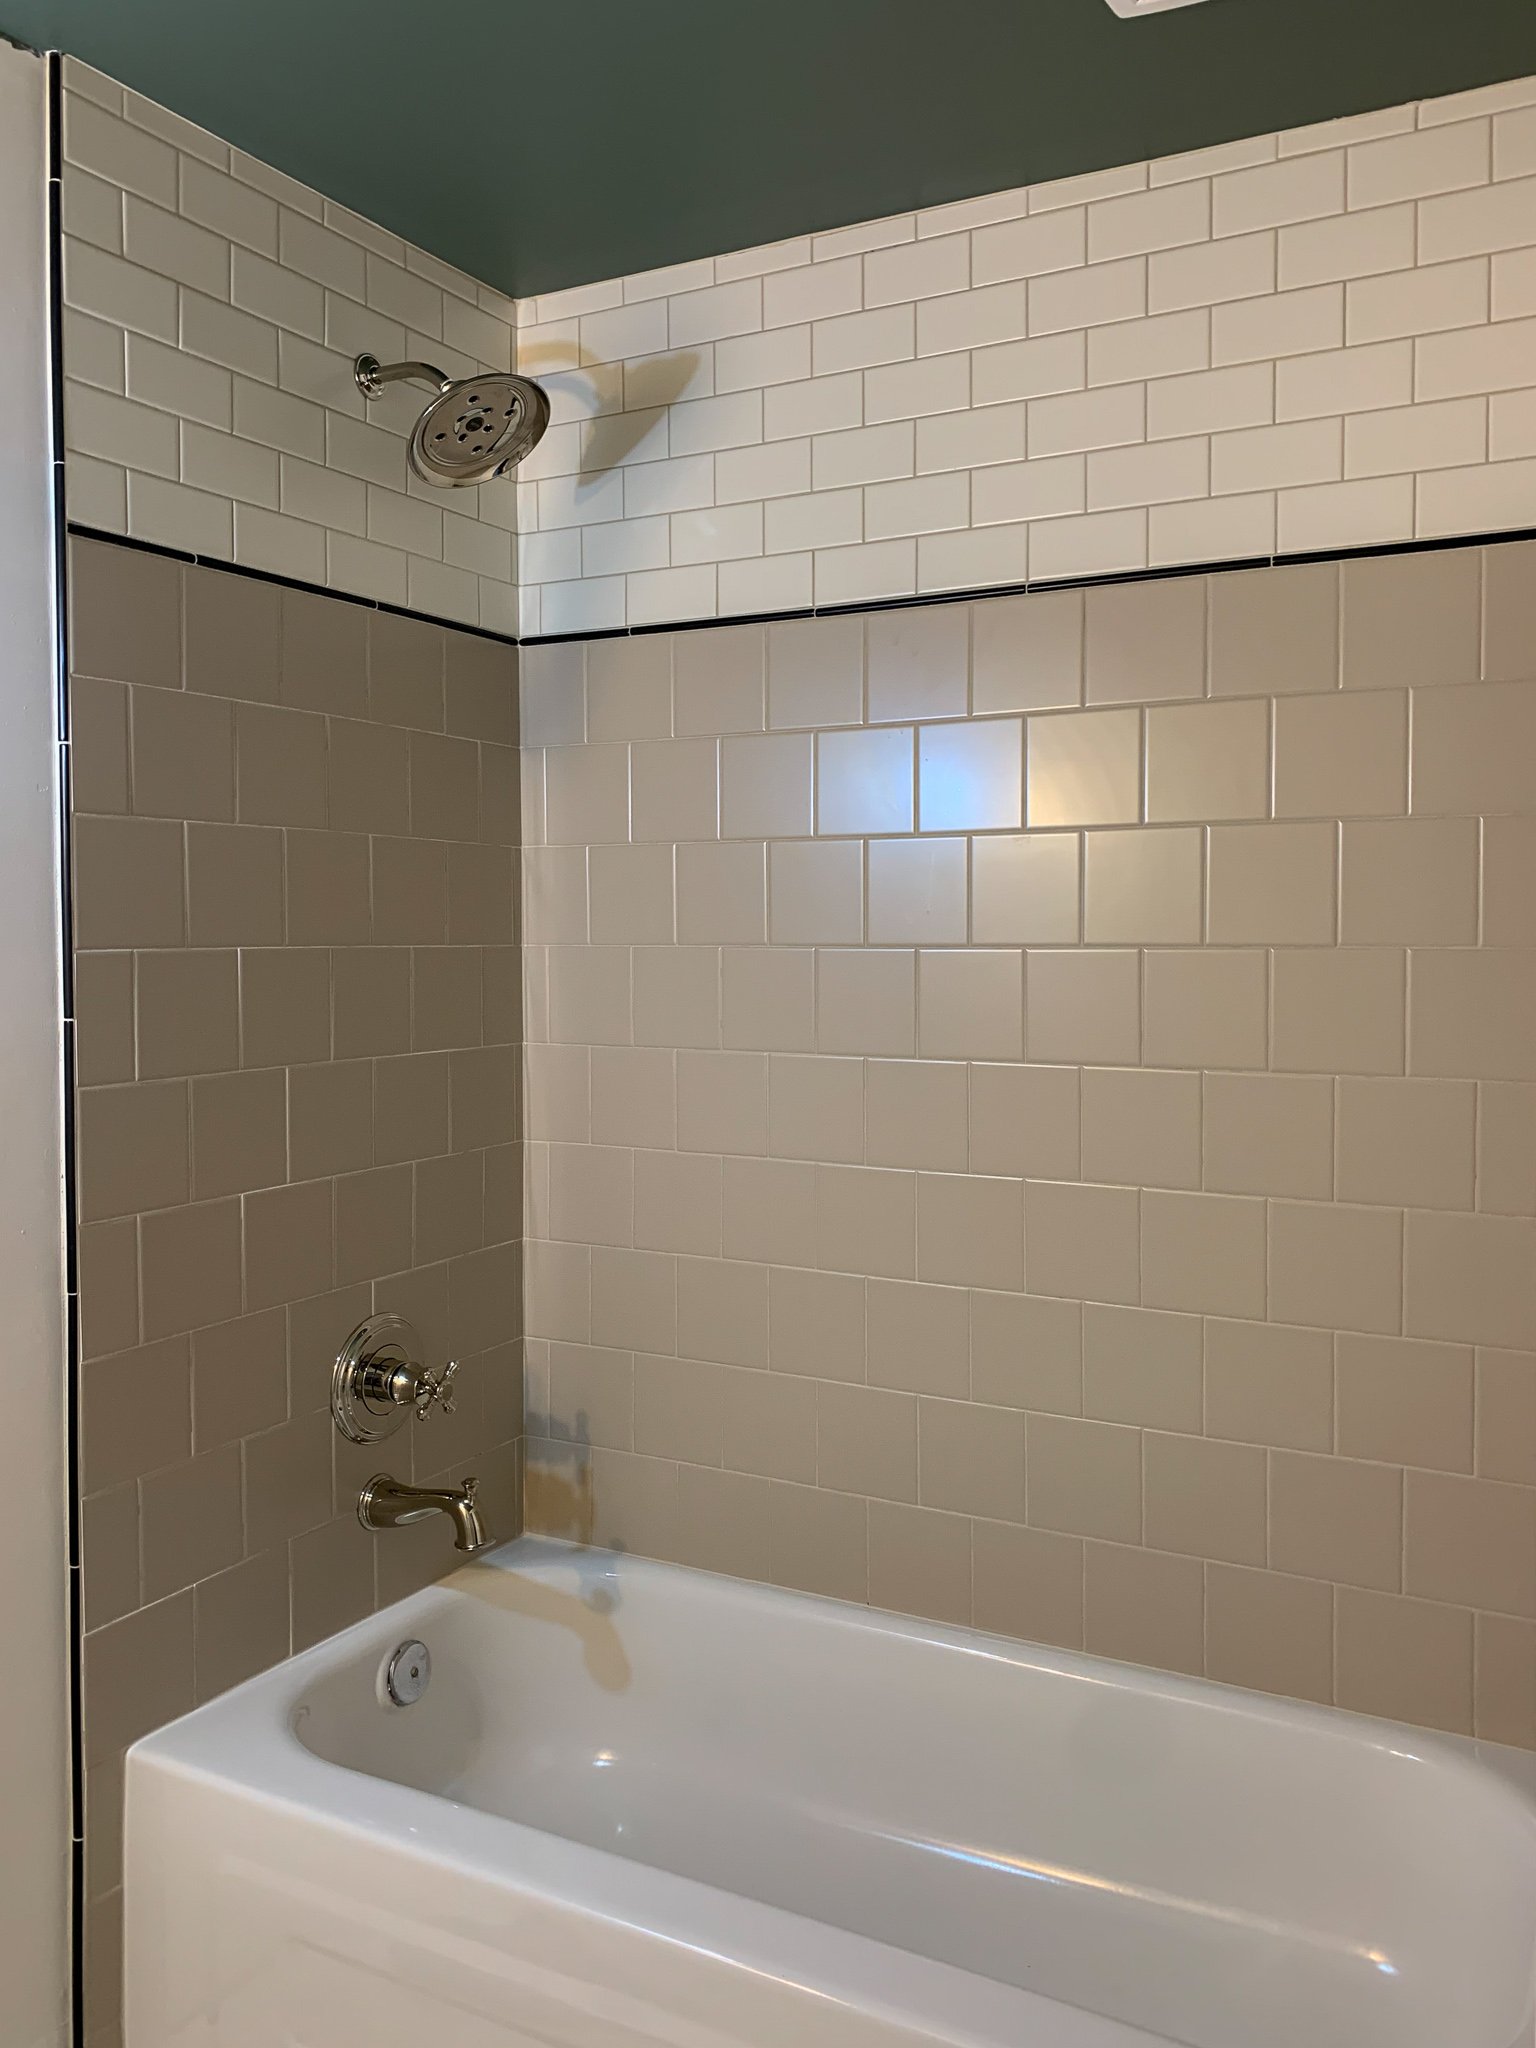
The Results!
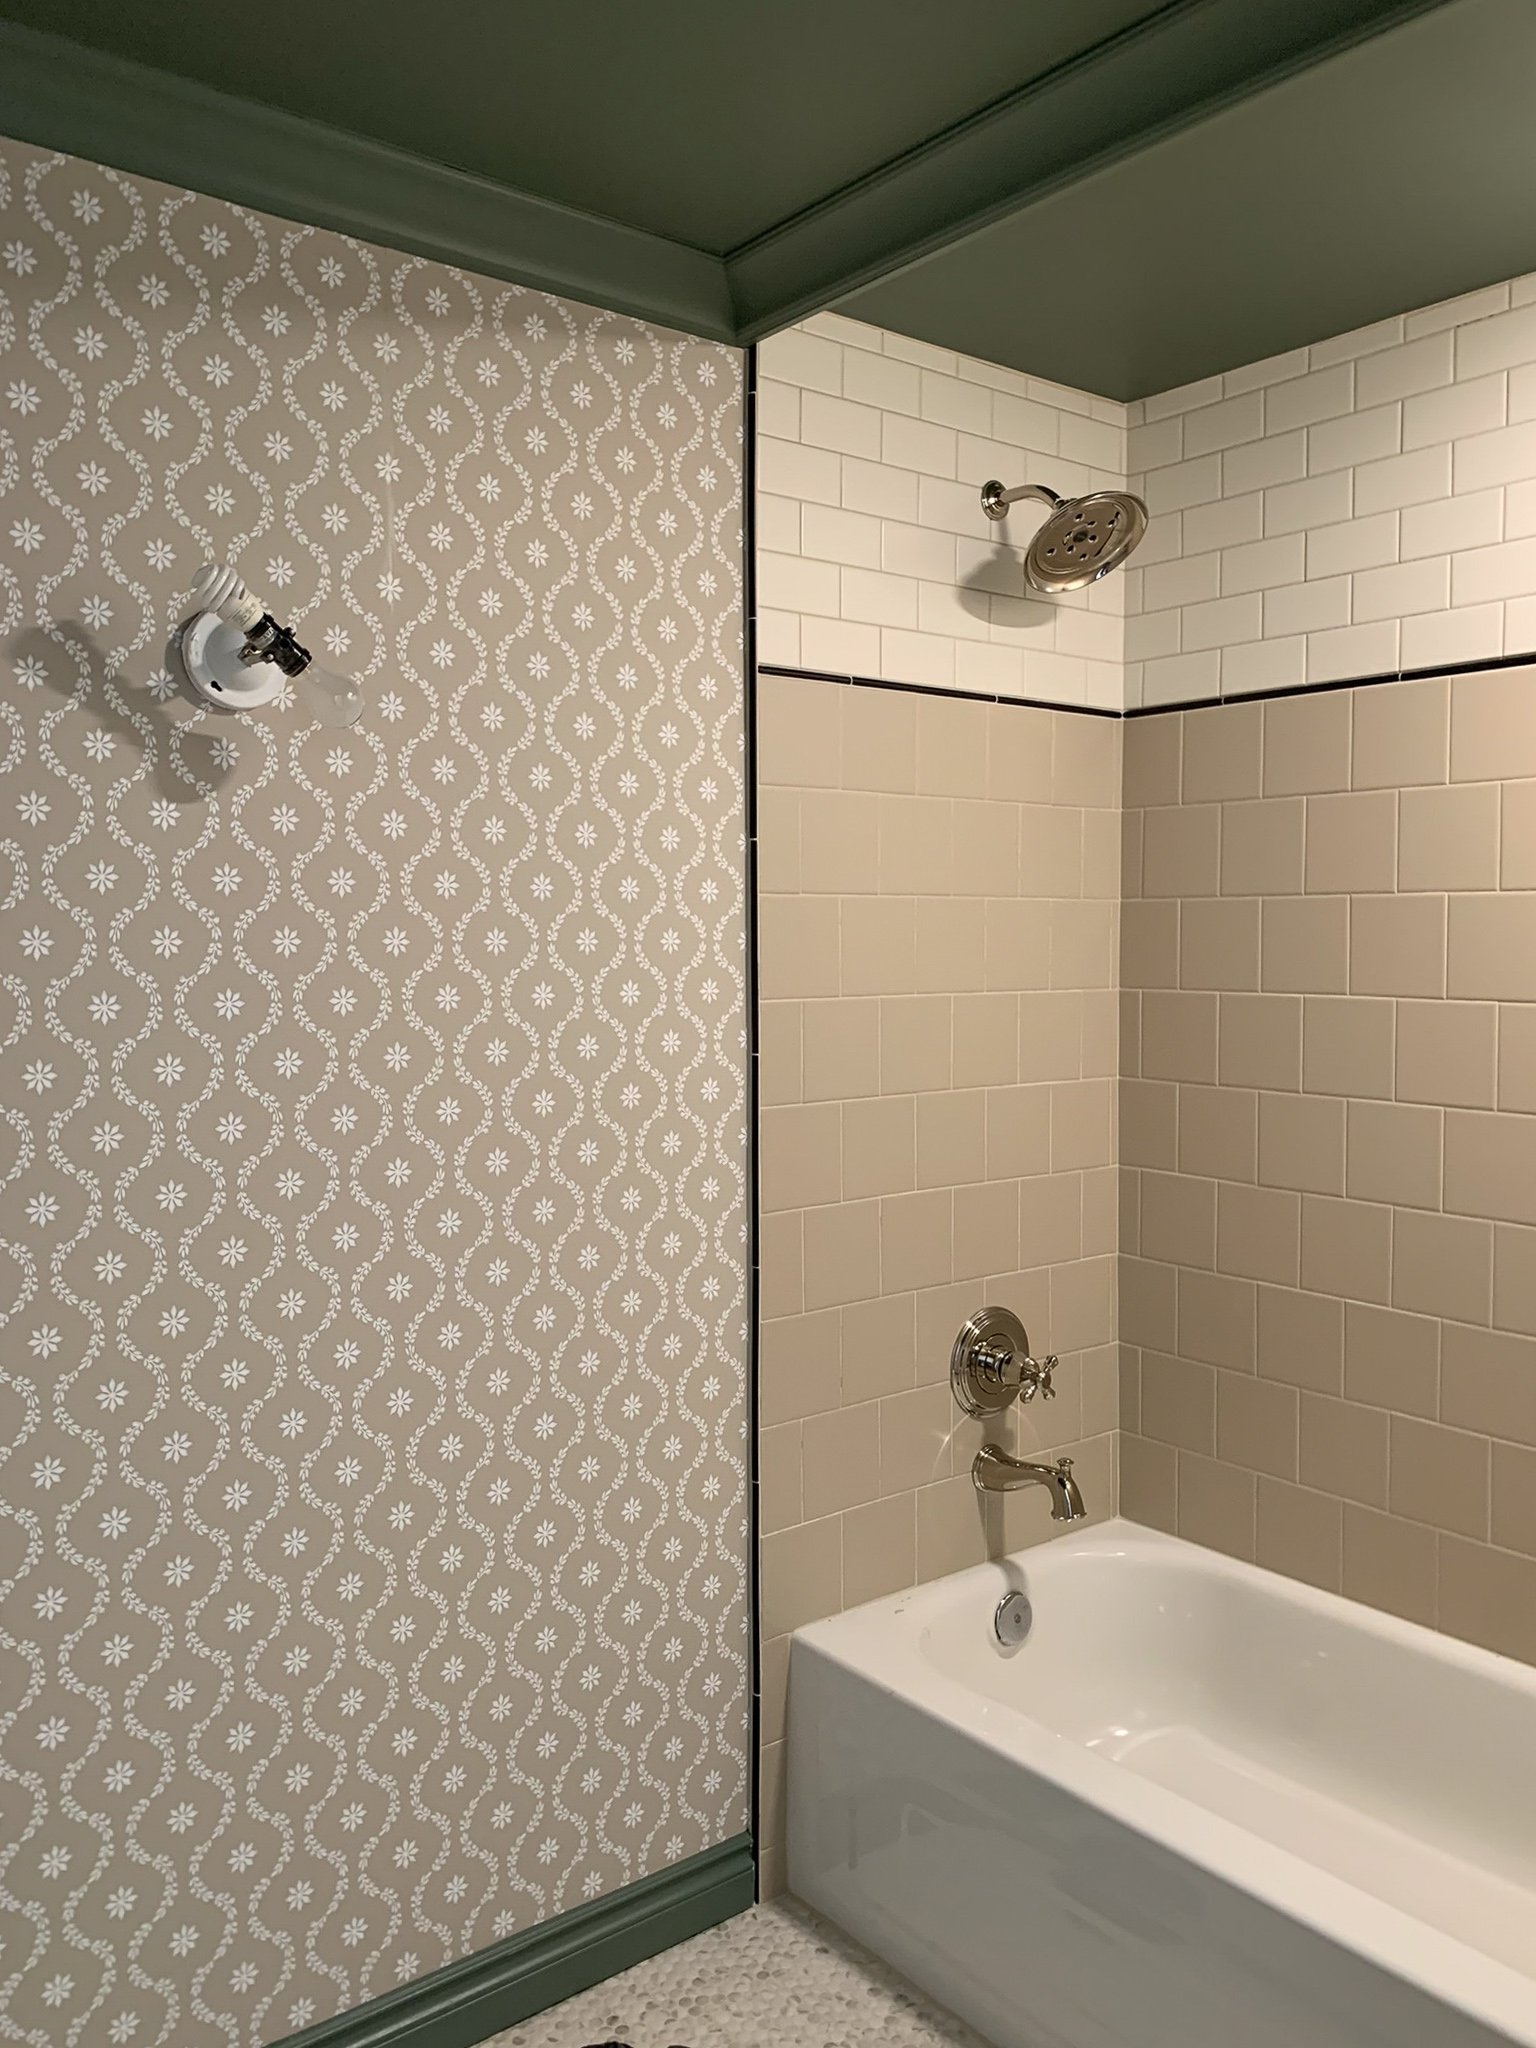
But first…. Let’s admire the finished product, shall we? Because although tiling over tile is cool and all, I’m the most excited about how this tile pattern shook out!! I used a combination of the 6×6” and 3×6” new ceramic tile from Daltile (the 6×6” are in the colour “Urban Putty Matte” and the 3×6 are the colour “Biscuit Matte”. The Pencil tiles are called “Jolly Trim” in “matte black”.)
When to Consider Tile over Tile
I know you likely came here to read all about how to tile over tile, but first of all, I should say that you should absolutely not consider this method if you suspect a leak in your shower or have signs of mould or mildew. I think that it’s important to open up your walls and remove any water damage before you put a new tile system on top that will likely be there for 20 years or more.
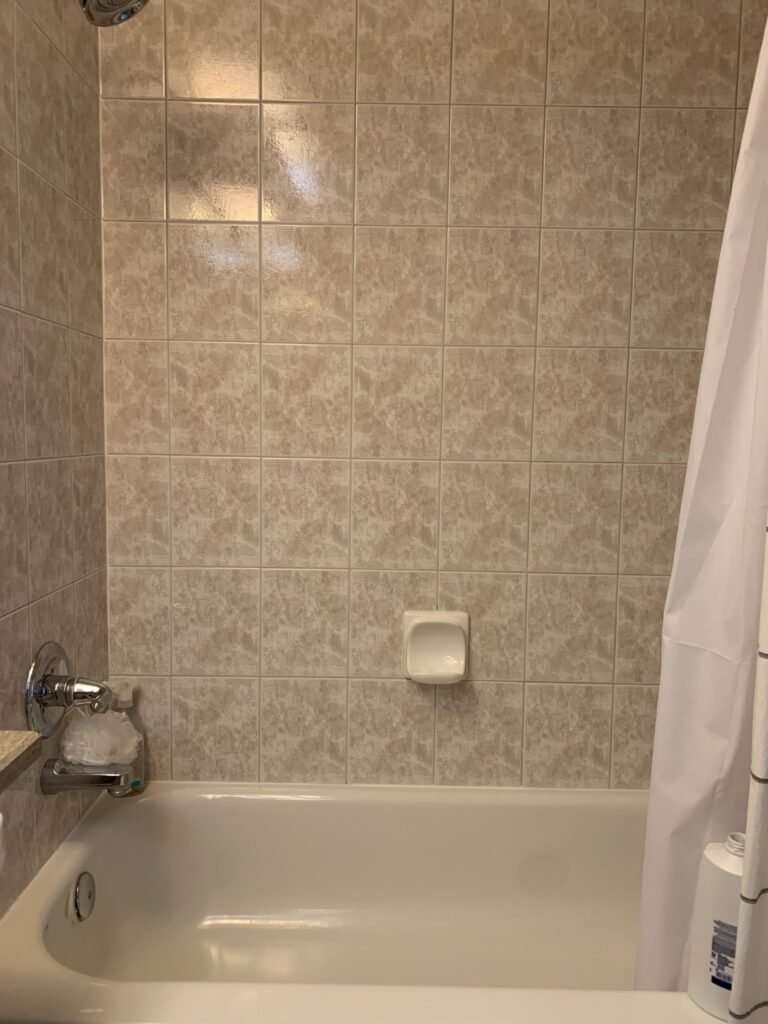
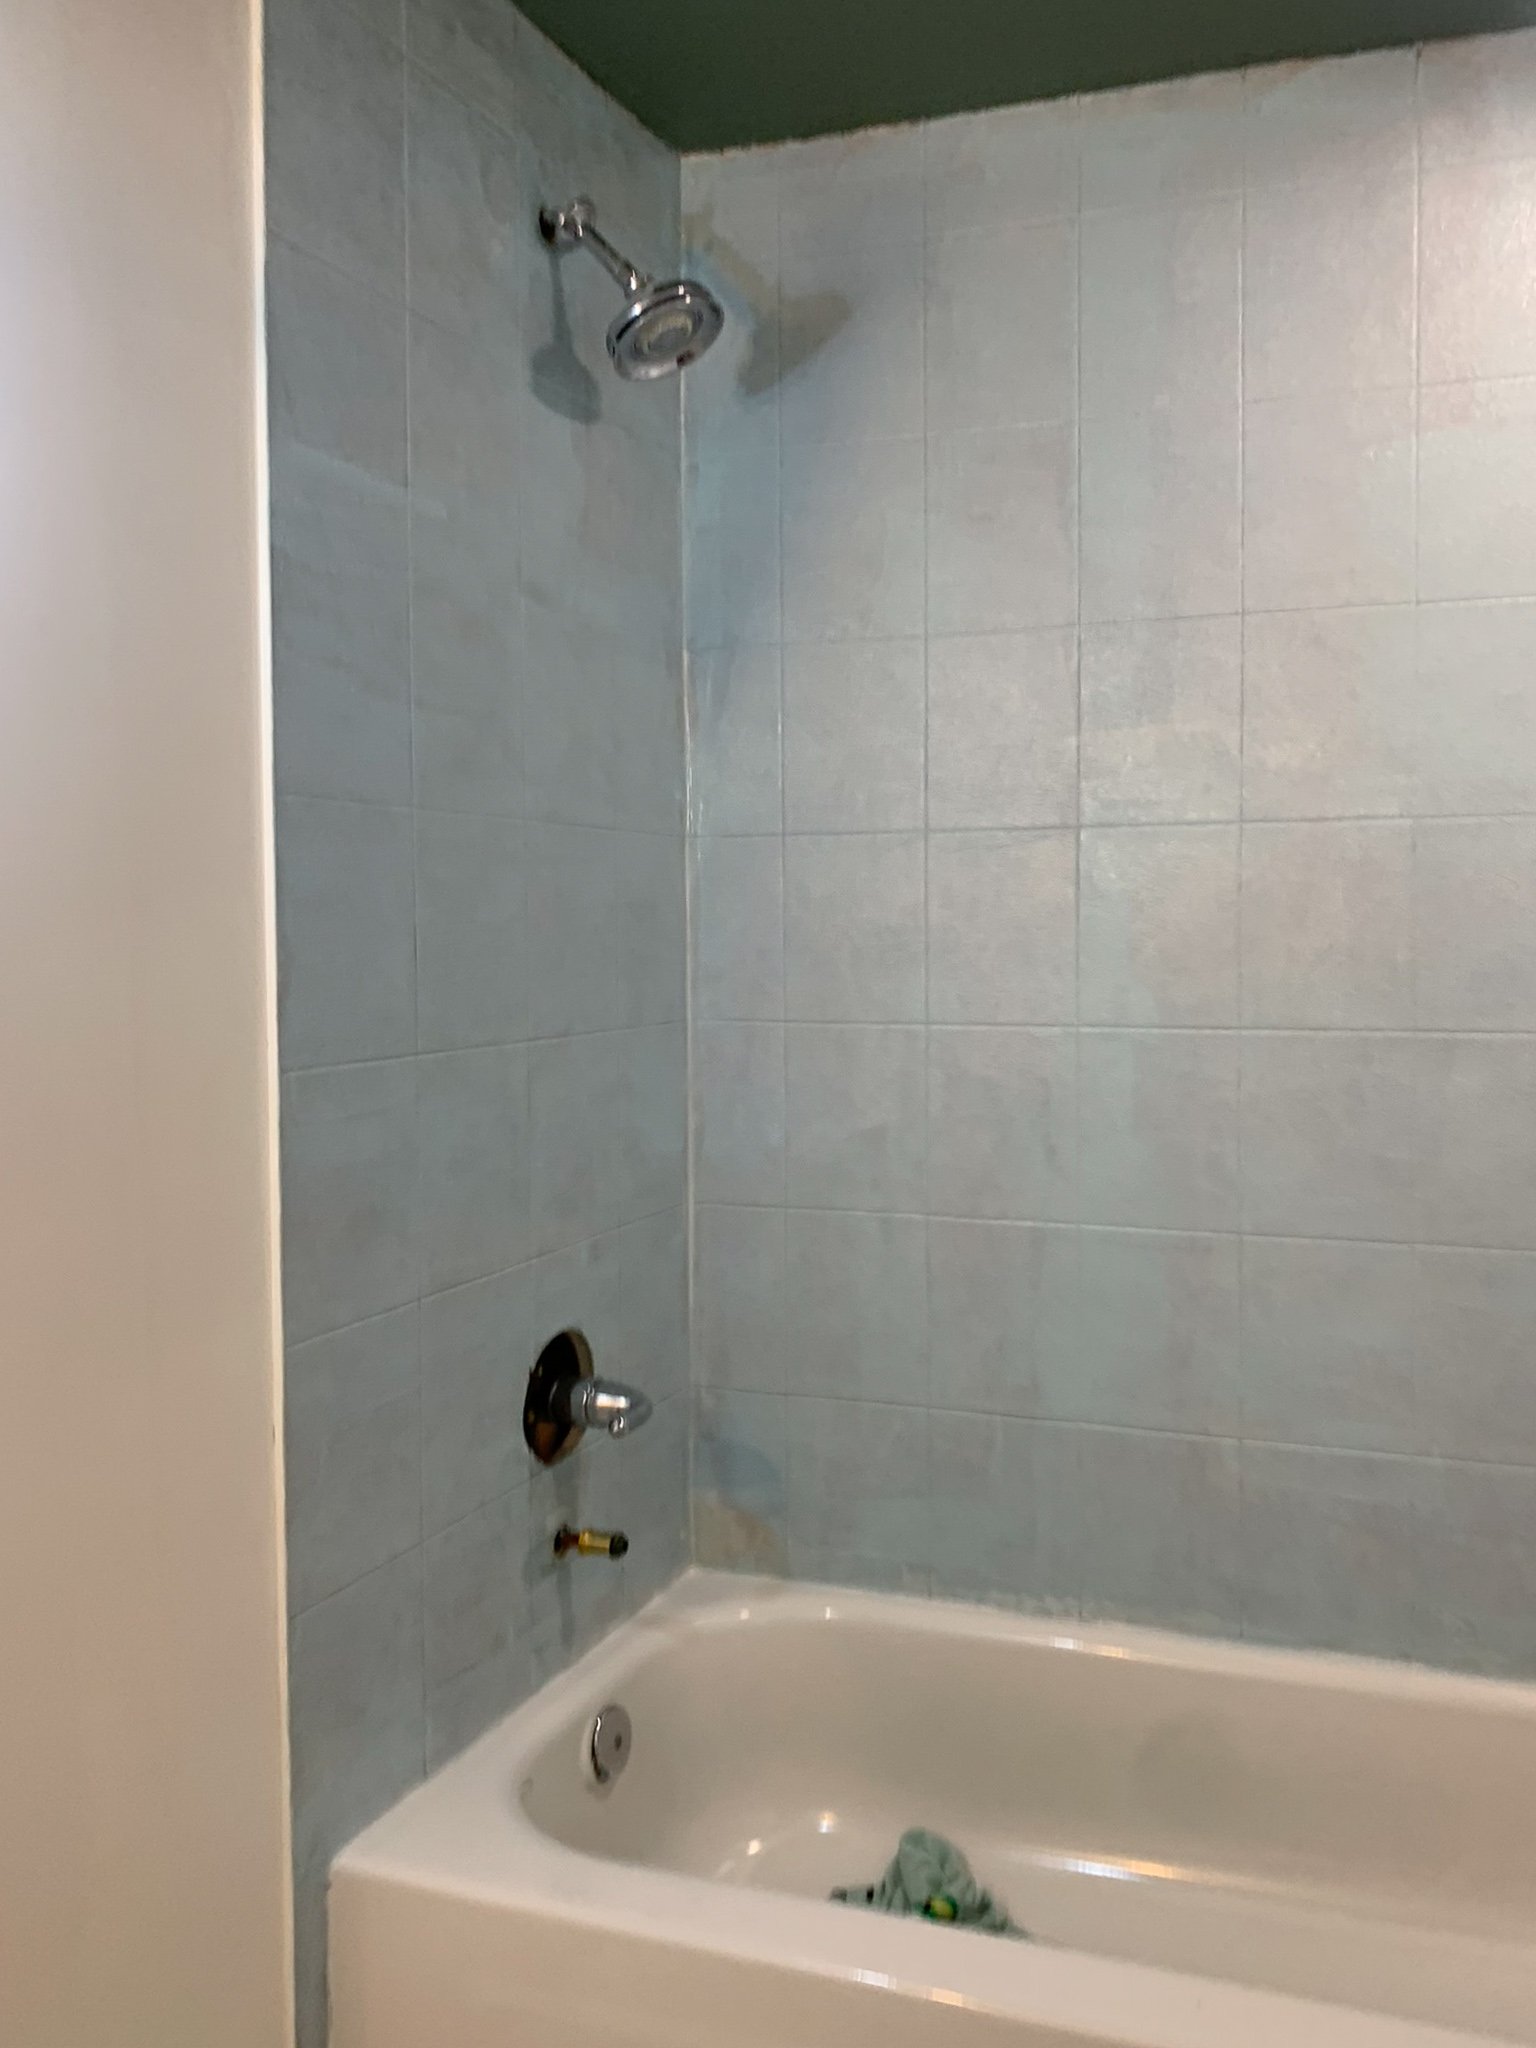
In my case, this bathroom and shower were very seldom used and the tile was in perfect condition. I removed the shower controls and had a peek inside the wall to see if I could see any signs of leaks, mould or other red flags and everything was clean and dry in there. That does not mean that there isn’t a chance of a bit of mould somewhere else, but since I was waterproofing the area should be sealed off and stay dry so there is no chance of that getting any worse, if there happens to be a little bit there.
Also, we are using this shower currently until our ensuite shower is replaced, but once that is done later this year, this shower will go back to being a guest shower that is only used a couple of times a year.
I also think it’s important that the surface of the old tile is very flat and uniform. If you are trying to go over a poorly installed or otherwise uneven tile that has lots of high spots and low spots, that will be very difficult to level. The tile you put on top is only going to be as flat and level as the tile below it! Cracked tiles, an uneven surface, or mold are all red flags.
How to Tile Over Tile – What to Do Before You Start Tiling
Priming
Ok so let’s say your tiles are all in good shape and you have decided this is a good idea. Now for the prep, which is the most important part of this project!
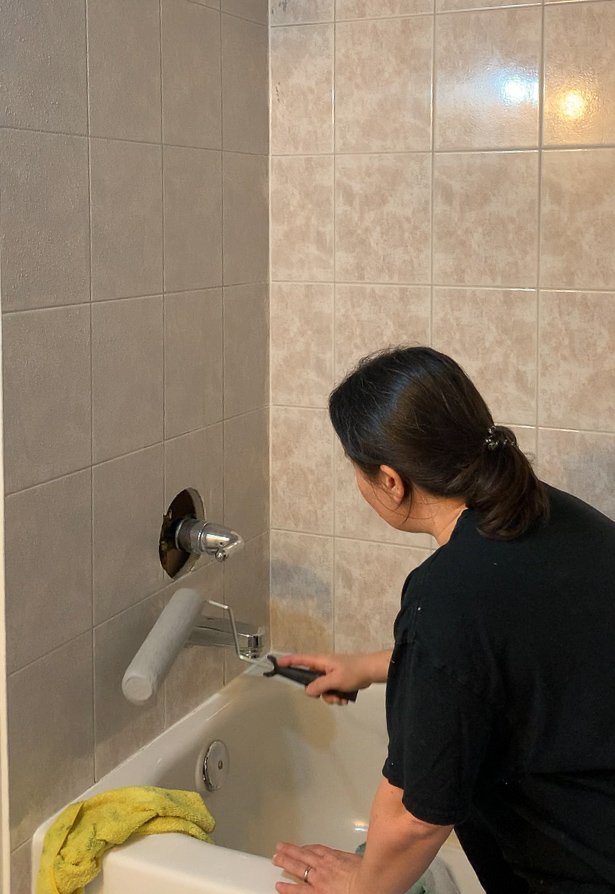
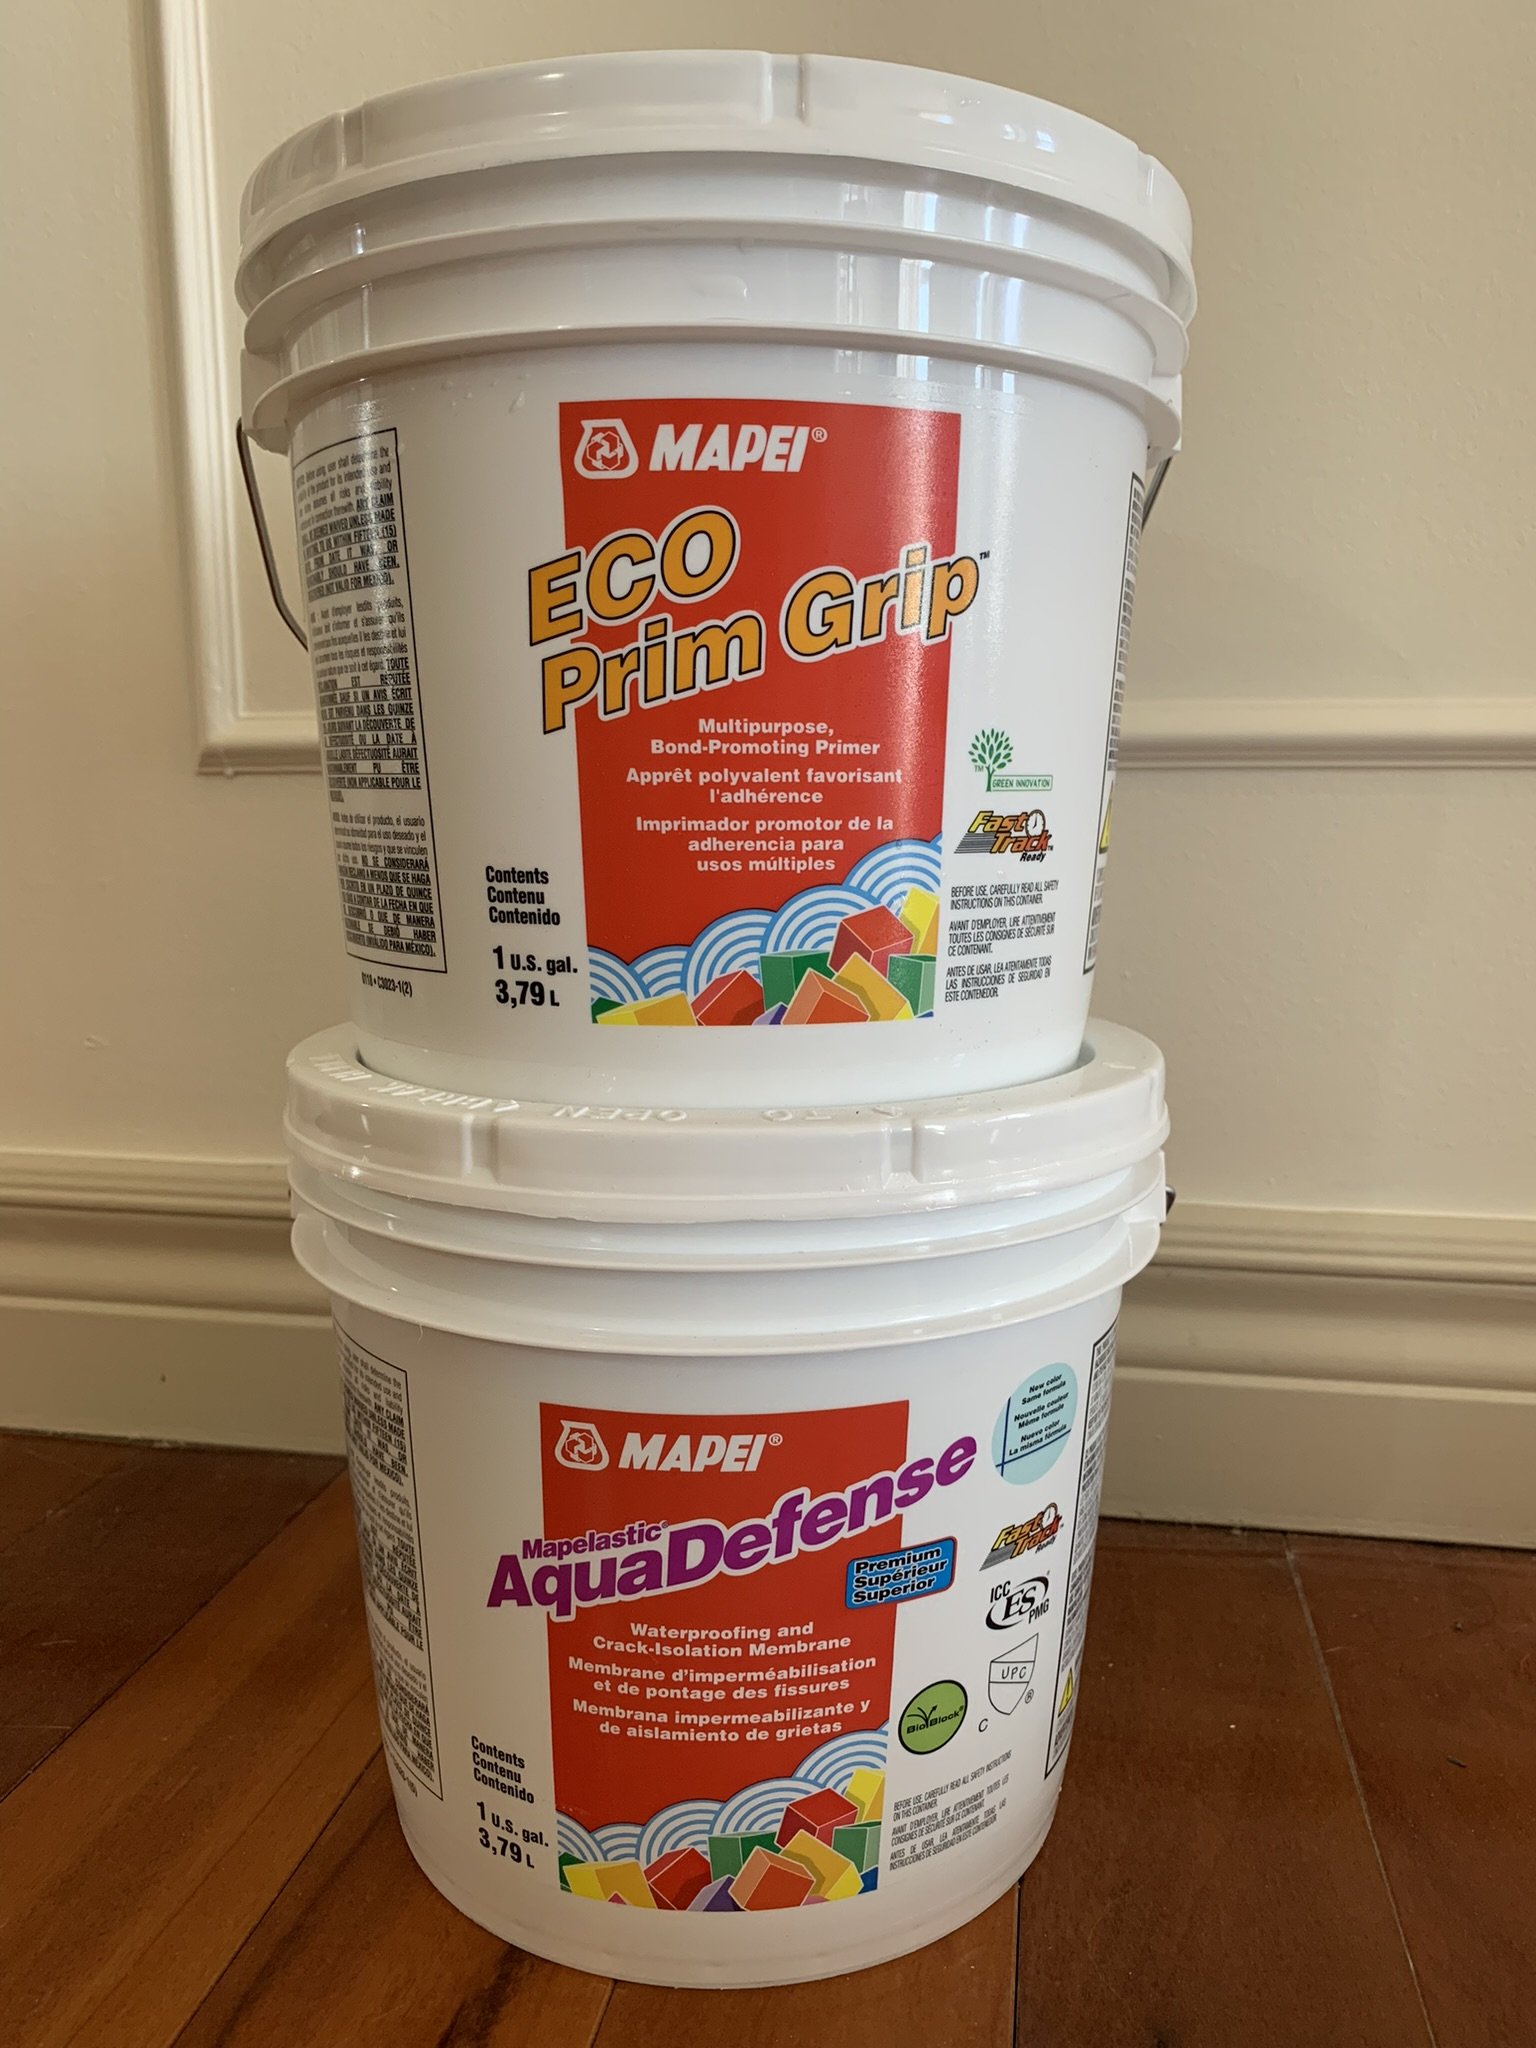
First of all, if you have shiny tile as I did, that is not a very good surface for the mortar to adhere to so you should start by priming. I gave my shower a good cleaning, and then I used this product by Mapei, which is a heavy-duty primer that specifically talks about using in tile-on-tile situations (see I didn’t make this up! They actually make a product for this!).
It is very runny and very gritty, and you just roll it right over the surface of the tile like paint in a thin layer. (I used a throwaway roller and brush because I can’t imagine trying to clean this stuff!) I also used painter’s tape to mask off the edge of the tub.
For this step, keep a rag nearby and be sure to wipe up spatters and drips (there will be many!) because once this stuff dries it is very difficult to remove.
I even went over my existing plastic Schluter edge on my tile as I intended to tile right over that as well, but more on that later!
Waterproofing
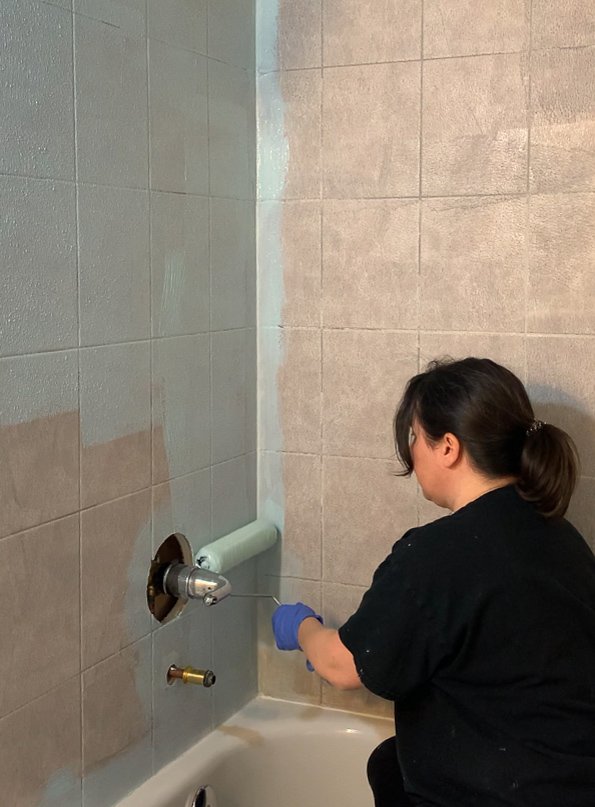
The next and maybe the most essential step was to waterproof. I used roll-on waterproofer called Aquadefence. Basically, it’s a roll-on waterproofing membrane that dries almost like a rubber coating. There are other similar products (like Redguard) that do the same thing.
I took care to get into the corners, the grout lines and the edges. I put this on as thick as I was able and did two coats, again just using a throw-away brush and a roller. I was able to find all of the products I used at my local hardware store.
Tile
Now that the surface is prepped, you can tile just like you would any other wall! I have a blog post all about how to tile so I won’t go into the details but if you would like, you can read all my helpful tips about that here.
How to Deal with the Fixtures
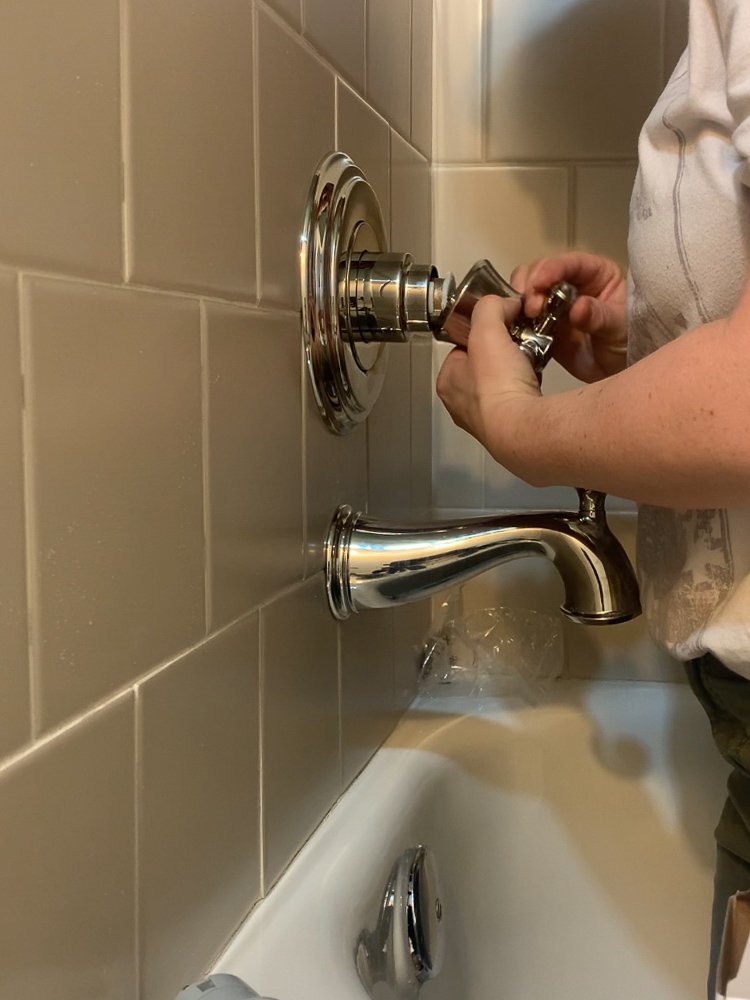
A lot of people had questions about how the fixtures would go on to the thicker tile. Before I decided on this method, I checked to see if my existing fixtures would still work if the tile was thicker. I removed the plate behind the handle and I could tell that if that plate sat out a bit with the new tile thickness, the handle would still work.
There are different plumbing fixtures out there and some require a lot more precision regarding the depth that the fixture is set in the wall, and this is something that needs to be checked early on to ensure you have fixtures that are compatible.
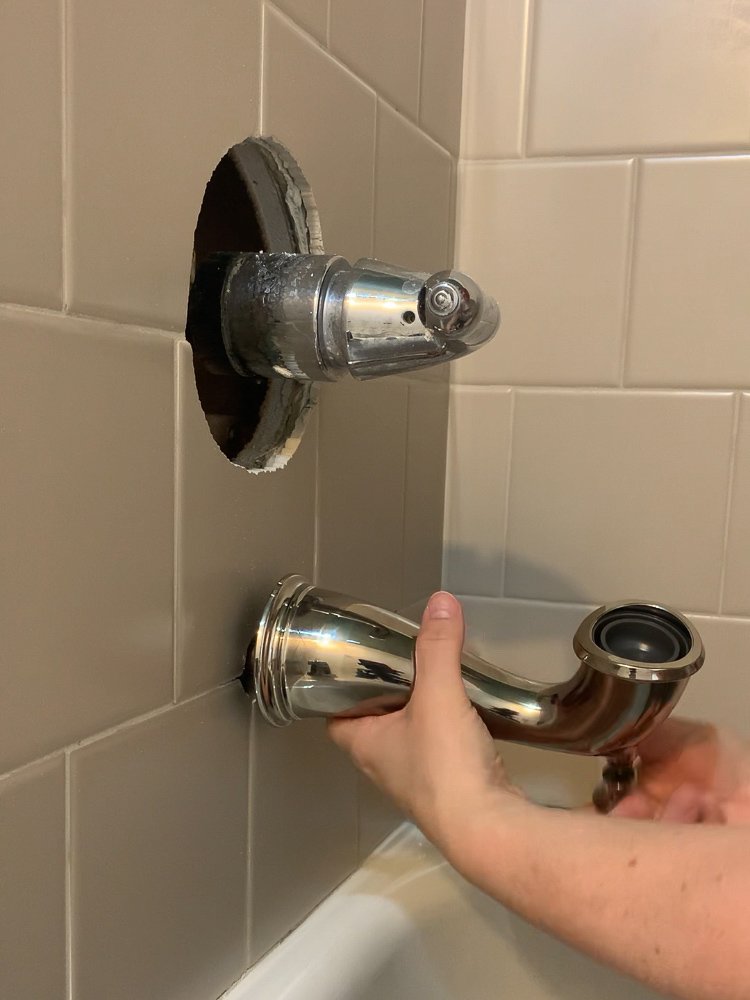
In my case, not only was it possible for me to add thicker tile, but I was also able to change the trim kit (basically, the pretty bits like the spout, handle and showerhead) by choosing a new one that was compatible with the valve inside my wall.
The handles that you see on the surface are all controlled by a valve inside the wall, and each manufacturer has its own valve. So, for example, you can’t add Kohler fixtures if your valve in the wall is Delta without ripping open the wall and replacing the valve in there as well. I wanted to avoid the whole “ripping open the wall” ordeal, so I phoned Delta to find out which trim kits would be compatible with the valve I currently had. They gave me a list of ones I could choose from to work with my existing valve and I chose this one in Polished Nickel with this handle.
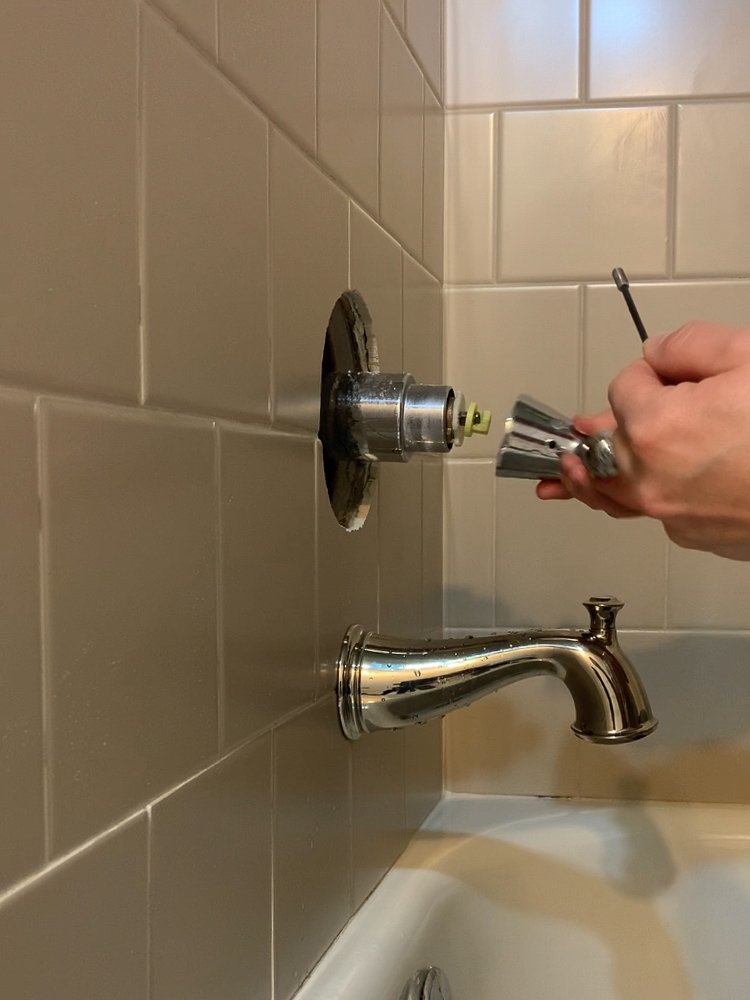
Changing the trim kit is pretty DIY friendly and I was able to save the costs of a plumber and removing and reinstalling the valve by doing it this way. All it required was a screwdriver and an Allen wrench!
(Note – my new trim kit came with a cartridge that fits behind the handle which was not compatible with my valve and I did not use it. I left the existing cartridge in place and basically just replaced the cosmetic bits. It only took a few minutes!) I also replaced the shower head which was as simple as unscrewing the old one and screwing in the new one, with some Teflon tape to ensure a tight seal.)

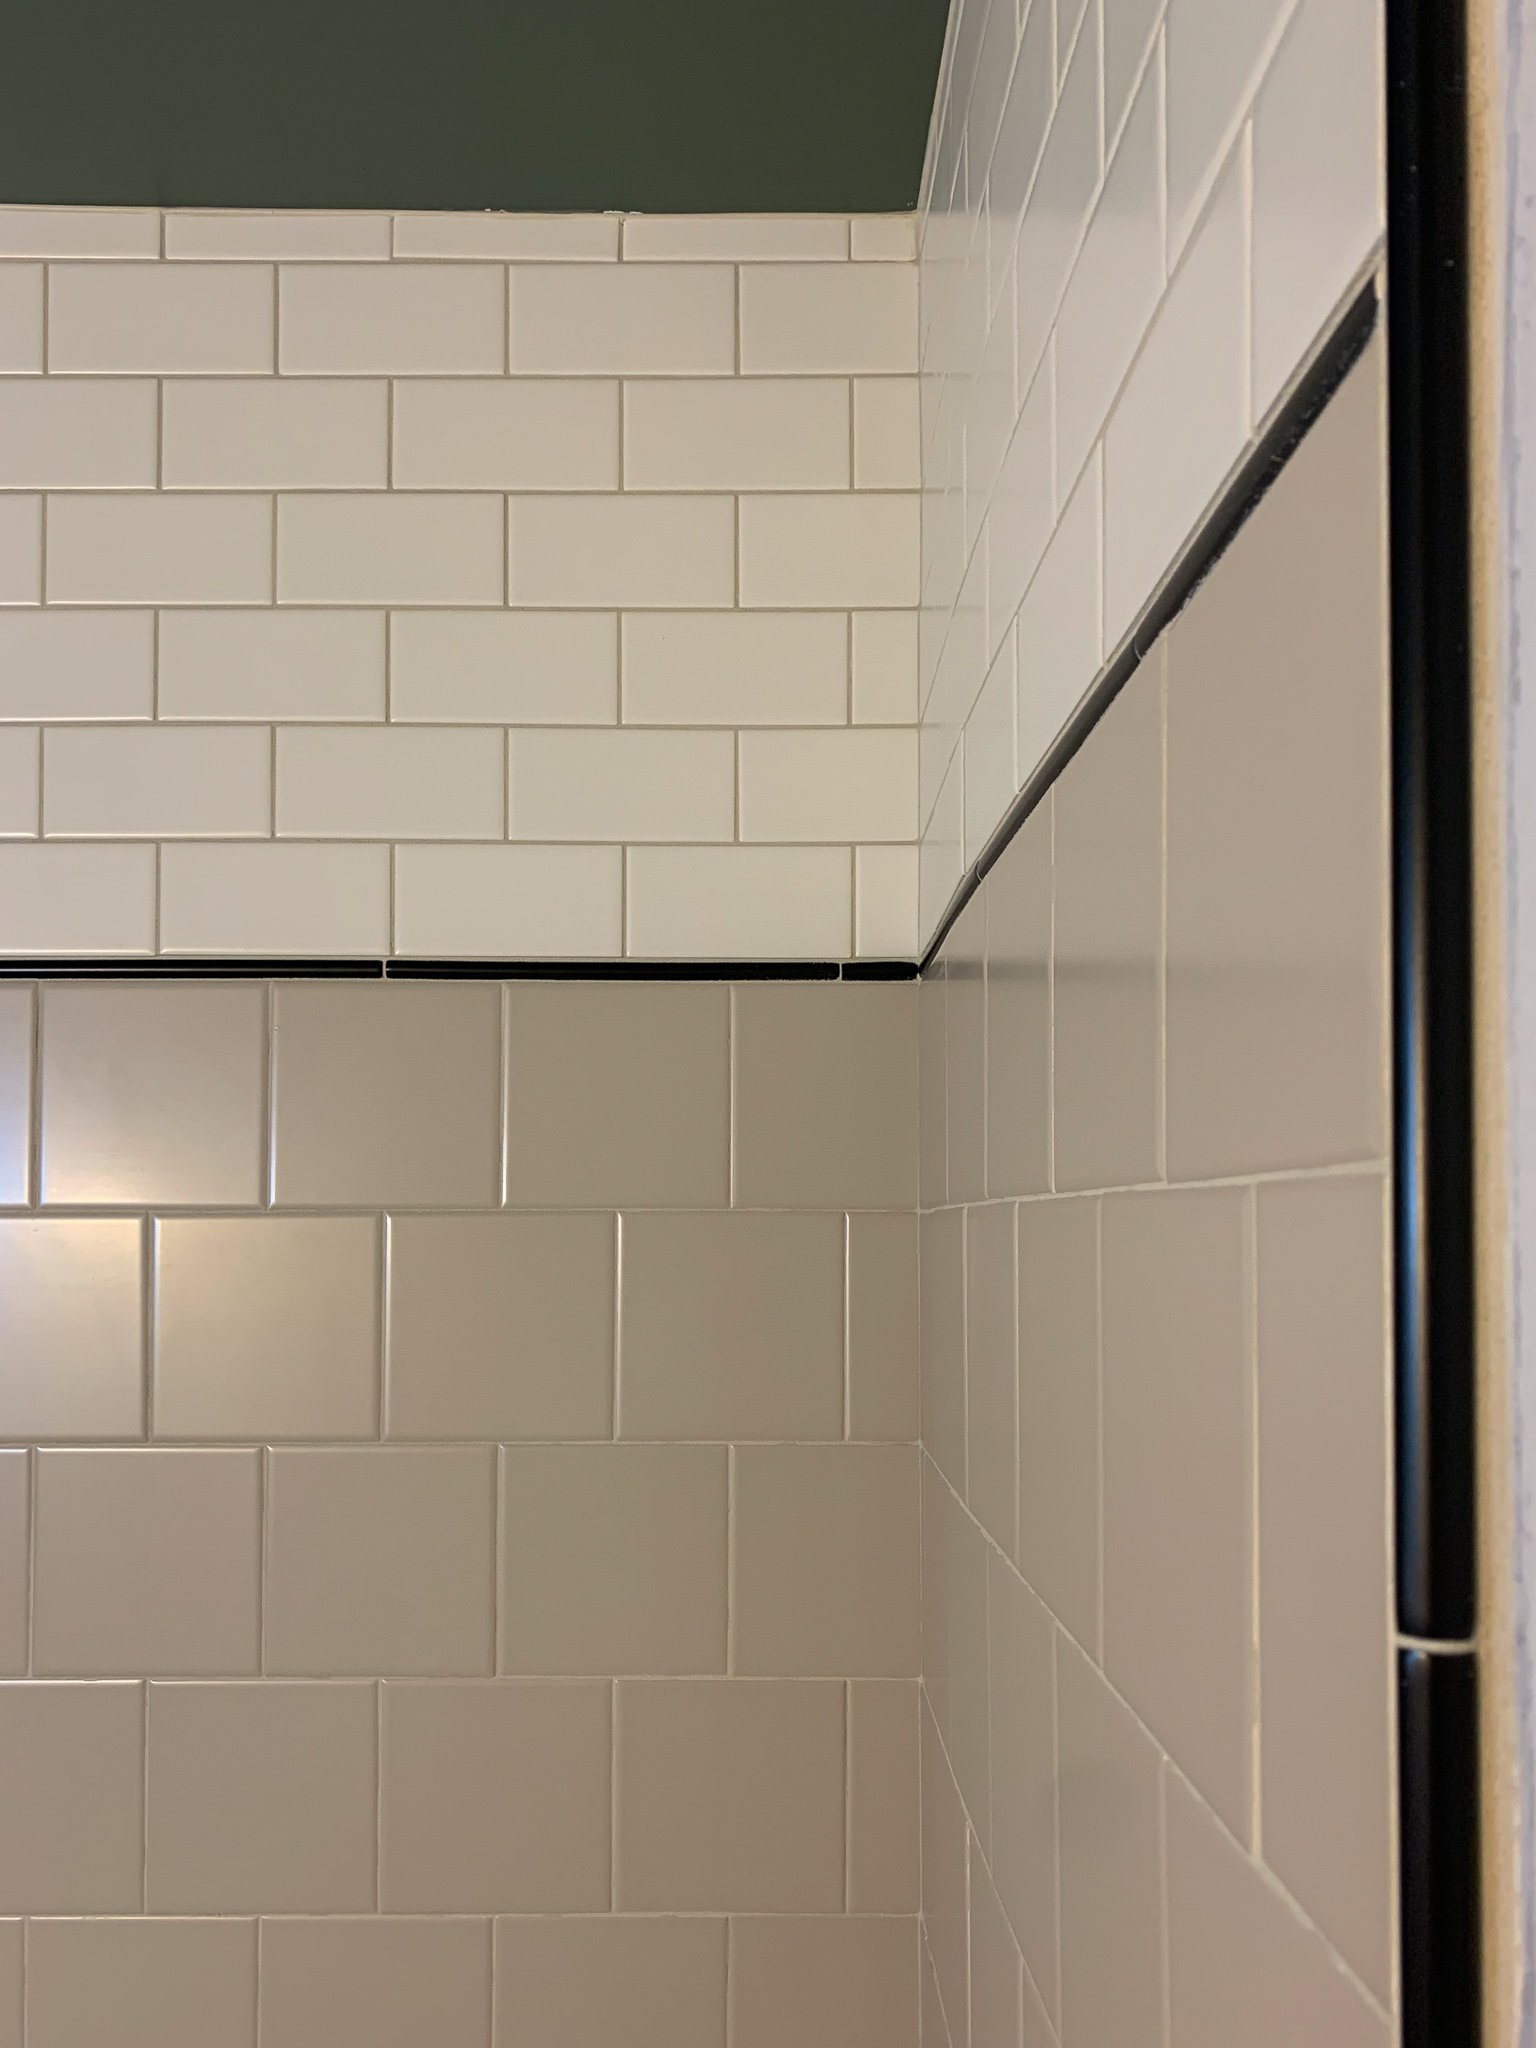
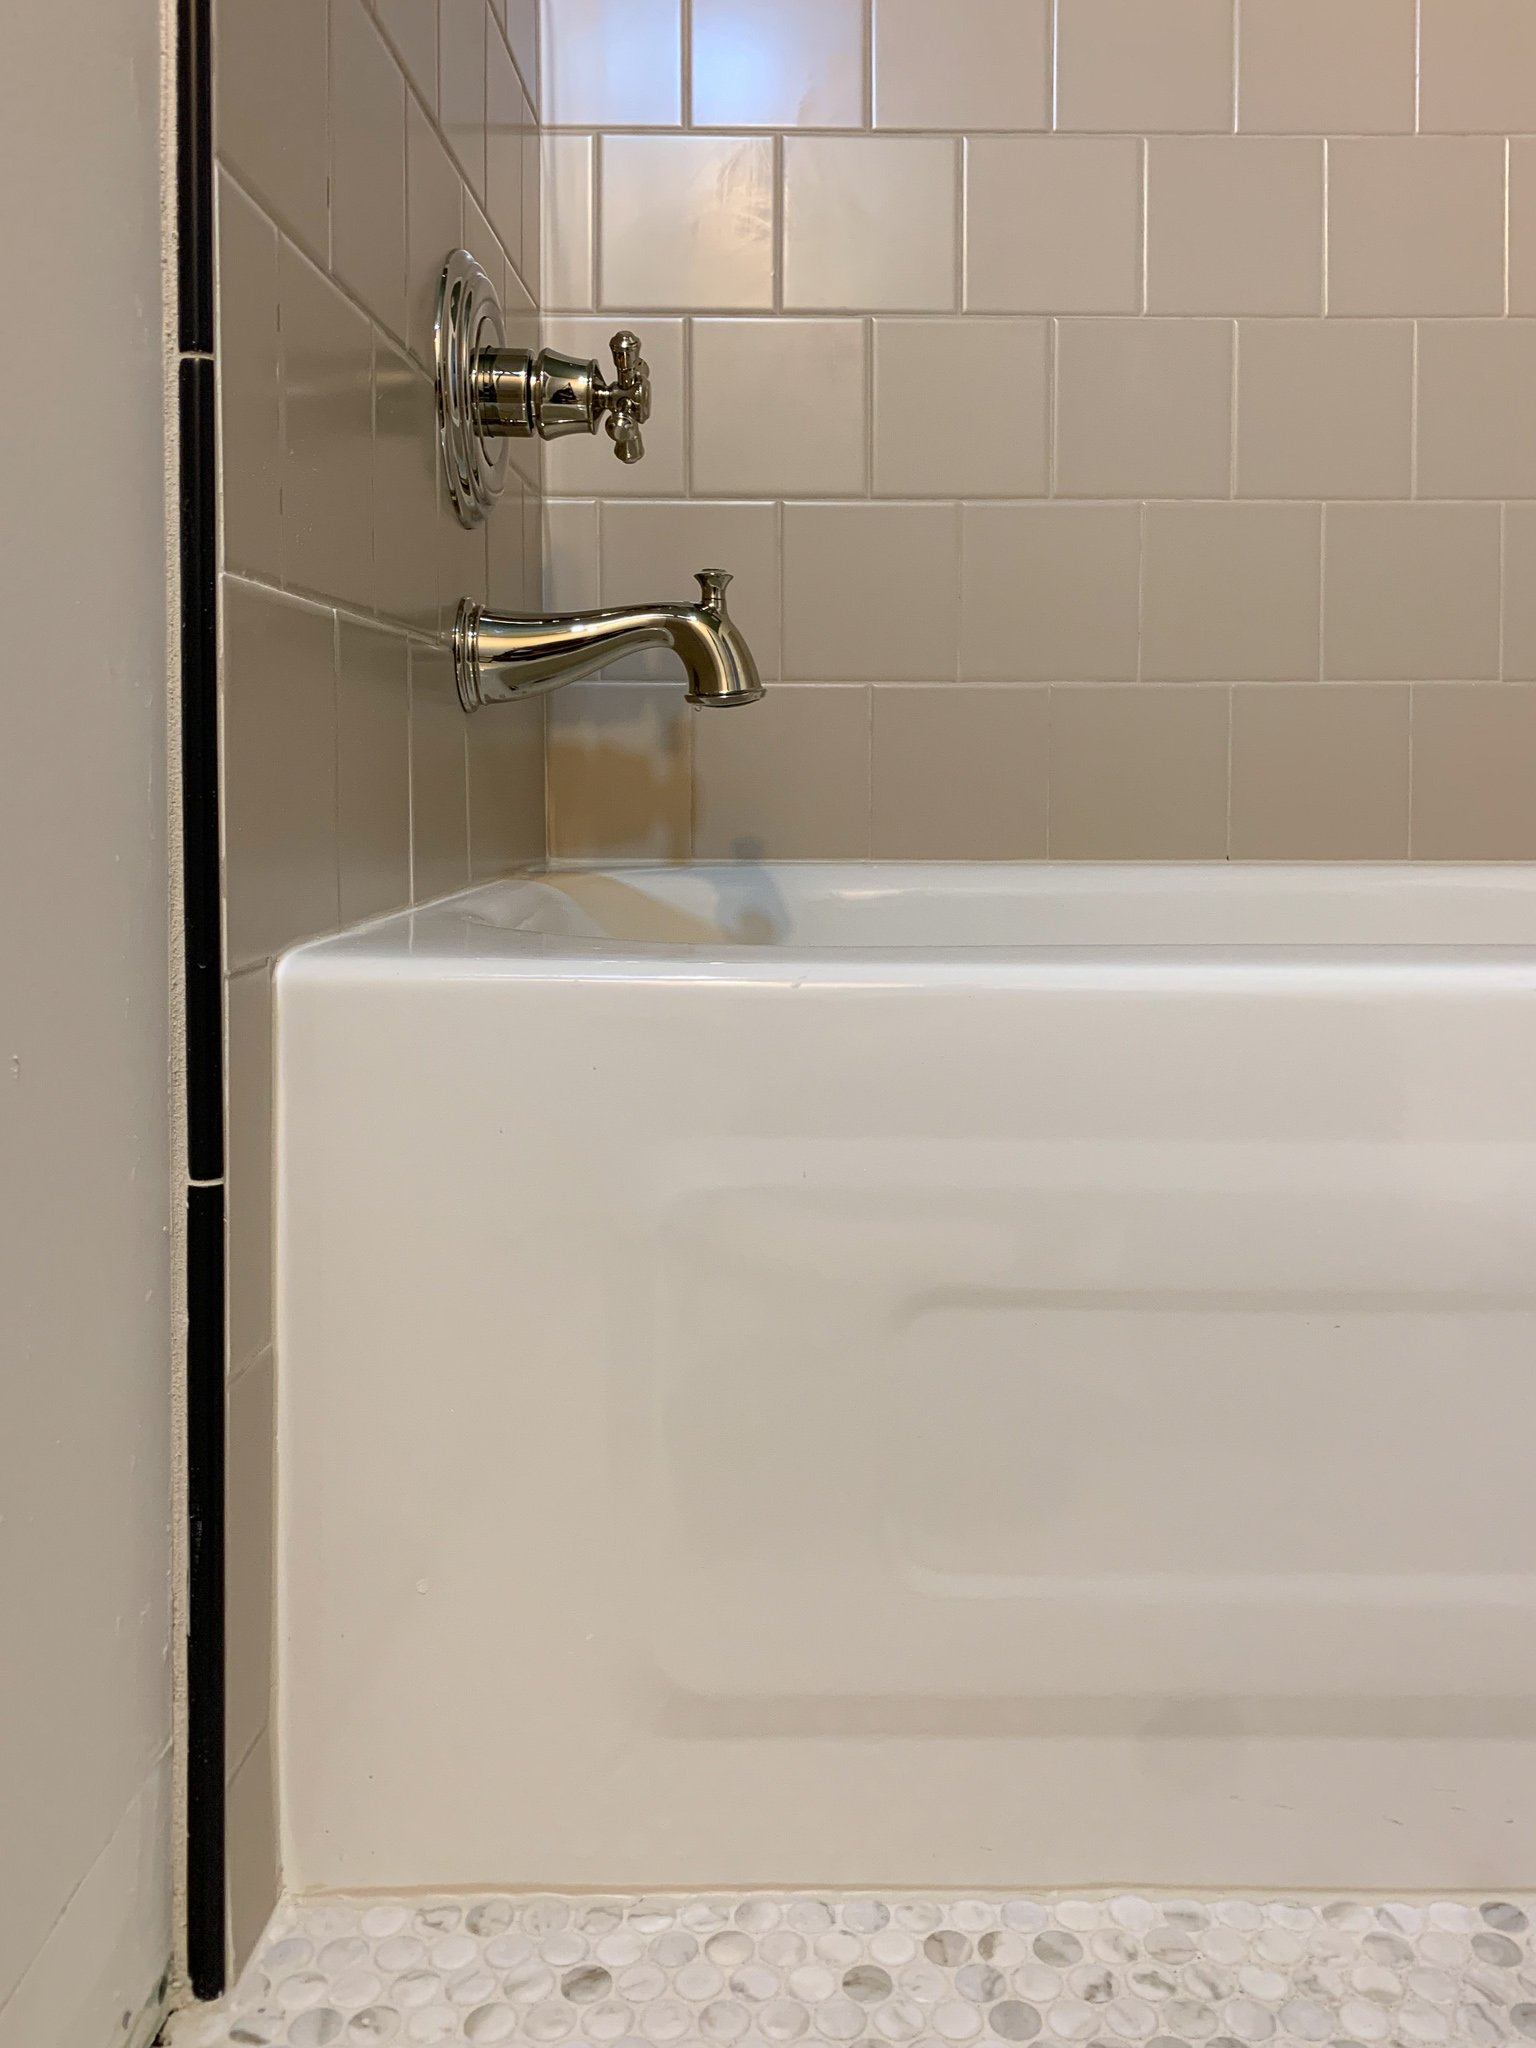
How to Deal with the Tile Edge if you Tile over Tile
So the edge of the tile is going to look pretty janky, you will be able to see both layers of tile and so something has to be done to deal with this. There are multiple ways this could be dealt with and I talked about a few of them on Instagram – like using a deeper Schluter tile edge, adding a trim piece (maybe out of PVC?) along the edge of the tile and grouting it in place.
What I decided to do was to add a pencil tile detail (I bought one that was rounded a bit so it was finished on all visible edges, like a quarter round).
Now in retrospect, the pencil tile that I bought was not quite thick enough and if I had to do it again, I would have bought a thicker one to make this step a little easier, but I managed to make it work!
My daughter and I worked on this together, she gooped on all kinds of tile adhesive to get the pencil tile in place, and I came behind her with spacers and a wet sponge to clean up her mess and add a bit of space for grout next to the tile and next to the wall. Once the pencil tile adhered, I grouted the space between the pencil tile and the wall, taking care to make the grout line as neat as possible.
I think we did a pretty good job of it at the end of the day and that pencil tile looks more like a feature than something I was trying to cover up!
Cost Comparison – Tile over Tile versus New Surround
Now for the burning question, how much did I save by doing it this way? Since I DIY, the savings here is nowhere near what they would have been if I had hired this out, since removing all the old drywall and installing a new waterproofing system is fairly time-consuming compared to this method and when it comes to contractors, time is money. But since I DIY…. maybe I appreciated this method even more because my time is precious and this saved a lot of time!
I do have a pretty good cost comparison since I have records from my last bathroom renovation where we did go right down to the studs. Here is where we saved money on products and a plumber (we used the Kerdi board system to waterproof, you can read all about that here). Here are the things we saved by tiling over tile:
- Kerdi board $430
- Kerdi band $110
- New Valve $50
- Plumber $350
Total $940
Reusing the existing valve and not replacing the drywall meant that I didn’t need a plumber or the Kerdi waterproofing materials, but I did need a couple of different things to tile over tile, namely:
- Primer $70
- Waterproofing Membrane $95
Total $165
So the total savings is about $775 for us. So overall, not a huge cost saving when you consider the whole scope of the project but a huge time saver – I probably saved at least two full days of work or more by doing it this way and if I had really been working hard to get this done, I probably could have had it all done in a couple of days. Obviously, if you were to hire someone to do this, the cost savings would be much more.
So now that we are showering again it’s time to put this bathroom back together. Next week I’ll be adding trim and hopefully get the wallpaper installed too. I’m expecting my sconces to arrive soon as well as some art I’m suuuuuper excited about, I can’t wait to start to layer in those finishing touches!
Be sure to swing on by the One Room Challenge Website and see what the other participants have been up to! You can click the image below to be redirected!
FAQ’s – Where Else can I Tile over Tile?
Can you tile over flooring too?
Yes you can. Some of the important things to consider when you are looking at that option is the height of the floor and how it might transition to any adjacent flooring. There are transitions that can be added between differernt floor levels but these can end up looking not the most professional and can also be toe-stubbers.
If you can solve the height issue, you should also consider if the existing flooring can handle the extra weight. The wood subfloor may be able to hold the weight but may flex a little under the new layer of tile and that can result in cracks in the grout joints. If you are working on a concrete floor, for example, that would provide a solid foundation to tile over tile.
If tiling a floor, you likely wouldn’t worry about the waterproffing step, just be sure to use the primer to ensure a good bond between the existing tile floor and the new floor.
Can you tile over a backsplash, say in a kitchen or fireplace surround?
Absoloutely! I would say this is a great place to tile over tile as there are often things like cabinets or adjacent walls that you can butt the tile up to and you do not have to worry as much about how you might finish the edges. If you have every removed tile, you probably know that you will probably take half the drywall with it, so you know that replacing a backsplash or fireplace surround often means you are also doing some drywall repairs. Tile over tile is a great way to get a new look without as much time and effort as you would if you removed the entire surface.
You Might Also Like:
- One Room Challenge Spring 2022 – Week 4 – Tips and Tricks for Laying Mosaic Tile
- One Room Challenge Spring 2021 – Week 3 – Subway Tile But Make it Fancy (How to Tile a Tub Surround!)
- One Room Challenge Spring 2021 – Week 2 – How to Waterproof a Tub Surround
- Bathroom Remodel Checklist and Guide!
- Historic Bathroom Tile Designs using Fireclay

This is soooo good! Bravo Erin!
This is amazing. I have never seen anyone tile over tile, but after reading your post, it makes perfect sense! The fnal result looks great!
Love this — question though, how did you remove and tile over the old wall soap dish spot? We have these and I’d love to try something similar
Mine was glued on over the tile with silicone. I got a putty knife and hammer and worked it free – I broke the soap dish in the process but ended up getting it off and I was able to clean up and remove all of the old silicone, leaving the tile underneath in tact. I know some of these are tiled in and some are glued on top like mine was, I got lucky that mine was glued on.