DIY Chair Seat Cushion Upholstery (Step-by-Step)
In my mom’s kitchen refresh, I wanted to give her some updated stools but she didn’t want to spend very much on the upgrade. I found some inexpensive stools from Amazon with one problem – they had an upholstered seat that didn’t really go well with the overall design scheme.
That is not a big deal, however, because reupholstering those bad boys is such an easy DIY project. I’ll take you through the DIY chair seat cushion upholstery project, step-by-step – so you can do it too!
Table of Contents
- The Stools
- Supplies
- Step 1 – Remove the Seat
- Step 2 – Remove the Old Fabric
- Step 3 (Optional) – Replace the Seat Foam
- Step 4 – Cut New Seat Cushion Fabric
- Step 5 – Start Upholstering the Seat Base
- Step 6 – Remove Excess Fabric
- Step 7 – Replace the Dust Cover
- Step 8 – Reattach your New Cushion to the Chair
- Step 9 – The New Chairs and a Cost Breakdown
- Shop This Post:
- You Might Also Like:
This post may contain affiliate links. That means if you purchase anything from these links I earn a small commission, at no extra cost to you! This helps support my blog, so thank you!
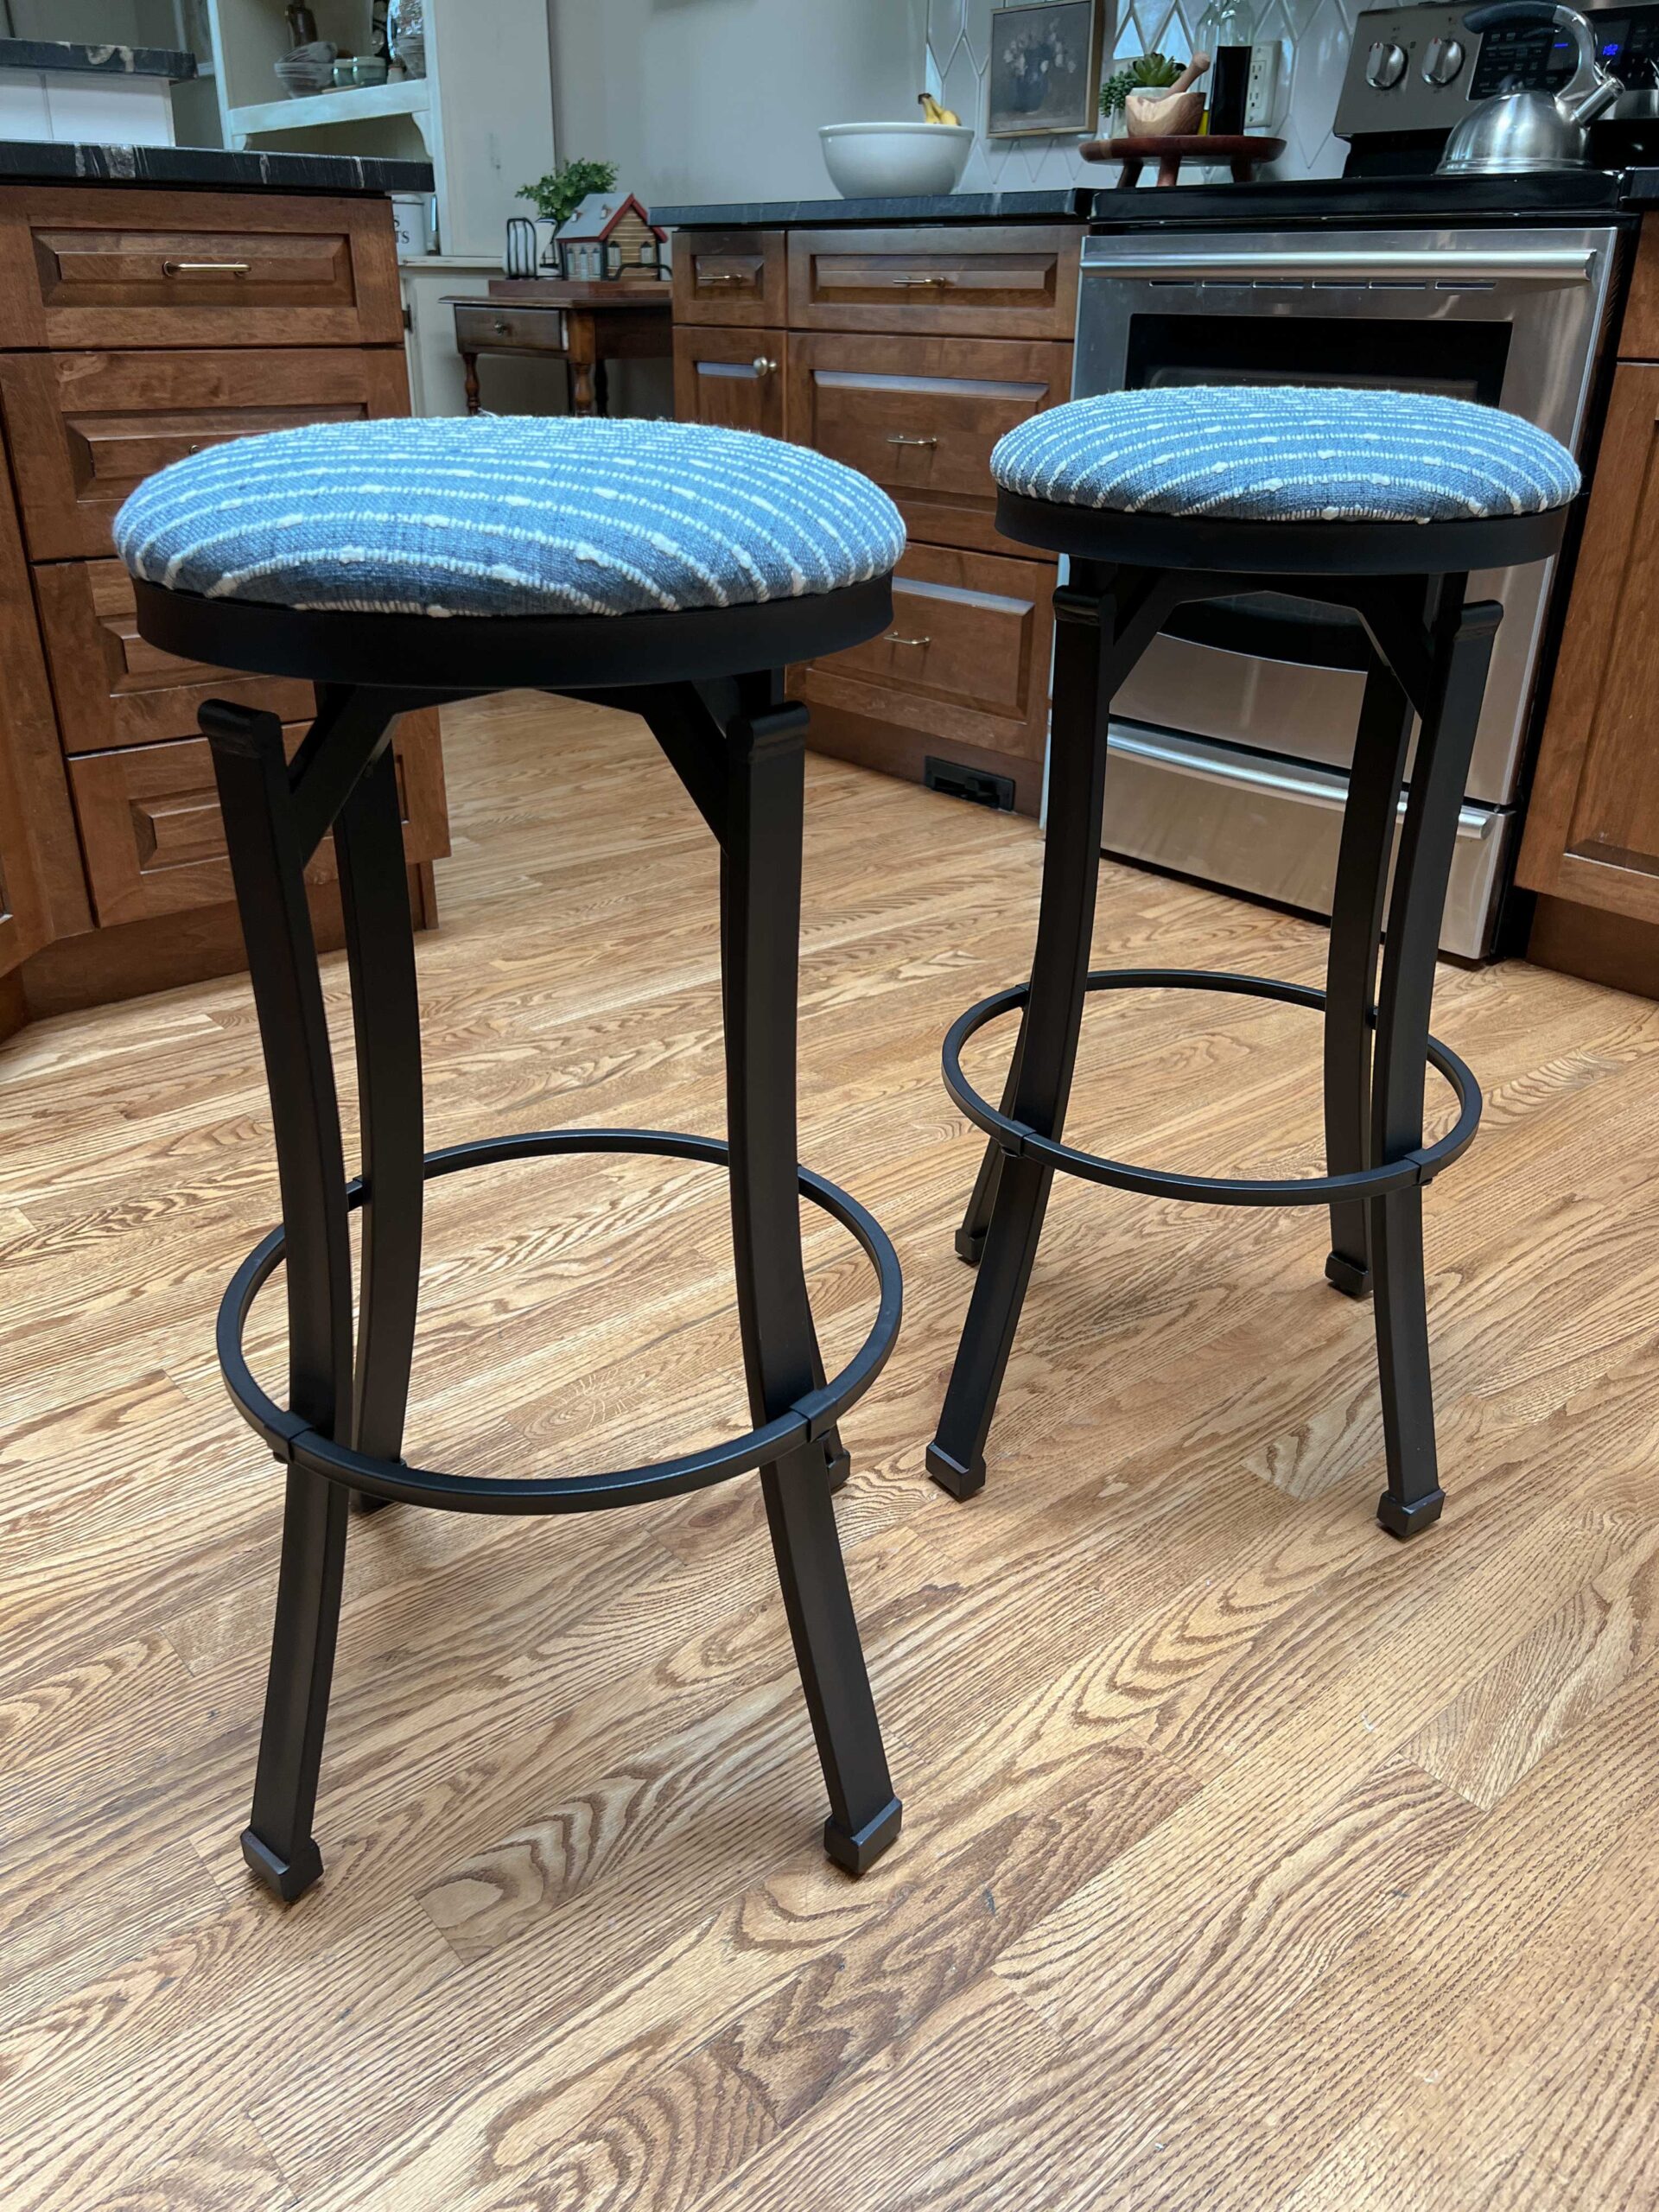
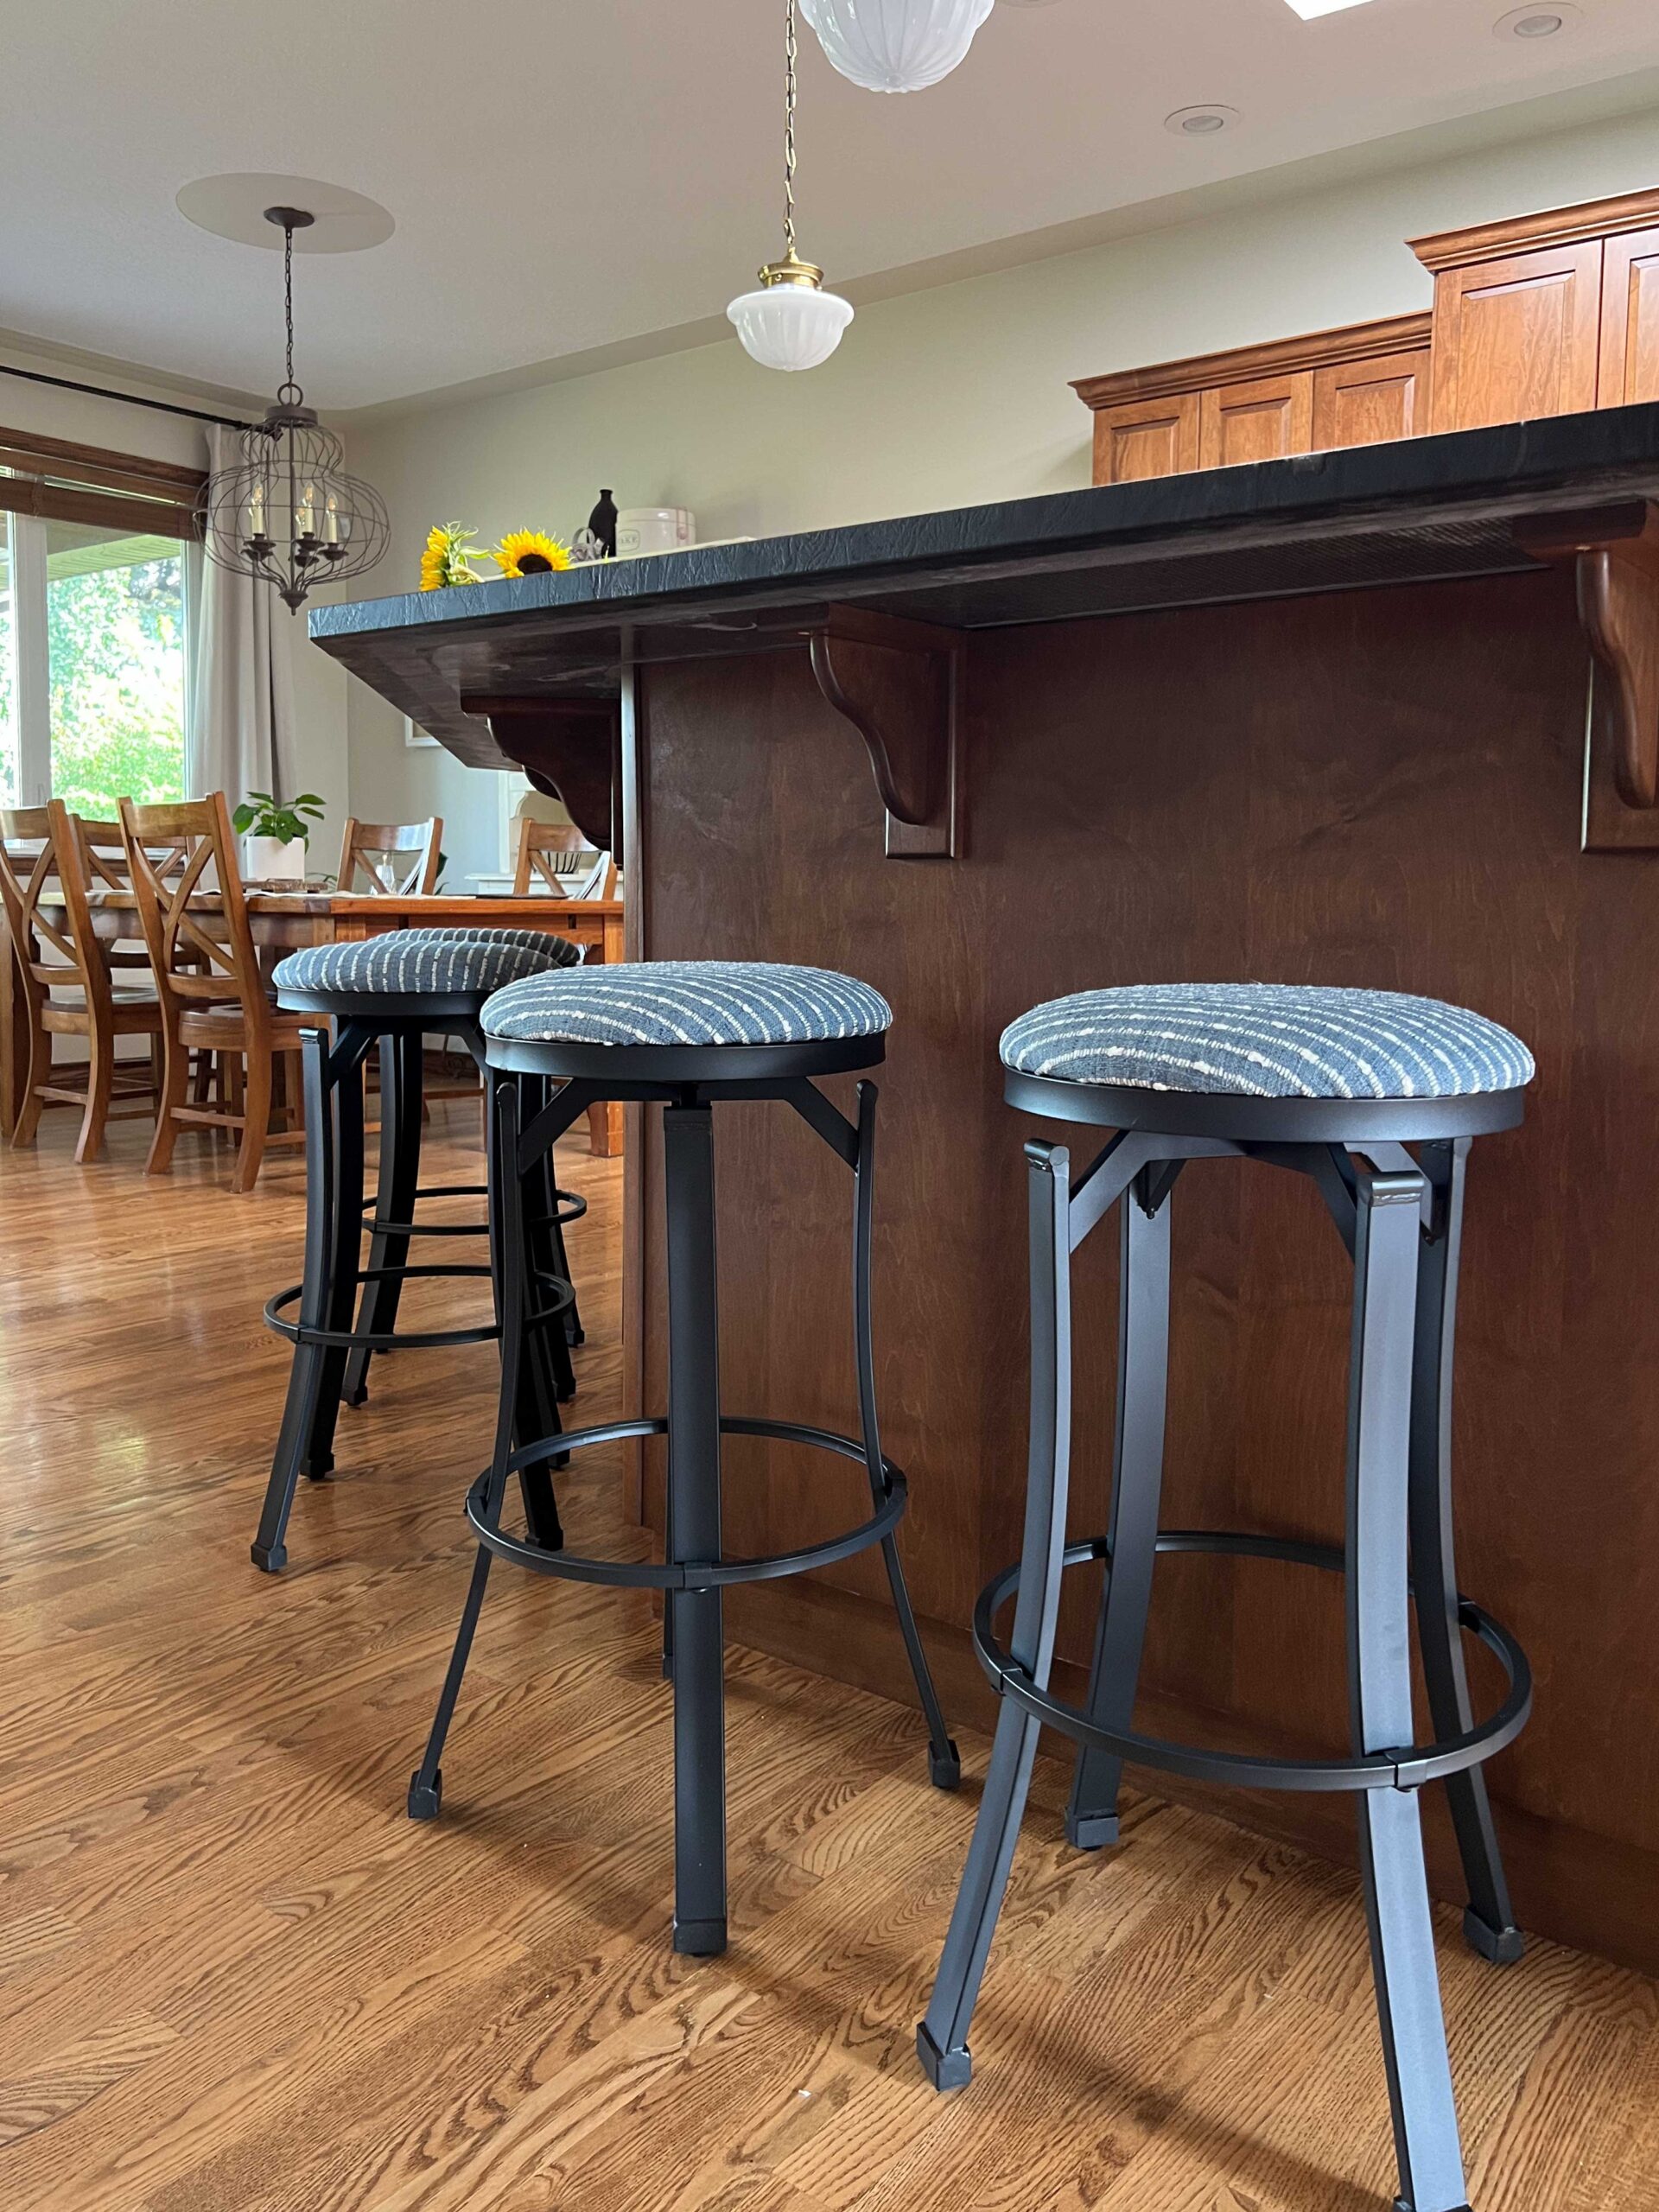
The Stools
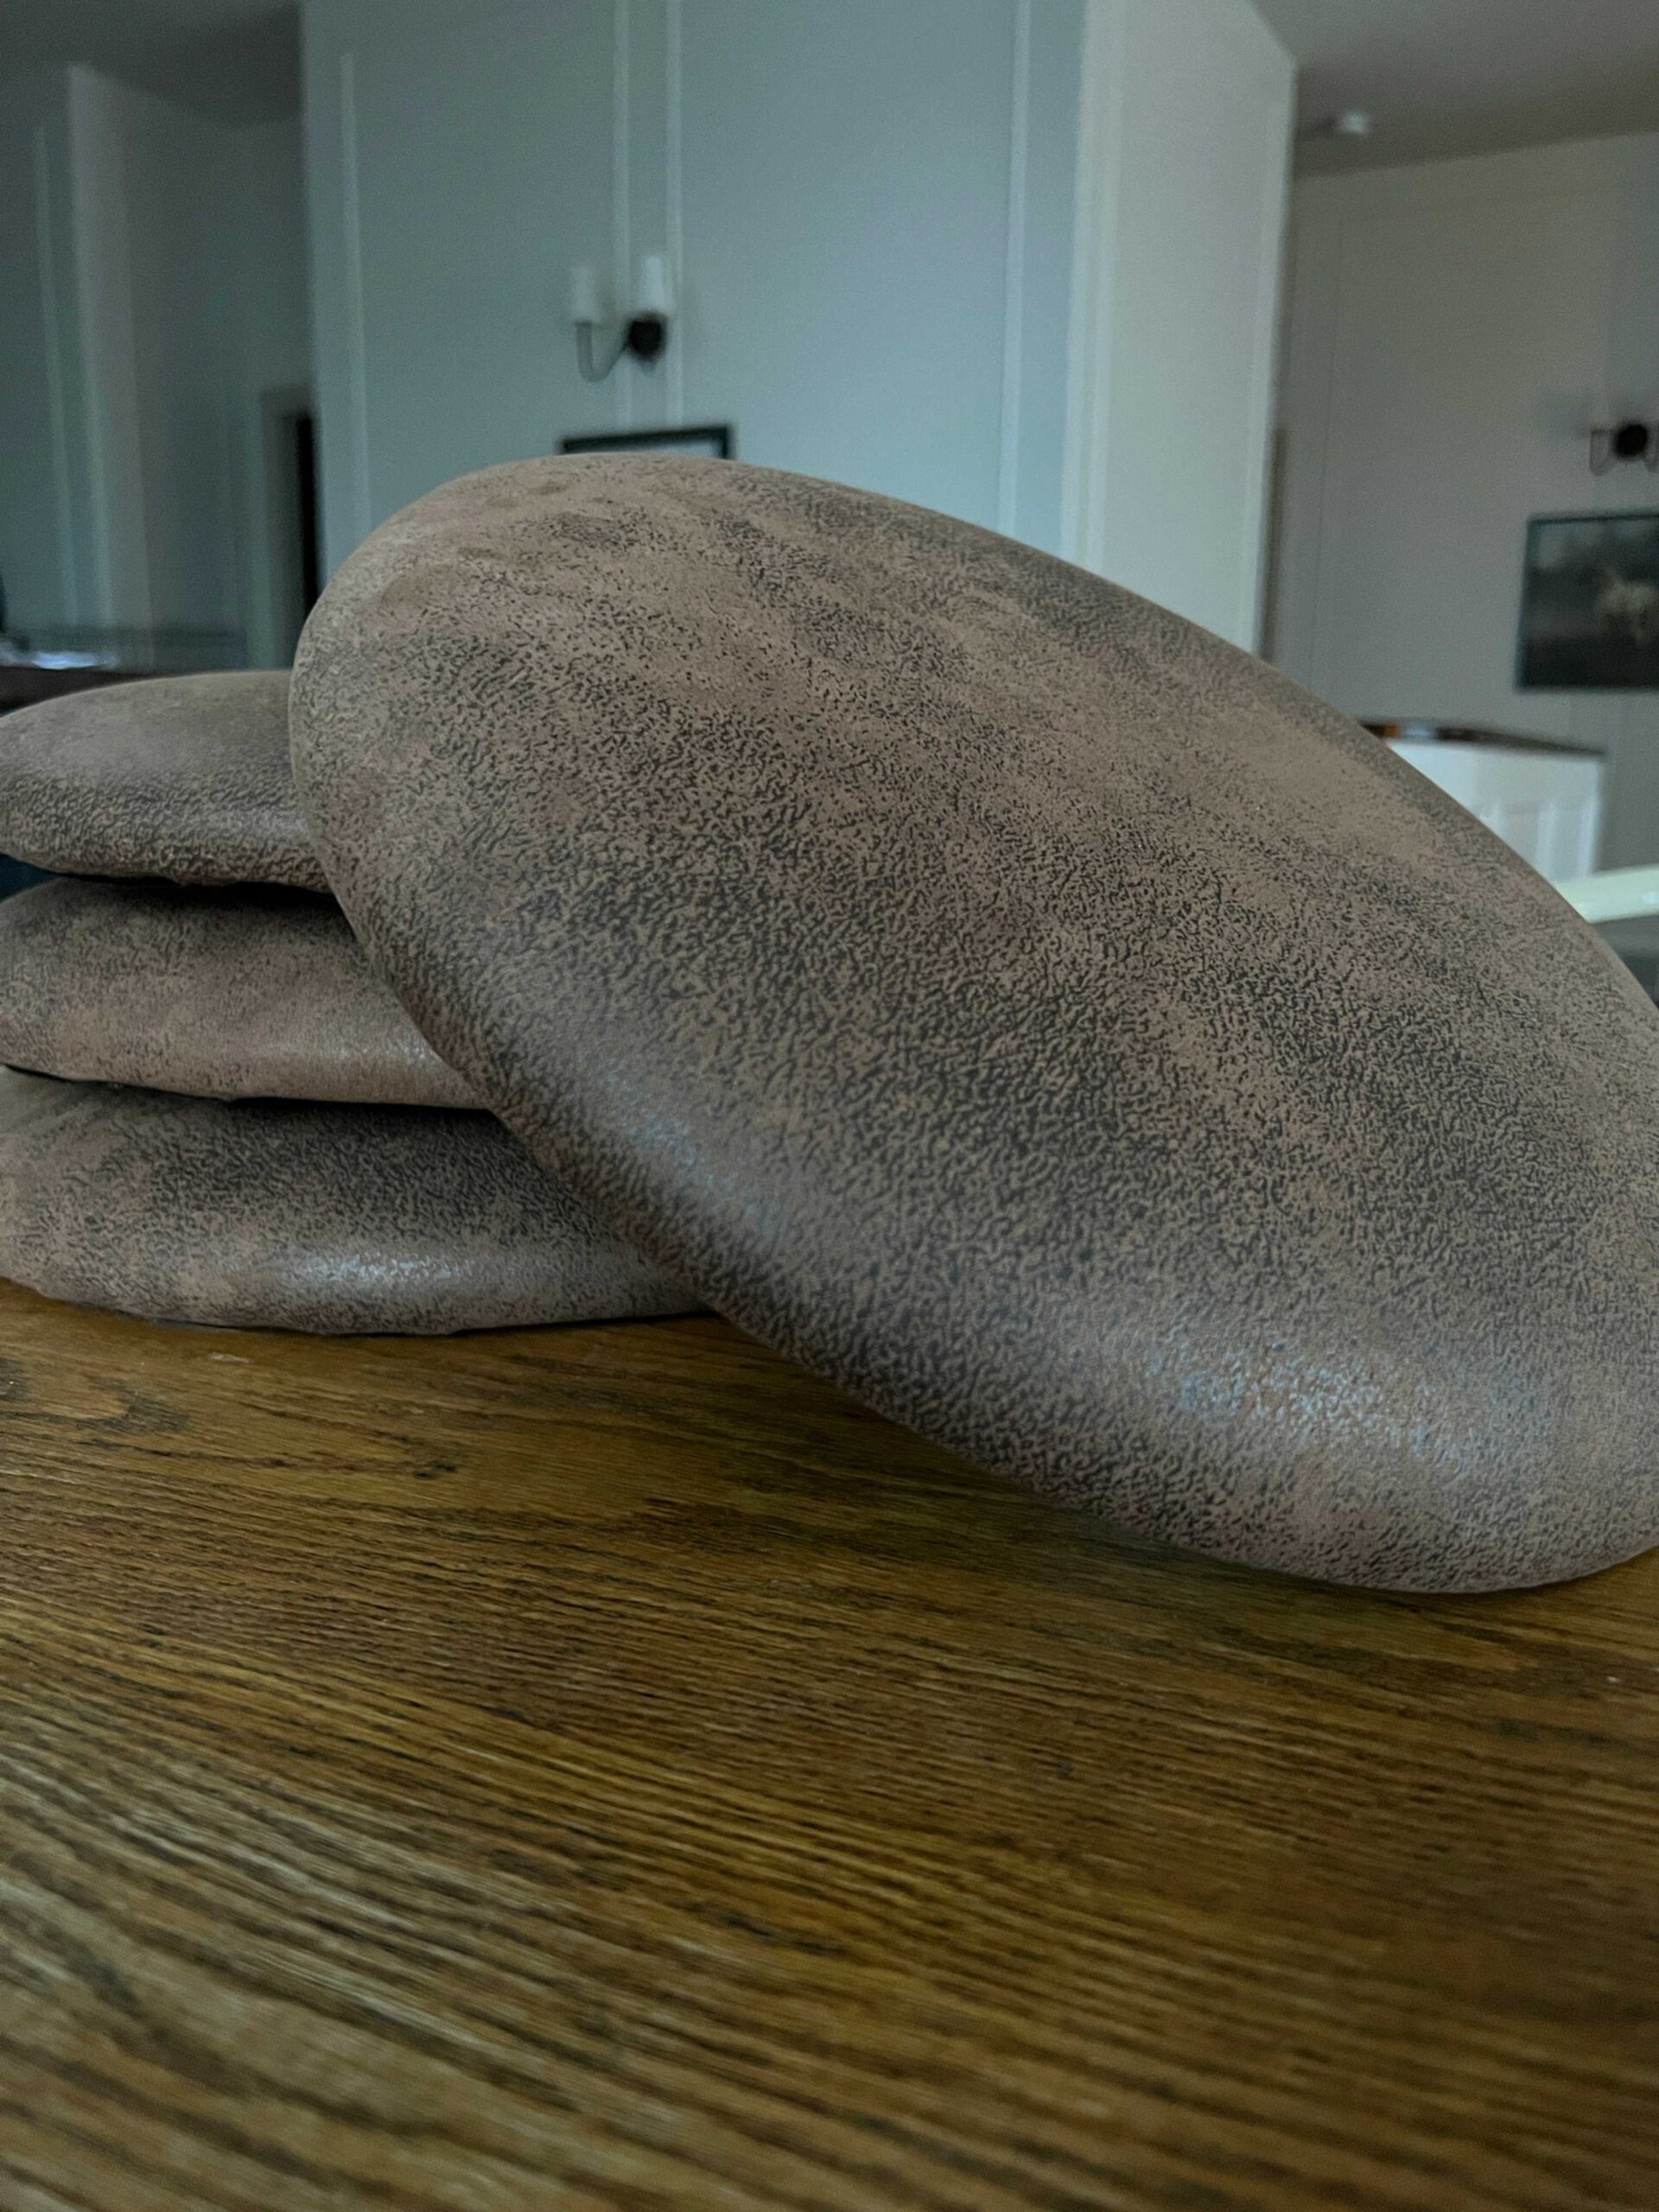
The stools we bought were pretty inexpensive and they had a cool shape, and they swivel! Almost perfect. However we thought the seat could be a bit better, they had faux leather chair cushions which we wanted to update with some colour.
I brought a bunch of my Tonic Living Fabric samples over for her to have a look at and she chose this pretty blue fabric. She has a lot of blue in her house and this will be a nice tie-in for the kitchen. She ordered some fabric to cover the seats, and when it arrived I took the seats home to work on them.
Have you ever found some very cool old chairs that you loved but they had tired-looking old upholstery? This is a fantastic way to give those a new life!
Supplies
The tools and supplies needed for this project are very minimal and beginner-friendly!
- Stools or Chairs (These are the ones my Mom bought!)
- New Fabric (We used this fabric from Tonic Living)
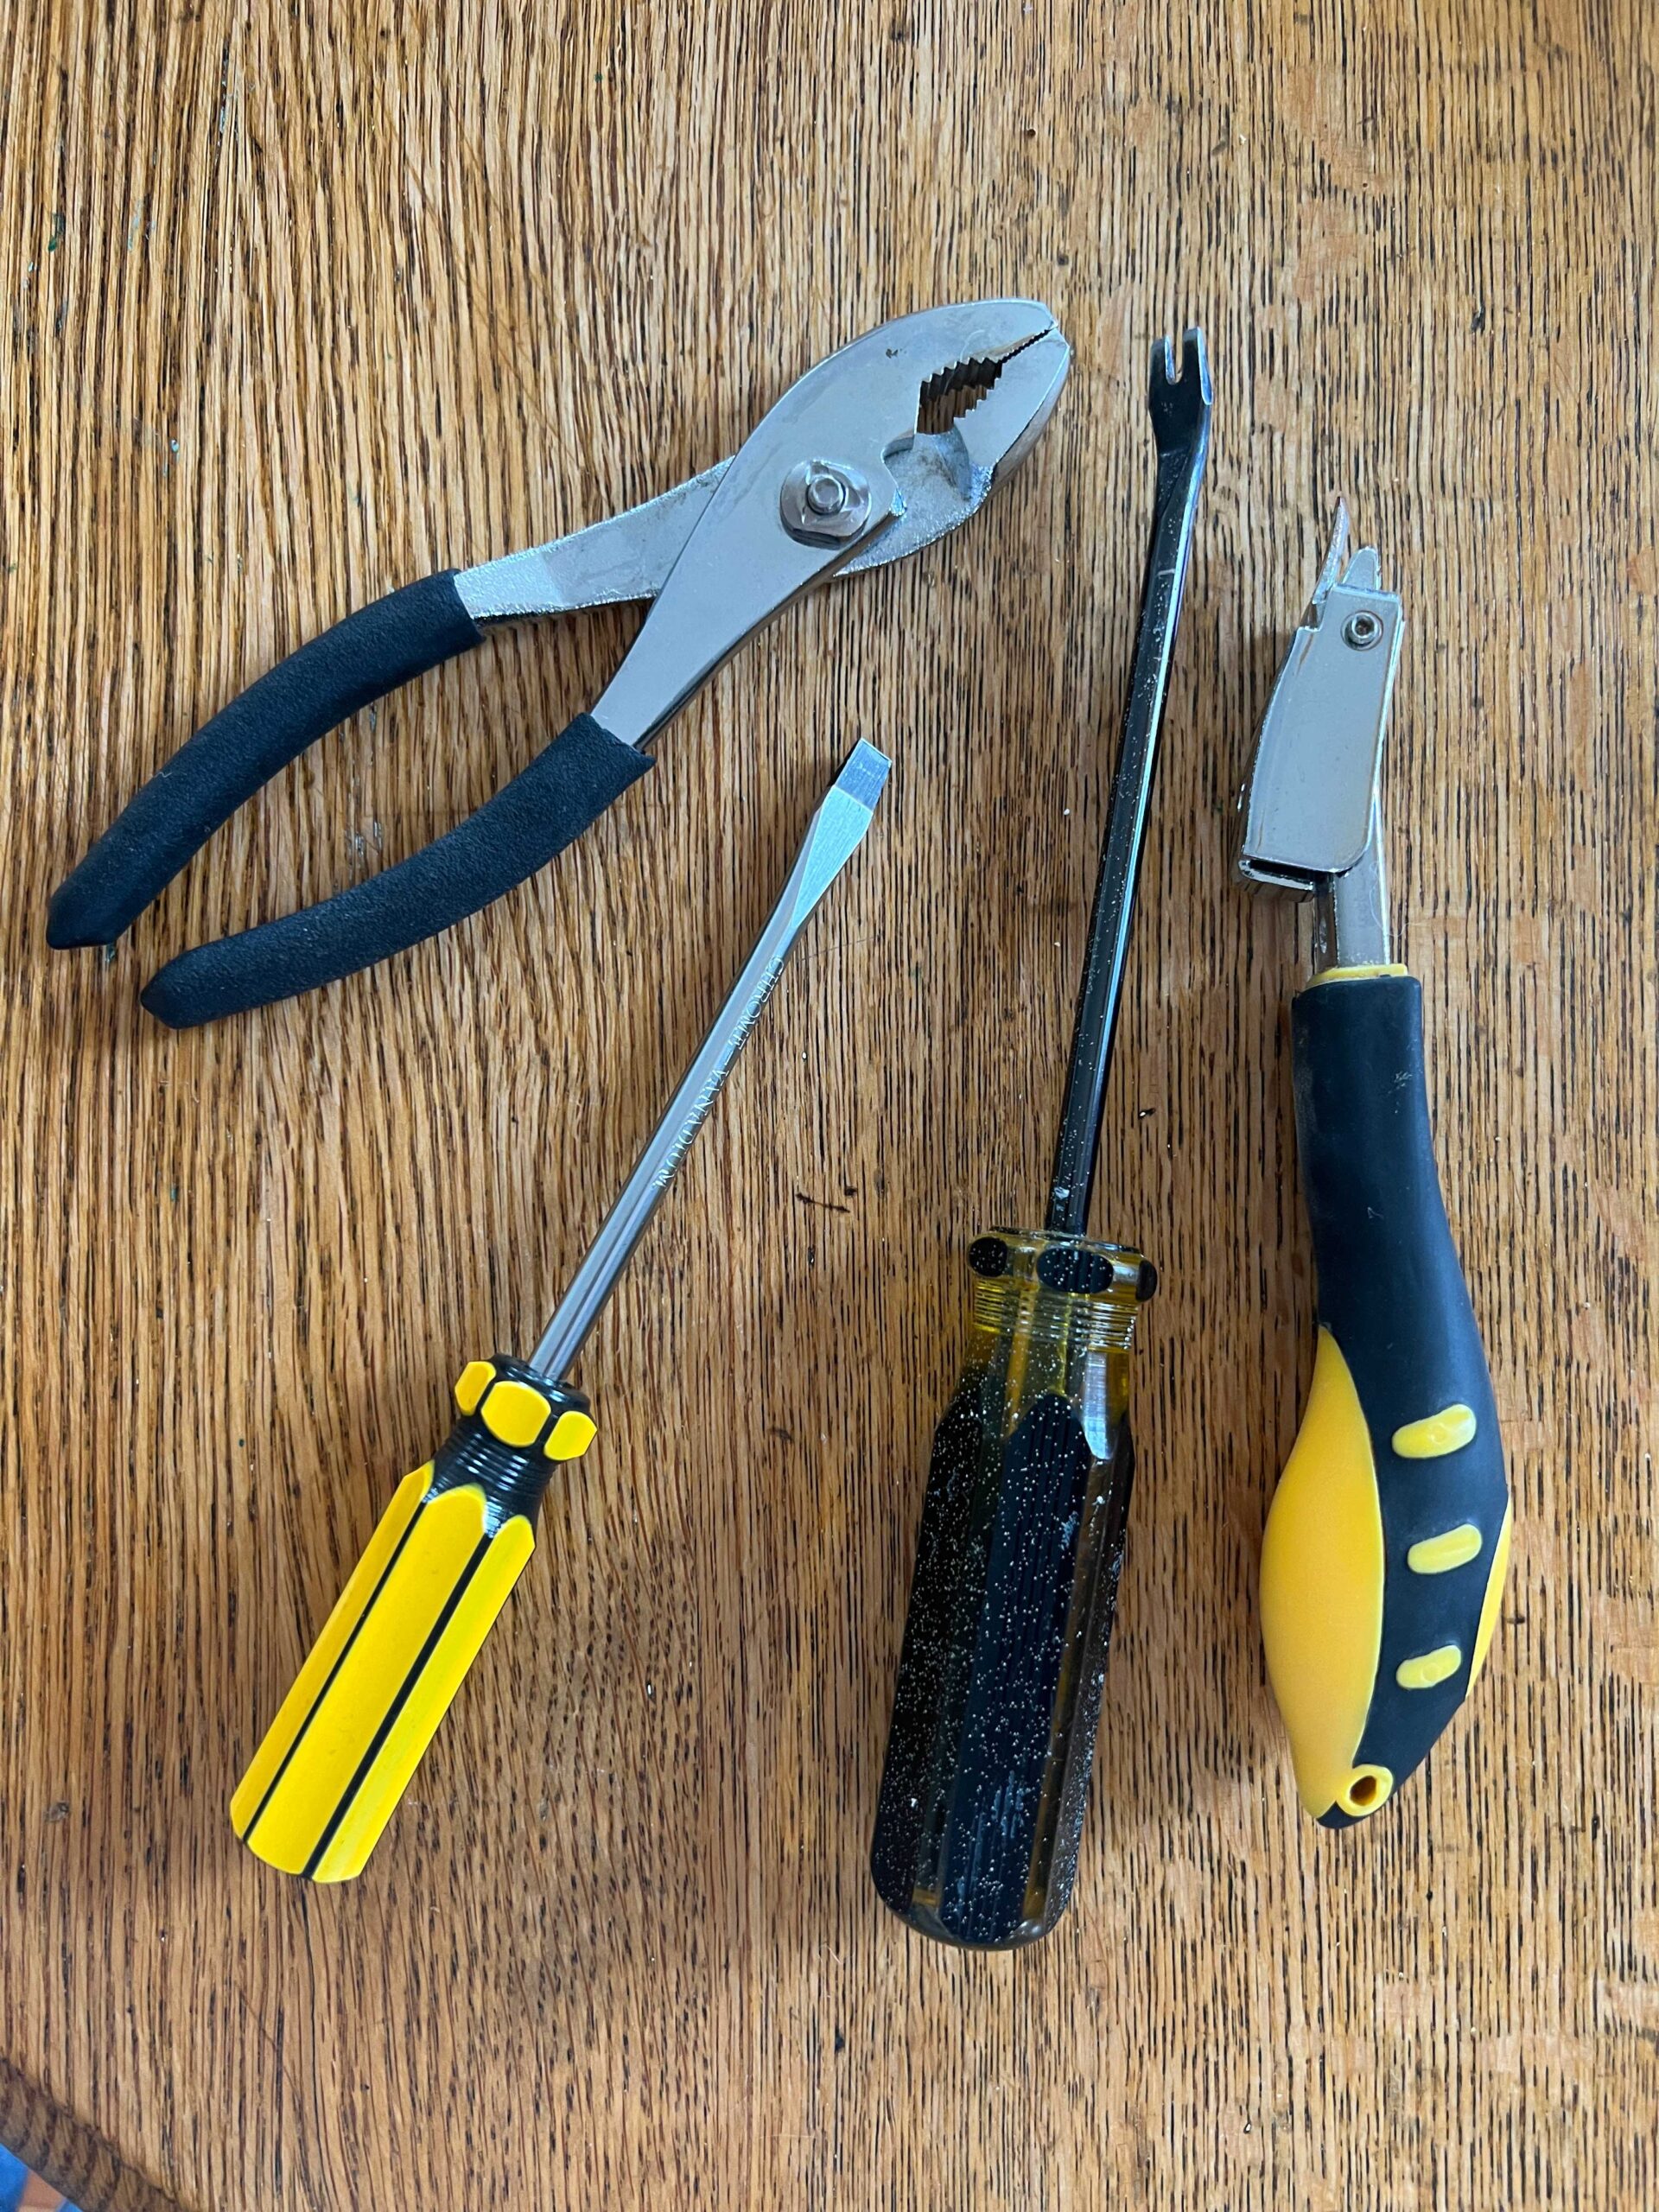
- Staple remover or Flathead screwdriver and pliers
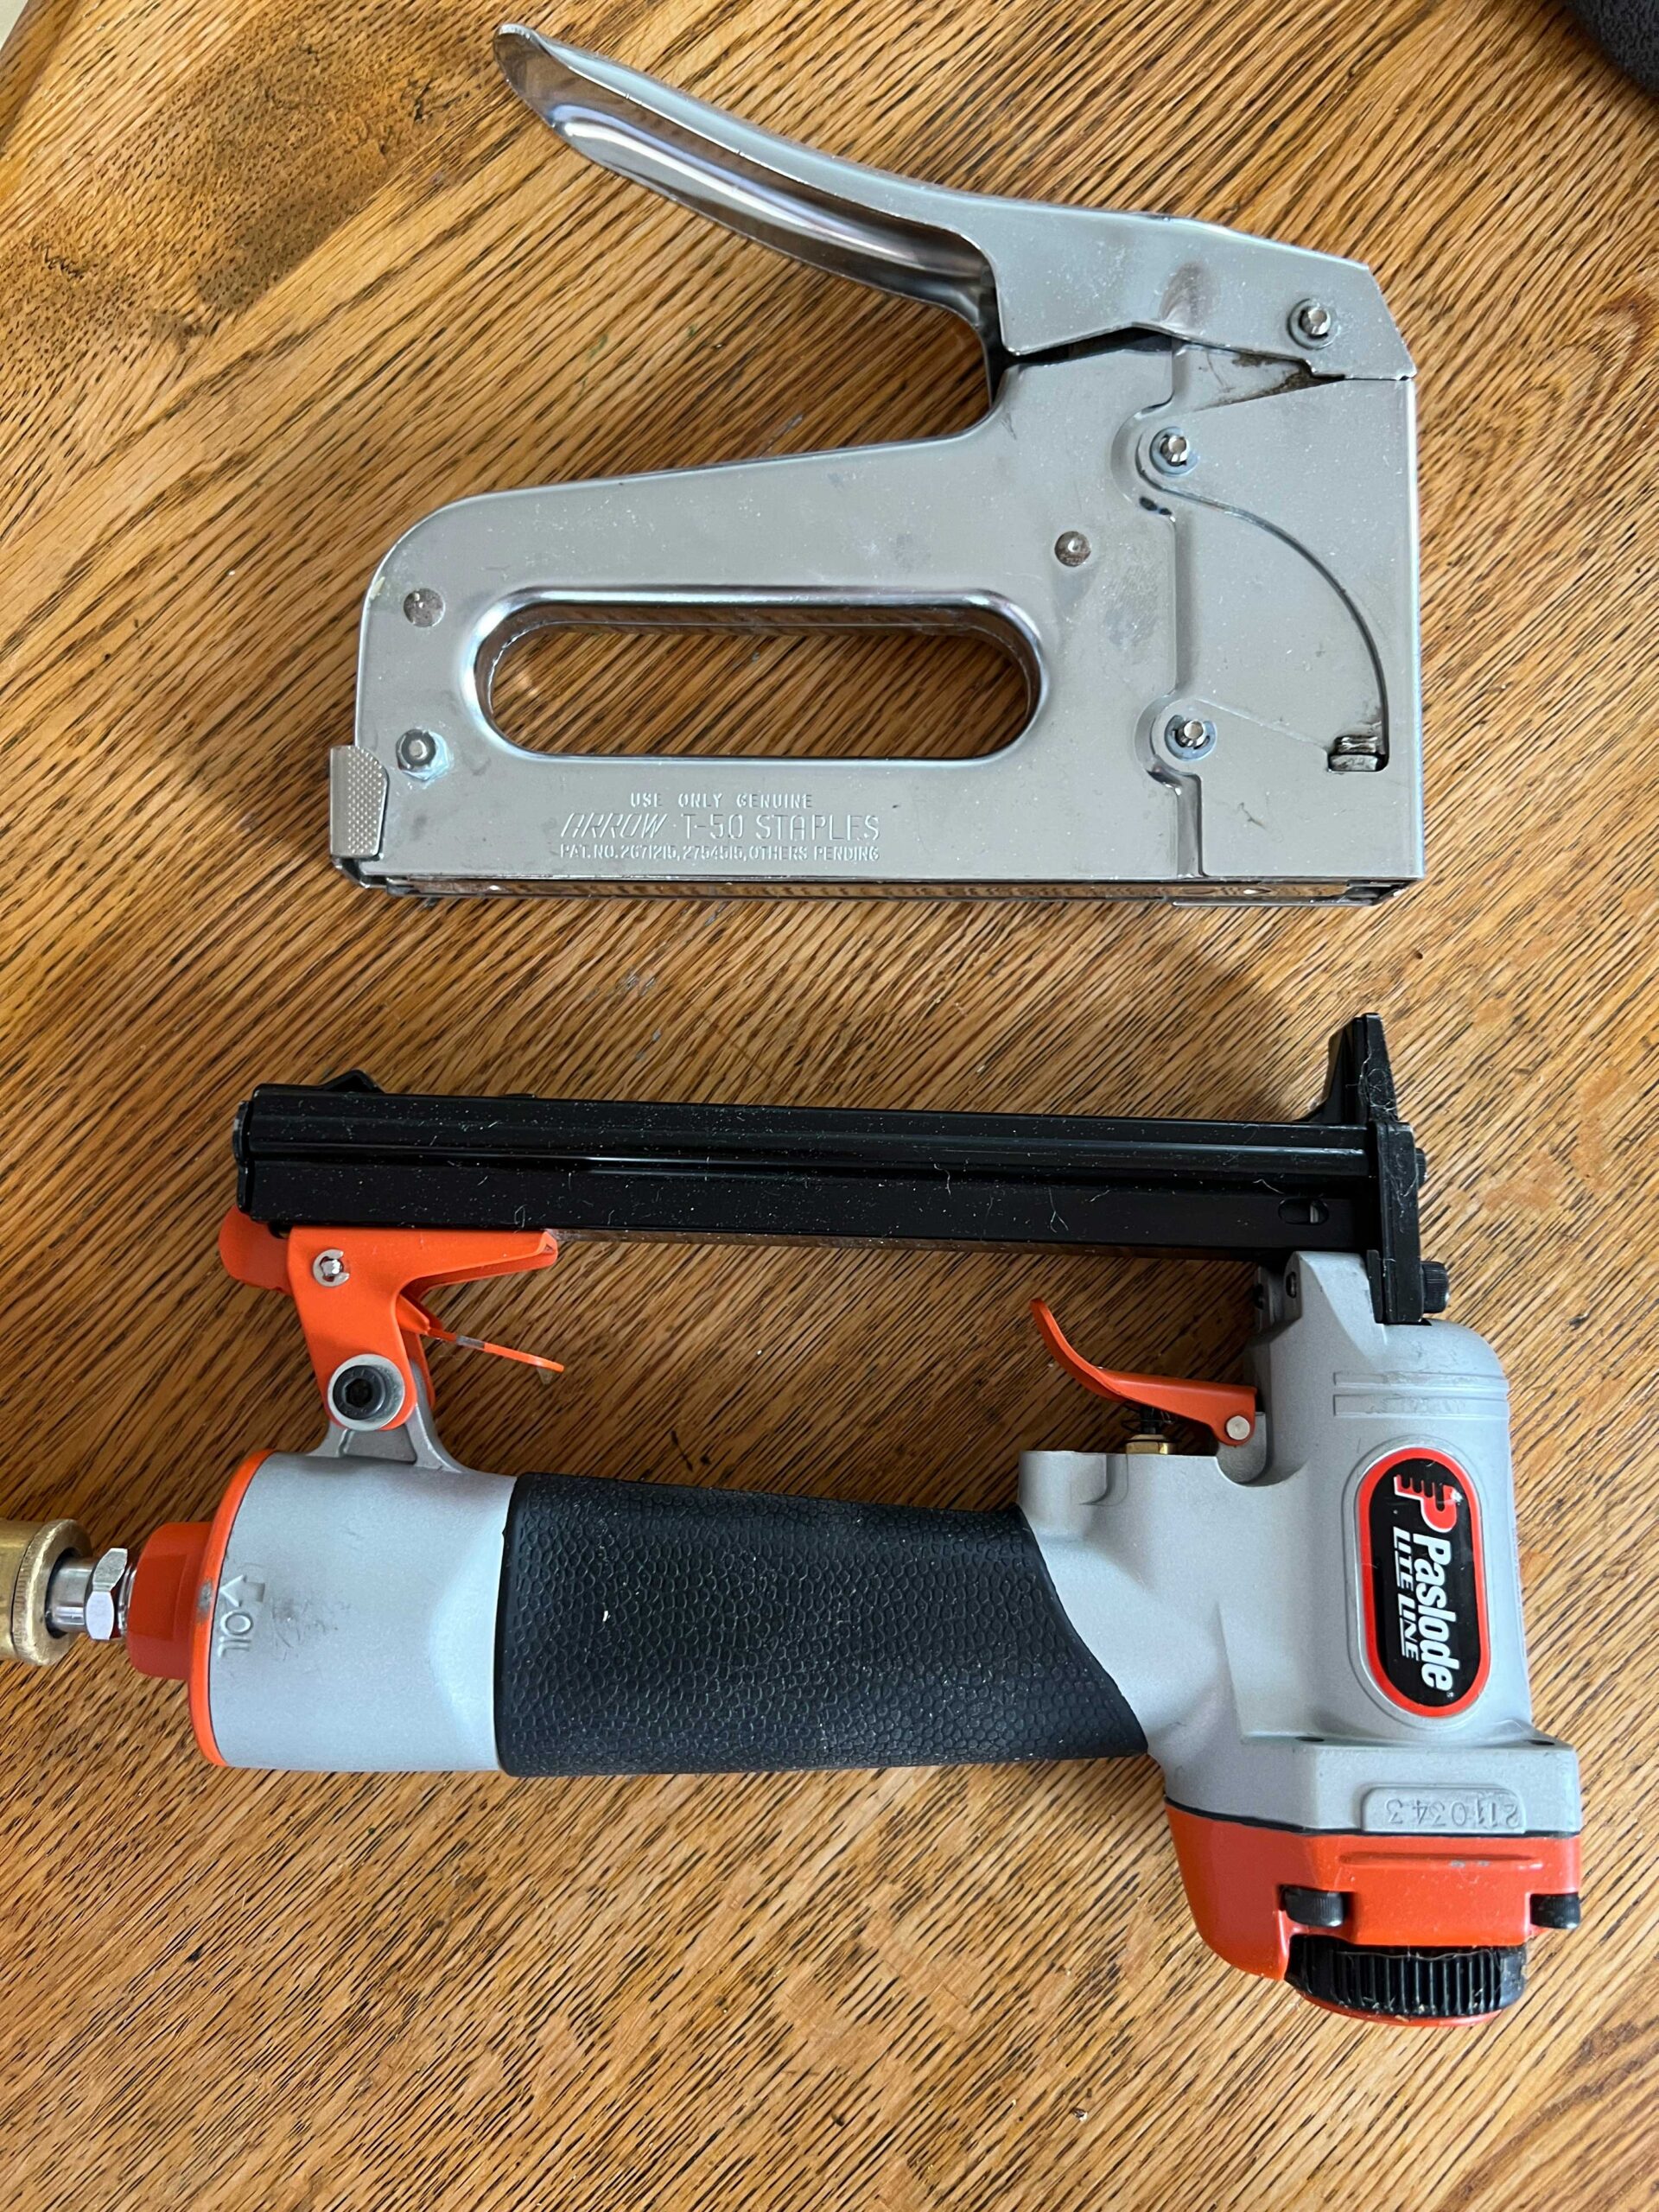
- Staple Gun (Manual, Electric, or Air Powered will all work!)
Step 1 – Remove the Seat
If your chair or stool seats are on existing chairs, you will need to remove the seat from the chair or stool. Flip the chair over and see how the seat is attached to the chair frame. Usually, it is only a few screws that attach the original seats to the frame.
In my case, I held off on the assembly of the stools until the seats were recovered with fresh fabric.
Step 2 – Remove the Old Fabric
Some people choose to put the new fabric right on top of the existing fabric, which is something that would save you a bit of time and effort. However, I always remove the old fabric for a smooth, professional-looking finish.
In addition, if you are recovering an old worn-out chair, the fabric is probably pretty dingy and I think it’s nice to have fresh, new fabric.
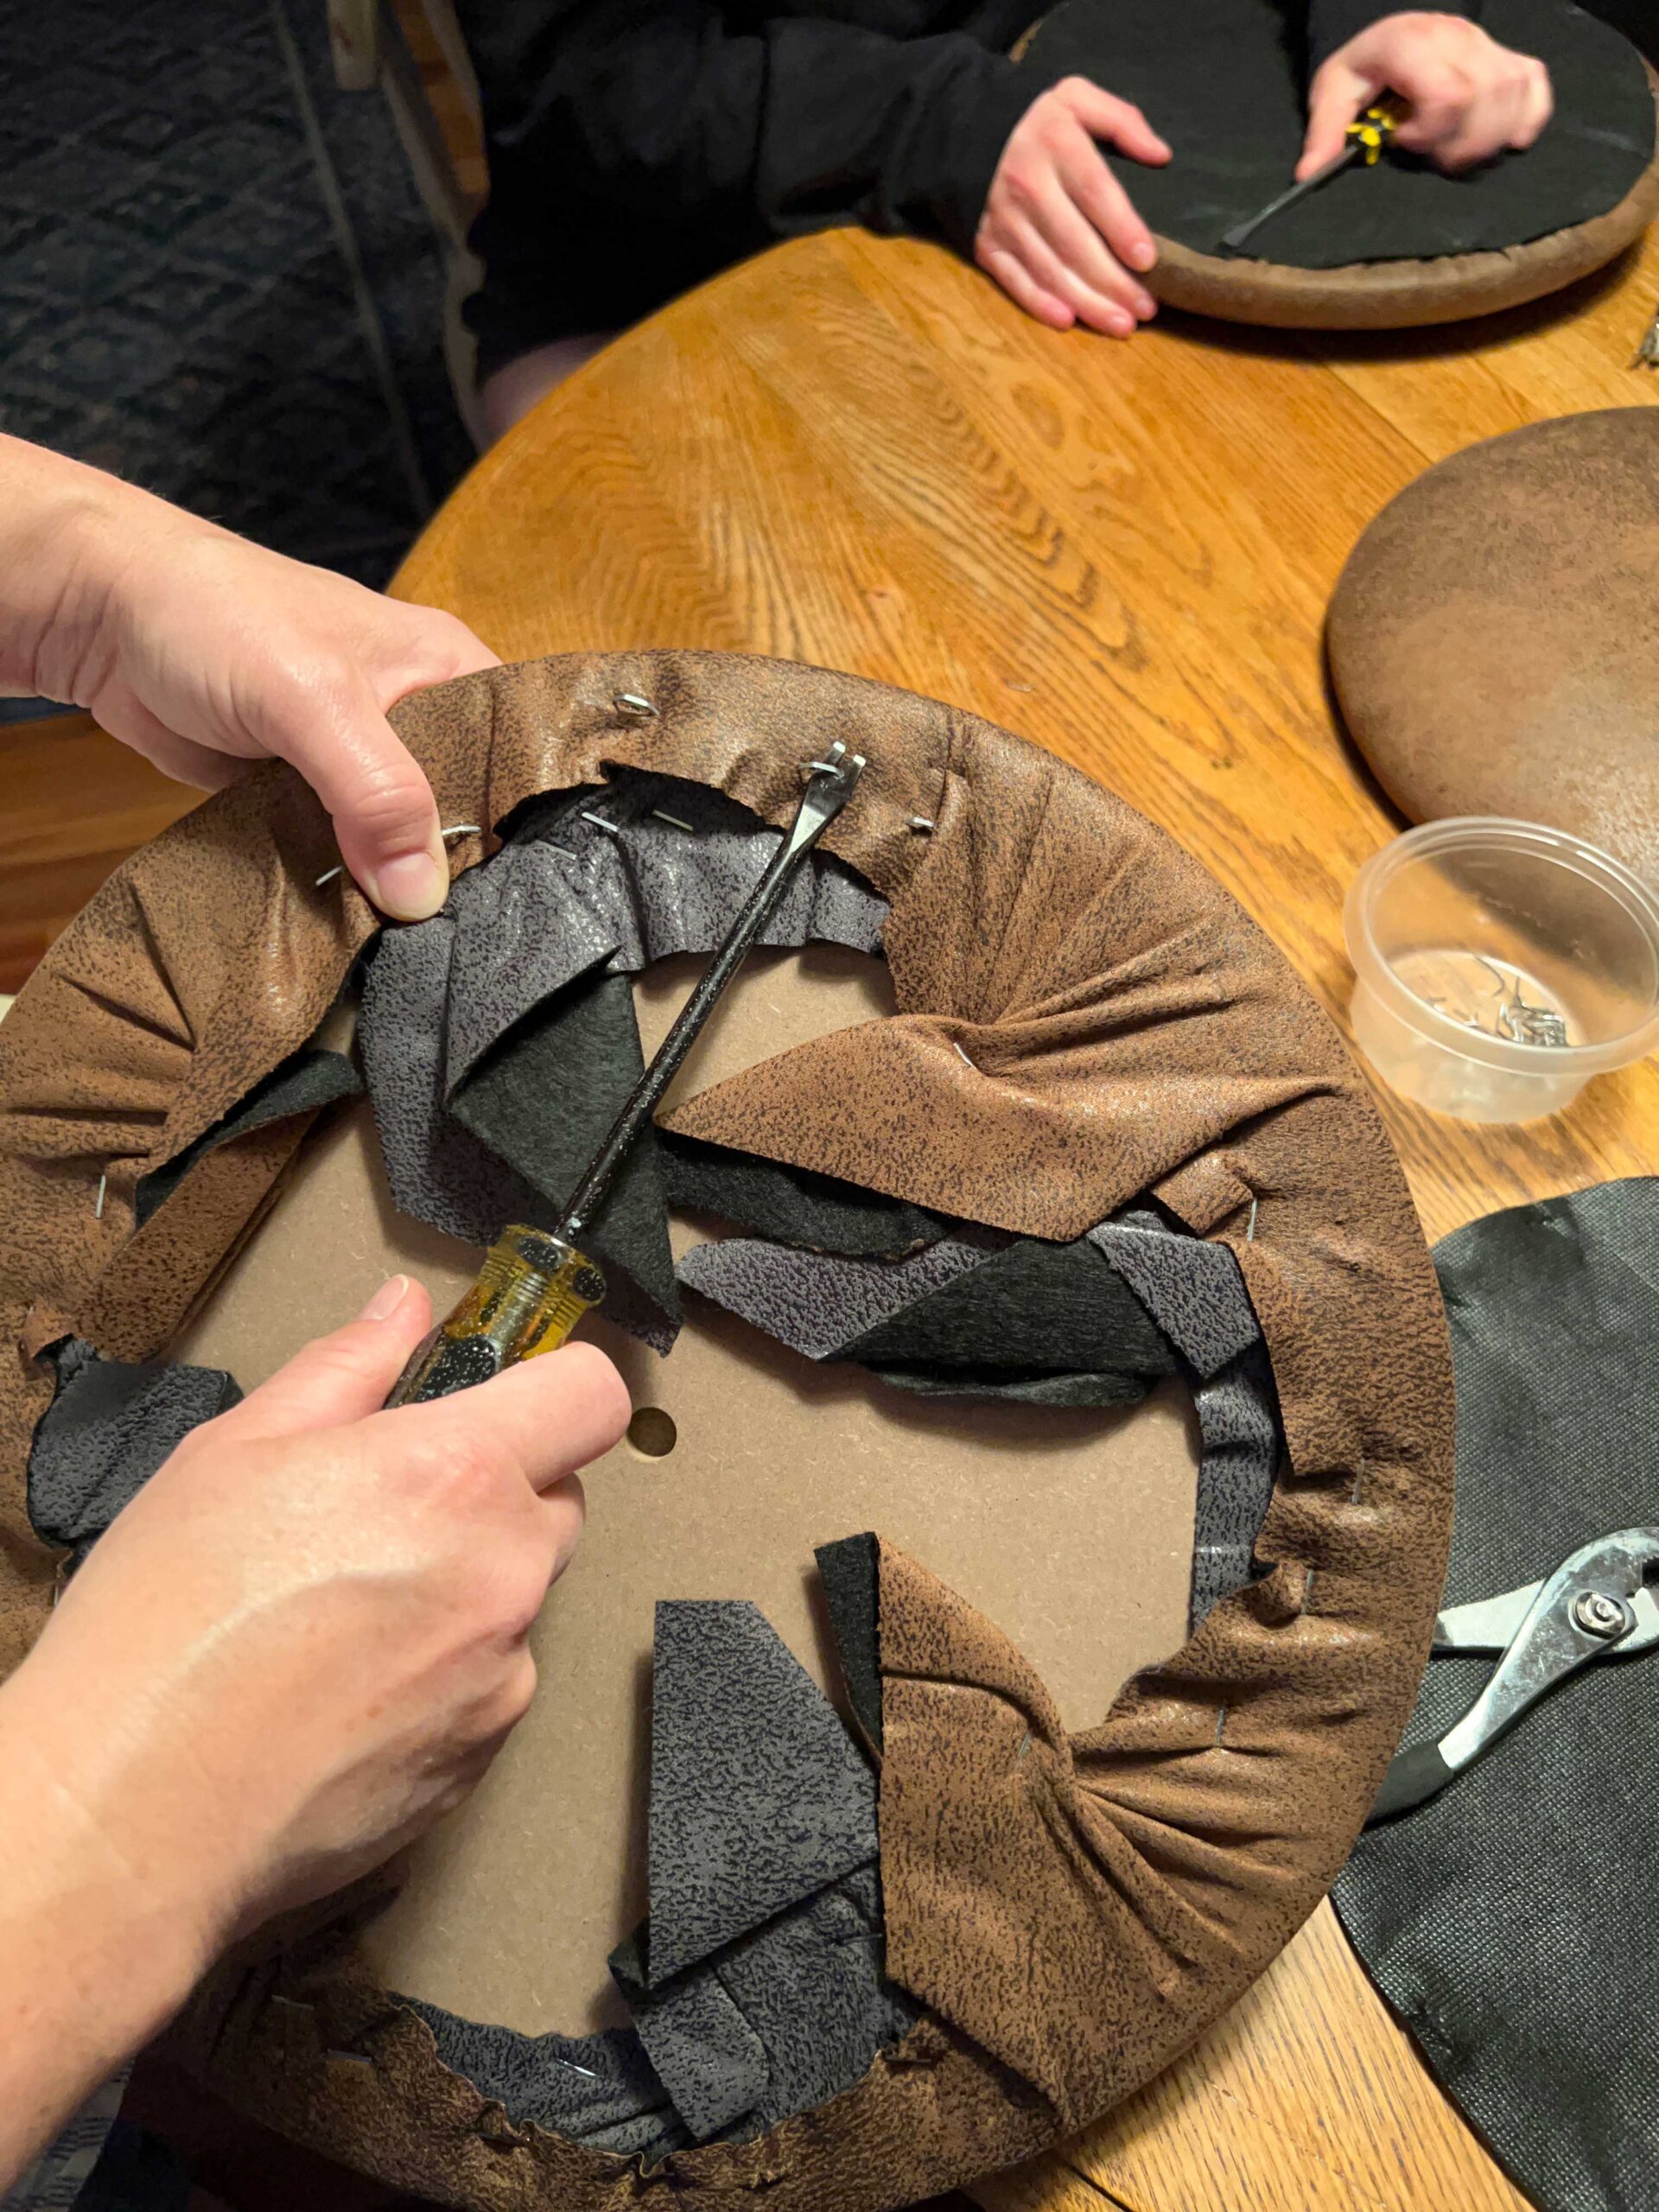
Some chairs will have a dust cover on the bottom of the seat which basically is a thin piece of paper-like fabric that covers the stapes of the seat. The dust cover is generally neatly trimmed and doesn’t fray so it gives a nice appearance to the back of the seat.
If your seat has a dust cover, remove the staples carefully and try to preserve the dust cover.

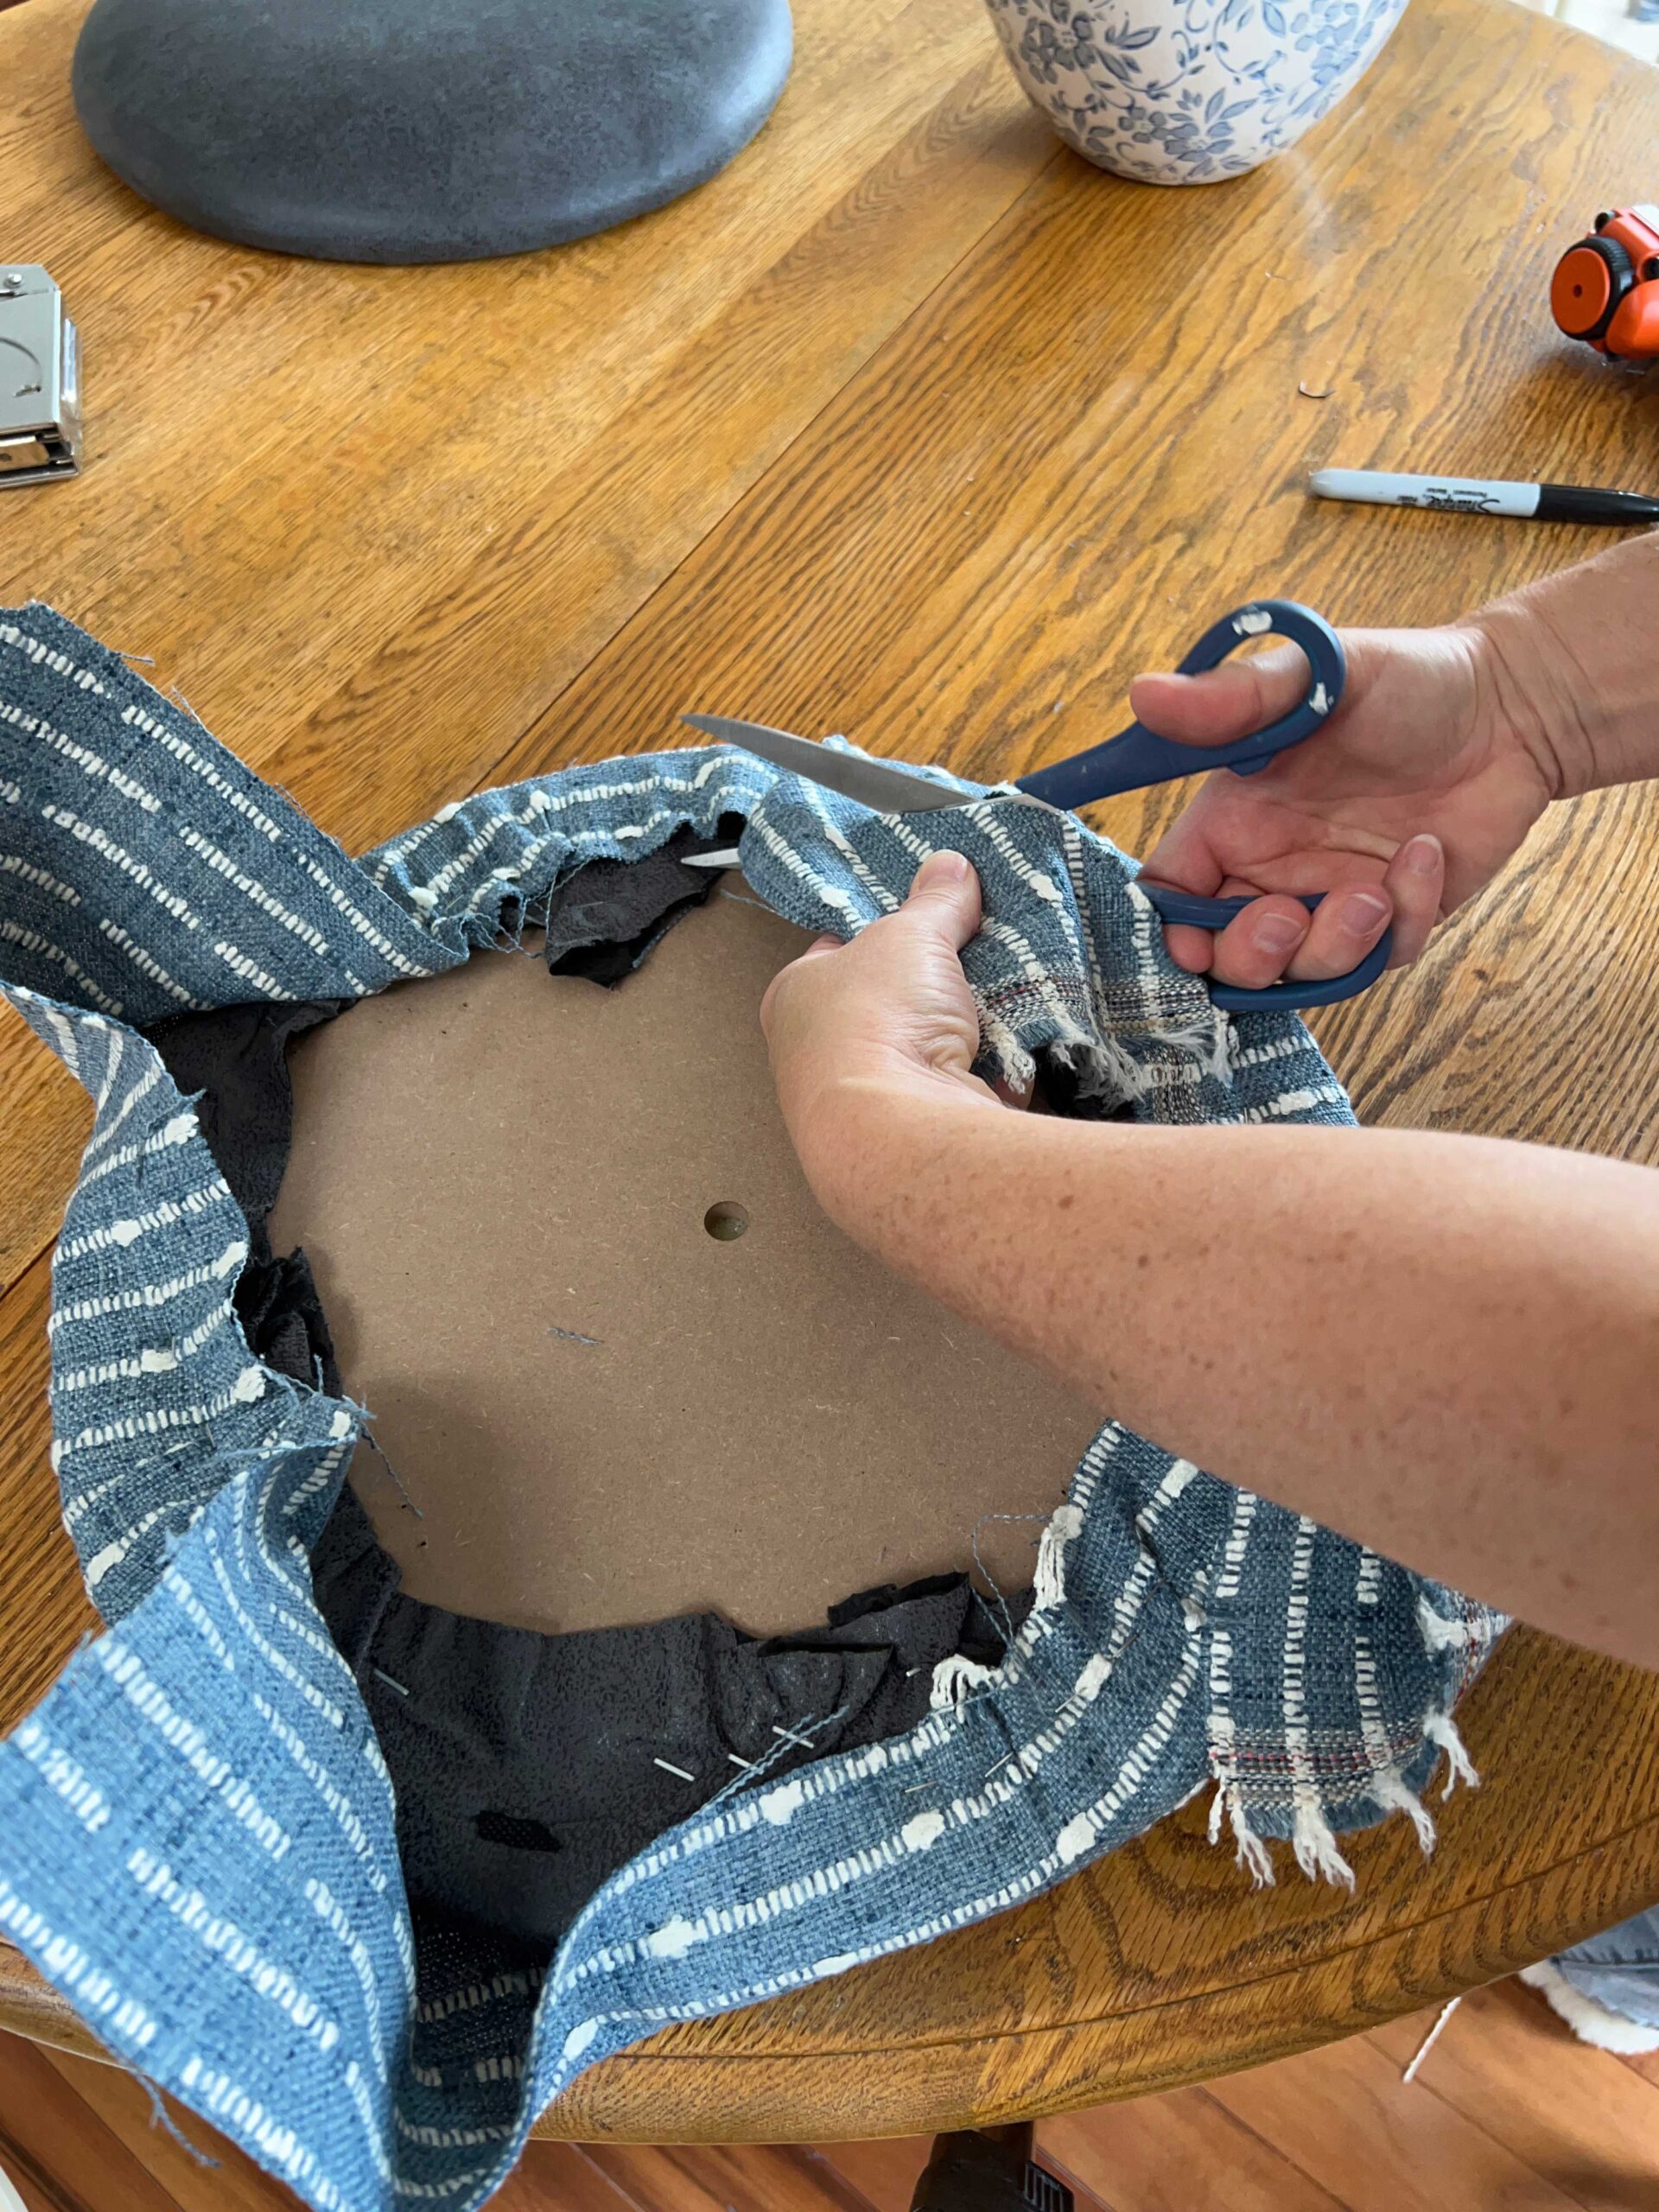
To remove the upholstery staples, you can use a staple remover or even just a flathead screwdriver. I have bought a few specialty tools over the years and no matter how you do it, it can be a pain. I like to just sit in front of the TV and work away on it, it is the worst part of the job!
Once the dust cover is removed, you will see the old seat cover fabric stapled to the bottom of the seat. Remove the staples holding that in place as well.
You may have multiple layers of fabric and I would suggest removing them all for the best result. On my mom’s stools, there was a layer of fabric under the main upholstery fabric and I decided to leave that in place. I am not sure why there was an extra layer of fabric, but it might be just the main layer they used to shape the seat foam and since my chairs were new, I decided that leaving them them would be fine.
It is up to you if you want to remove or leave any of the layers of fabric. However, if your seat cushion is old and a little more worn, you might want to take the seat right down to the original foam and consider replacing it.
Step 3 (Optional) – Replace the Seat Foam
If your seat foam is looking compressed or very dirty, you might want to consider replacing it at this point. The foam is likely attached to the seat using some sort of adhesive, so remove the old foam by scraping it off.
Use the old seat foam as a template to cut some new foam. An easy way to cut foam is with a created knife or an electric bread knife. It doesn’t have to be perfect, the new upholstery fabric with smooth out any rough edges.
Use some spray adhesive to attach the top of the foam to the seat.
Step 4 – Cut New Seat Cushion Fabric
To determine how many yards of fabric you need, take the size of each seat and imagine that you are cutting a square a few inches greater than the largest dimension of the seat, and that is the amount that you would need per seat.
For example, if I have a 14″ diameter round seat, I will need a few inches on either side to wrap the chair so I am going to estimate that I would need about an 18″ square for each seat. If my fabric is 54″ wide, I would get 3 seats out of the width of one row. So I have 6 chairs, I would need 2 rows of 18″ so a total of 36″ of fabric which works out to one yard of fabric, in this example.
A word about buying new fabric – you do not need very much fabric for each seat, so try to get a good quality fabric that will hold up to abuse. Outdoor fabric is a good type of fabric for dining chairs as they can be wiped clean, or a high-performance fabric that can be easily cleaned and resits excess wear. Here are a few high-performance or outdoor fabrics that would work great for seats:

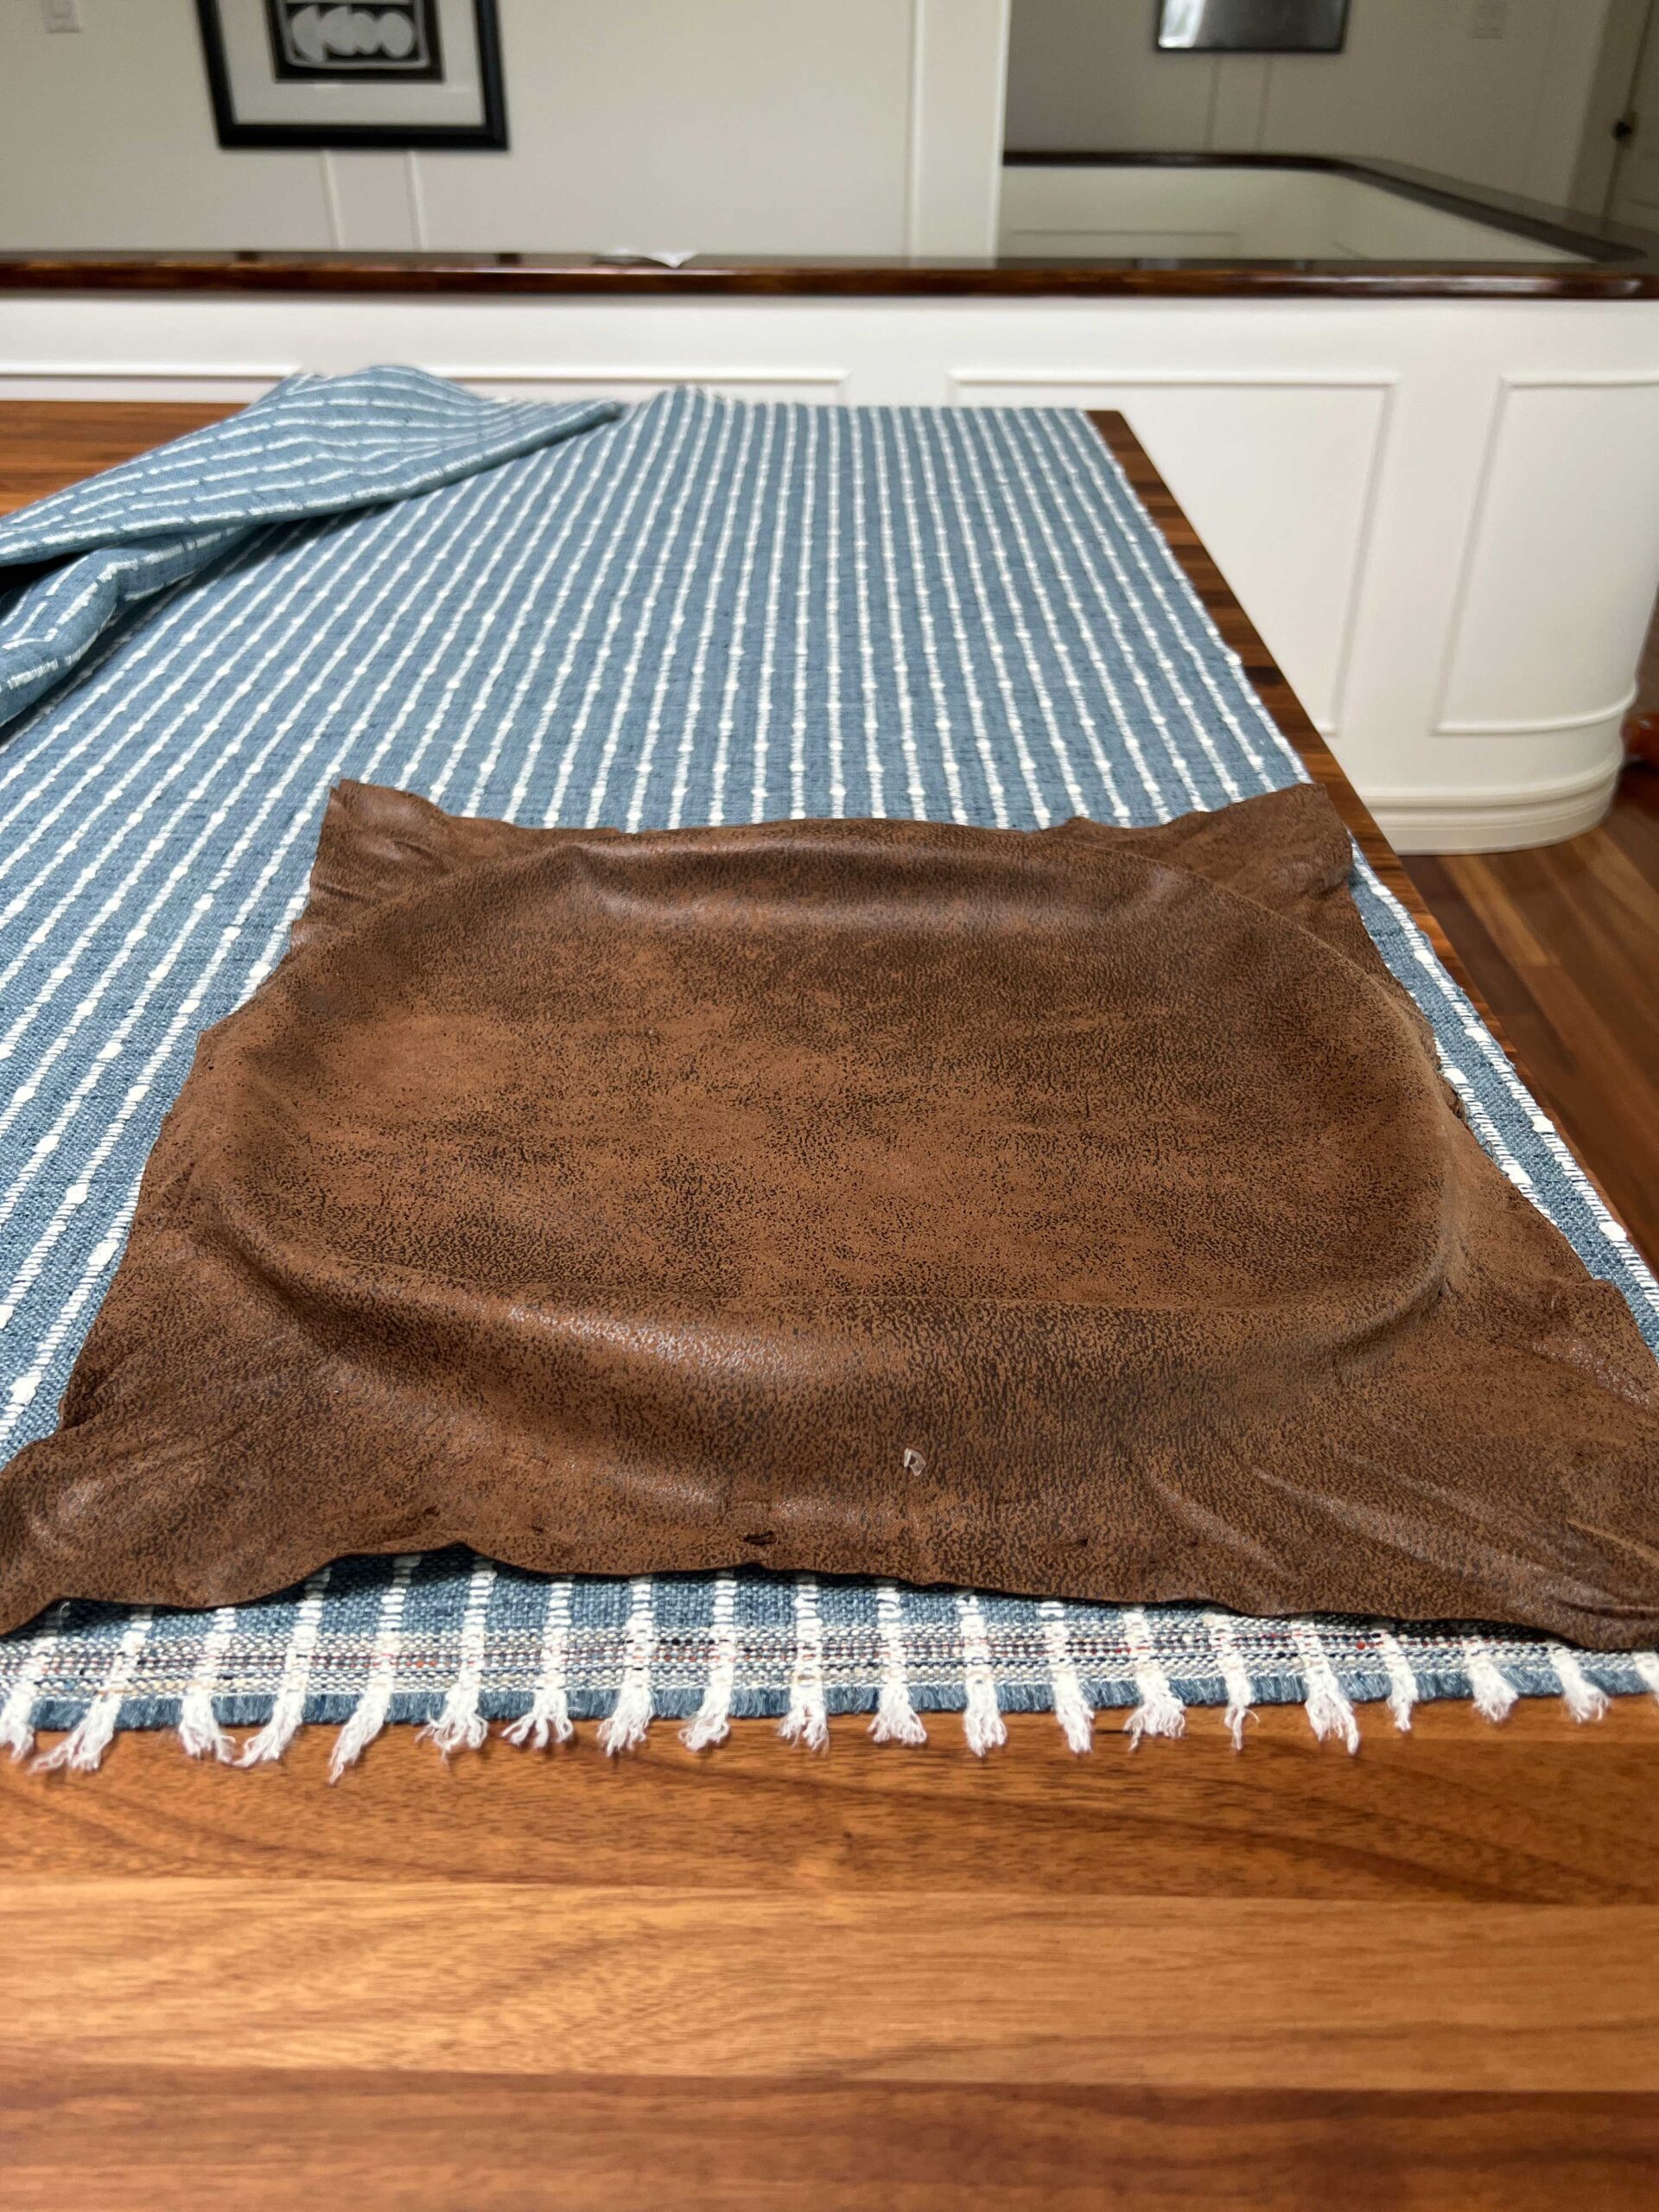
Using the old seat fabric as a guide for the shape and size, cut a new piece of fabric for the seat. Make sure that you use upholstery-grade fabric for durability. The fabric we used was from Tonic Living, and they have a lot of different fabrics that are perfect for upholstery, with Information about the fabric use on their site.

Your fabric does not have to be the perfect size, and if in doubt, cut it a little bigger to ensure that you have lots to work with. You can always trim it off a little later! Just make sure that if you are going to cut the fabric a little bigger, you allow for that in your quantity calculations.
Step 5 – Start Upholstering the Seat Base
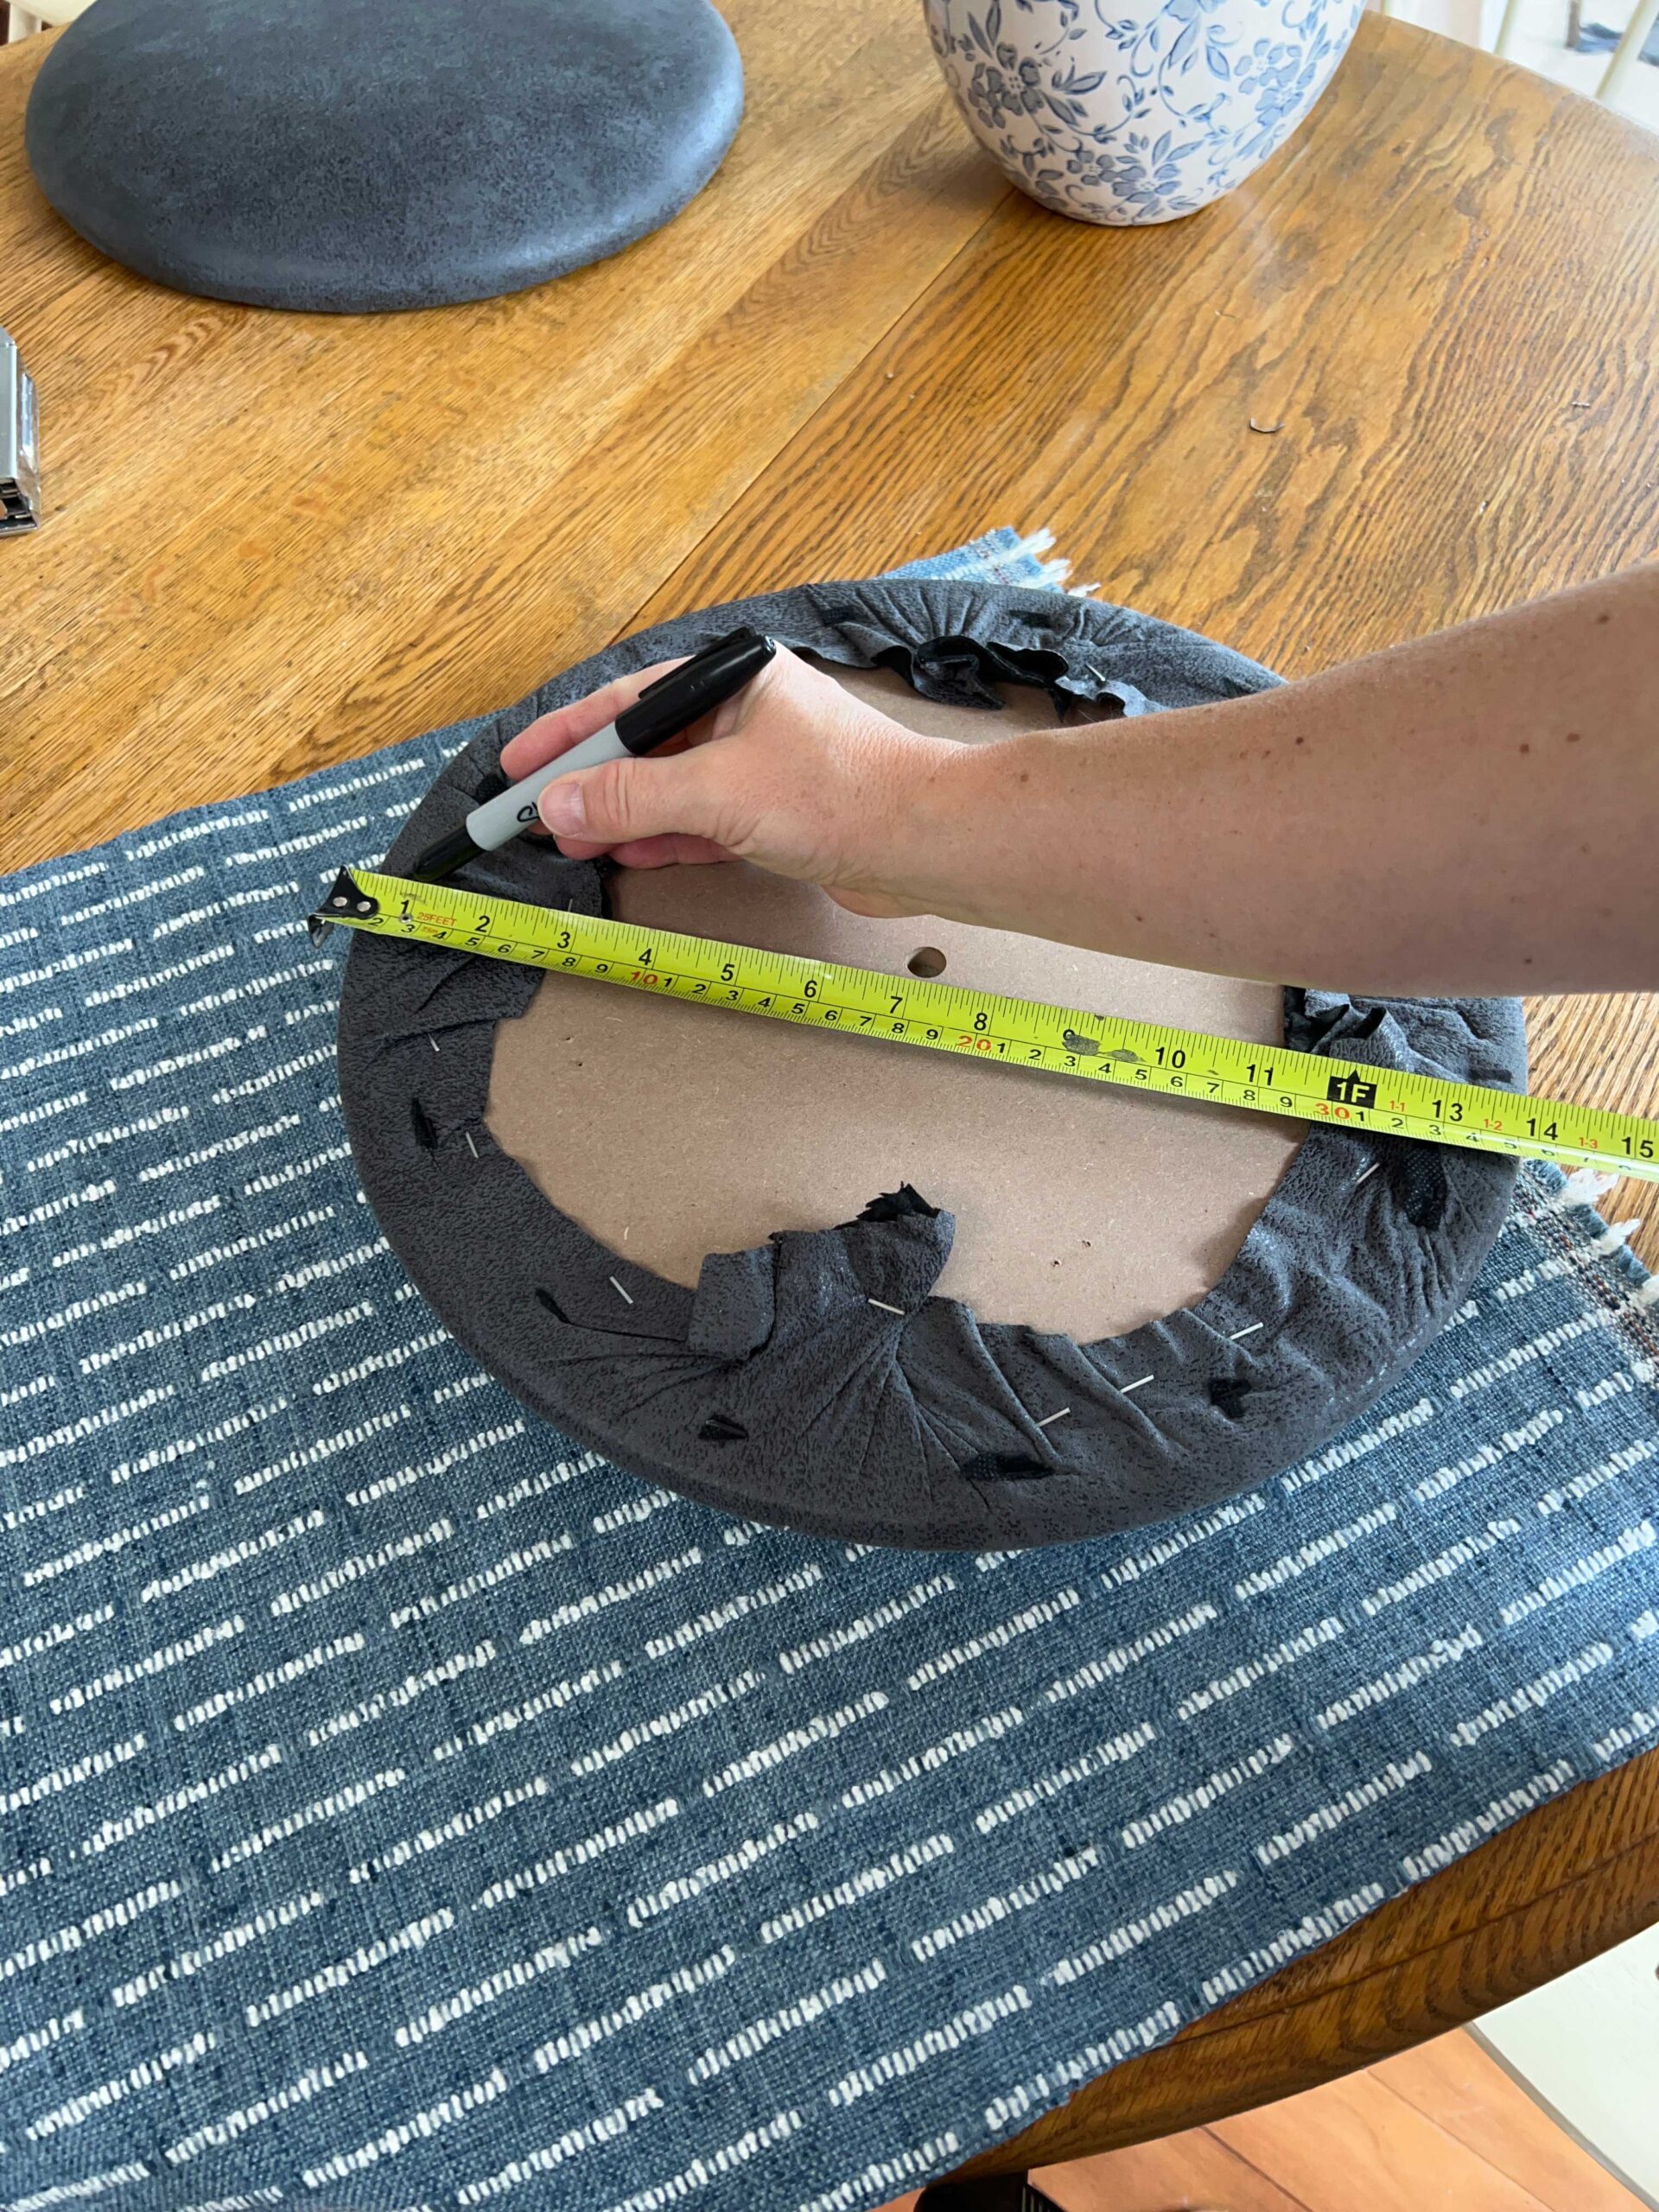
The first step before you add any staples is to line up your fabric. If you have a pattern like a stripe or plaid, you are going to want to be aware of how the pattern sits on the chair.
In my case, I had a stripe, so I marked the center of each side of the chair end with a pencil and I ensured that one of the stripes lined up with this mark.
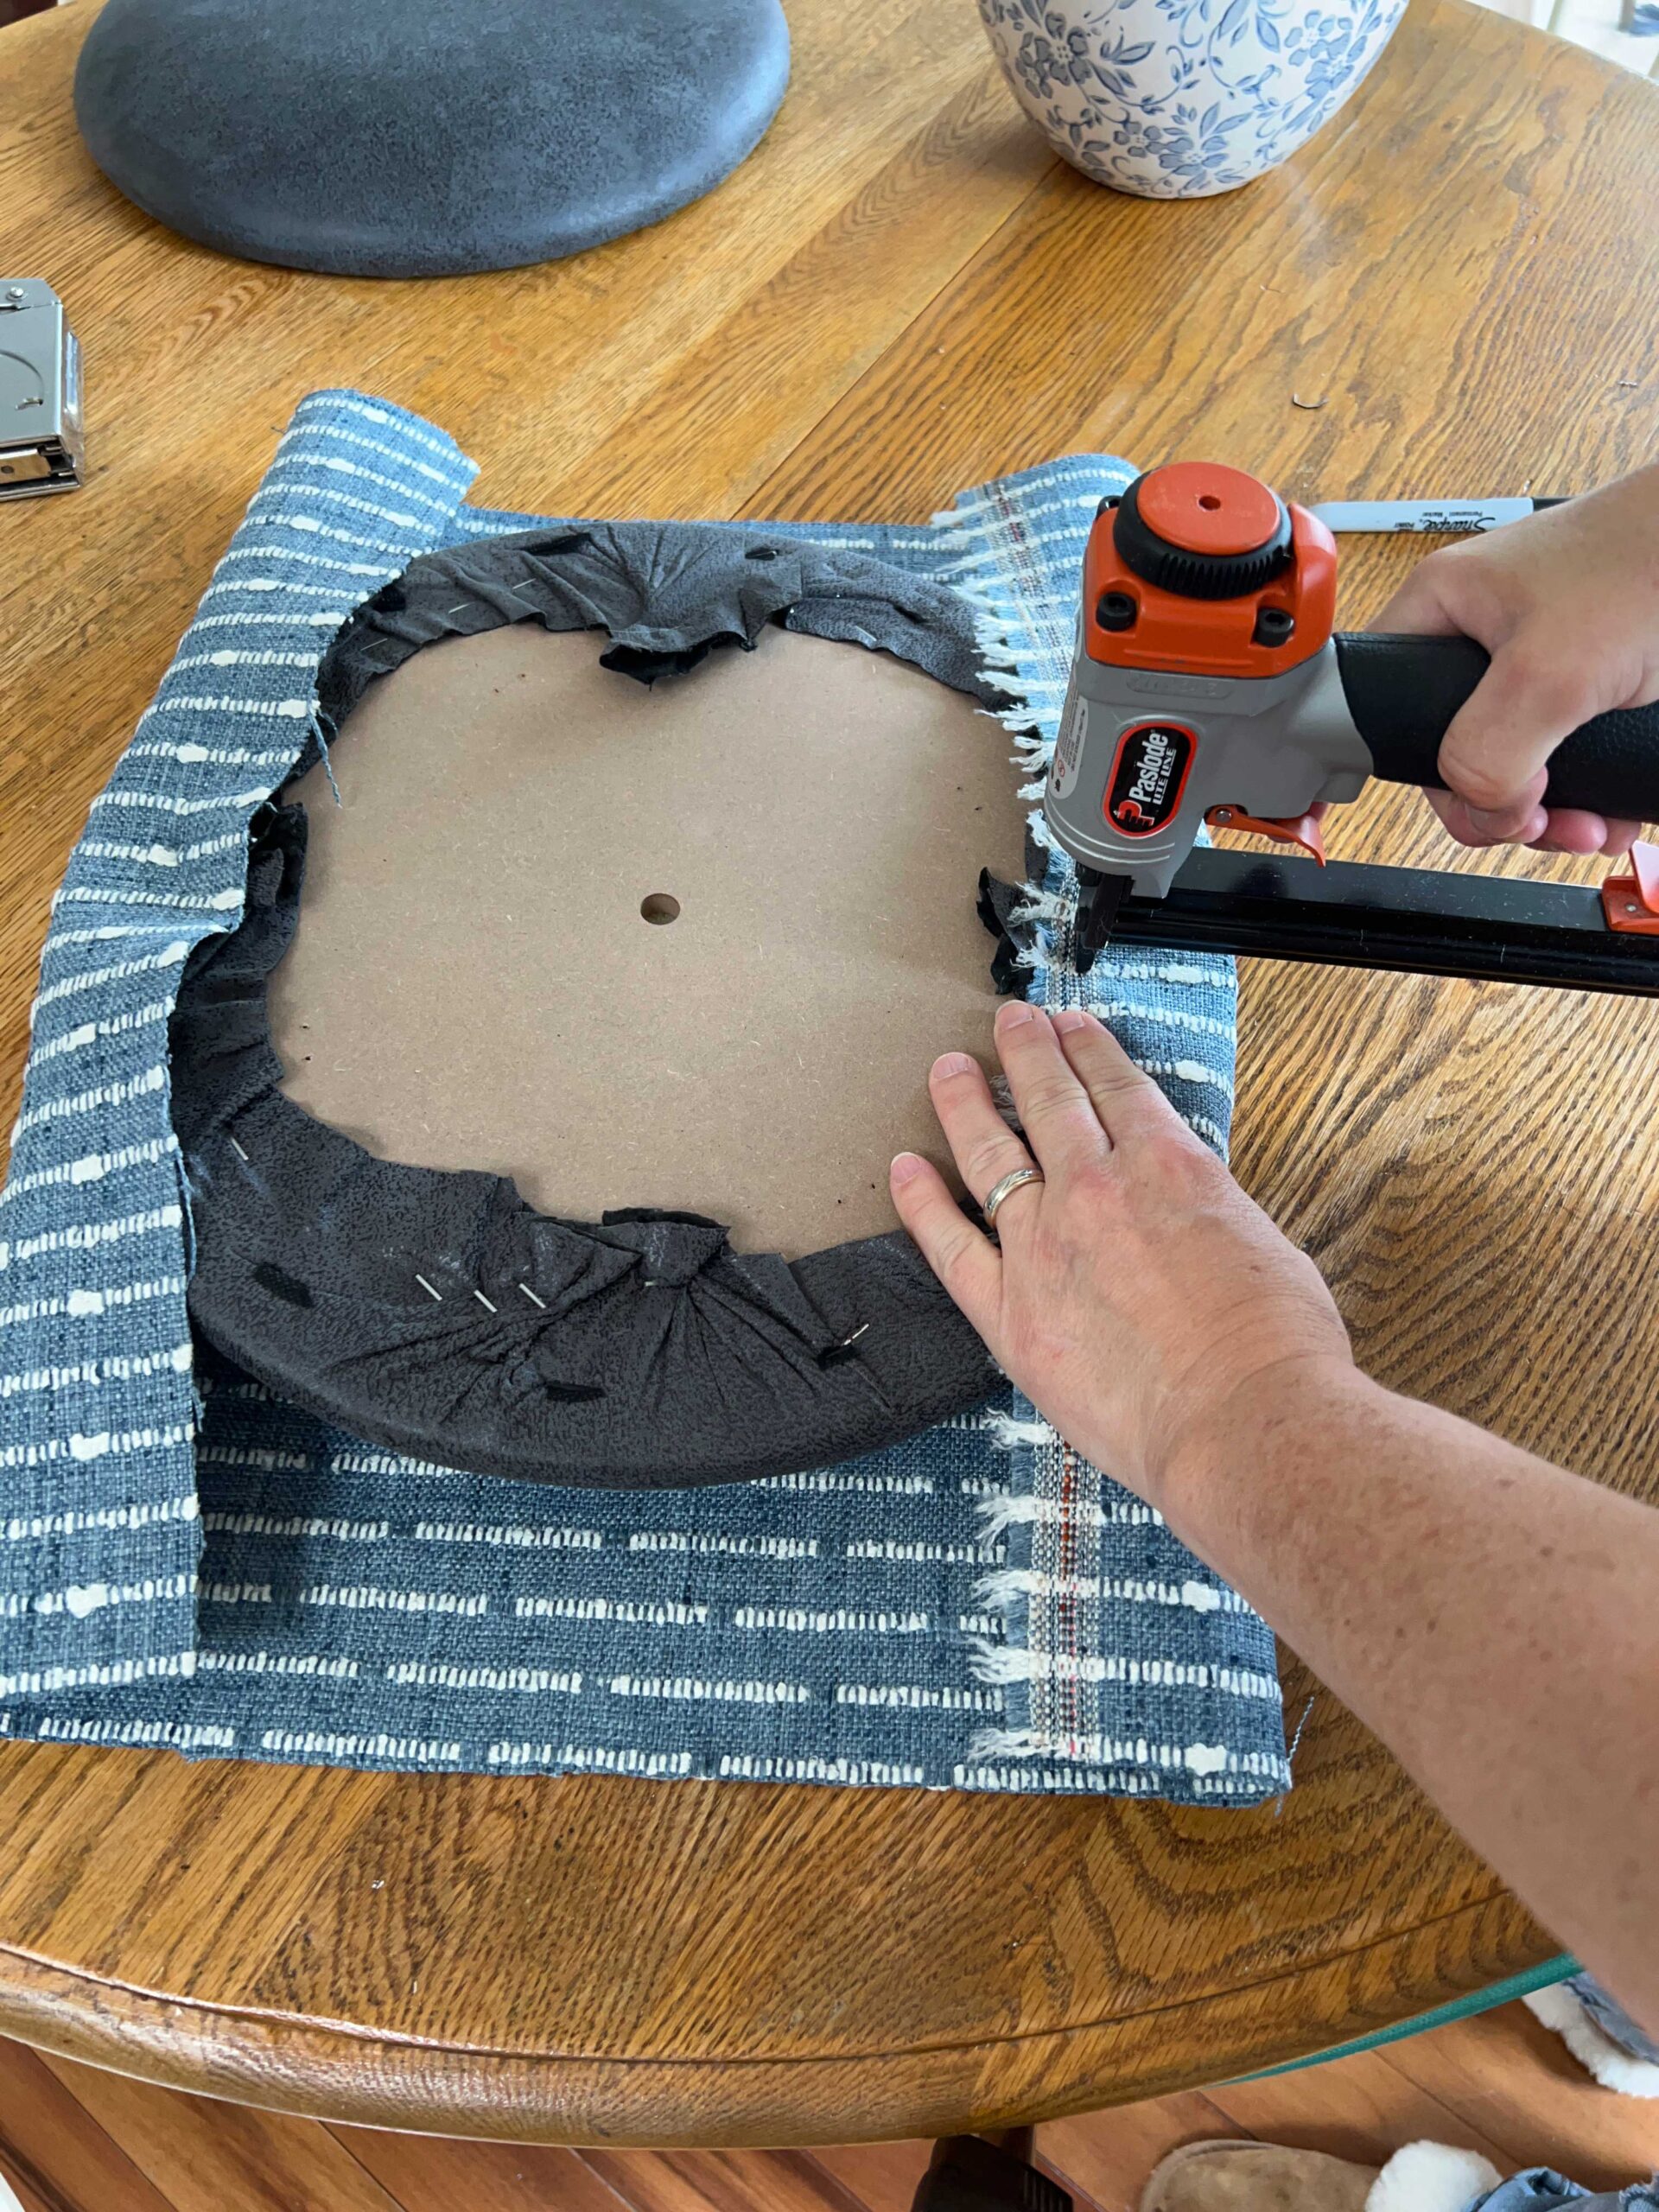
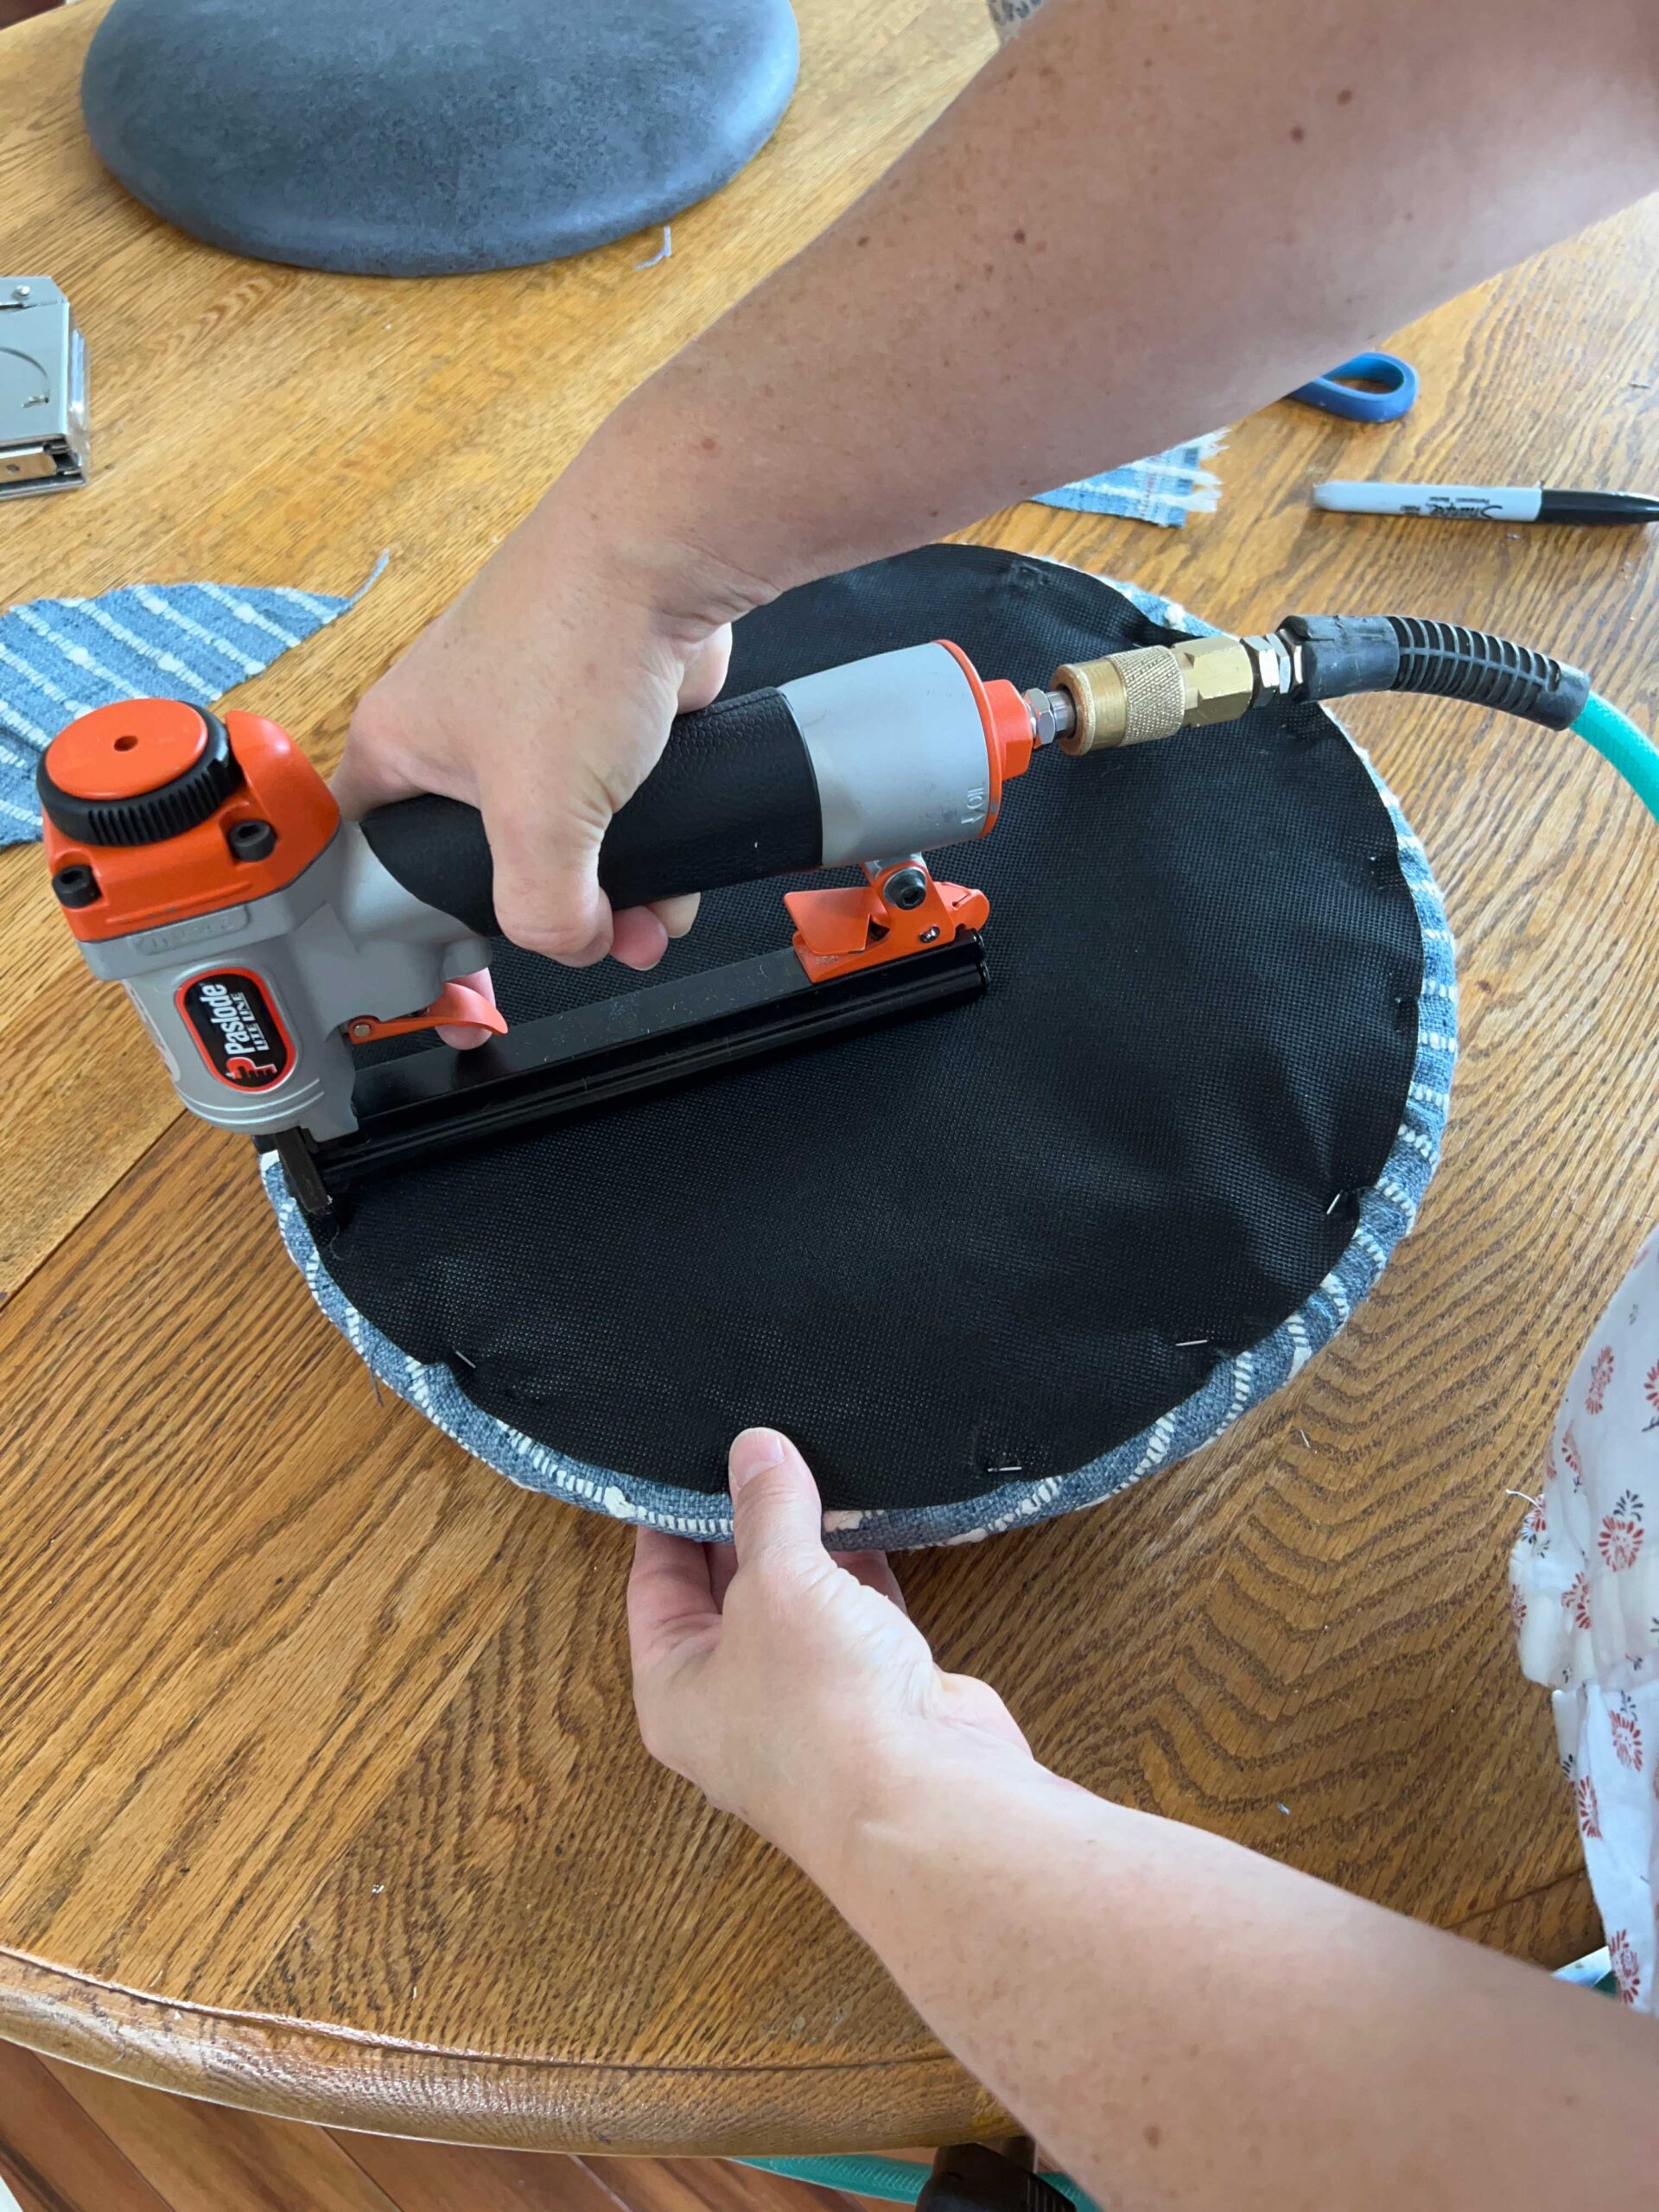
A few years ago I invested in an upholstery stapler that hooks up to my air compressor. It certainly makes quick work of this type of project, but you can also do this with a manual stapler or an electric staple gun too!
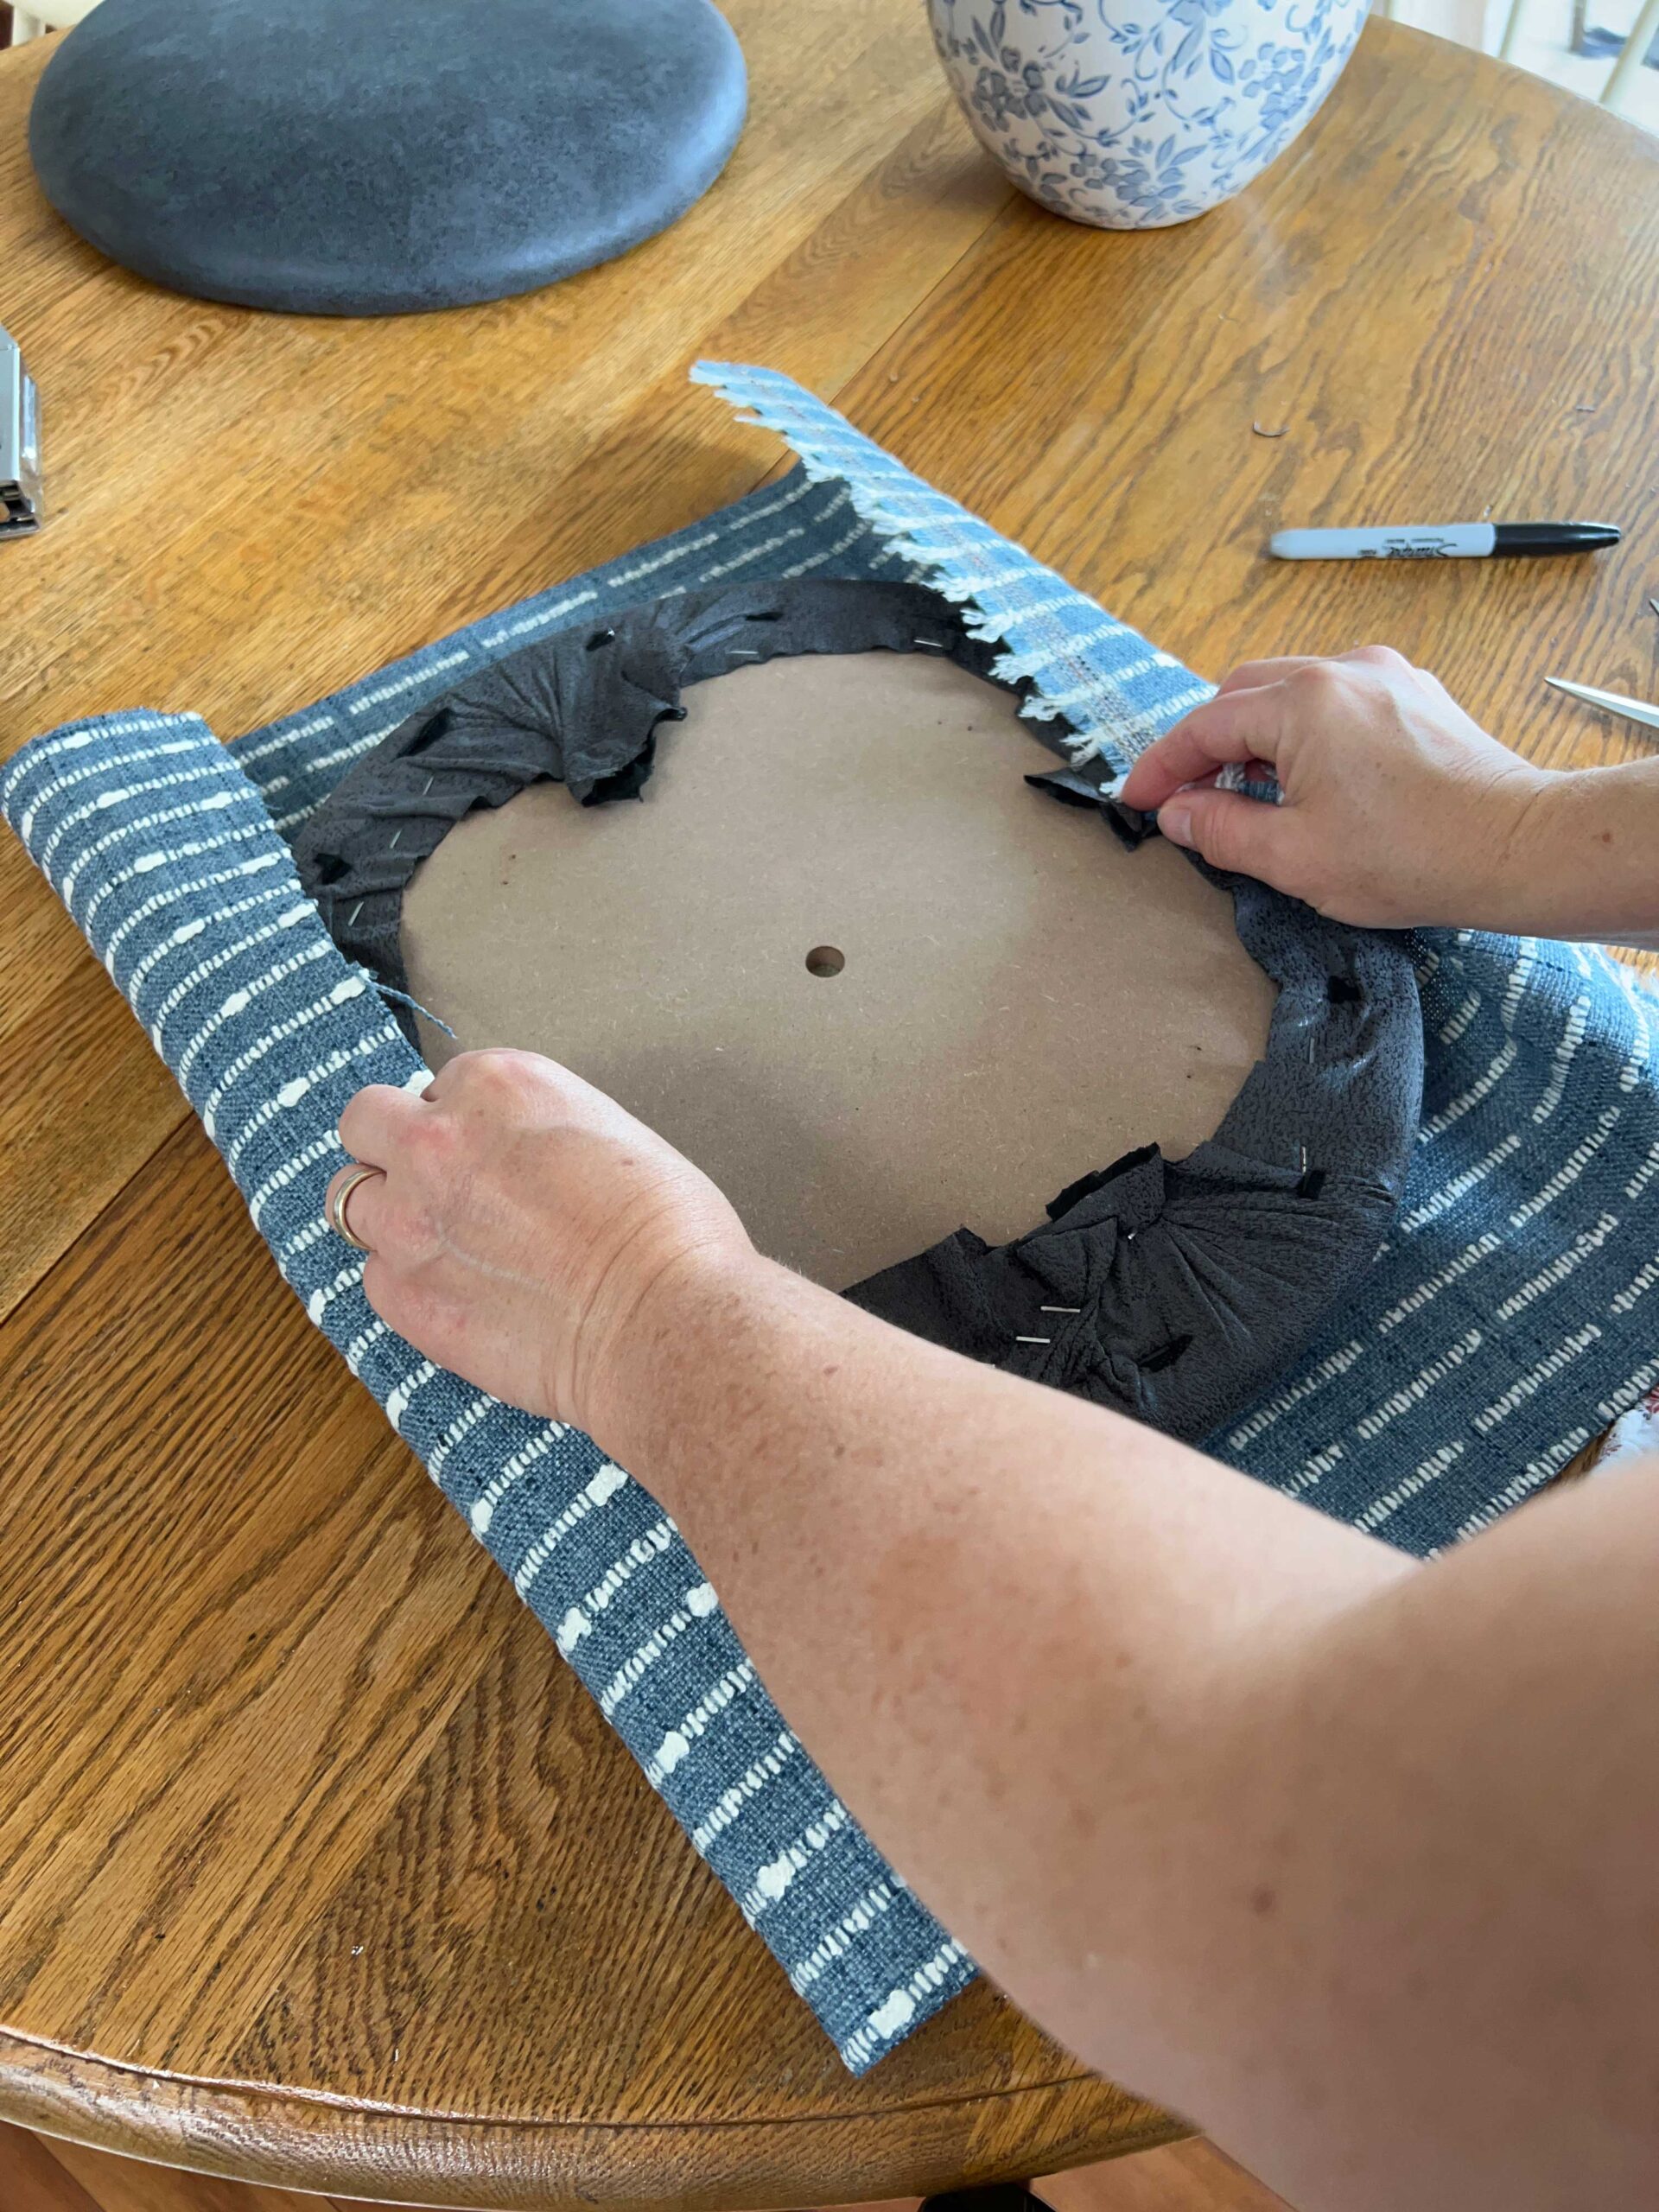
Start by adding one staple on one side of the center line, and wrapping the fabric around to the back side of the seat. Make sure that you have the right side of the fabric facing up on the seat.

Pull the top of the fabric snug and wrap it around the opposite side of the chair. You want this to be snug and tight, but don’t pull it super tight so that there is puckering or distortion in your fabric. Add a staple.
Now that you have two staples in place, turn the seat 90 degrees and do the same thing, so that you have a staple now in all 4 sides of the chair. This is the same if you have a square cushion, a round cushion, or any shape at all, you want to work from the middle out.
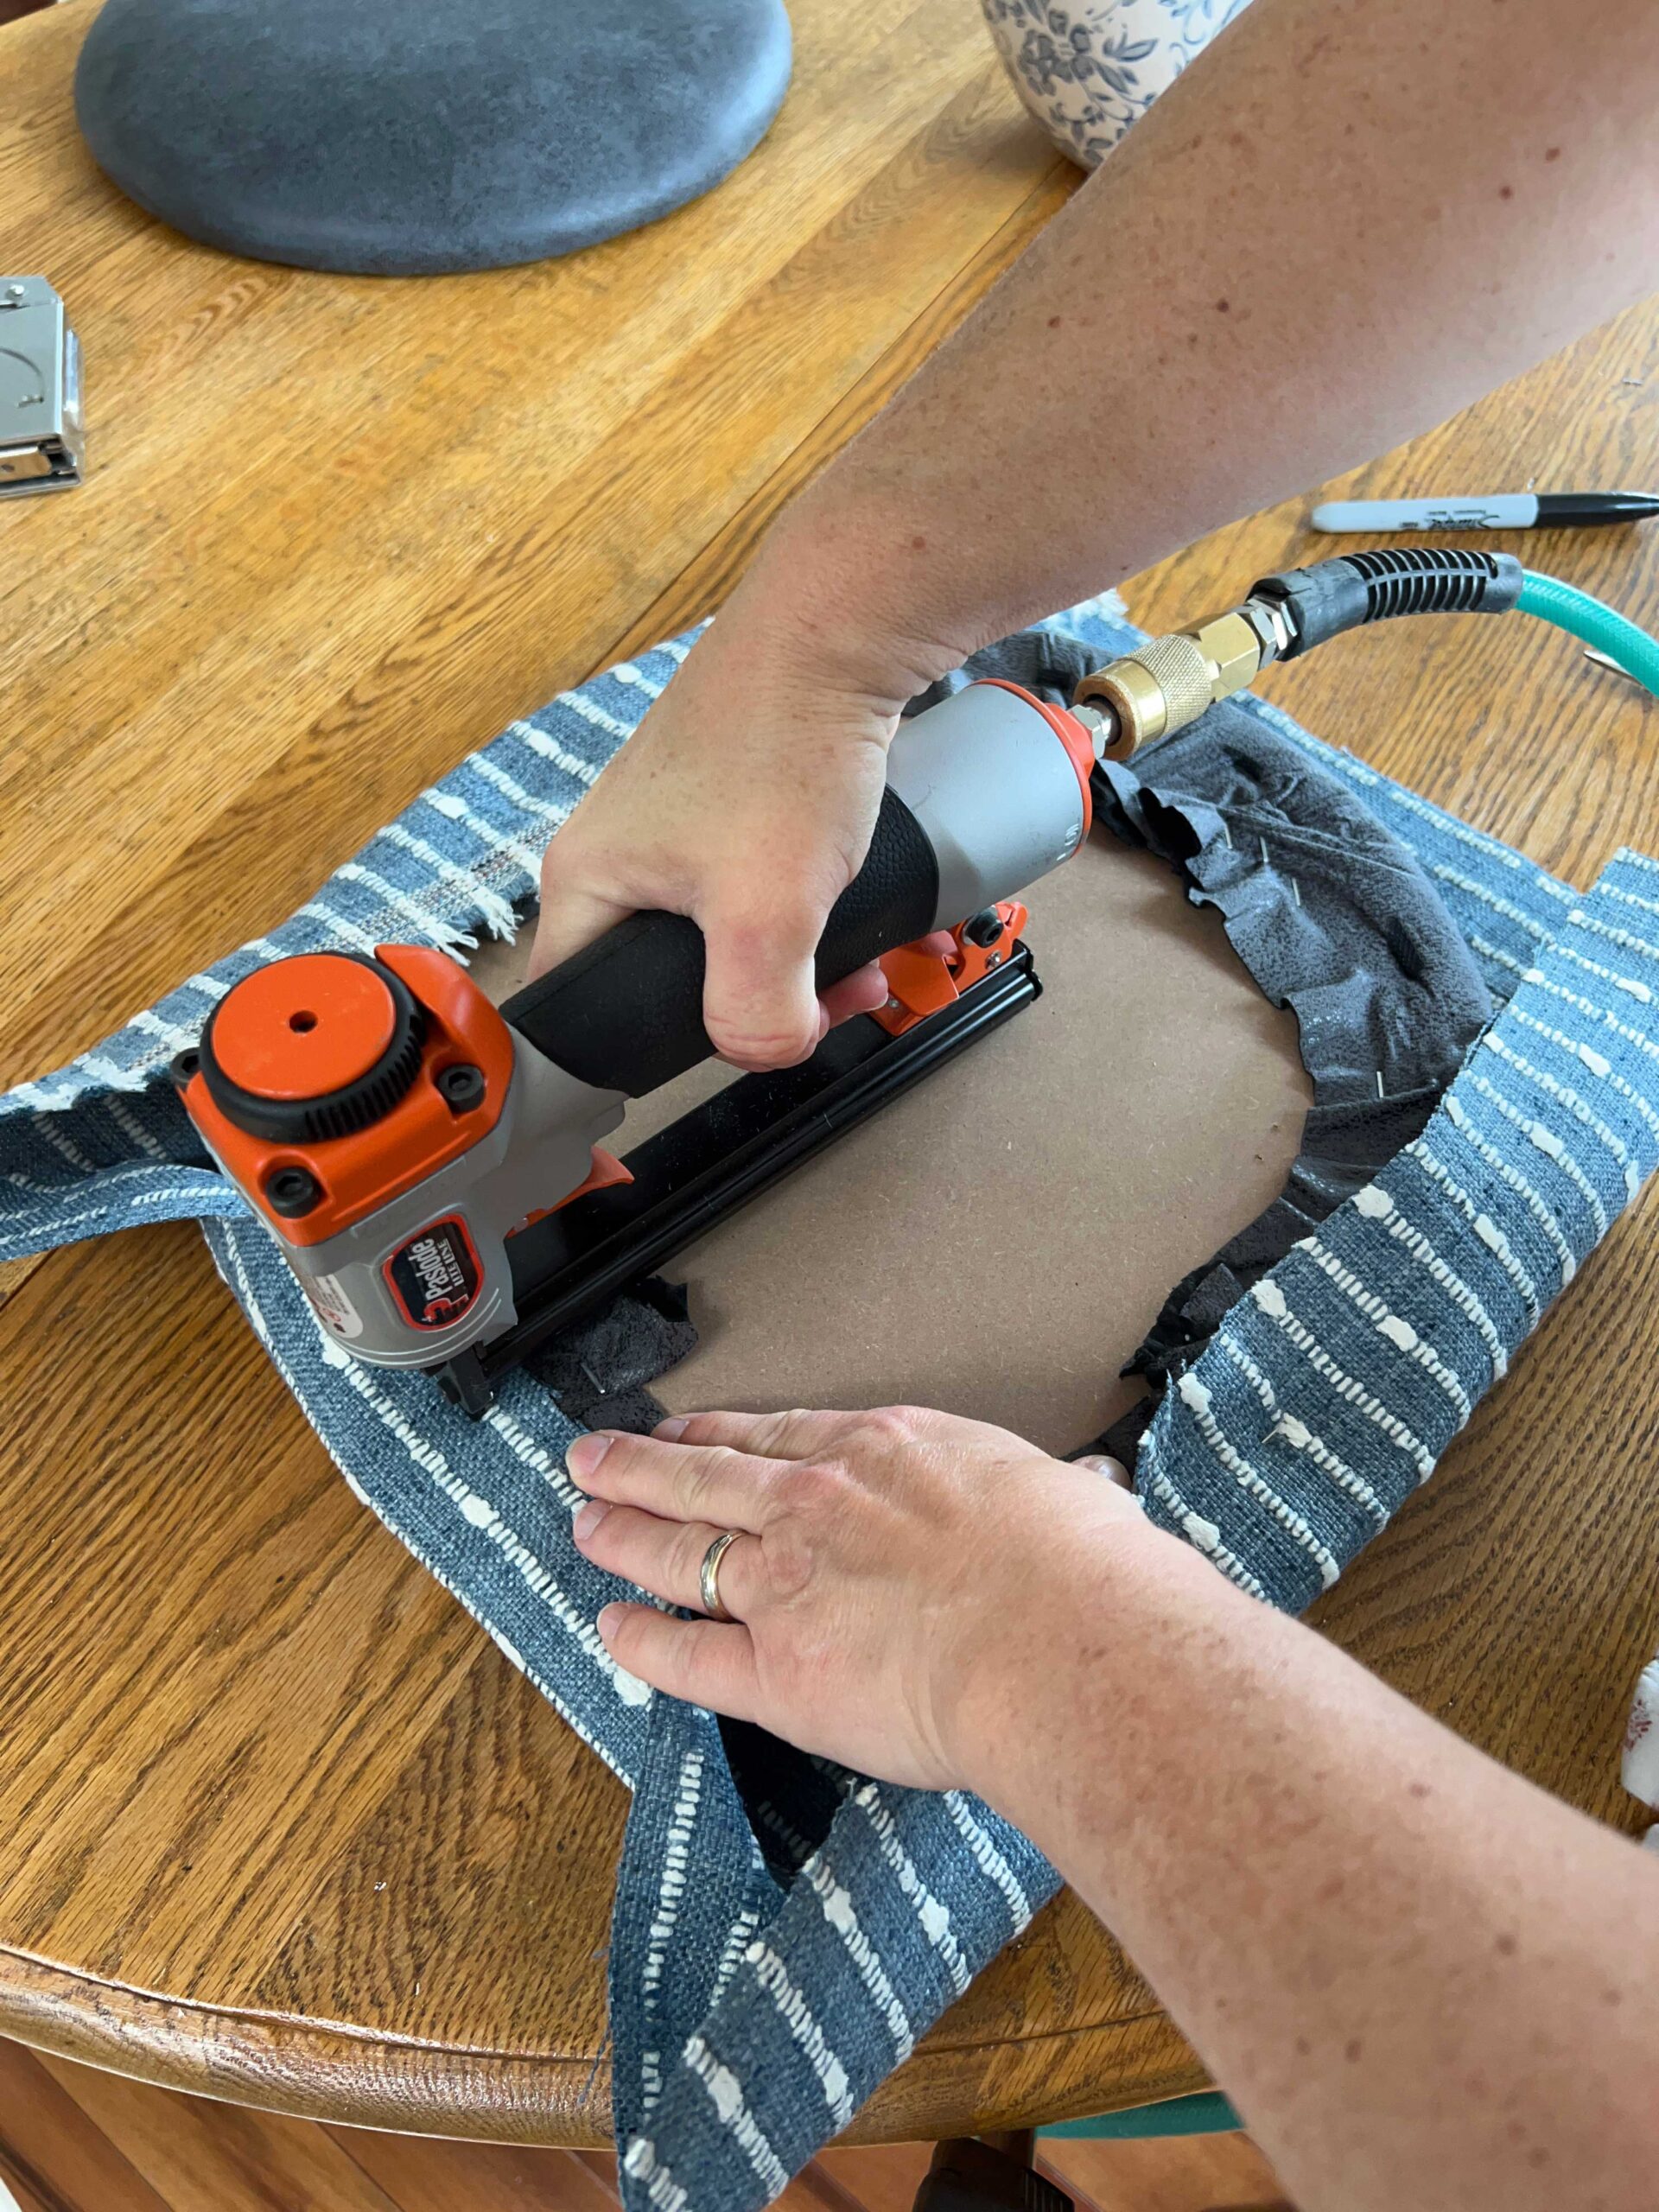

Once you have the 4 sides done, you will work your way around the chair trying to evenly distribute the staples. When you add a staple to one side, pull the fabric snug and add a staple to the other side. I try to keep the staples about an inch or so from the edge, not too close to the edge of the seat but not so far away that I have a lot of excess fabric, which can add bulk.
I usually do a few staples in each direction and then switch to another side so that I approach the “corners” of the chair all at the same time, if that makes sense!
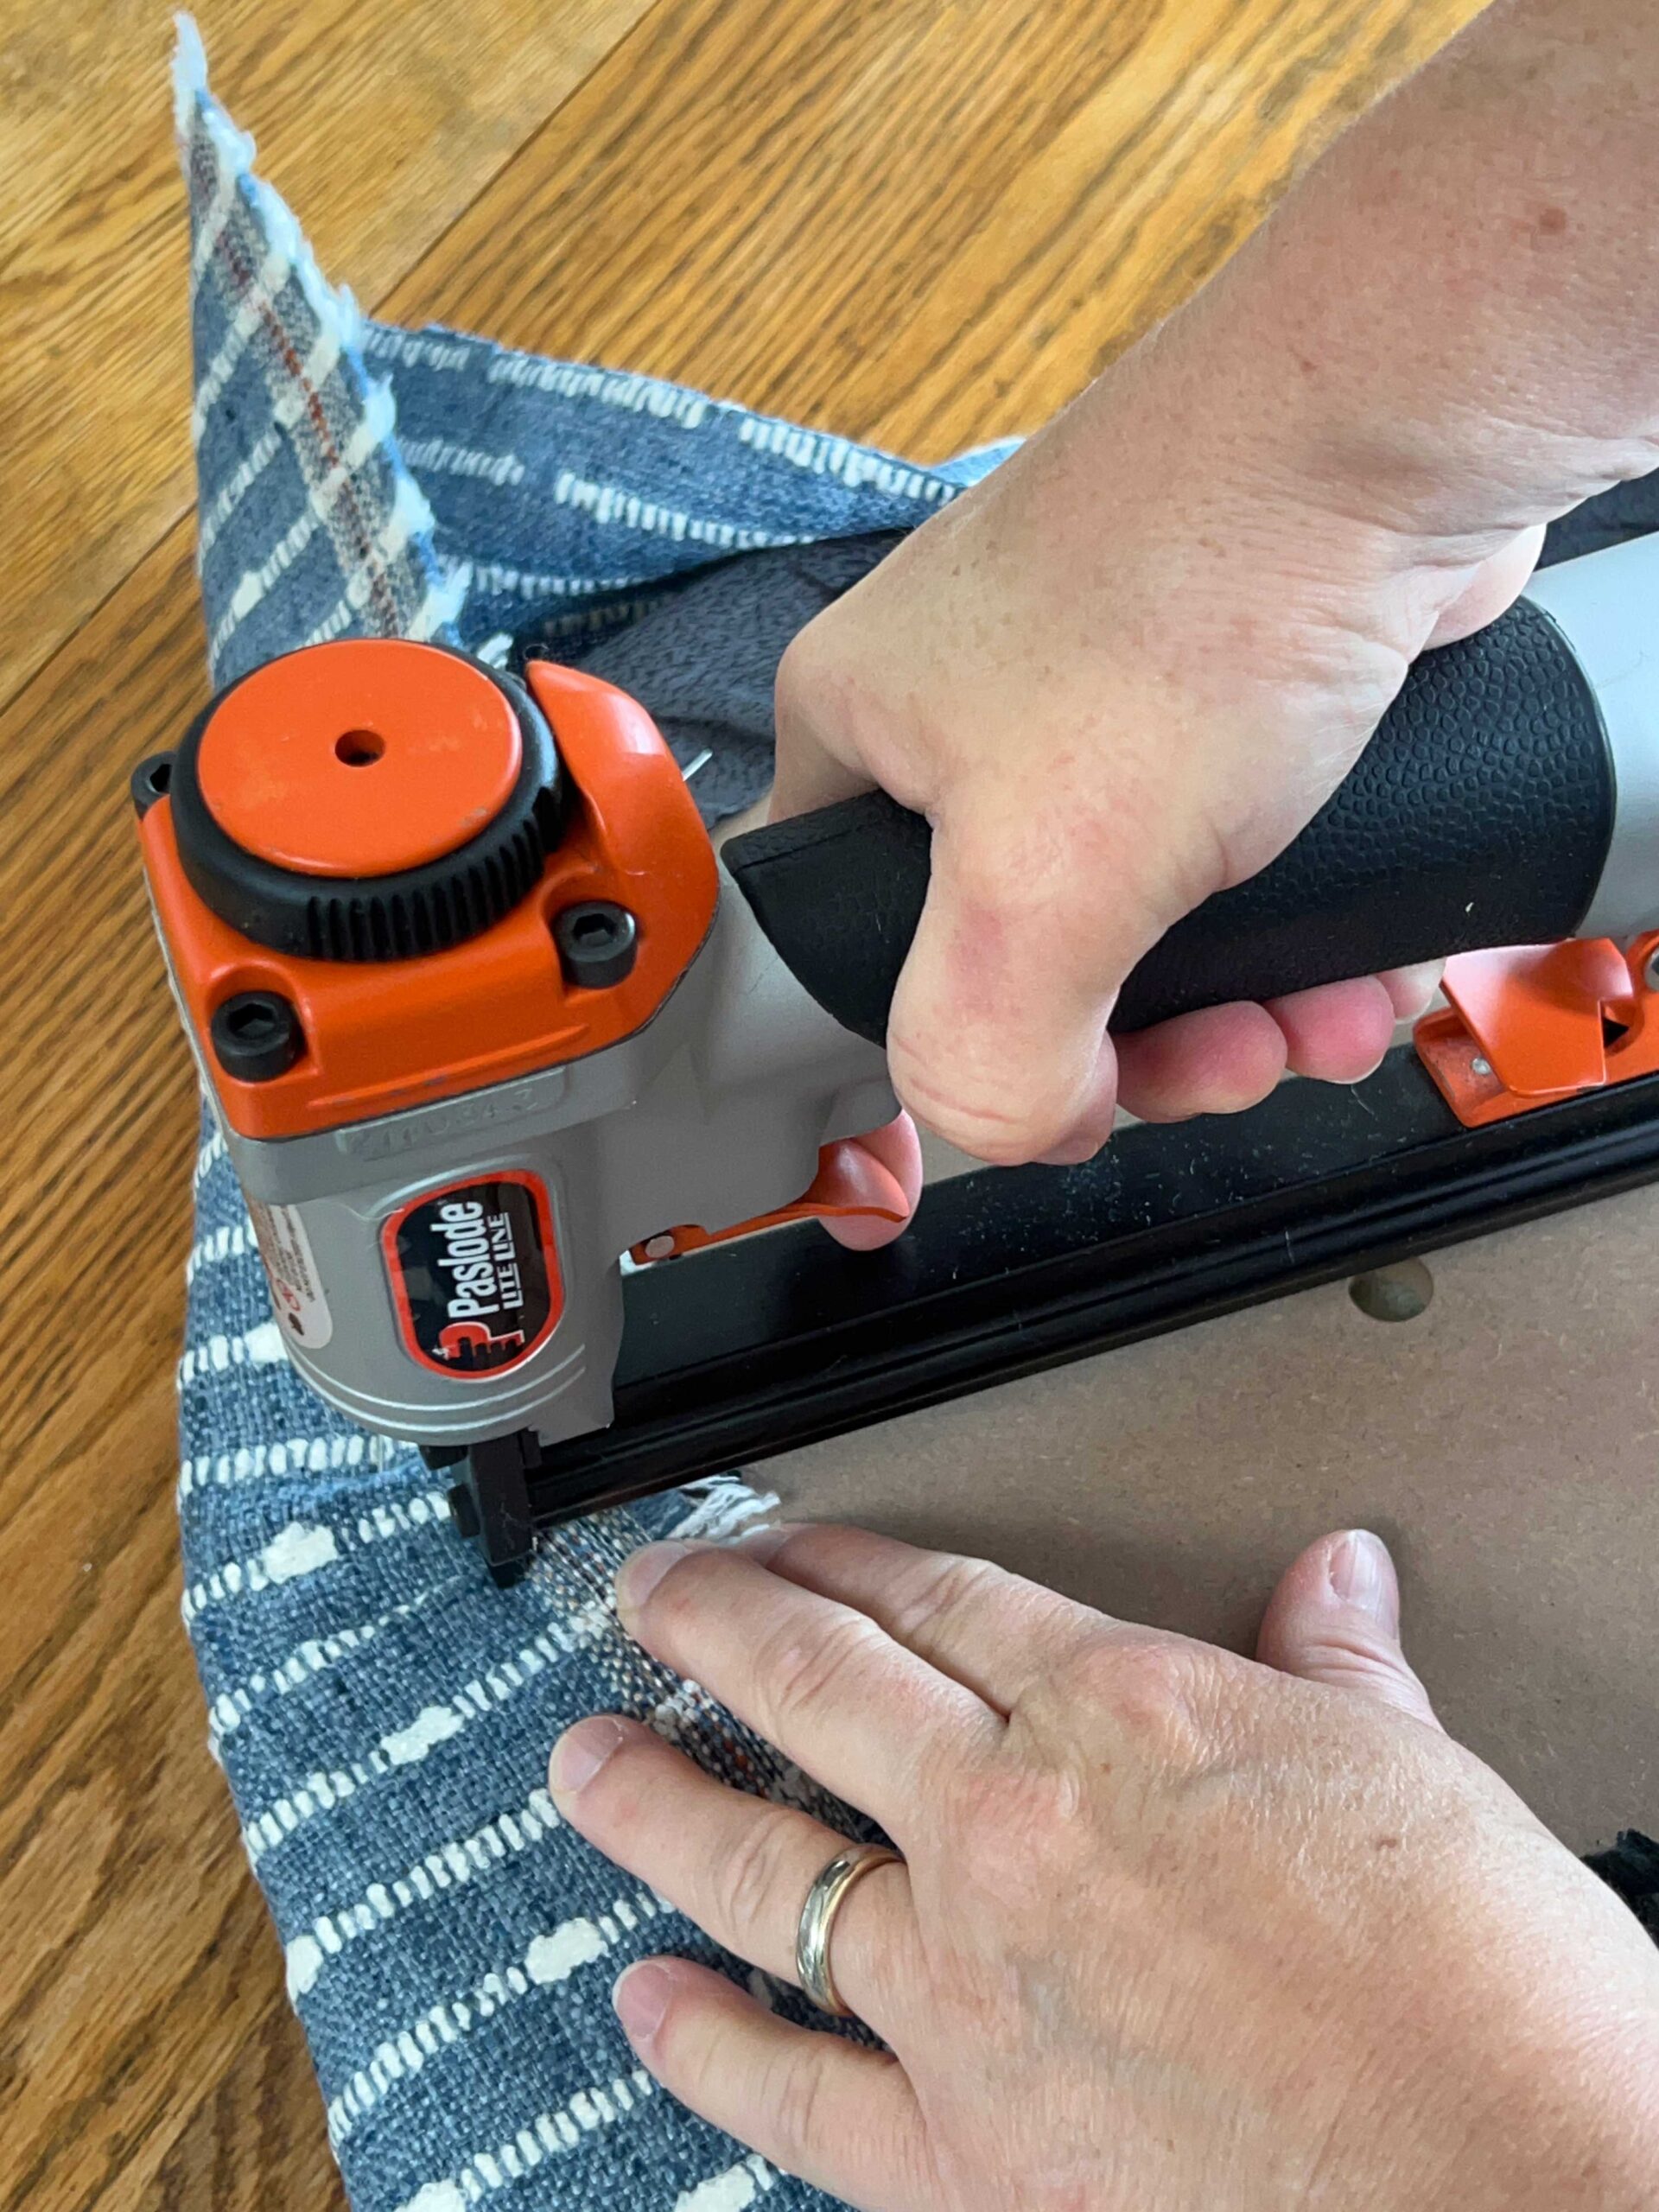
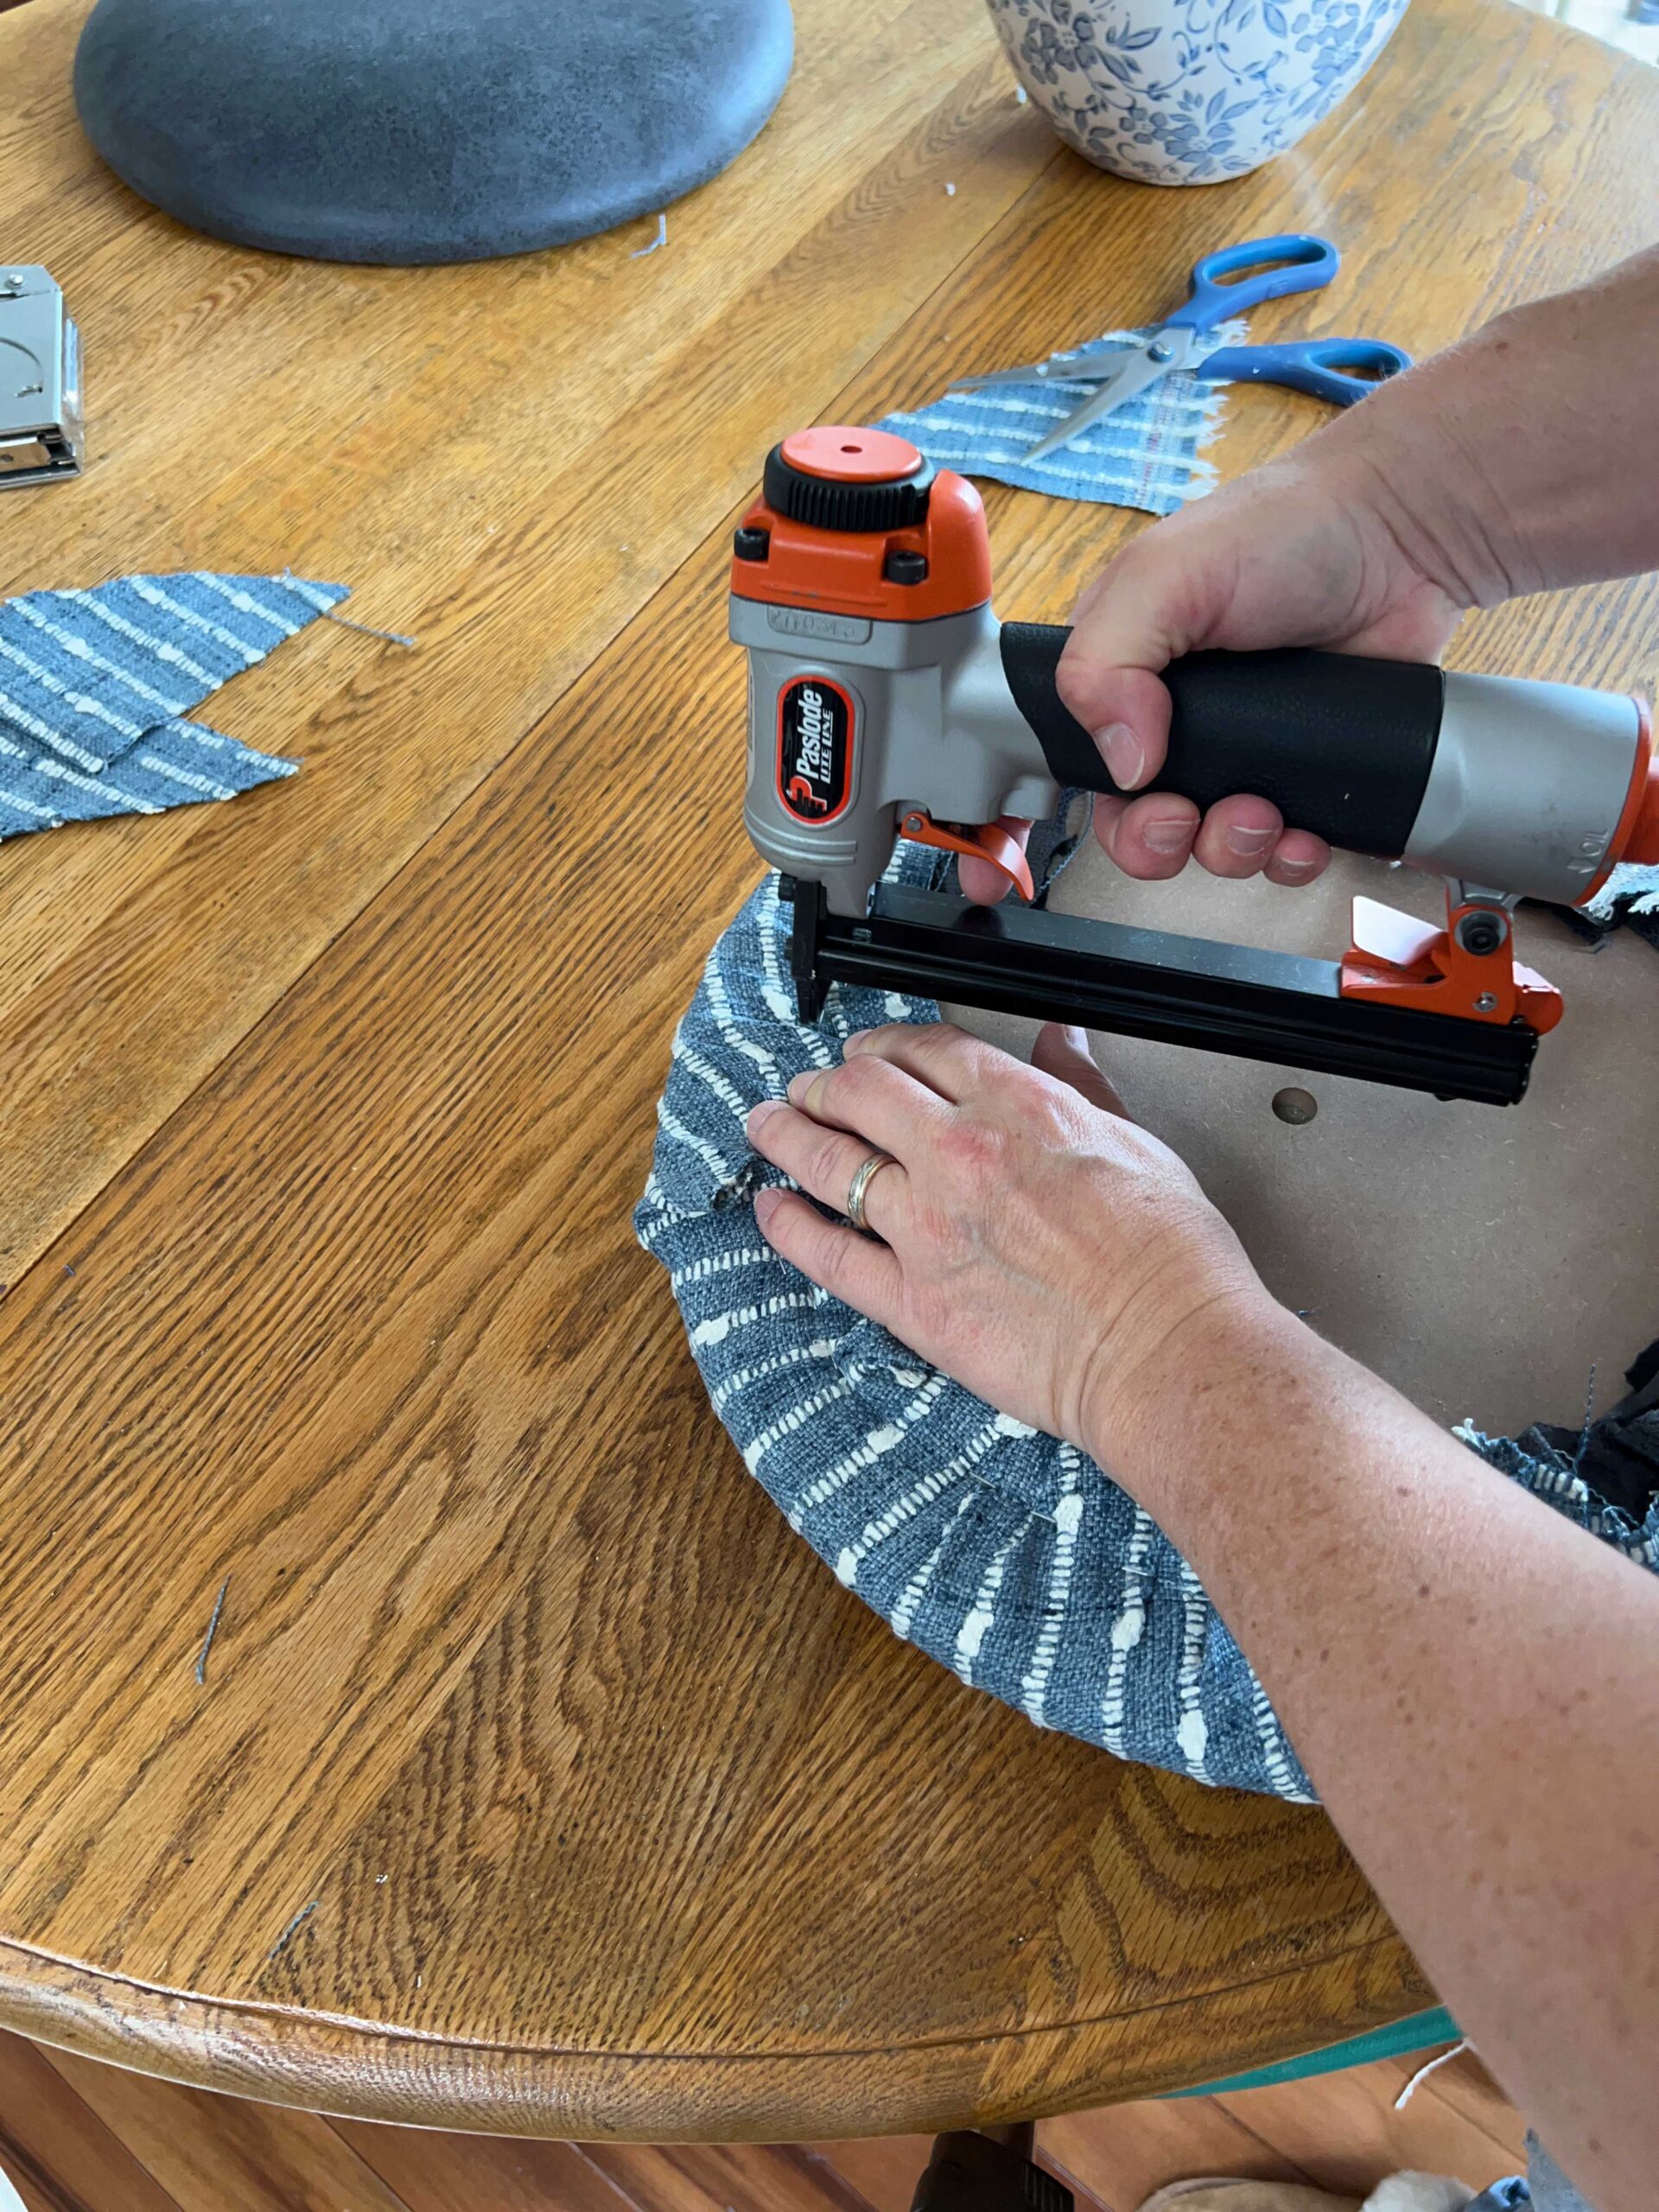
If you have a round seat you will just continue until you have made your way all the way around. I usually add a staple every inch or two. I try to think about future me that might want to recover these again, but then again you want it to be well secured! It is a balance haha.
Make sure that you are periodically flipping the seat over to see how it looks from the top. You might put one staple in too tight or too loose and it will cause a pucker or a pull on the seat. Just go back and remove that staple that is causing an issue and redo it.

If you have a different type of chair than I did and a square cushion, when you approach the corner you will need to make those neat. If have ever wrapped a gift, fabric on the corner can be dealt with the same way. Generally, I pull it tight on one side and staple, and then fold the fabric neatly like the end of a gift until it looks nice from the top and secure it with a staple.
You can also remove a little of the excess fabric from the corner if your fabric is very bulky.
Step 6 – Remove Excess Fabric
If you are conservative with your fabric and have extra inches beyond the staples, you can trim off any excess at this stage. Trim as close up to the staples as you like.
Step 7 – Replace the Dust Cover
If you saved the old dust cover off the original seats, you can now put that back on to cover the raw edges of the fabric and the staples from the chair. These staples will be the only ones that show, so take care to line them up and make them neat. You don’t need a ton of staples in this layer.
If your old chairs didn’t have a dust cover you can buy this fabric pretty inexpensively and I think it adds a nice, professional-looking finish to your project. However, if you want to skip this part, I won’t hold it against you!

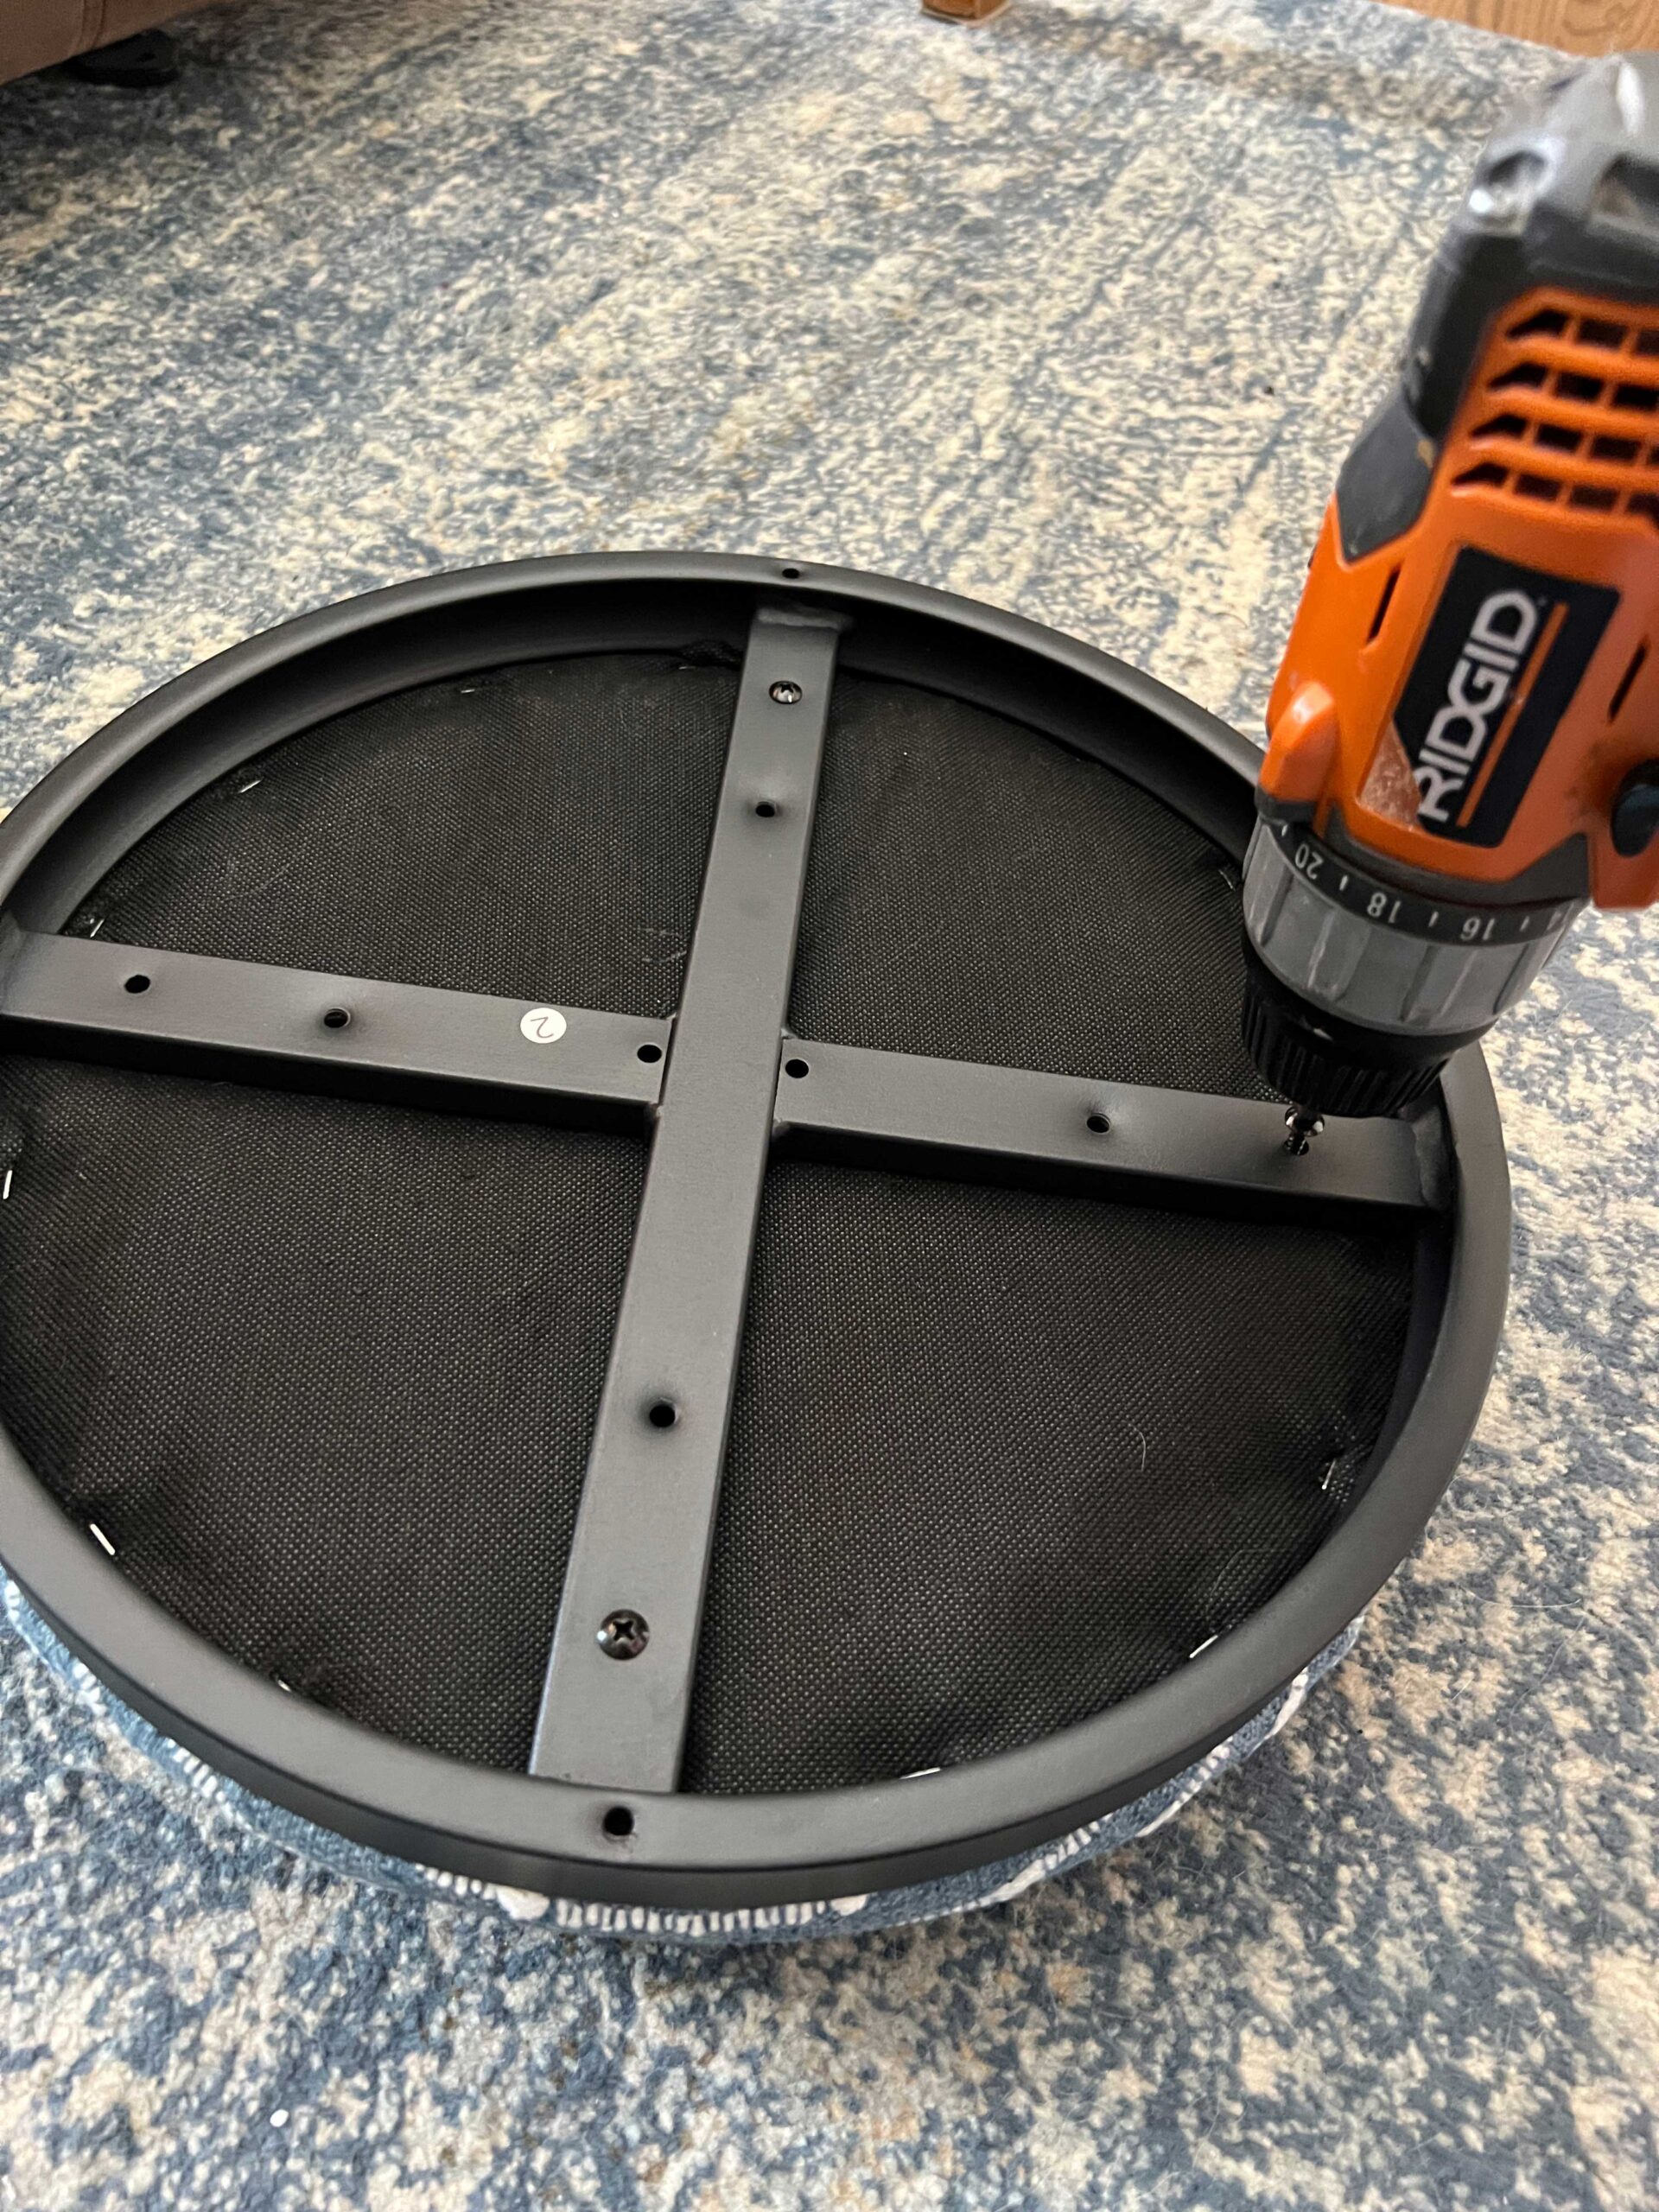
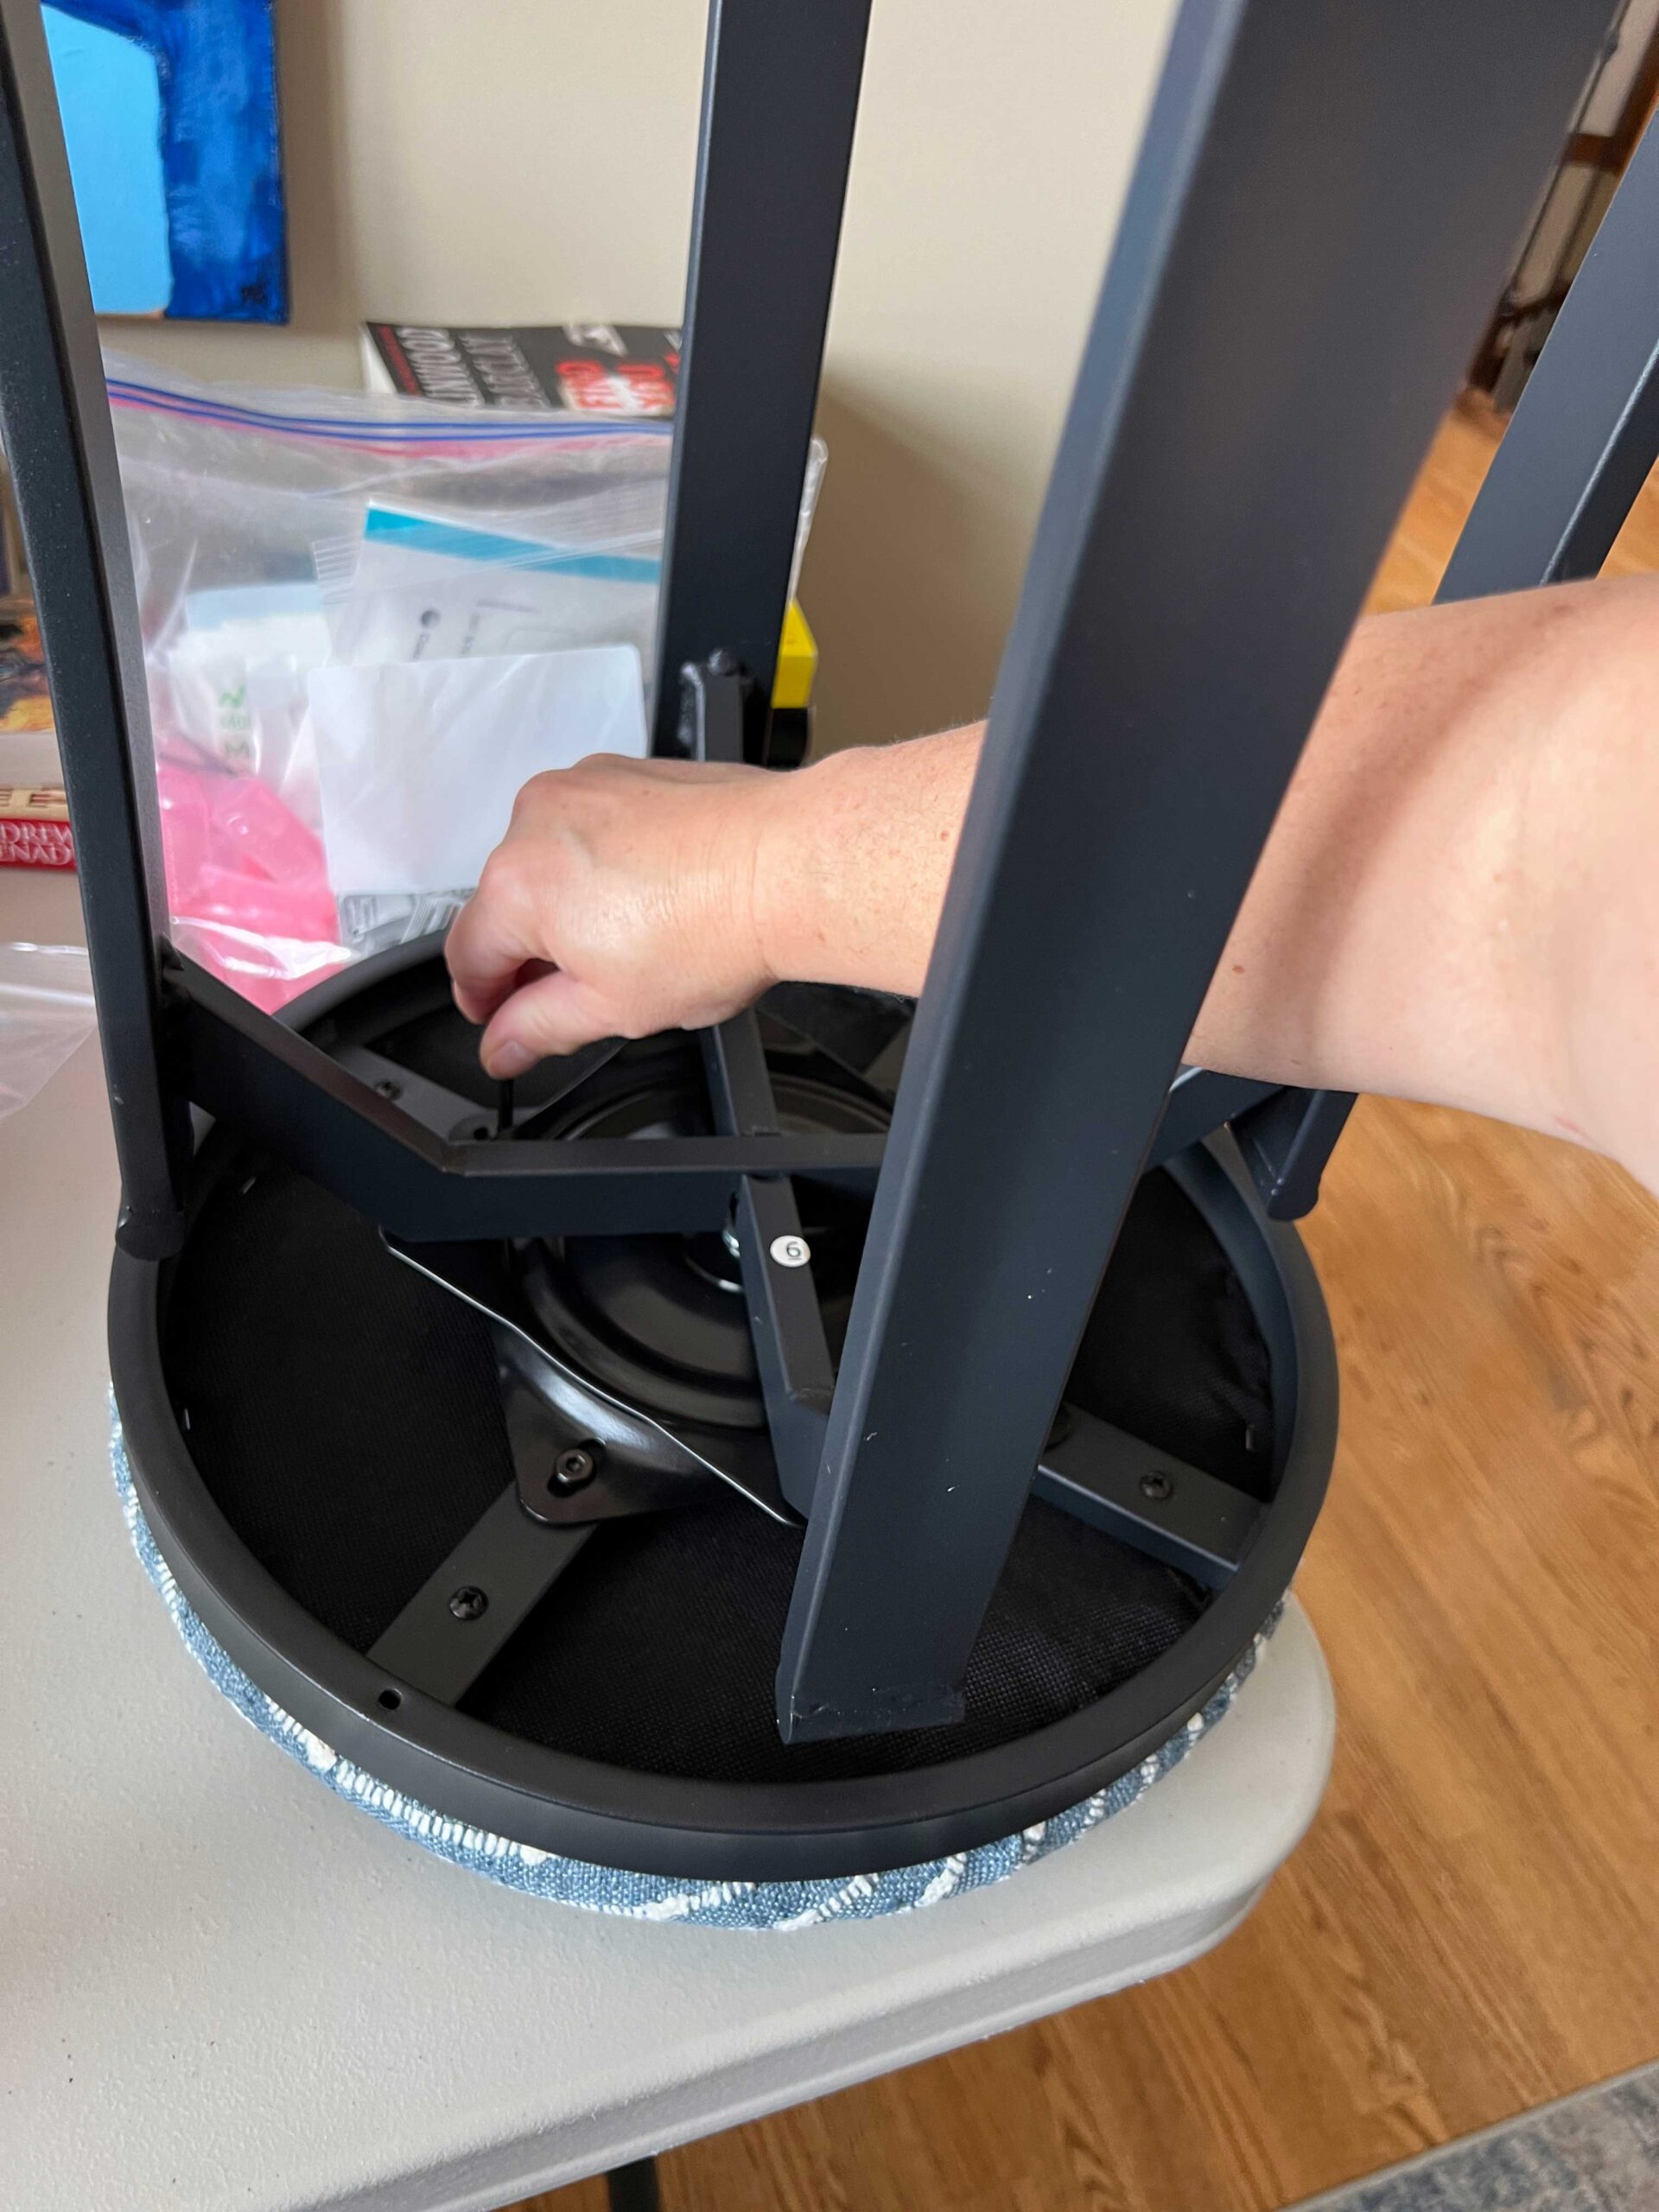
Step 8 – Reattach your New Cushion to the Chair
Now that the seats are finished, flip your chairs over again and attach them to the chair base the same way that you removed them. Usually, this is just a few screws.
Step 9 – The New Chairs and a Cost Breakdown
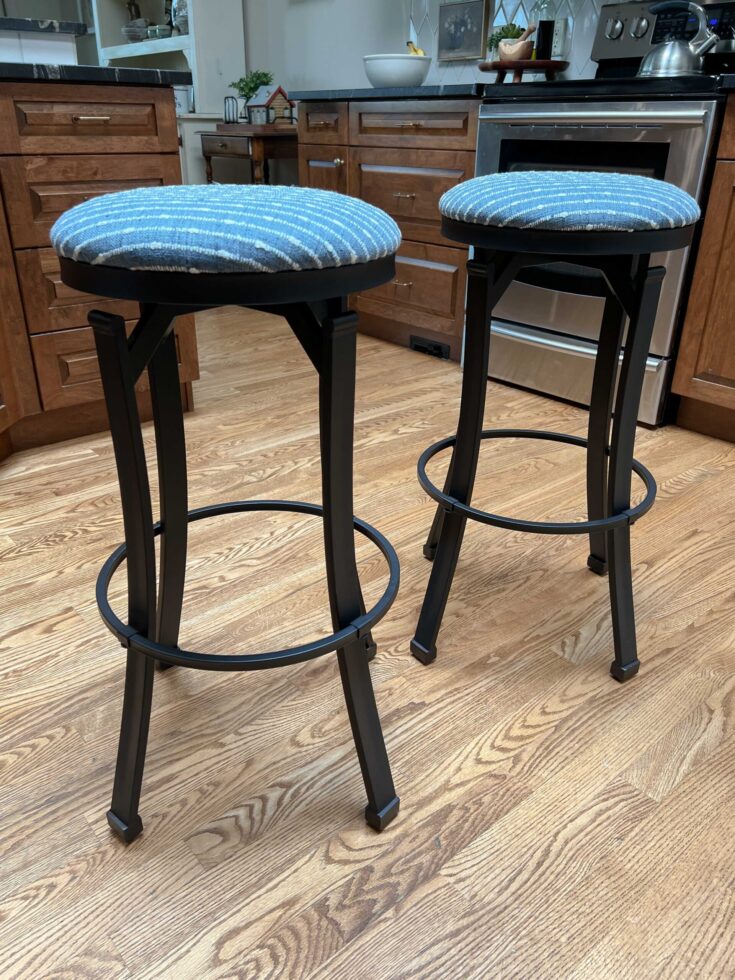
I’m so pleased with how these stools turned out for my mom. They look like custom, unique stools that she can recover time and time again in a few hours for a whole new look!
The total cost for these stools and this upholstery project was about $320 which includes the 4 stools and 1 yard of fabric, so around $80 per stool. I think that is a great price for unique, cool new barstools and my mom agrees!
If you have never done an upholstery project before, this is a great beginner friendly step-by-step tutorial that hopefully will get you excited to keep going and try another upholstery project. I will be recovering my ottoman next, and I am eager to take you along with me for that project too!
DIY Chair Seat Cushion Upholstery
Step by Step on How to Replace the Fabric on Your Chair Seat Cushions
Materials
- Chairs or Stools with Upolstered Seats
- Fabric
- New Upholstery Foam (optional)
Tools
- Staple Remover or Flat Head Screwdriver and Pliers
- Staple Gun (Manual, electric or air-powered)
- Spray Adhesive (if replacing seat foam)
- Fabric Scissors
- Drill or screwdriver to remove the seats
Instructions
- Remove the seat from the chair base, usually by flipping the chair over and unscrewing
- Remove the dust cover (if applicable) from the back of the chair base by removing all the old staples. Set the dust cover aside for re-use
- Remove the old fabric by removing all the old staples from the bottom of the seat.
- Assess the condition of the seat foam. If the foam is in poor condition, replace it by tearing off the old foam, cutting new foam and attaching it to the seat using spray adhesive
- Use the old seat fabric as a template to cut the new fabric.
- Staple the fabric to the seat, starting on one side, pulling snug and stapling on the other side.
- Turn 90 degrees and staple to one side, pull snug, and staple to the other side so you have one staple in the center of all four sides.
- Work your way away from the staples you put in towards the corners, pulling snug as you go and alternating what side to add the staples to. Check the front side of the seat as you go to make sure the fabric is smooth.
- If you have corners, tuck the corners in like a present until you have a neat-looking edge from the top and side, and secure. Feel free to cut away excess fabric to make a smooth corner.
- Reattach the dust cover by stapling neatly on top of the raw edges of the existing fabric.
- Reattach the seat to the chair.
Notes
You can also add new fabric right on top of the old fabric if you wish, but I do prefer to remove it to keep the fabric from getting to bulky and for a more professional looking finish.
Shop This Post:
You Might Also Like:
- How to Update Your Kitchen Without Painting Cabinets!
- DIY Backsplash Tiling – An Easy Project for Beginners!
- How to make a DIY Wall Tapestry using Mod Podge
- DIY Window Panes
- DIY Bench Seat Cushion
- DIY Ottoman – How to Make an Upholstered Ottoman
- Easy DIY Ikea Multi-Drawer File Cabinet Makeover
- How to Make an Easy DIY Upholstered Headboard
- How to Make an Easy DIY Tufted Headboard Pillow