One Room Challenge Spring 2022 Week 6 – Wallpaper and Trim
After last week’s tile-a-thon, the bathroom is starting to look a lot more like a bathroom! With that complete, it was time to add trim and wallpaper before the sink and toilet went back in place. But first, if you missed the last few weeks you can catch up on those here:
Week 1/ Week 2 / Week 3/ Week 4 / Week 5
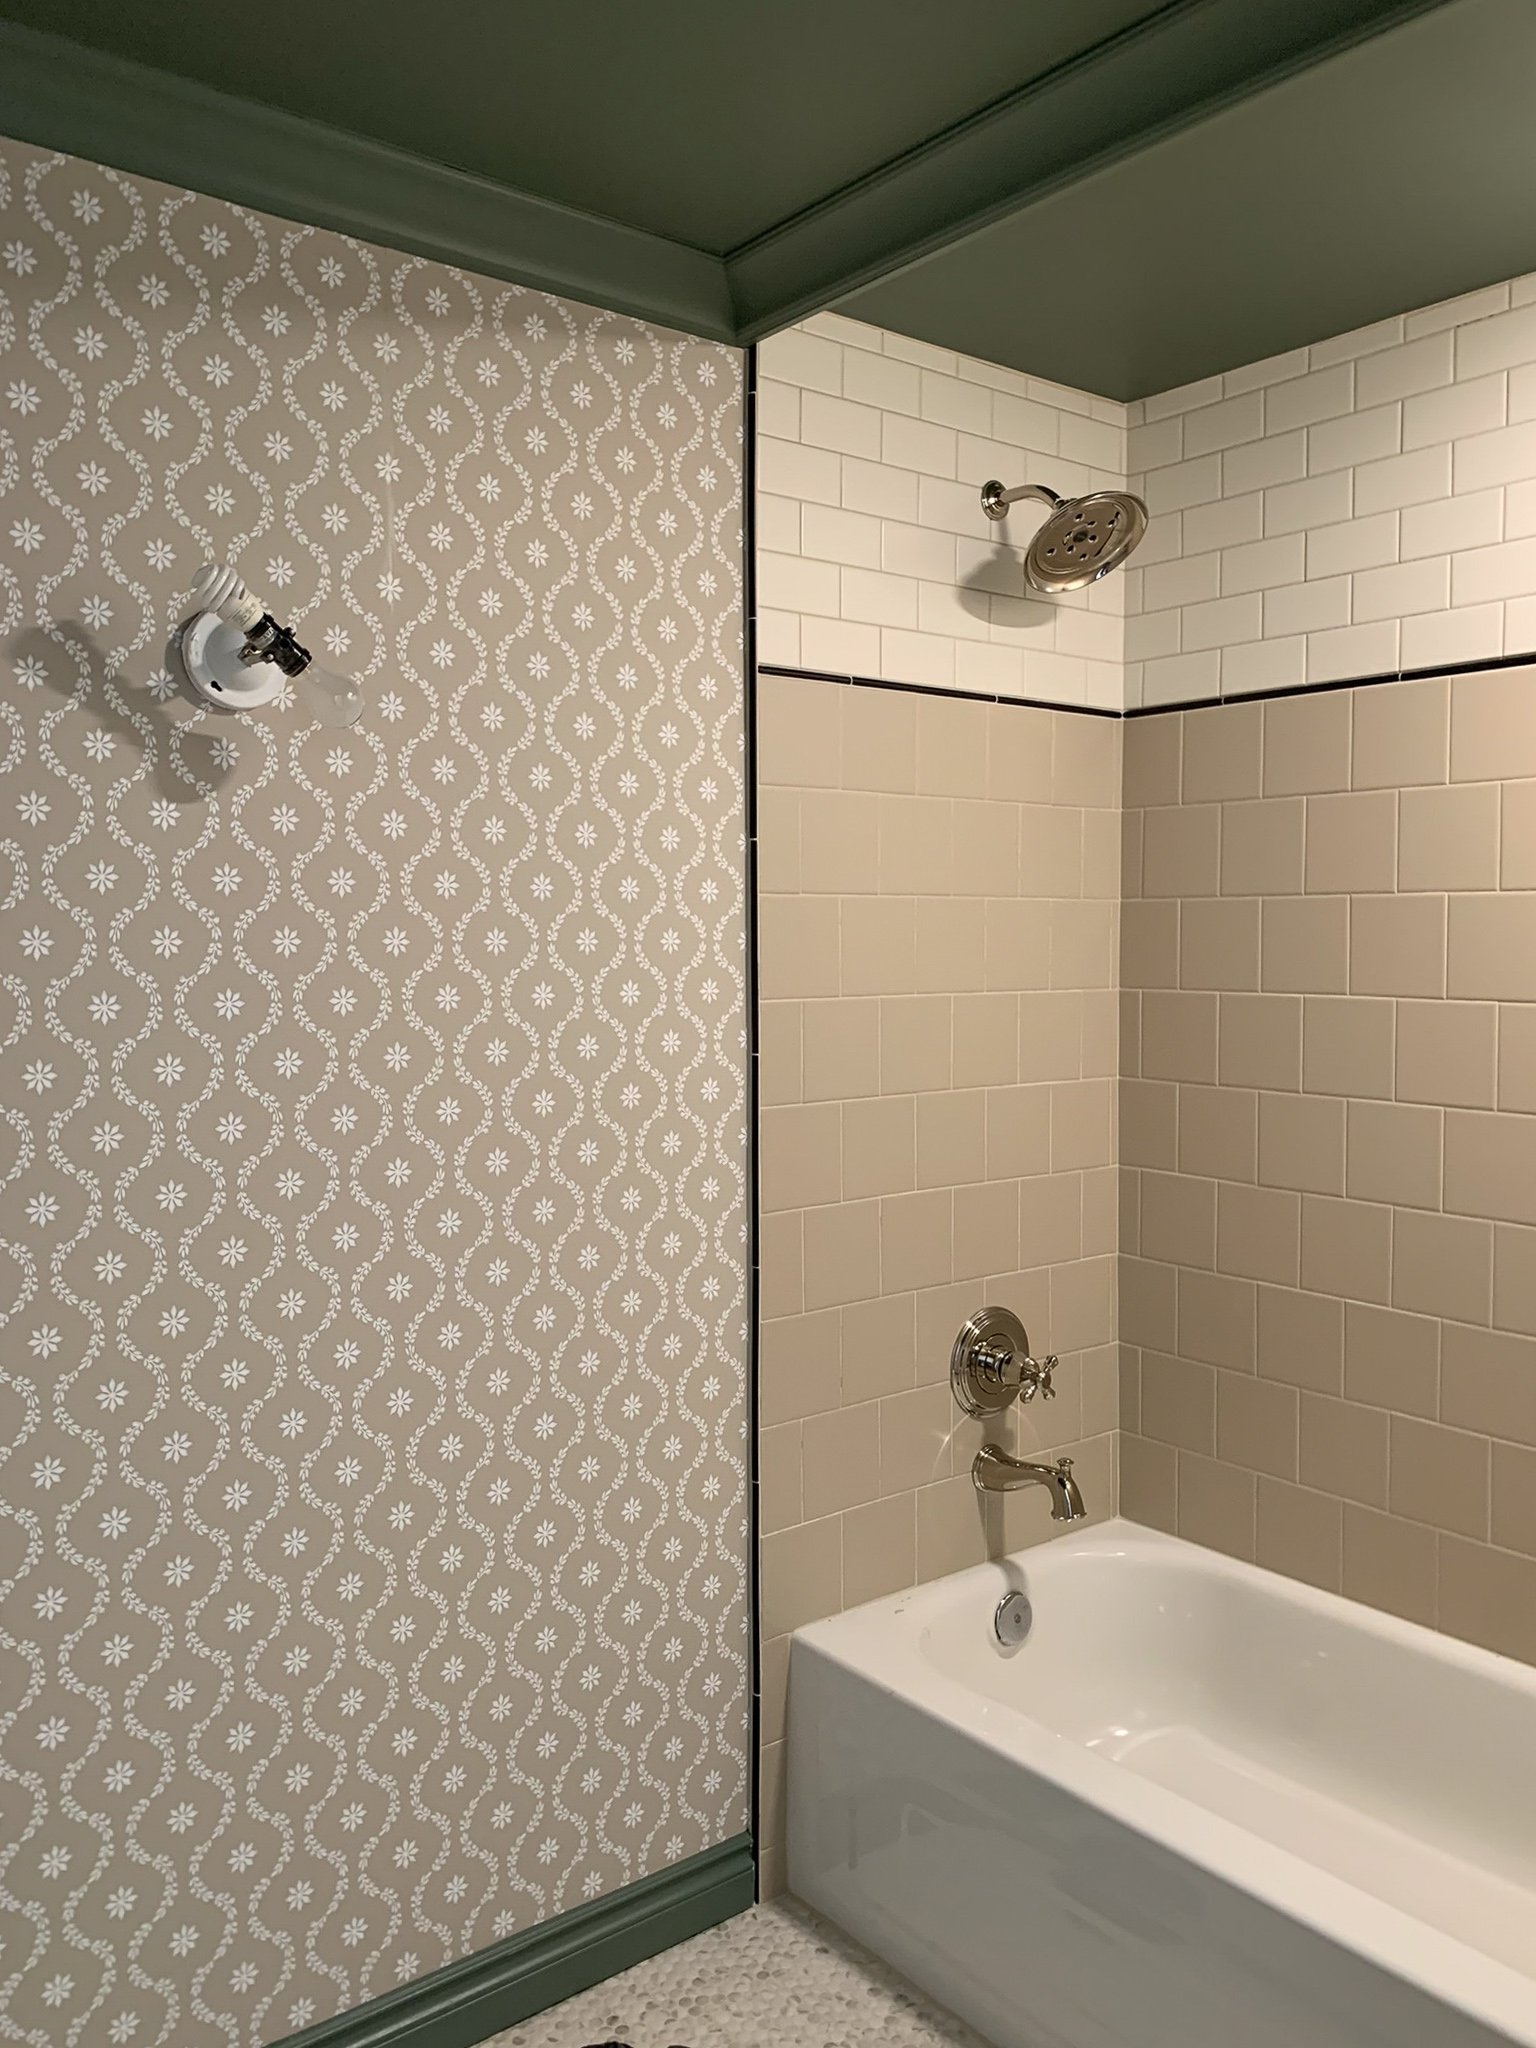
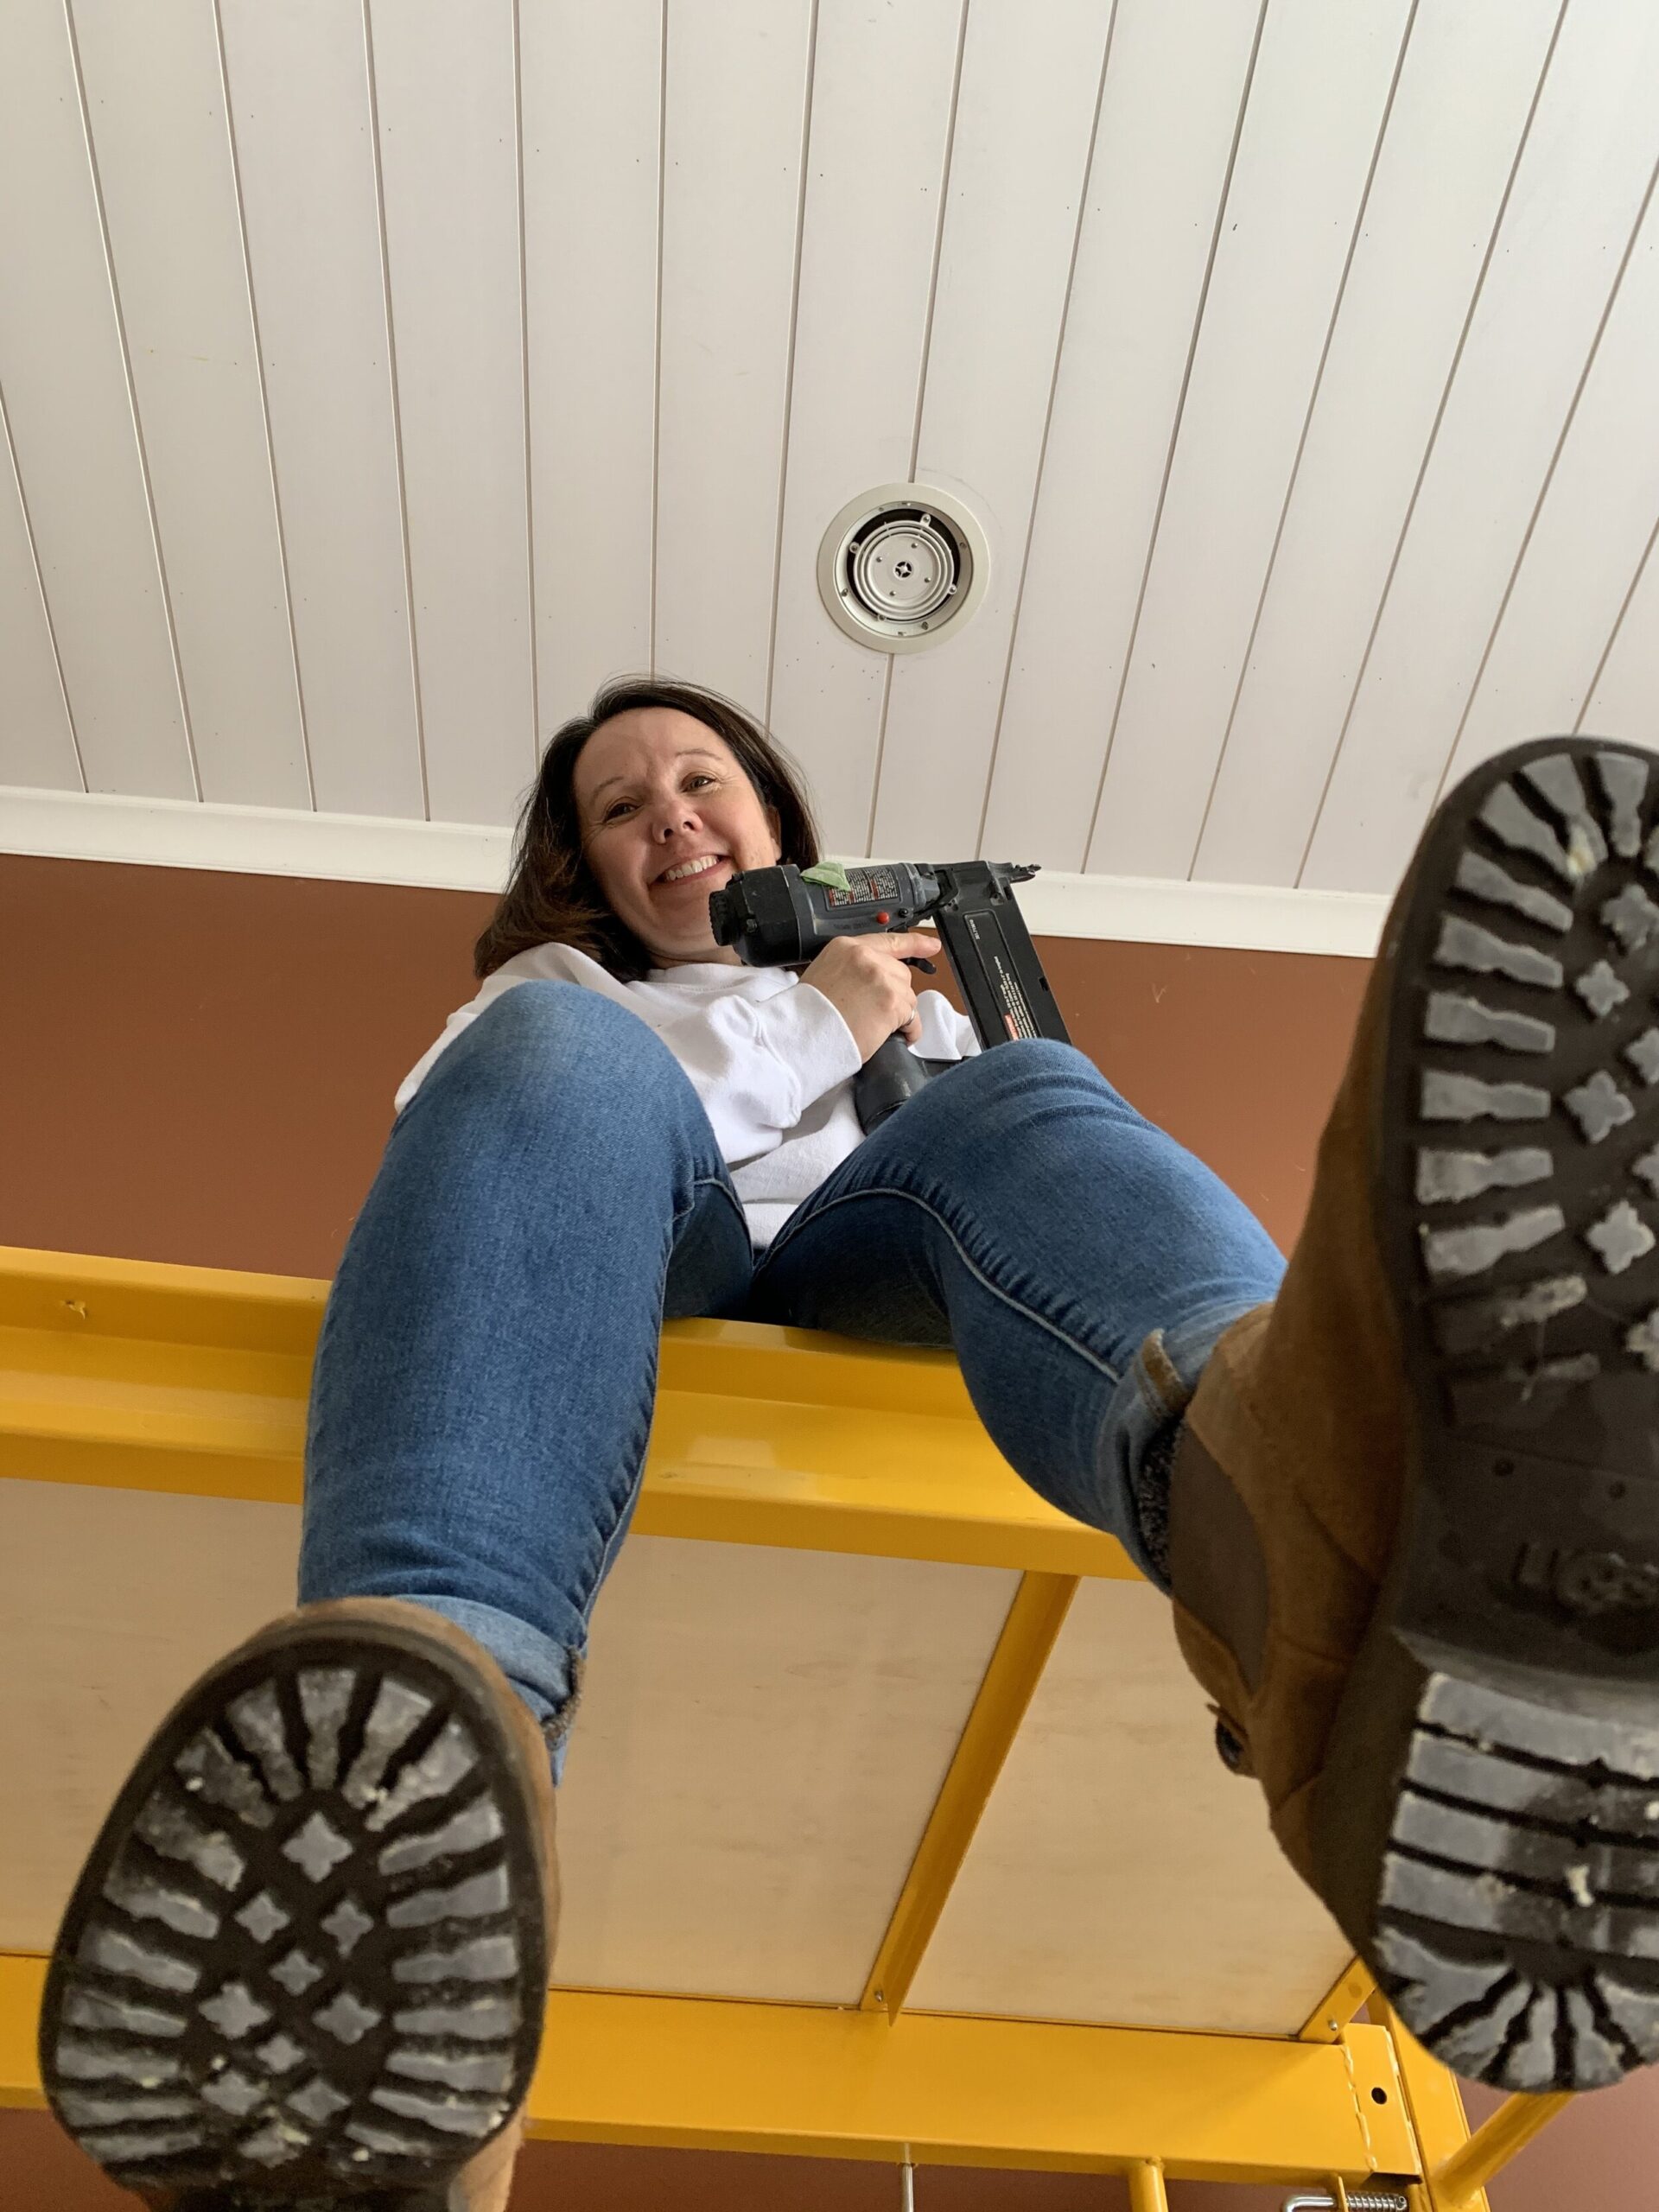
I decided to go with green trim because WHY NOT? So many people seem a little scared to do painted trim (colour other than white, that is) but it’s such a great way to bring in a little bit of colour, and it’s only paint, afterall! I painted the trim the same colour as the ceiling, Lush Sage by Valspar, and it adds just a little something to this otherwise pretty neutral bathroom. We went with green on the ceilings, baseboards and added crown moulding and painted those, too! (I will also paint the door before I put it back on.)
This post may contain affiliate links. That means if you purchase anything from these links I earn a small commission, at no extra cost to you! This helps support my blog, so thank you!
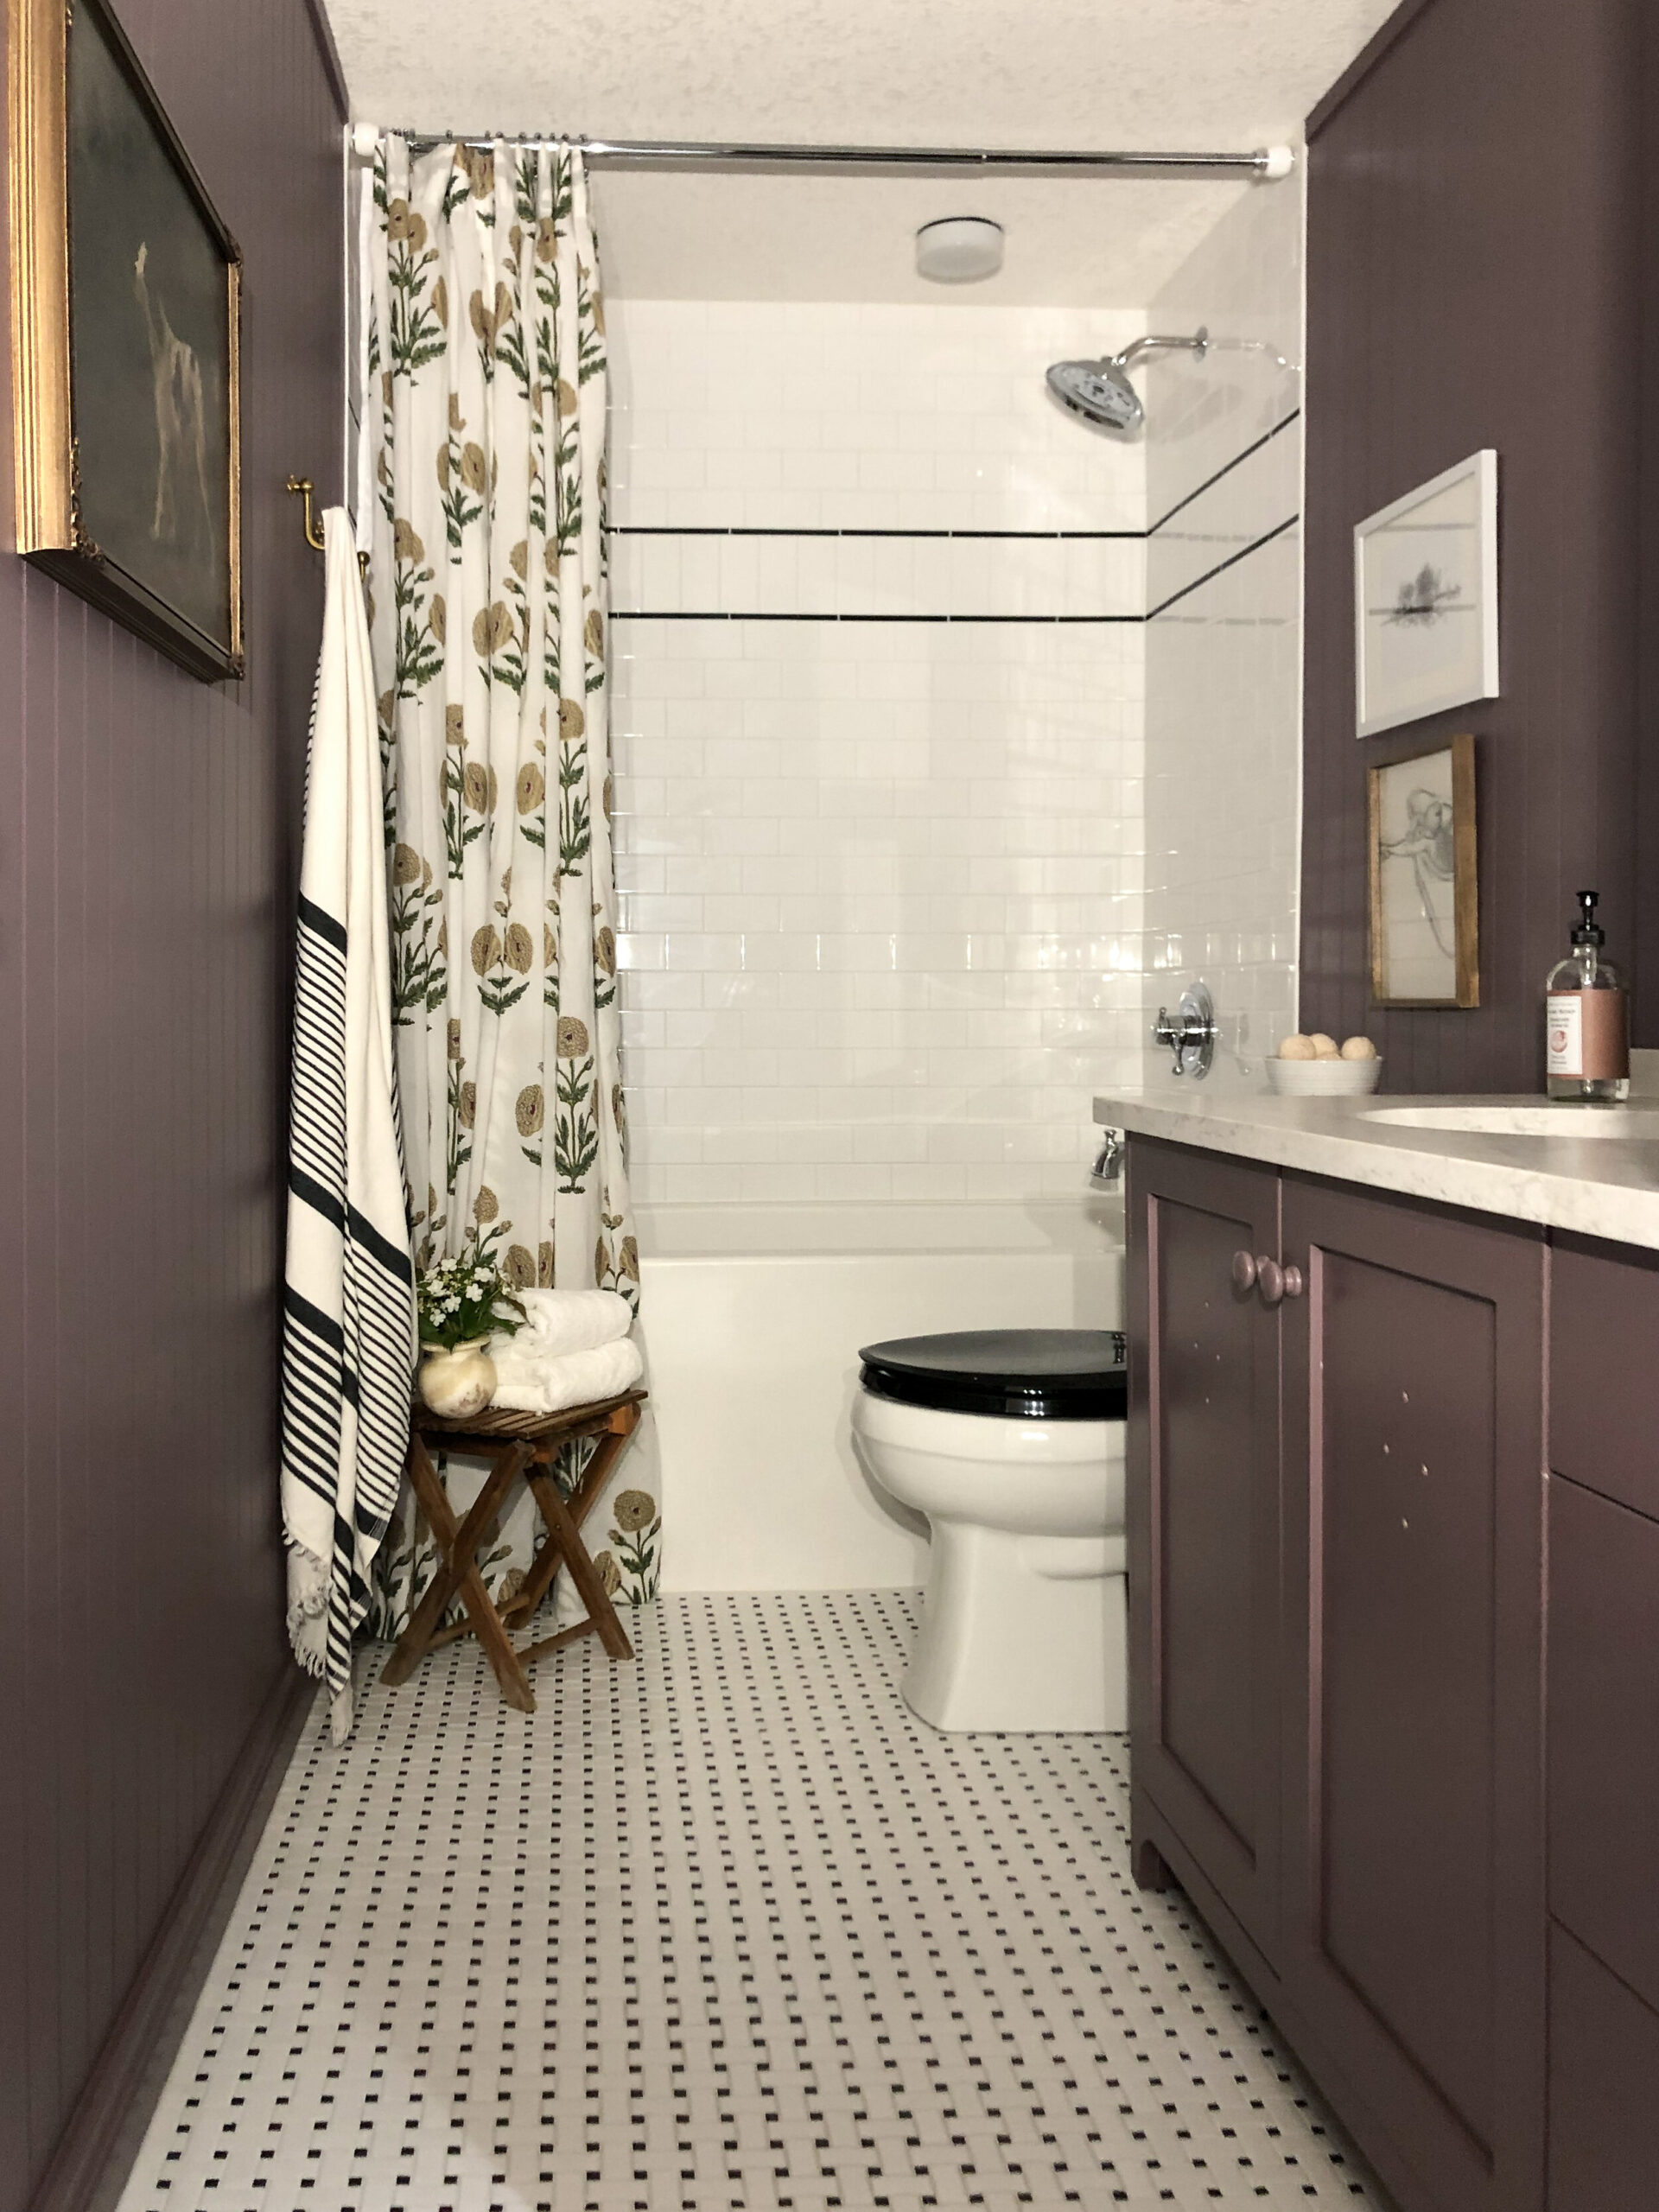
Shower Curtain Valence with Crown Moulding
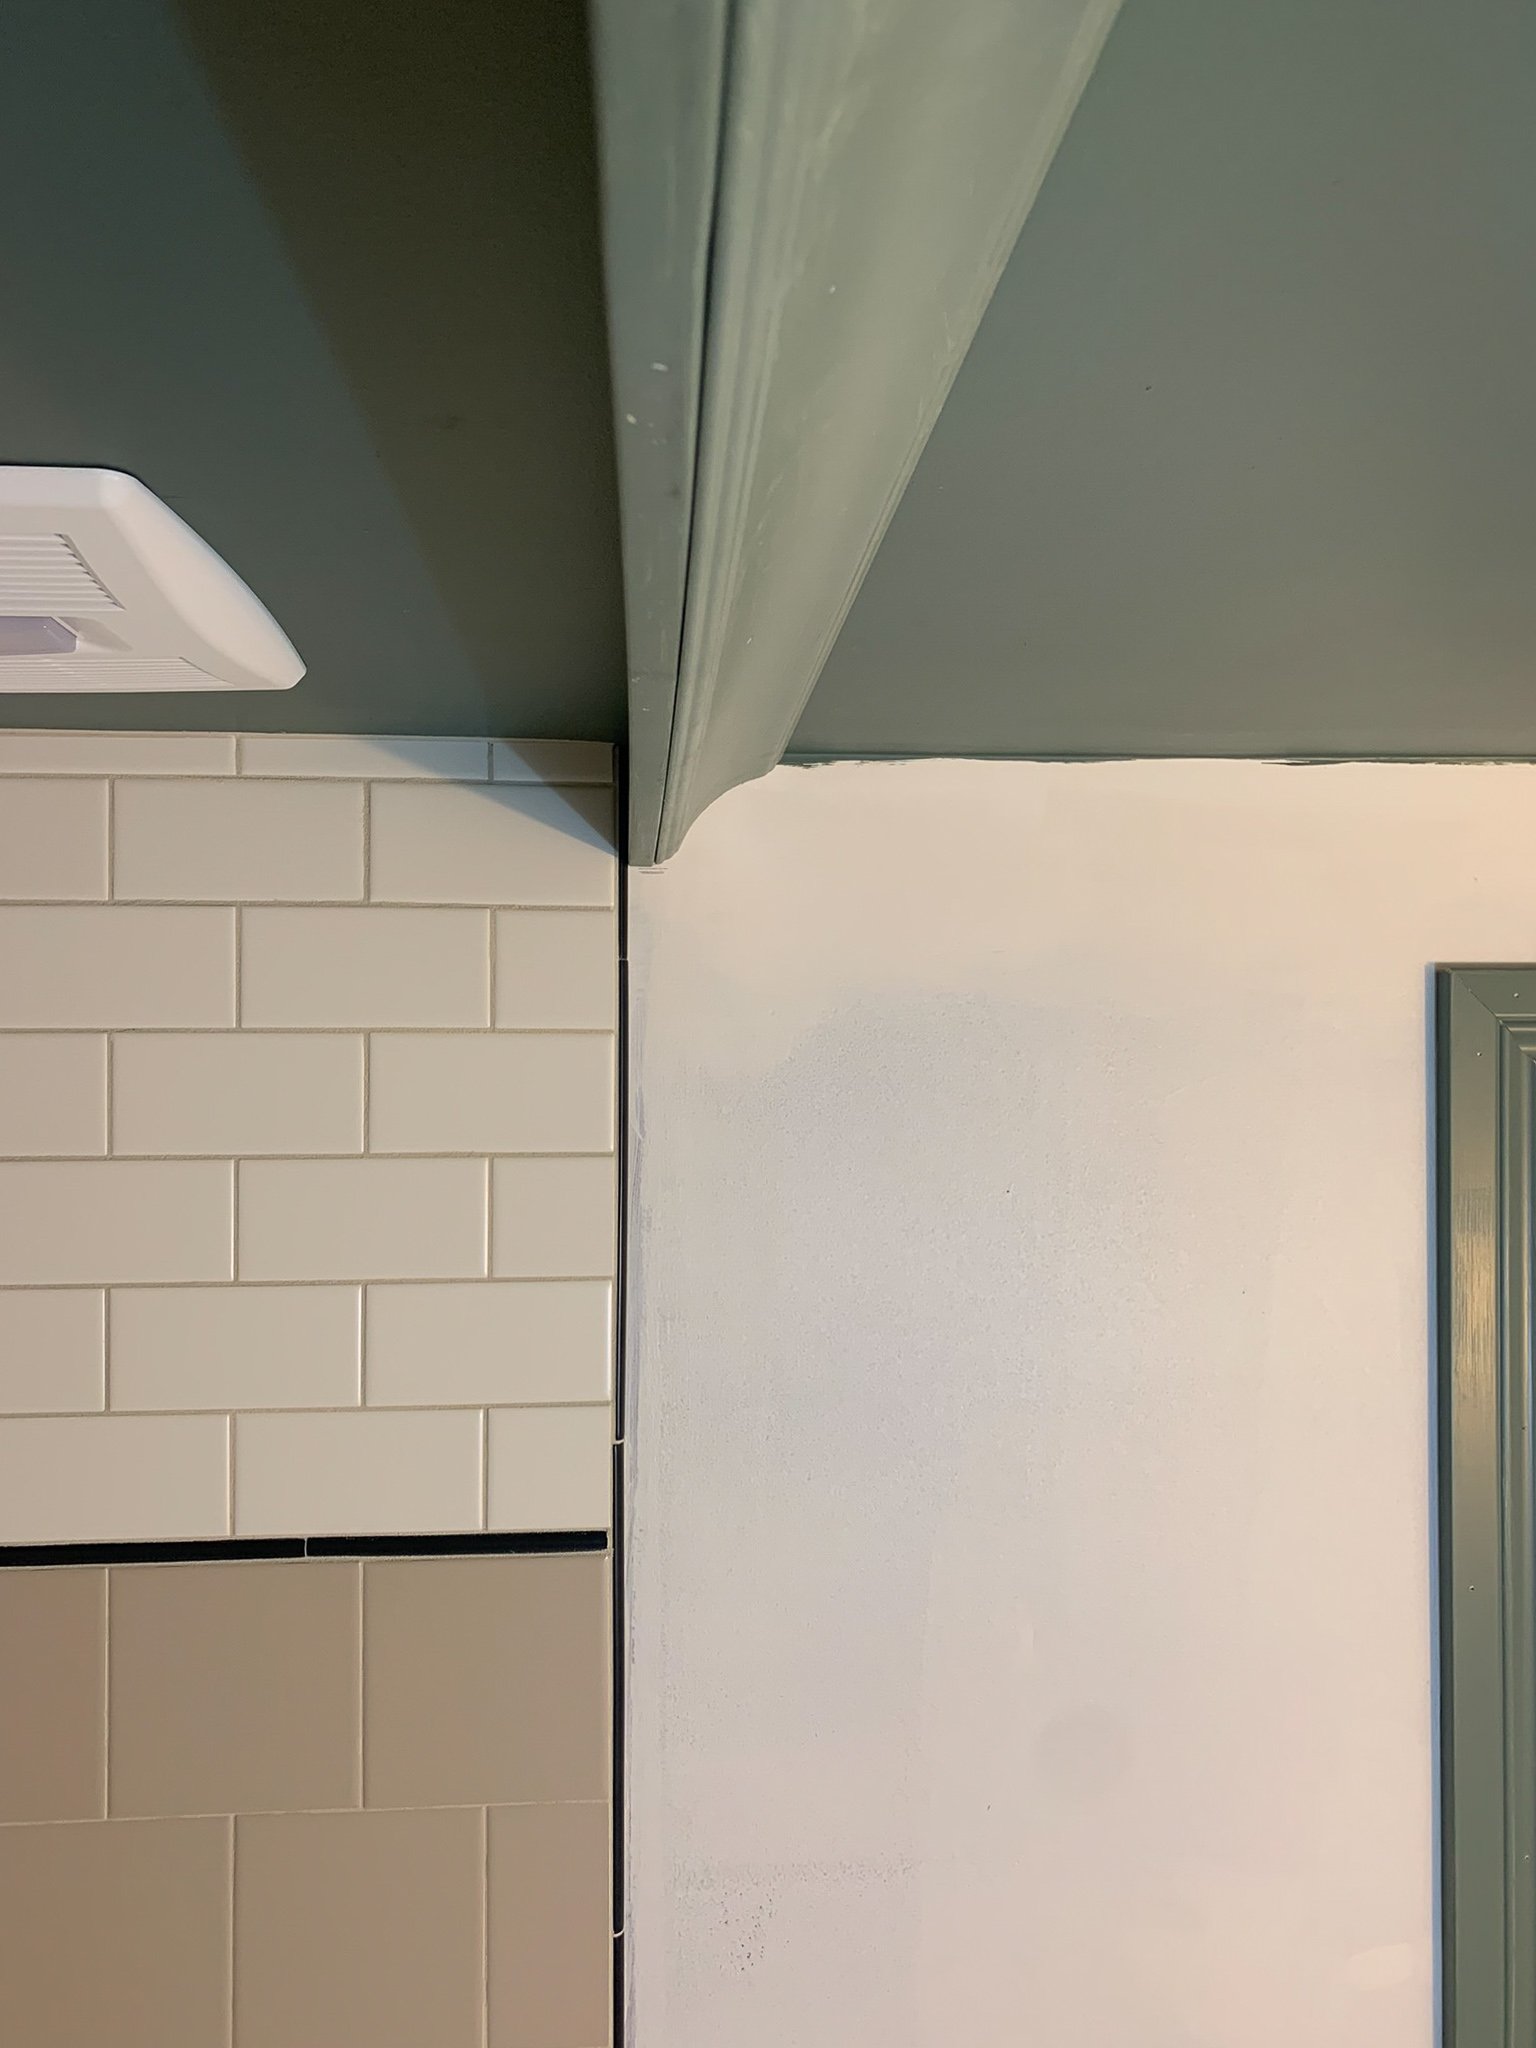
I have talked before about my plan to do a floor-to-ceiling decorative shower curtain, and I wanted a way to hide the shower curtain track on the ceiling. Room for Tuesday used a valence piece with a ceiling-mounted curtain track in THIS bathroom makeover, and I thought it was a great idea. However I also wanted to add crown moulding to my bathroom, so I combined the valence idea with crown moulding and I’m pretty happy with the results! Here’s how I did it:
We measured the drop of the crown moulding on the wall (we held the crown up to the wall and measured how far down the wall it sat) and cut a simple 1×4” piece to that depth. In our case, 3”. This becomes the valence piece. Then, we nailed a small (approximately 1×1” nailer to the ceiling to attach the valence to just inside the room, past the shower tile. The nailer was glued and nailed to the ceiling, being careful to hit a few studs, and then the valence was nailed into that, from the side.
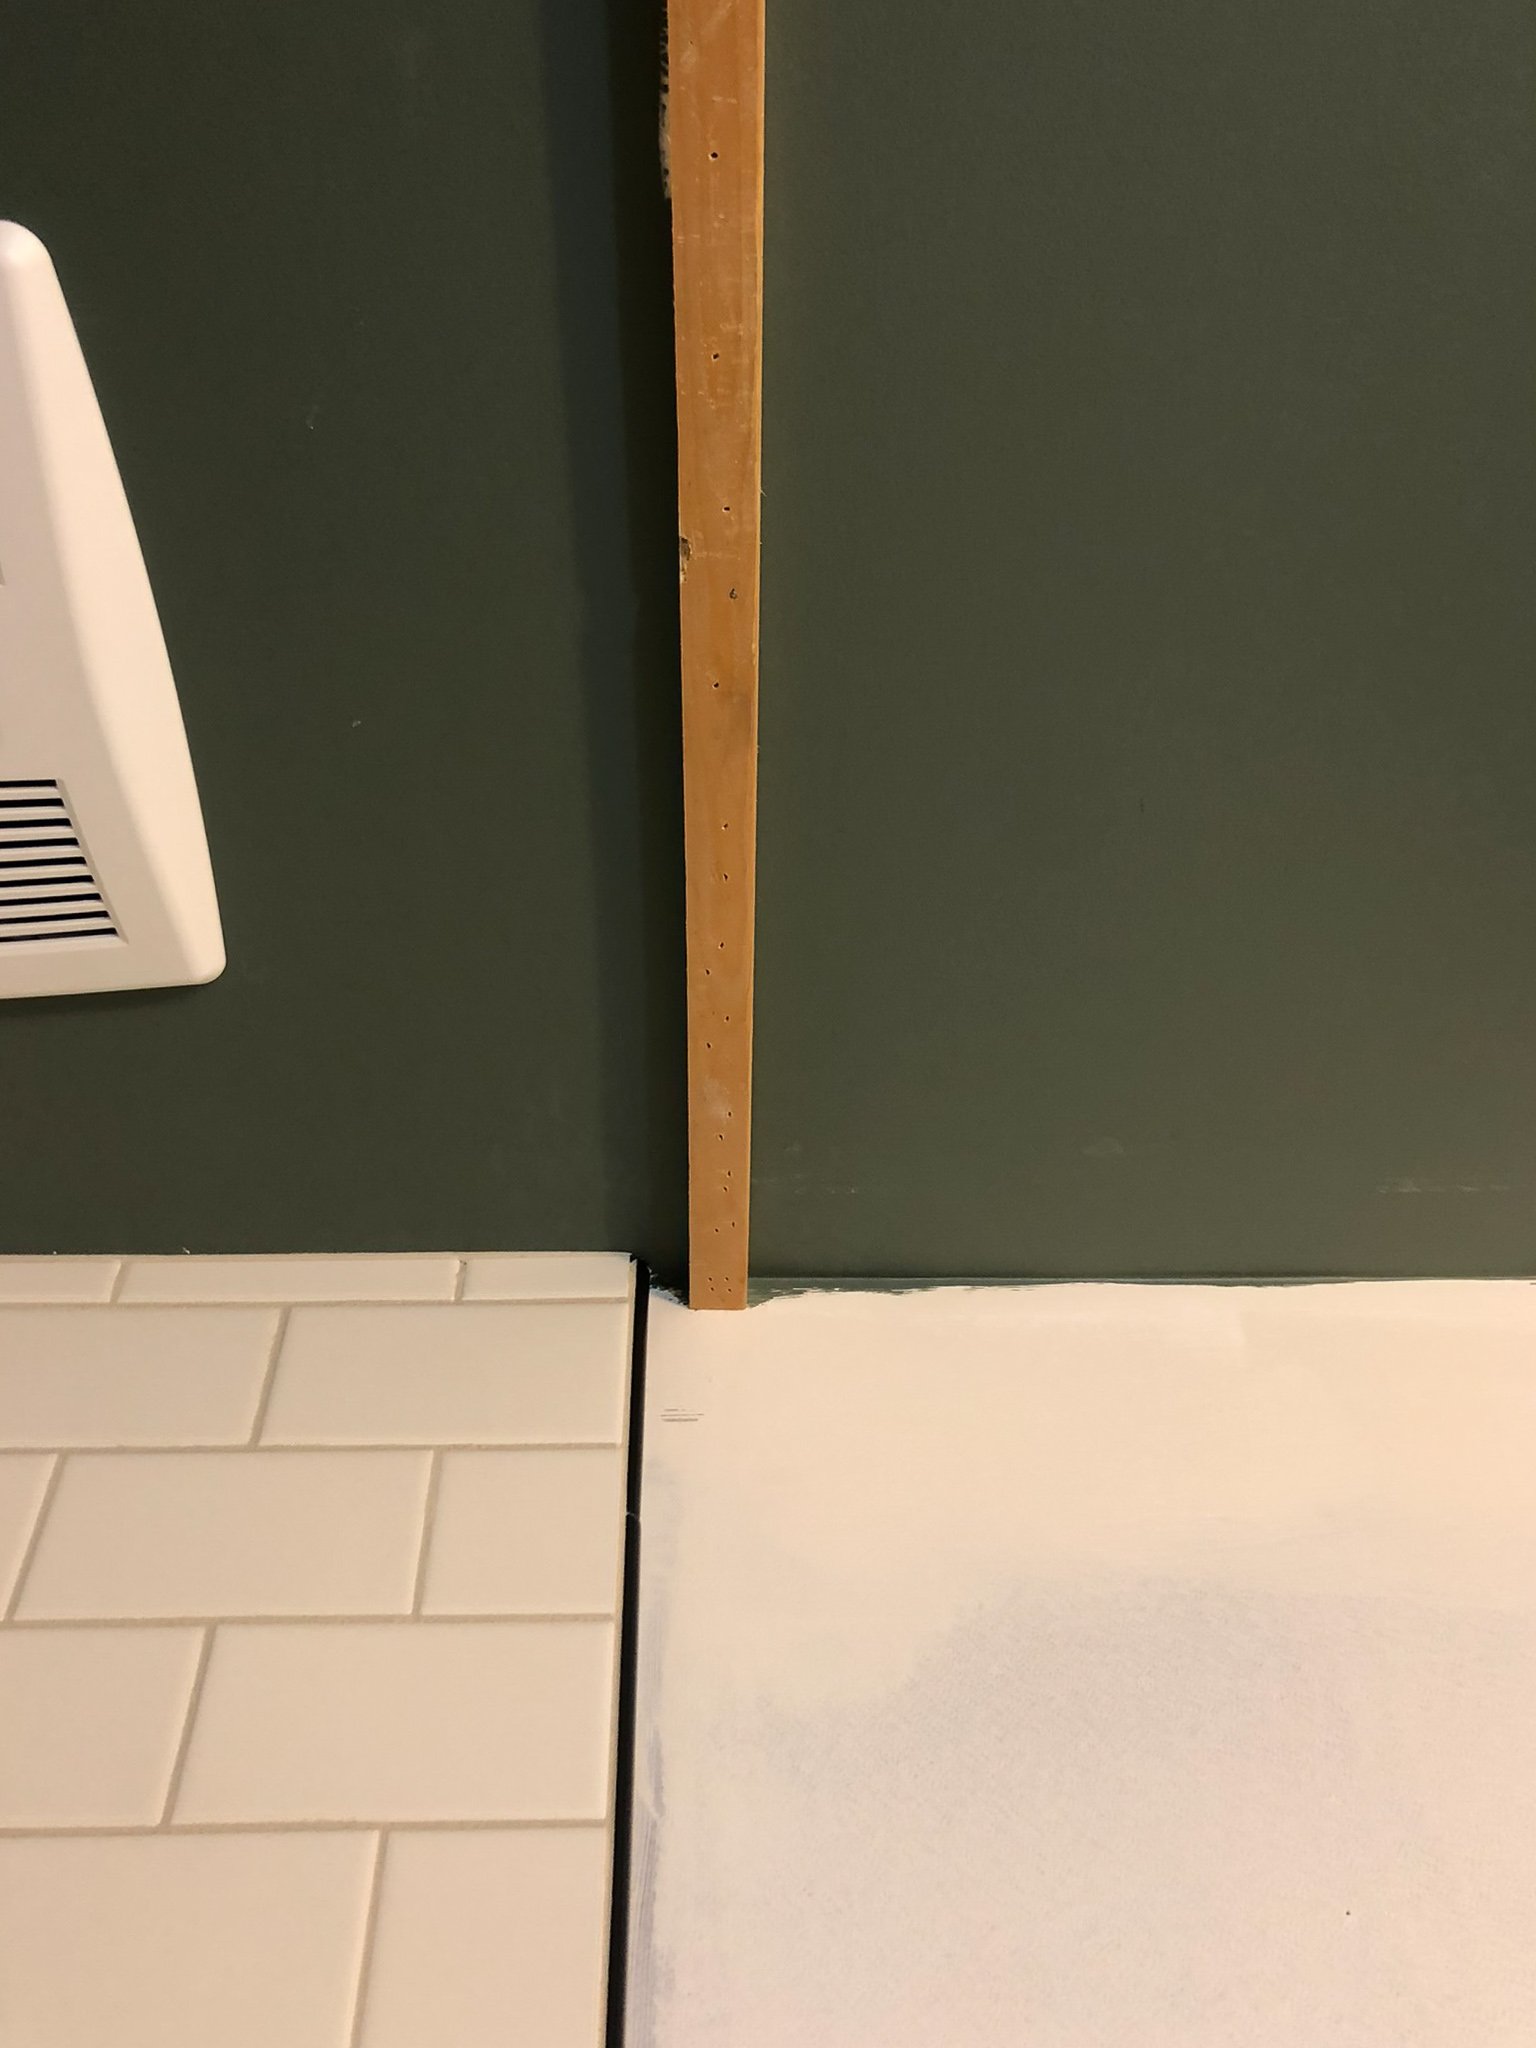
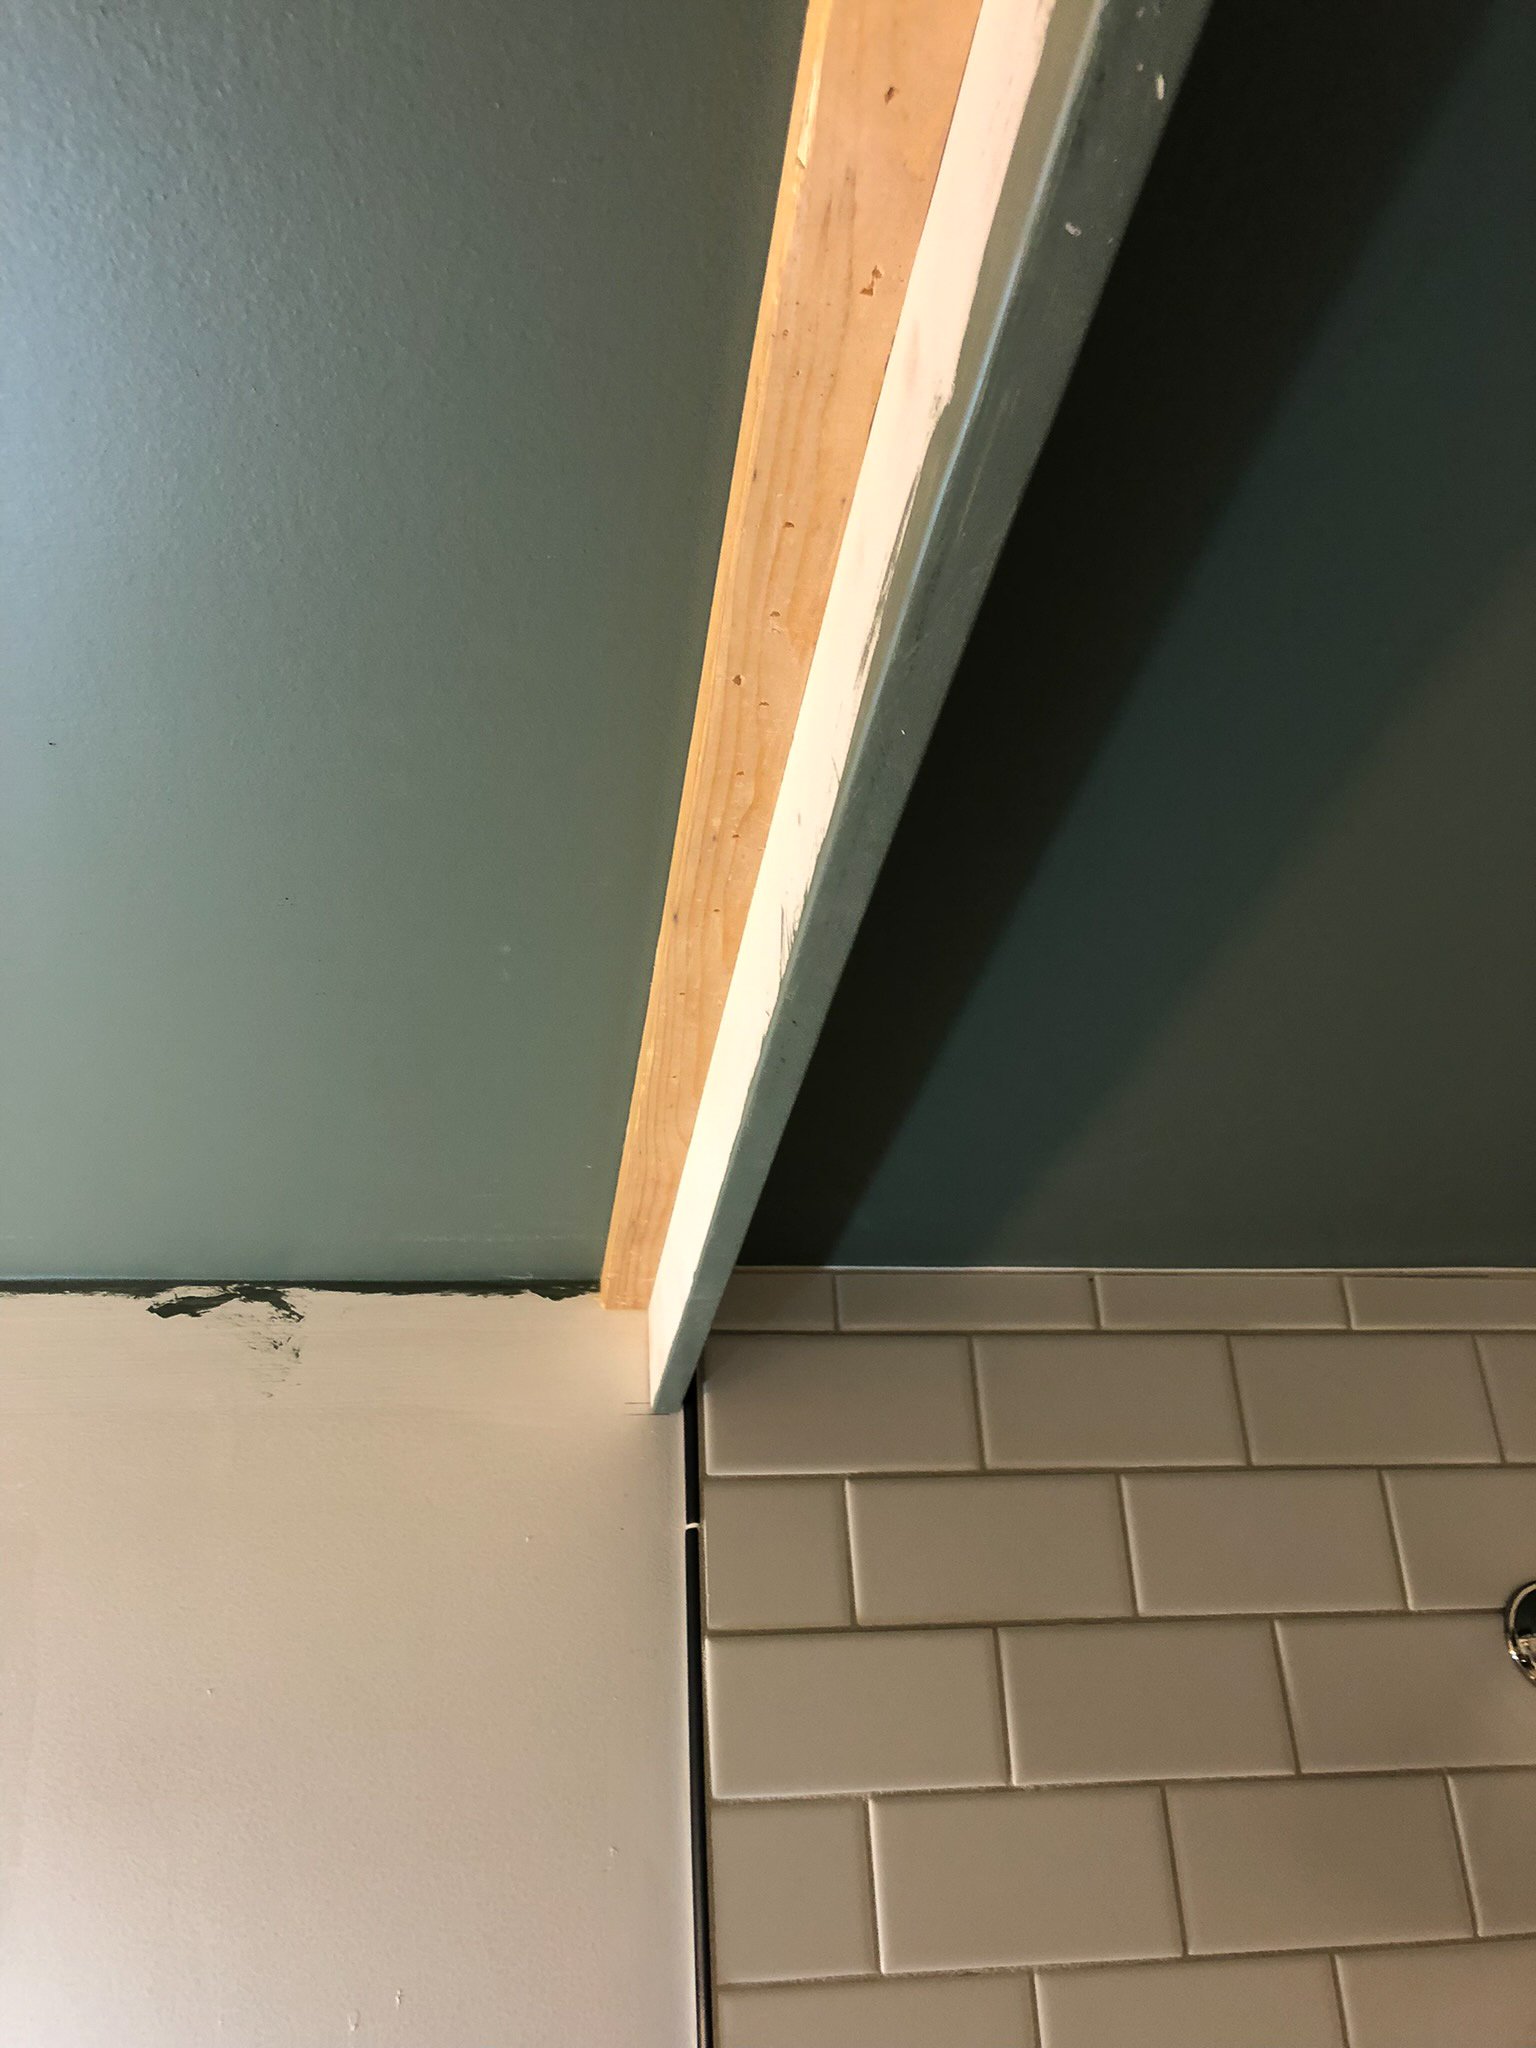

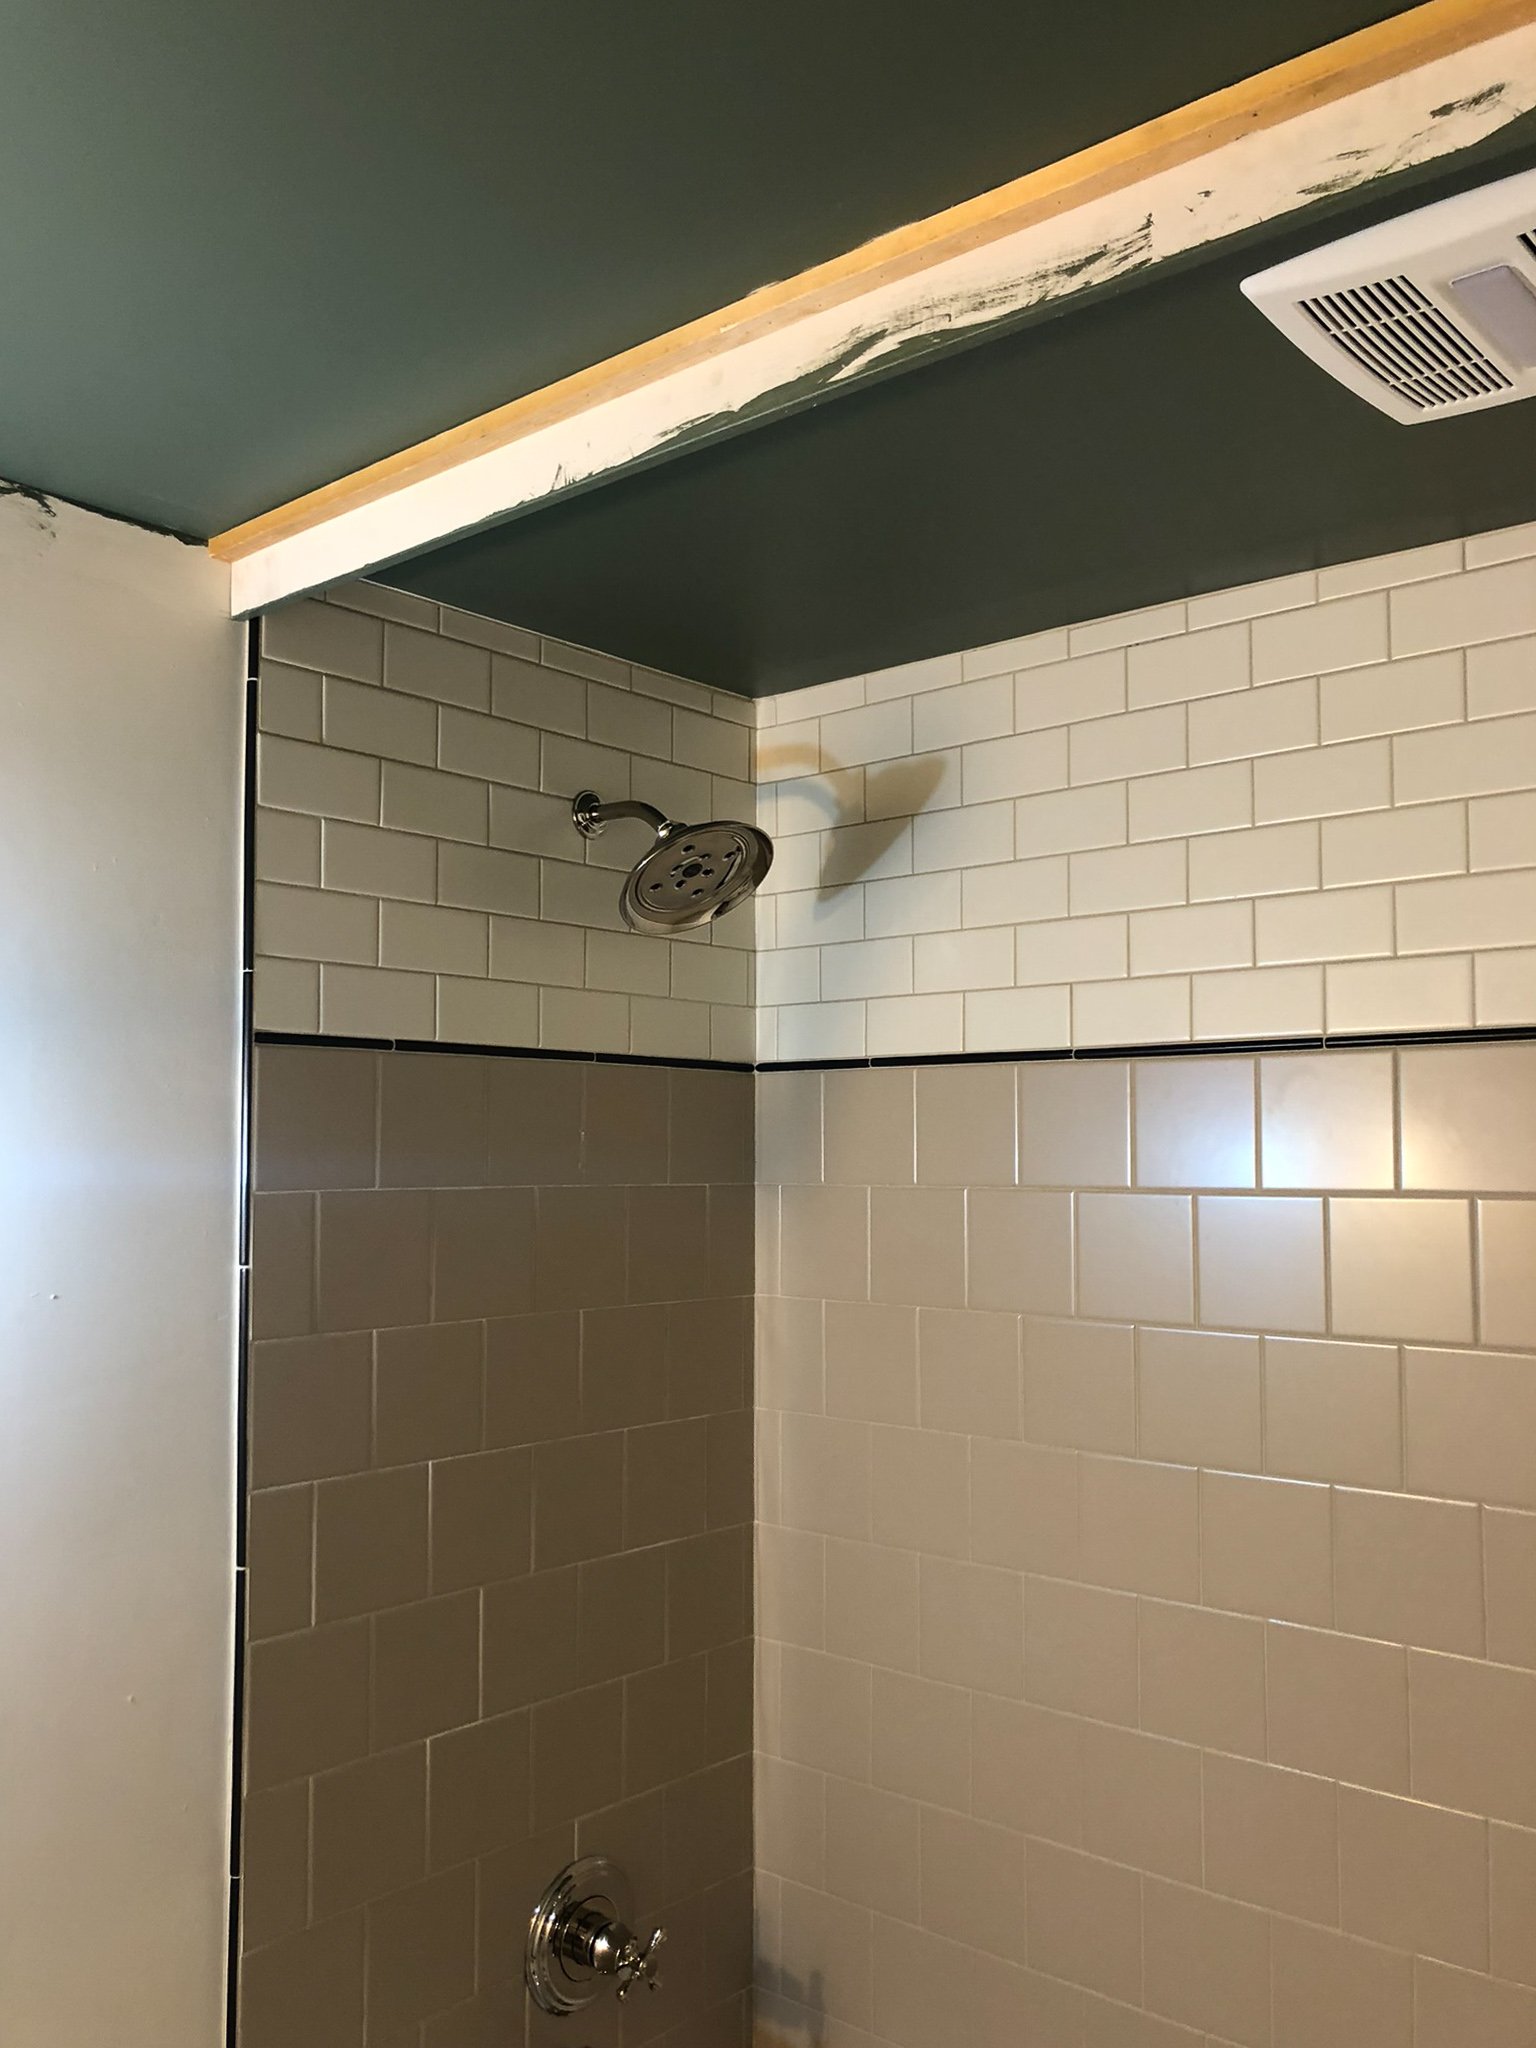
The crown moulding then was able to go all around the “dry” side of the room, and the nailer fit inside the little space behind the crown. (This is complicated to try to explain but hopefully these photos help!)
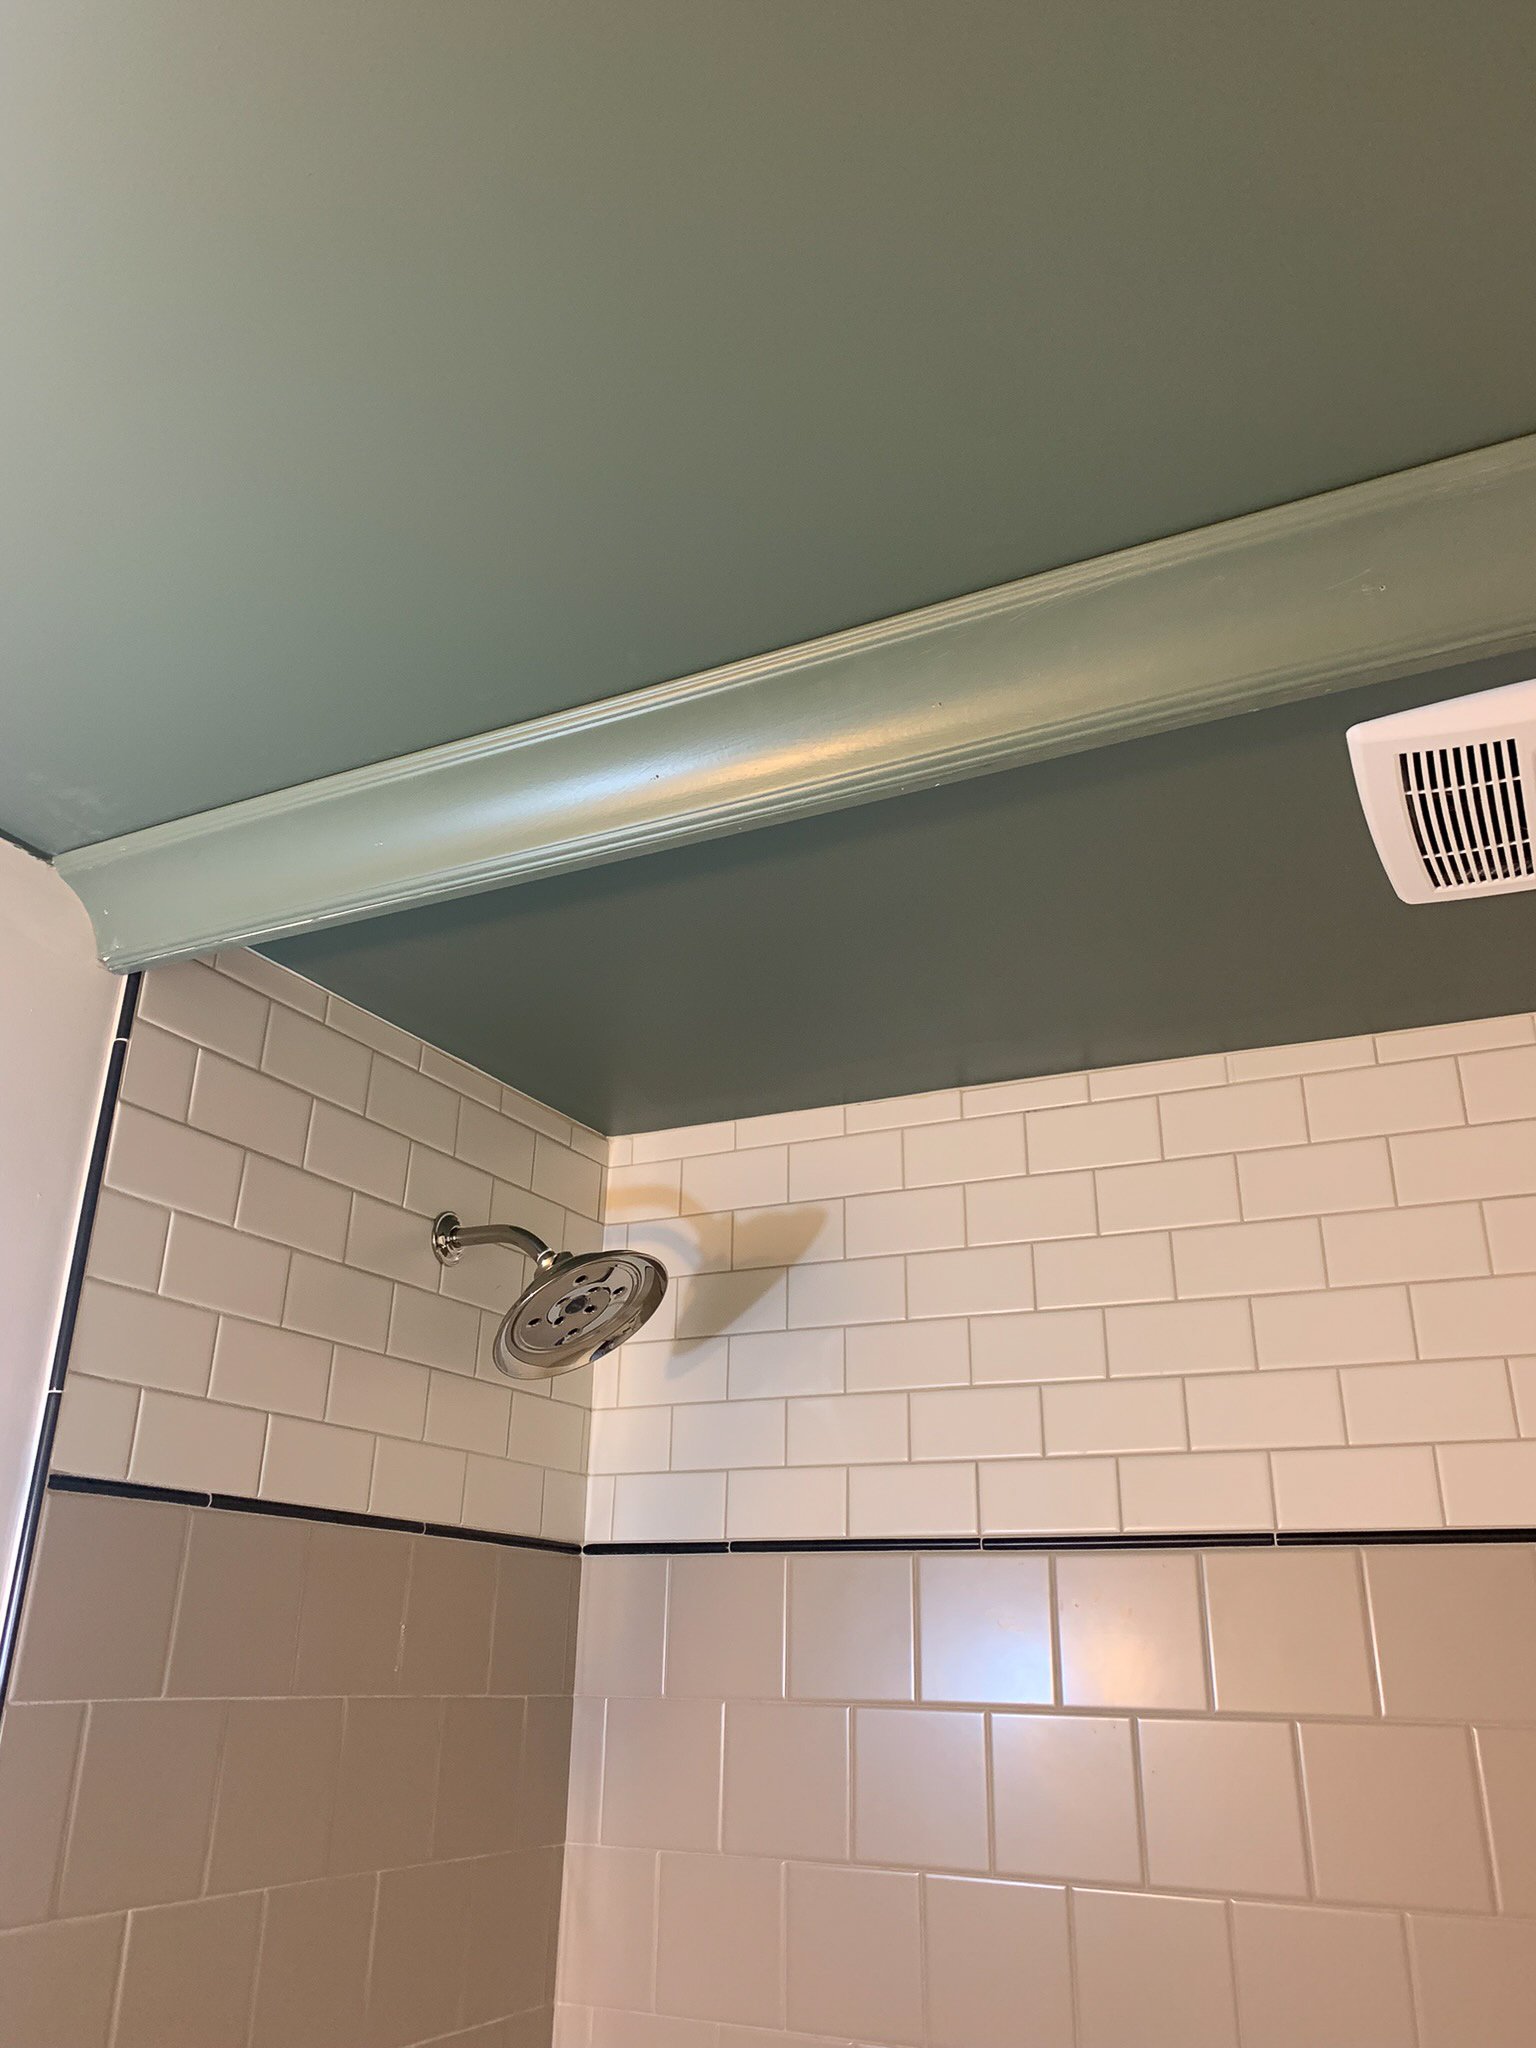
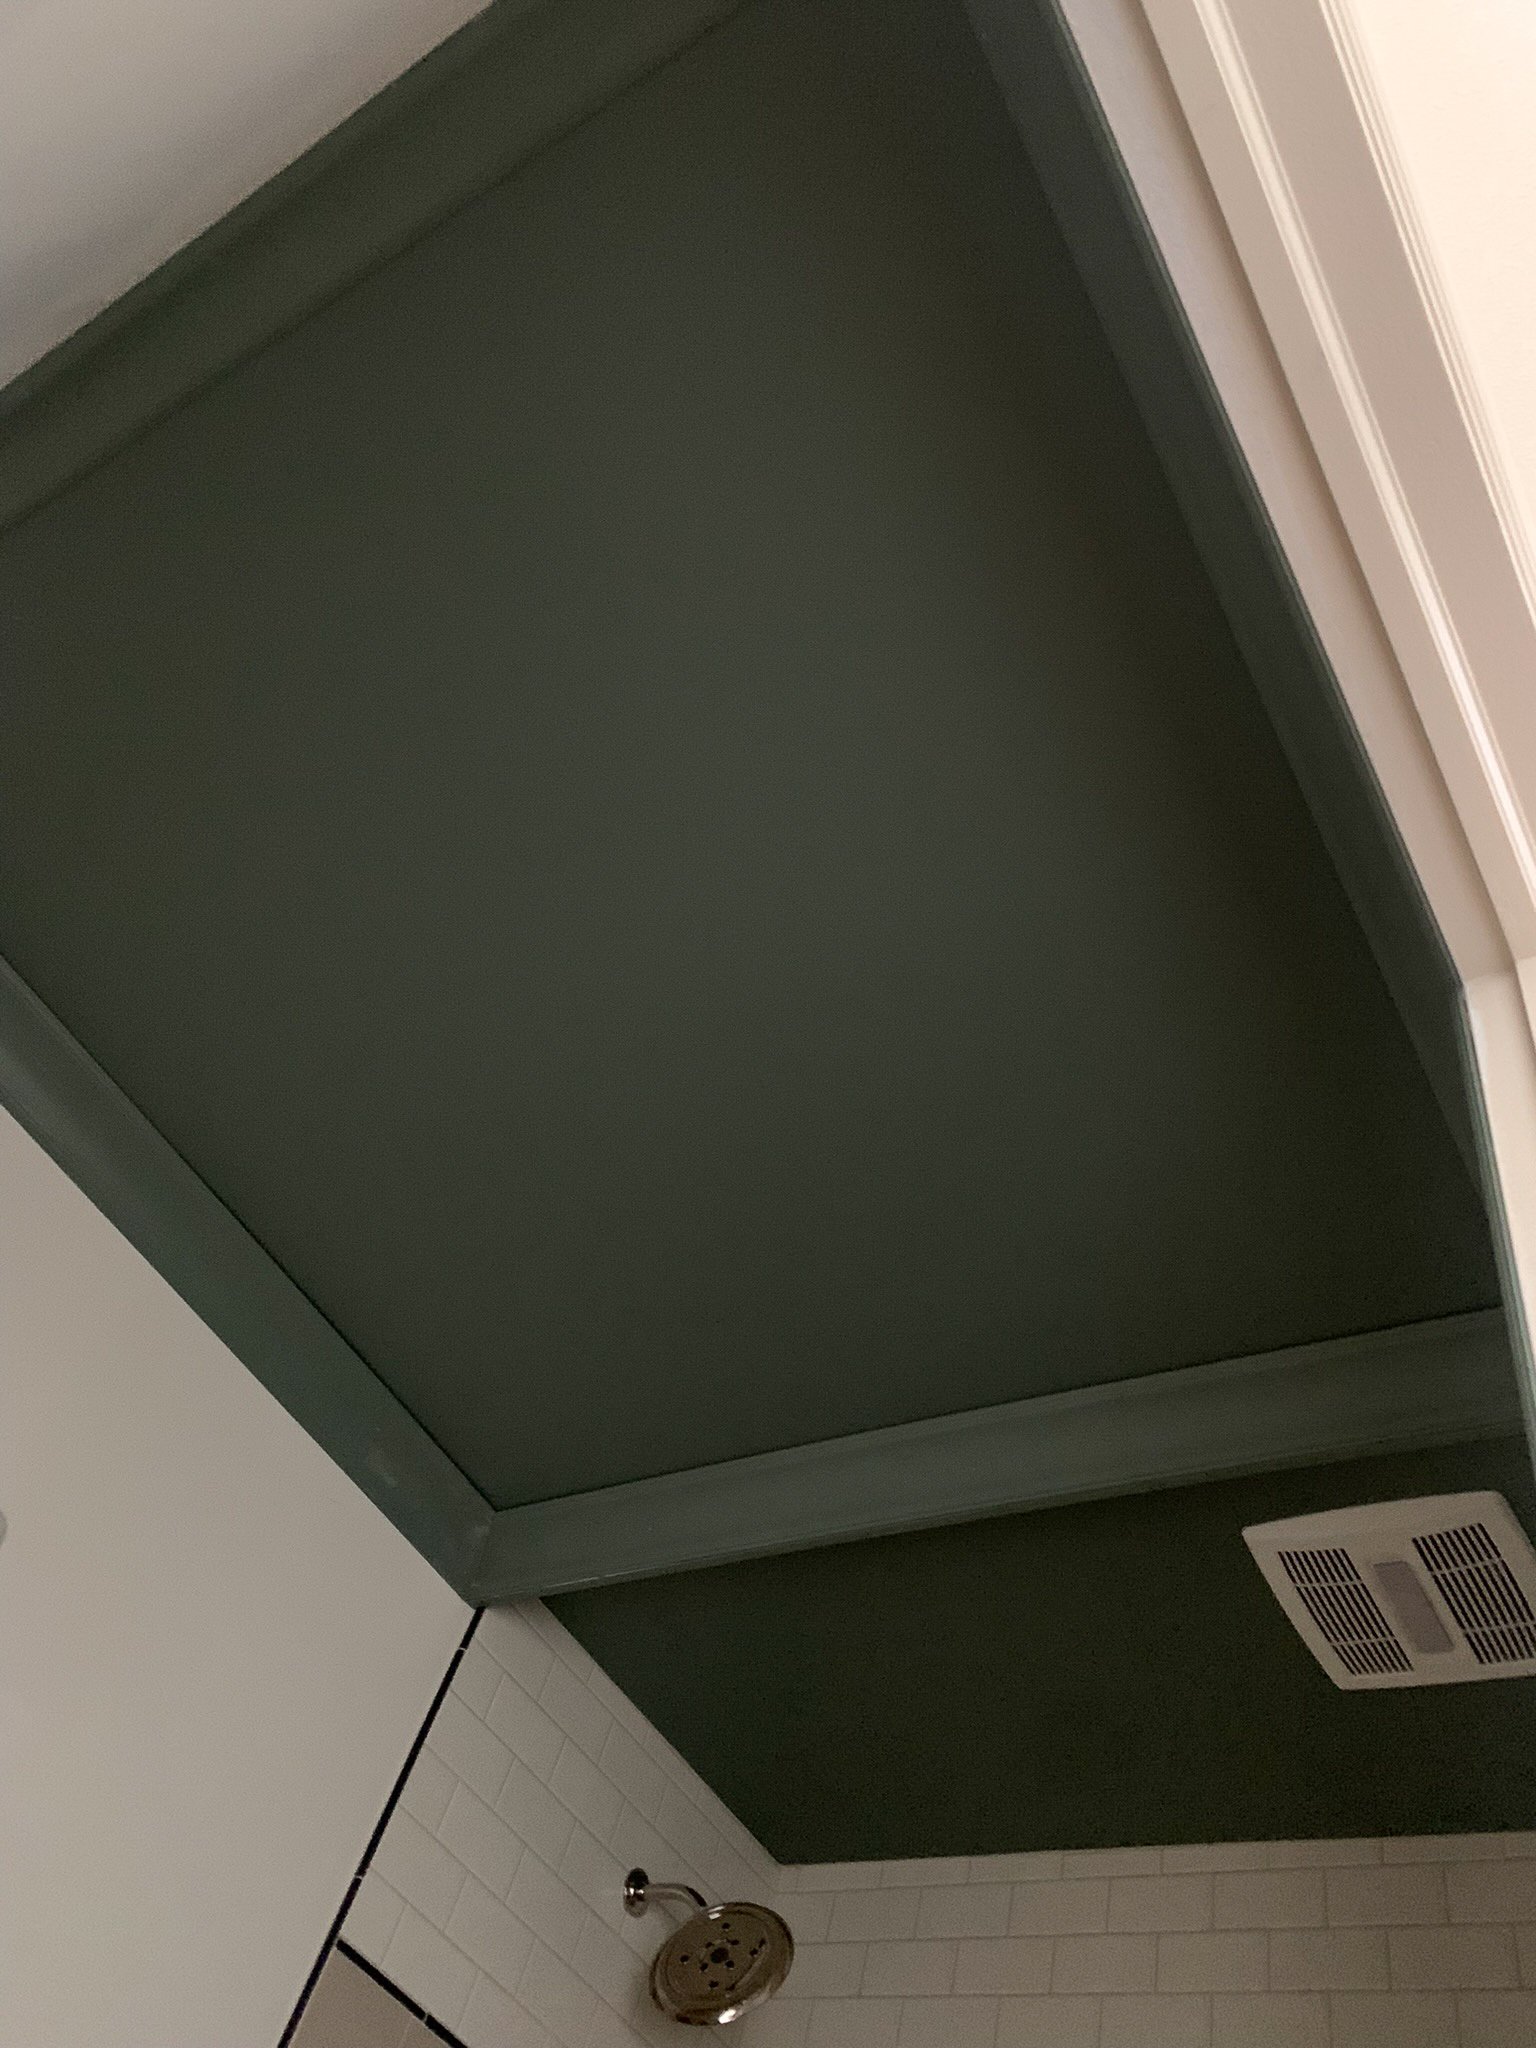
We haven’t installed the track yet, but it will be behind the crown moulding (on the shower side) and will only be visible if you are in the shower.
Cole & Sons Wallpaper
The other thing we did this week was install wallpaper! I snagged this wallpaper on clearance from Rejuvenation, it is from Cole and Sons and it’s a great quality paper. (It is no longer sold from Rejuvenation, but here it is in a slightly lighter colourway.) I bought this several months ago (maybe as much as a year?) with no real plan as to where it would go. When it came time to start designing this bathroom, this wallpaper was the jumping-off point. I love the simple pattern that is both geometric and floral, neutral and simple, it just doesn’t seem like something I will ever tire of!

Next week we start putting the bathroom back together. I’m still waiting on these sconces from Huey Light Shop and if they come in, I will install them. I am planning on refinishing a vintage mirror, installing the vintage sink, and installing the toilet. This week some gorgeous art from Minted also arrived and I’m going to stress out about the perfect placement – I only get one shot to put nails in the wallpaper!
Click here to be redirected to the ORC website and to check out the progress of the other participants!

I love it Erin! You’re in the home stretch now. I still can’t believe you tackled another bathroom so soon to the last one but I bet it was worth it! Using a valence for the curtain is genius. I’m going to throw one together for Jack’s bathroom now. I have an extra long curtain in there but the exposed rod even with only a few inches to the ceiling doesn’t look “finished”. Such a great idea!
Love, love your Color choices Erin, looks great already