
How To Make Quick and Easy DIY Door Cabinet Curtains
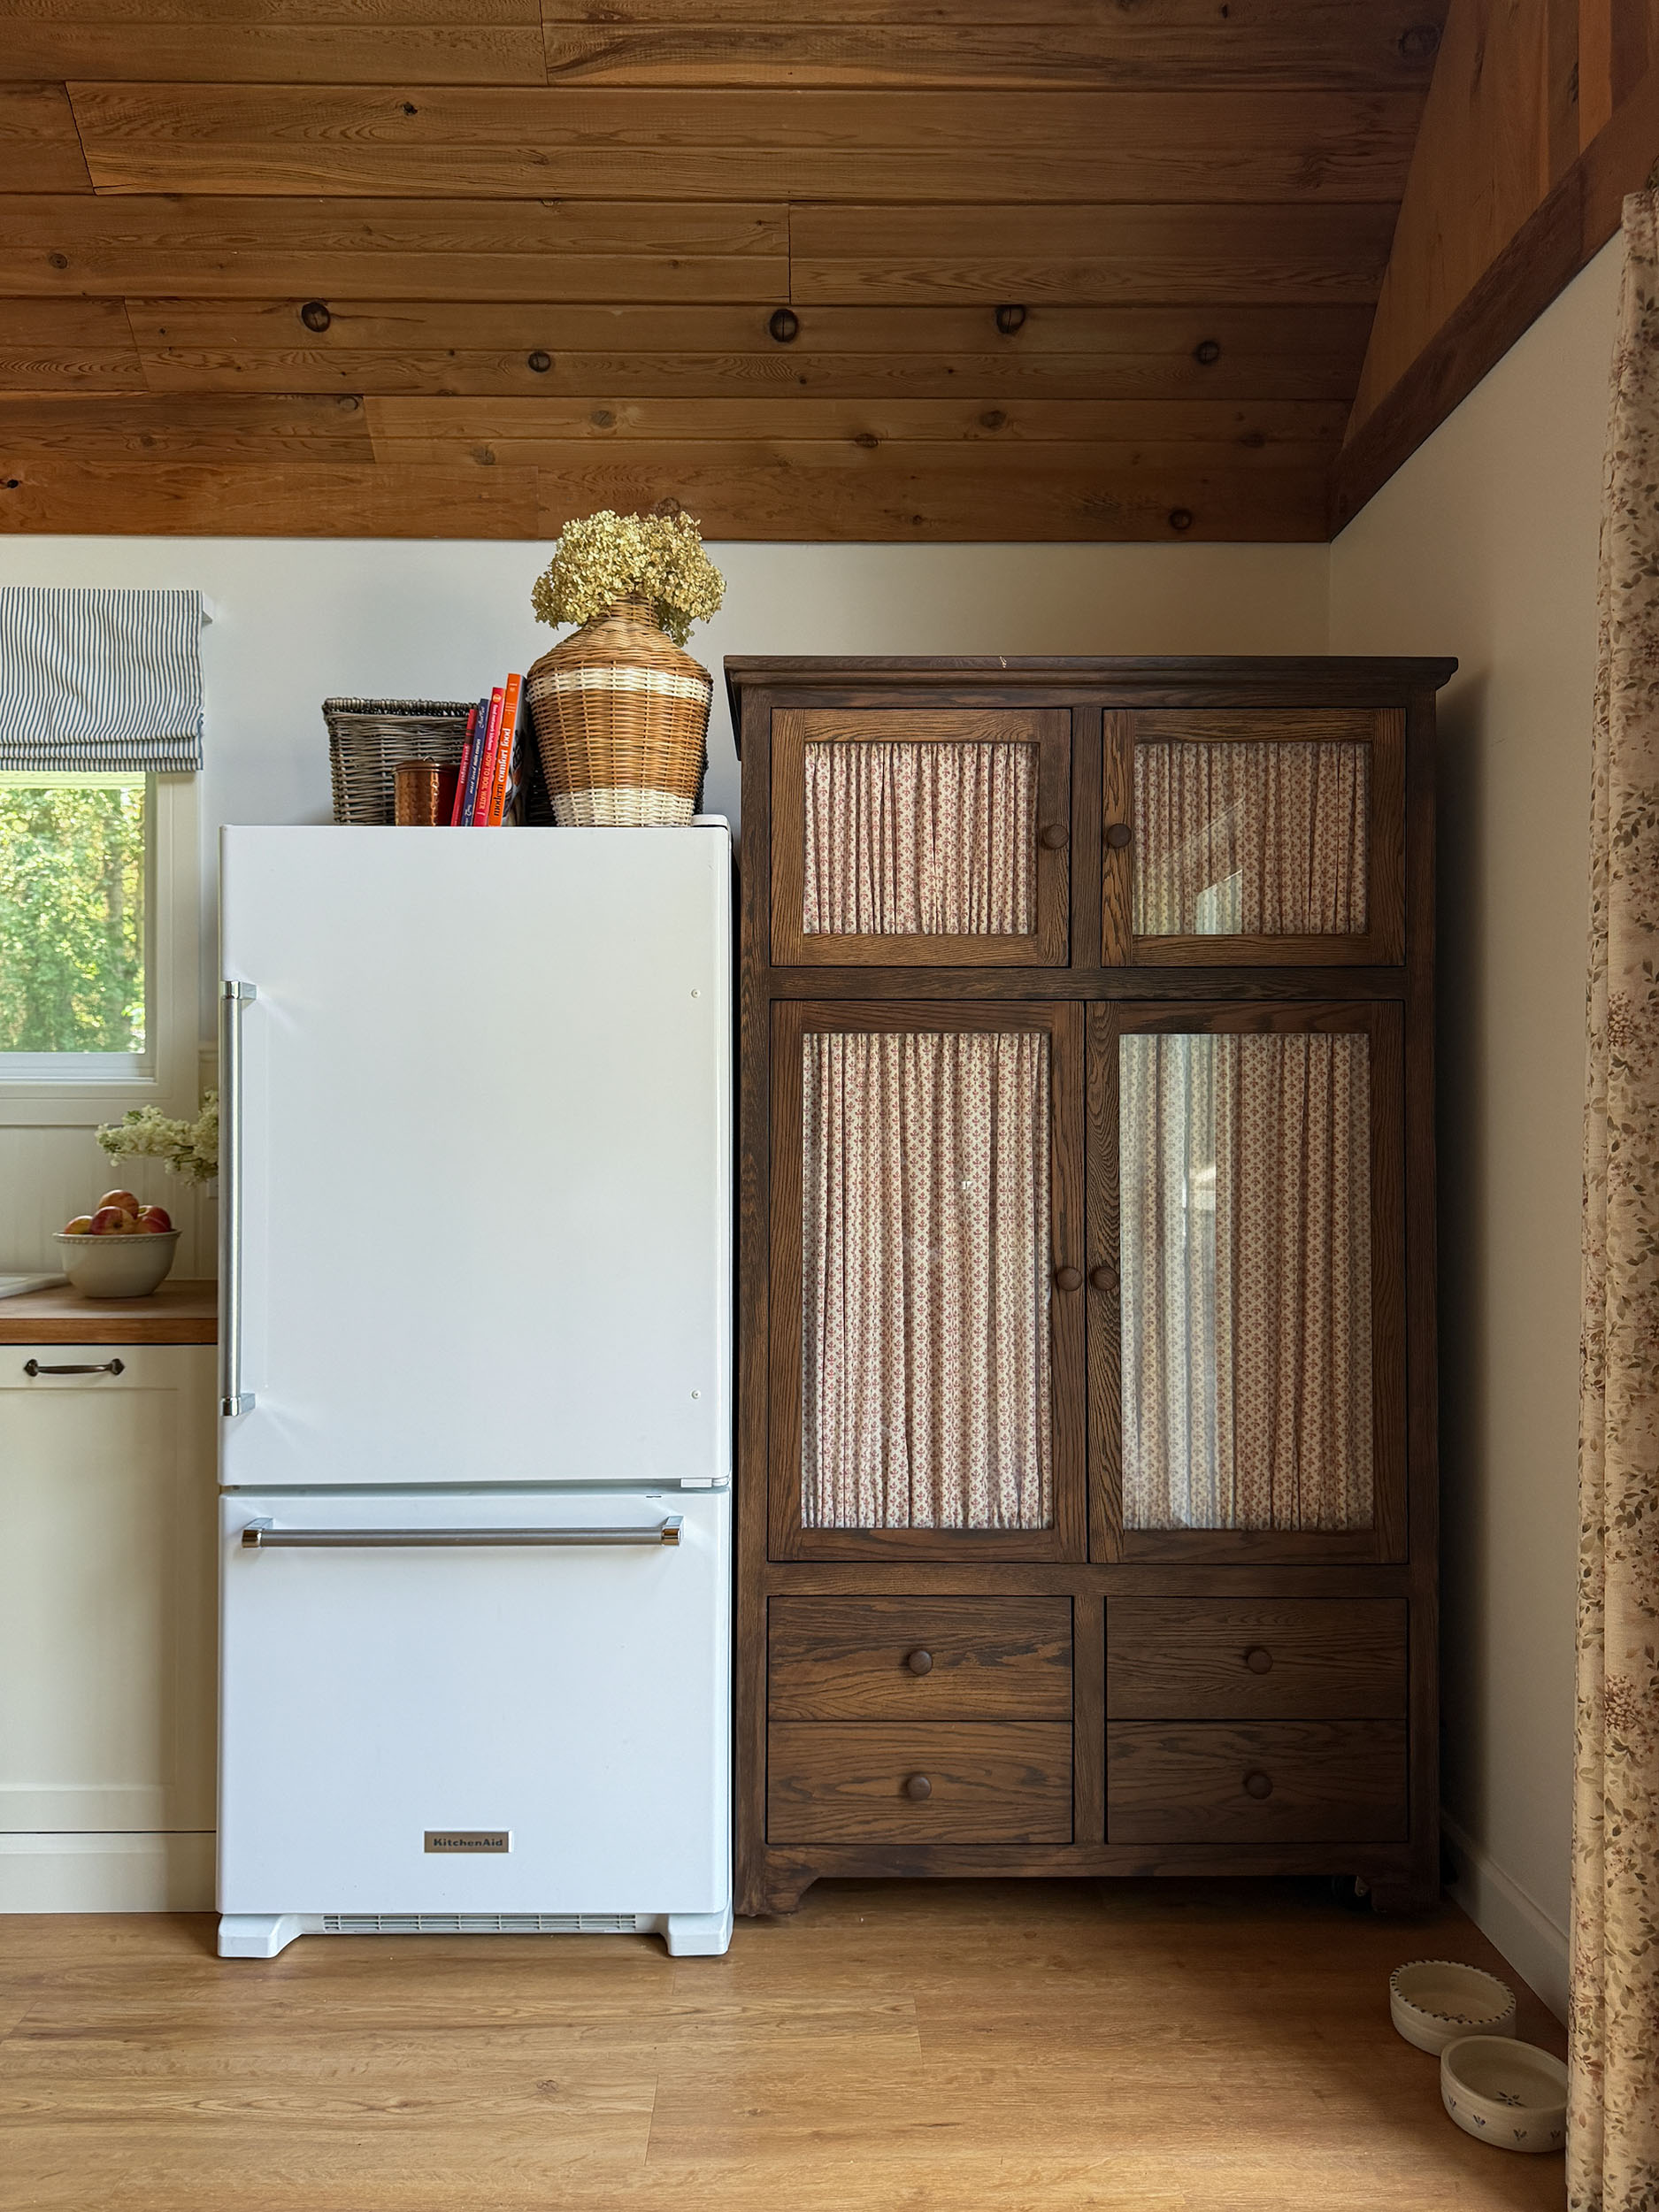
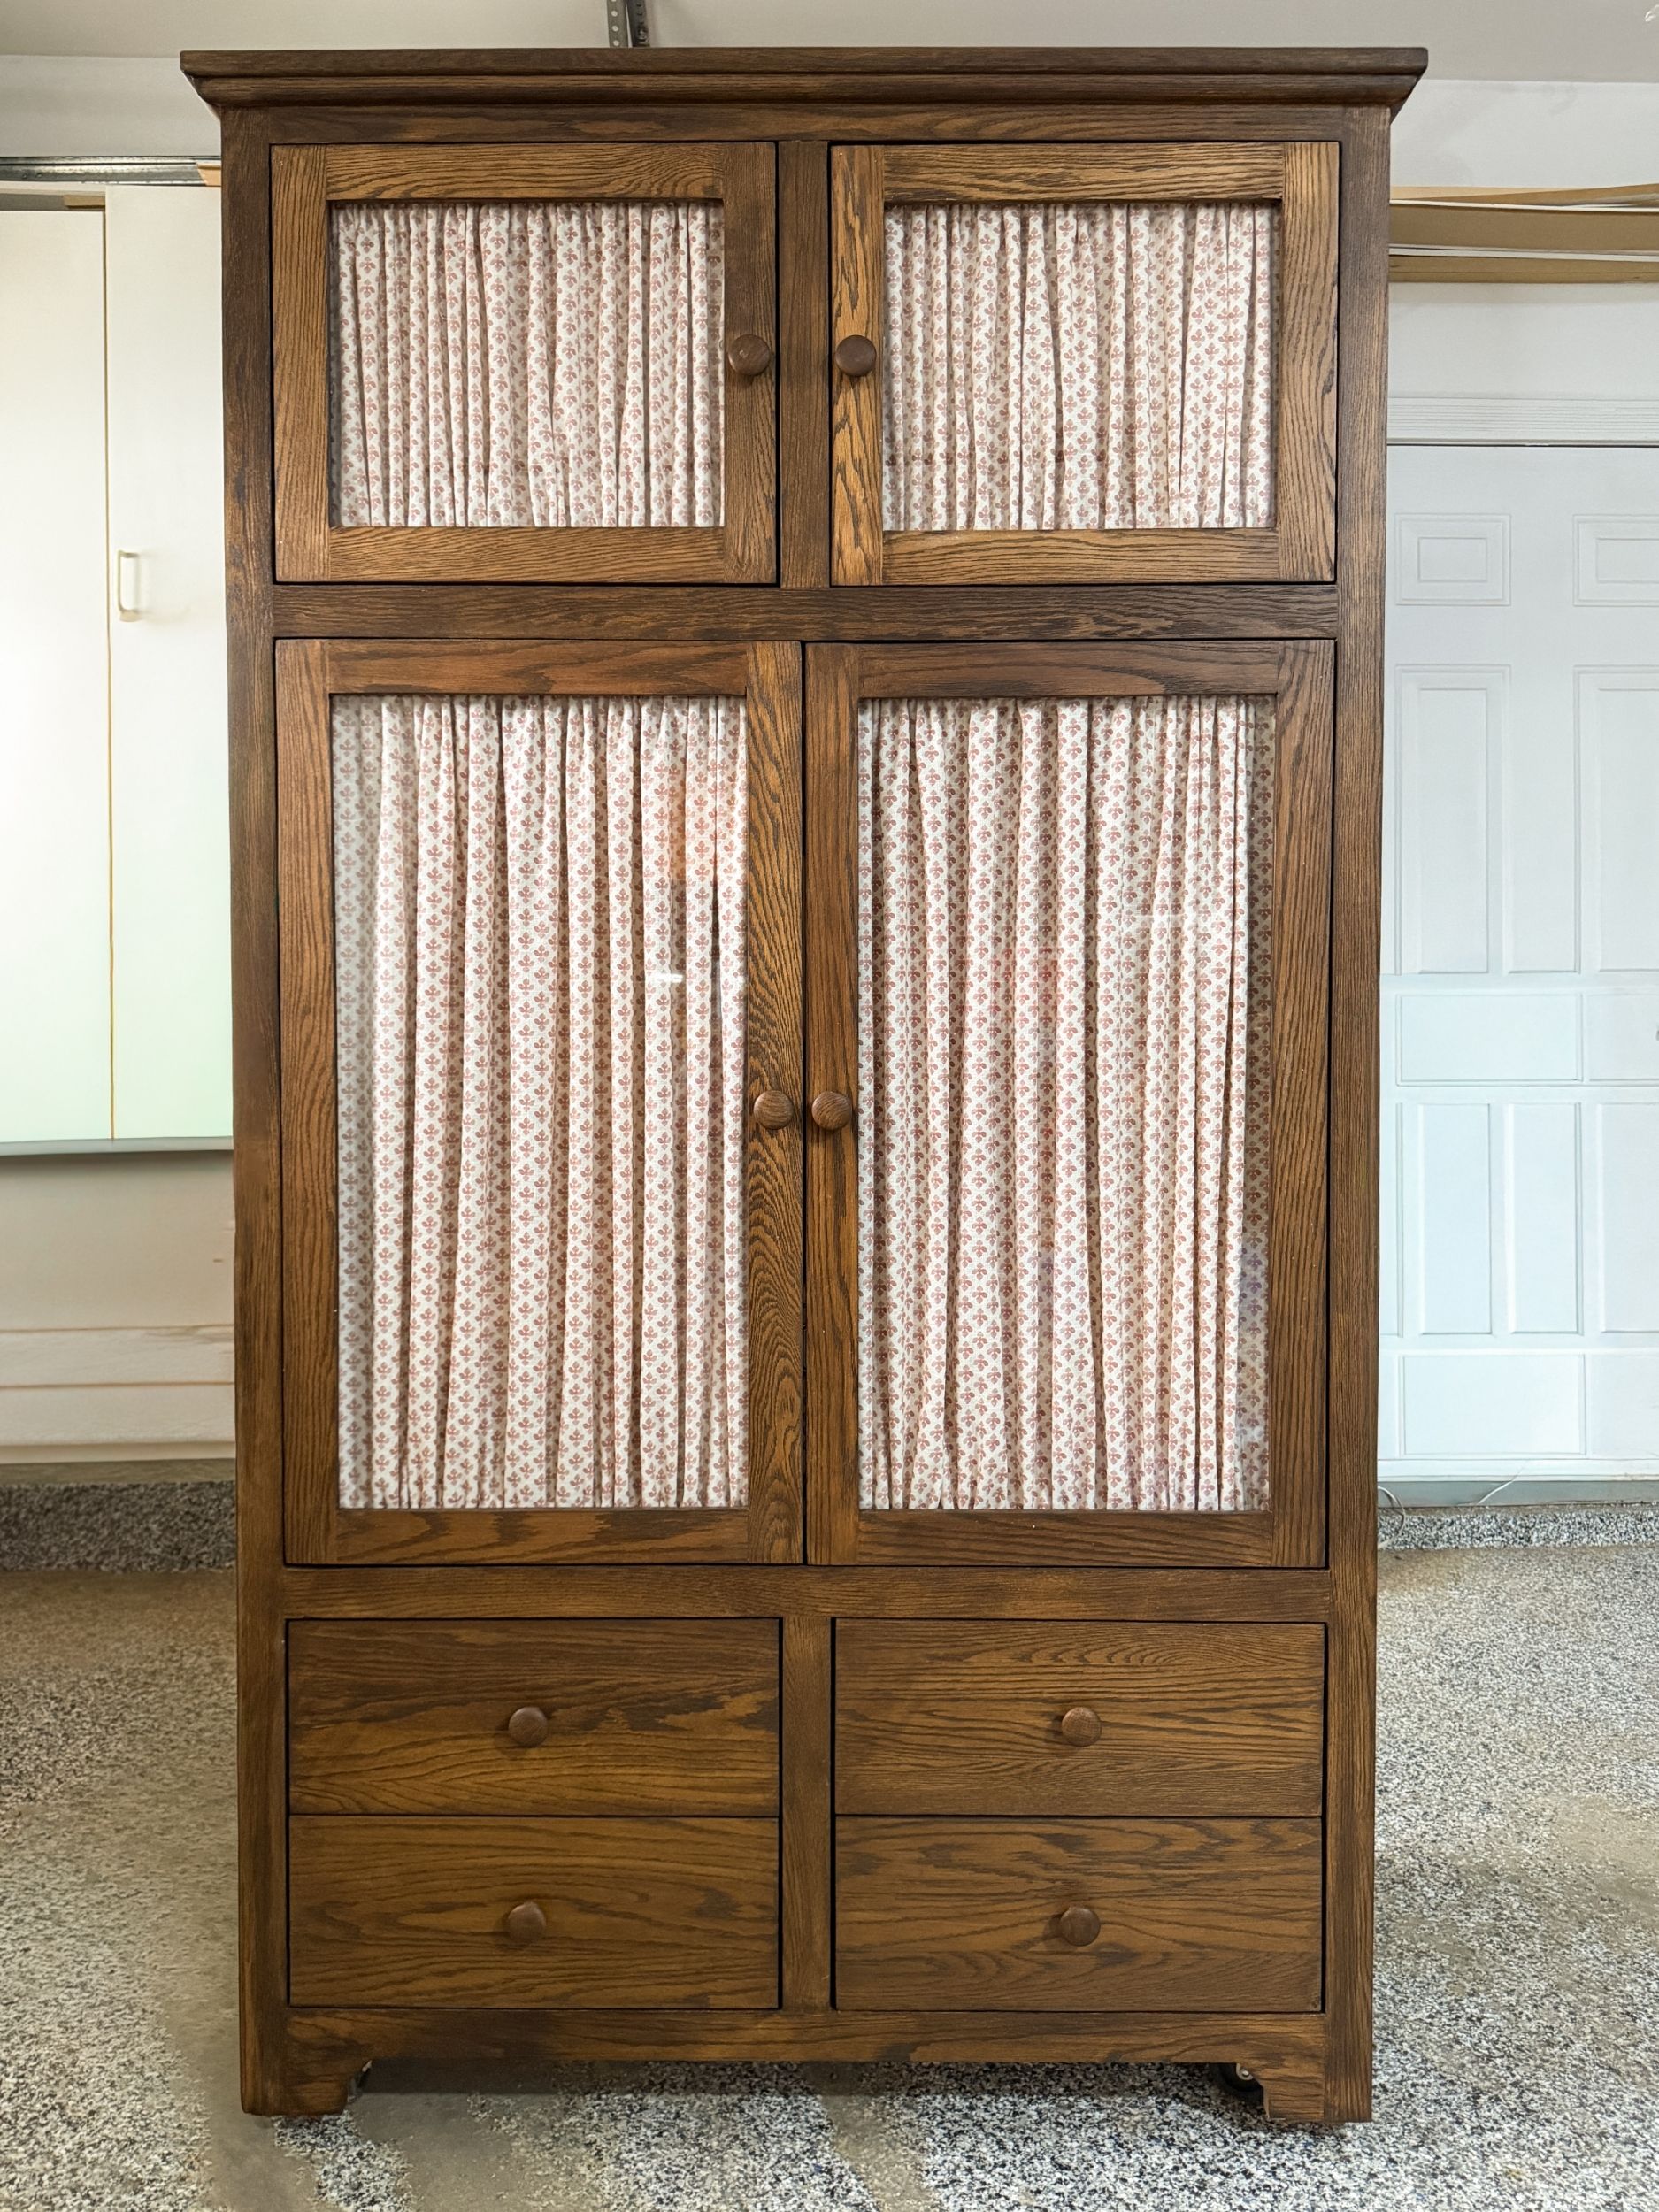
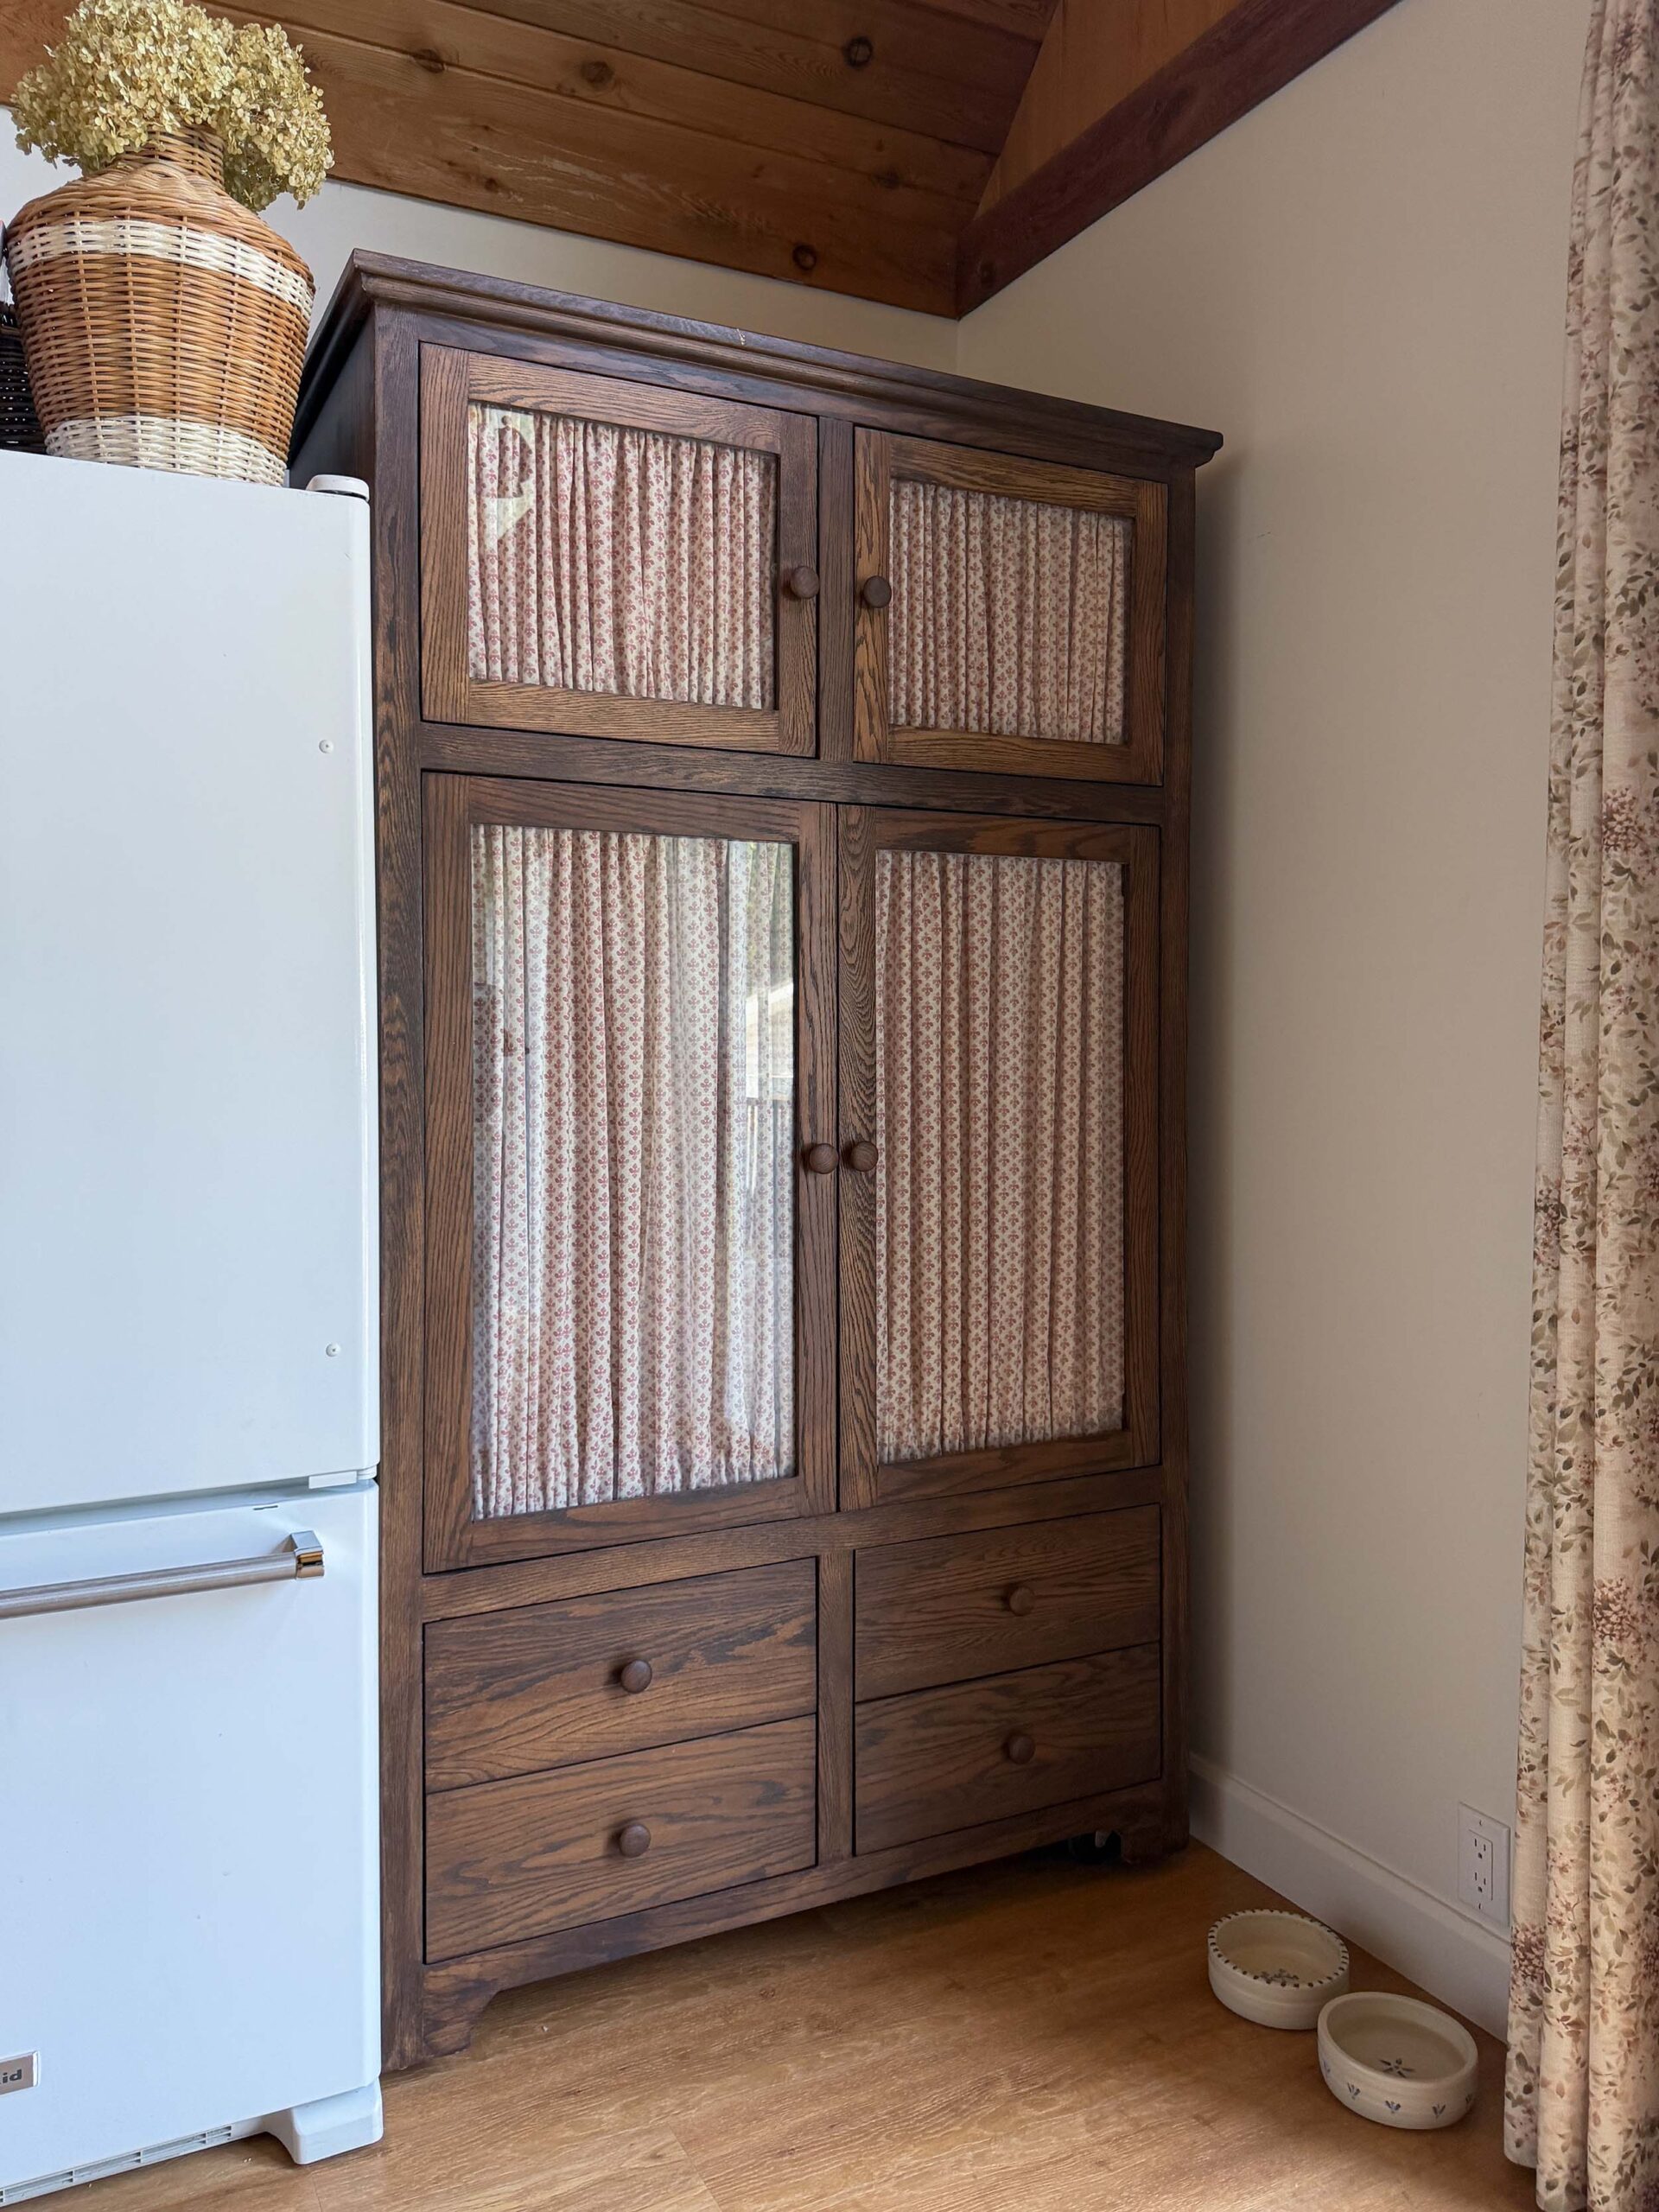
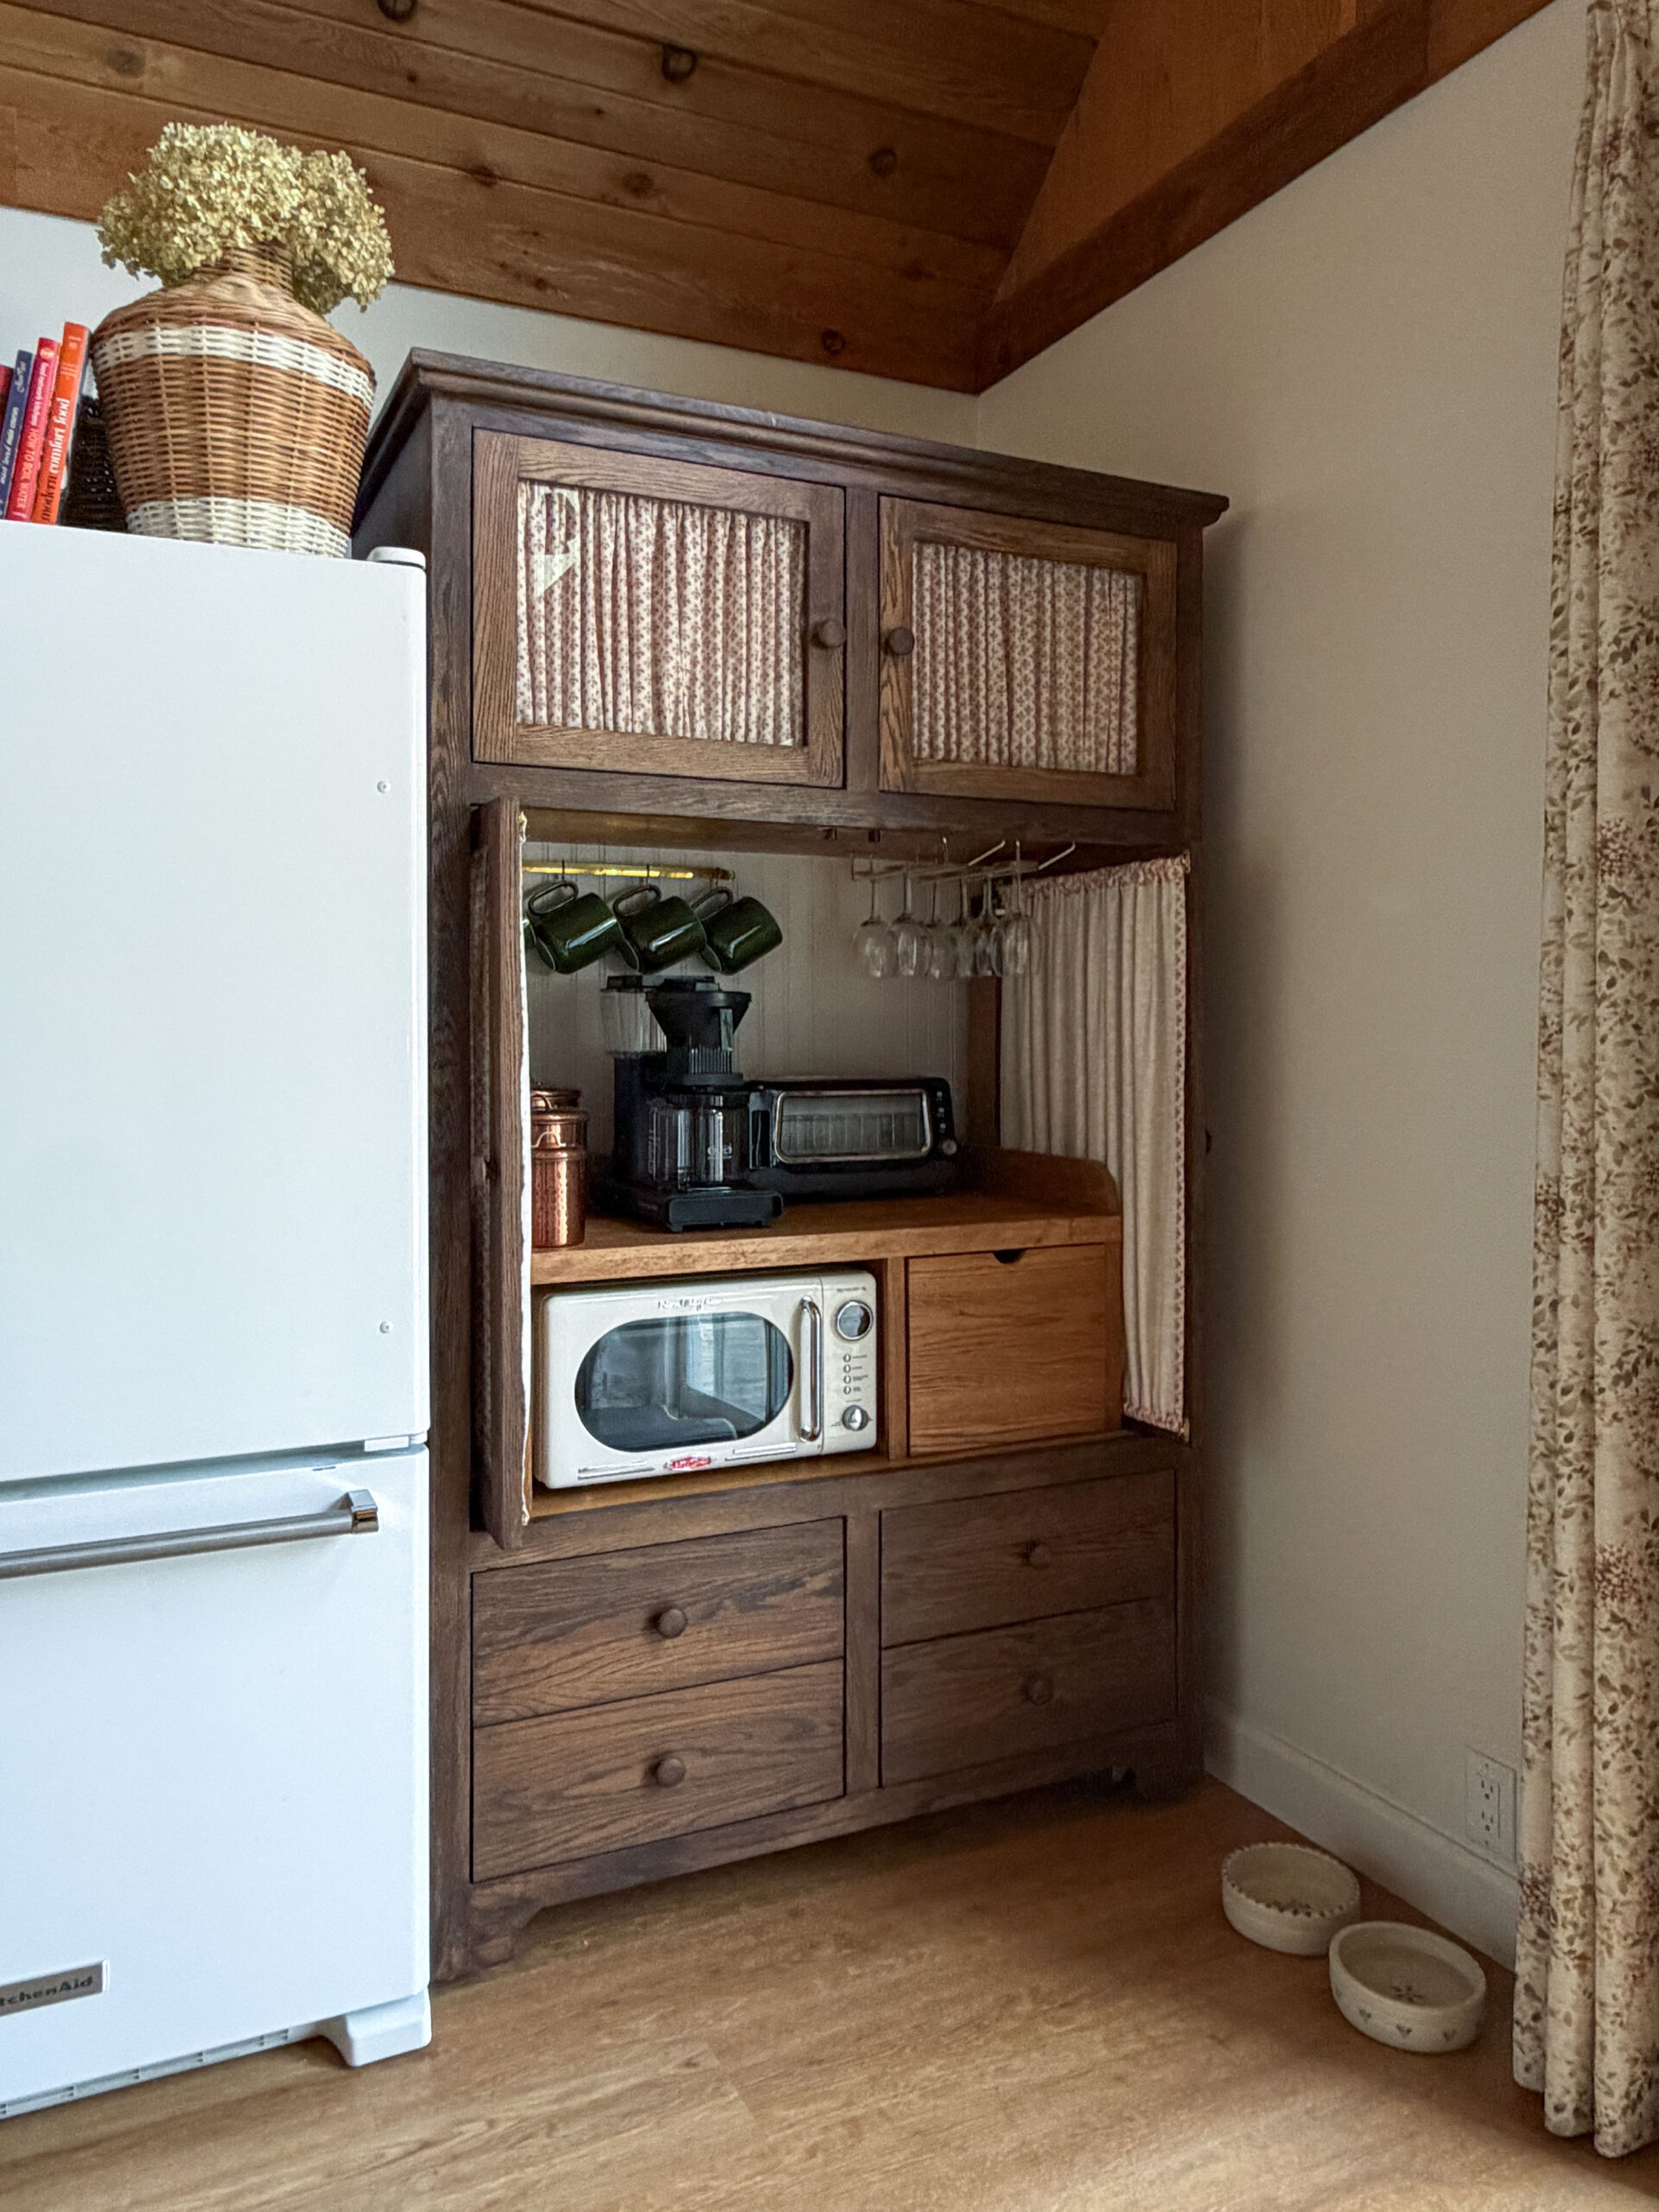
The mini DIY door curtains on my coffee bar hutch received a lot of love. But how did I do it? After all, I didn’t want the curtains moving around when I tucked the doors in next to the appliances, lest it cause a fire hazard! I wanted them to look neat and charming. Here’s a breakdown of how you can make them too.
This post may contain affiliate links. That means if you purchase anything from these links I earn a small commission, at no extra cost to you! This helps support my blog, so thank you!
Materials:
- Sewing machine thread that matches your fabric
- Fabric that is 5 inches longer than the height of your door, and 2.5x wider (I used this)
- Sash Rods (I used these)
- Fabric Scissors
- Screwdriver
- Sewing Machine
Note: You could try this with iron-on hem tape if you don’t sew, but the fabric is pulled quite tight in the last step, so I do not know if this would be a good no-sew project. Let me know if you try it with hem tape and how it works out!
A Note About Washing
I installed mine in my coffee bar, and they are bound to get pretty dirty, between the spilled coffee and stray sugars. Luckily, these are easy to pop on and off! If you also intend to quick-wash your cabinet curtains, make sure to prewash your fabric before we start the process. Lots of fabrics can shrink or distort in their first wash.
What Not to Do
The first thing I tried was to install both rods, sew the whole curtain, and put the curtain on the rod pocket. What I ended up with is a very loose curtain, and I wanted my curtain folds to be tight! I ended up taking that apart and redoing it. The way that worked best is the way that I will explain below.
I also experimented with fabric widths. I think this highly depends upon your fabric thickness, but I think that the fuller these are, the better they look. I squished on as much fabric as I possibly could fit on the rod.
If you have a lighter weight rod, you might want to test your fabric to see how much you can add on there. The more the better, in my opinion!
Step 1 – Cut your Fabric
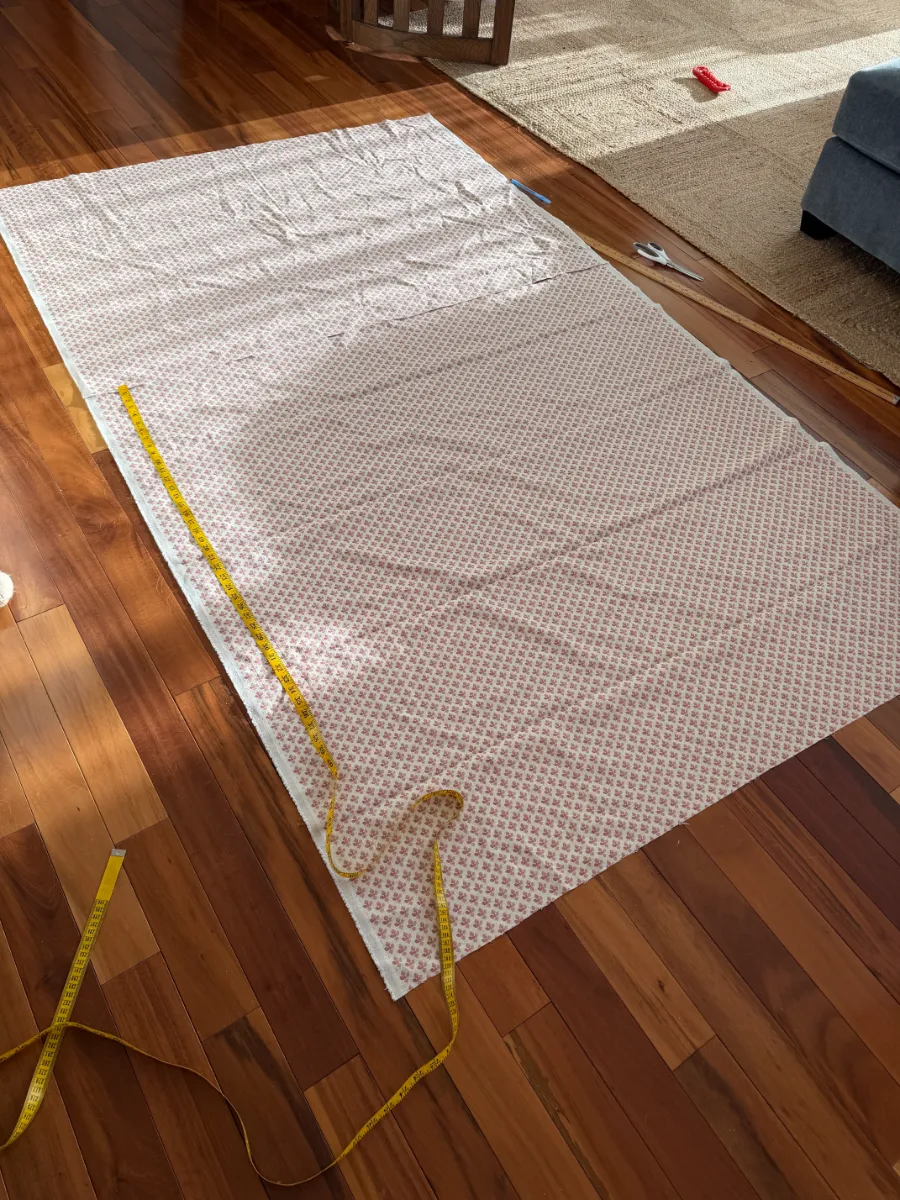
Length-wise, you should cut roughly 4-5 inches longer than the distance between your sash rods.
Cut your desired fabric two and a half times as wide as your glass. 2.5x wider was my magic number, but as mentioned above, it will depend upon the thickness and weight of your fabric. I found any smaller ratio didn’t gather enough to give the right effect, and any larger created too much bulk.
Step 2 – Sew the Side Hems
Fold the curtain sides 1/2 inch, and then fold it 1/2 inch again to hide the raw edge and create a seam. Grab your sewing machine and sew with 1/4 inch seam allowance. Do this for both sides.
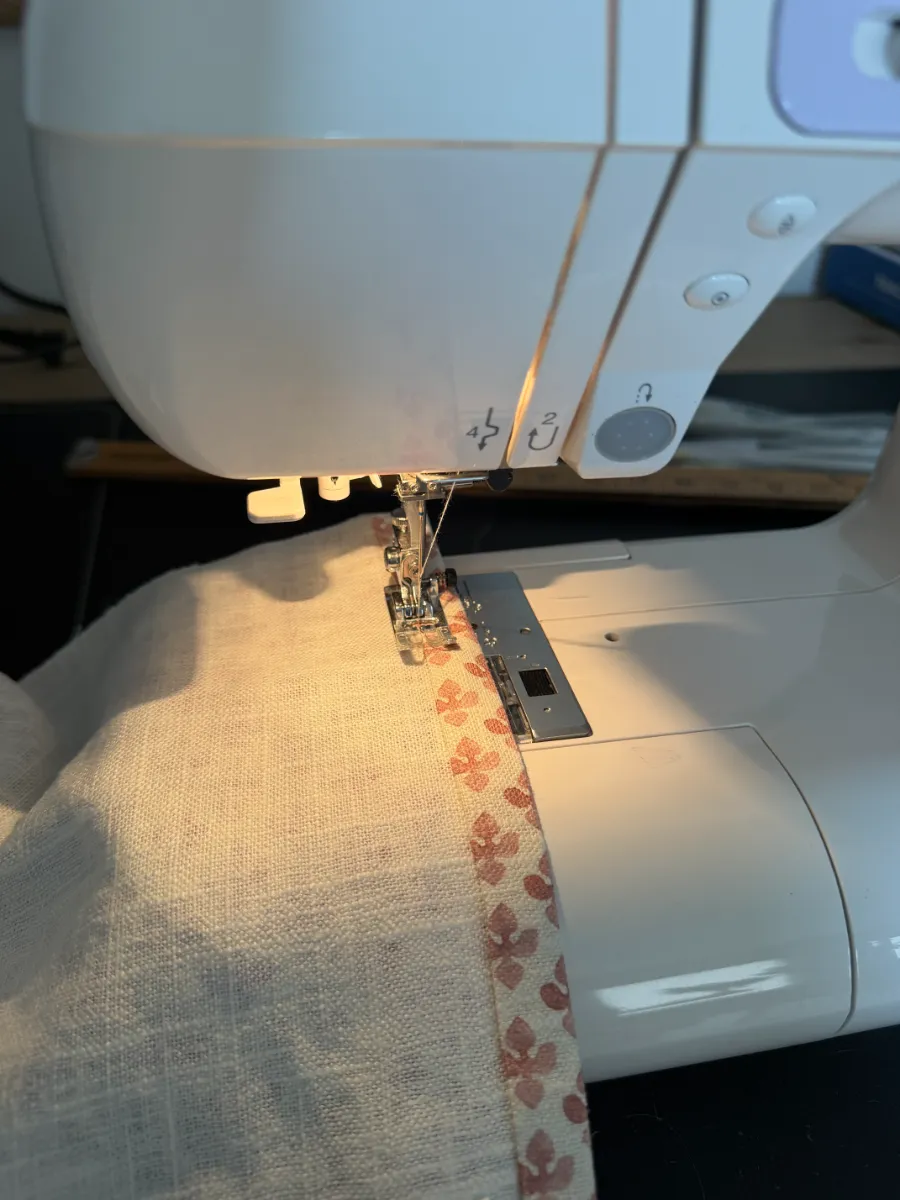
Step 3 Rod Pocket – Top Hem
For the next step, fold the top of the curtain a 1/2 inch, then fold a full inch. Sew that down. This creates room for your rod to slide through, or the pocket. Important: don’t sew the bottom hem yet- we’ll need to check for the exact length against the door first.
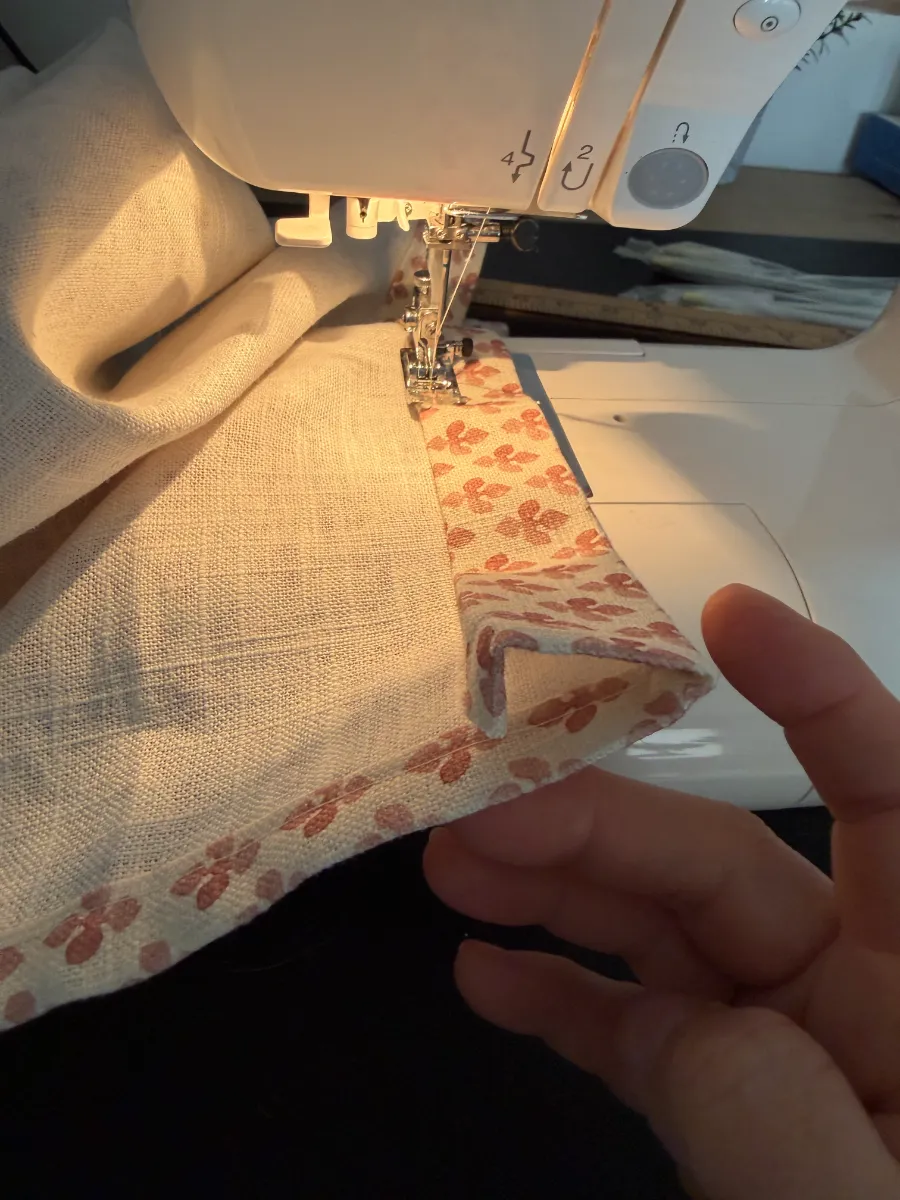
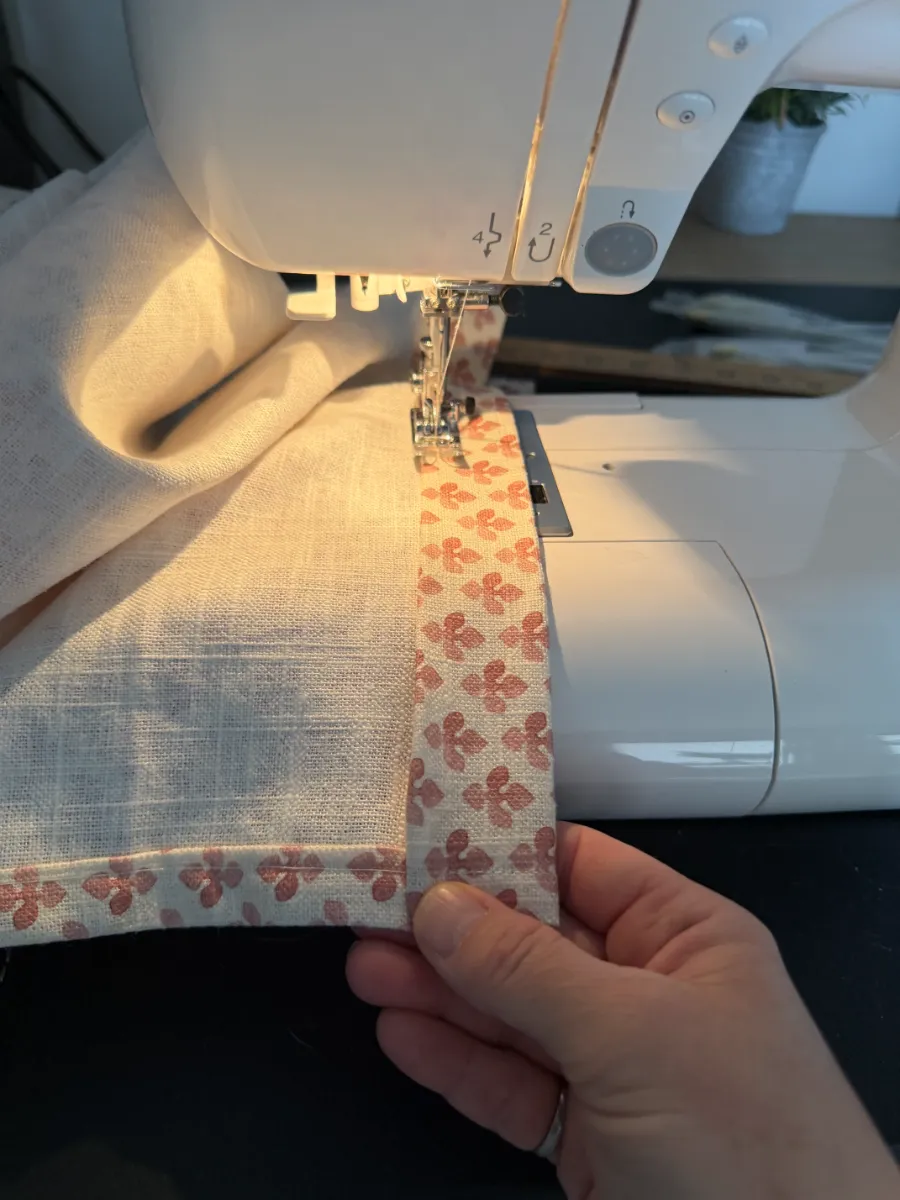
Step 4 – Install the top Rod
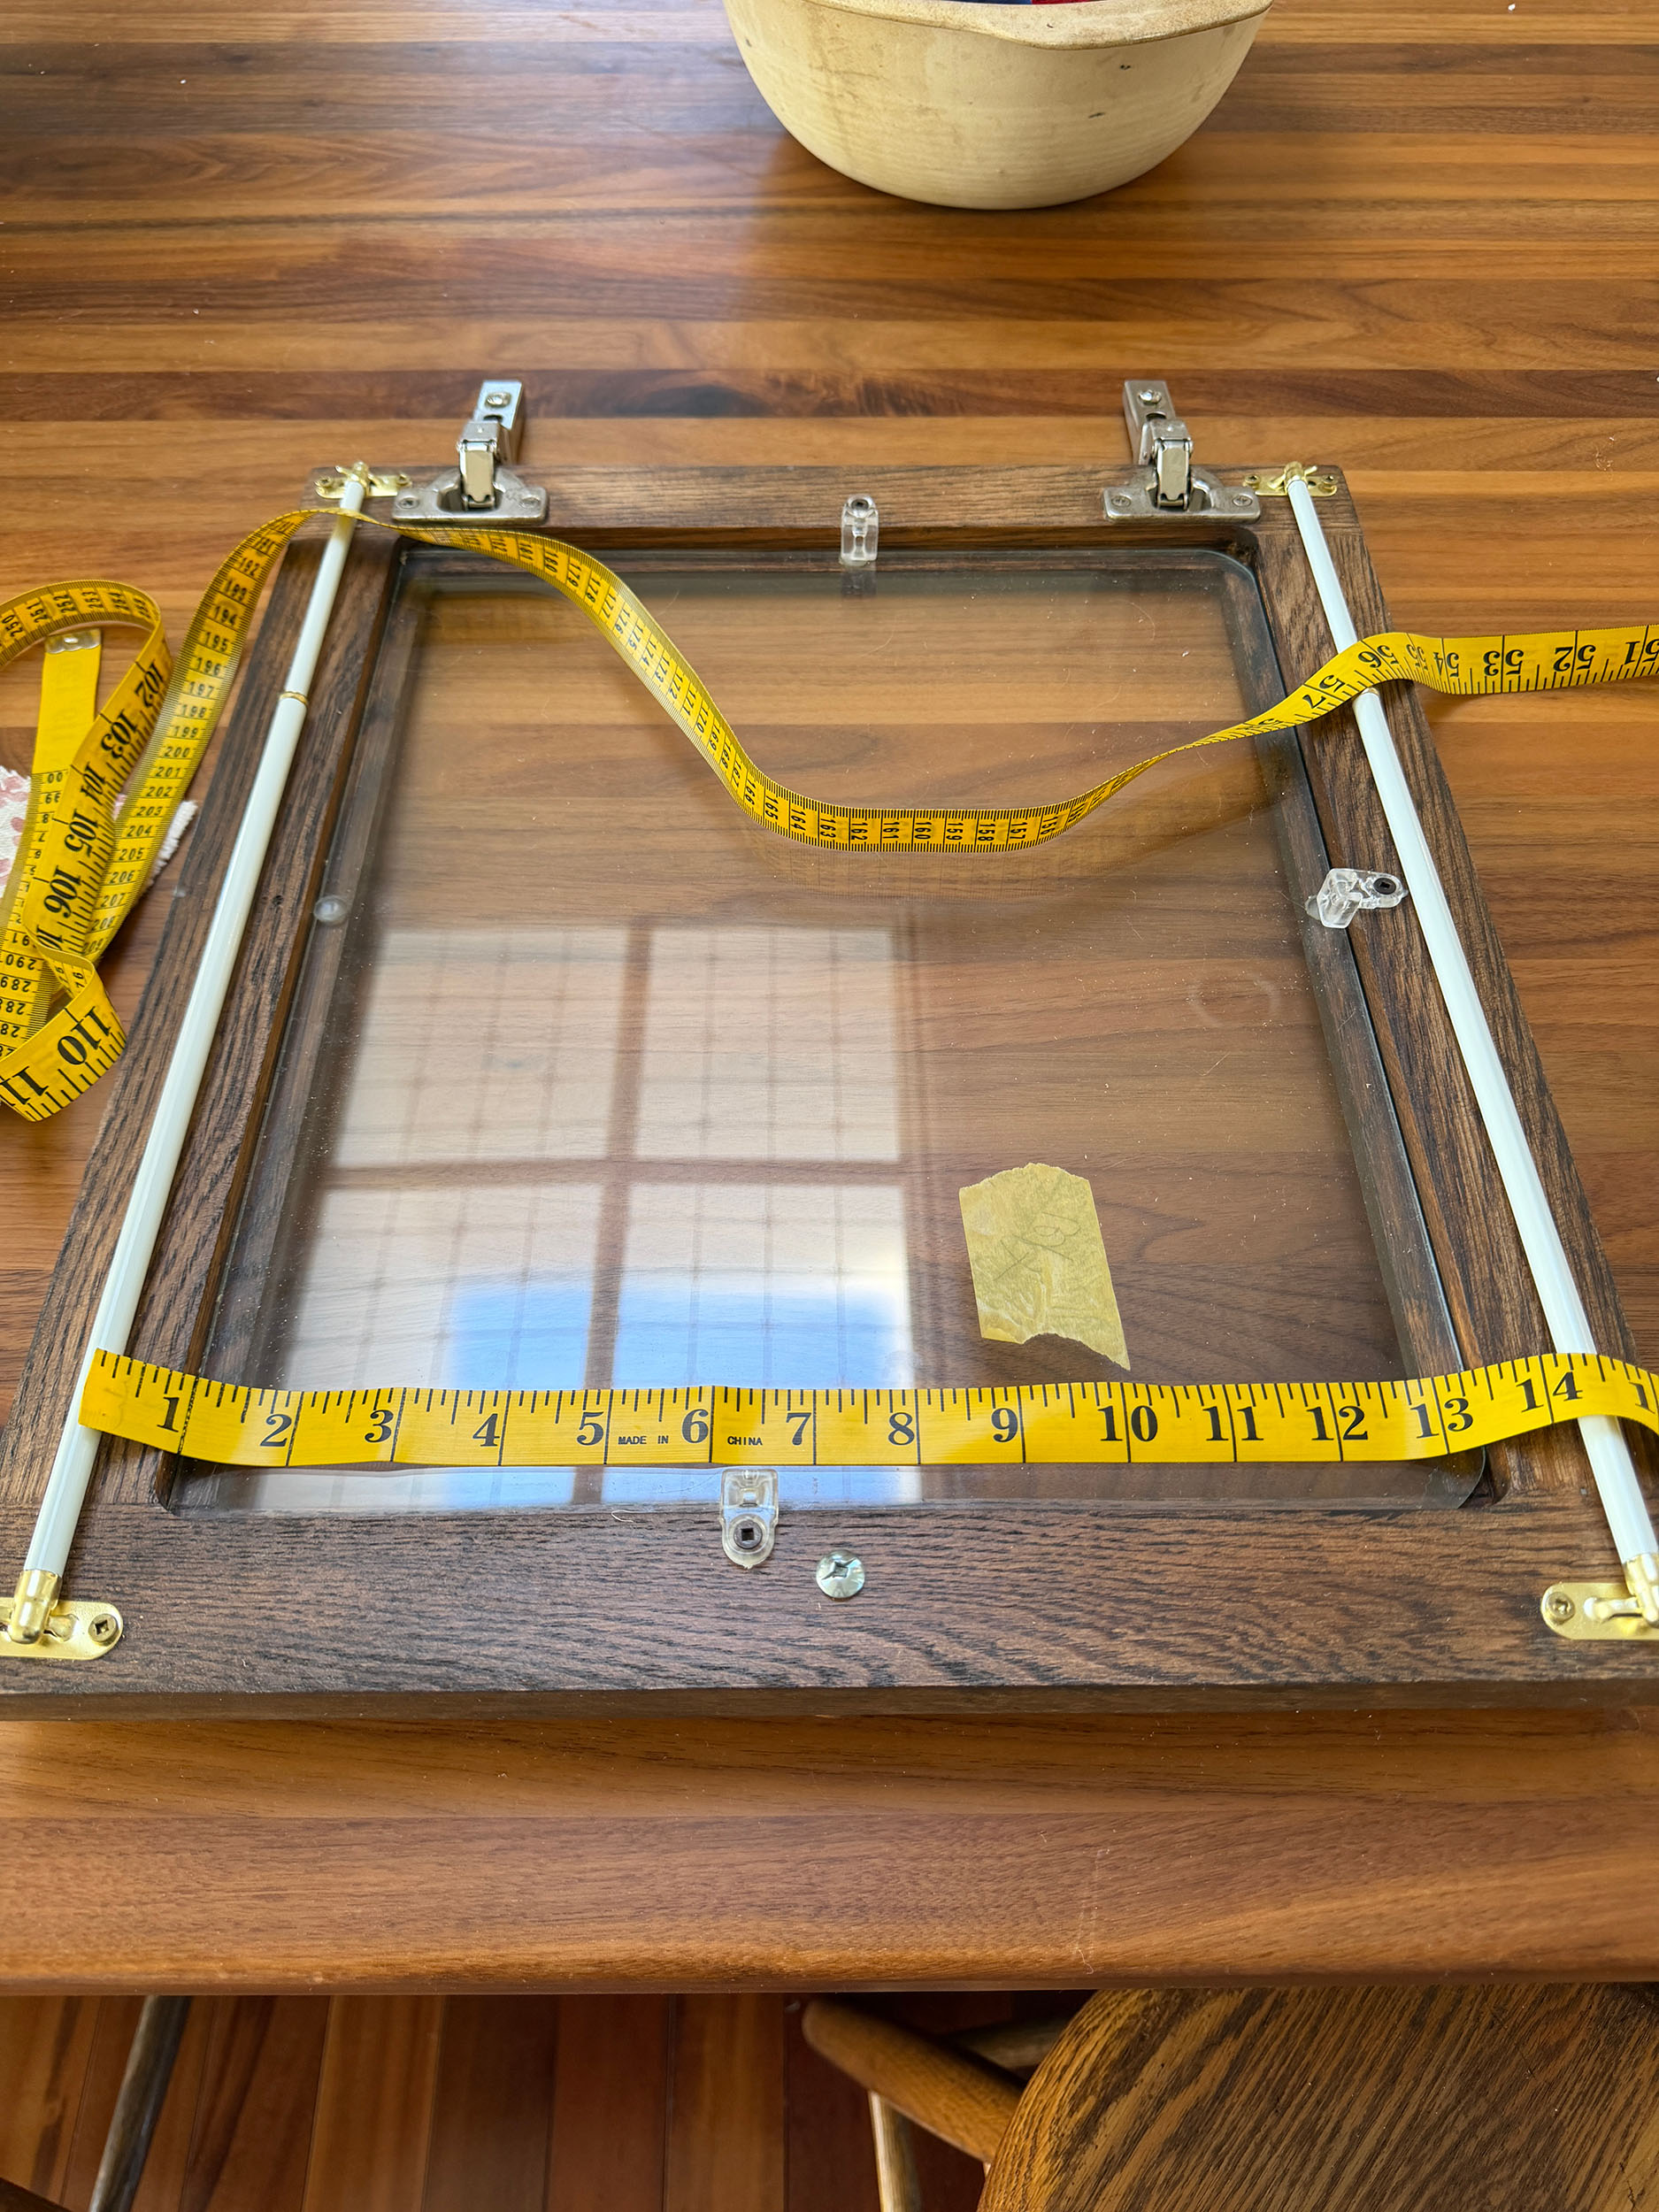
Home Depot has simple sash rods made for doors (only 7$ a pair!). Start off by attaching one of them to the top edge of your cabinet door. Make sure the hooks face upwards towards the door edge; the rod will to click into the top, and not fall out the bottom this way.
Only attach the top rod right now, because you will want to wait to install the second rod after you finish the curtain.
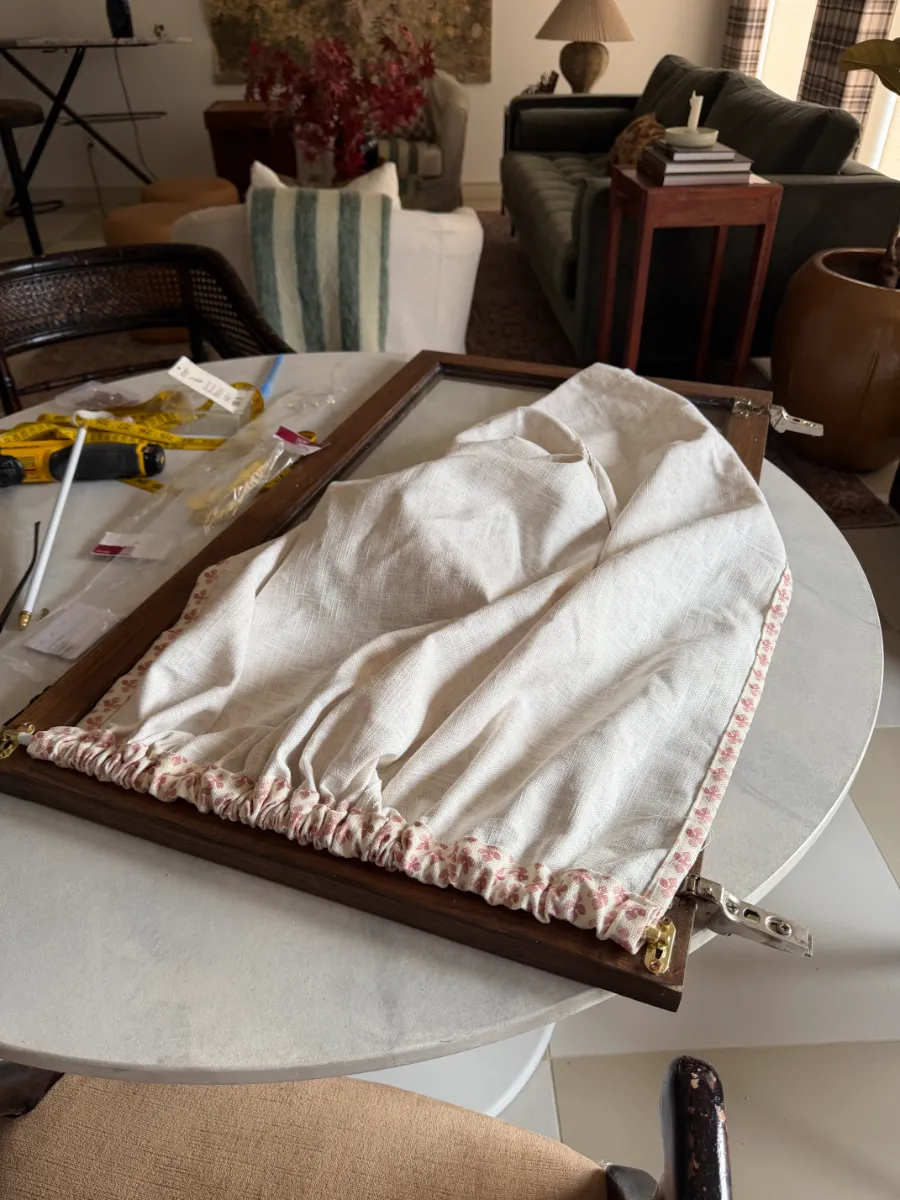
Step 5 – Fit and Sew the Bottom Pocket
Right now, the curtain has two edges with finished hems on the side of the curtains and a top with a rod pocket, and a raw edge on the bottom. Test the length of your curtain against the door. Hold it with the curtain rod (not attached) to see where you will want the bottom edge to be.
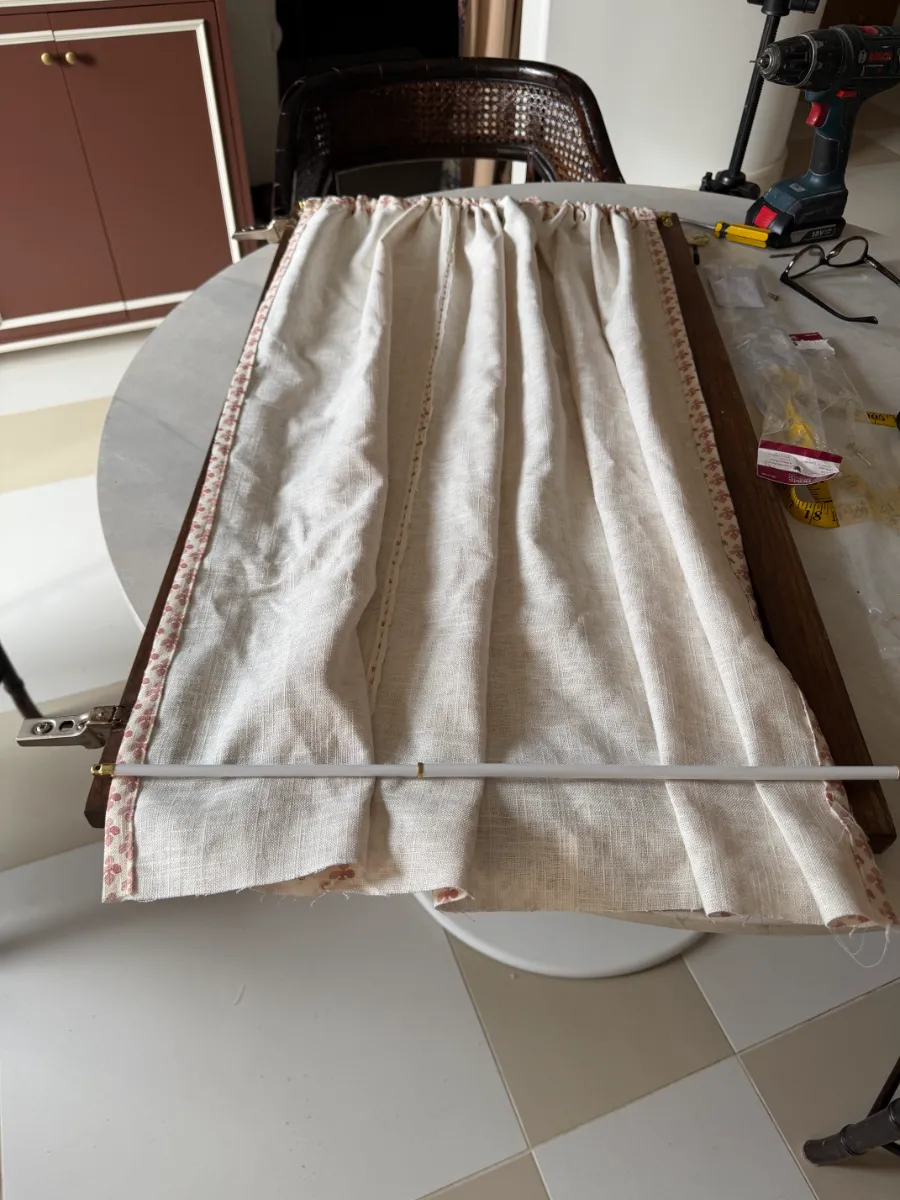
Fold the fabric over the rod and pin it in place to mark the size. Cut off any extra length as needed so you have enough extra fabric to do the hem for the bottom rod pocket (1.5″)
Sew another rod pocket (same measurements as in Step 4).
Step 6 – Attach the Bottom Rod
Slide the tension rods into the curtain sleeves and click the top rod into place. Pull the curtain tight against the door and mark where the brackets should be installed in the bottom corners. Note: make sure the clips face downwards this time, towards the edge of the door! This step is super important to ensure the fabric looks nice and tight against the door!
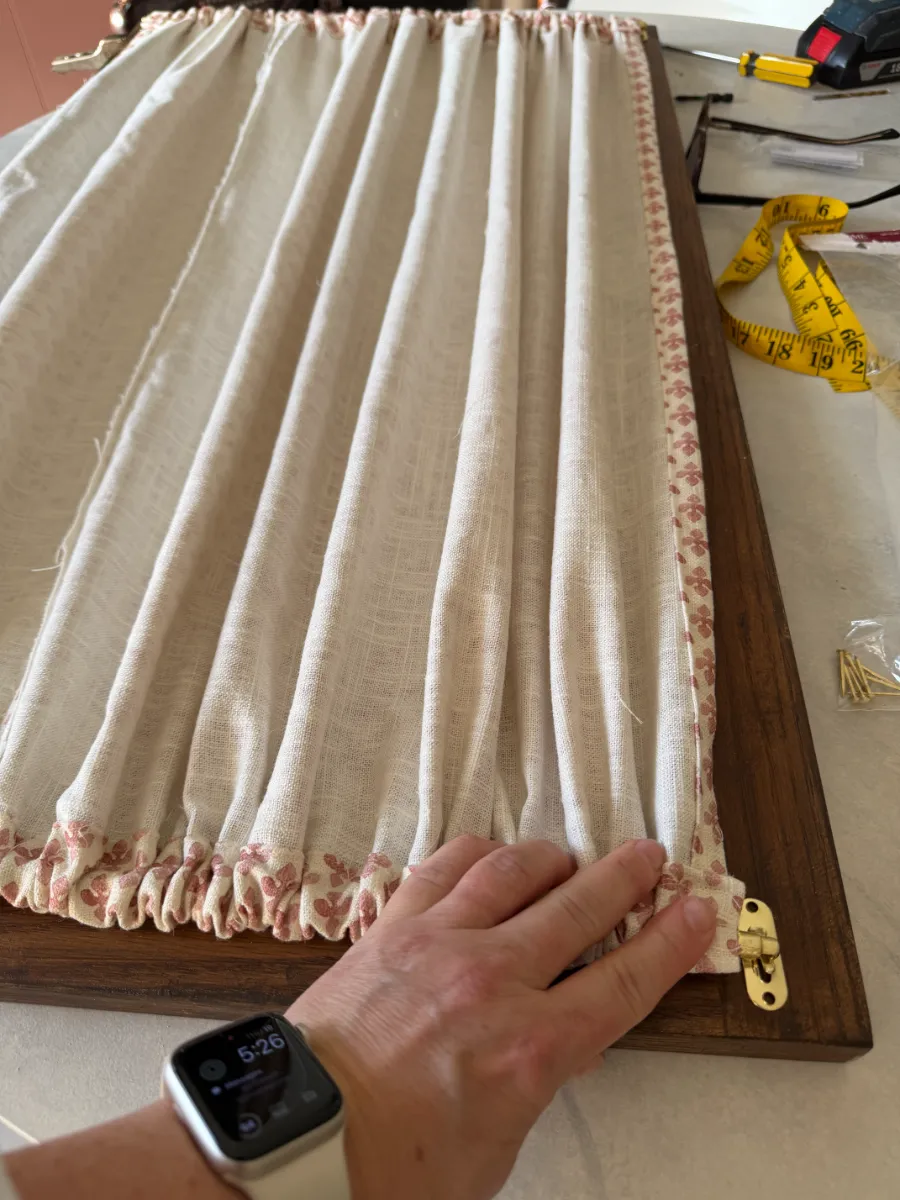
Attach the bottom brackets with screws. Note: The curtain brackets came with nails, but I used small screws instead.
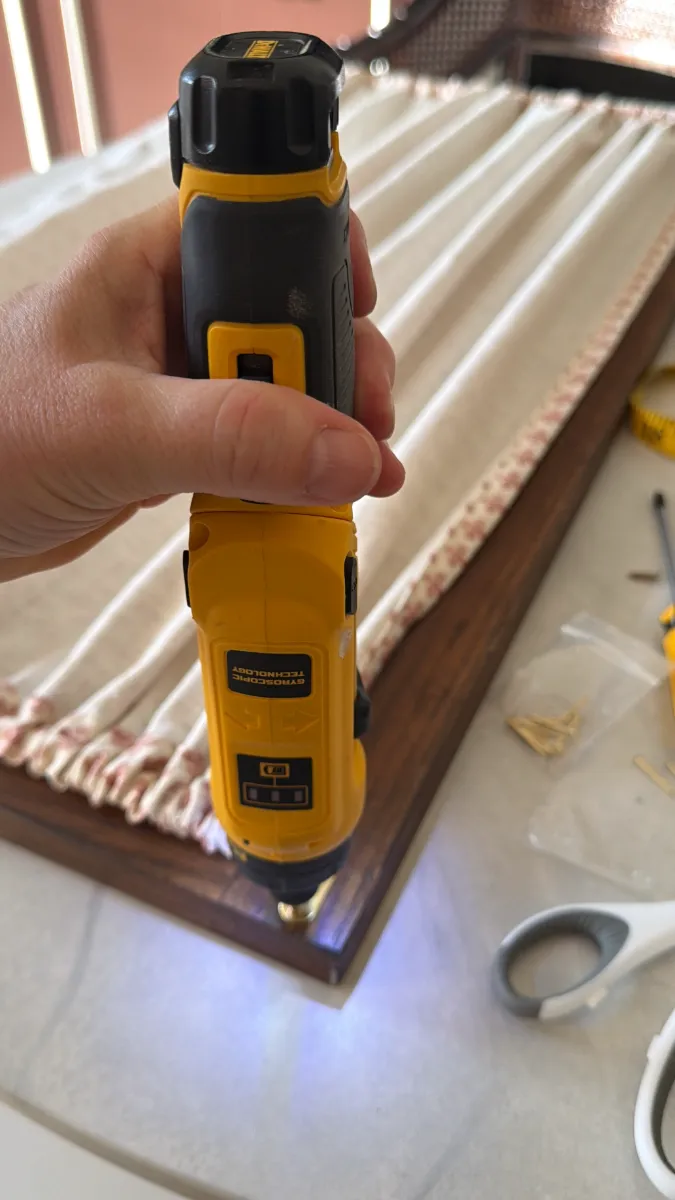
Step 6 – Finishing and Installing Your Curtain
Install the bracket, slide the curtain panels onto the rods, and clip the rods into place. Voila! All done.
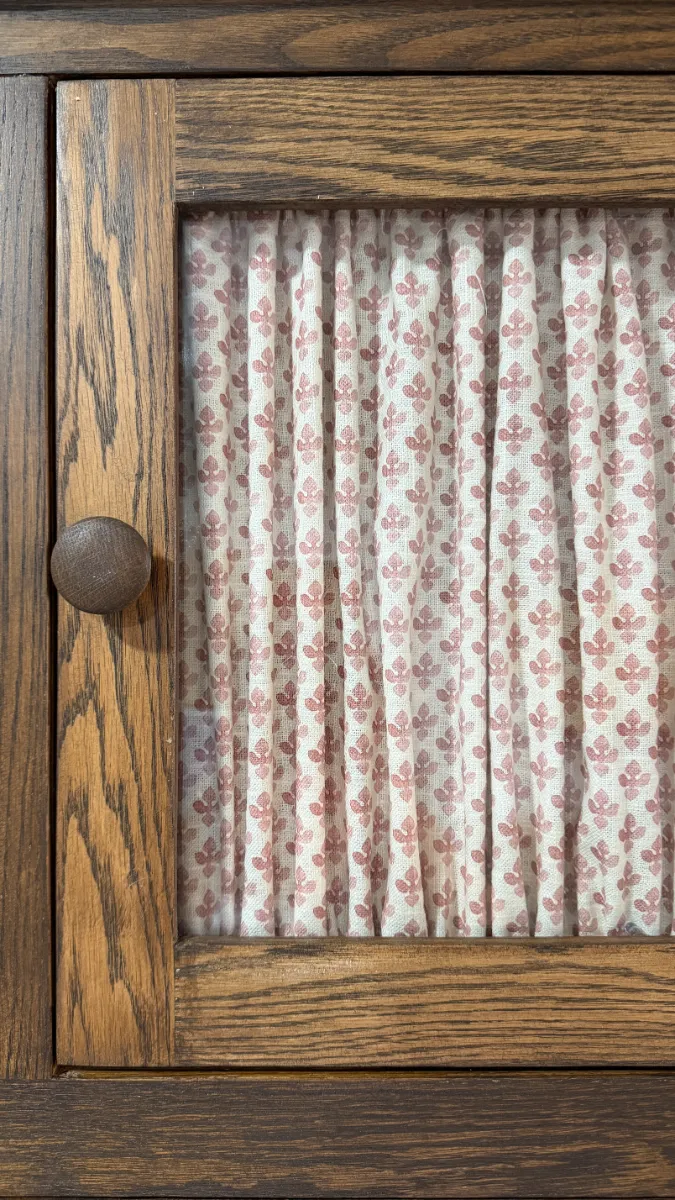
If you missed it, I installed these curtains on my DIY pantry that I made out of an Old TV armoire. I actually ended up cutting out the raised panel in that door and adding glass to it, so that I could add the curtains! I’m using this pantry as an appliance nook and pantry and extra storage in my cabin kitchen. You can find the kitchen reveal here!
This window treatment is a great way elevate your interior design by adding some colour, patterns, and texture to any glass door. As a bonus, they can also hide away cups and dishes that you want out of sight! Let me know if you try this hack- I’d love to know if you try this simple sewing project down in the comments!