DIY Shiplap Ceiling
This week, we installed a DIY shiplap ceiling! If you have clicked over from the One Room Challenge Website, welcome! I’m glad you are here! I am an interior designer and serial DIY’er based in Red Deer, Alberta, Canada! You can catch up on my One Room Challenge project in the last week’s posts here:
Be sure to follow along on Instagram for more behind the scenes, and subscribe to the blog at the bottom of this post so you don’t miss the weekly updates!
(This post contains affiliate links for your convenience. I earn from qualifying purchases. This is at no cost to you but helps support my blog, Thank you!!)
Table of Contents
If you read my previous One Room Challenge posts you might remember The Monstrosity – the drywalled light structure that previously dominated our dining room. Once that was removed we were left with a gaping ugly ceiling hole. Rather than try and patch the drywall and match the ceiling texture, we opted to install shiplap boards and add so much character! This solution was the perfect mix of form + function and I couldn’t wait to start getting some boards up there to cover the entire ceiling and patch the ugly hole!
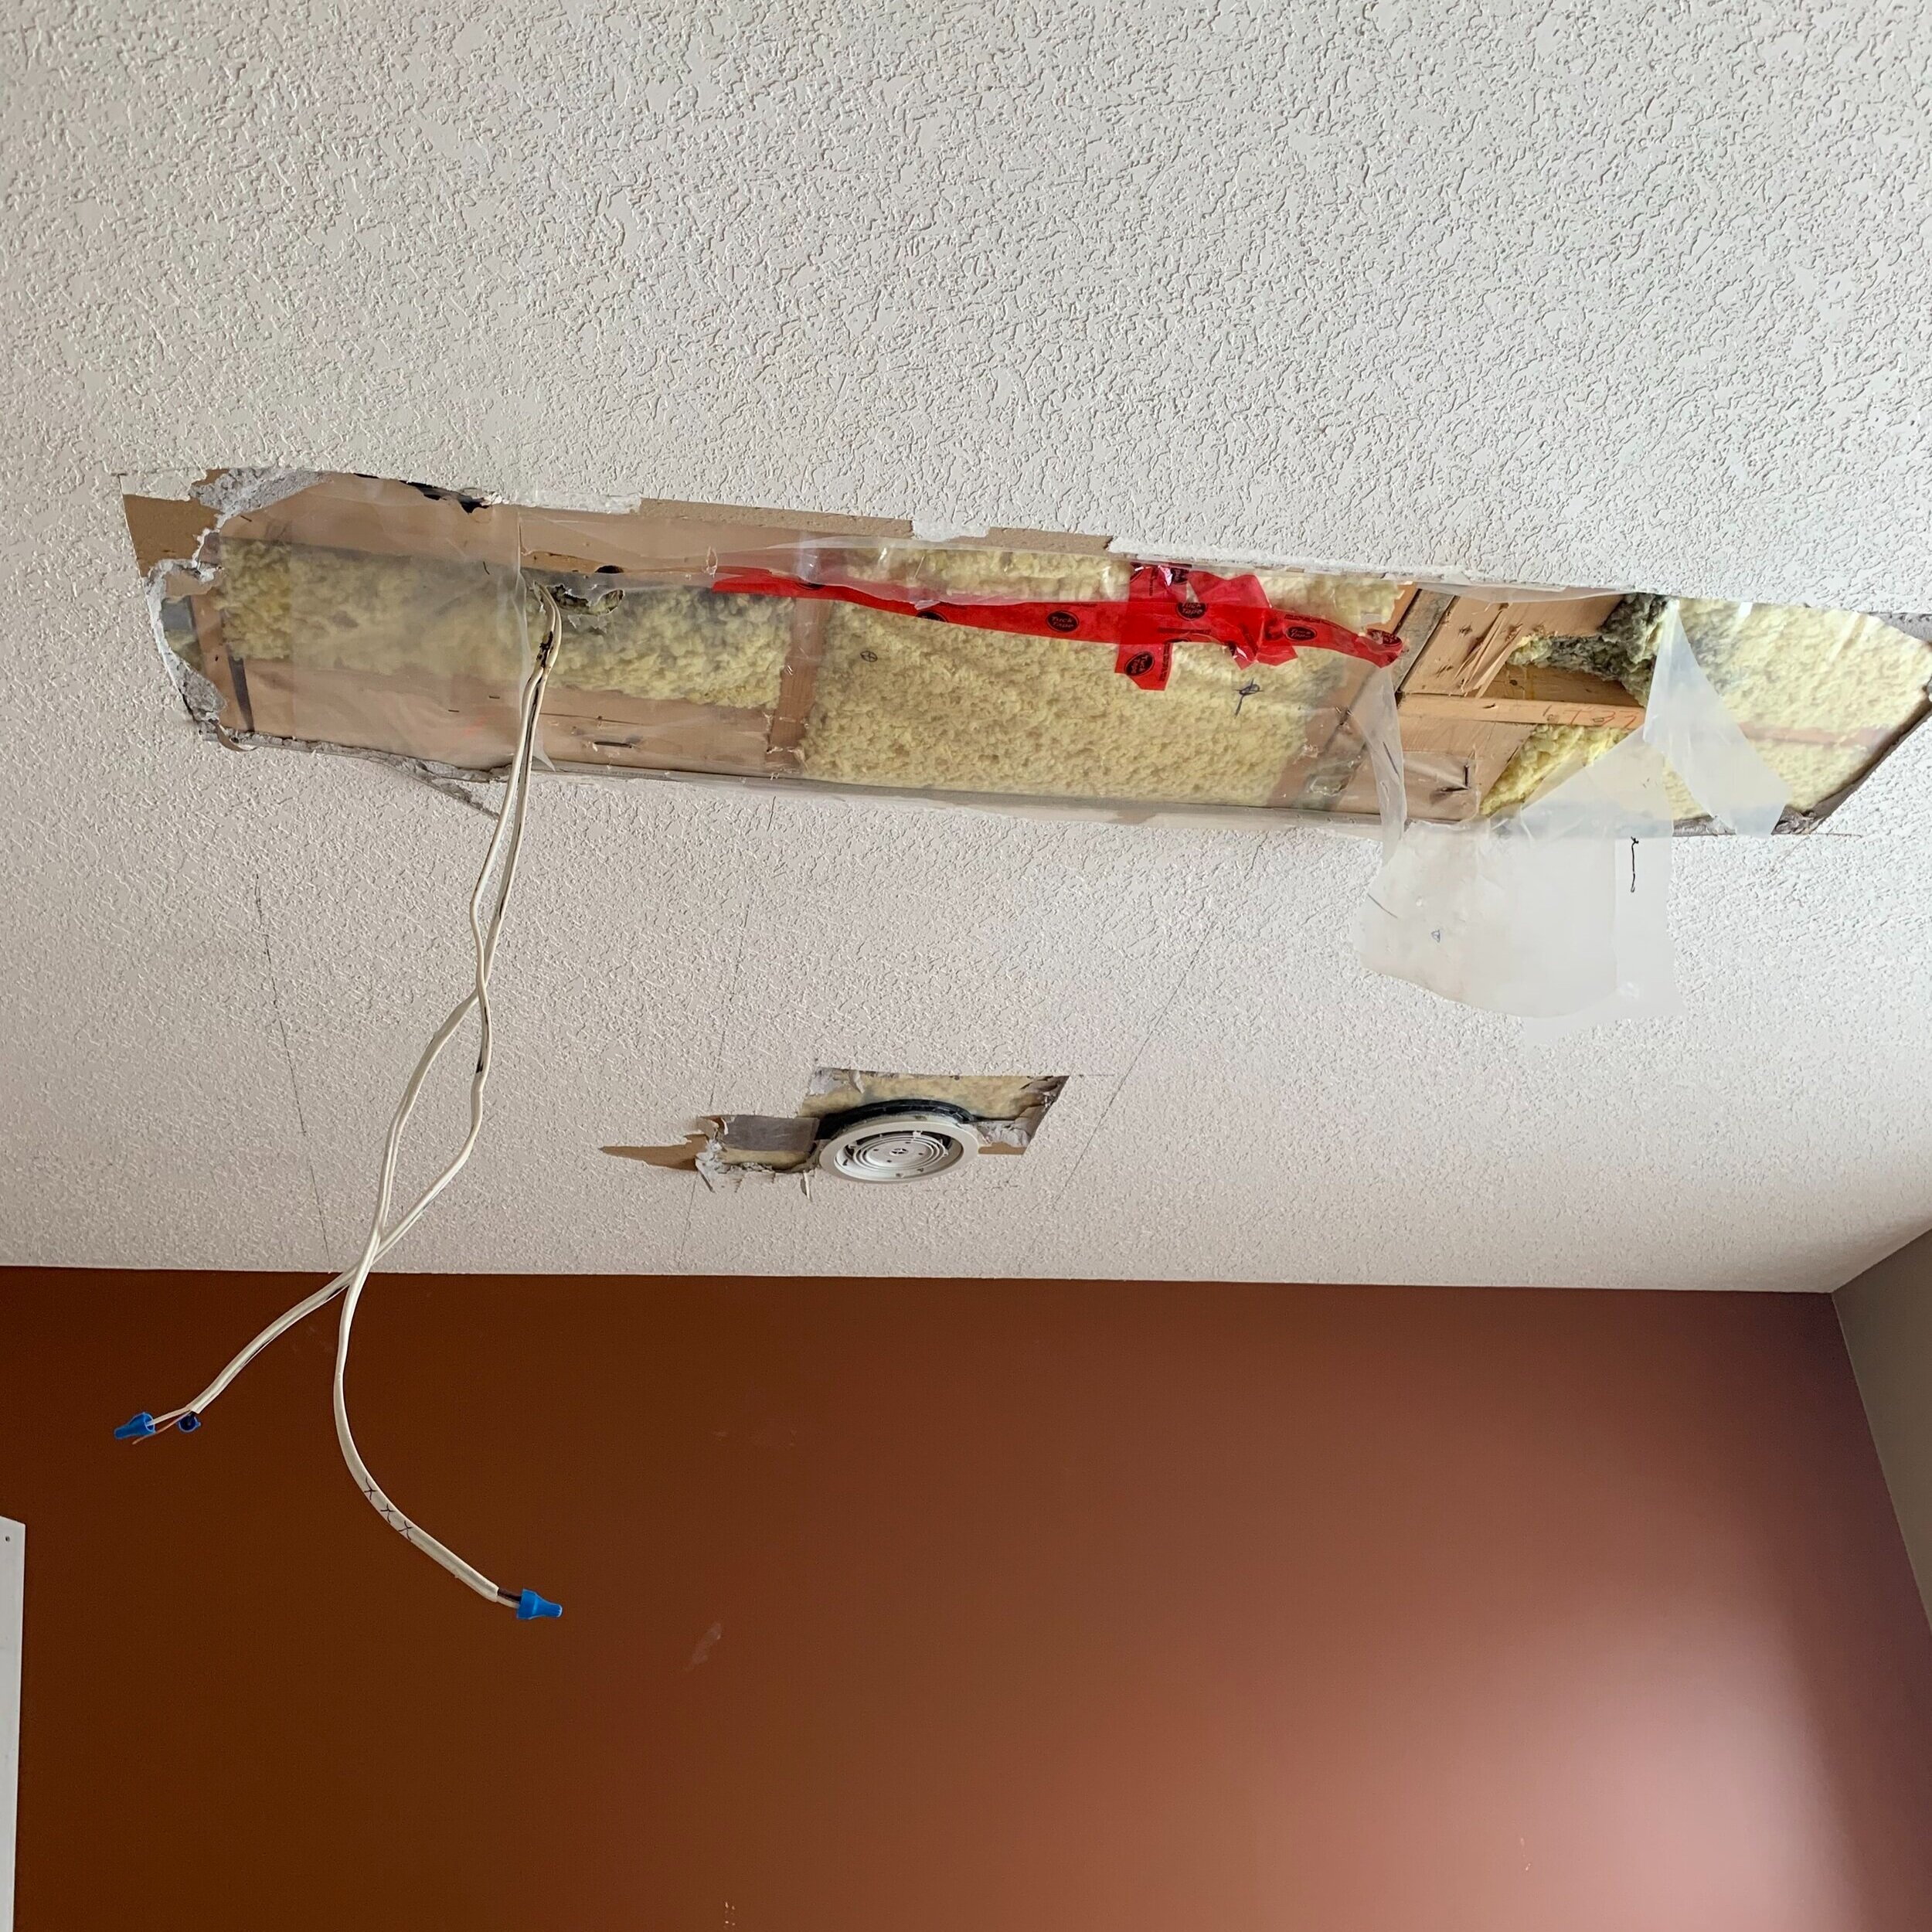
If you were following along on Instagram stories you might have seen the issue we encountered with the ceiling truss spacing. We discovered that the trusses in our ceiling actually changed directions in two places and we didn’t have a consistent direction for our trusses. We problem-solved for a bit (with the help of my handy brother-in-law who we always call in when we are stuck!) and determined we had two options. Option 1 would be to add furring strips (add strips of wood) to the whole ceiling, which would give us a location to nail.
The second option (that probably is only relevant to our specific case where there were only a few trusses in a different direction) was to add a few cross braces between the trusses by way of the attic. Since my brother-in-law was around and he’s very nimble and handy and offered to climb up into our attic we went for OPTION 2! Climbing into the attic is no one’s idea of a good time. But he is a great guy and he did this for us and I sure hope he doesn’t get lung cancer from breathing in all that insulation dust because we need him for future projects.
So if you have a normal ceiling with trusses or joists all going in the same direction this is actually a fairly easy project and once we got started we finished in a few hours. I wrote out a bit of a tutorial for you here! Happy planking!!
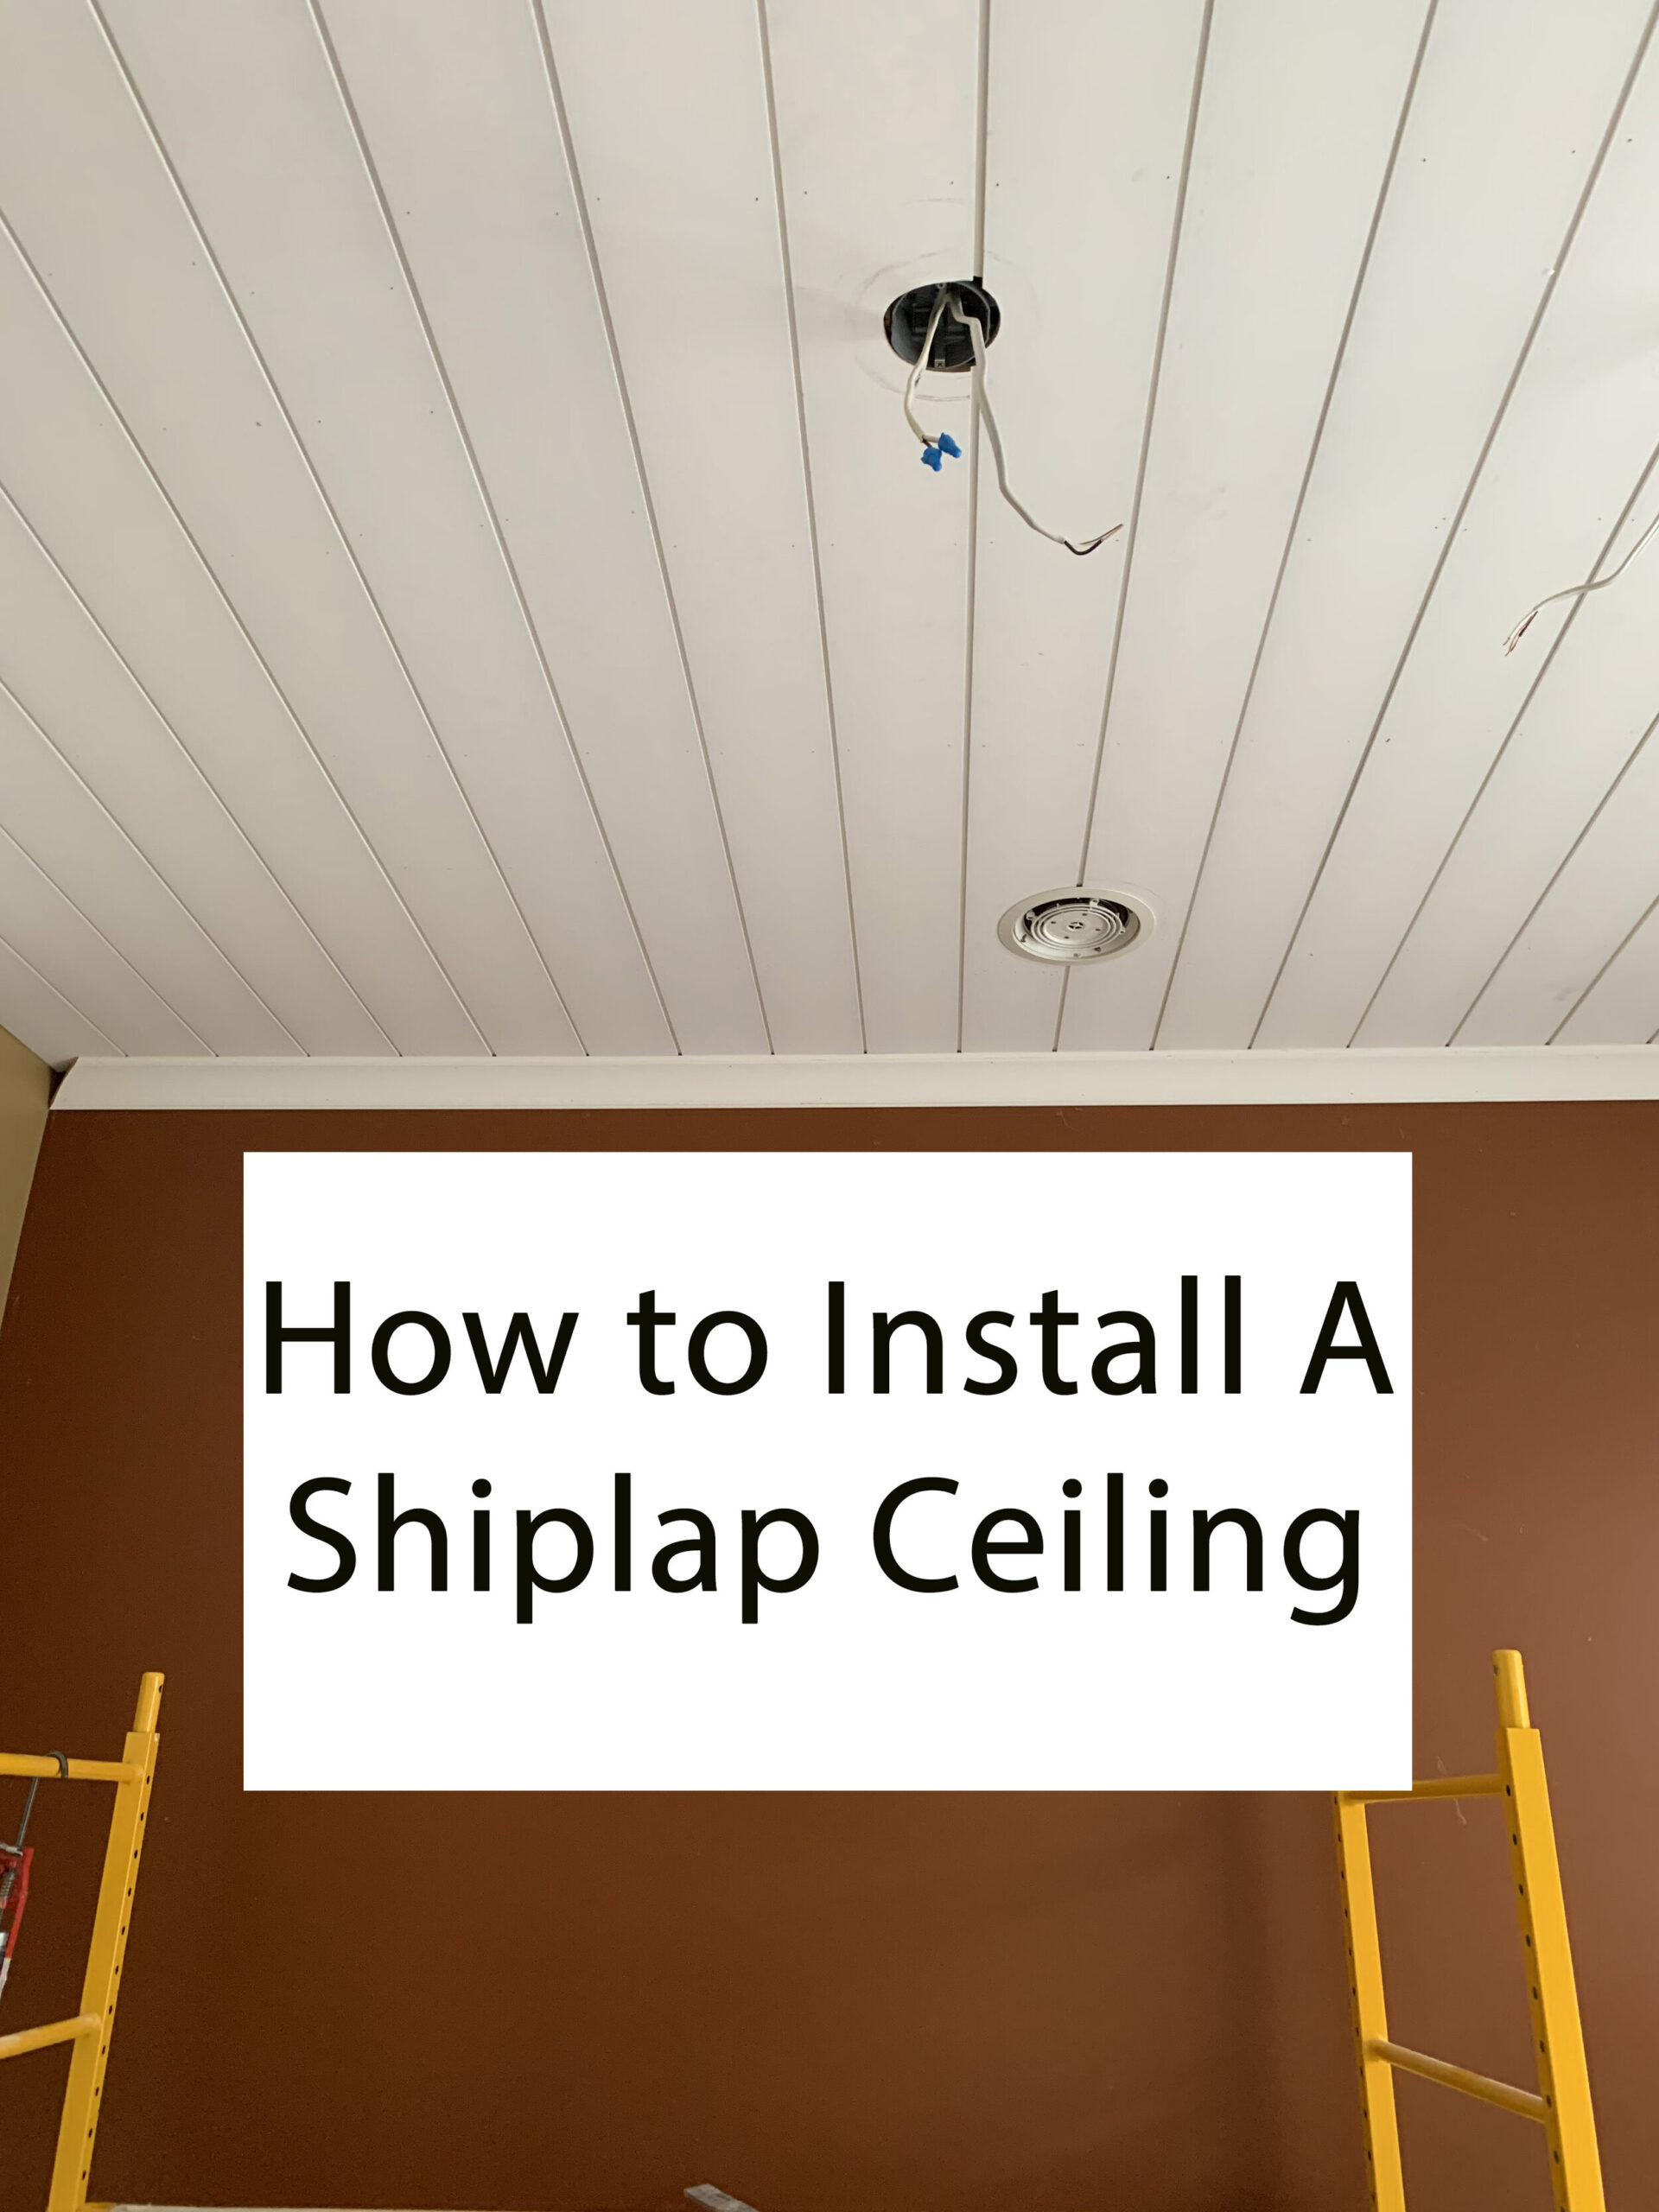
How to Plank a Ceiling
Tools and materials required:
Stud Finder
Saw (mitre saw works best for quick square cuts)
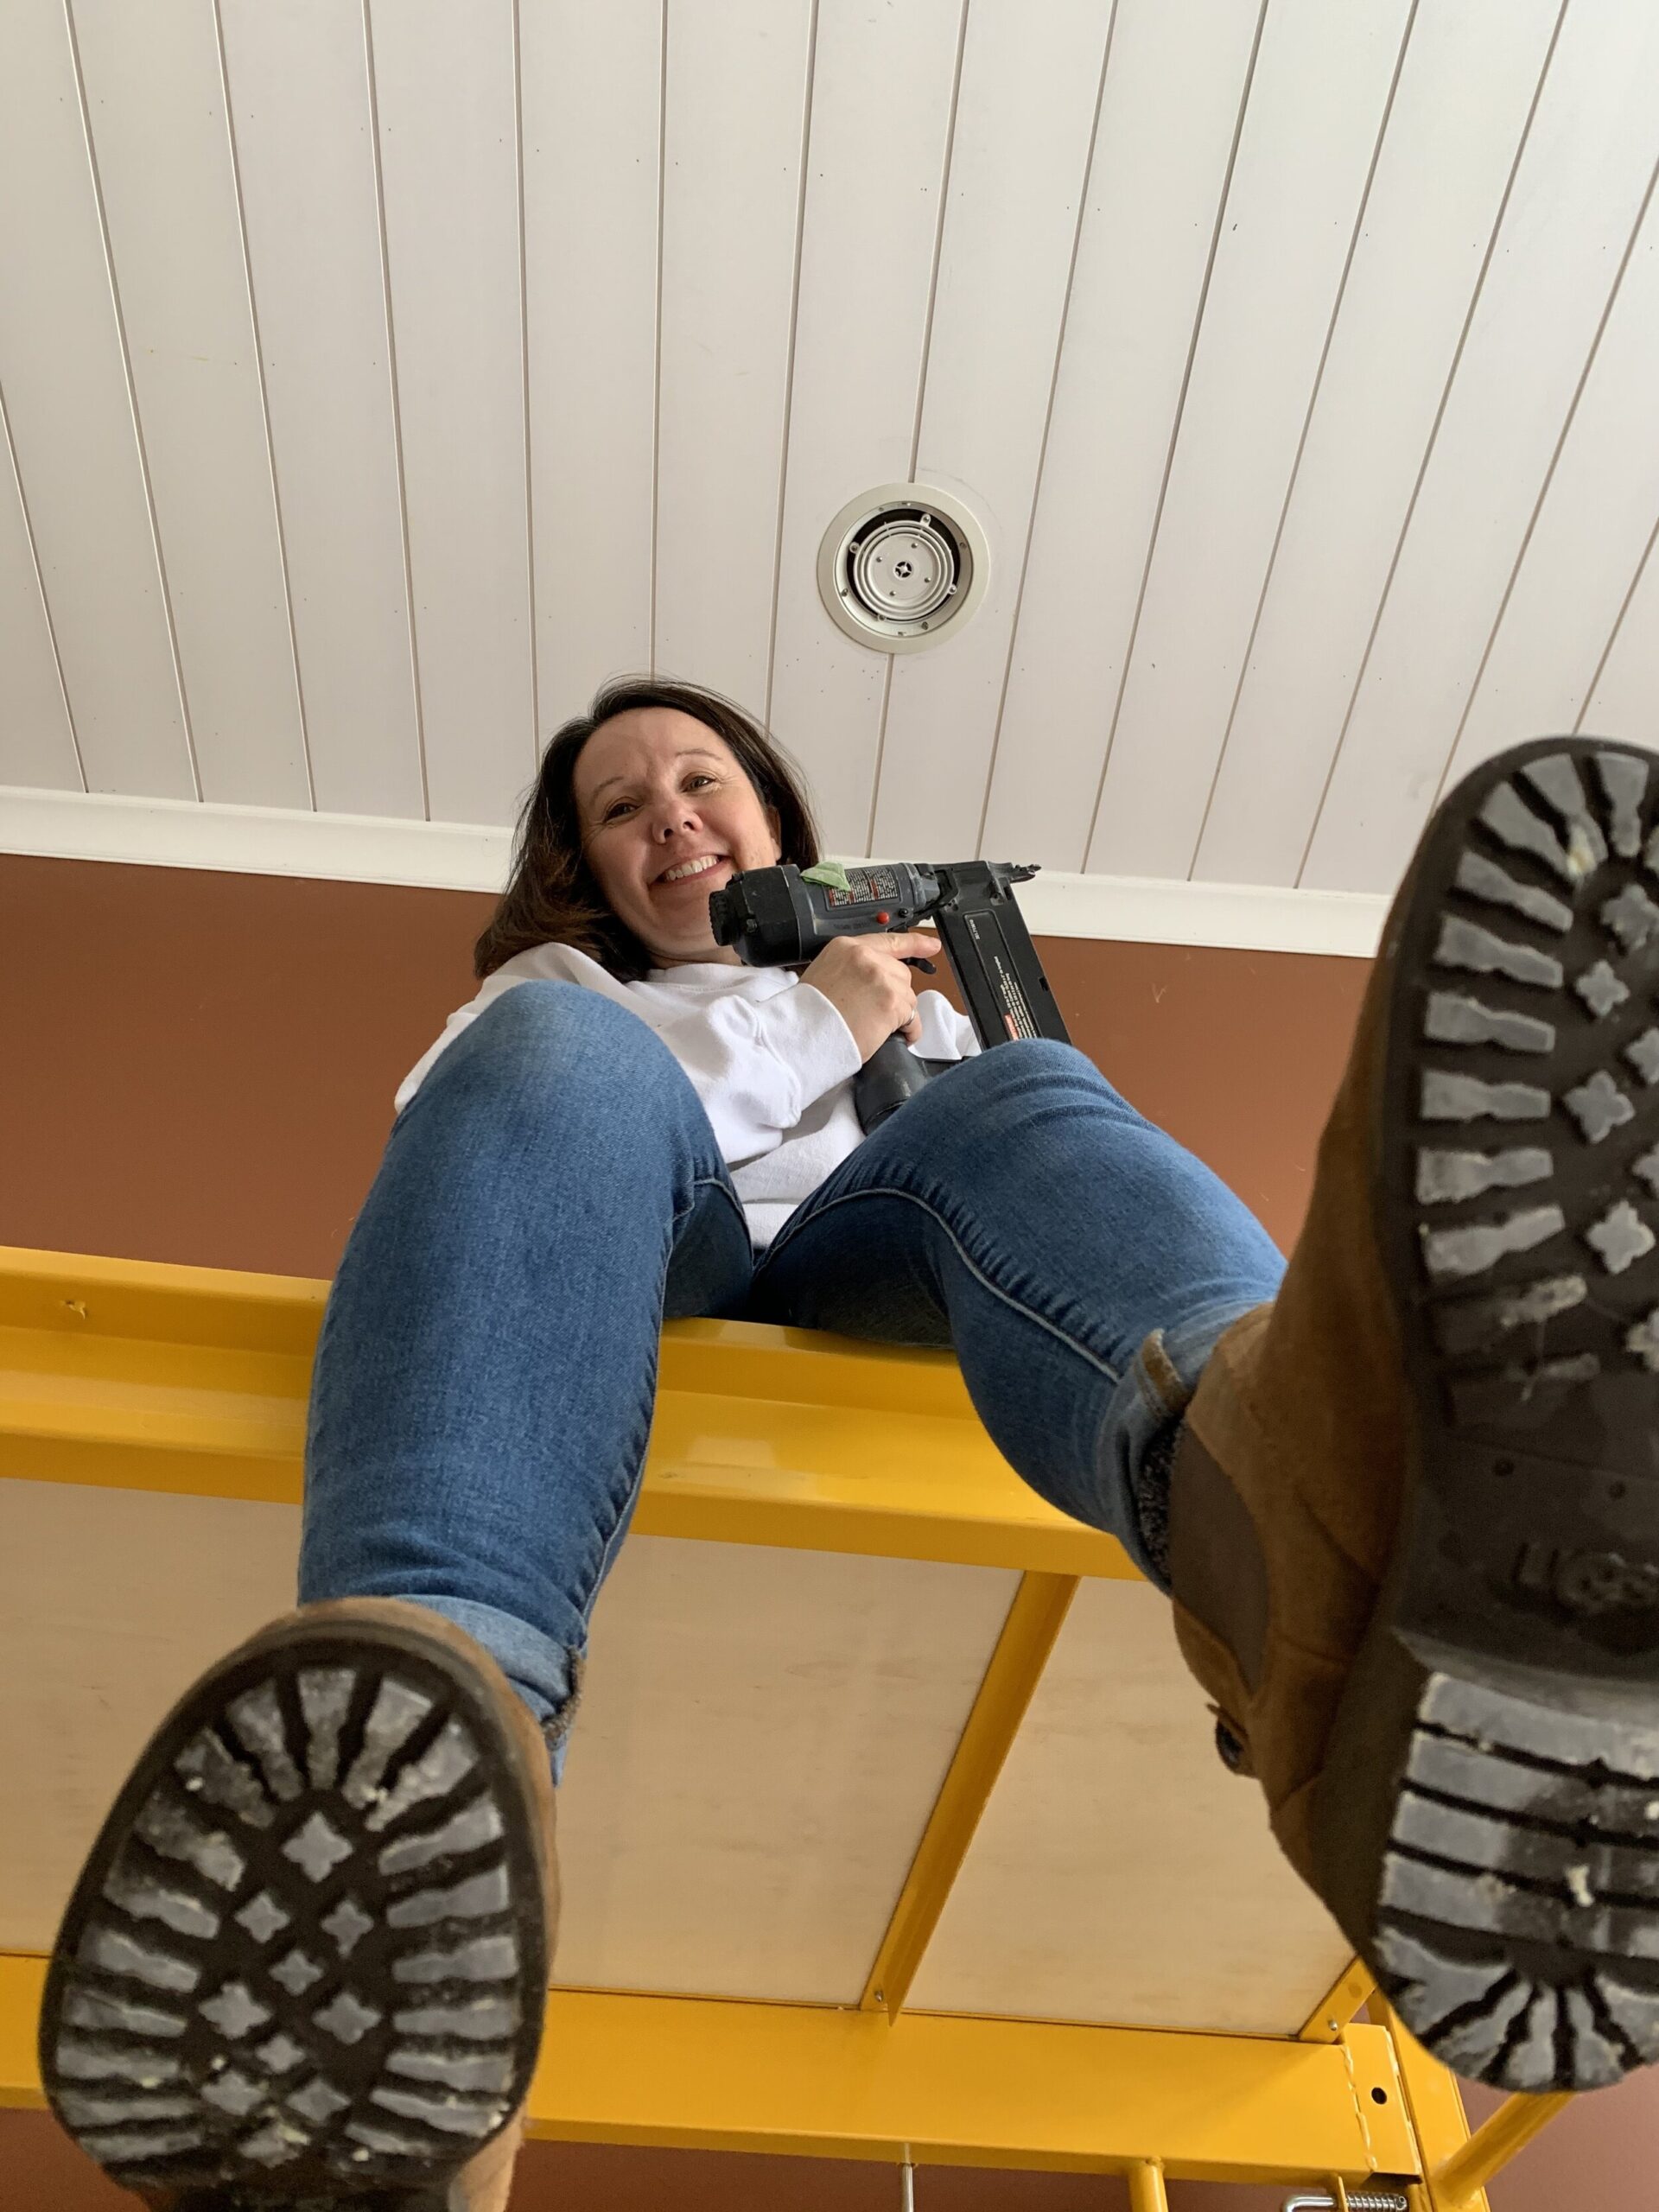
Finish Nail Gun (We have one that works with a compressor but there are some awesome battery-operated ones out there!)
No More Nails (or another construction adhesive)
Planks (we used shiplap from a big box store because it is the only material I could find in our town that came in long enough lengths to span the whole ceiling and I didn’t want to have joints. I would have preferred tongue and groove/ V-Groove to be honest, as I prefer the more detailed, less square look of the grooves, but living where I live we have to compromise sometimes!)
Jigsaw if you have any obstacles like vents, lights, cutouts, etc. to cut around
Circular saw or table saw for cutting the last board
Step 1 – Mark your Joist or Truss Locations
The first step would be to mark out all of your trusses (or joists) in the ceiling using a stud finder. Mark with a pencil or a chalk line so you can see the lines as you are installing the shiplap planks. Running your planks perpendicular to the trusses (or joists, if your room has another floor above it) is the easiest thing to do as you have nailing spots every couple of feet to secure your planks.

If you want to add planks that go the same way as your existing ceiling joists or trusses, you will need to fur out the ceiling as I described above by adding thin strips of wood perpendicular to your joists to use as nailers. But if you mark out your joists or trusses, and they all go the same direction, and you want your planks to go the opposite direction – you are golden, proceed to step two!
Step 2 – Install the Shiplap Planks
The next part, actually putting up the planks, is easy peasy.
Measure, mark, and cut the length of your plank. In our case, we are adding crown molding so we weren’t that careful to get the length perfect and left a small gap, but if you aren’t adding crown you want this to be pretty close. Without crown moulding, you would caulk the line between the plank and the wall and any uneven cuts would have to be fixed.
Add construction adhesive – we like No More Nails or Liquid Nails..
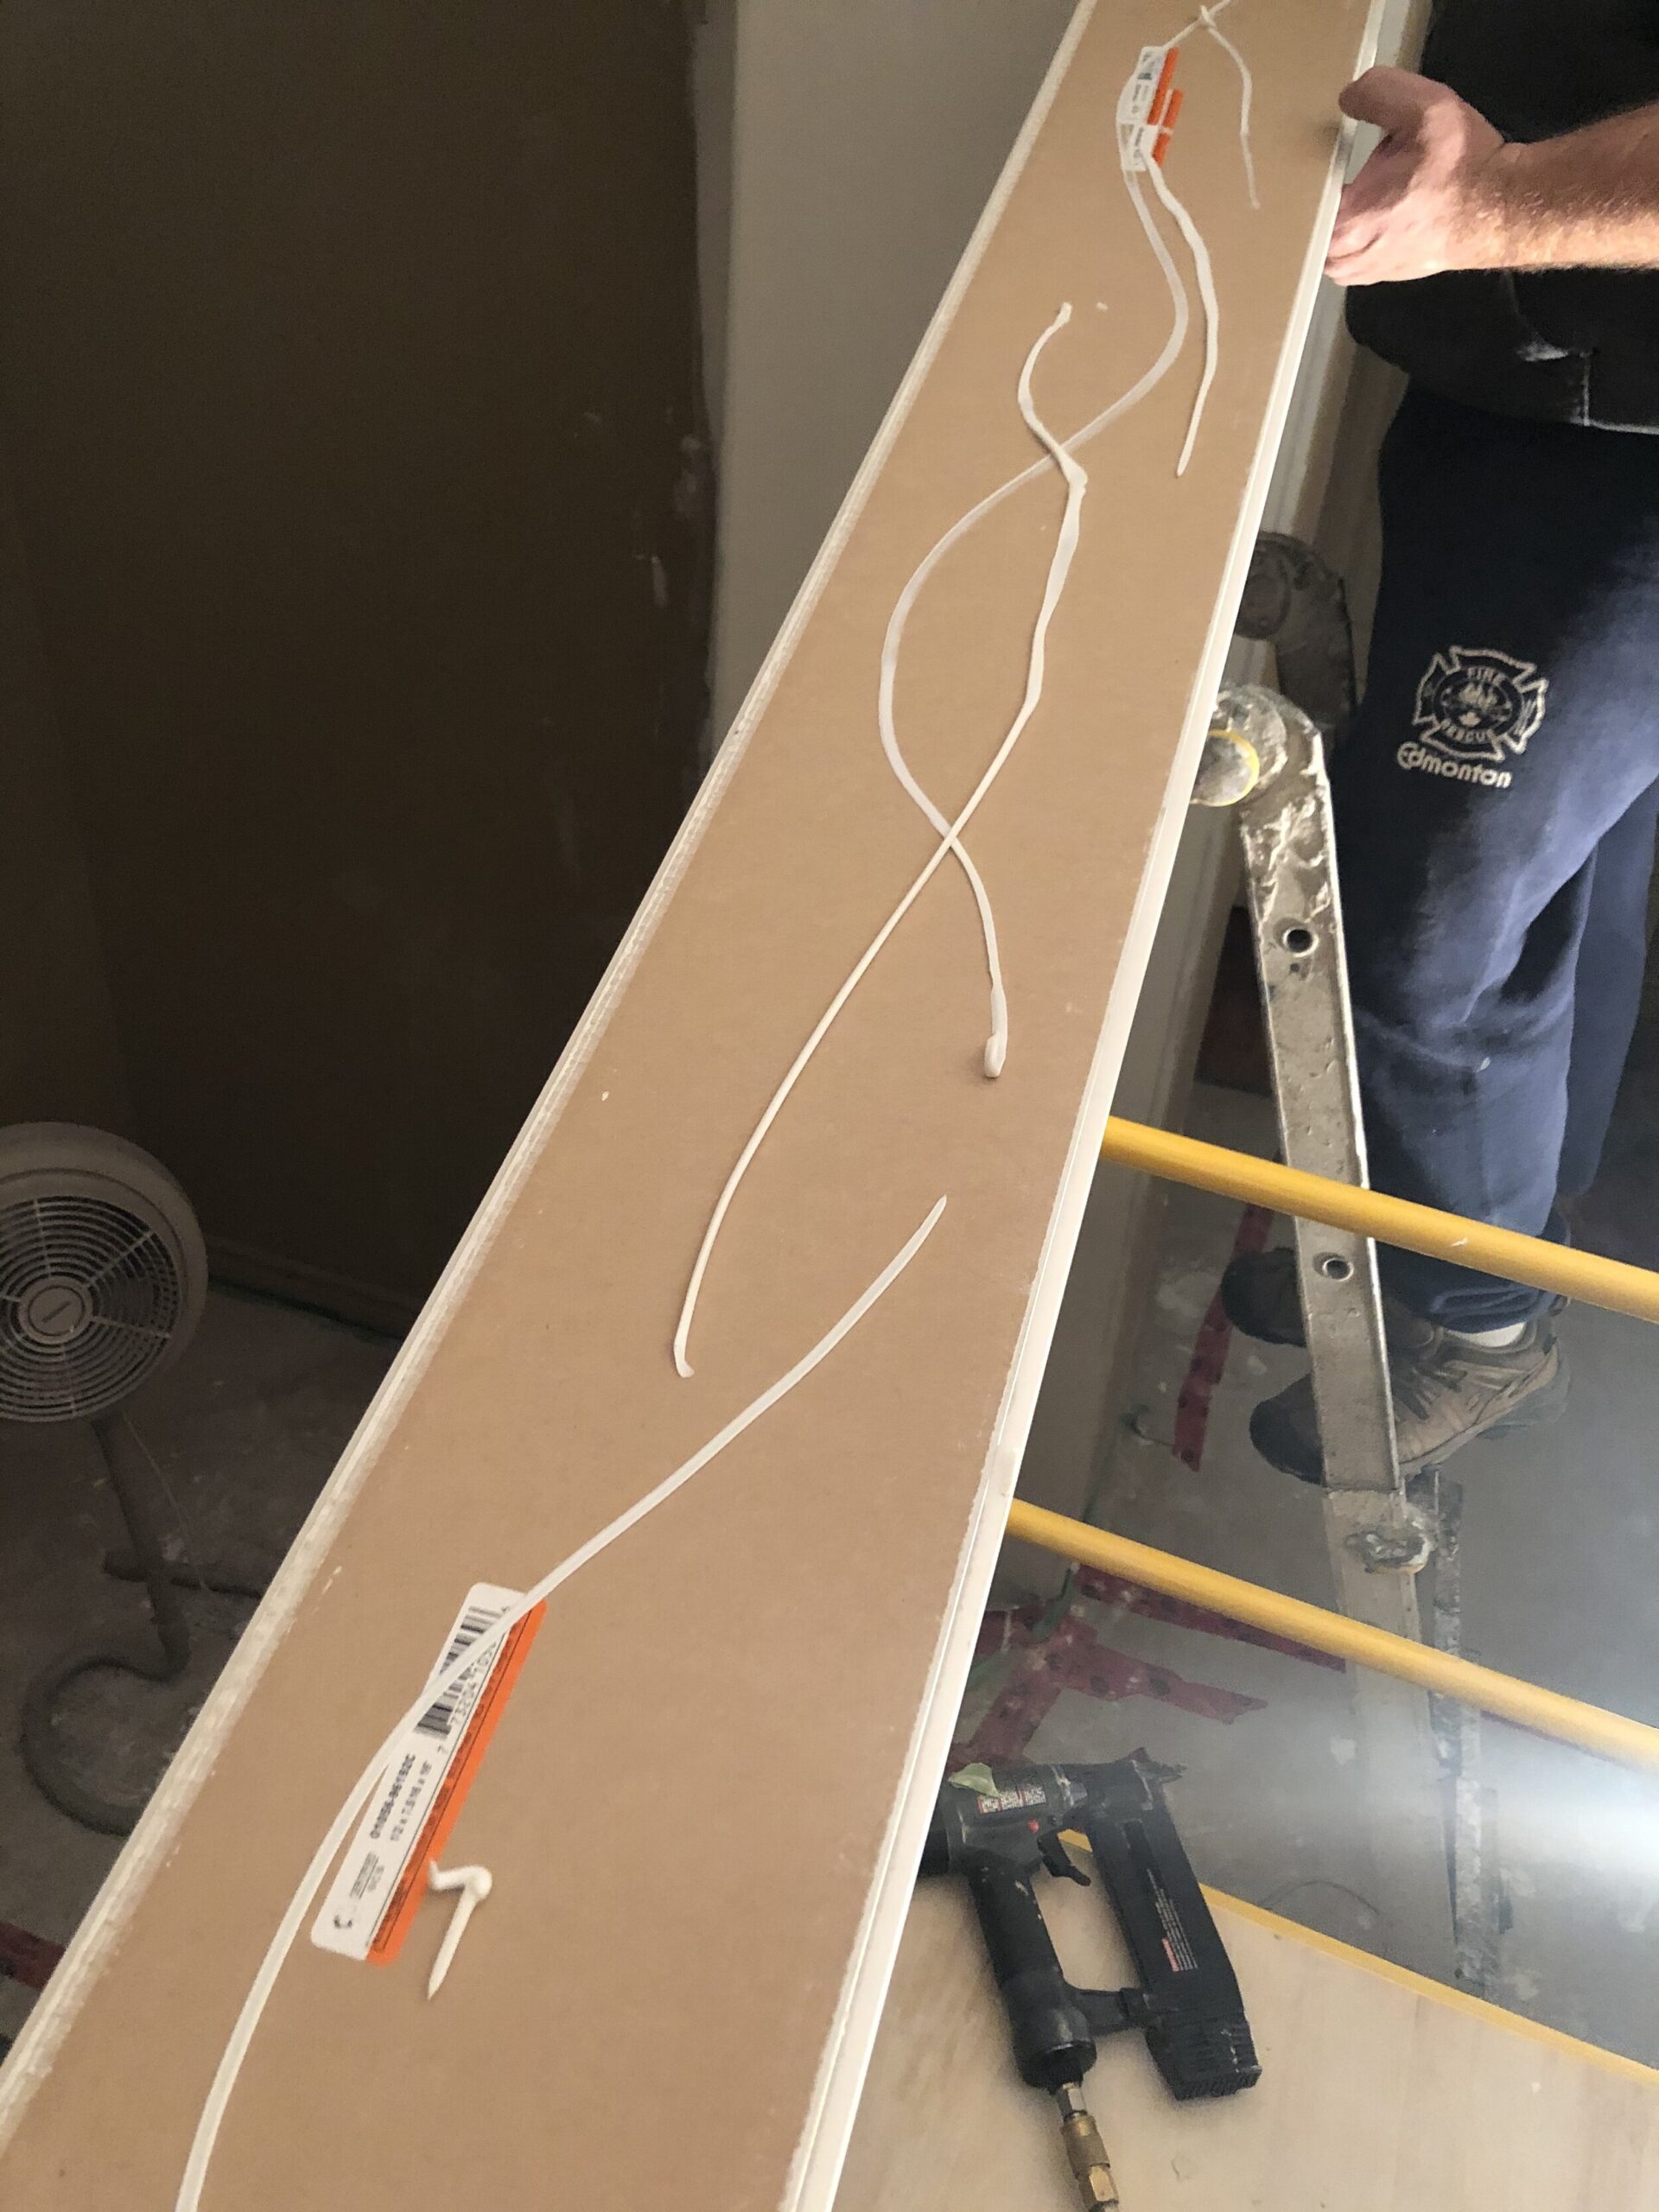
3) I recommend this as a two person job, it’s difficult to hold the plank in place and nail it at the same time.
Nail the first board in place using a brad nailer, adding a couple of nails in line with the joist/ truss lines you have marked all over the ceiling.
You can do shiplap on a wall by only nailing into the groove and they sort of “lock” in place on the opposite side, but since this was going on the ceiling we thought it would be better to add them right to the front face and patch the holes from the nails before we paint. We do not want the sky to fall, these planks are reasonably heavy.
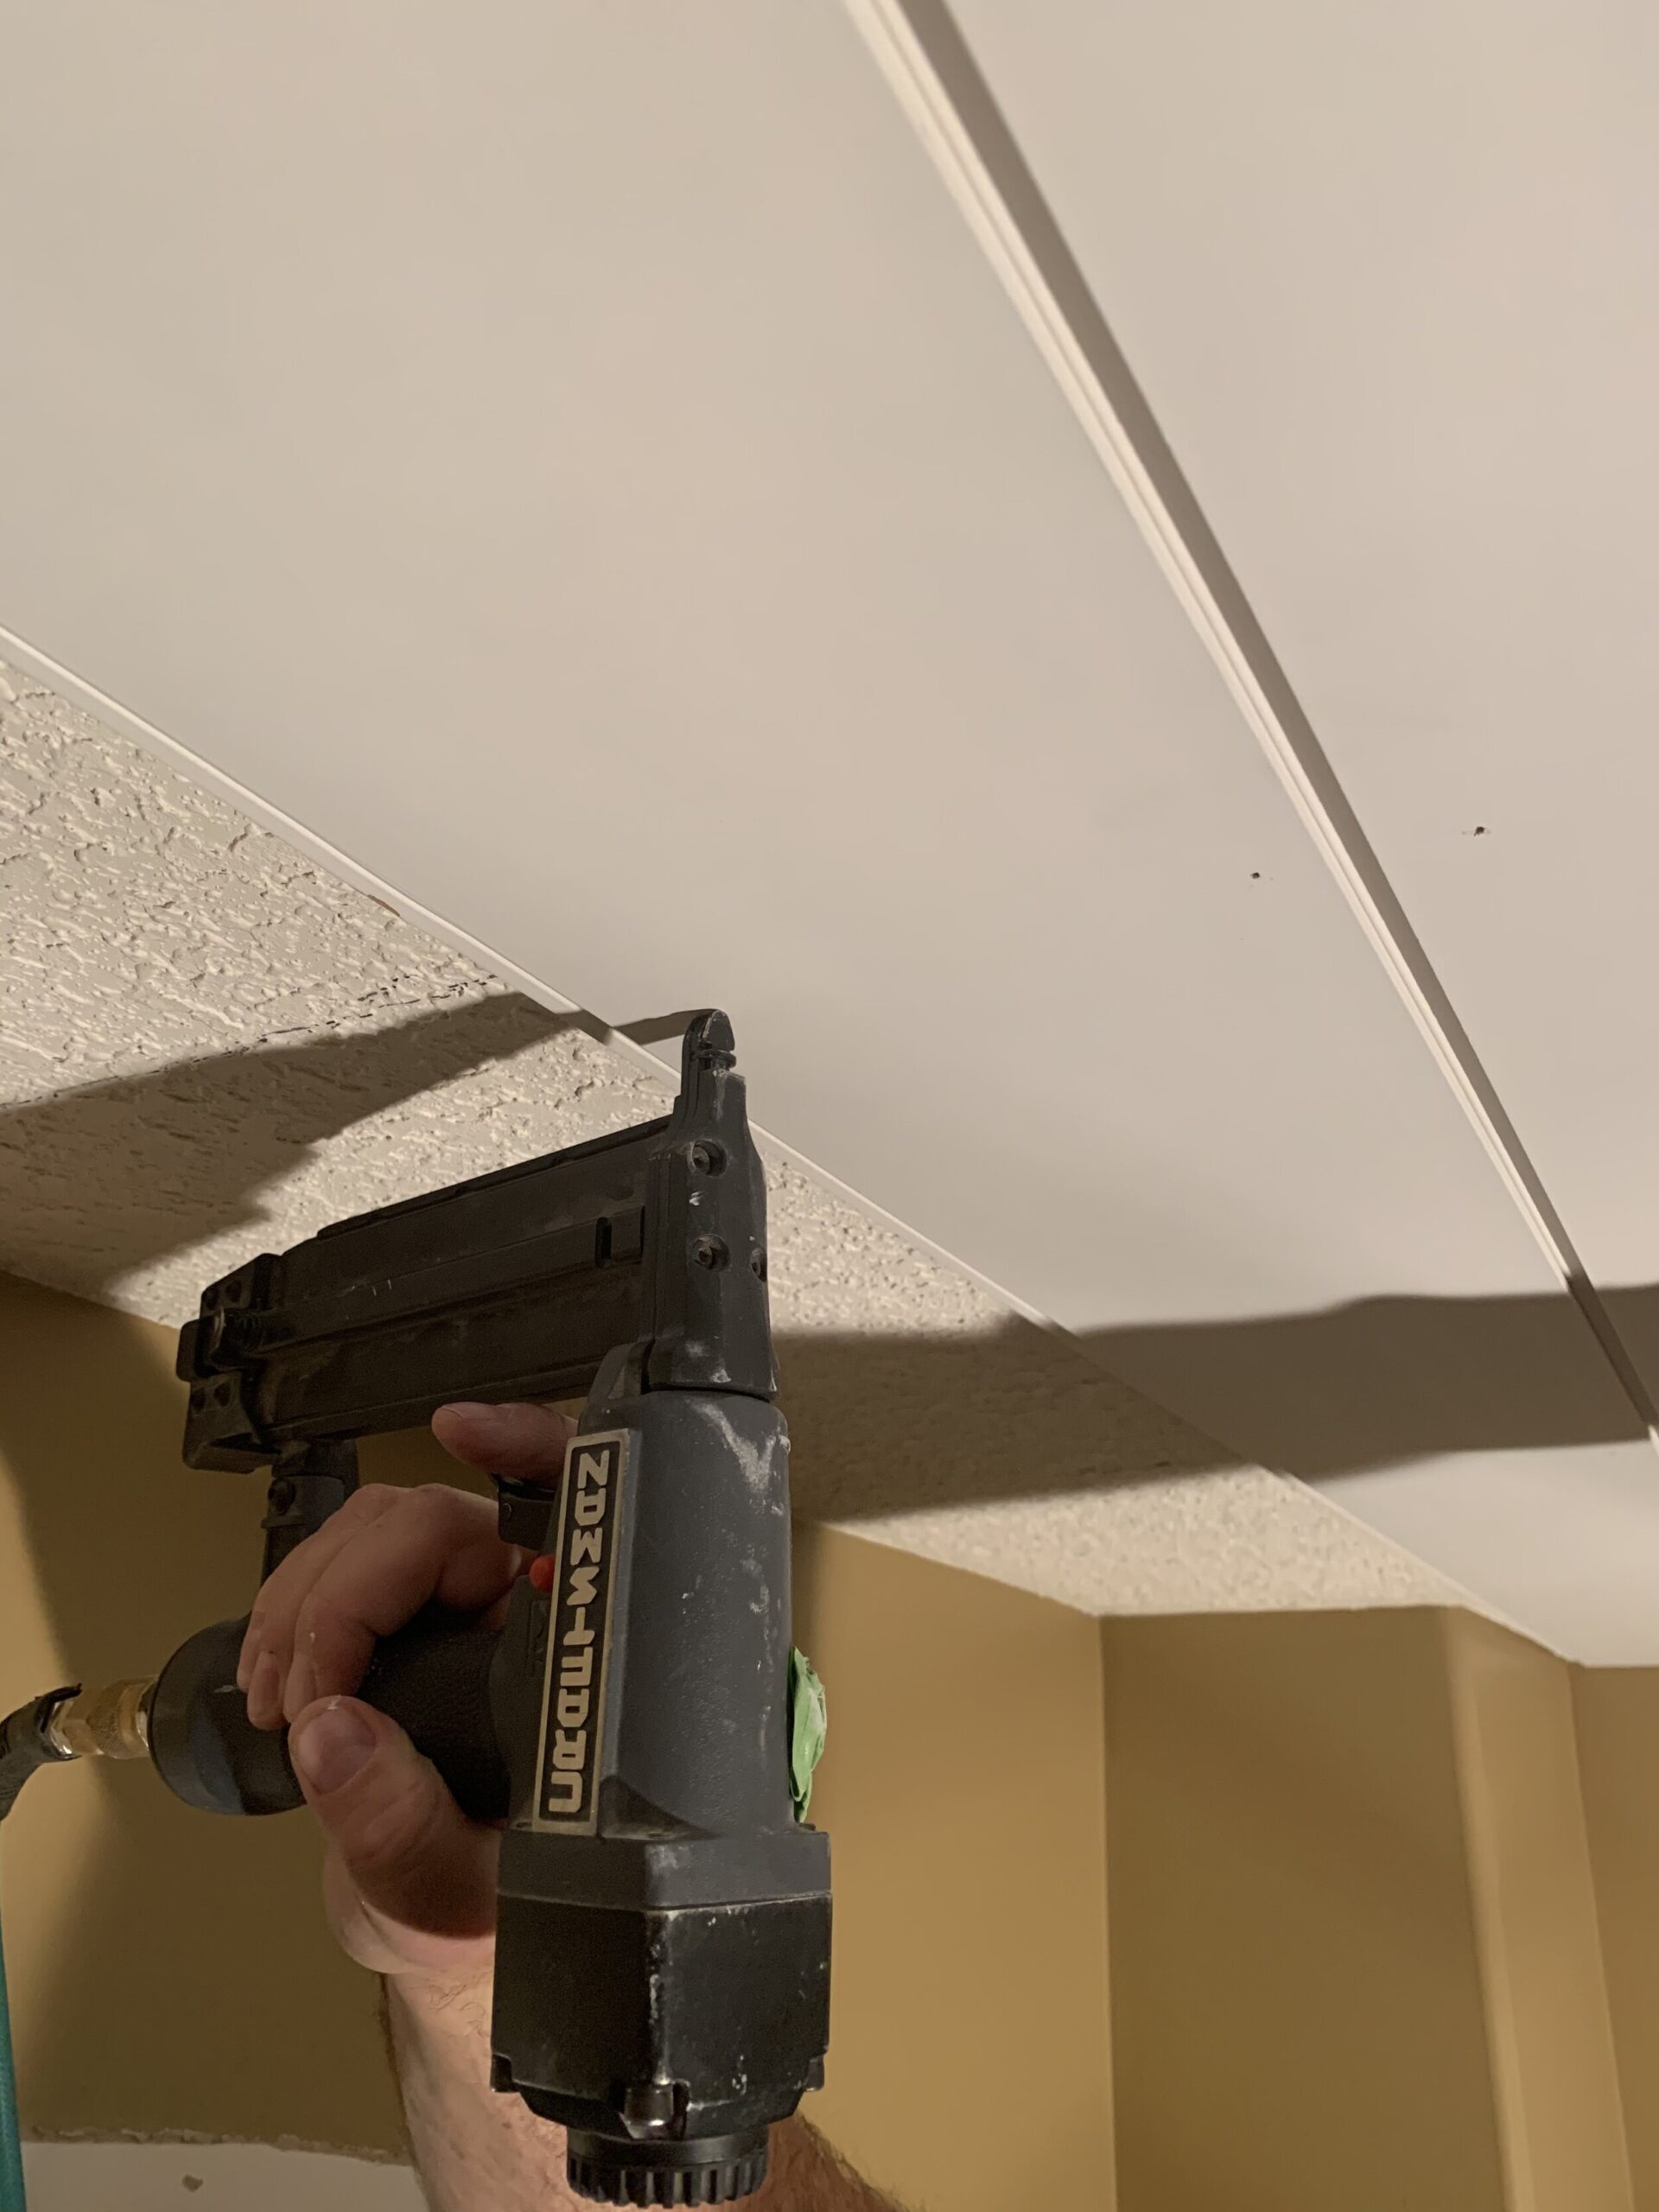
4) Use the finish nailer to add the next board, (and the next…) they overlap slightly and fit into one another to keep the gap consistent, as long as you push them tight together they will stay straight.
Cut out around Obstacles
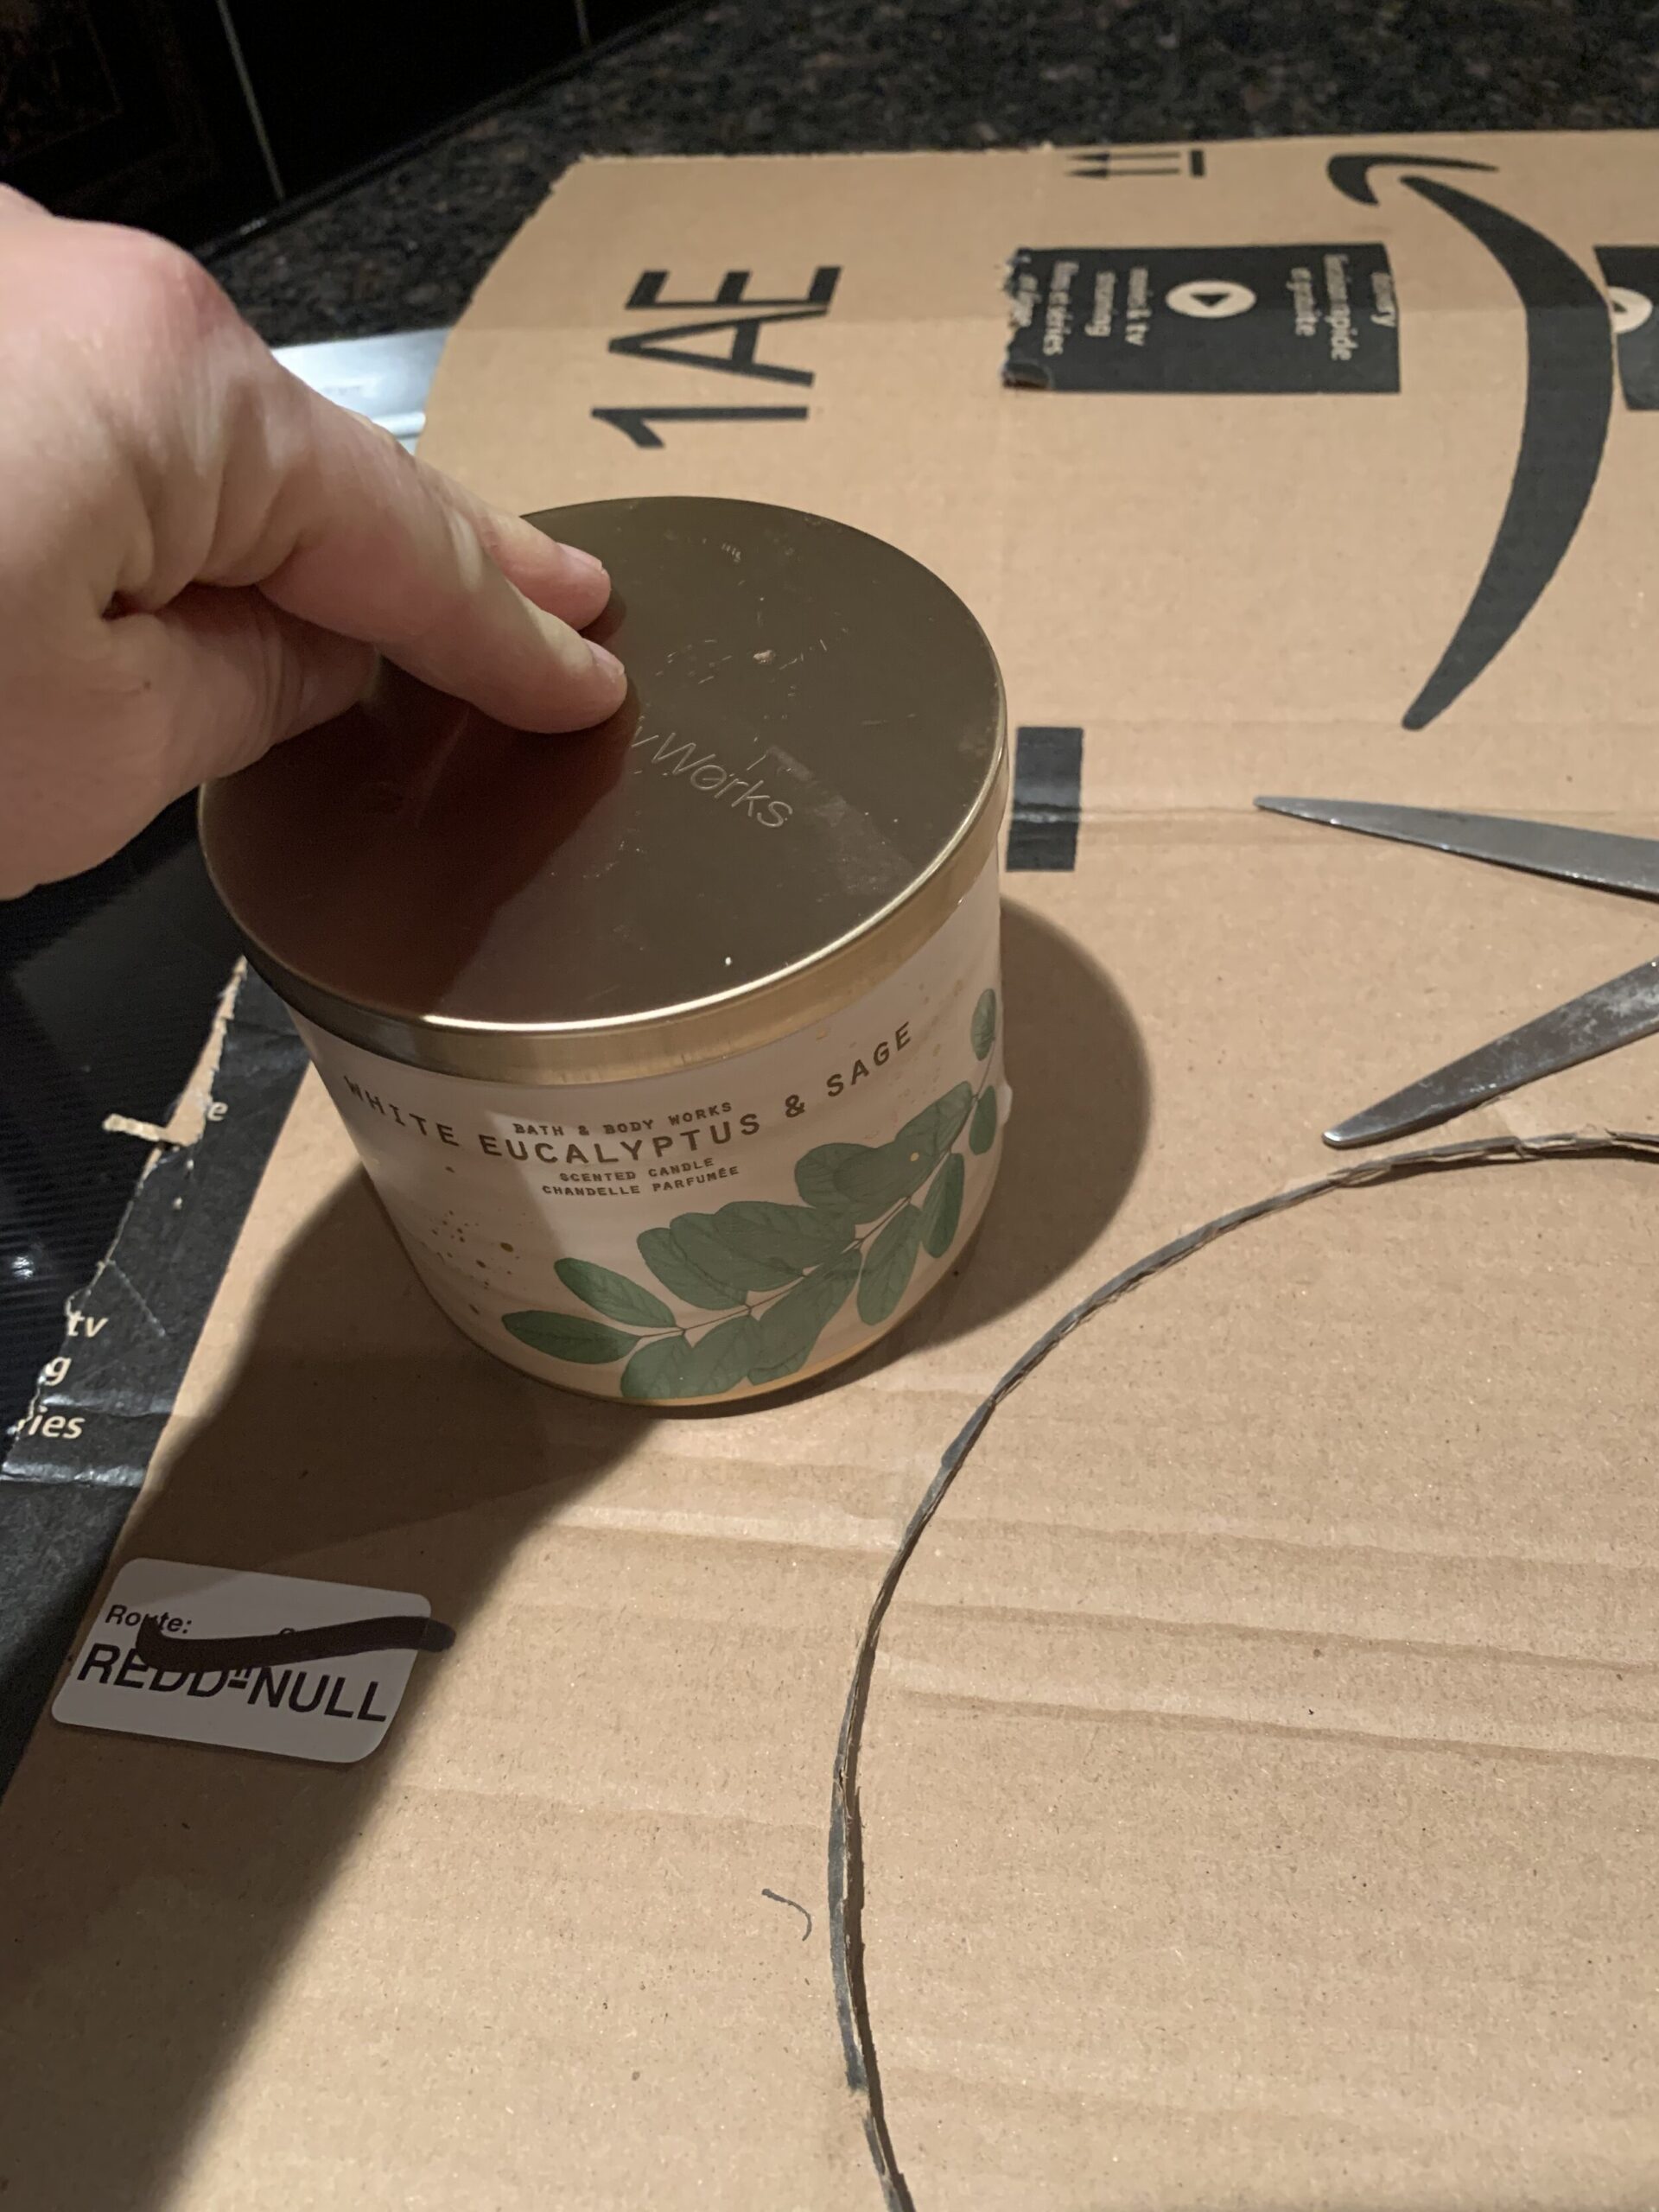
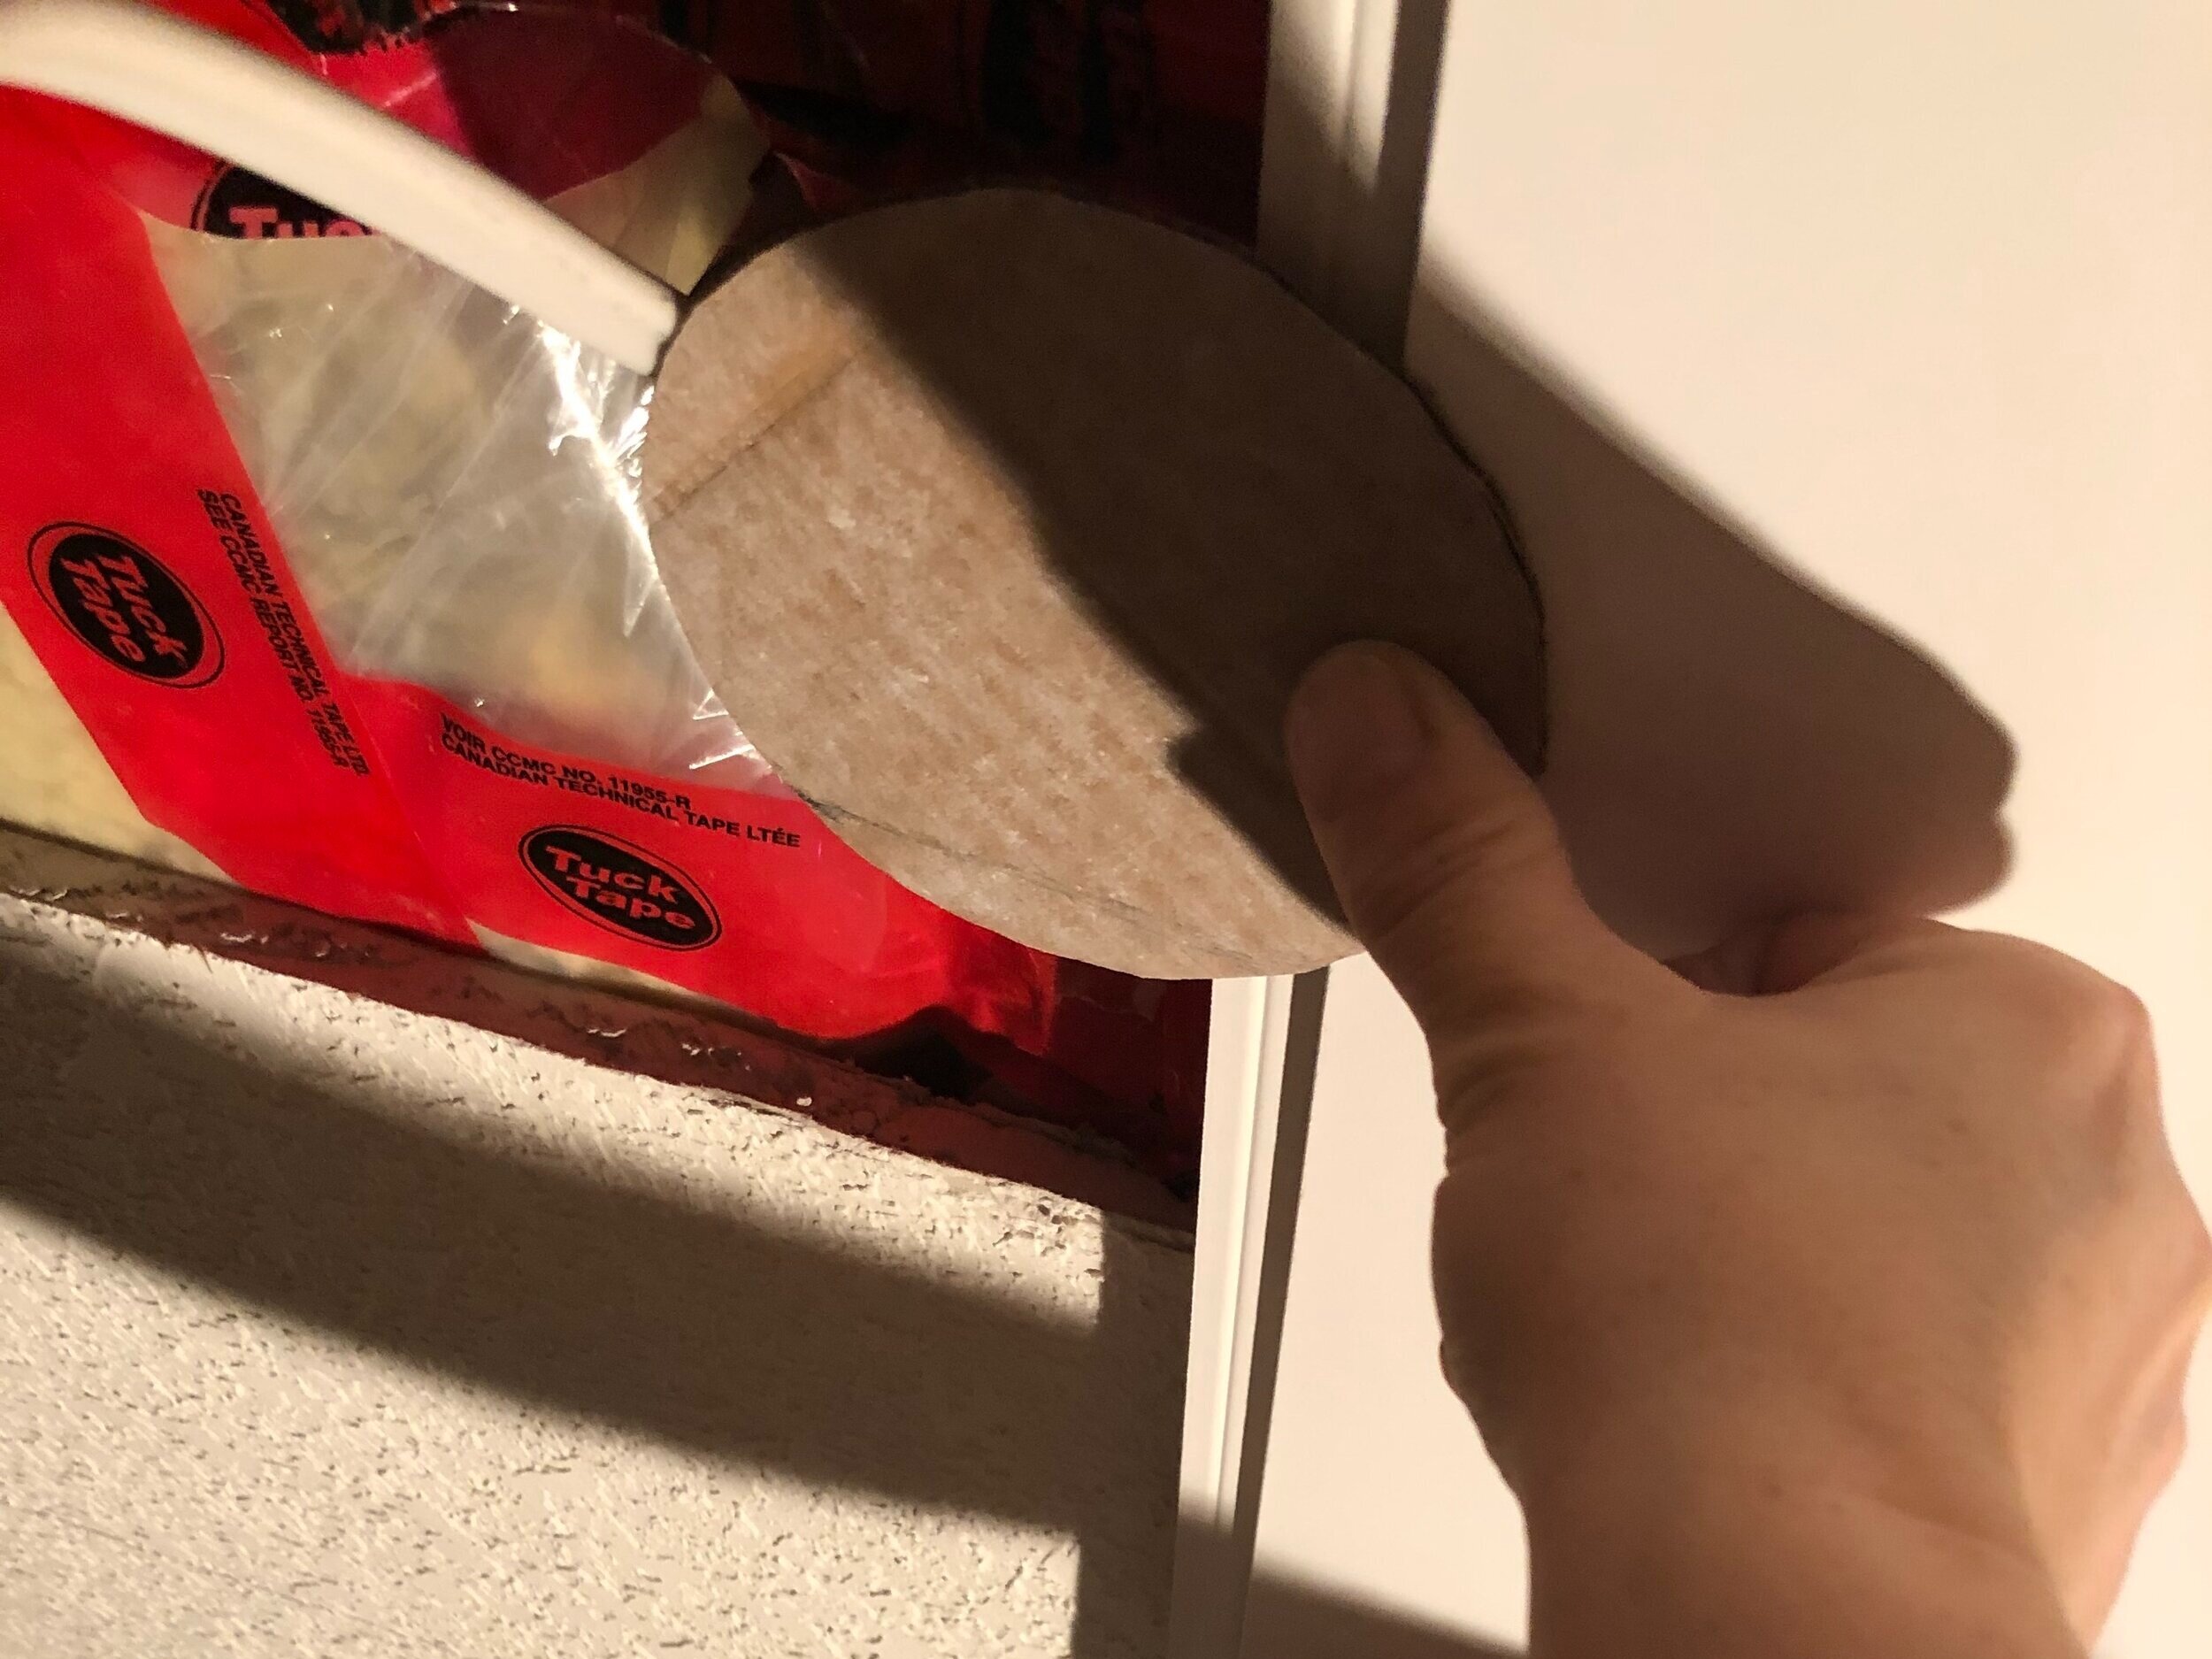
If you come across any obstacles (can light, vent covers, etc) I found the best way was to cut out a template from cardboard the size of the obstacle, hold the plank in place while someone traces the size of the obstacle onto the plank and then cut out the hole in the plank with a jigsaw. On the first light box we encountered I just sort of winged the hole size and it didn’t turn out great, so I made the template and the next hole was perfect!

Cutting the Last Shiplap Board
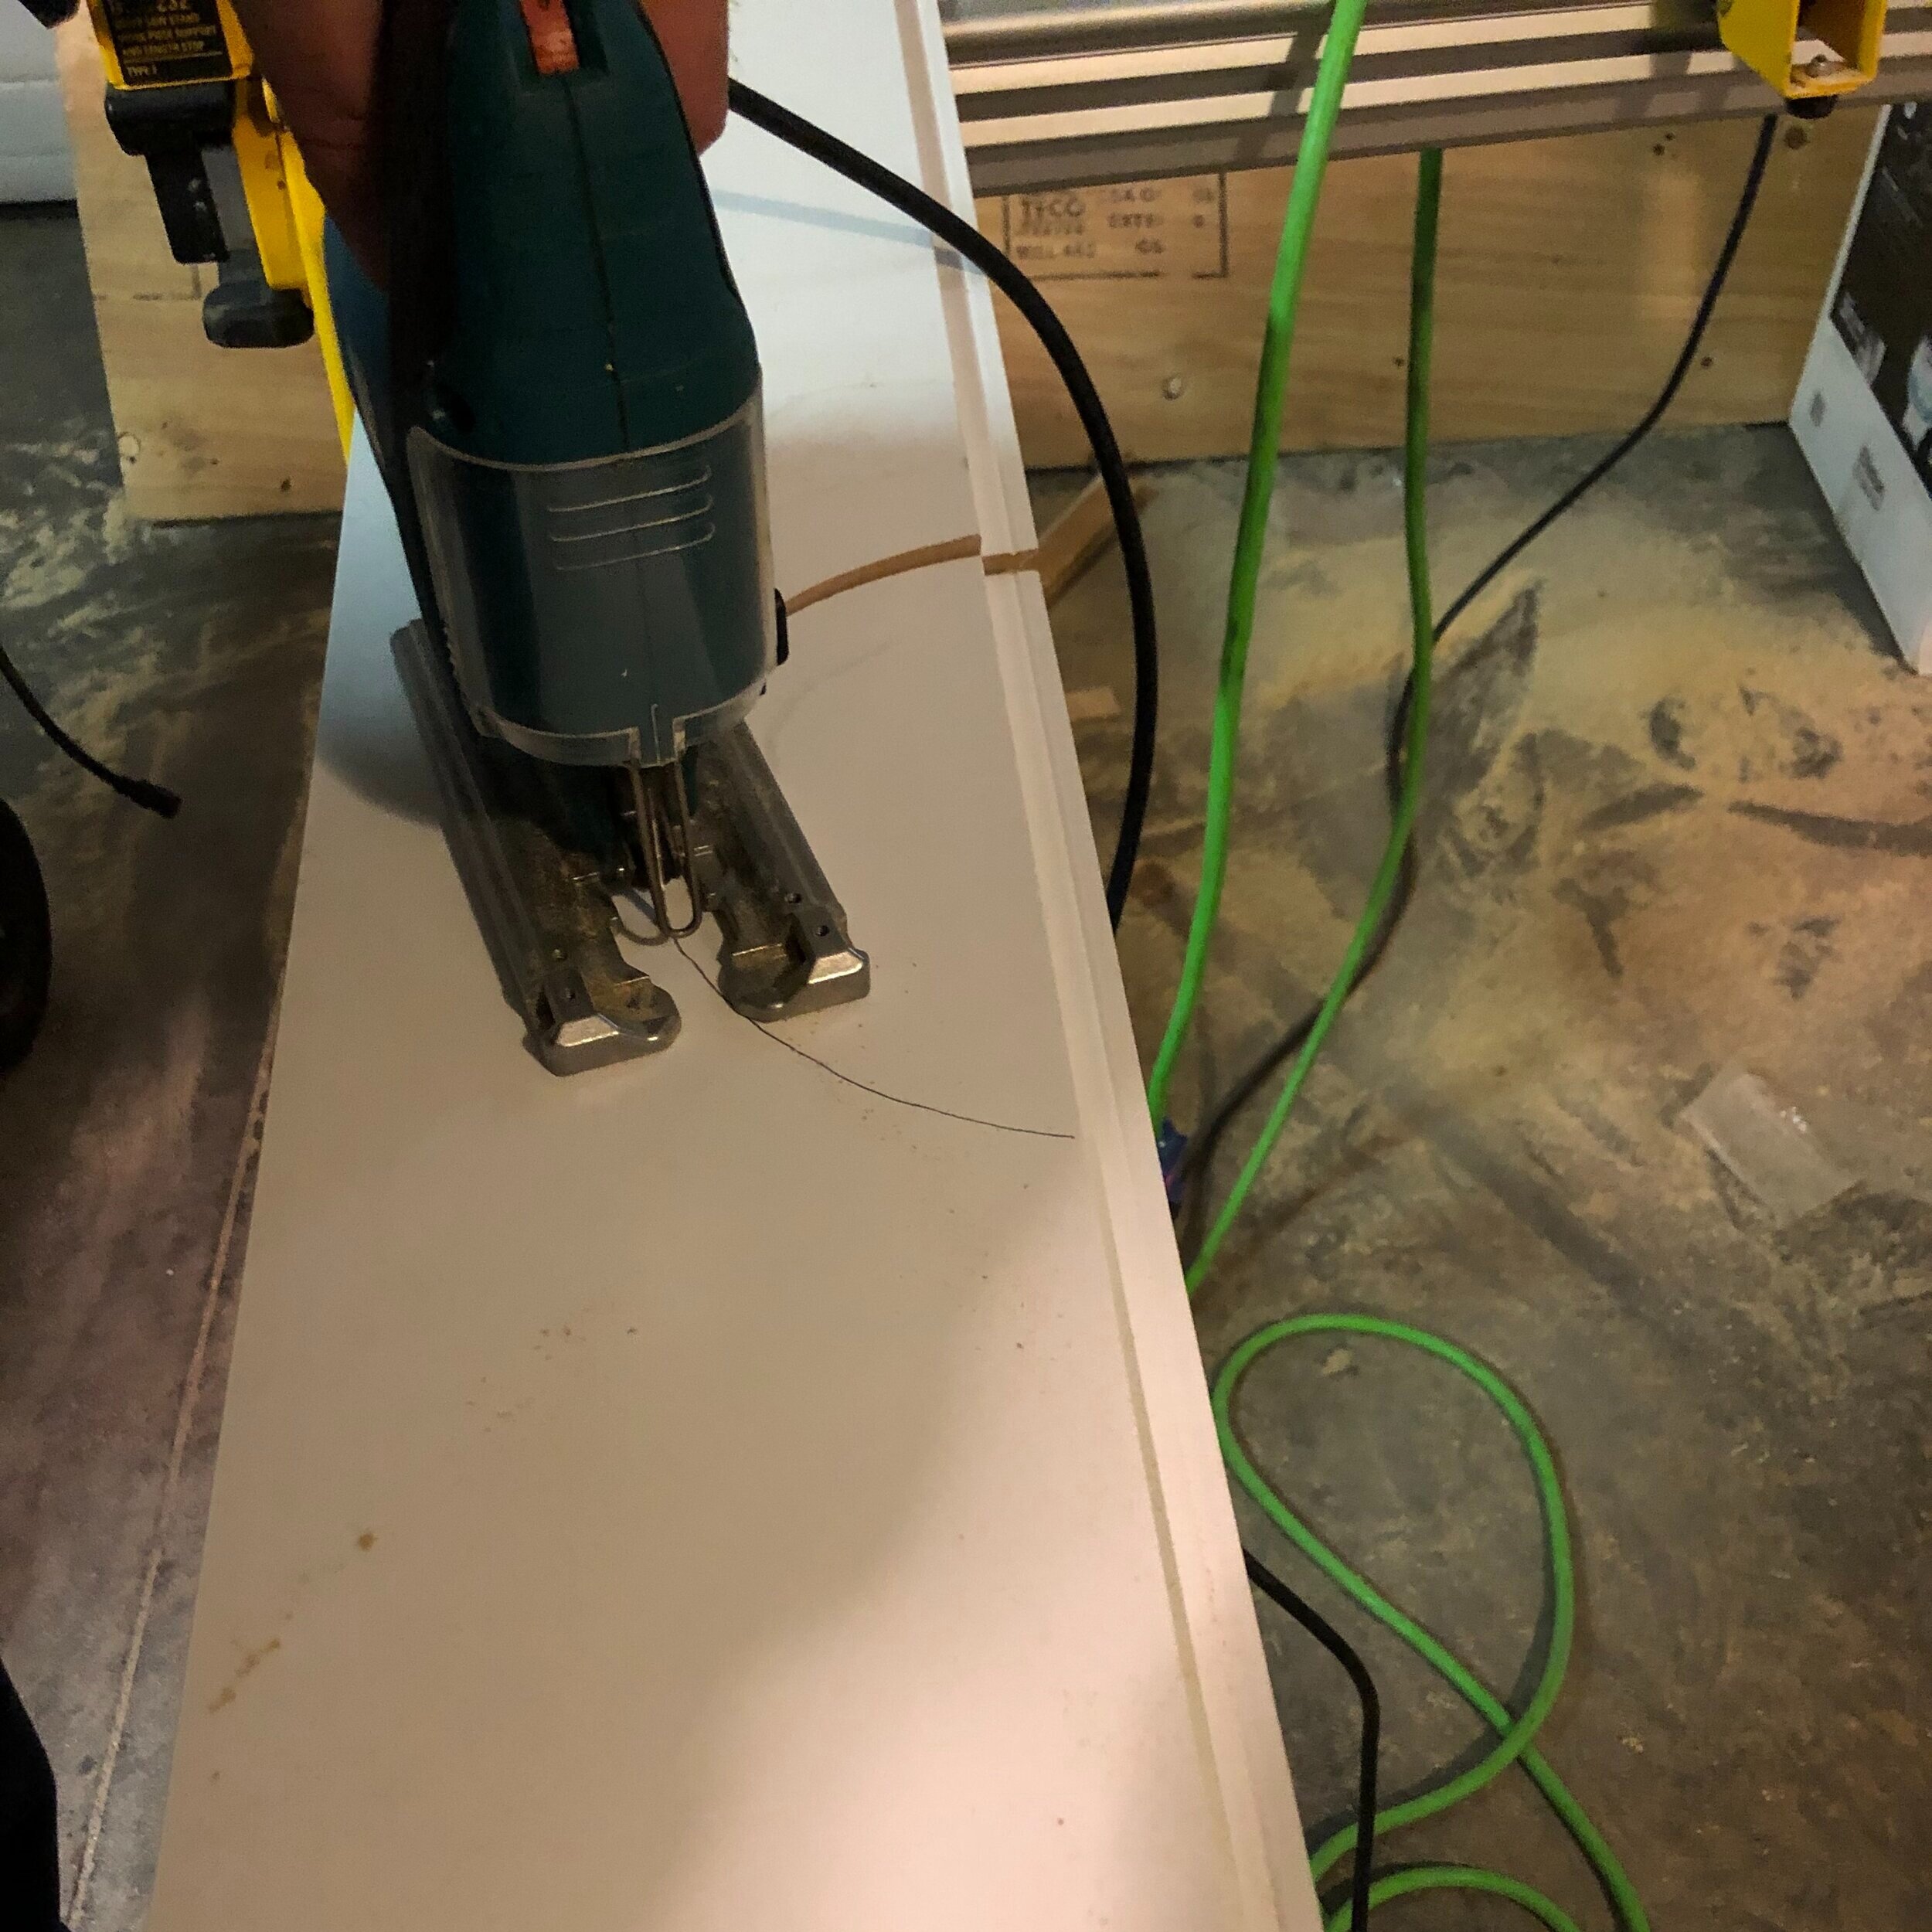
That’s it! When you get to the end you may have a long cut to make along the wall as it’s unlikely that you will end on a full plank.
You can do this cut by measuring from your second last plank to the wall (check both sides in case your room isn’t perfectly square!). Once you have this measurement, cut along the length of the board to fit.
A table saw works great for a long cut like this but you can also clamp a straight edge along the length of the board and cut that with a circular saw, or even freehand it if you are covering it with crown moulding, as we are, and don’t need the cut to be perfect.
Step 3 – Fill Holes and Paint
Once the ceiling is up you are going to want to fill all the nail holes with wood filler, sand and paint. Painting the ceiling I do not anticipate to be a fun task so I will keep you posted on that. I am considering using my paint sprayer which might be the easiest way, but likely means a paint shower for me, that should be some fun Instagram content for next week!!
This is a great way to add a little interest to the 5th wall and as far as DIY projects go, it’s relatively easy! I hope you give it a try in your own home!
I just wanted to give a HUGE thank you to the generous brands I have partnered with who provided sponsored items for this makeover. I’m so grateful that they saw enough potential in me and my little blog. I hope to do their fabulous products justice in the coming days!!
Calico Corners (Curtain Fabric)
That’s all for today – be sure to check back next week (or subscribe!) where I will have some more progress to show you . If you want to catch some sneak peeks follow me on Instagram (@erinzubotdesign), I’ll be sharing a lot of behind-the-scenes there. Also, check out the other designers HERE or click the ORC Logo below, there is a great lineup of both featured and guest participants and there is a lot to catch up on. See you next week!

SHOP THIS POST:
Click directly on the image to be redirected. Links may be affiliate links, which means if you purchase through this link I may receive a small commission, at no cost to you. Thank you!


The ceiling looks so good! Love the candle tracing hack too! 🙂
Looks Awesome Erin!!
This looks awesome! Great tutorial as well. Like you, sometimes I settle on small design changes due to where I live and what is available or because of budget.
Thank you Lindsey!
Thanks Kimberly!
Thank you Jessica! Yes that’s life when you are working on a budget and in a small town, but hopefully the end result will be just as good!
SO impressed by this!! Great job!! Looks beautiful!!
That turned out so good. We’re debating on a ceiling treatment of some kind as well. Our builder-grade home has wavy ceilings since they did such a poor job on the sheetrock. You make this look easy so maybe we’ll give it a try. I’m also doing the One Room Challenge and I found your blog through their site. It’s nice to meet you. Feel free to stop by. ~ Denise @hootshack
What an awesome update! Great how-to post as well. That light fixture was seriously crazy and this definitely brings the room into the 21st century!
Thank you so much Taylor!
Hi Denise! Yes it’s actually a pretty easy project, let me know if you try it!
Looks amazing! If budget allows, I’d like to shop this in our basement bedroom. Add a bit of character to the room. Thank you for another great tutorial 😁
Thank you, and best of luck with your project!