How to Install Beadboard Panels
One Room Challenge Spring 2021 – Week 4
How is it already week 4? Time is flying by! We made some good progress last week, we installed basketweave tile on the floor and beadboard on the wall, and I’m going to include all the details on how to install beadboard panels this week! I’ve been back and forth to the paint store more times than I want to admit looking for the perfect colour. And the bathroom is really starting to take shape! If you want to get caught up, here are the first few weeks:
Table of Contents
- One Room Challenge Spring 2021 – Week 4
- Last Week's Progress – Installing Basketweave Floor Tile
- How to Install Beadboard Panelling
- You Might Also Like:
This post may contain affiliate links. That means if you purchase anything from these links I earn a small commission, at no extra cost to you! This helps support my blog, so thank you!
Last Week’s Progress – Installing Basketweave Floor Tile
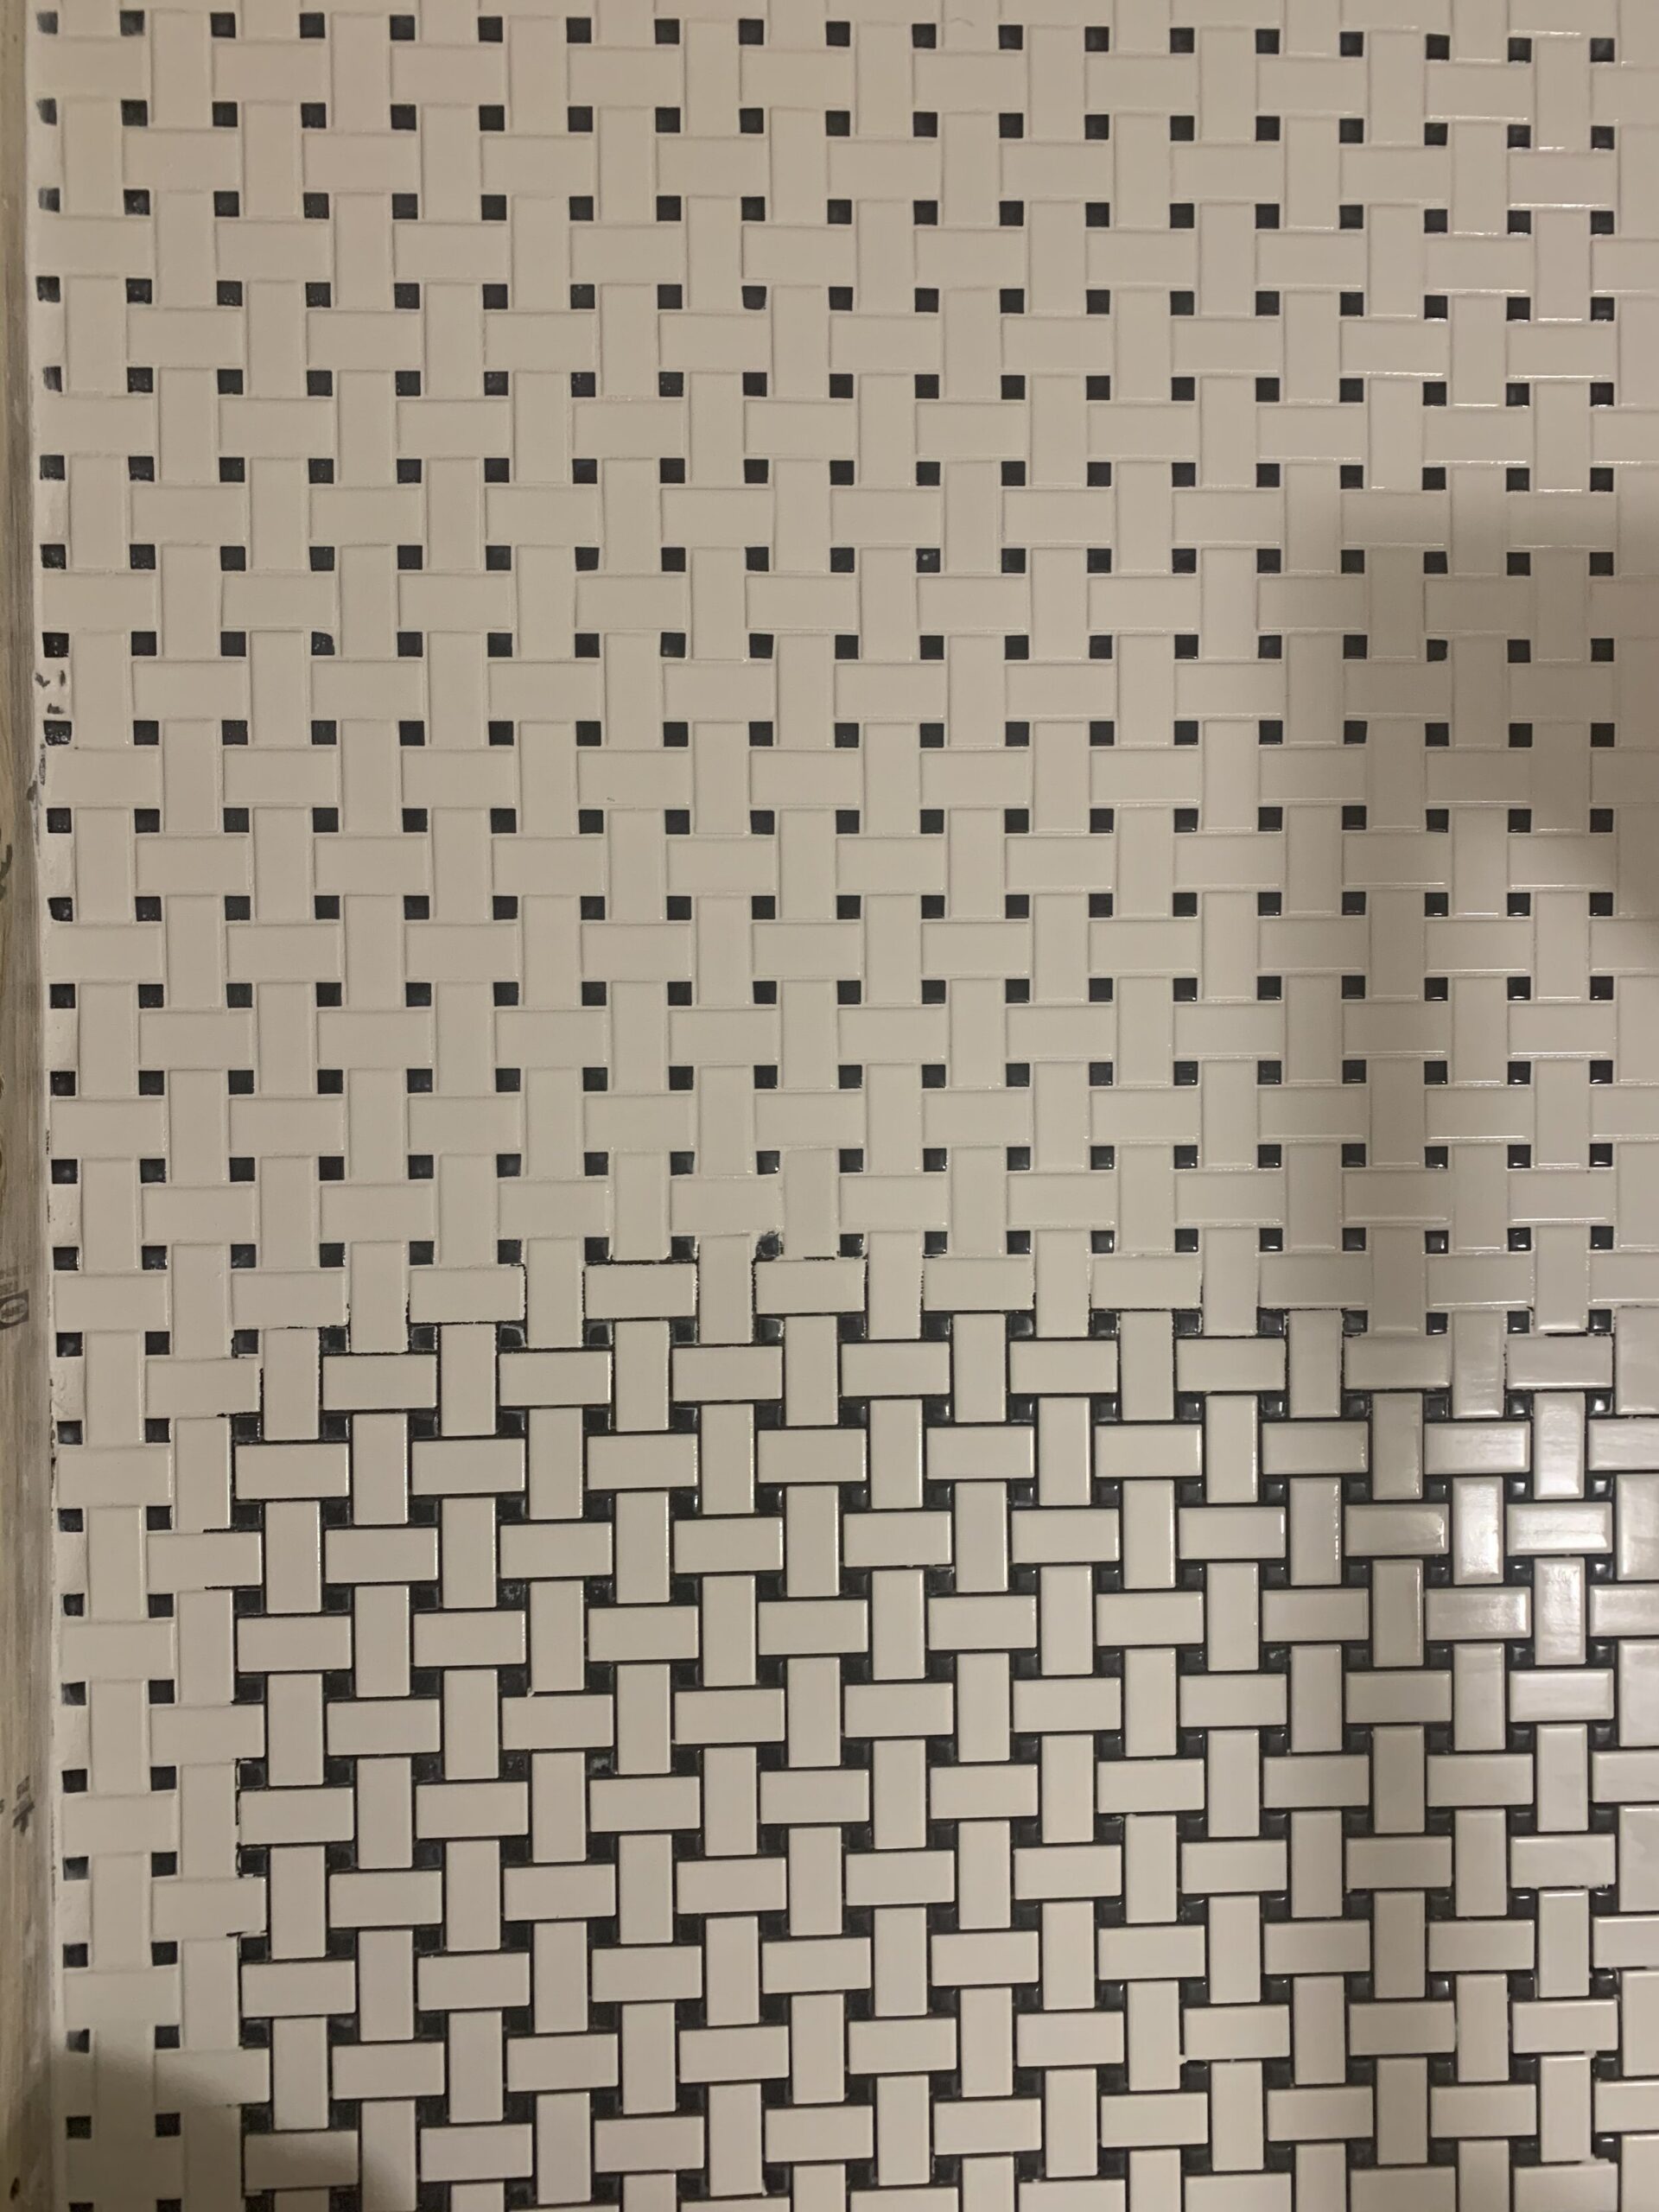
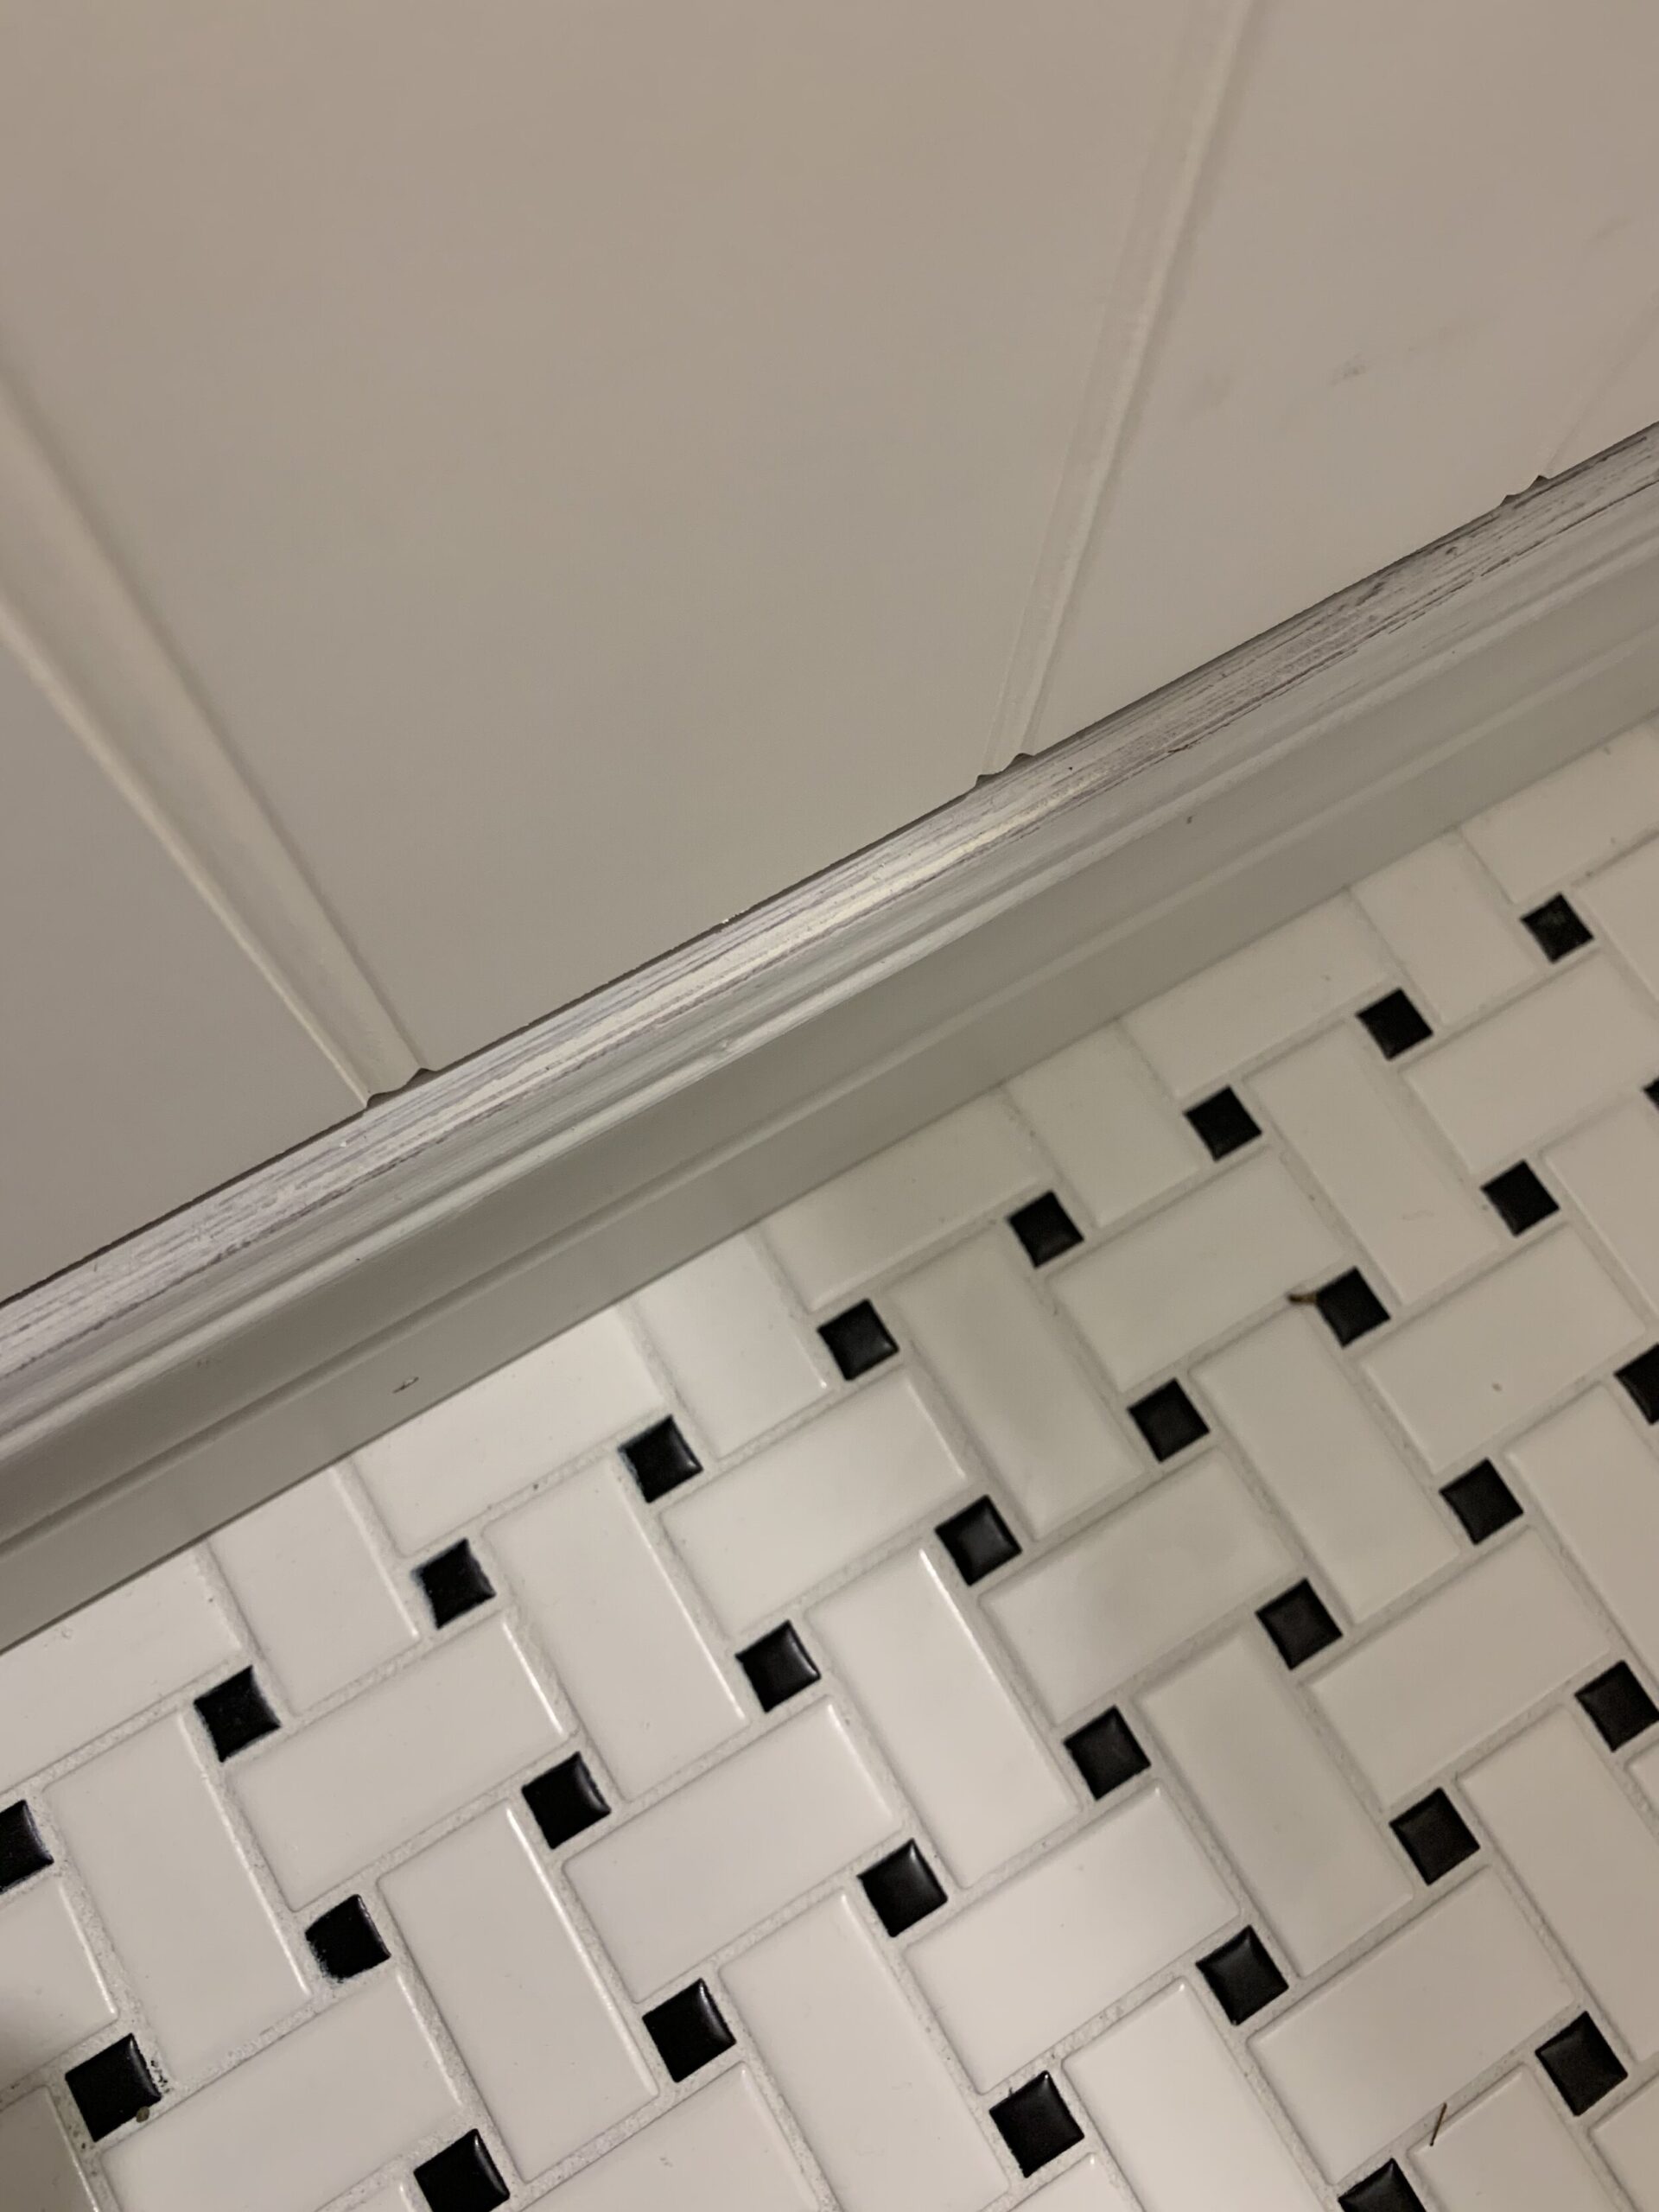
First, the floor! I chose a basketweave tile and installed it the same way I did the wall tile (see last week’s post for an in-depth tutorial on how to install tile, as well as a discussion on why I chose the tile I did!) The tile installation went quite quickly, except that I literally had to use scraps to finish up with the last piece or two. I was panicking a little as that tile took a few weeks to arrive so I really had to make it work with what I had! I had relied on my tile supplier to calculate quantities for me, I think next time, I’ll calculate (or at least check) those quantities myself! So as we sit now, the floor is still not finished being grouted (I ran out of that too!) but as I was running out, I focused on the edges so that we could add trim and beadboard.
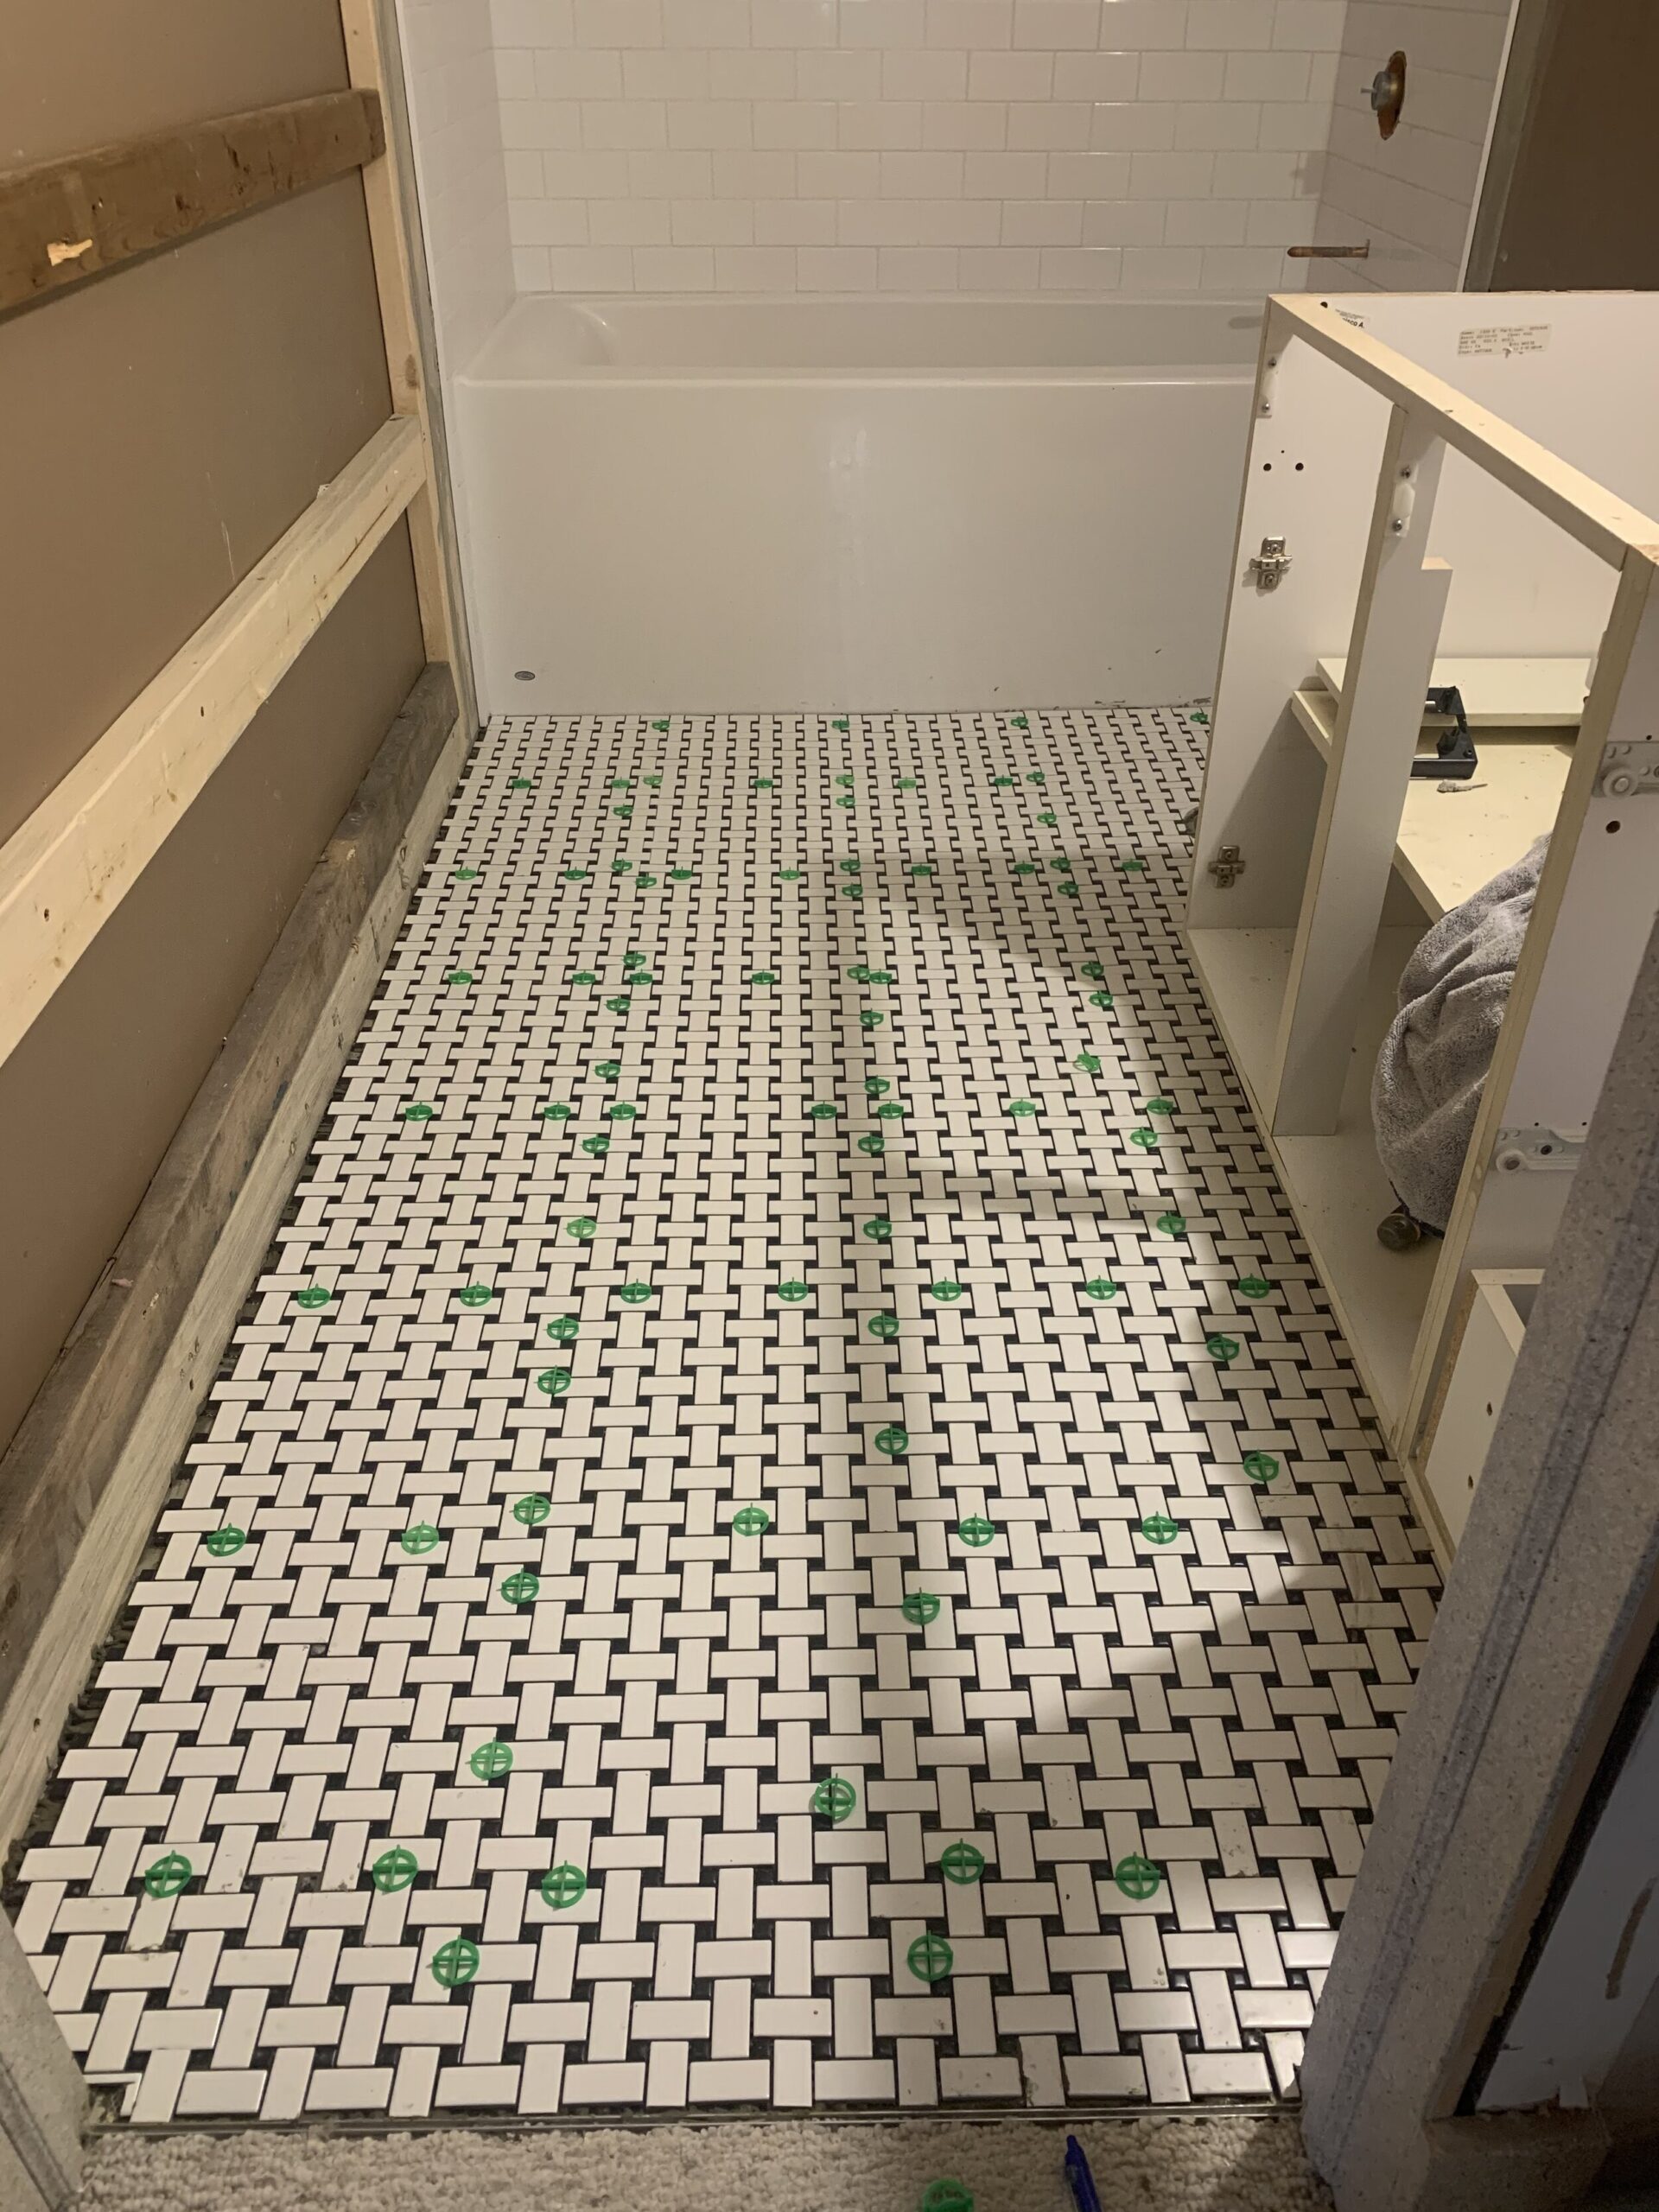
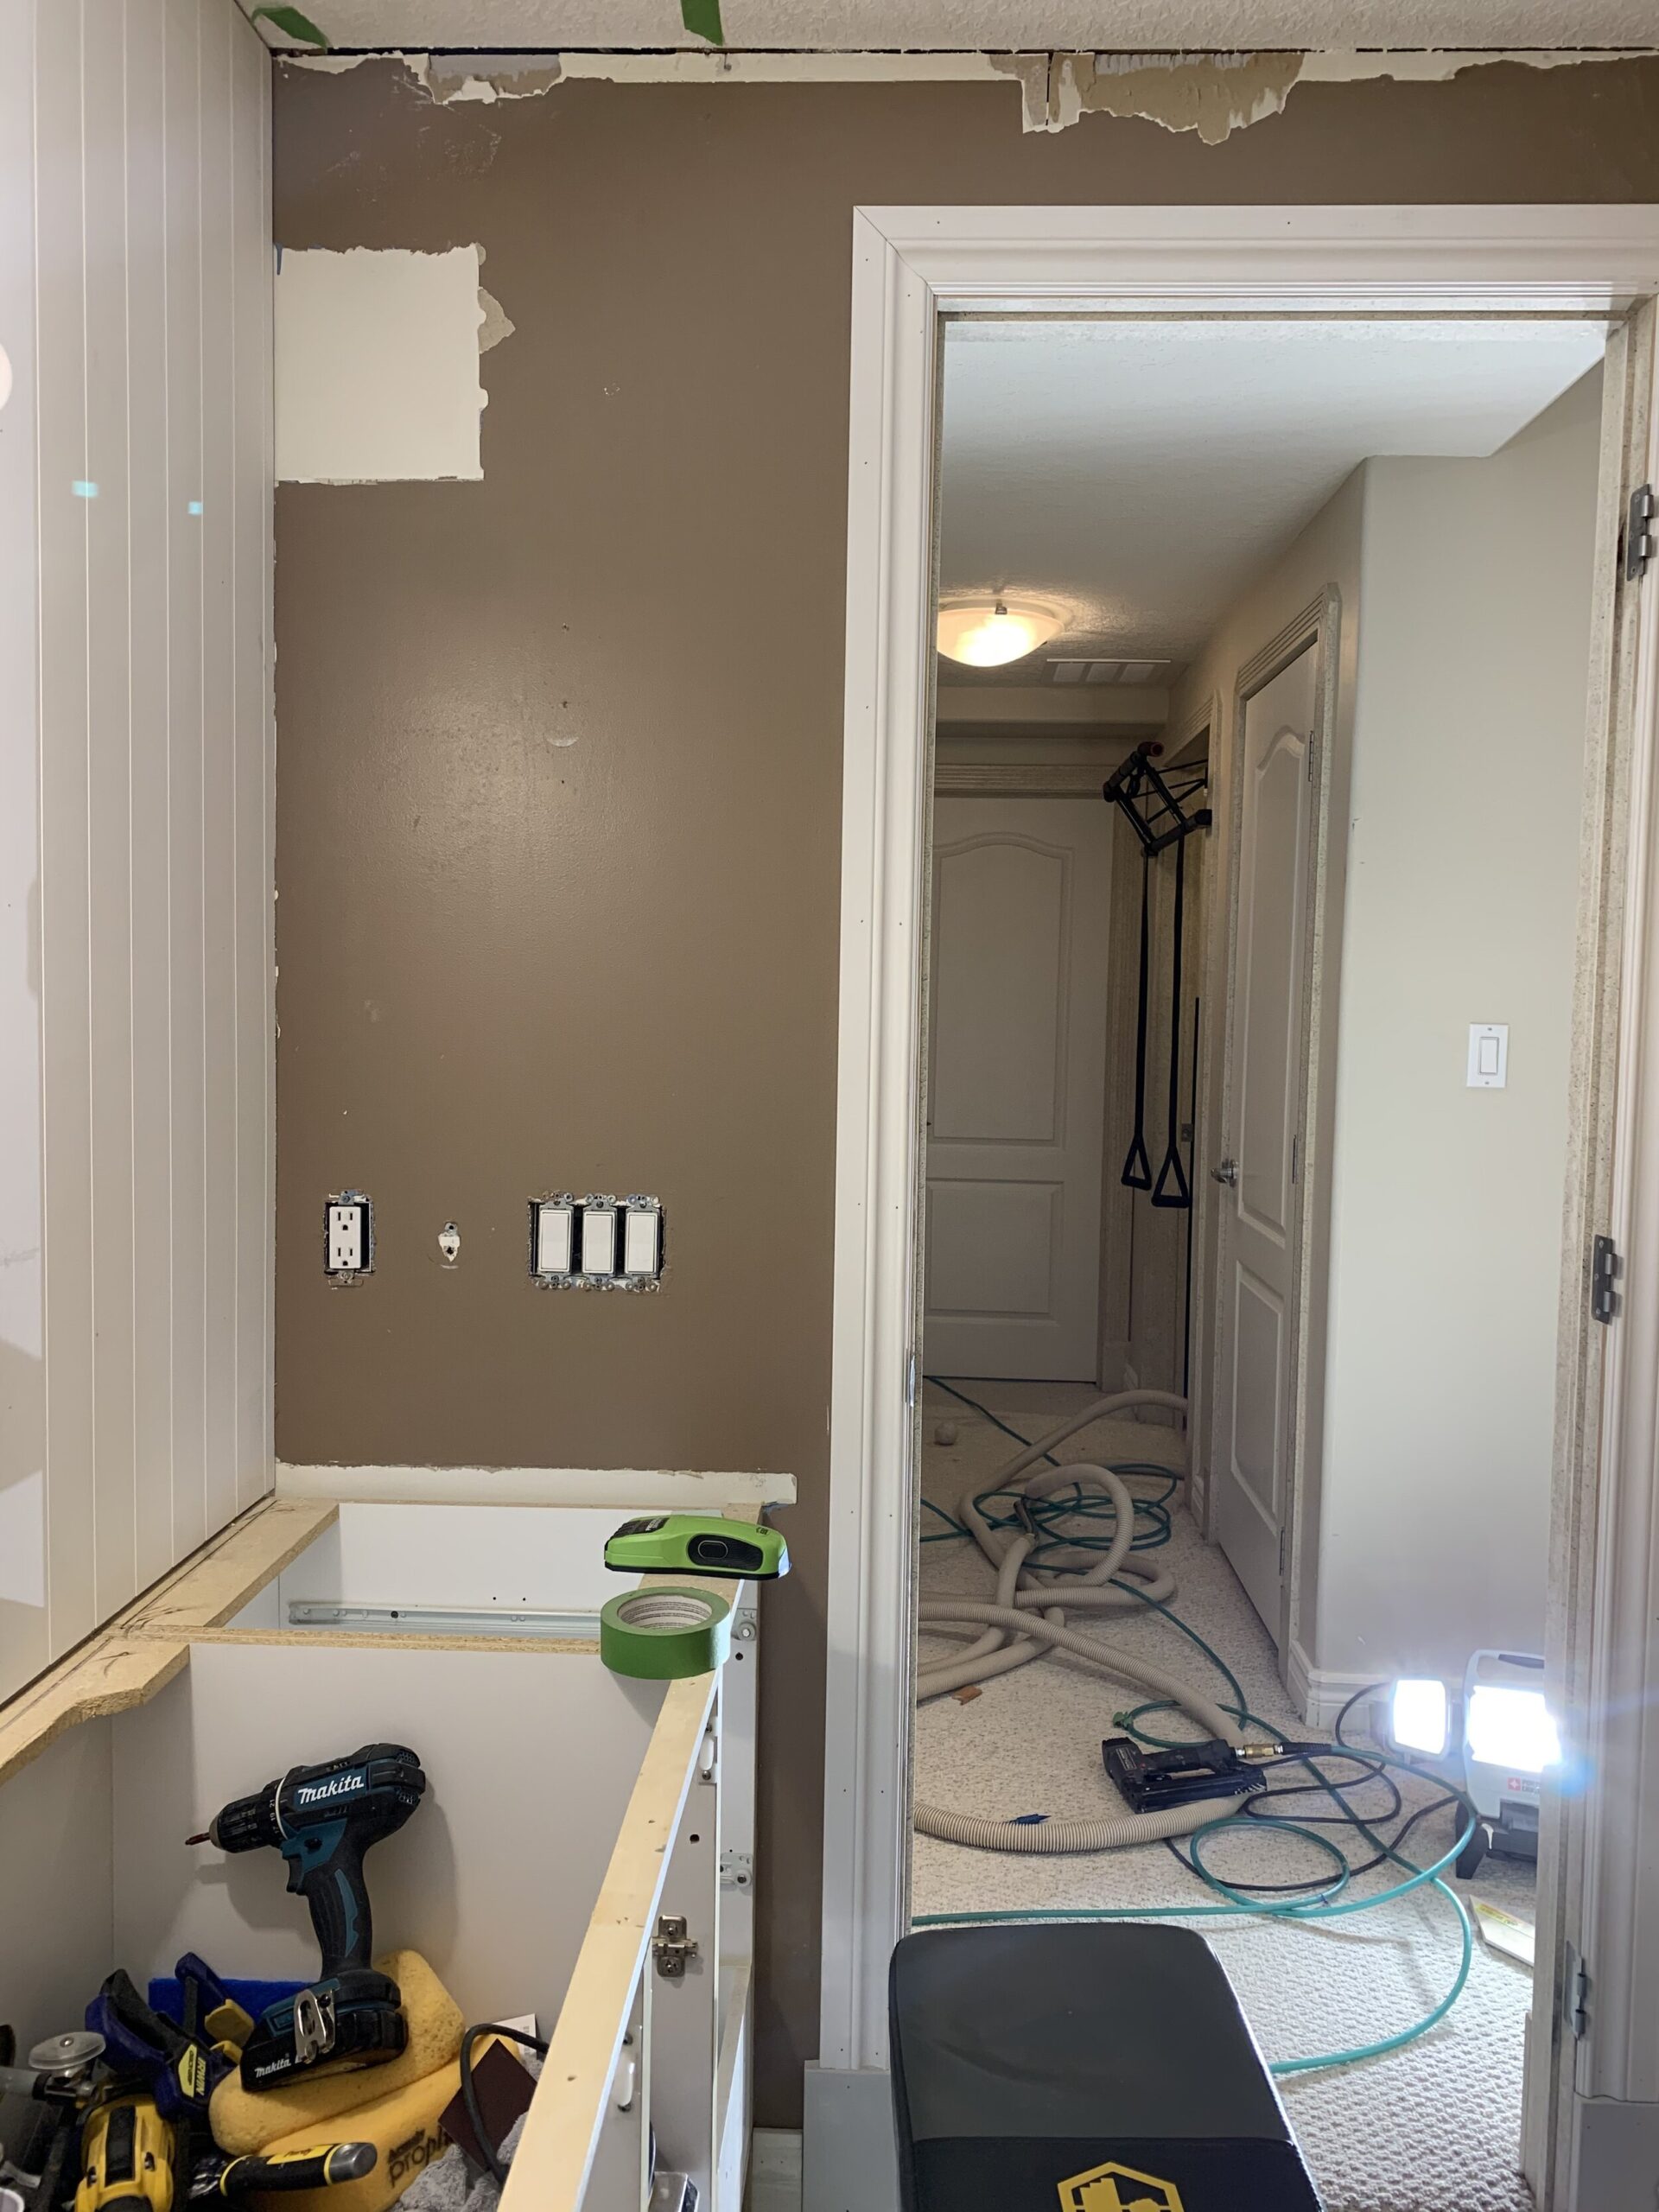
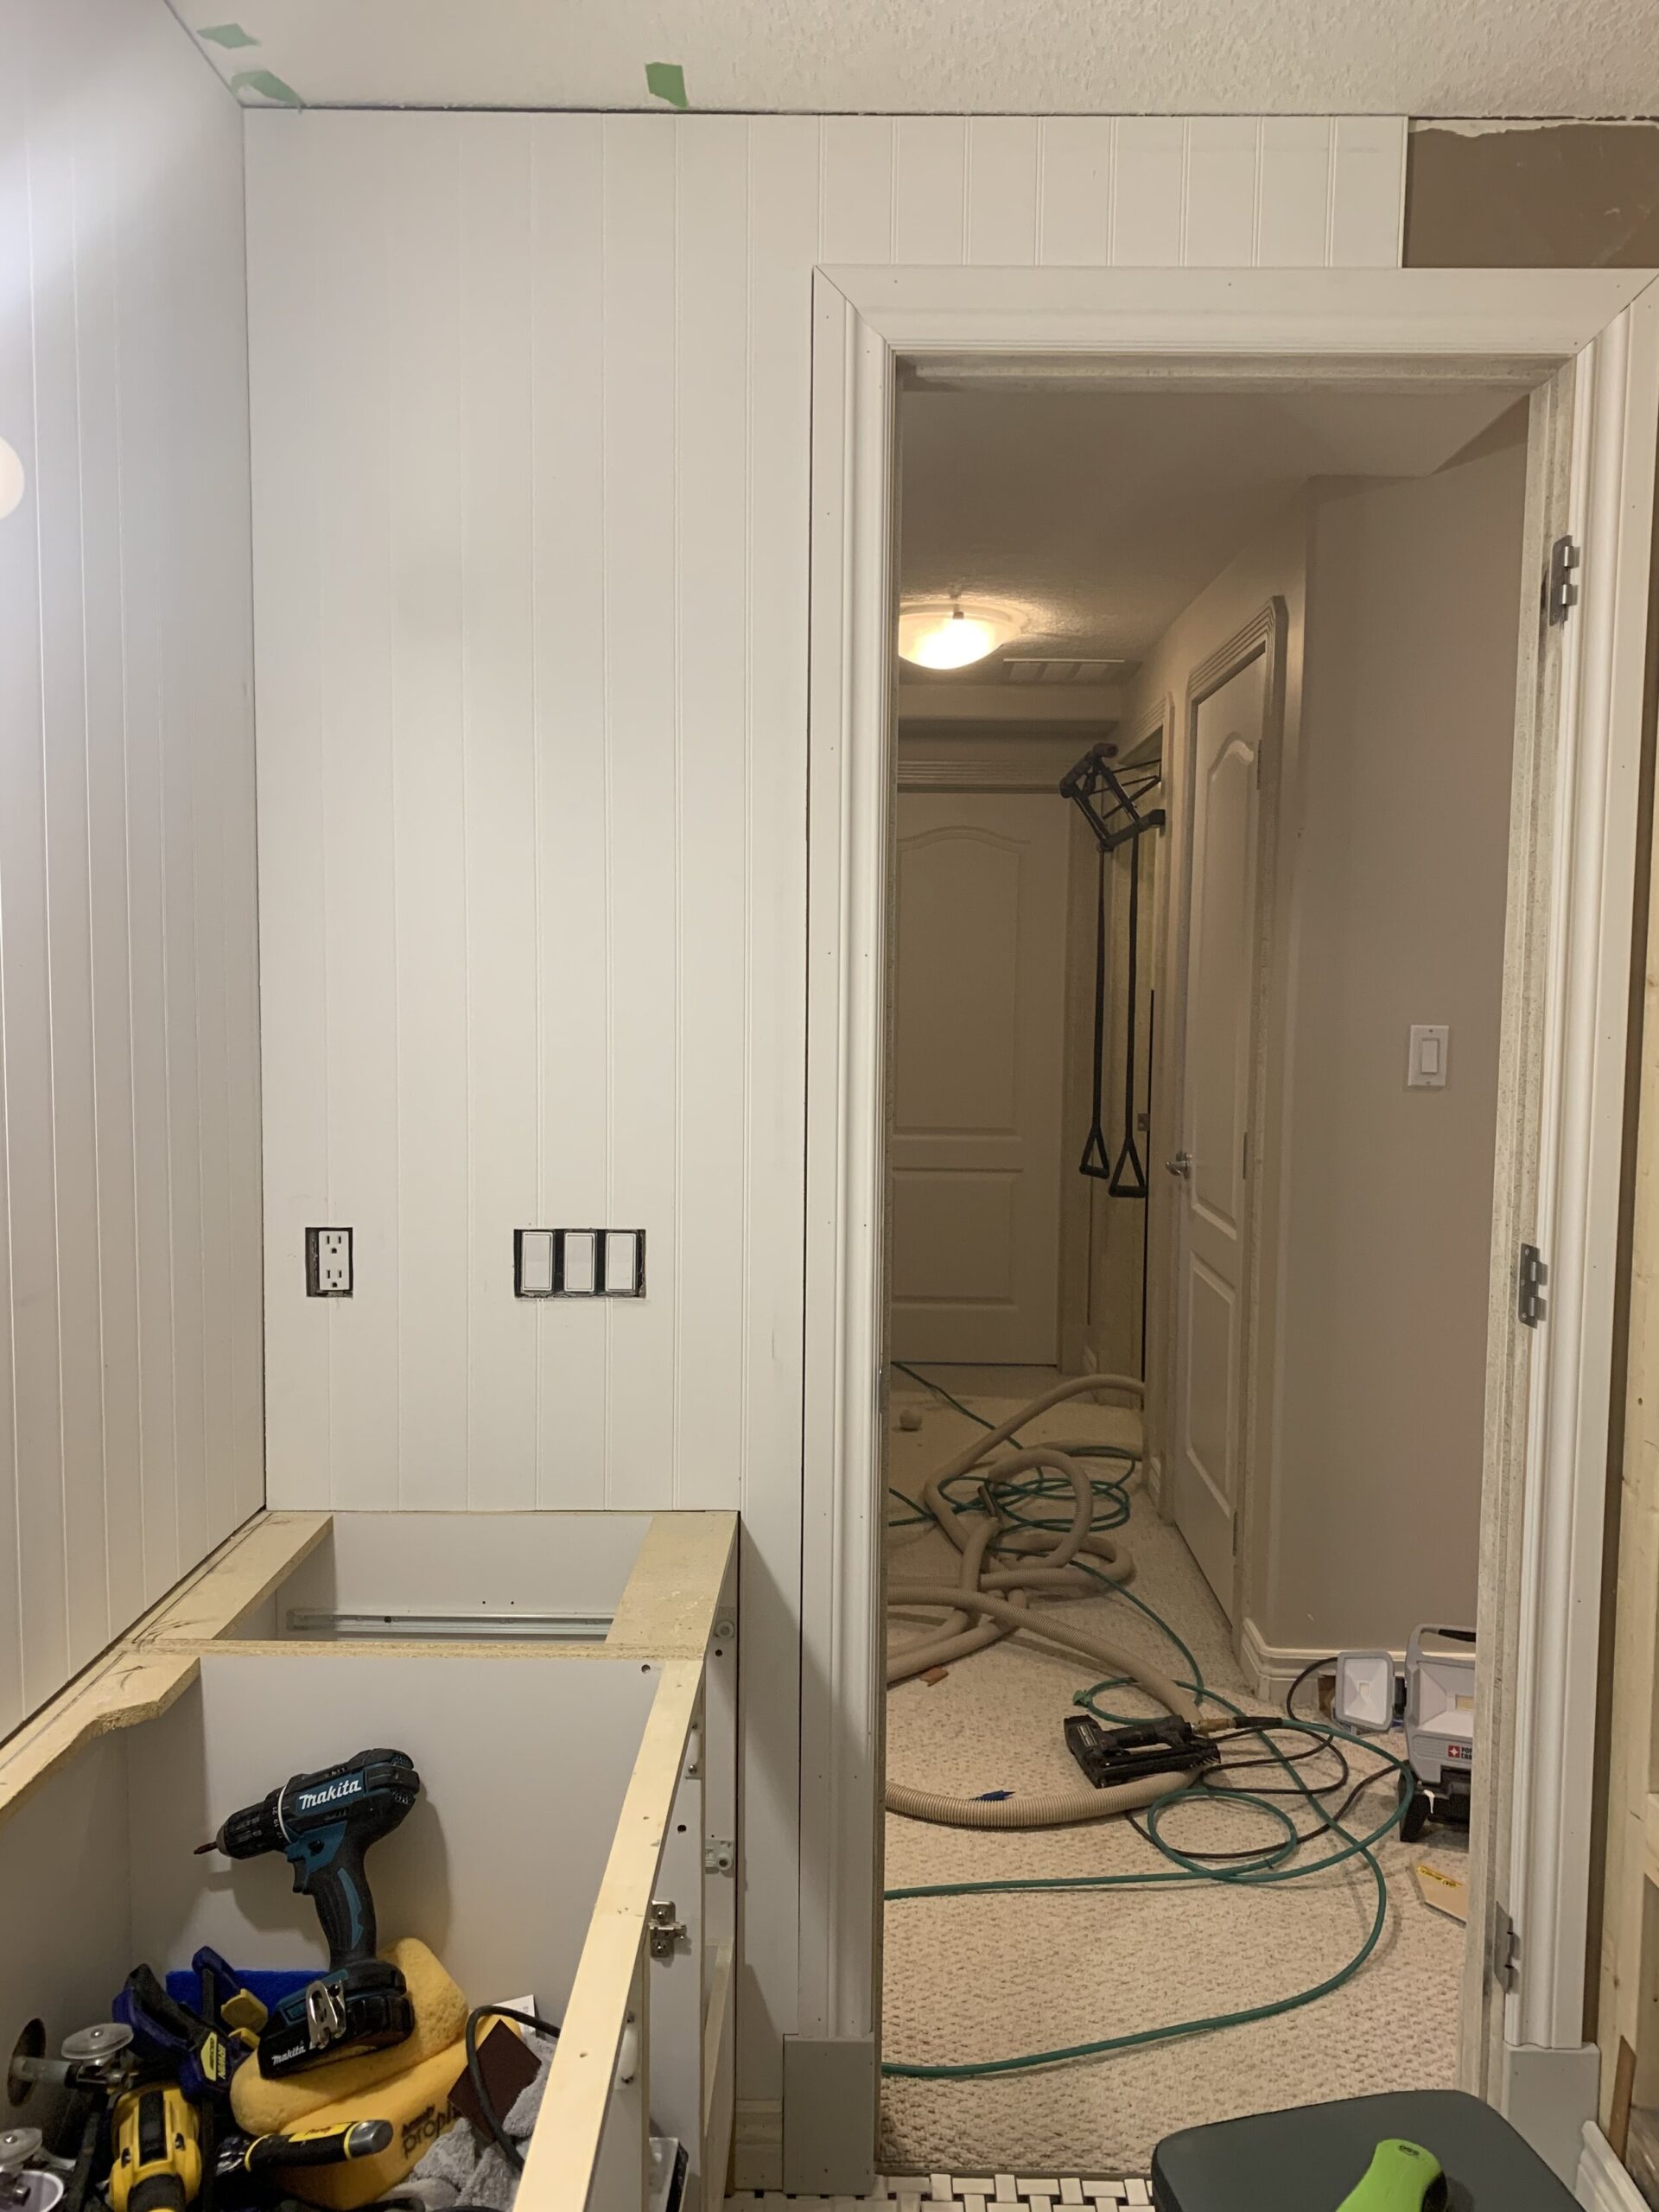
We re-installed the existing baseboards first. They were MDF and in a few spots around the shower, they had some water damage (swelling). I sanded the swelling down so the boards were flush again and then I gave the whole thing (front and back) a coat of oil-based primer. This, I hope, will help seal the MDF a little bit better if there is any water on the floor. MDF is not the ideal material for a bathroom, but then again, there was really minimal swelling in it after 20 years! I think with the repairs and the primer they should easily last 20 more. When installing beadboard panels, you want to make sure any trim work that you have adjacent to it is thicker than the panel thickness on the top.
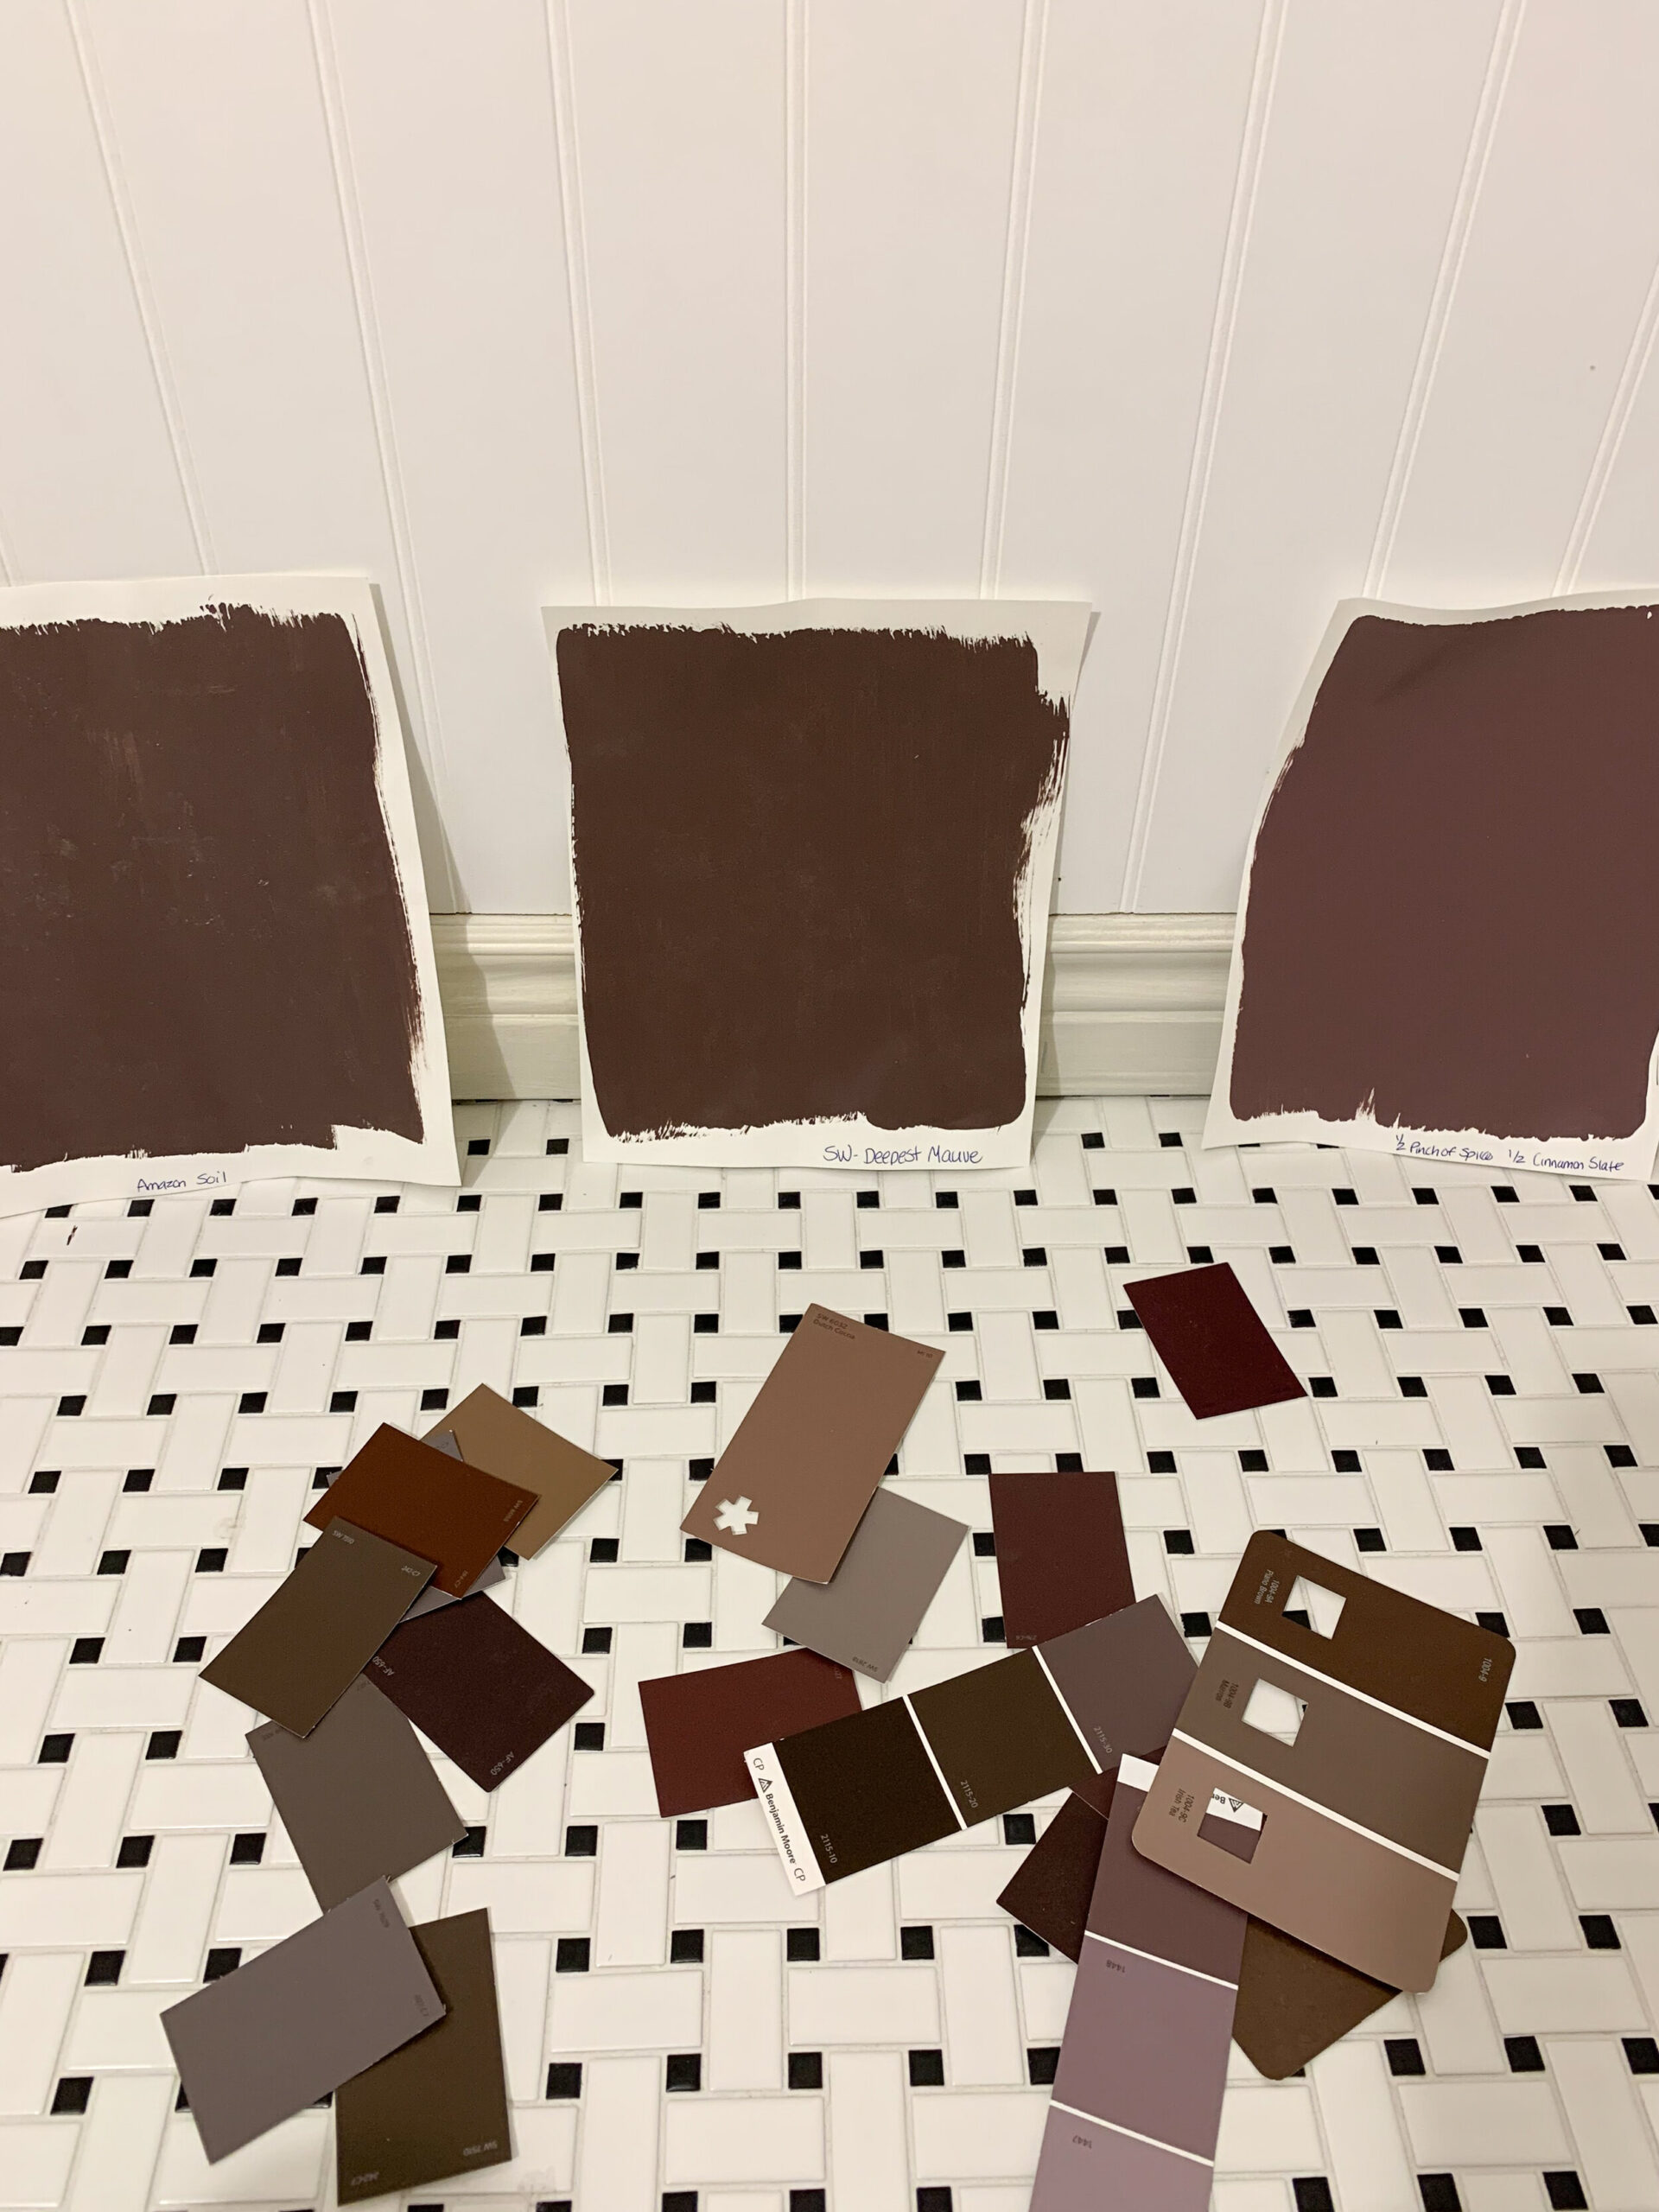
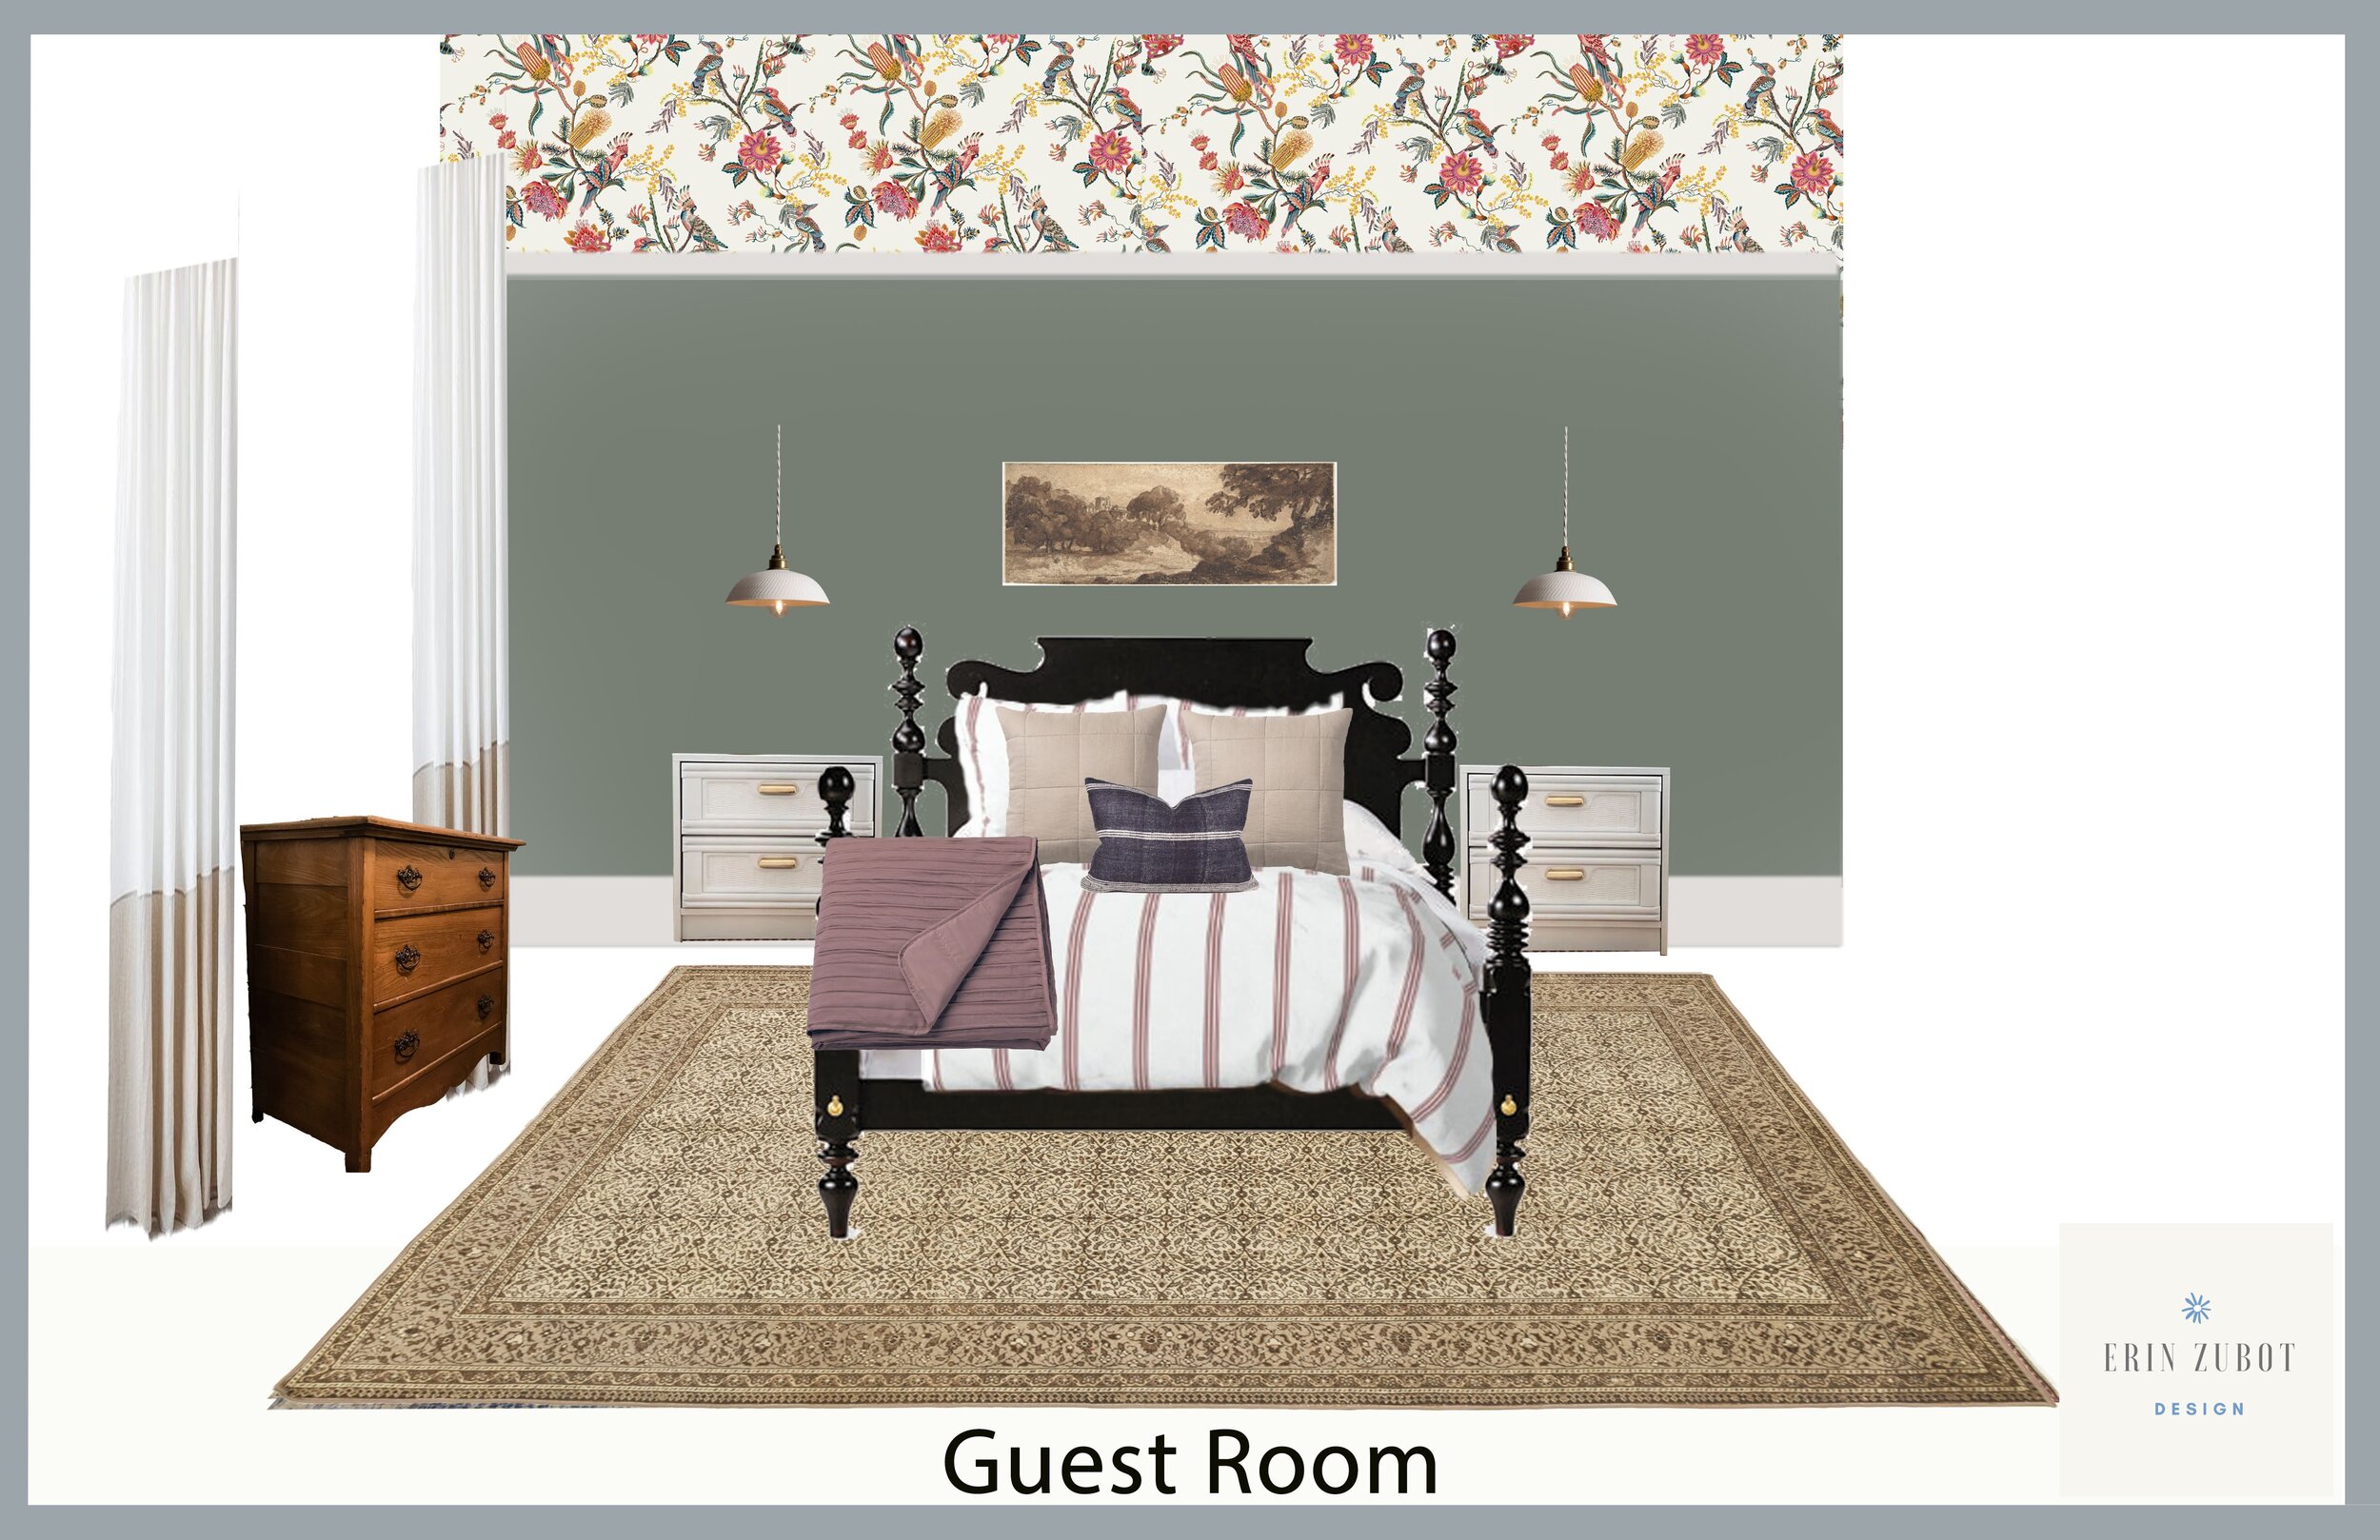
I also started looking for the perfect purple and it turns out, purple is a super hard paint color to pick! It just happens to be waaaaay outside my comfort zone. I kept bringing home samples that were too dark in this windowless room, I was okay with the room being a bit moody but these colours were bordering on black! After blowing half my paint budget on samples and still feeling like I hadn’t found the one, I ended up mixing a couple of the samples until I got the elusive shade I was after. We are calling it “Erin Purple” and I fully expect it to be the 2022 colour of the year. (Just sayin’…. Benjamin Moore you need to up your purple game). I can’t wait to get that paint up because right now this room is looking CRAZY white. Like you expect someone to appear and present-you-with-your-wings kind of white.
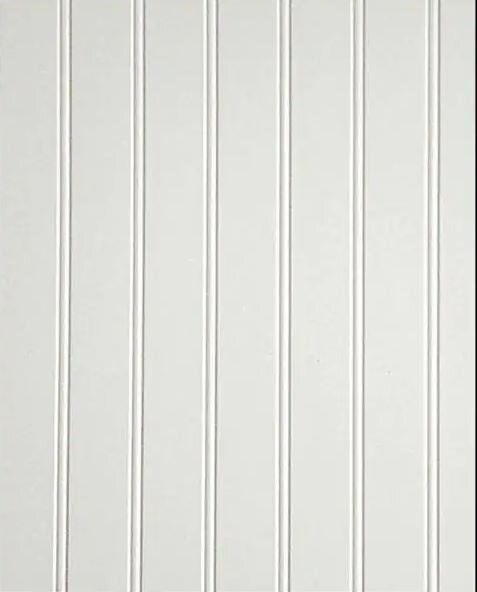
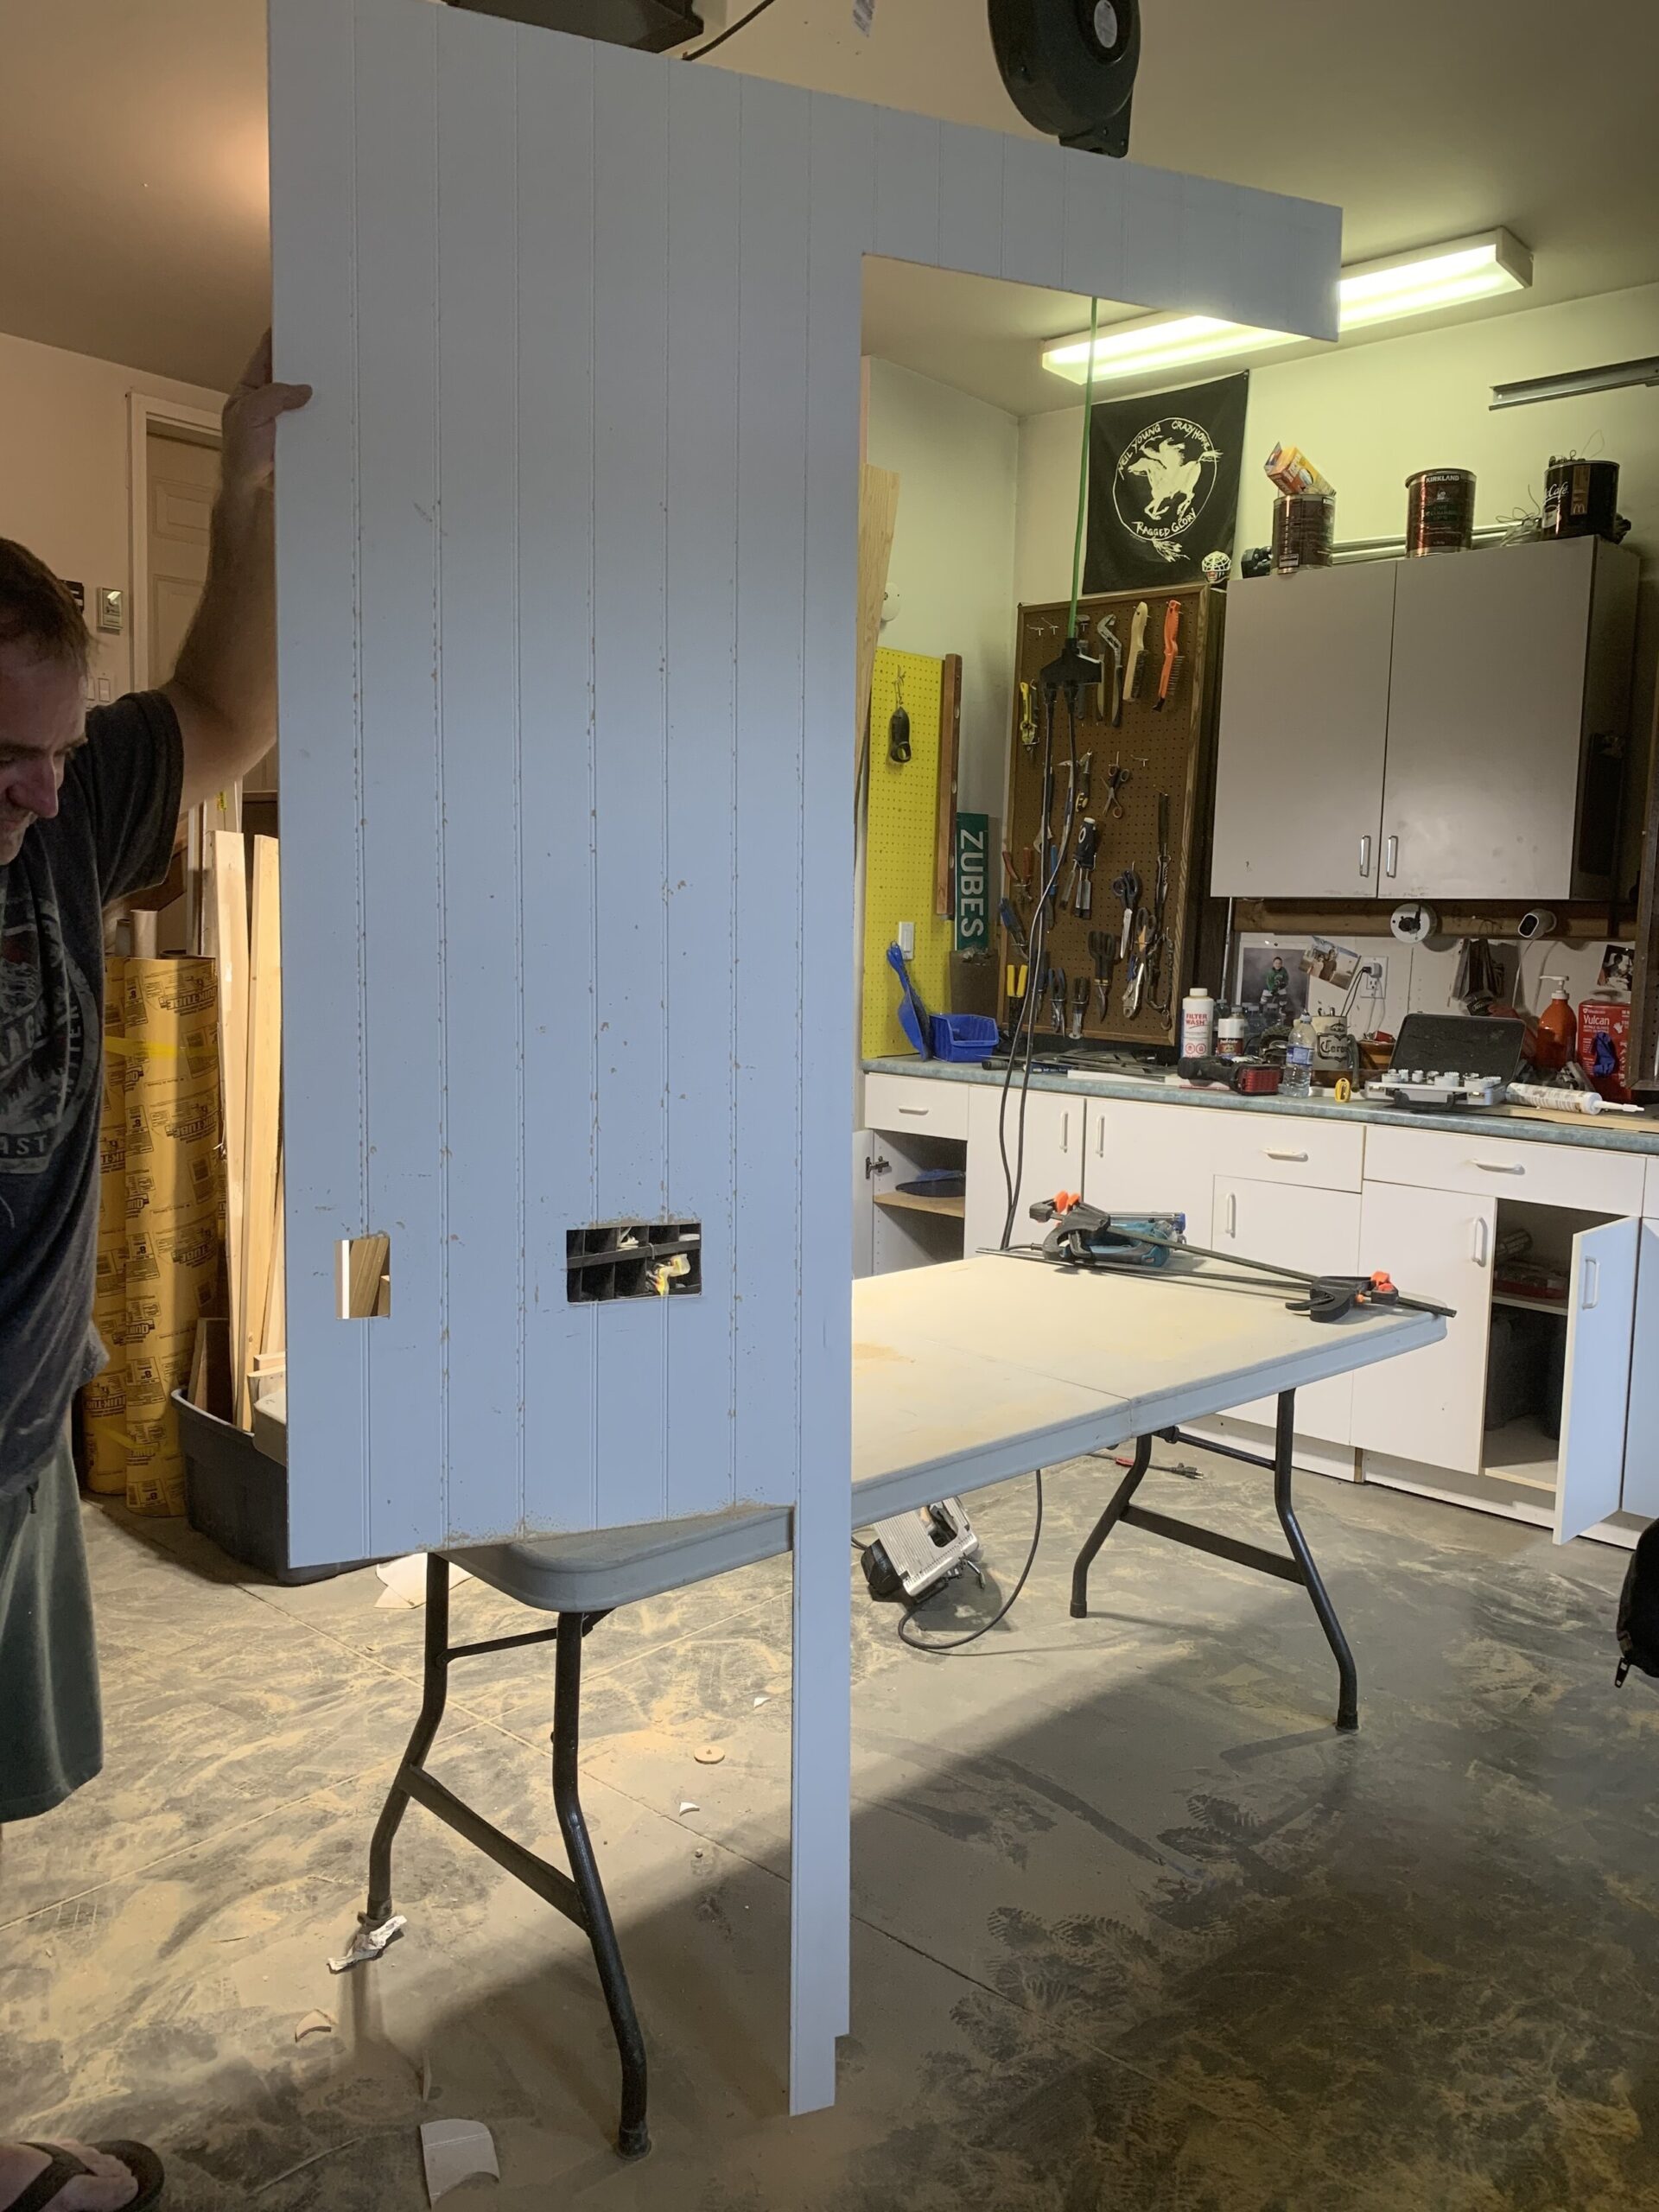
Then, we installed an fun wall treatment; beadboard floor to ceiling! We decided to use beadboard panelling instead of real beadboard planks, which are more of a tongue and groove and thicker material. By using the thinner panelling, we were able to but up against the edge of the tile without sitting proud of it, and reuse the existing baseboard. The sheets of beadboard were about $40 each, and we used 5 to cover all the walls floor to ceiling in this small bathroom, so really not a lot of money but it adds a ton of interest and charming vintage texture!
Installing beadboard panelling is really not that hard and we finished all the trim, door casing and beadboard in one day. Here’s how we did it!
How to Install Beadboard Panelling
Ever wonder how to install beadboard panelling? It is actually pretty straightforward. Let’s get to that!
Materials
What materials do you need to install beadboard panelling? Not too many! The panelling of course, and some glue!! The panelling we bought came in 4×8 sheets, and we have just under an 8 foot ceiling, so they worked out well. If our ceilings had been higher, I think we would have either built up the ceiling/ floor trim to make it work or used it as a wainscotting type installation instead because I don’t believe the sheets come in longer than 8’, and joining sheets vertically would be very difficult to do seamlessly.

Our baseboards had about a 5/8” flat surface on the top of them, so installing the beadboard to butt up on top of them worked out nicely, since the beadboard is only about 1/4” thick. If our baseboard had a different profile that didn’t have a flat top, we would have installed the beadboard first and the trim on top. So have a look at your baseboards and make sure they can accommodate the thickenss of the beadboard material.
Installing the Beadboard Panelling
Installing beadboard panels is really as simple as cutting pieces to fit and working your way around the entire room Butt joints together, using some adhesive to stick to the existing surface using a caulk gun and adding brad nails into wall studs as you go. Here’s a bit of a step-by-step tutorial:
Start in one corner and work your way around, making sure that you always start with the same “side” of the beadboard panels. The panels have two different sides, one with a bead and one without, and you want to make sure that you butt the two different sides together at all the seams. (For example for our space, we started with our non-bead side on the left, so in every panel, we cut after that, we kept the non-bead side on the left so they would be sure to match up.)

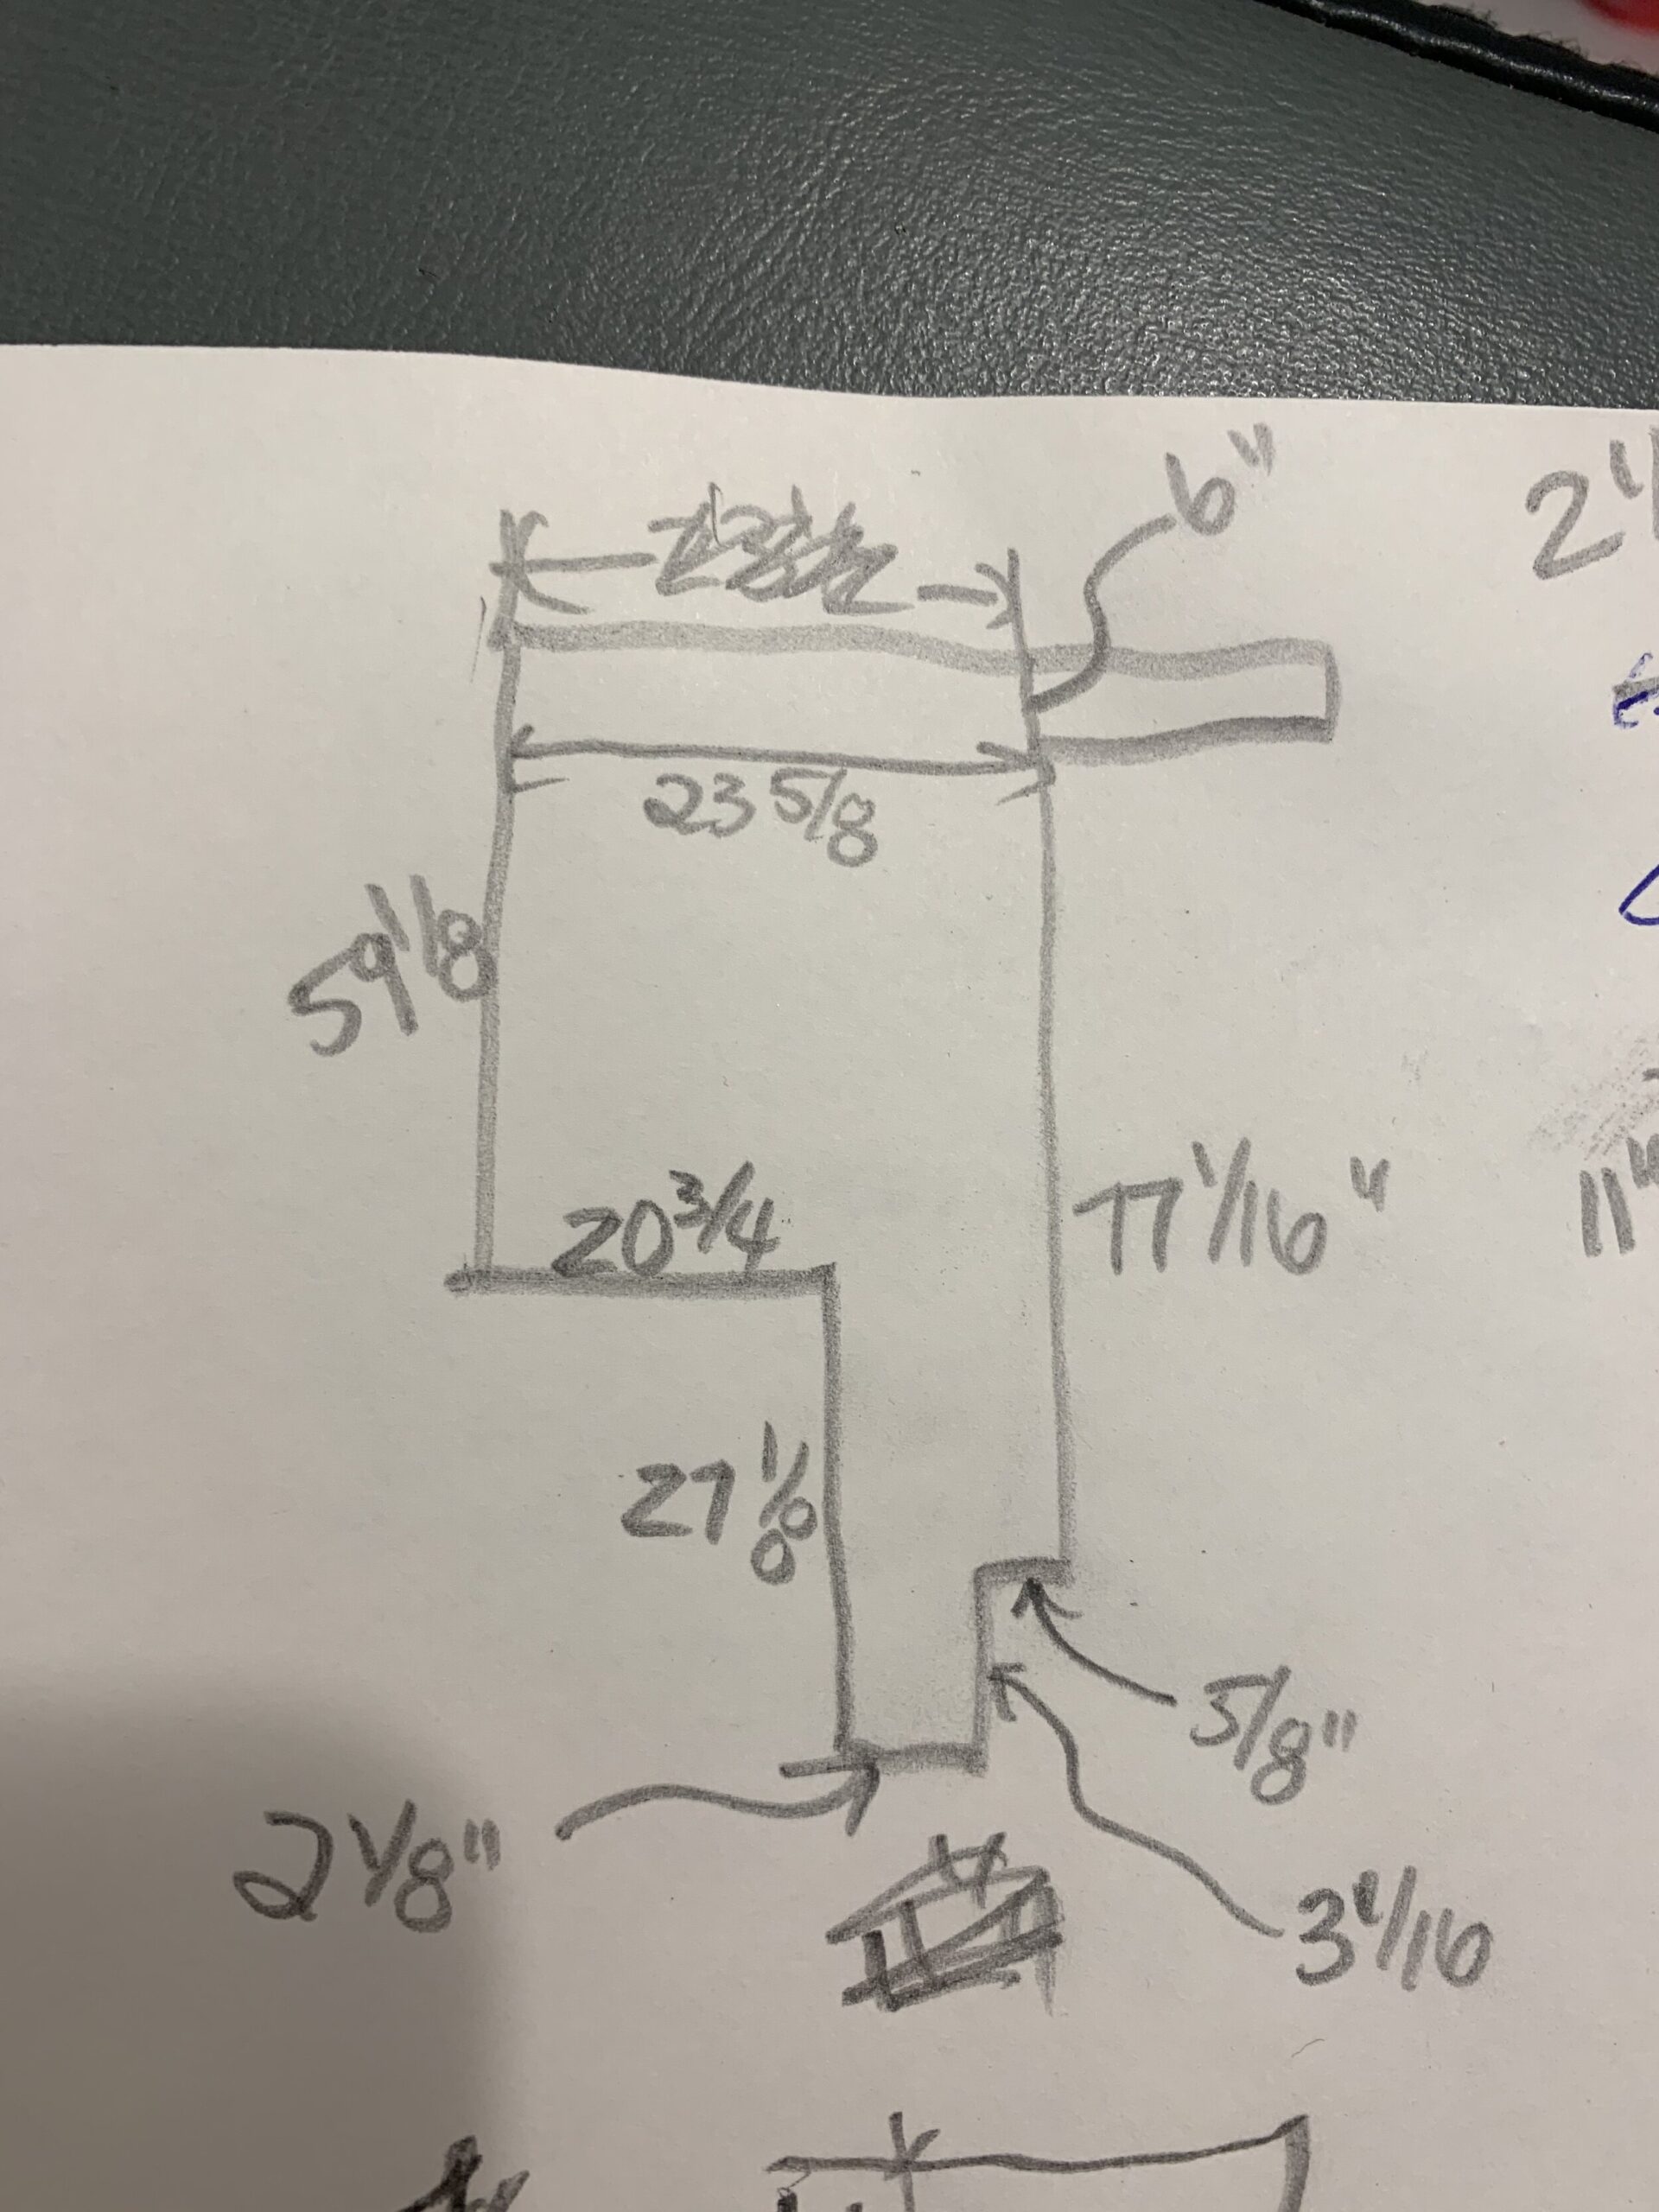
Carefully measure your wall, making sure you measure at a few locations. For example, instead of taking one measurement for the height, measure it at a few locations because it is likely that your ceiling or your floor are not perfectly level and you will have to cut your line at a slight angle to fit.
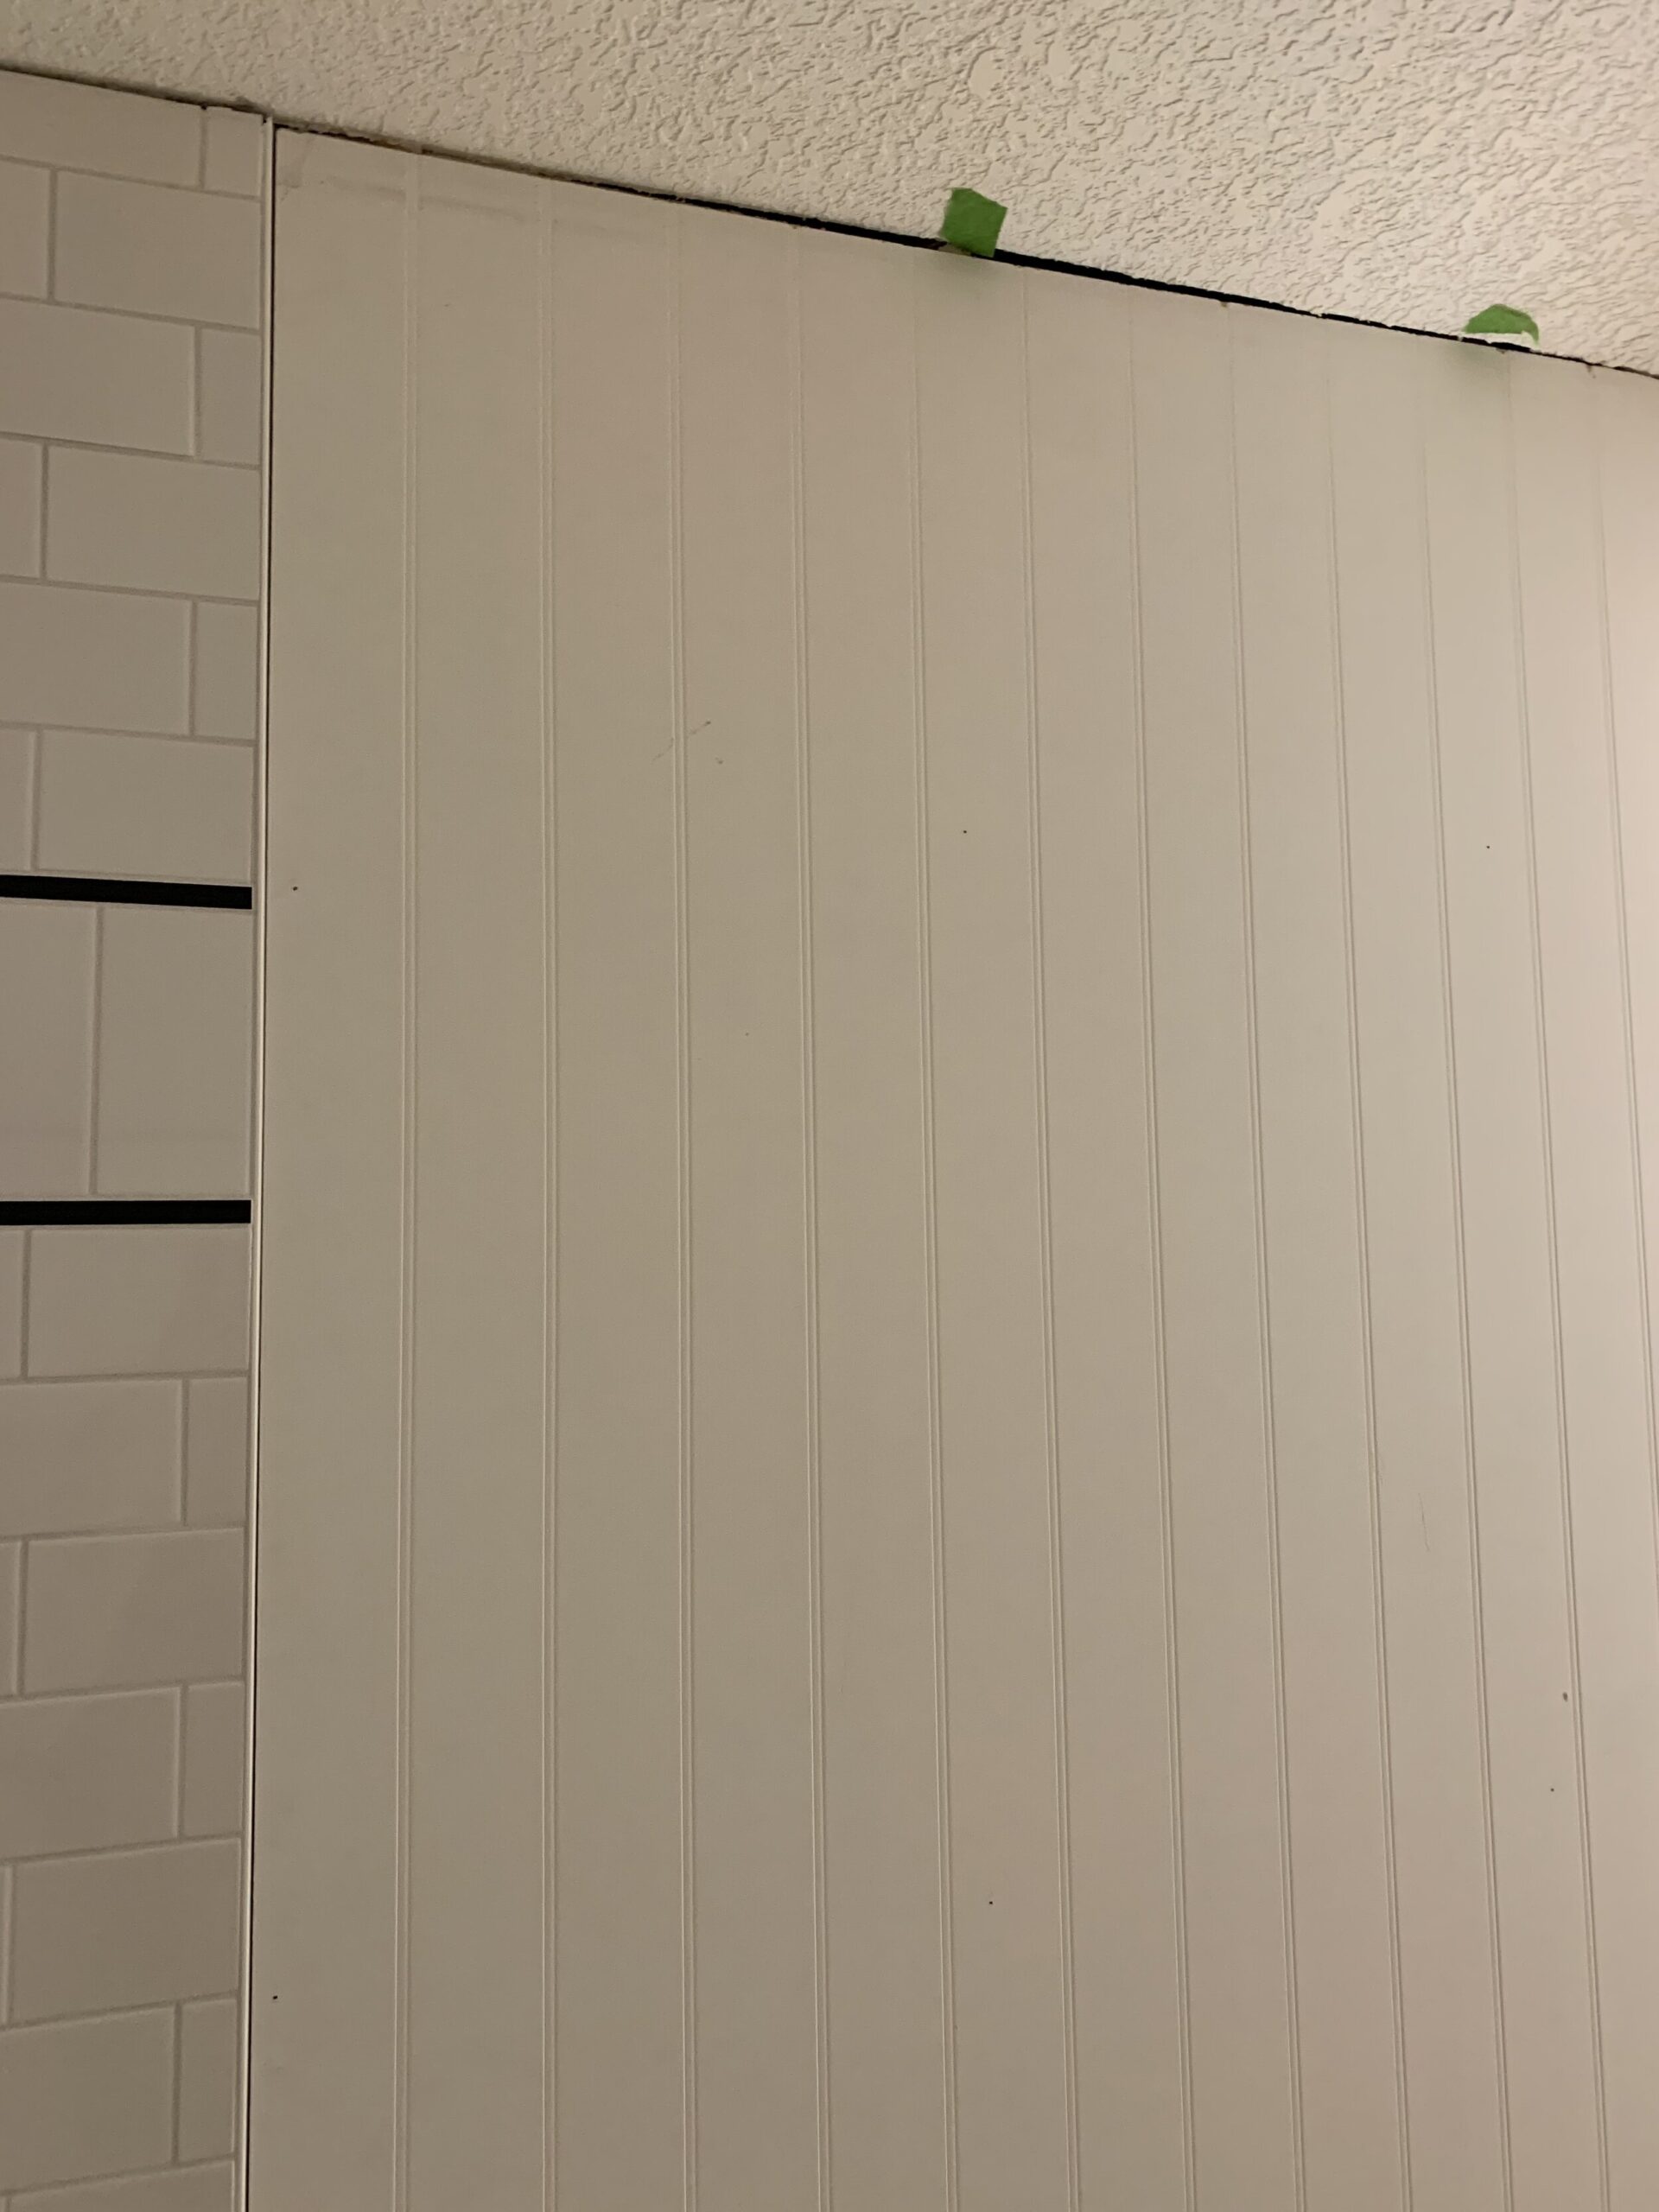
We opted to leave ourselves about 1/2” space at the bathroom ceiling and keep the seams everywhere else very tight. This allowed us a little wiggle room when cutting the panels and we plan to cover the small gaps at the top seam with small trim pieces. We think this will be a better transition to the textured ceiling than just butting the beadboard right up to the ceiling. If you aren’t doing that, you will need to make sure your cuts are very accurate on the top of the beadboard as well.
- For the long cuts, we used a circular saw with a guide (a straight edge, usually a scrap piece of wood that was straight clamped to the panel). We could have also used a table saw (which we have, but it’s at my husband’s shop and we didn’t feel like going to get it. (#lazy). In retrospect, there were a lot of cuts and we probably would have sped this up a lot had we just grabbed the table saw). Whether you use a circular saw and guide or a table saw, just make sure the cuts are nice and straight, and accurate.
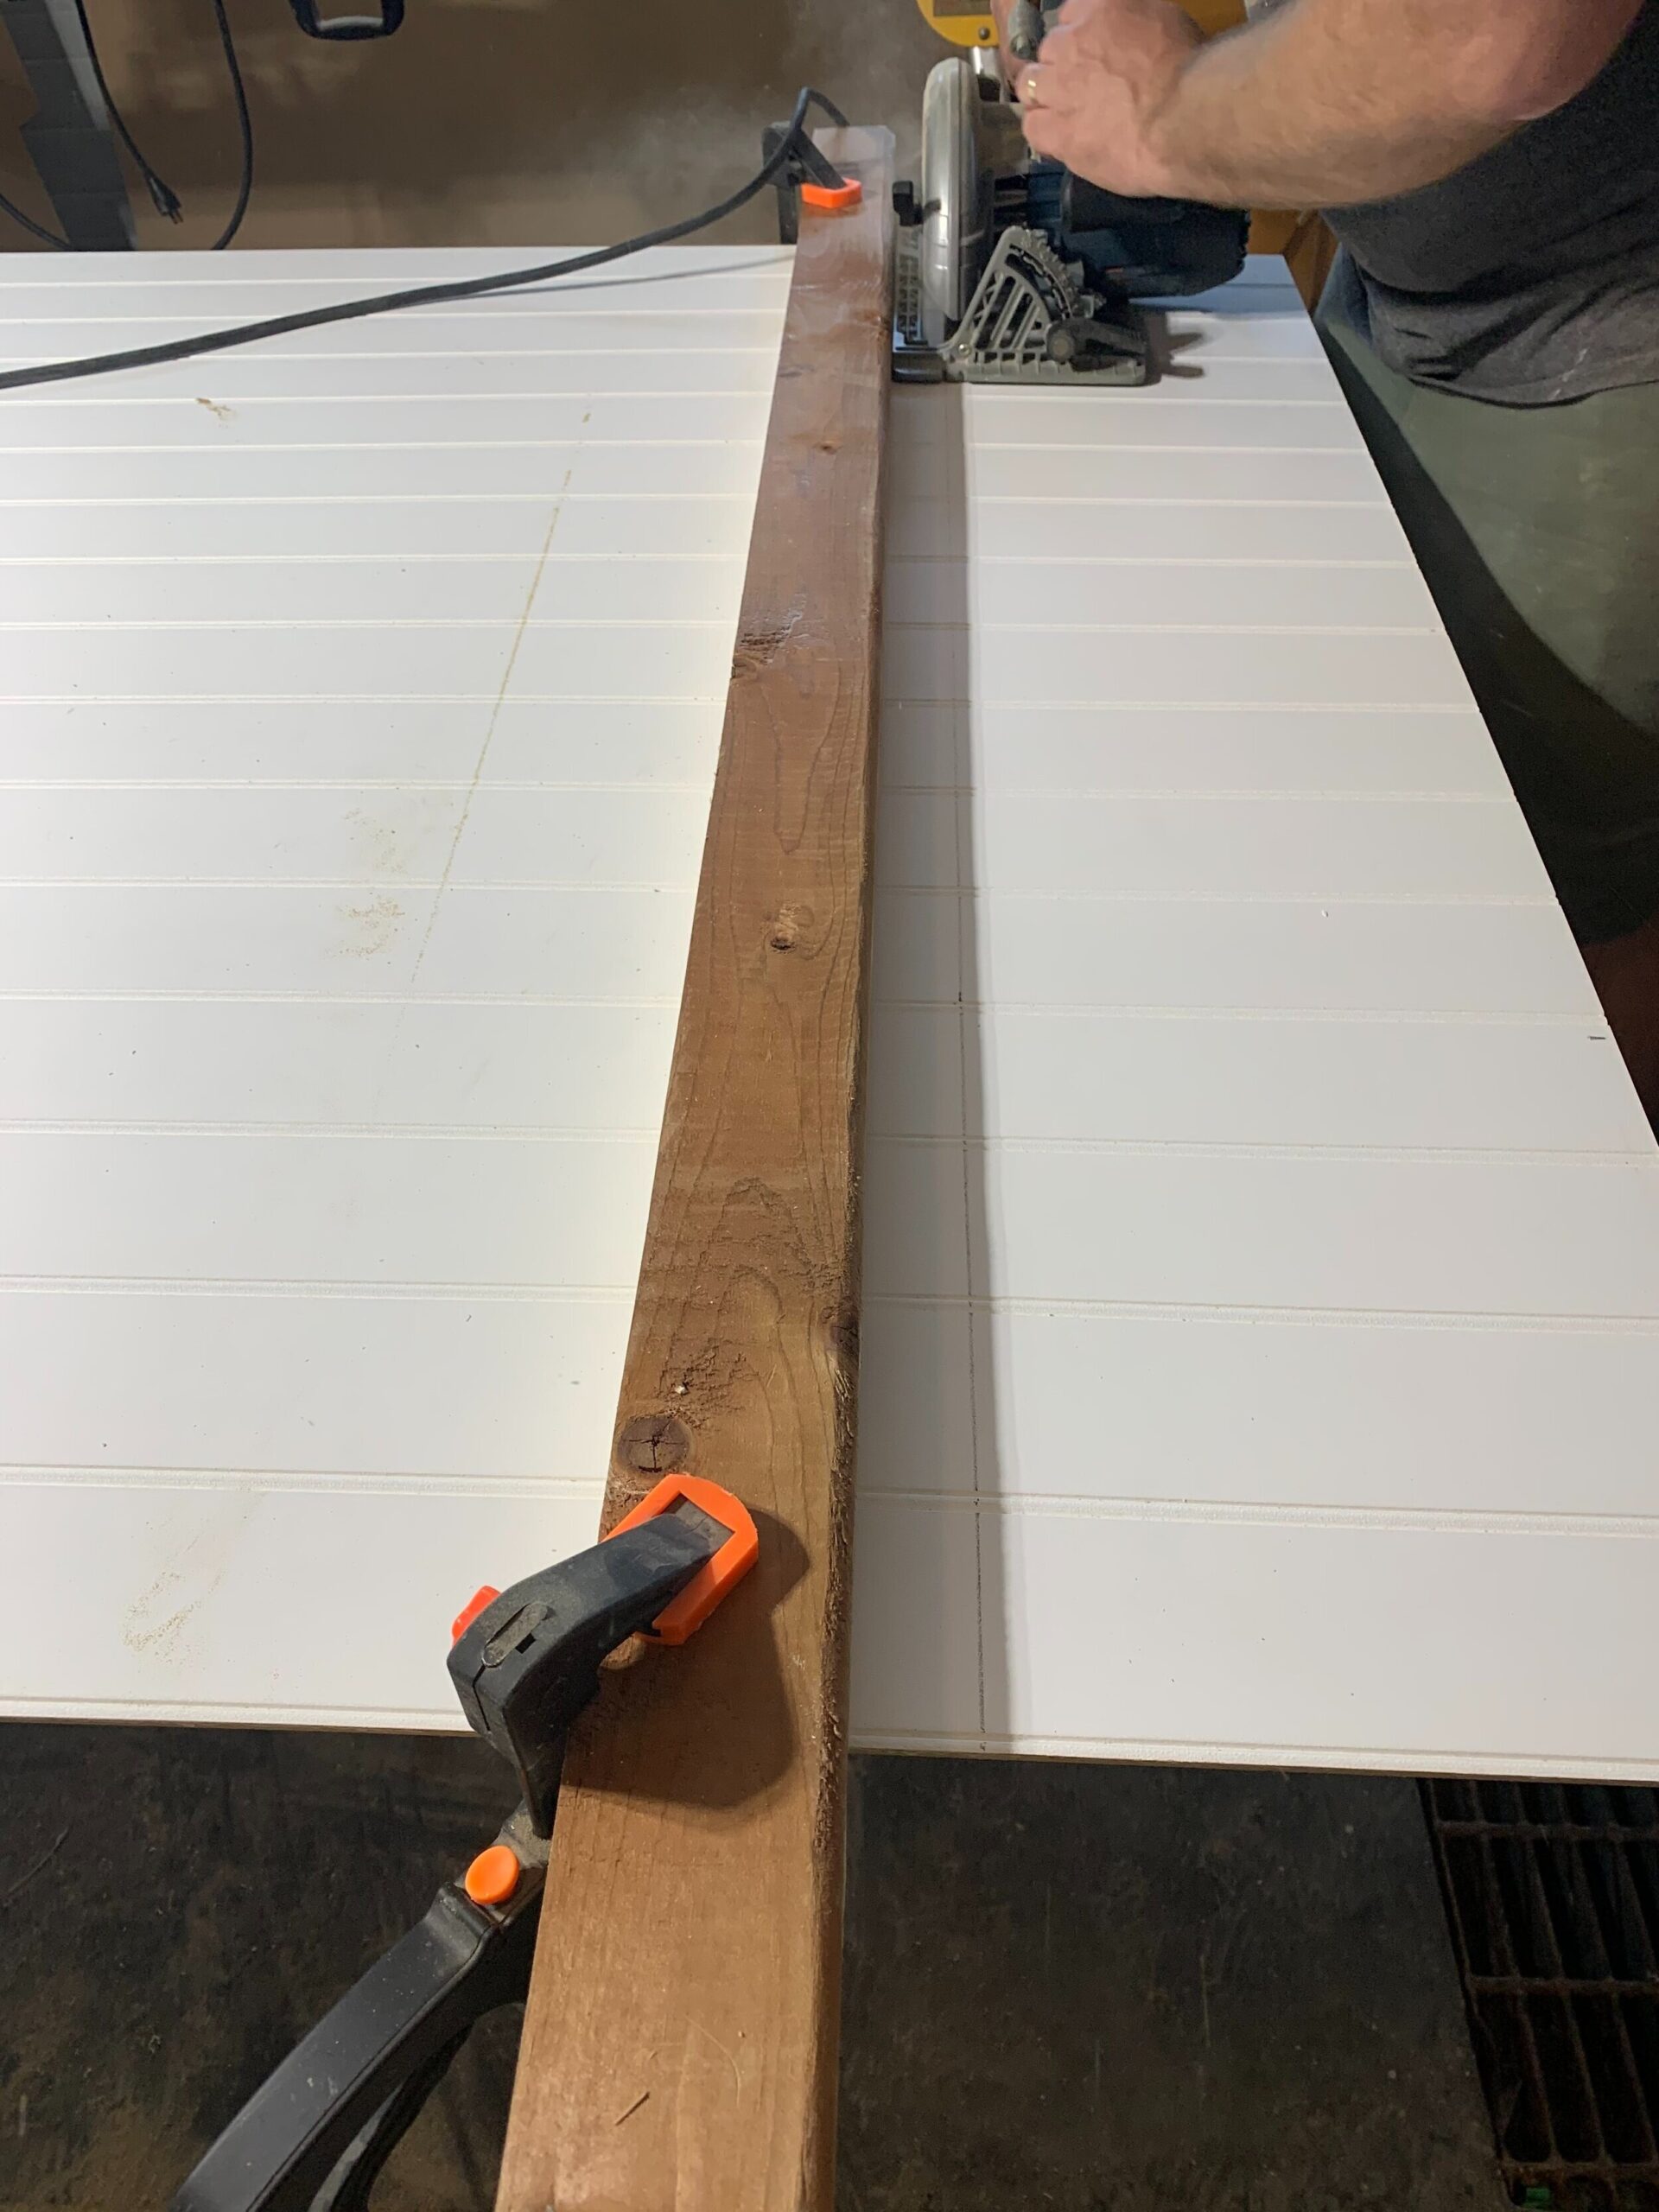
For smaller cuts and odd shapes like light switches, we used a jigsaw. It is very difficult to stay perfectly straight with a jigsaw, so we used this as little as possible, and were very slow and careful.

When you get to an obstruction like a light or a switch, carefully measure the location, mark and cut it out. We used a drill to make a pilot holes in the area we wanted to remove to have a place to start our jigsaw blade.
Measure twice, three times, four times before cutting! I can’t stress this enough. Check and double-check your measurements!
Keep the seams between the boards tight, as this will be the most noticeable location if you have a bit of a gap. If you cut something a little small, you may be able to fill a small gap at the baseboard or ceiling with caulking, but the seam between the boards should be tight so the boards look continuous and the “beads” uniform.
Use some construction adhesive (We like No More Nails) and some finish nails in our brad nailer to adhere the panel to the wall. We marked the studs on the ceiling to be sure we were hitting them and relied on the glue mainly, only adding a few finish nails to hold it in place while the glue was set up.
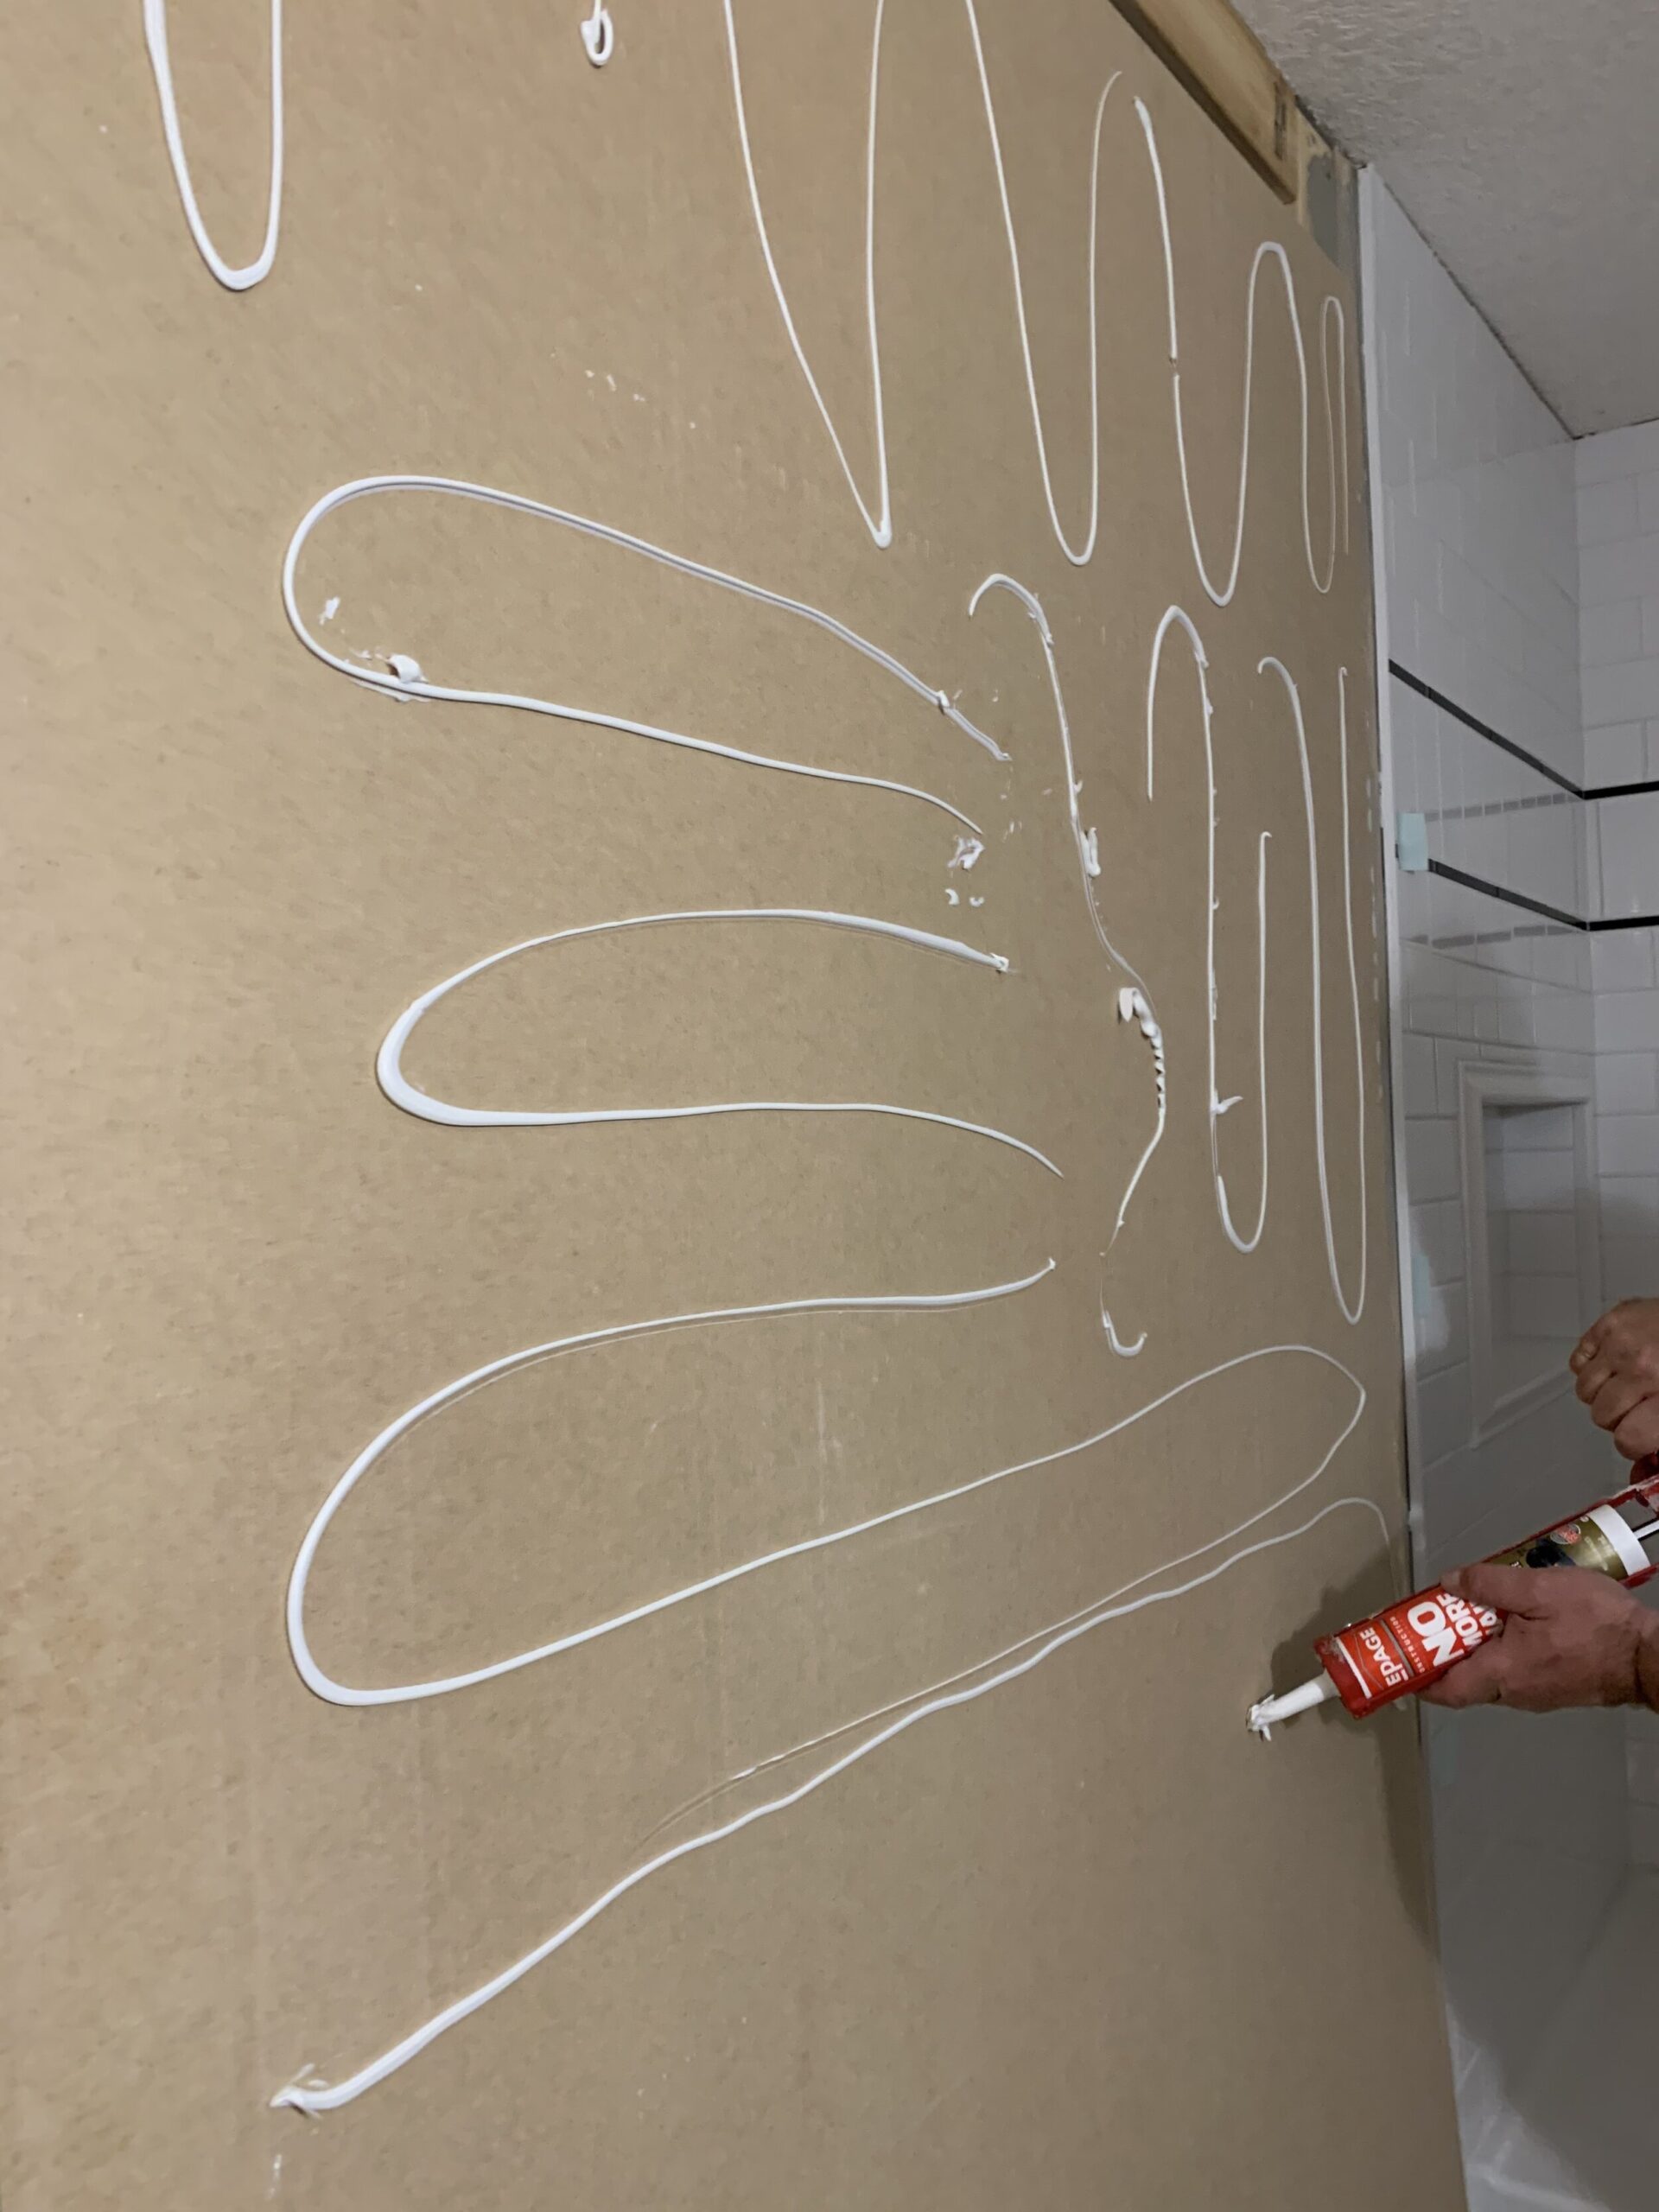
When you are done, you need to caulk the seams between the pieces of beadboard, at the floor, the corners, and anywhere else you have an edge before painting. This makes those seams disappear and will make your installation look seamless and professional. Also, use some wood putty to fill any nail holes you made and sand them flush using a sanding block. before painting.
That’s it! Ready for a coat of paint! It is actually a really easy project and I struggled to come up with even this many tips, it can be summed up as measure, cut, glue, nail, caulk! We have not finished the trim we are planning to add to the top so I haven’t finished caulking yet, but I will get to that in the next few days as we get ready to paint! (I considered using my paint sprayer, but there are a lot of things I will have to protect in order to do that so I might get close and personal with my paint brush instead. A roller alone will not get into all the little grooves.
Be sure to go back to the One Room Challenge website and check out what the other participants are up to! It’s a great season and there are some really creative projects happening out there. We will see you next week when I plan to show you how we are upgrading our existing vanity by giving it a little glow-up!

CLICK ON THE IMAGE ABOVE TO BE RE-DIRECTED TO THE ORC WEBSITE!
Seeing your basketweave floor is getting me so pumped for ours! It’s GORGEOUS! Can’t wait to see "Erin’s Purple" in this space!
Every design element you chose is so classic! I love the beadboard and beautiful basketweave floor tile.
I love the bead board, thanks for the tutorial! Thinking about adding some to our entryway
Thanks for sharing. I enjoyed reading your post about how to install beadboard panel, interesting to read. This content will be bookmarked for sure.
I used the beadboard paneling and though we kept the paint minimal you can’t really see the lines. The grooves are not very deep. painted white (a trim white) and satin, so mid range. would a darker colour help? or flat paint? first time using this material and very disappointed.
Hi Heather! Sorry to hear that you don’t like the beadboard! I do think there are different brands with different depths of the grooves so perhaps you got one that had less definition in the panels. A darker colour might help, I would do a little sample pot first though to test that. Good luck!
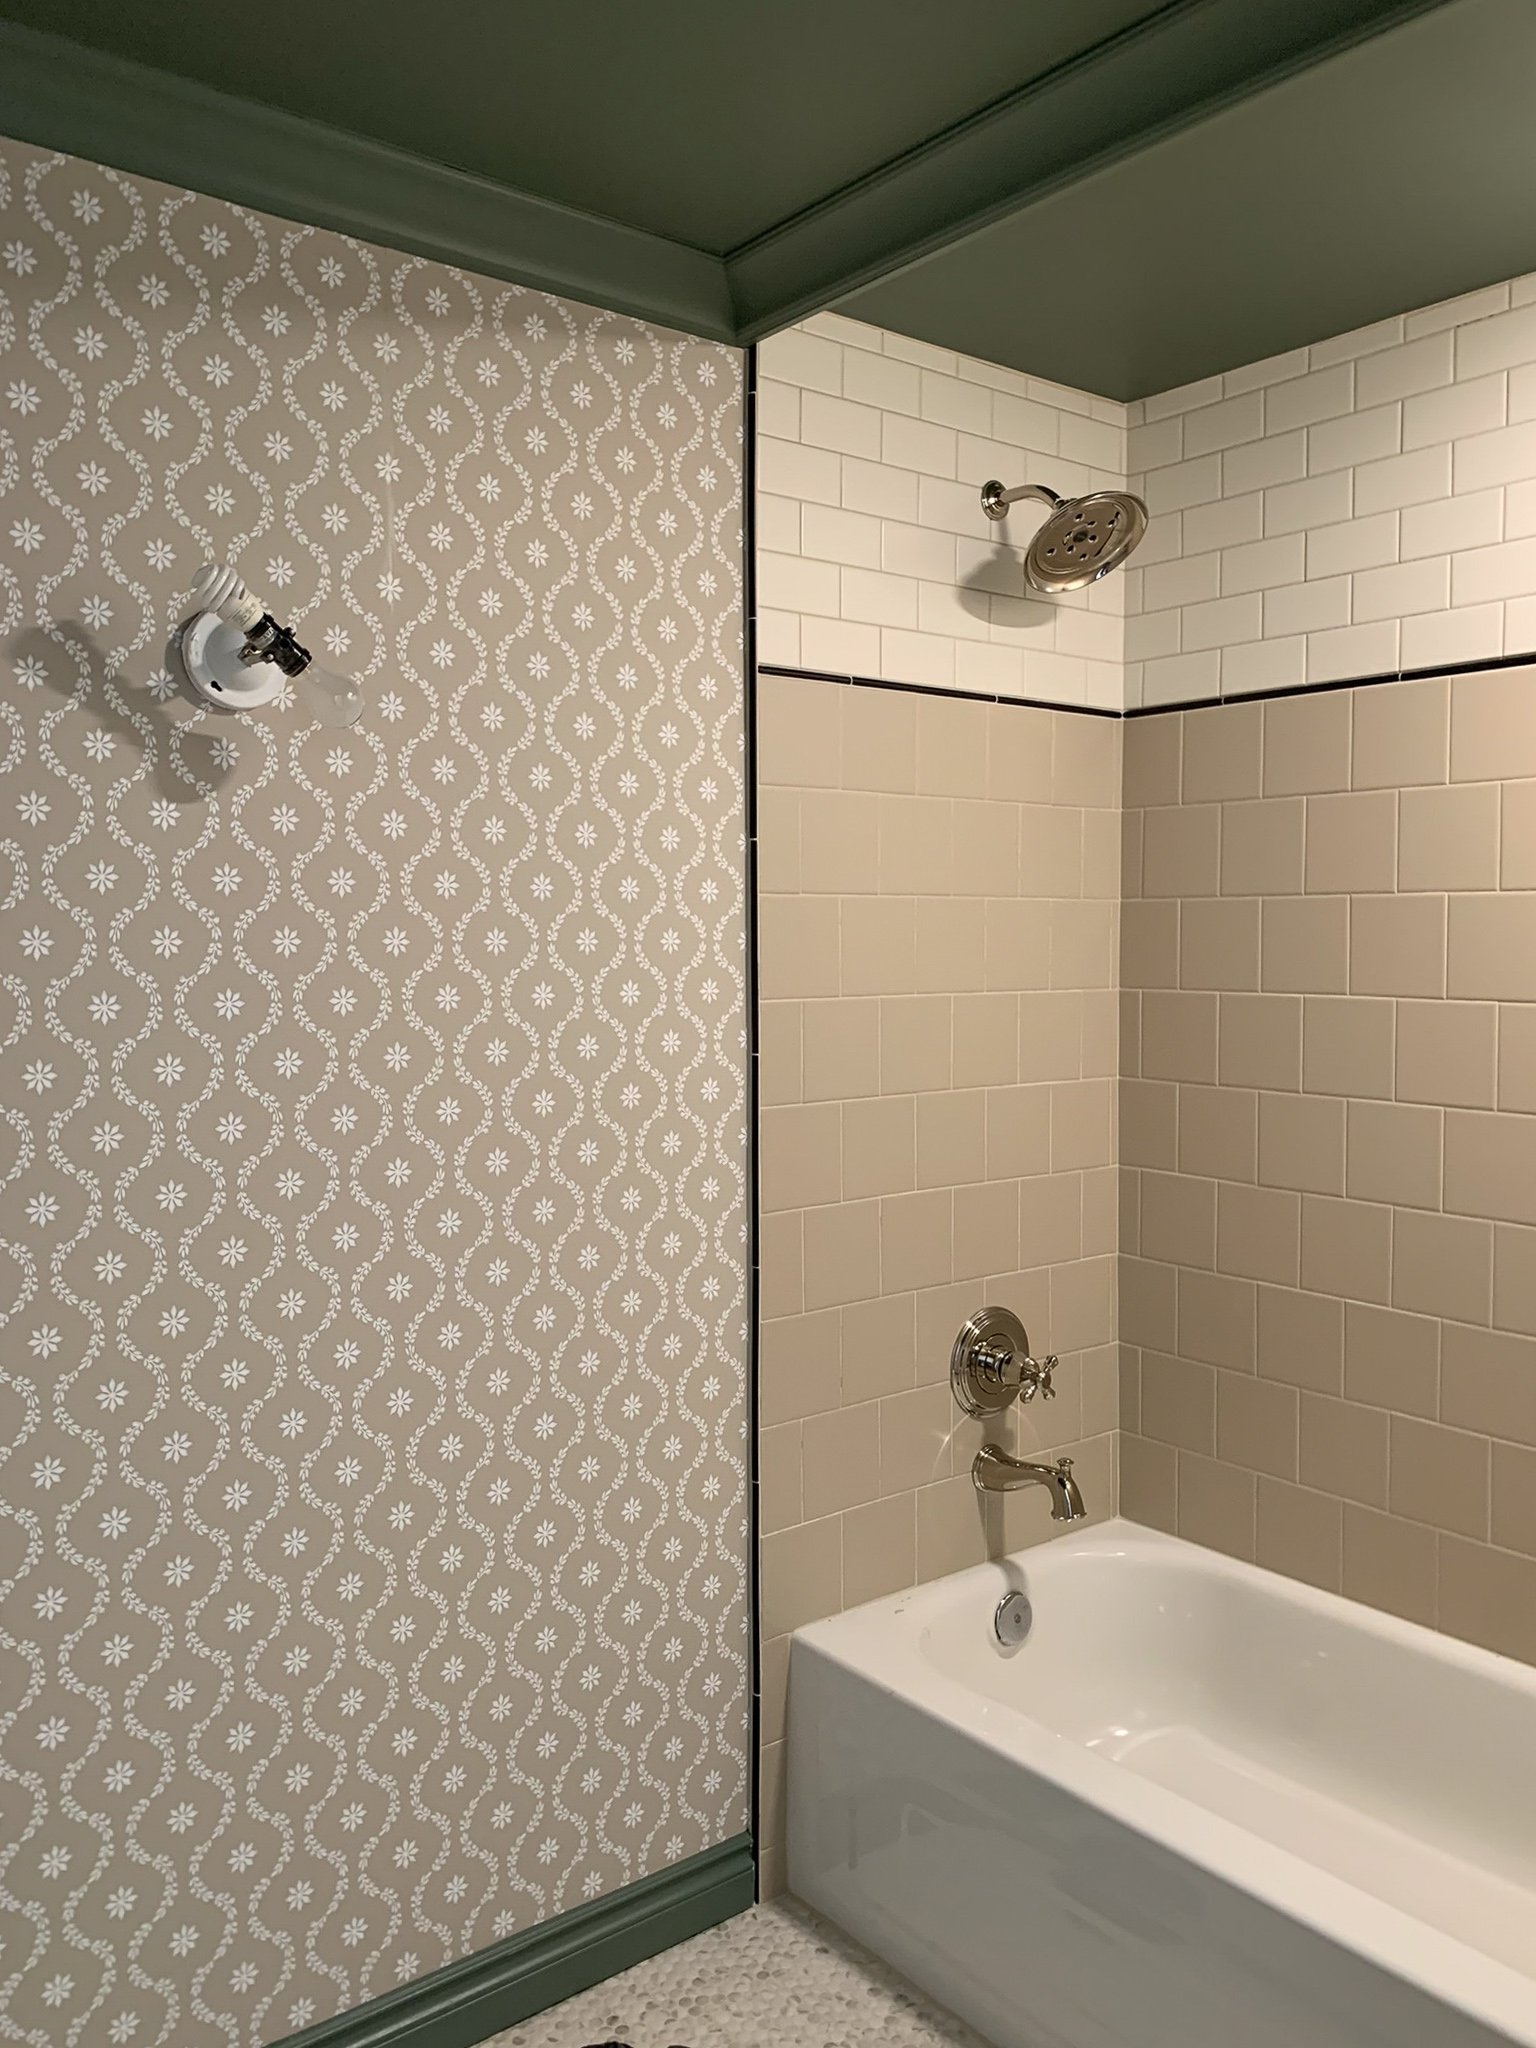
Beautiful bathroom! Can you share what you used to trim around the shower? It looks like there is a very thin tile trim that outlines the shower tile. But I can’t figure out what you used? I love the finished look around the shower tile. Hoping to do something similar for my bathroom.
I just used a schluter- style tile trim on the edge!