DIY Laundry Room Countertop (Using an Old Door!)
I’ve been slowly working away on this portion of our basement that I can’t quite call a laundry room. It’s more like the end of a hallway with a washer and dryer stuffed into a closet opening. At some point, the washer and dryer were replaced with machines that do not quite fit in there and so the old bifold doors were removed. I inherited this situation, but it doesn’t mean I have to live with it! I set out to do a small laundry room makeover using mainly the materials I had on hand. I ended up making a DIY laundry room countertop using an old door my husband had laying around his shop. Read on to find out exactly how to build a laundry room countertop!
This post may contain affiliate links. That means if you purchase anything from these links I earn a small commission, at no extra cost to you! This helps support my blog, so thank you!
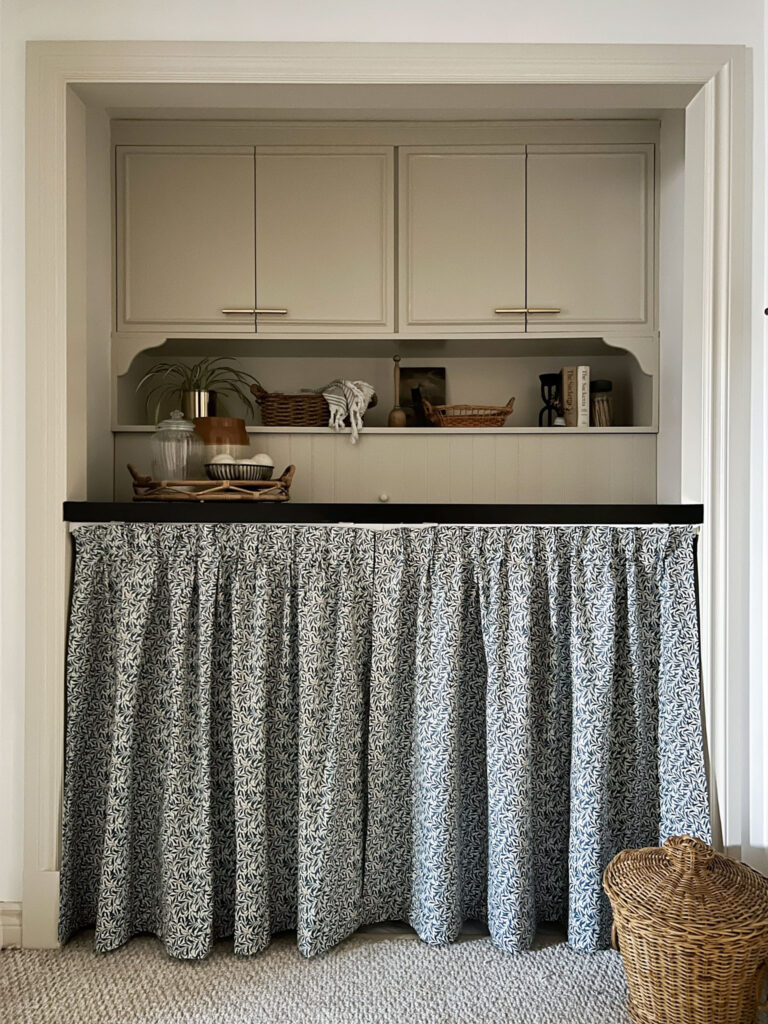
Table of Contents
- Laundry room/ hallway progress
- Why choose a wood door for the DIY laundry room countertop?
- How to build a DIY laundry room countertop out of an old door:
- Shop this post:
- You might also like:
Laundry room/ hallway progress
Before we got around to this countertop project, I had already been working here for a little while. The first thing I did was pull the washer and dryer out of the closet so I could replace the old linoleum floor and paint the walls.
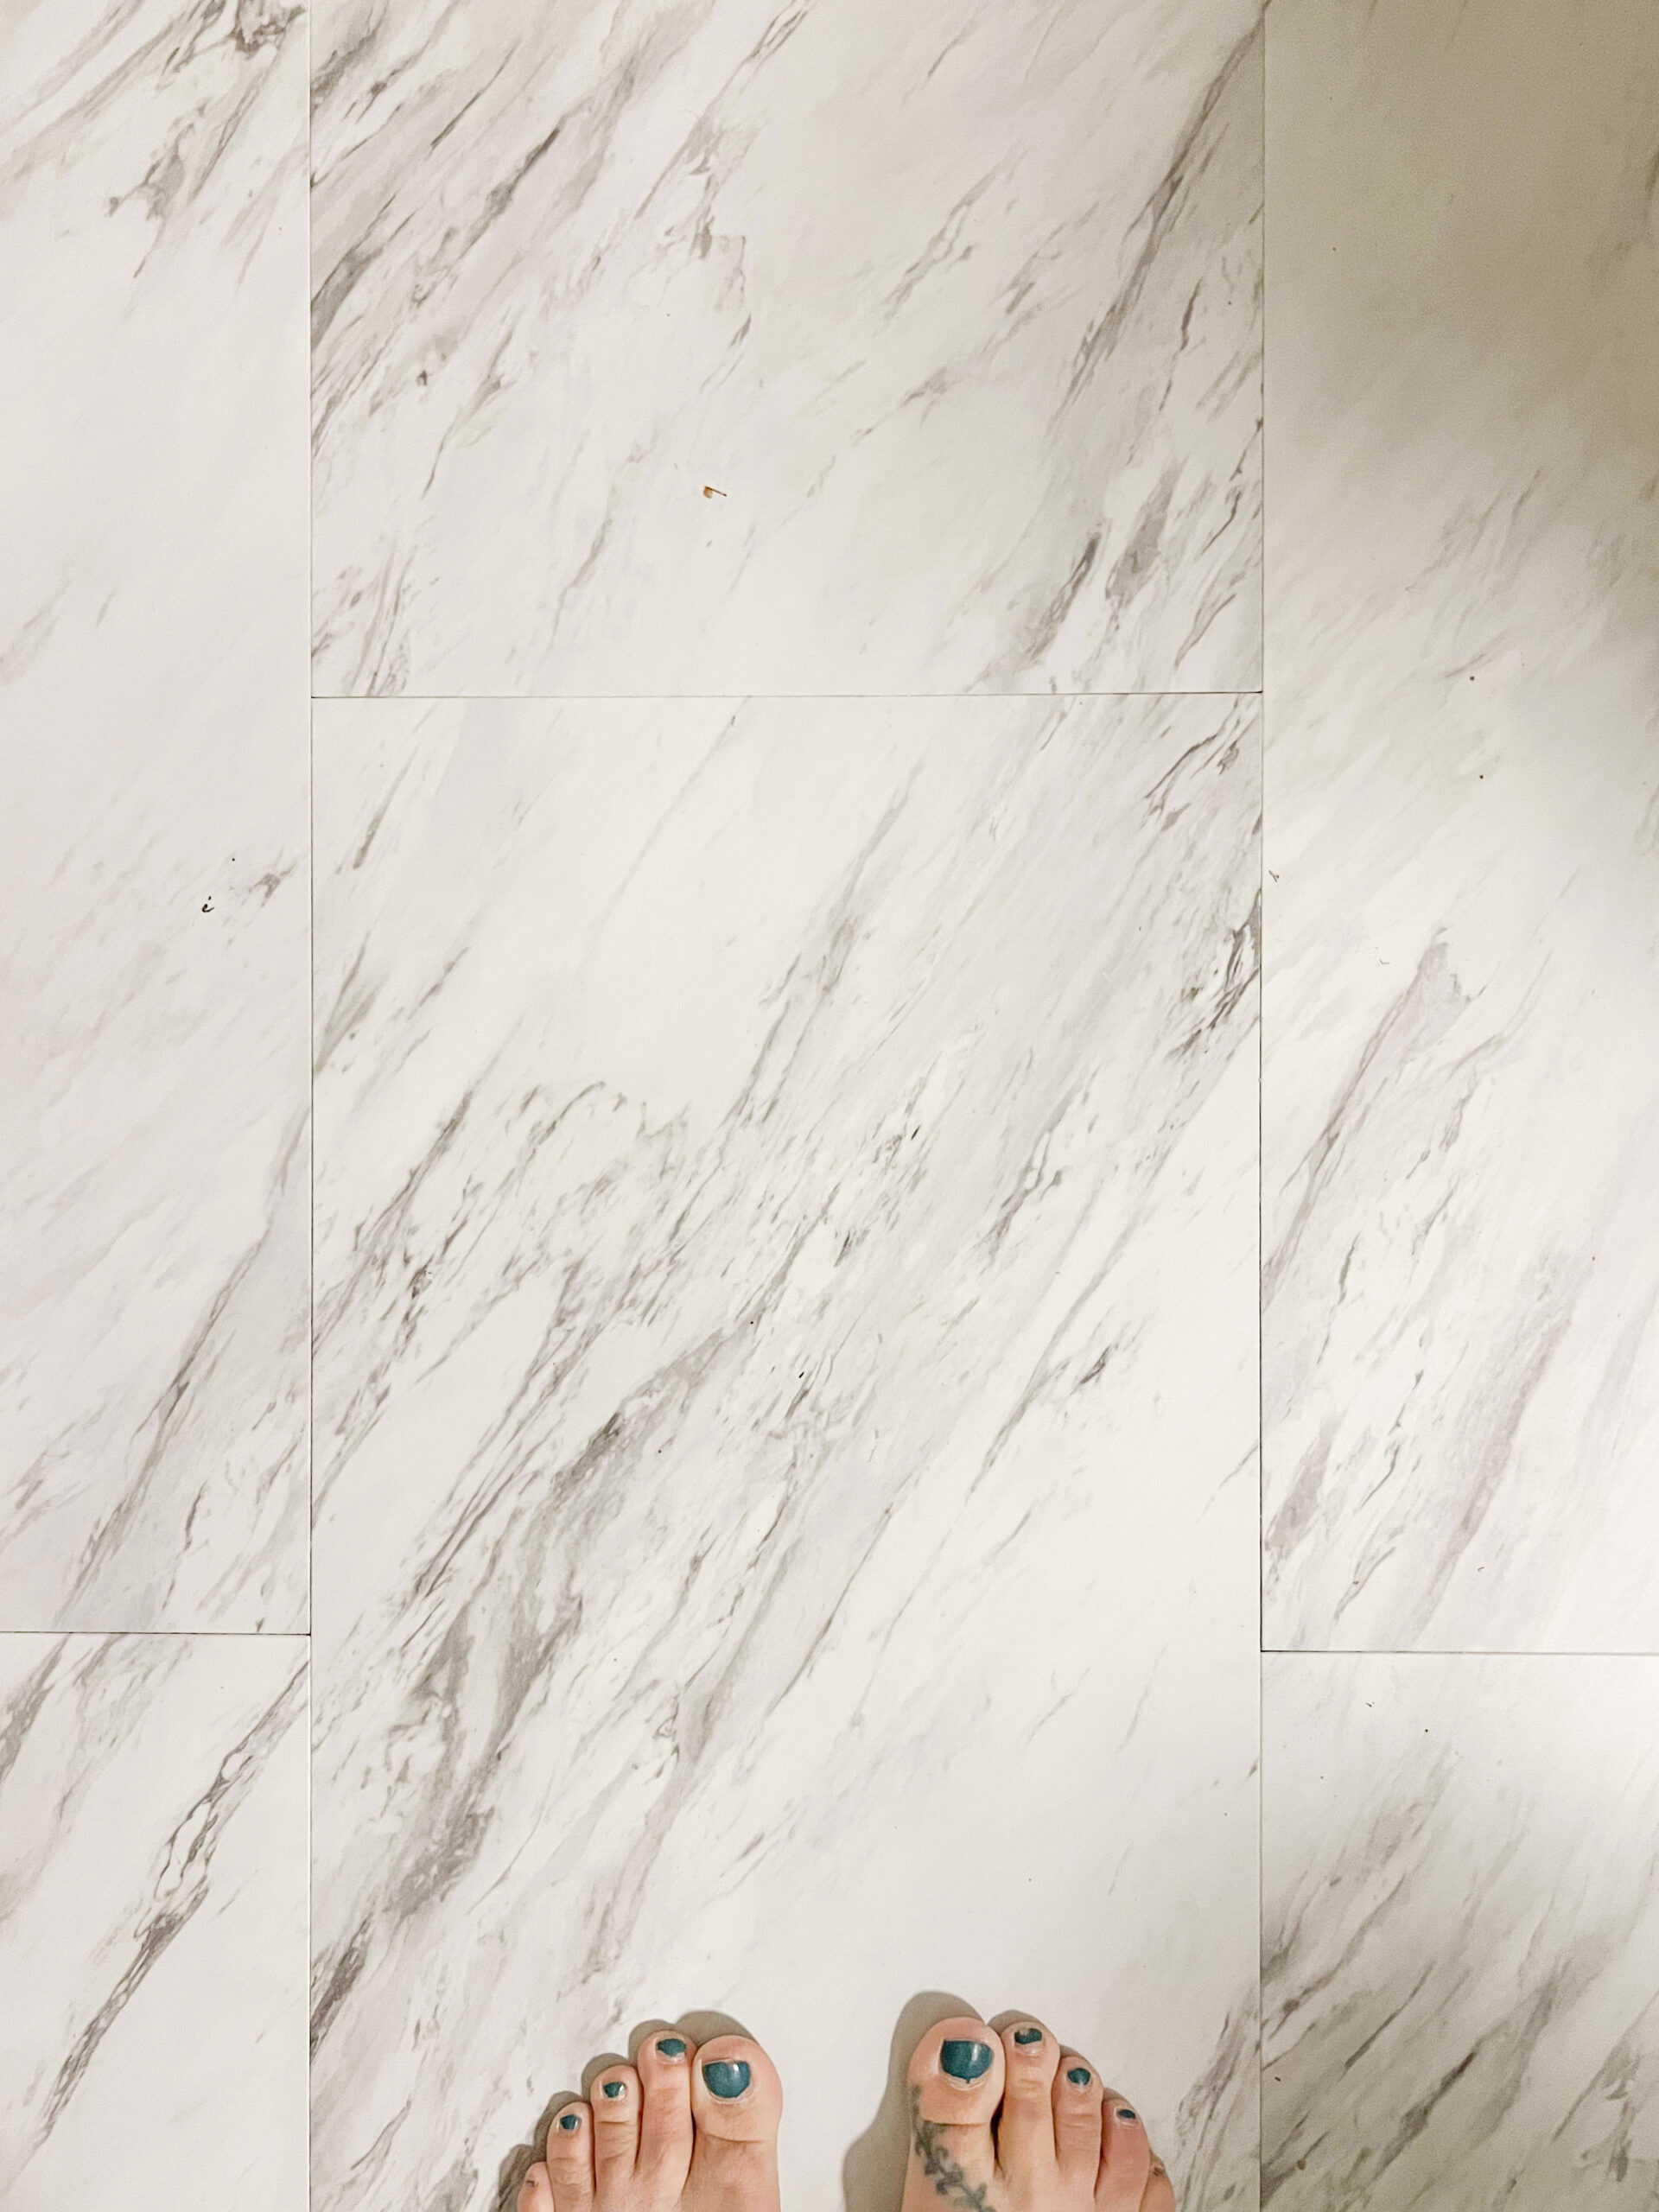
I ripped up the lino and replaced it with this super inexpensive (but not cheap looking!) peel-and-stick marble look tile. It was really easy to do, it cut easily with a utility knife and it took me about an hour to do my laundry closet.
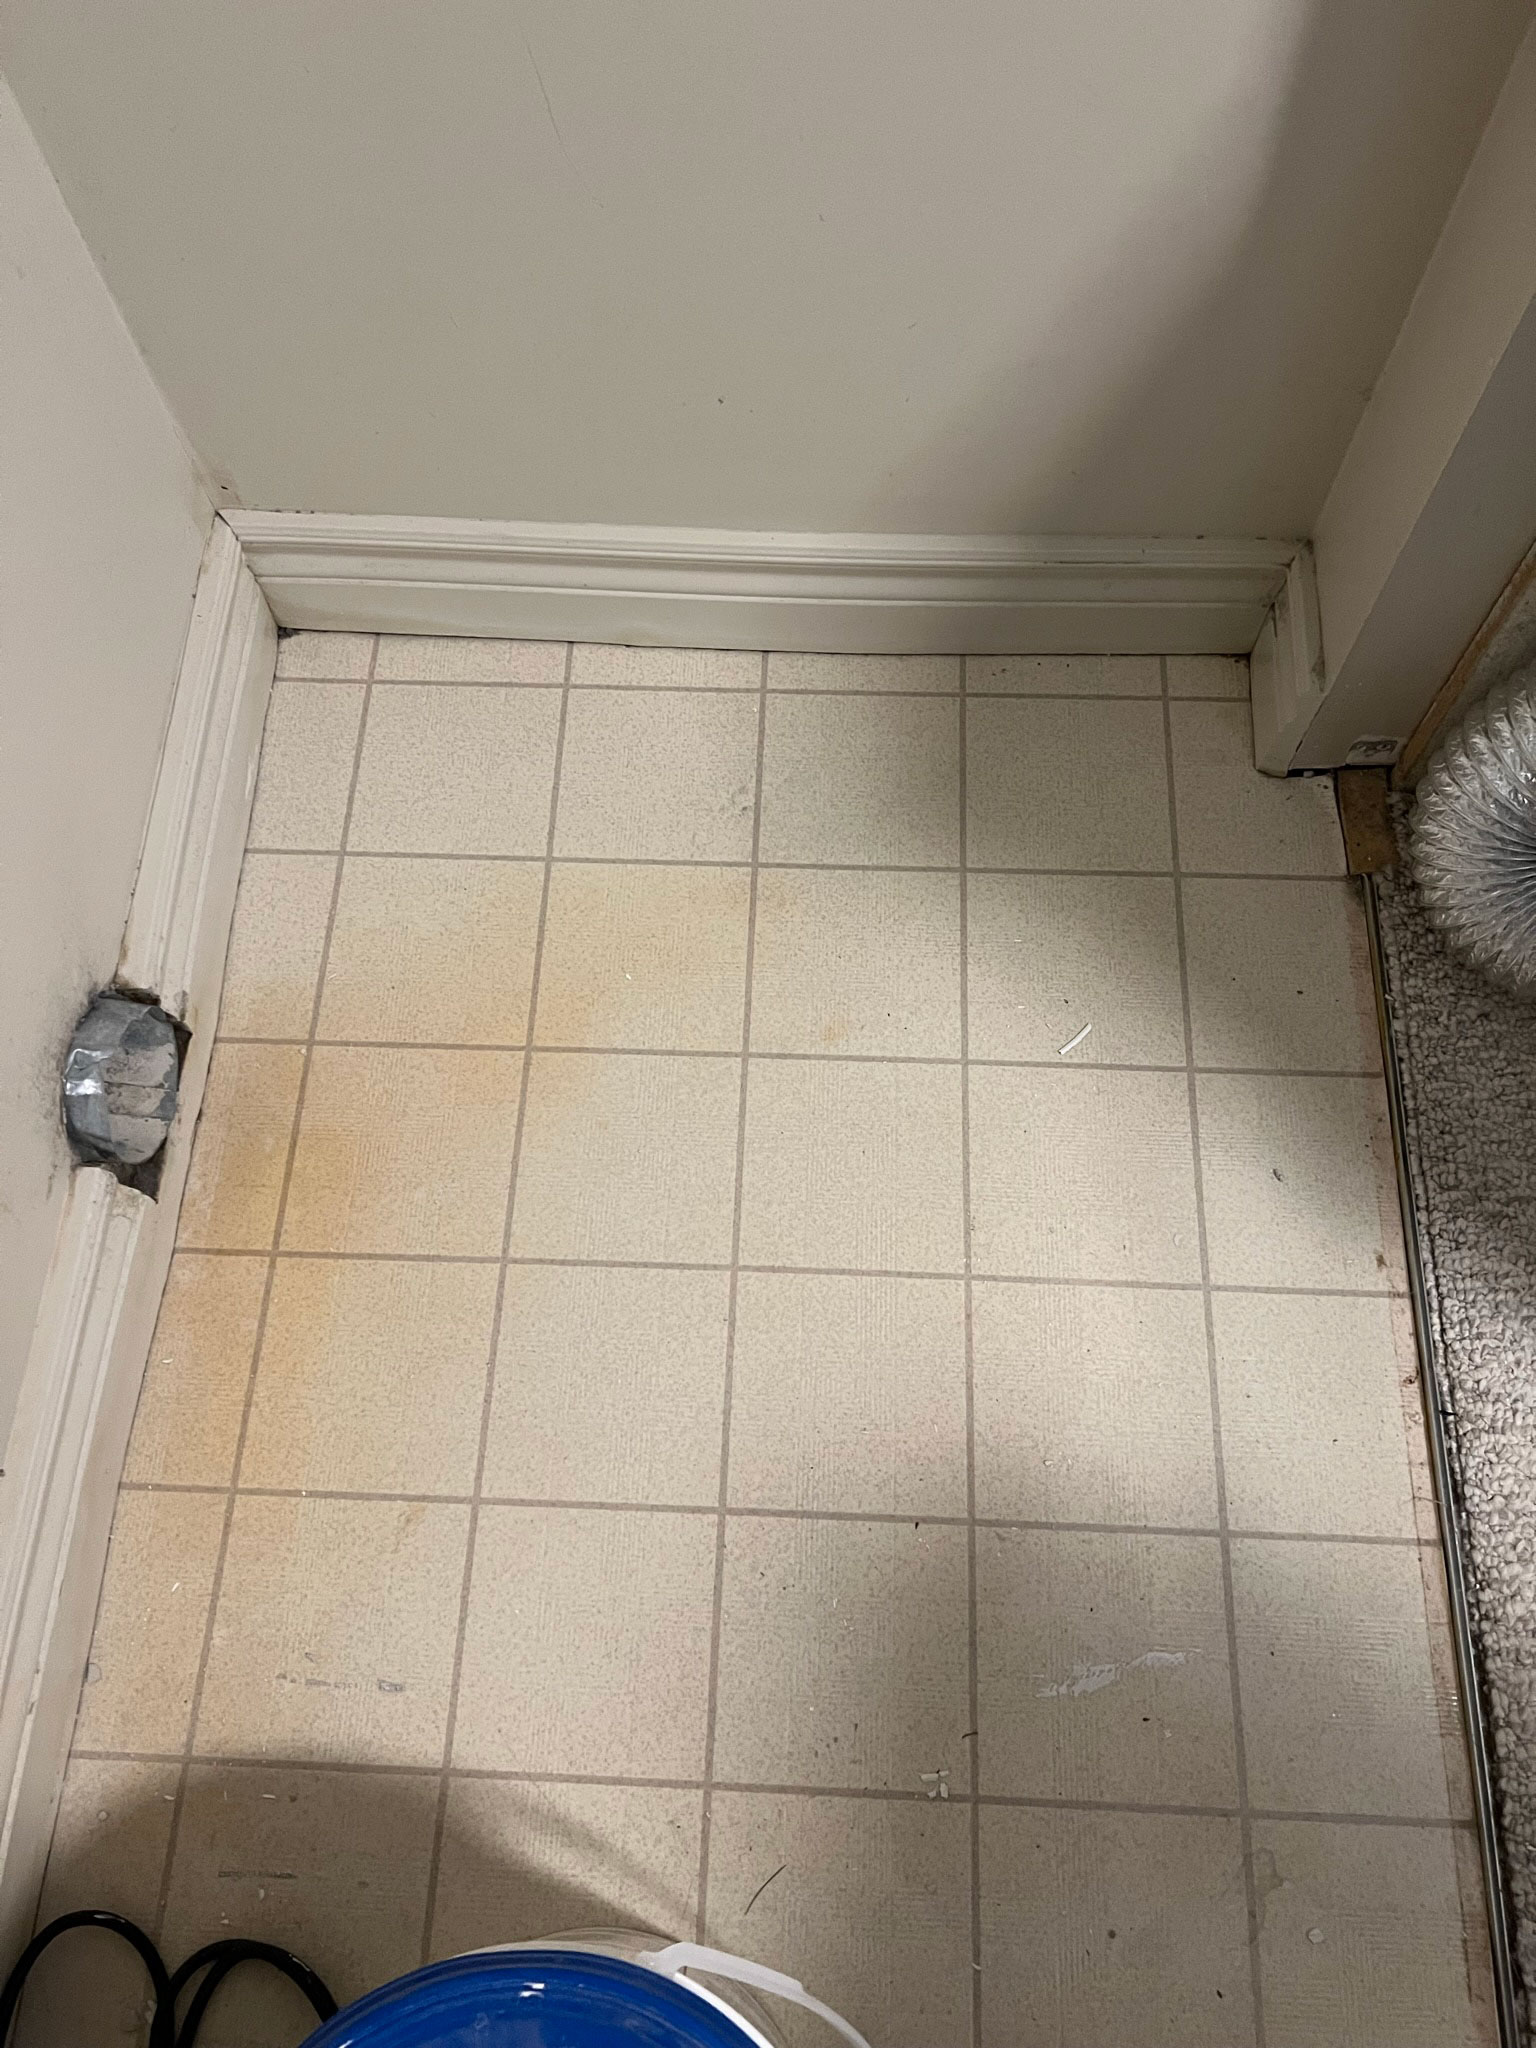
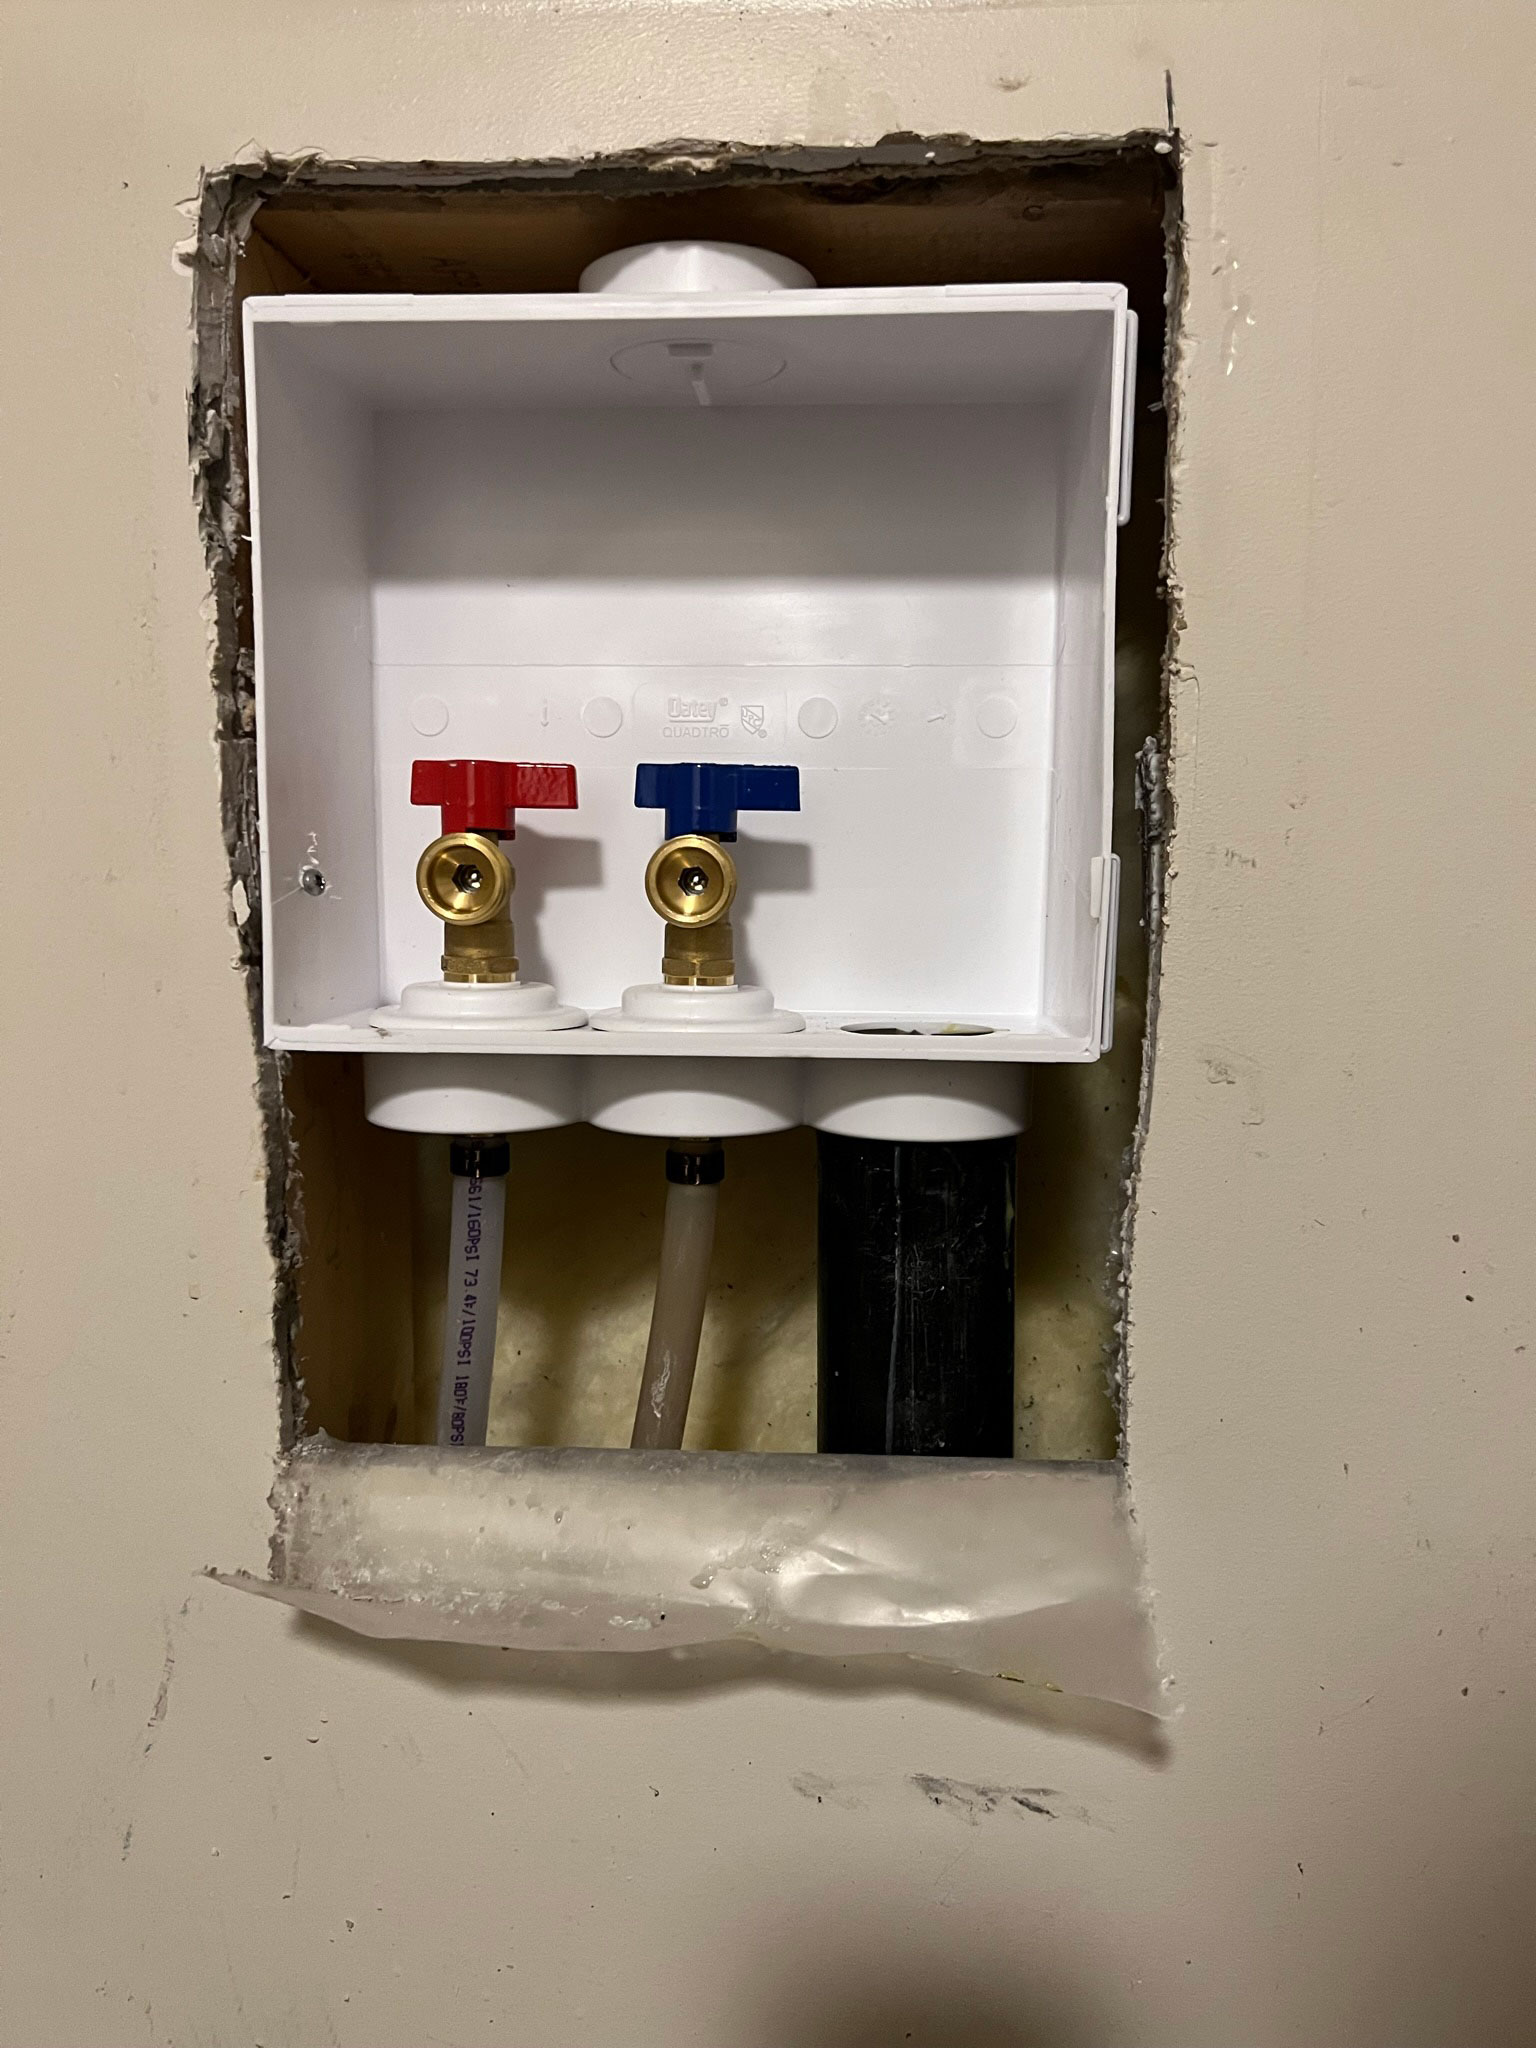
When I did that, I noticed that there was a small leak on one of the taps, It shouldn’t really have surprised us, as the taps looked like this:

I ended up replacing the whole washer and dryer tap assembly. That involved cutting out drywall, cutting water lines and re-attaching them and reattaching the drain line to the washer hookup box. I discovered that the slow leak had resulted in damage to the bottom of the drywall in this closet and the baseboards, so I ripped all of that out to redo.
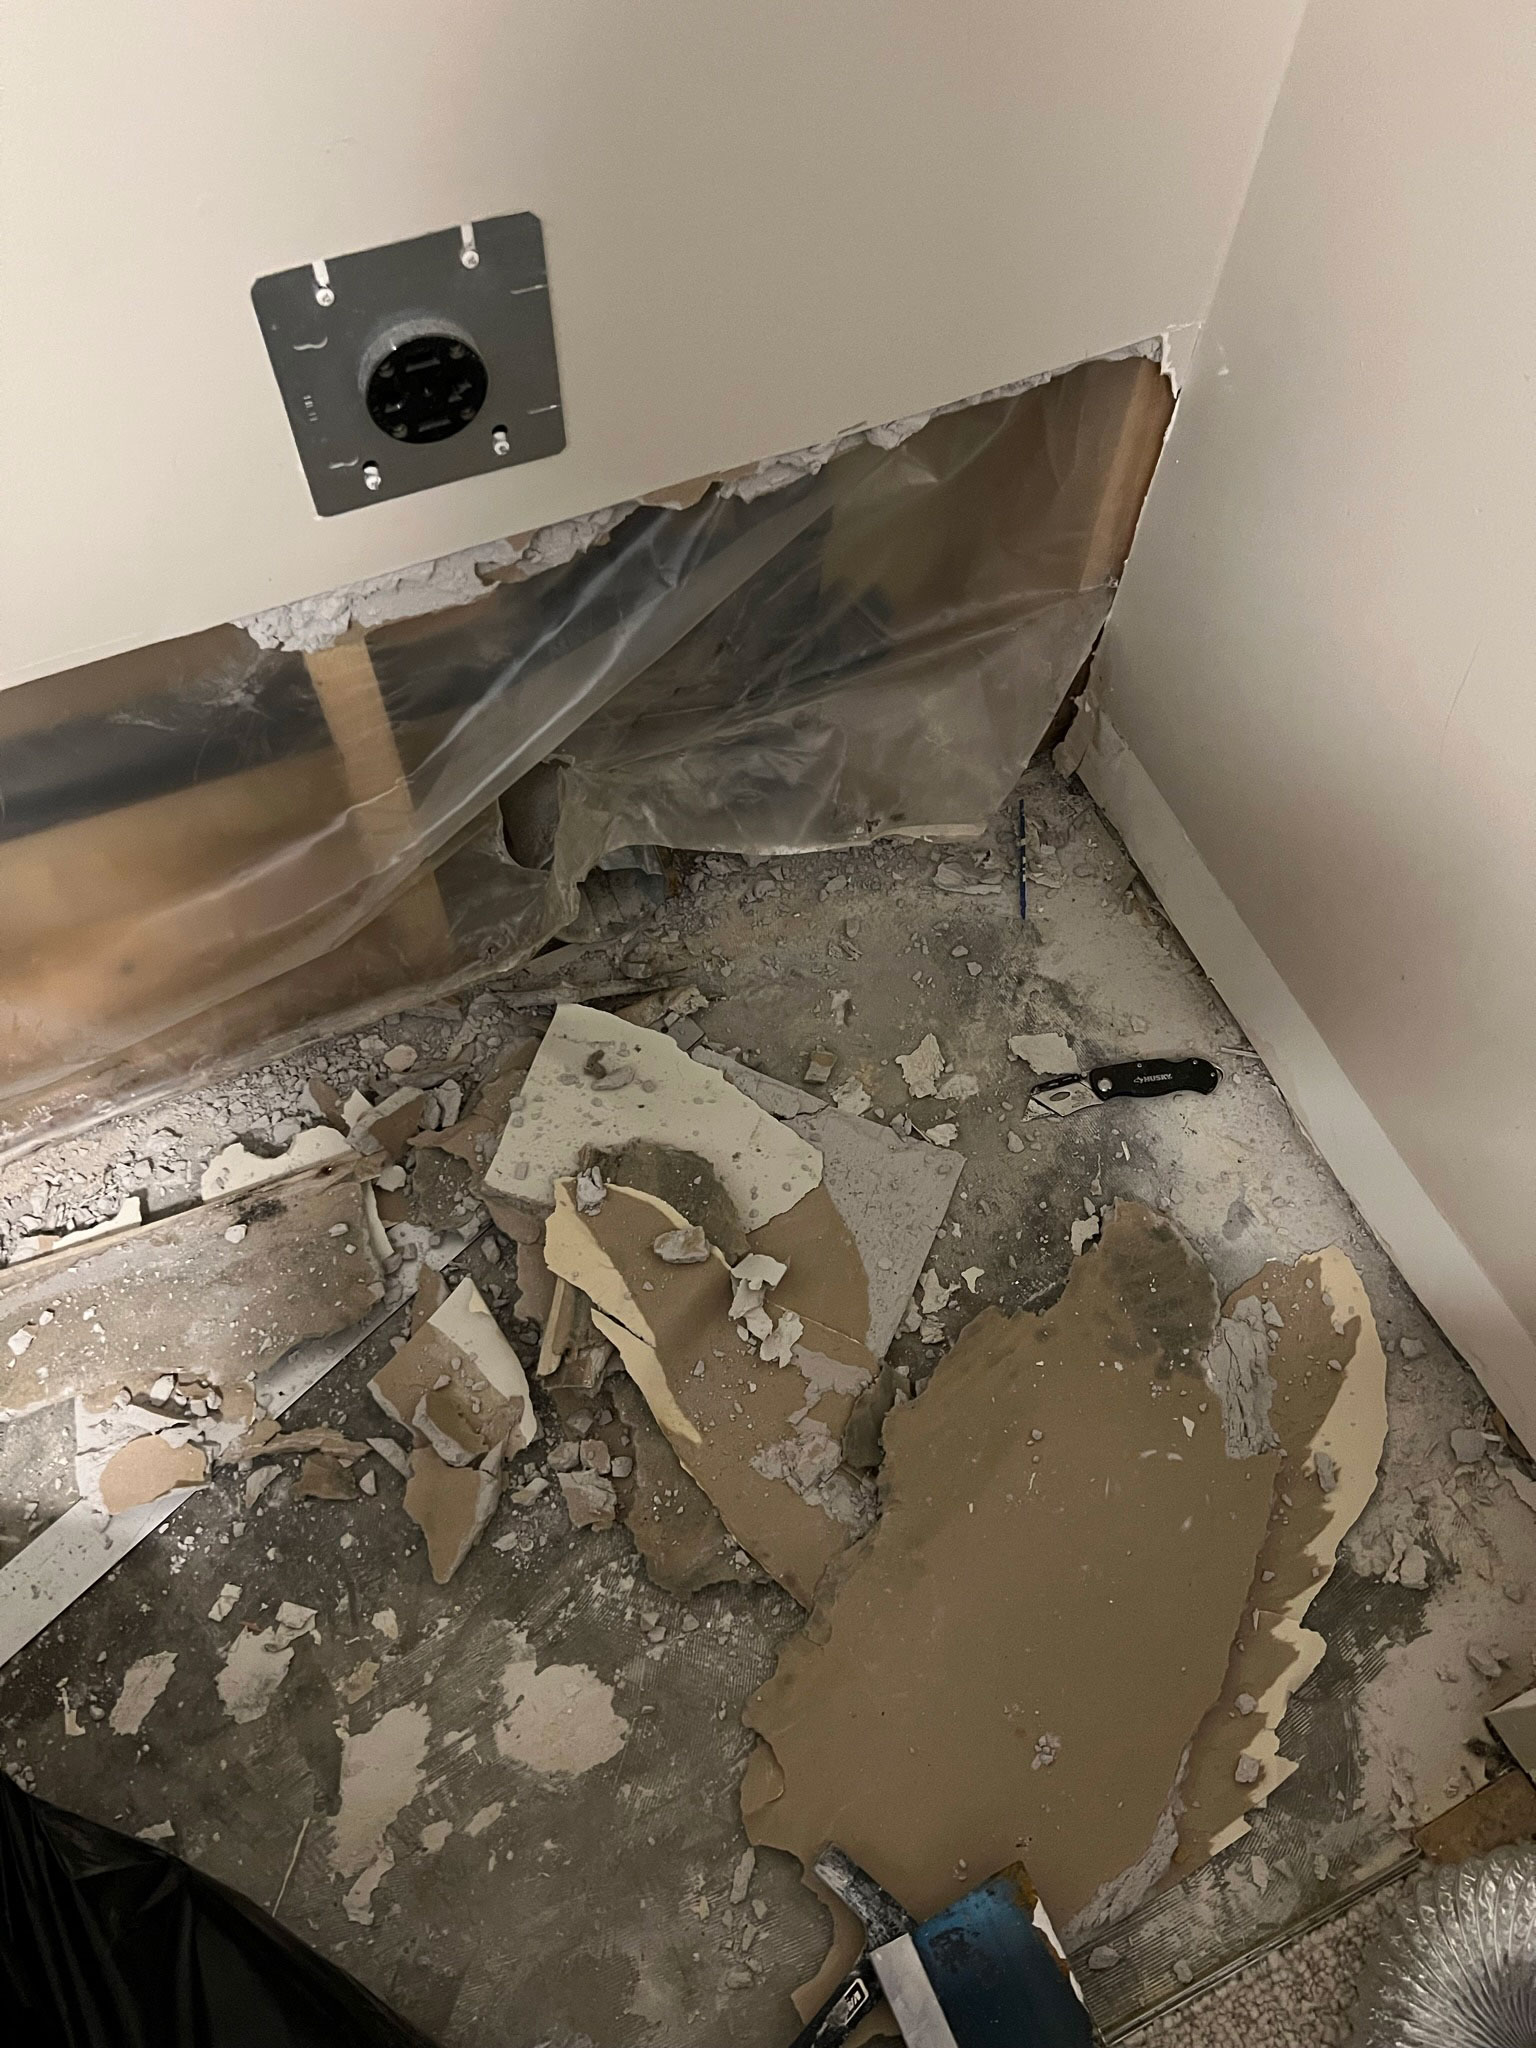
In the process of all of this plumbing and drywalling I also ended up draining a whole load of laundry onto the floor… but that is a story for another day. Needless to say, the plumbing is all fresh and new, as is the drywall!

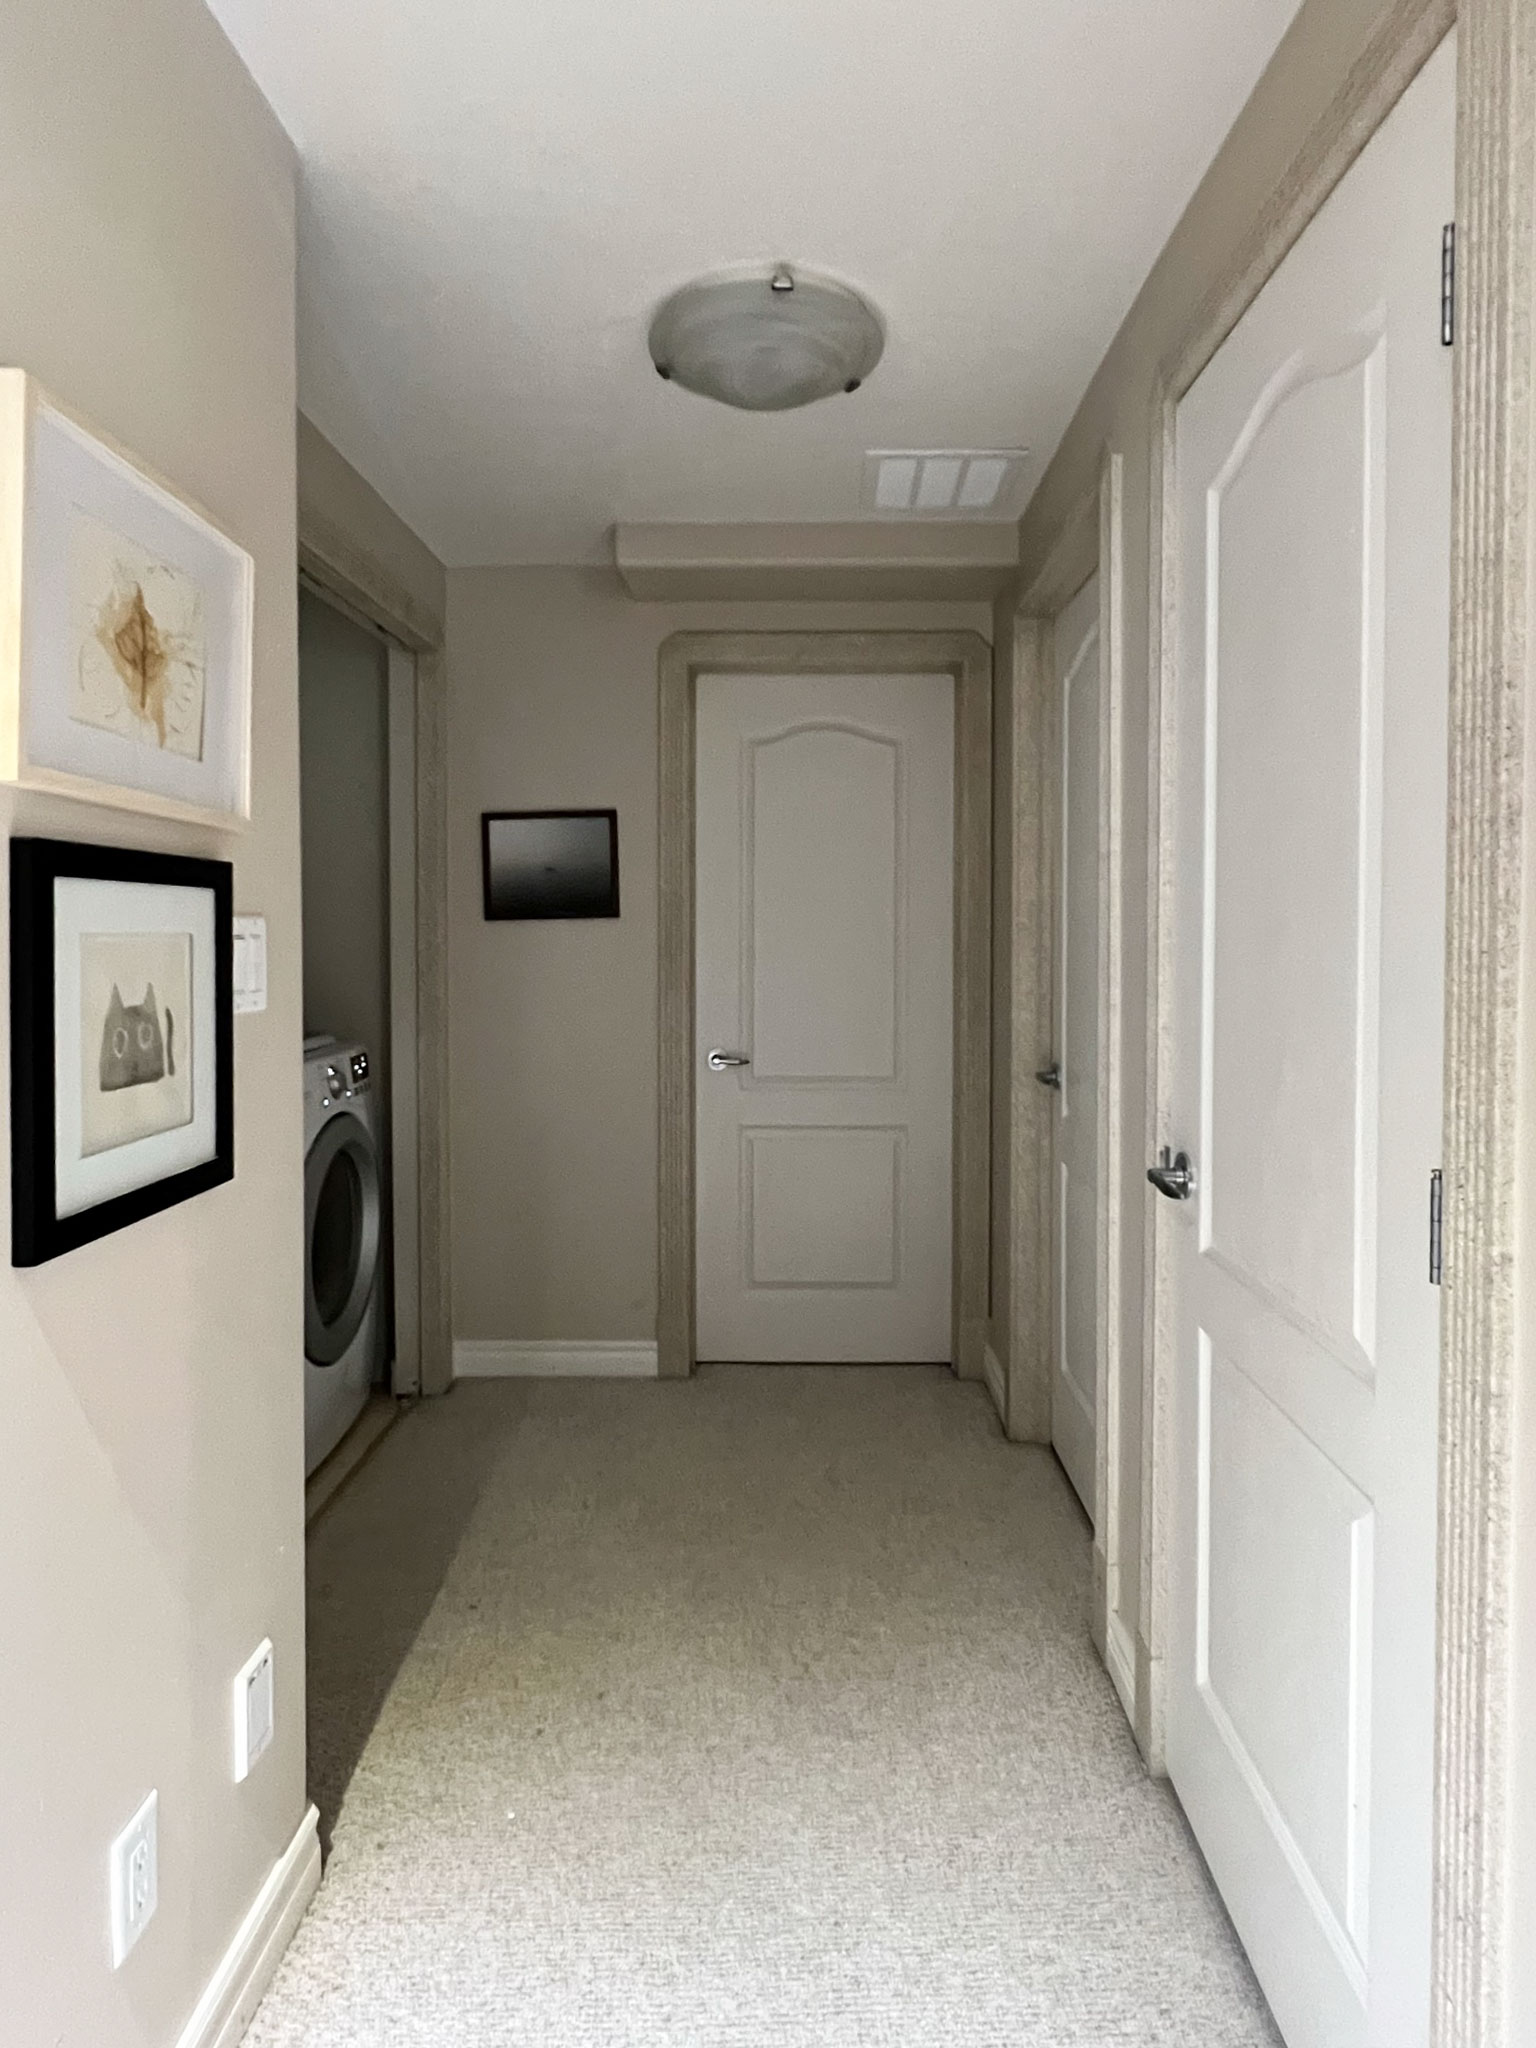
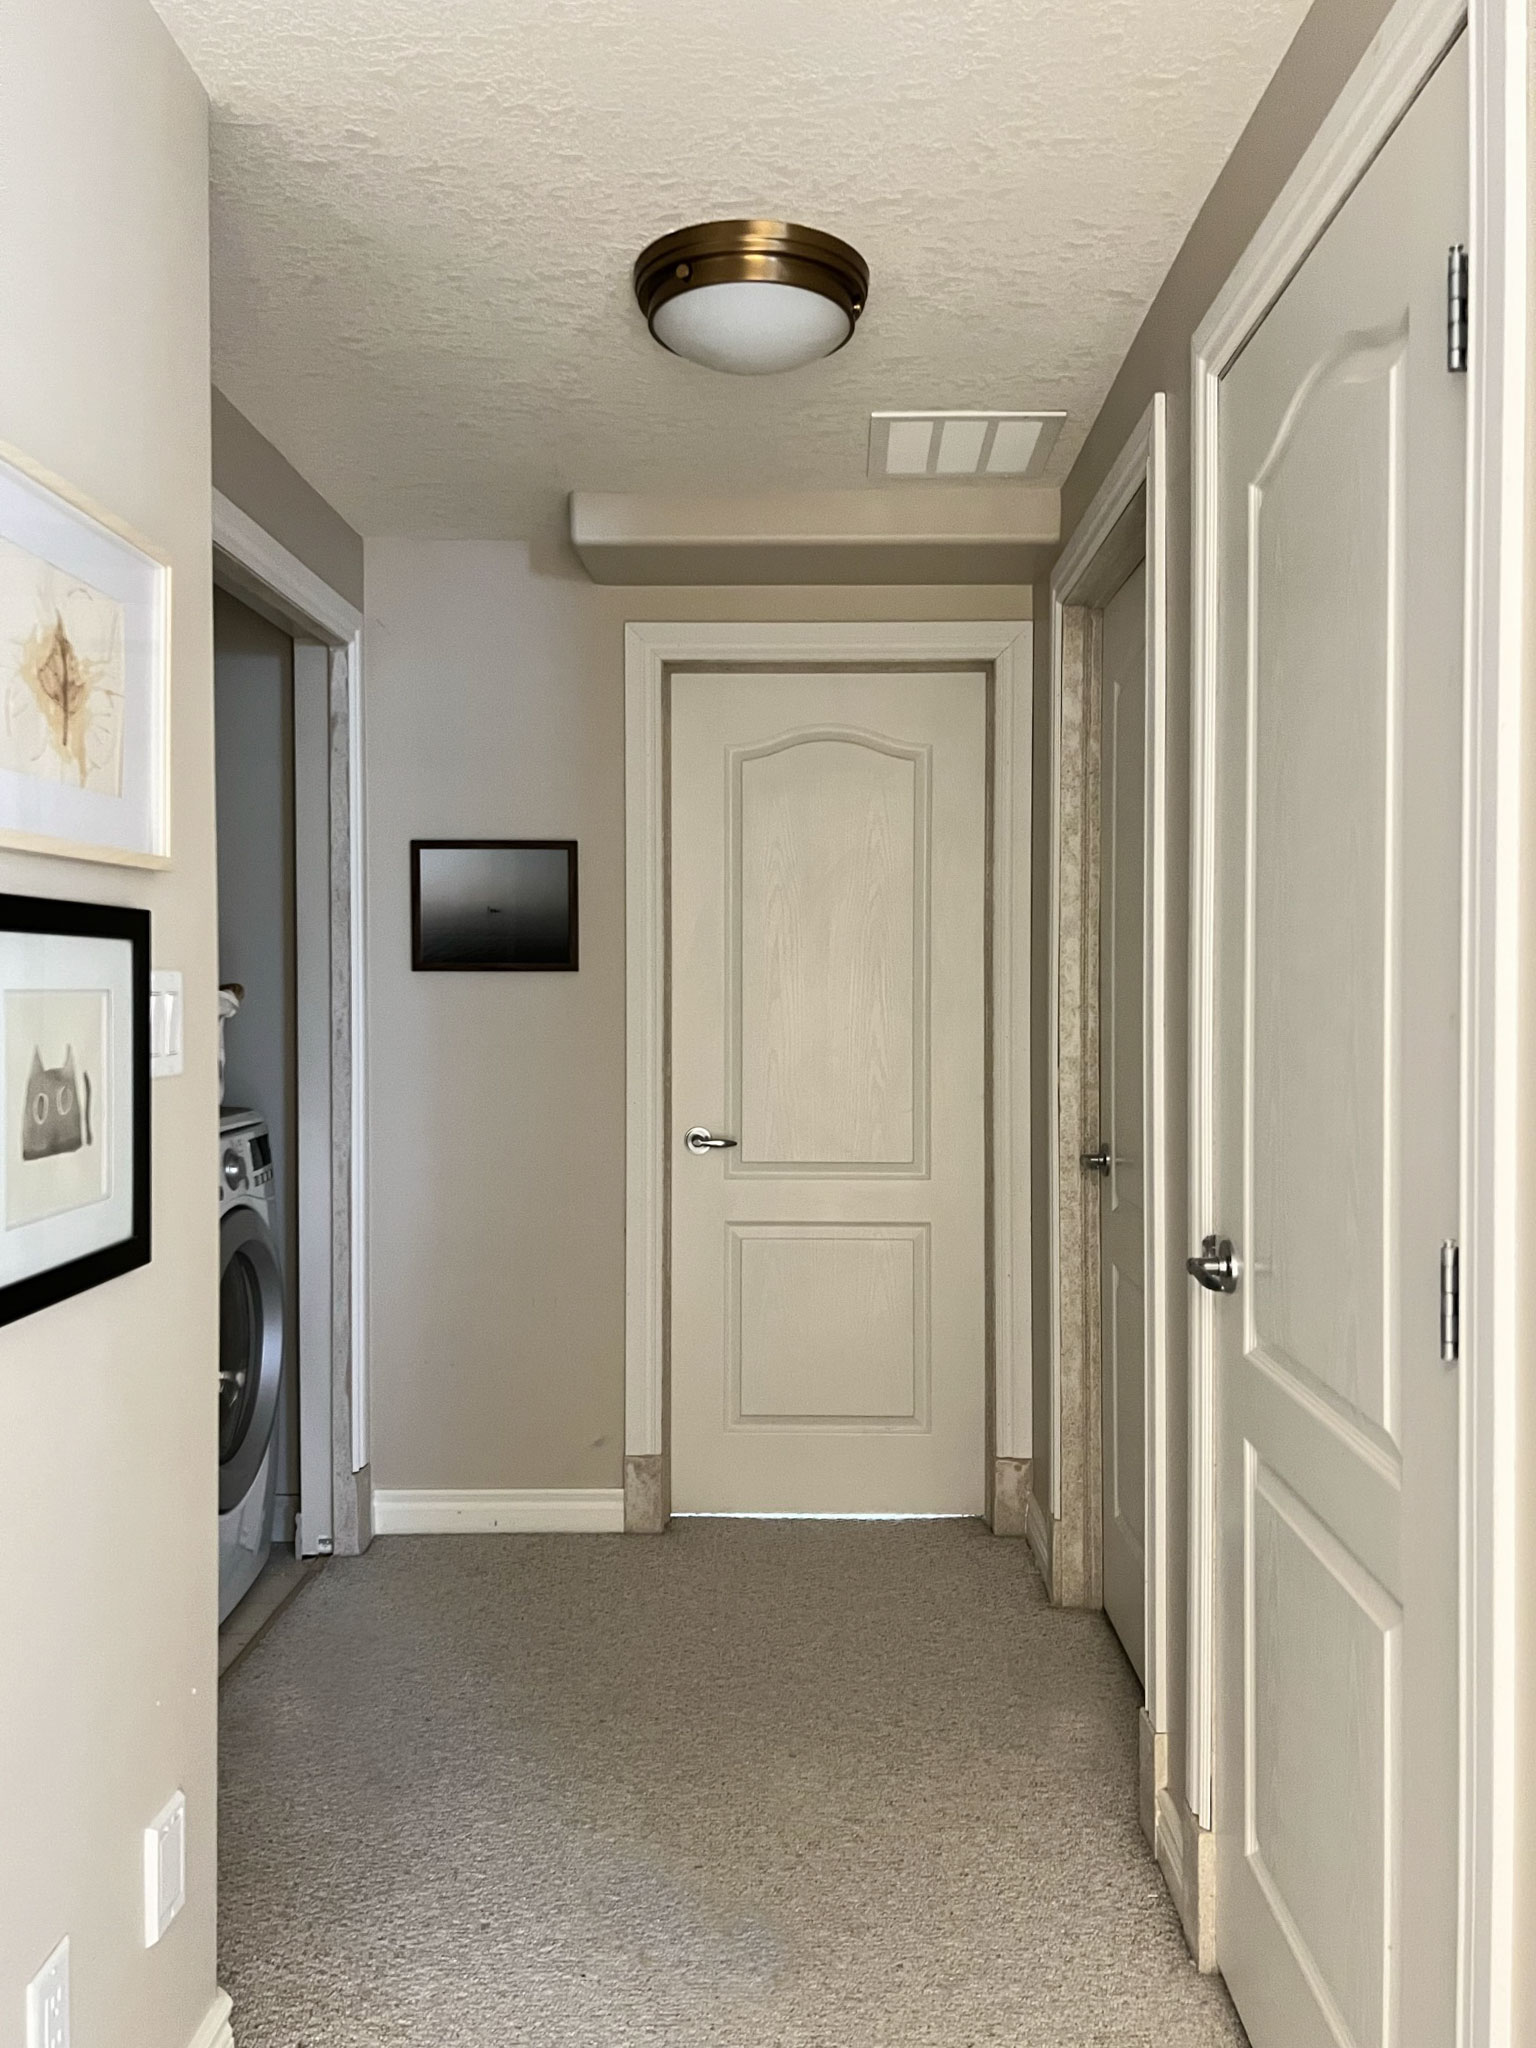
Once the drywall was repaired, I painted the walls with Valspar Swiss Coffee (paint I used in my main floor makeover) and also replaced all the door trim in this section of the hallway. We have some super weird textured trim in this house and we have been replacing it as we renovate each space. This little hall had 4 doors in it so there was a fair bit of trim to do!
I also replaced the hallway light with this super cute (but affordable) flush mount and replaced the old fluorescent strip light that was inside the closet with a flat non-descript LED. I still plan to paint this hallway and trim and replace the doorknobs.
Why choose a wood door for the DIY laundry room countertop?
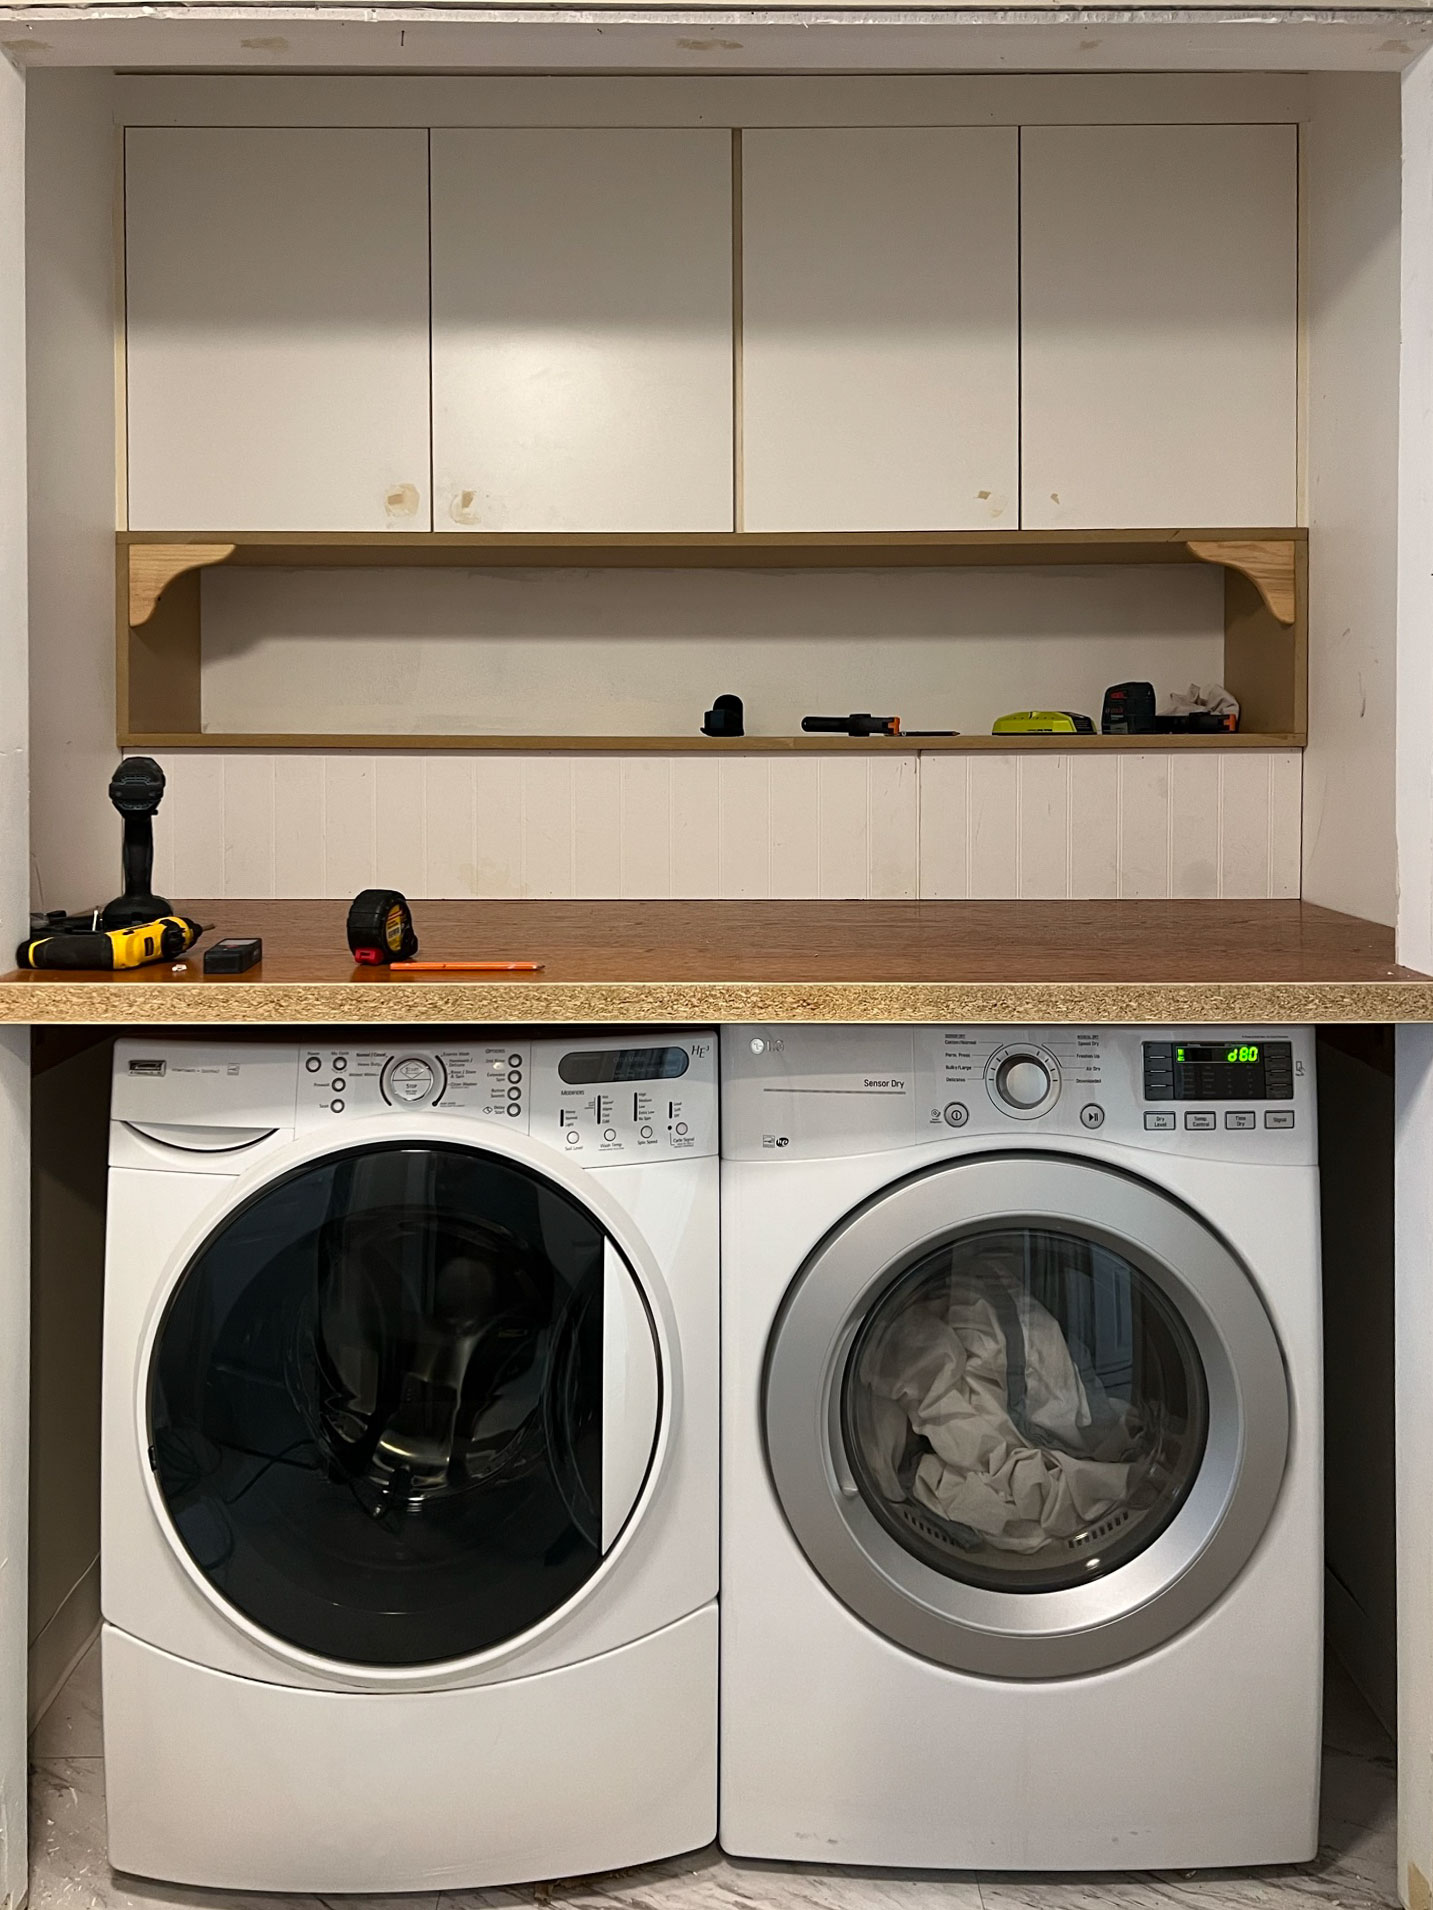
The existing washer and dryer had a plastic countertop that spanned the two machines but there were big spaces on the sides where socks went to never be seen again. When considering how to make over this little laundry area/ closet to make it cuter, I also wanted to make sure I made it a bit more functional.
That meant adding a countertop that spanned all the way across the top of the washer and dryer. That would give me a work surface to fold clothes, store my laundry baskets, and just be a more functional small laundry room (even though it is really just a closet!)
I started by putting together a little mood board to see what I liked in terms of style and what would work for a countertop material. I would have loved to do natural stone, but that wasn’t in my budget. I considered laminate countertops as well, but those would have had to be custom-made because of the depth and as a result, could be a little pricier too and then at the end… it’s still laminate.
I liked the idea of wood countertops to bring a little warmth to the whole design. Remember, my budget for this makeover can best be described as “little to none”! I knew that I could probably do some sort of DIY laundry room countertop from wood and that would be the most cost-effective option, too.
I first considered a butcher block countertop for this, and that would be a great option to use here. However, standard laundry machines are much deeper than your standard countertop, so I had to find a counter that was deeper than standard. Ikea has an Island butcher block that is 42 inches deep that would have worked, but it was more than I wanted to spend for this quickie little makeover so I kept looking.
I also considered a plywood countertop and I think that would have actually turned out fine, depending on the type of plywood I chose. I would have had to build a support structure for the thin plywood, however, and also figure out a way to make the front edge look a little nicer. That all sounded like more work than I wanted to do, so I brainstormed a little more.
One day while doing my usual scroll through Facebook marketplace (a daily activity around here!) I came across someone selling a solid oak door. It was just a flat panel with no detail on it and I thought it would make an excellent countertop. The door was thick and solid enough to support itself without bowing (a concern for anything too thin), It did have a pesky door knob hole in it, but I figured if I could find one wide enough I could cut that part off.
I told my husband I wanted him to go pick up a door for me with his truck and he let me know he had a solid wood door just sitting in his shop from one of his projects, and I could use that one if I wanted. He sent me a (very bad) photo and it looked like oak to me and he said it was 36″ wide, which meant I could cut the door knob hole off and still have plenty of width to use for my countertop. And the price was right!!
When the time came for us to pick up the door and we took the existing door knob off, we noted that it was not, in fact, solid oak. It was veneer (a veneer is a thin sheet of real wood glued to something else) with a particle board core. SHOOOOOOT. I decided I could still work as s countertop (with a little tweaking of course!) and brought it home.

How to build a DIY laundry room countertop out of an old door:
Step 1 – Install supports for the DIY countertop and measure the space
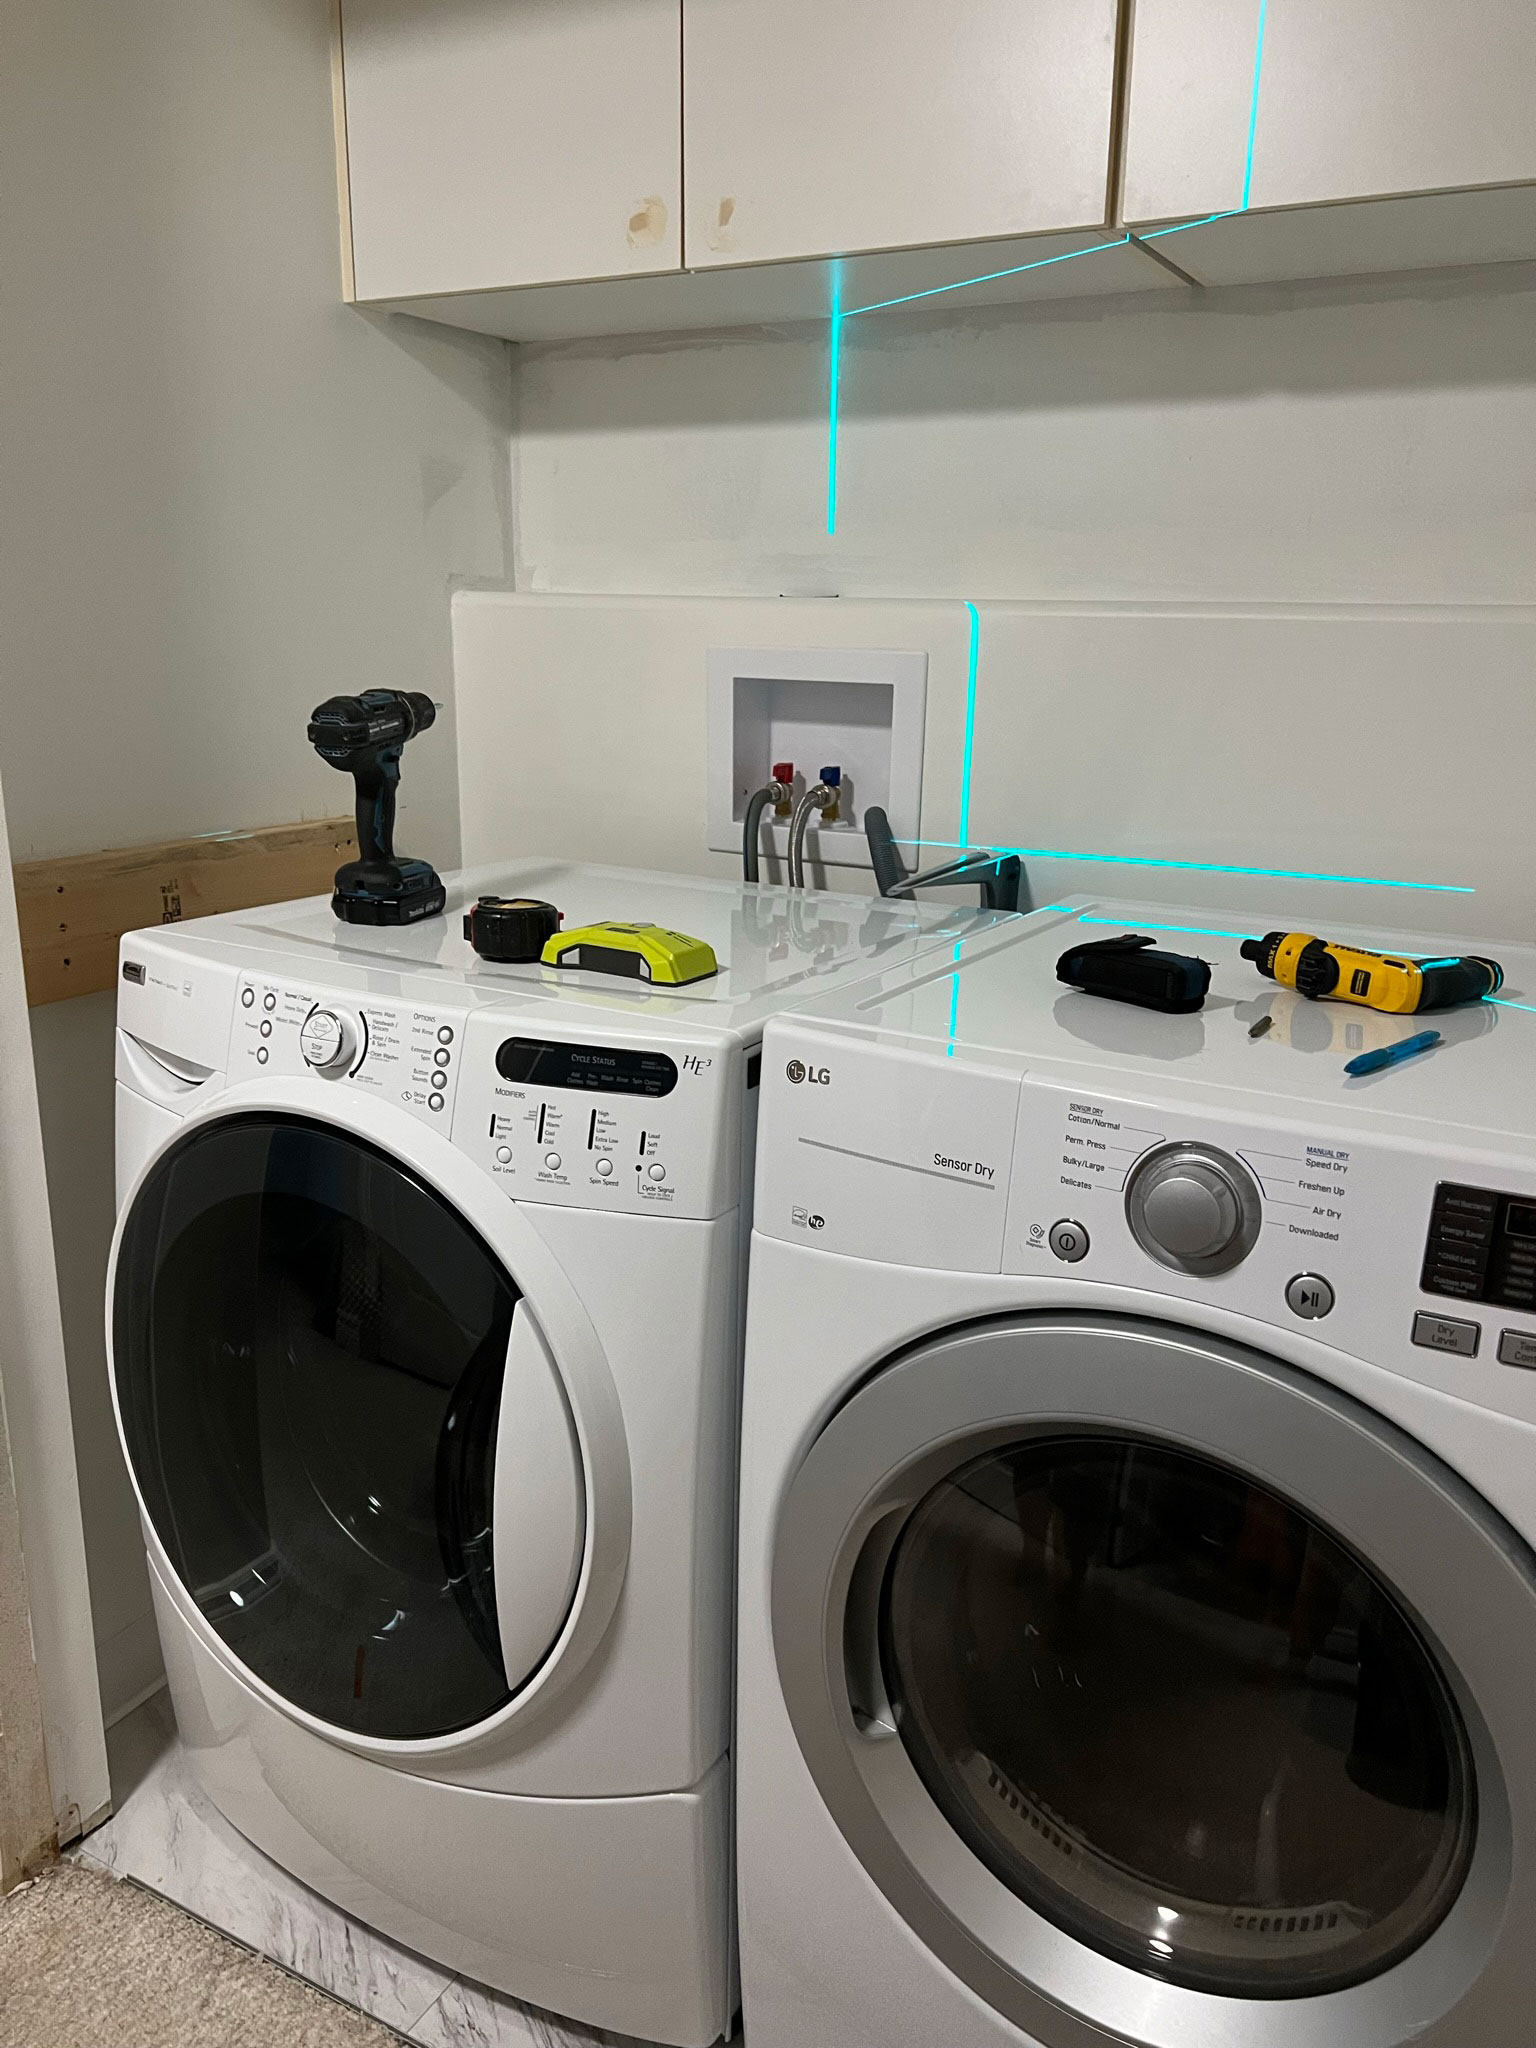
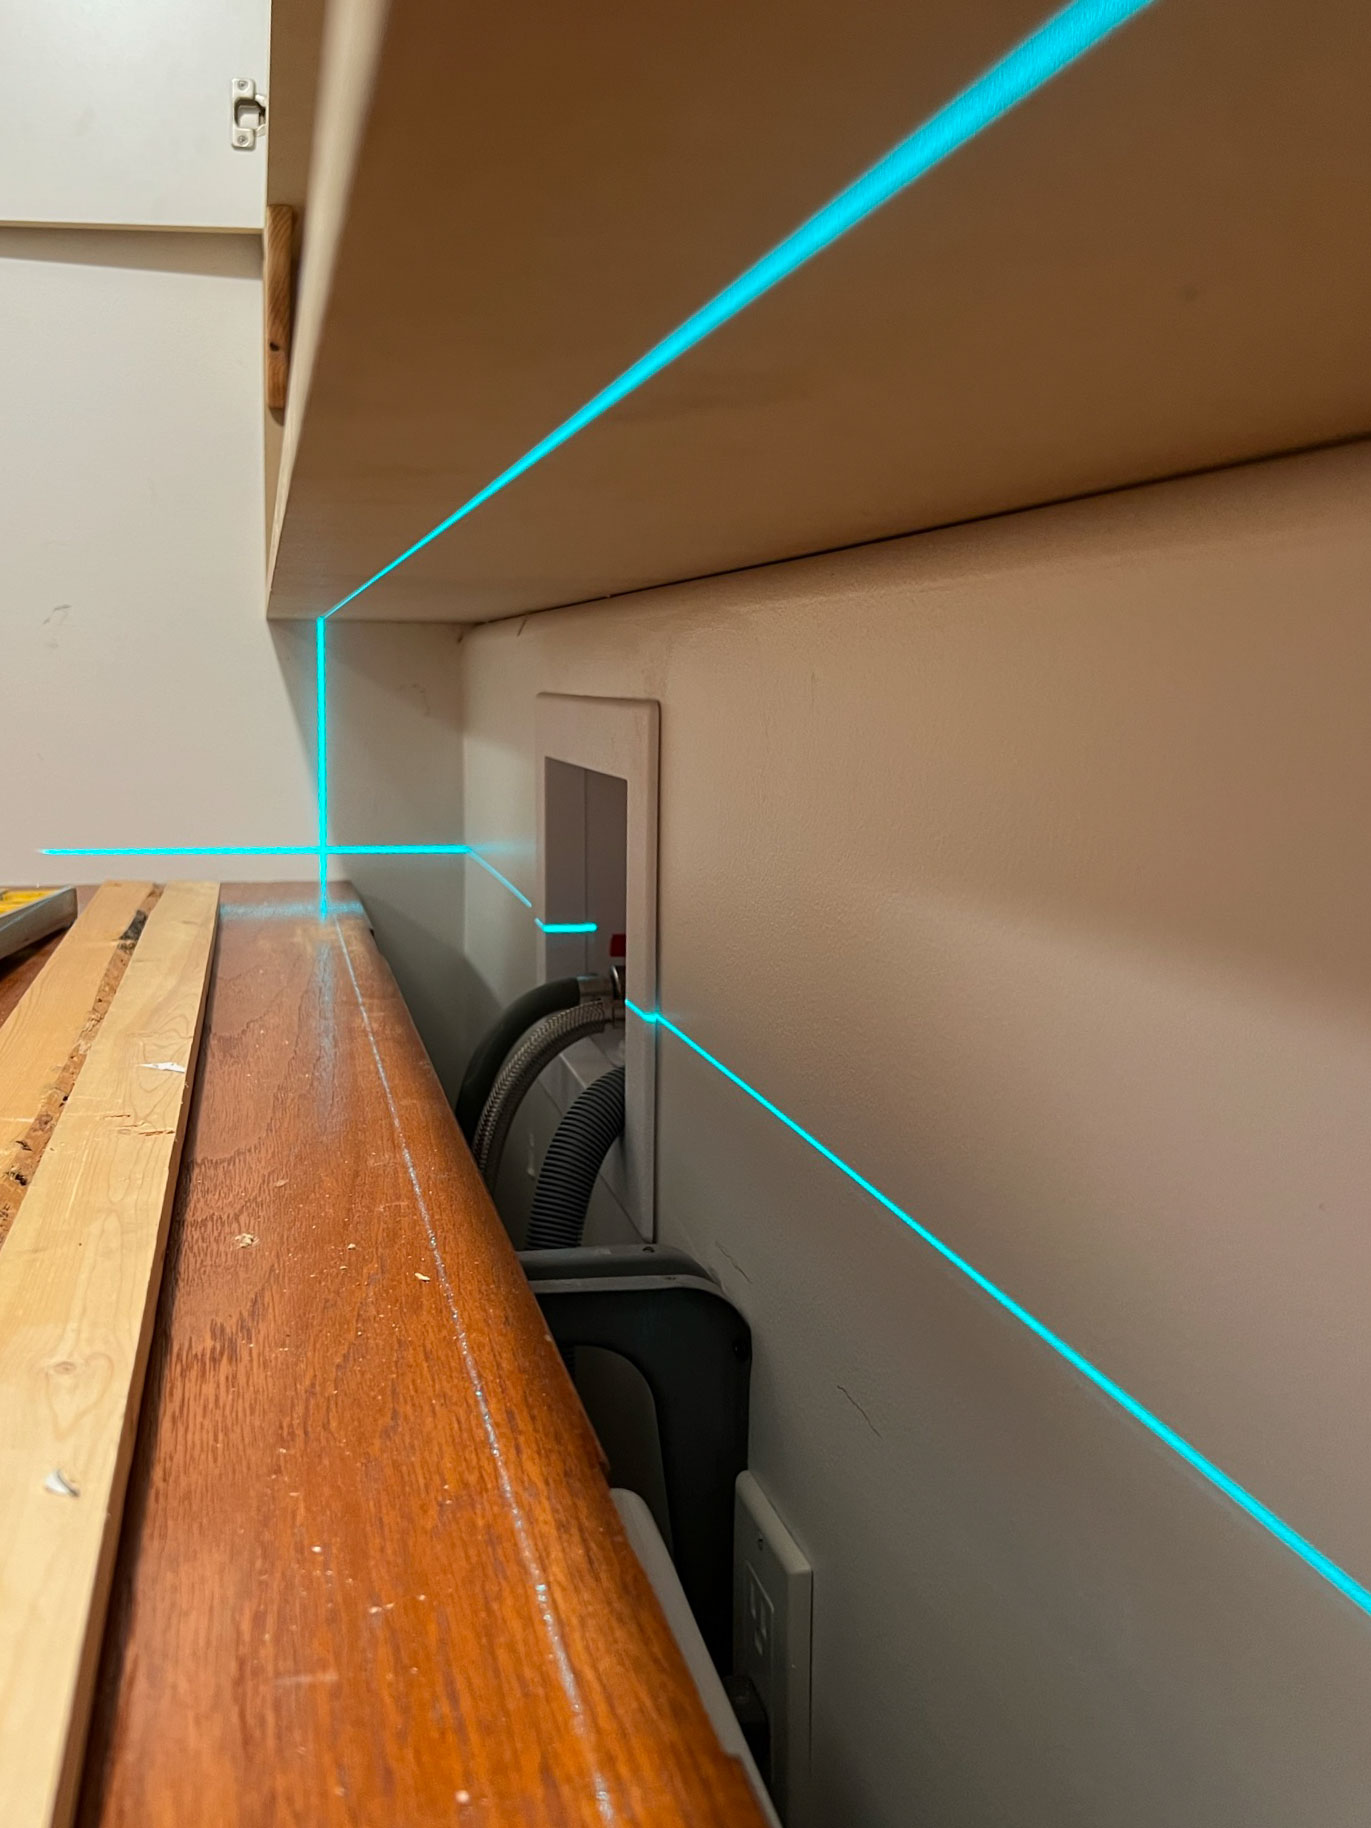
The first step when talking about how to build a laundry room countertop is to measure. Before we cut anything, the first step was to take out our trusty laser level and mark a level line where we wanted the countertop to sit. We marked a line just about 2″ above the height of the washing machine. We marked the line on the side wall and back wall, and then marked the stud locations along those lines using a stud finder. We installed ledger boards along the two side walls by drilling through the wood supports into the wall studs (we used scrap 2×6’s) using wood screws.

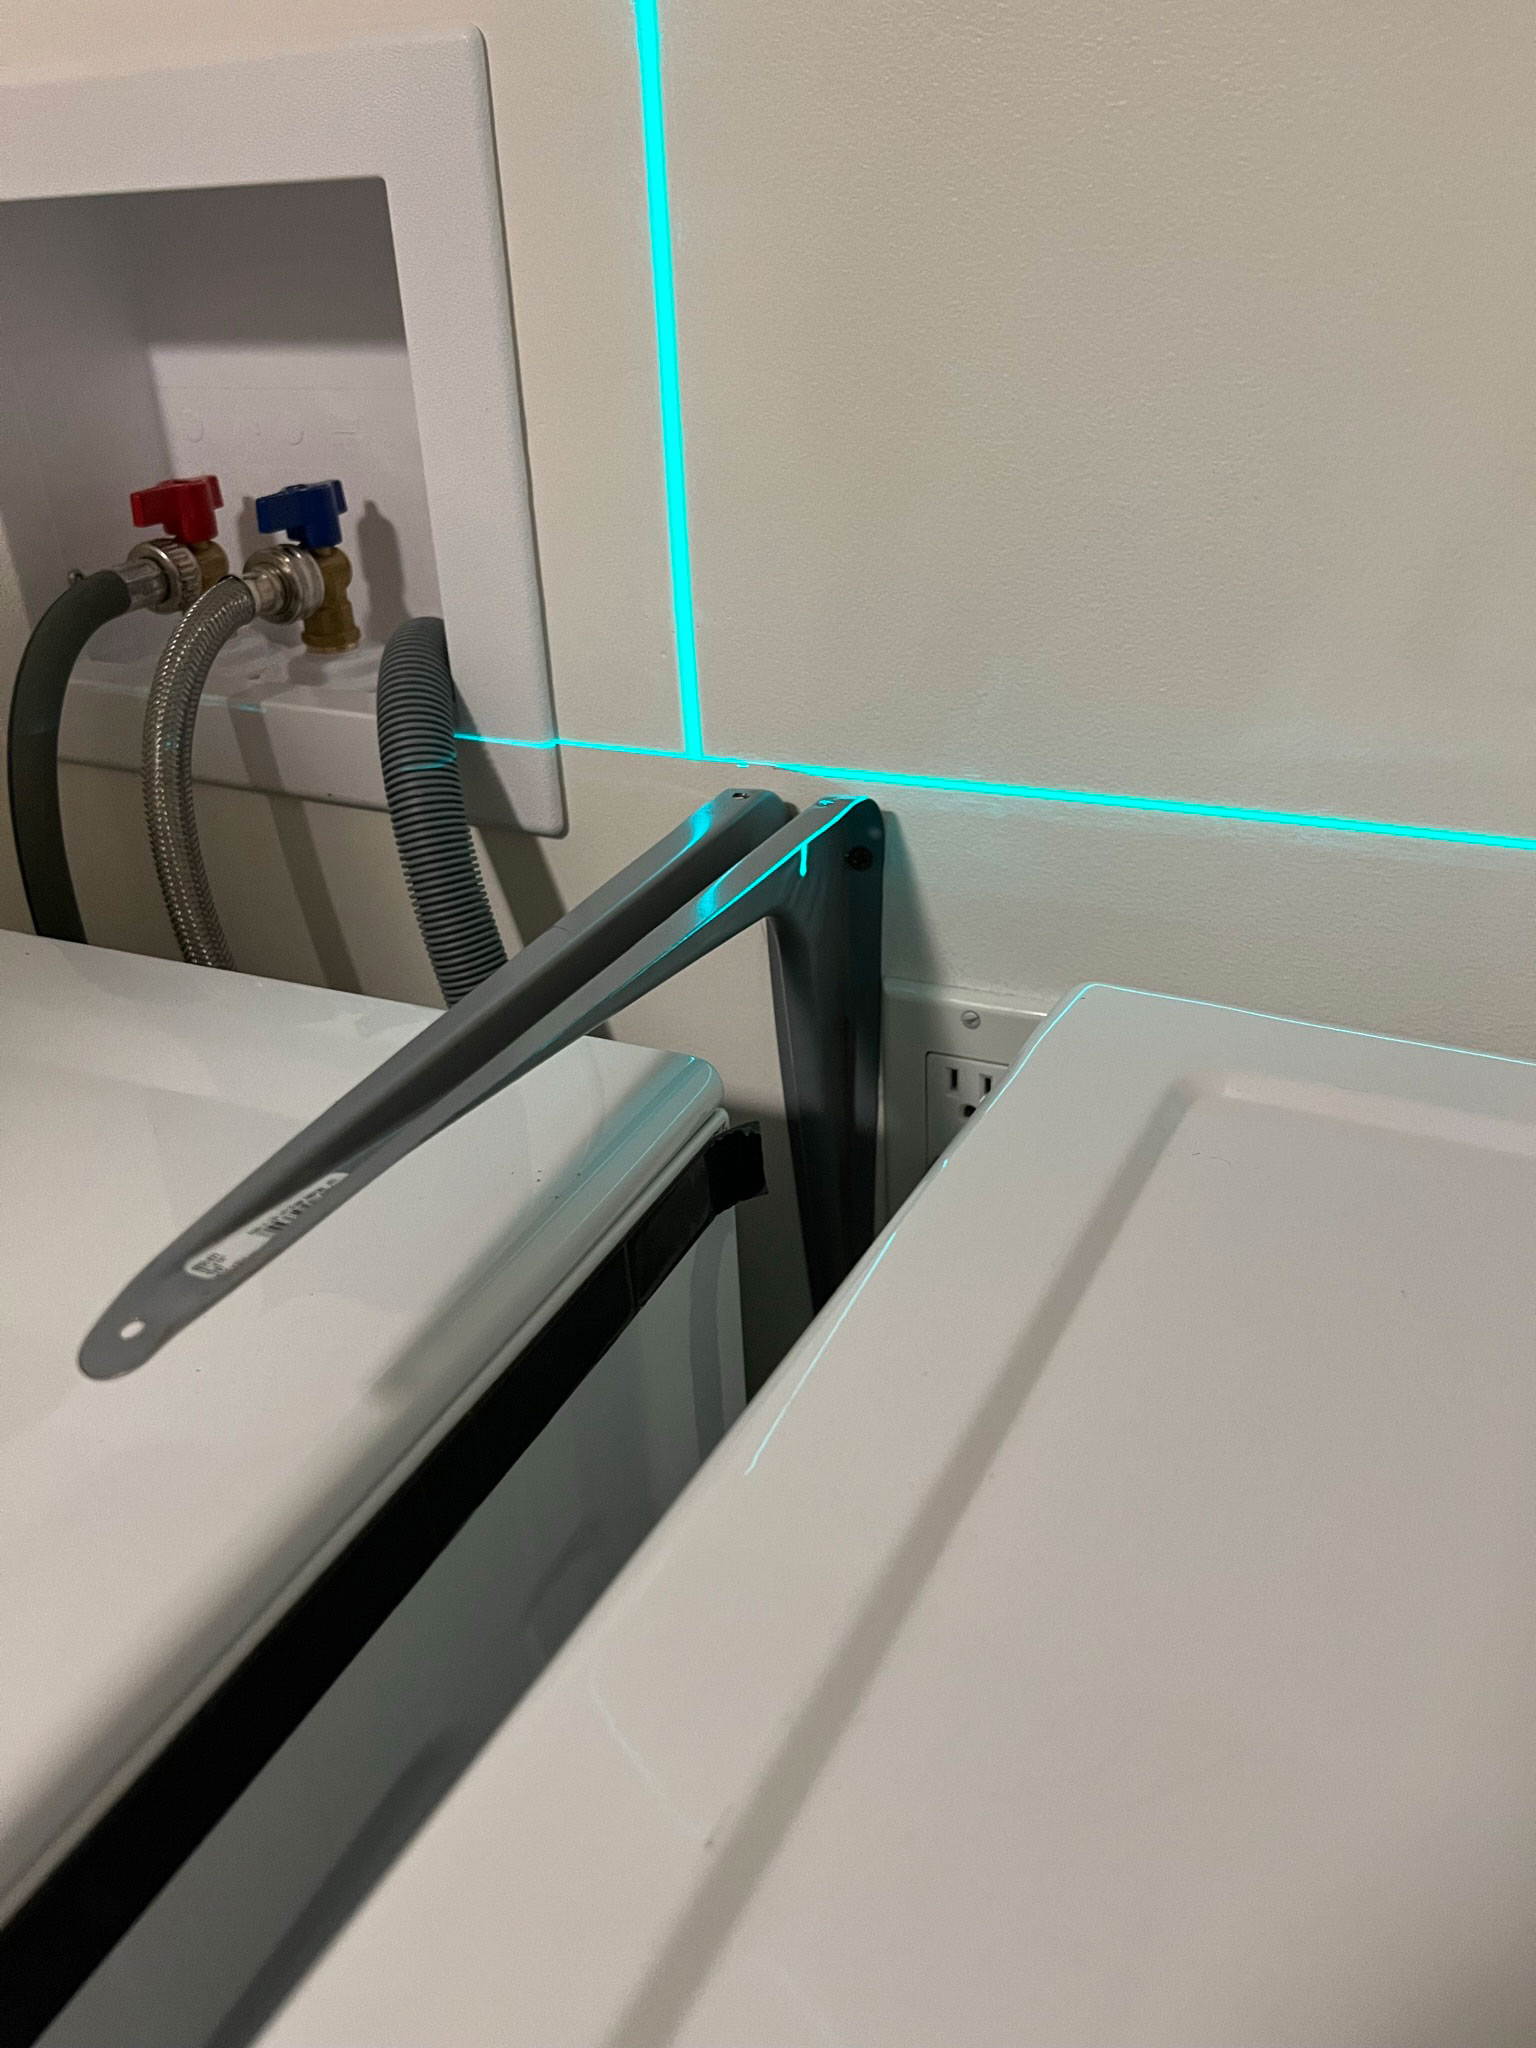
Because we were not able to extend our countertop right to the back of the closet due to the interfering waterlines, we couldn’t add additional supports at the back to support the weight of the countertop. We sifted through the garage stash and found a sturdy metal bracket that we could add to the back of the closet that would extend out further than the 2′ or so space that we had left for the water hookups. We added that on a stud as well, ensuring the top of that bracket lined up with the level line we marked earlier for the support boards.
Note: If your water lines are below the level of your machines, you may be able to have your countertop sit tight against the back of the wall. If that is the case, a support board could have been cut along the back as well to provide even better support.
Step 2 – Cut the wood door to fit
The next step to installing the laundry countertop over my front loaders was to cut the wood door to fit. We carefully measured the depth and width of the wall and closet opening. Because my design also involves putting a little skirt in front of the washer and dryer, I wanted the countertop to extend out past my machines a little so we also decided to notch the front so it could extend past the closet opening.
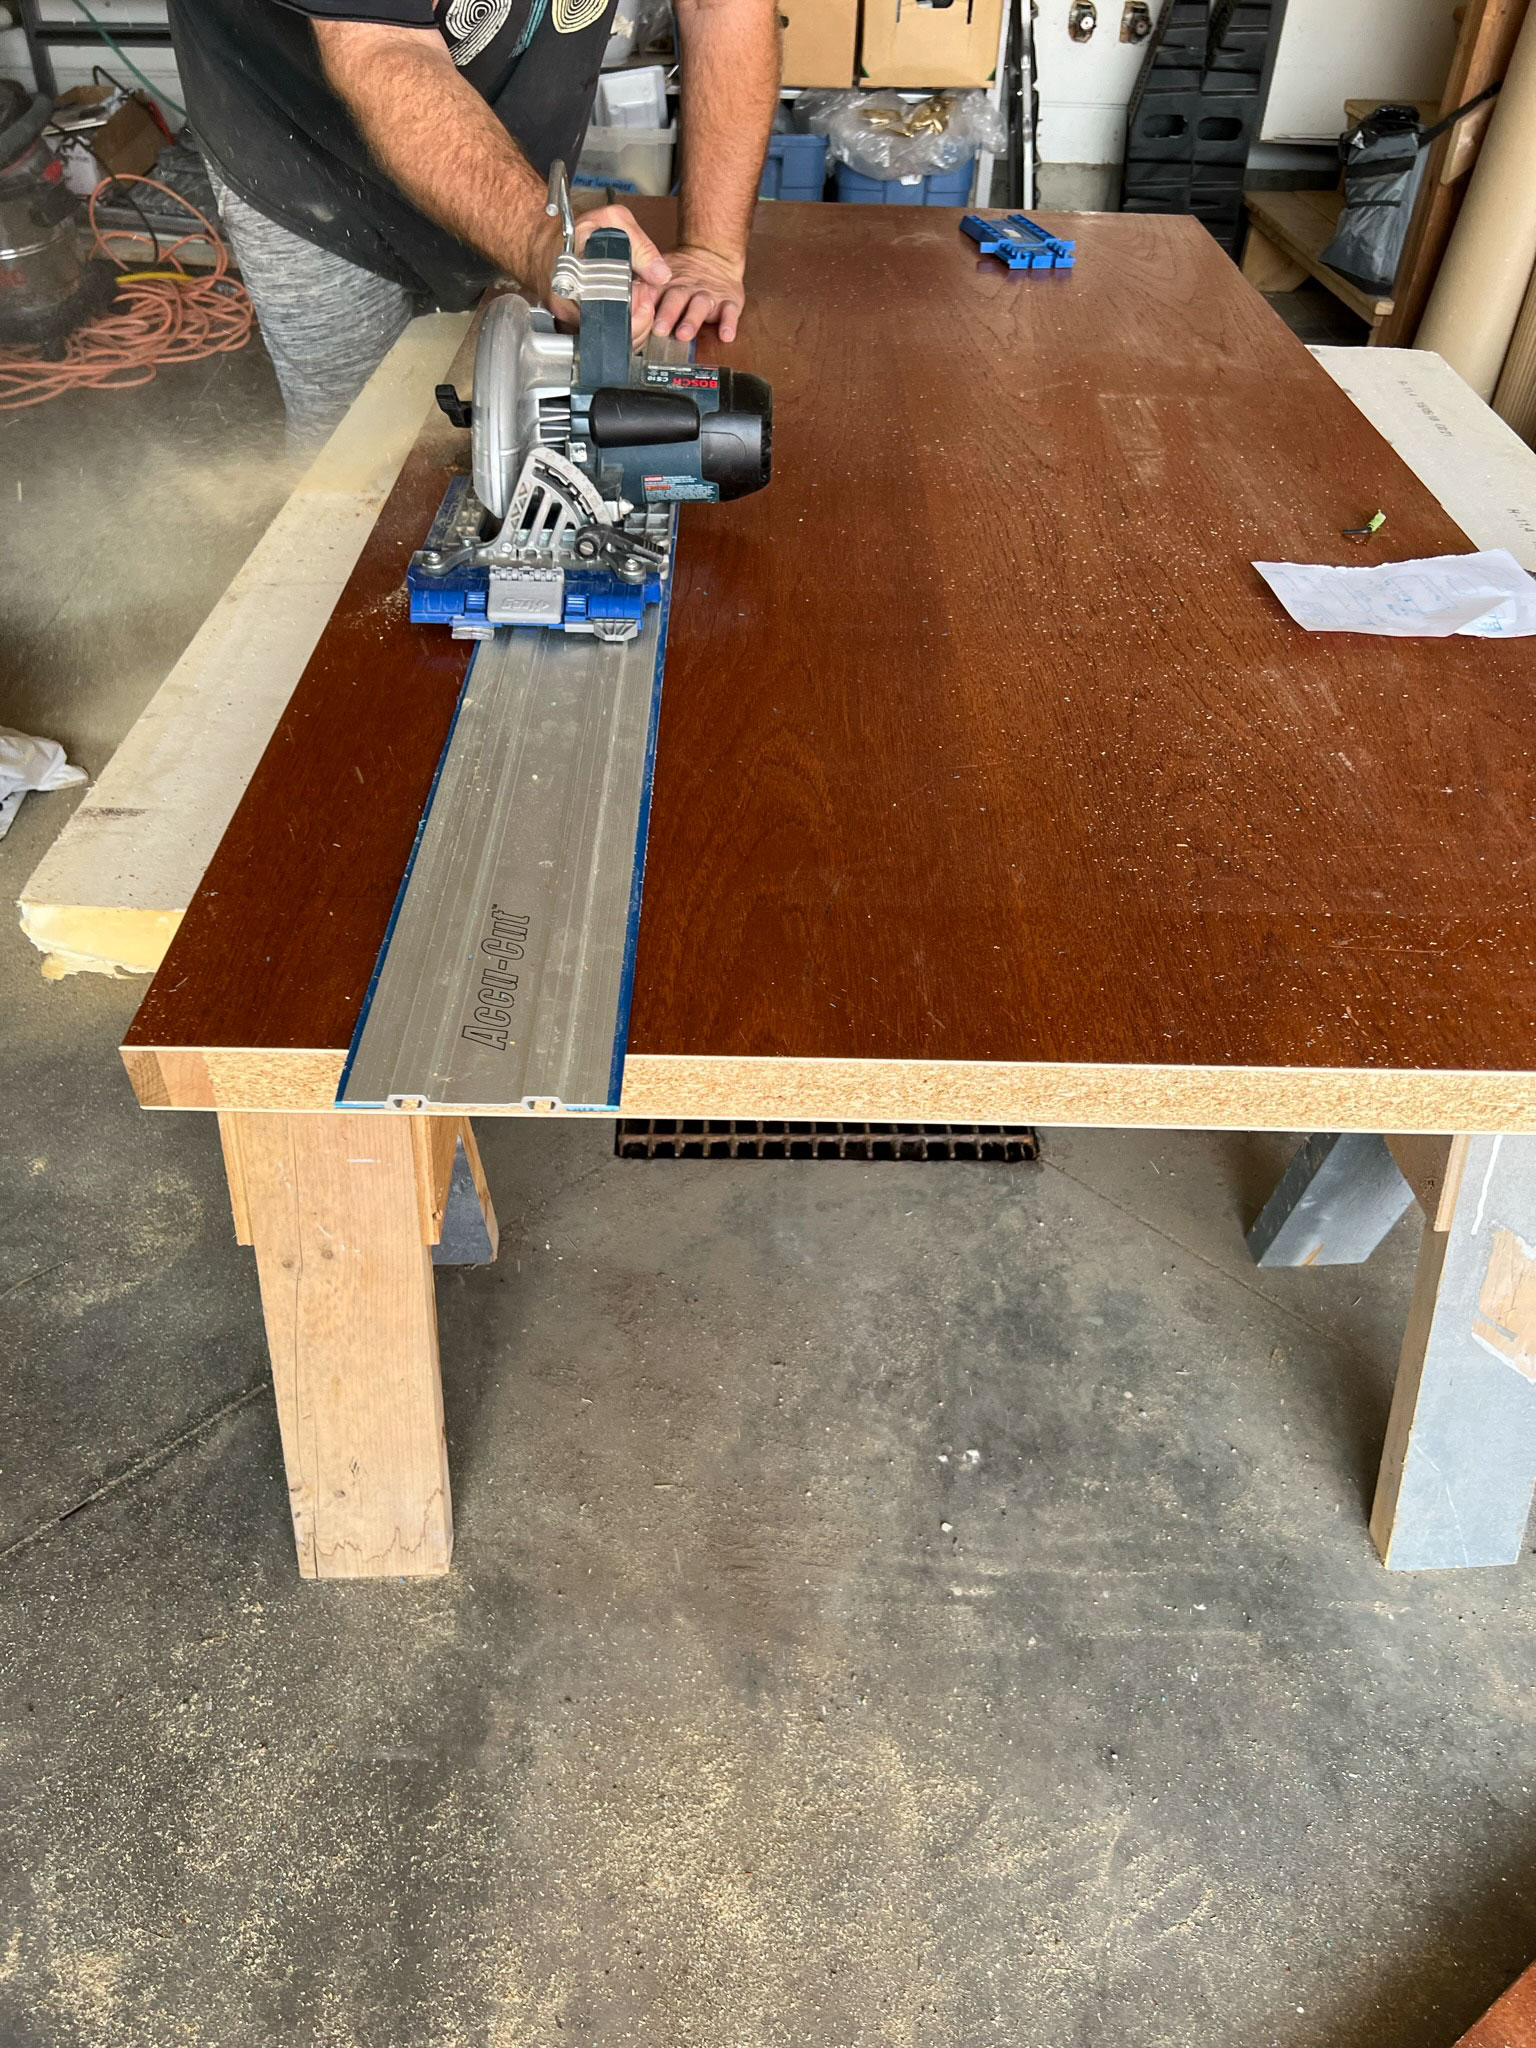
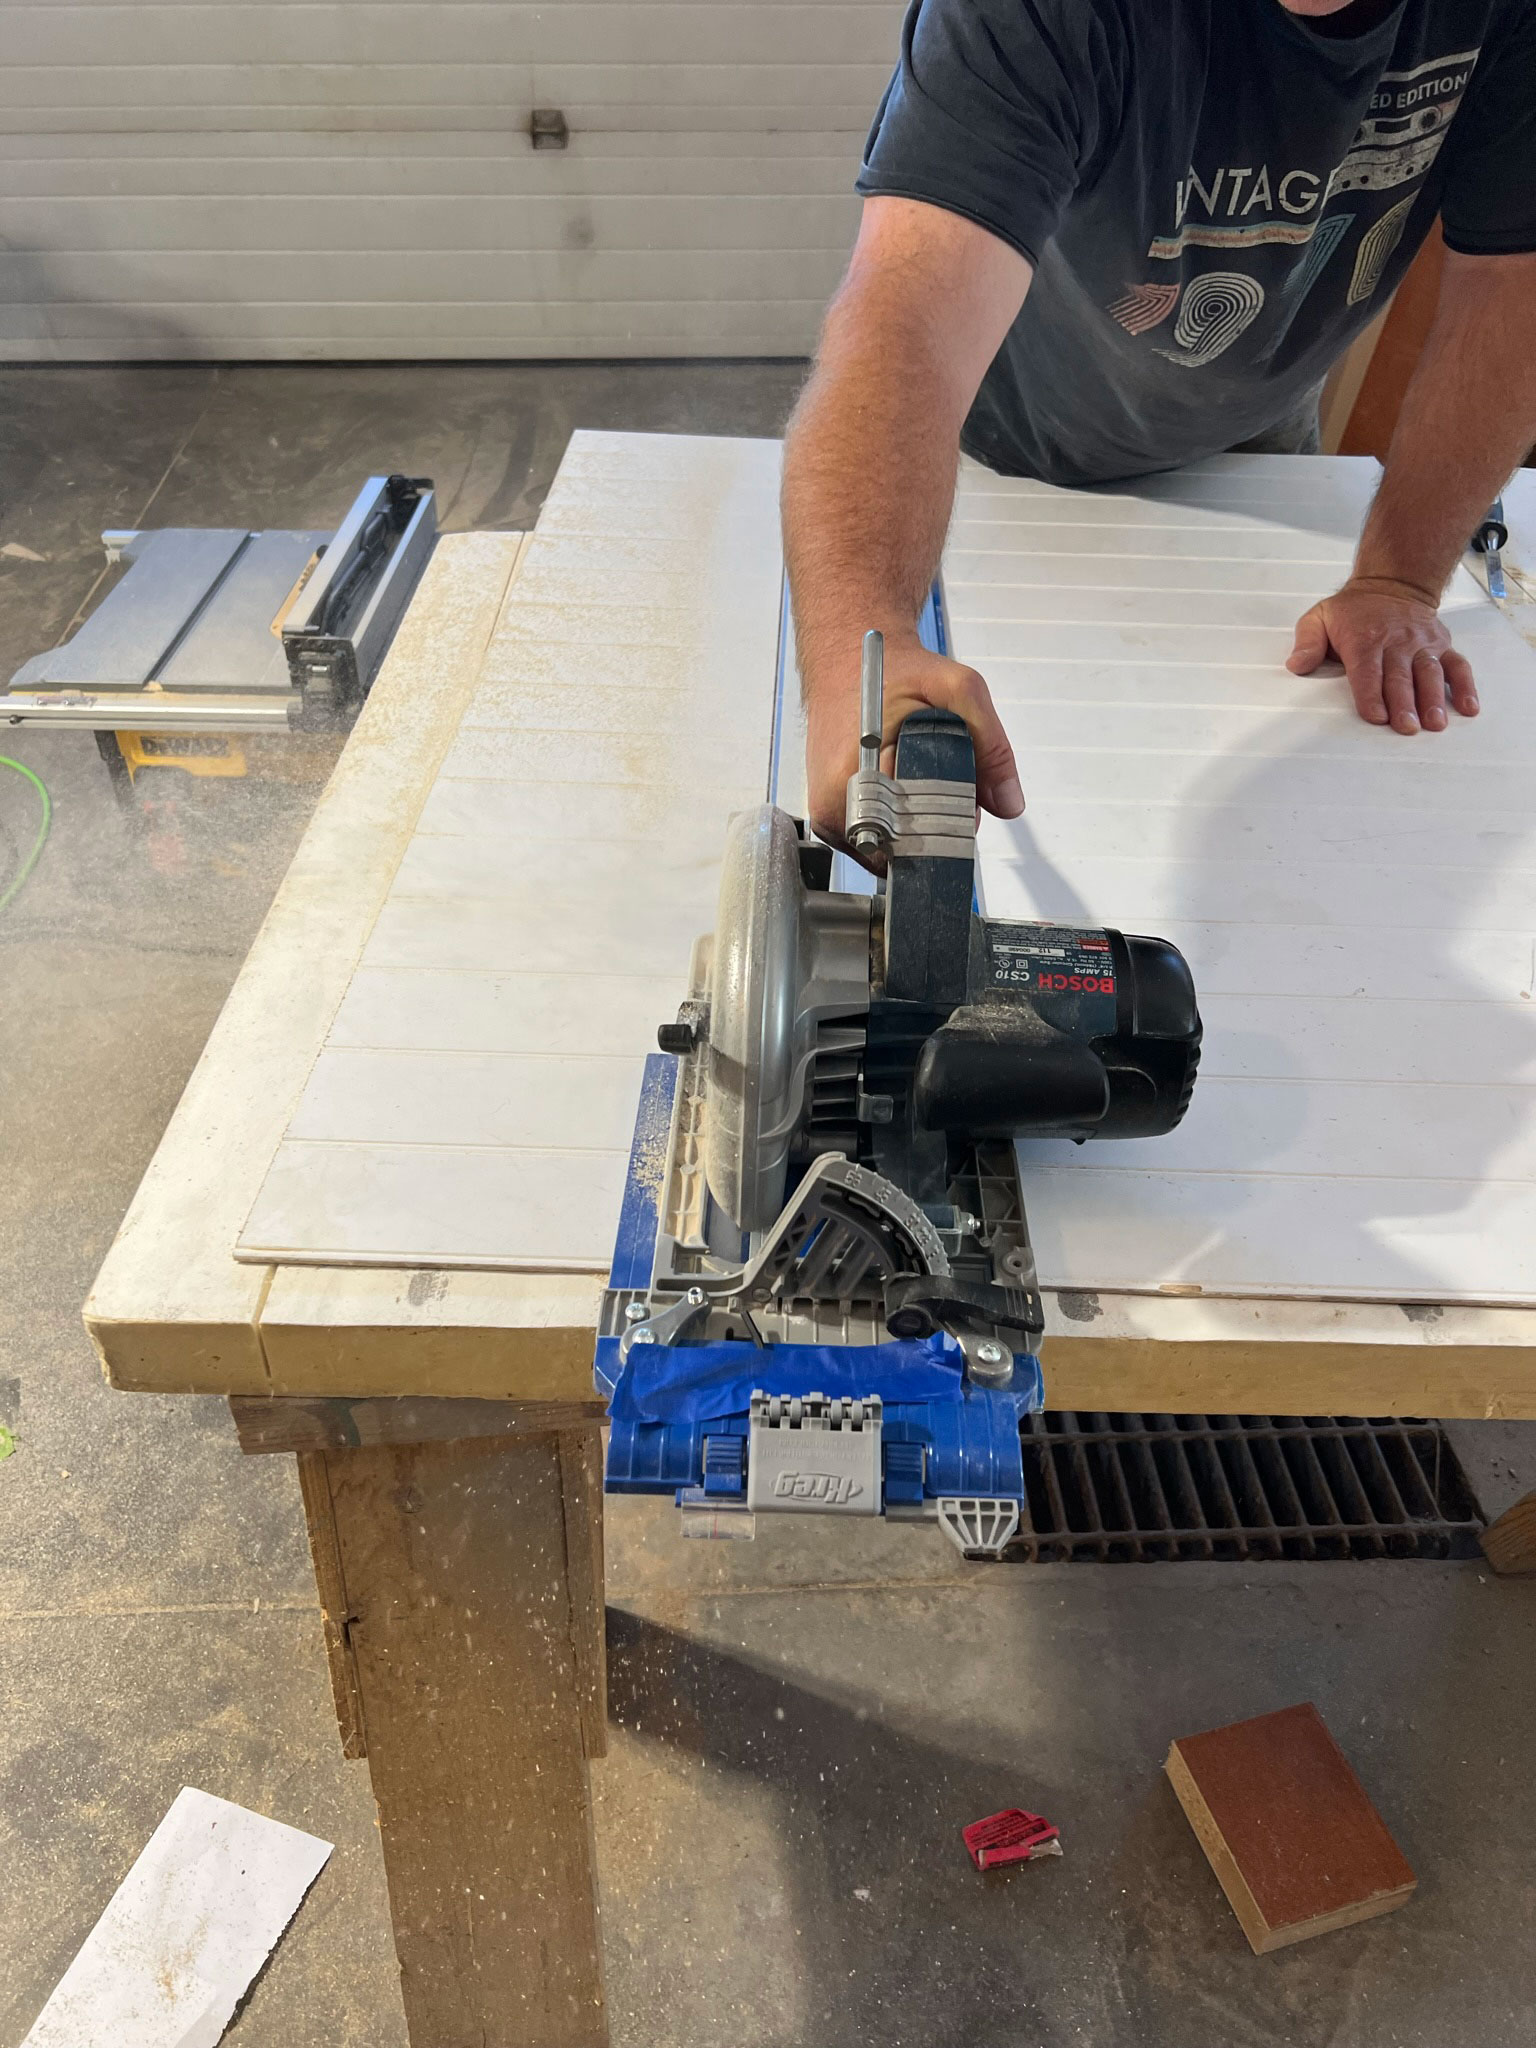
Once we got these measurements, we traced them out on our door and then cut the door using a circular saw and a straight edge guide. The notches were started with a circular saw and guide to make sure they were straight, and finished up with the jig saw in the corners.
Once the door was cut, we spent a fair bit of time turning it this way and that way and trying to jimmy it into place. We had existing cabinets in place and the washer and dryer units as well, so we weren’t sure we would be able to get it to fit, but after pulling out the washer it finally dropped into place. There was a little damage to the wall to get it in there and it was super tight!
We knew the door might not sit perfectly flush against the side walls and the front, since the walls on either side were not likely to be perfectly level and square (and they weren’t). We had planned to place a small trim piece around the edges to fill any gaps between the door and the wall. Now that the door is in place, the gaps are so small that it doesn’t seem necessary as they are not really noticeable.
Step 3 – Hide the Water Hook Ups
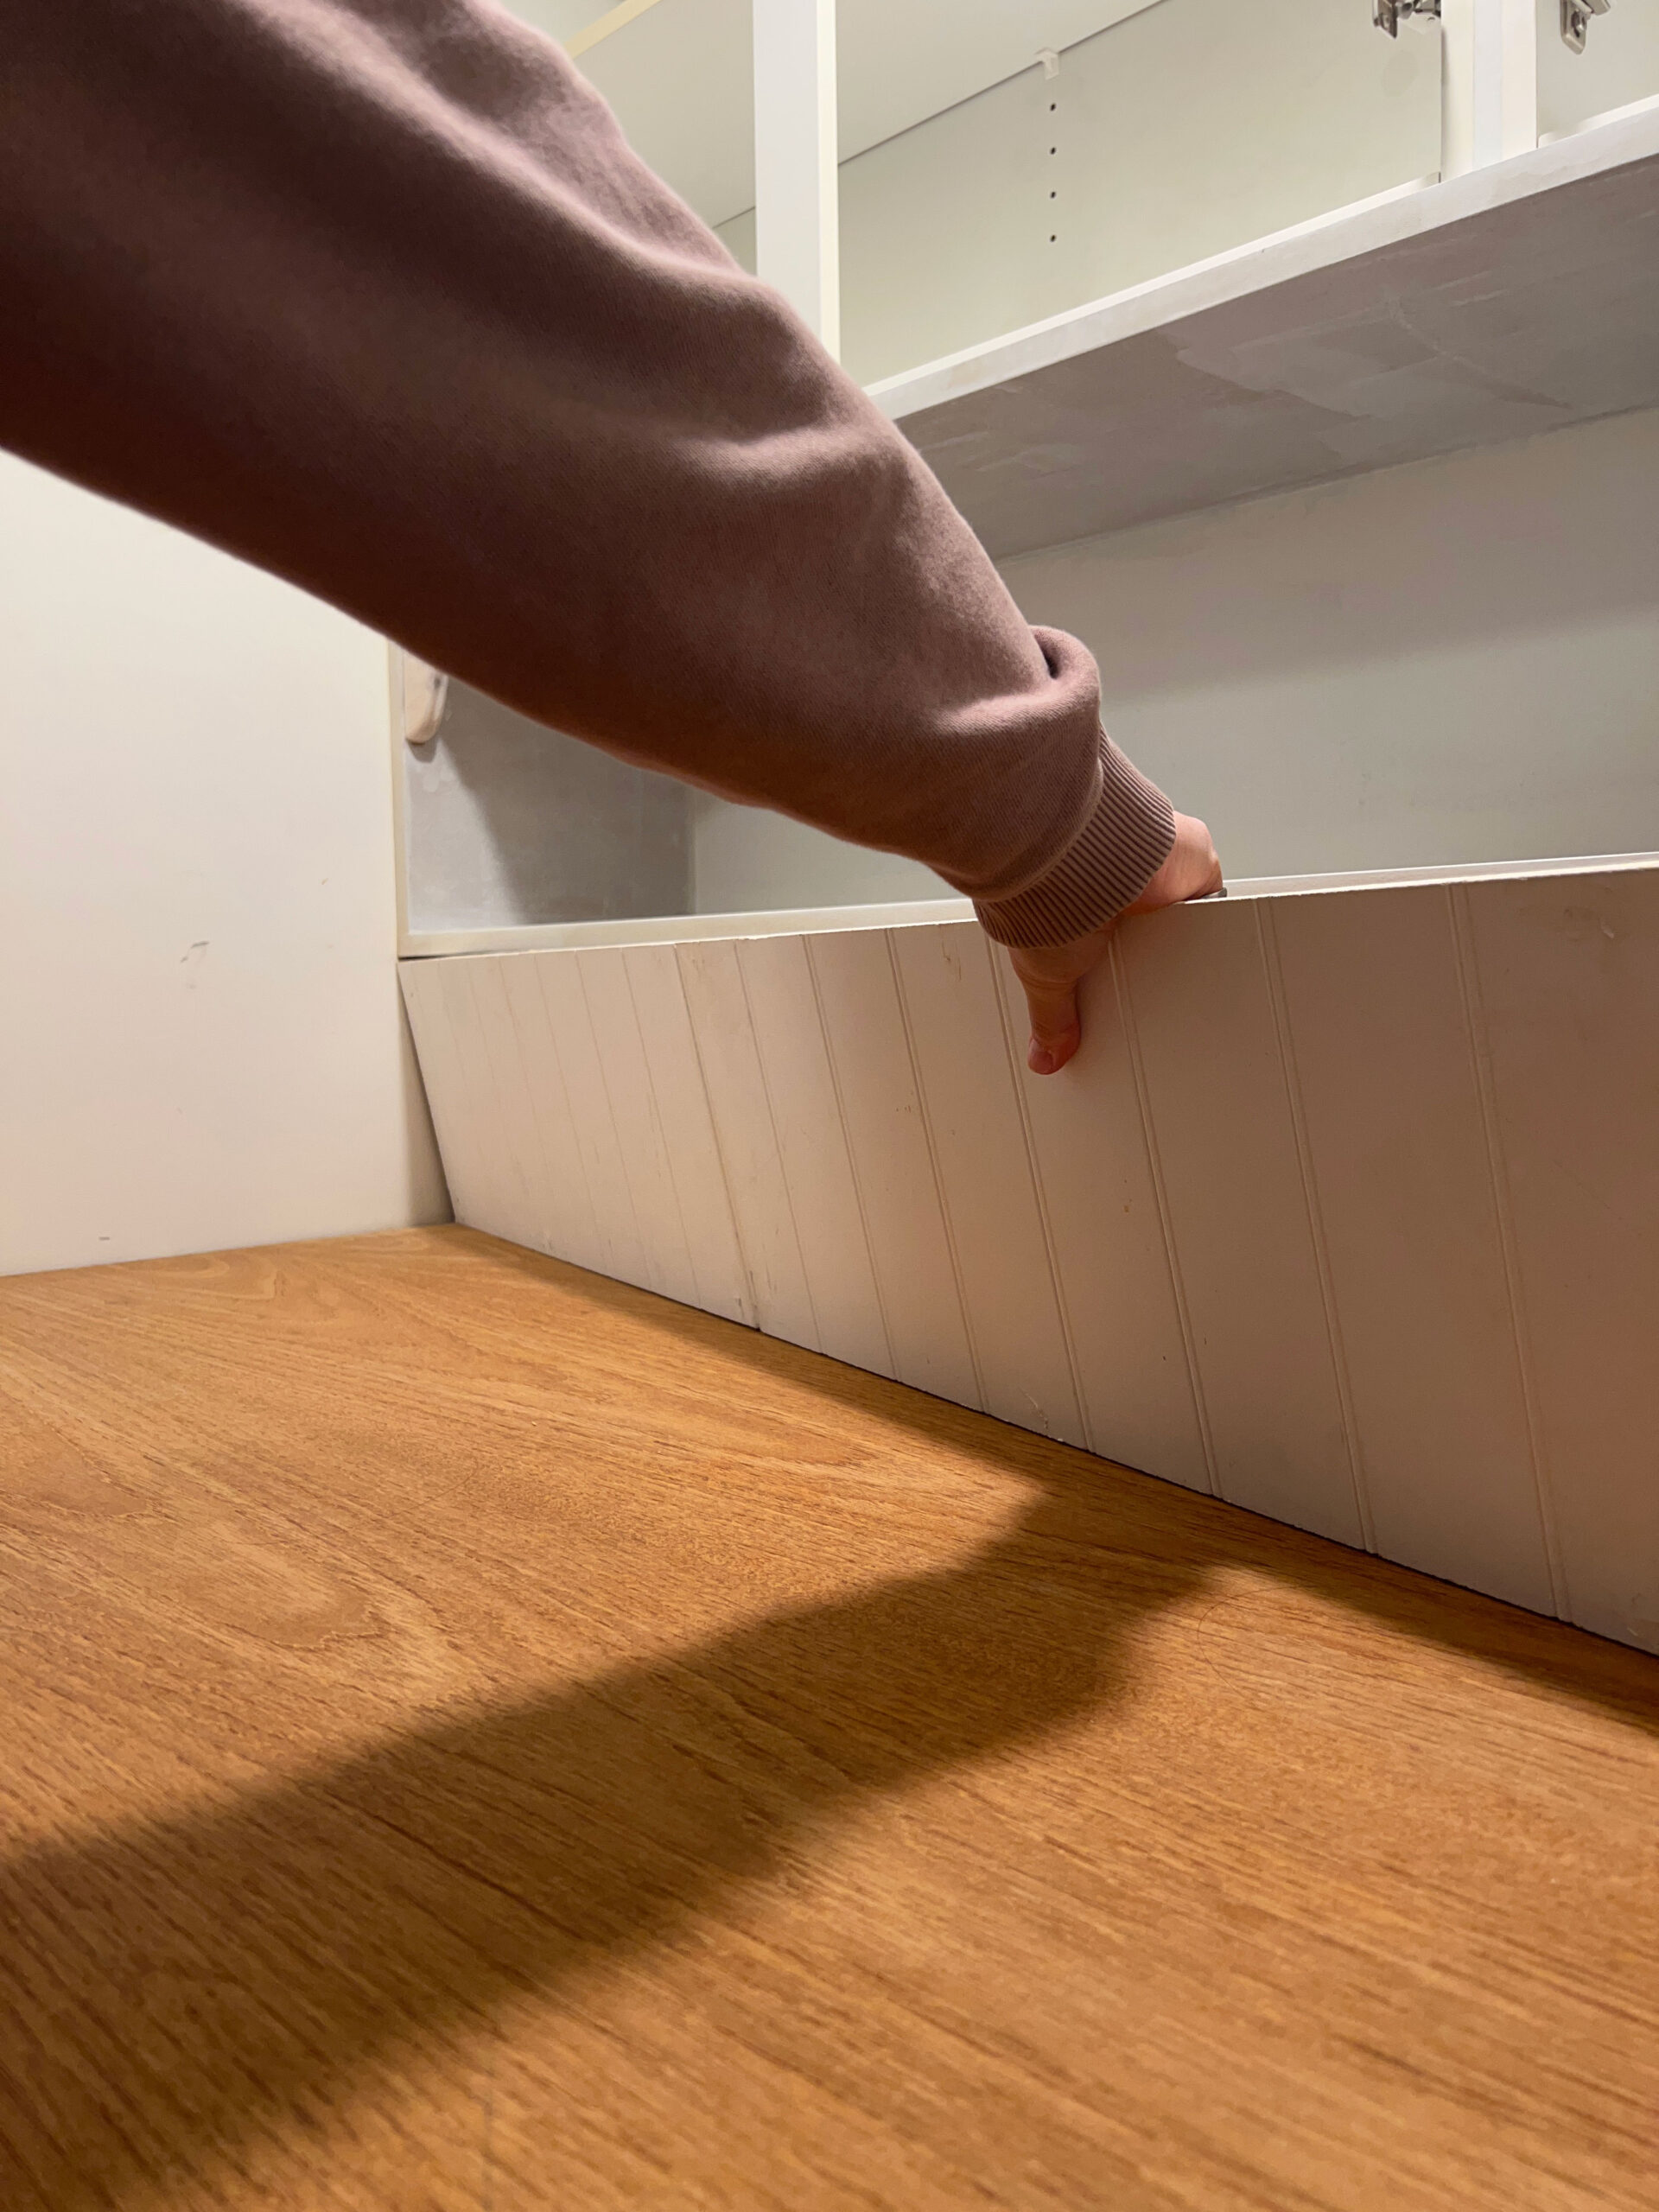
We decided to try to make a “removable backsplash” to hide the water hookups. We had built a little shelf (basically a simple box out of 3/4″ MDF) that we attached to the bottom of our upper cabinets. We took our trusty laser level and marked a spot on the underside of this shelf and the countertop which was a few inches back from the front of the shelf.
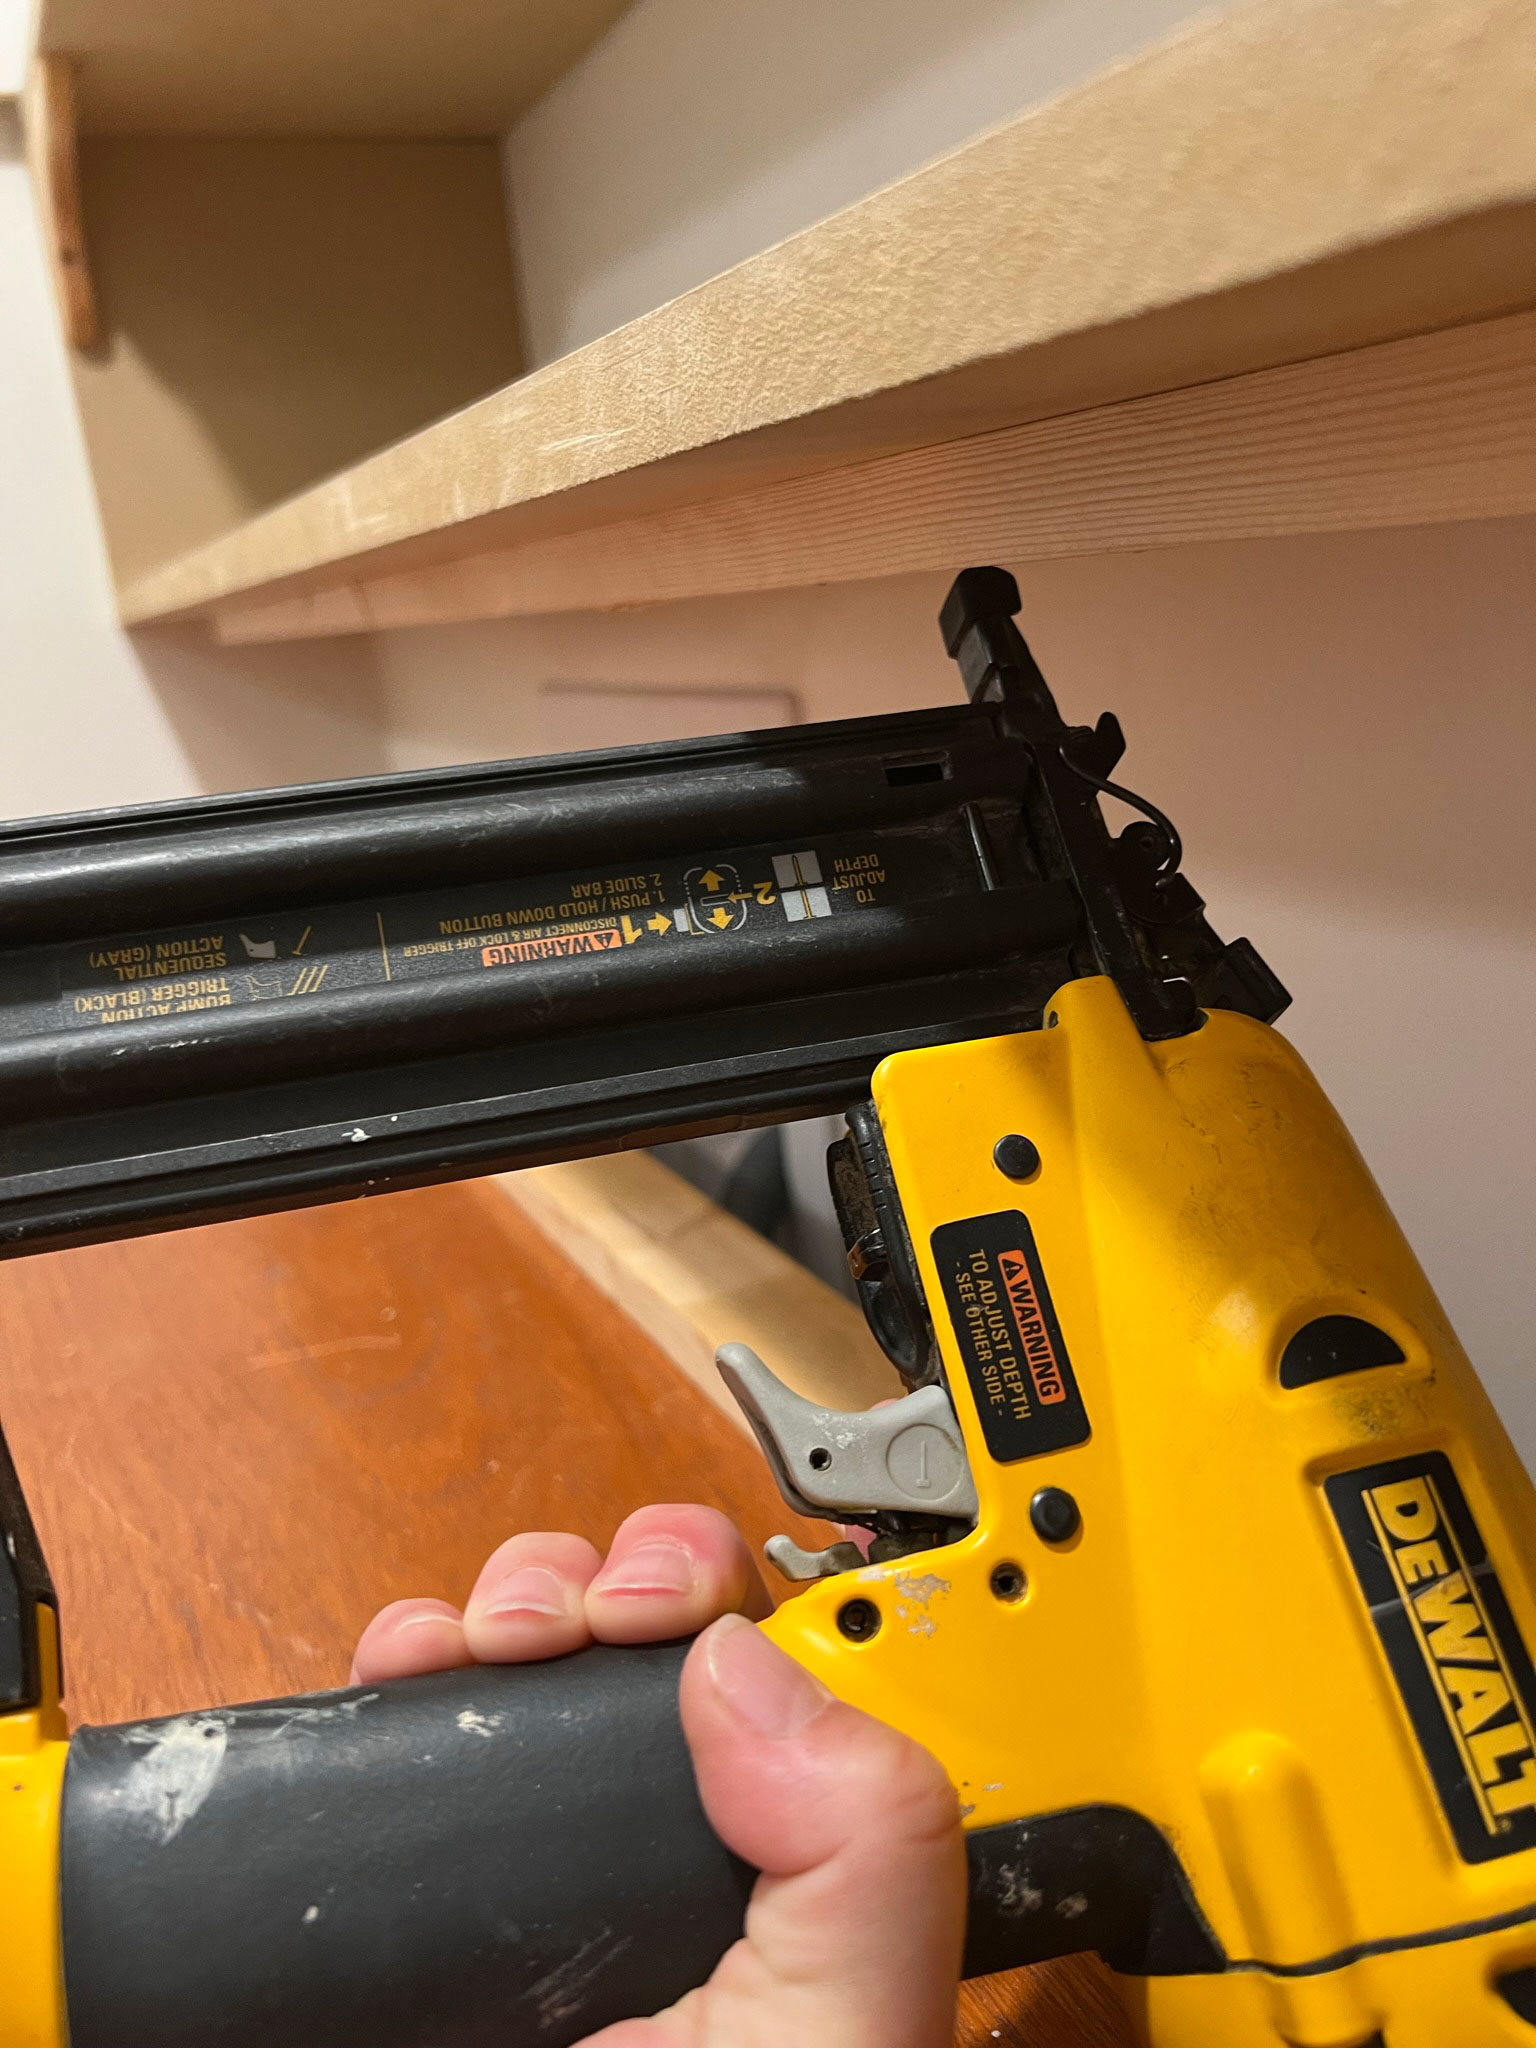
We installed thin wood pieces using some wood glue and our brad nailer to act as stops. We cut these out of scraps we had, but they are approximately 1″ x 2″ in size.
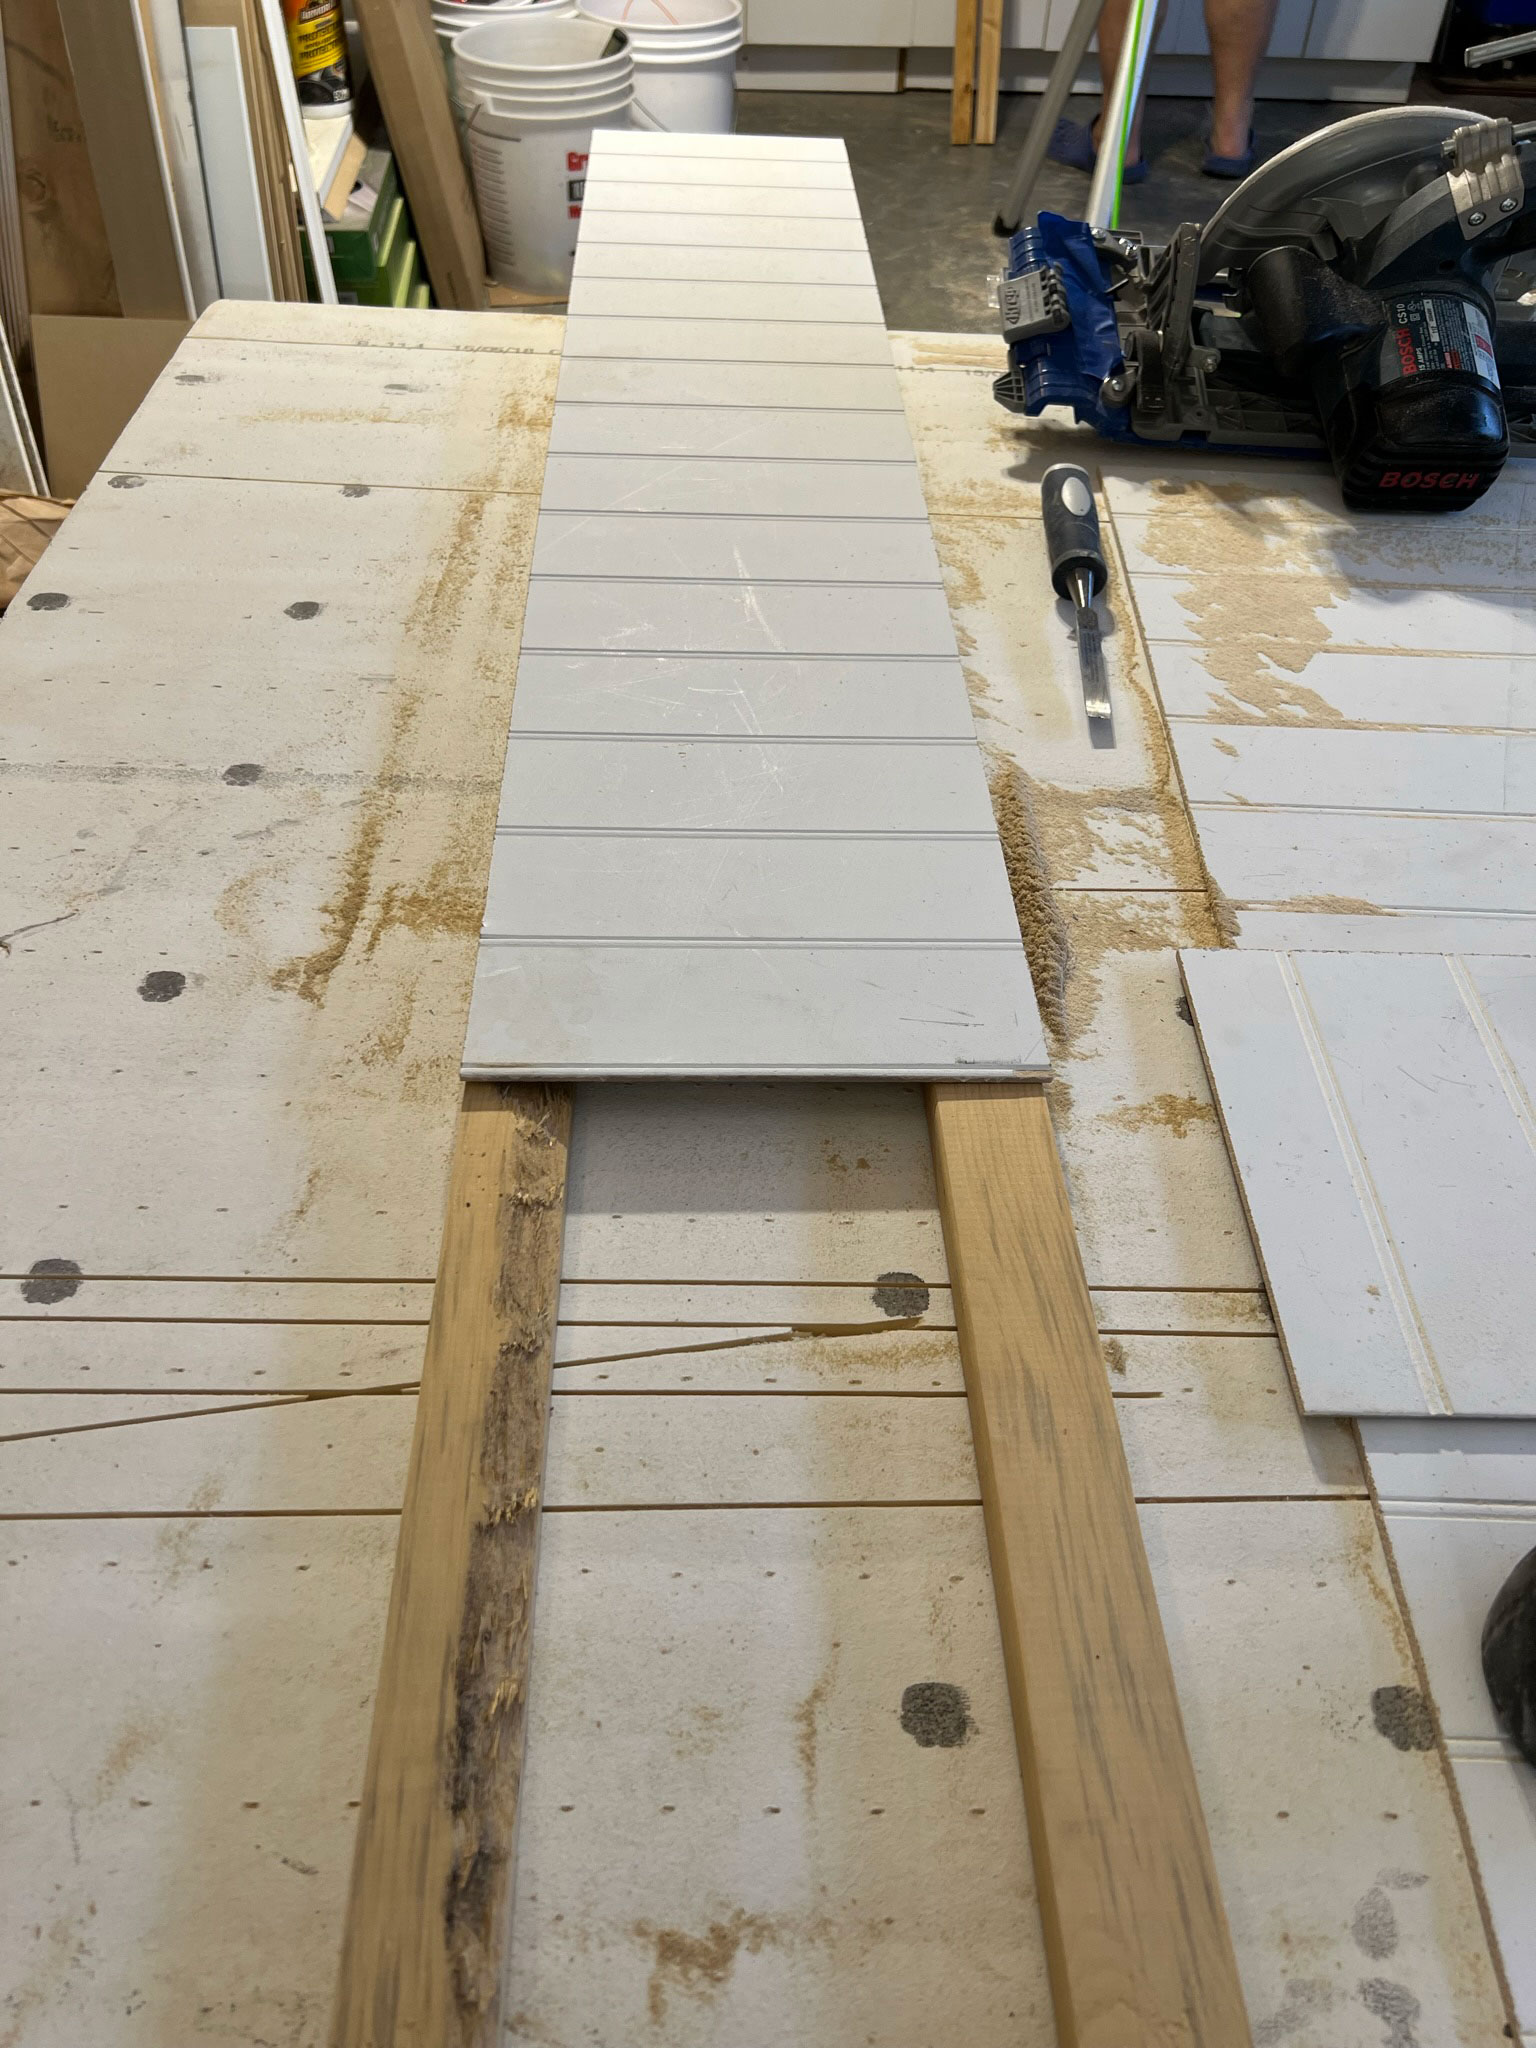
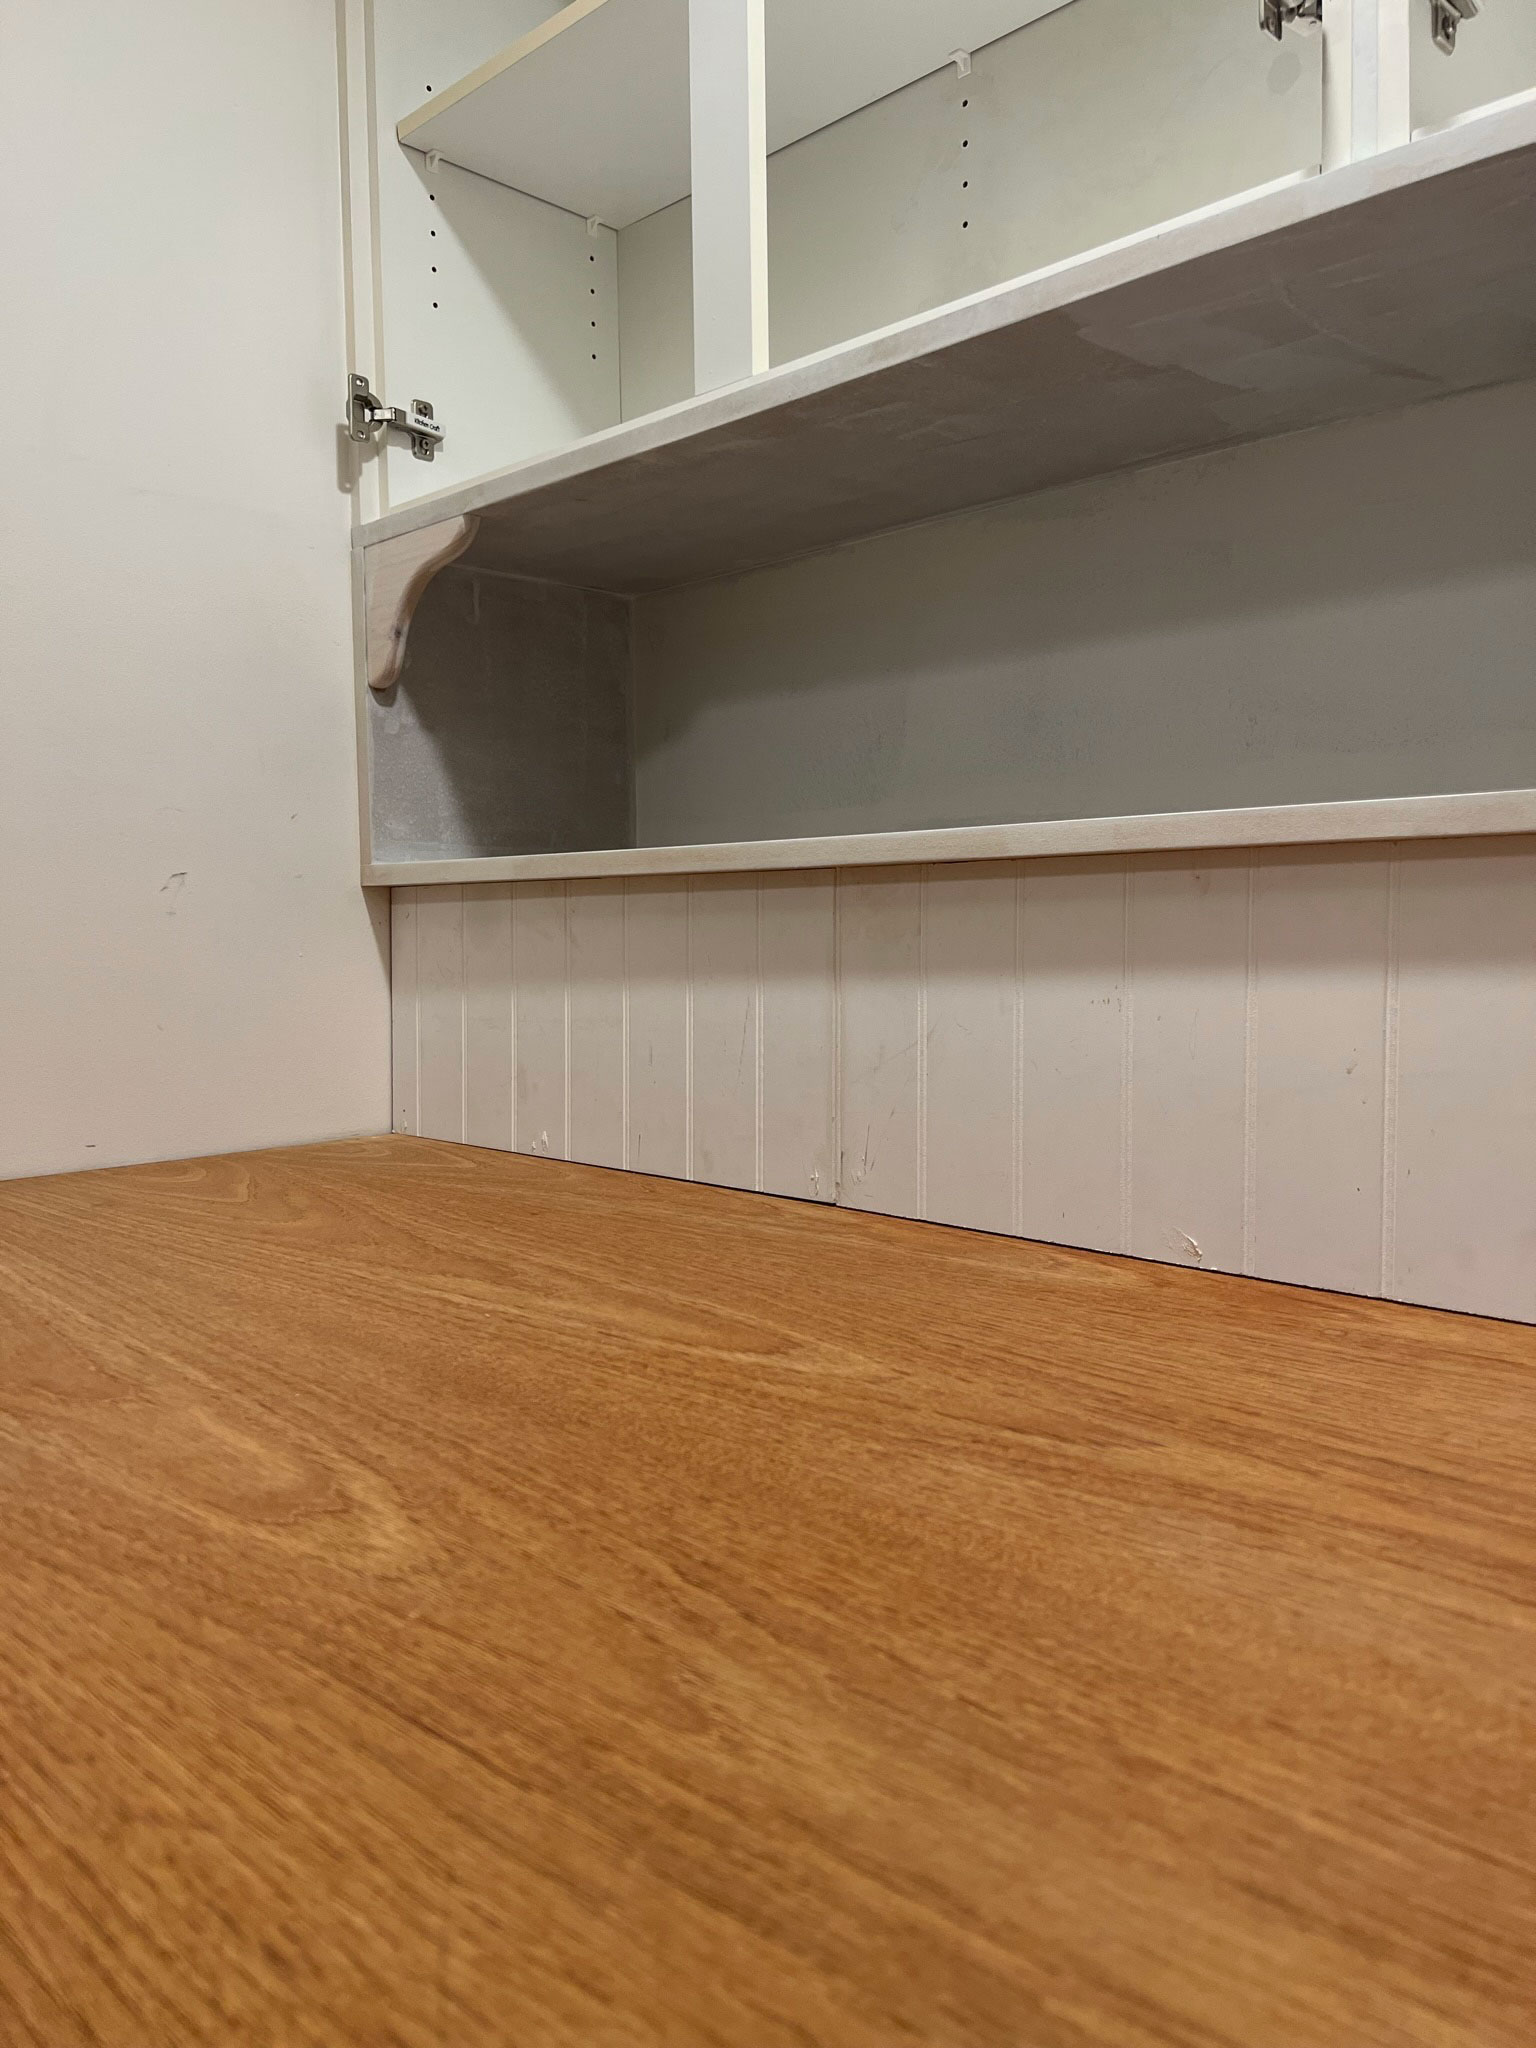
Next, we measured the distance between the underside of the shelf and the top of the counter that we just installed, and the width from wall to wall. We transposed those measurements to a leftover piece of beadboard we had in the garage and cut a few strips to fit together to make up the width and height of the opening.
We cut some thin strips of wood to the width of the wall (from each of the outside walls) to attach the beadboard to, to give it a little bit of rigidity, once again using wood glue and brad nails. Then, we held our breath and slid it into place tight against the wood stops that we installed on the underside of our shelf and the countertop. A perfect fit!
I intended to put a piece of velcro in place to hold the removable backsplash but it sits in place really well without that. It is difficult to remove, however, so I am intending to add a small knob to make it easier to pull off and access the water lines.
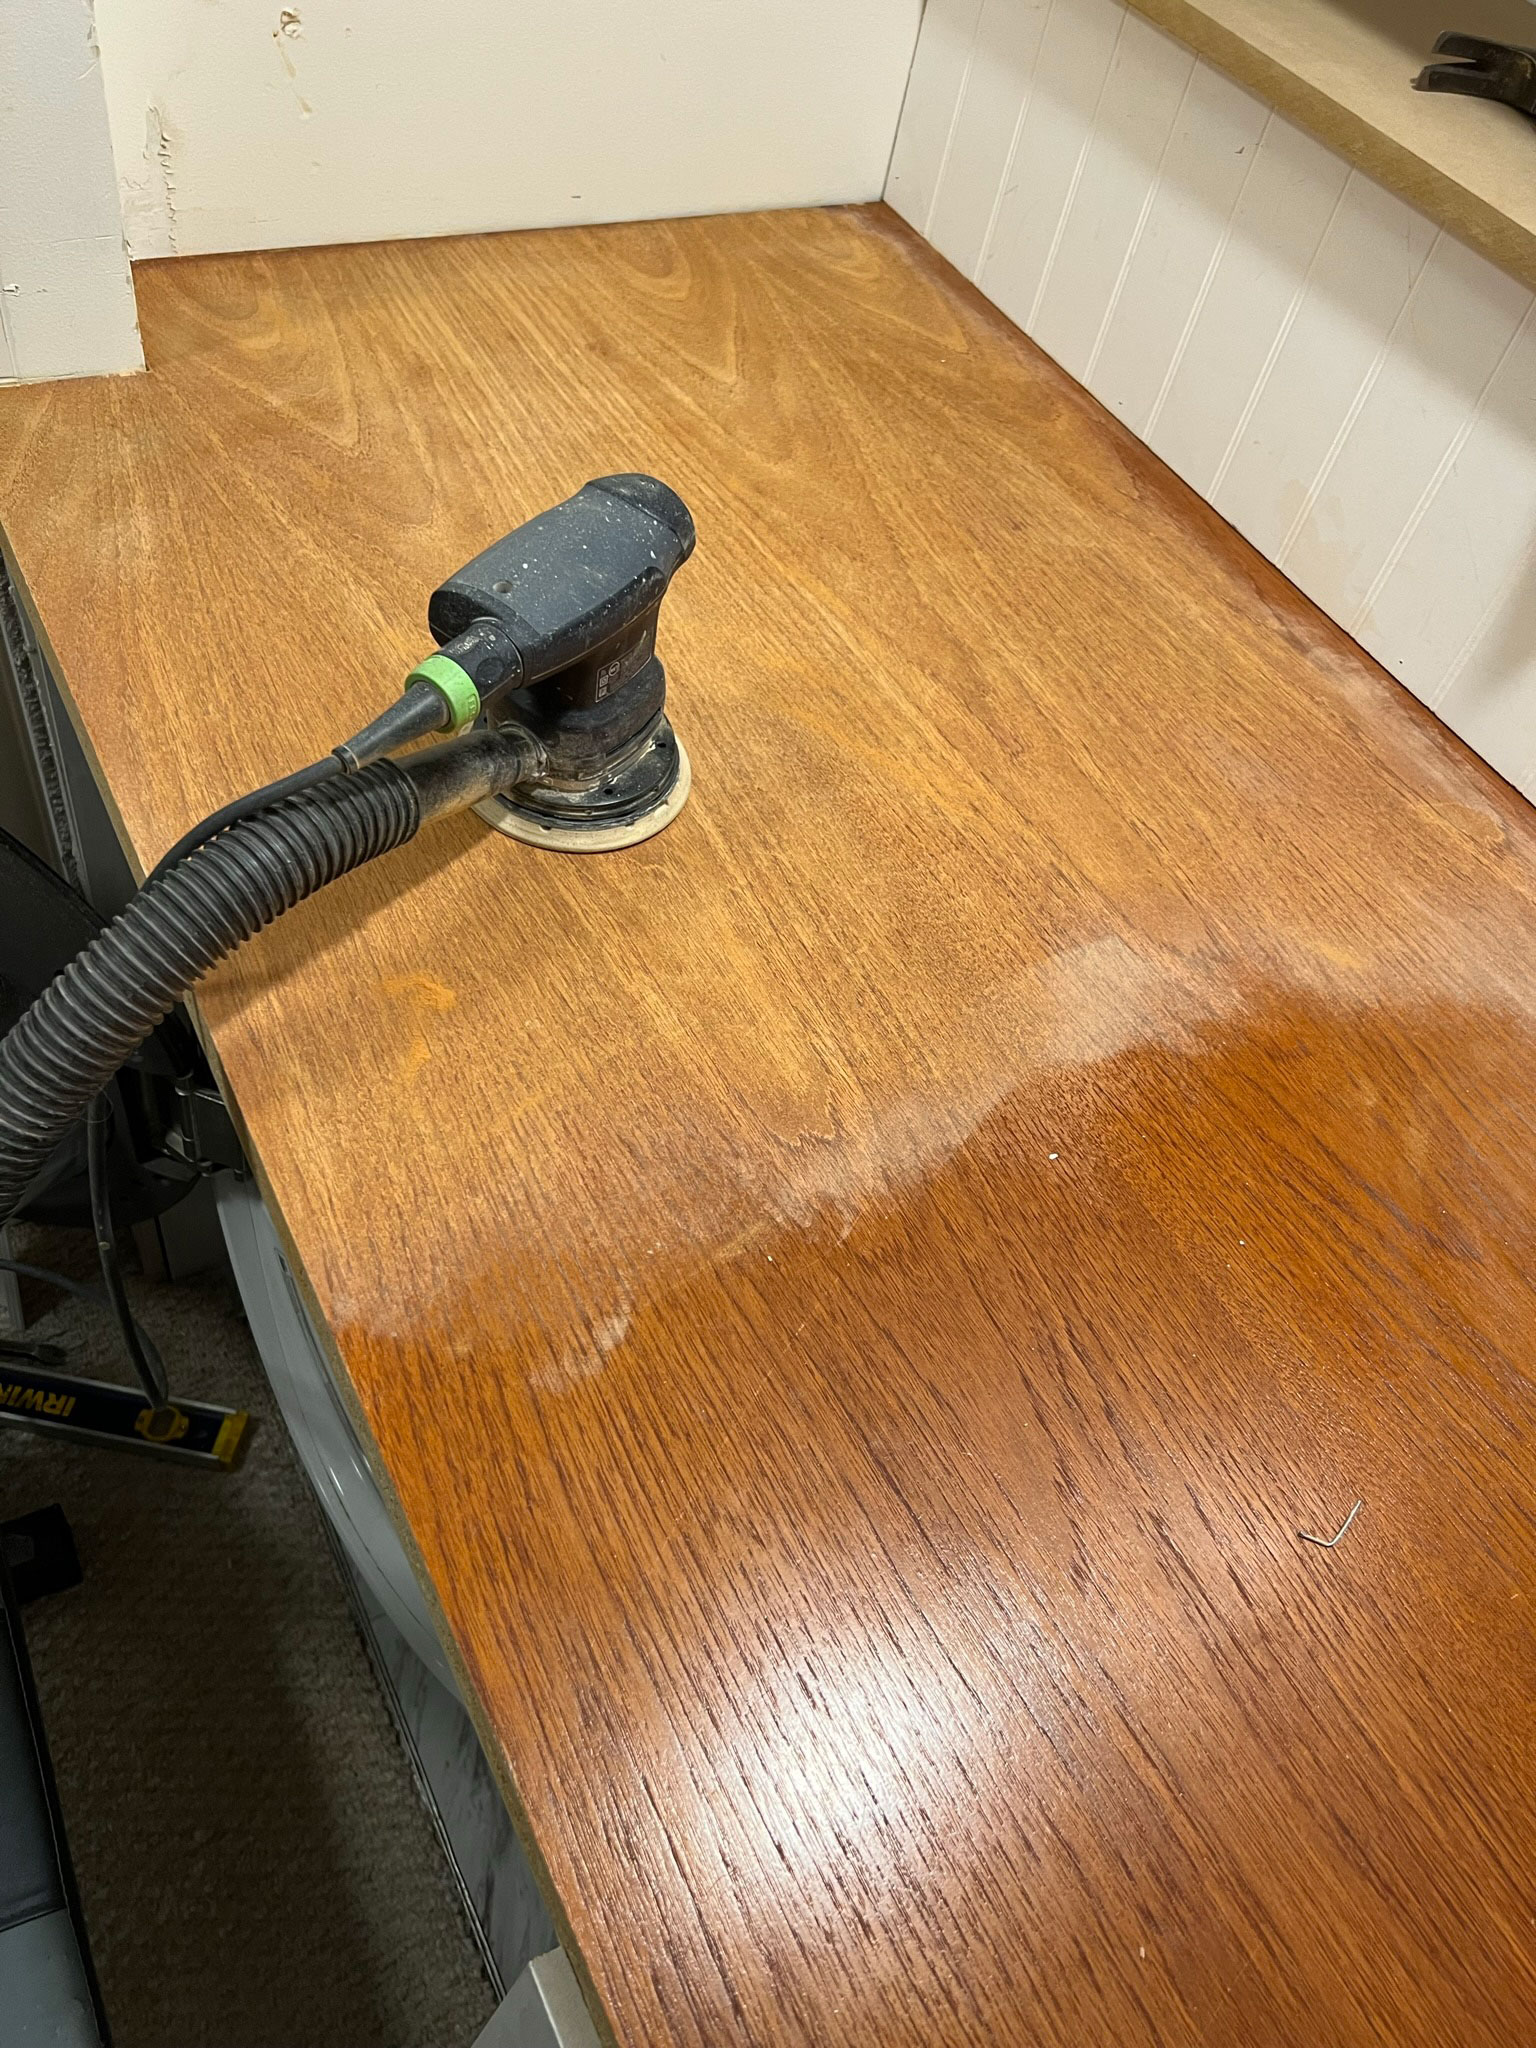
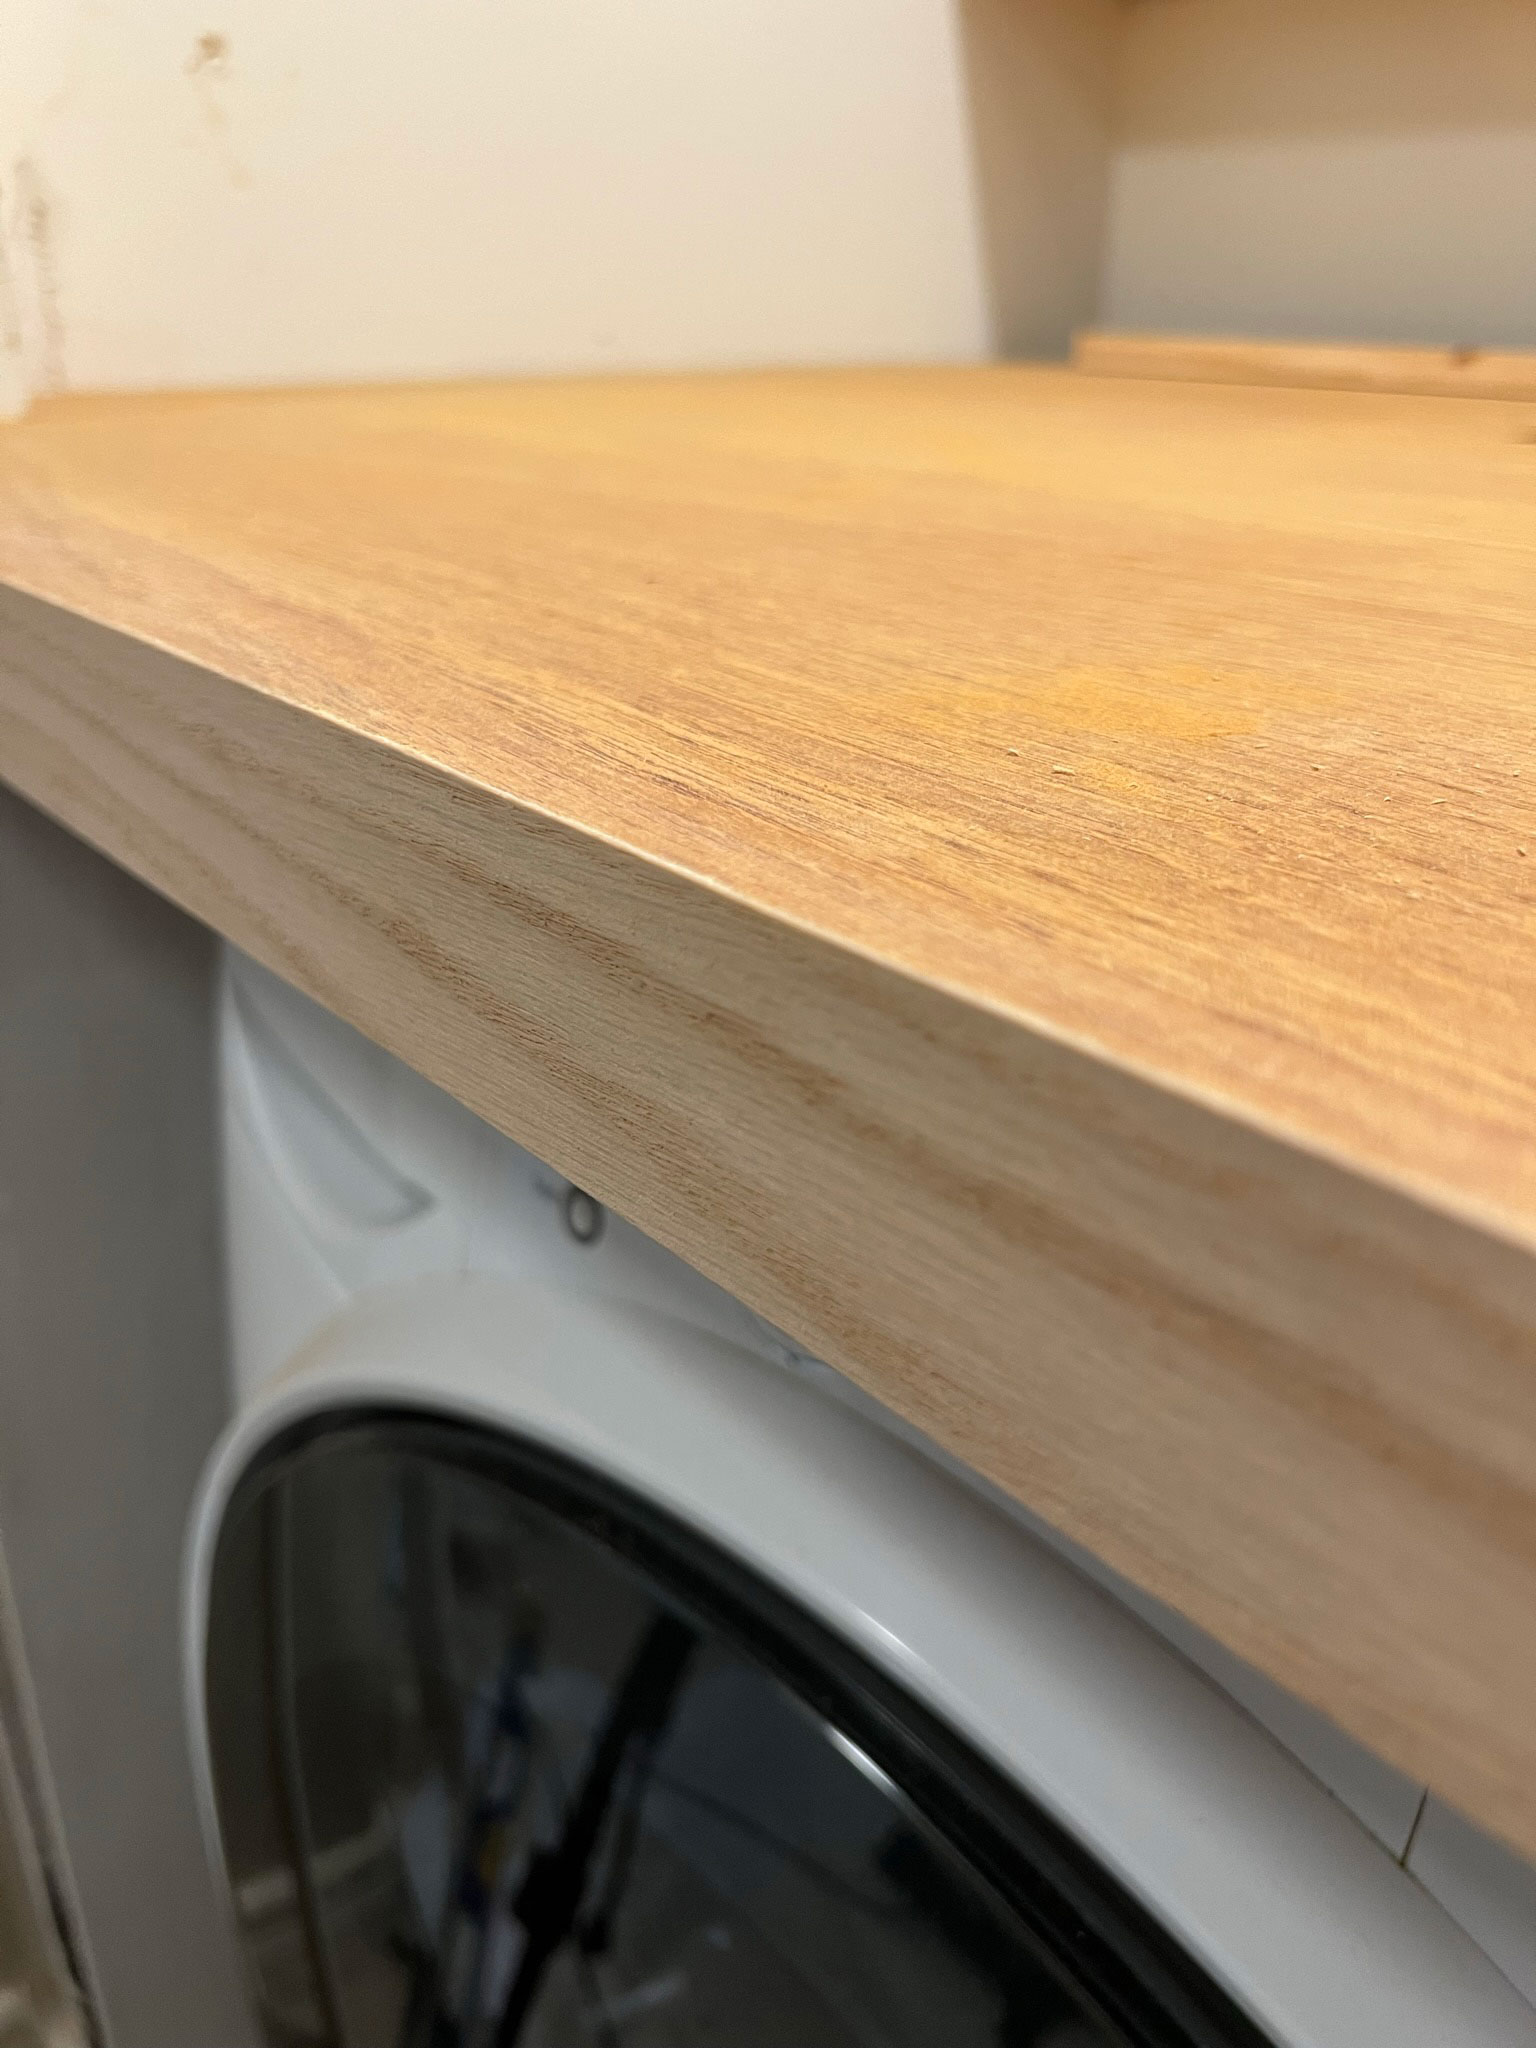
The only thing left to do was to deal with the red stain on the wood door and the particle board that was showing on the front of the countertop. I started by sanding down the top carefully with about an 80 grit sandpaper, being careful not to sand too far through the veneer to the particle board below. After a thorough sanding with 80 grit, I moved up grit o 120 grit and then 200 grit to obtain a smooth finish.
I dealt with the front of the countertop by ironing on a piece of iron on veneer. I bought a 10′ piece of 2″ veneer and applied it to the front of the door using an iron. Once the glue had melted I used a wood block to press all along it to ensure it was well adhered. Then, I used a file to file off the excess veneer from the edges and then sanded lightly.

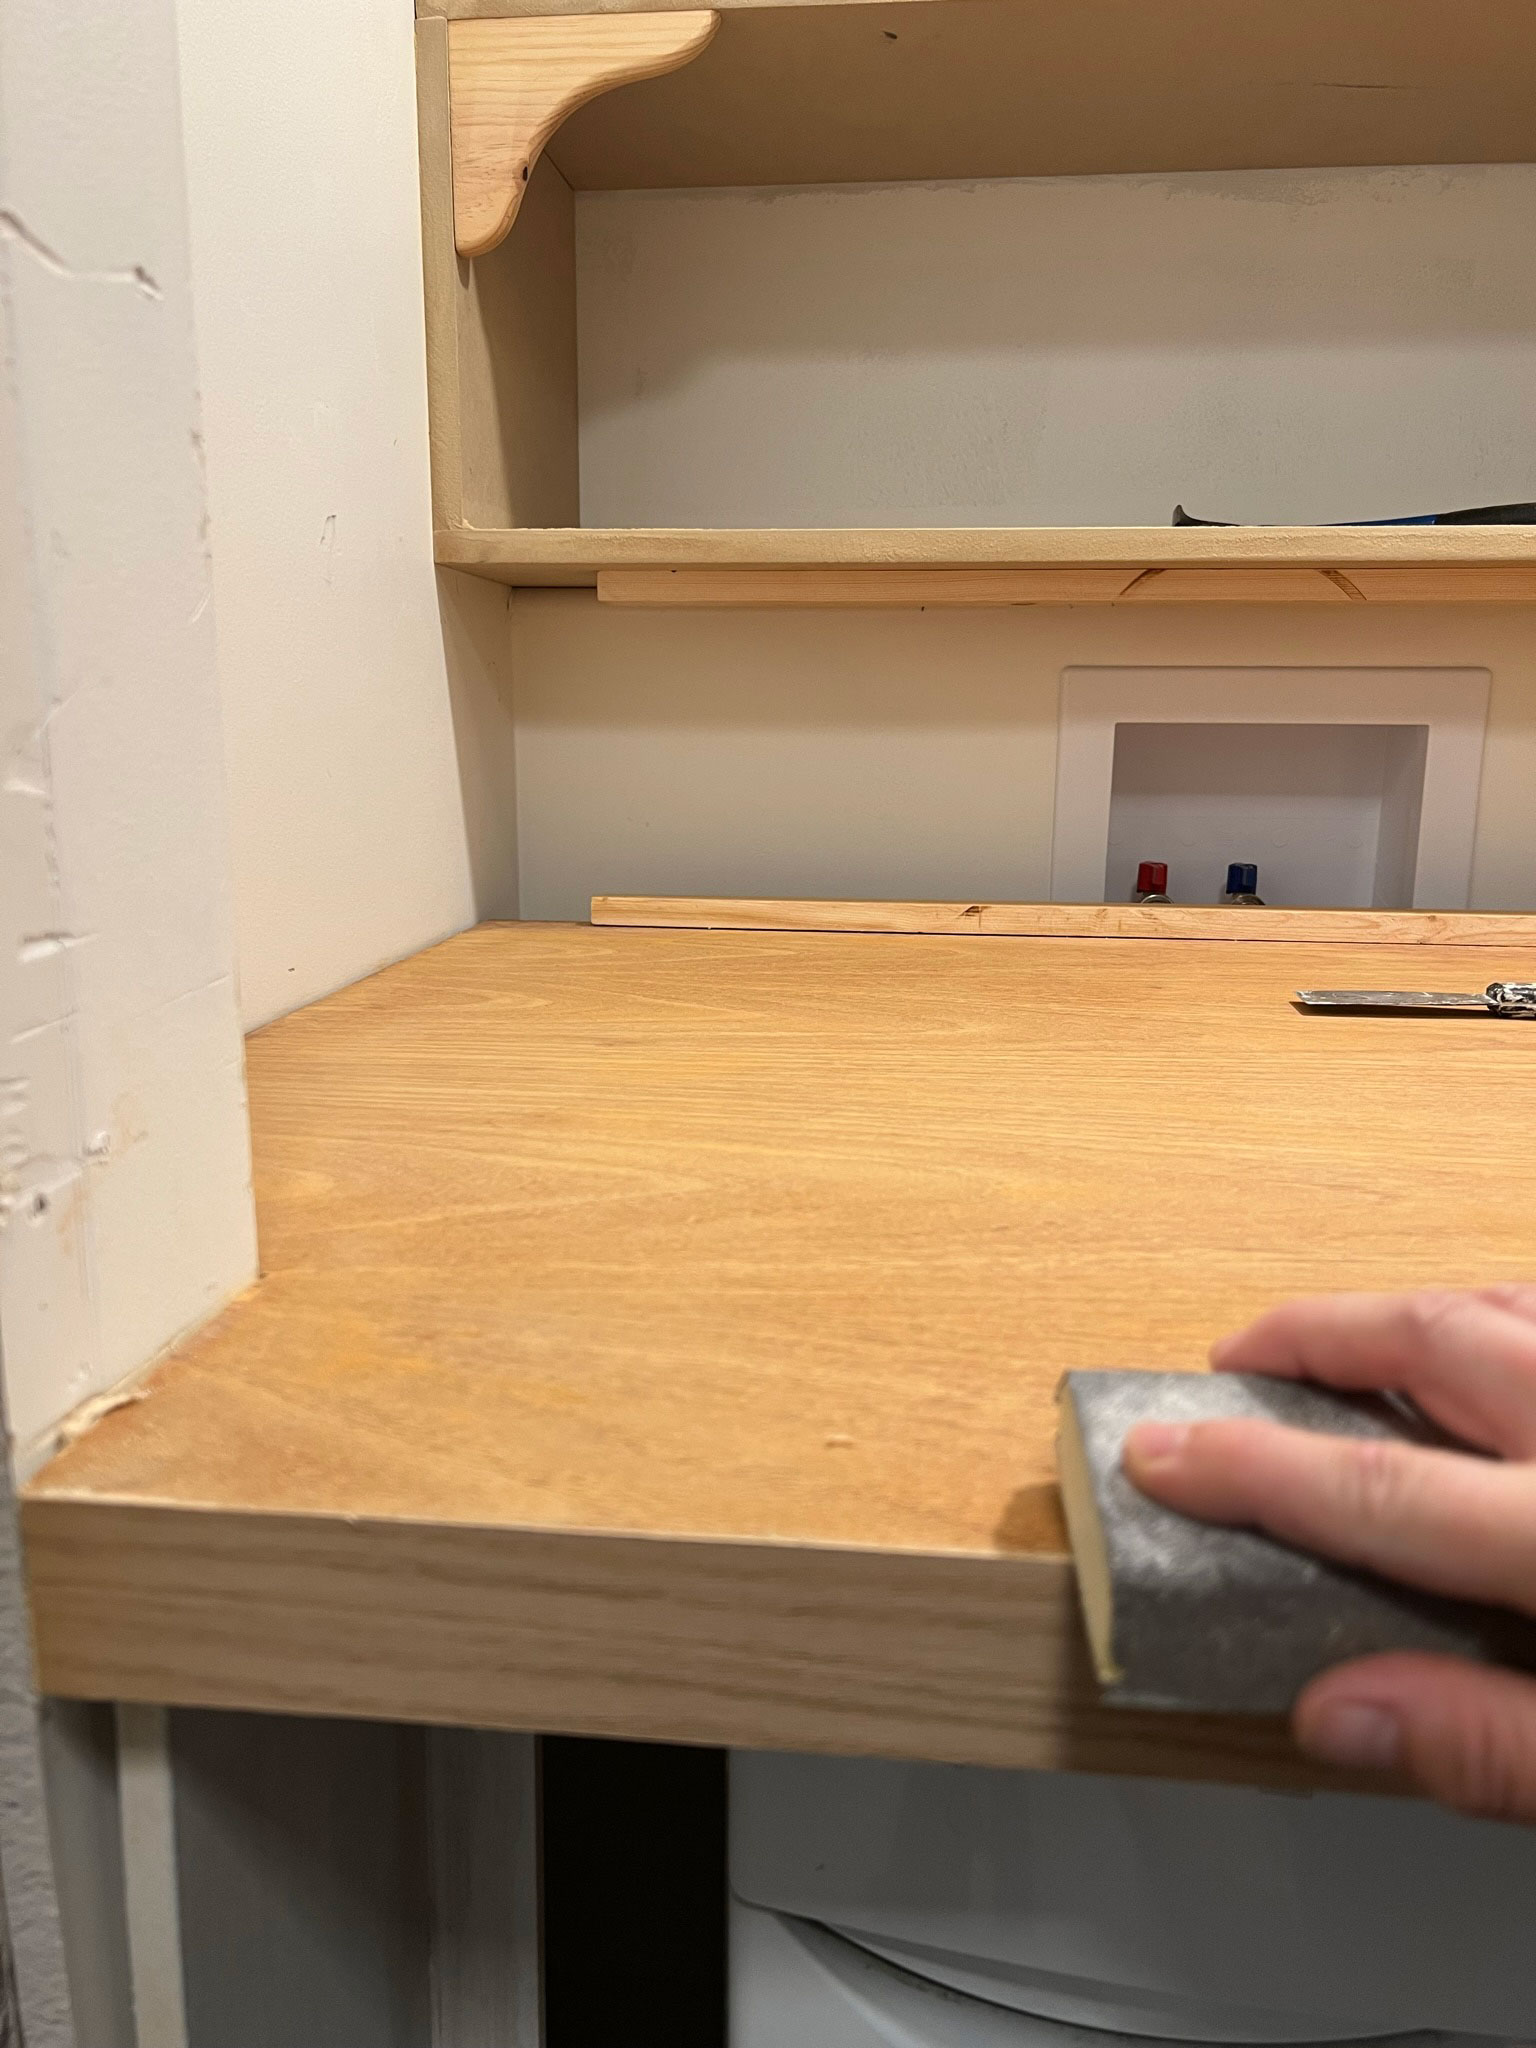
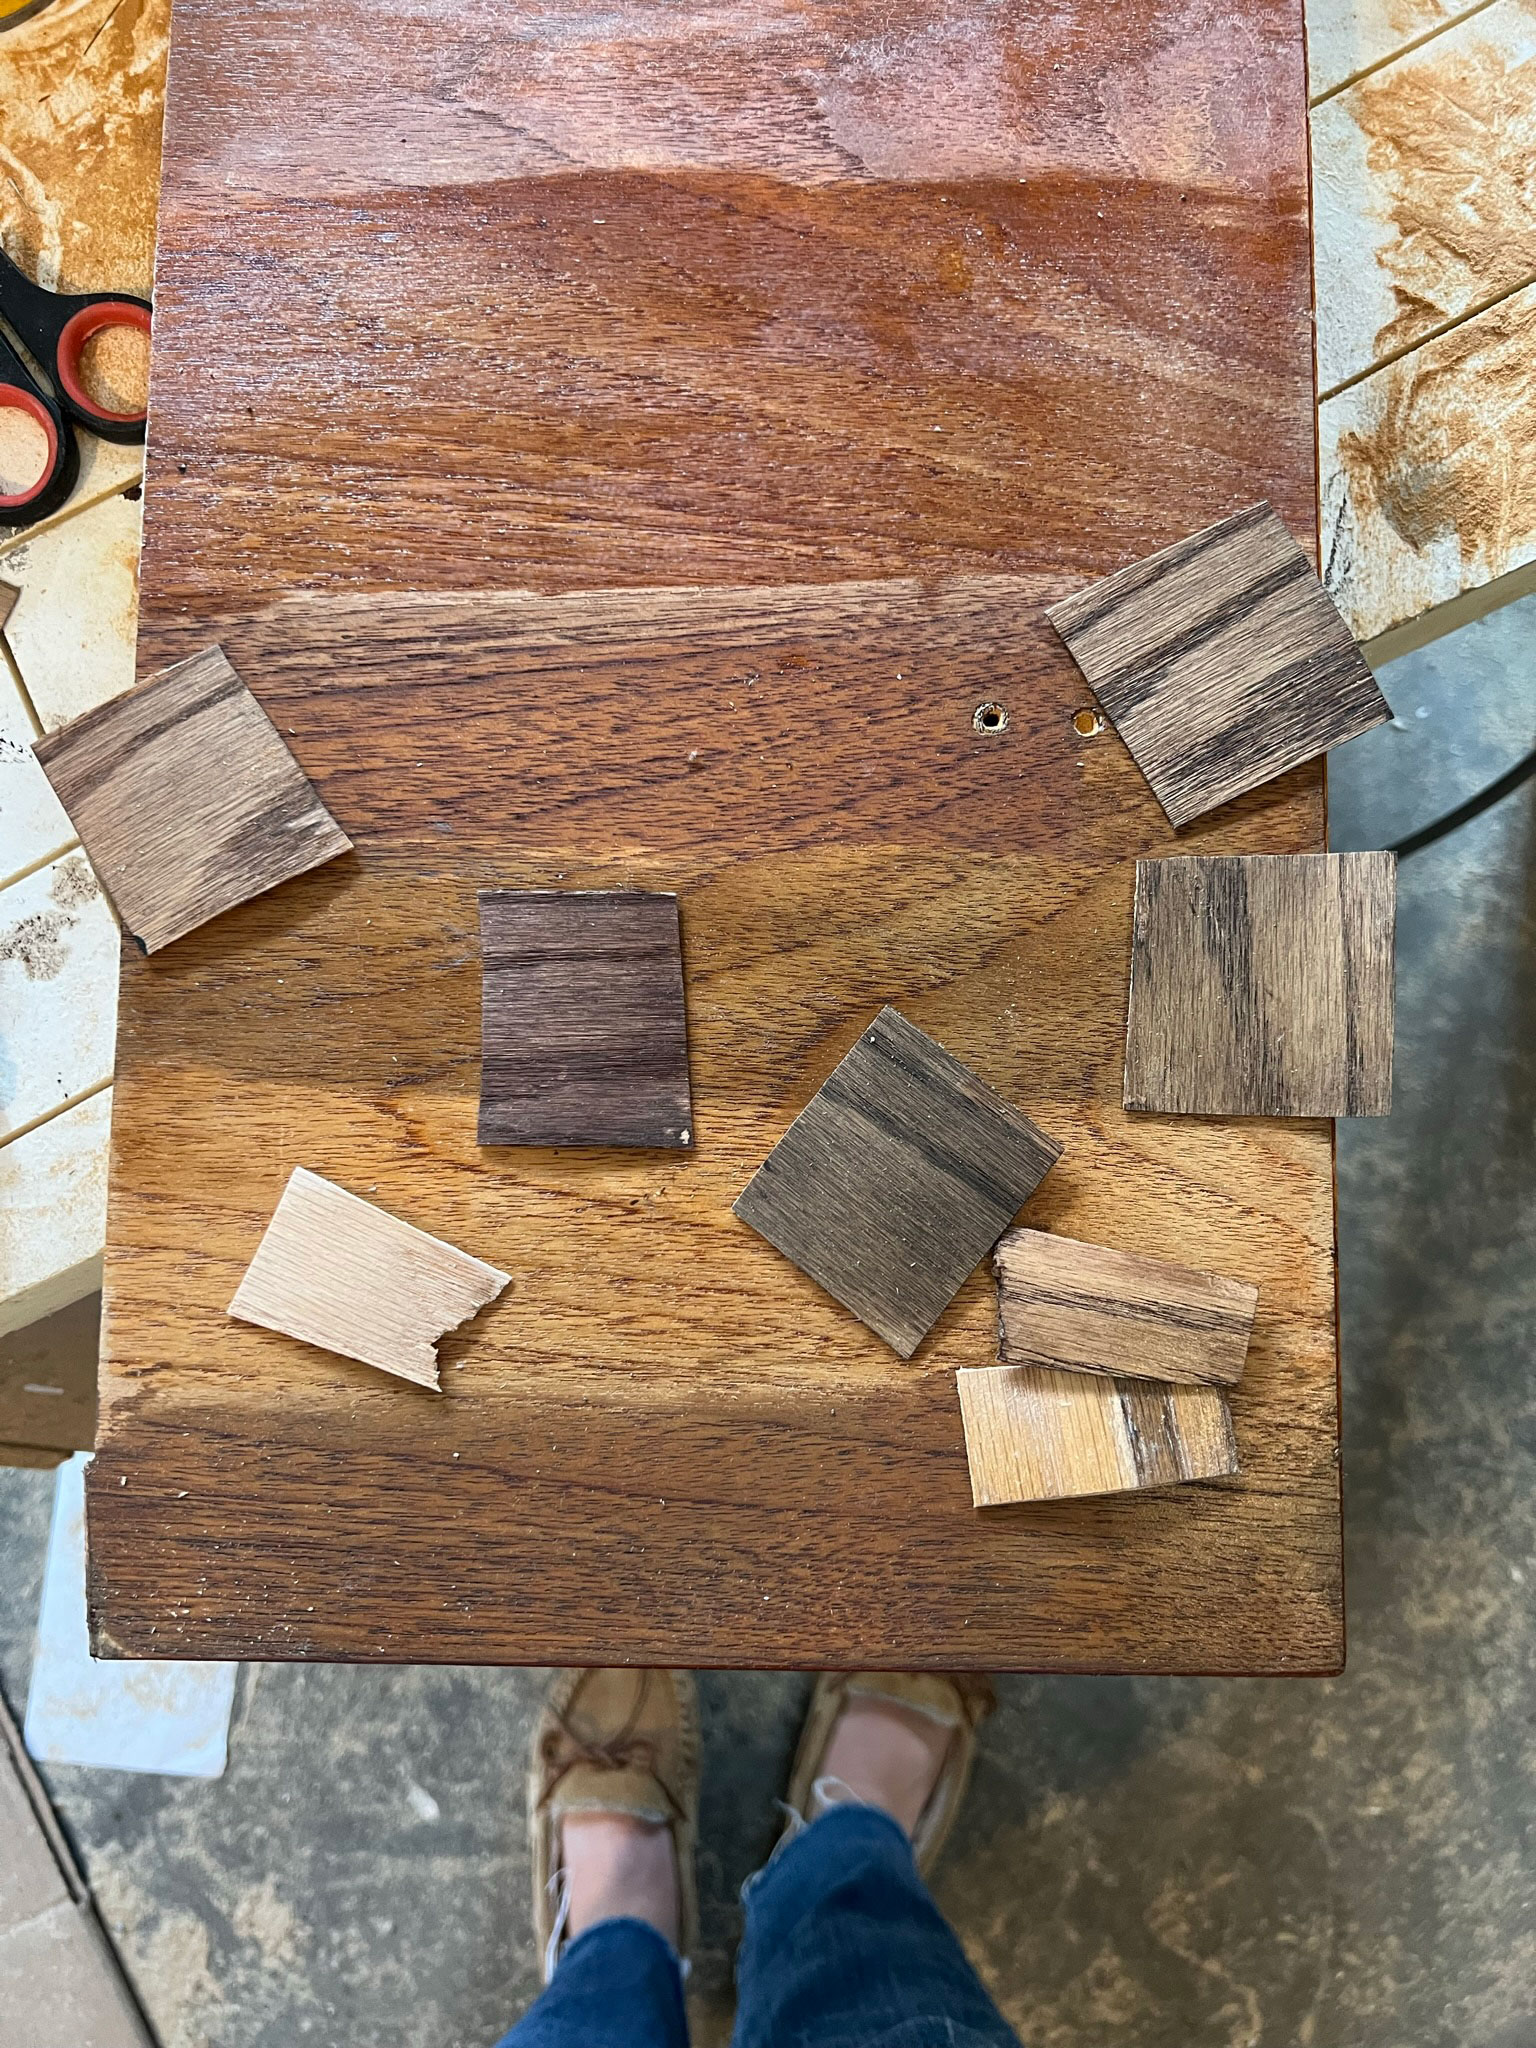
I am in the process of testing stain colours that I have on hand to see how I want to finish the wood top. I realized that the teak top and the red oak veneered sides will take stain a little differently, so I’m trying to make a choice that will look similar enough on these two surfaces. Stay tuned!
So that is where we are today! I hope you found this tutorial on how to build a laundry room countertop out of an old door useful! I know there are a ton of solid doors out there at Habitat for Humanity Restores or on Facebook Marketplace, so if you can find one that is nice and wide it’s not too hard to turn it into a functional countertop.
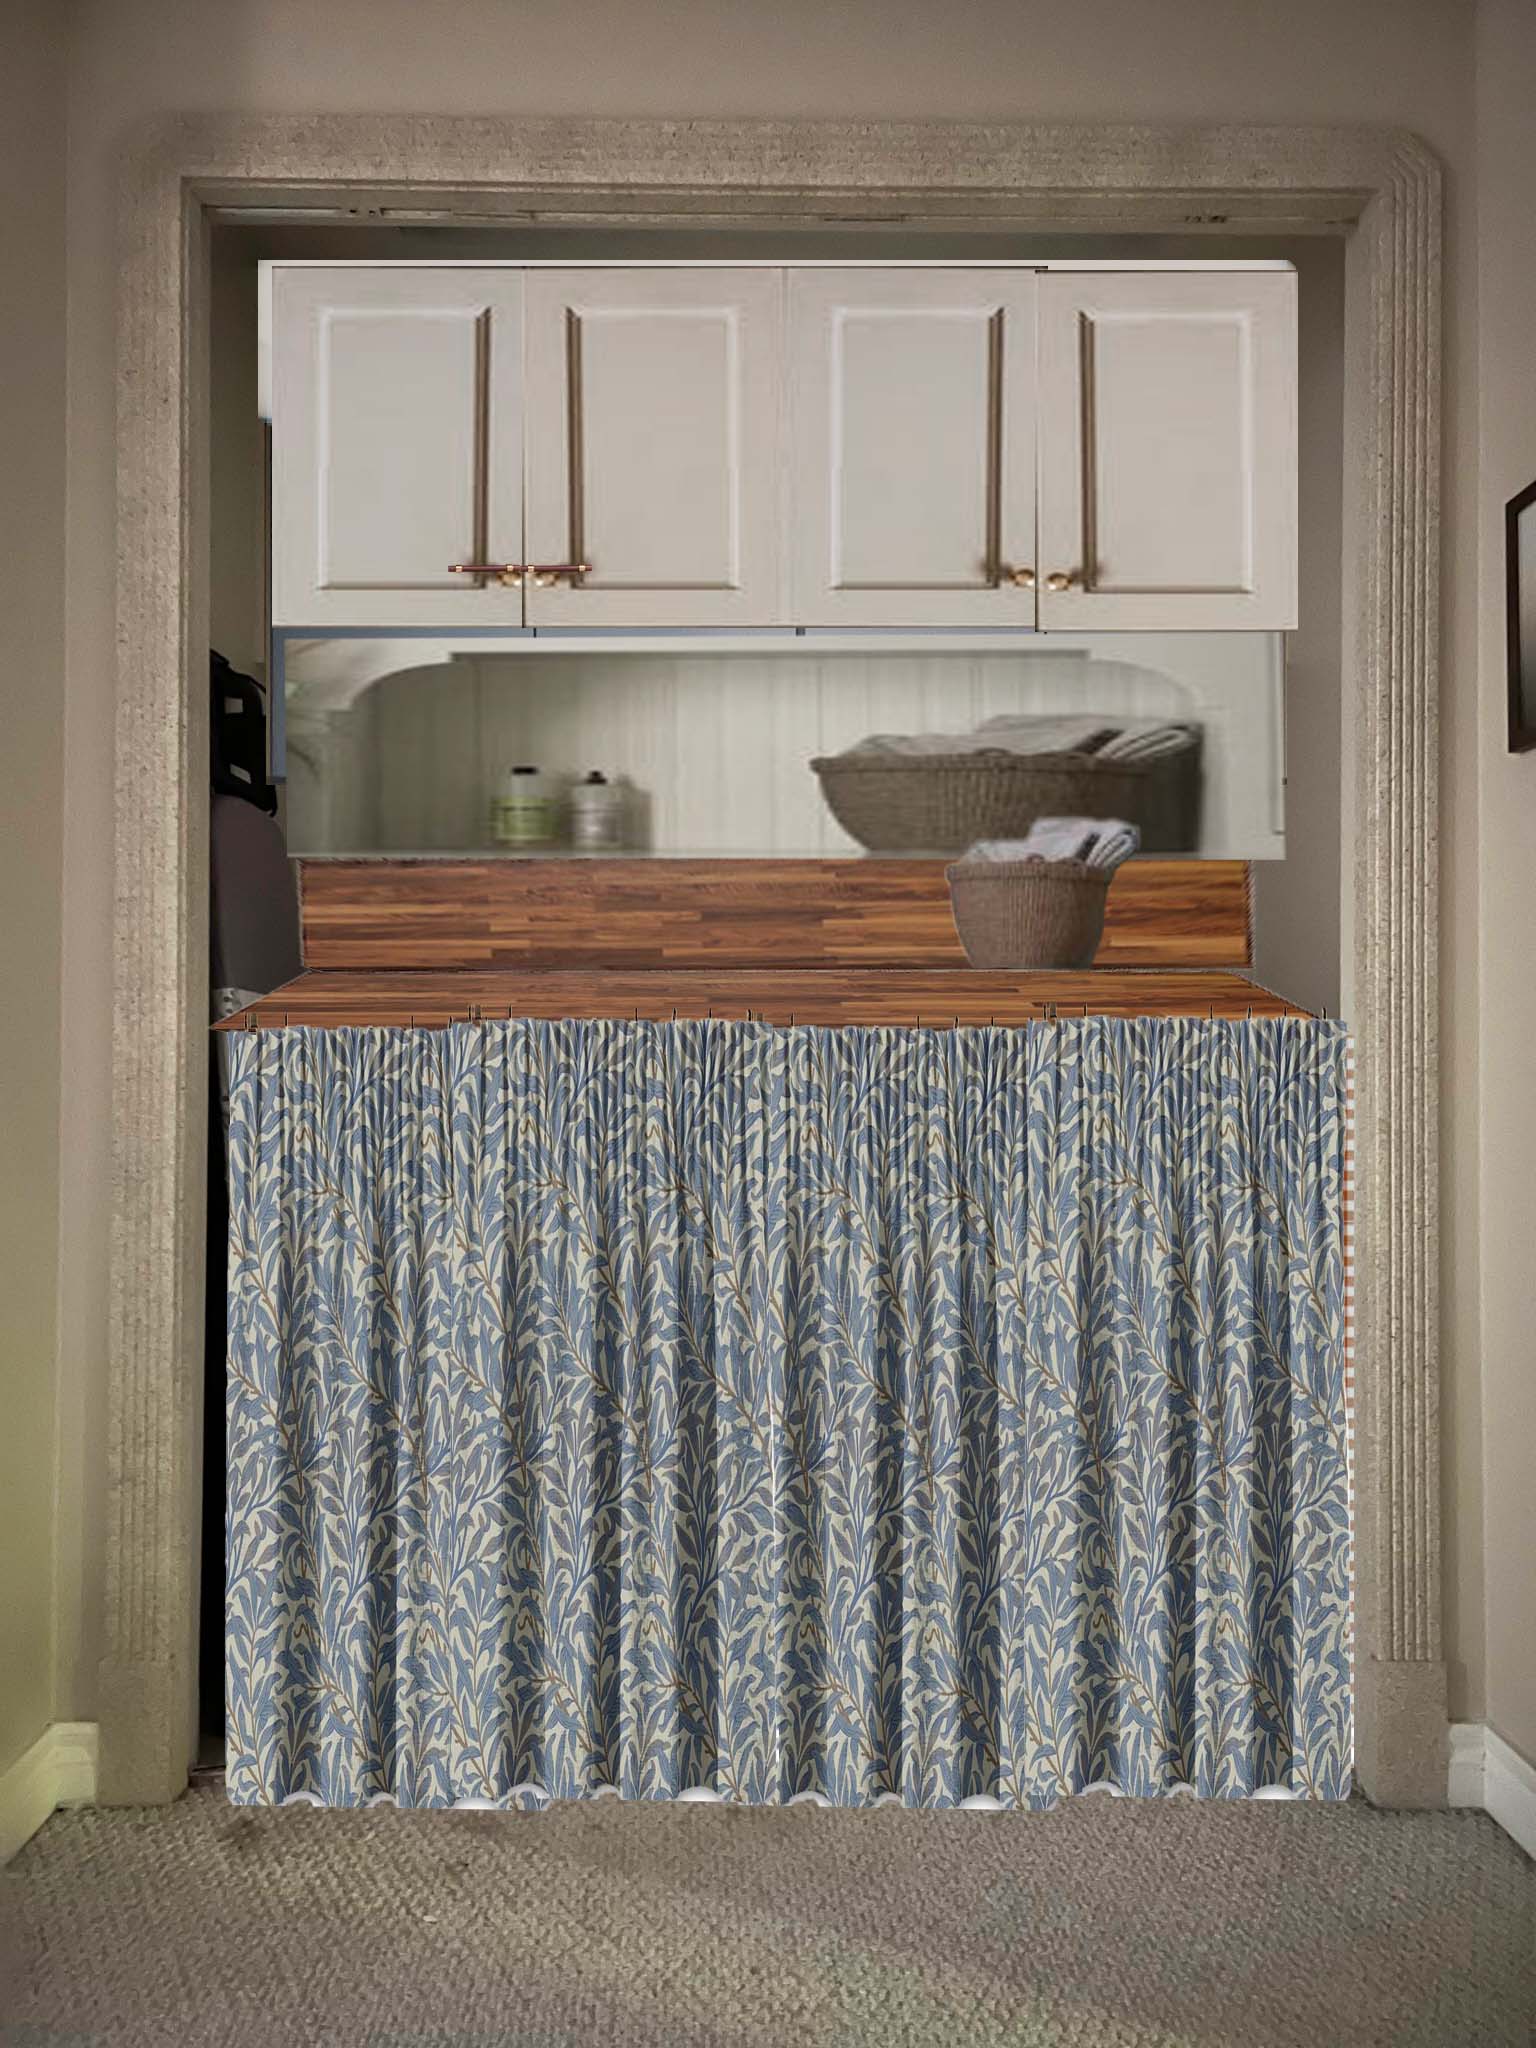
There are a few more steps to go to finish up this little laundry room remodel but I feel like we are on the home stretch now! I still intend to add a little trim to the cabinets, change the hardware and paint, paint the shelf and backsplash, add some supports on the sides of the machine to make them look more built-in, and then a little curtain to hide the machine itself.
Shop this post:


Looks good! Love the countertop, will be great for folding laundry!
Thanks Elaine!
Love how you upcycle!
Thank you so much!
Hi Erin! We were planning to remodel our laundry room, and thankfully, I came across this blog. Thank you for sharing! Let us know if you need more information about quality construction or renovation materials.
Thank you, I’m glad you found this post helpful!
I have a hallway washer and dryer just like yours! thank you for the inspiration! What a clever and cost effective idea.
I’m so glad you found it inspirational, good luck with your laundry closet!
So cleaver Erin!! Looks amazing!
Thanks Erica!