The Best Primer for Cabinets
Painted kitchen cabinets are a huge trend. Cabinet paint colours these days span from bold colours, earth tones, and neutrals like black and beige, to all shades of white. Given that it’s only paint, it’s not surprising that many people are tackling this as a DIY project. But is there a difference between painting walls and painting cabinets? How do you ensure that the painted cabinets are durable for everyday use? The answer to that lies mainly in the prep work to obtain better adhesion, and choosing the best primer for cabinets is the key. I’m also going to include my best tips for getting superior results when painting your own cabinets.
I have a post on how to paint furniture and cabinets already, so this post will focus mainly on primer, choosing the best kind, and how to do it right.
This post may contain affiliate links. That means if you purchase anything from these links I earn a small commission, at no extra cost to you! This helps support my blog, so thank you!
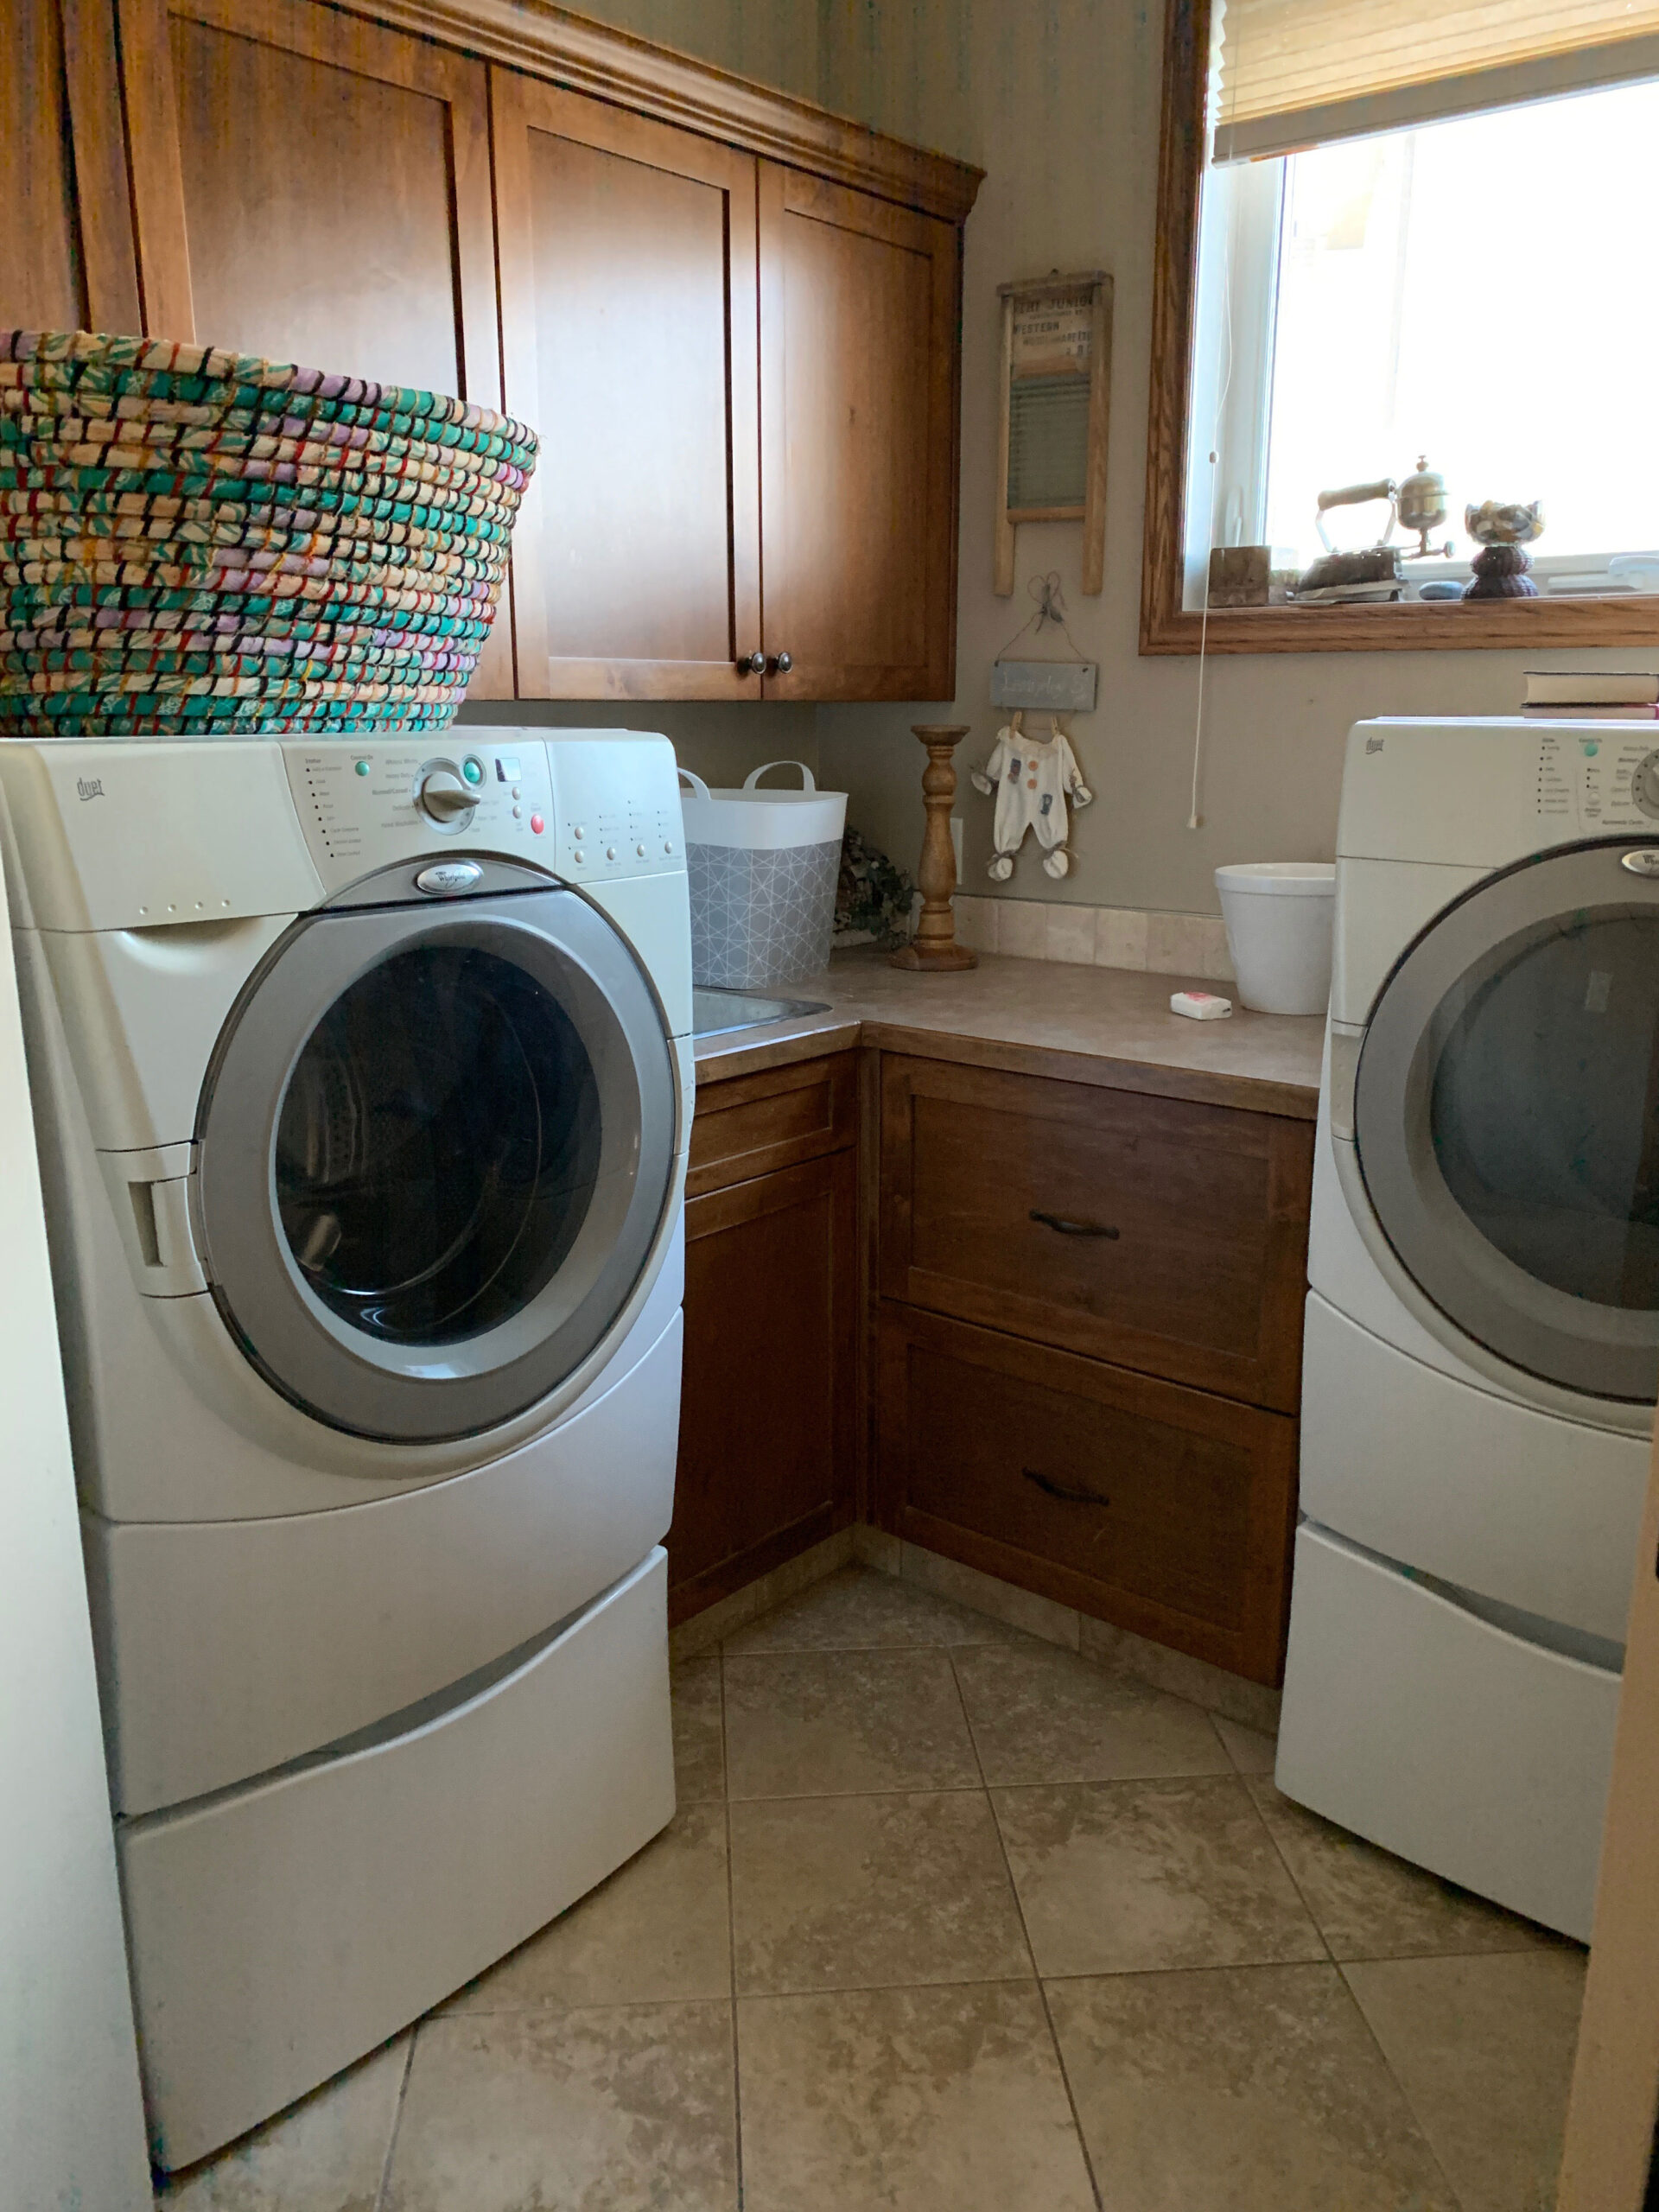

Table of Contents
- What does a primer do?
- What type of primer should I use?
- How to prime with BIN Shellac Primer
- FAQs
- Shop this Post:
- You Might Also Like:
What does a primer do?
A primer is like the glue layer that connects your paint to your cabinet door. The primer preps the cabinet to accept your first layer of paint. Primer is very “sticky” and is specially formulated to adhere really well to the surface it’s on, It also provides a better base, for the paint to stick to. Paint, on the other hand, has other properties like levelling and pigment and durability that you want for the top coat. Different, but equally important, so you definitely need both.
In order for the paint to be durable, it has to be well adhered to the surface it’s on. You need to make sure that when you are wiping grandma’s secret spaghetti sauce splatters off those cabinet doors in a few months, you don’t rub that gorgeous new paint colour right off. That’s where primer comes in.
What type of primer should I use?
There is a lot of confusing information out there about different primers and paint, using a paint sprayer versus brush painting, and whether or not your paint finish will be durable. Kitchen cabinet painting is no joke, it is going to take you some serious time and effort to paint an entire kitchen. I guarantee you mid-way though you are going to wish that you had never started in the first place. Considering how much work it is to paint a kitchen, you want to make sure that you use the right products so you never have to do it again!!
Oil-based primers are the best primers for kitchen cabinets. Existing cabinets almost always have a smooth painted finish or lacquered finish that is difficult for paint to adhere to. Oil-based Primer is the glue that provides a good base for the first coat of paint.
Oil-based primers are also great at sealing and covering up stains, including blocking tannins. Wood cabinets have tannins that can leak through your paint if not primed with the correct primer. Tannins are naturally occurring compounds that seep to the surface of the wood, and if not sealed, they seep right through your paint and ruin your paint job. Painting knotty wood or oak cabinets? You are going to want to make sure those tannins can’t get out, and use an oil-based primer.
If oil-based paints provide the best seal and stain blocking properties, and also the best adhesion, then why would you ever use a latex primer? Well, oil-based primers do have some drawbacks. They are stinky and they are not low in VOC’s (volatile organic compounds) which means they can be harmful when inhaled often and can have strong odours. They are also more difficult to clean up. Water-based primer can be cleaned up with soap and water, while oil-based paint requires special solutions to clean. Despite these drawbacks, you are going to want to use them for kitchen cabinets.
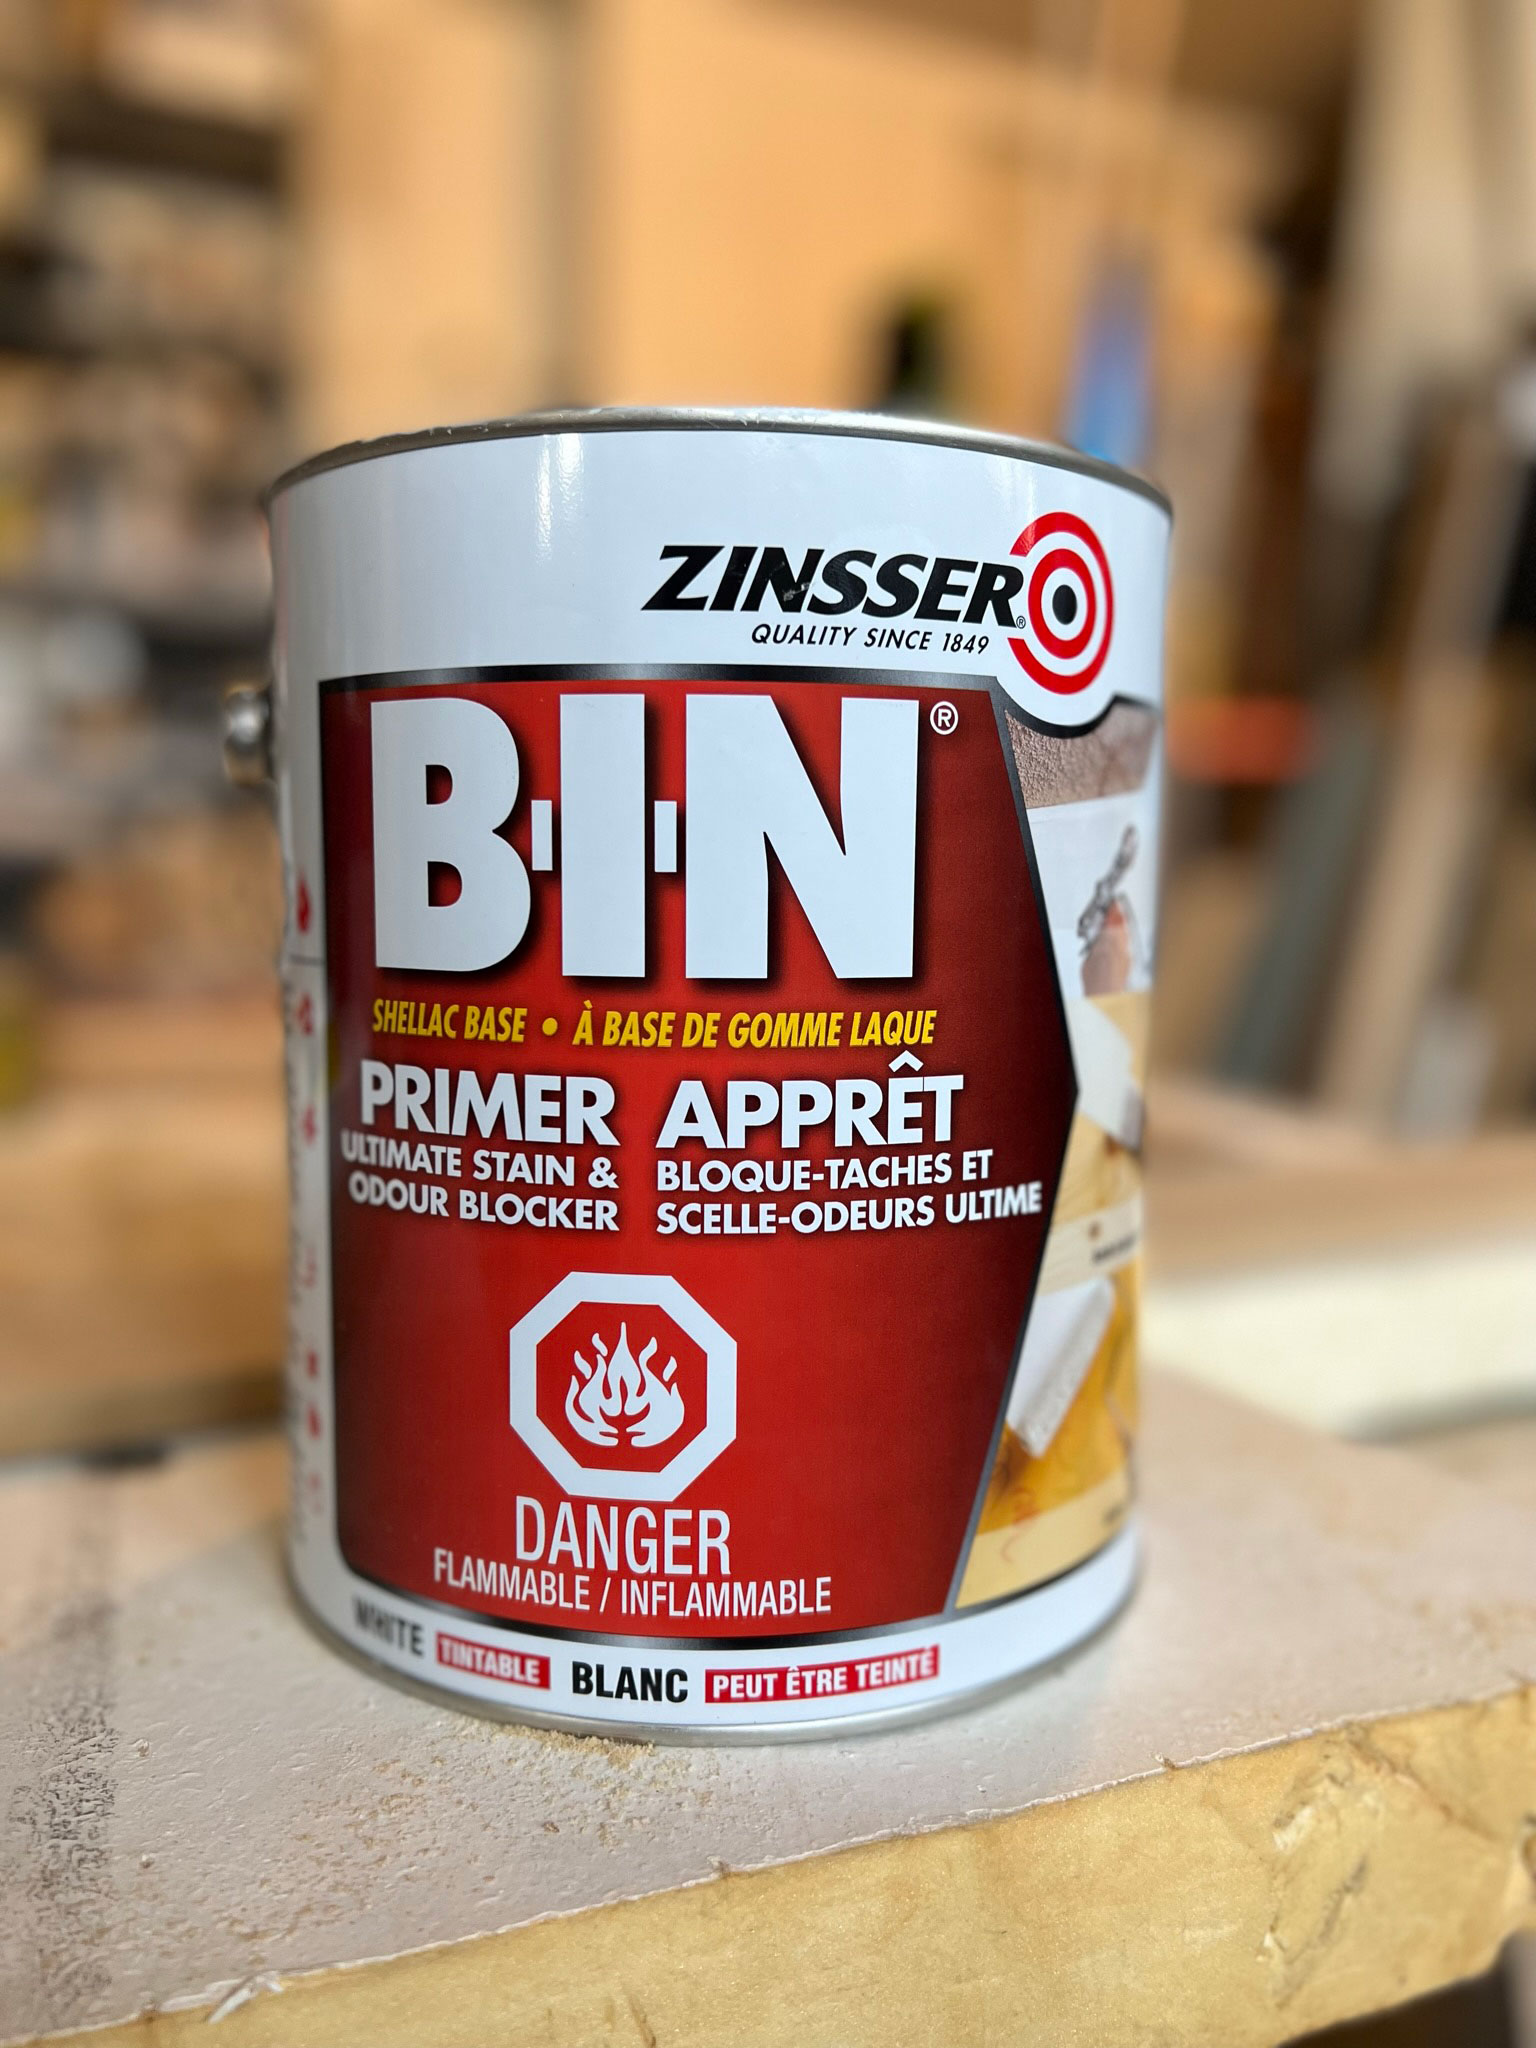
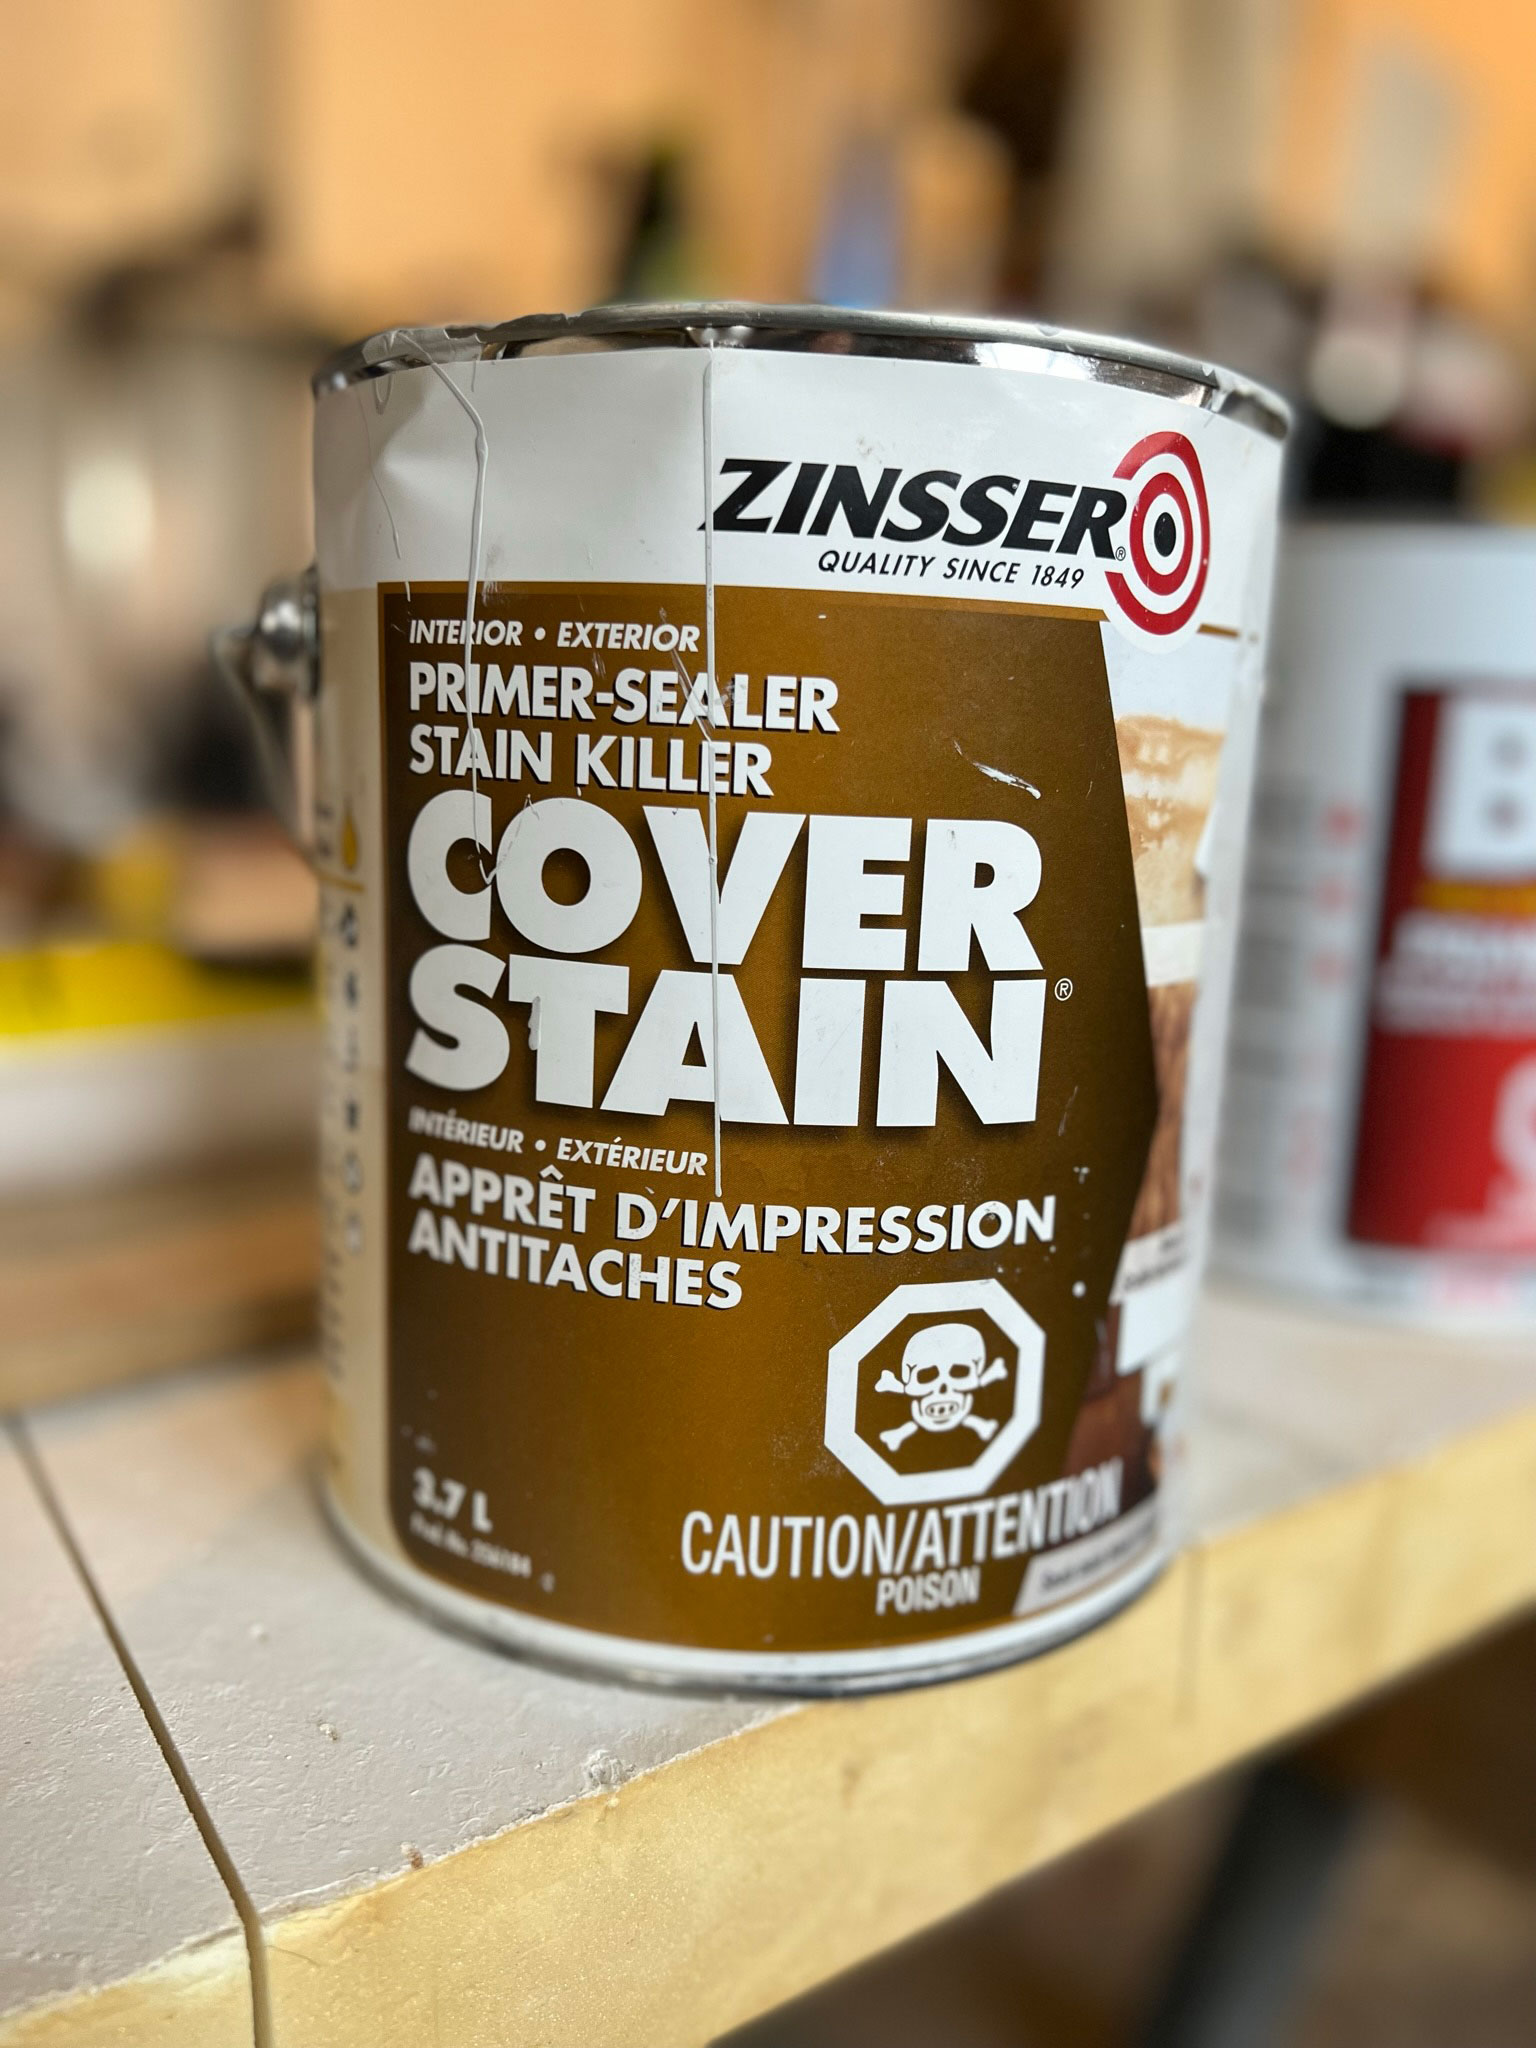
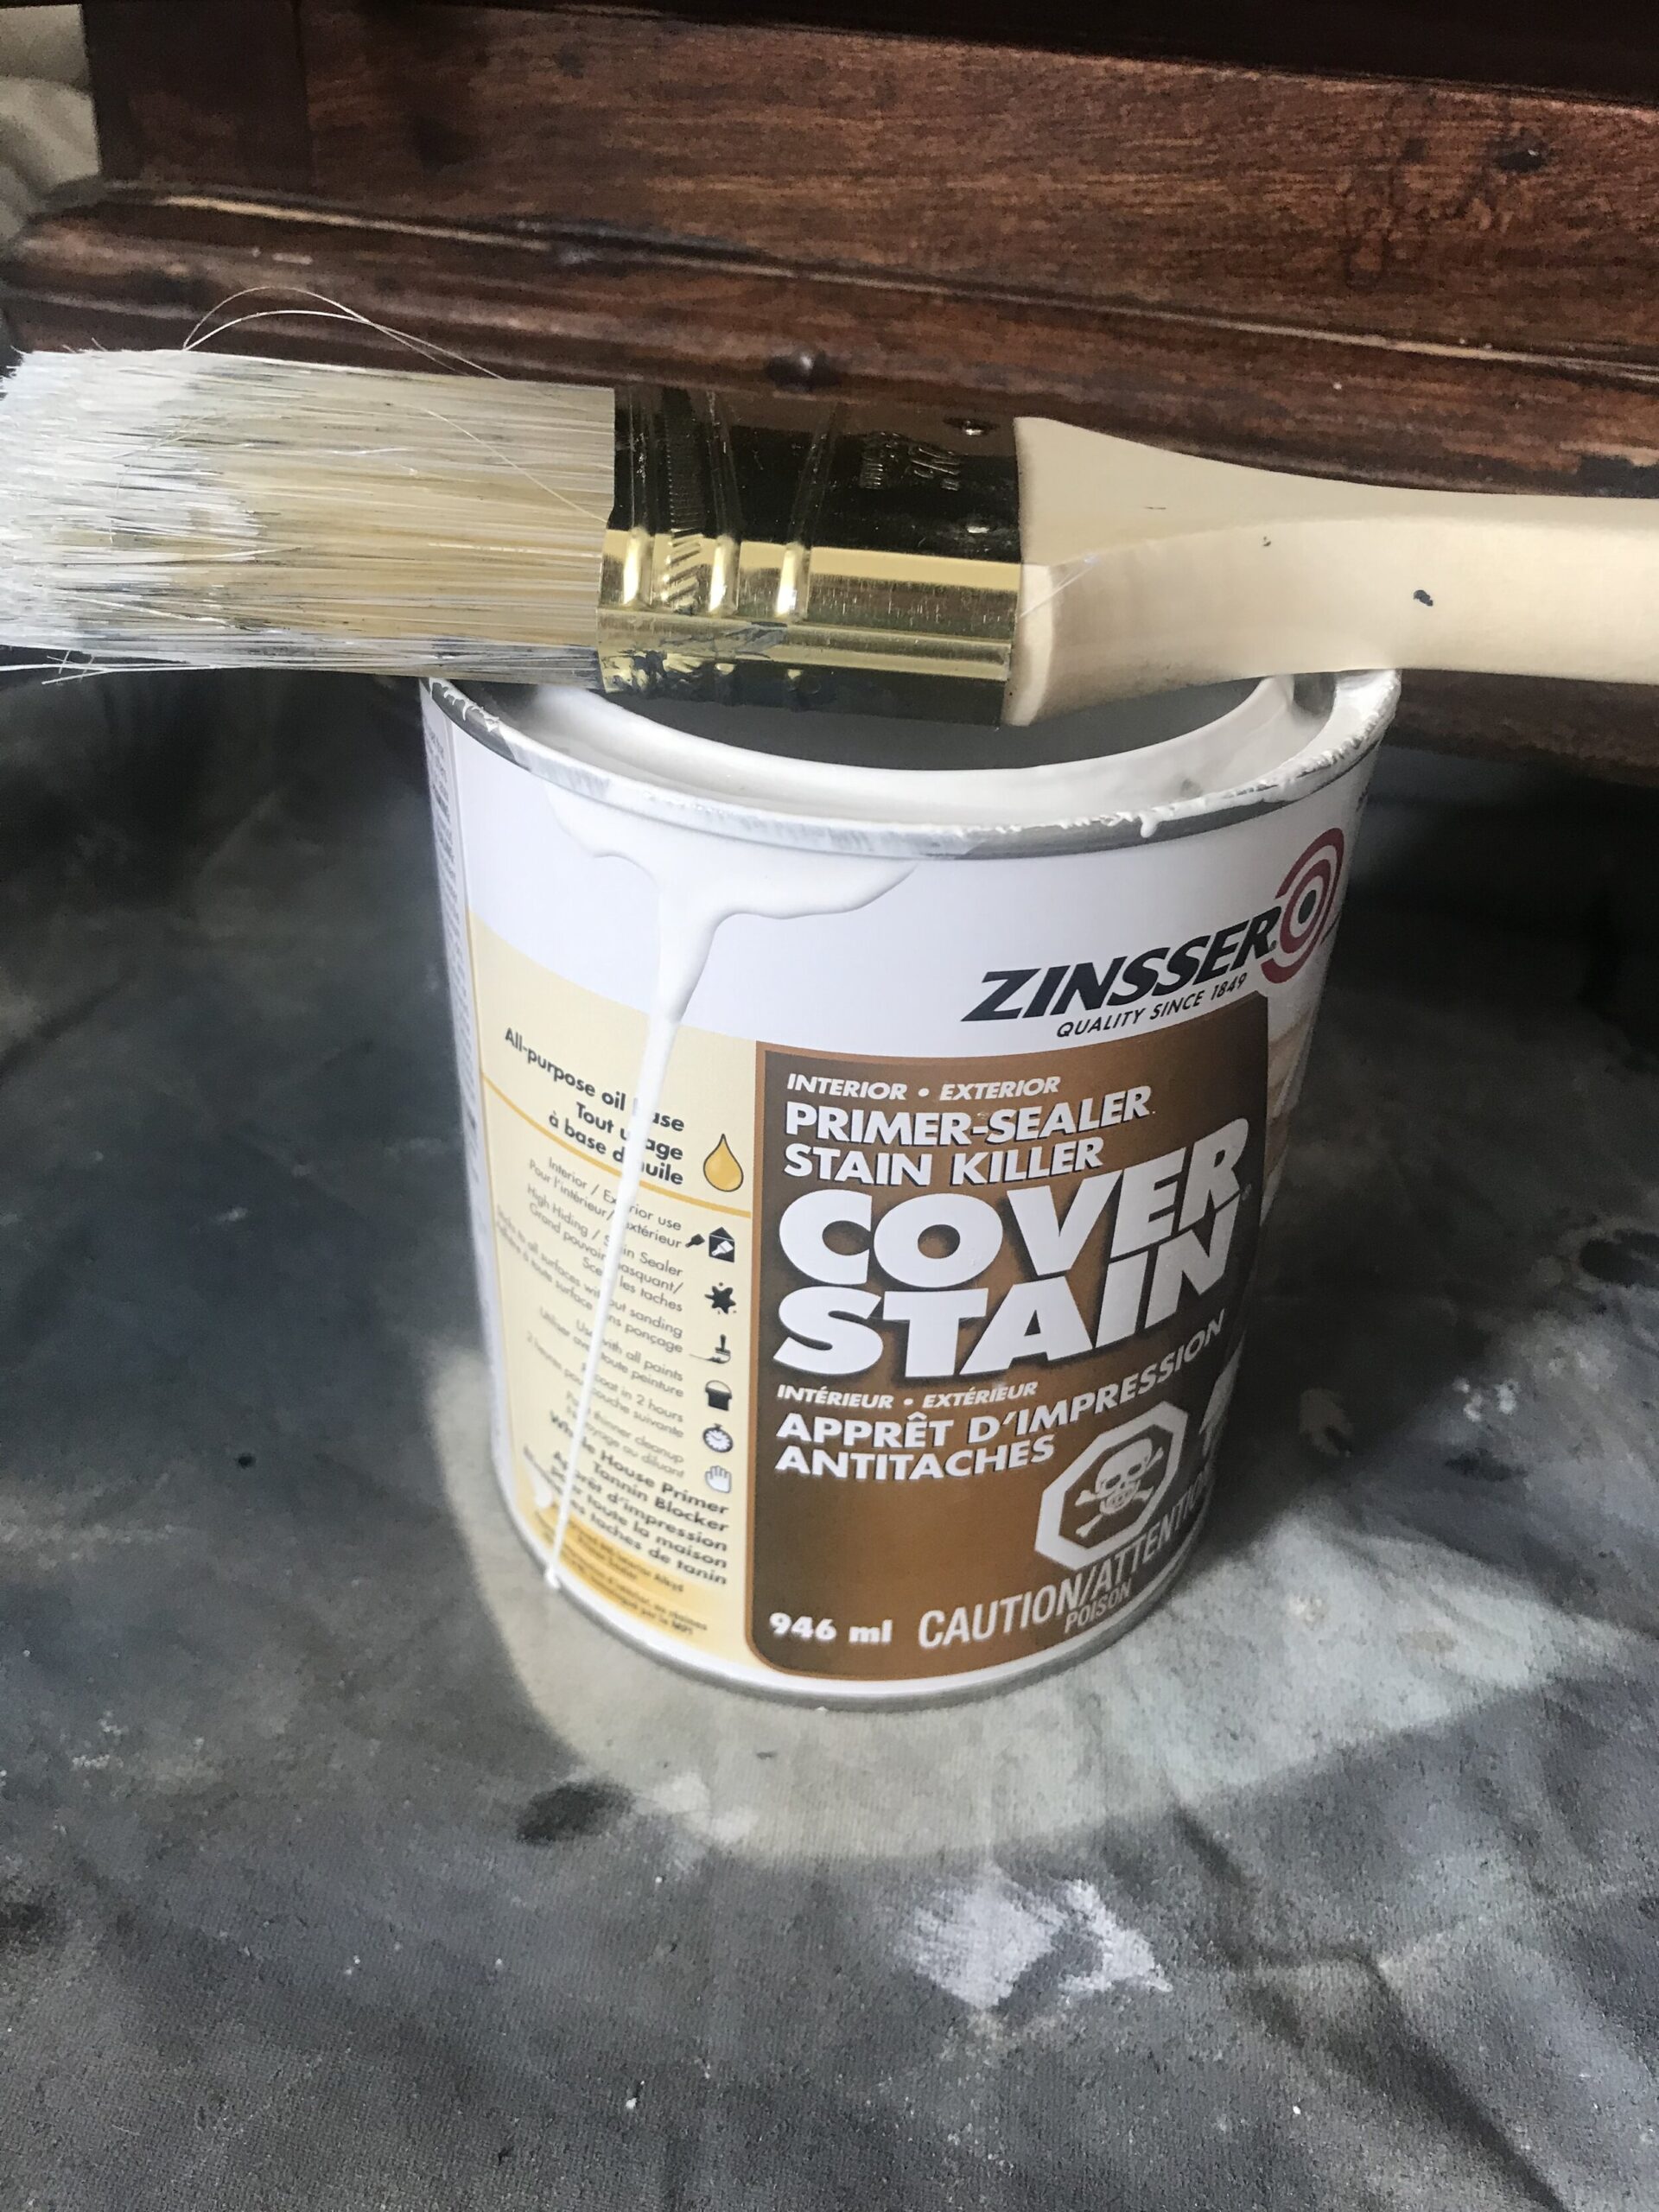
If oil-based primers are the best primers for kitchen cabinets, then the best oil-based primer is Zinnser BIN Shellac primer. I have tried a few oil-based primers (Like Zinsser Cover Stain, one I used to use often) and this shellac based primer is the best thing to use when you want a smooth finish. It is available in most big box stores and paint stores alike, which is super convenient.
Zinnser BIN shellac primer is stinky but not nearly as bad as many oil-based primers. It has a super fast dry time (for an average-sized kitchen, the first door will be dry enough to handle before the last door is done!) My favourite feature of Zinnser Bin, however, is how smoothly and easily you can sand it for a super smooth finish and professional results.
One more word on Zinsser Cover Stain, I have heard from some people that they do not like working with Zinner Shellac Primer because it is so watery. In that case, Zinsser Cover stain also works well, although it smells much worse. It also has a longer dry time so you will need to let it harden up quite a bit before you can sand it smooth, at least a day. Because it is so much thicker, it produces a lot more brush strokes that need to be sanded. For those reasons I almost exclusively use BIN Shellac now.
I am sure there are other good oil-based brands on the market and many of them will also do a fine job I am sure. I don’t have any personal experience with other products so I’m focused on the one I have used a ton and have had excellent results with. If you are considering another product to prime your kitchen cabinets, double check to ensure it is oil-based.
How to prime with BIN Shellac Primer
Before you prime:
If you have ever spoken with professional painters, they will tell you that prep work is the most important step to any paint job and takes the most time. Painting kitchen cabinets is no exception, it super critical to get the prep right for a durable long-term finish.
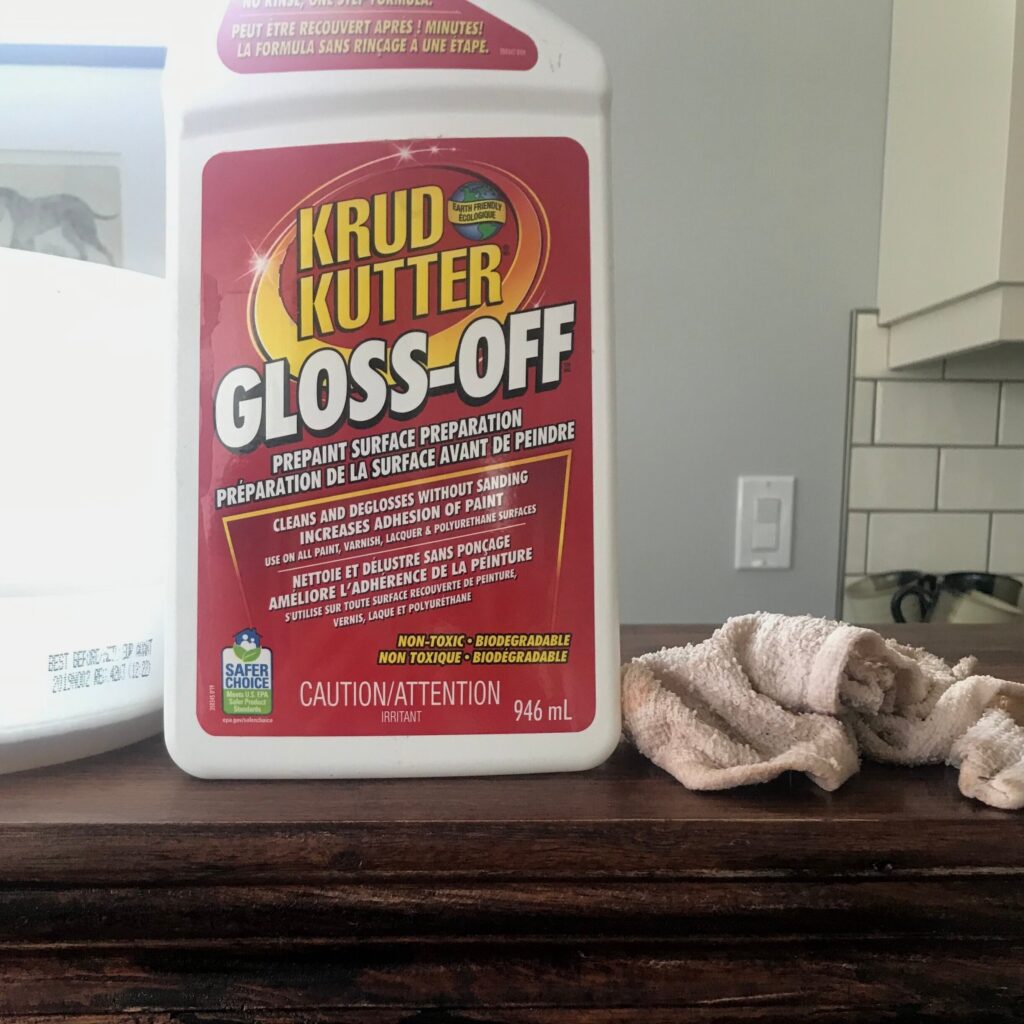
Before you prime your kitchen cabinets, you are going to want to clean them very well! Paint won’t stick to bacon grease. If your cabinets are very dirty, you may want to use something like Krud Kutter to really thoroughly clean all the surfaces that need painting.
After cleaning many people will tell you to sand, and certainly, that is not a bad idea. However, if you are like me, the thought of sanding allllllll of those cabinets seems sort of….. unappealing. The purpose of sanding is to scuff up the existing finish a little to rough it up to provide some grip for your paint. I just told you that’s what the primer does, right? You see, I am a lazy sander and I’m not at all convinced that doing a bunch of sanding is all that important.
In my mom’s laundry room, I used this liquid sander instead of sanding and that paint is doing just fine. I do suggest either doing a little sanding or using the liquid sander, you just don’t have to go crazy with it.
Just in case you think I’m making it up about not sanding, Rustoleum’s technical data sheet on this stuff says, “excellent adhesion to glossy surfaces without scuff sanding”!
Doors, drawer fronts and all hardware should also be removed before priming. If you are going to fill any holes from hardware, or patch any dings or scrapes, that should also be done prior to priming and then sanded smooth.
Spraying versus rolling
I have to admit that I have not sprayed BIM shellac primer even though I own two sprayers and I almost always spray my paint. The reason for this is twofold. First, in order to clean primer from my sprayer, I would need to run an ammonia solution through it. That seems messy and complicated and I’m not confident that I could adequately clean my sprayer. Remember I said this stuff was sticky and also dried quickly?
That being said a lot of painters do spray this shellac-based primer and have great results, they say it sprays really nicely due to its very watery consistency. I do think if you spray it, you need to ensure that you do a very light coat so it doesn’t drip.
The way that I have always applied this primer is by rolling and brushing. Honestly, I’m not even all that careful about it. I just get it on there and try to use a super thin coat. Remember when I told you how watery it was? Well if you try to apply this too thick you are just going to get drips galore. So a thin coat, get it in all the nooks and crannies and really you don’t have to worry about brush strokes with this stuff because of the next step.
Sanding your cabinets between coats
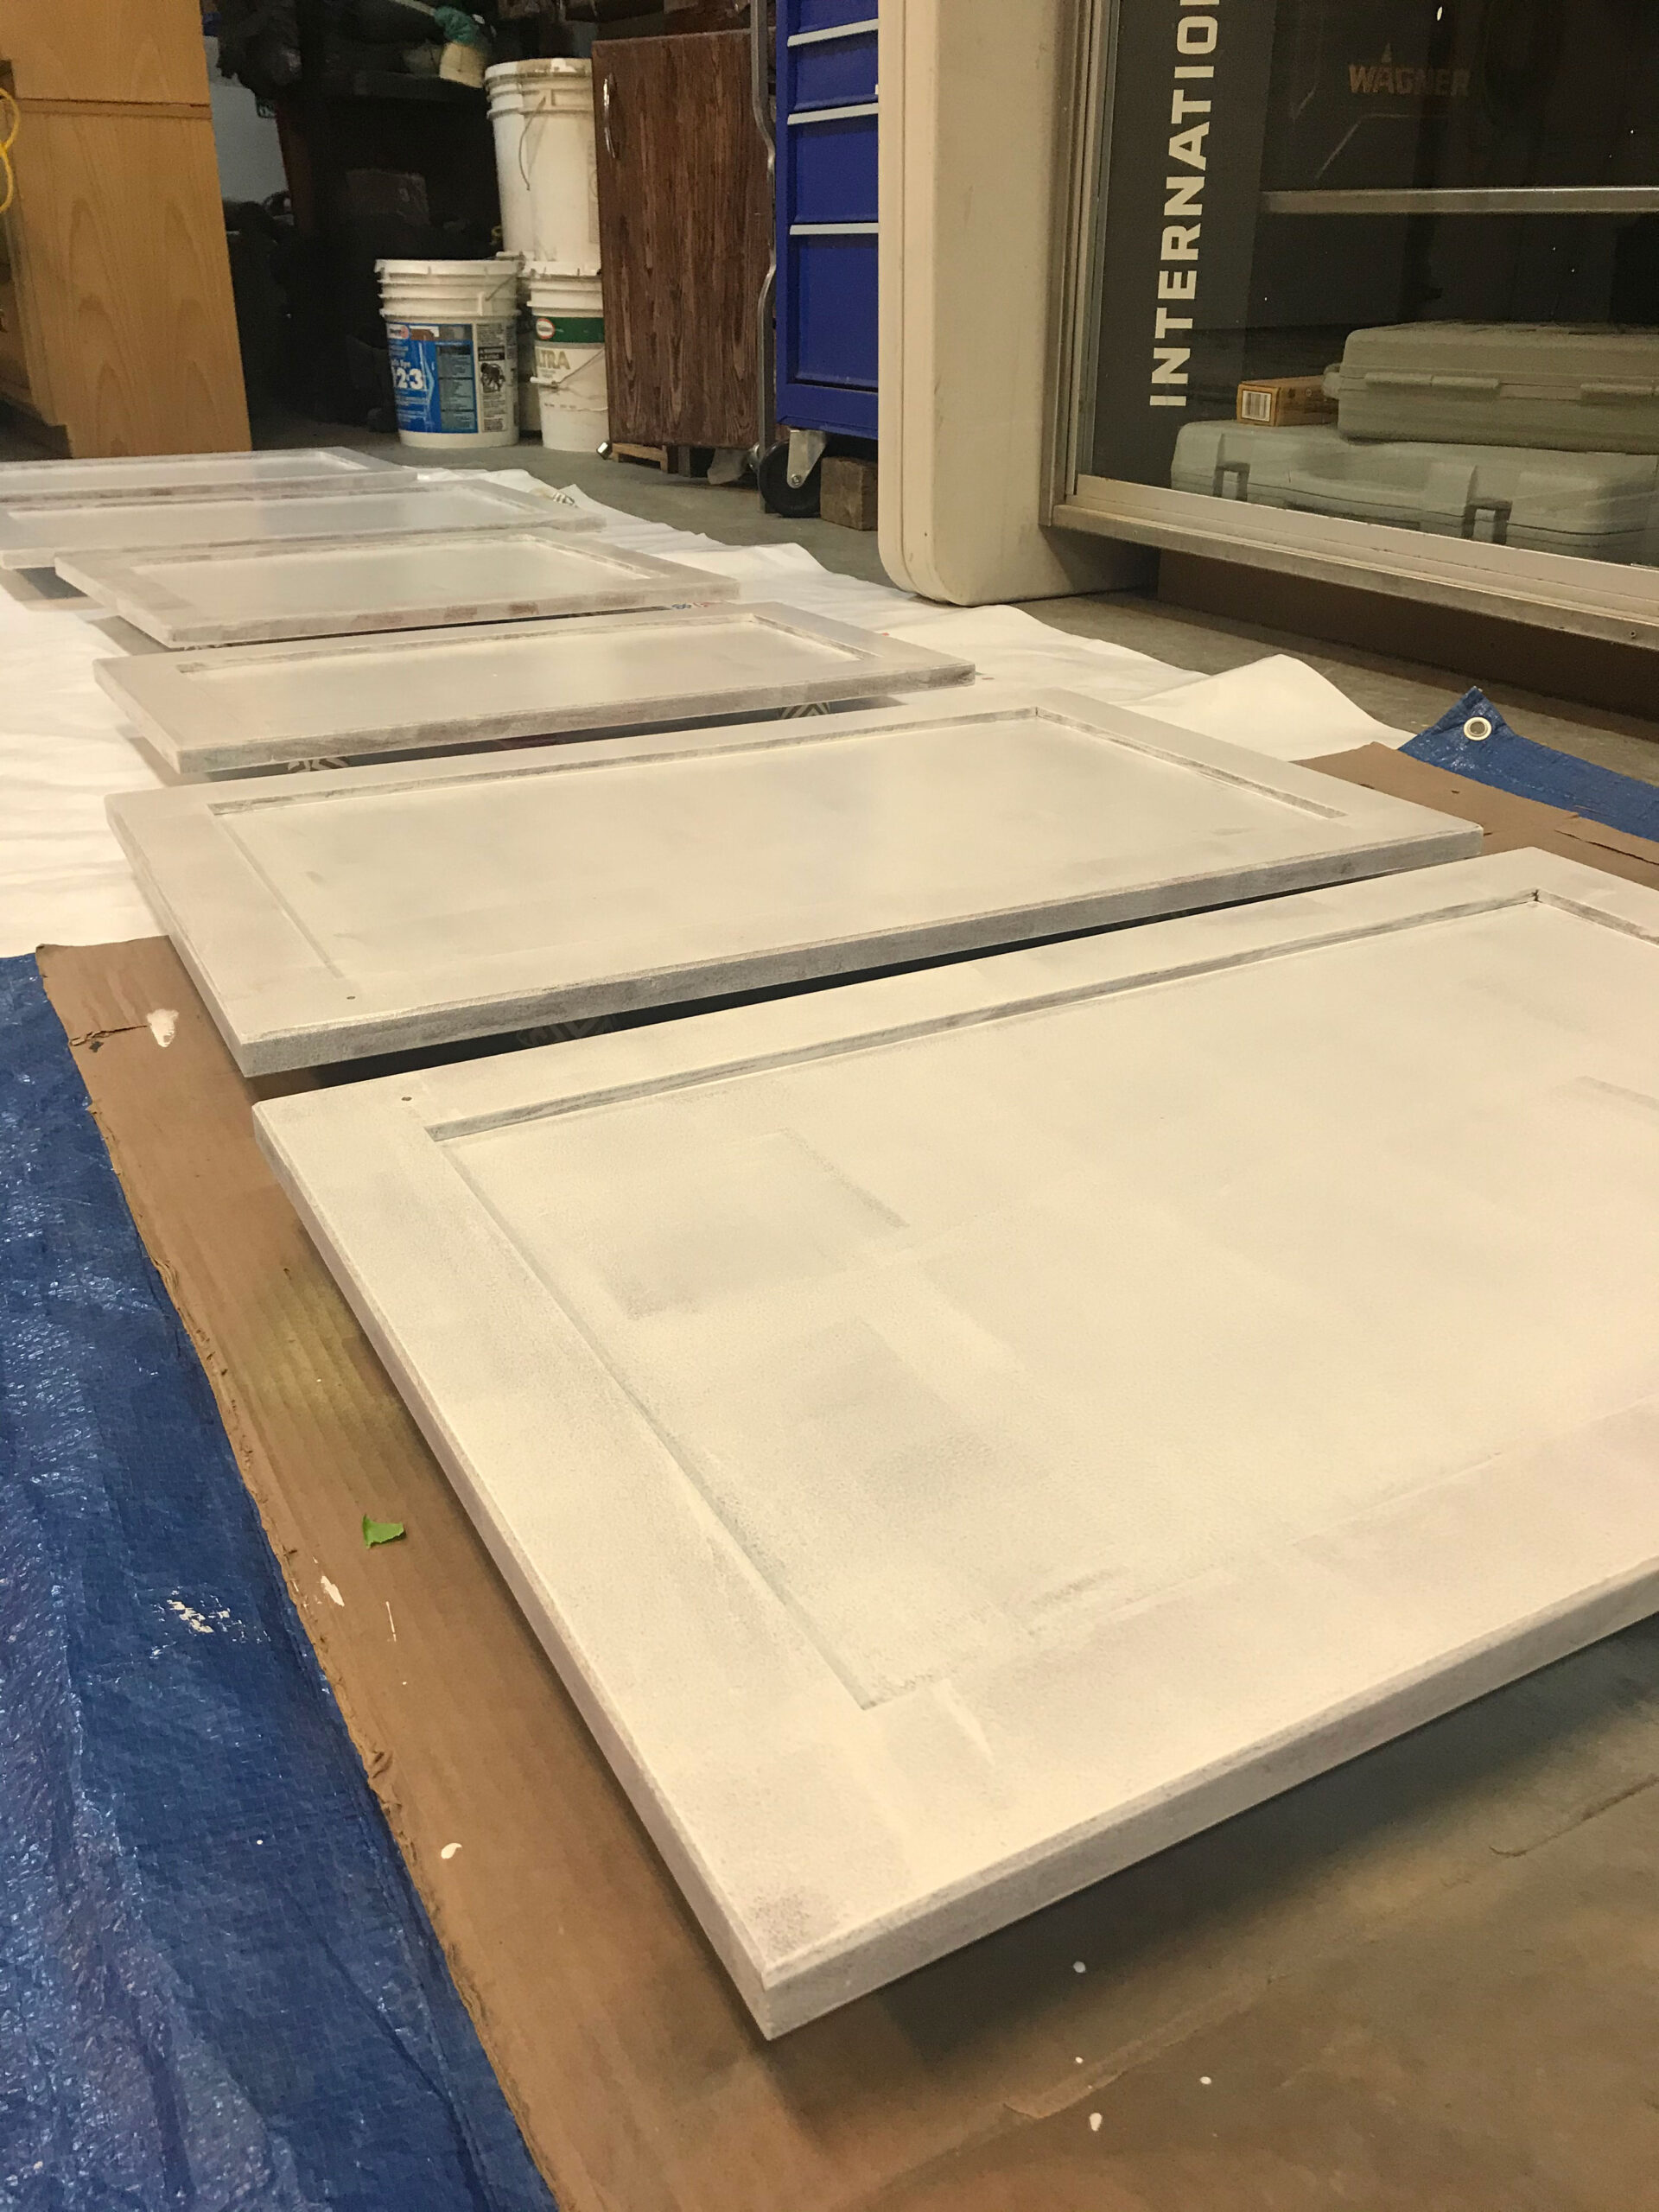
I said you don’t have to worry too much about brush strokes, right? Well, that’s because it’s super easy to sand BIN shellac for a super smooth surface. Once dry, if you go over your primed cabinet door with high grit sandpaper (say 220 grit or so) you can eliminate all the drips and brush marks.
I know that I said I hate sanding, but the level of effort in this step of sanding is very minimal. You only really need to run your hand across the surface to feel how rough it is, and then quickly and lightly sand, and feel the smooth-as-a-baby’s-bum surface after that low level of sanding to see what I mean.
Do not skip the sanding step if you want to end up with a smooth paint job. Any imperfections that show up at the primer level are going to reflect through to the second layer of paint unless you deal with them as they occur. If you have big drips or build-up in the corners, take the time to sand them out and clean out the corners, and do a second coat if you end up sanding too much off, for best results.
After sanding, wipe the painted surfaces with a tack cloth to remove any sanding dust before moving on to ensure the surface is very clean.
I am on the fence about whether multiple coats of primer are necessary. When I was painting my kid’s bathroom cabinets, I had raw MDF doors so I decided to add a second coat to really seal up the doors since the raw MDF really seemed to suck it up. However, I have never done that on any other project, I’ve found that a single coat is enough to move on to the painting step. Zinnser’s recommendations agree that one coat is usually sufficient.
Safety and clean up
I mentioned that this primer is not low VOC and so some safety precautions should be taken when using. Use outside if possible or in a well-ventilated area. The technical data also suggests that you use a respirator when applying.
As I mentioned, cleaning up this type of primer is recommended with an ammonia and water mixture. What I usually do is buy an inexpensive brush and roller, let them dry when I’m finished with them, and throw them both out after the primer step to avoid having to use more chemicals for cleaning.
FAQs
Can I use latex paint with an oil-based primer?
A lot of people think that you have to use oil-based paint with oil-based primer, but that is not the case. BIN Shellac oil-based primer is fine to use under latex and other types of paints.
Most oil-based primers are fine to be topped with a water-based paint, but be sure to check the manufacturer’s recommendations if using a new product to be sure.
Painting cabinets with chalk paint without priming
I have seen/heard/ done some experimenting with chalk paint or mineral paint, which has superior adhesion but does not require a primer. I talked a little more about all the types of furniture I’ve painted in this post and my recommended paints and methods. I really do not think that chalk or mineral paint saves you much in terms of time, as most of these paints require a top coat to seal which amounts to the same number of steps. Chalk and mineral paint don’t block tannins either so you may still have some bleed-through if you go over wood, particularly with some of the lighter paint colours.
I also don’t think you have as many colour choices or sheen control with those types of paints (they tend to be a lot more matte), so I personally wouldn’t use them for a kitchen.
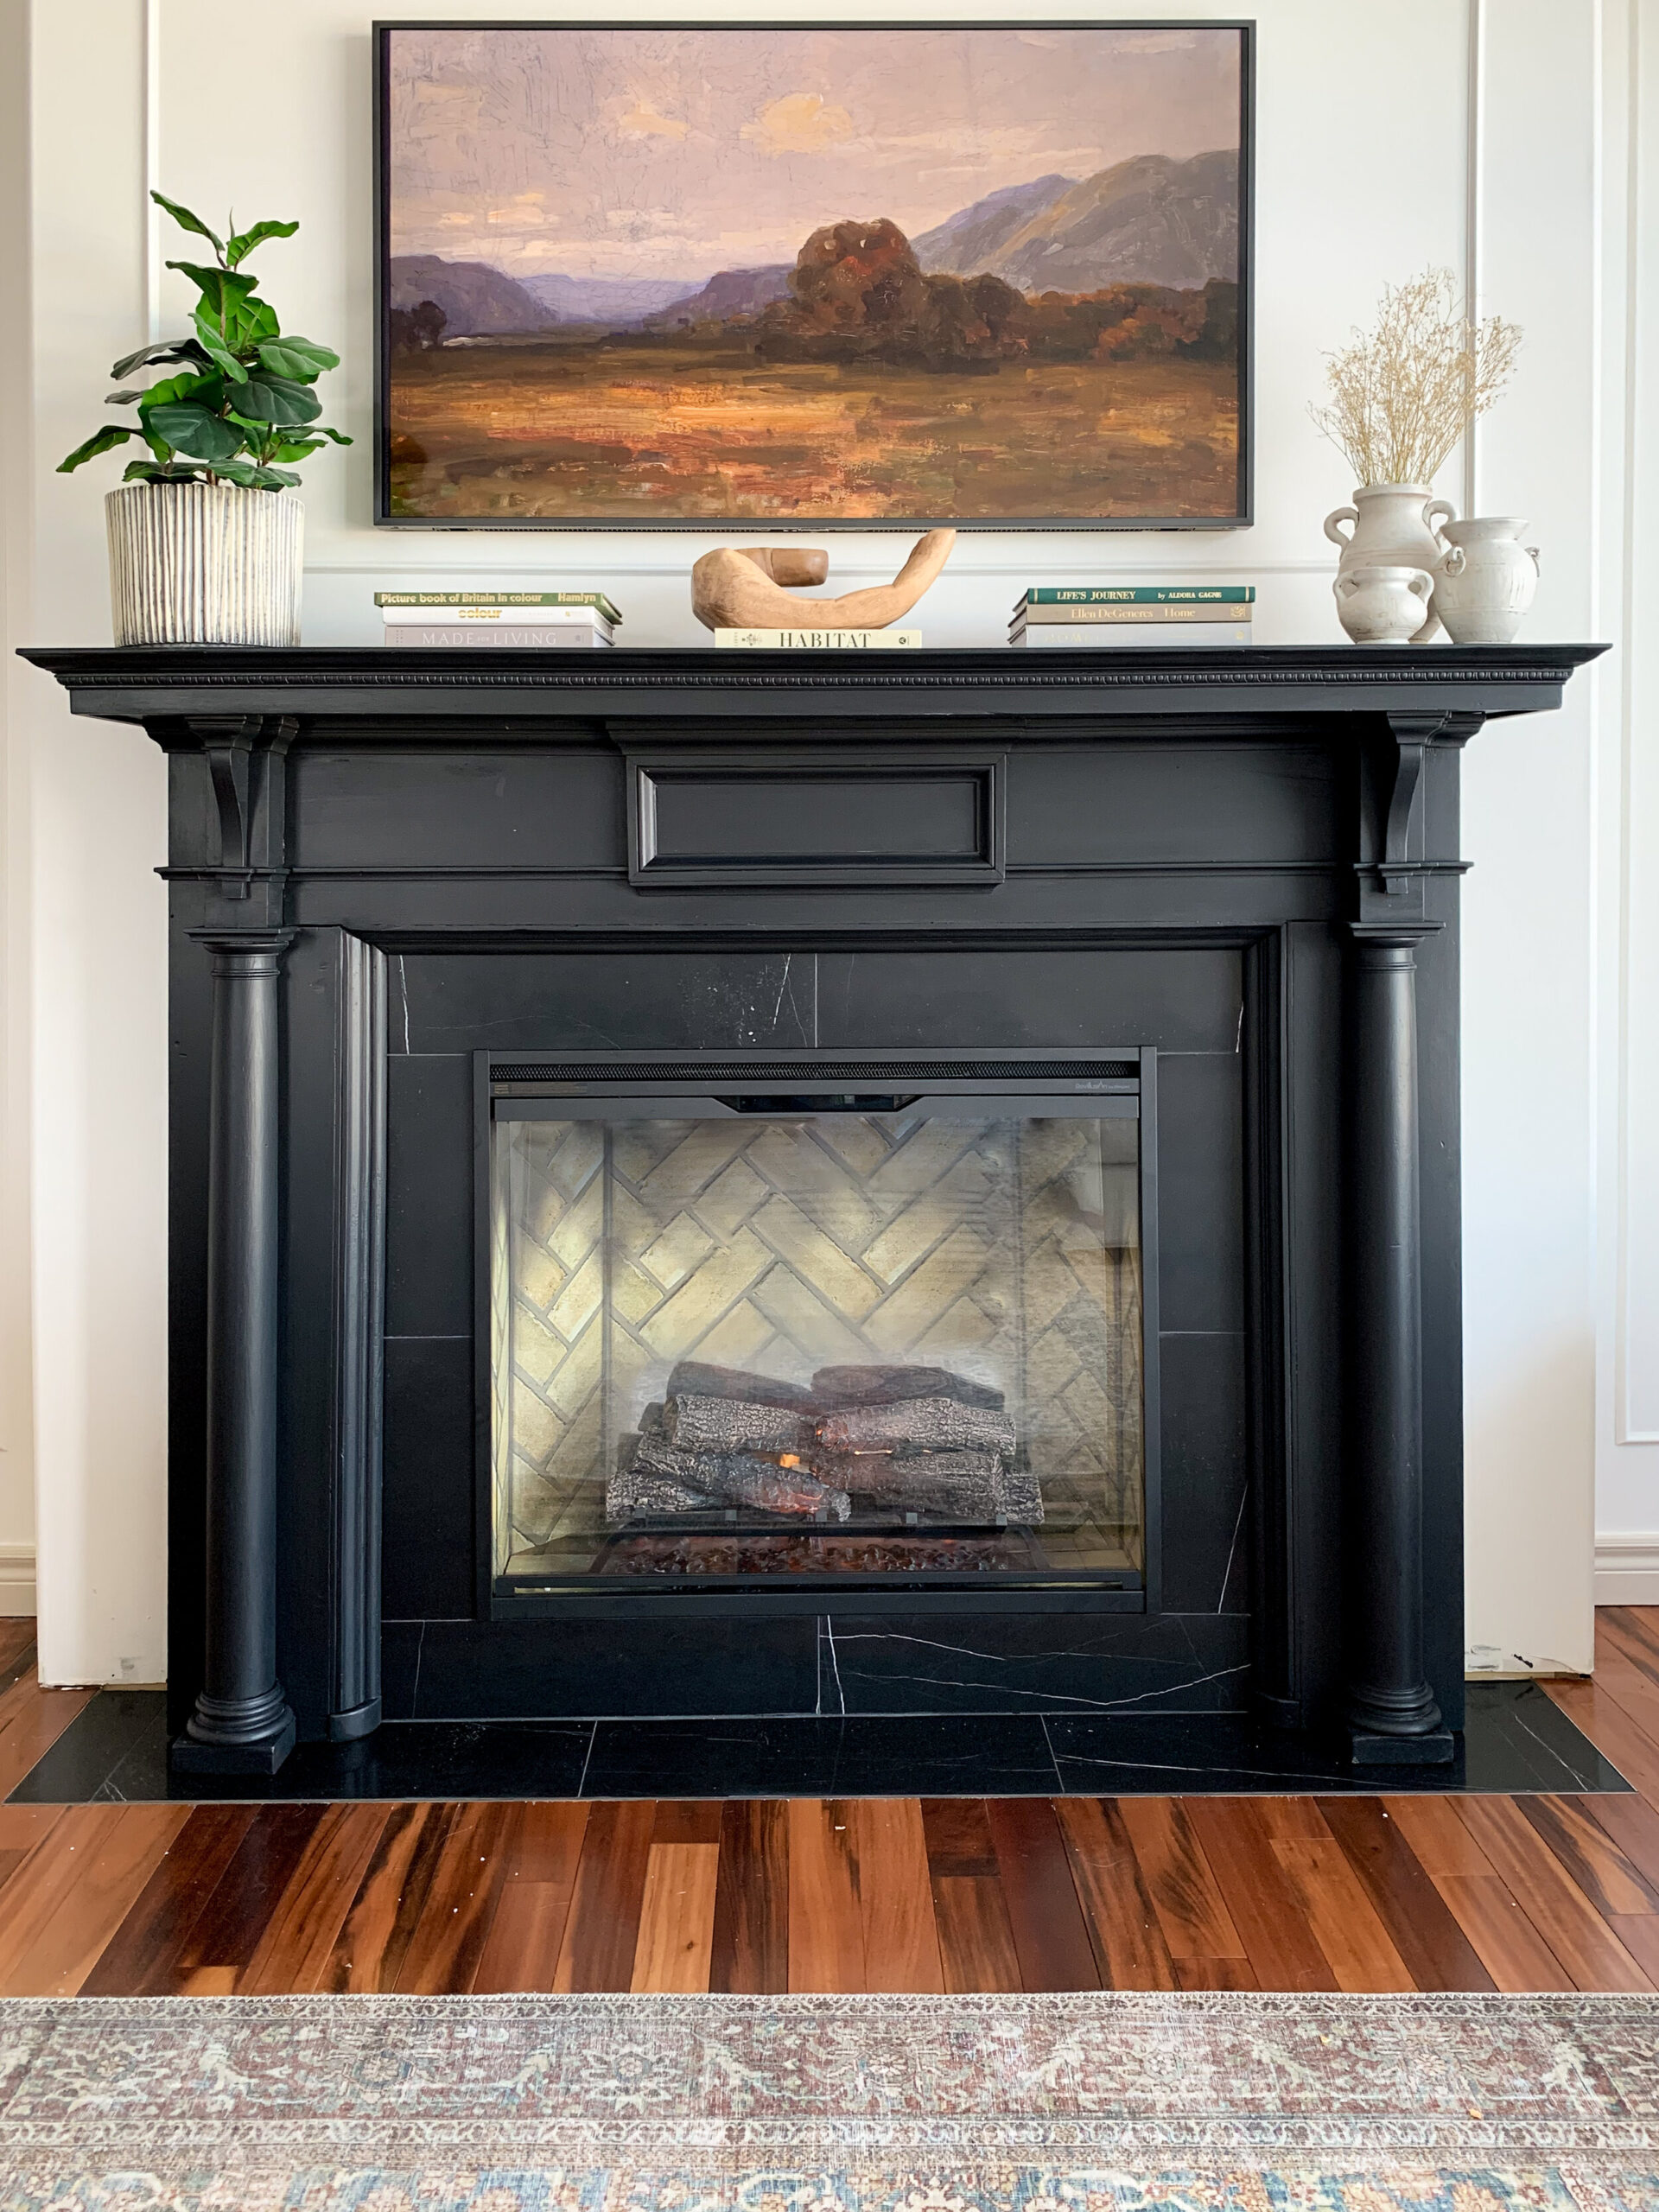
I painted my antique mantle with General Finishes Milk Paint and a top coat, and I don’t think the finish is what you would expect for kitchen cabinets. It is beautiful on my mantle, however! You can read about that project here.
Can laminate be painted?
Can you paint over that cheap Ikea Billy Bookcase you’ve had since college? How about that filing cabinet you got at Staples? This type of furniture can be somewhat basic but painting them out can result in a whole new look, that is much more custom. The laminate finish is shiny and slick. If you think that paint would have a hard time sticking to a surface like that, you would be right.
Once again, the key to painting a surface like this is using the right primer. An Oil Primer is going to be the best for this, and once again I do recommend my beloved Zinsser BIN Shellac Based Primer. Then top them with the right paint (see below) and you will have the best finish that will last for years to come.
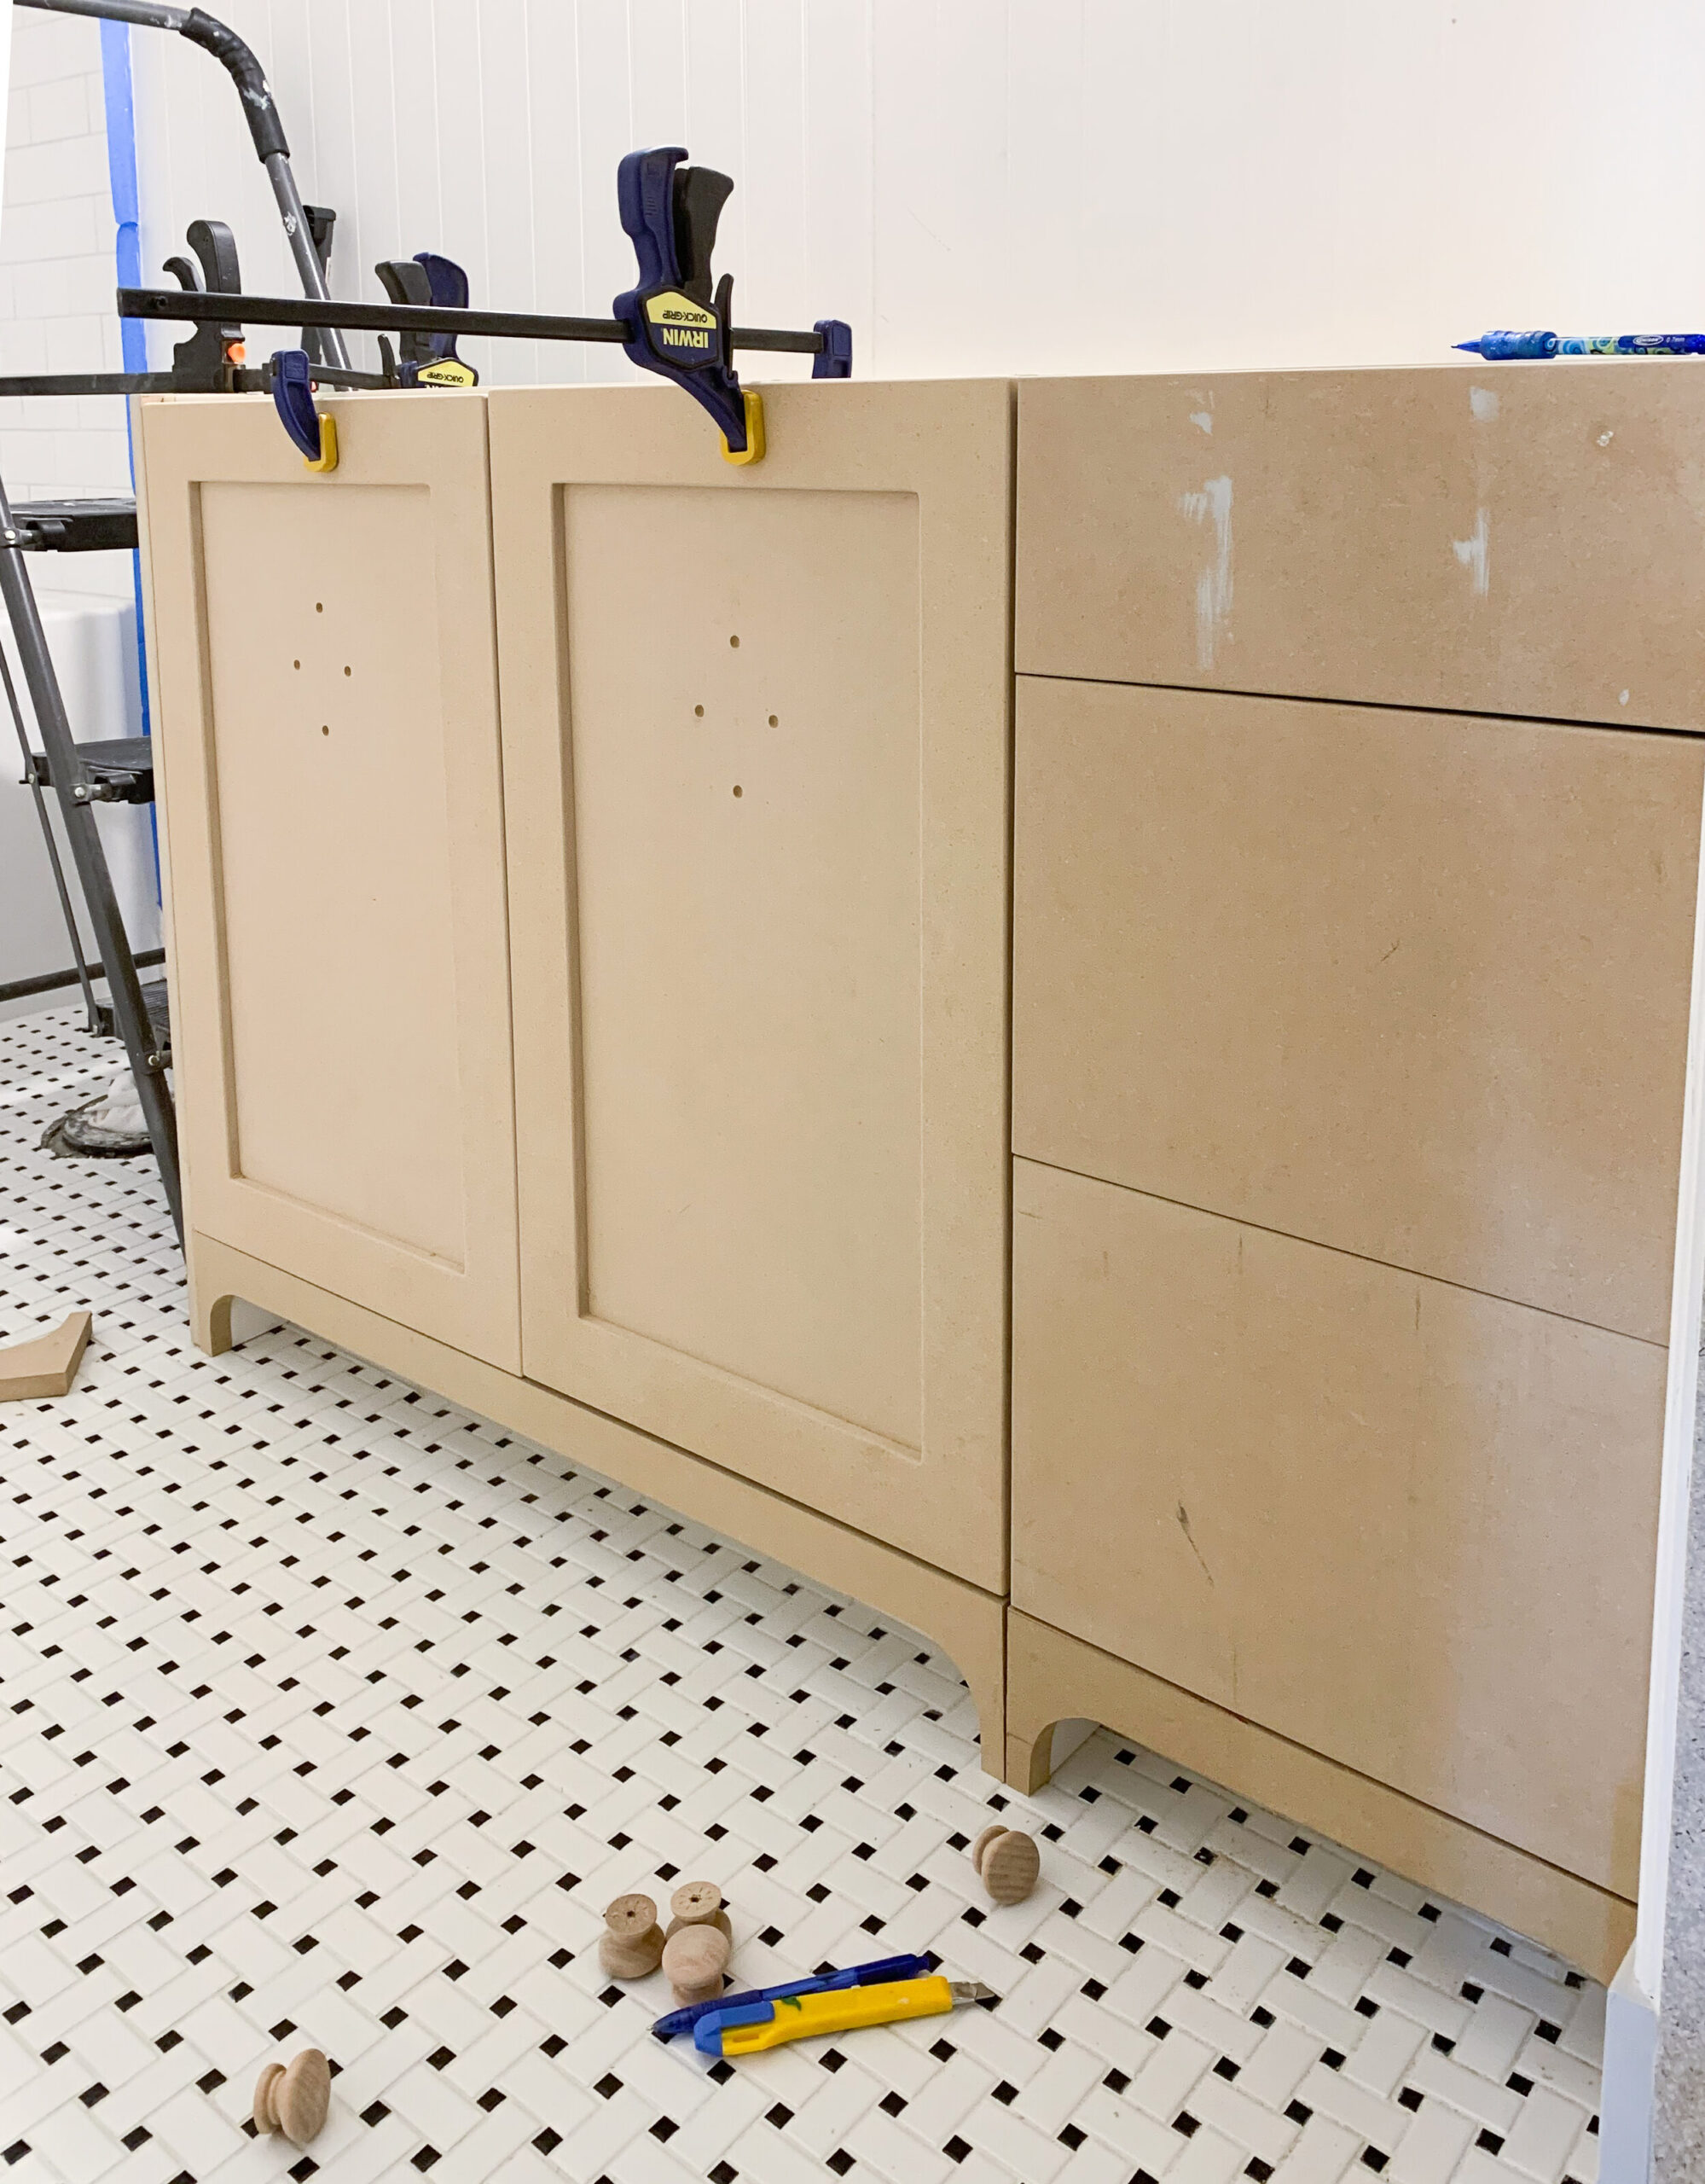
I’m making (or buying) my own cabinet doors – how do I paint Raw MDF?
When we customized the existing bathroom vanity in my kid’s bath, we added a panel to the side of the vanity and used a raw sheet of MDF for that. We also built some basic flat-front drawers out of raw MDF. I needed to paint it the same colour as the rest of the cabinet doors (Benjamin Moore Mink Violet). To prepare those surfaces for paint, I also use Shellac or oil-based primer.
Raw MDF is notorious for sucking up water, and if you use a water-based primer on it, it will suck some into the material itself and raise the grain. No amount of sanding will remove that rough finish. An oil-based primer will not sink into the material like that and will effectively seal up the material and provide a super smooth surface for painting.
This may seem like an ad for BIN shellac-based primer but I promise you it’s not, I just really love the stuff and I use it for almost everything! I always have a can of it in my stash!
Top mistakes to avoid when priming or painting your cabinets:
Painting cabinets is not hard but it is a LOT. There is a lot to paint, and a lot of steps, and if you are going through the trouble of painting cabinets you want to make sure you do it right the first time.
- Not using the correct Primer: You knew this was going to be the number one mistake since I have been singing the praises of oil-based primer the entire time, right? And, well, that is what this whole post is about. If you use the wrong primer, you won’t have good adhesion to your cabinets. No matter how good of a job you do with the rest of it, if your paint chips off or rubs off with a heavy scrub, it will all be for naught!
.
There are some instances where a different primer might give you decent results but there are very few instances where oil primer won’t work. It’s great for wood, laminate, previously painted surfaces, and all the things. - Not allowing proper cure time: Most paints have directions on the side of the can. Read that and follow those directions! Paint and primer require time to properly dry and to cure. Particularly enamel, it will harden up over time. For example, Benjamin Moore Advance requires 16 hours minimum between coats, and then it takes weeks (to months!) to cure and harden fully. The longer you can leave the cabinets before putting them back into use, the better. If you must put them back up, be extra careful with them for a while.
- Not removing your doors: You can not effectively paint both sides of the door and all of the edges if you leave them in place. Also, you are going to get paint all over your hinges which makes it look sloppy. Removing the doors and drawer fronts and laying them flat to paint is going to give you much better results.
.
The hardest part of DIY’ing a kitchen cabinet paint job is to find enough space to put all the doors for painting. You can buy or build a drying rack to save some space while you paint one door at a time, or do them in smaller batches if you are short on space. - Not sanding between coats: Even if you are spraying, there will be little bumps and imperfections that show up with every paint layer. Dust will settle on it, and if you live in my house, some pet hair, too. Sanding each layer before the next coat is the best way to minimize imperfections and end up with the smoothest finish.
- Not thoroughly cleaning before priming – dust, debris, bacon grease. Dirt and debris between your primer coat and your surface will prevent a proper bond, so make sure you clean really thoroughly before you start priming.
- Not using the correct paint – Kitchen cabinet companies and professional painters usually use lacquer to paint cabinets. Lacquer sprays to a glass-like finish and is super durable and so it’s a great choice for cabinets. However, lacquer paint is tricky to paint with, is high in VOC’s, and is not readily available at Home Depot or your local paint store, so it might not be the best choice for us DIY types, spraying our cabinets in our garages.
I personally have had great luck with Benjamin Moore Advance which is an enamel. An enamel is a paint that dries to a super hard finish, which is what you want when painting cabinets. Benjamin Moore Advance has great levelling qualities too (which means that paint strokes and imperfections level themselves out when they dry) so it’s a very good choice for cabinets if you are DIY’ing. I go into more detail about the paint process here. Enamel paint does provide good hardening, durability and levelling qualities and is much easier to obtain a professional-looking finish yourself.
Sherwin Williams has a paint called a “Urethane Trim Enamel” that I have also heard works well for cabinets. I don’t have any personal experience with this line but given that it is also an enamel, it’s likely going to give you the durability you want.
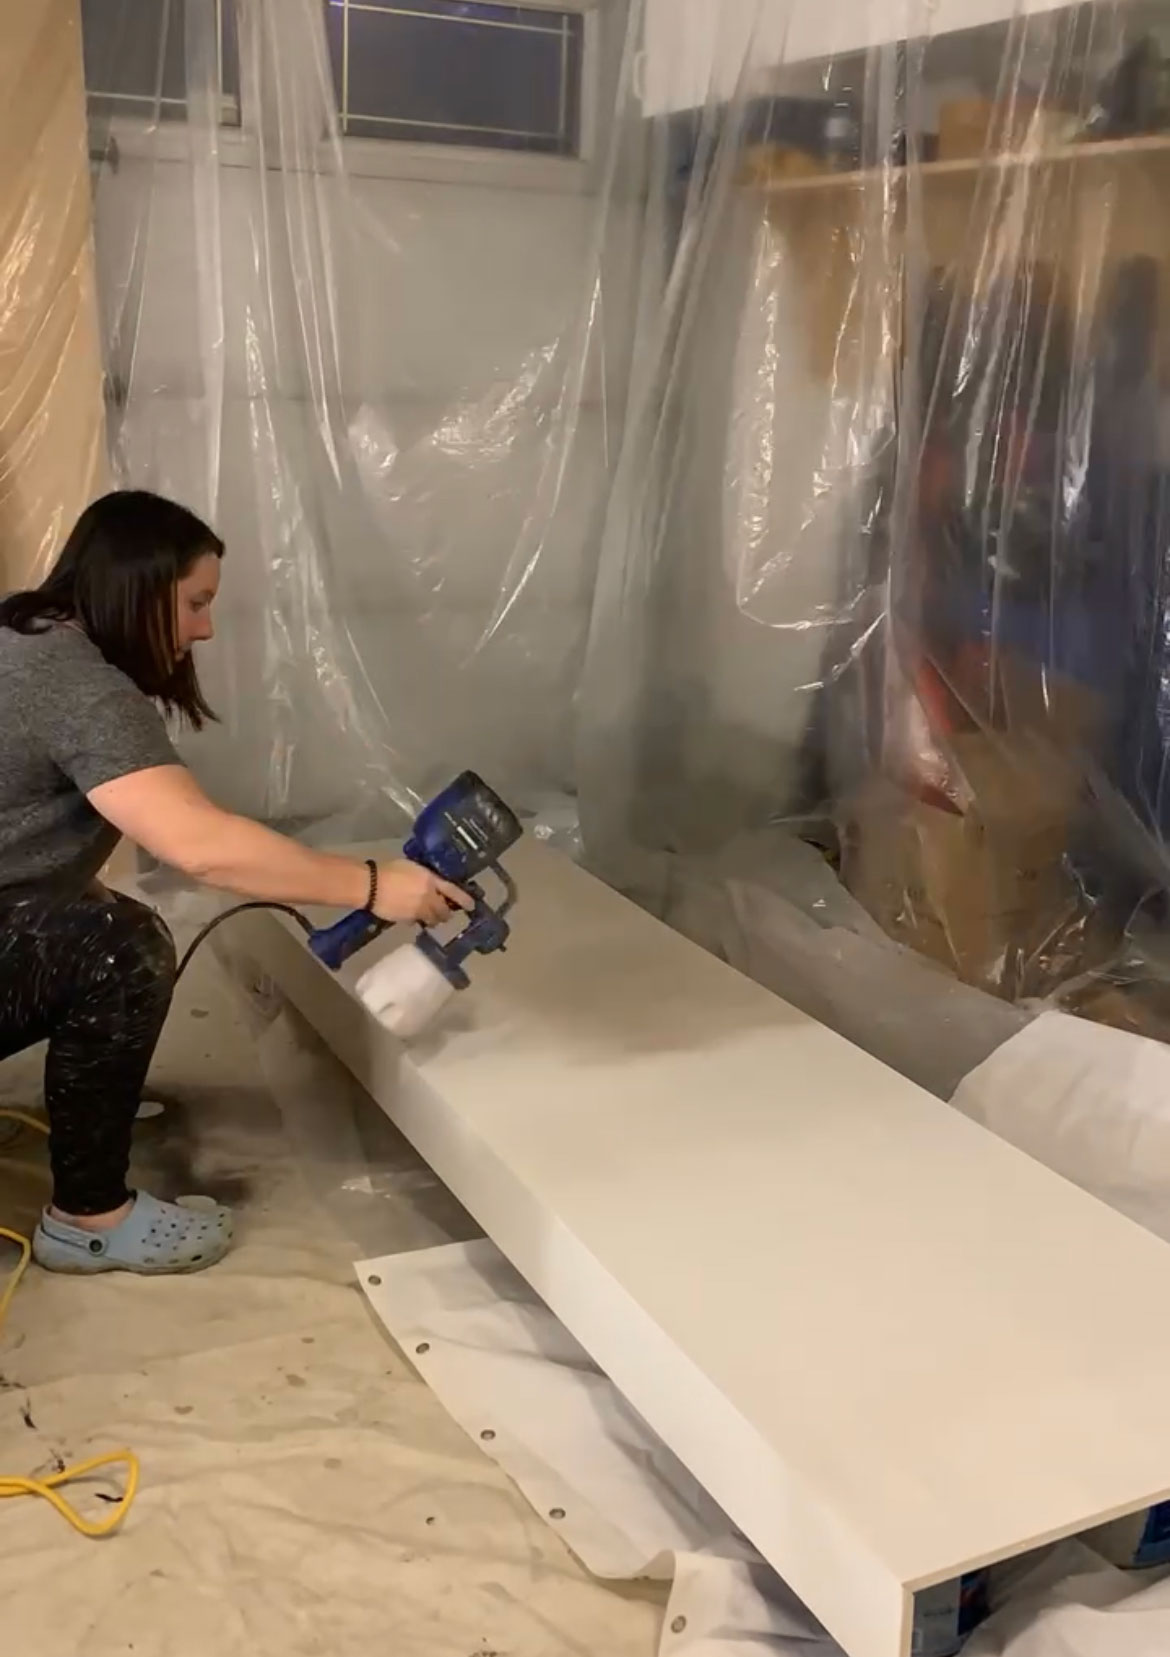
The benefit of using an enamel versus a lacquer is that you can keep a little on hand for touch-ups. There will be some dings and dents that happen no matter what type of paint you use, and you can not easily touch up lacquered cabinets. Lacquer does not have a long enough shelf life to keep on hand (it will dry up in a month or so) and also will be pretty noticeable on its shiny perfect surface. Enamel, on the other hand, can be kept on hand to touch up any dings. - Not spraying the paint: This one I hesitated to mention because if you are a really great painter, you can probably obtain a good finish without spraying. However, it is a lot easier to get a nice finish when spraying. If you are going to DIY your cabinets yourself, you are saving a lot of money on labour so treat yourself to a sprayer to get the job done easier!
I had this inexpensive sprayer for years, and I just upgraded to this one, which is great because it doesn’t require that the paint is thinned and it is cordless!. This sprayer is very similar to mine but has a cord, which makes it a great mid-range option.
I hope this gives you a good BASE (haha see what I did there) to start priming your cabinets! Painting cabinets is not hard and if you take your time and start out on the right foot with the best primer for cabinets, you will enjoy your beautiful new kitchen for years to come.
Shop this Post:

How to Prime Cabinets

How to prime cabinets including the proper prep and the best primer to use
Materials
- Zinsser BIN Shellac Based Primer
- Paint brush
- Roller
- Cleaner (I like Krud Kutter)
- Deglosser
- Sandpaper (220 grit or finer)
Instructions
- Clean your cabinets using soap and water or a heavy duty cleaner like krud kutter.
- Remove all cabinet doors and drawers. If you have a lot of cabinets, you might want to number them so can reinstall them in the same place.
- Sand or degloss the cabinet doors and bases.
- If sanding, wipe the doors and bases down with a tack coat to remove any sanding dust.
- Prime doors one at a time using an oil-based primer, like BIN Shellac Based primer. Roll and brush, or if you prefer you can also spray this coat.
- Prime your cabinet bases in place.
- After 45 minutes or so, sand lightly using 220 grit or higher sanding block. Sand until the doors and cabinets feel smooth to the touch.
- Your cabinets are ready for paint!
You Might Also Like:
- How to Update Your Kitchen Without Painting Cabinets!
- Painting Furniture or Cabinets
- One Room Challenge Spring 2021 – Week 5 – The Vanity Glow-Up
- Drywall, Moulding and Paint, Oh My!
- Blind Corner Kitchen Cabinet Ideas
- How Much does it cost to DIY a Kitchen?
- Updating our 90’s Home on a Budget
- How to Make a Kitchen Island Out of Base Cabinets
- Easy DIY Ikea Multi-Drawer File Cabinet Makeover
Erin, this is so informative! Thank you. Grace
I’m so glad it helped Grace!
you answered all my questions…thanks
You wrote something that is not accurate.
Zinsser shellac based primer is not oil based at all, it’s a shellac base.
For shellac formulas the solvent for this product is denatured alcohol that’s why the dry time is much improved over oils based products.
Benefits are accurate, but there are a few cons as well. Cost, coverage per gallon is less.
You are write, I should have not said that the Shellac Paint is oil based. It is similar but not the same!
I’m in Ontario and prime with BIN Shellac-based primer all the time. You can definitely use your very best brushes with this primer. To clean them just quickly use a TSP solution and then a rinse. In fact, if latex paint cleaned as well and as quickly and as completely as TSP/shellac well my goodness I would never take a break from painting. Ignore their denatured alcohol suggestions on the can. TSP is super cheap and easy to keep on hand.
That is a great tip thank you so much!
Extremely thorough and helpful advice, thank you! Towards the end you talk about sprayers and link to 3 sprayers. The first two links go to the same sprayer it looks like… a HomeRight for $35. So you happen to know which one you upgraded to?
Oh thanks for letting me know I will update those links! The one I use now is the Graco TCPro cordless, I love it!