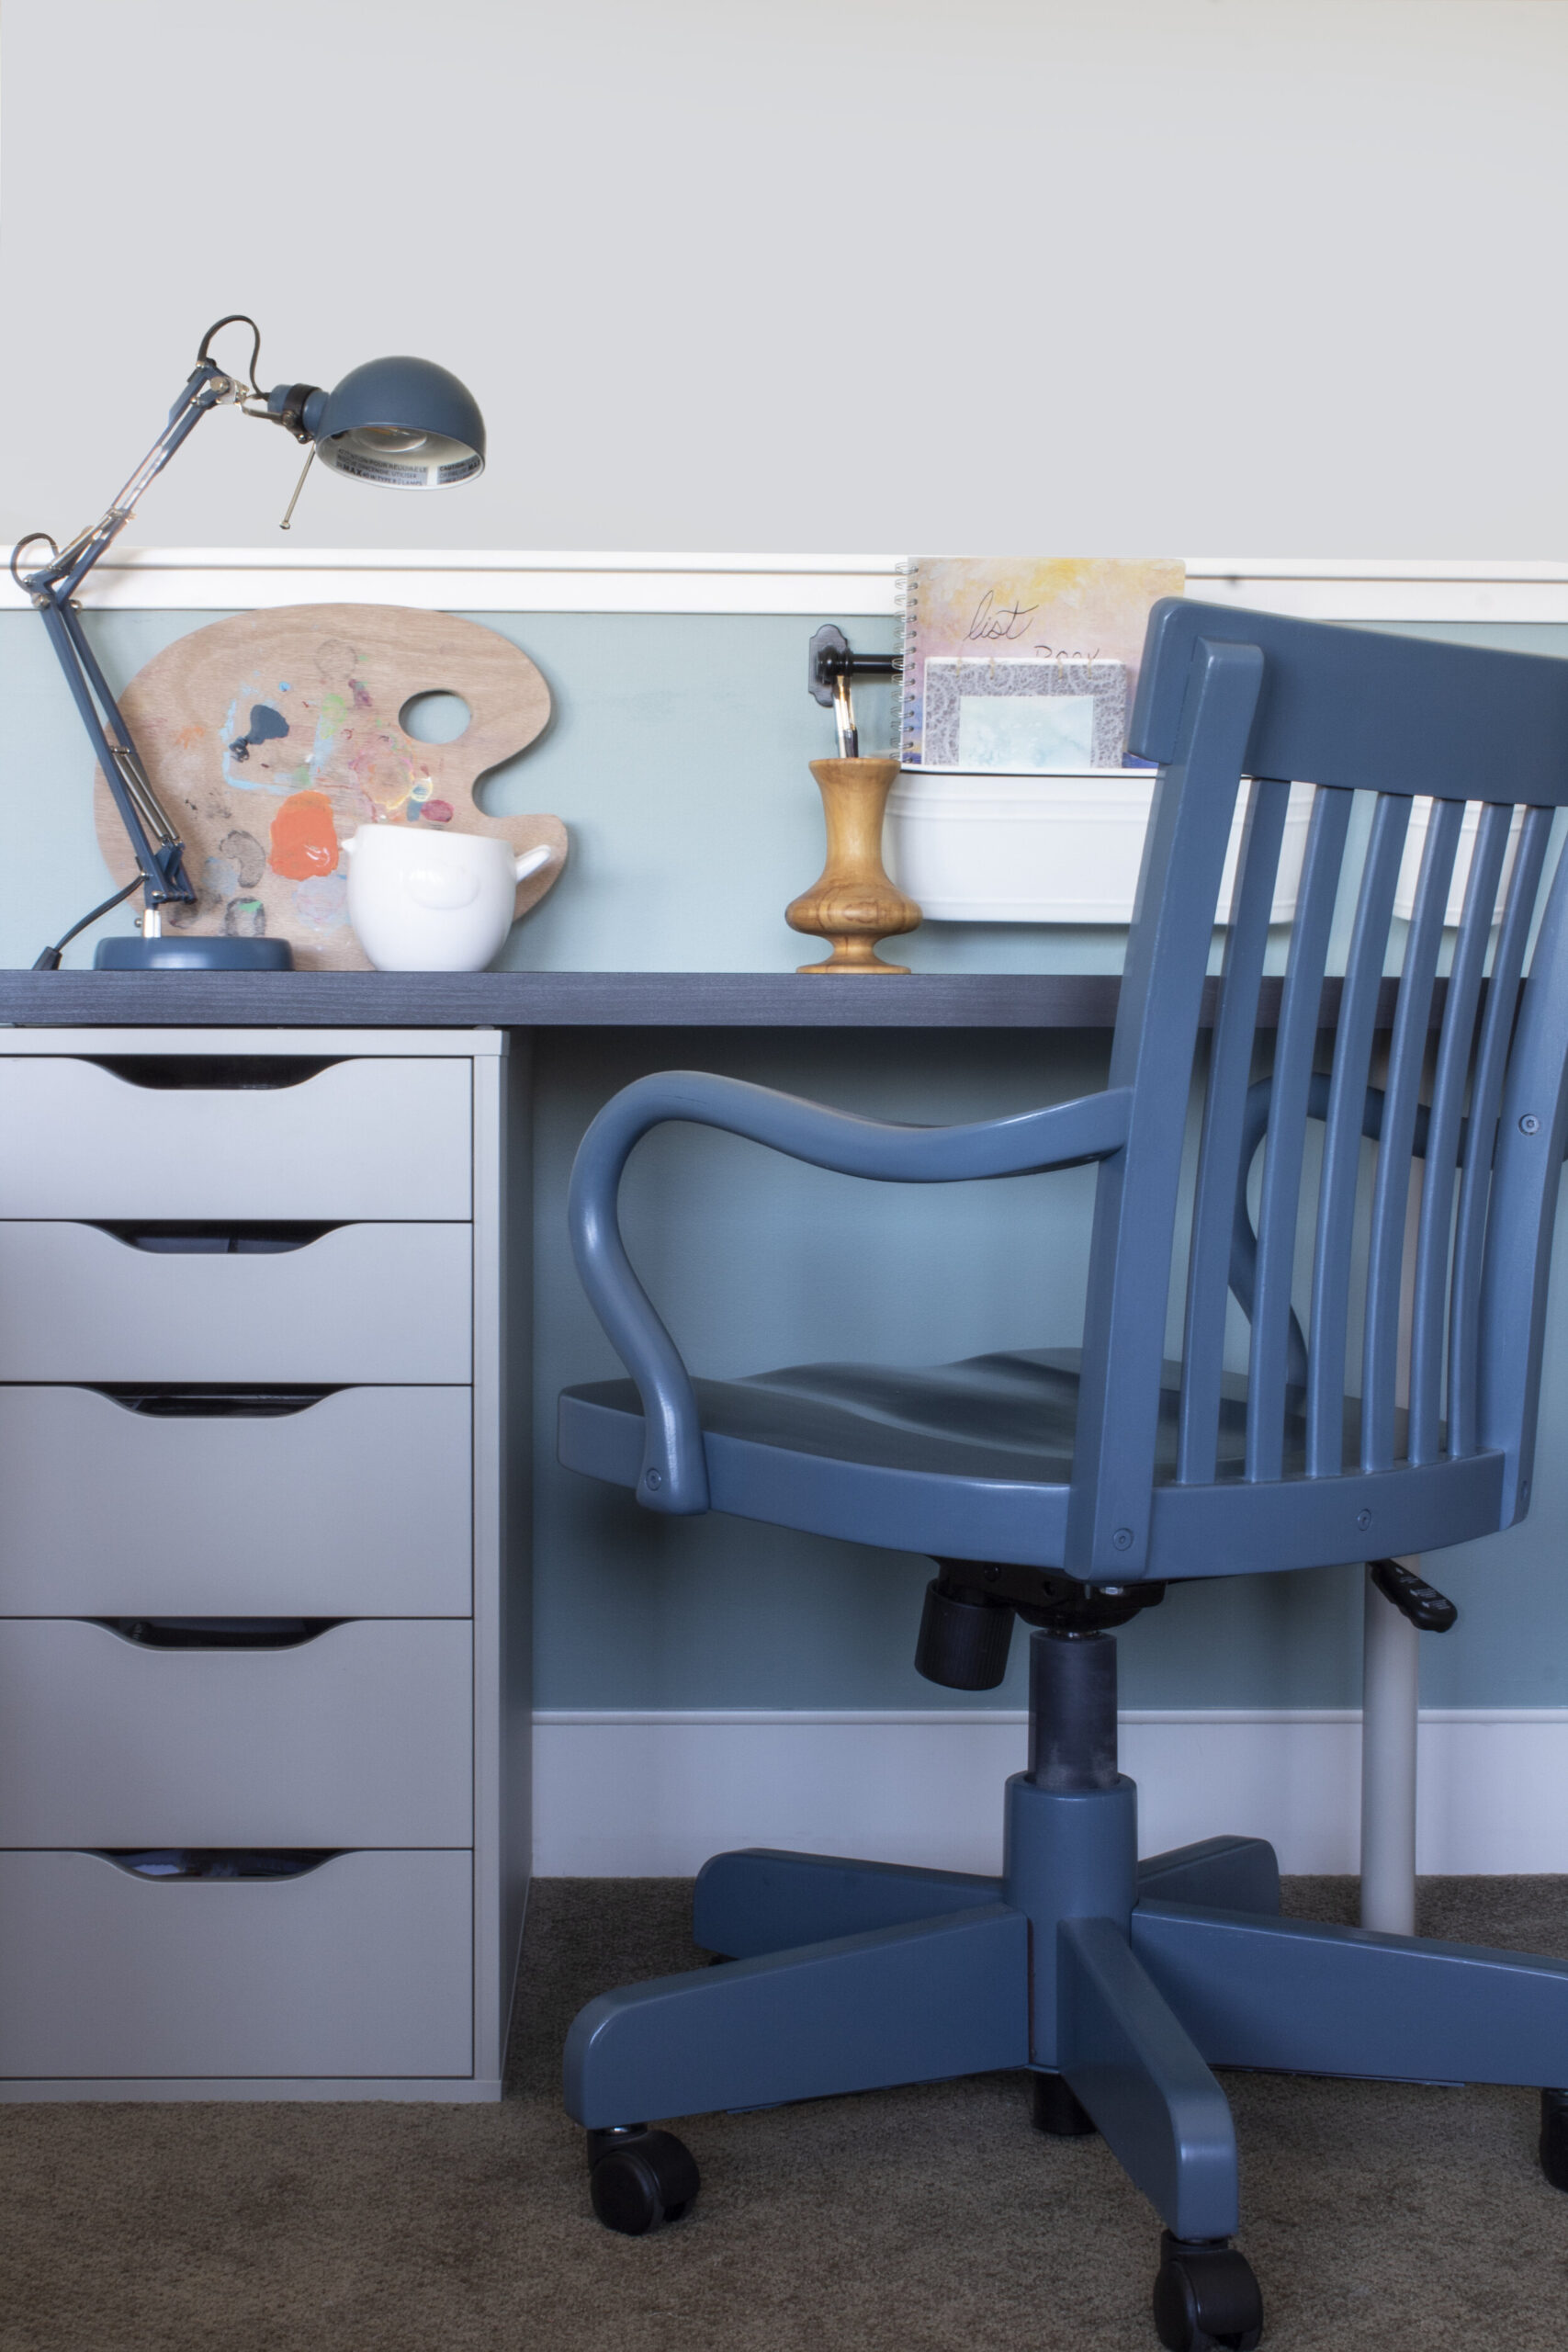
Painting Furniture or Cabinets
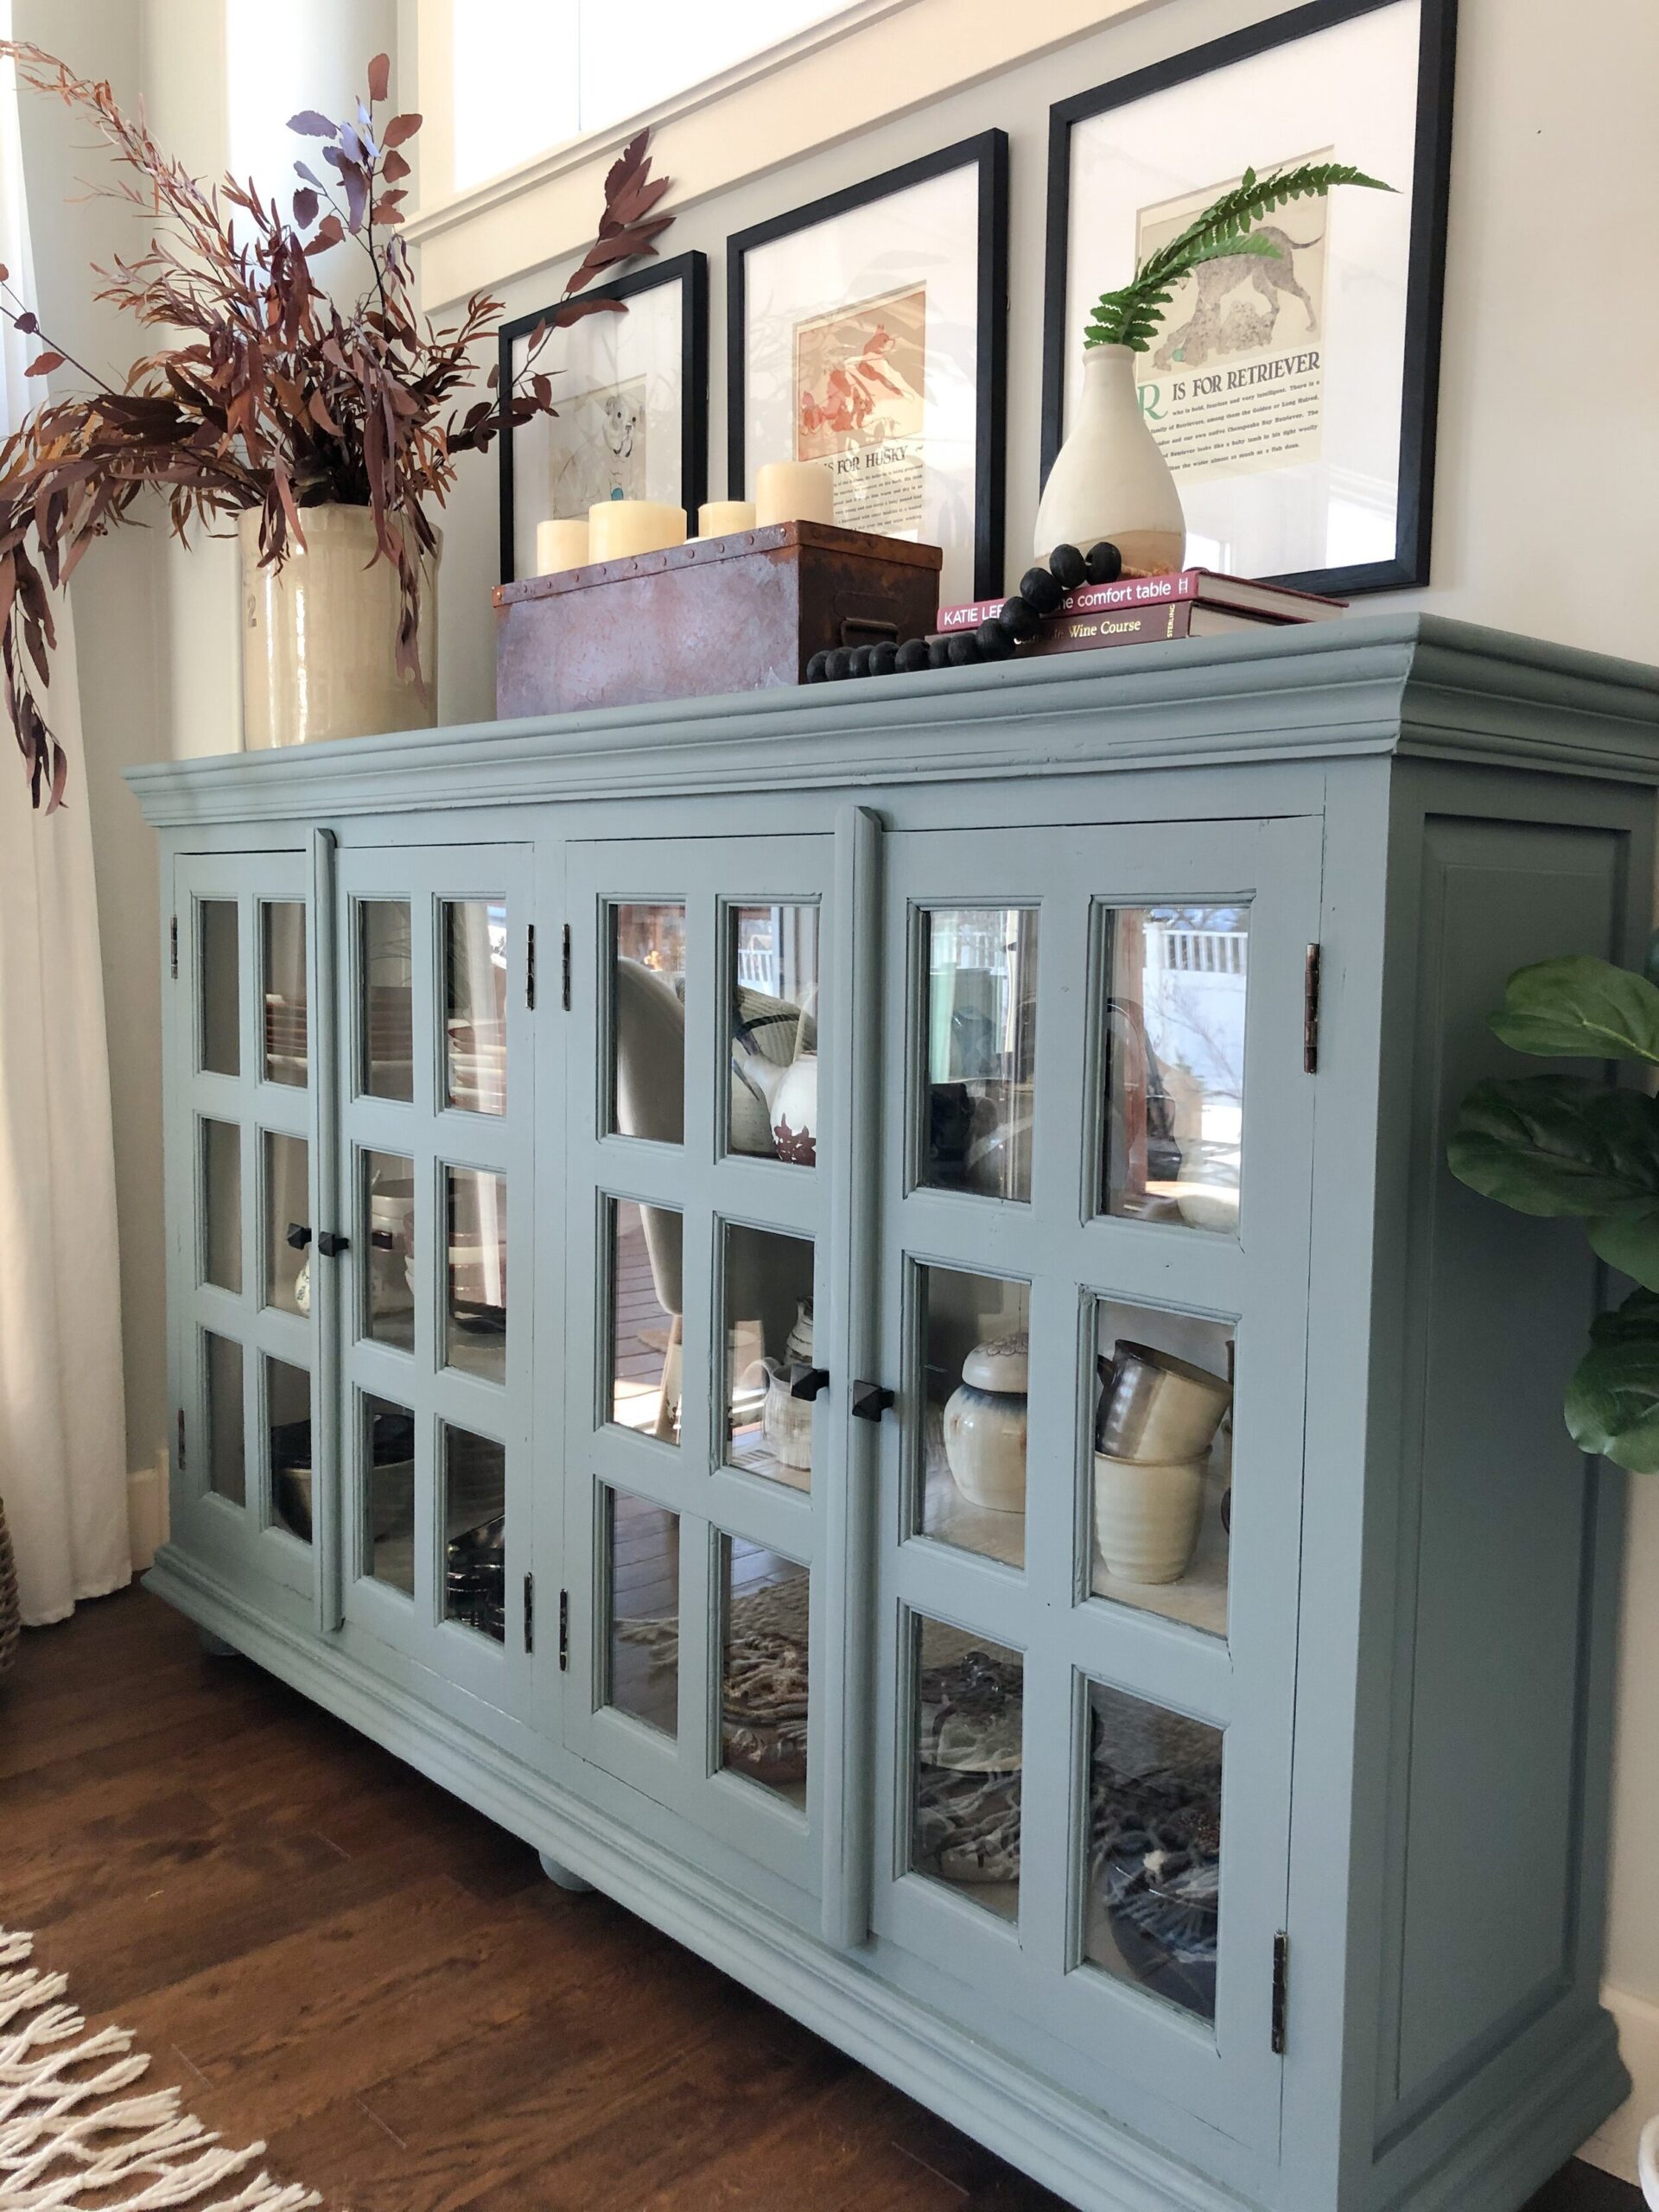
When I posted this before and after buffet painting photo on instagram, I got a lot of questions about what paint I used and the preparation that went into it. Over the years I have painted many pieces of furniture and cabinets and I feel like I have a good handle on all the ways that it can be done and the reasons for using different methods, and the results and durability of each method. I am not an expert by any means, but I have done it quite a few times and had some pieces for years so I do have my own personal experiences I can share if you are thinking about painting furniture (or cabinets!).
This post may contain affiliate links. That means if you purchase anything from these links I earn a small commission, at no extra cost to you! This helps support my blog, so thank you!

Okay if you are reading this for fun, I just want to give you fair warning. This post is looooong and wordy, and it’s meant to be a resource that you can bookmark and refer to if and when you decide to paint your grandmas dresser. While I do appreciate it if/ when you read this post right through, I want to let you know that is a LOT of info. Turns out brevity is not my strong suit.
Let’s get into it!
First of all, can we just talk about what a difference paint makes? It is EVERYTHING. A coat of paint can take a piece from trash to treasure like nothing else. When looking for a piece to paint, pay attention to the lines of the piece and try and ignore the color. If it has details that you don’t like, like scrolly filigrees, often they can be removed, or if they are carved into the wood, they can be filled with wood filler. Legs can be switched out, things can be sawed off. Second, make sure the piece functions as you need it to. Does it have smooth opening drawers (if you need to use it a lot?) Is the piece good quality? Not that everything you paint needs to be great quality, but you are going to spend a fair bit of time and effort on this thing so let’s make sure it’s going to work for you for some years to come and not fall apart next week.
I’m assuming you have chosen your piece (or your cabinets!) and are ready to get started and are confused about allllll the different paint types and methods. I’ve tried a lot of different methods and I have my favorites! First, I’ll start with my all time favorite, which has to be enamel paint! This method works on cabinets, wood, even that cheap laminate furniture from IKEA. I have the most detail in this section because it is obviously my favorite child.
Enamel
So this is not the quickest or easiest method but I feel it gives the best results, and it is the only method I would use when painting cabinets. As with most paint projects, preparation is key. Start by cleaning with a good de-greaser (I’ve even used Dawn dish soap for this step). GET IN ALL THOSE NOOKS AND CRANNIES. Use a toothpick, a Q-tip, whatever you need to do to make sure all crud, grease, bugs, dirt has been successfully removed. Paint won’t stick to your grandma’s dust.
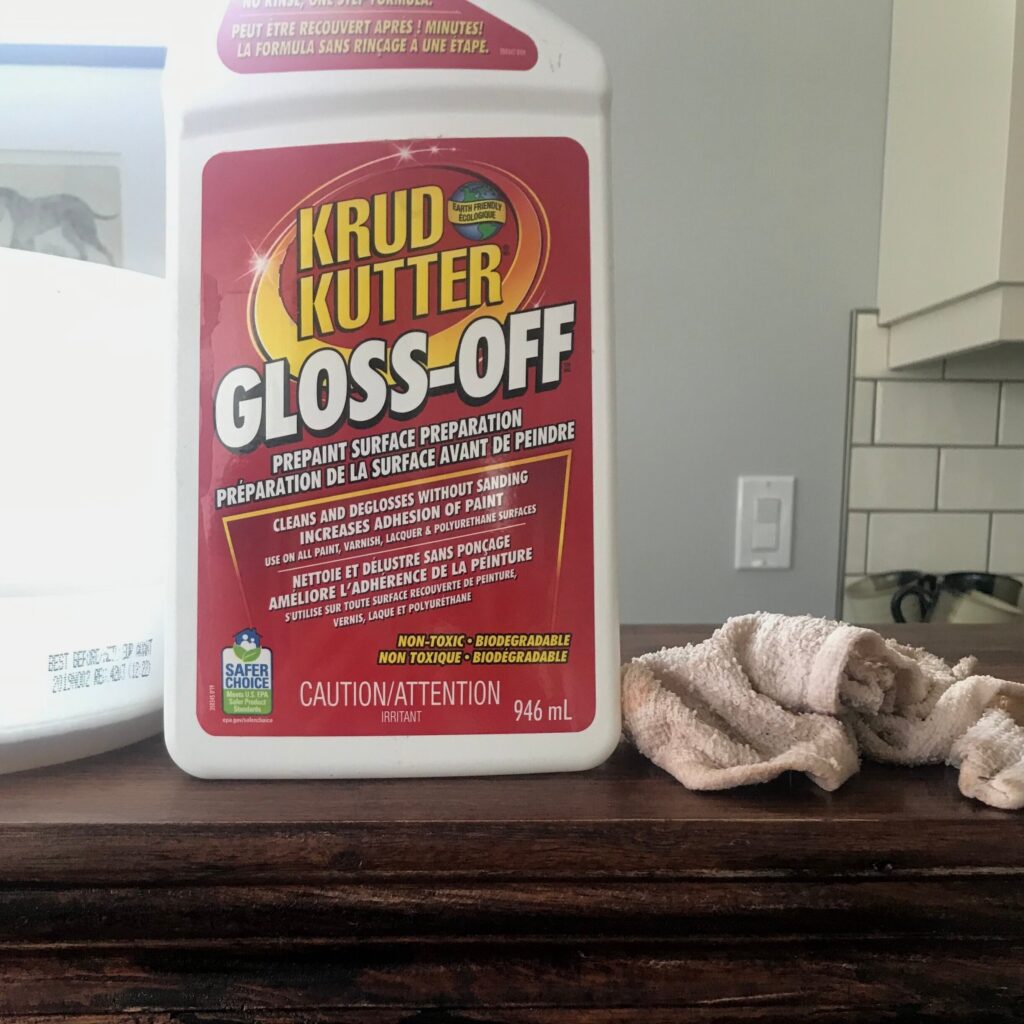
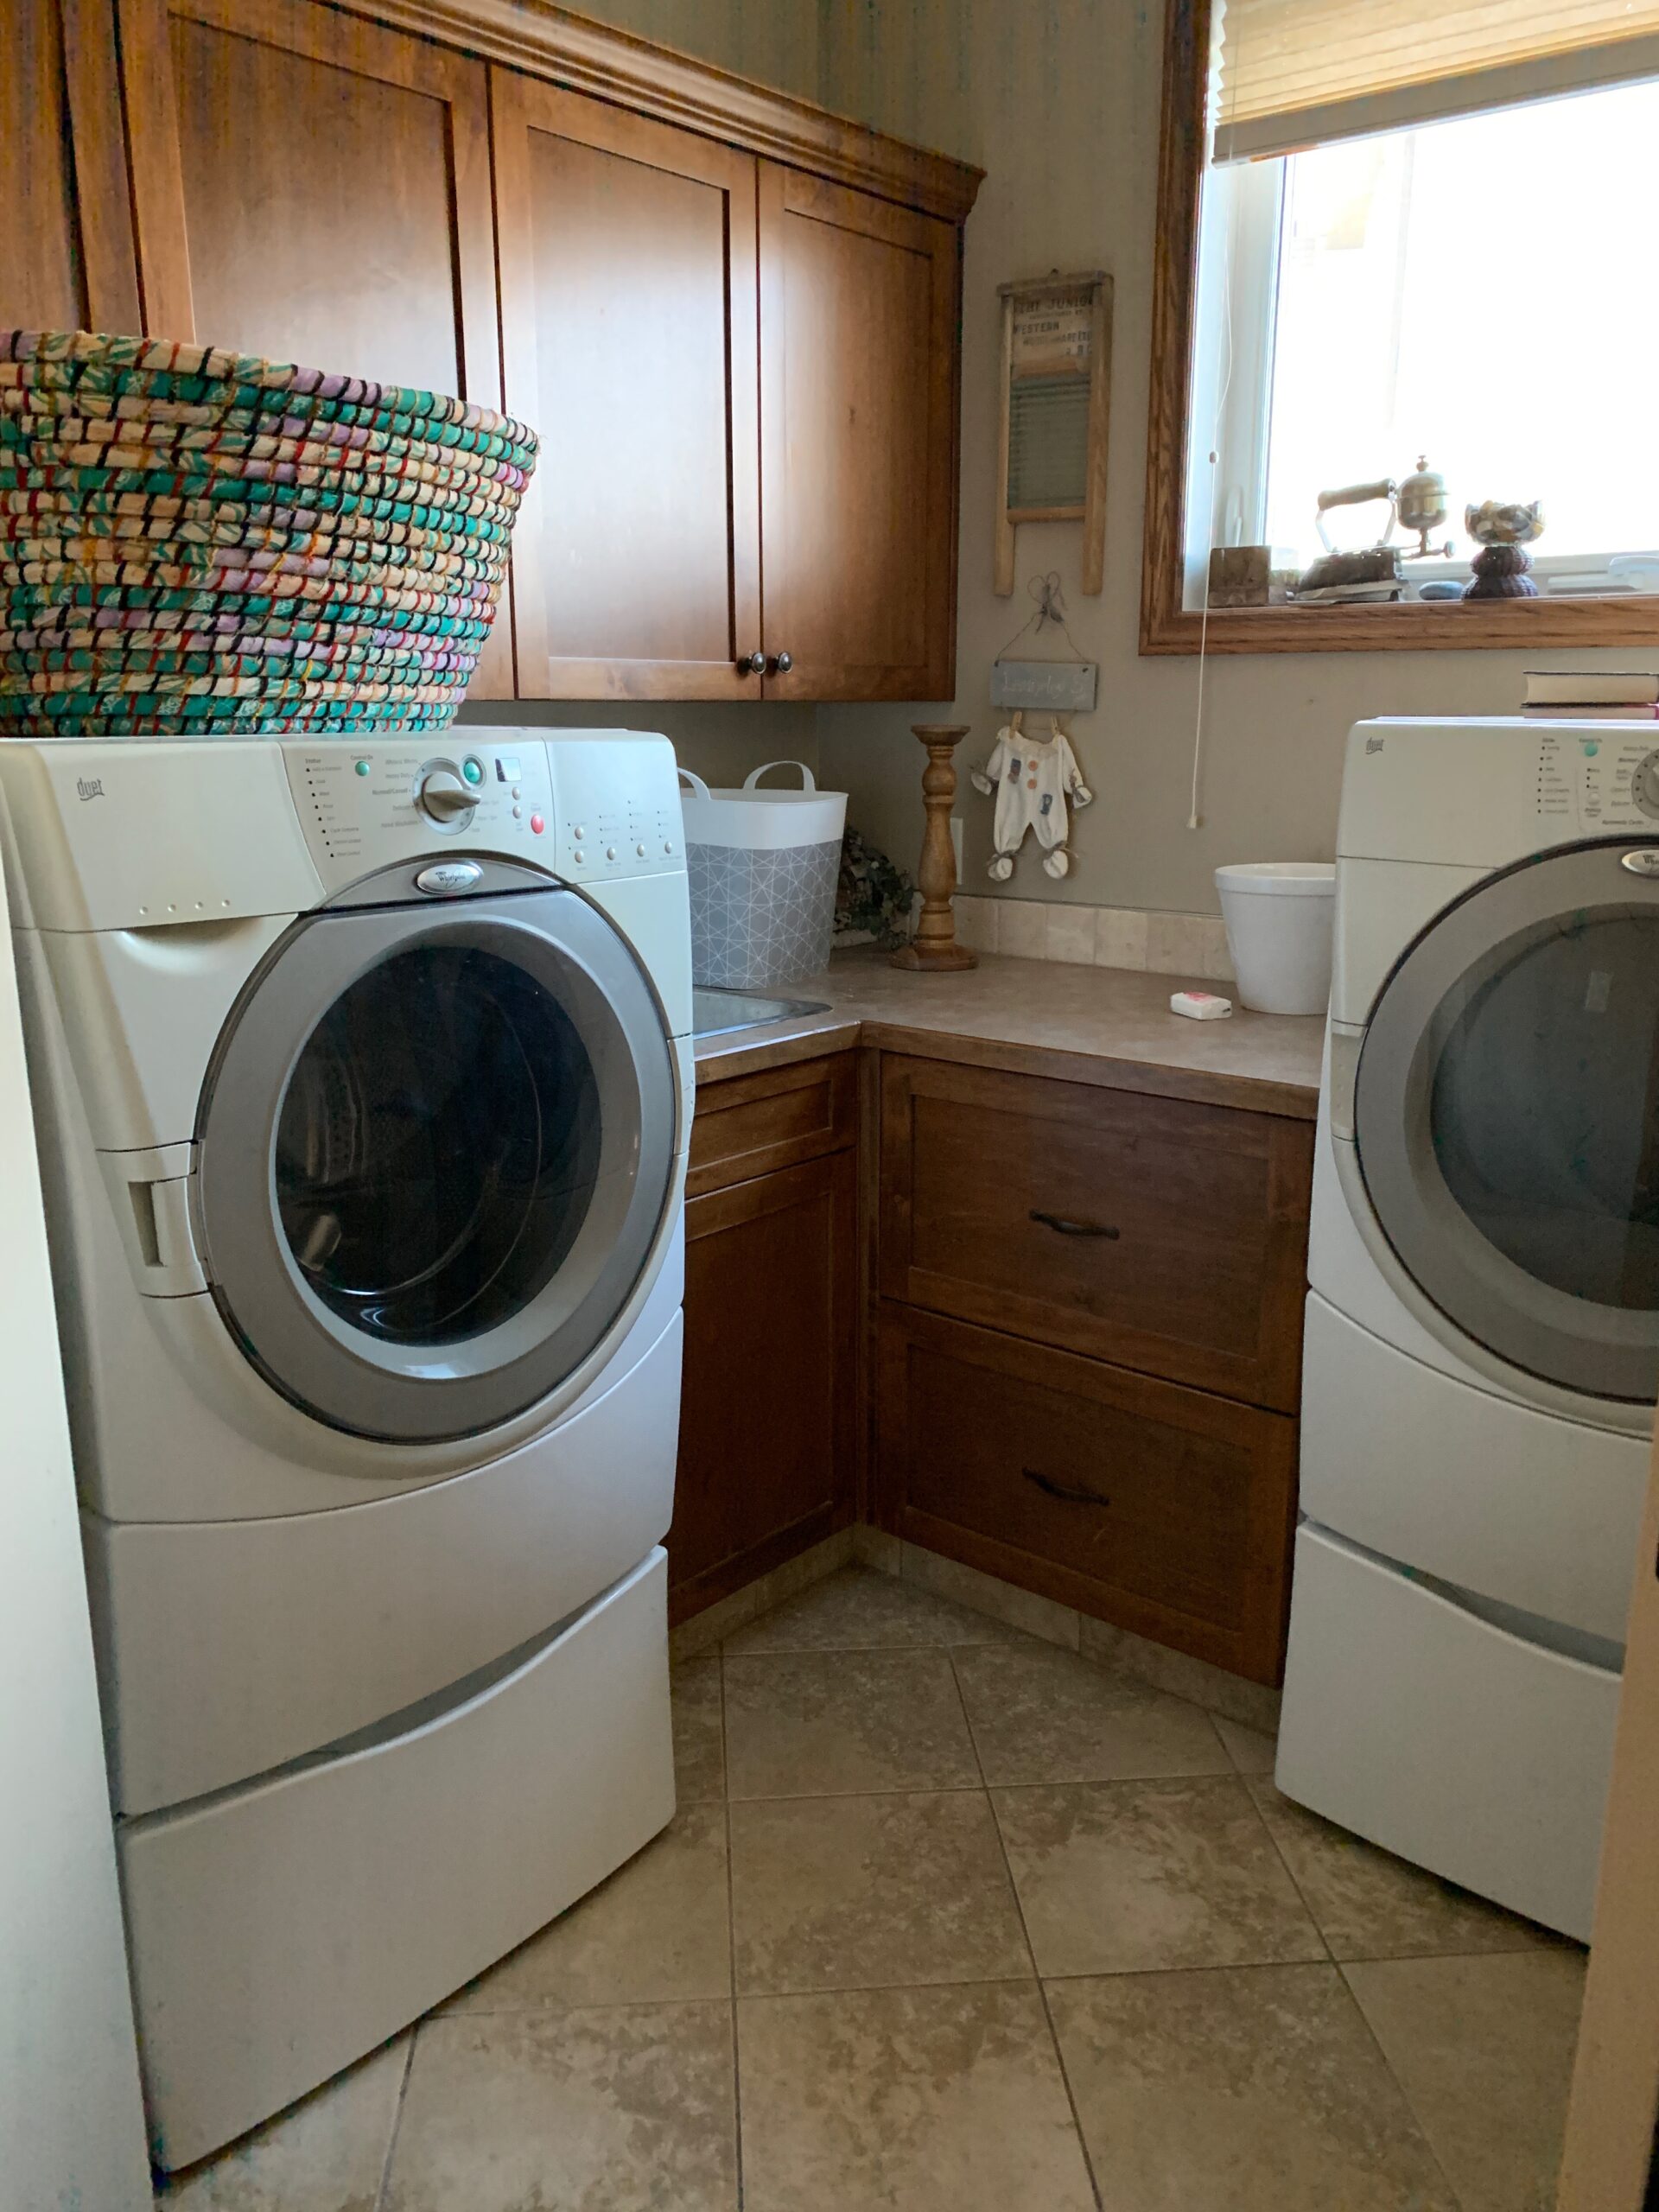
After the piece is very clean, give it a sanding. Now this step is somewhat optional, and I say so because I have some doubts about how necessary this step is, but I’m also hesitant not to do it because what if it is the key??? On my mom’s laundry room (see my last post) I actually decided to use a de-glosser (this is the one I used) instead of sanding and it seemed to work pretty well. But you know, they weren’t my own cabinets so I was willing to sacrifice her cabinets in the name of science. Sorry, mom. I think I would do this again on a big project like a kitchen, because nobody has the patience for sanding a whole kitchen, amiright? But on furniture, I usually do a bit of sanding to rough up the existing finish and give the primer something to grip, and so far I’ve had great luck with adhesion. But honestly, I am pretty lazy with the sanding, because I have such faith in the next step.
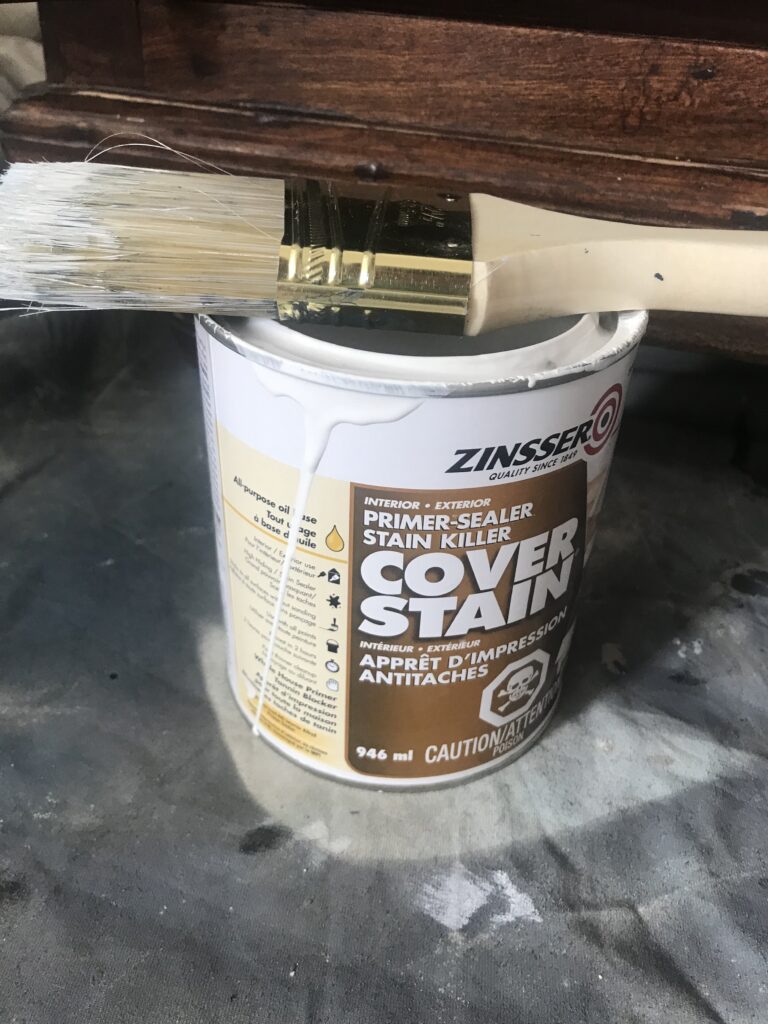
The next step to this type of painting is priming. BLINKING LIGHTS! THIS IS KEY! LISTEN UP! This, in my opinion, is the most important step. I ALWAYS use an oil-based primer. (This is one I’ve used, but lately I’ve preferred THIS primer which is shellac based and sands really well.) ALWAYS. This is the layer that is going to stick to your piece and provide the bond for your paint. Latex paint will not stick the way oil paint does, especially on a “shiny” surface like laminate furniture or a previously finished piece with a top coat. Oil primer sticks to anything. ANYTHING. And it covers like nobody’s business too, especially if you are painting a dark piece a light color. I usually use a brush and a foam roller to apply the primer, and throw those out after, because I do not have the time or patience to clean oil based products, and I don’t want that crap in my sprayer. Be very careful about drips, you can sand those off if you need to but it’s much easier just to not have them at all.
Once your are all primed up and it’s dry… sand!! (Just a little). The surface will feel a little rough and when you go over it with a little fine grain sandpaper (I usually use about a 120 grit) you smooth out any little imperfections. Get rid of any drips if you find any by sanding at this point too.
OK now you are ready to paint! Whew are you still with me? At this point you are wondering why you started this process and swimming in a sea of regret and anxiety about the piece you feel like you have ruined because it looks like garbage right now. PUSH ON FRIEND, it’s about to get better.
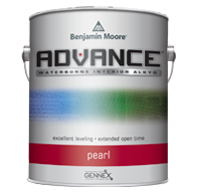
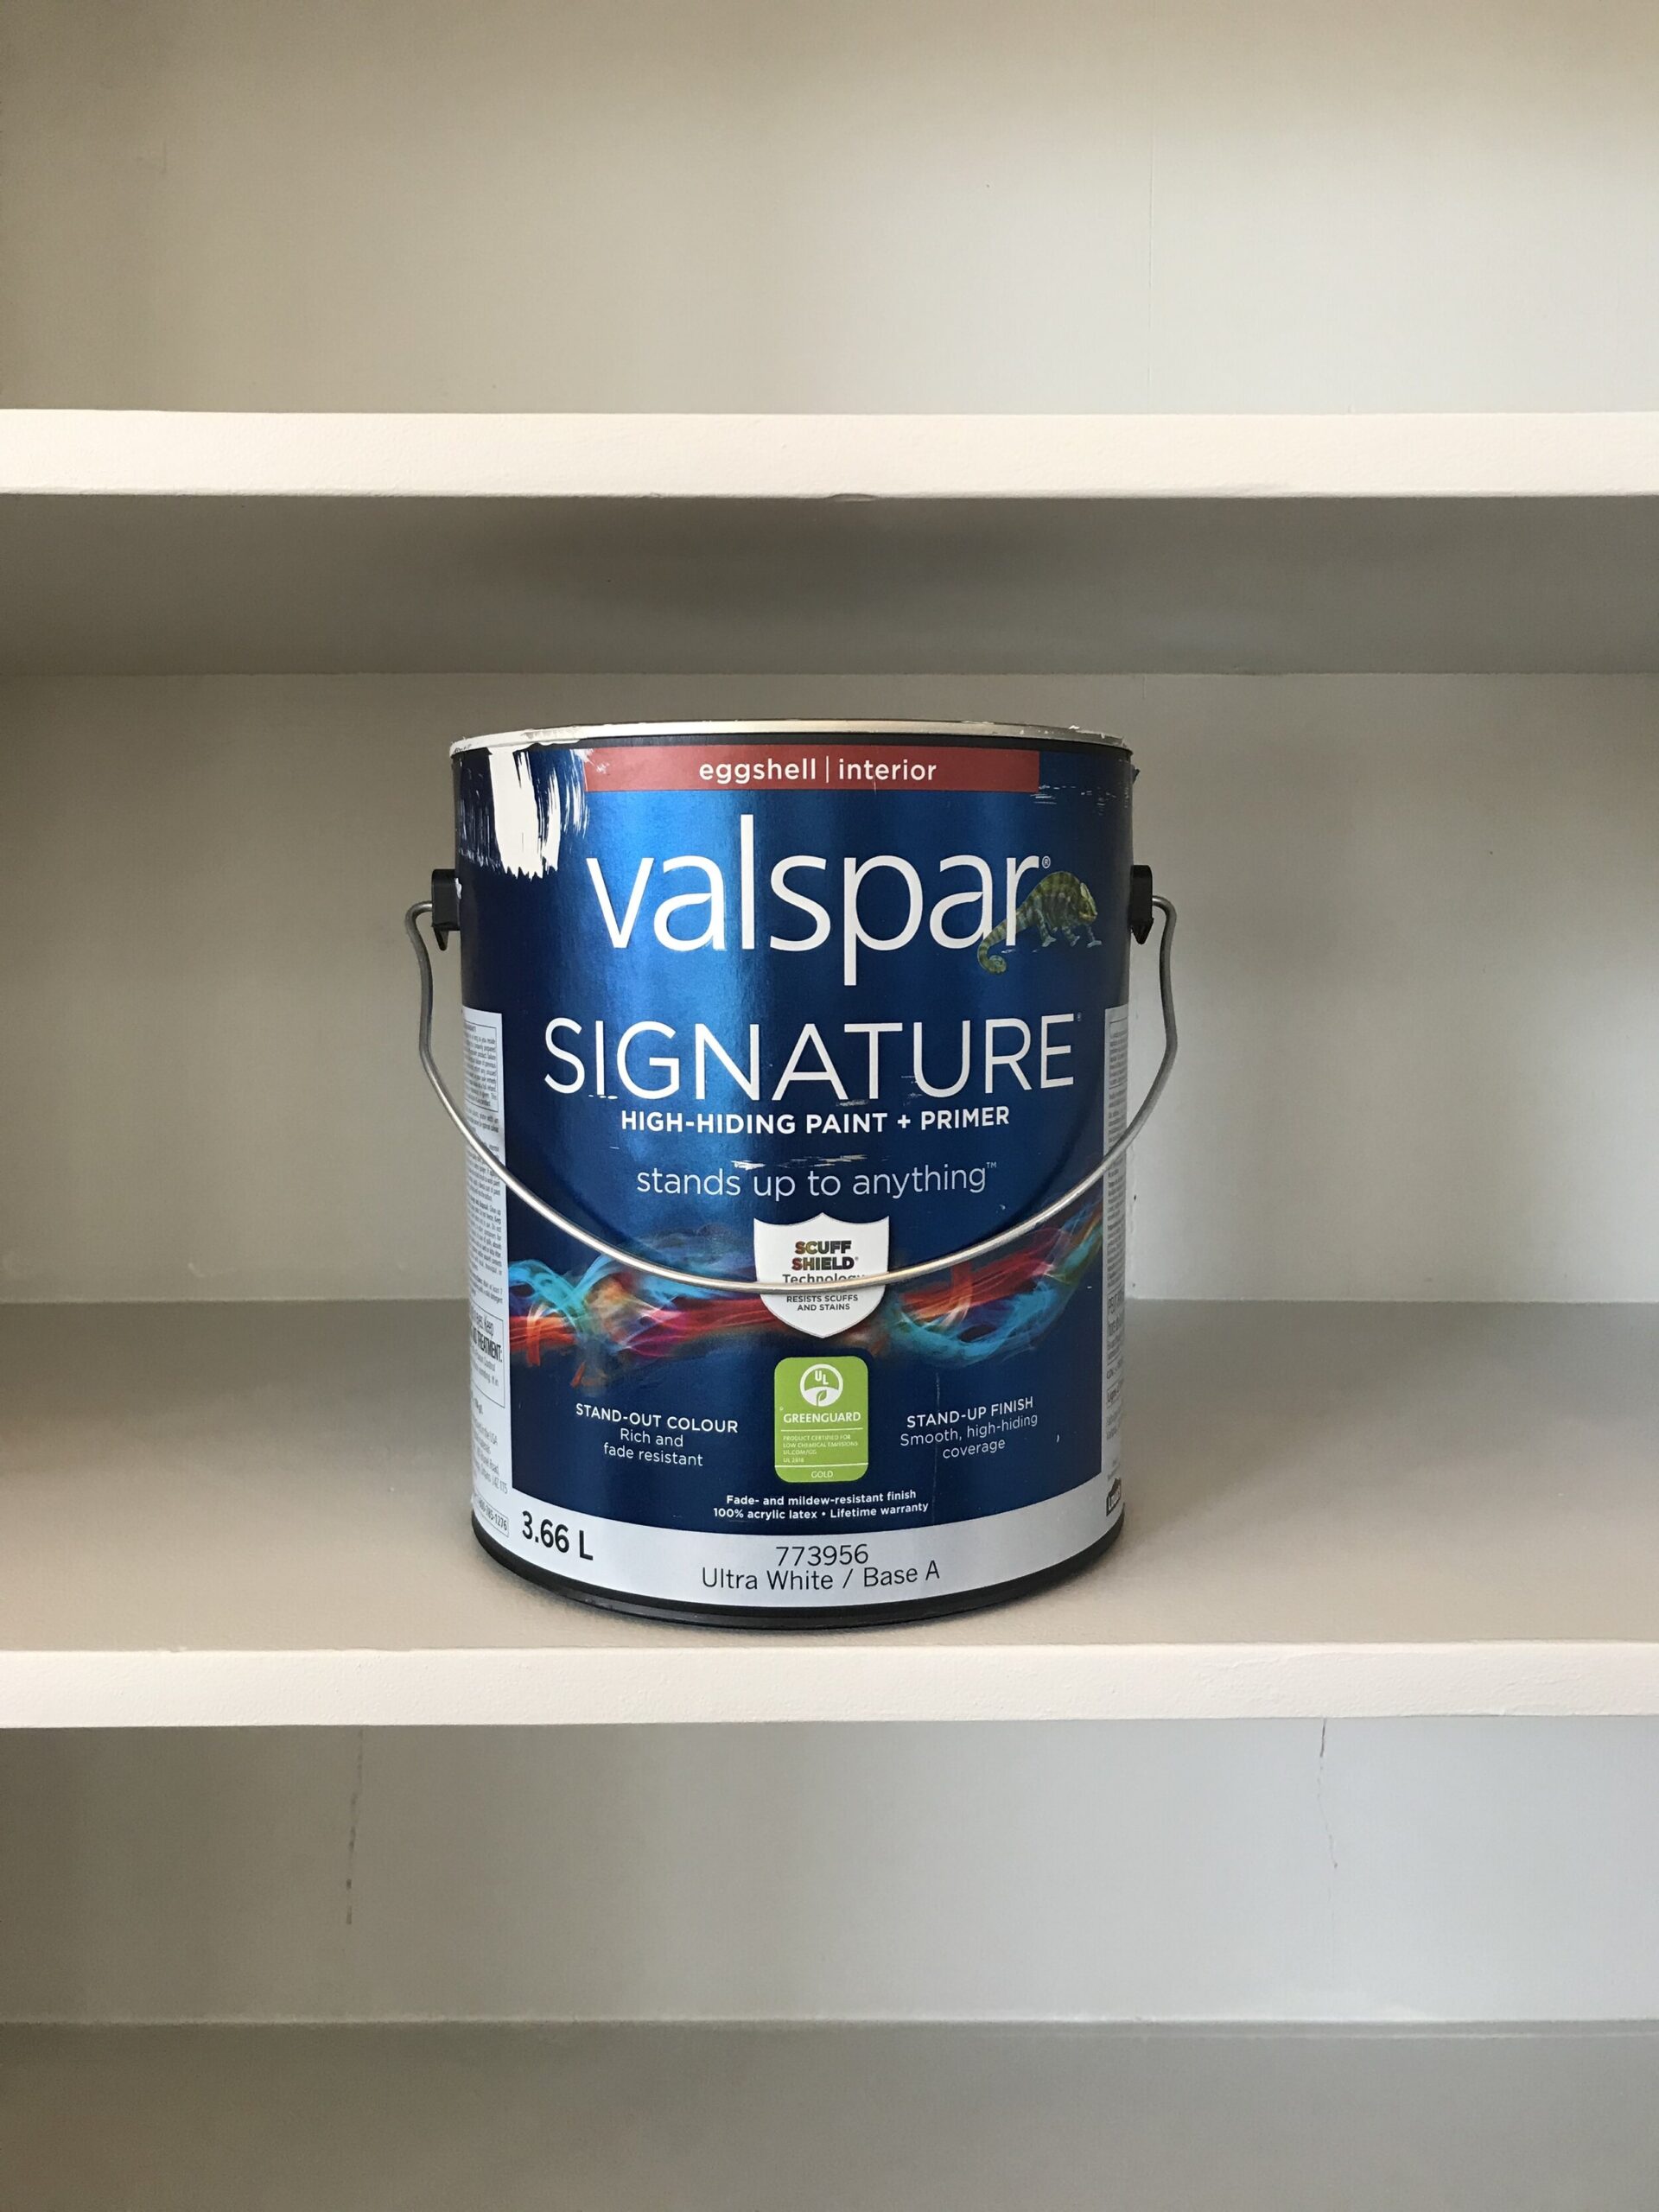
I know you are thinking that using an oil based primer you need to top coat with an oil based paint. Not true! You can use latex over it. I don’t know what sorcery that is but it is real, I’ve done it many-a-time! What kind of paint, you ask? If you use a regular latex paint designed for your walls, it will not harden enough to provide the durability you want on furniture and cabinets. You want something that gets very hard and resists dents and scratches of everyday life and that is ENAMEL. Enamel cures over time to a very hard and durable finish. My preferred brand is Benjamin Moore Advance. It not only dries very hard, but it has an extended working time which means it stays wet a little longer and it self levels, giving you the best finish possible.
Lets talk sprayers. My life was changed when I got one. I use it a ton and if you are going to be painting something big – like a kitchen – or doing multiple pieces, this is a low investment for a high return on not only time saved but superior results. This is the one I have and I HIGHLY recommend it. But if you don’t have a sprayer, the self leveling properties of the Advance paint still will result in very good results with minimal brush marks.
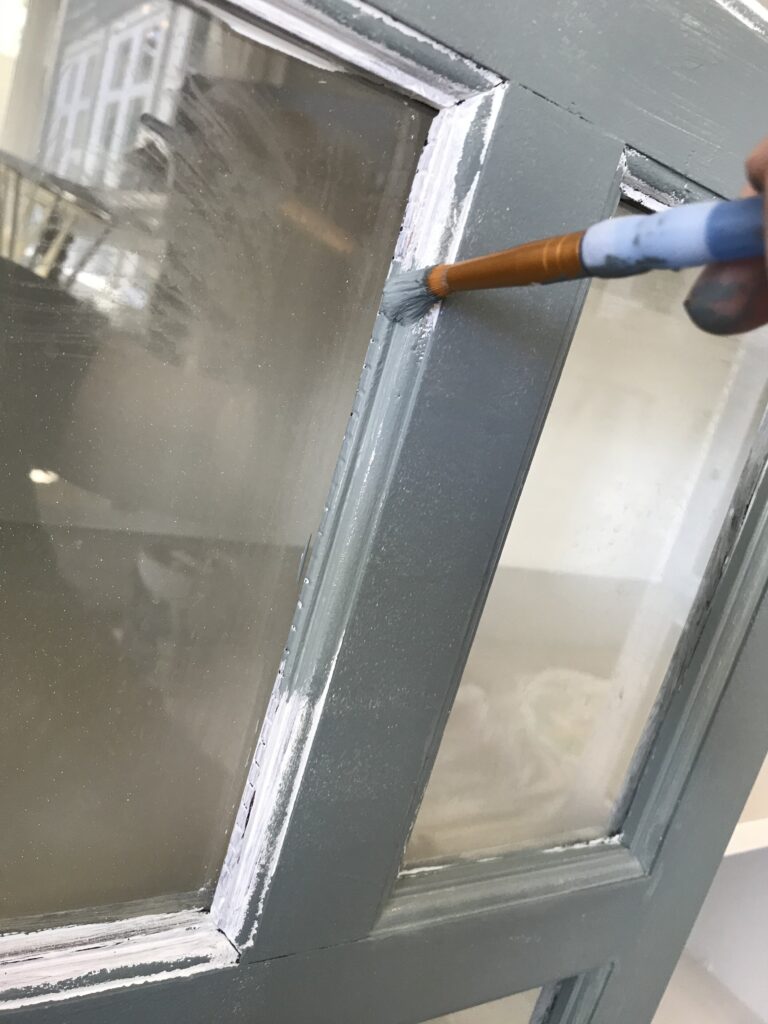
On the piece I recently finished in my kitchen, I used a brush because of all the glass I had to paint around. Also, the piece is very rustic already and so a super smooth surface was something it was never going to have. For that reason I chose a matte finish, which is a finish similar to chalk paint – zero sheen. But when I’ve wanted a professional looking finish on a not-so-rustic piece in the past (or cabinets), I’ve used a Satin finish with my sprayer and had fantastic, professional quality results.
So if your eyes have glossed over with all my blathering on and you just want to know the step by step process to this method I’ve broken it down for you here:
Clean your “thing” like nobody’s business
Sand it a little, or degloss it at the least.
Clean it again. Did I mention it needs to be clean?
Prime it. Use and oil based primer. It sticks, it’s toxic, I don’t care, it is necessary.
Sand it a little, again. No bumps allowed!
Paint using Enamel paint. I like Benjamin Moore Advance. Follow the directions on the can about re-coating, usually you have to wait a day. Waiting is hard.
Sand it lightly, again. No bumps. See a pattern? If you used a sprayer, bumps are unlikely but there may be drips. Get those off and go a little easier next time on the paint.
Paint a second coat.
WAIT! Like a long time. I usually wait at least 4 days before using this piece. Longer if you can, a week is good! The paint takes time to cure and harden, putting it back into use too soon will increase your chances of damage, or stuff sticking to the surface.
Enjoy your finished final product and tell everyone you know that you are basically a professional painter now but NO you certainly will not paint their cabinets for them or probably not anything ever again because its too much damn work.

OK so that’s my favorite, but most time consuming method to paint stuff. I would not paint cabinets another way. But I have painted some other things using different products and I’ll go into that below!
Chalk Paint/ Mineral Paint
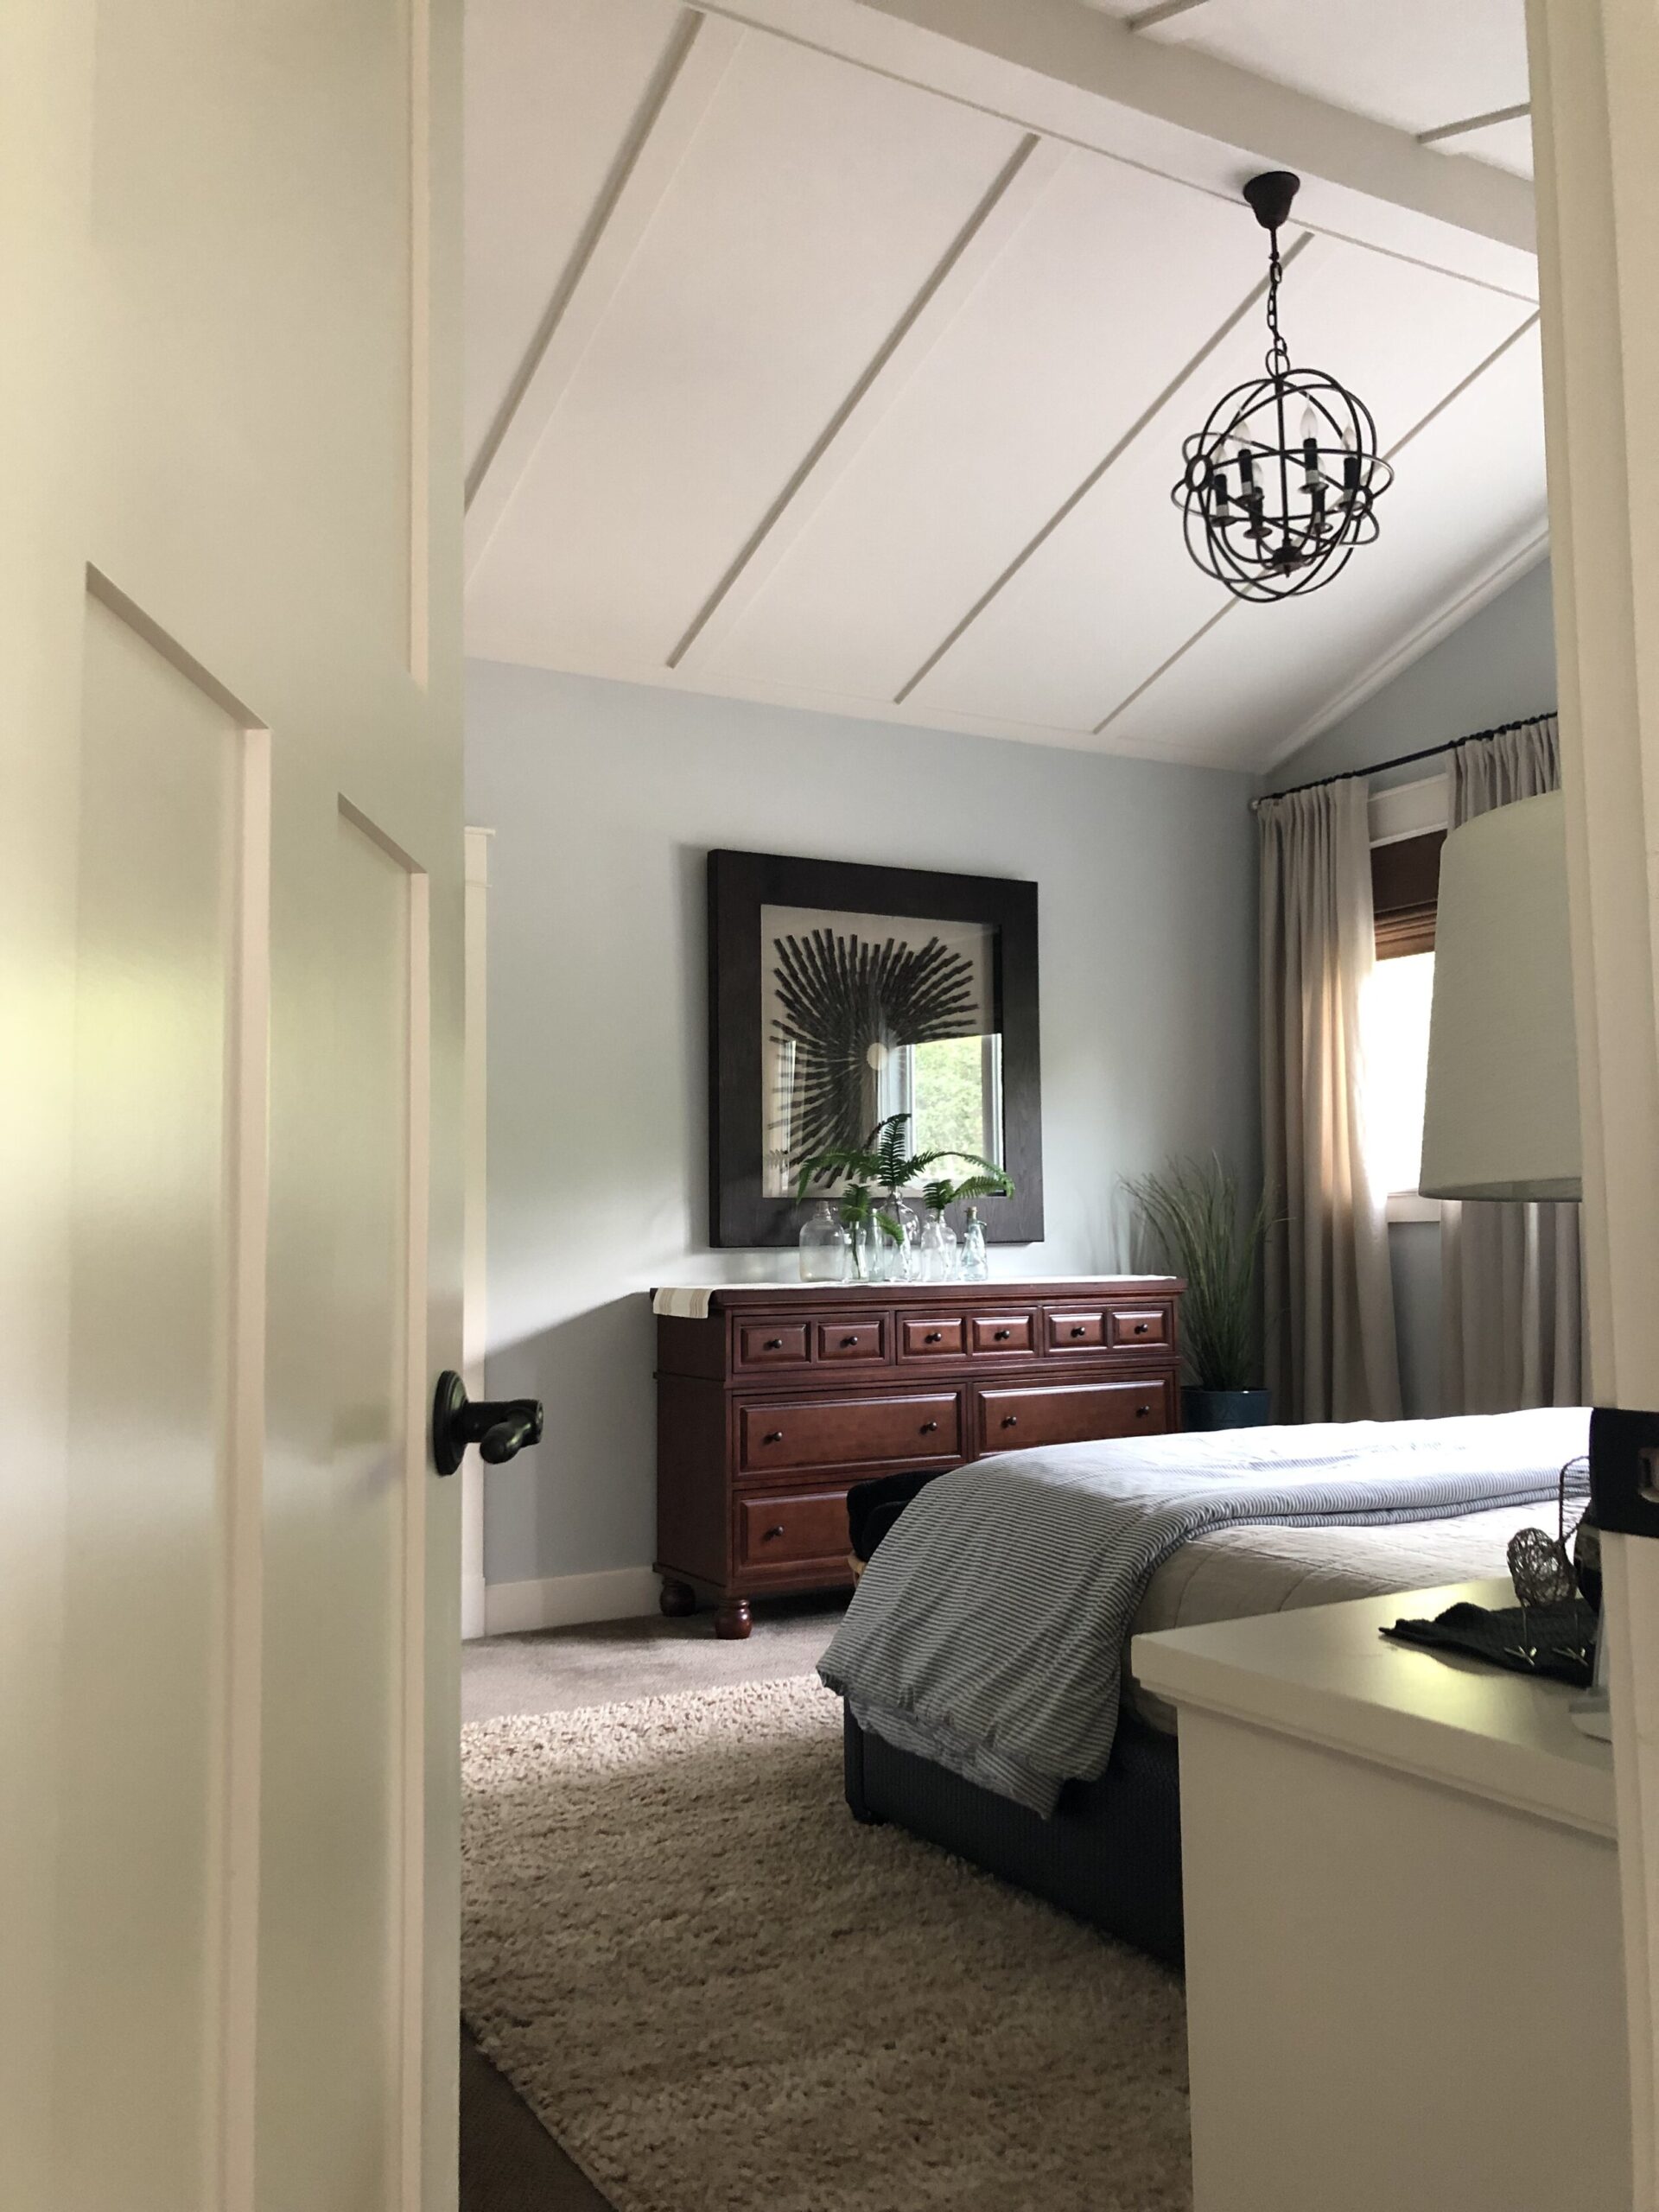
Chalk Paint or mineral paint’s claim to fame is that you can skip that not so fun priming step. I have tried it and it is true, you can skip the primer. But what they fail to mention is that in a lot of cases, there is an important extra top-coat that is needed so it’s actually the same number of steps as an enamel paint. There are a few mineral style paints that claim that no top coat is needed, and I have tried one of them (General Finishes Mineral Paint) with a lot of success. It goes on smooth, took two coats and didn’t require a top coat. BUT. They still sell a top coat for it and now I know why. The paint I used on this dresser I did not use a top coat on, but it is a dust collector and is not very “smooth” for wiping. It does not help that it is black, I am sure. So I recently bought a top coat for it and I’ll give that a try. I’ll update this post if/when I do it and can let you know about the results. I am not sure if one step paint truly exists… I have yet to find it.
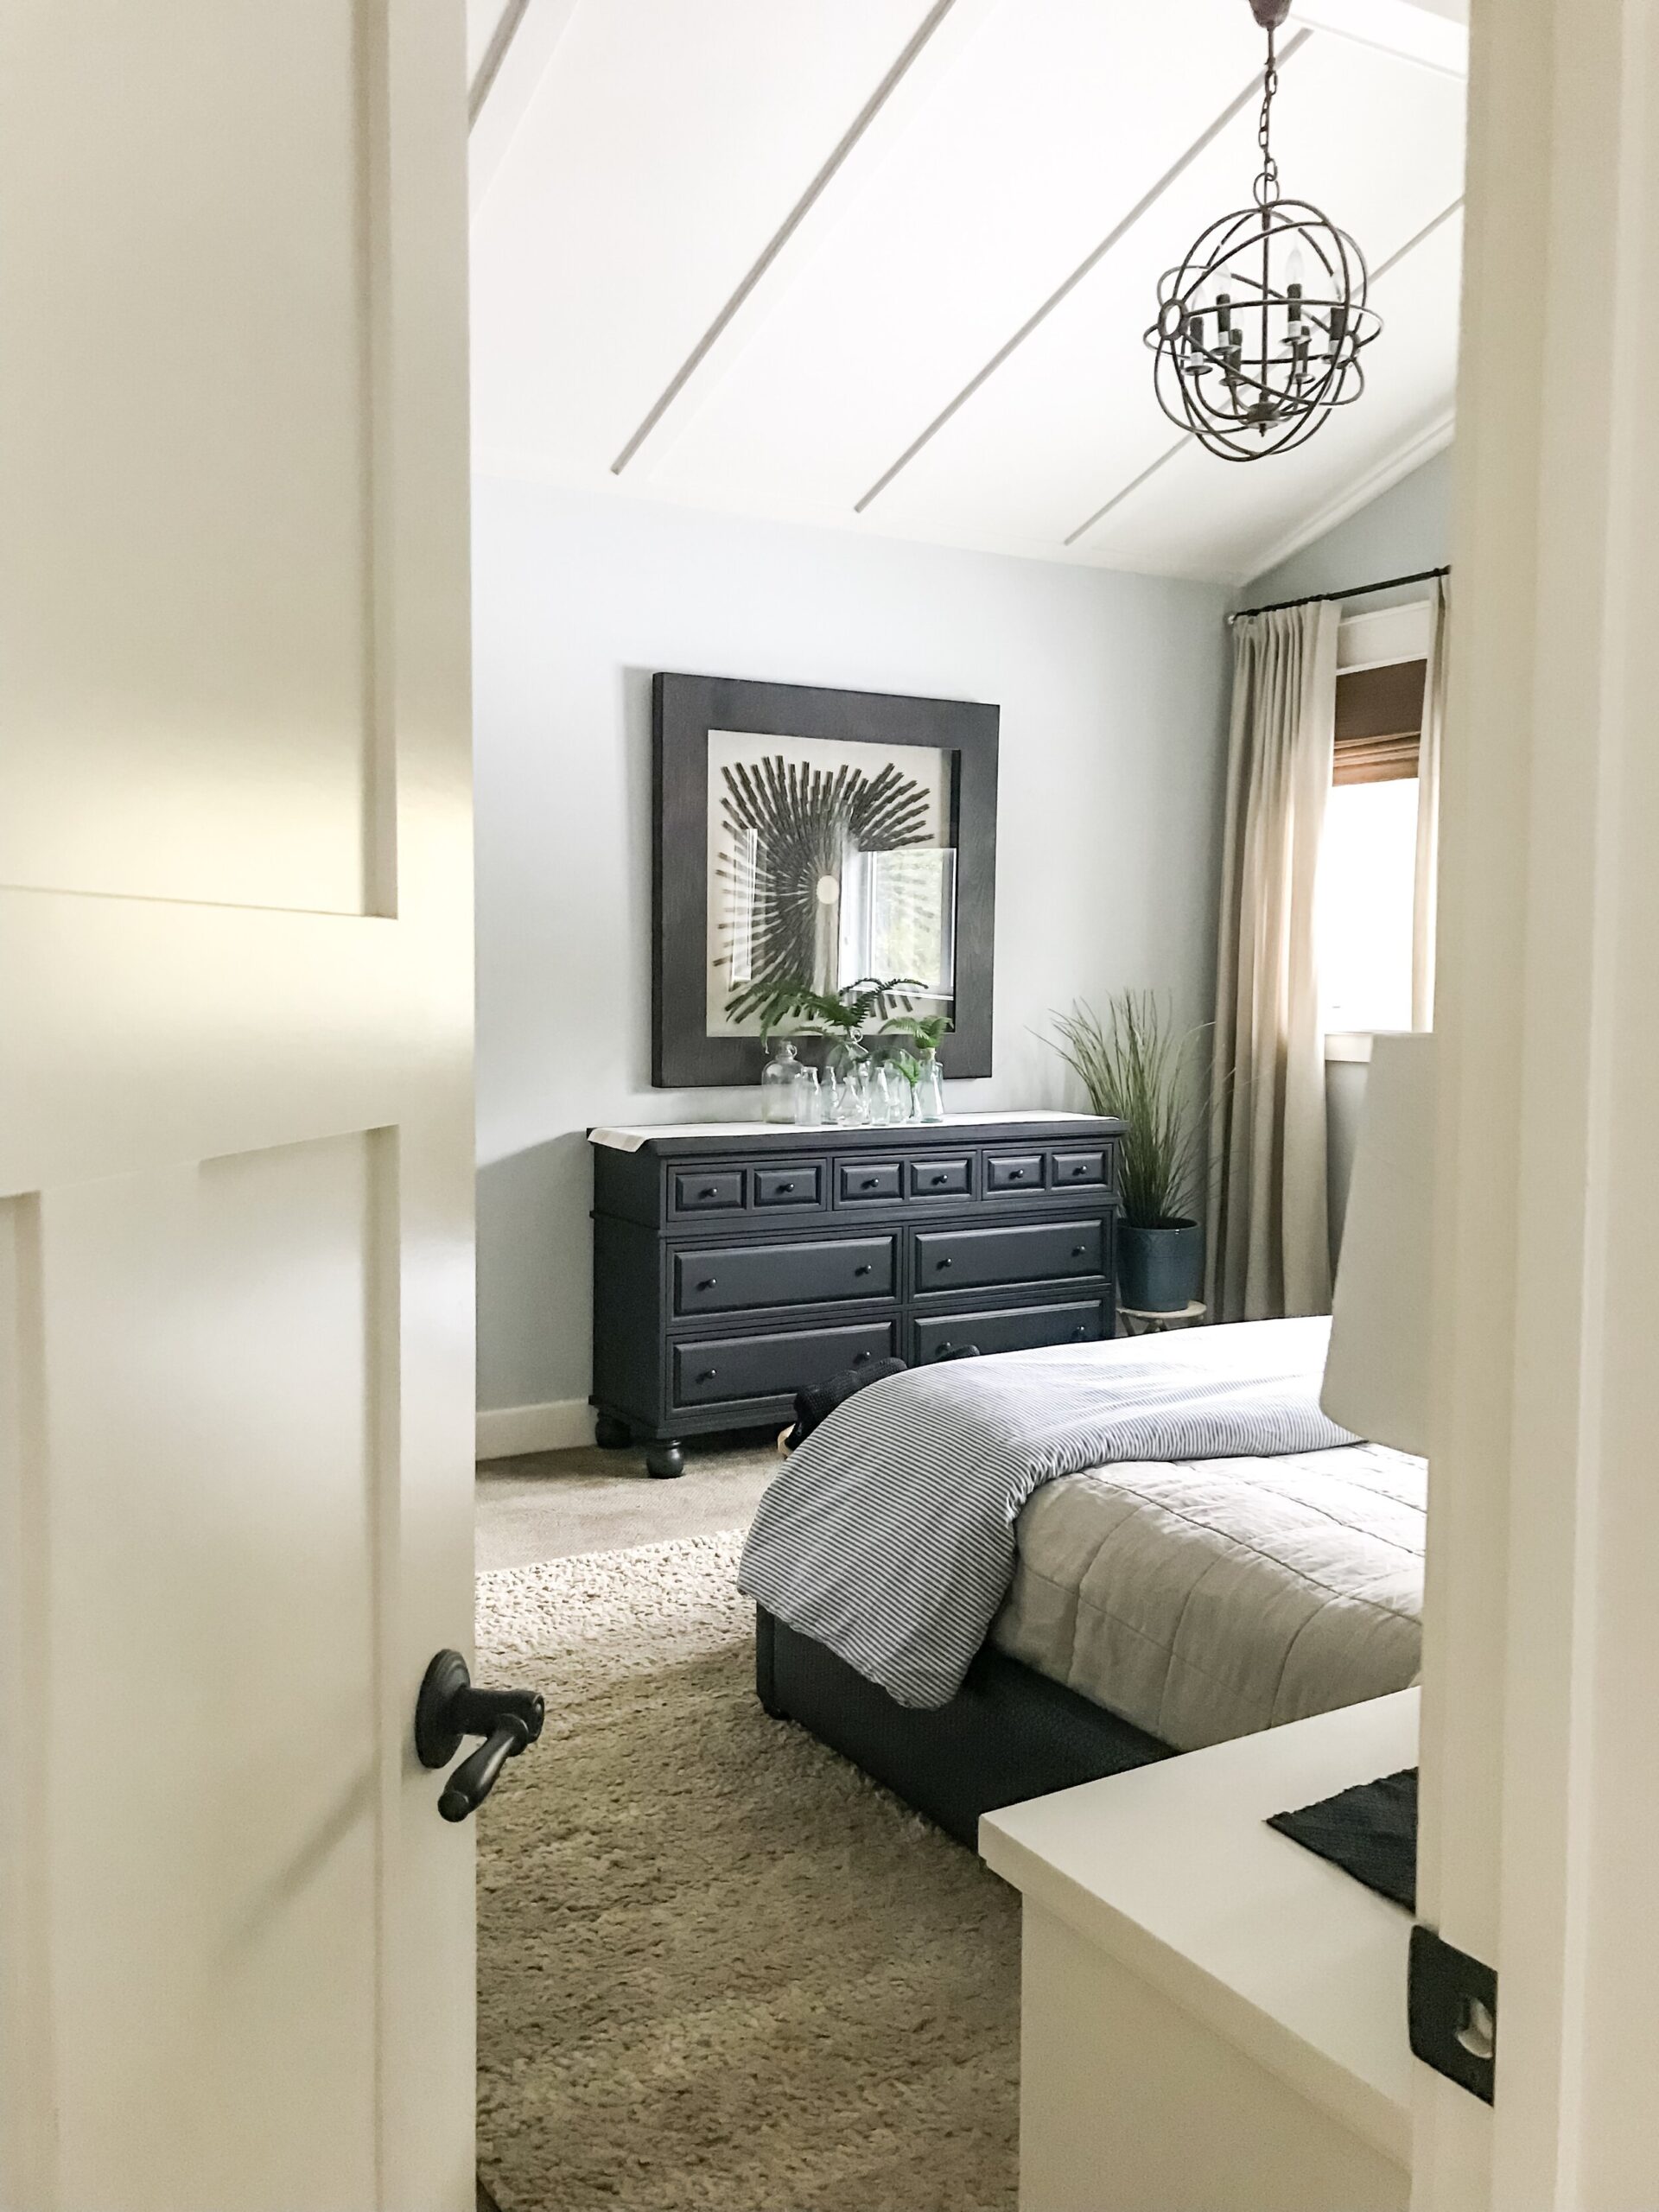
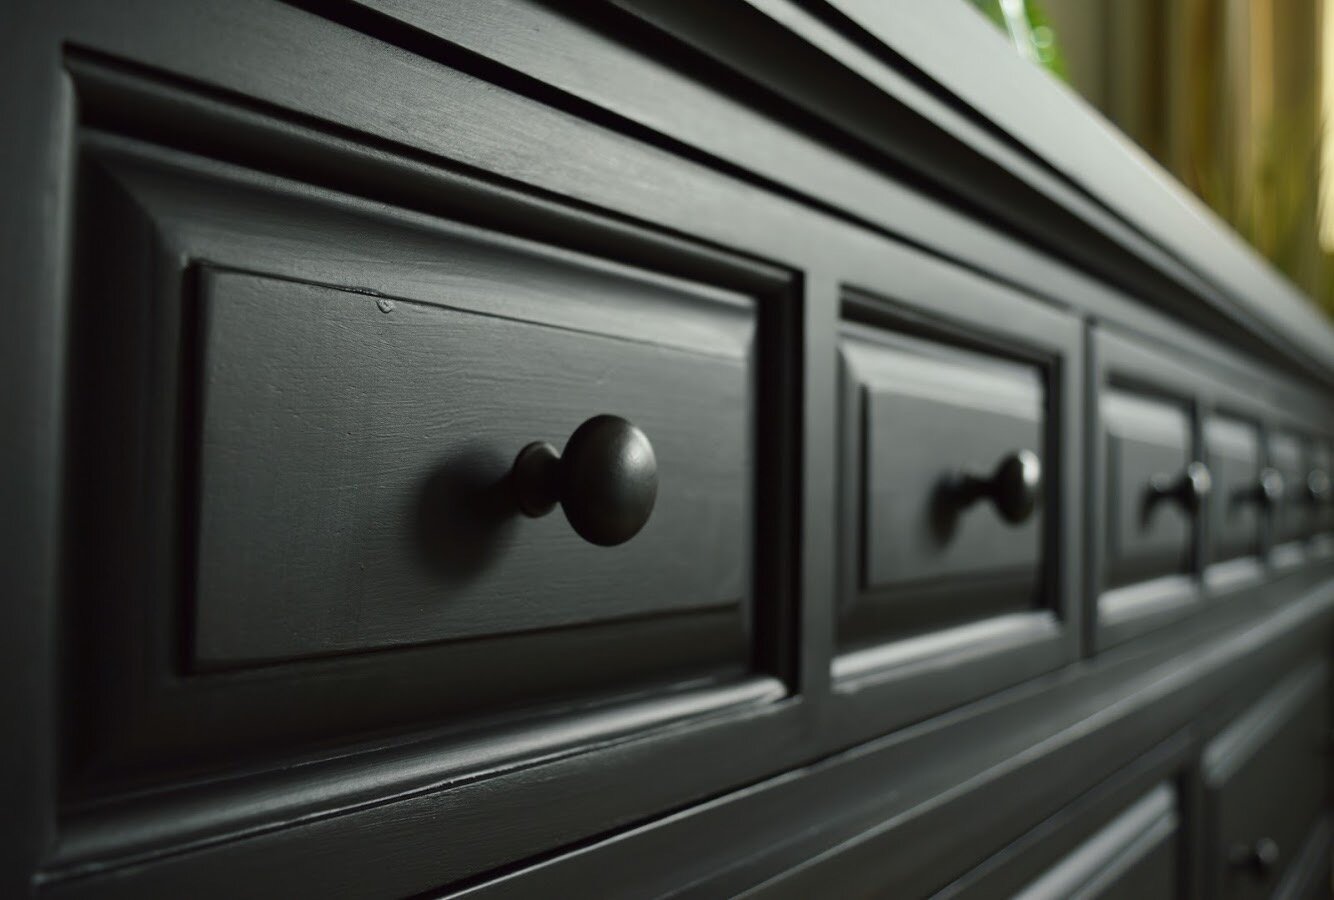
UPDATE May 27, 2020: I went back and added a top coat to my black dresser (Flat Out Flat by General Finsihes) and the finish is much improved. The surface is much smoother and does not leave dust “hand prints” whenever I touch it anymore. I do not know if this is just because it is such a dark color or not, but I would say that a top coat is required for this paint.
The advantages of chalk paint or mineral paint are that can literally just start painting (after cleaning! Always clean!) without that ugly primer business but there are some limitations. The paint generally comes pre-colored so you are limited to whatever colors are offered by the paint manufacturer. It is also pretty hard to find, often online or at boutique stores only. And, it’s expensive. It usually results in a very matte finish and more of a hand-painted look, which may not be ok for a more modern piece.
I have made my own chalk paint out of Plaster of Paris, water and latex paint and that actually works pretty great. There are tons of recipes for it online if you are curious, but this can reduce the cost of chalk paint and increase your color choices as you can literally make any paint into chalk paint. However you need to top coat it with polycrylic or wax, as it will literally wipe right off with a damp rag if you don’t.
Latex Paint
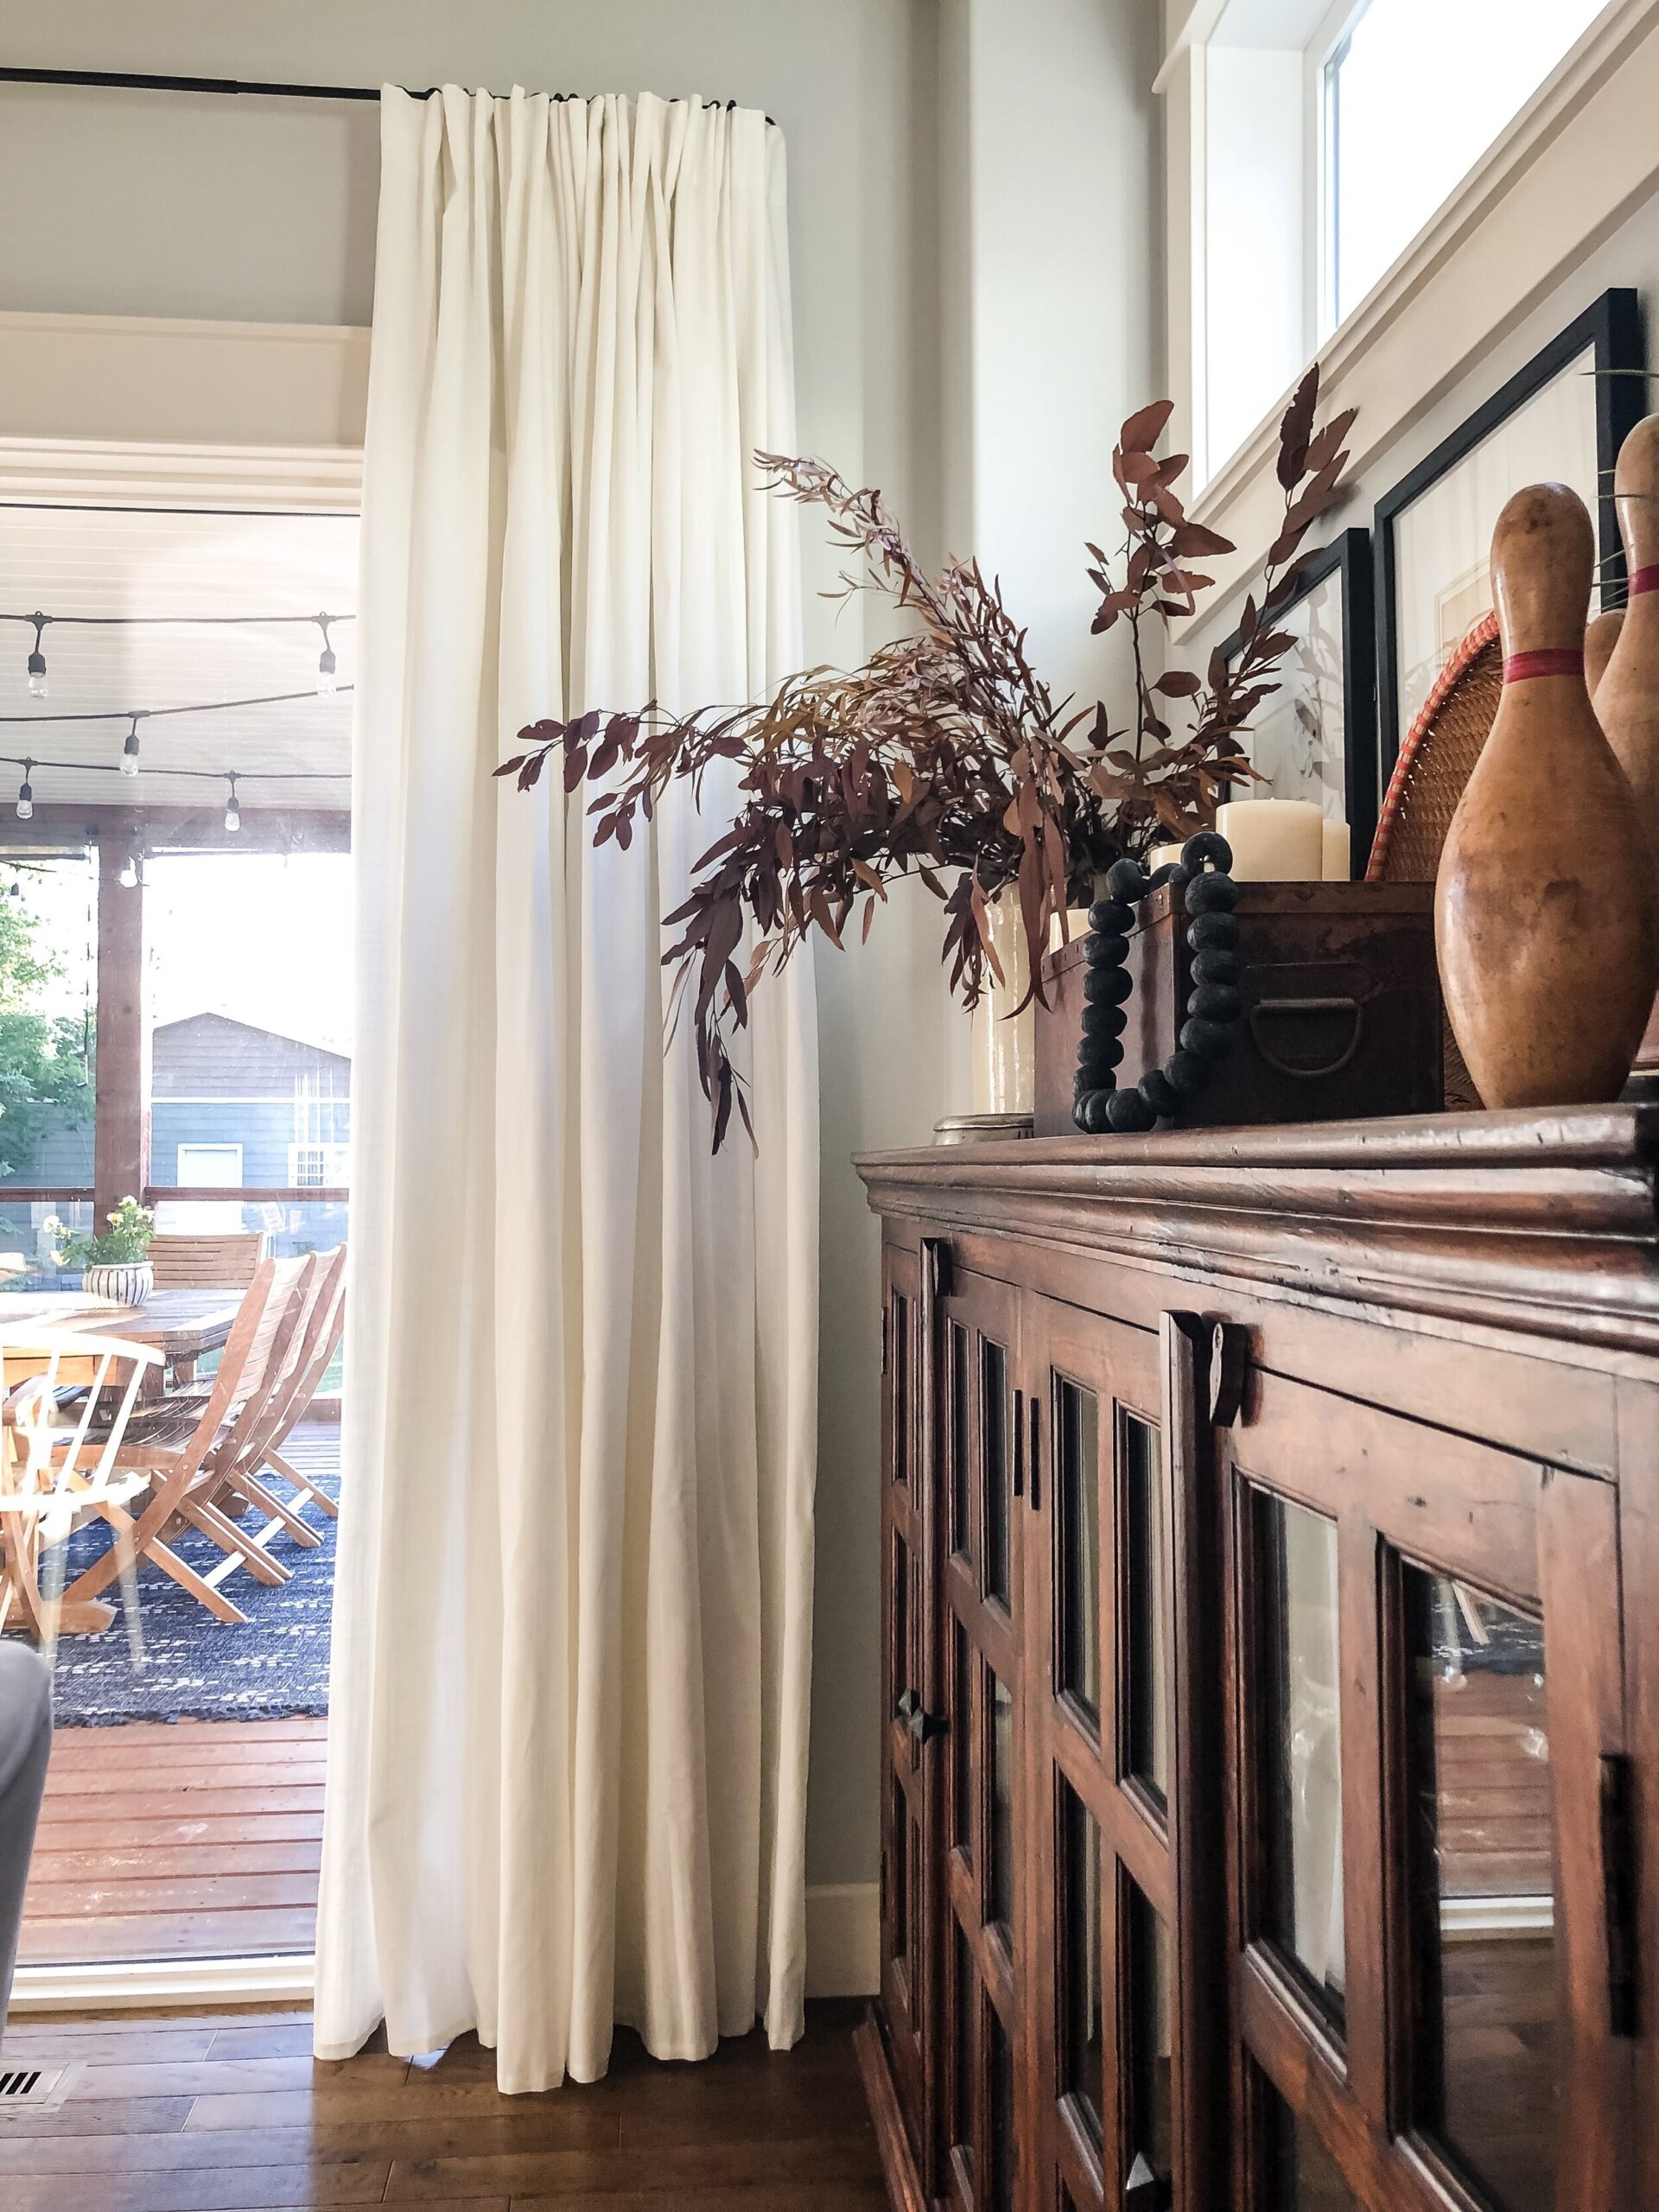
This last method is my least preferred method and I would never use it on something that needed to be really hard wearing, but I have had some luck with it in the past so I have included it here. This method involves using regular latex (wall) paint. You would prep and prime the piece the same way you would if you were using an enamel paint, but when the time comes to paint you use a regular latex. Because that paint is not durable like an enamel, it needs to be top coated with something like a polycrylic. The top coat will be the protective barrier that protects from dings and dents. Polycrylic is hard to get really smooth, and usually even the most matte finishes have a bit of a sheen to them so they do change the appearance of the painted finish. They also add a step to the process so I would almost never do this. I have done it occasionally because I was being cheap and trying to use up paint in my stash, that’s really the only reason to go this route! I painted my daughter’s chair this way and also the inside of my buffet. On the buffet, I only added poly to the shelf top as they are the only parts that see any action. And, well, I’m lazy.
There are other types of paints out there and methods but these are the ones I keep coming back to and have had success with. And, well this post is long enough so let’s stop here. While I realize this post will not be super relevant to everyone, if you have been thinking about painting a piece of furniture or cabinets I hope you find it helpful! You can pin this post for later and come back to it when the time comes. And if I’ve missed anything that you are wondering about, please feel free to let me know!


I love your sense of humor and style of writing, Erin! That Zinsser oil primer is my go-to as well. I’m also beginning to wonder if sanding is necessary between the deglosser and the primer? I’m forwarding this post to my friend who is painting some furniture. Great tips!
I’m glad I’m not the only one questioning the sanding step! Thanks so much for reading, I’m glad you found it useful.
So helpful. Thank you.
I’m so glad you found it helpful!
Super helpful. For kitchen cabinets, do you use a clear topcoat over the paint?
Hi John! No topcoat when I use an enamel paint like Benjamin Moore Advance. If you were using regular wall paint you would need a topcoat but I wouldn’t recommend that. Happy painting!
Hi Erin,
I notice you often use a paint sprayer with the Benjamin Moore Advance. Do you thin you paint before spraying? Thanks!
Hi Kerri! It depends on your sprayer! The one I use can handle the thickness of the Advance Paint so I don’t thin it. The first sprayer I owned did require thinning. Hope that helps!