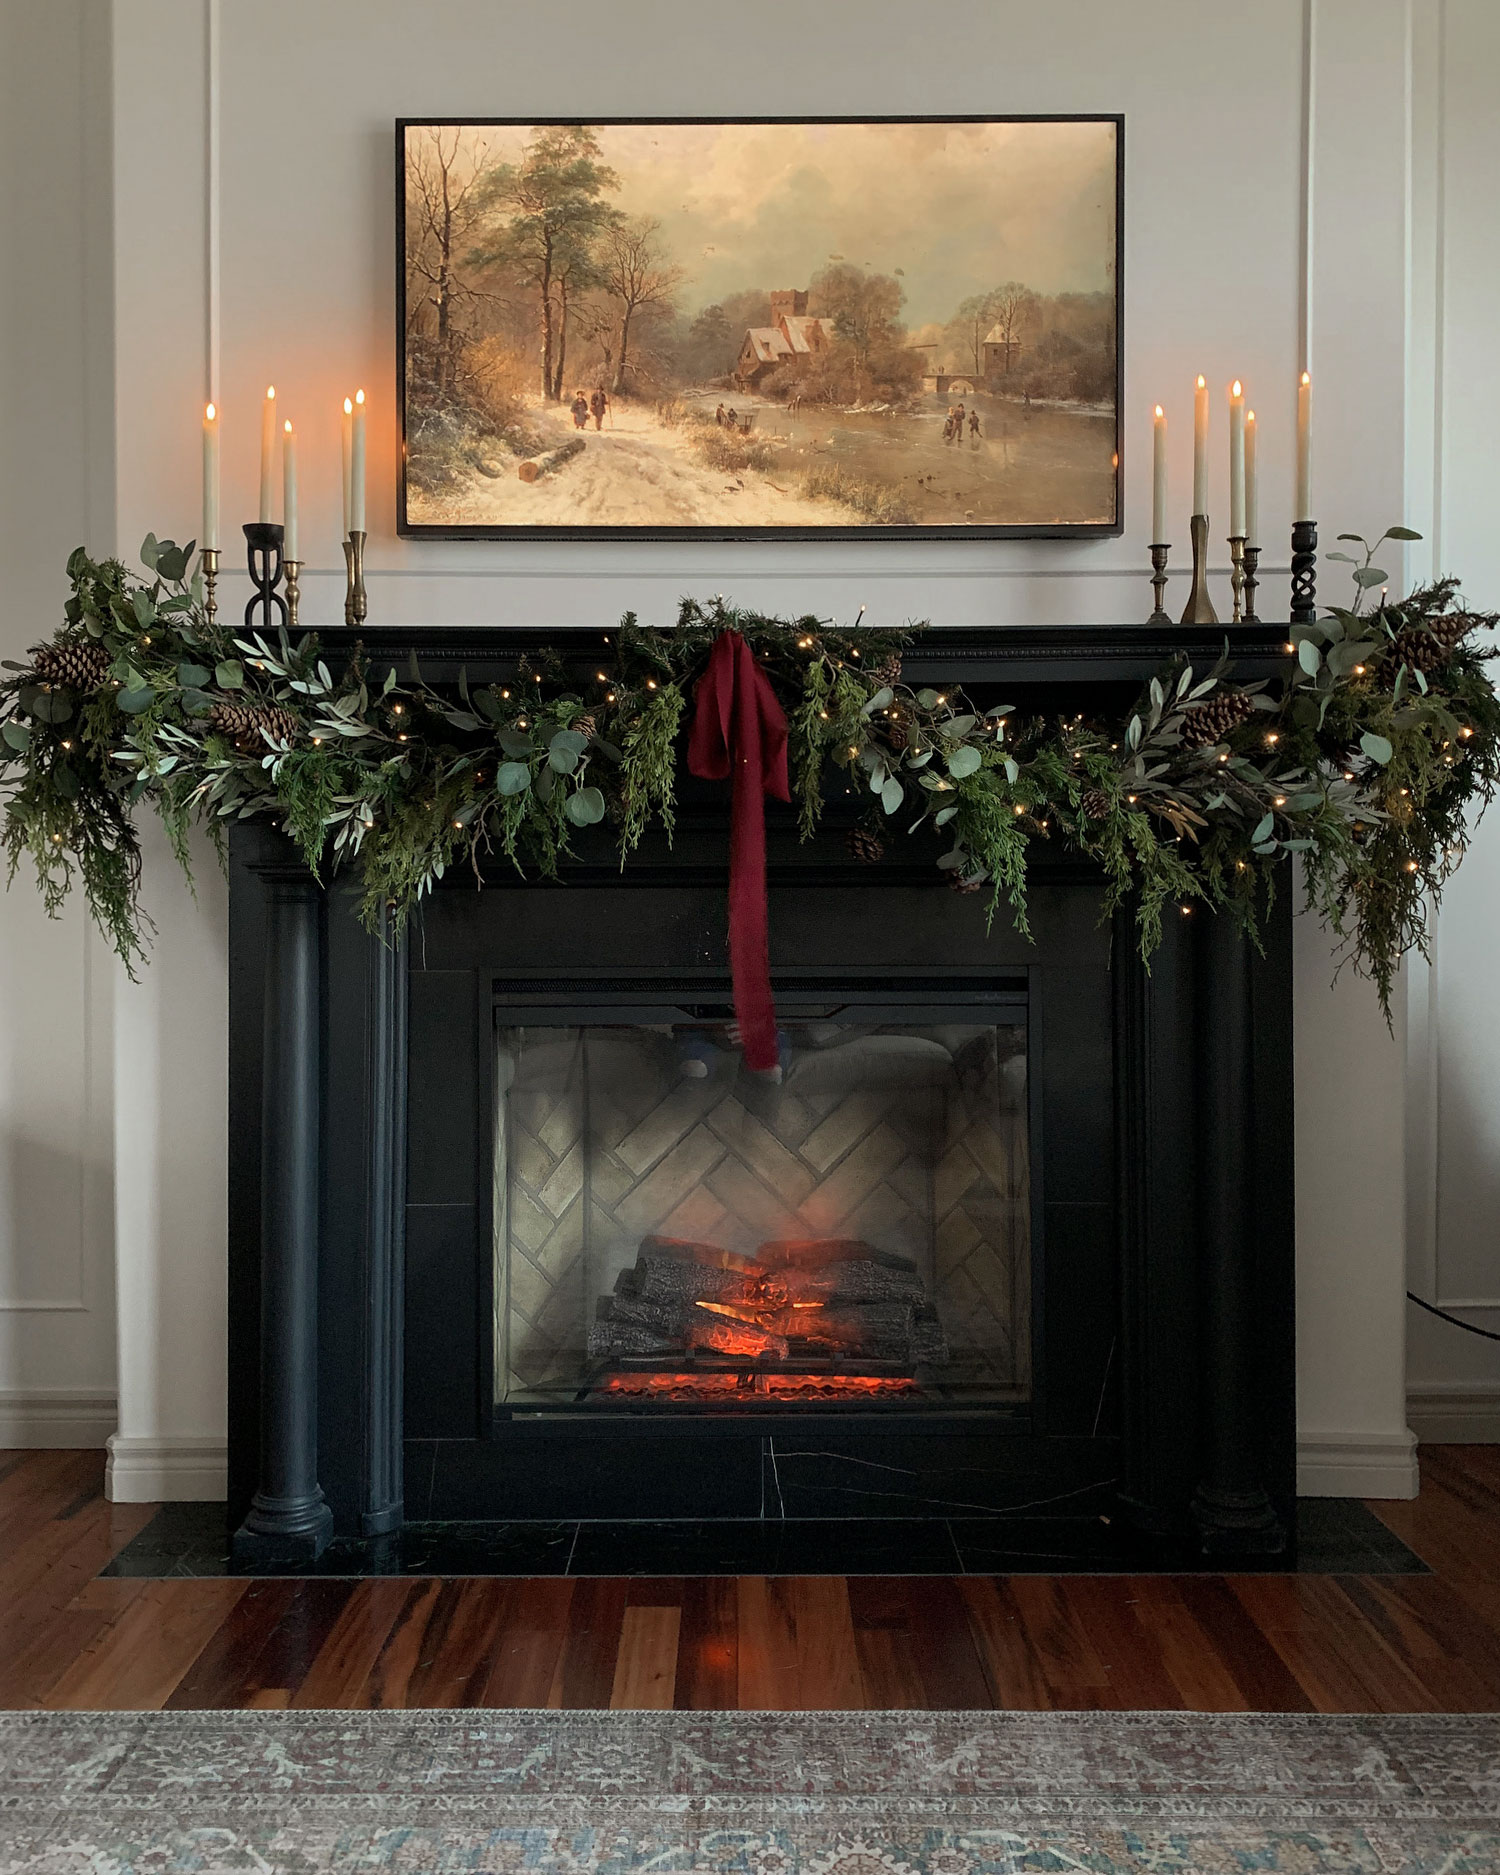
Easy Way to Make a Full-Looking DIY Mantel Garland
Two holiday seasons ago, our fireplace was brand spanking new and we were in the middle of larger renovations. I set out to create a beautiful Christmas DIY mantel garland and create some beauty among the chaos. I got a lot of questions about how I did it, as I didn’t buy any of the trending expensive garlands to pull it off. I decided that this year, as I created my fireplace mantel garland, I would take some pictures and write up a little tutorial on an easy way to make a full-looking mantel garland (without buying all new stuff!)
This post may contain affiliate links. That means if you purchase anything from these links I earn a small commission, at no extra cost to you! This helps support my blog, so thank you!
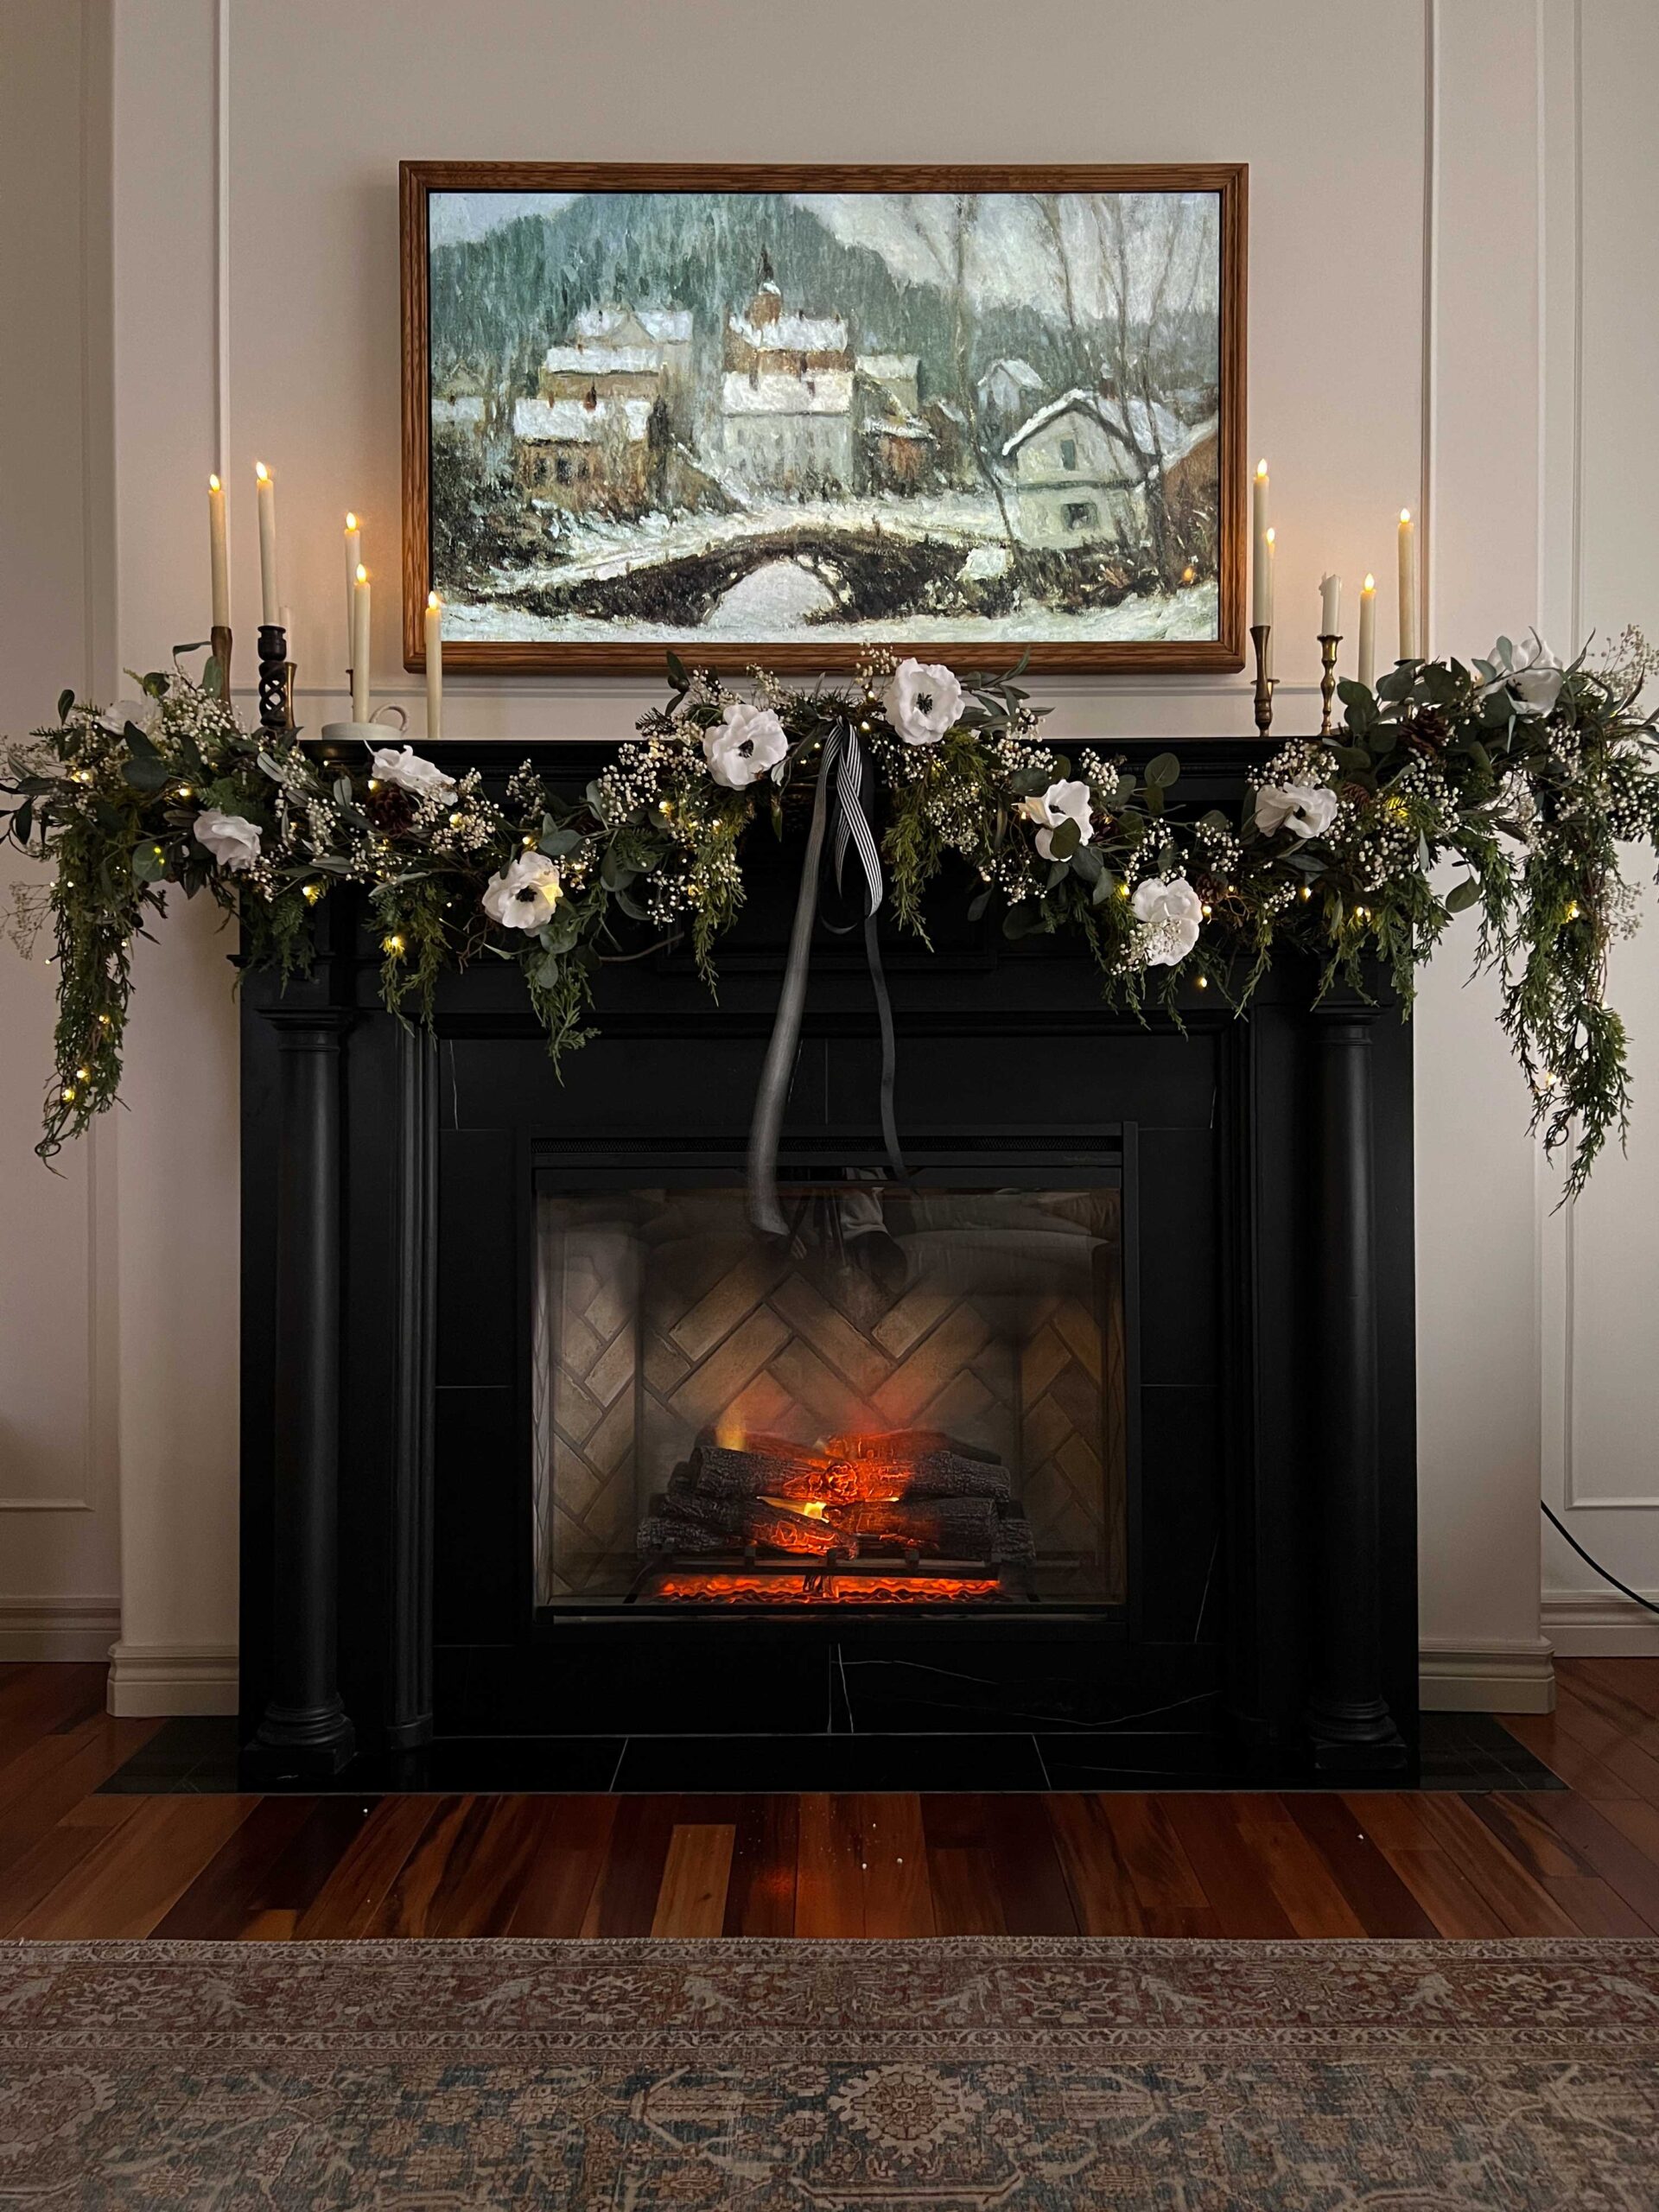
Table of Contents
- Step 1 – Attaching the garland to the mantel
- Step 2 – Gather your Greens for your DIY Mantel Garland
- Step 3 – Put on the Base layer on your DIY Mantel garland
- Step 4 – Add Your Nicer Garland on Top
- Step 5 – Add lights
- Step 6 – Add More Stuff!
- Step 7 – Embellish your DIY Mantel Garland
- You Might Also Like:
There are many talented people out there creating some amazing holiday magic and gorgeous mantels at this time of year. So many of the beautiful garlands that they are using are just so darn expensive.
When I first created my mantel garland, I only bought two cedar garlands from Michaels and the rest I used from my existing stash. That is the great thing about this type of mixed garland, you can use whatever you already have. When you mix different types of garlands and different types of greenery, it becomes very eclectic looking and it doesn’t matter so much if you have the trending pine garlands of the season!
Let’s get into how I created it. It really is so very easy, I promise!
Step 1 – Attaching the garland to the mantel
I use large-sized command hooks to hold my garland in place. My favourite trick is to use pretty big hooks, and also to attach them to the flat horizontal part of the mantel instead of the front of the mantel. If you attach them to the flat side, they don’t actually have to hold the weight of the garland. The garland is hooked onto it and that keeps the garland from sliding off, but the weight of the garland is mostly supported by the mantel itself.

I attached a hook at each corner and one in the middle, because I really am a traditional, symmetry-loving gal and that is a classic look. But if you like an asymmetrical shape, you can put them anywhere you like. Just put them anywhere you want the garland to touch the mantel.

Step 2 – Gather your Greens for your DIY Mantel Garland
Ok, so this is where you really should dig under the stairs or in the attic and just see what you have. Do you have a dusty old cheap garland you inherited from Grandma? Bring that out. Stems of random faux greenery you use in your home year after year? Sure, let’s grab that. Faux flowers? Why not. It all works.

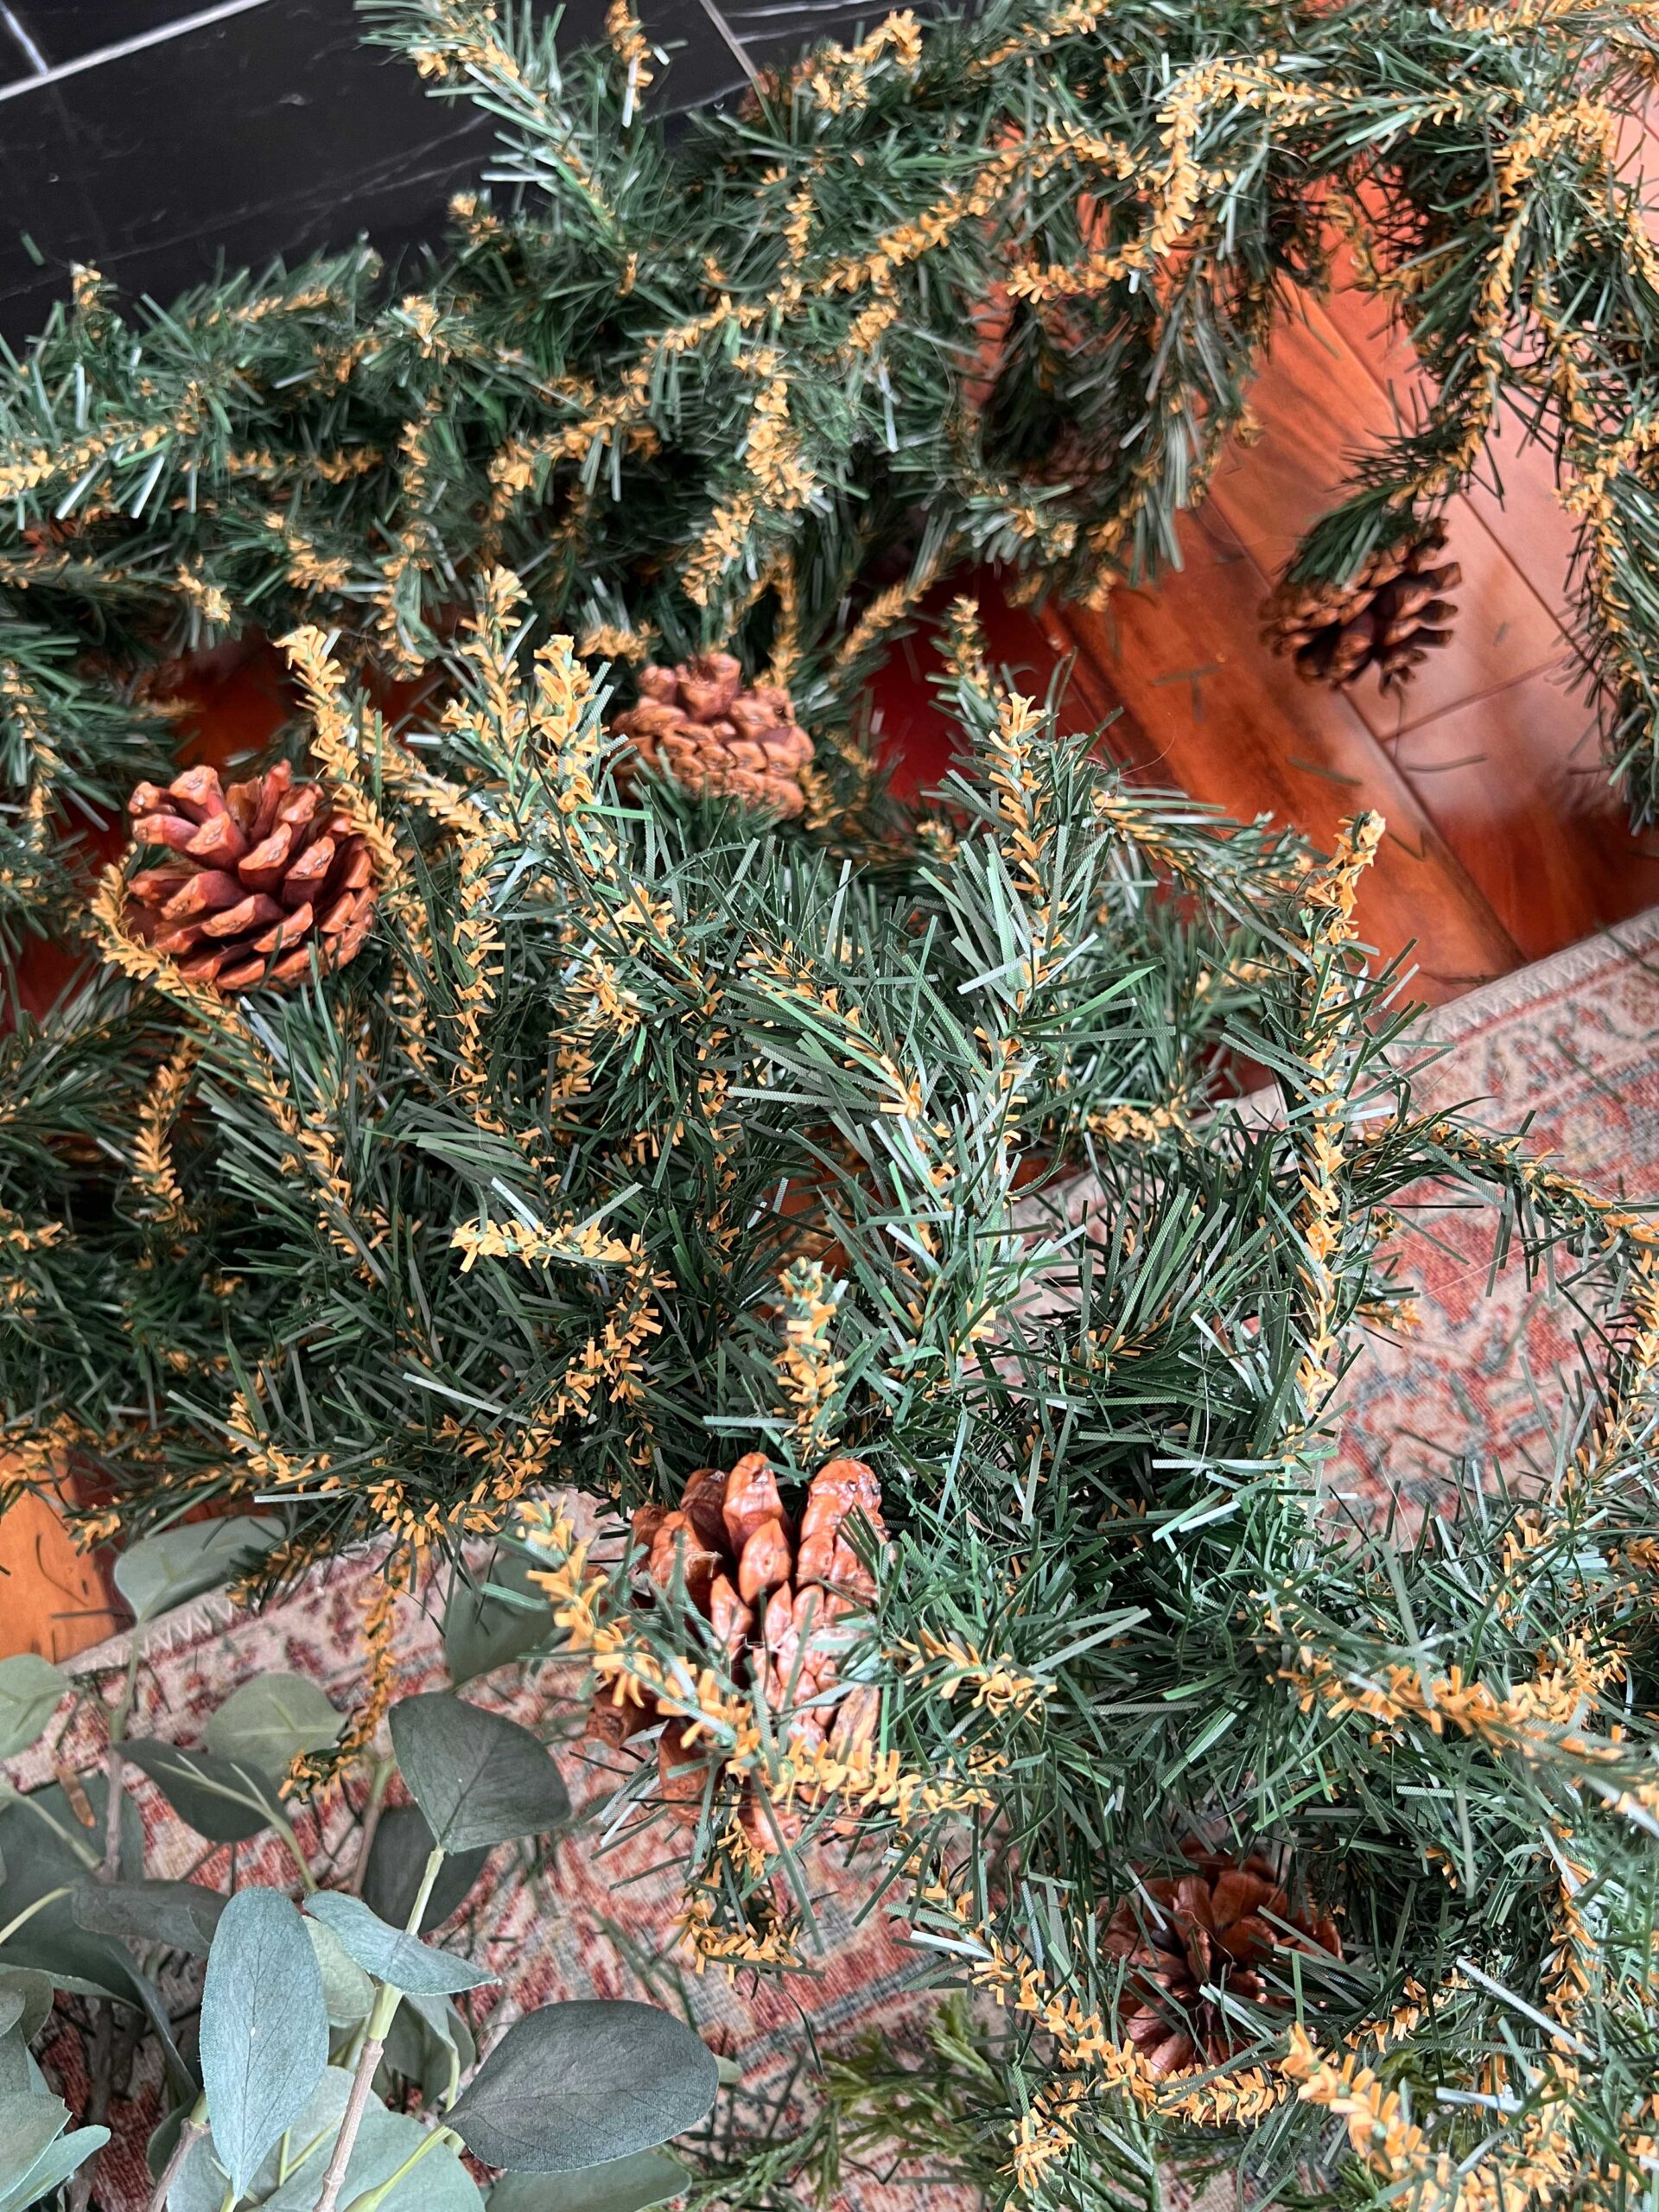
Everyone has an inexpensive garland in the bottom of their Rubbermaid holiday decor containers, and if you don’t, pick up a few as they work great as the base of your DIY mantel garland. I bought some at Michaels for my recently completed outdoor garland and they were $5.99 each! They provide some extra bulk and you really don’t see them in the end, and the wires are excellent at holding all the other things in them.
Evaluate what you have before you buy anything. That first year, all I bought were two cedar garlands from Michaels on a buy-one-get-one event. I really like how they droop and add to the overall effect of the layered garland. I think it’s nice to have one “nice” faux garland to sort of be the star if you don’t already.
Here are a few nicer garlands you could use for your top layer like cedar, real touch pine or cyprus.

Another great idea is using real garland for the top layer, which is an inexpensive way to make it look real (I mean, because it is!) and smells awesome, too.
I recently completed an outdoor garland (more on that next week!) and I foraged all kinds of fresh greenery from my yard, too! this is an excellent way to add to the layers, for free!
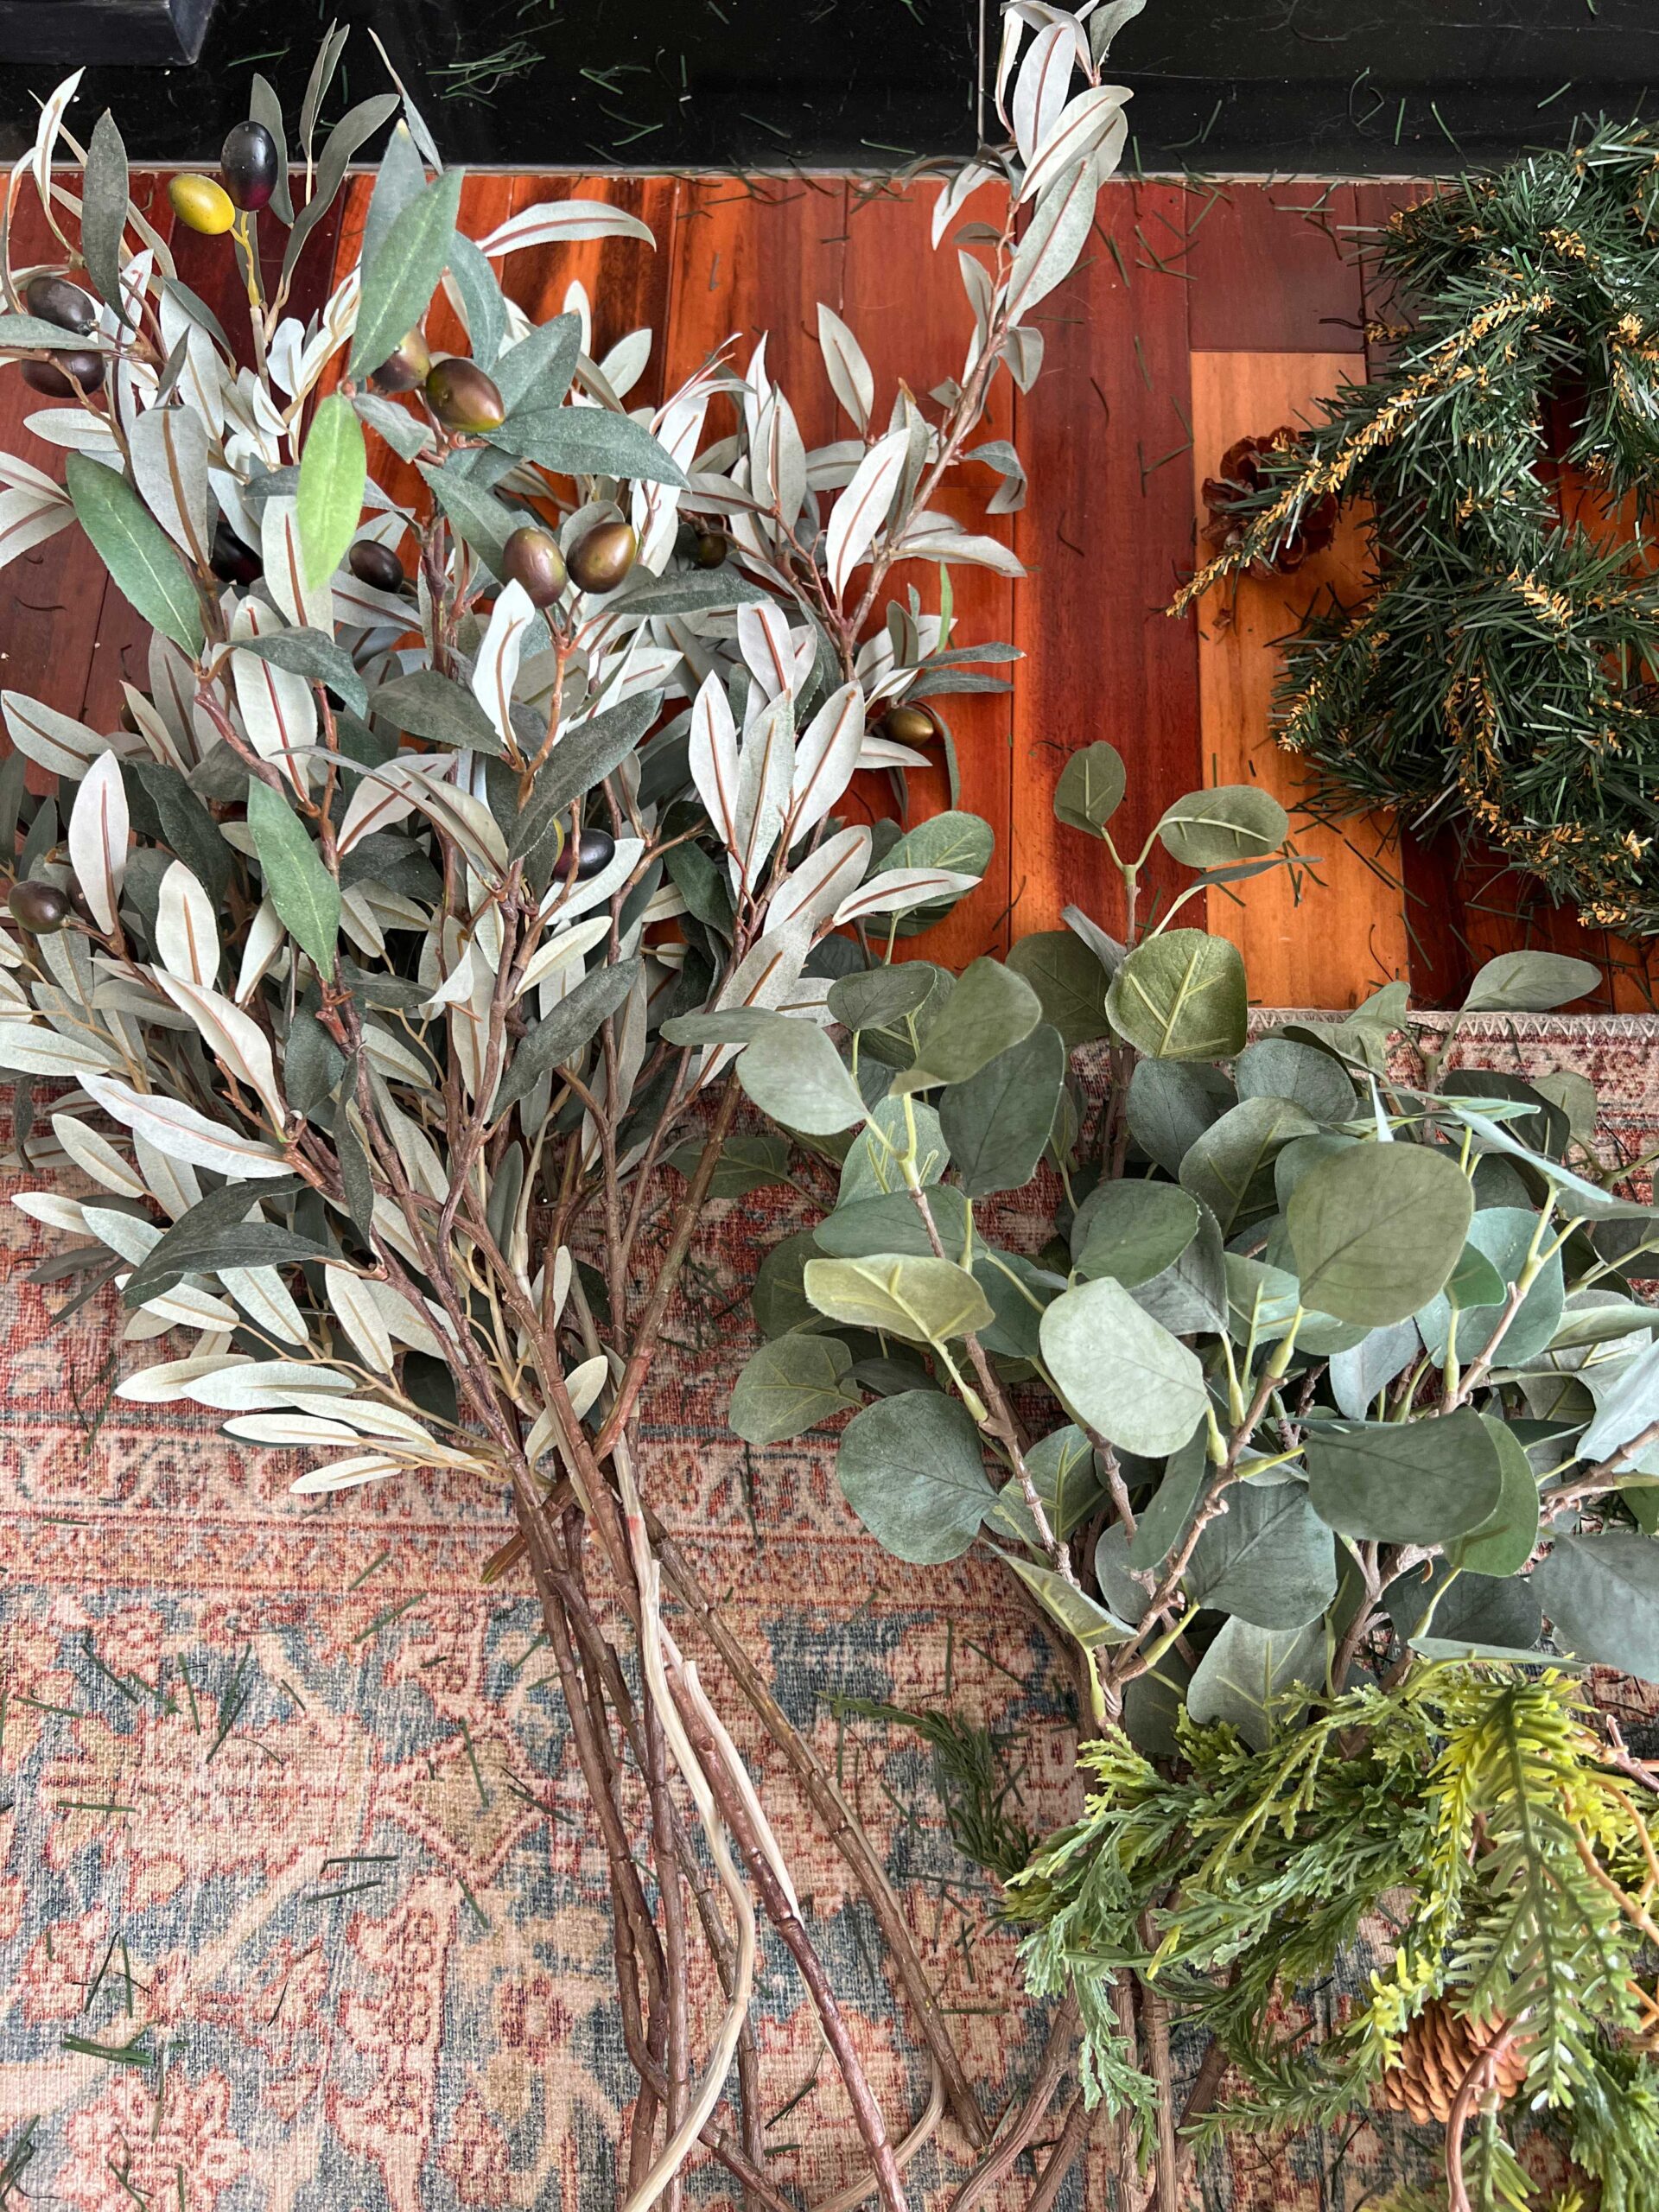
The other elements I added are eucalyptus stems and olive branches. Both of those are just stems I had on hand and have had for years that I use around the house, not just for the festive season.
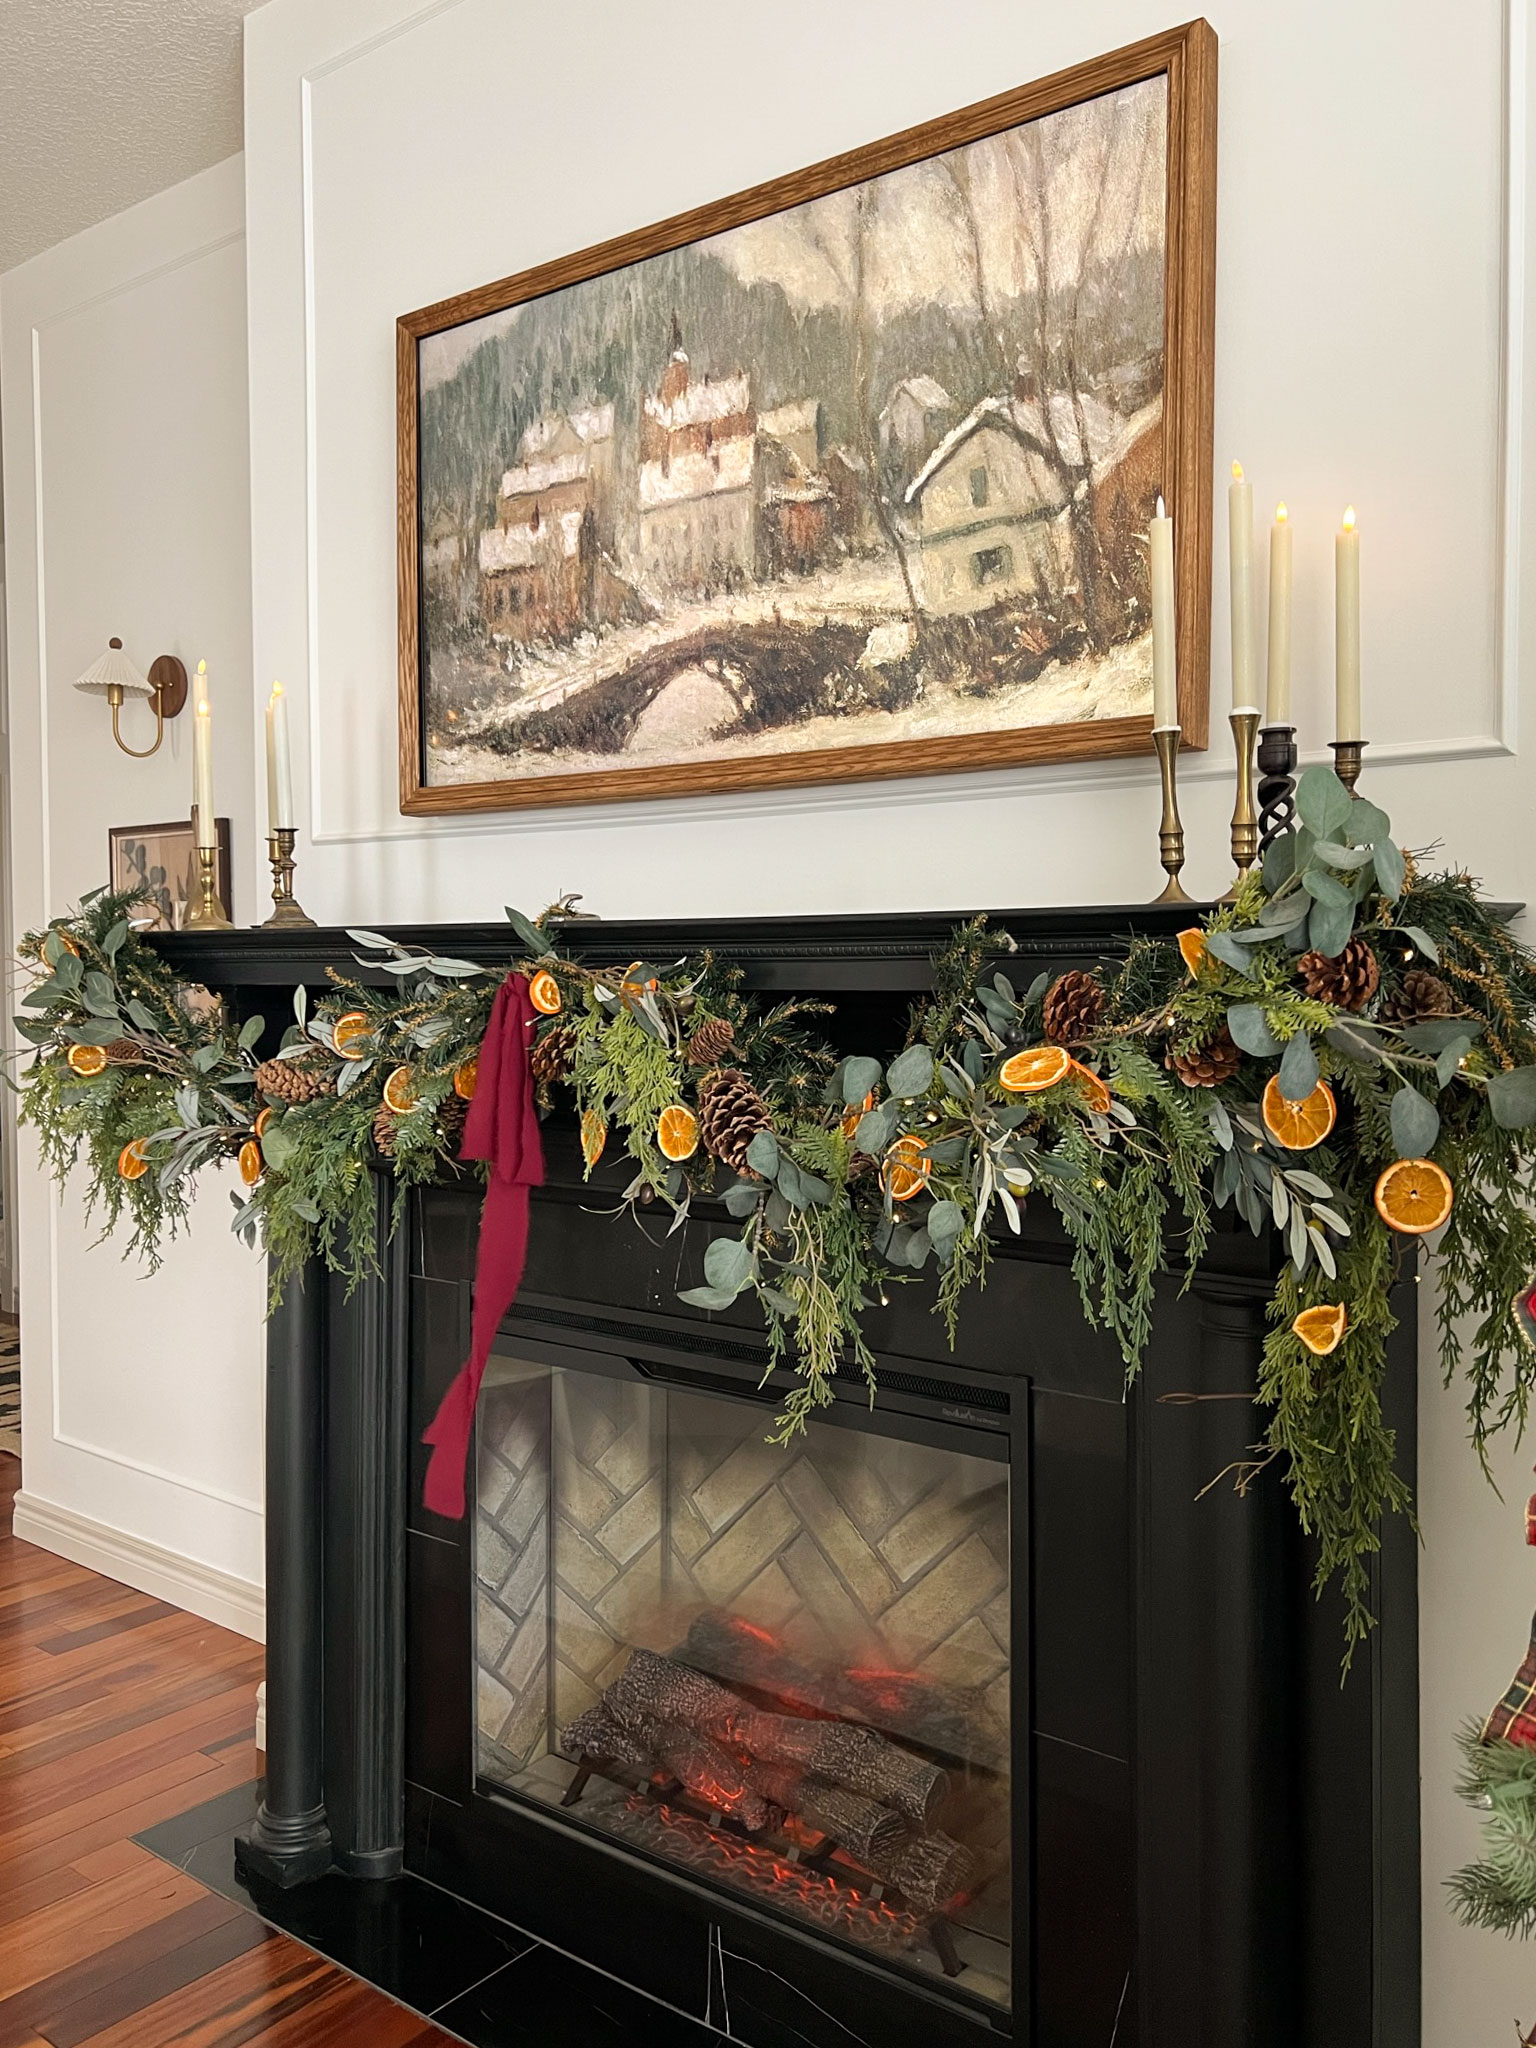
Last year I also dried some oranges and added those in. I have a dehydrator, but if you don’t, you can also do them in the oven for an orange slice garland. I have some fairy lights as well, so if you have some of those, grab those too!
Other ideas for things to build your DIY mantel garland are brass bells, ribbons, faux flowers, small ornaments, pine cones, magnolia leaves, or red berries!
Once you have your piles of greenery and embellishments, just start building! You can always add more in if you run out, but see what you can do with what you already have!
Step 3 – Put on the Base layer on your DIY Mantel garland
Start by creating your shape with your base layer artificial garland. I folded the length of my first garland in half and then started by placing that at the center of the mantel. Then I draped each side over to the command hooks on each side and hooked them there.

That cheap garland is going to give you the main shape so play around with it until you like how it hangs. Don’t worry about fluffing it up too much, you really don’t see much of this one.

Step 4 – Add Your Nicer Garland on Top
Take your “nicer” garland (in my case, the cedar) and layer it over the base layer. My cedar garland is longer than my base layer so I allow that to drape a little longer at the edges. I have two cedar garlands so for my symmetrical look, I ran them in the opposite direction of each other, out from the middle. If you have a more modern asymmetrical garland, you may choose to run them all in the same direction.

In order to get the nice garland to stay in place, you will have to intertwine the branches a little. You can even use some of the wire branches from the cheaper garland to hold the nice one in place by wrapping it around here and there. Play around with it a little until you are happy with how it’s looking. You should mostly see the top garland but it’s ok if you can still see the cheaper one peeking out here and there.


Step 5 – Add lights
At this stage I add my string lights, just looping them in and around all the branches until everything is evenly covered. The lights aren’t necessary but they do give a little sparkle and they are magical at night! Mine are on a timer so they come automatically on for 6 hours at sunset.


Step 6 – Add More Stuff!
Ok, so this is the fun part. Take your stems of greenery and just start sticking them in there. Smaller stems are a little easier to work with, but even larger branches work. I stick the end of the floral stem deep into the garland and then work the branches of the garland here and there to make it look more intertwined.

I kept all my branches going in the same direction as my cedar garland, away from the center.

I tried to make it somewhat balanced by adding the same greenery to each side (for example, two eucalyptus on each side, at roughly the same location, and 3 or 4 olive branches on each side.)
Keep on playing with it until you like how it looks. Stand back to have a look often, and tweak it as needed. You can’t really mess it up, just keep playing! I find that the more you intertwine the branches with each other, the better it looks.
Step 7 – Embellish your DIY Mantel Garland
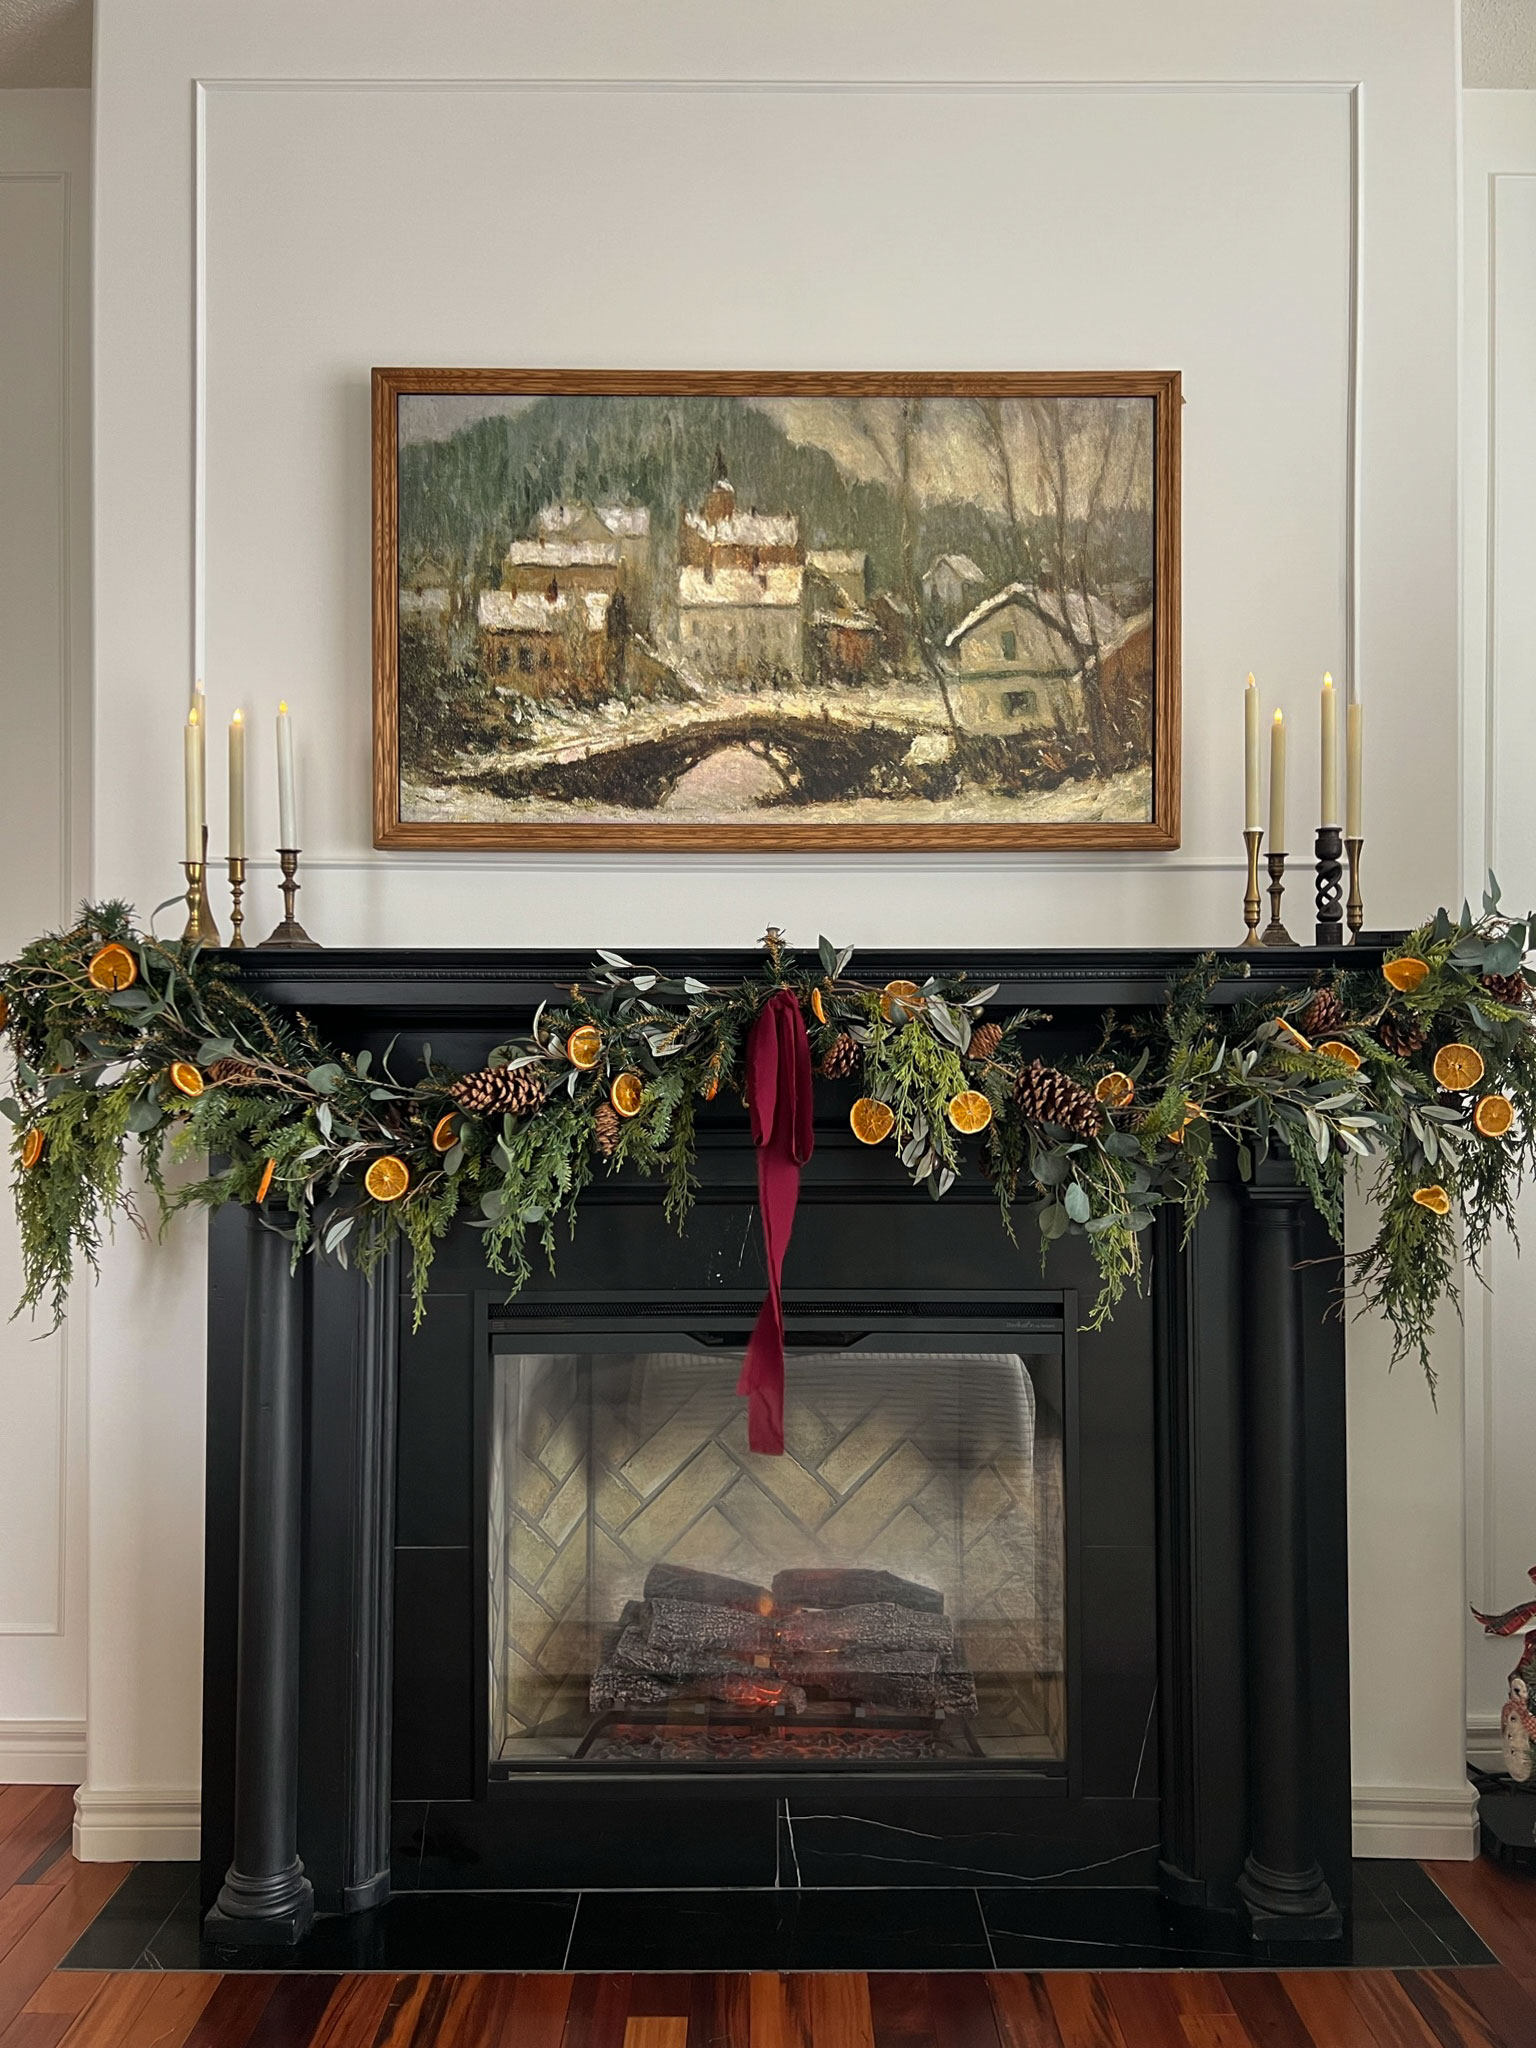
You could totally be done at this point. The first year I did this, I added a little ribbon to the center and that was the end of it, and it was beautiful.
The second year I threw in a few dried orange slices, and I loved the extra little pop of color it added.
This year I bought a few white faux flower ornaments from H&M and thought I would give them a try. They really added a lot to the look, but I only had 10 of them and it seemed like it was missing a little something.

So I had some real baby’s breath on hand that I bought at Costco and stuck it here and there to add a little more white to it, and it is beautiful!


That is the best thing about doing a garland this way. Anything goes! Next year, I might skip the faux stems and just stick in some natural elements and fresh foliage that I forage from the yard!

That’s all there is to it! I added a few brass candlesticks to either side of the TV on top of the mantel and put a little winter scene on my Frame TV and that is all you need to do for a beautiful holiday garland!

I hope this helps you create a lovely layered garland with what you might already have on hand. Have a Merry Christmas everyone!
The baby’s breath you added is perfect! Looks so great.
It’s so beautiful Erin! I really love the addition of the non traditional white flowers. You are right, anything goes!
Thank you Ramona!
Thanks Elaine!
I love that you encourage using what you have! So many of us are trying to stretch our budgets this year and it’s always a great reminder that you probably already have some pretty great stuff to make a beautiful home.
That is so true, we don’t always need to buy all new!
Just beautiful! I love how you used what you had to make something new and beautiful!
Thank you so much!