
How to DIY your Own Easy Tailored Box Pleat Bed Skirt
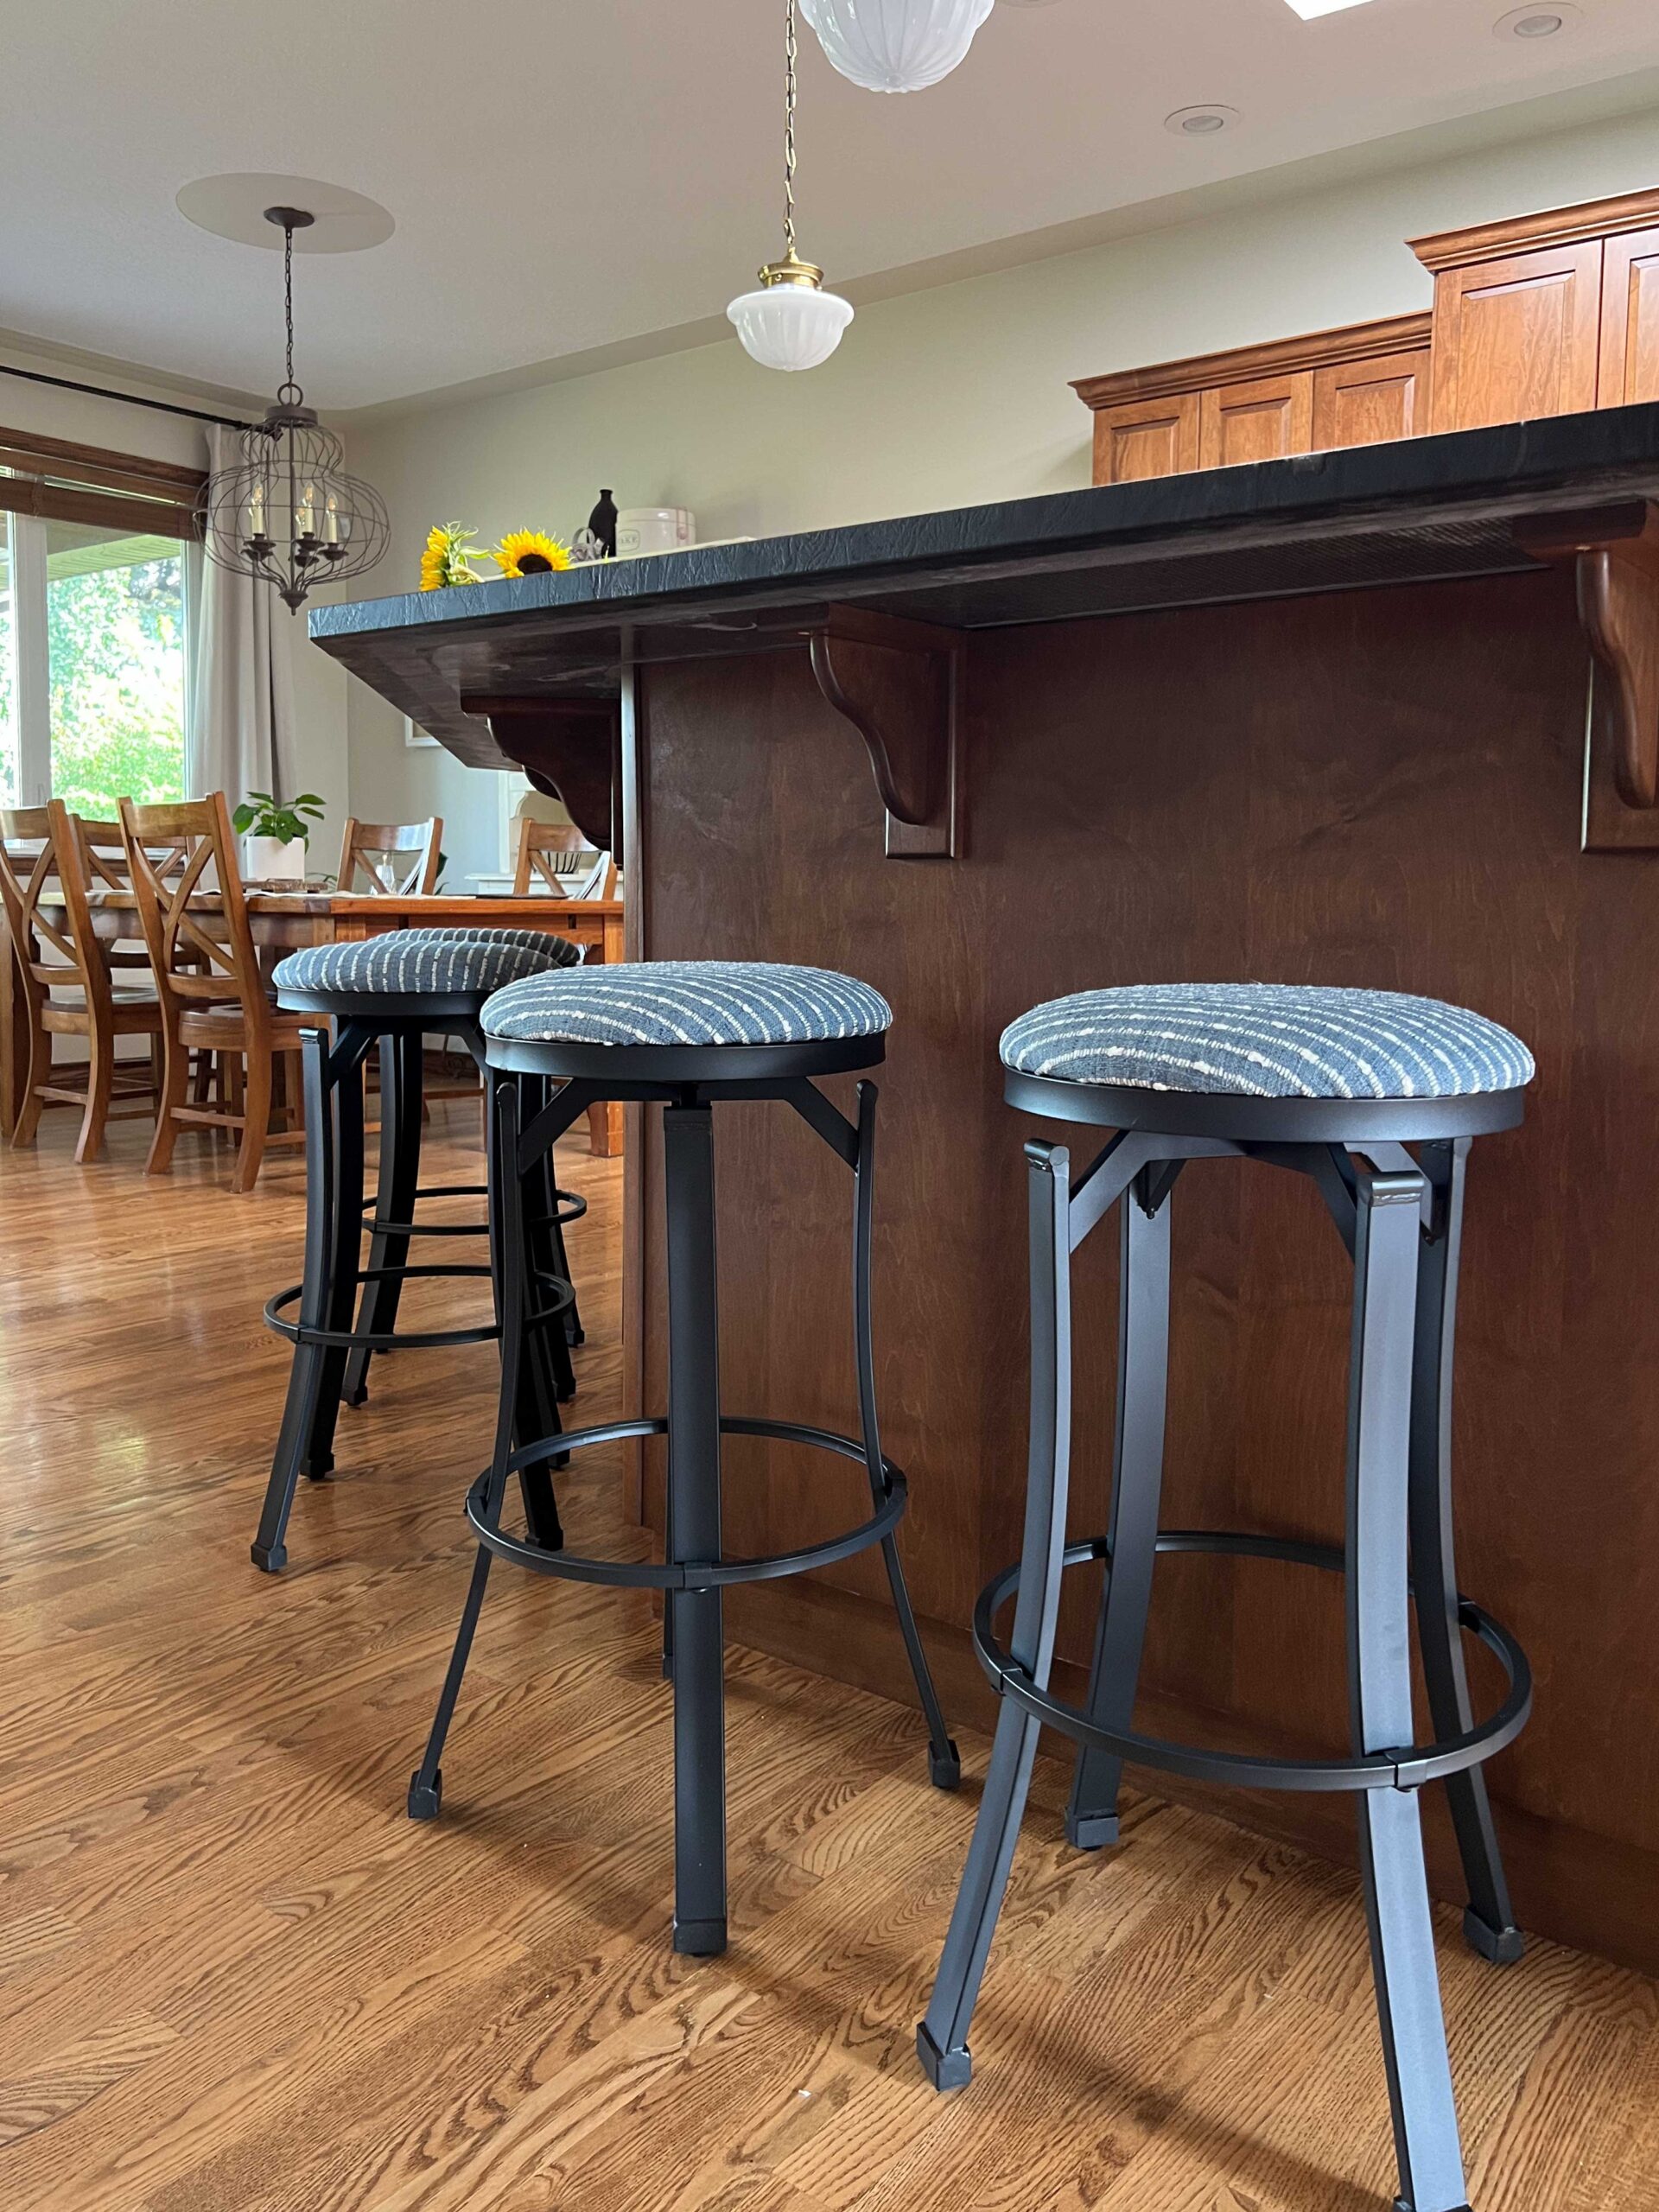
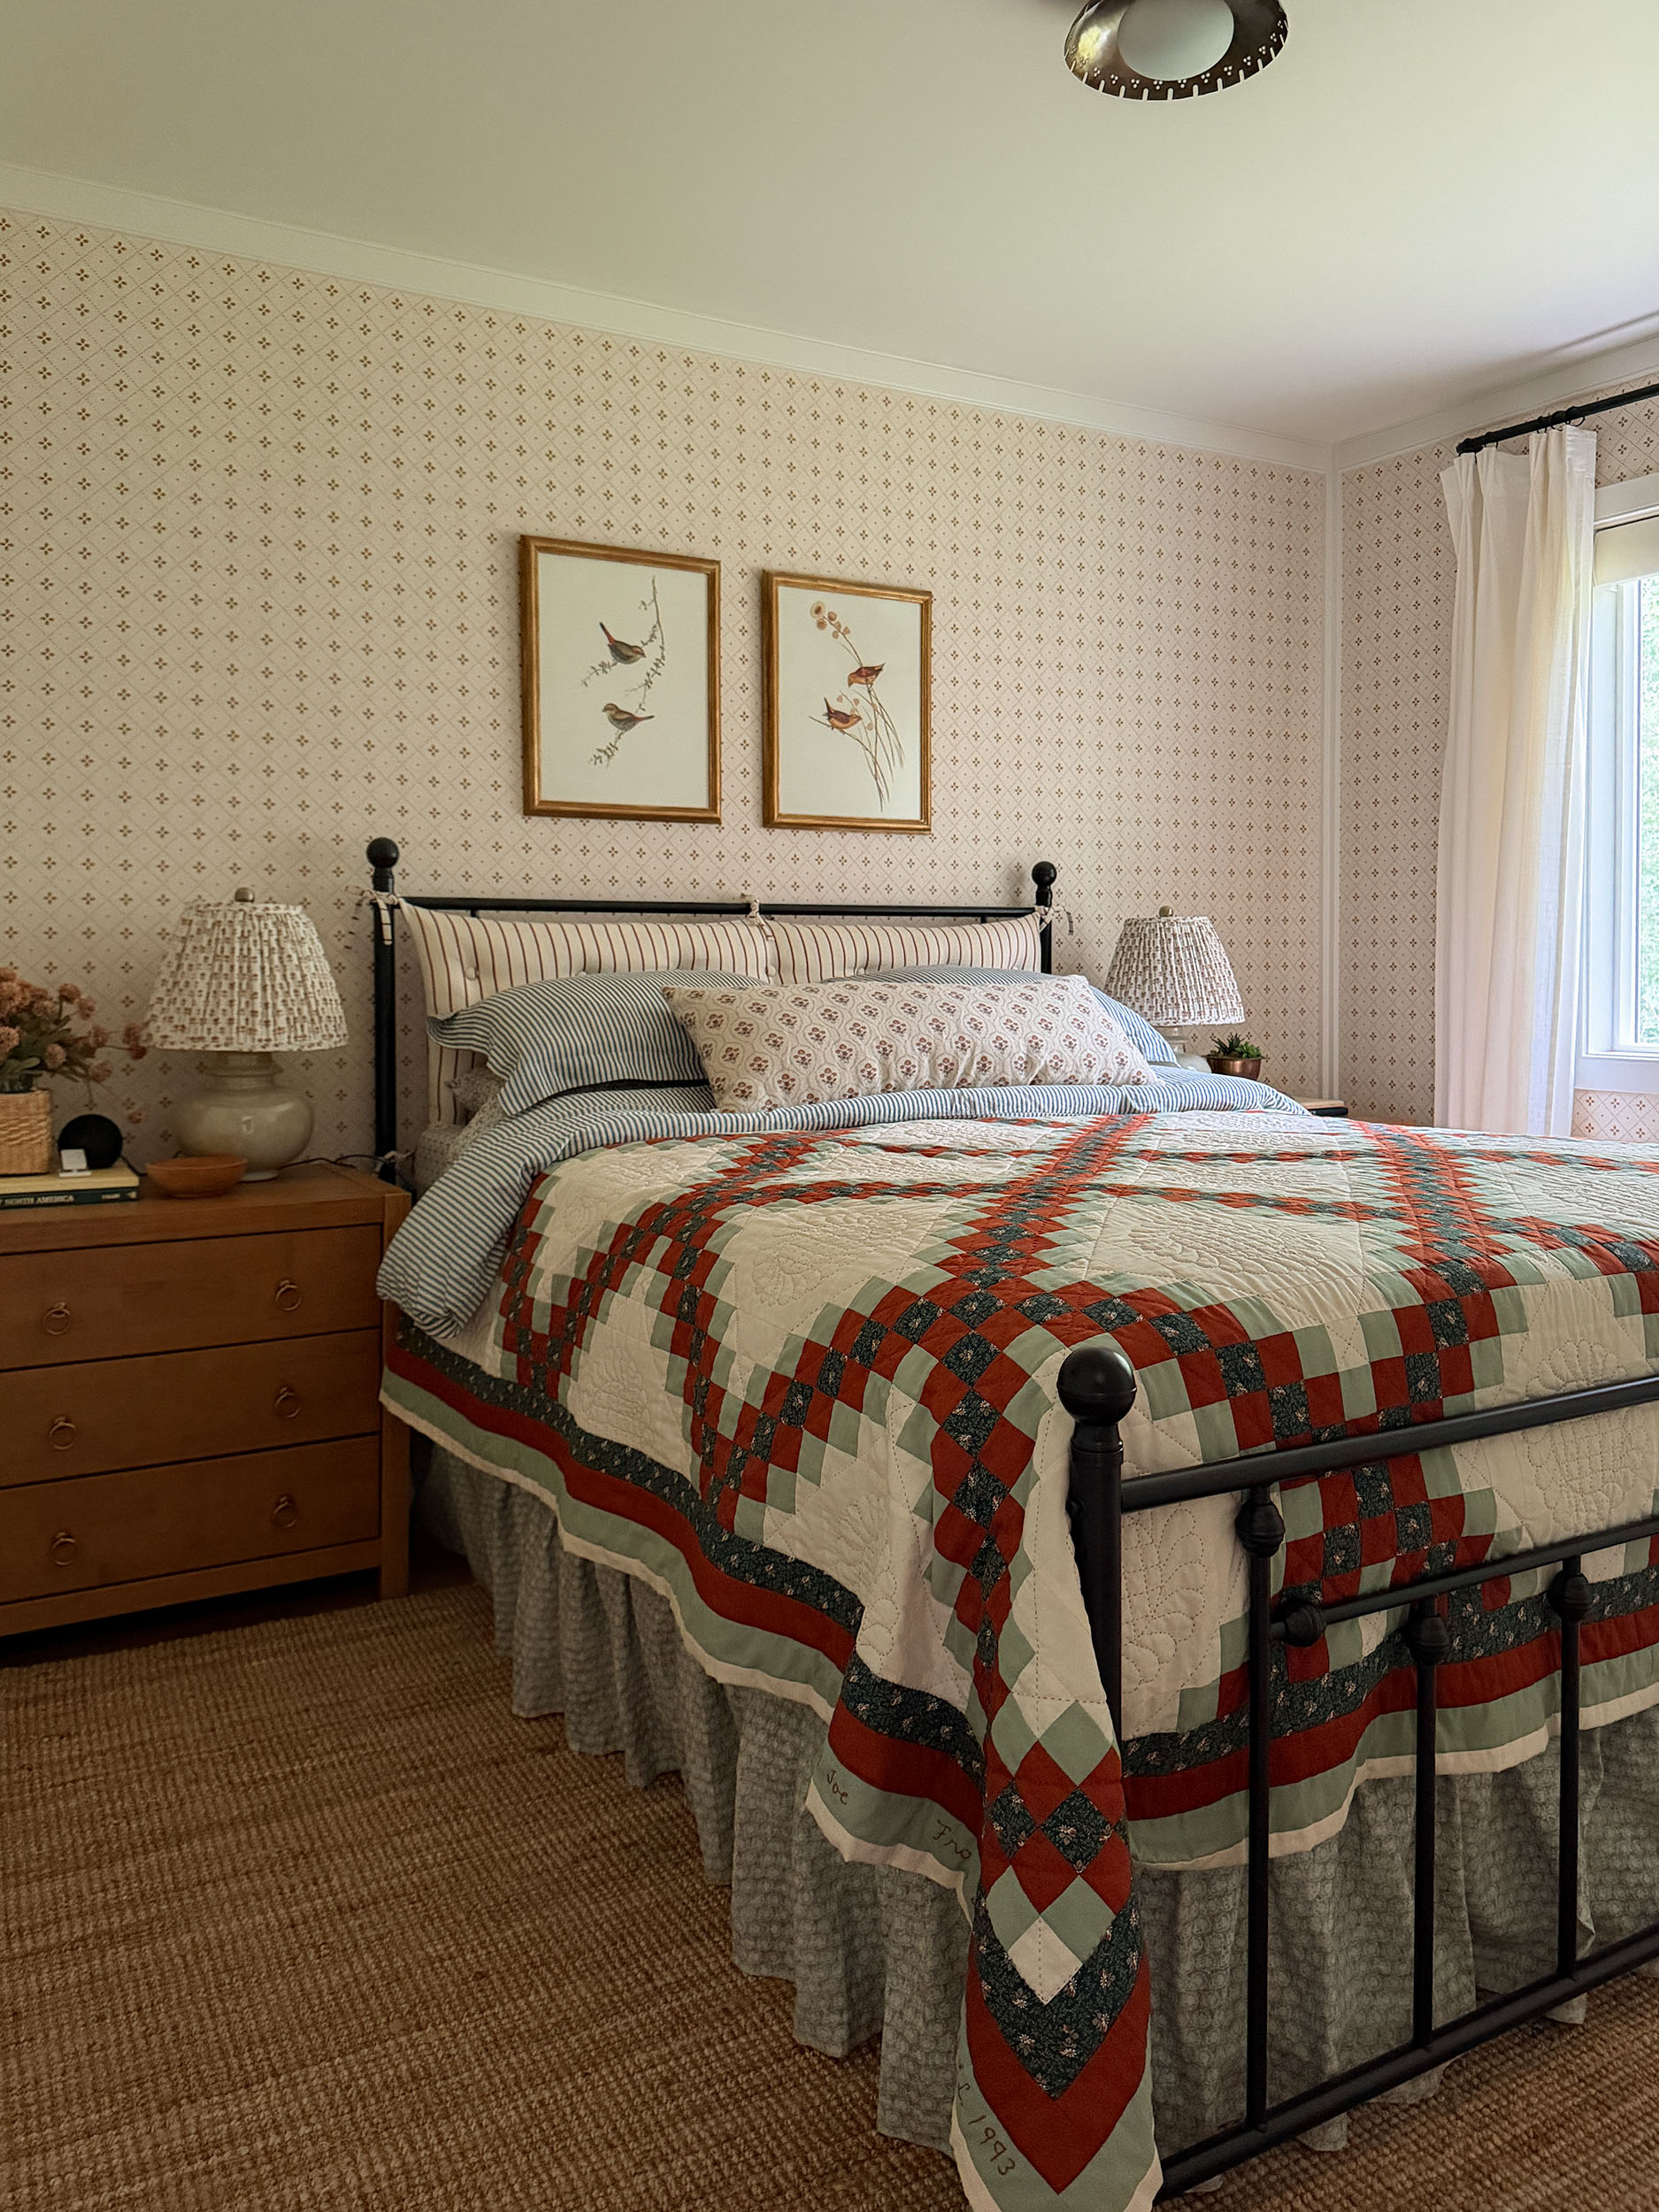
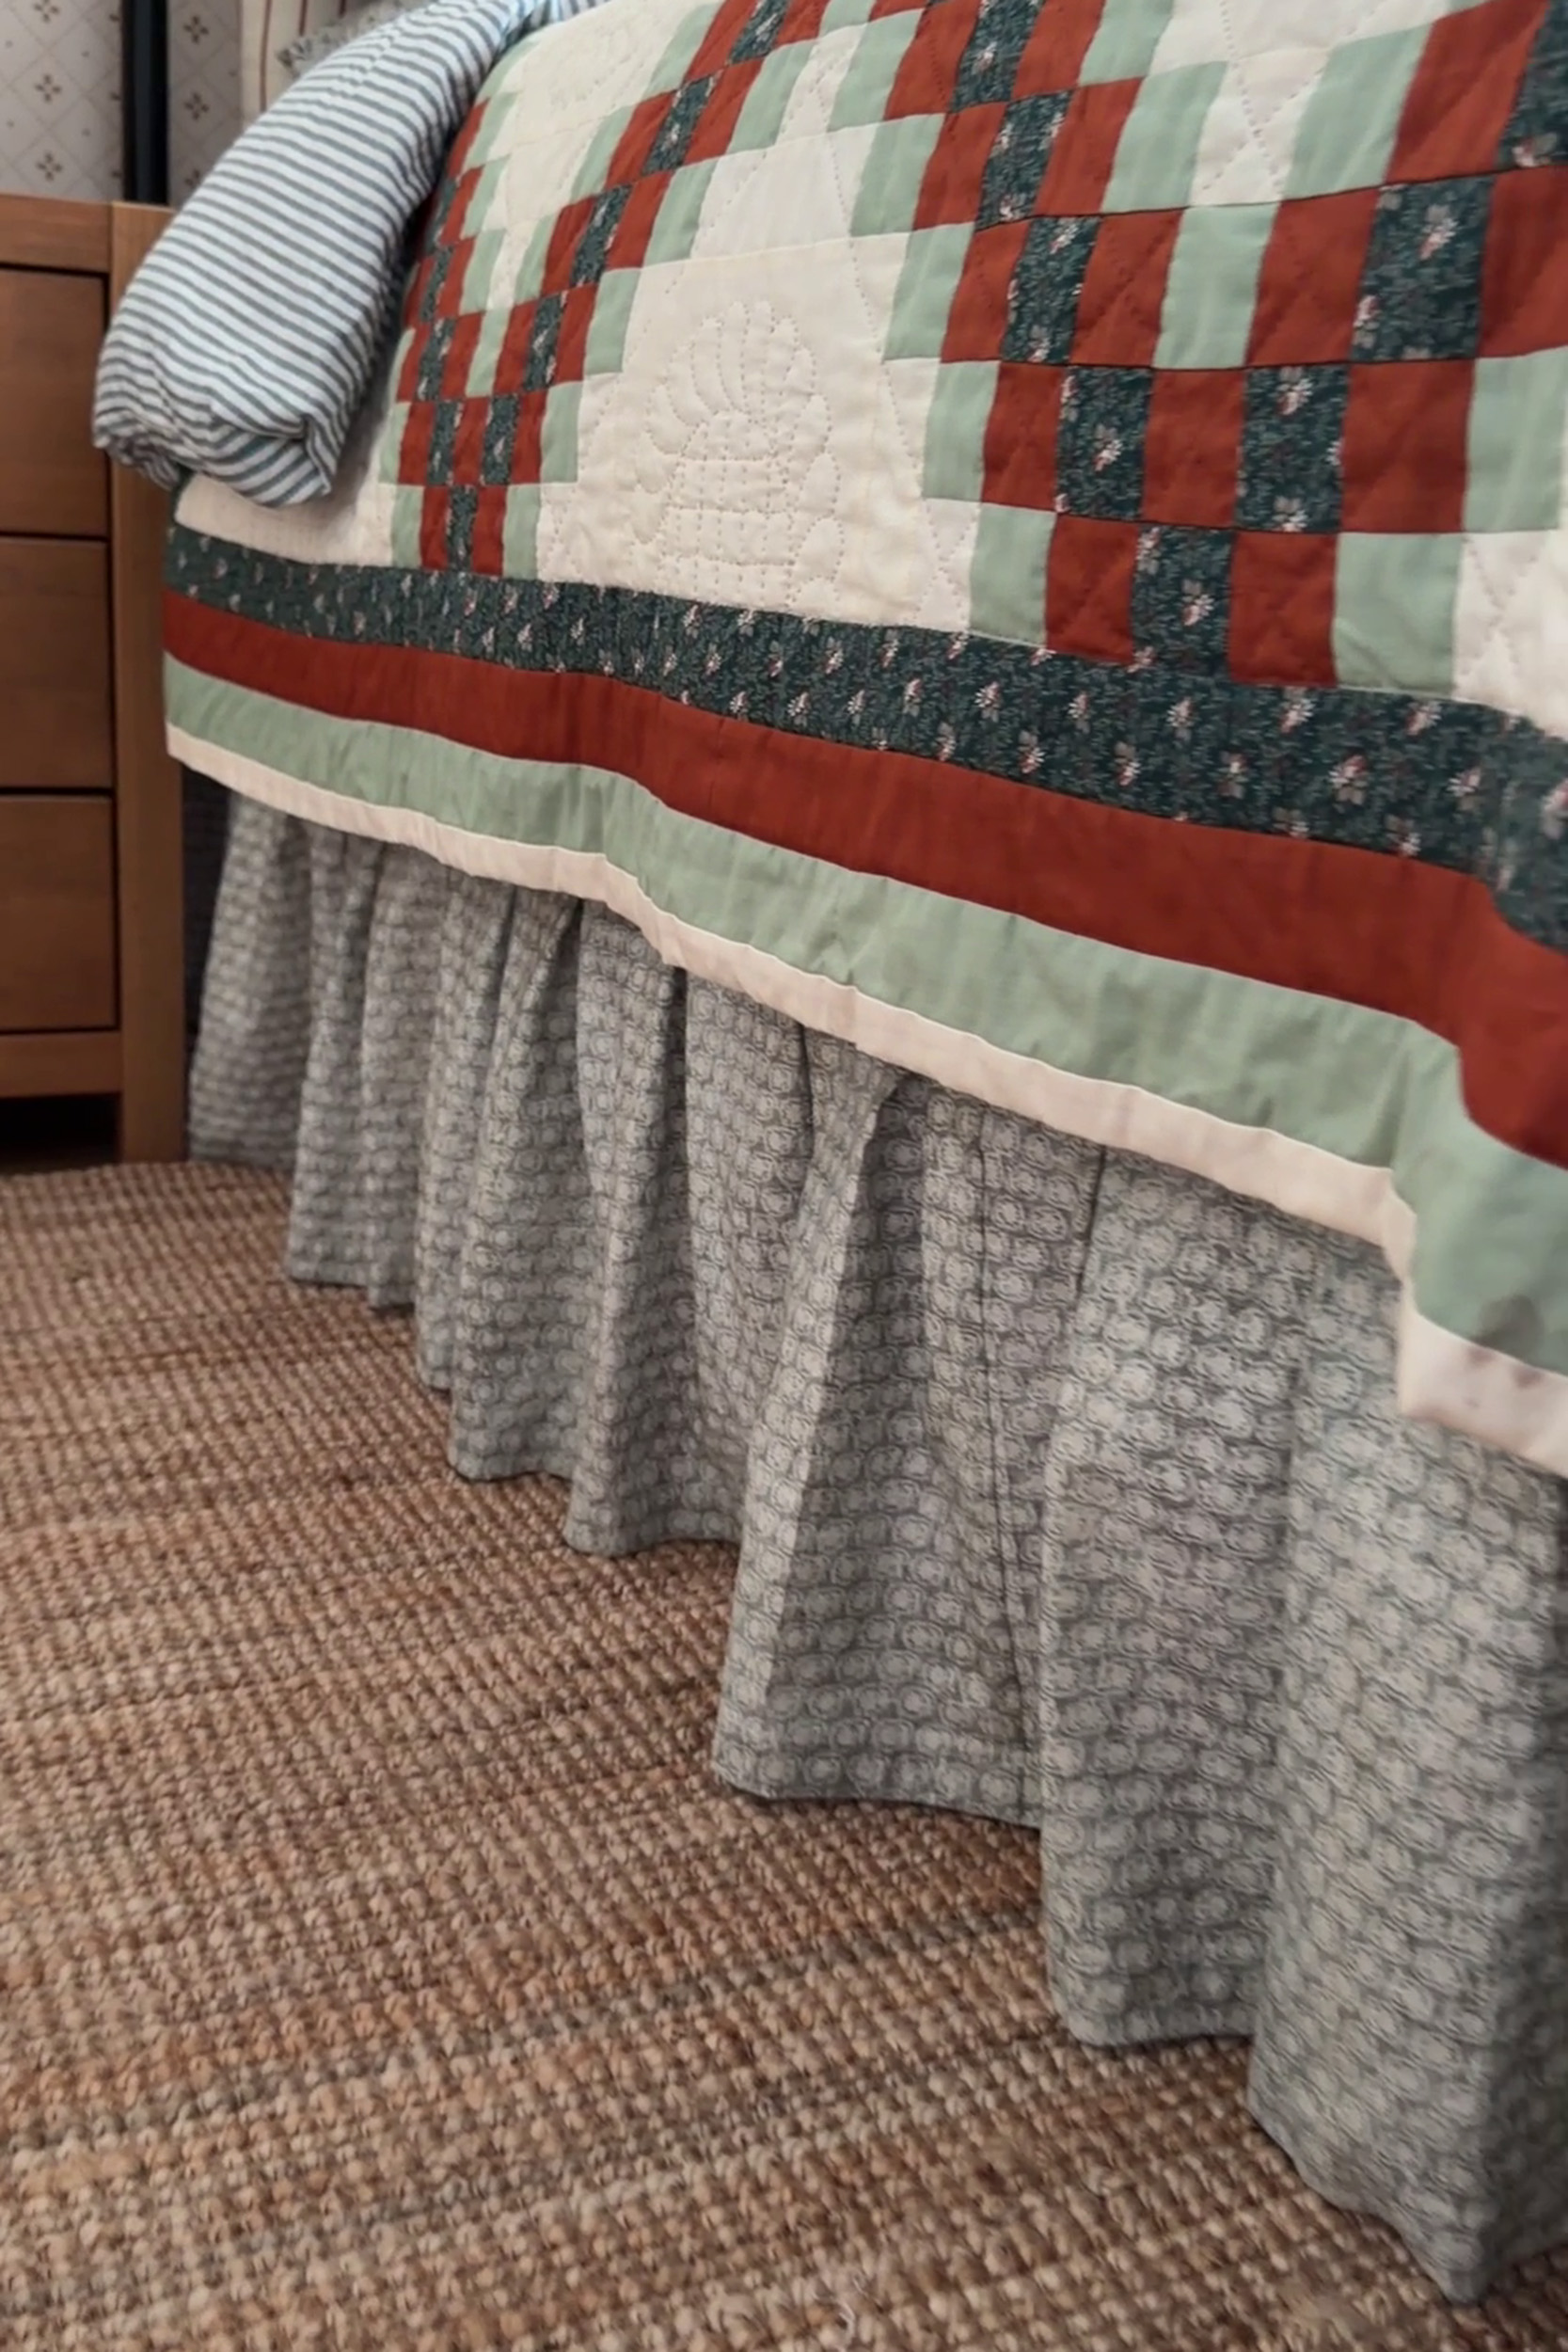
When I made over our bedroom, a lot of people pointed out that the bed would look that much more finished with the addition of a bed skirt, and I couldn’t agree more! I decided to swap out the curtains in that space, and use the ones I took down to make my own DIY bed skirt! Its so cute, so I thought I would share a step by step tutorial on how we did it!
This post may contain affiliate links. That means if you purchase anything from these links I earn a small commission, at no extra cost to you! This helps support my blog, so thank you!
The “Why” Behind this DIY!
When I completed my bedroom makeover, there were a few things I was not that happy with. The curtains felt a little off against the wallpaper, and I think that was because the patterns were too similar in scale. I replaced them with plain white IKEA Ritva curtains that I already had.

I didn’t want the nice curtain fabric to go to waste though. That fabric matched so perfectly with my vintage quilt! I also really thought the bed would benefit from a bed skirt, so I decided to make it into a custom bed skirt!
The bed we have is actually quite high off the ground. Considering our cabin lacks storage space, it would be nice to hide under bed storage containers under there so having a bed skirt makes that possible! It also acts as a dust ruffle to keep the dog-hair tumbleweeds at bay that seem to collect under there!
Traditional bedskirts often sits on top of the box spring below the mattress. My metal bed frame has slats and does not have a box spring, so a traditional bed skirt that goes under your mattress would not work very well. I decided to attach it to my bed frame directly using sticky velcro, and it was the perfect option! I like how perfectly tailored it looks, and it stays exactly in the right place without shifting around.

Why Make Your Own DIY Bed Skirt
Store bought bed skirts have two problems, in my opinion. Since all beds are a little different, they often do not fit all that well. In particular, the drop length is often too long or too short.
If you make your own, not only can you have a perfectly tailored bed skirt to fit your bed exactly, but you can choose your own fabric and colour to match your colour scheme.
This is a very beginner-friendly sewing project. If you are at all familiar with a sewing machine, you can make this! The hardest part was the math (and I figured that out for you!)
You can use any piece of fabric you have for this project. It does take a lot of fabric, so curtains work well because they are long and usually are a good amount of fabric for the price!
Measure Your Bed
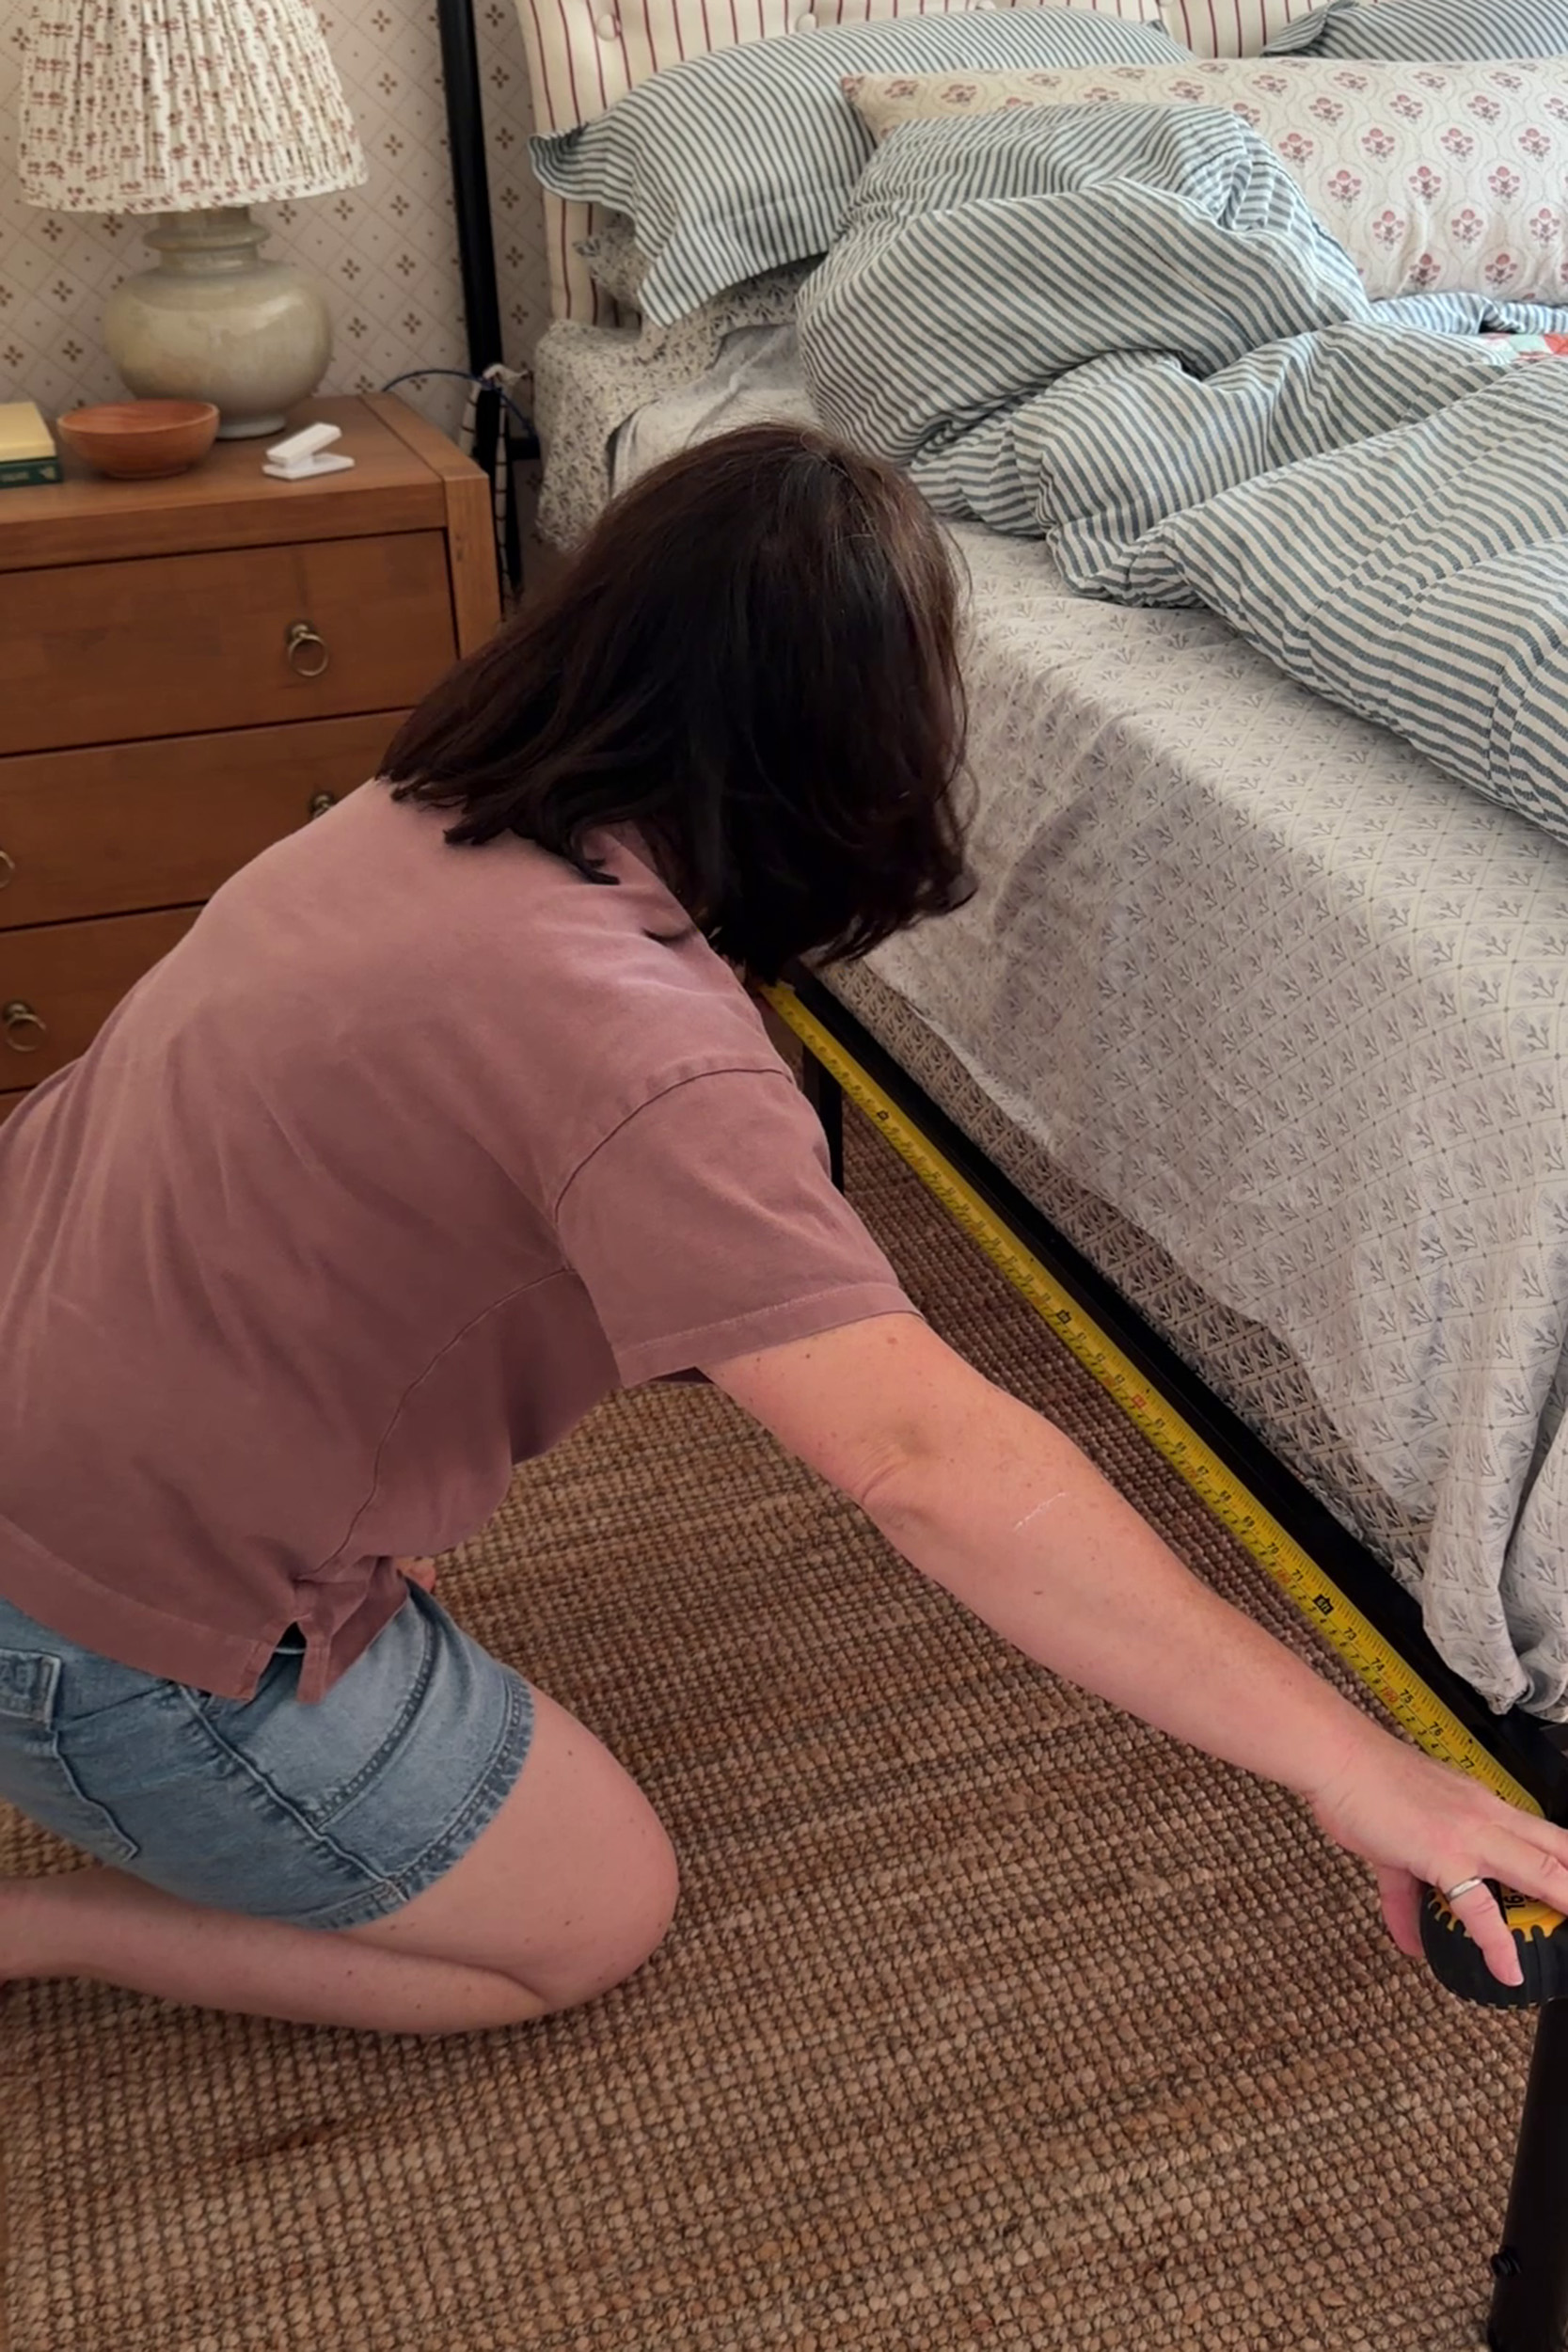
Measure the length of your bed on each side. Mine was 80″ long and 60″ wide (Queen size bed). I measured the frame of the bed, the part that I would be attaching the bed skirt to. Make sure you double check the measurements as they may be slightly different than mine, even for the same bed size.
Measure the drop of the bed skirt, or the height. This will be the distance from the top of your bedframe (or wherever you want the top of your bed skirt to hit) to the ground.
(Note: you don’t need anything at the head of your bed so you only need to measure the two long sides of the bed and the foot of the bed.)
Box Pleat Math
If you want to do these cute little box pleats, you are going to have to do some math before you cut anything and to determine how much fabric you need. Depending on how many pleats you use, you will need to cut quite a bit of extra fabric.
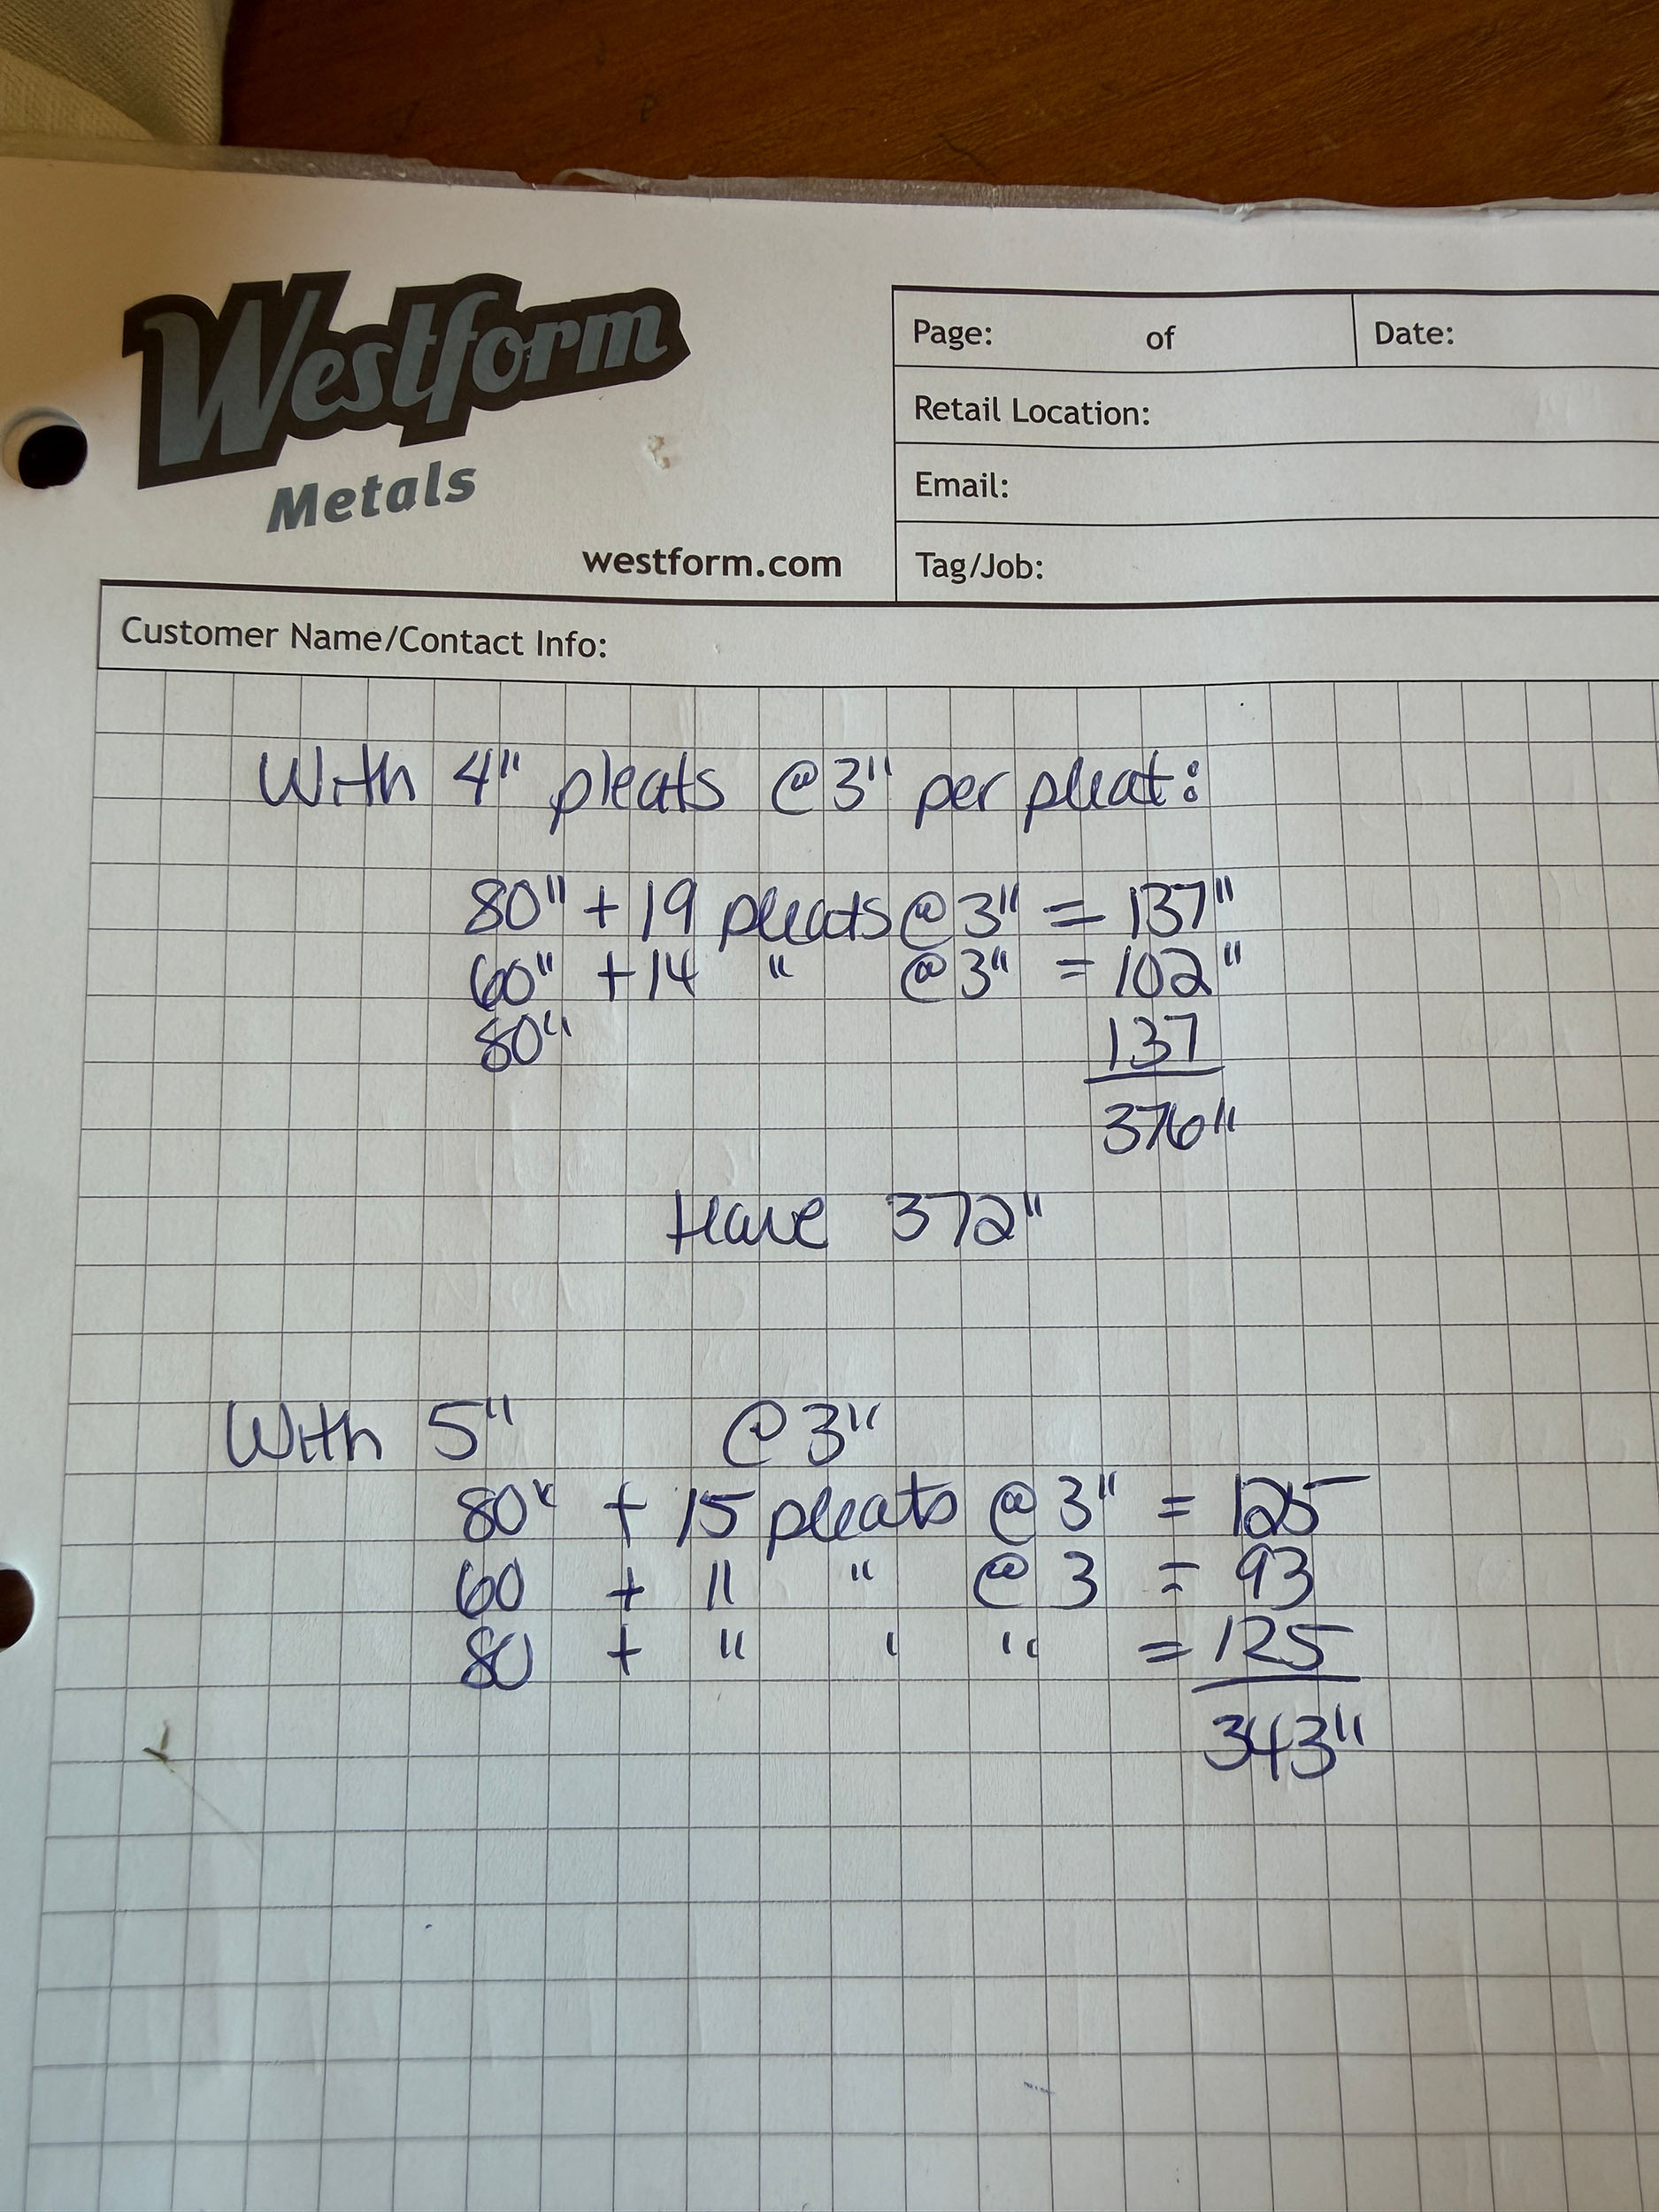
We determined that each pleat was going to add 3″ to the total length of the bed skirt. We also decided to make each pleat 5″ apart. To determine the total number of pleats per side, we used this formula:
Total Length/ Pleat Spacing – 1 (In my case, this is 80″/ 5″ spacing – 1 or total of 15 pleats)
Once we knew how many pleats, we added 3″ for each pleat.
Total Length = # of Pleats X 3″ + bed length (In my case, 15x 3″ + 80″ = 125″ for the long sides)
(On the foot of the bed, the bed was 60″ long so we had 60″/5″ pleats- 1 = 11 pleats, so a total of 11 pleats x 3″ + 60″ = 93″
Cut Your Fabric
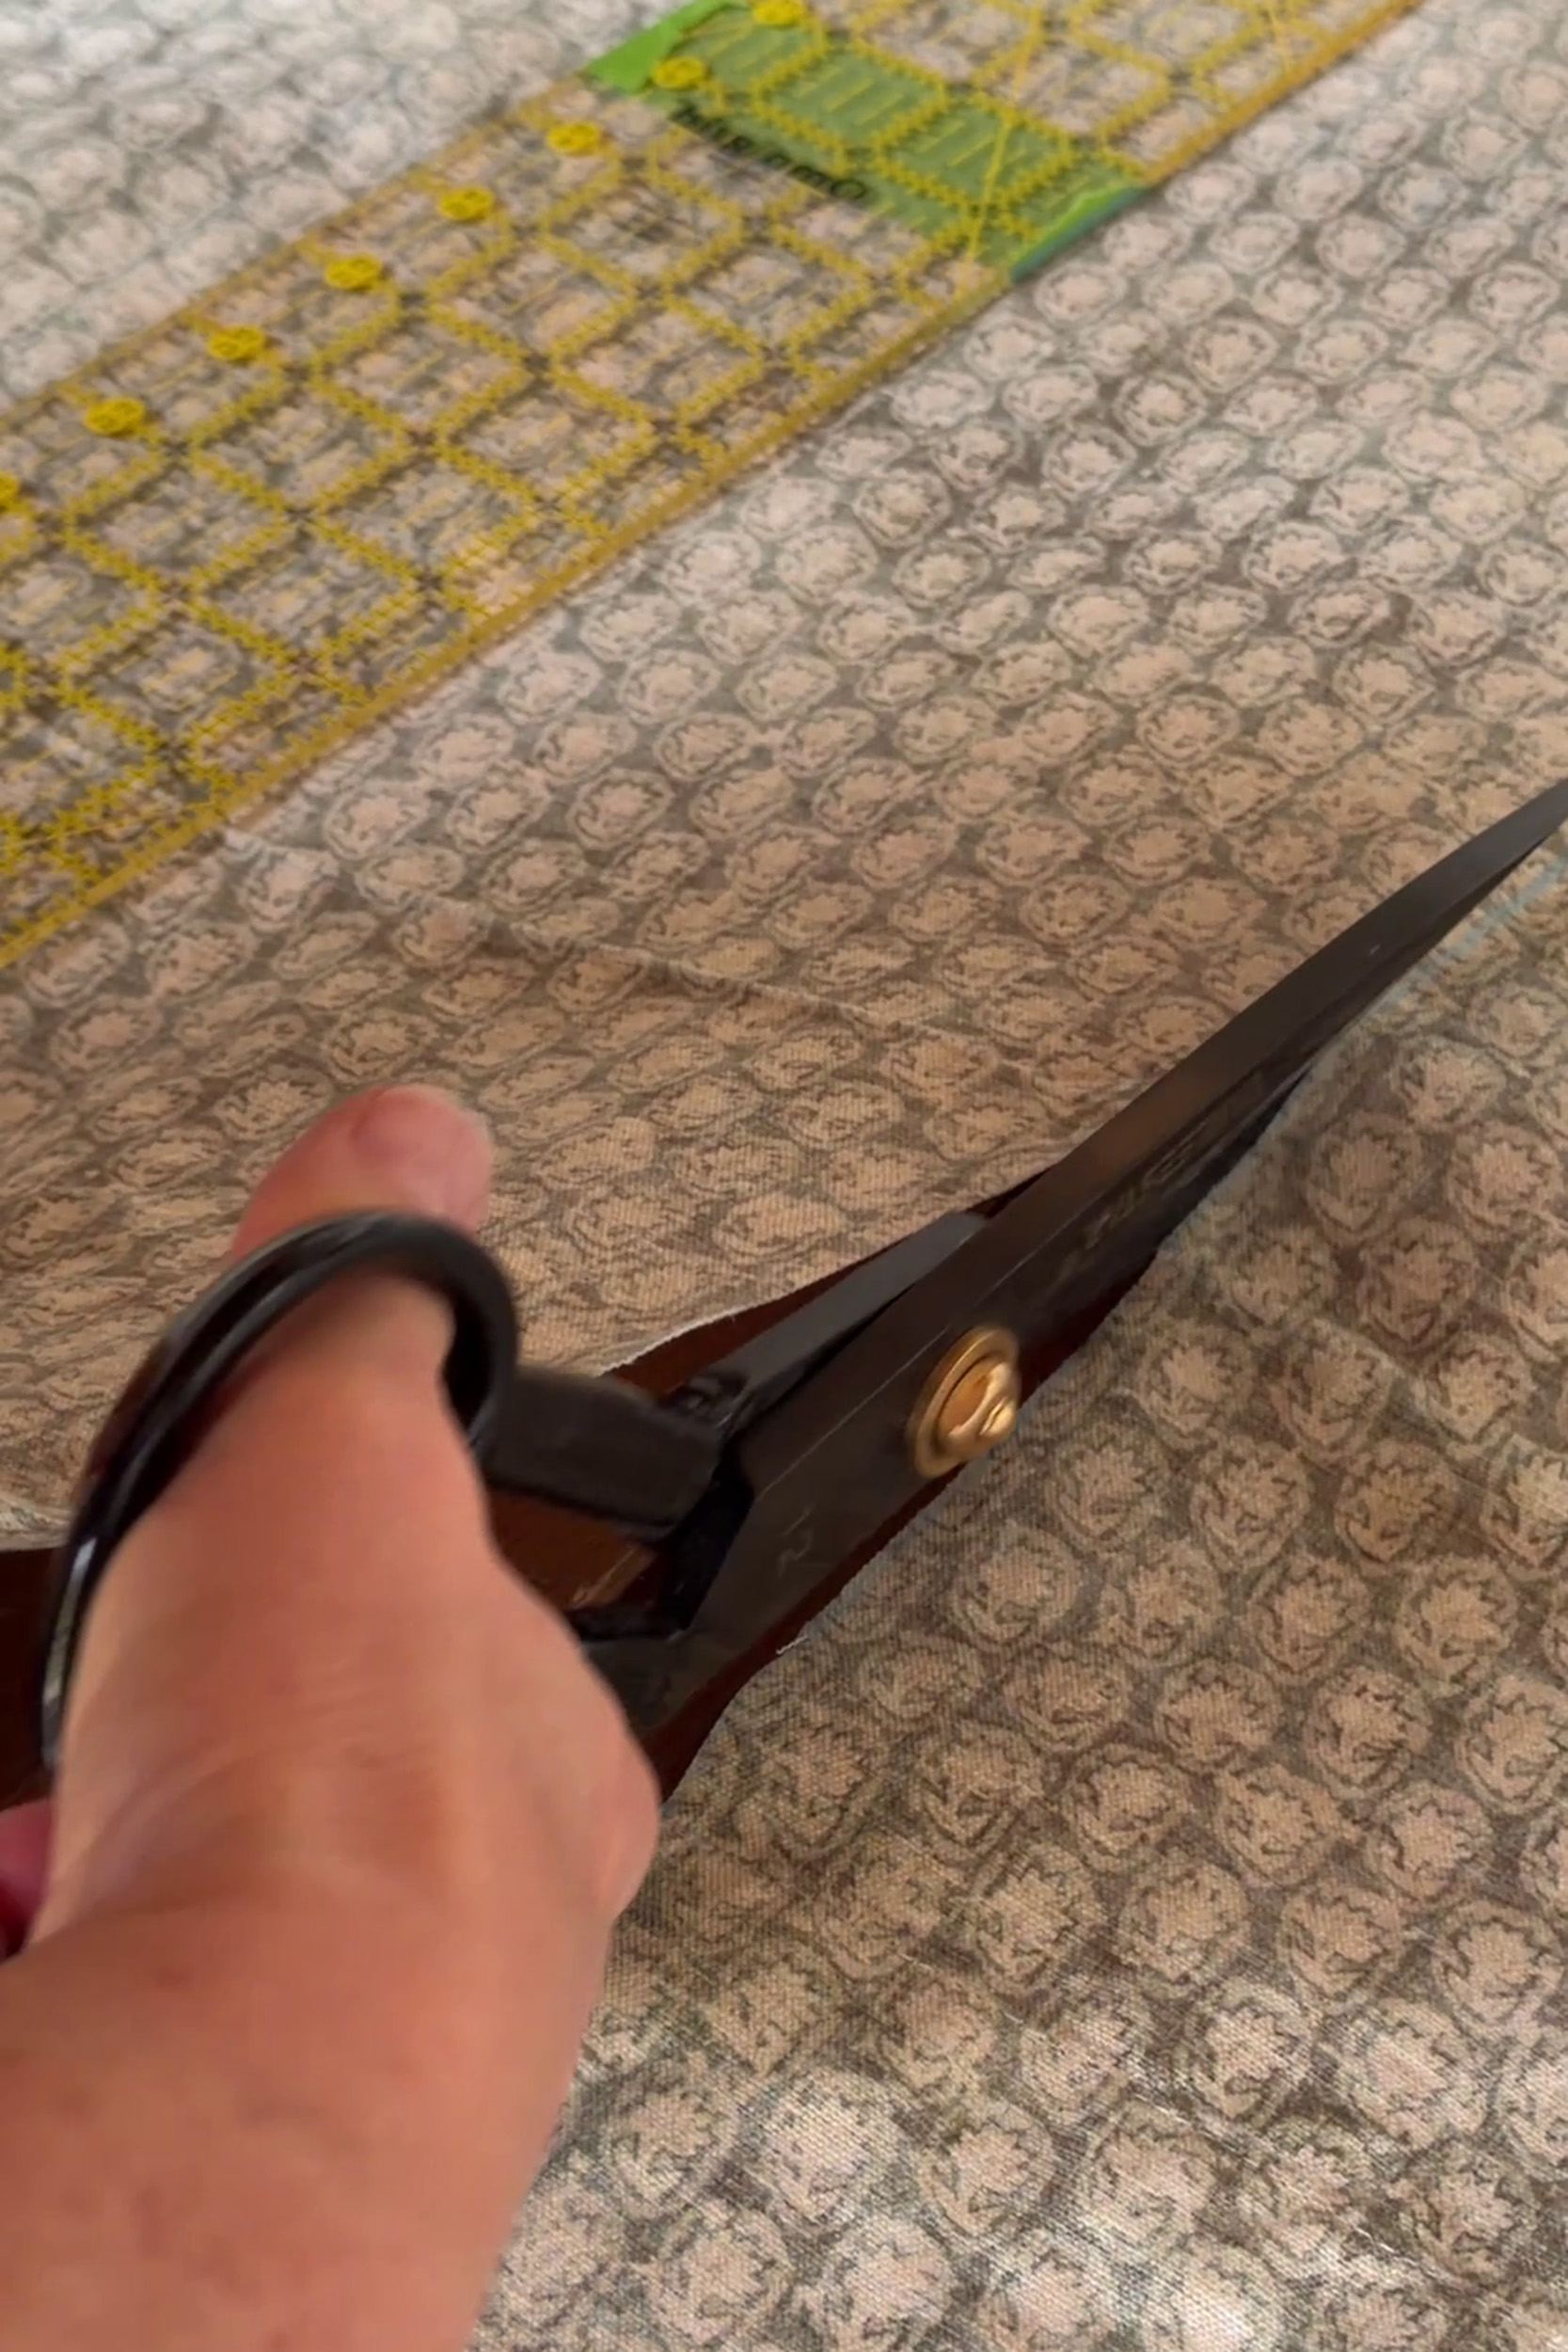
With the above noted dimension in hand, add a seam allowance to all four sides of all three pieces of fabric, and cut your fabric.
In my case, the long sides of the bed were 12″ high +1″ seam allowance on each side = 14″ wide. The length would be 125″ + 1″ seam allowance on each side or 127″.
The short sides were 12″ high +1″ seam allowance on each side = 14″ wide. The length would be 60″ + 1″ seam allowance on each side or 62″.
Hem
Hem all four of the raw edges of all three pieces of the bed skirt according to your seam allowance. (If you allowed a 1″ seam allowance, then fold over a half inch, iron, and fold over another half an inch, and iron. Sew these into place for a nice finished edge.
Box Pleats
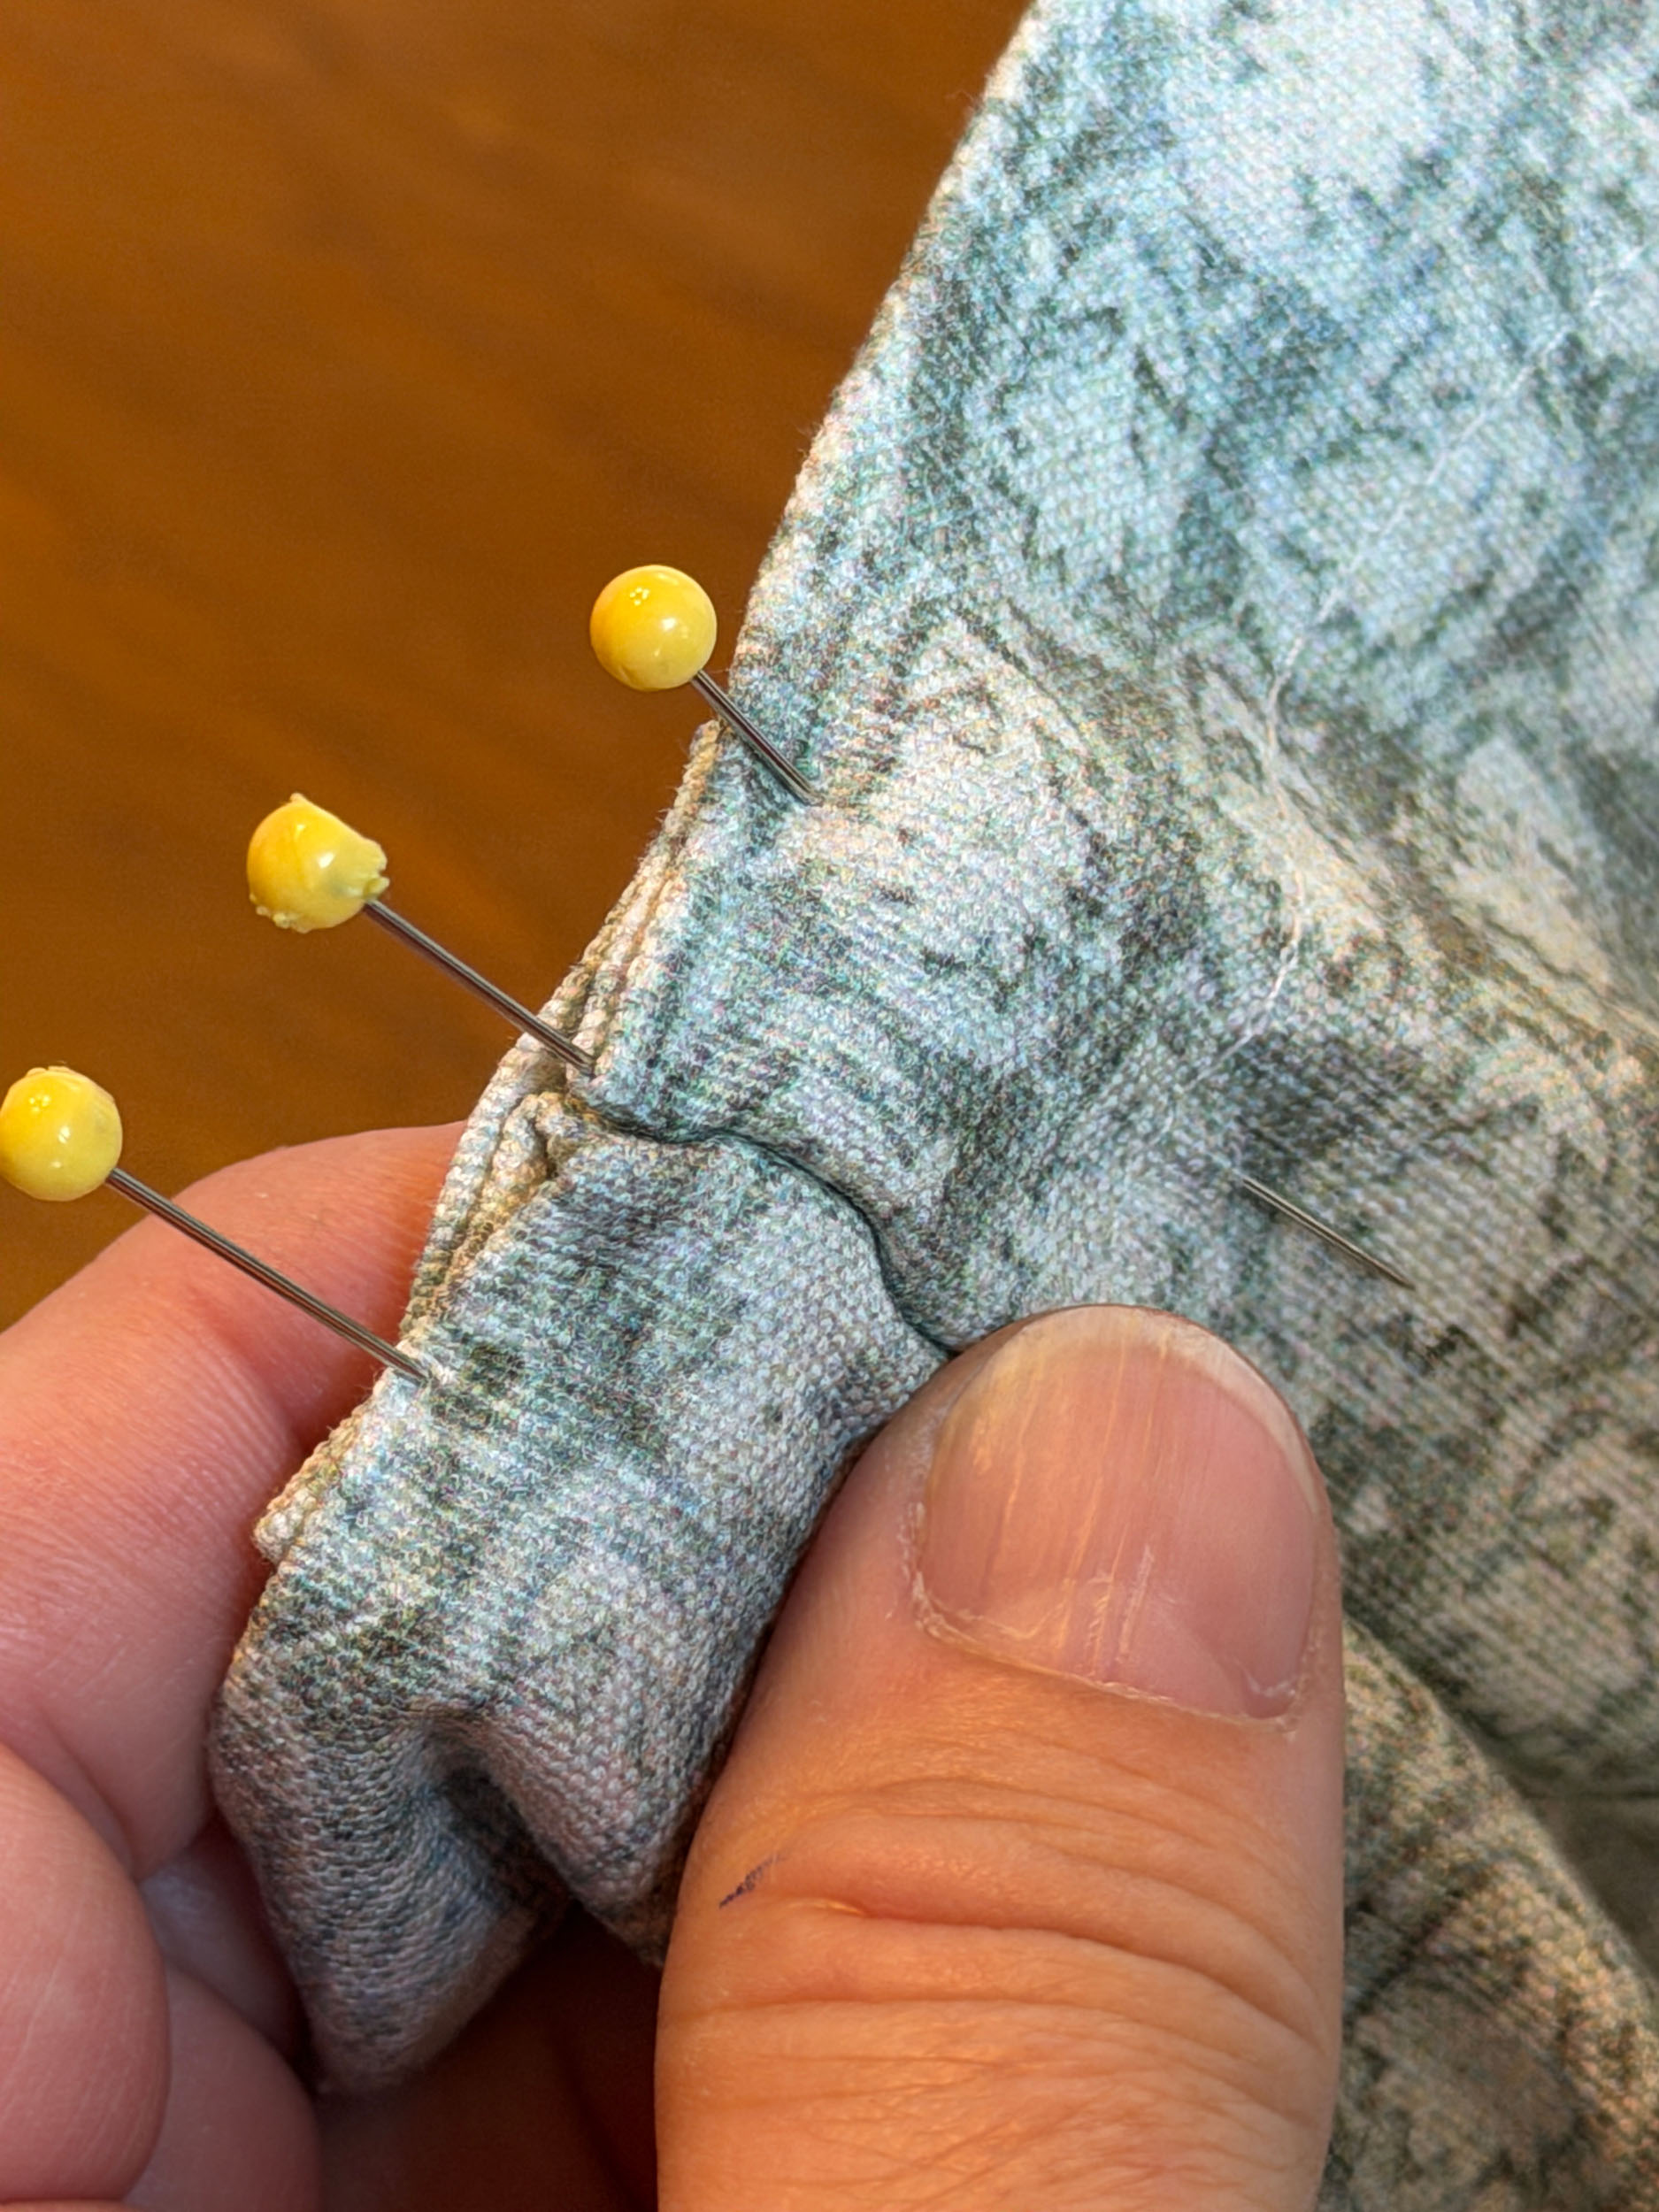
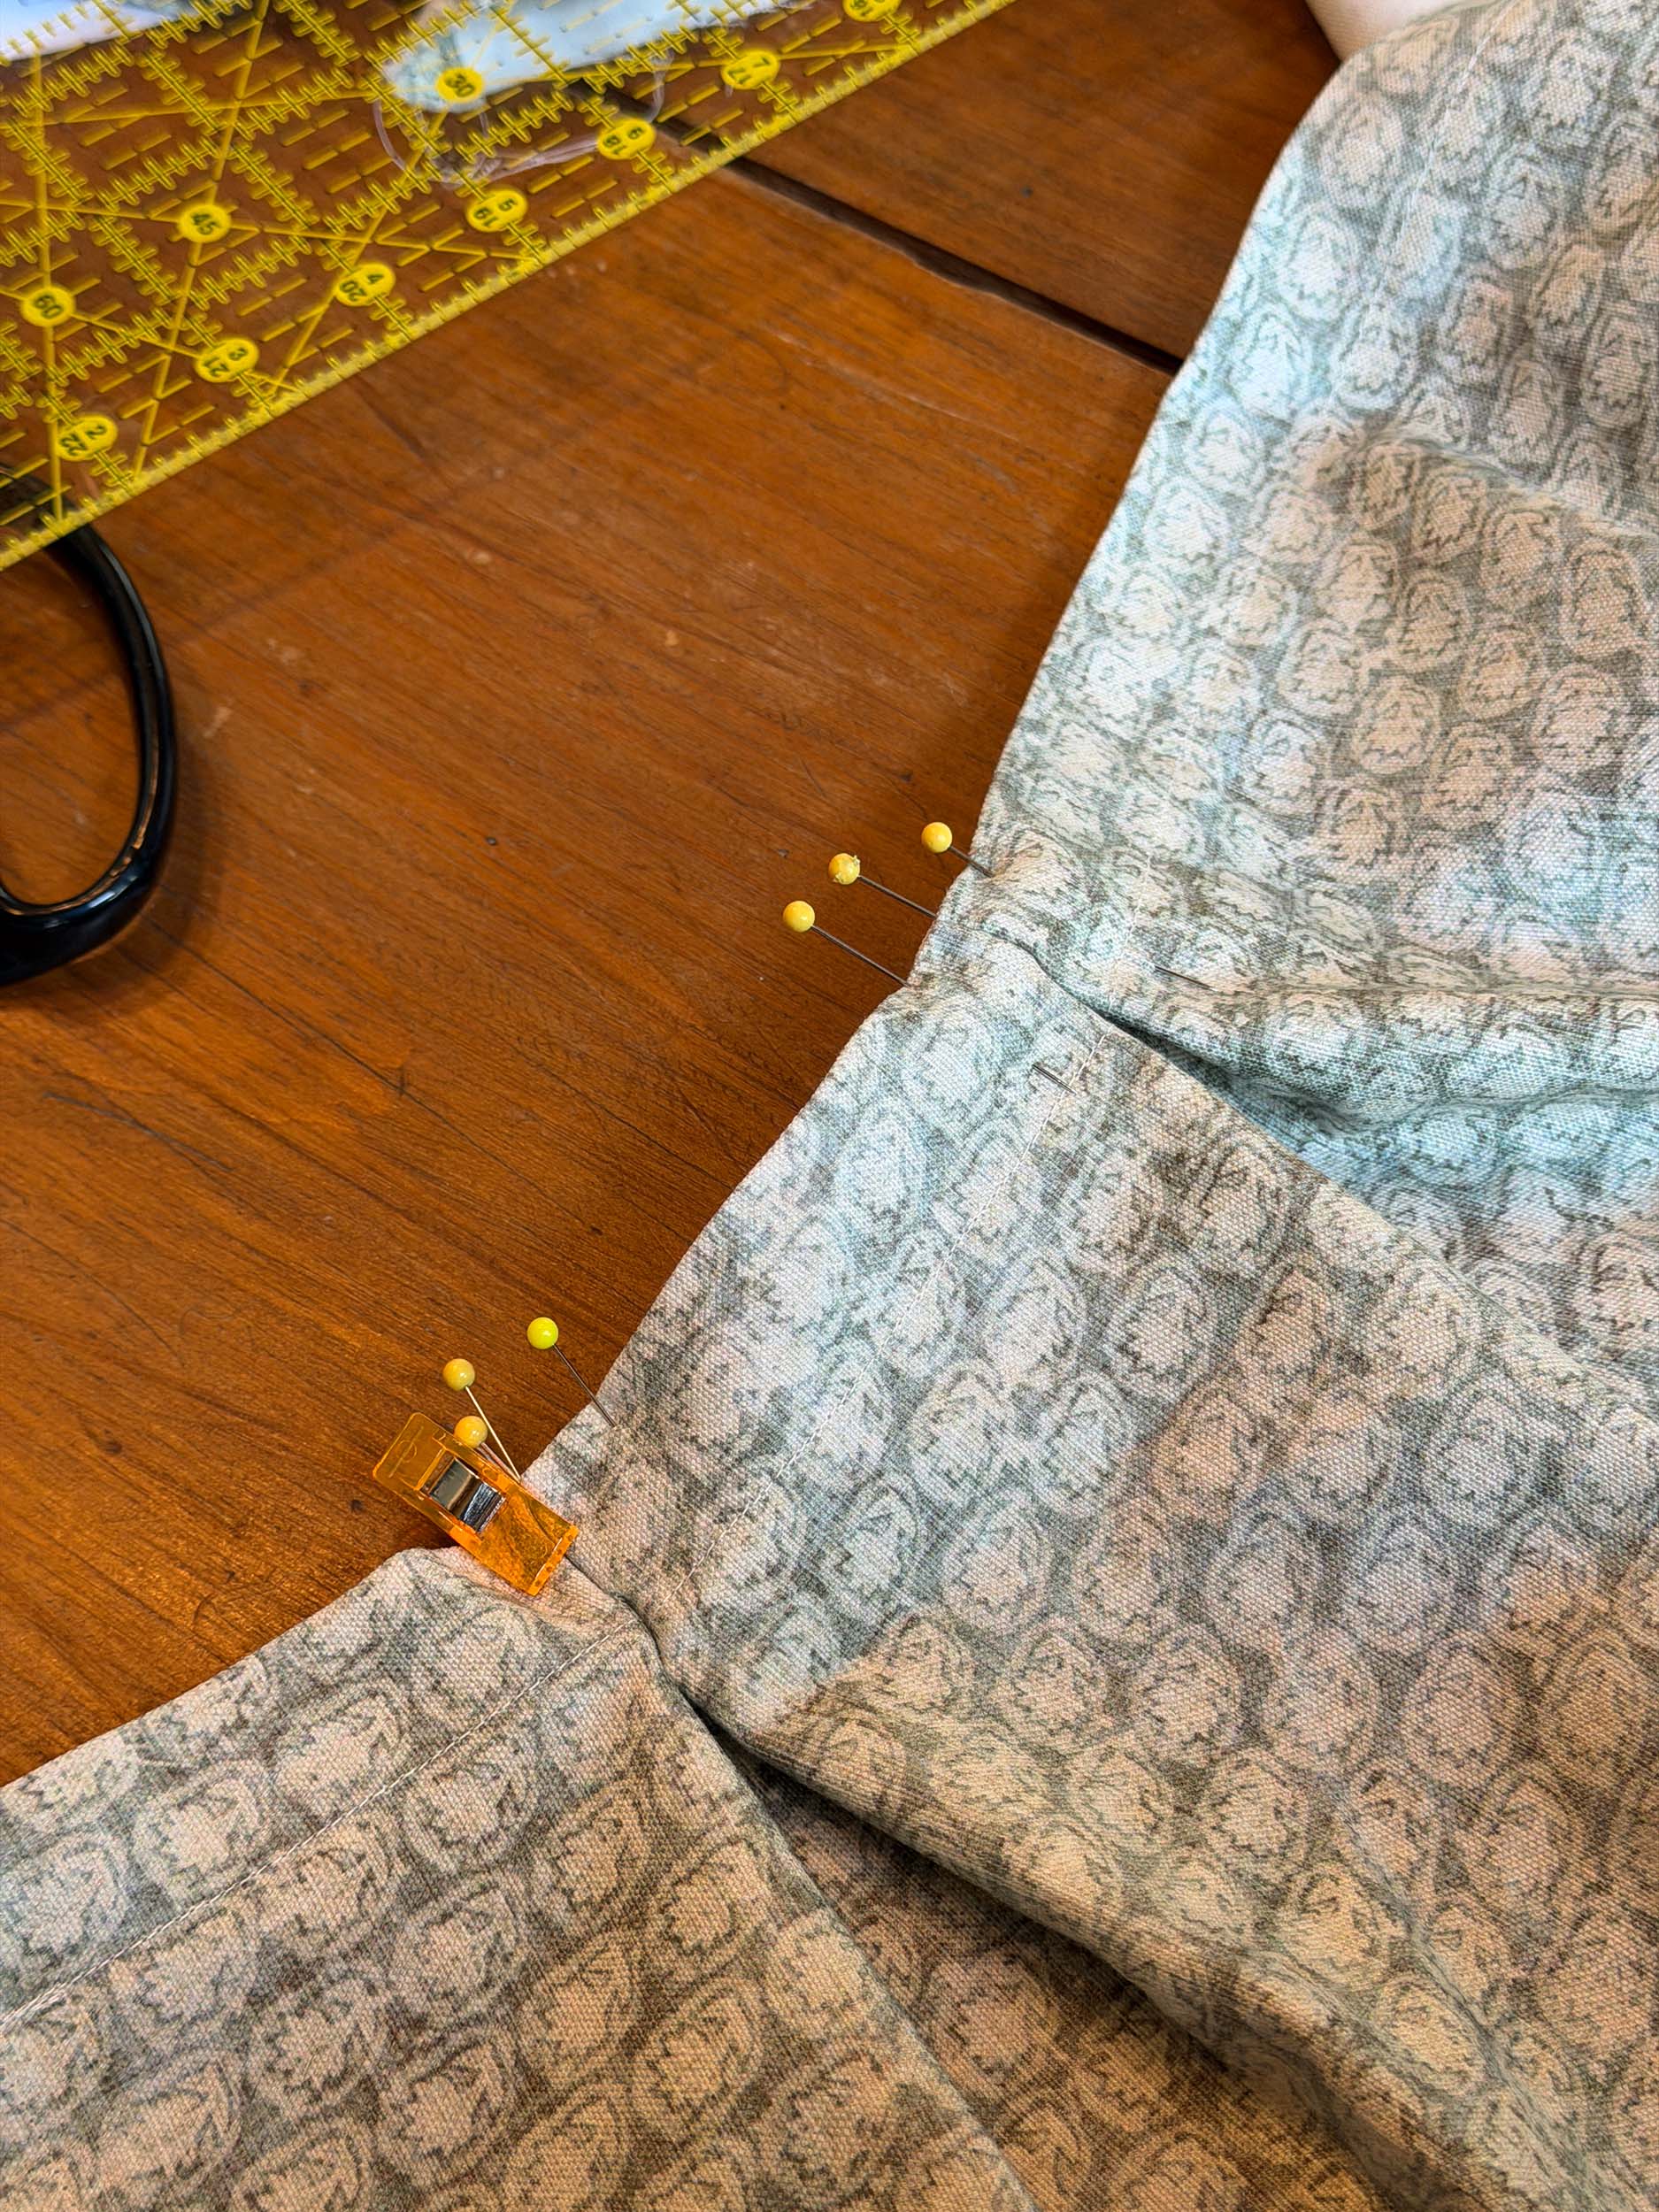
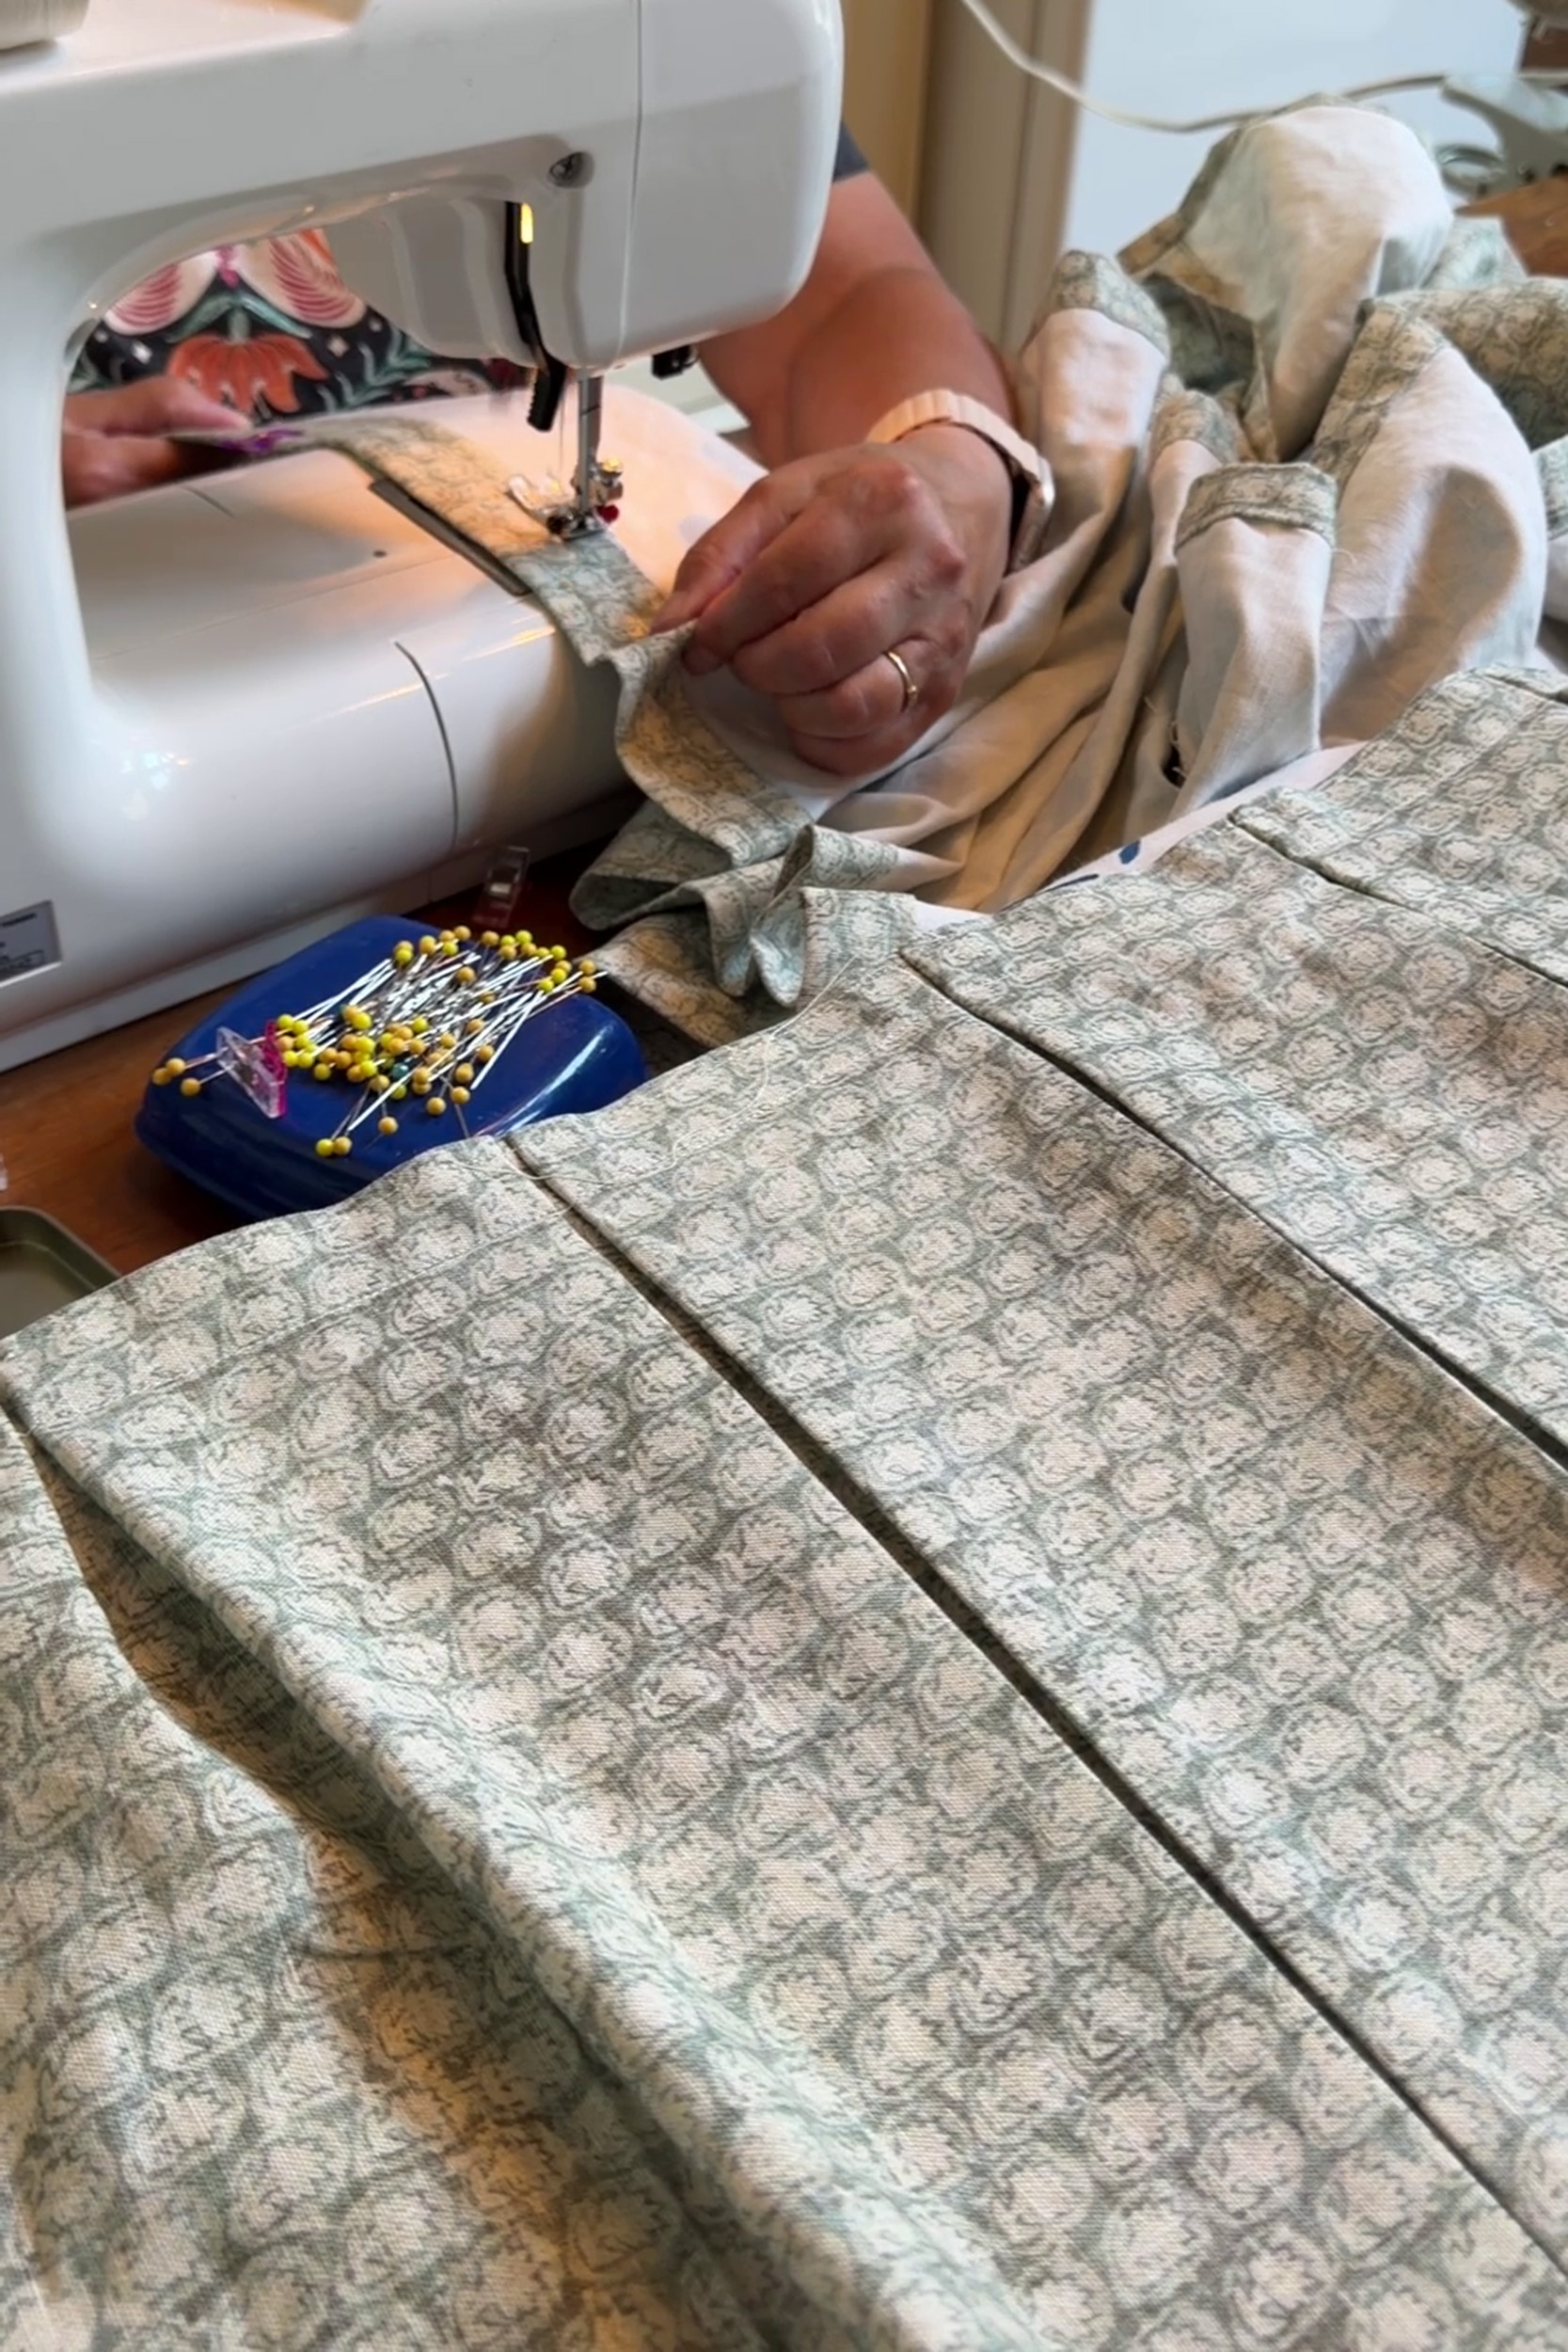
Now it’s time to add the box pleats! This part is a bit tedious but not hard at all. Measure 5″ (your pleat spacing) in from the end of the bed skirt and place a pin. Measure another 3″ and add another pin.
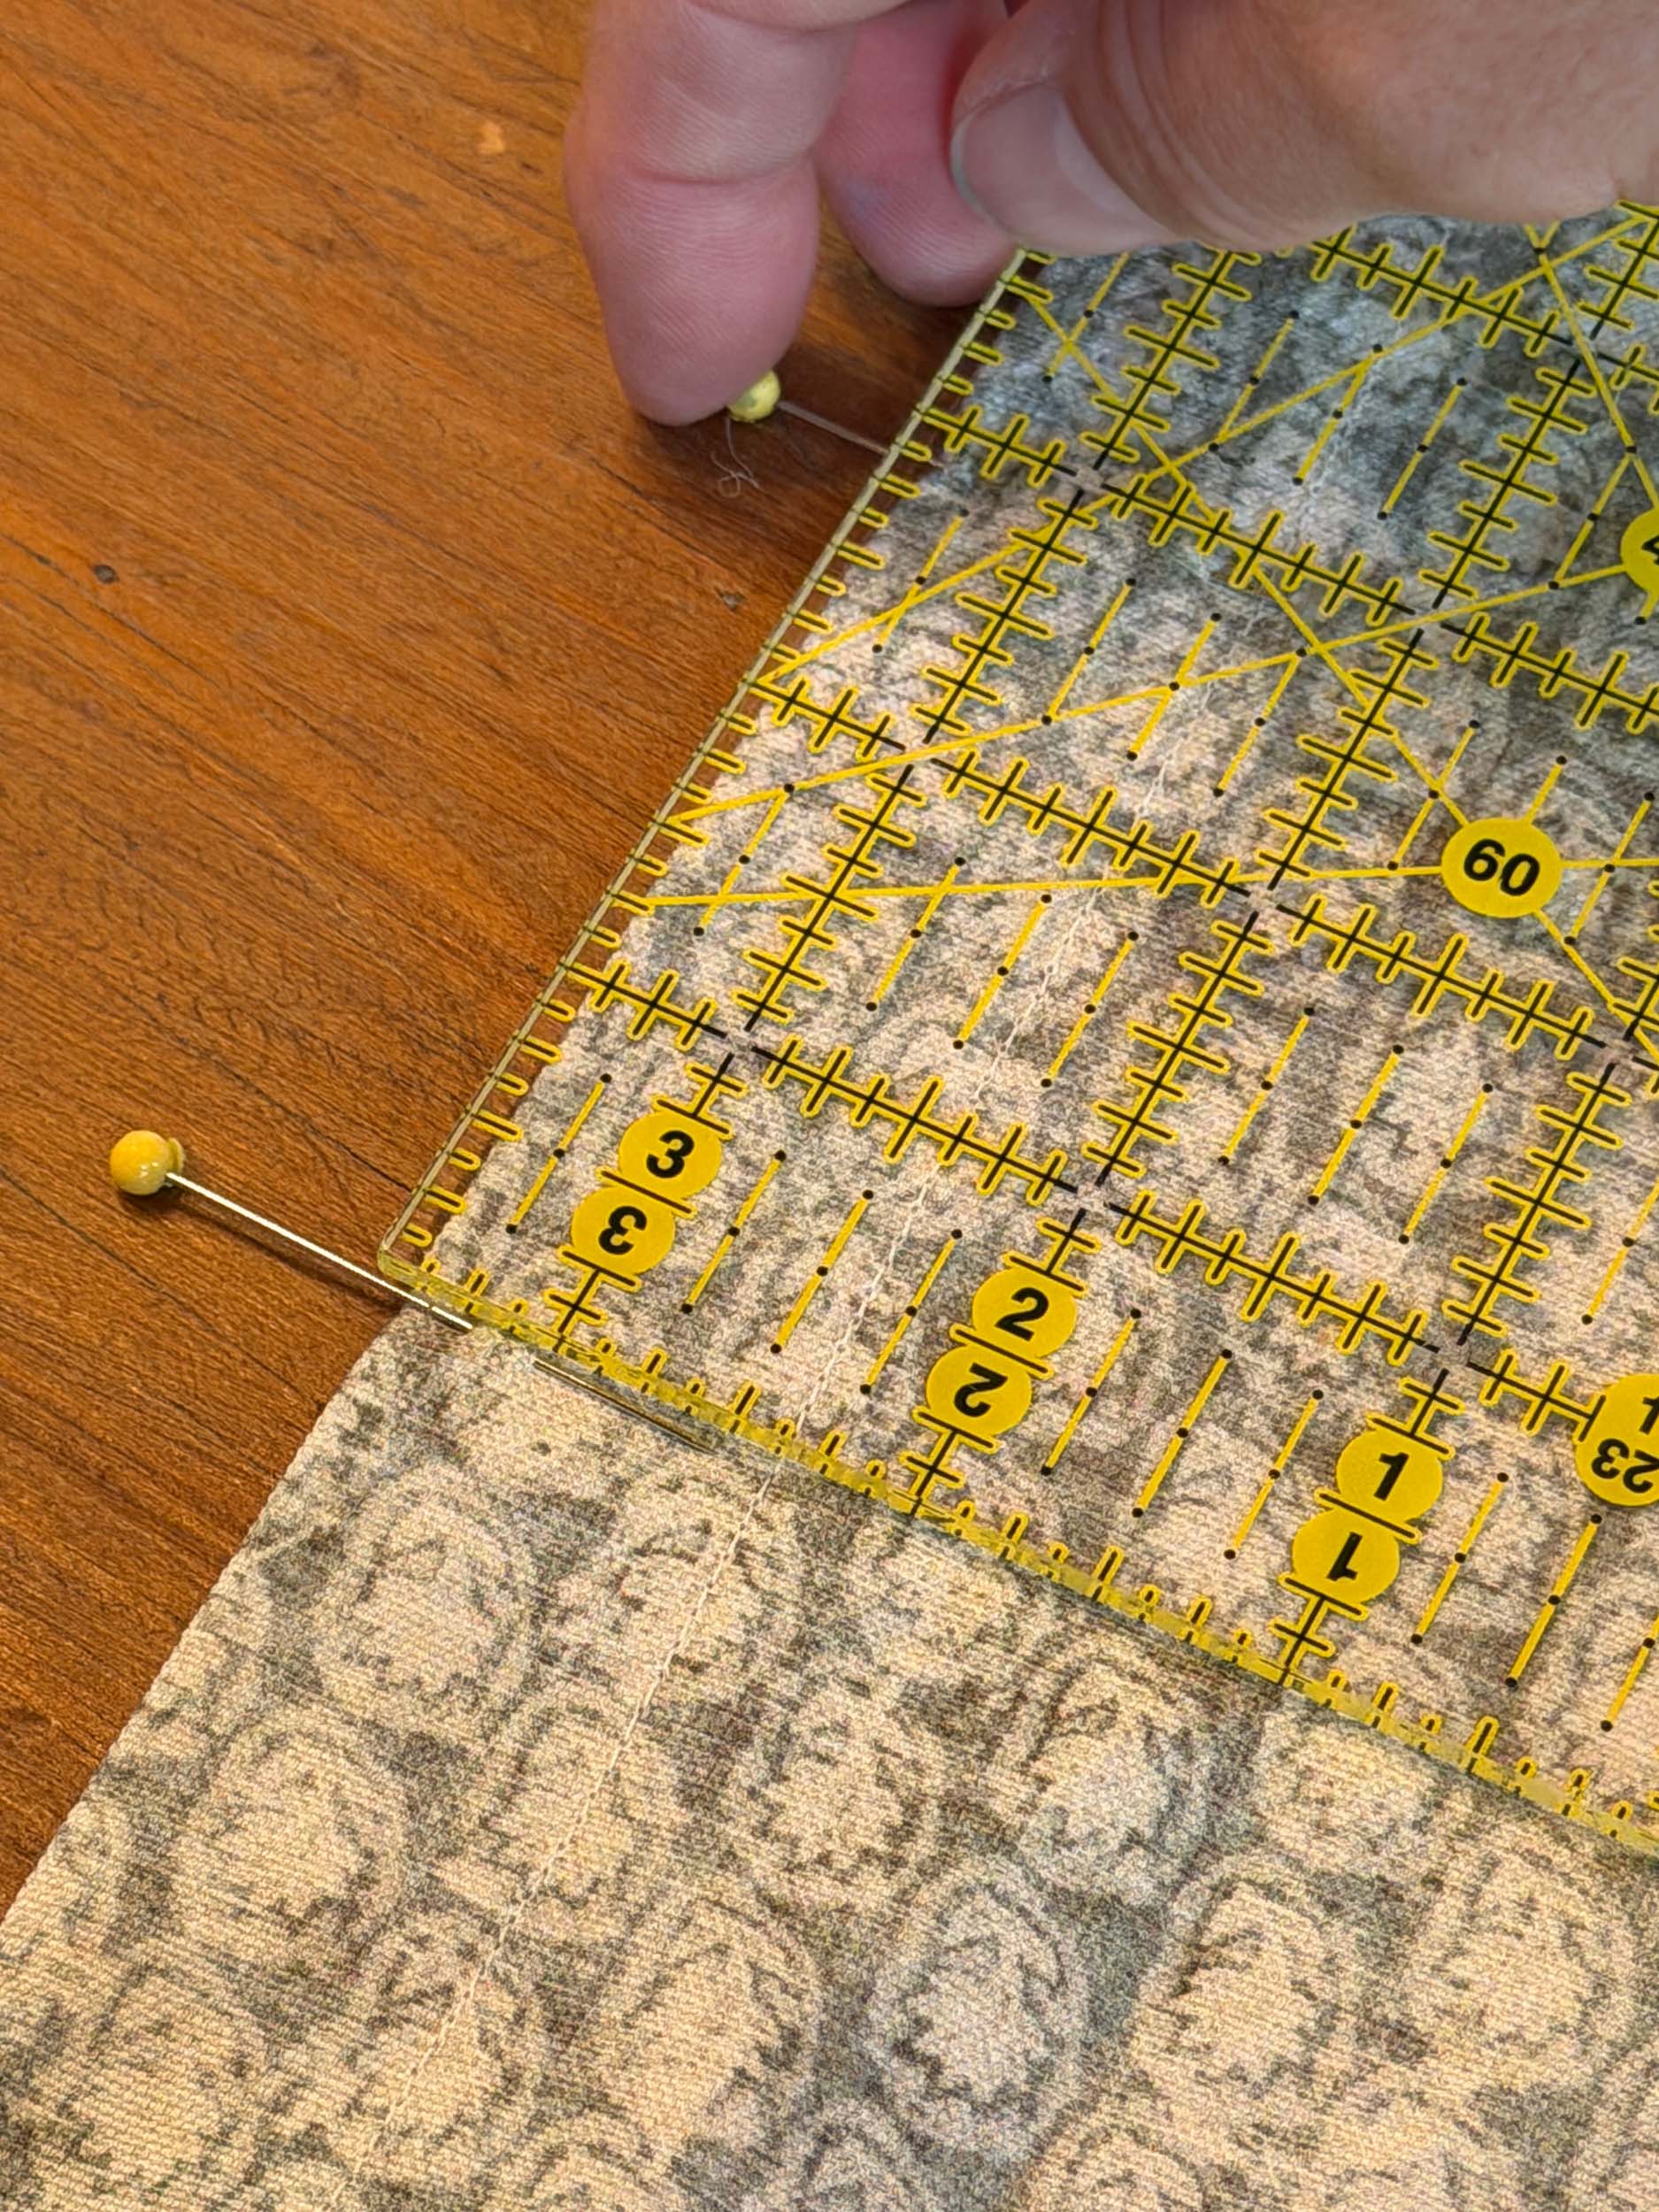
Fold the fabric, right sides together, so that your pins are together.
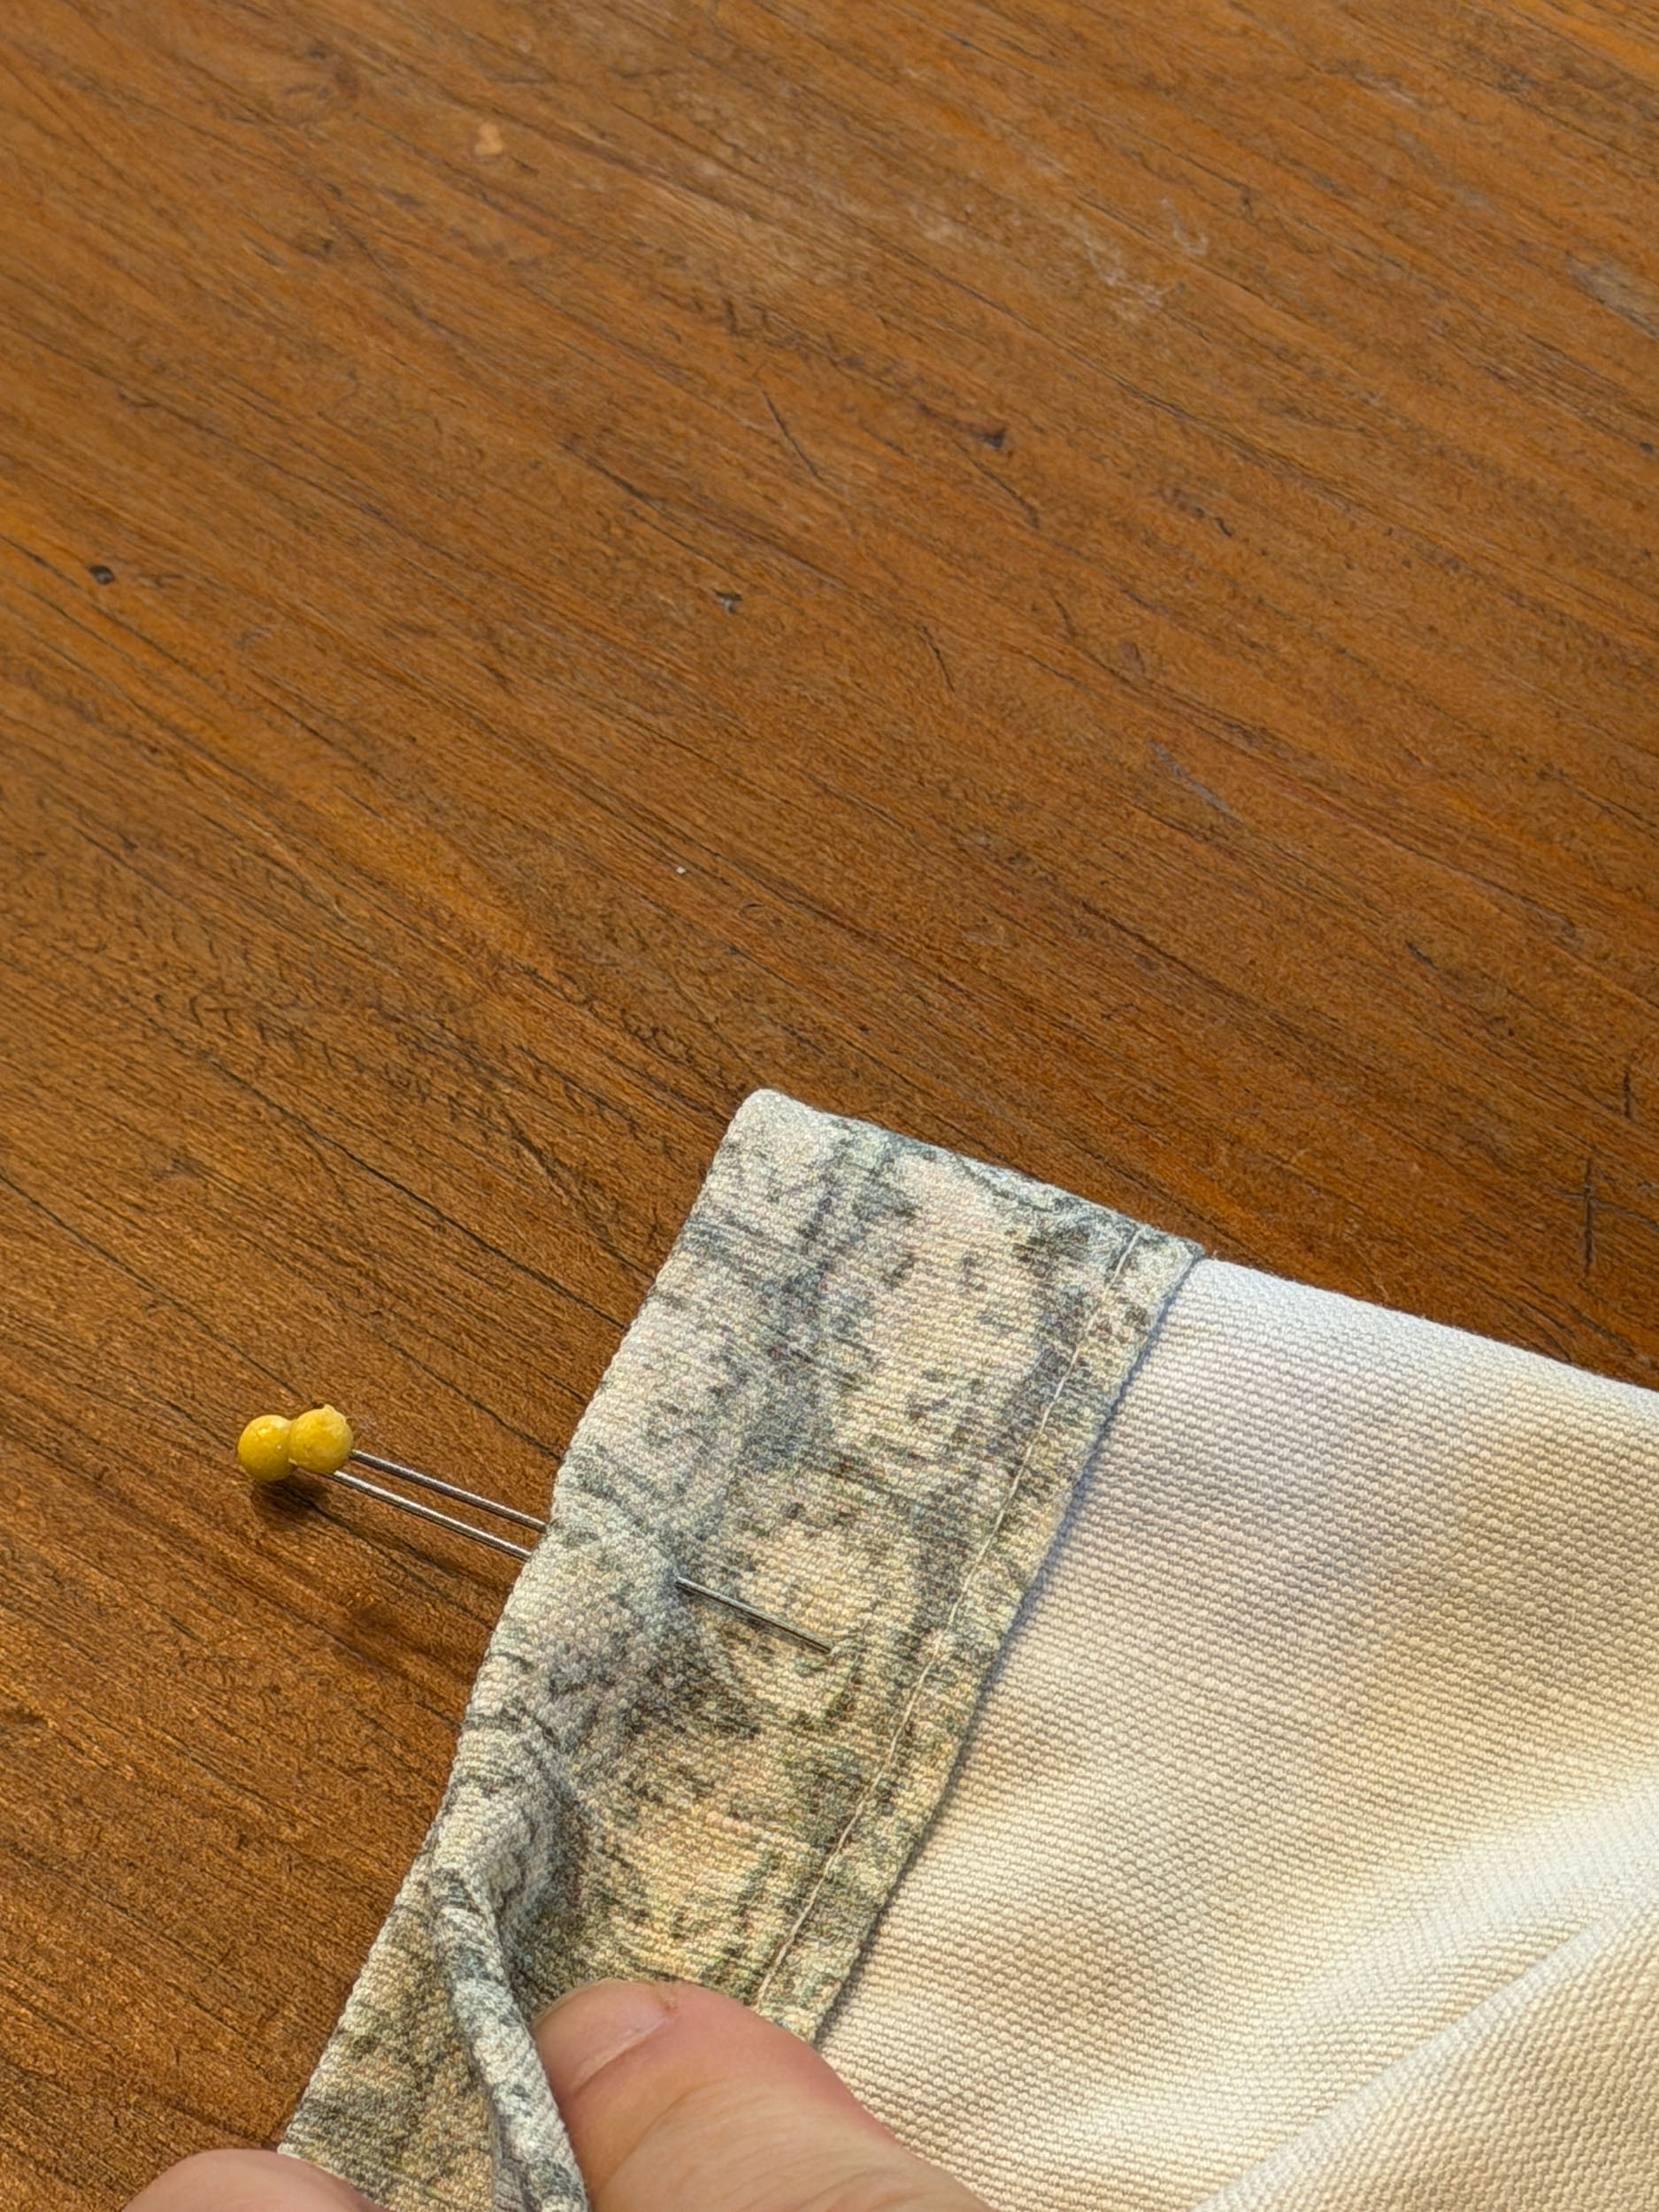
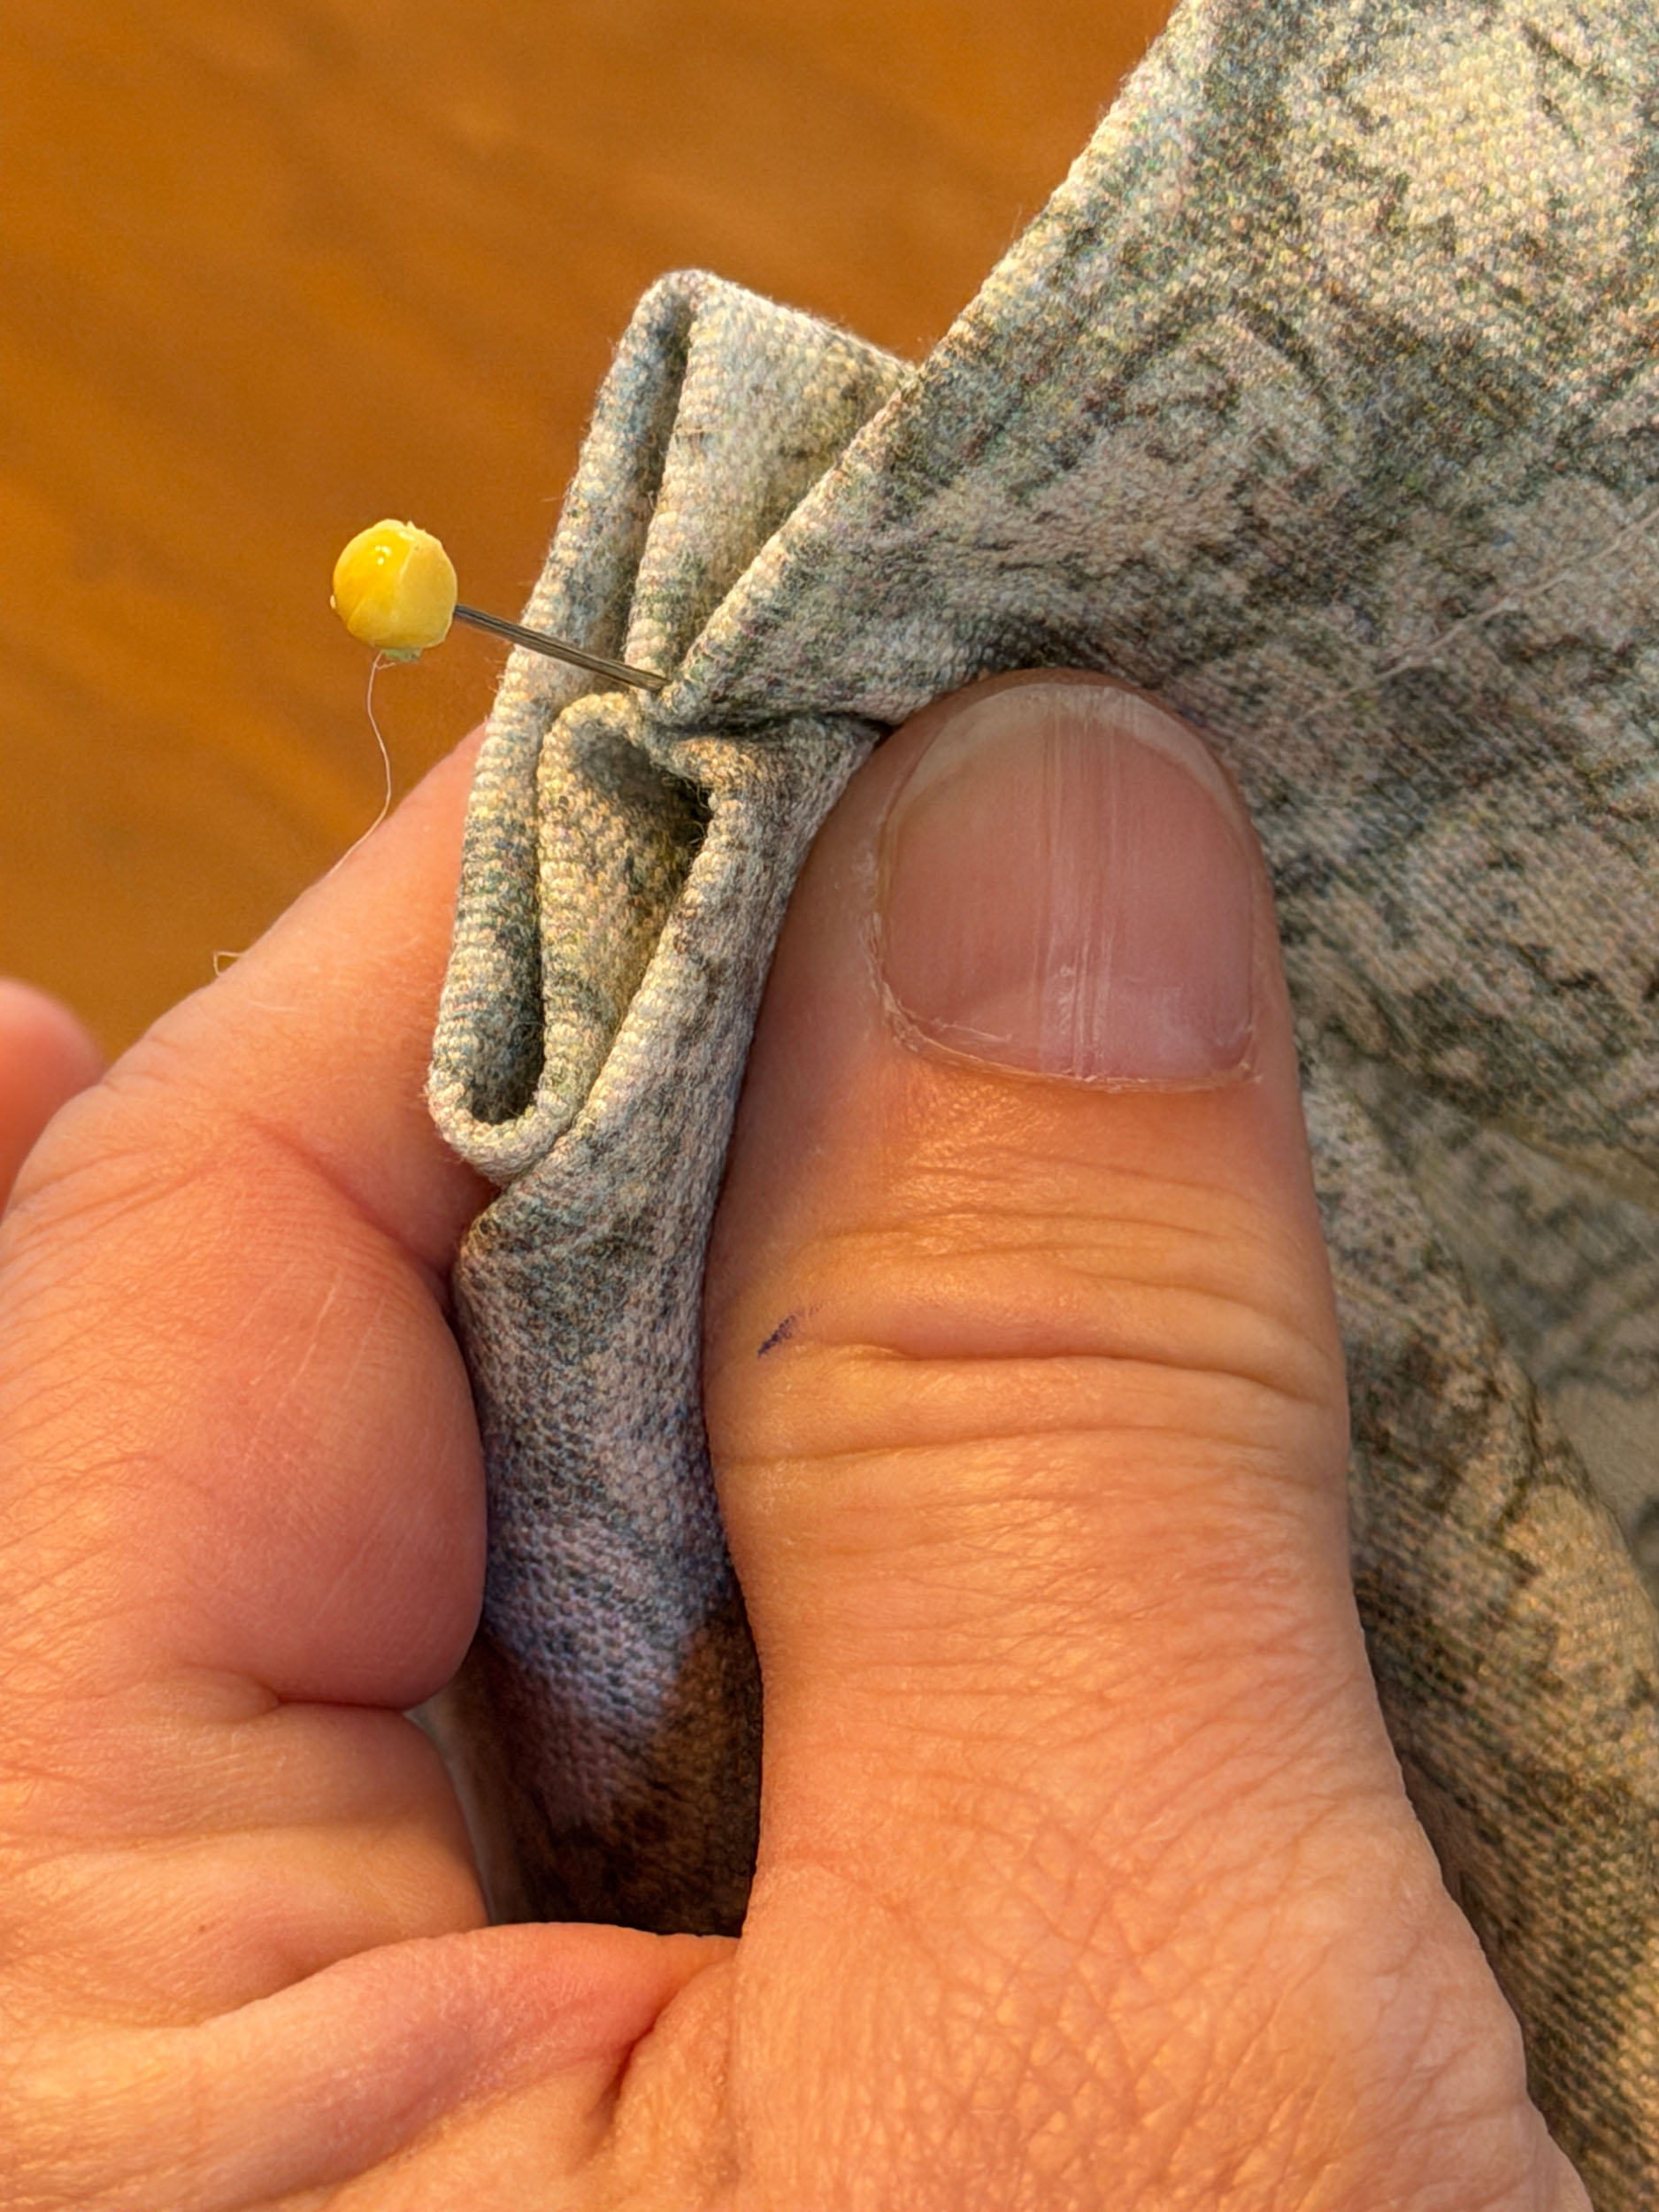
Push the resulting fold down as evenly as you can and pin. I think it is a little easier to see the method in the photo below!
Sew Again
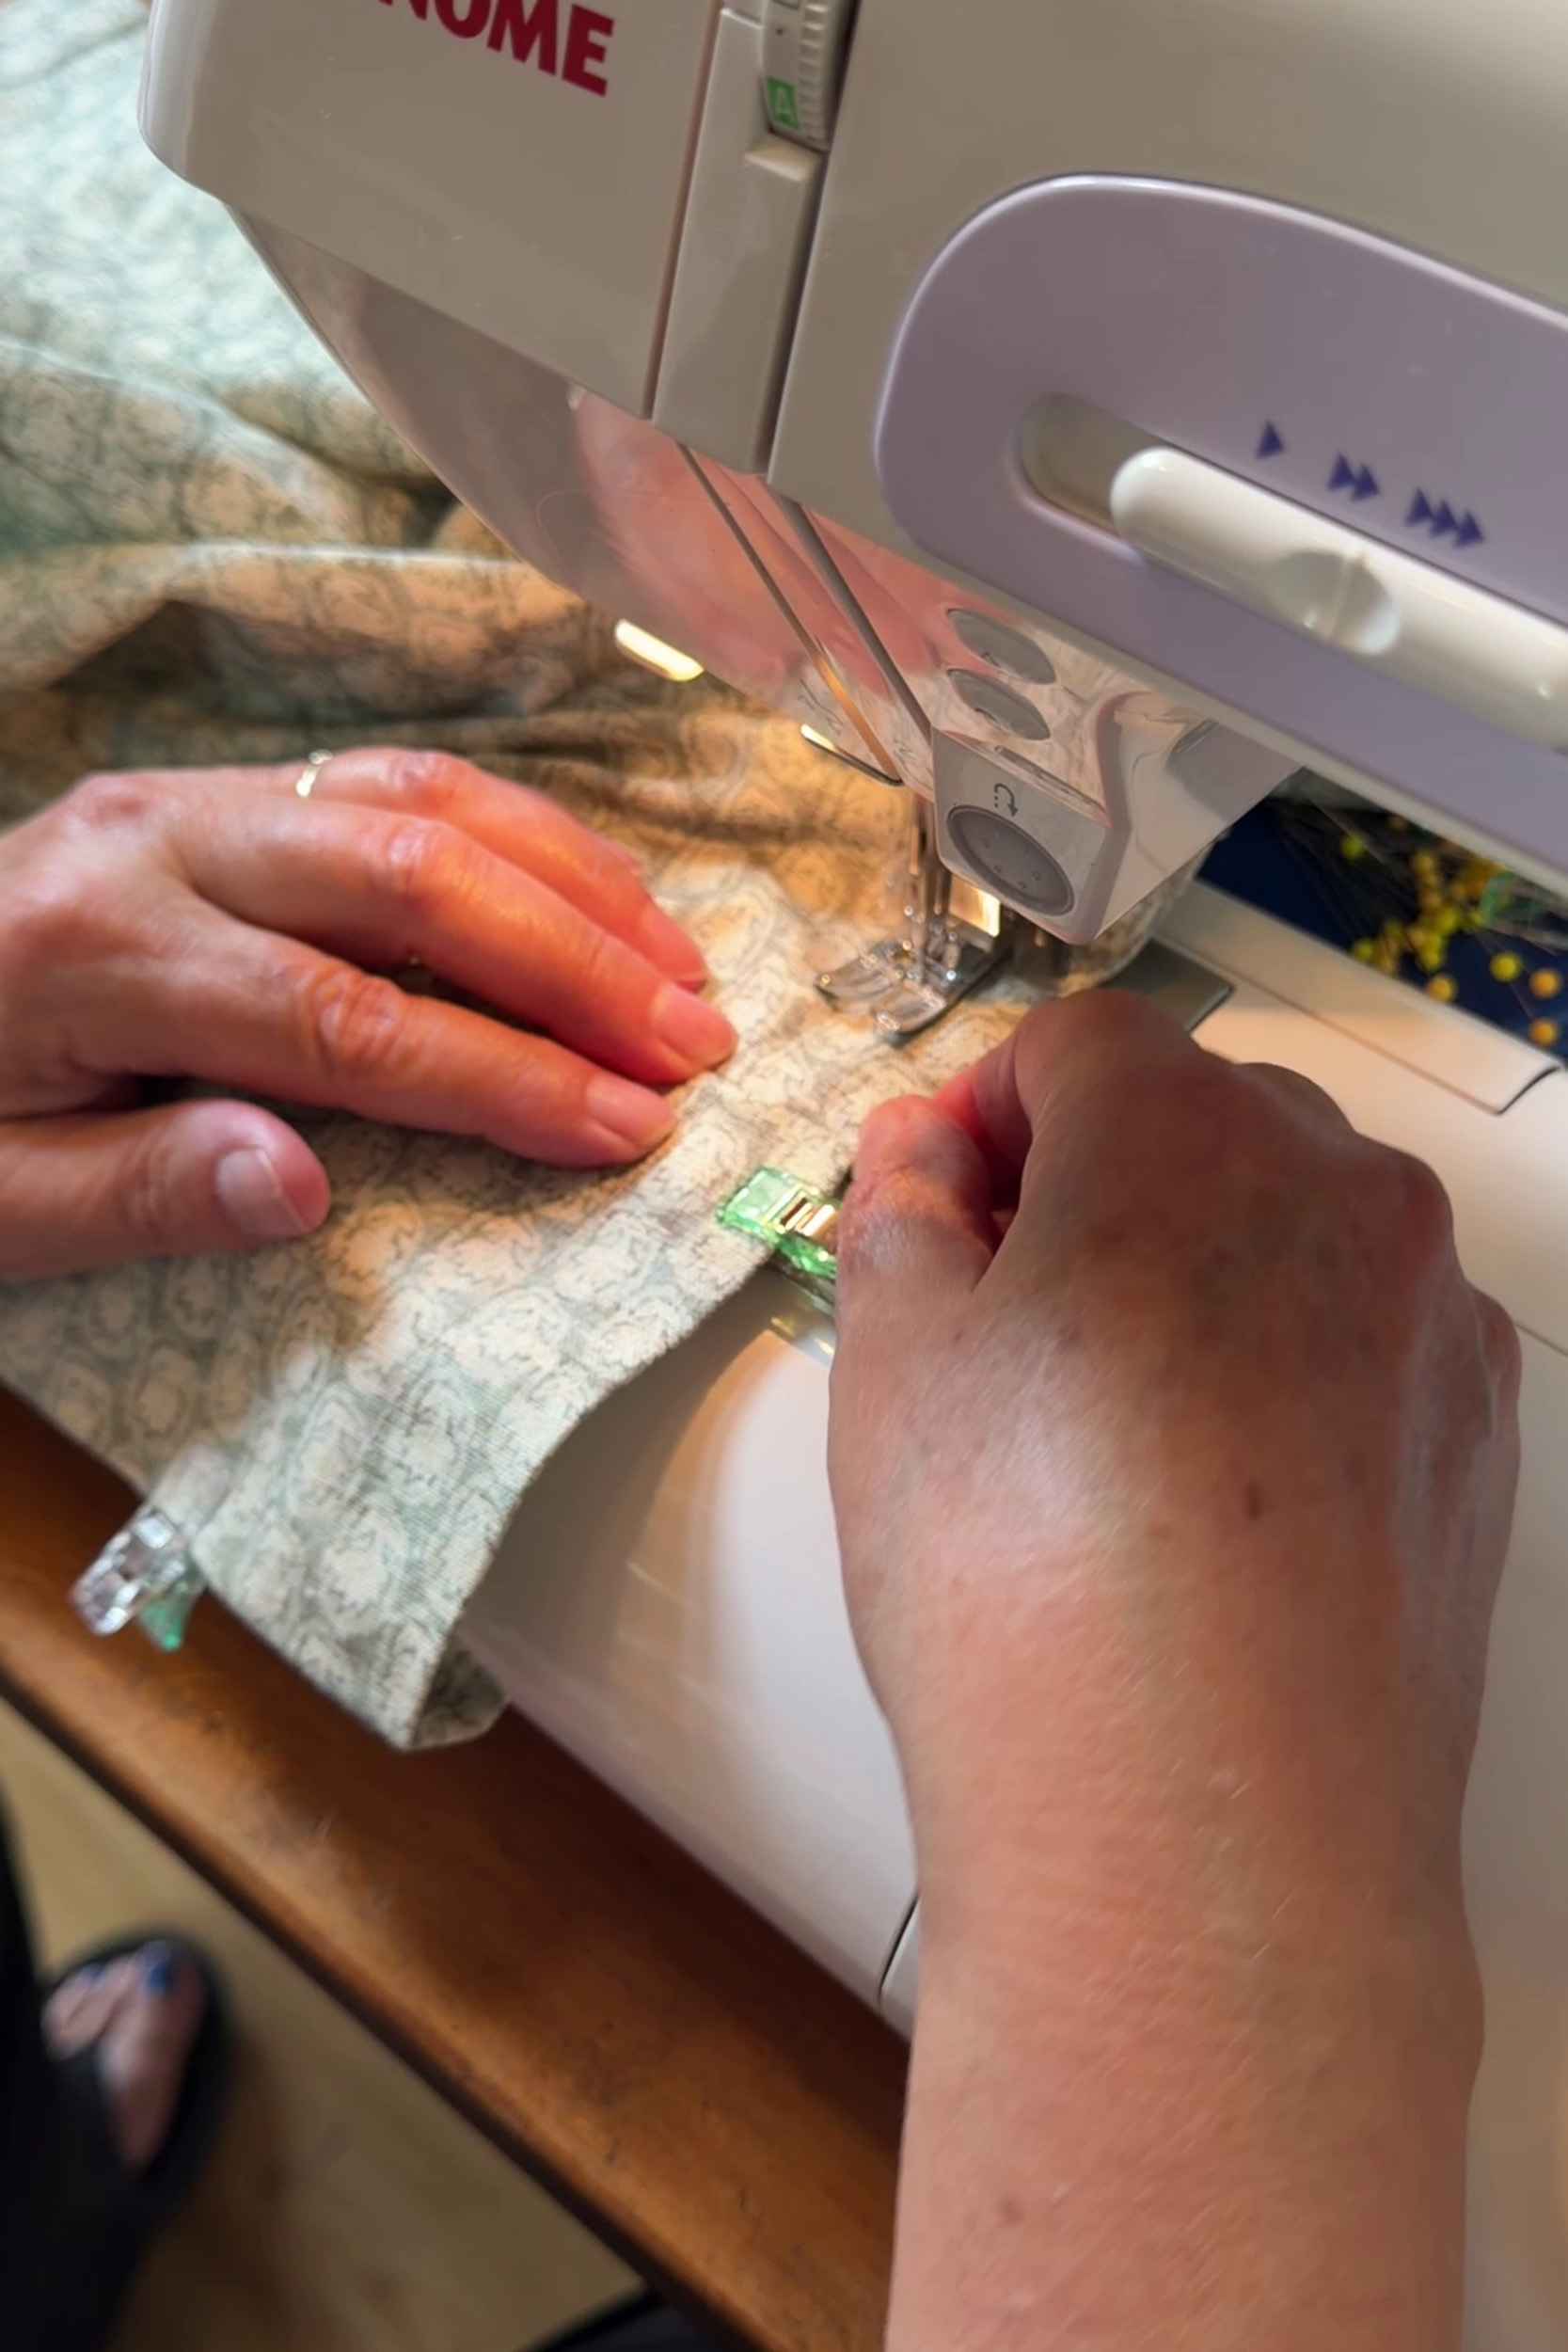
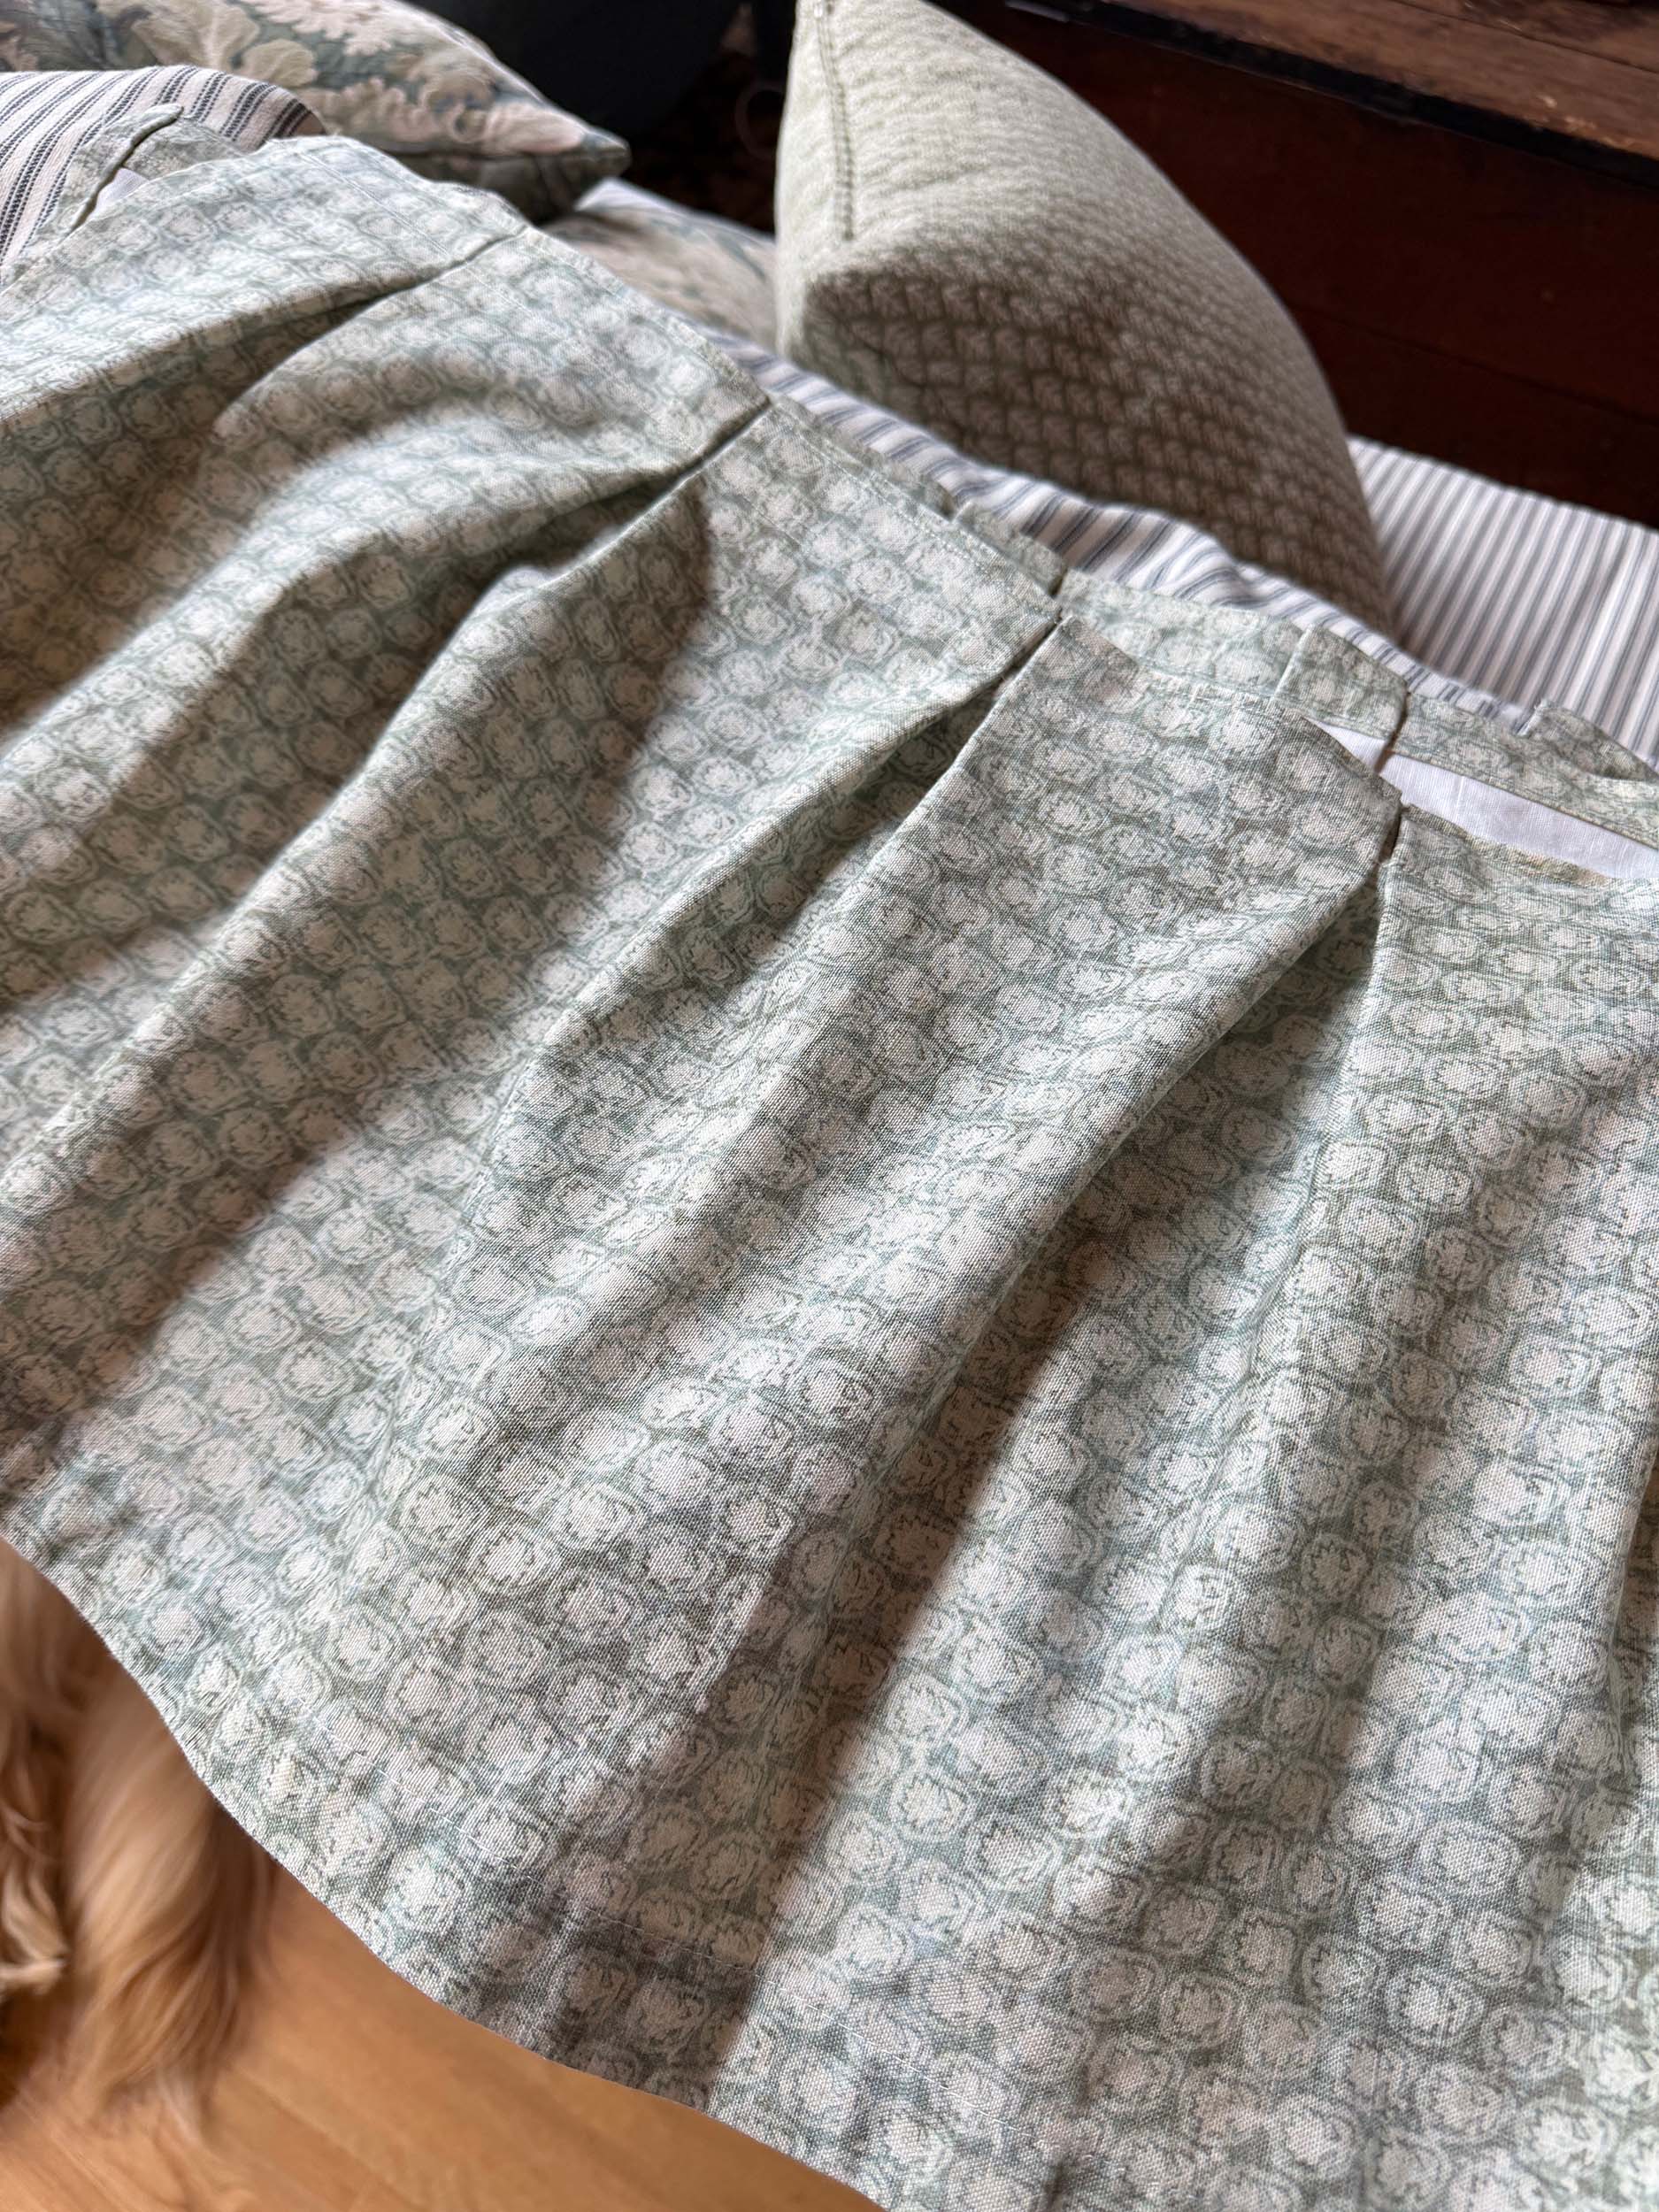
Once you have all your box pleats in place, sew about 1.5″ down from the top long edge of the bed skirt to hold them in place. Sew another straight line along the top edge.
Iron
The secret to any good sewing project is always a lot of ironing!
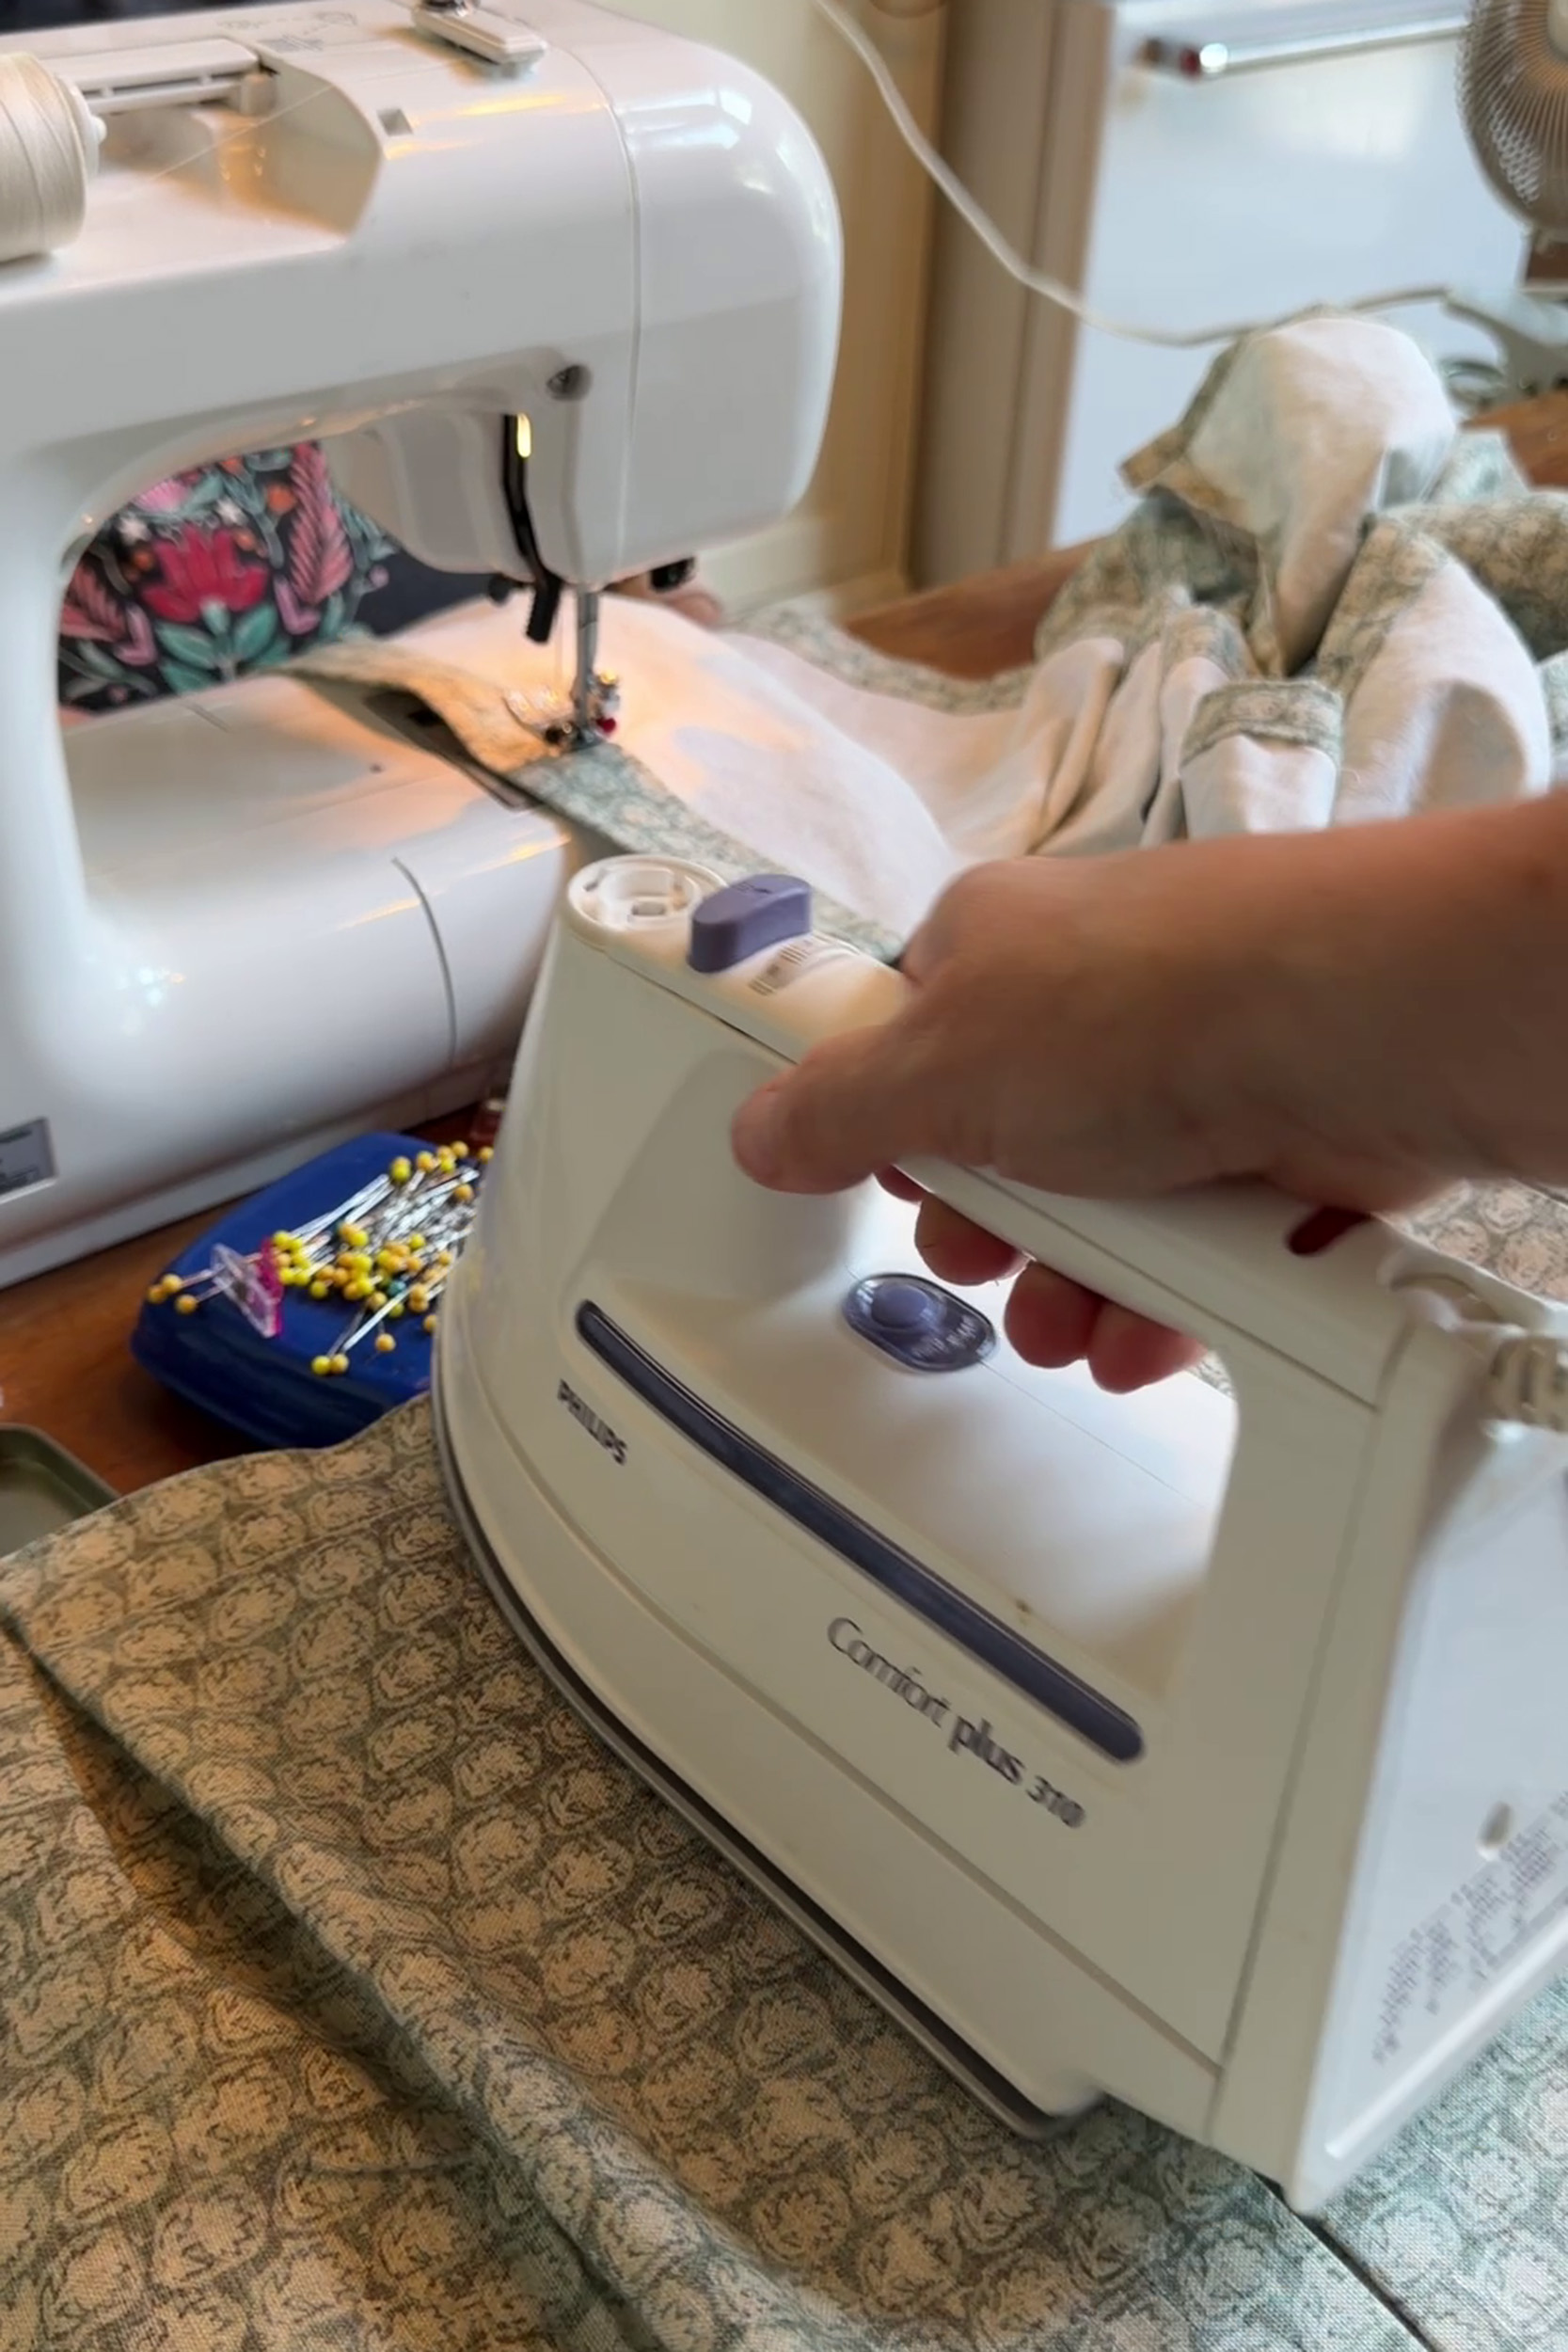
If you would like your box pleats to be nice and crisp, iron those into place. I started out with mine like that but decided for my space I wanted a more soft look, so I just ironed the fabric smooth instead.
Attach to the bed
To attach it to the bed, I decided to try sticky velcro, and it worked so well!
The benefit to attaching the bed skirt directly to the bed frame is that you can adjust the height of it slightly so it just kisses the floor. It also does not shift and move when you are making your bed.
I attached one side of the sticky Velcro to the bed. I attached the other side to the fabric, and that’s all there was to it!
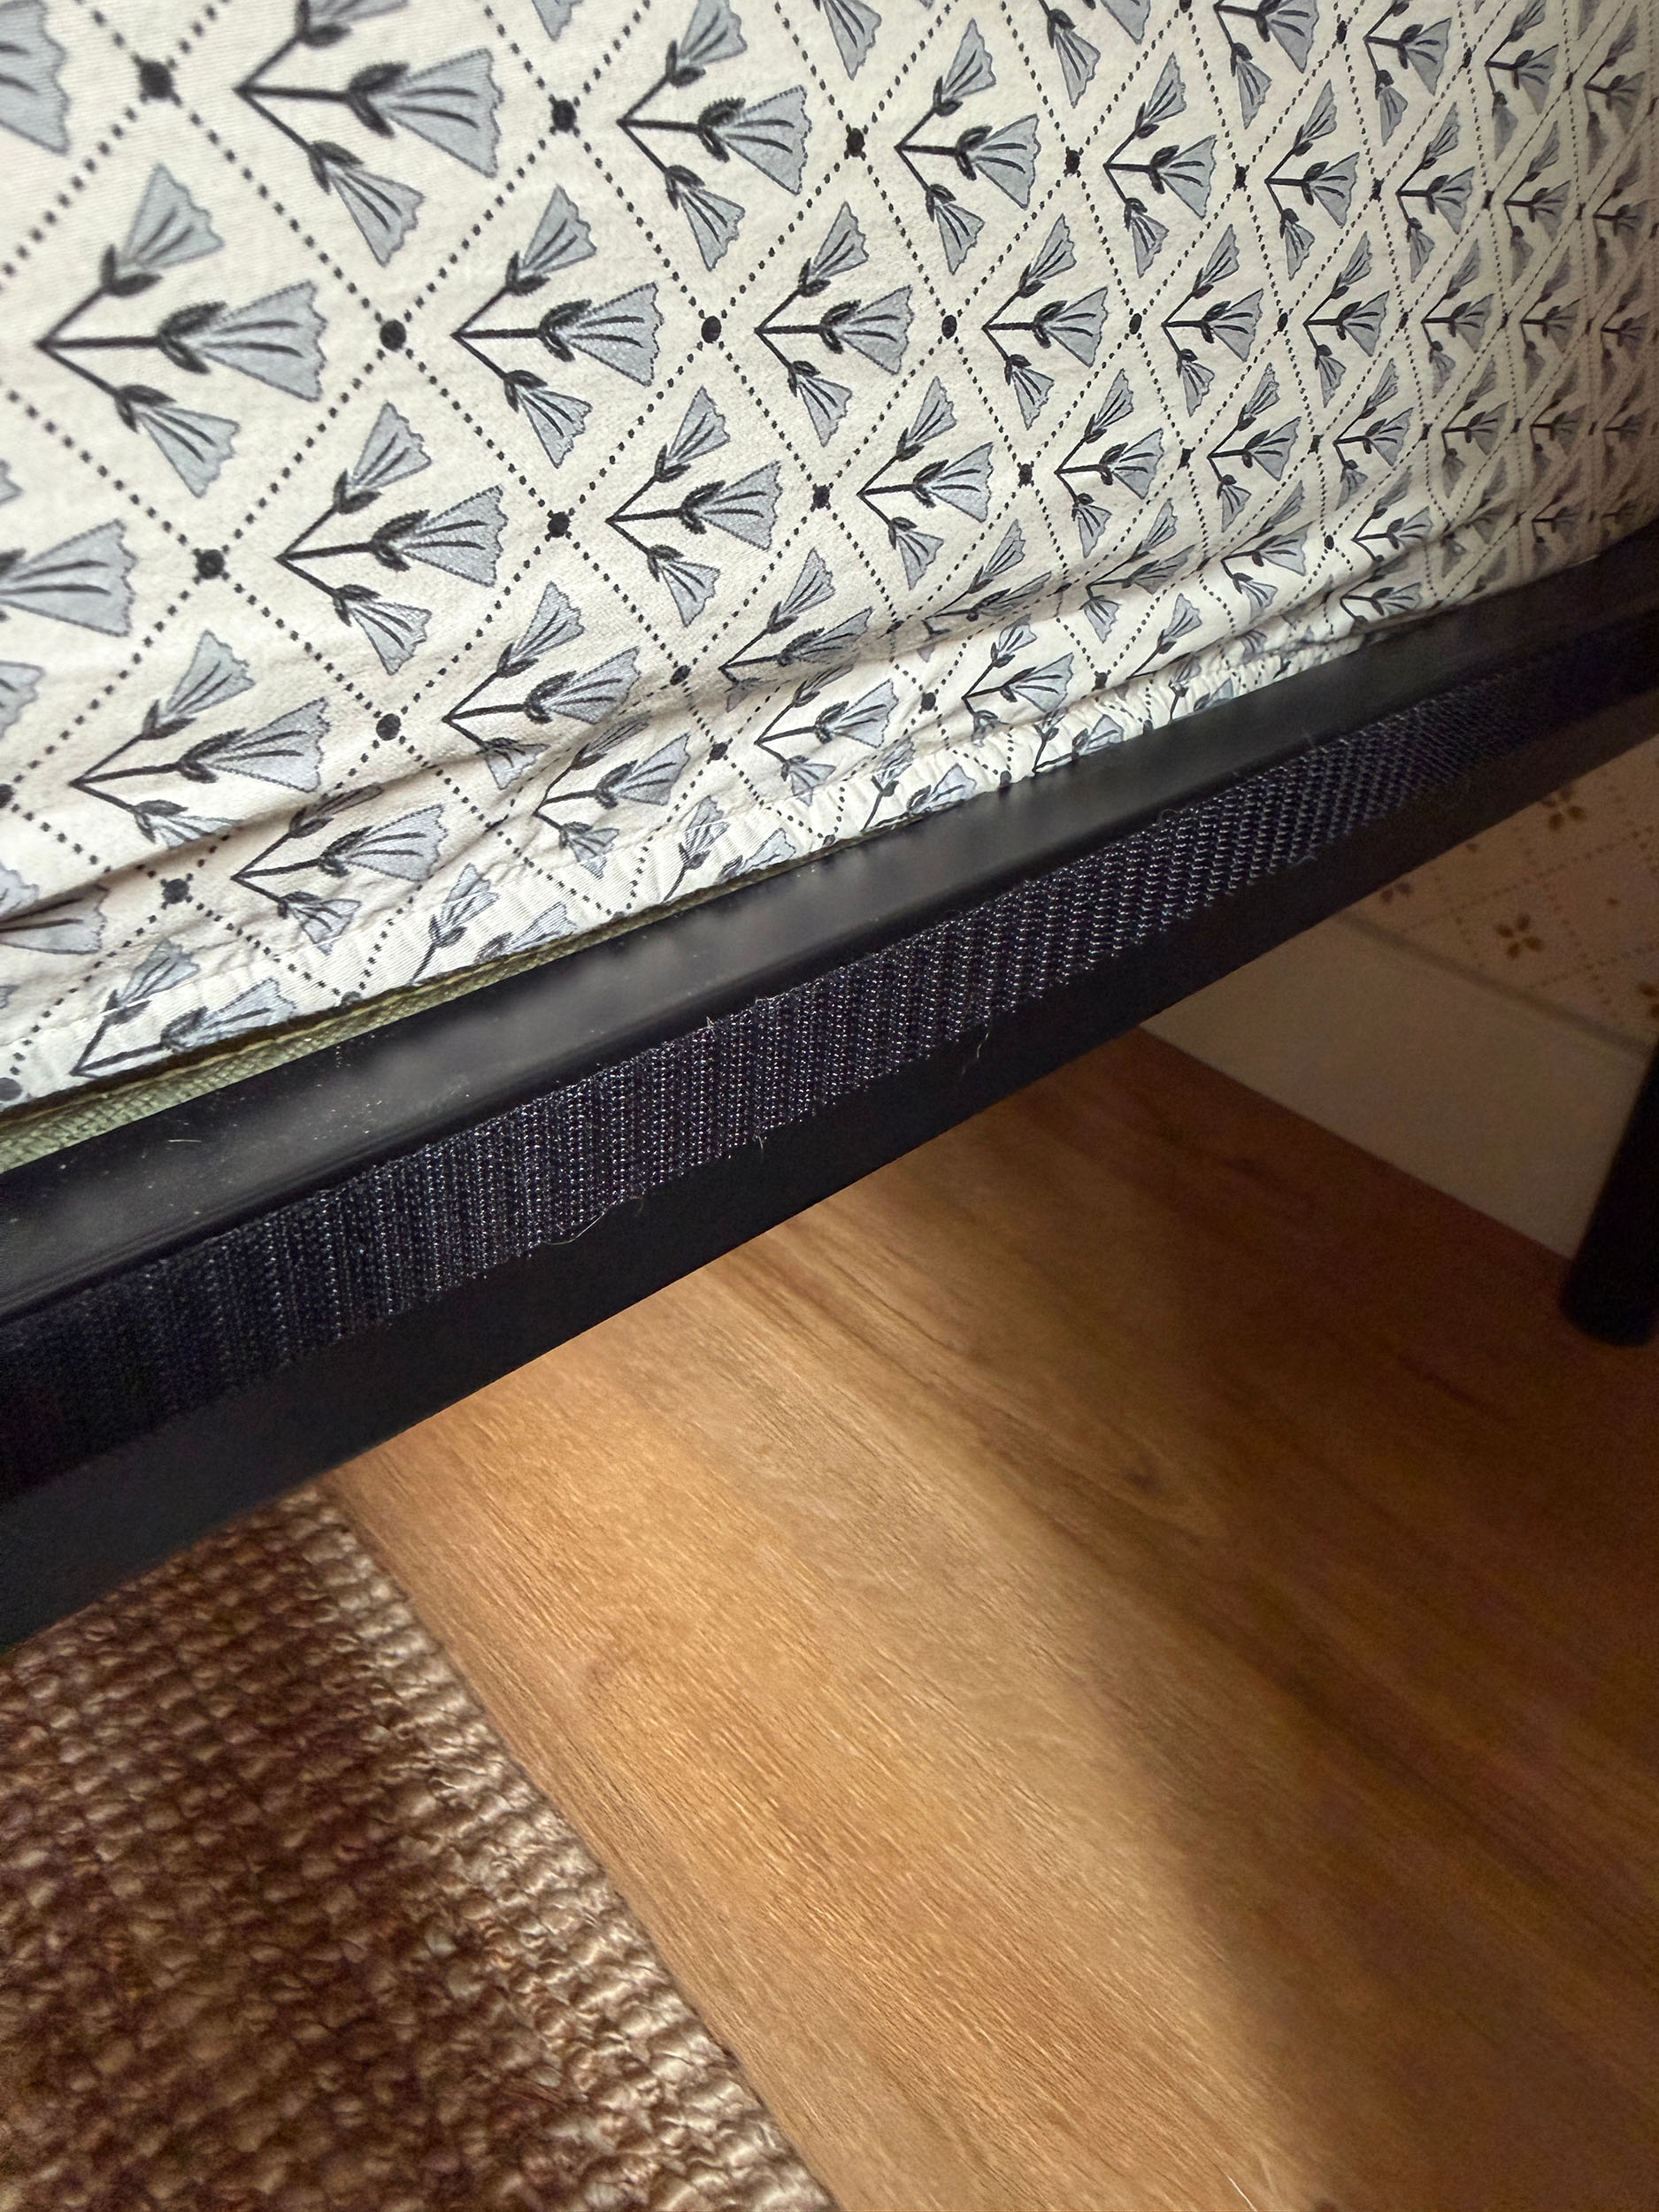
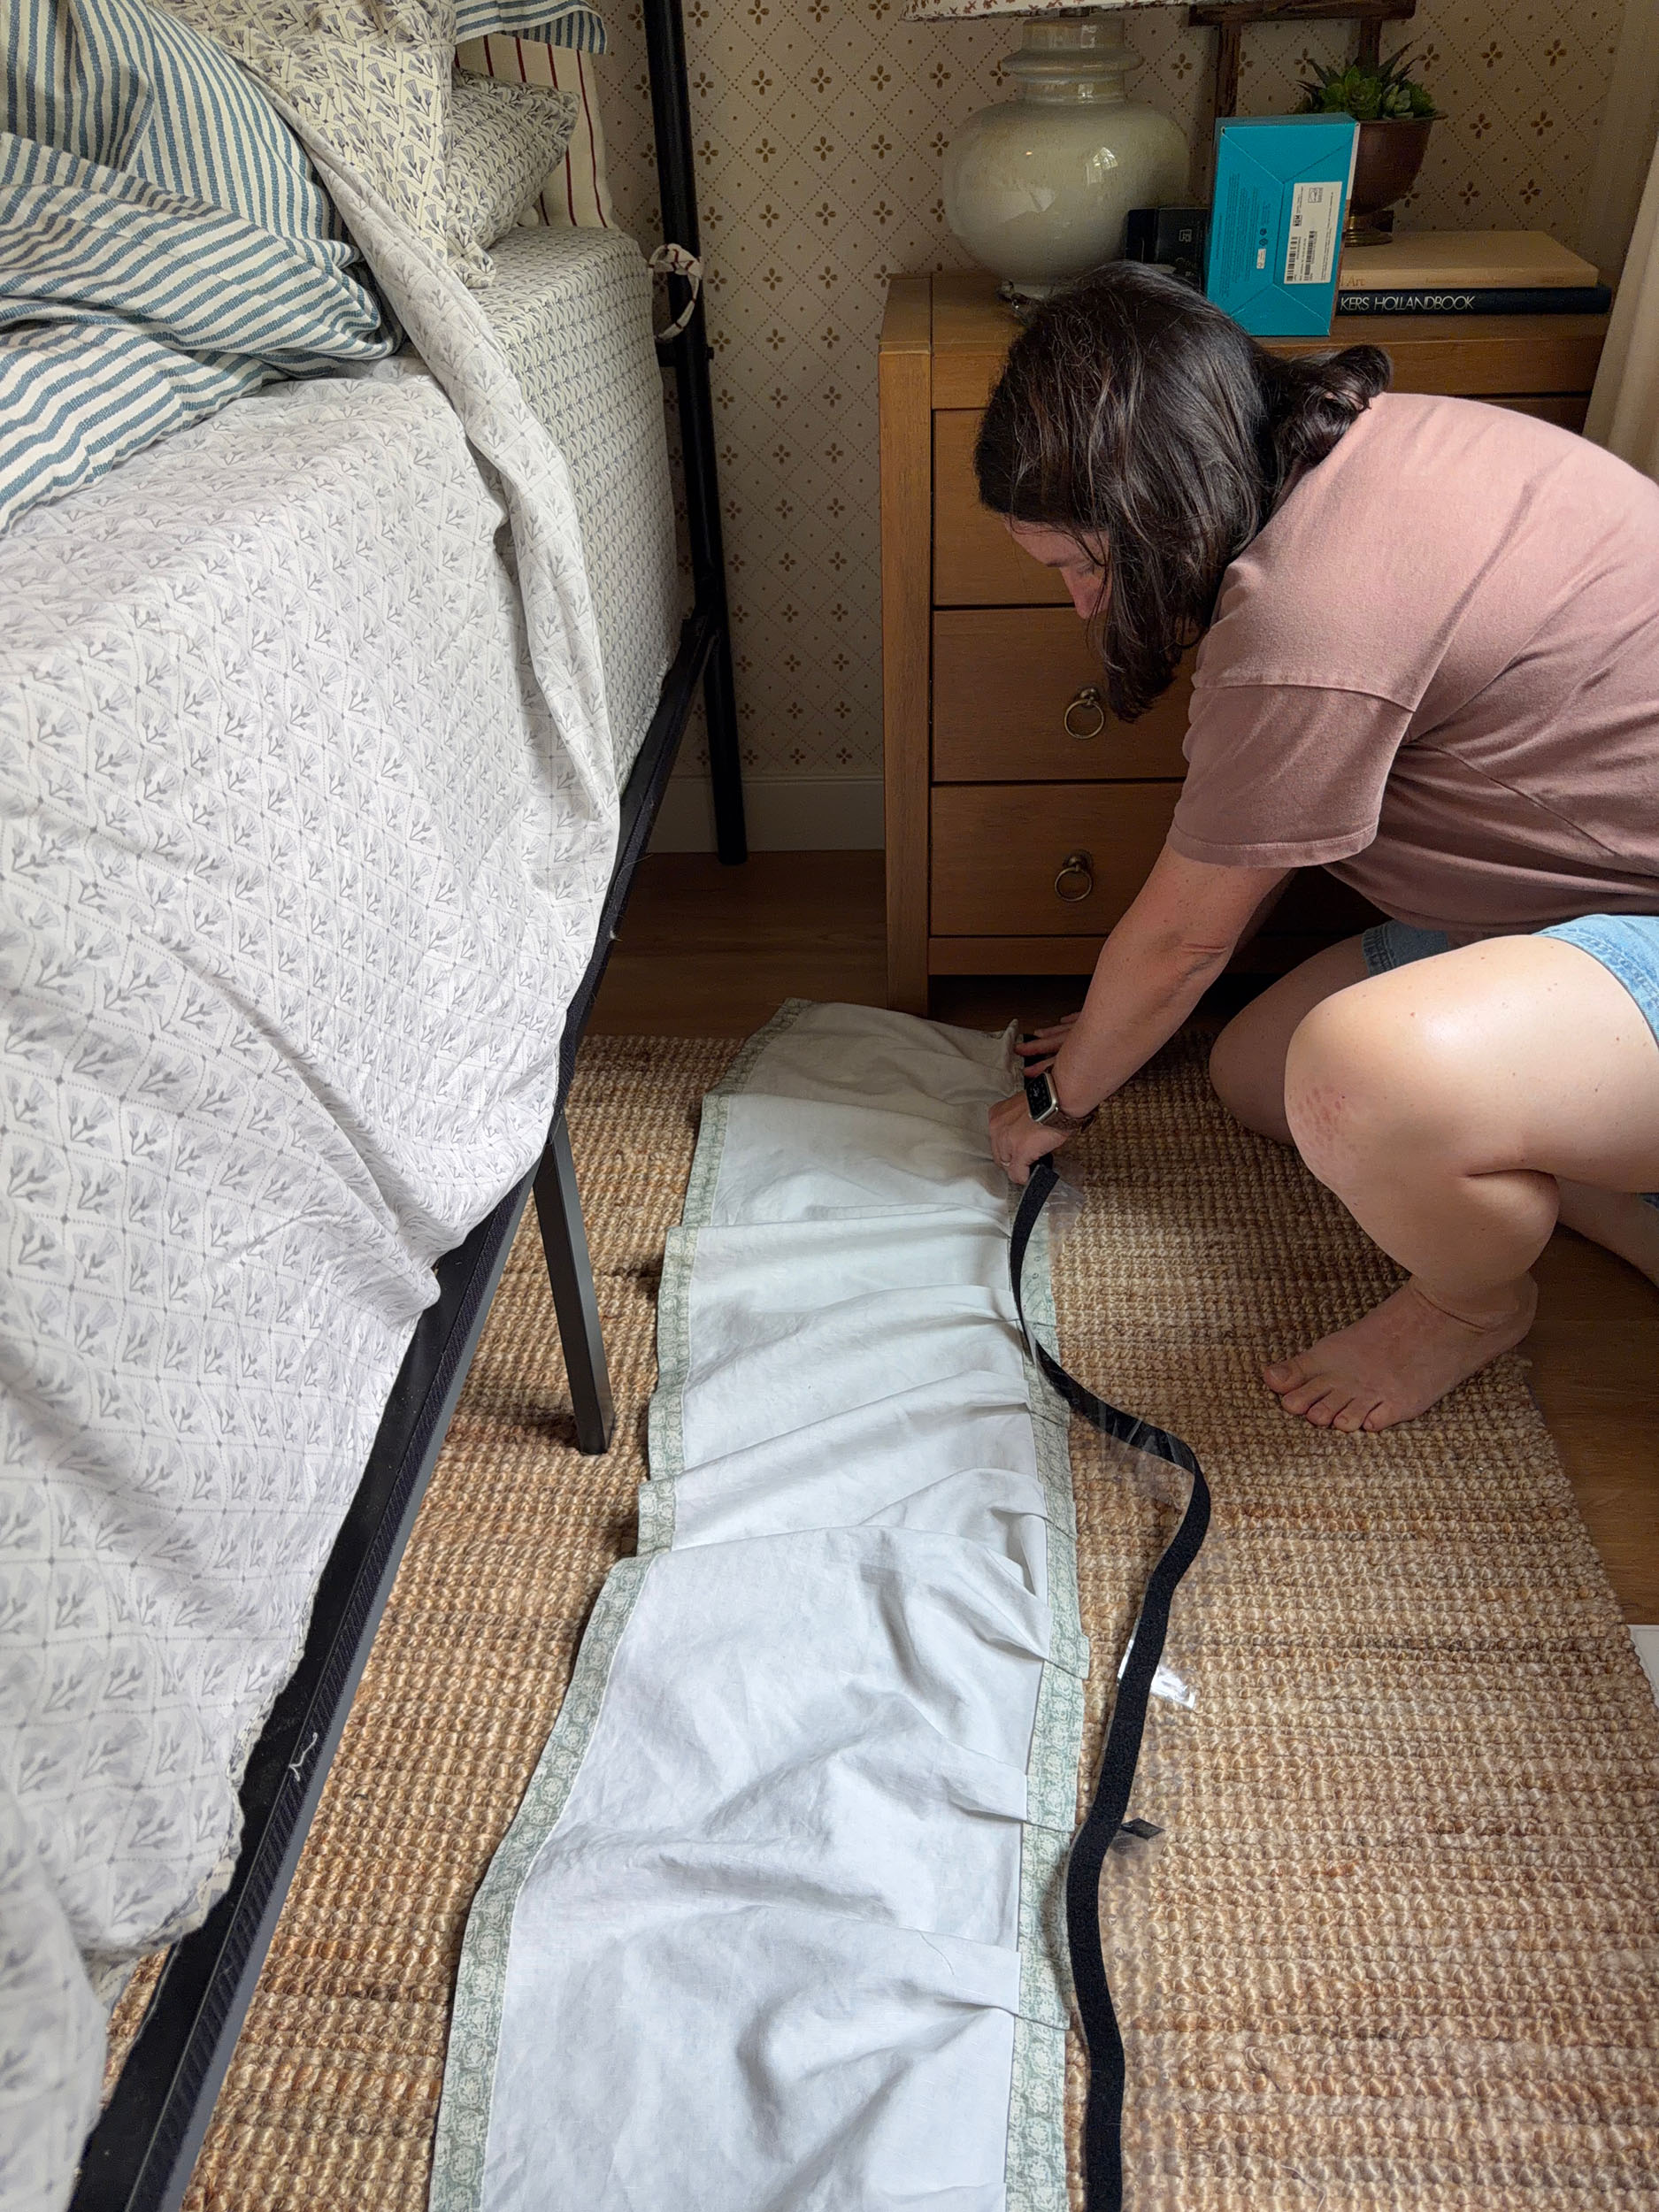
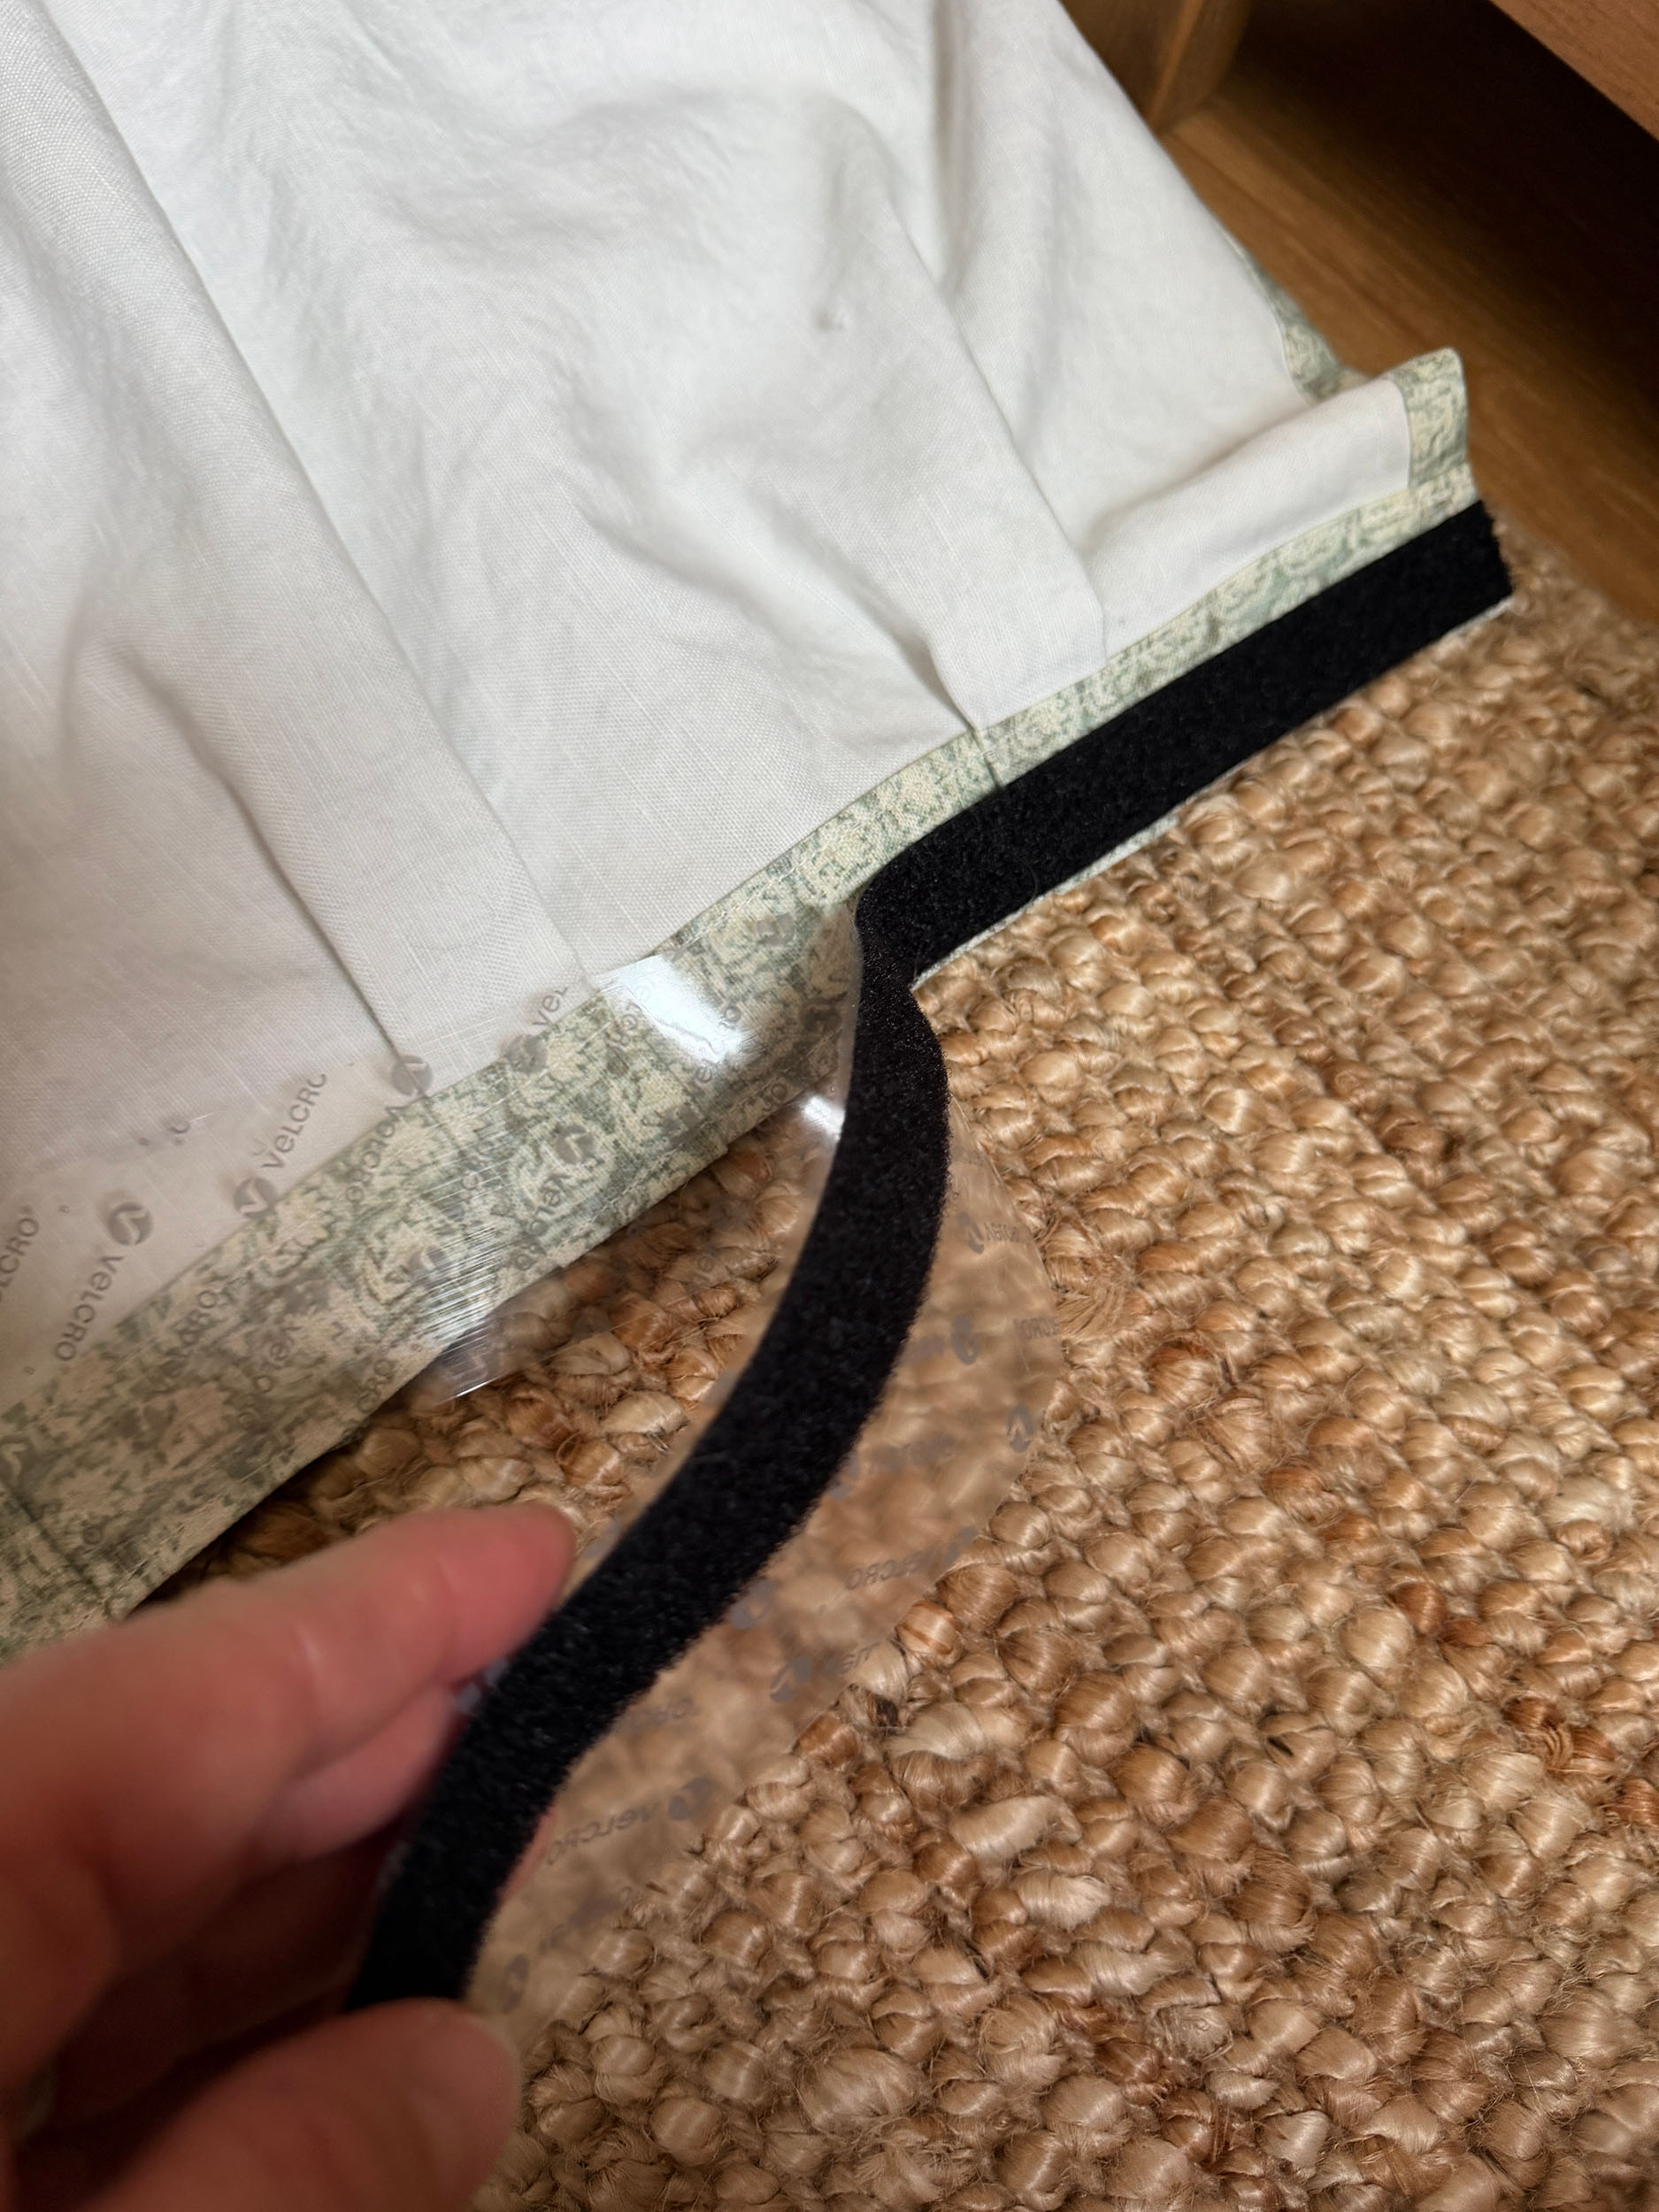
I am not sure how well the sticky velcro will wash when I eventually have to wash this bed skirt. If it comes off, I might replace the part that is attached to the fabric with a non-sticky version that I can just sew on. I will update this post if/when I wash this and let you know after I throw it all in the washing machine!
Other Ideas for a DIY Bed Skirt
If you find a bed skirt in a store or already have one but it does not quite fit, you could use the sticky velcro to stick it to your bed for a more tailored look, without any sewing!
If you want a more ruffled bed skirt look, you could add 1.5 – 2x extra length and have the look of a gathered bed skirt. In that case I would add some elastic to the top seam to create the gathers!
For fabric, you could use curtains, a store bought bed skirt, or a sheet set with a cute pattern!
I hope this is helpful, let me know if you use this easy tutorial t make your own bed skirt! This really was an easy project, my mom and I did it together in an afternoon!