DIY Bench Seat Cushion
One Room Challenge Fall 2022 – Week 7
Over the weekend, my mom came over and we knocked out this DIY bench seat cushion for my mudroom bench. We really took the time to consider all the details and make this DIY bench cushion project look professional. My mom also had quite a few tips and tricks from all her years of sewing that I will share too!
This tutorial is not a super easy DIY but if you have some basic sewing skills, this is very doable in a day. Let’s get to it!
This post may contain affiliate links. That means if you purchase anything from these links I earn a small commission, at no extra cost to you! This helps support my blog, so thank you!
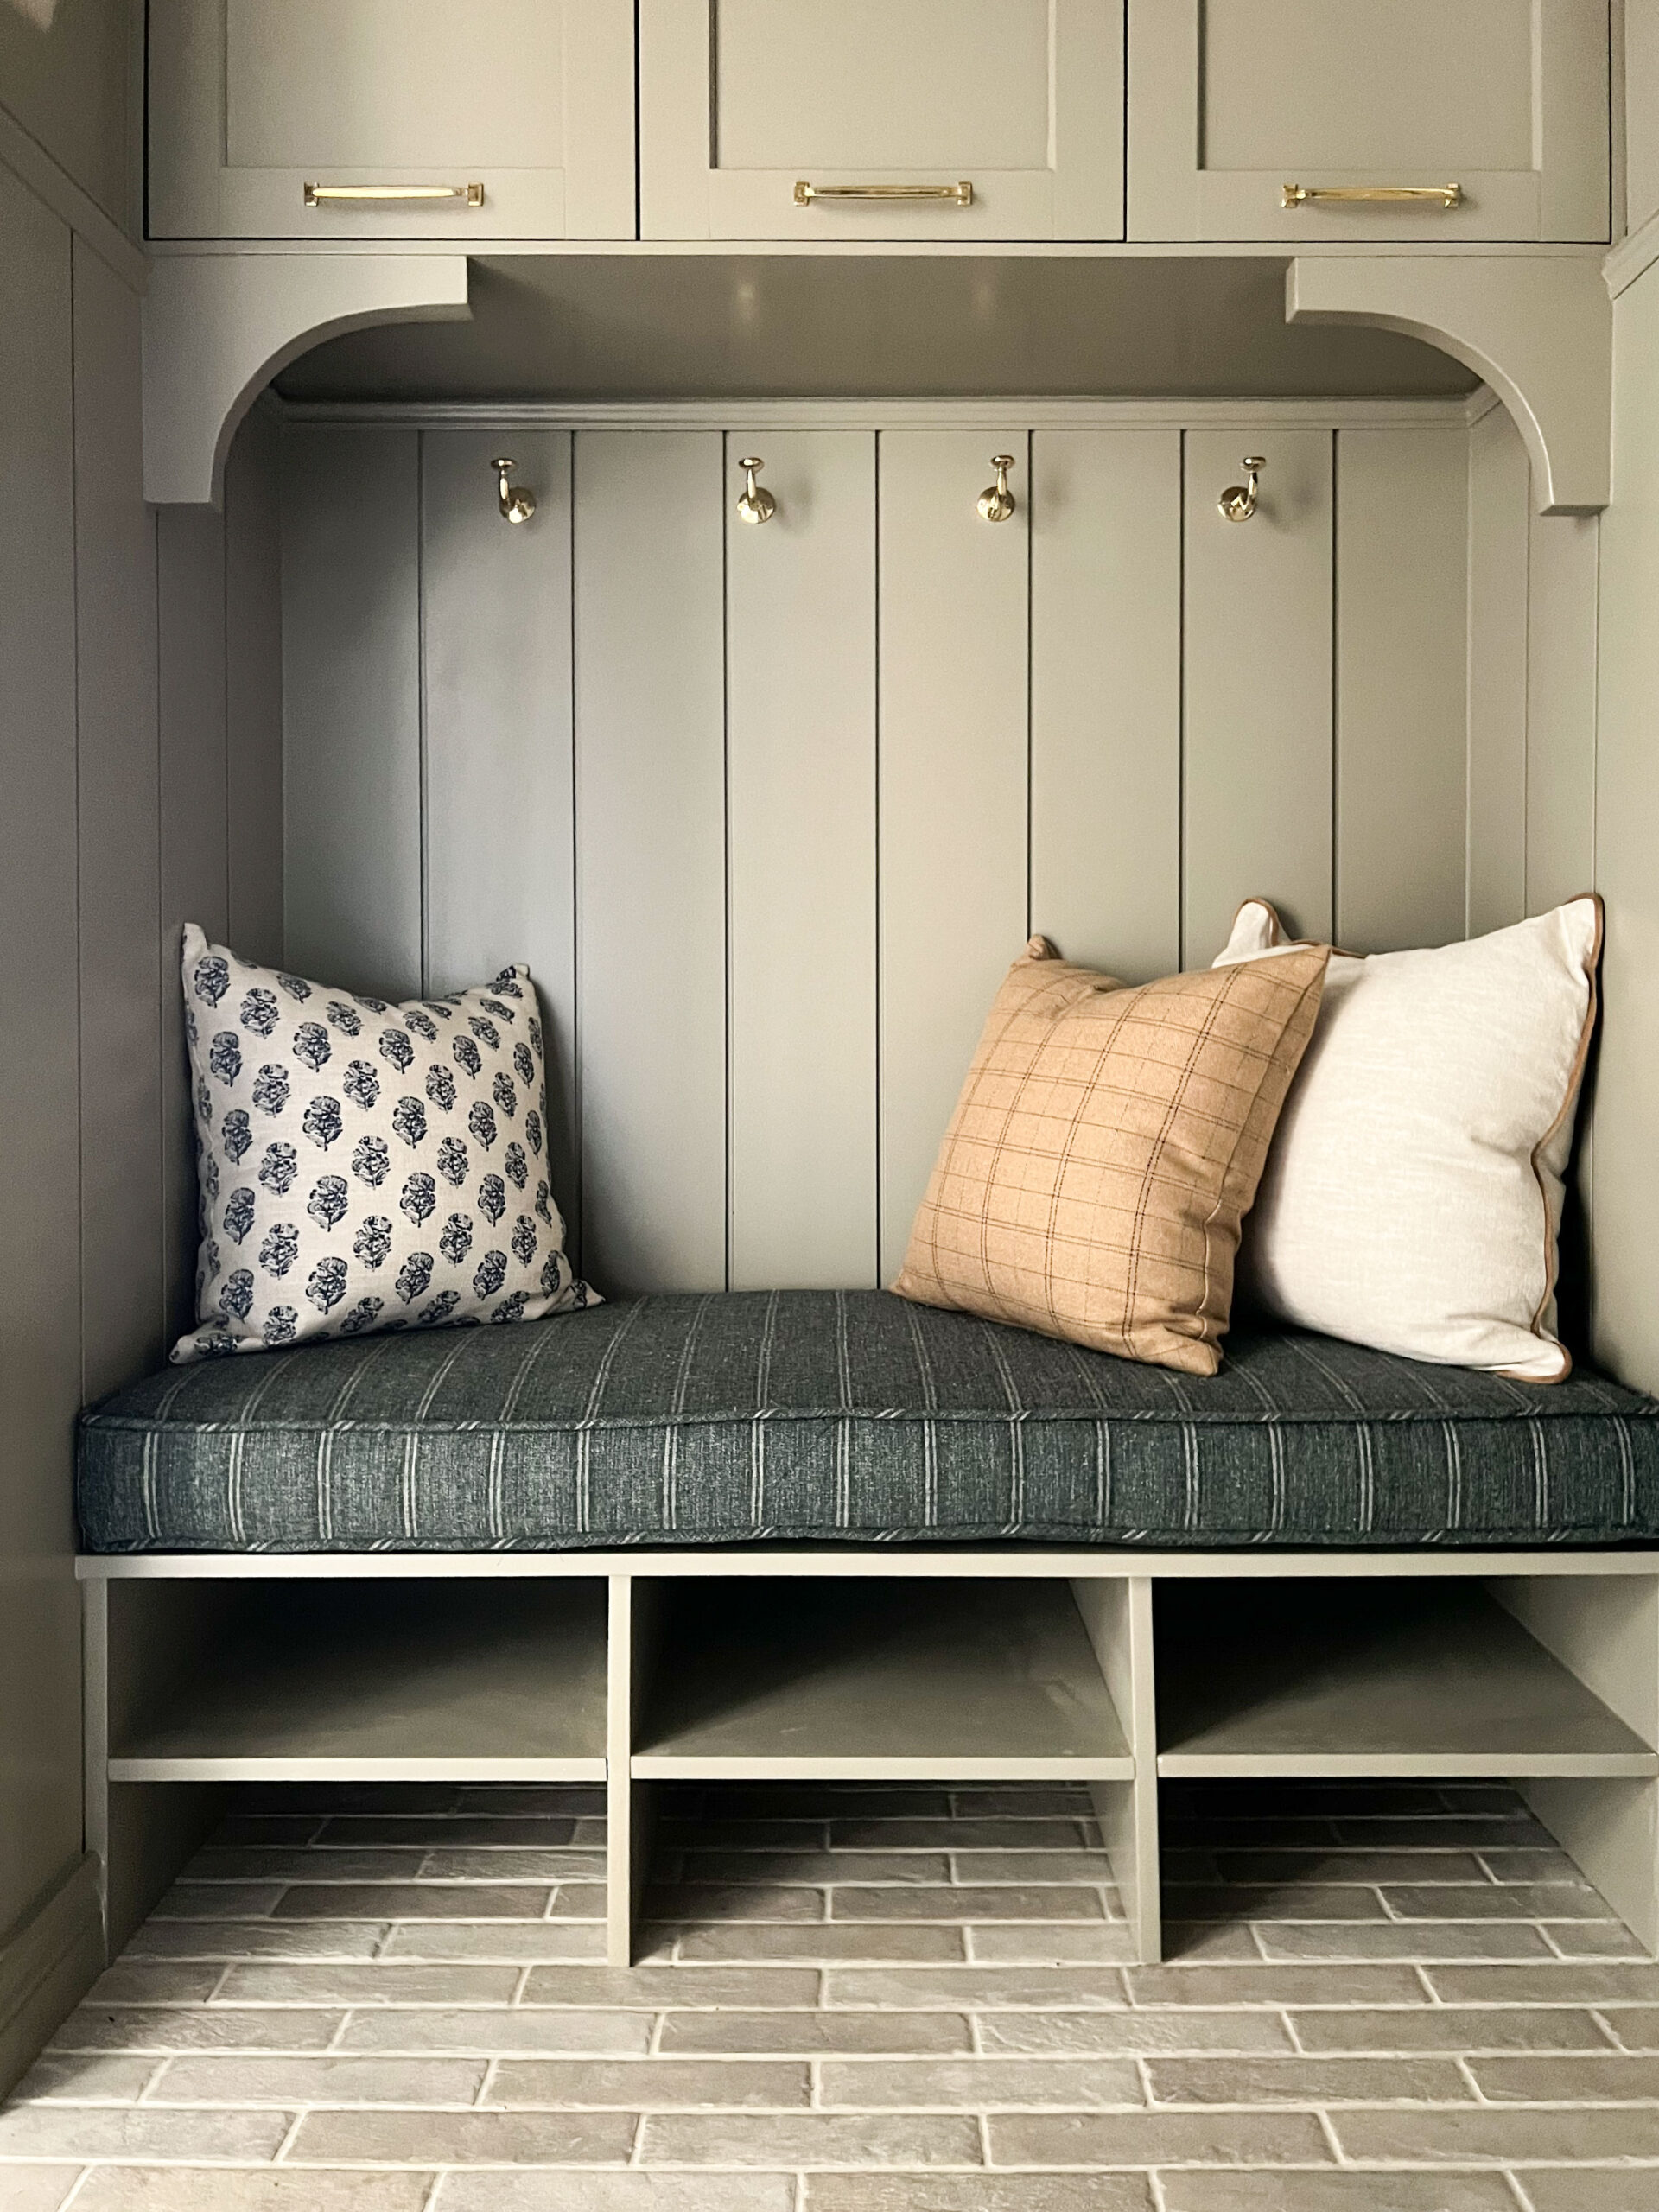
Table of Contents
- One Room Challenge Fall 2022 – Week 7
- Measure and Cut the Foam
- Cut the Fabric for the DIY Bench Seat Cushion
- Add a Zipper
- Make the Cording
- Sew the Top Seam
- Sew the Bottom Seam
- Test fit
- Pump it up! Plumping up the cushion
- Shop the Post
- You might also like:
Measure and Cut the Foam
I bought this high-density foam from Amazon. I went with a 4″ thickness because I wanted my bench to be substantial, and when we calculated the height of the bench we built we considered the fact that it would have a nice fat custom cushion on it. Upholstery foam is not cheap, so only buy what you need.
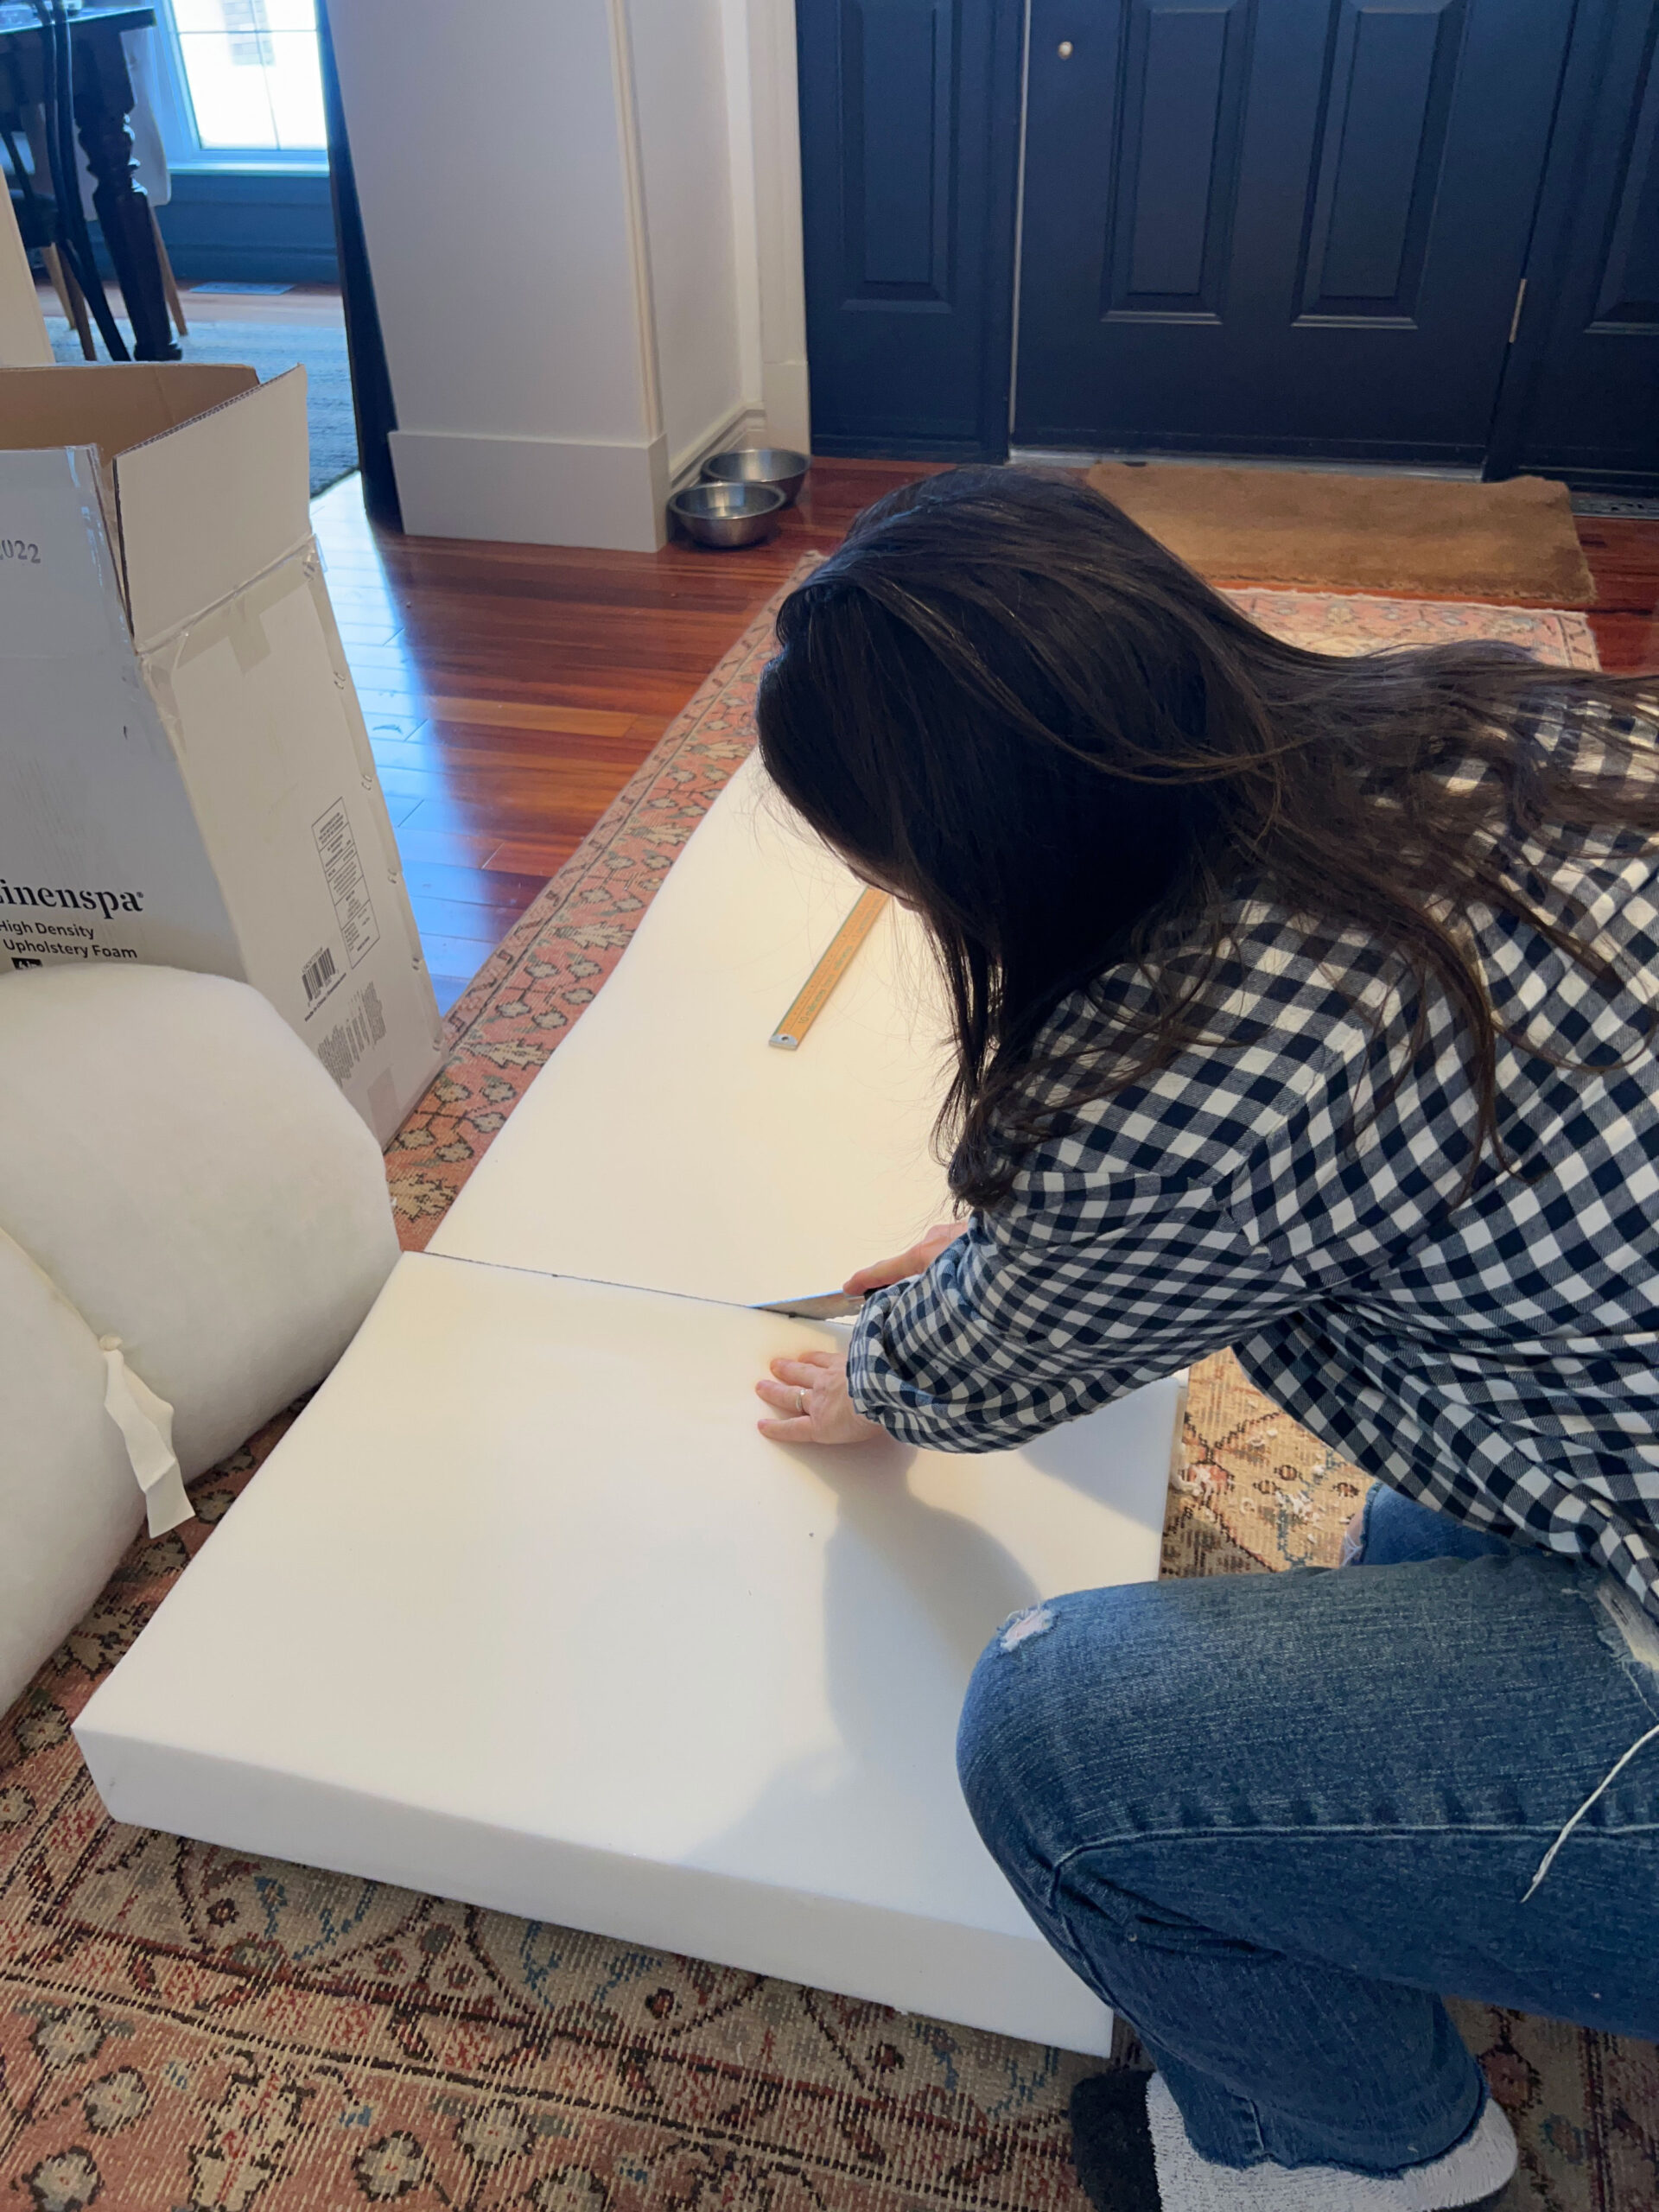
So the first thing to do is to cut the foam to the dimensions of your bench. I marked my bench size on the foam using a sharpie. At first, I used a cerated knife to cut the foam but switched to an electric carving knife. The electric knife slices through the foam cleanly and you are able to trim little bits too if you need to. The edge doesn’t have to be perfect.
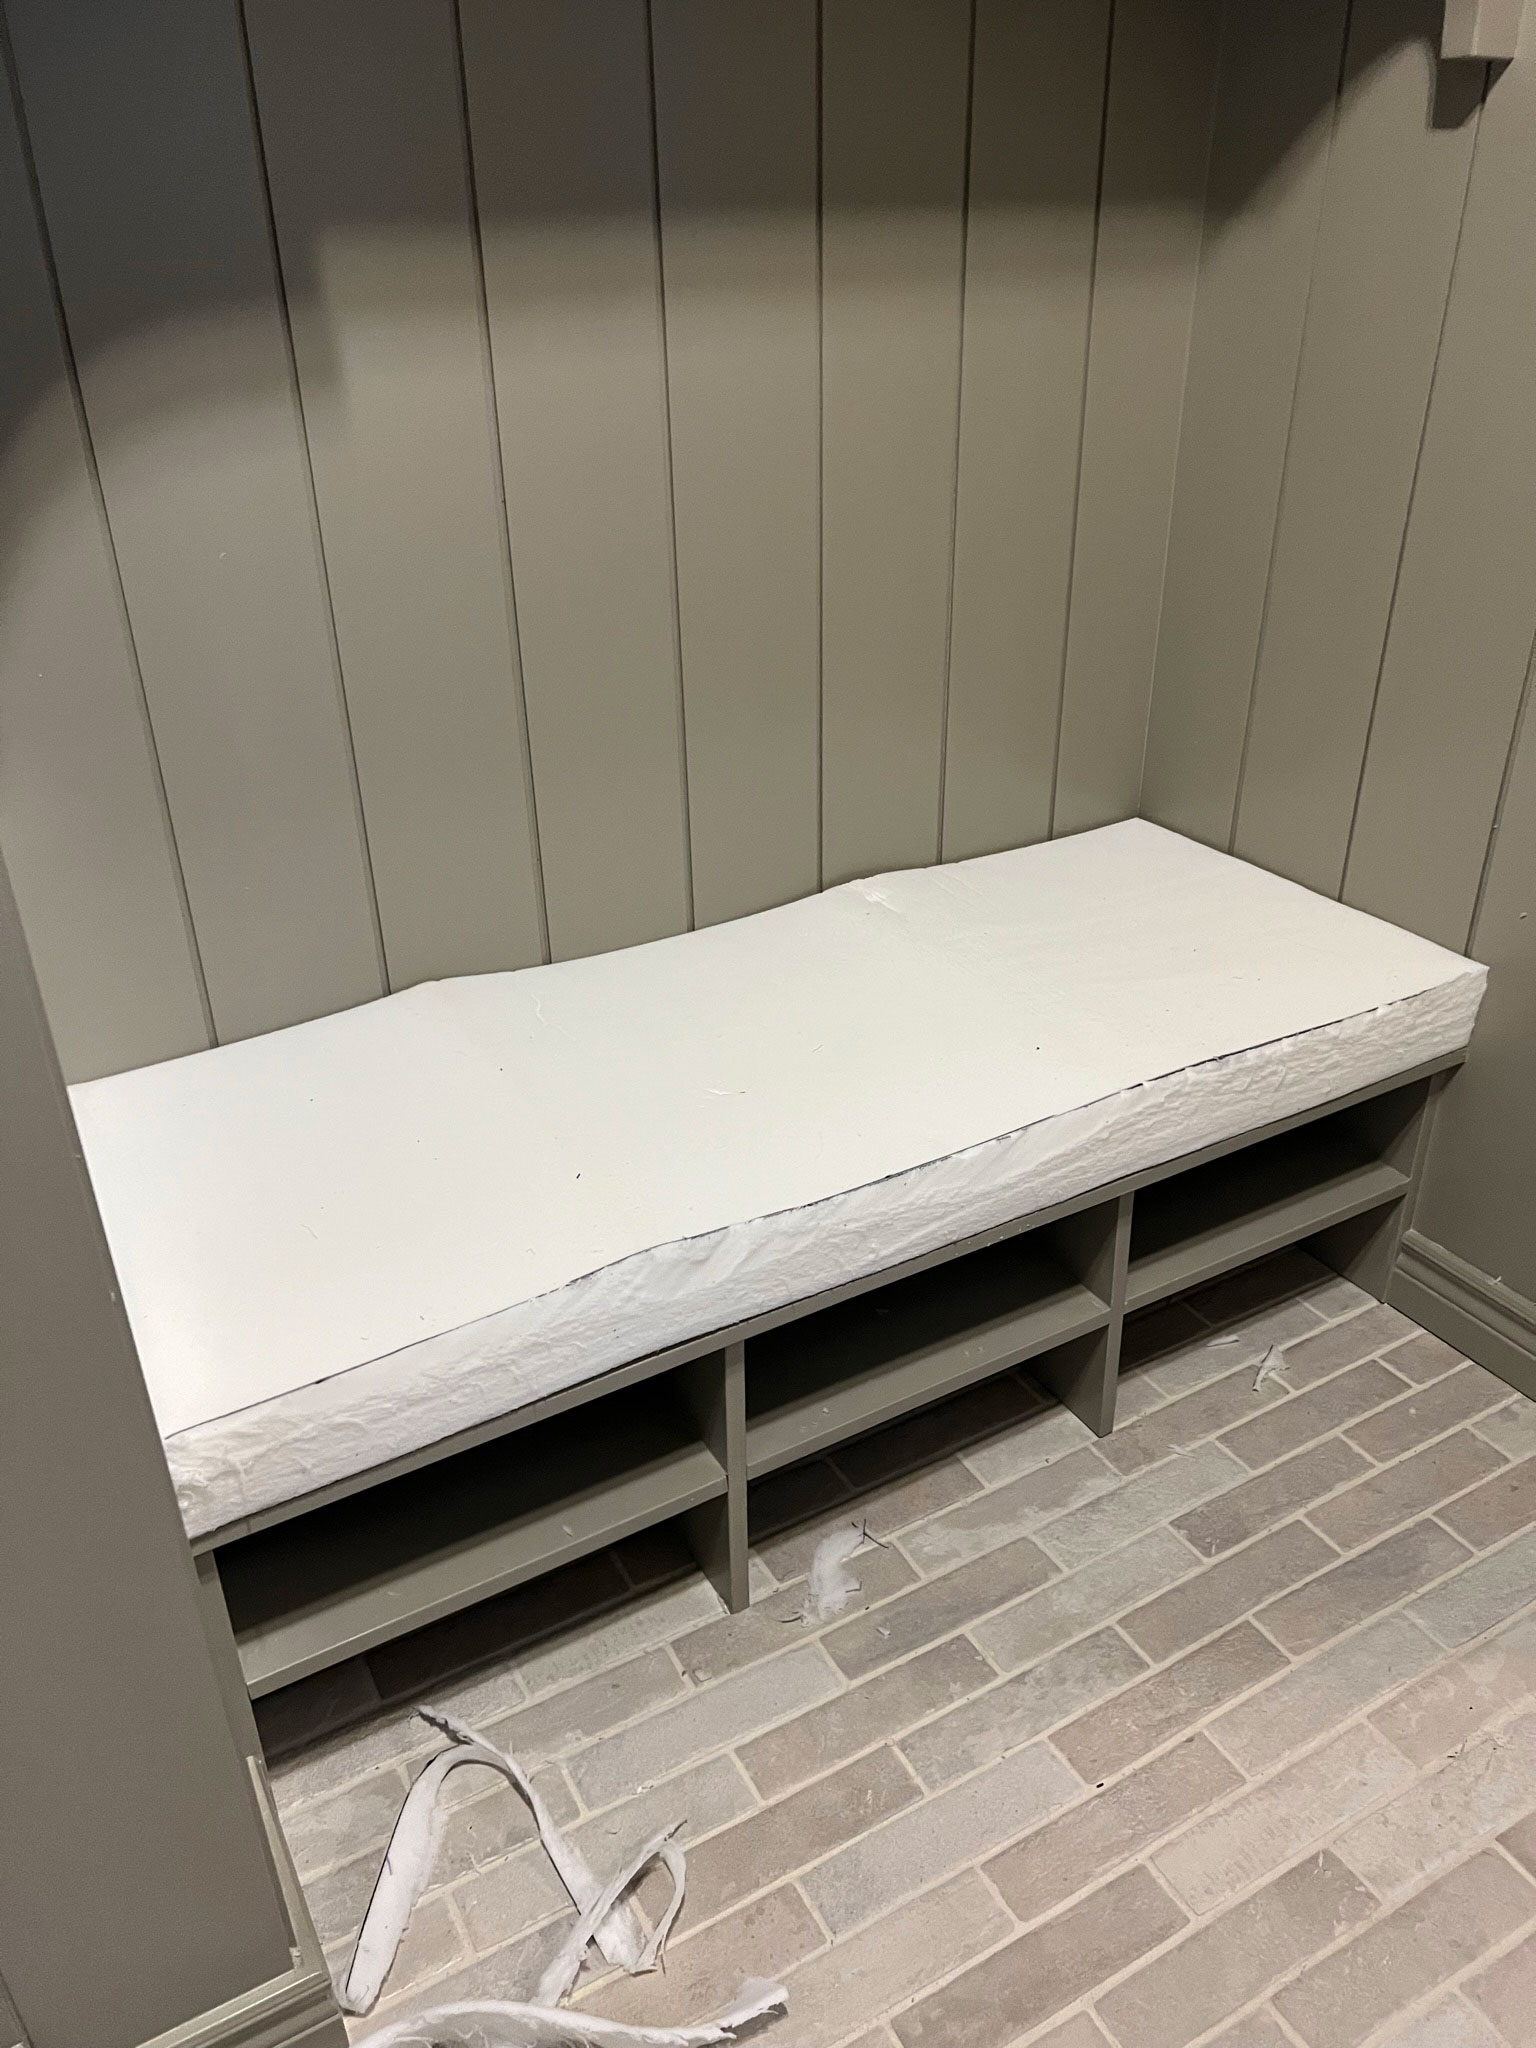
I cut my foam to be about 1/2″ shorter than my bench width and the same size as the depth. I didn’t want the cushion to be so tight that it buckled when we snuck it in there, and that worked out well.
Cut the Fabric for the DIY Bench Seat Cushion
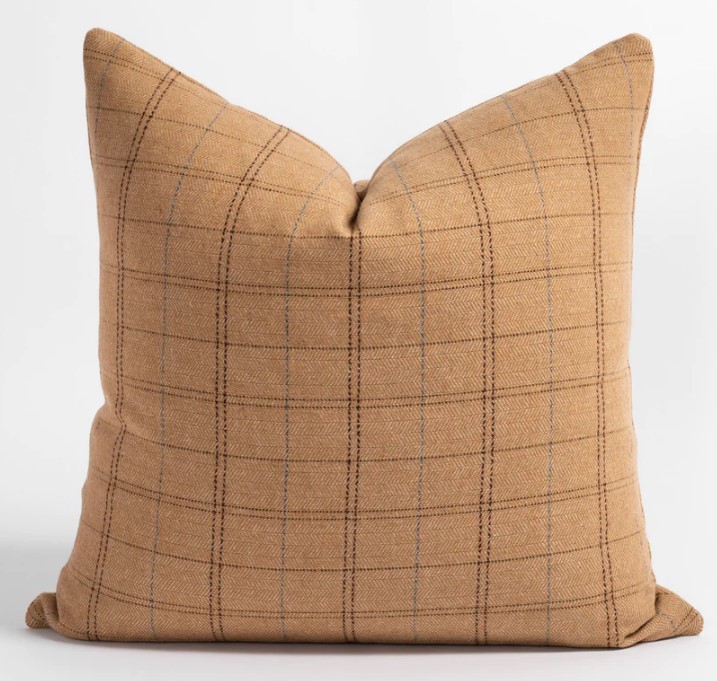
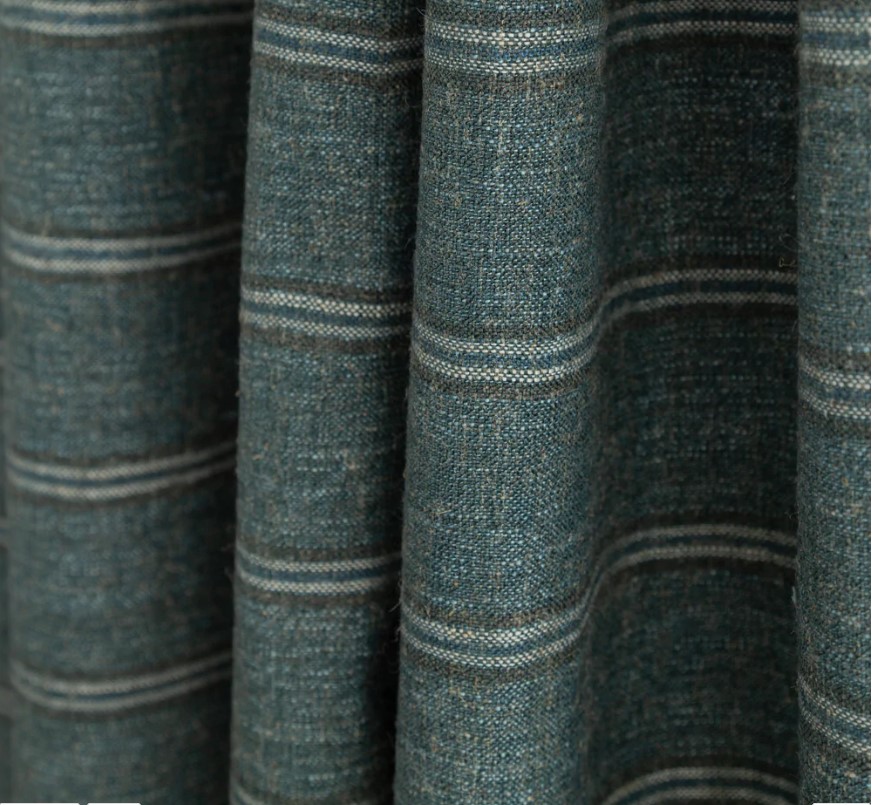
We used this upholstery fabric for this project which was graciously gifted by Tonic Living. I have been using Tonic Living as a source of fabric for years, they have a fantastic curated selection of good quality fabrics. You can’t make a bad choice with Tonic Living Fabrics! This is the fabric I used.
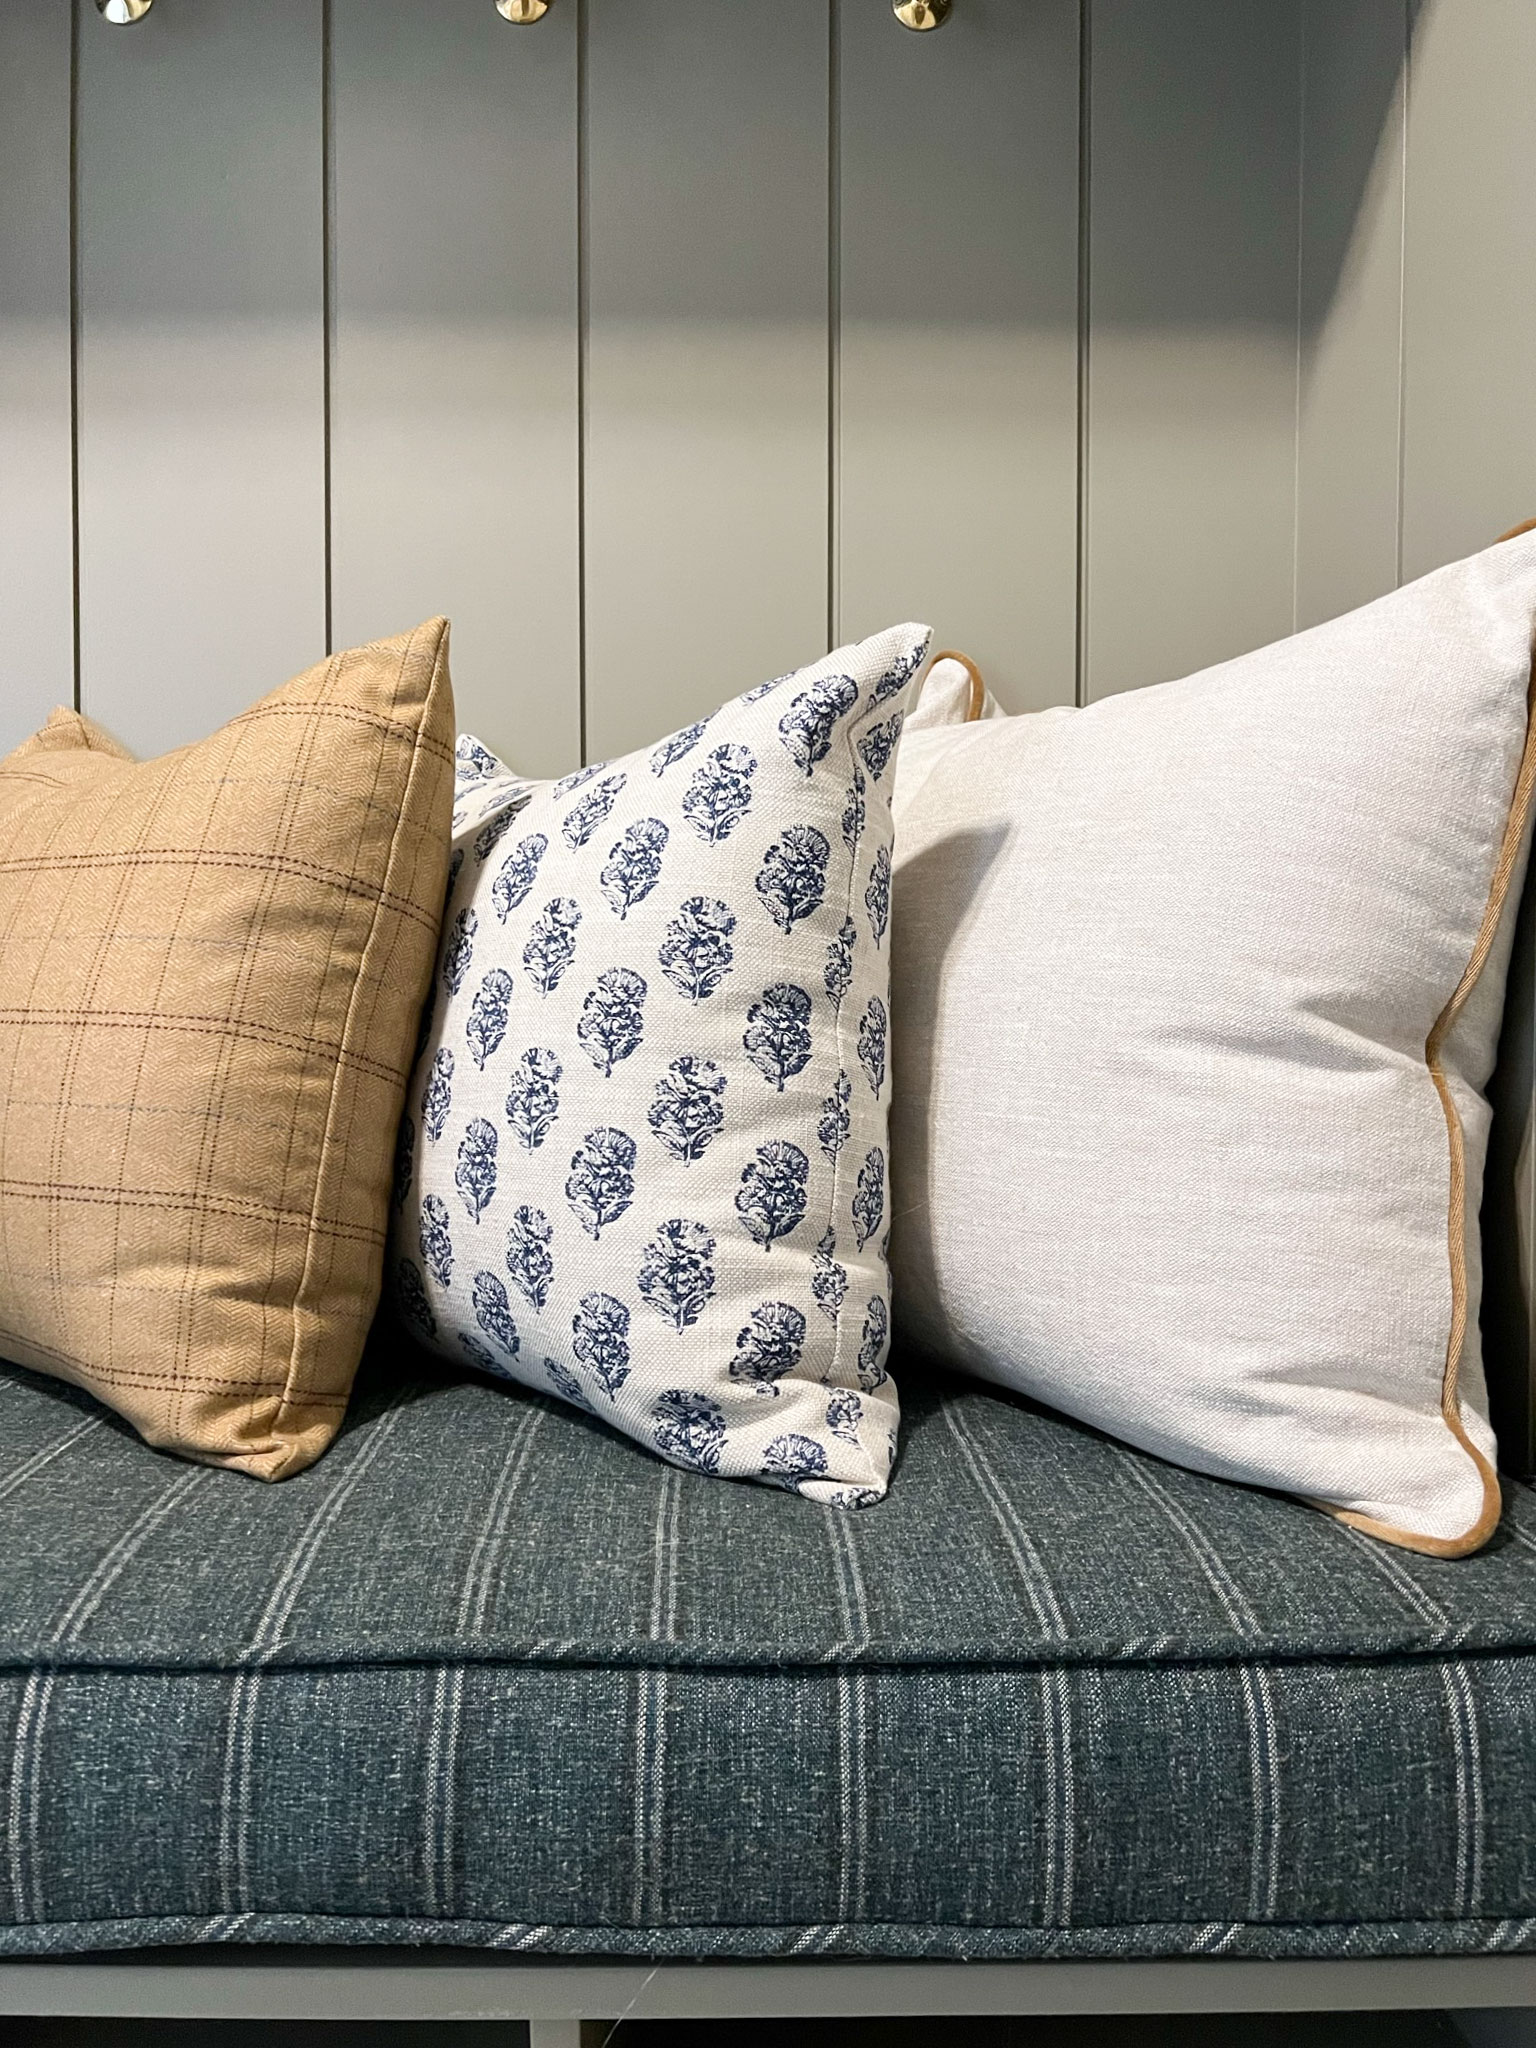
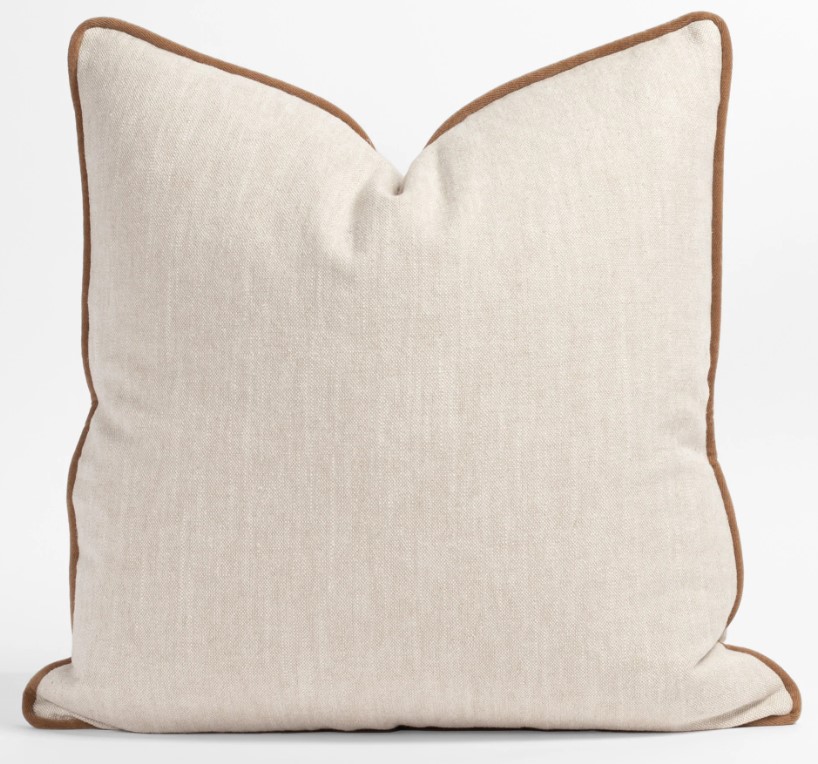
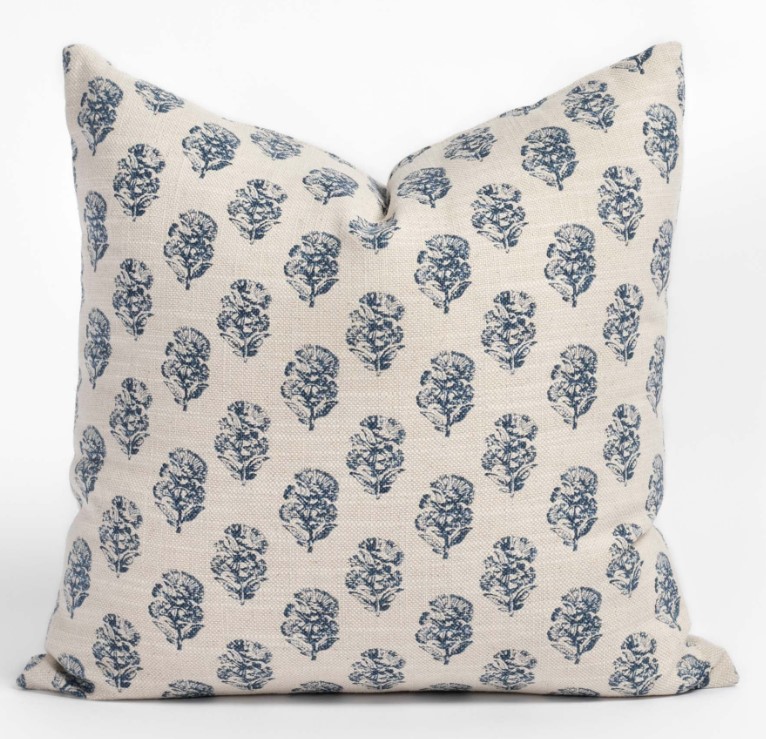
I also snagged these three pillows from them, they are really nice quality and they use the same fabric on both sides which feels so much more luxurious than some other pillows that only put the nice fabric on one side.
The next thing we did is to cut all the fabric pieces out. Our fabric was wide enough so that we could fold it over and cut the top and bottom panels at the same time. Since we had a stripe pattern, that also helped us line up our pattern.
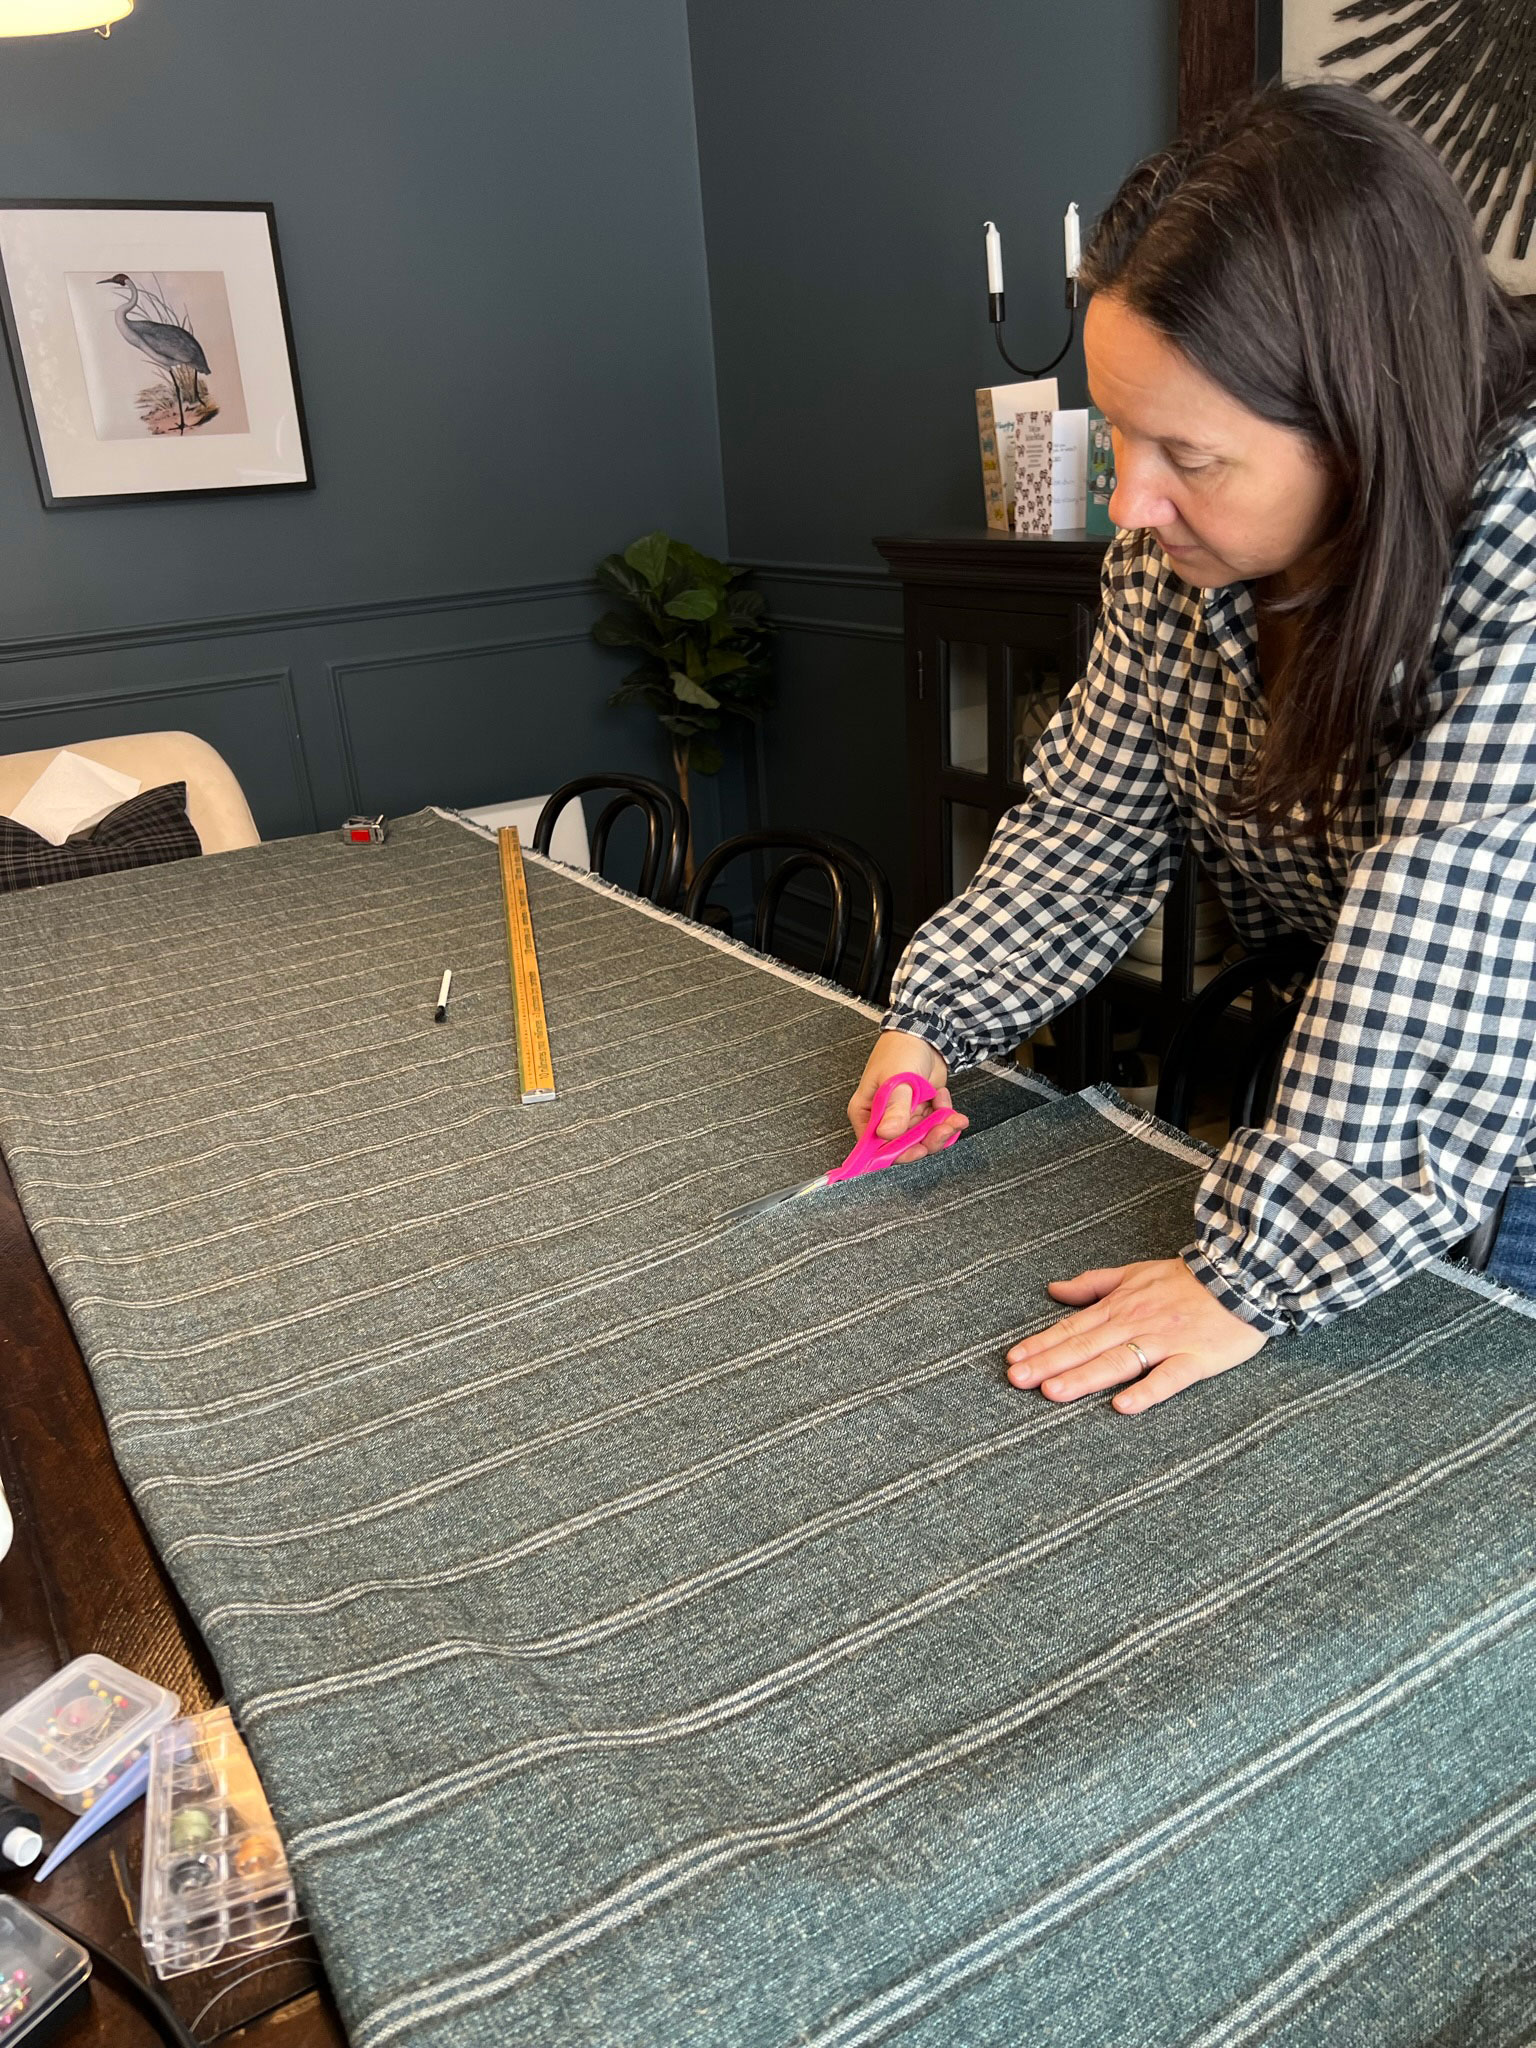
If your fabric isn’t wide enough to fold over, you can cut the pieces out of two different pieces, just make sure you consider any pattern and try to match them up.
Cut the top piece and bottom piece of fabric the same size as your foam plus a seam allowance. We used a 5/8″ seam allowance. The top and bottom are the width of the foam + 1-1/4″ and the length of the foam + 1 – 1/4″
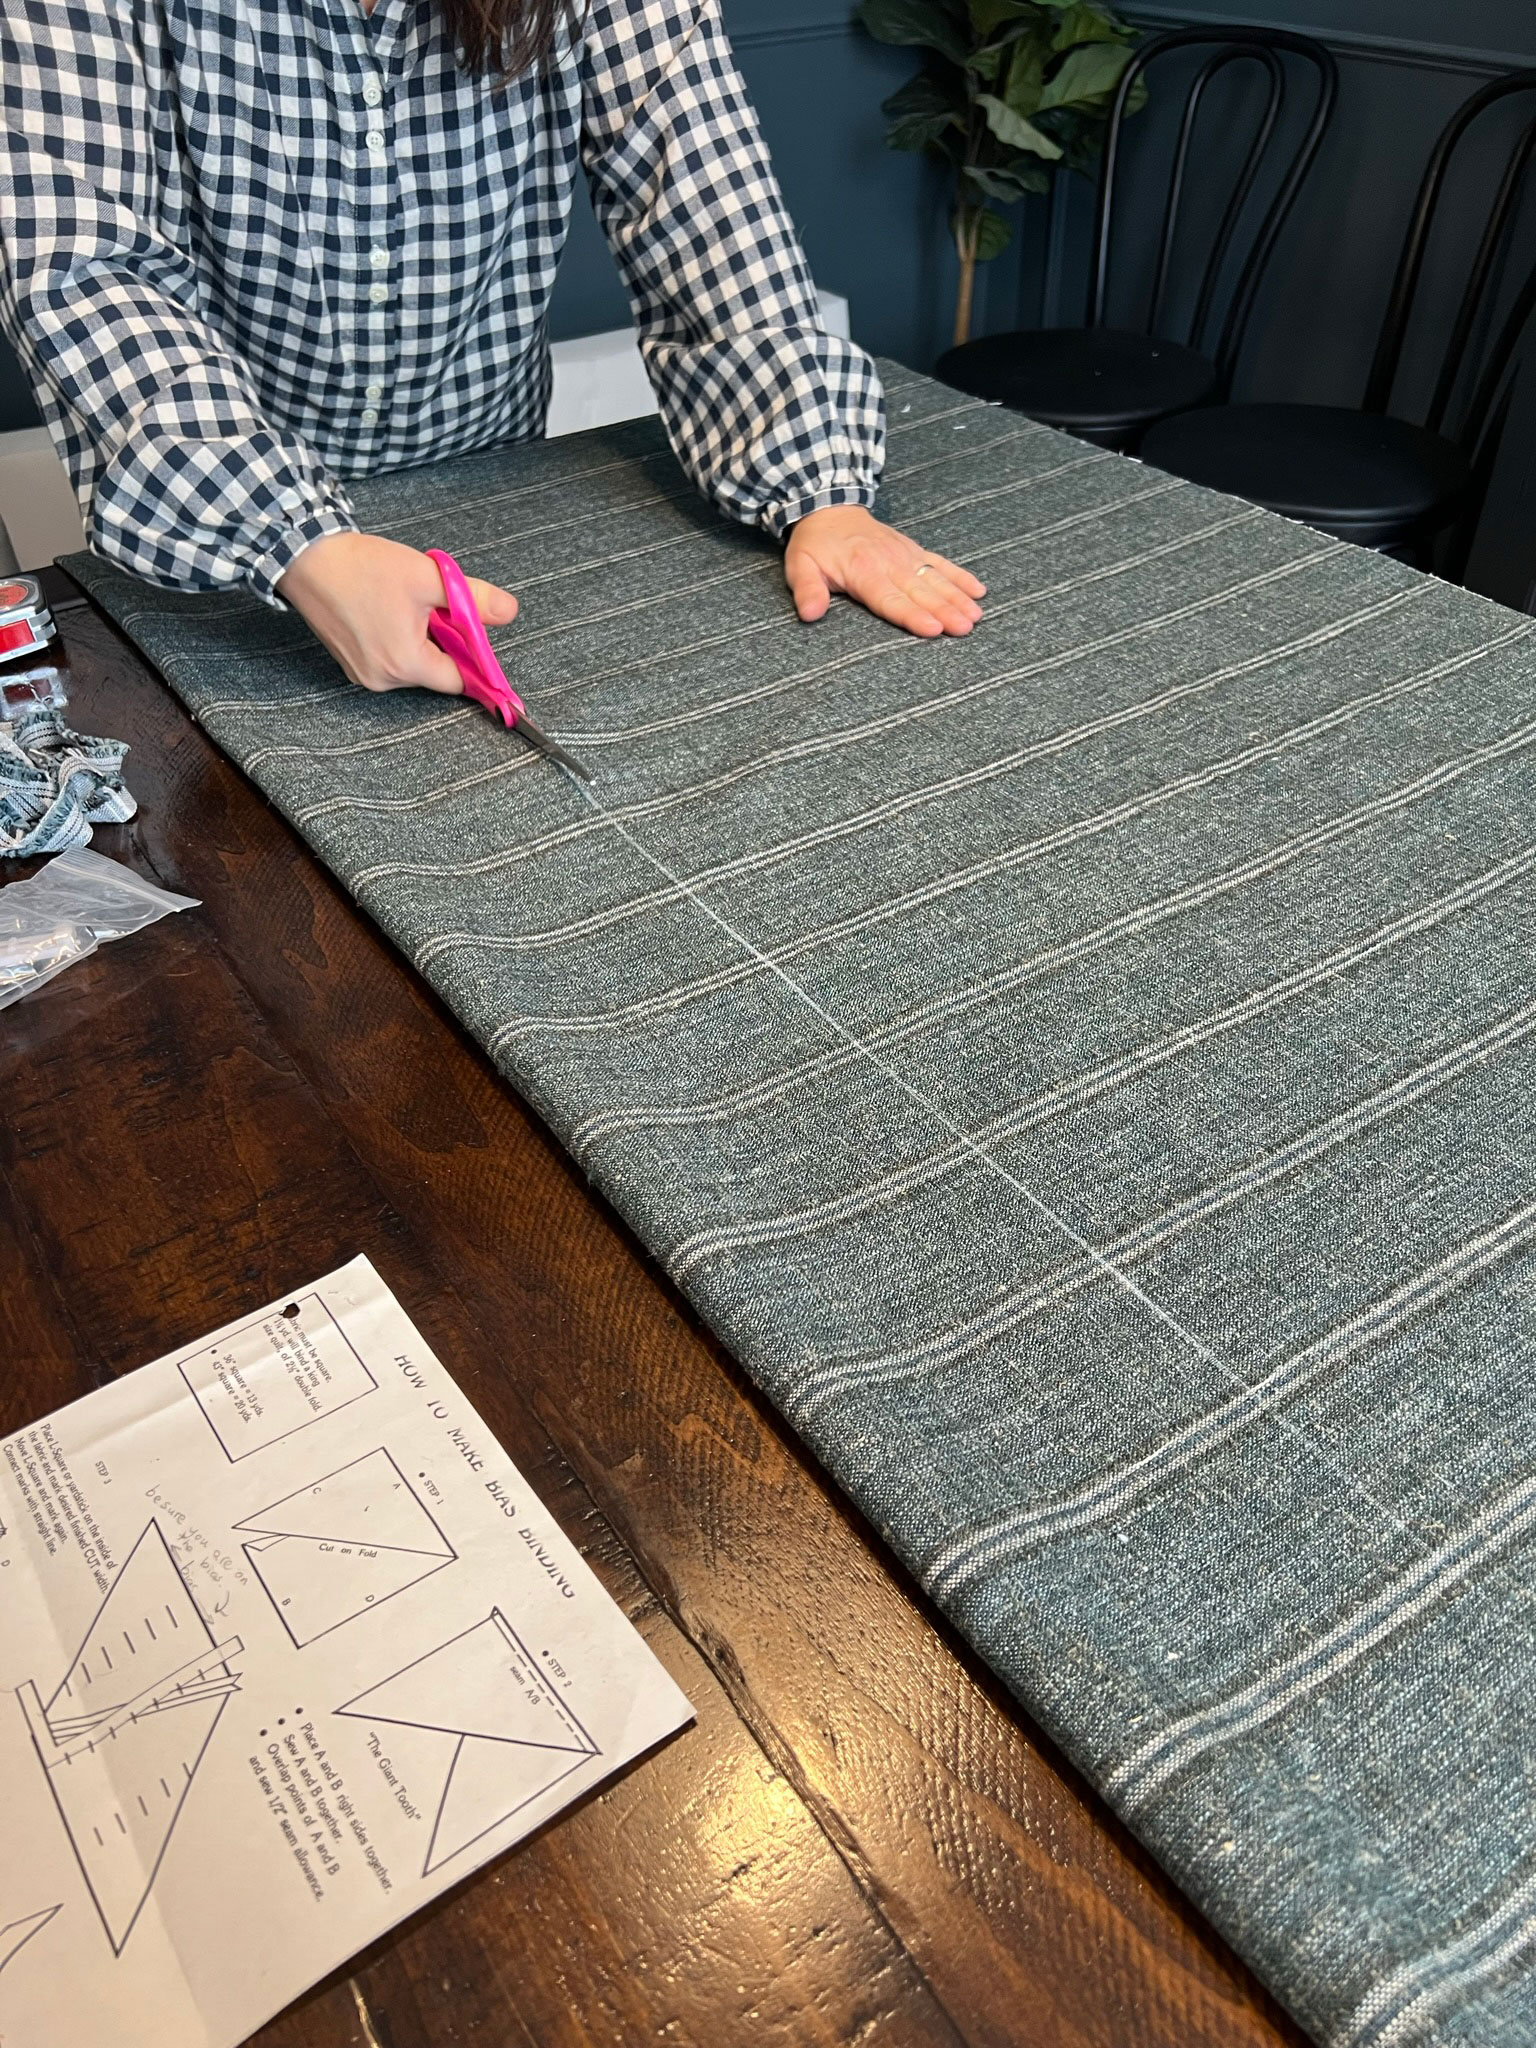
Next, cut the long side piece which will go on the front of the bench seat. This will be the thickness of the foam + the two seam allowances of 1- 1/4″. In our case, our foam measured 3- 3/4″ so we cut the strips 5″ wide. the length of this piece is the length of the bench plus the two seam allowances or the length of the bench + 1-1/4″.
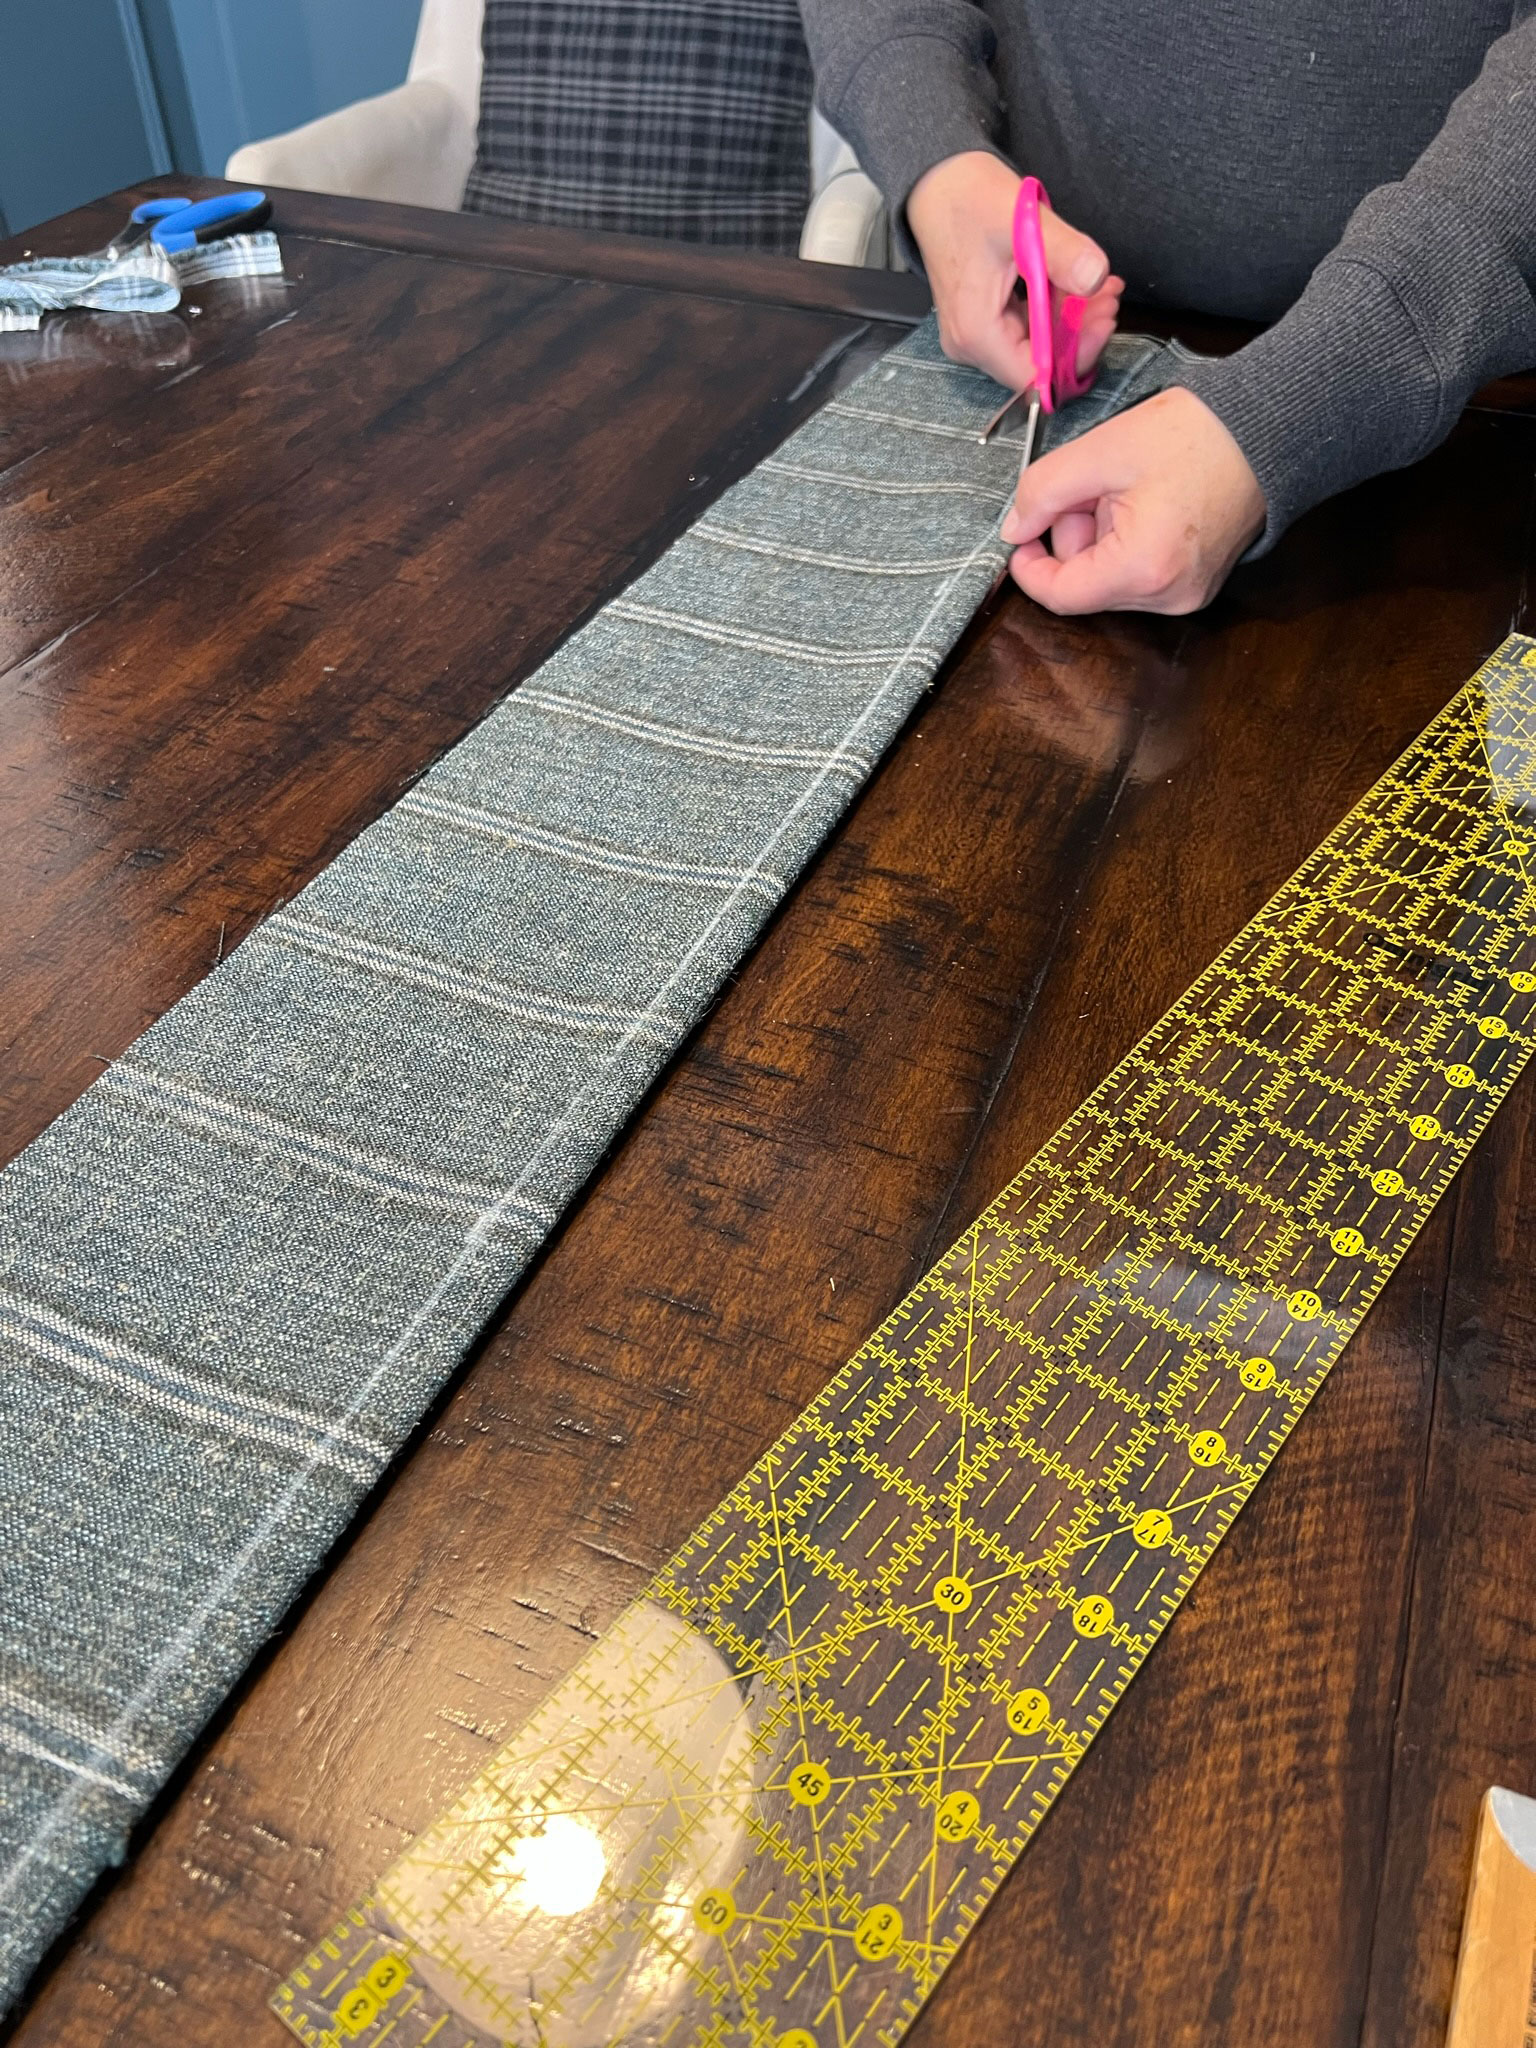
Next, cut the two short sides the same width, but the length should be the length of the shorter sides of your foam plus the two seam allowances of 1 – 1/4″.
Don’t cut the back piece the same way. For the back we will be adding a zipper so we will cut that out a little differently.
Keep the pattern in mind, if you have one, and line the pattern up with the top piece before you cut it out. In my case, the bench only really shows from the front so I chose to line the pattern up on the front. and back and not the sides.
Add a Zipper
We added a zipper to the back of the cushion so that the cover is removable for washing. My mom had a pretty cool way of sewing a zipper in with a little flap that doesn’t show!
Cut a strip of fabric the same length of the zipper you have.
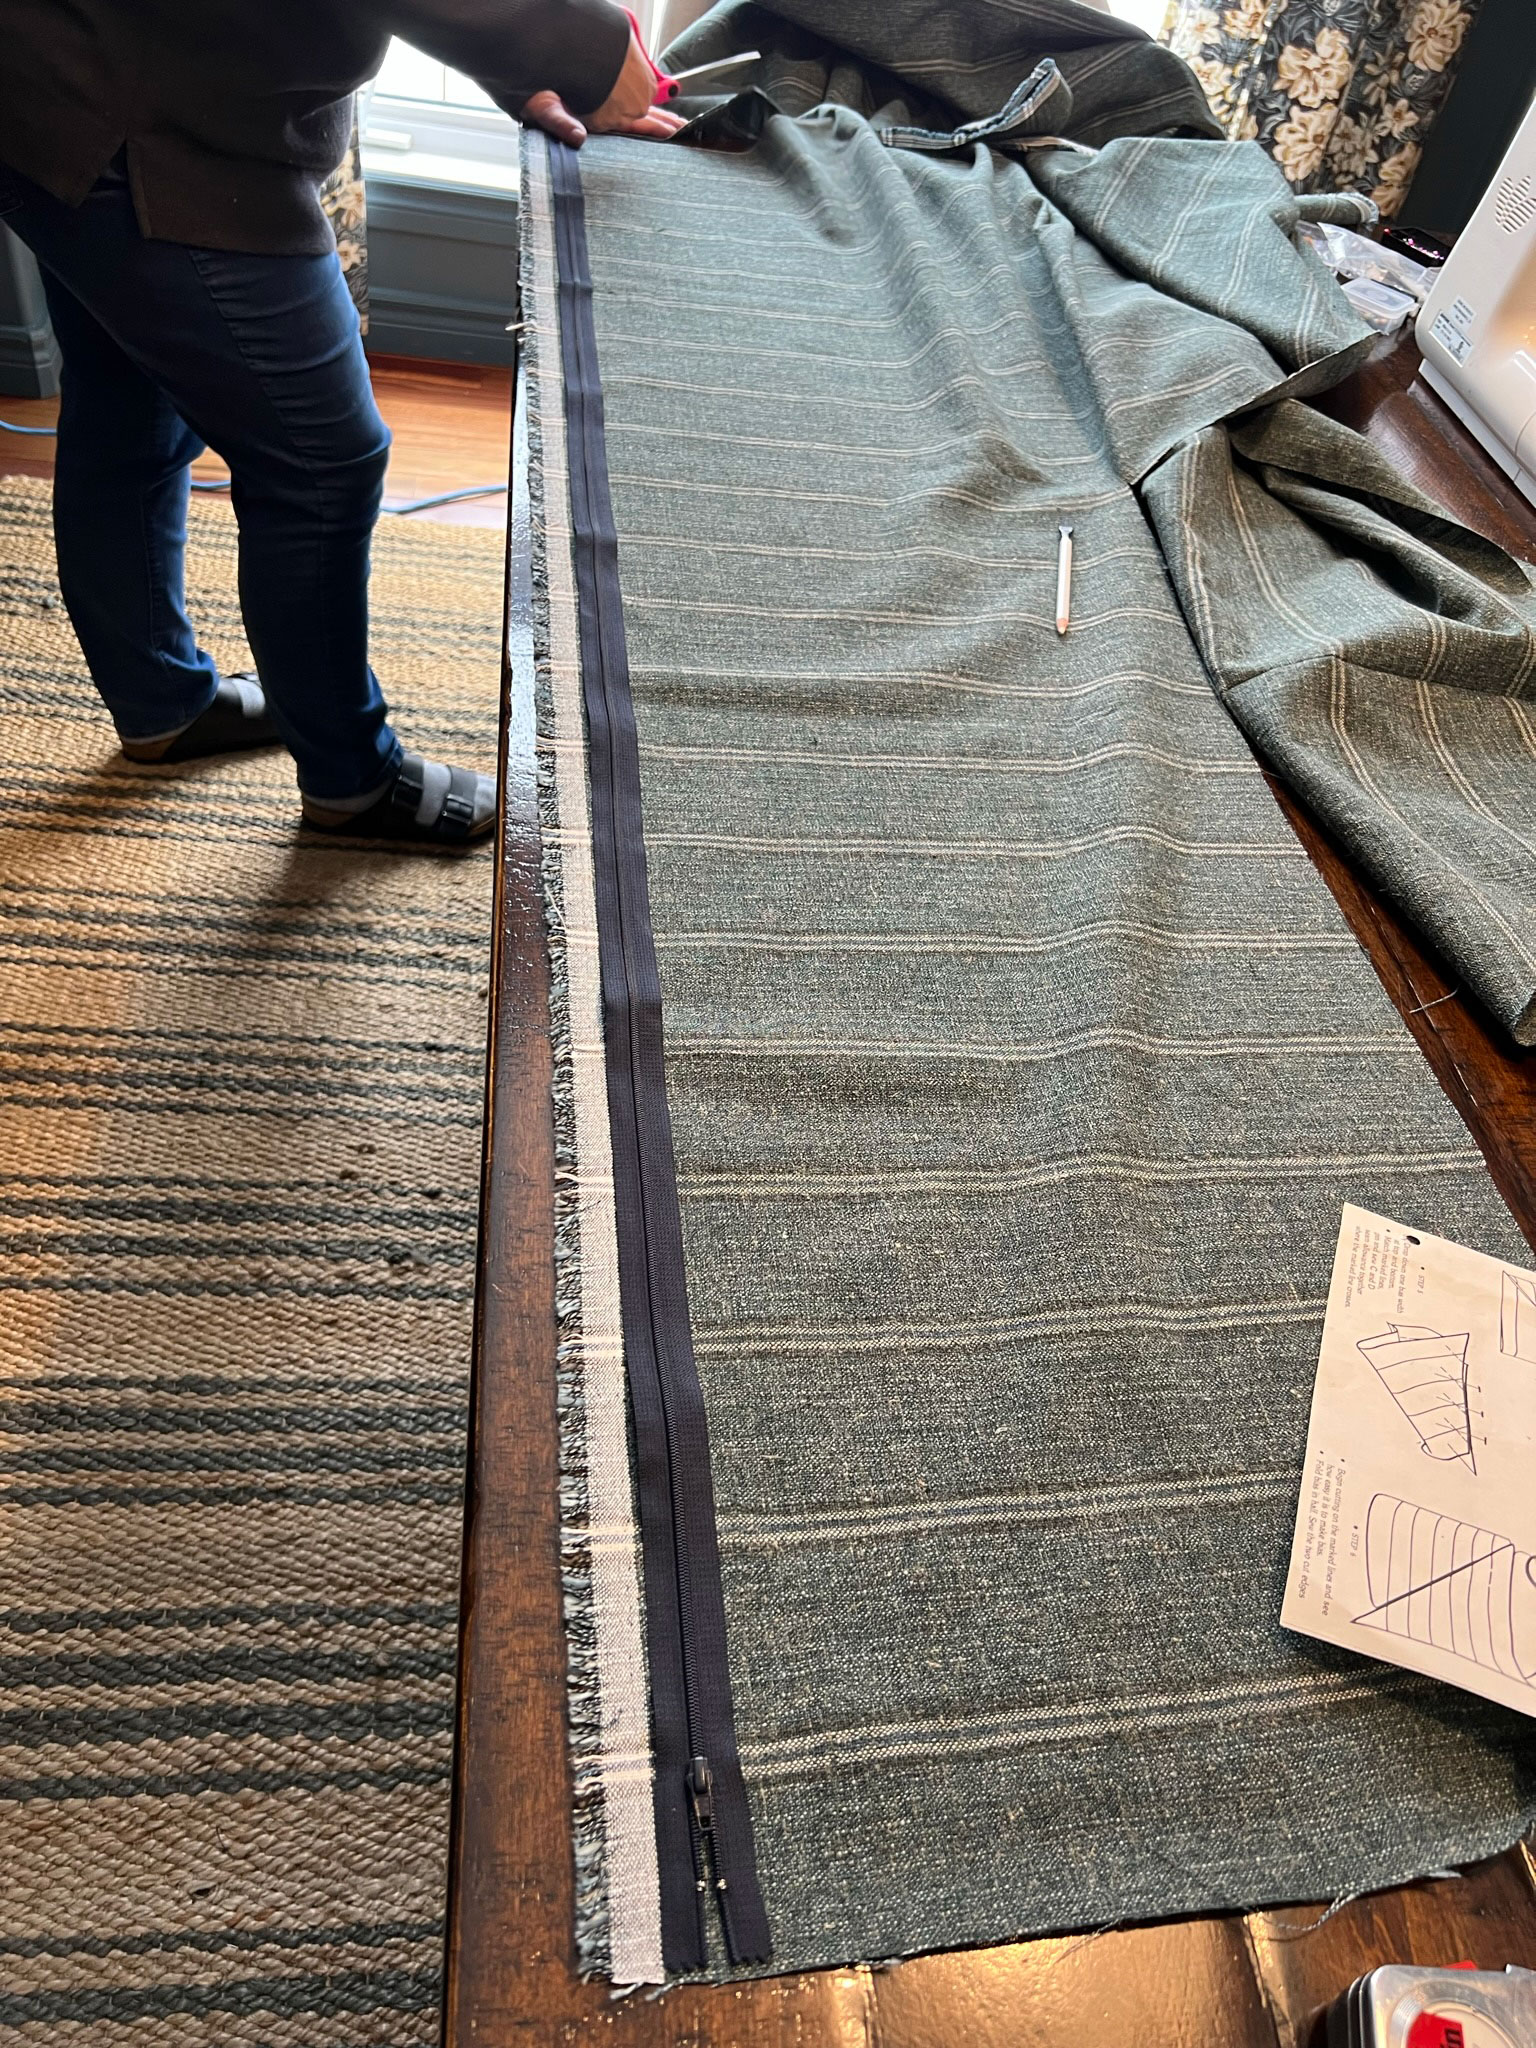
The width of the strip of fabric is going to be slightly wider than the ones you cut for the front and sides. You need to add an extra seam allowance on either side of the zipper. So if you have a 3-3/4″ thick foam like we did, we added 5/8″ seam allowance x 4 (one for either side of the strip and one for either side of the zipper) for a total of 6 – 1/4″.
Once you have that long strip cut out, fold it in half and cut it in two.
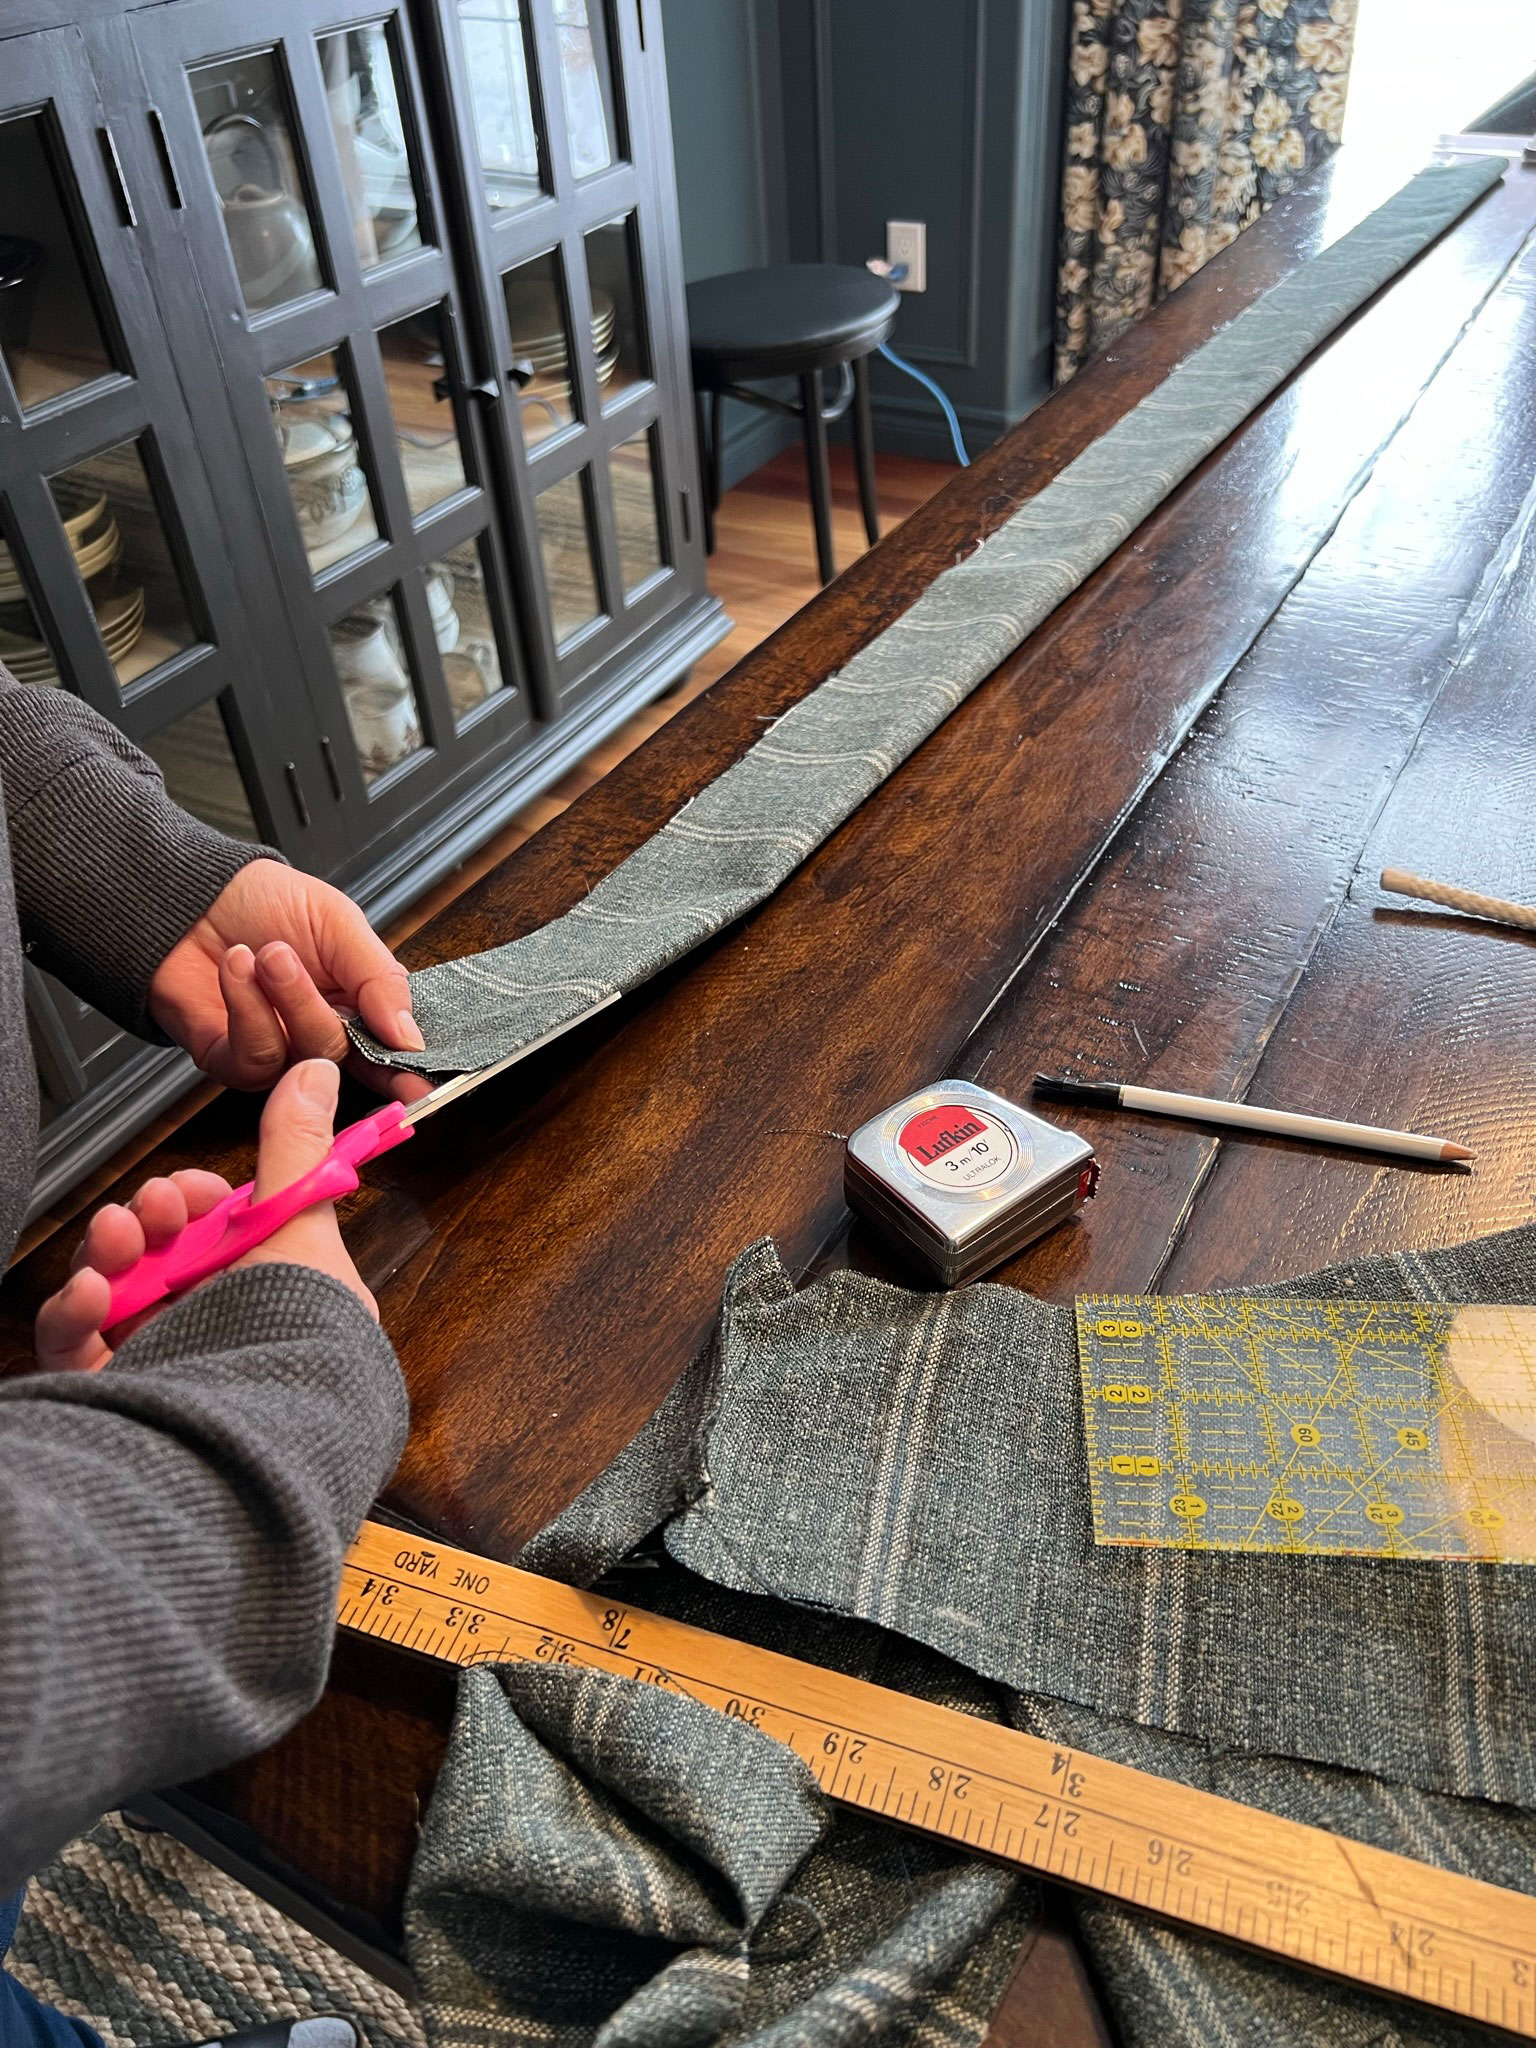
Put the right sides of the two strips you just cut together and sew a basting stitch along it using the 5/8″ inch seam allowance on your sewing machine. A basting stitch is basically a really wide, easily removable stitch that will be temporary, in our case.
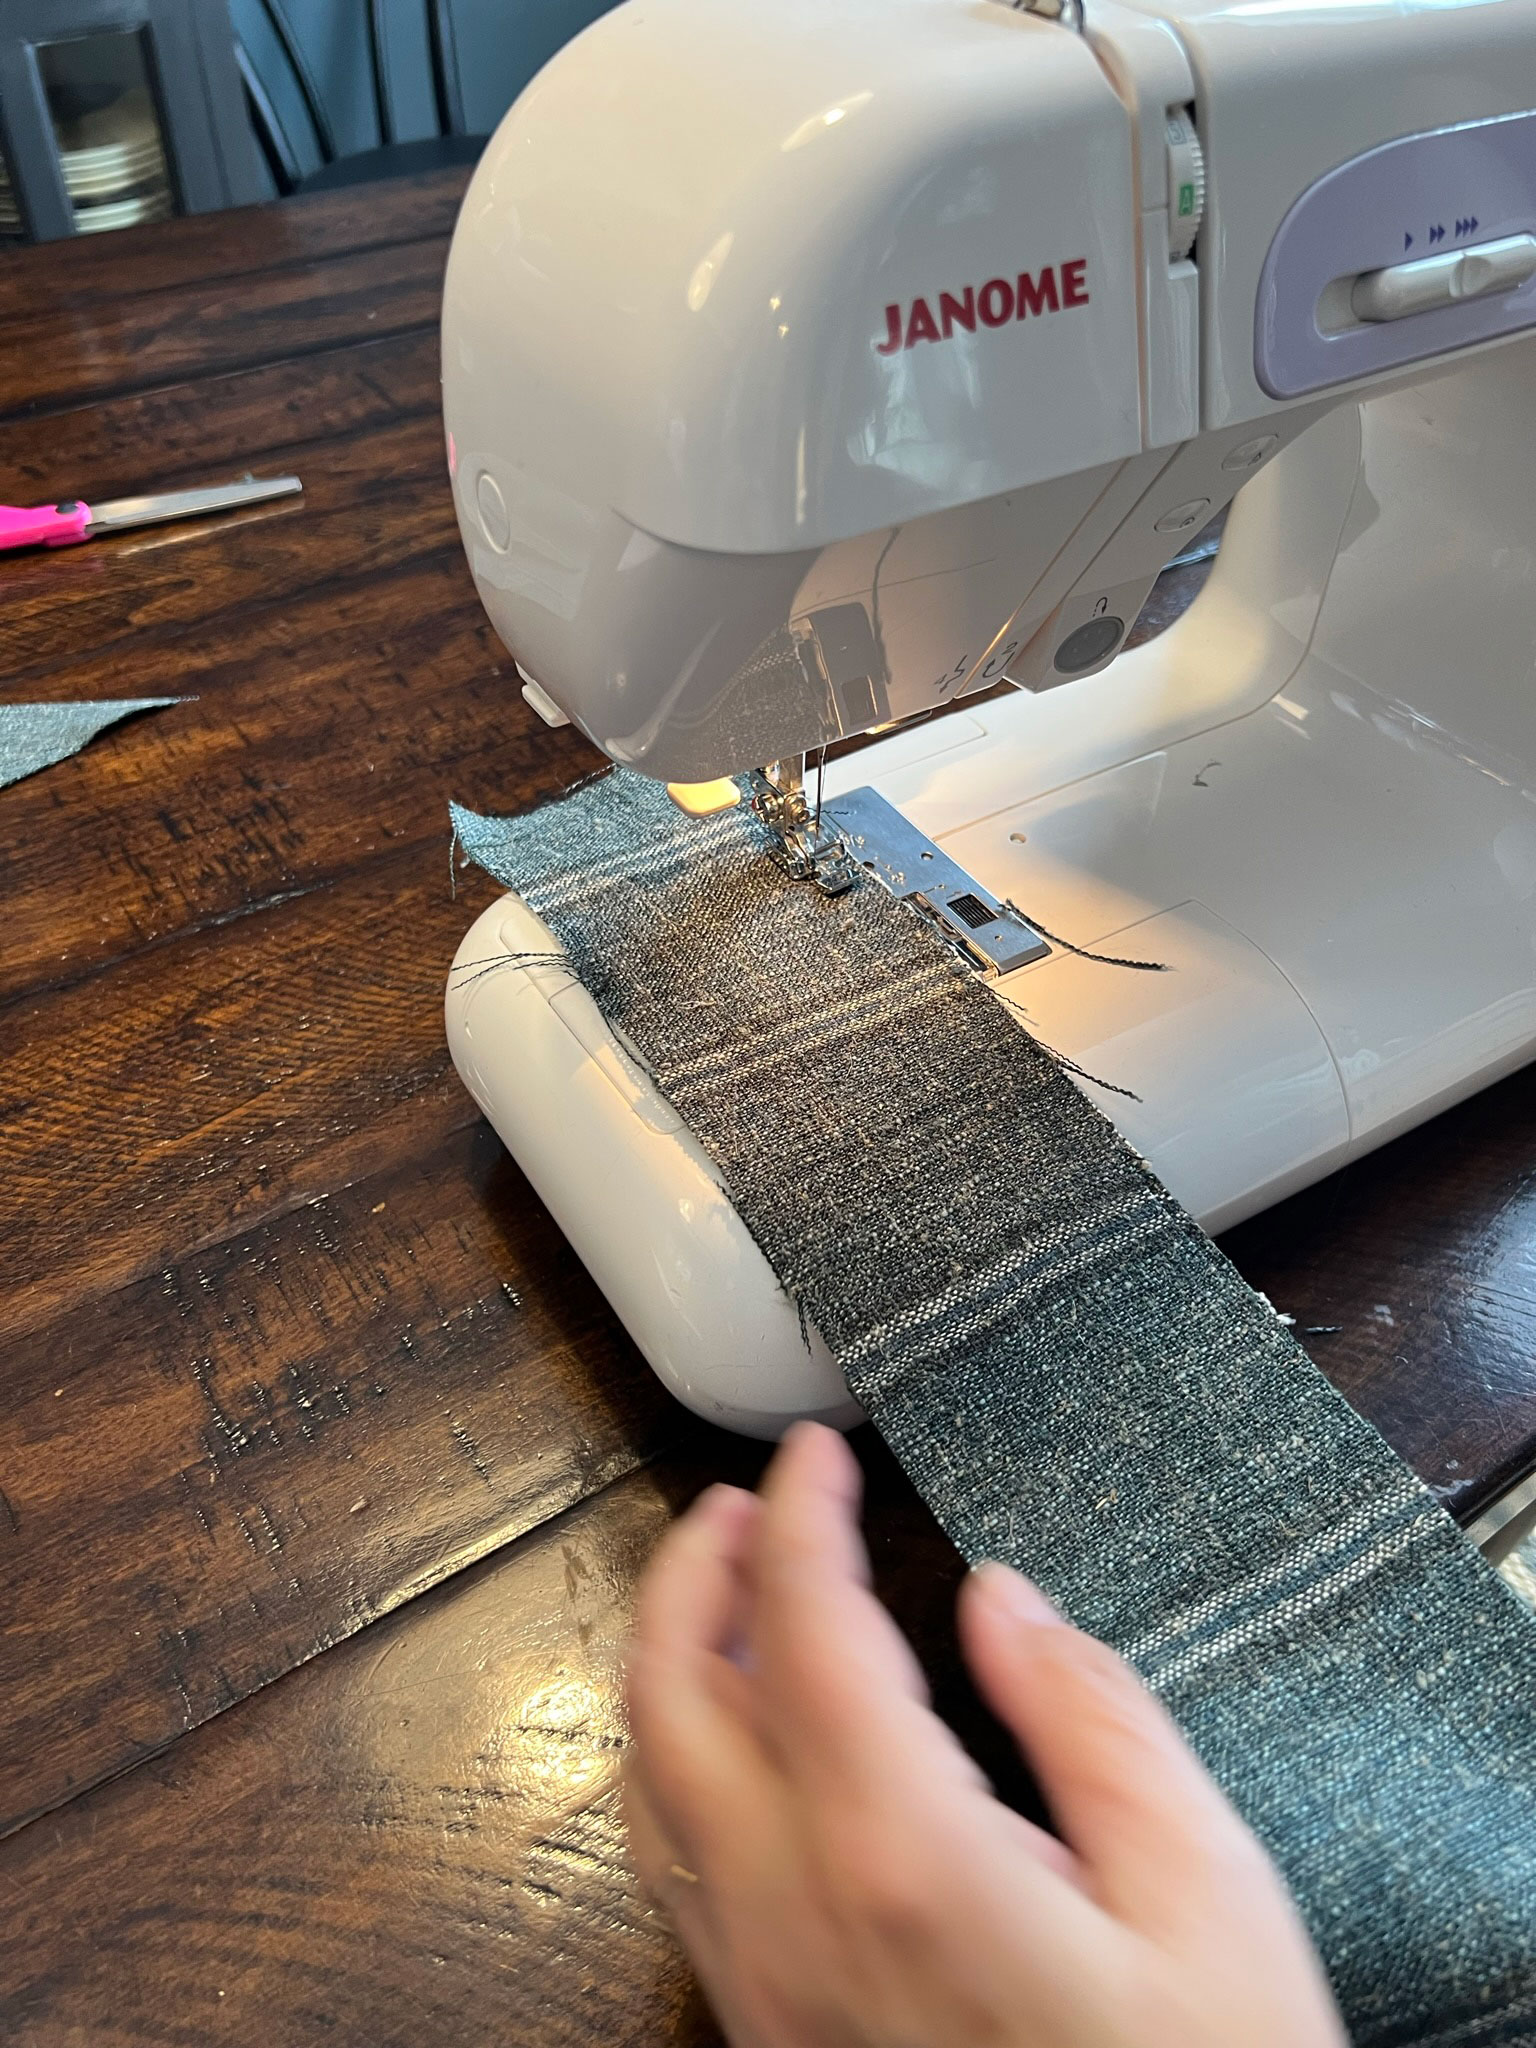
Next, open the zipper. Open the seam and place the right side of the zipper on the right side of the seam you just sewed, face down.
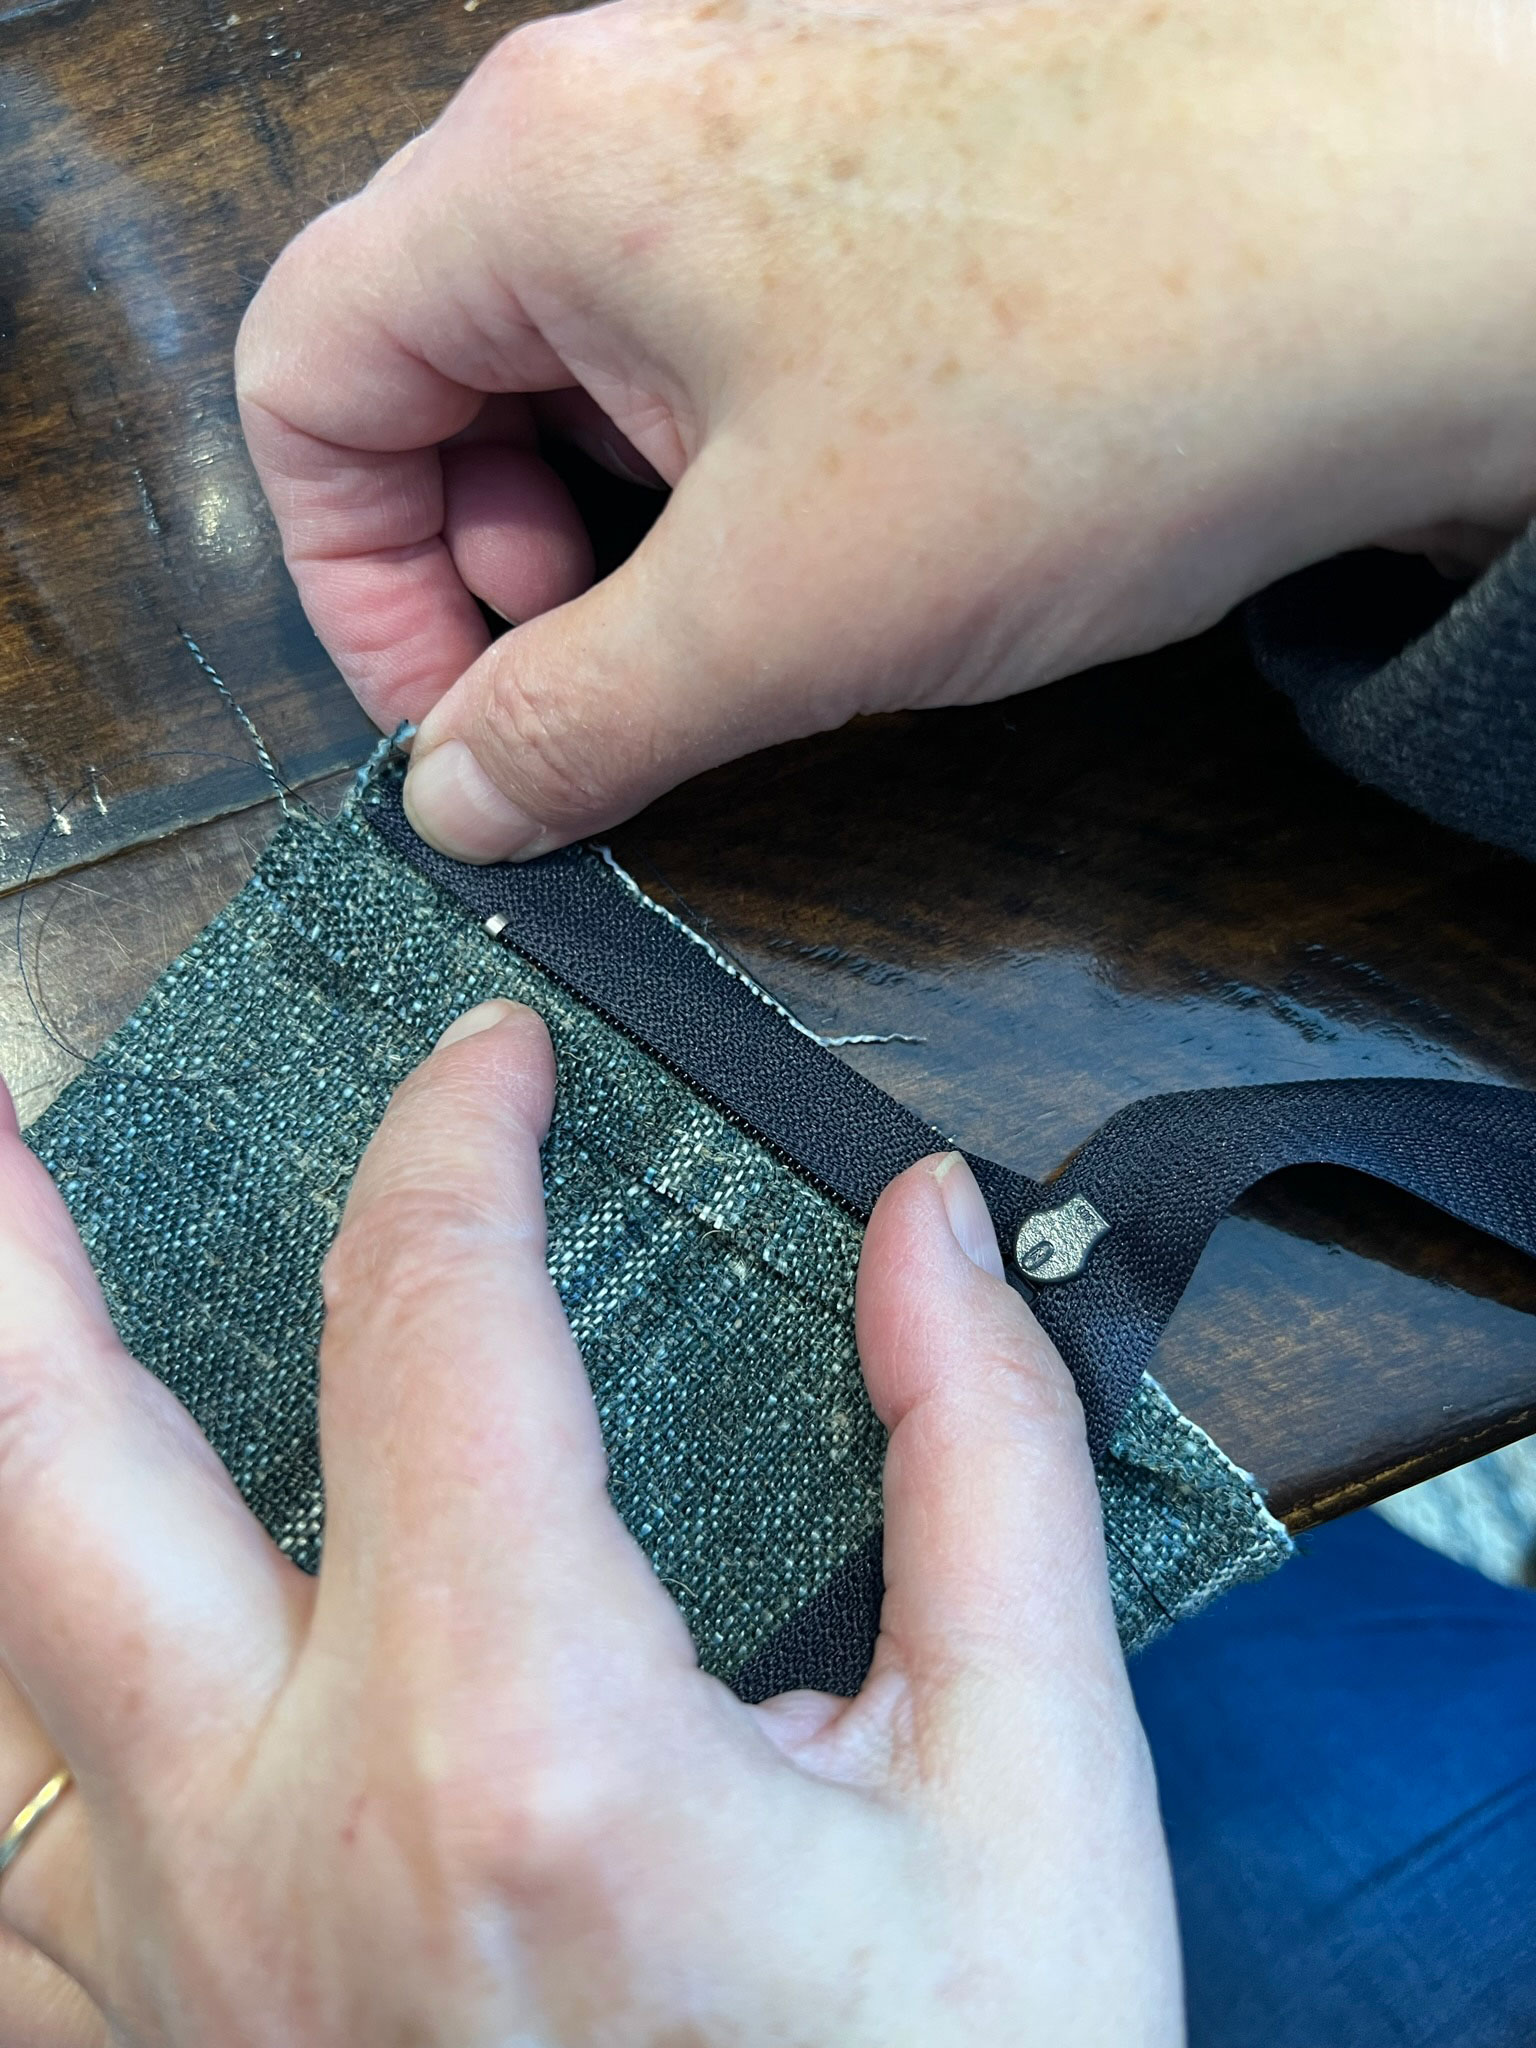
Then, use a zipper foot to sew as close as possible to the right side of the zipper, all the way down the zipper.
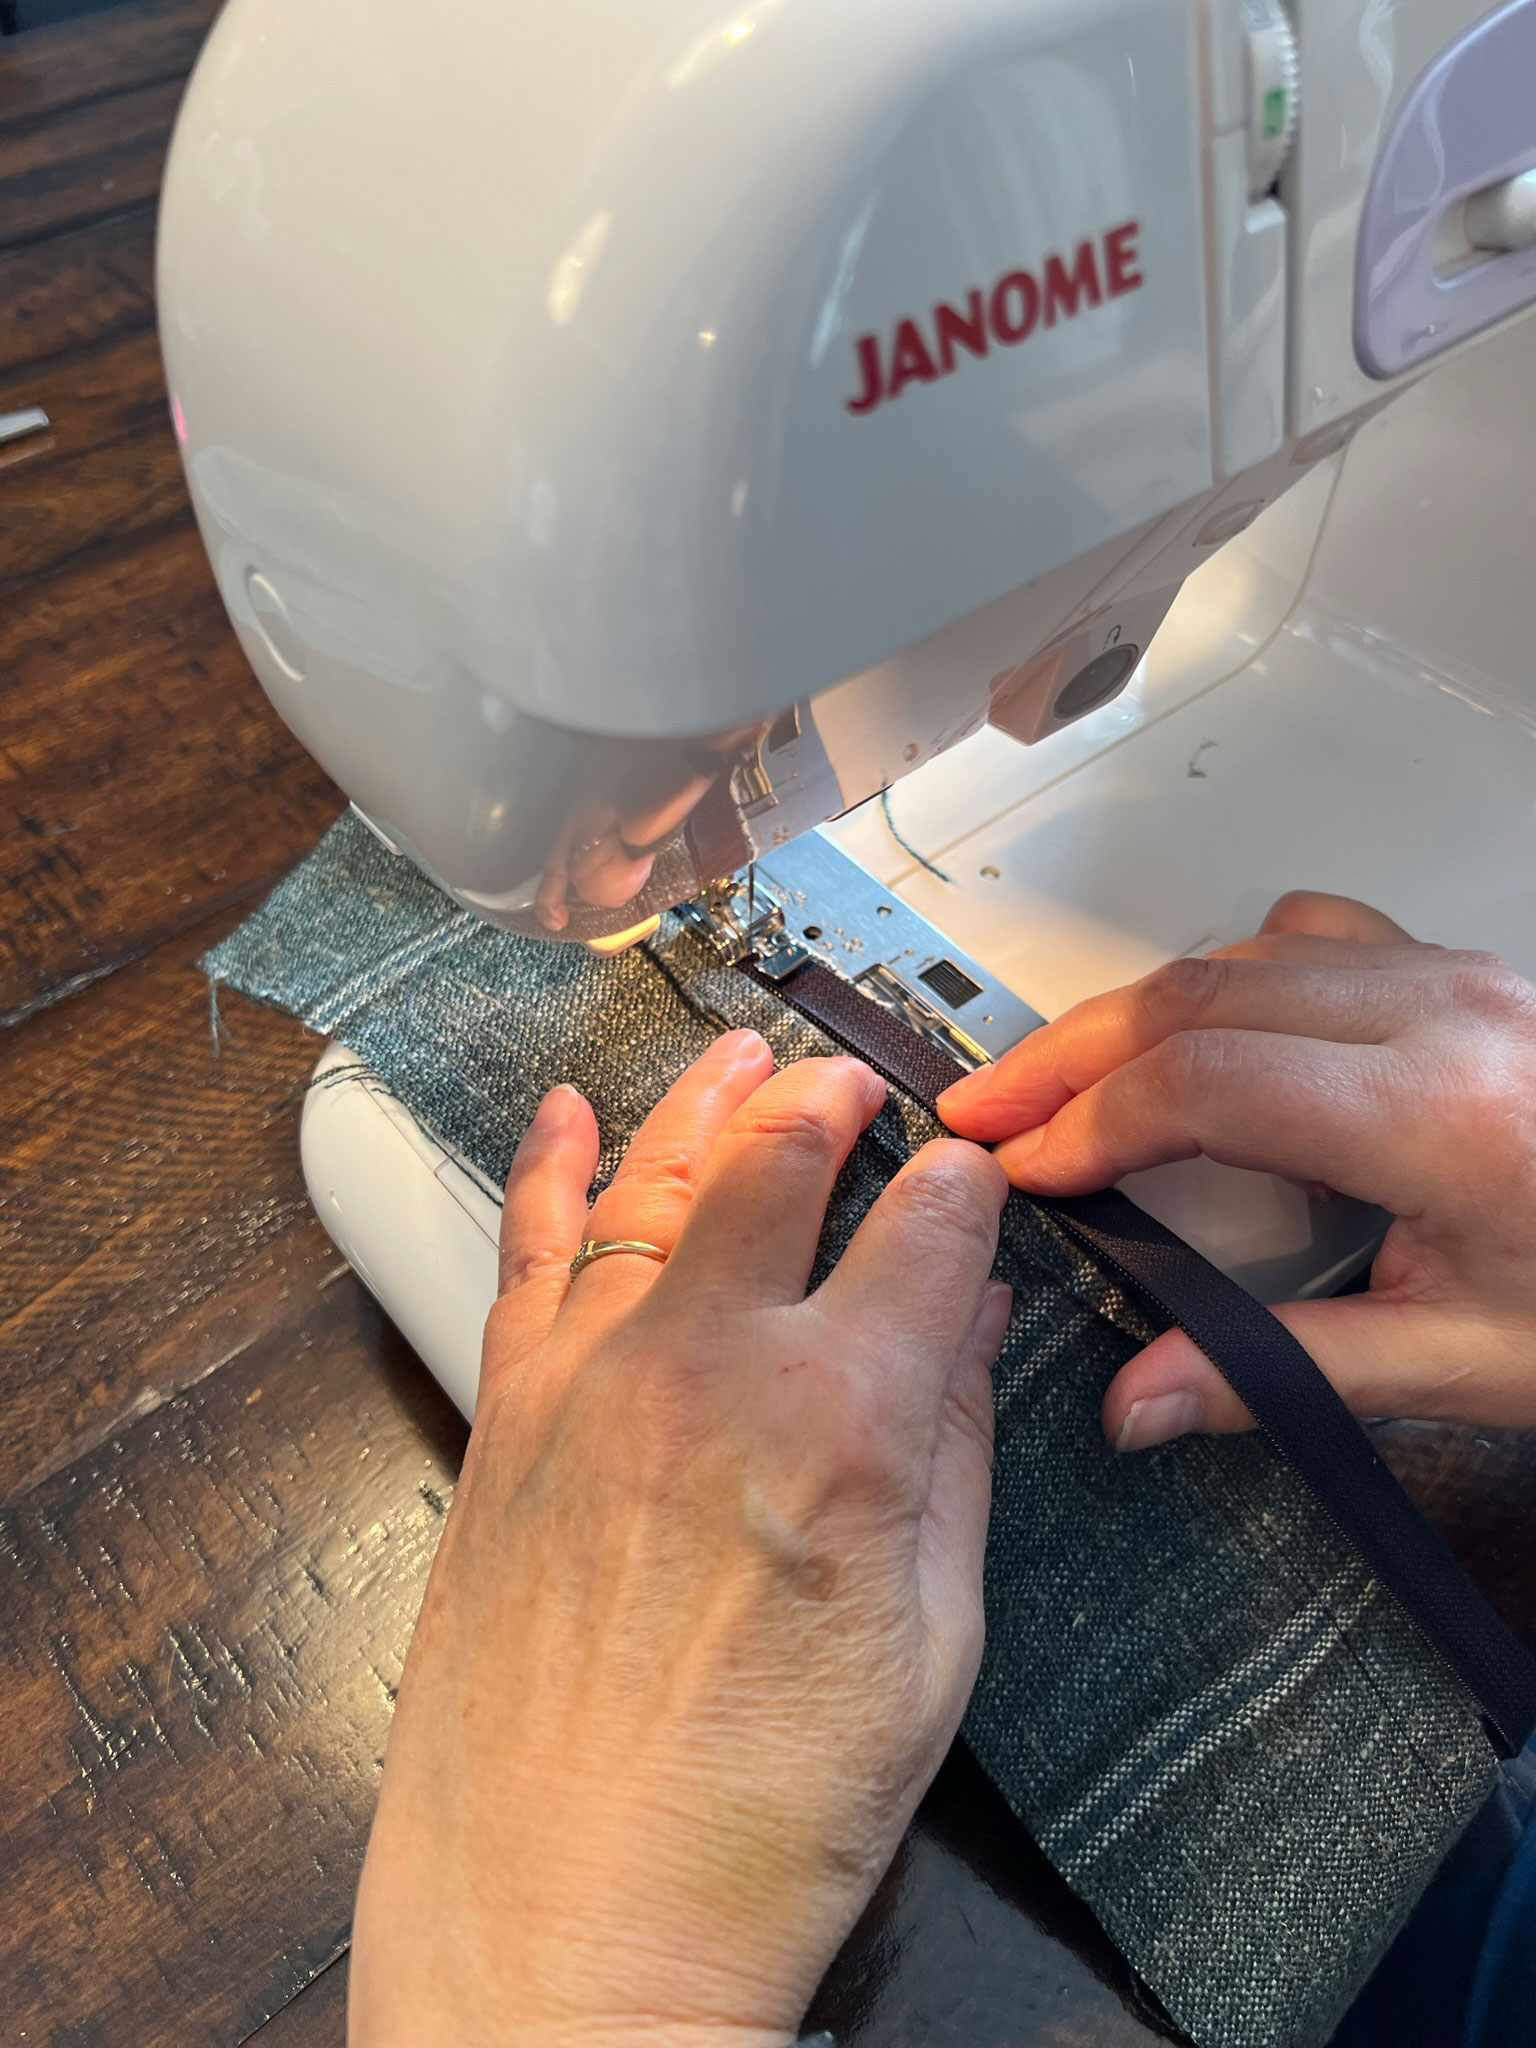
Next, close the zipper. Move your zipper foot to the left side, as you will now be sewing along the left side of the zipper.
Fold the little flap of fabric that was on the left of the zipper you just sewed and stitch that flap down, as close as possible to the zipper with the zipper foot on the left.
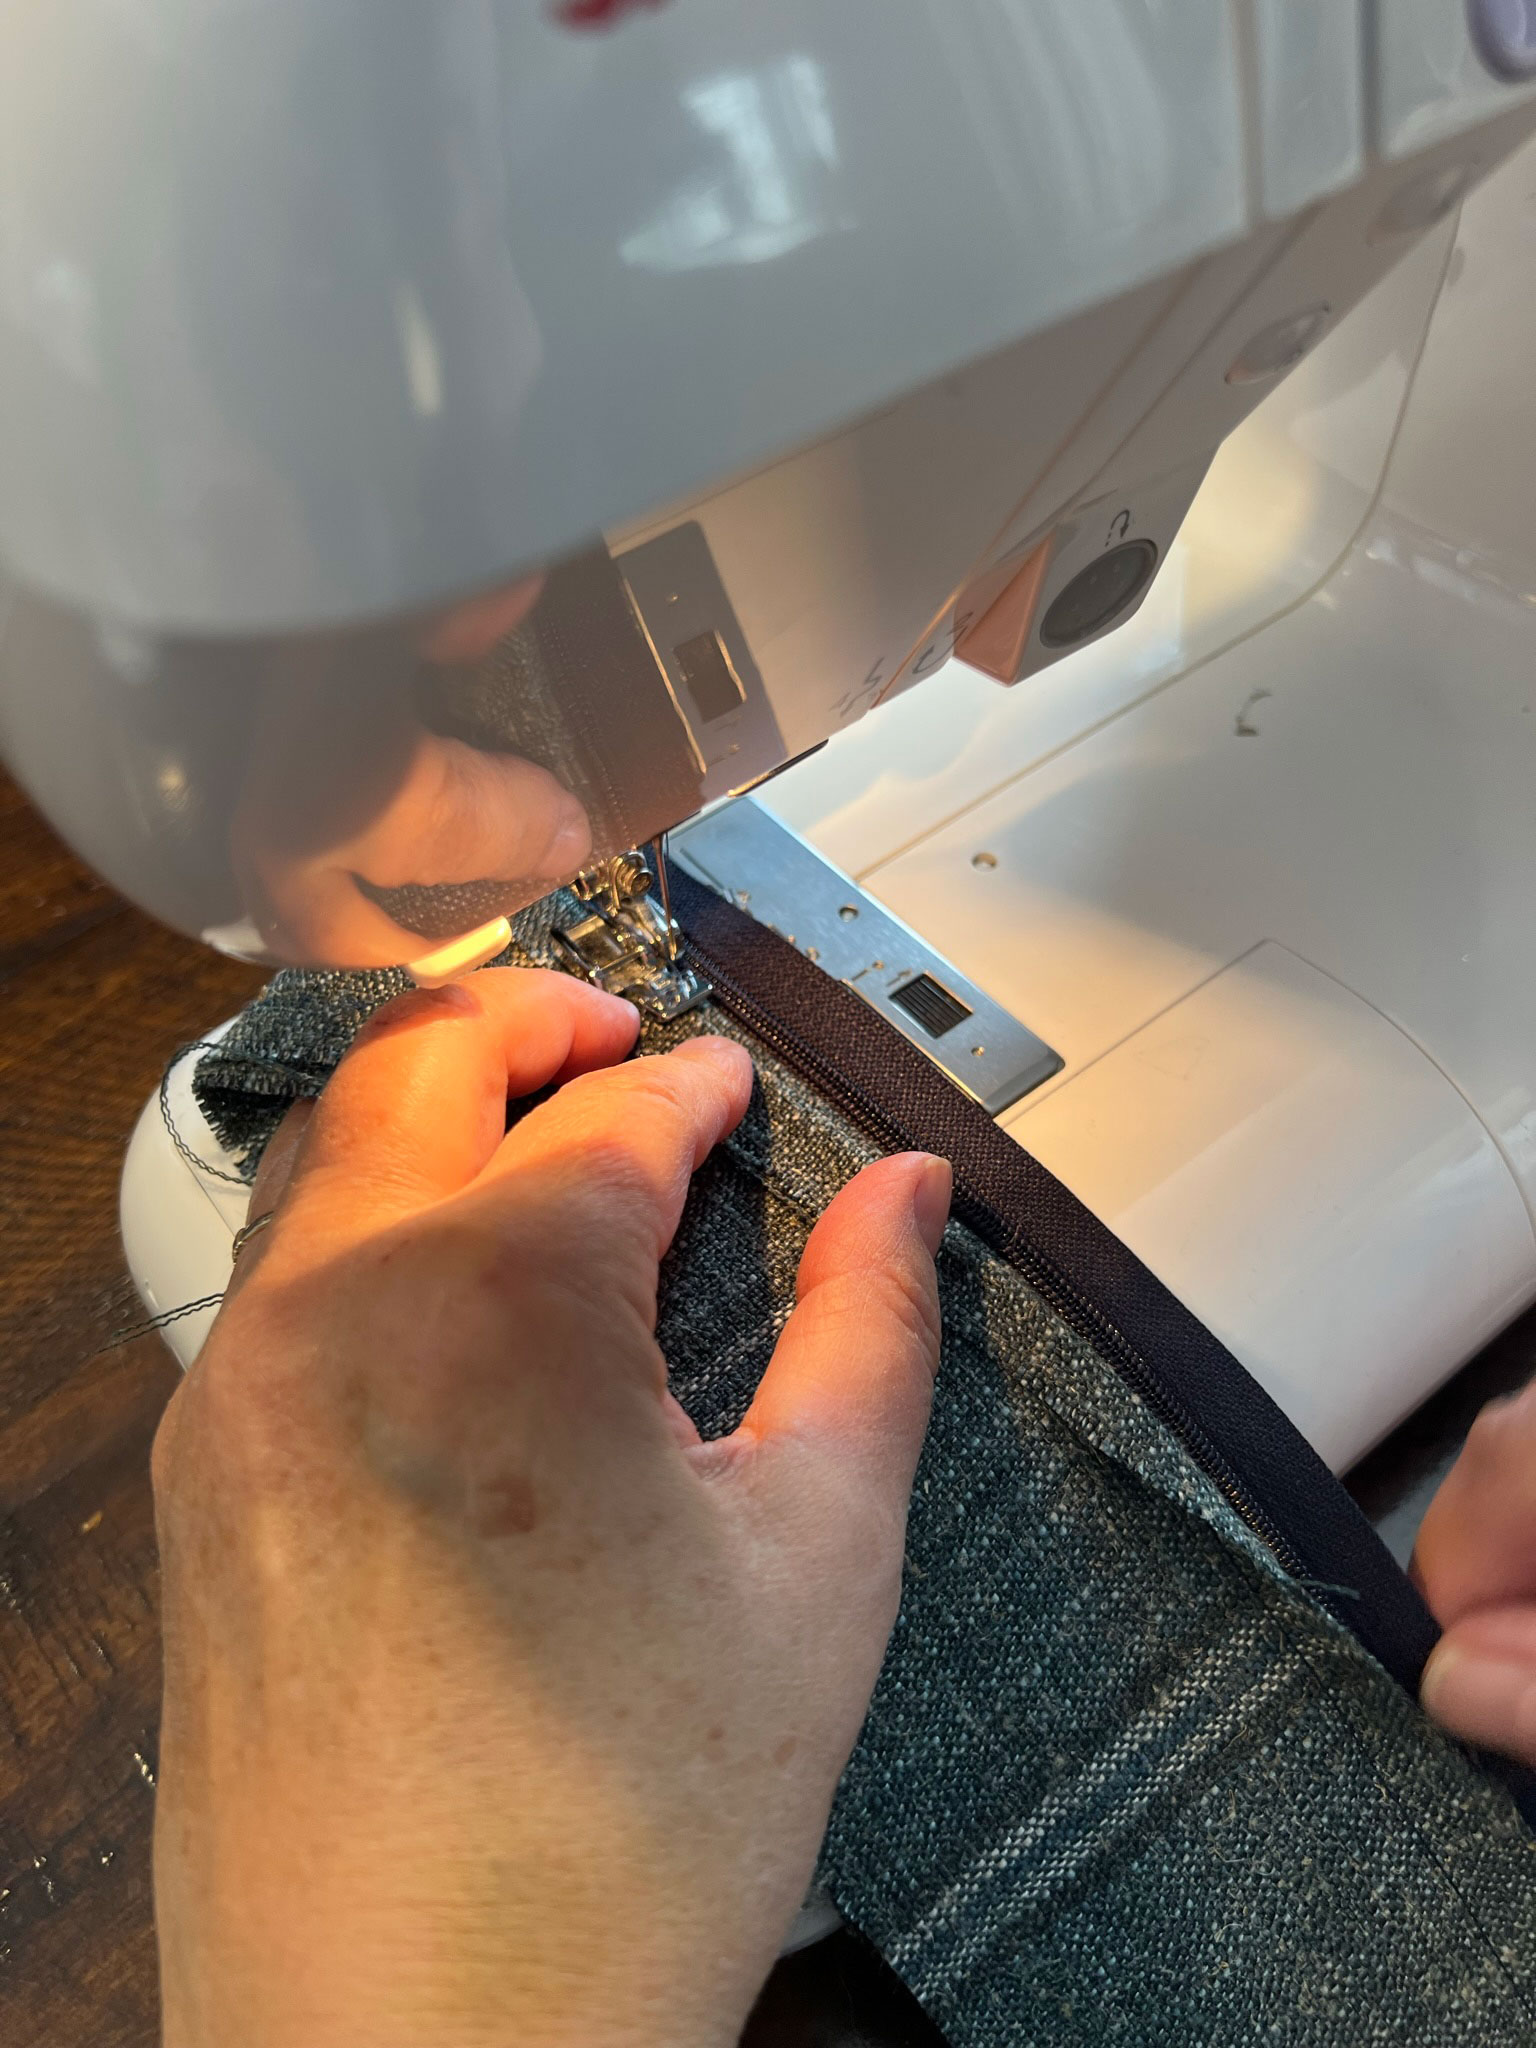
Now, unfold the fabric so the zipper is on the top and the right sides of the fabric are facing down. Sew along the left side of the zipper again, with the zipper foot on the left.
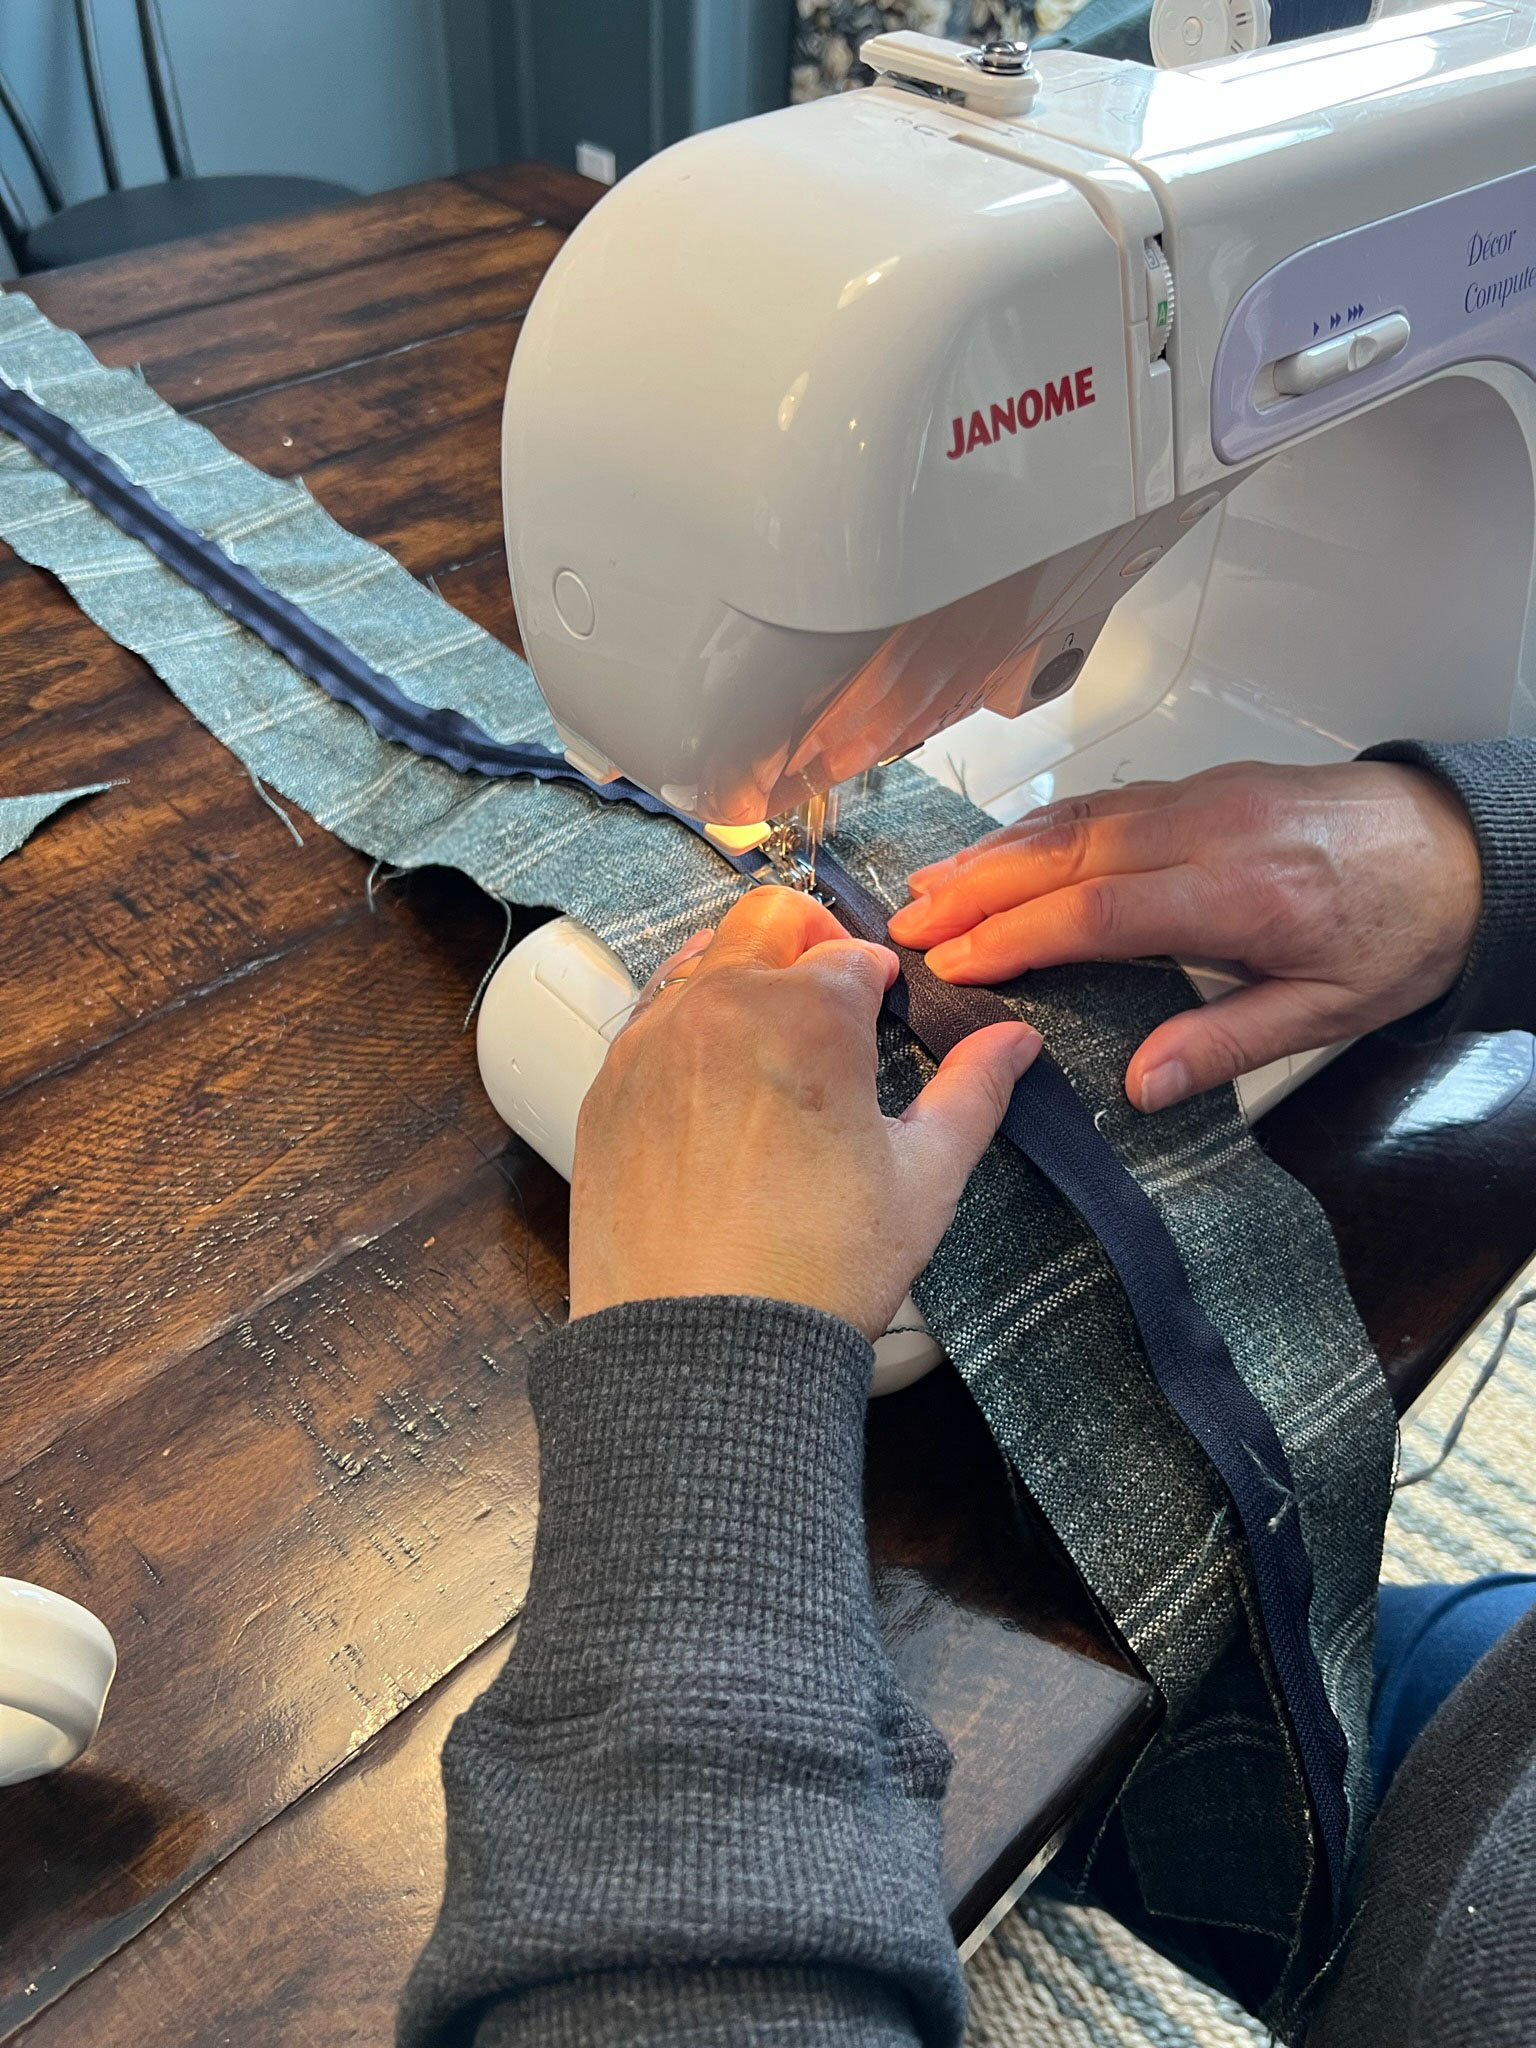
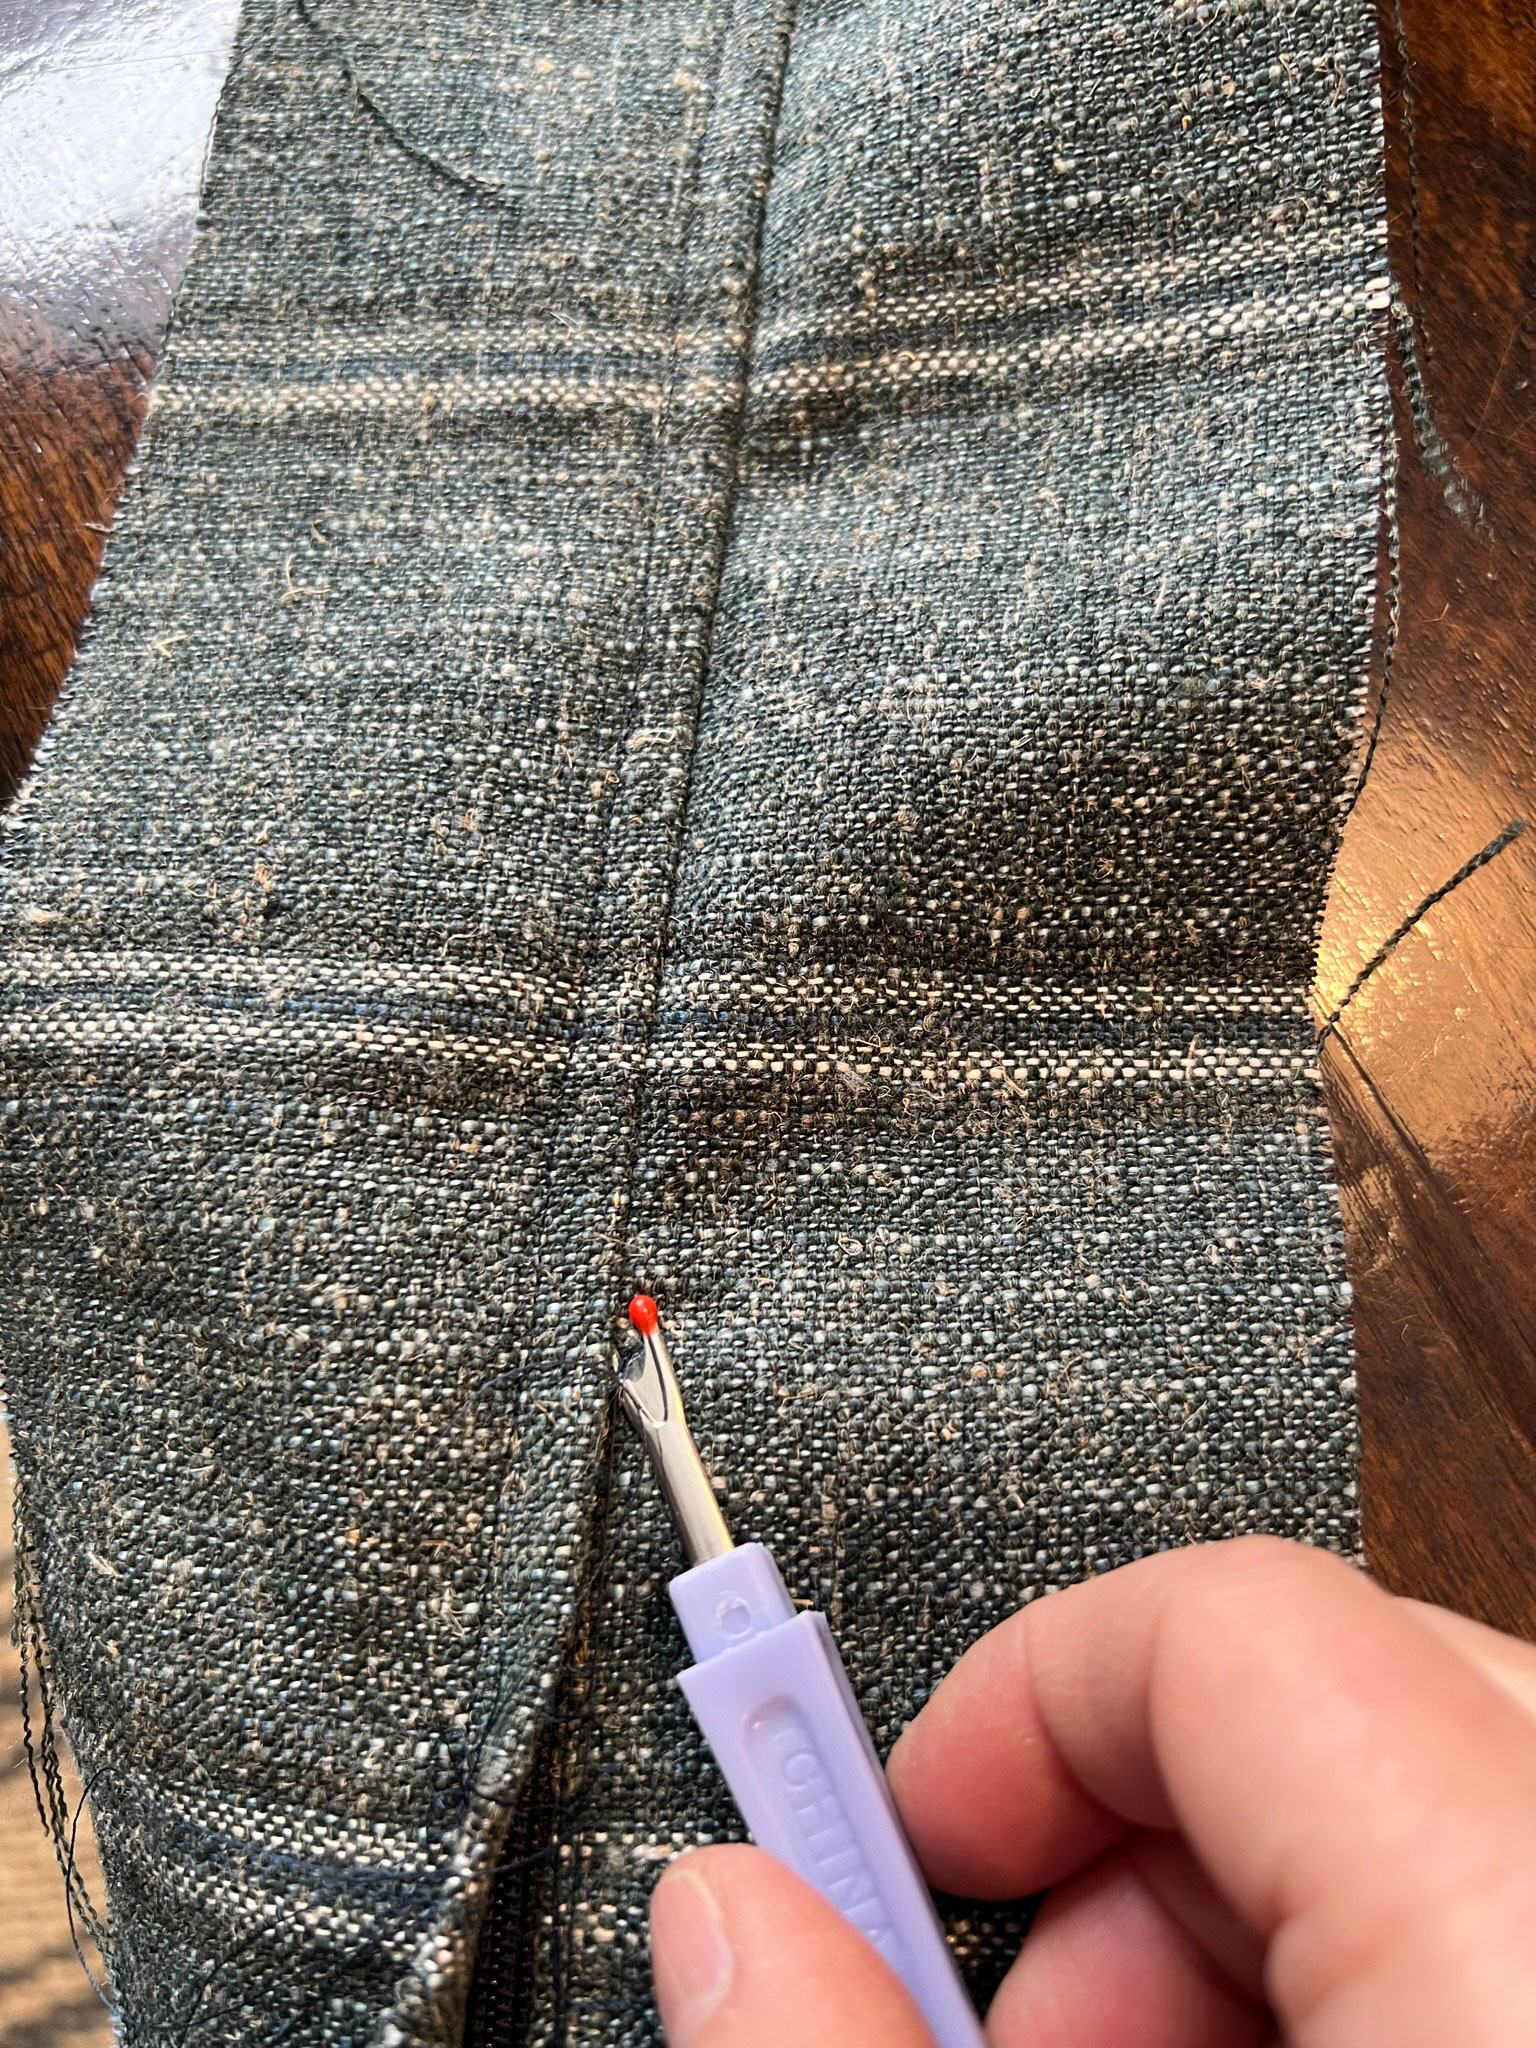
Now if you flip the fabric over you will have a seam that looks like this. All you need to do at this point is to use a seam ripper to remove that basting stitch, and your zipper is hidden inside that little flap! How cool is that!!
Make the Cording
We wanted cording on the edges of the bench cushion so we decided to make our own out of matching fabric. We cut strips of fabric on the bias (or diagonal) because fabric cut on the diagonal has more stretch and it able to go around corners and things easier. This little hack my mom showed me for making this BLEW MY MIND! I’m still trying to figure out what happened lol.
If this seems too confusing, you can always just cut the strips out and sew them together!
If you are going to make cording, make sure you order enough fabric, I ordered an extra metre for this.
My mom had these directions printed out from an old quilting course she took which showed how to cut a long strip of bias fabric out of a square of fabric. This is what we used to make the bias tape. I took a few photos of each step, but you can also follow these directions:
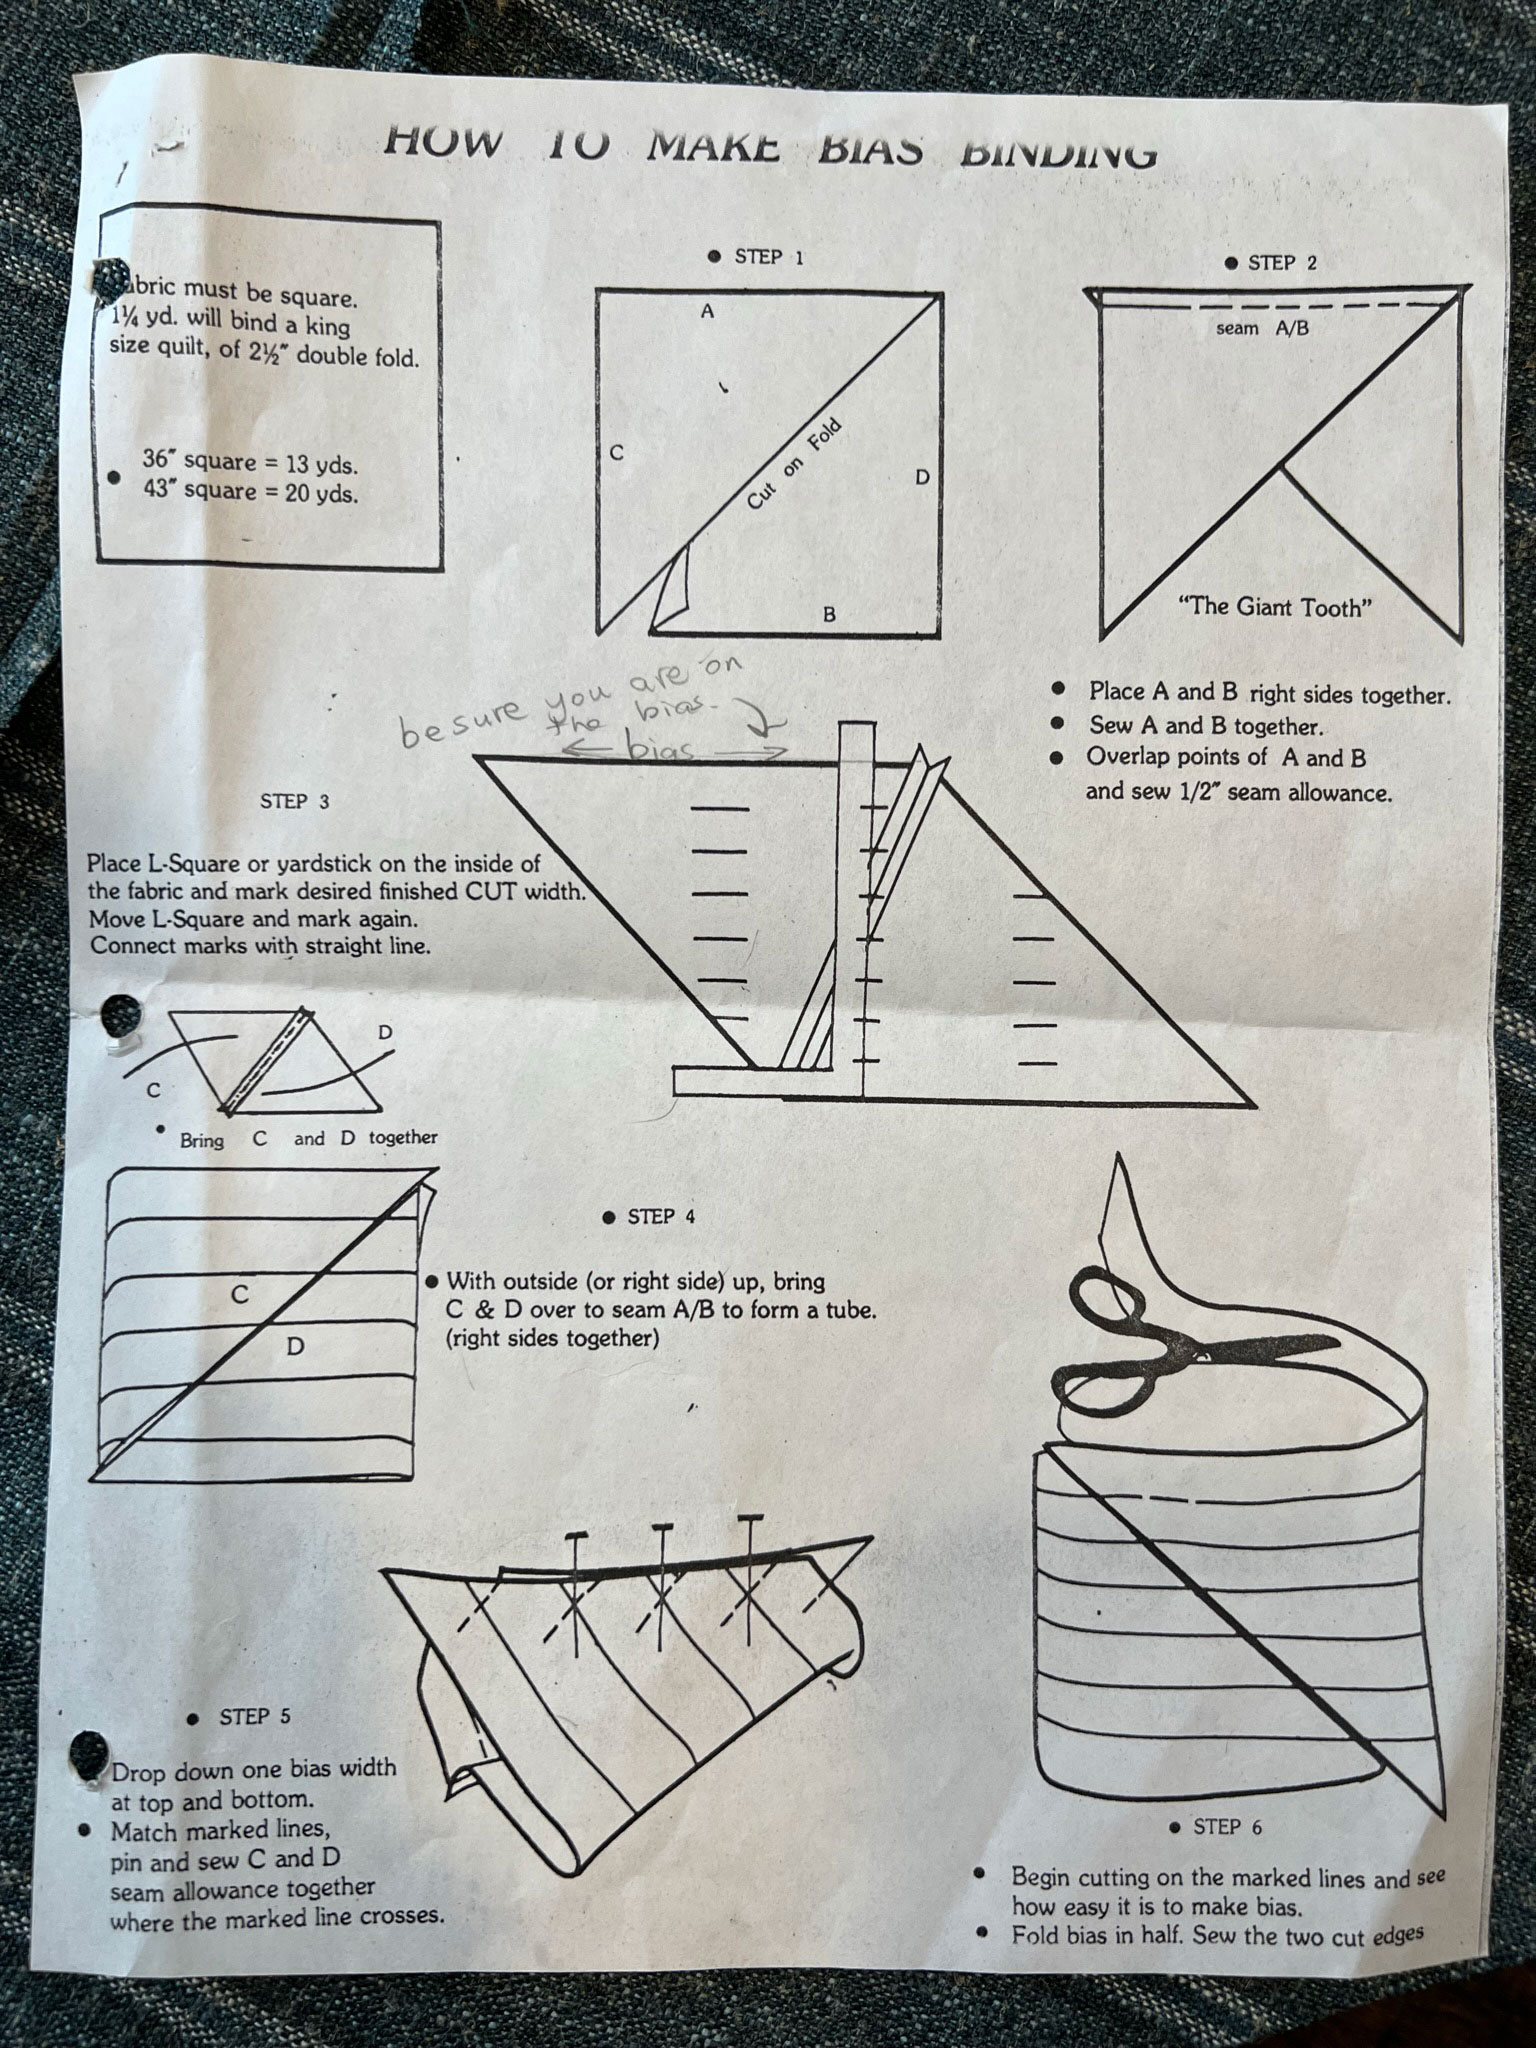
Cut a square of fabric. We cut ours 36″ so we would have 13 yards of cording at the end.
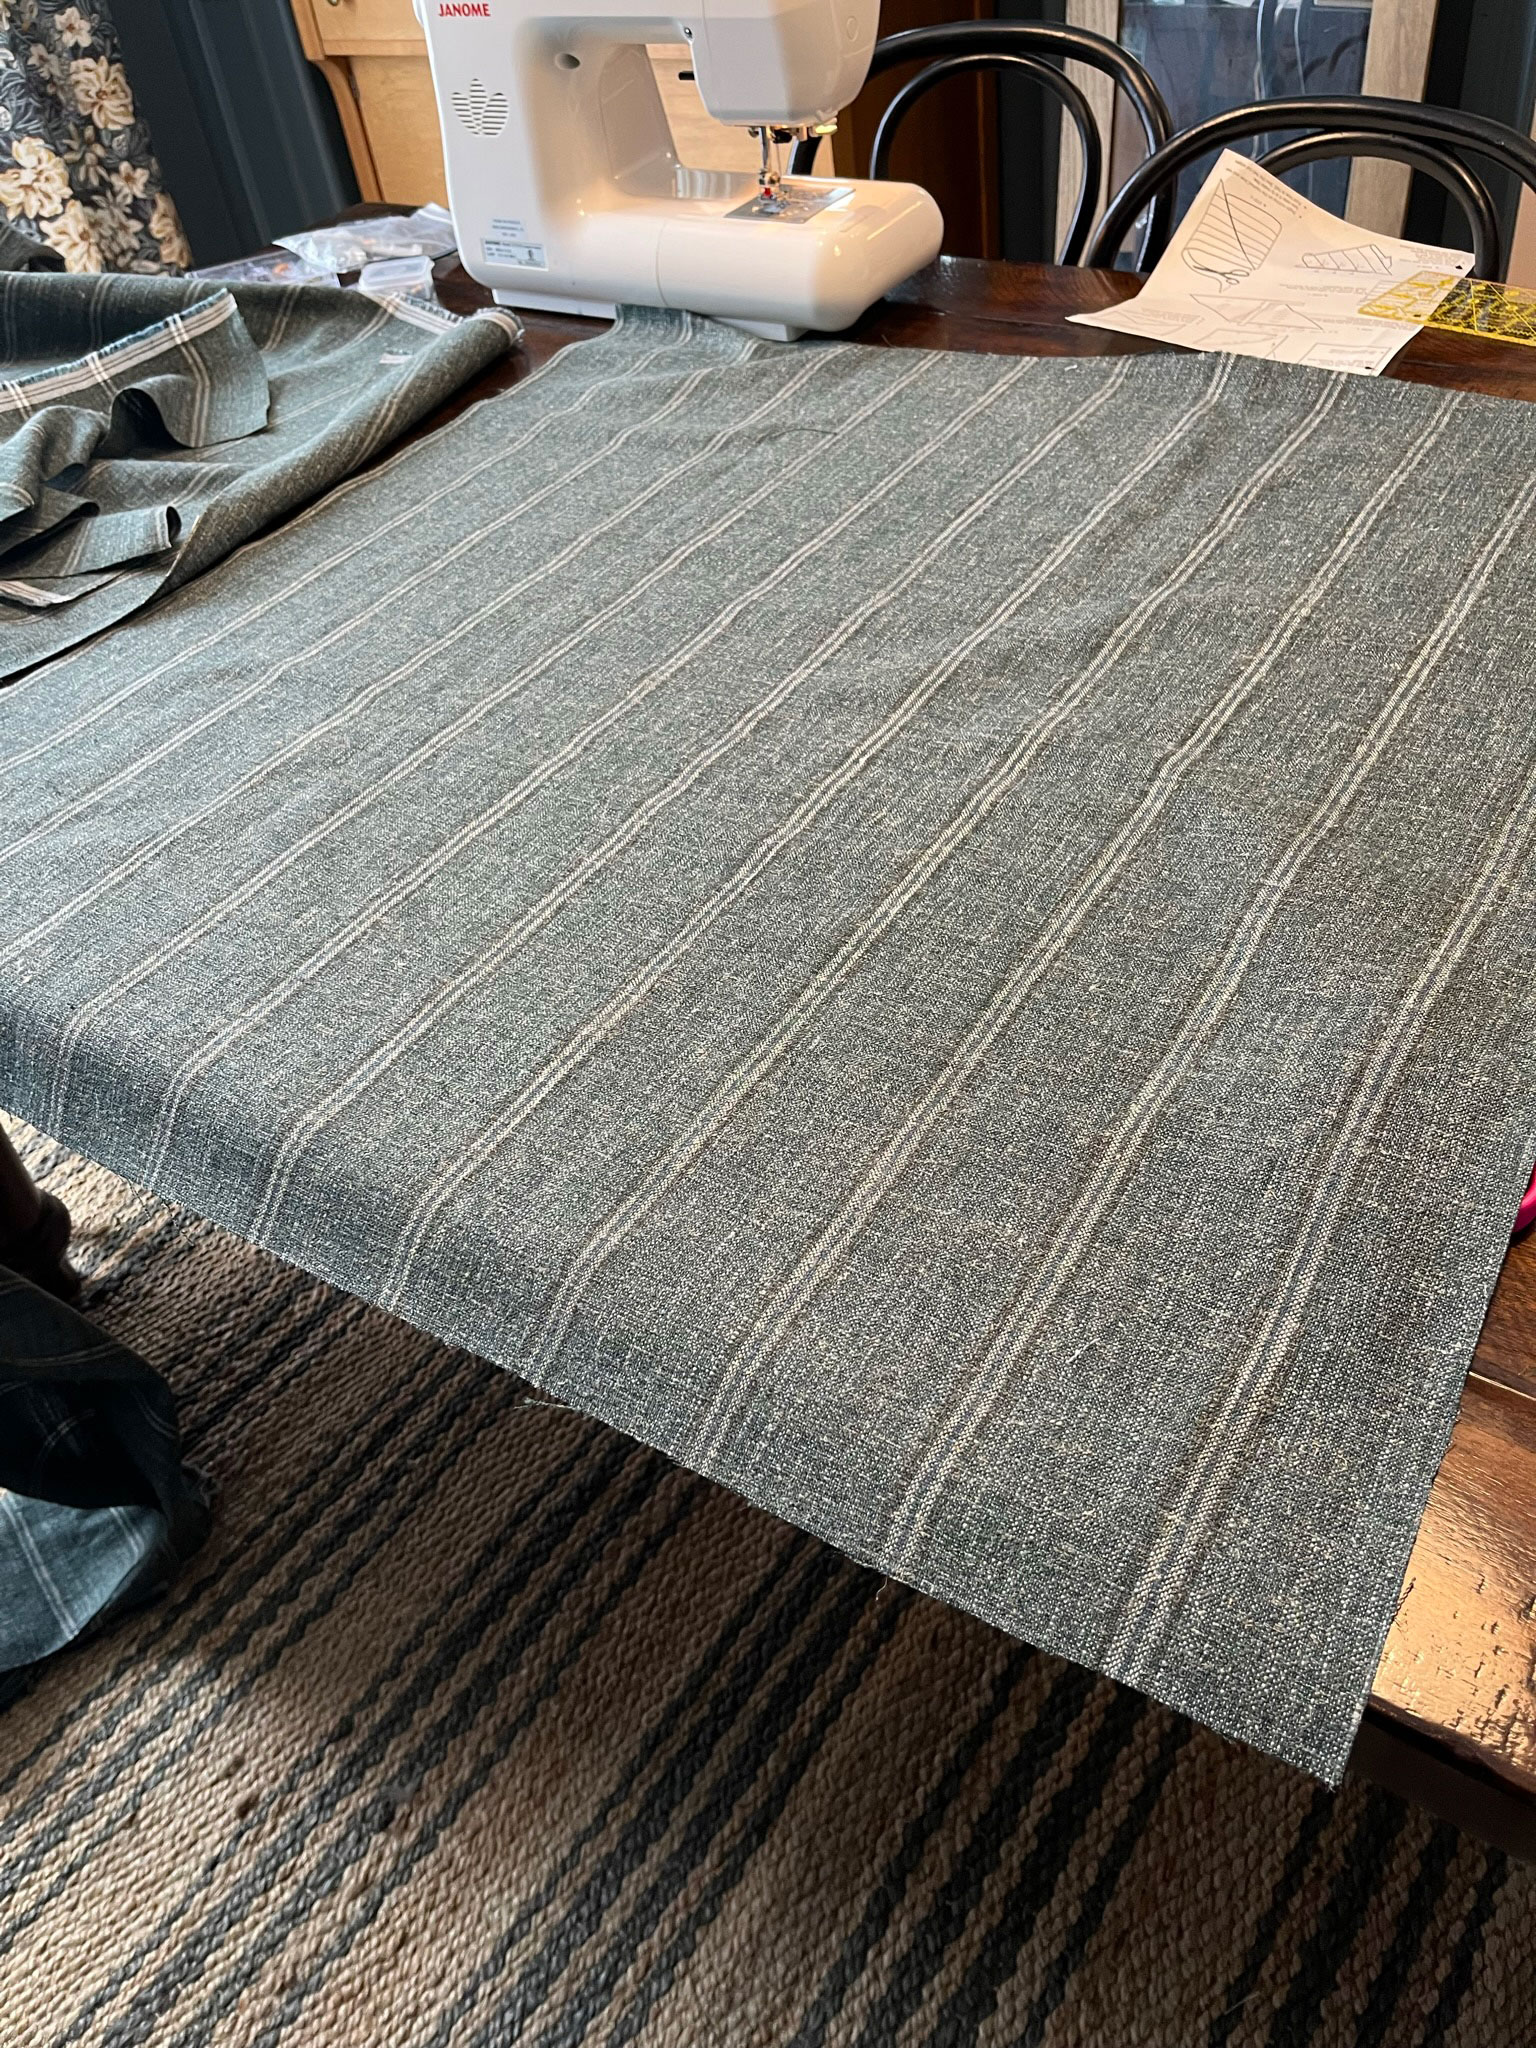
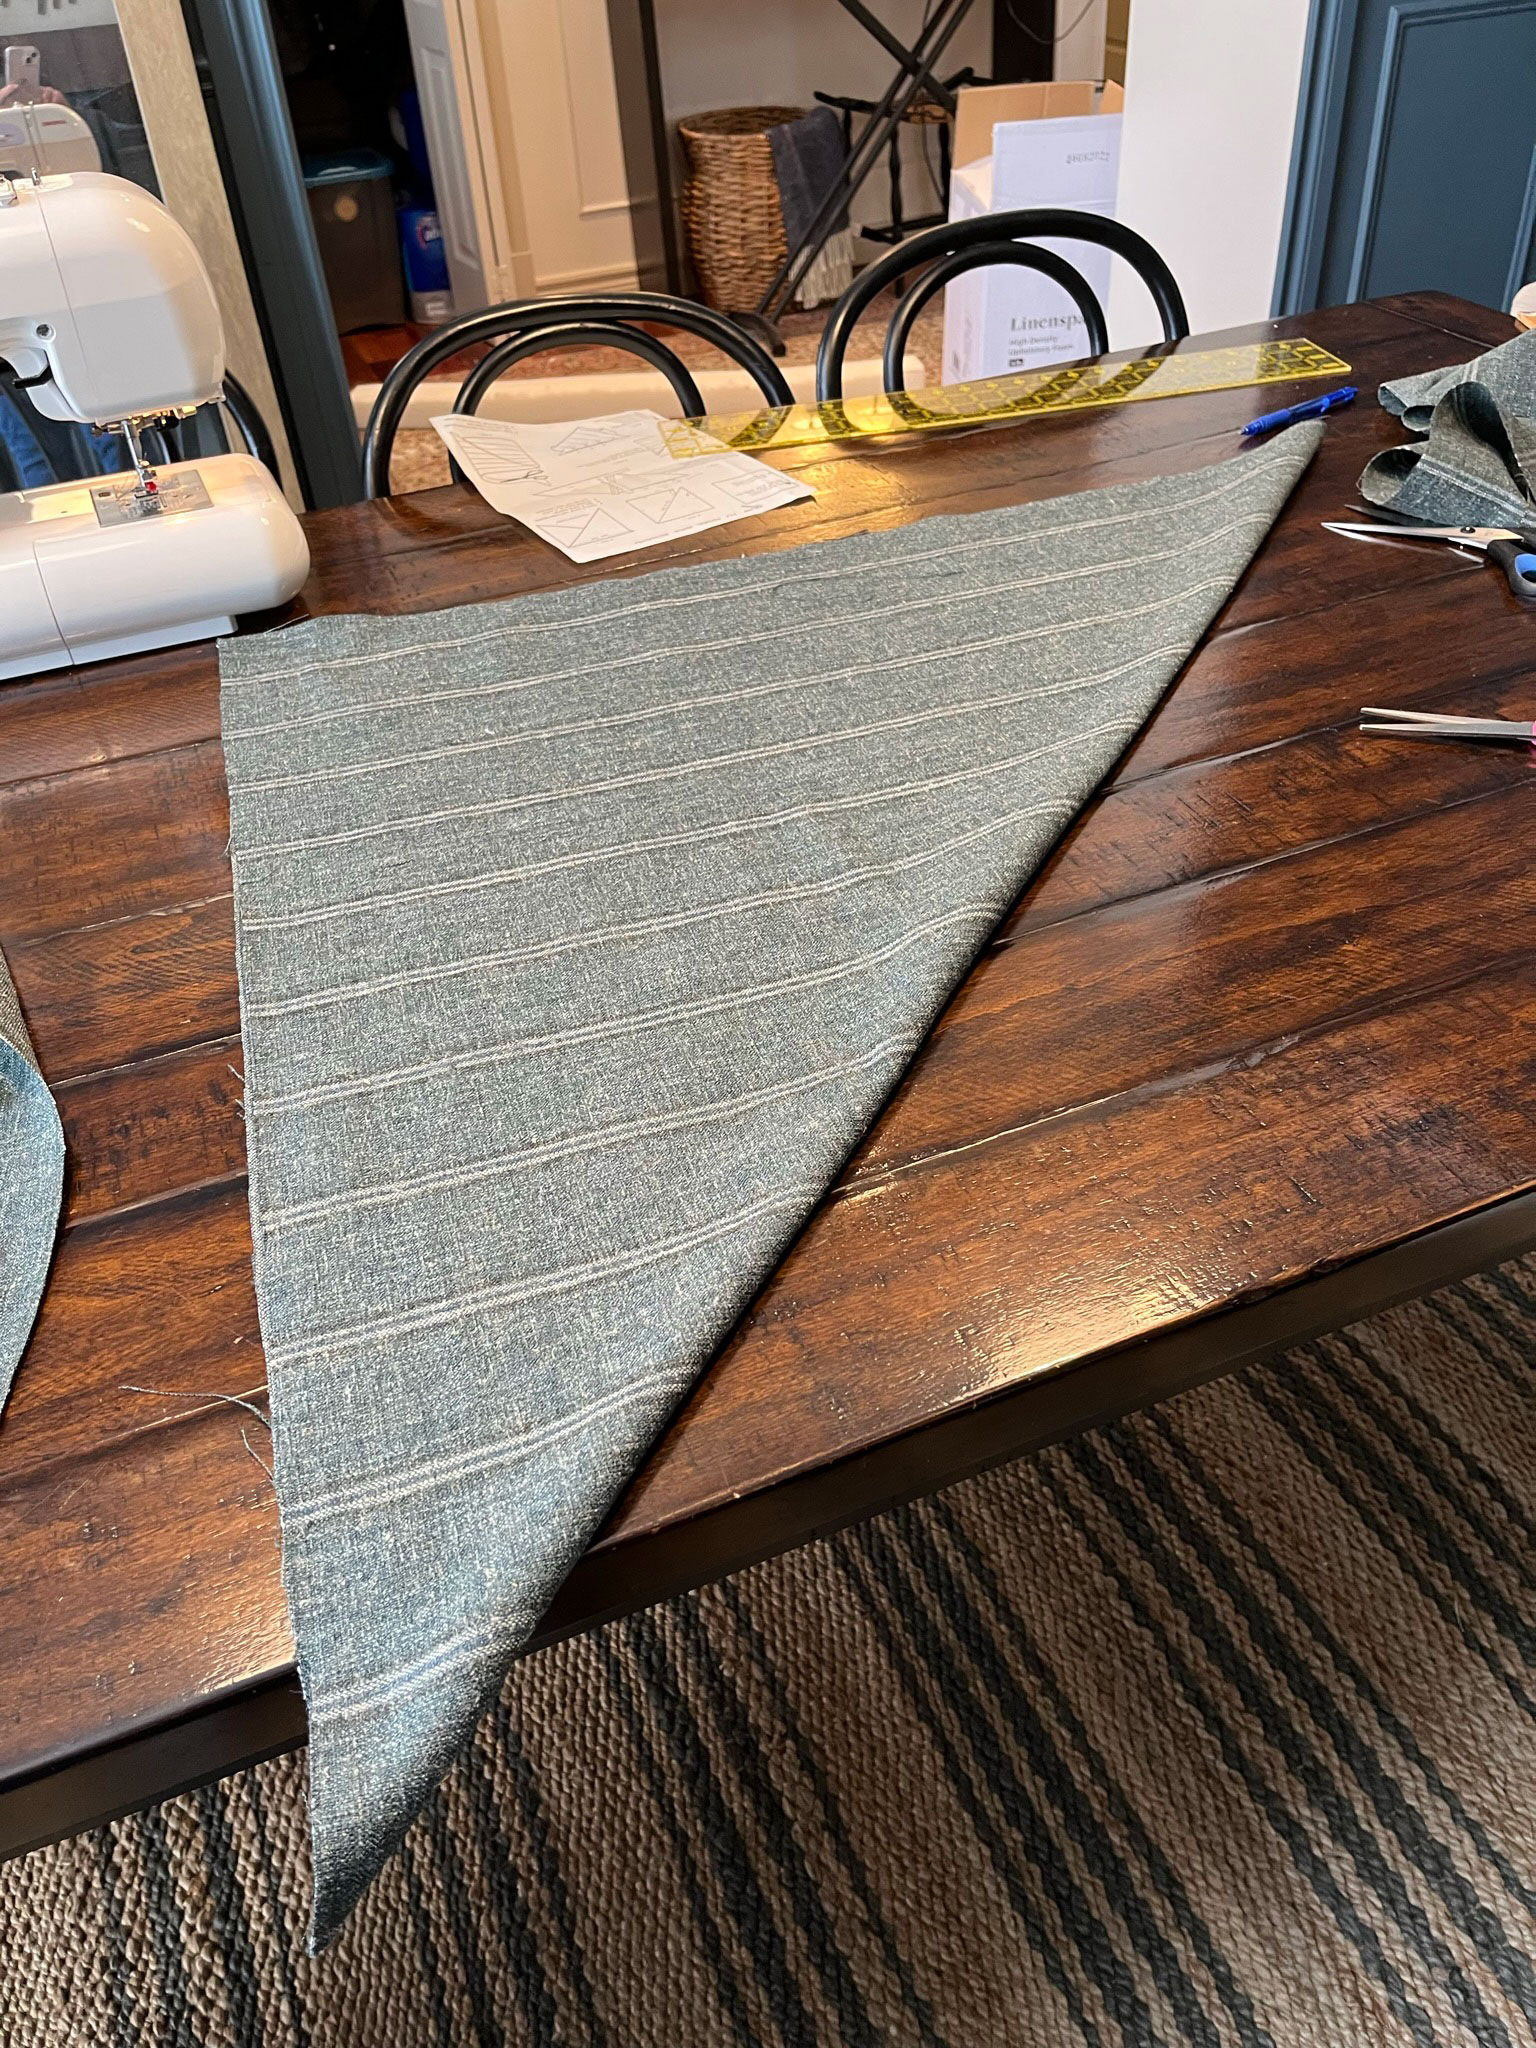
Fold the square in half and cut along the diagonal.
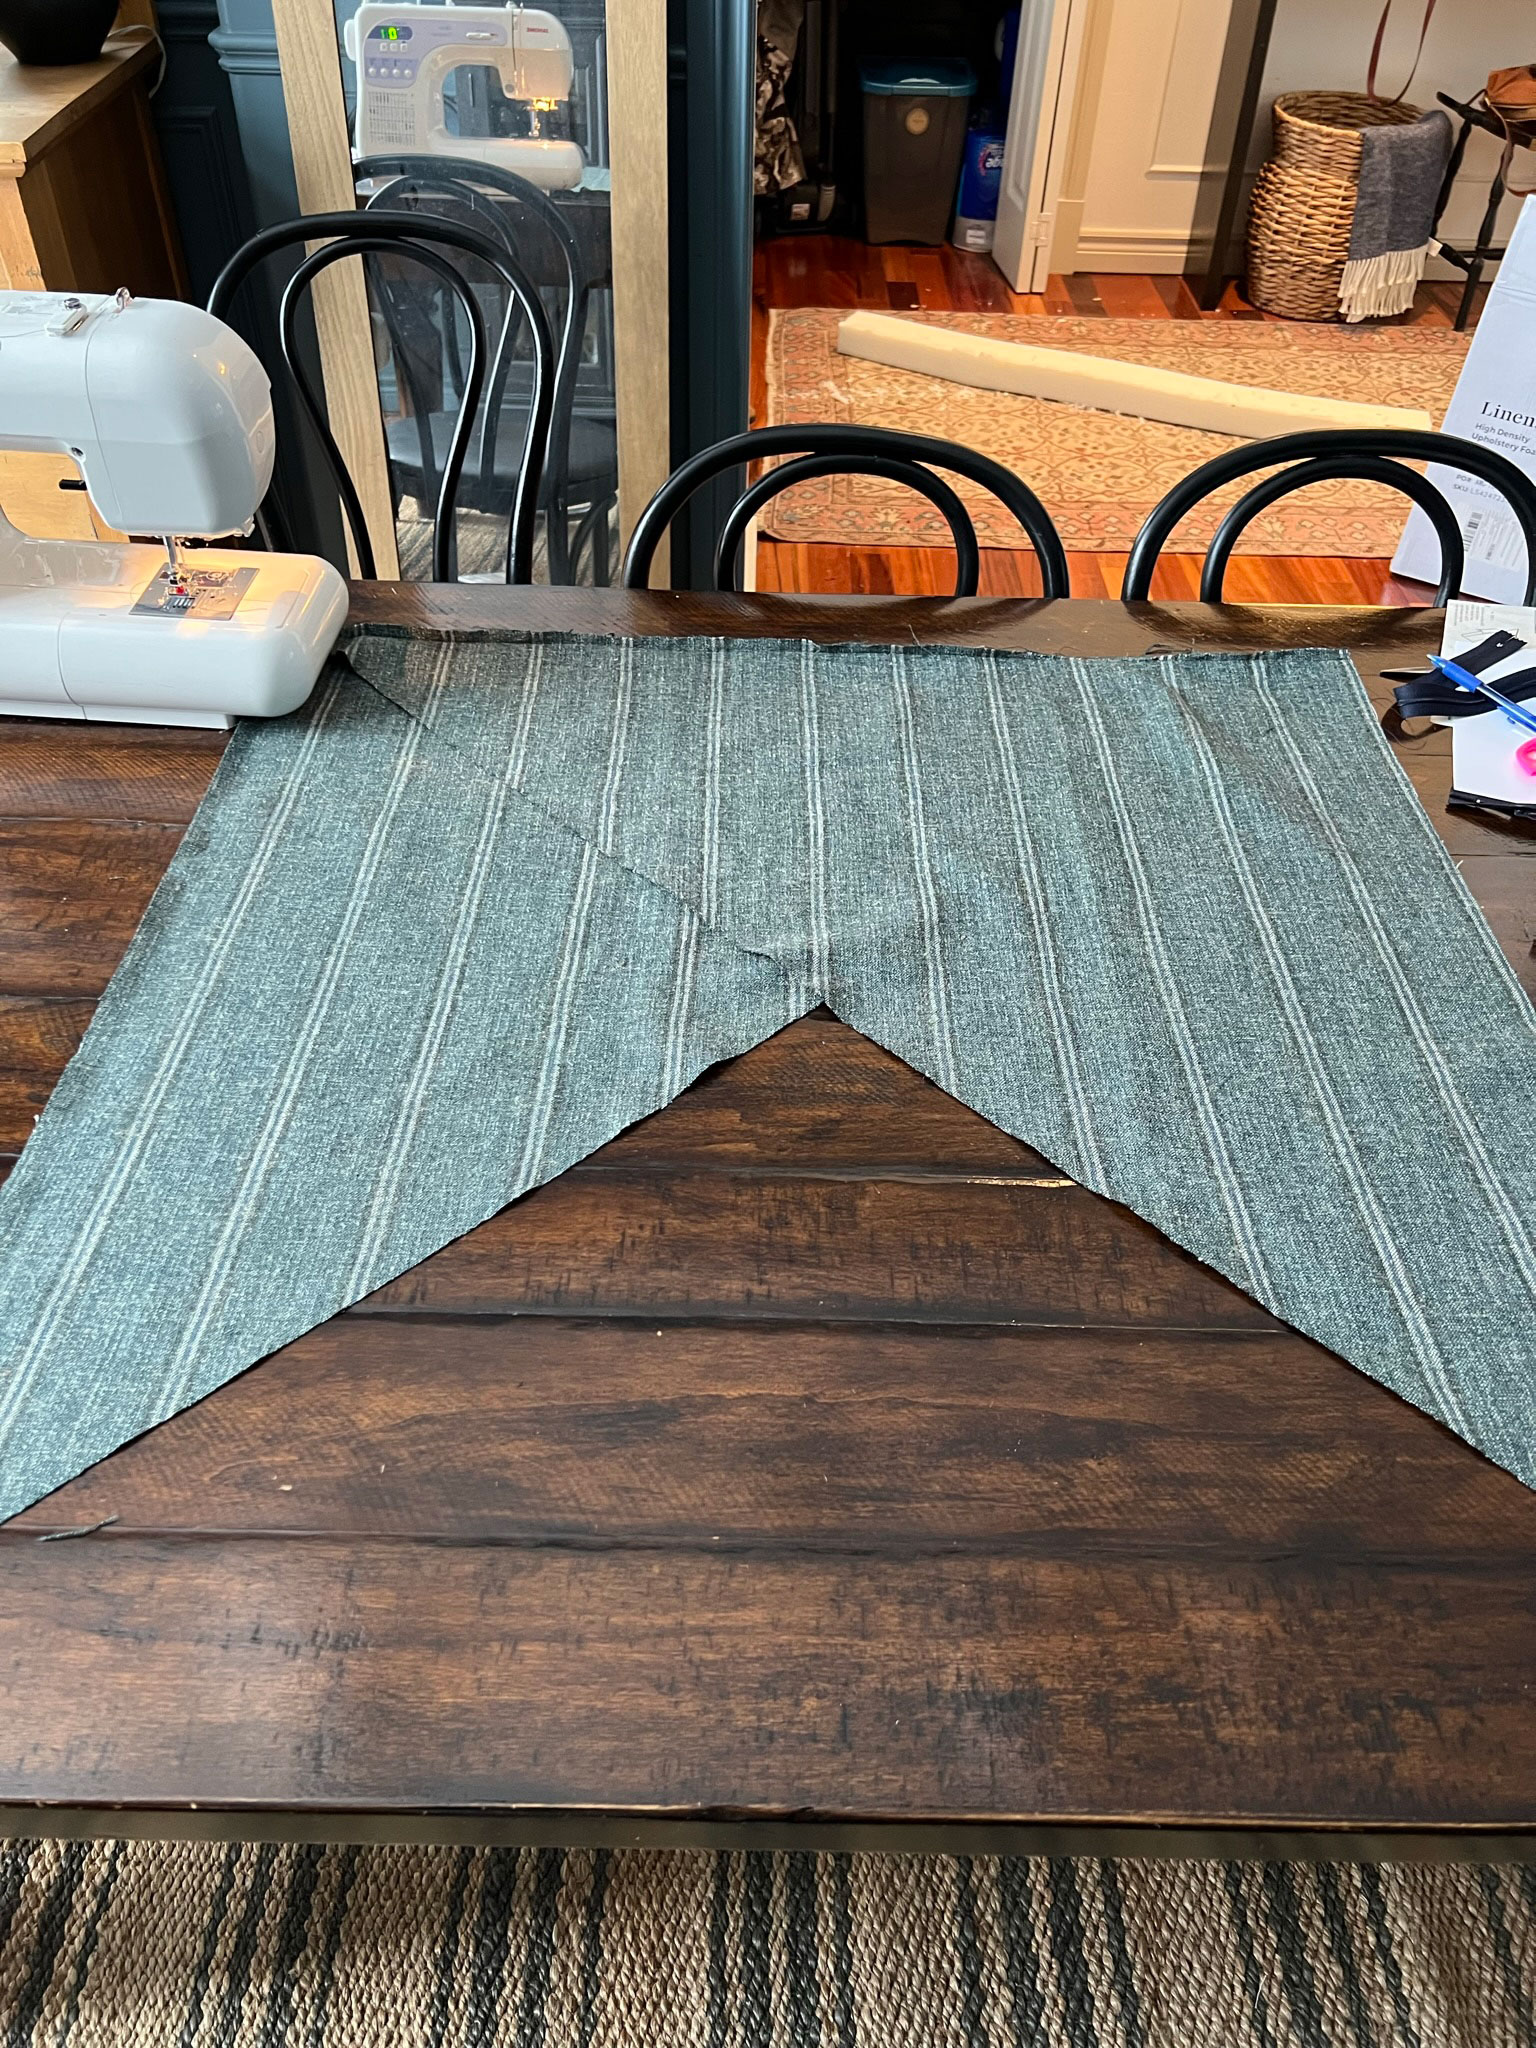
Lay the fabric like this to make a big “tooth”. Sew along that top edge.
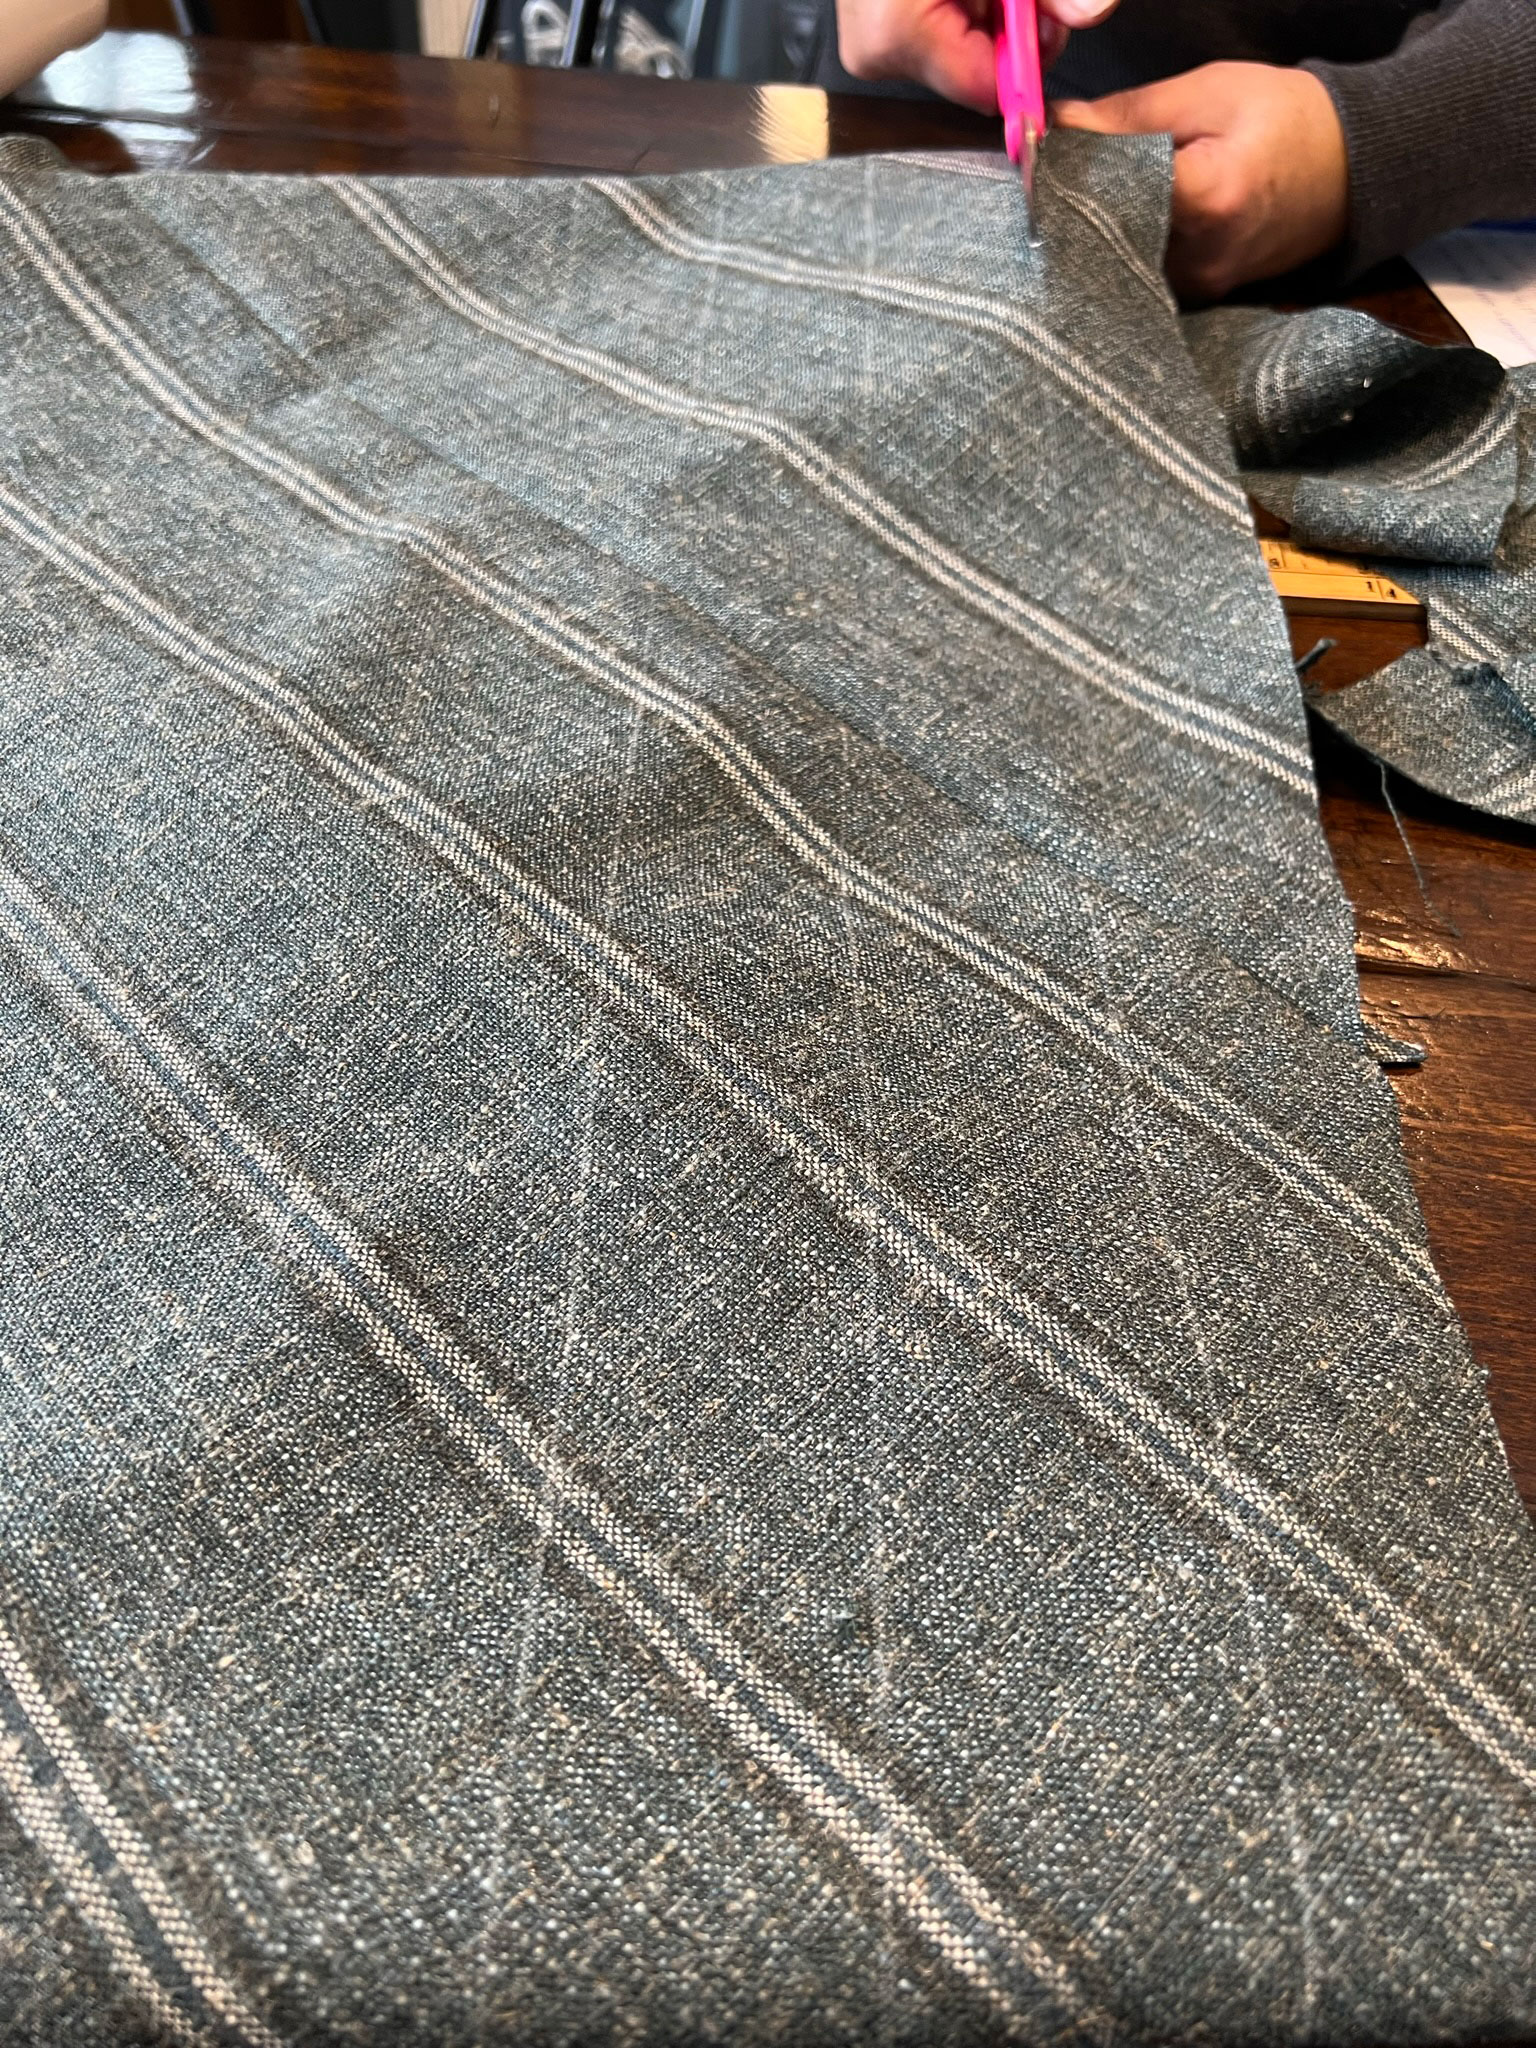
Unfold the fabric so you have a big…. trapezoid? Is that the shape? At any rate, use a straight edge to mark lines along the top edge which will end up being on the bias. We spaced the lines at 2″.
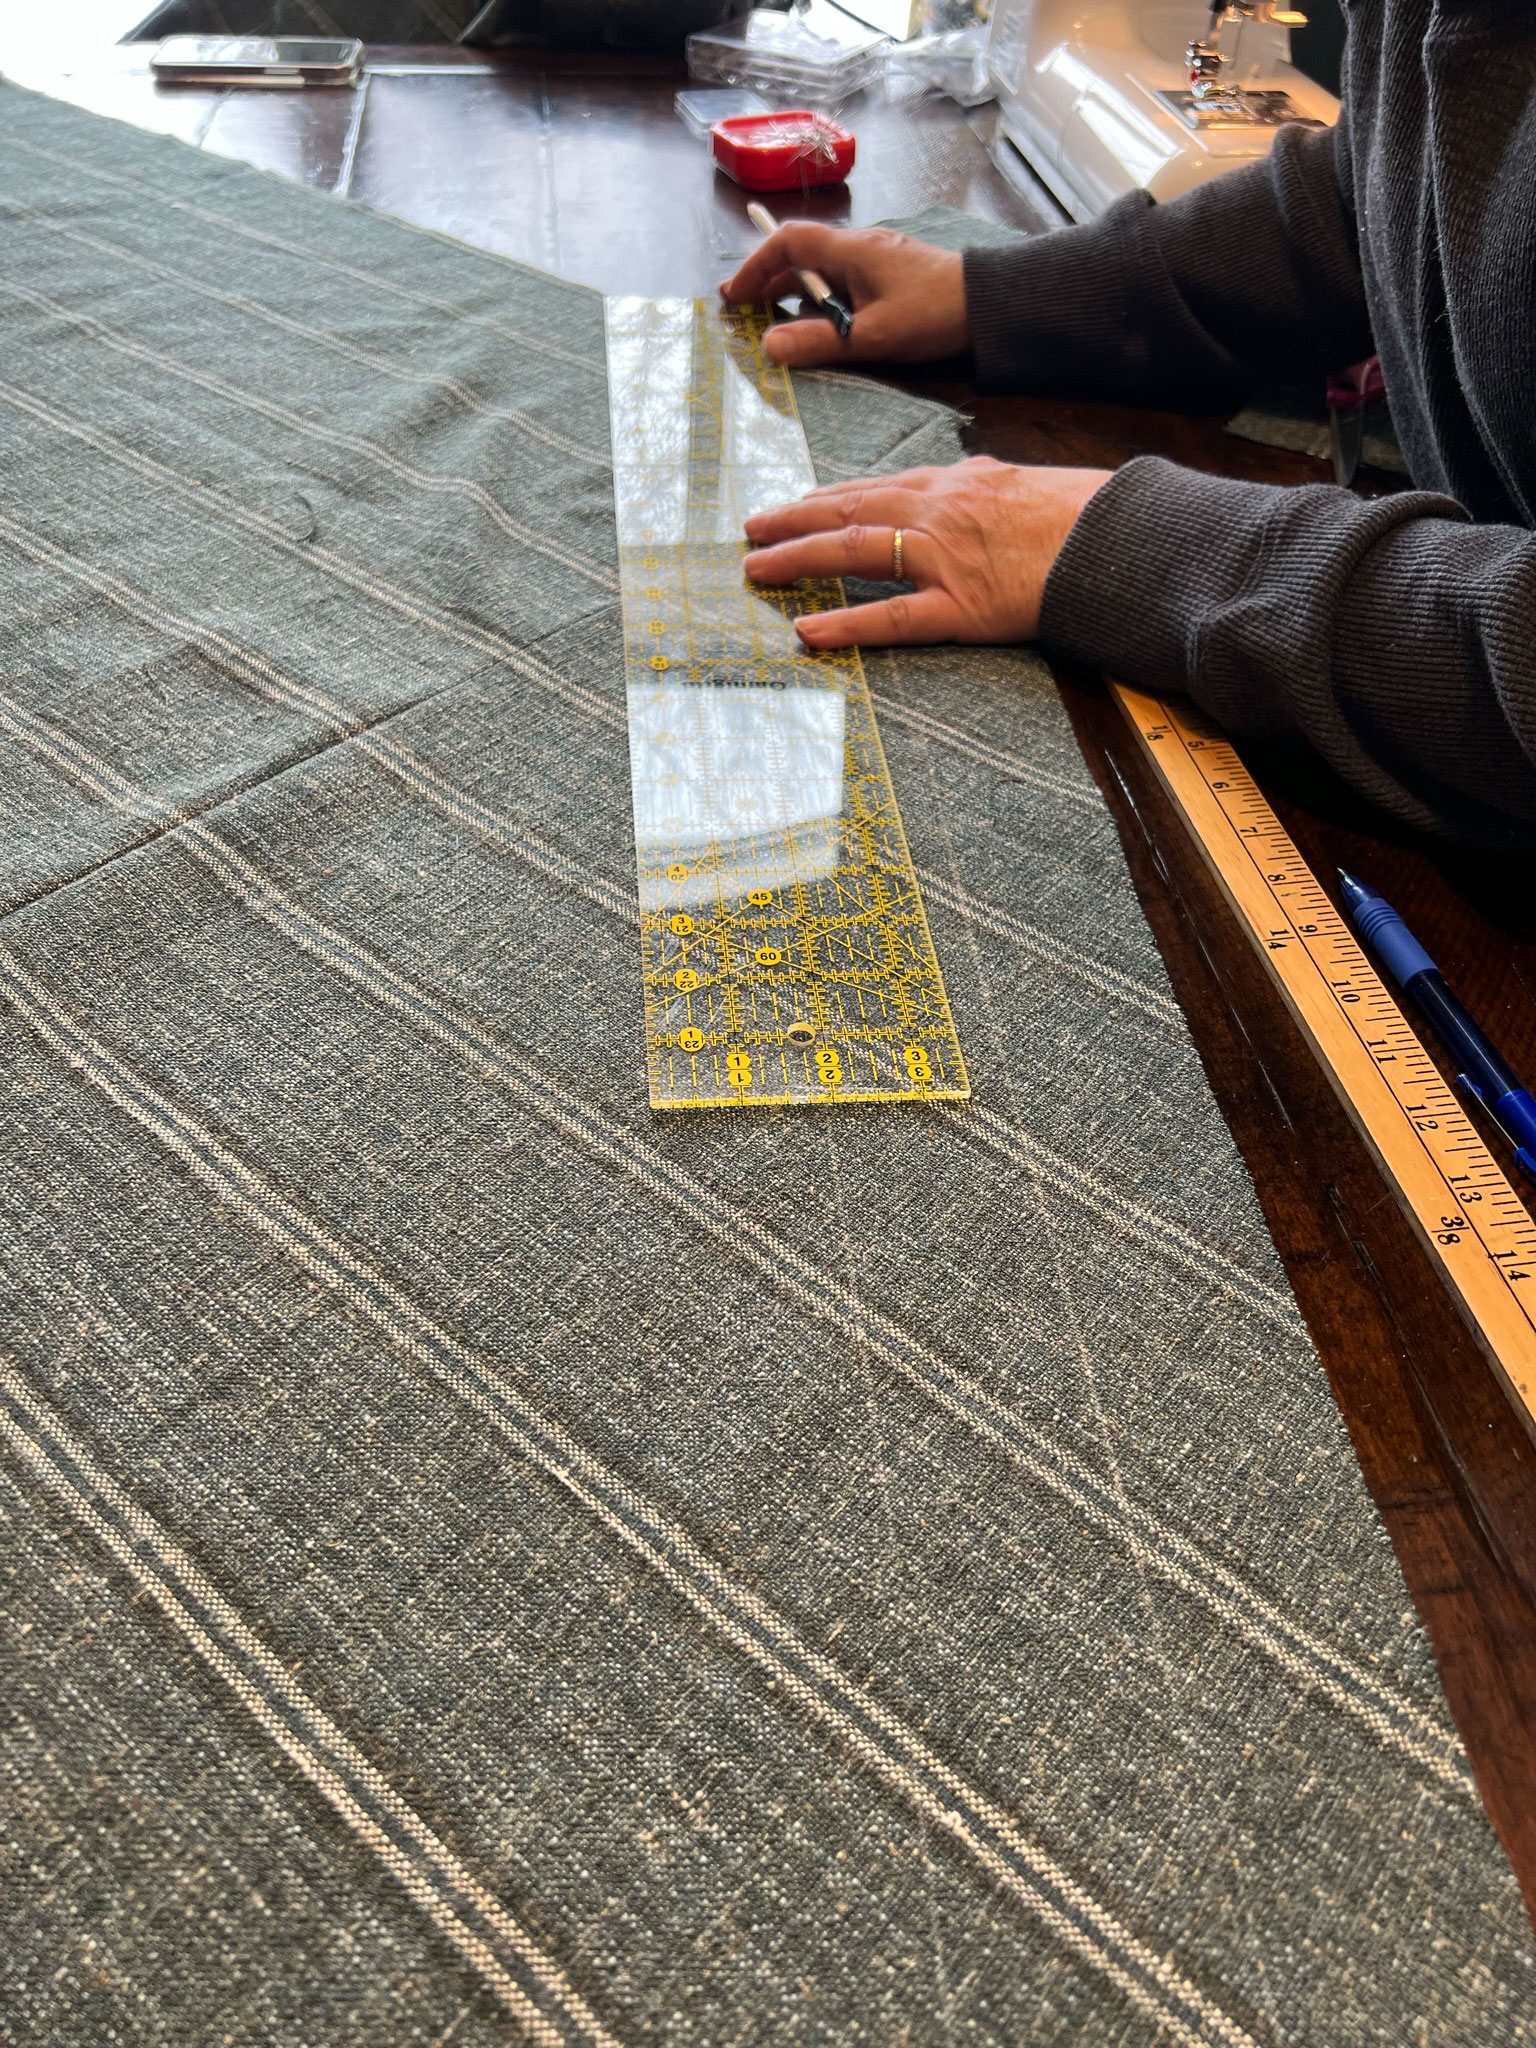
Then, fold the two pointy ends in together and line up the lines you just make, making sure to shift over one line. (Refer to the diagram if this doesn’t make sense).
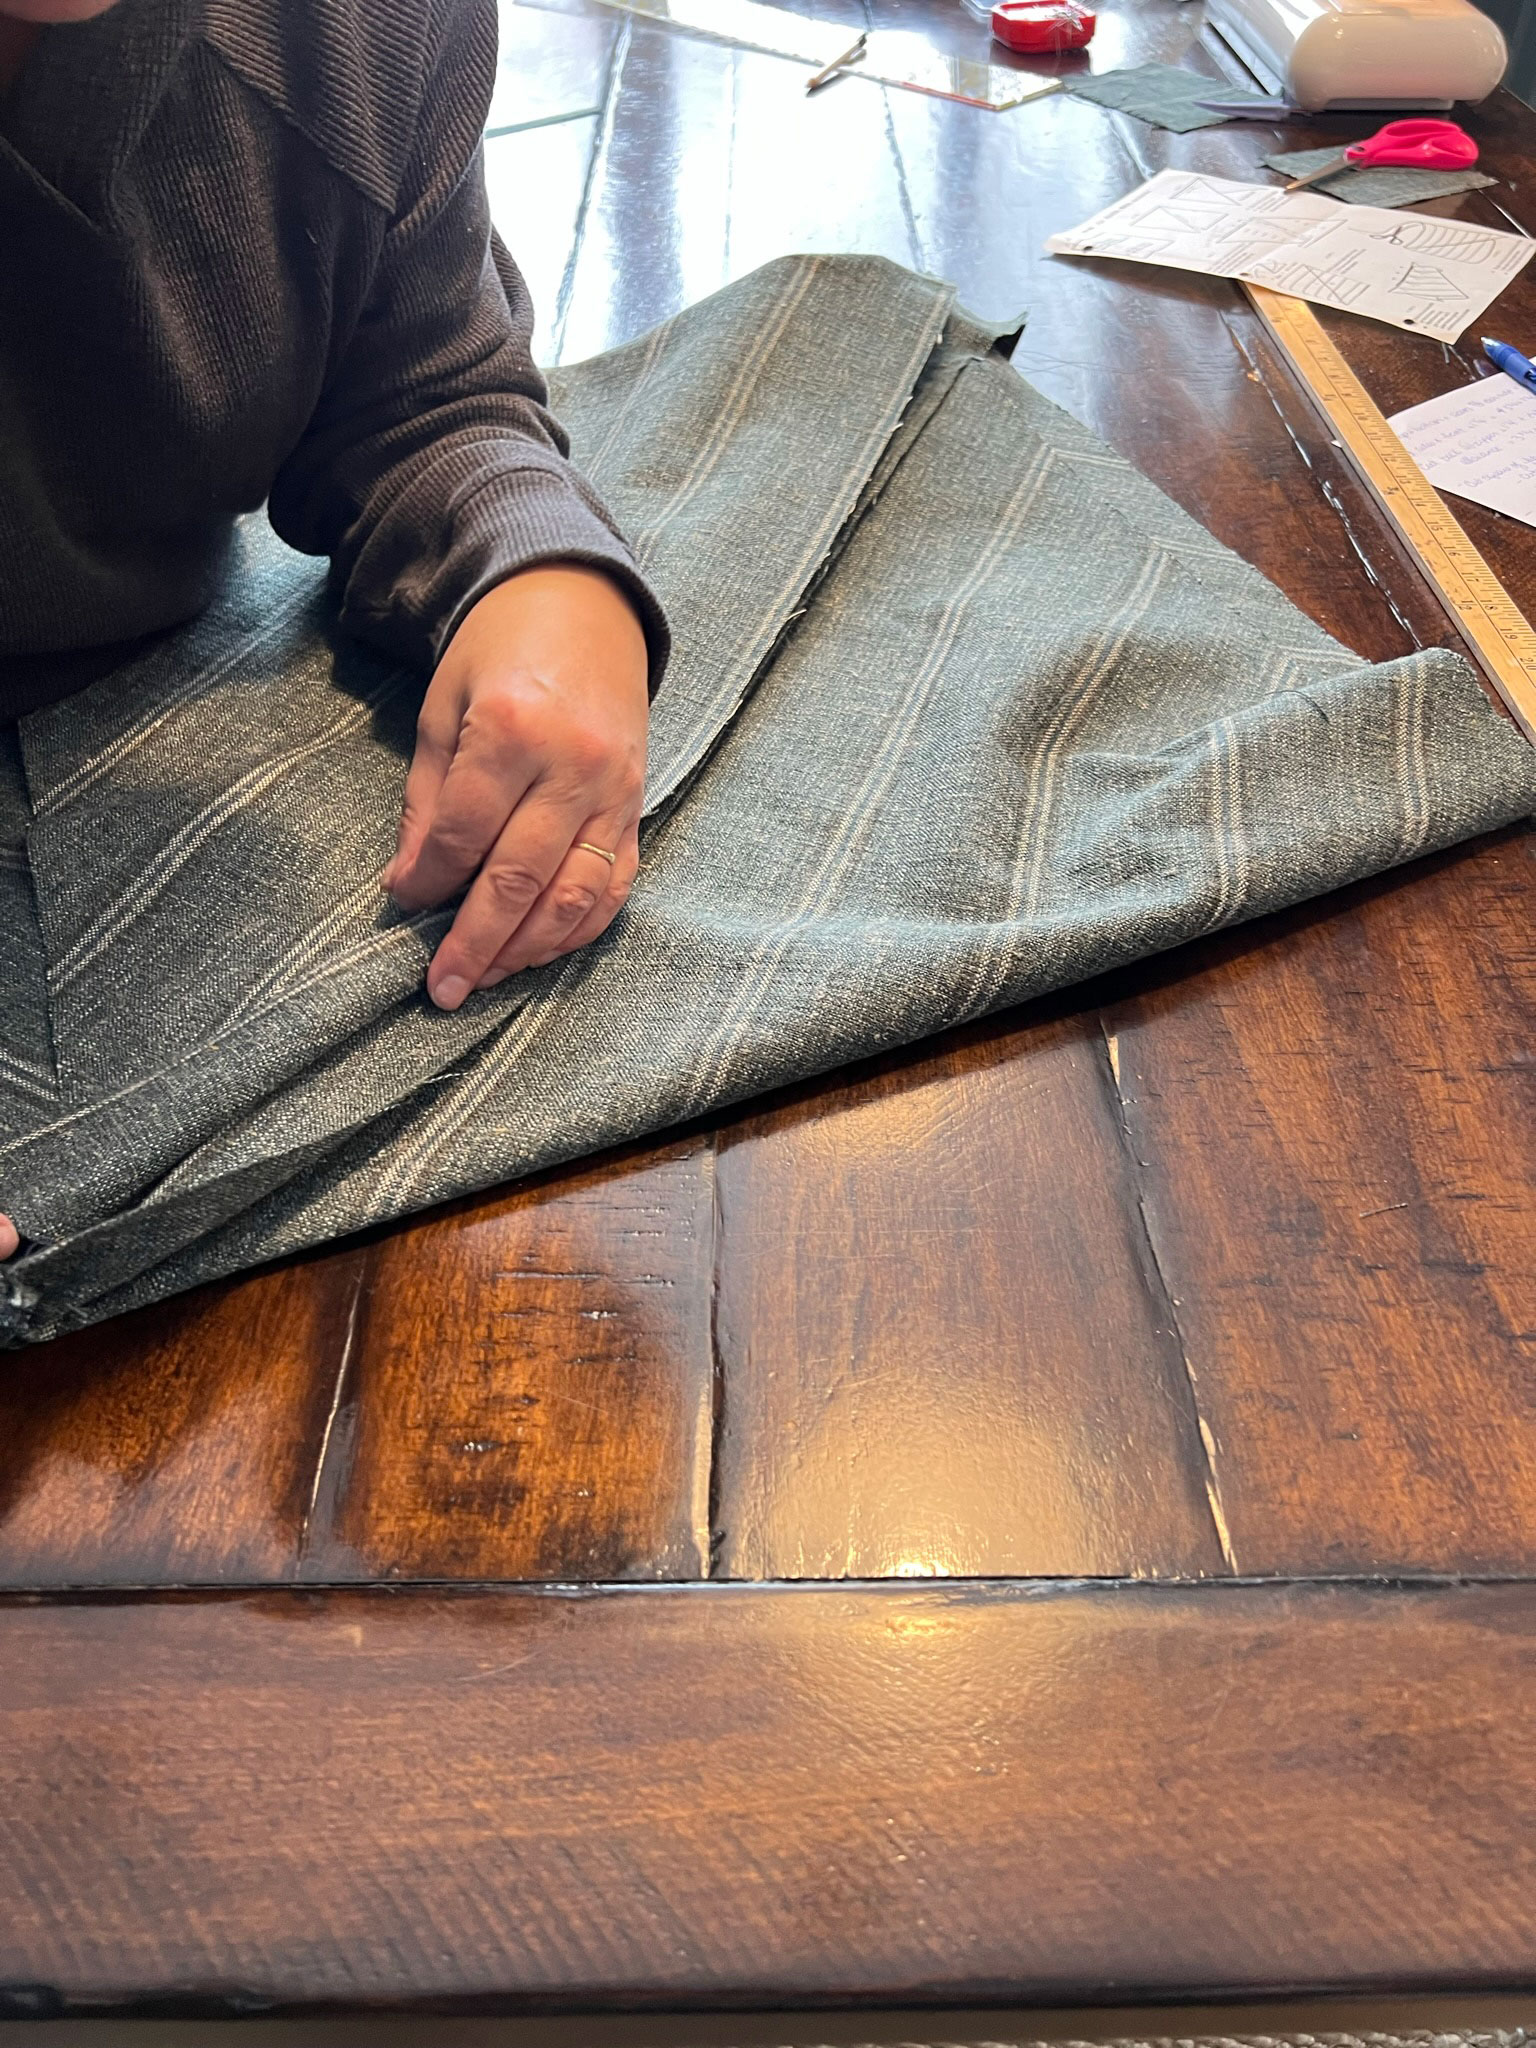
Sew that edge together. You now have a big tube.
Now, find the staggered end and cut along the lines you just made. You end up continuously cutting in a big spiral and having one long strip of fabric.
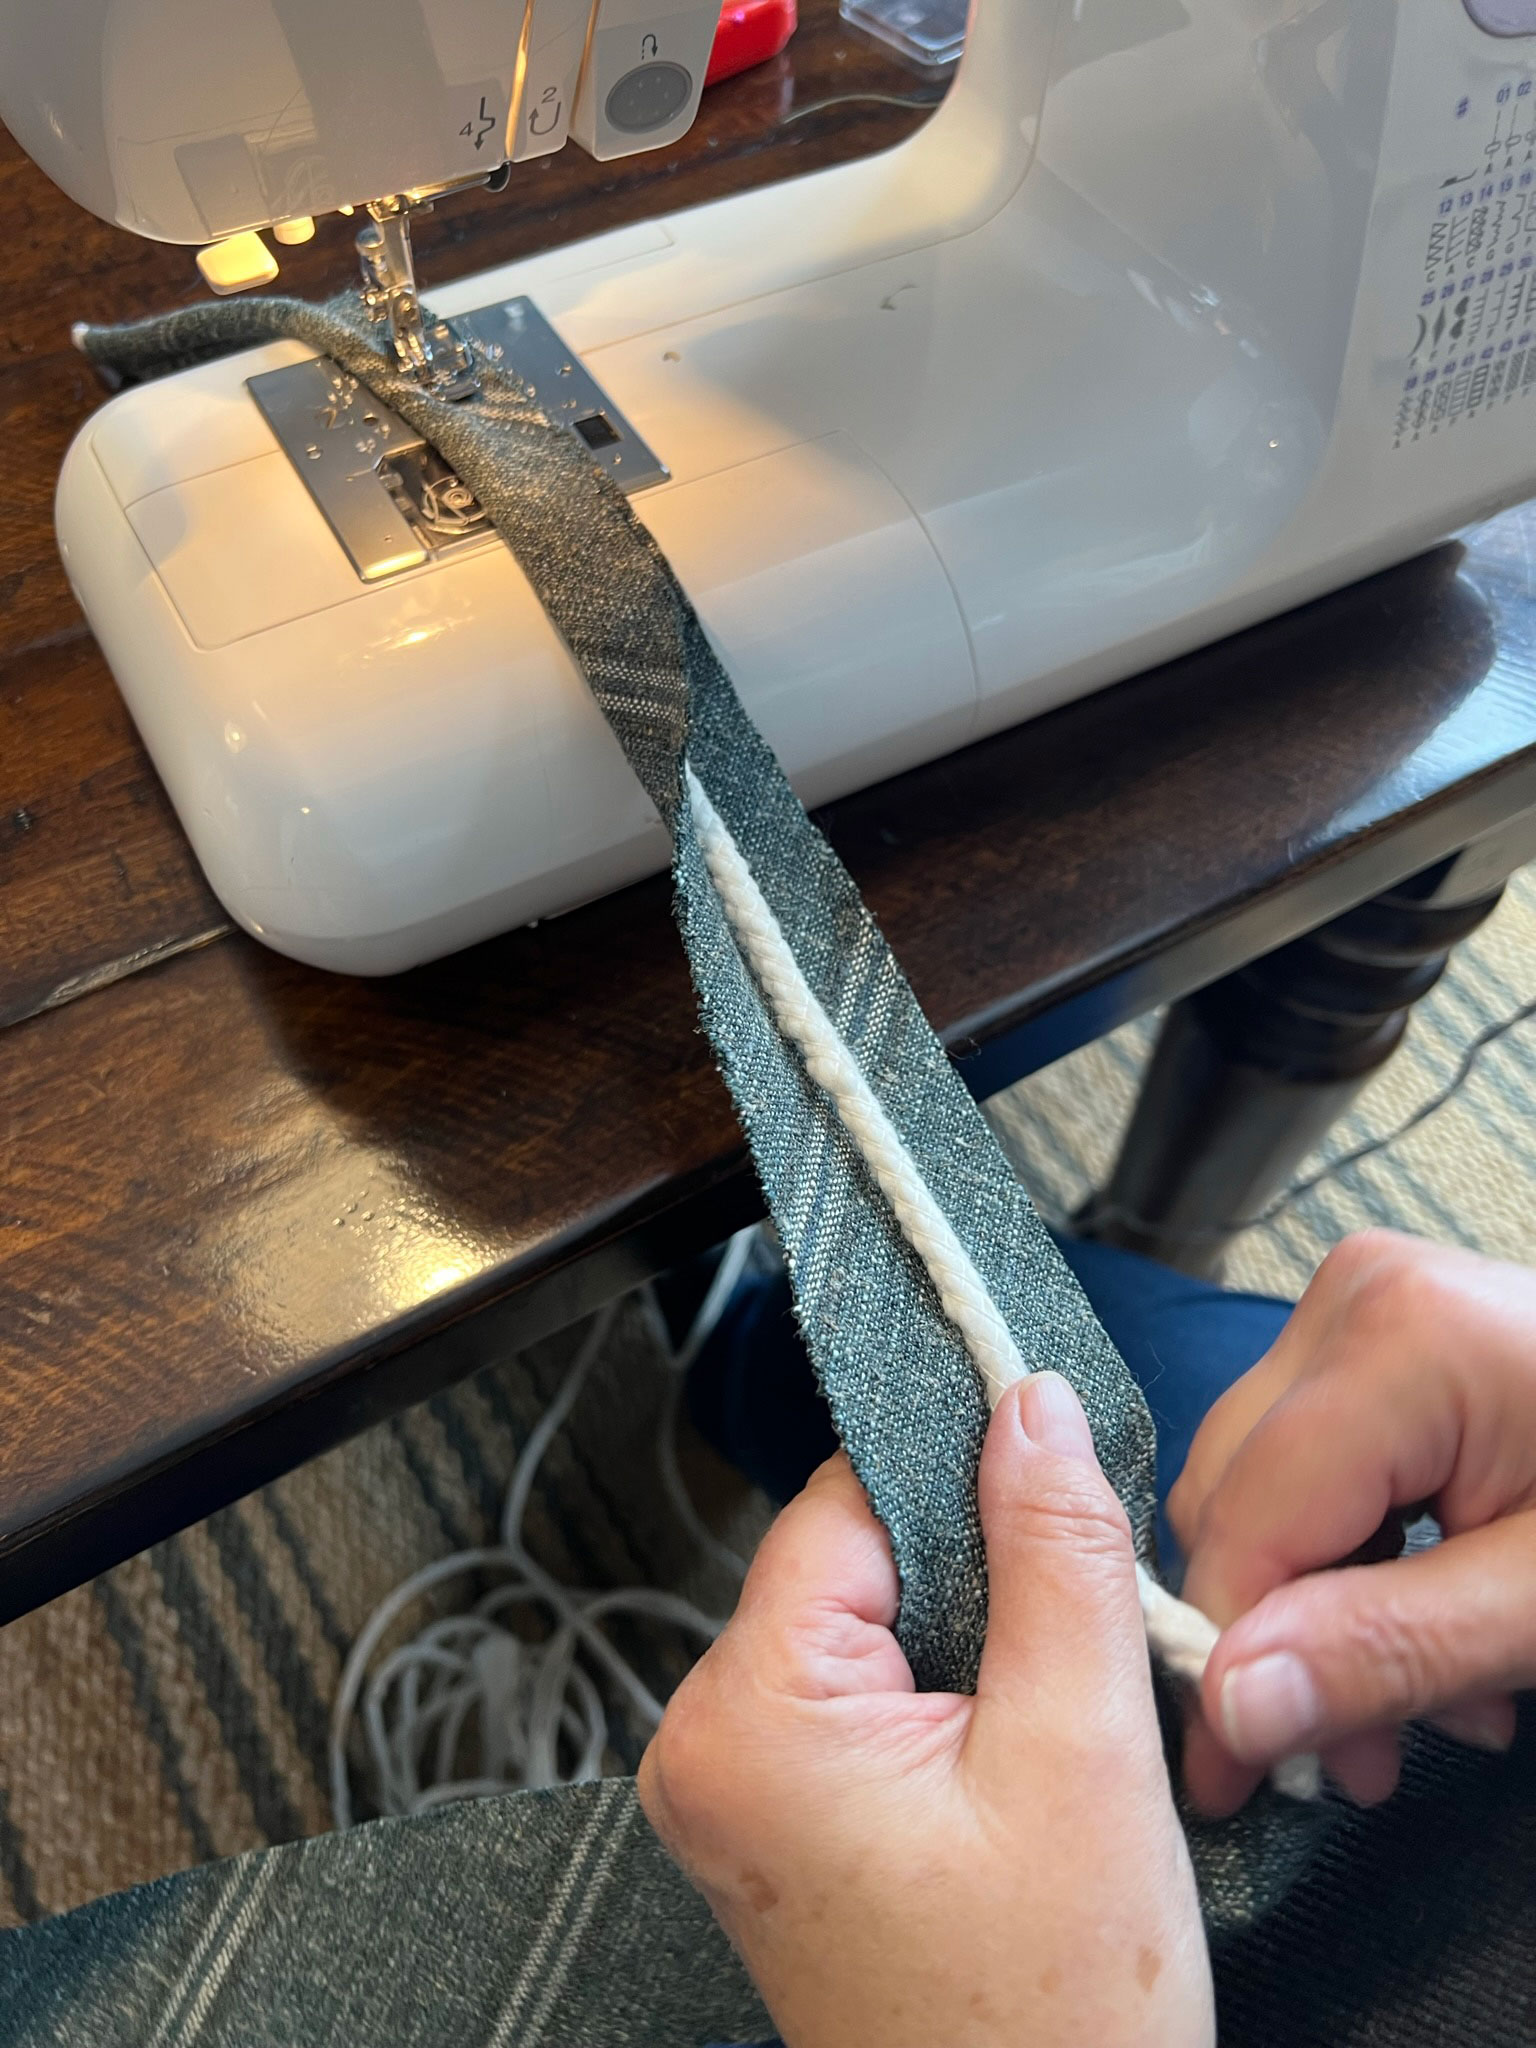
Finally, take some cording and fold the strip of fabric around it. Sew as close as possible to the cording using a zipper foot.
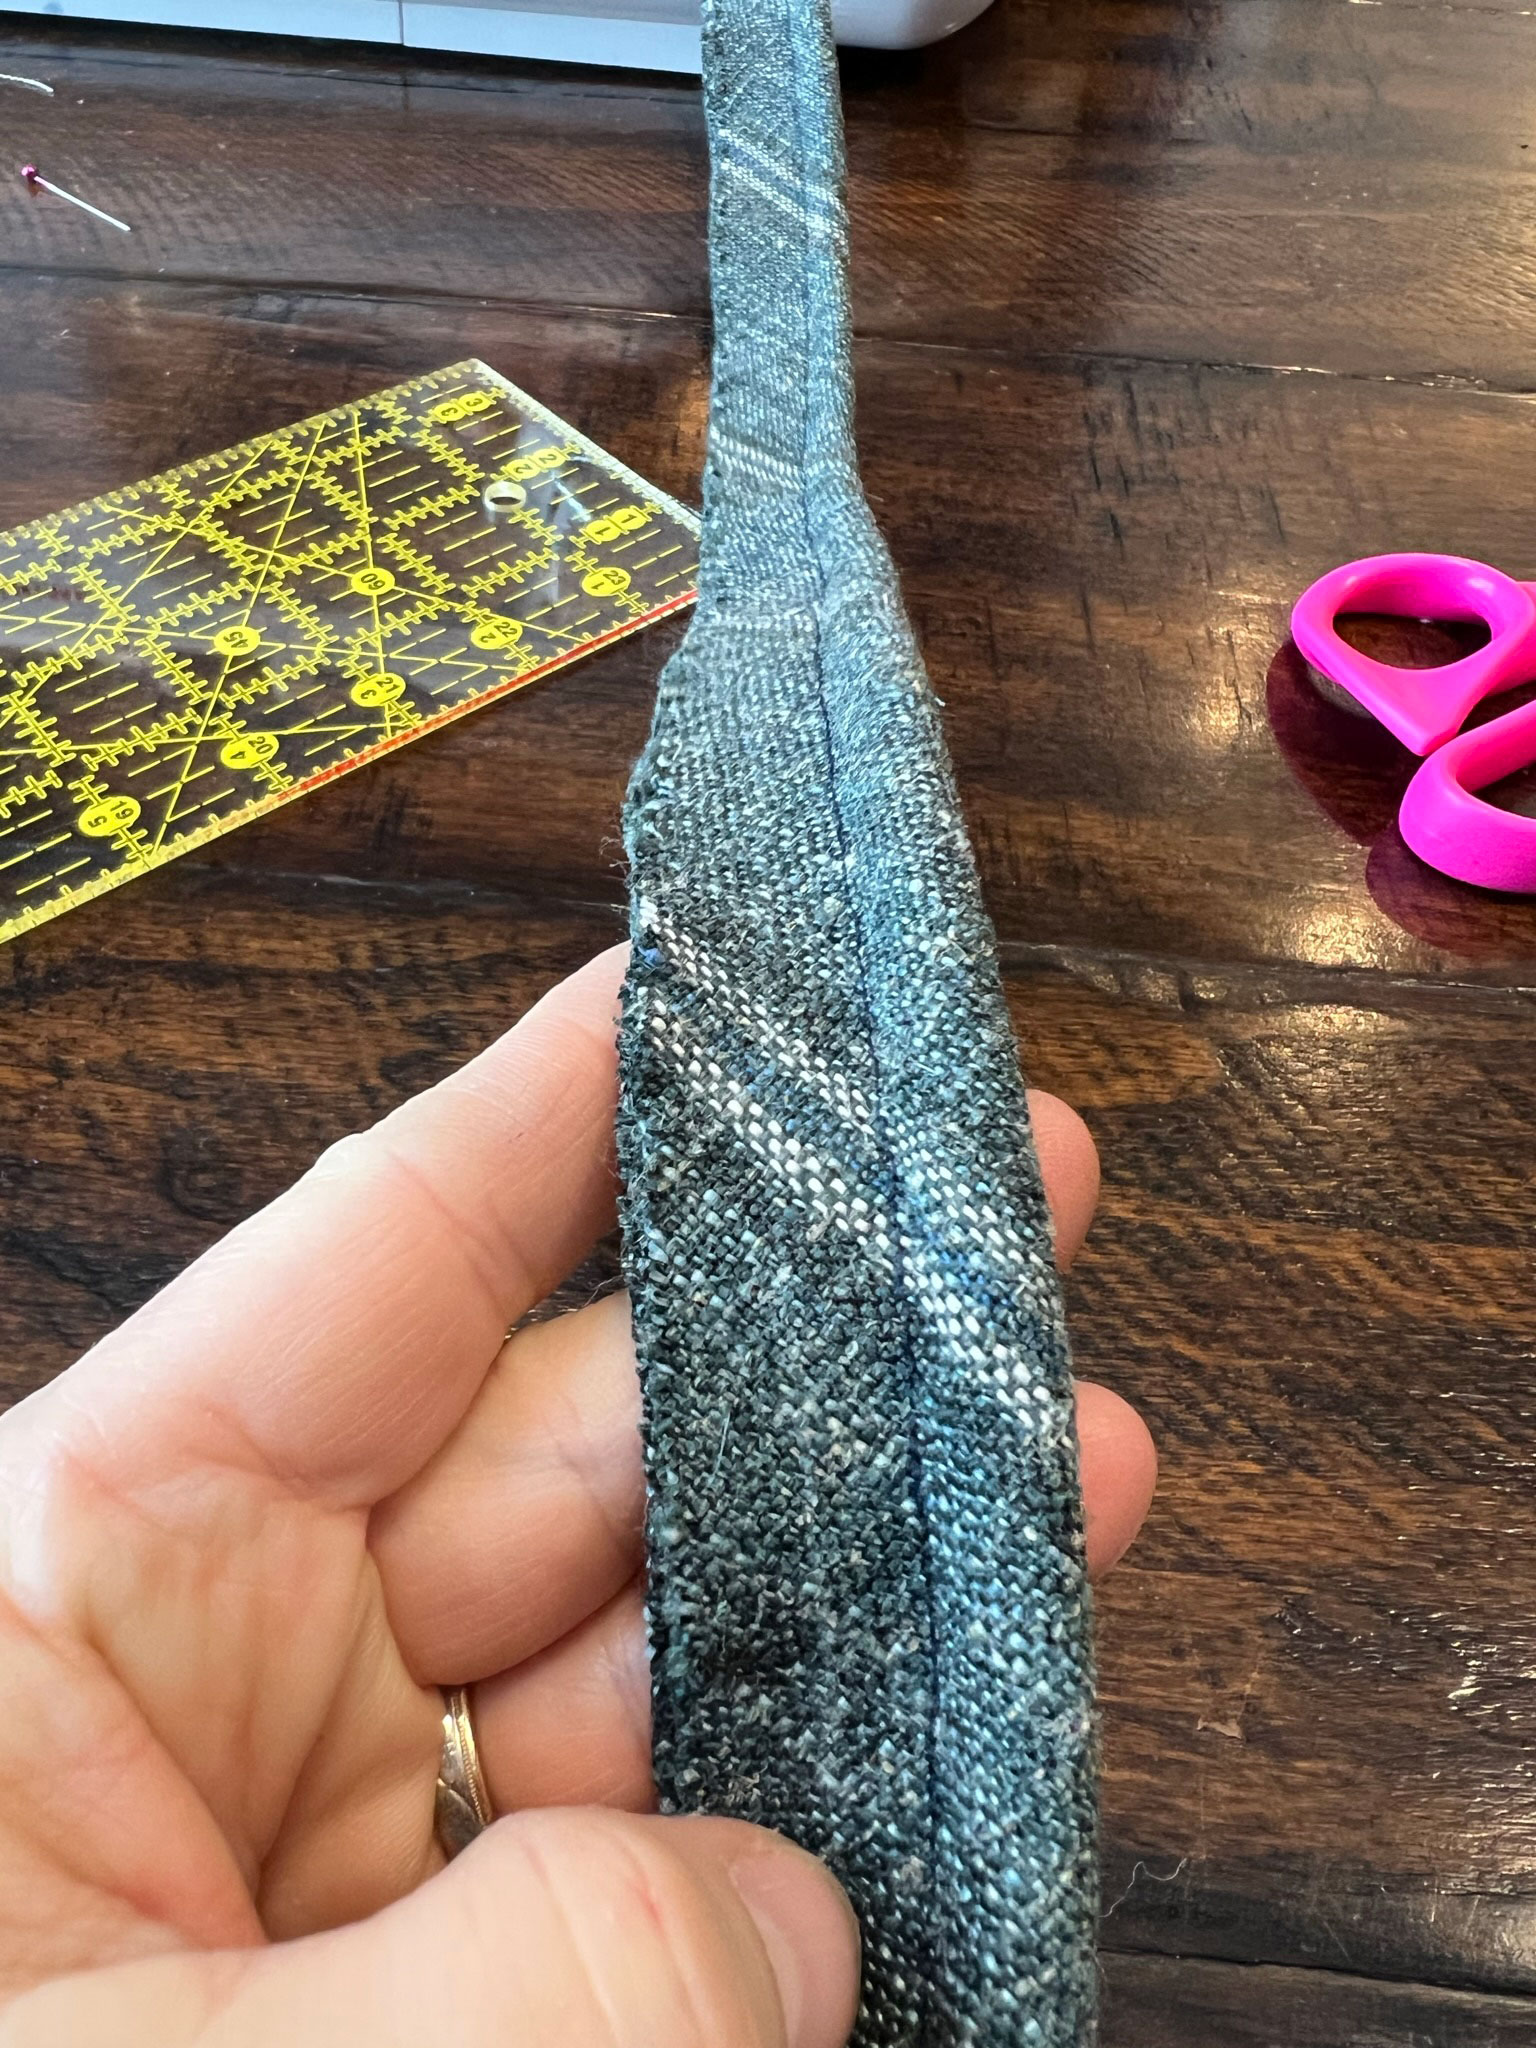
Thats it, you now have fabric covered cording with an edge you can sew into your seam.
Sew the Top Seam
The next step is to start sewing all these pieces together. Lay the top of the fabric (face down) on the top of the foam, and the side pieces on the side of the foam. Line up the pattern, taking special care on any sides that will show.
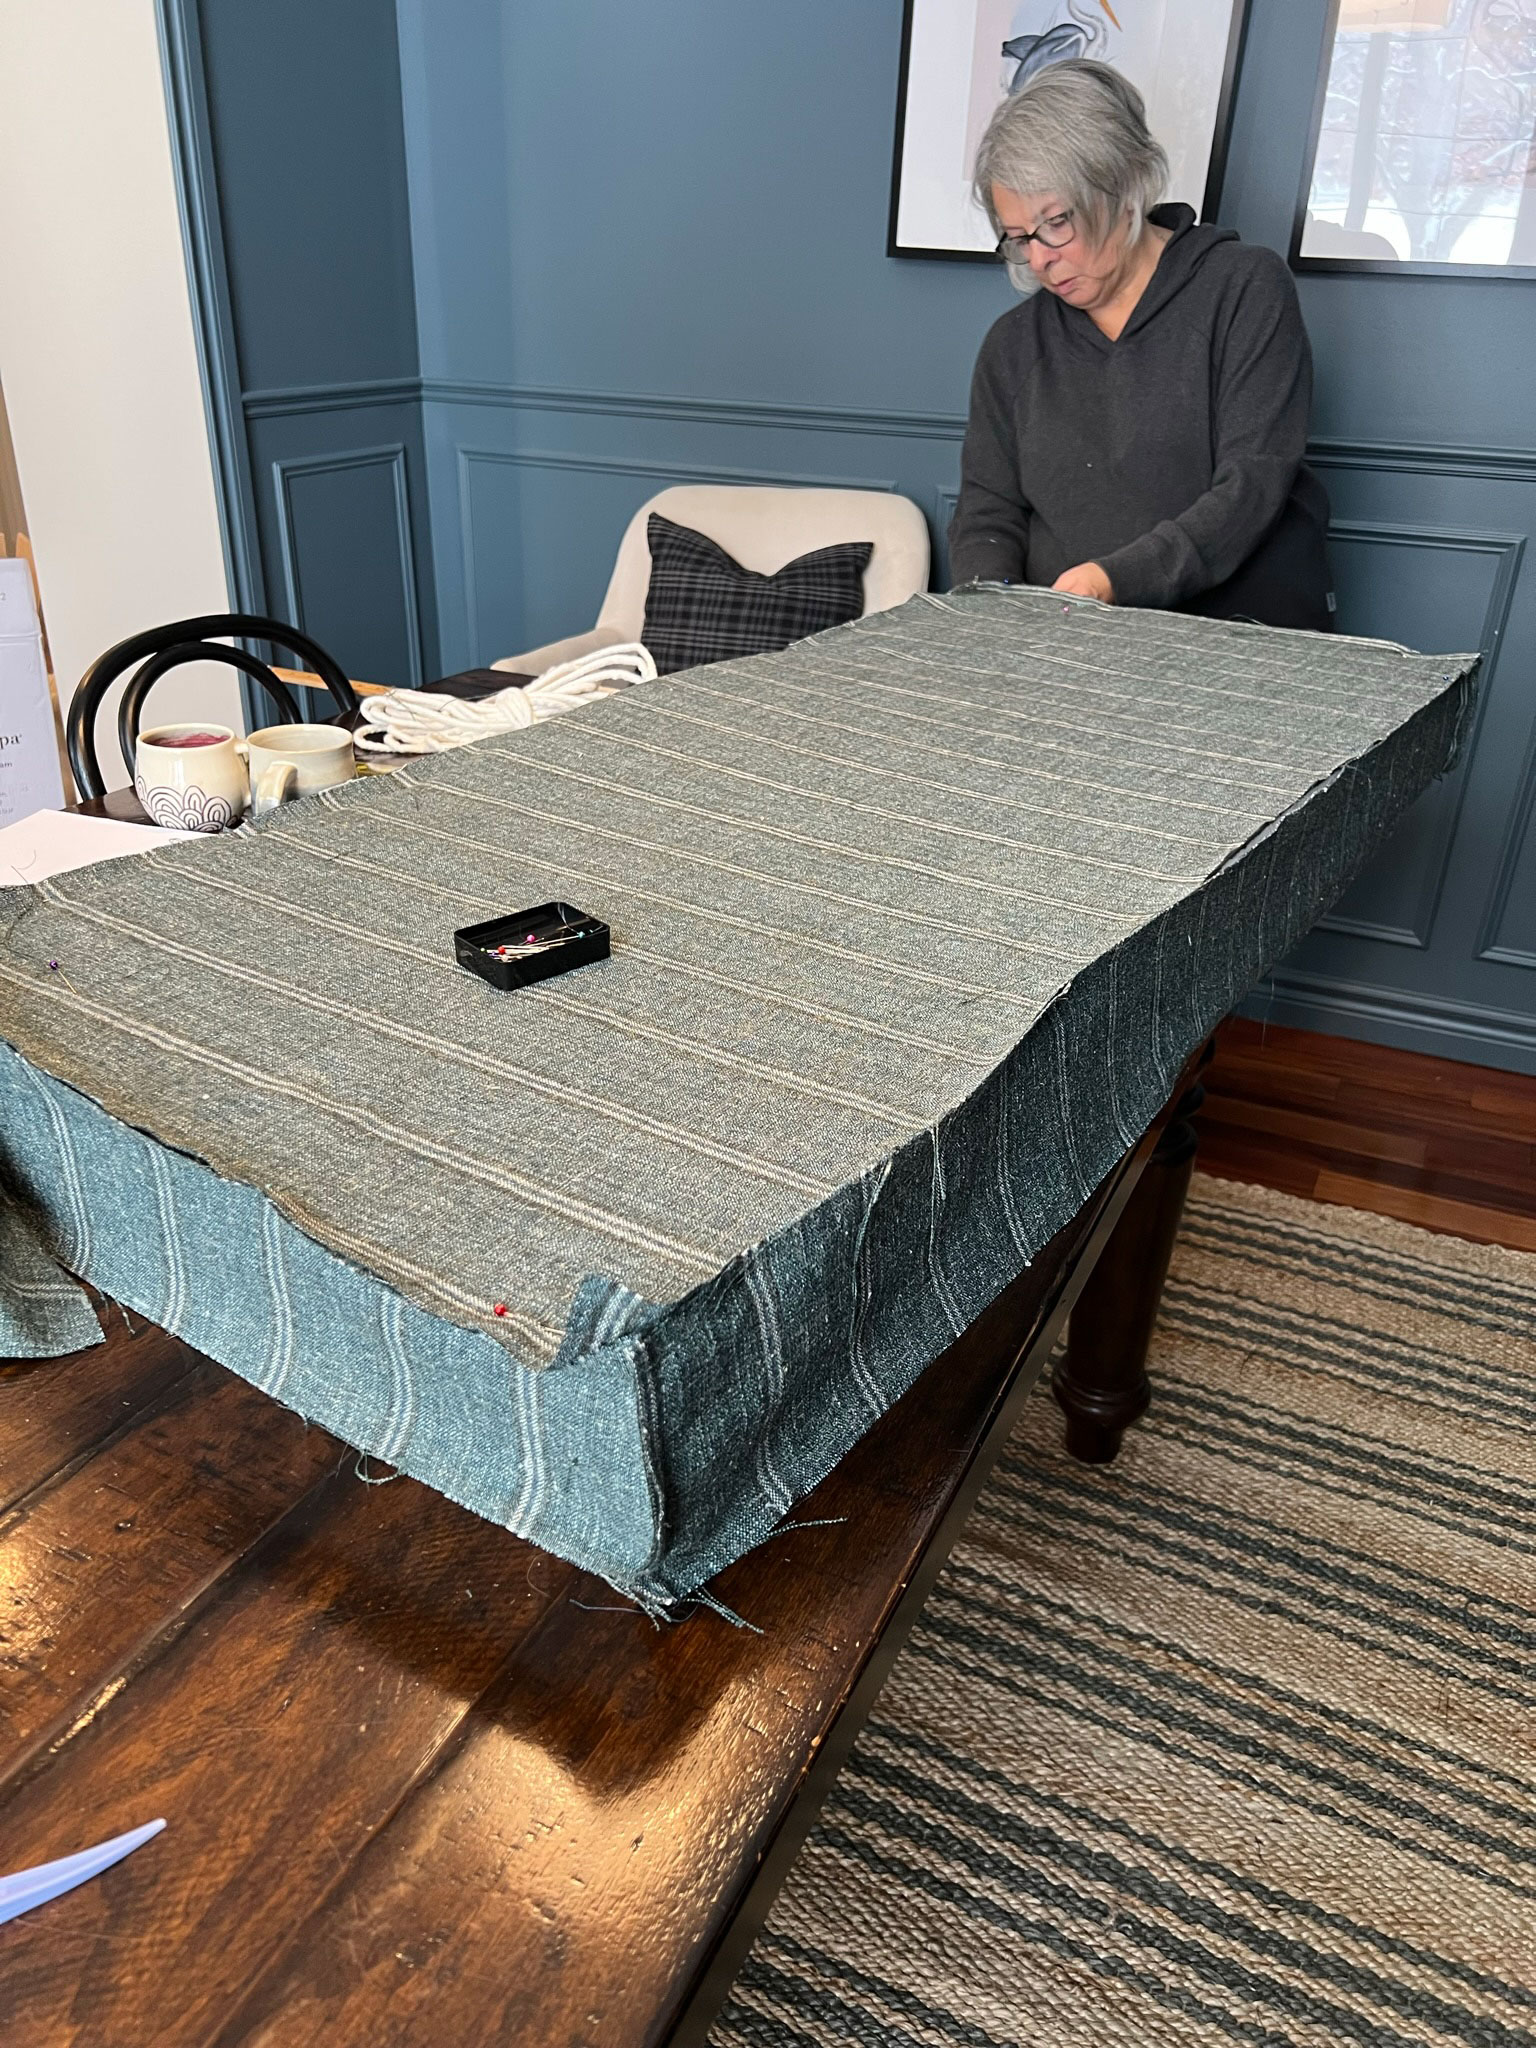
Take your cording, and starting at the centre/ back, insert it between the top and side pieces with the cording facing in. Basically, what you are doing is pinning this whole thing together inside-out.
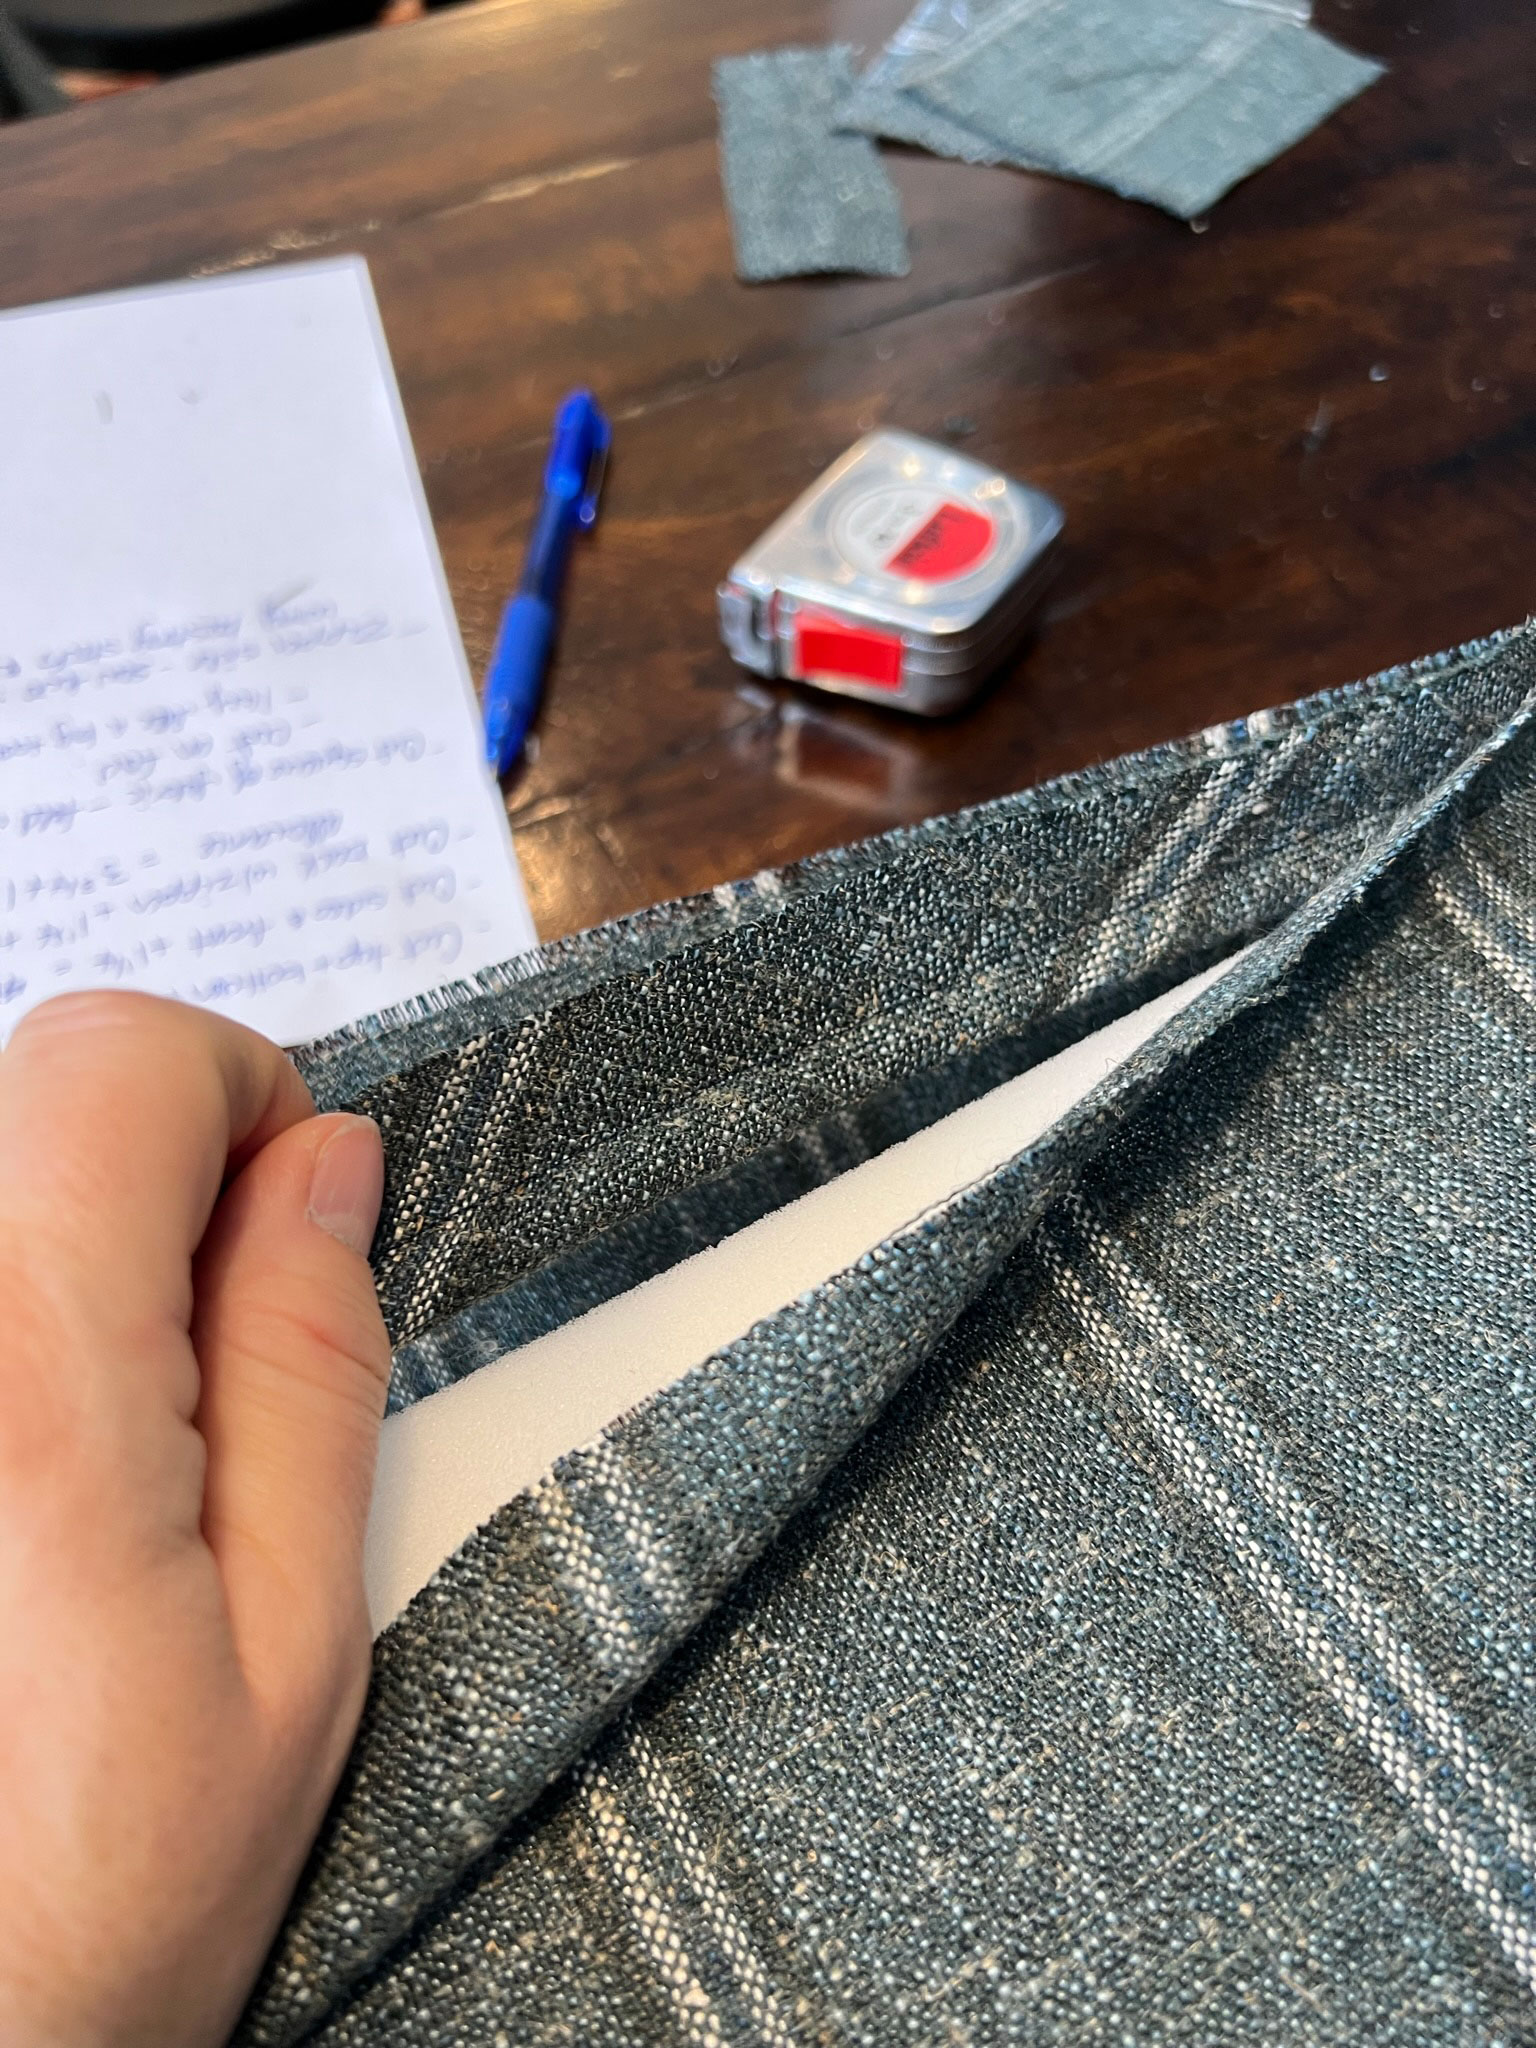
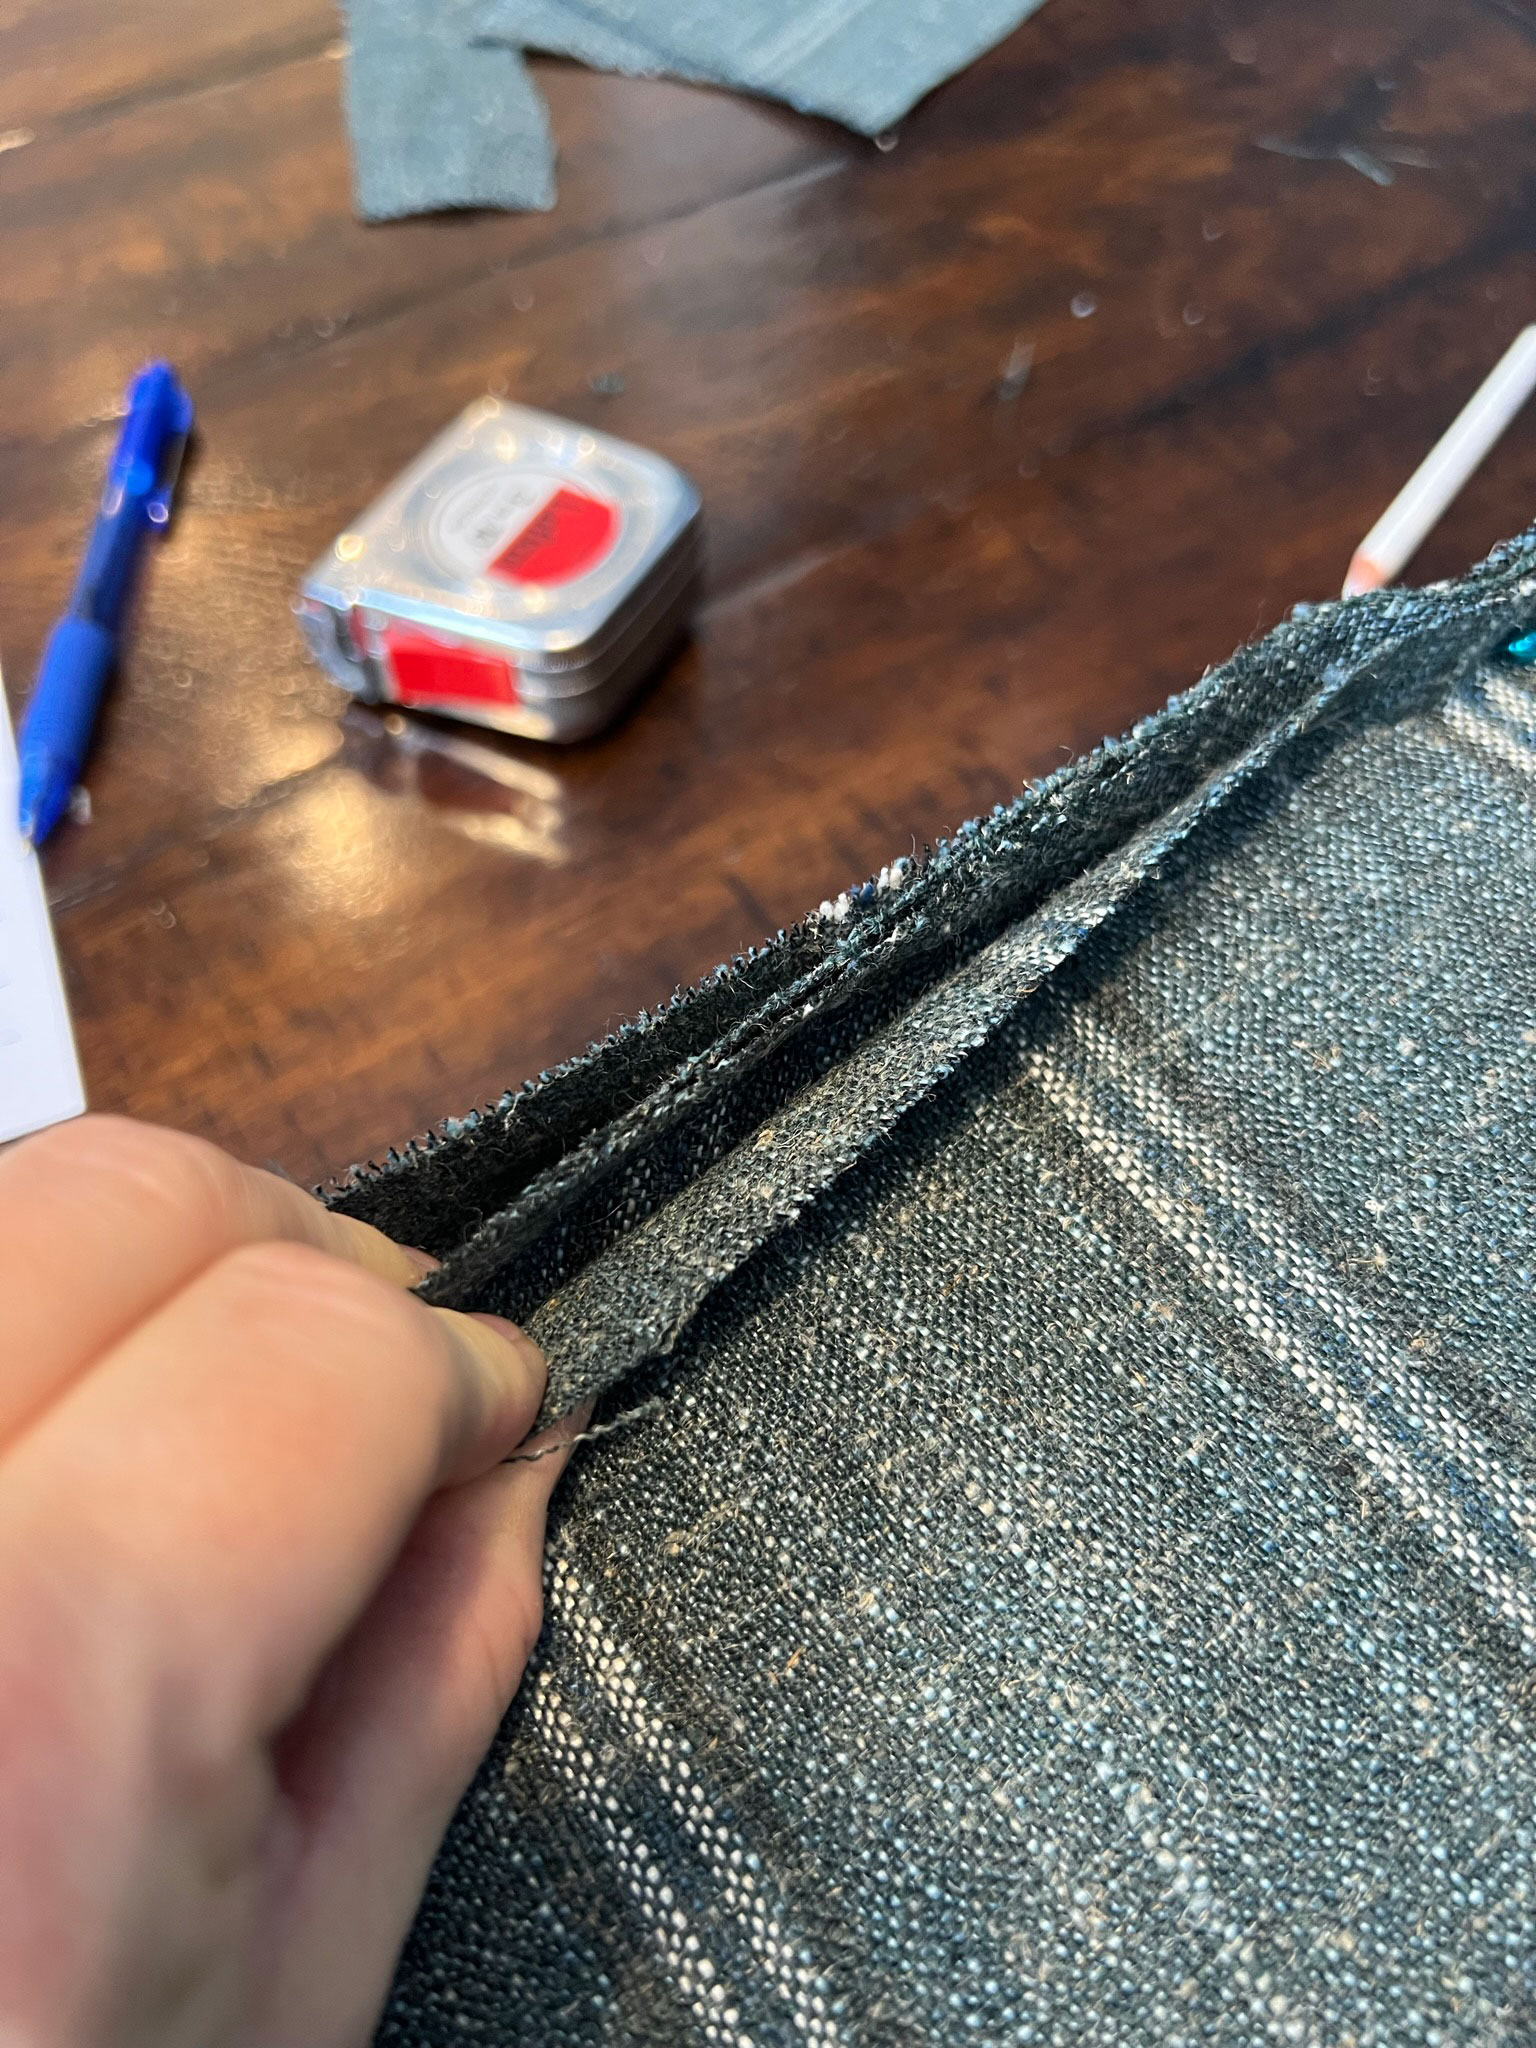
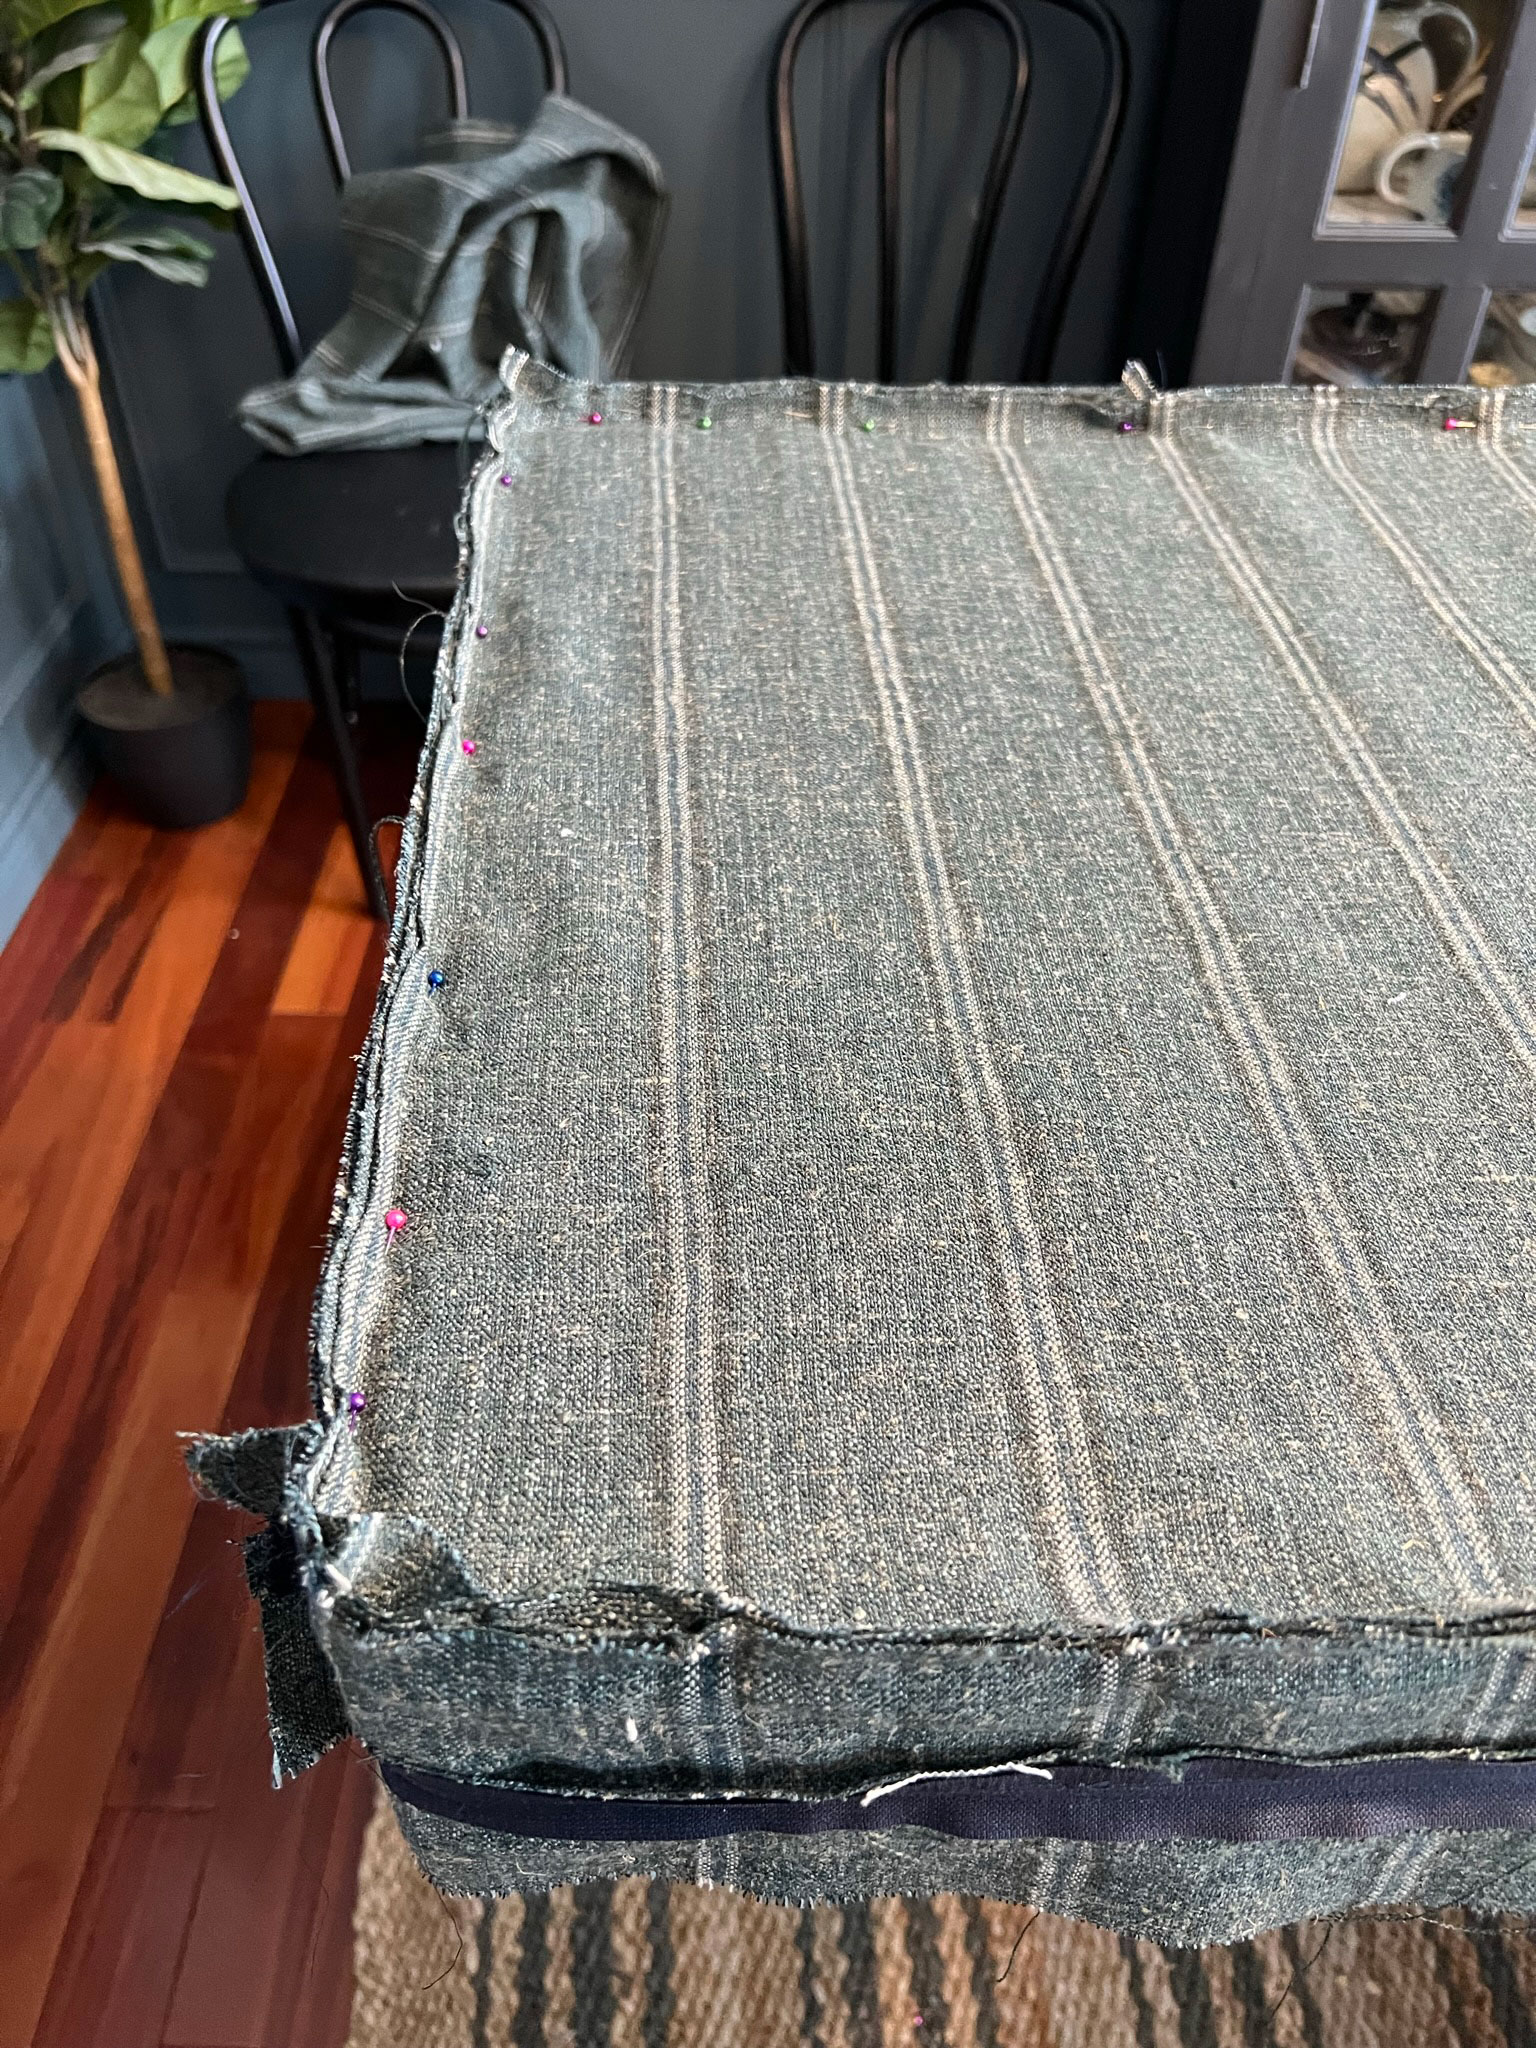
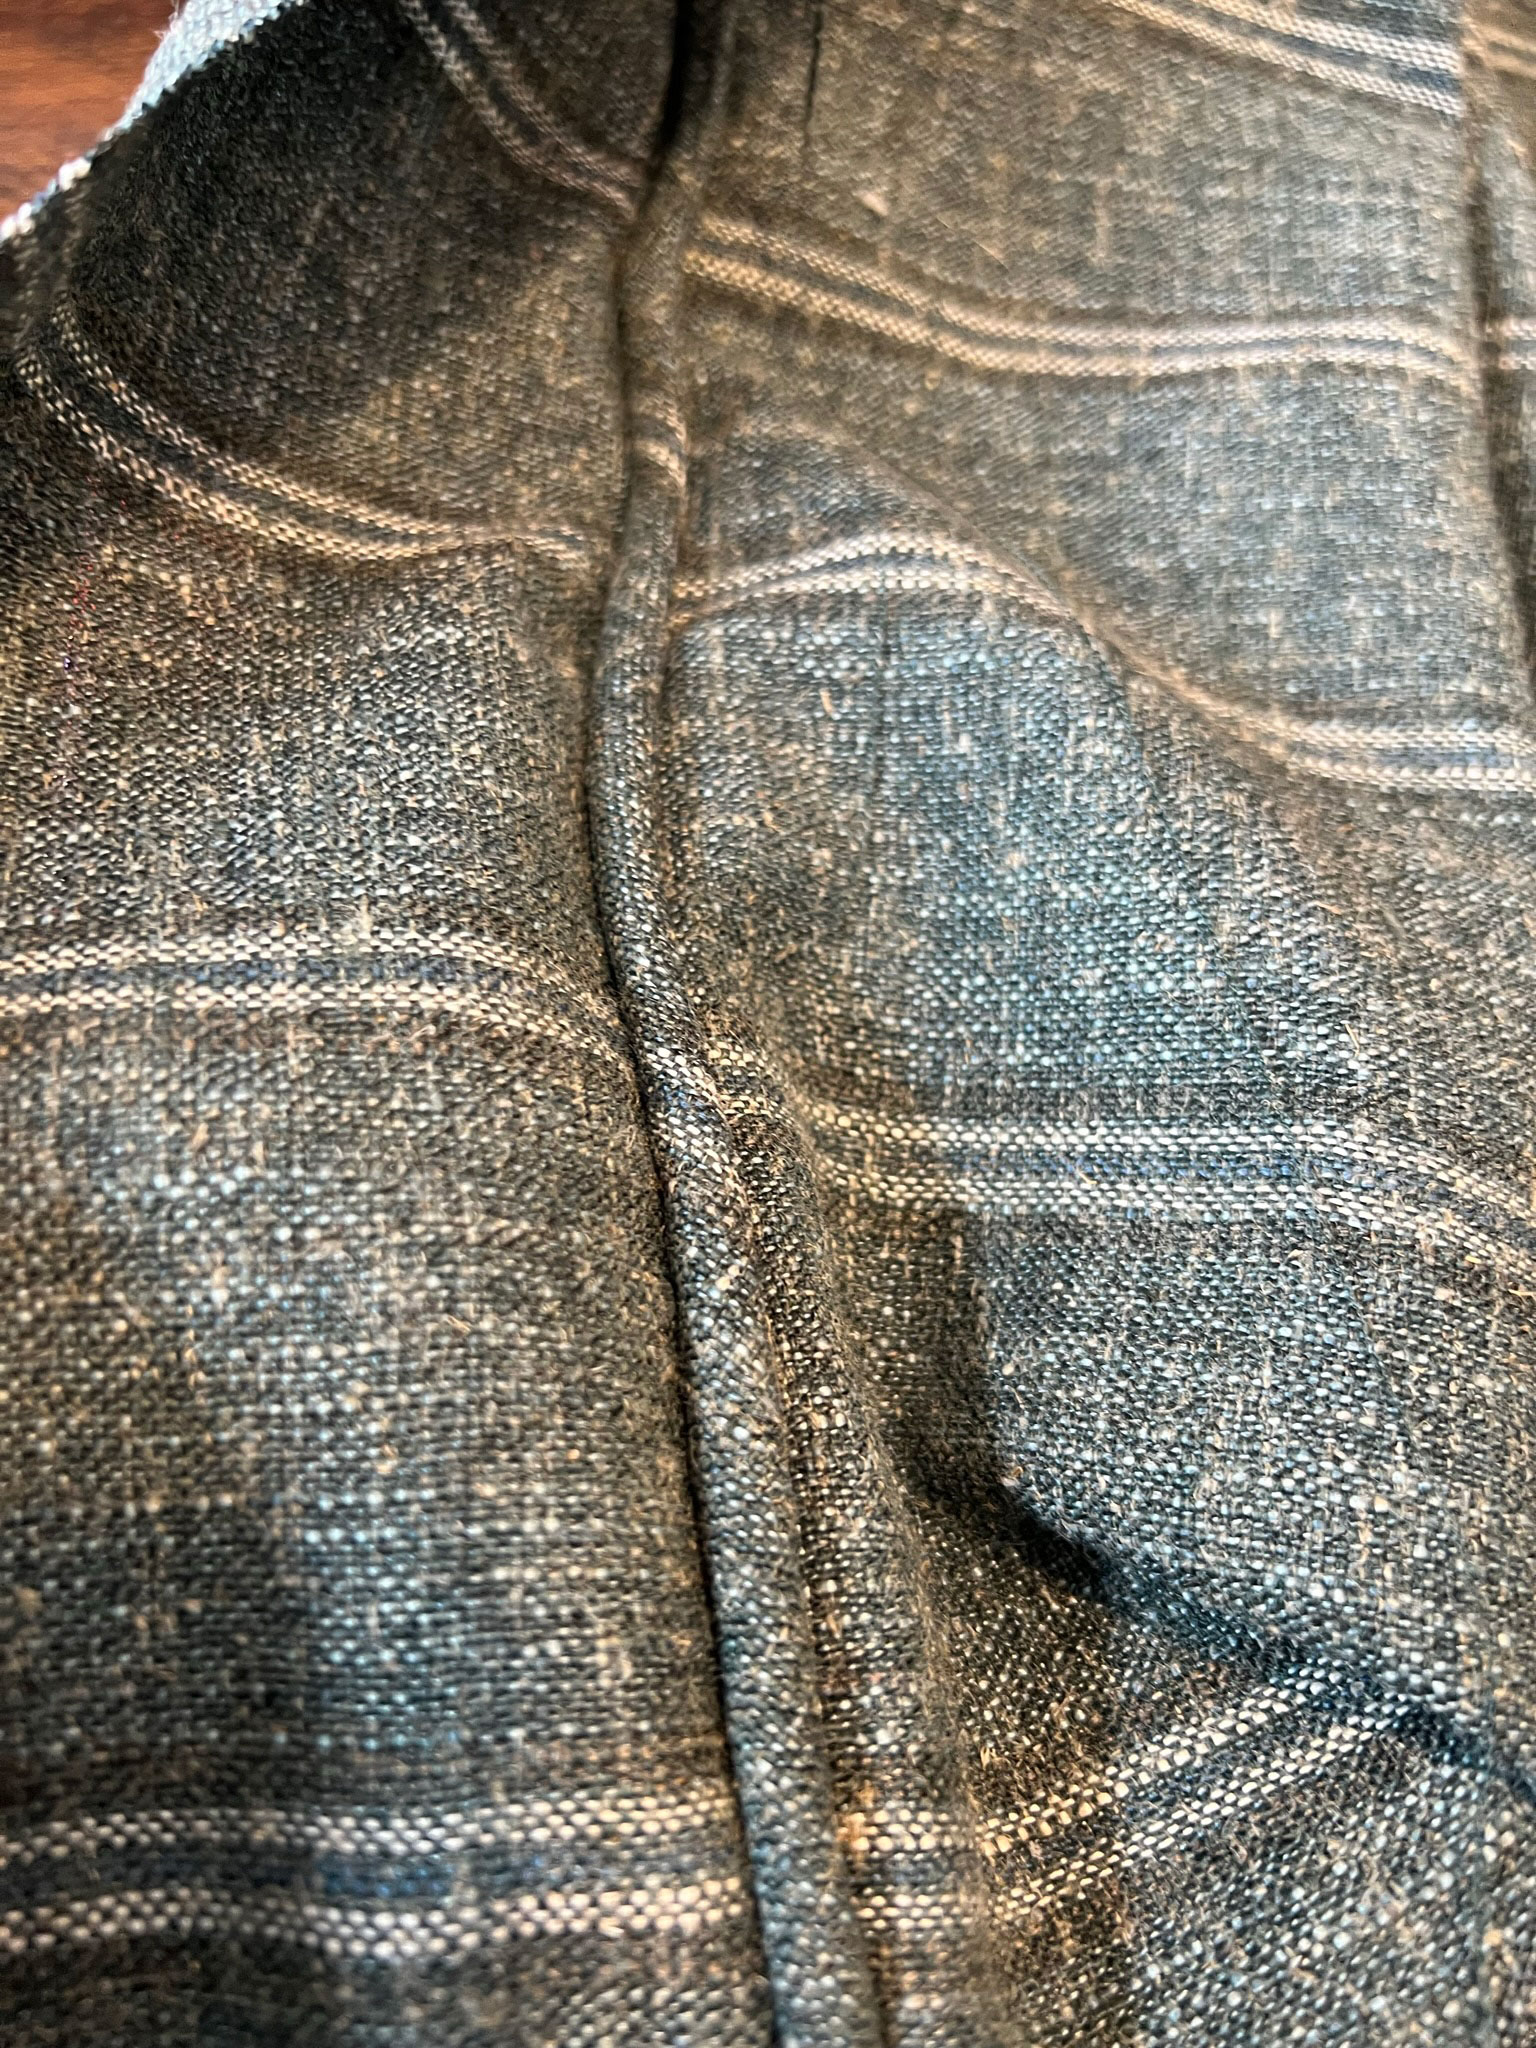
Pin as close as possible to the edge of your foam, trying to ensure the seam on your cording and the seam on your fabric all line up and are very nice and close to the corner of your foam. We added extra pins at every stripe to make sure the fabric didn’t slip when sewing.
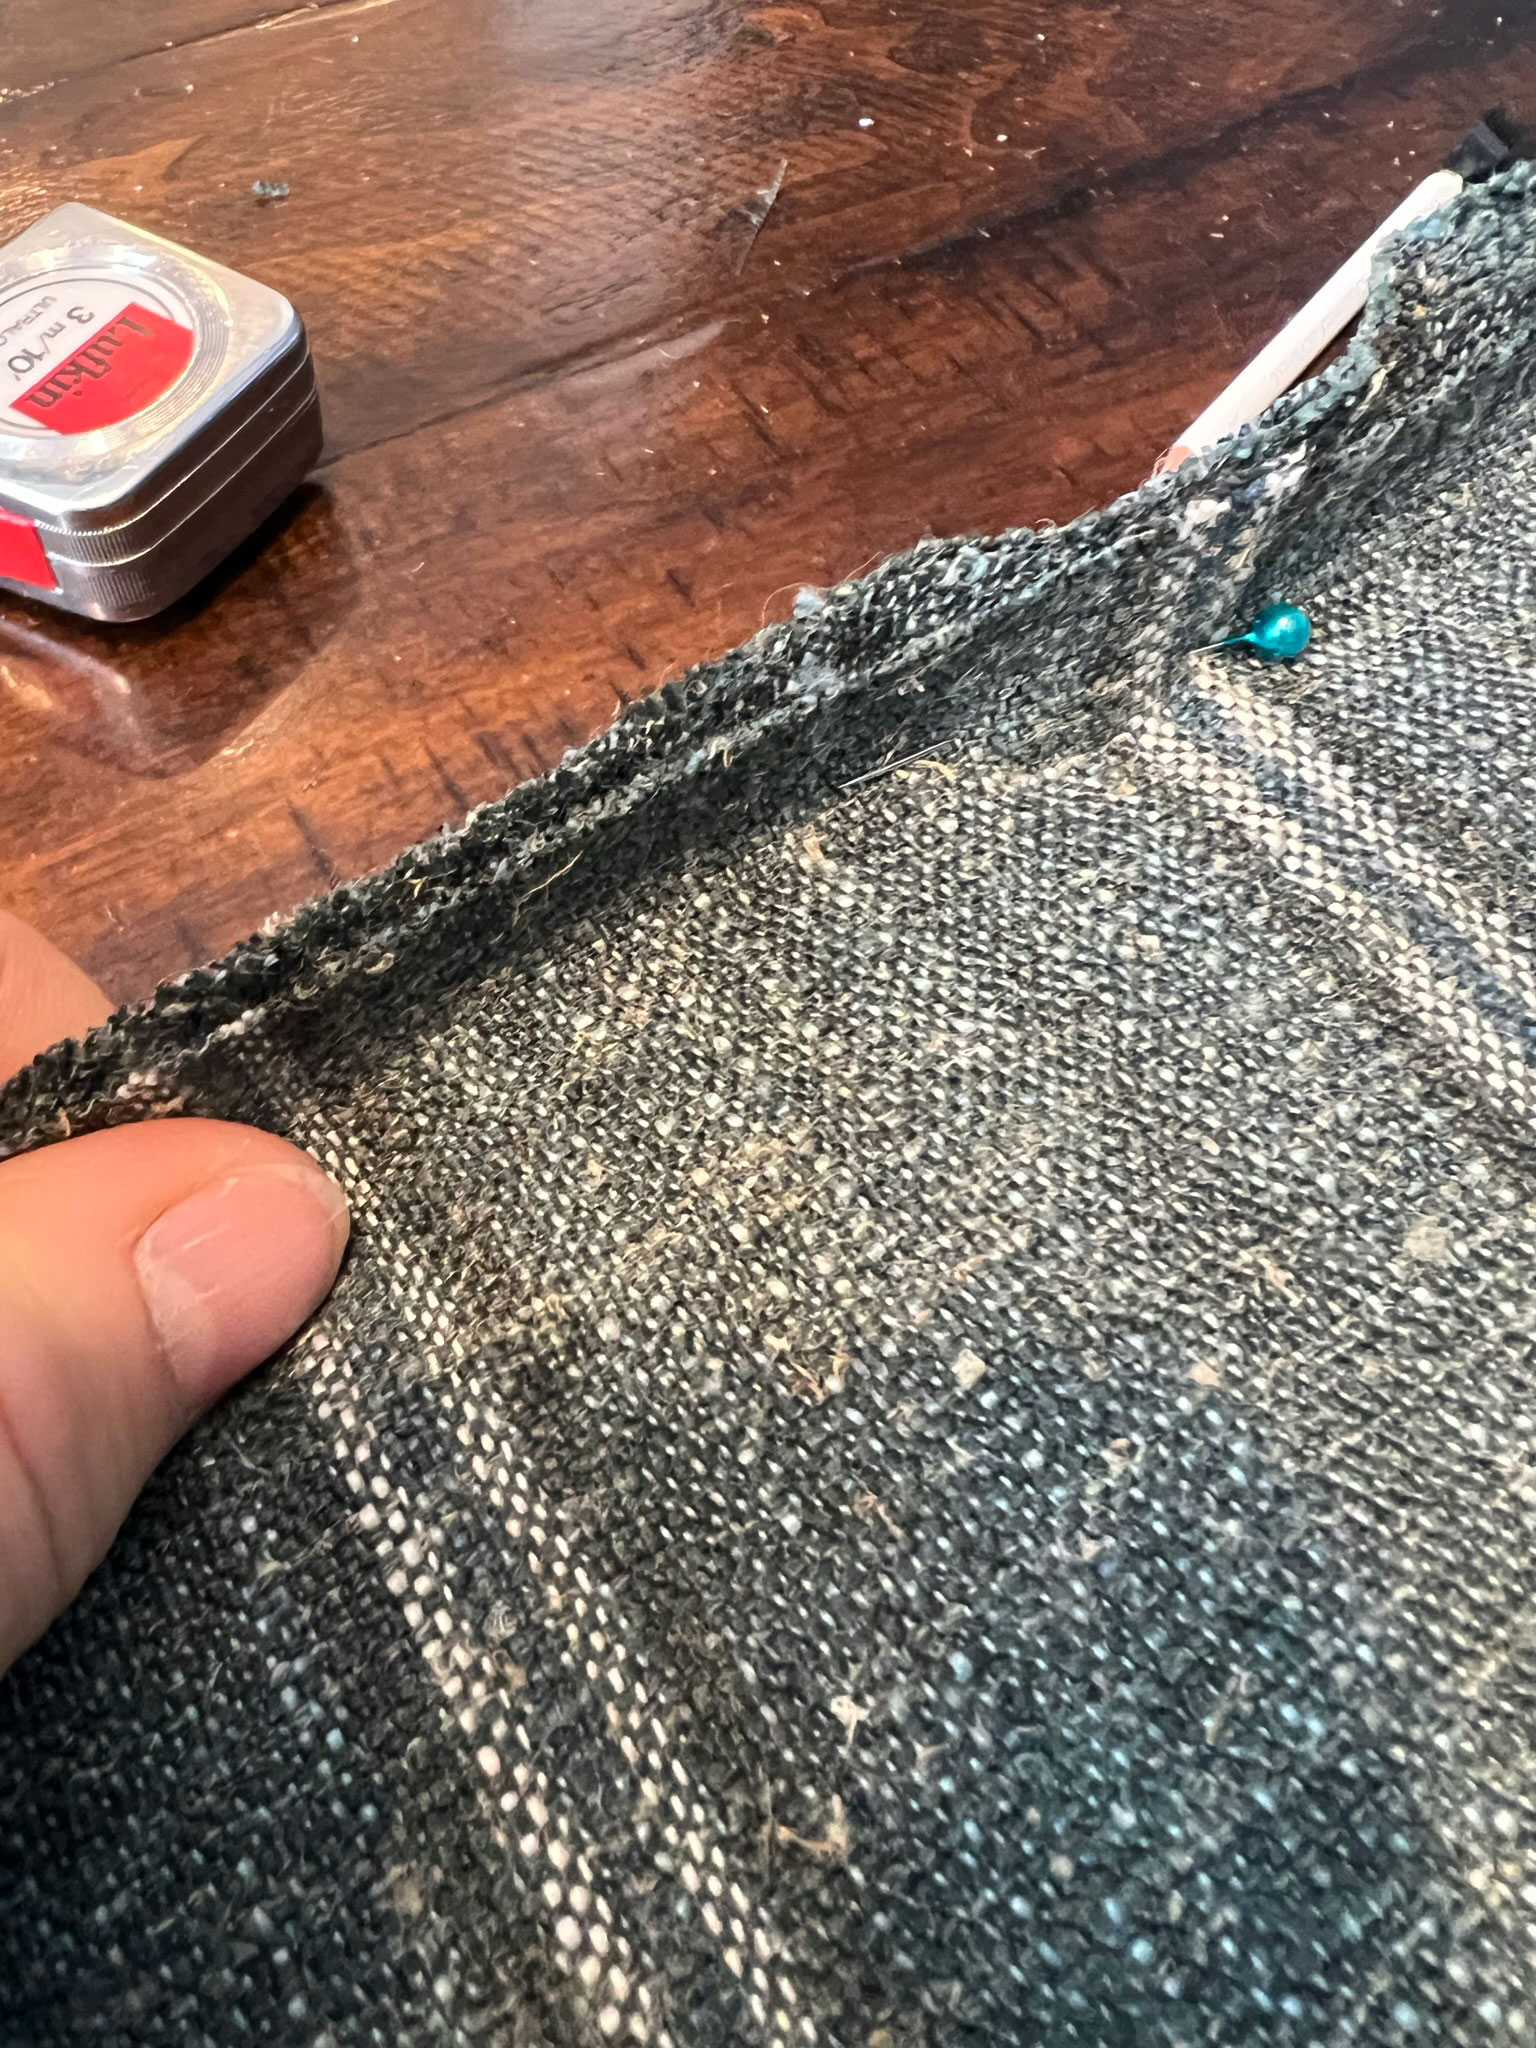
At the beginning and end of the cording, just run the ends out across each other like this.
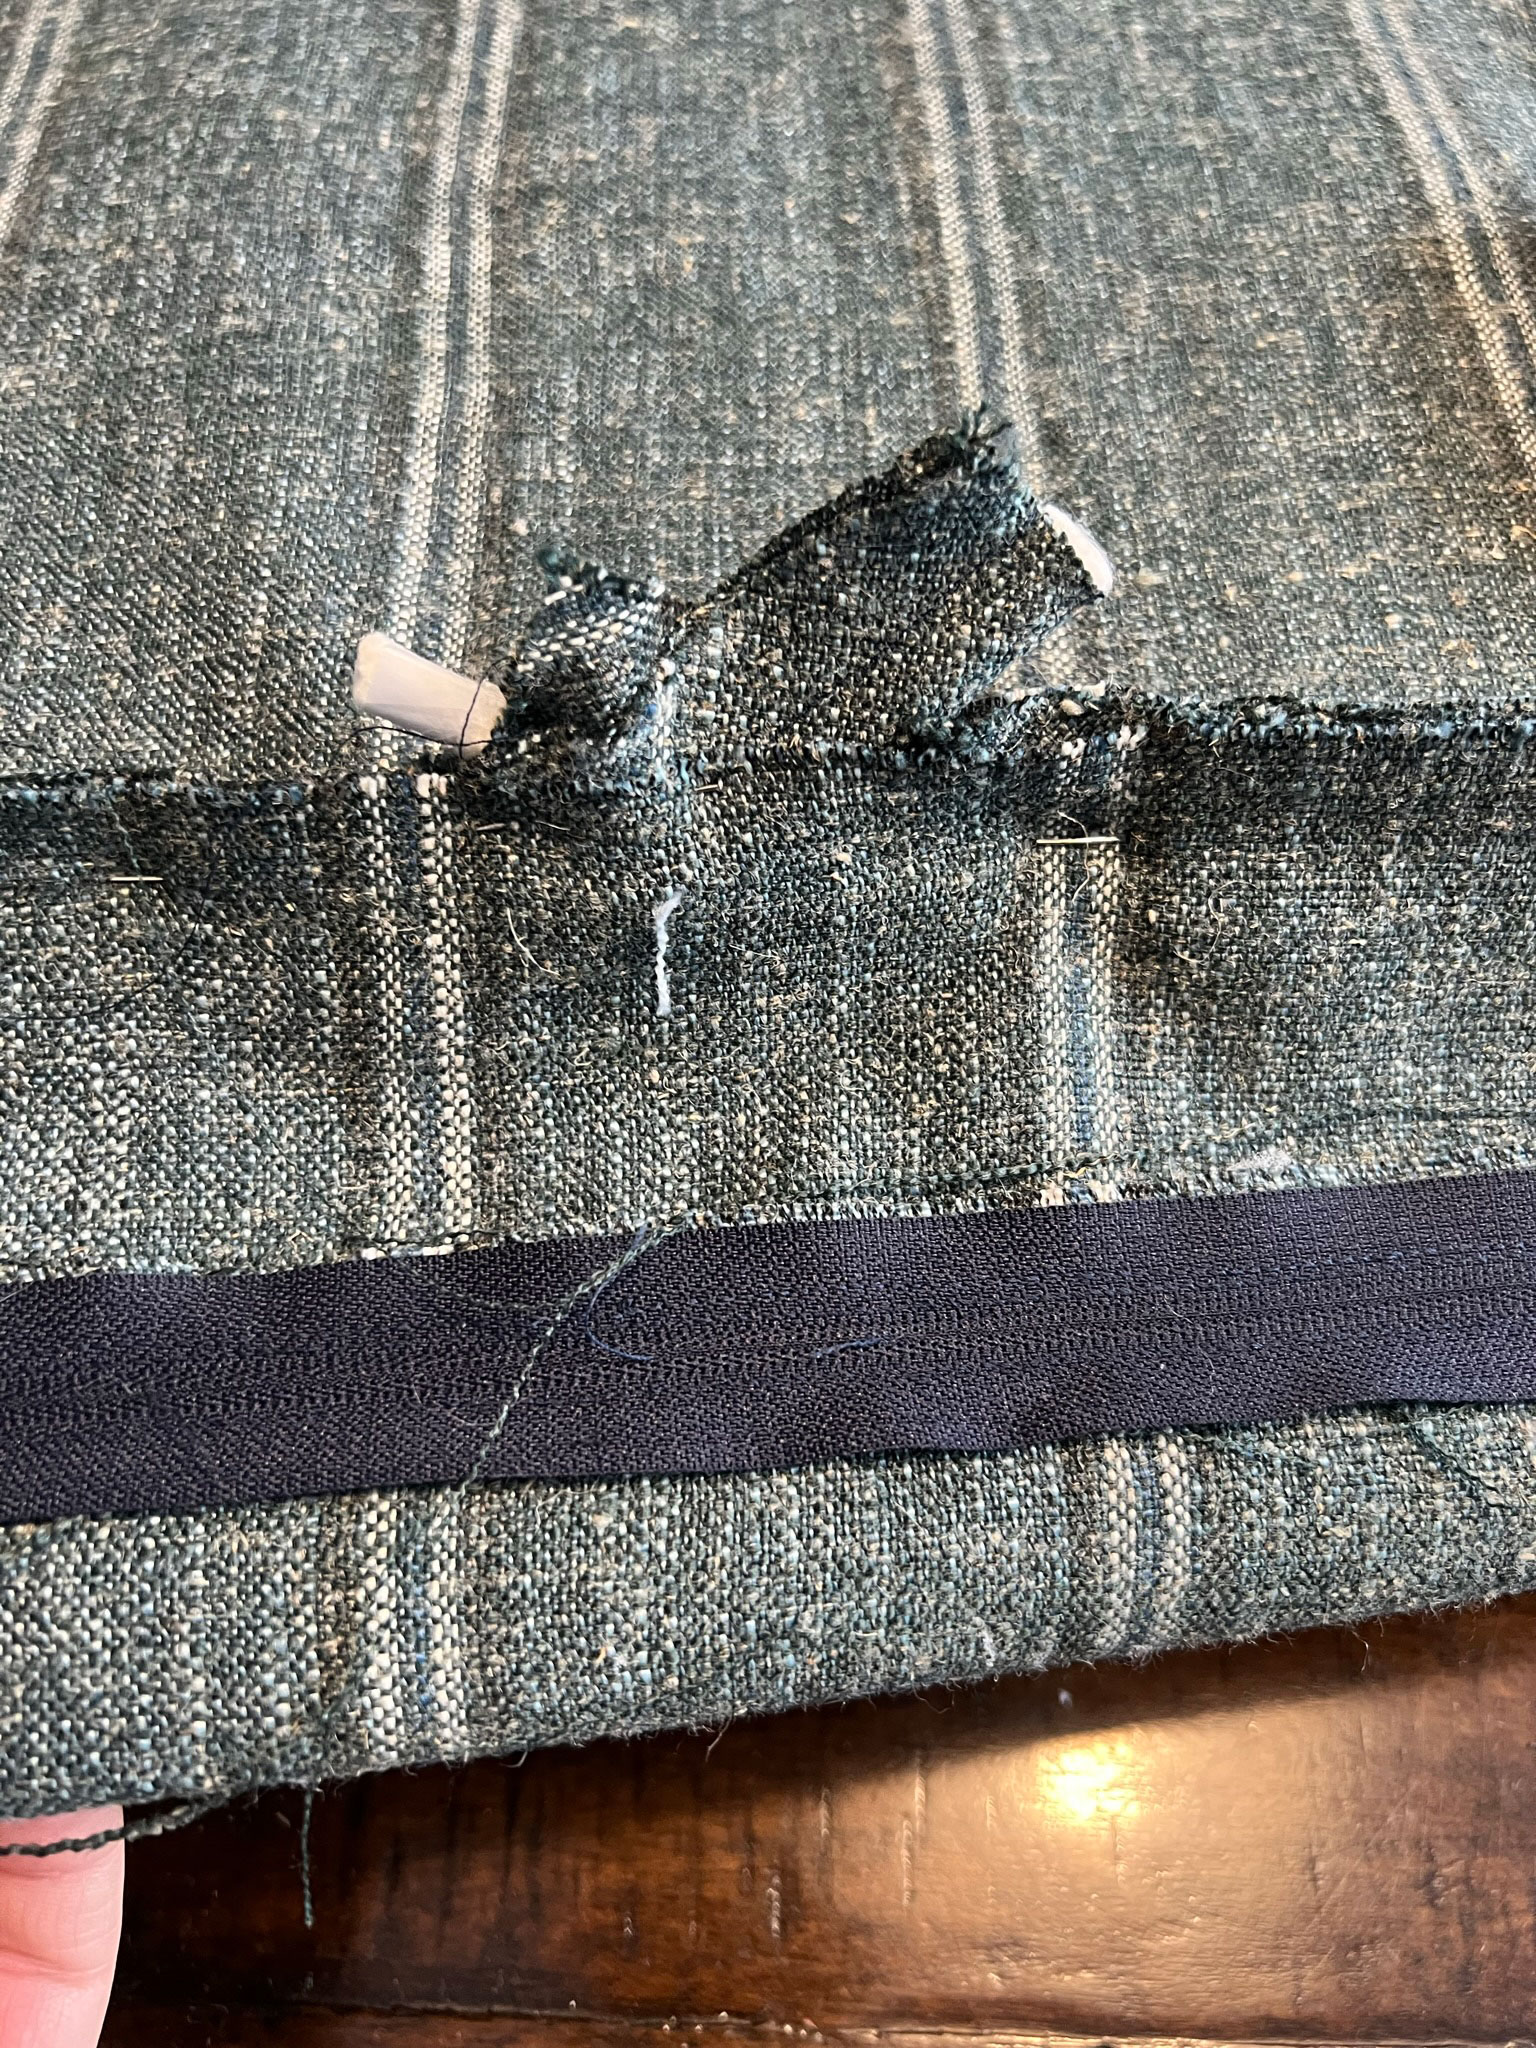
After they are sewn they look like this.
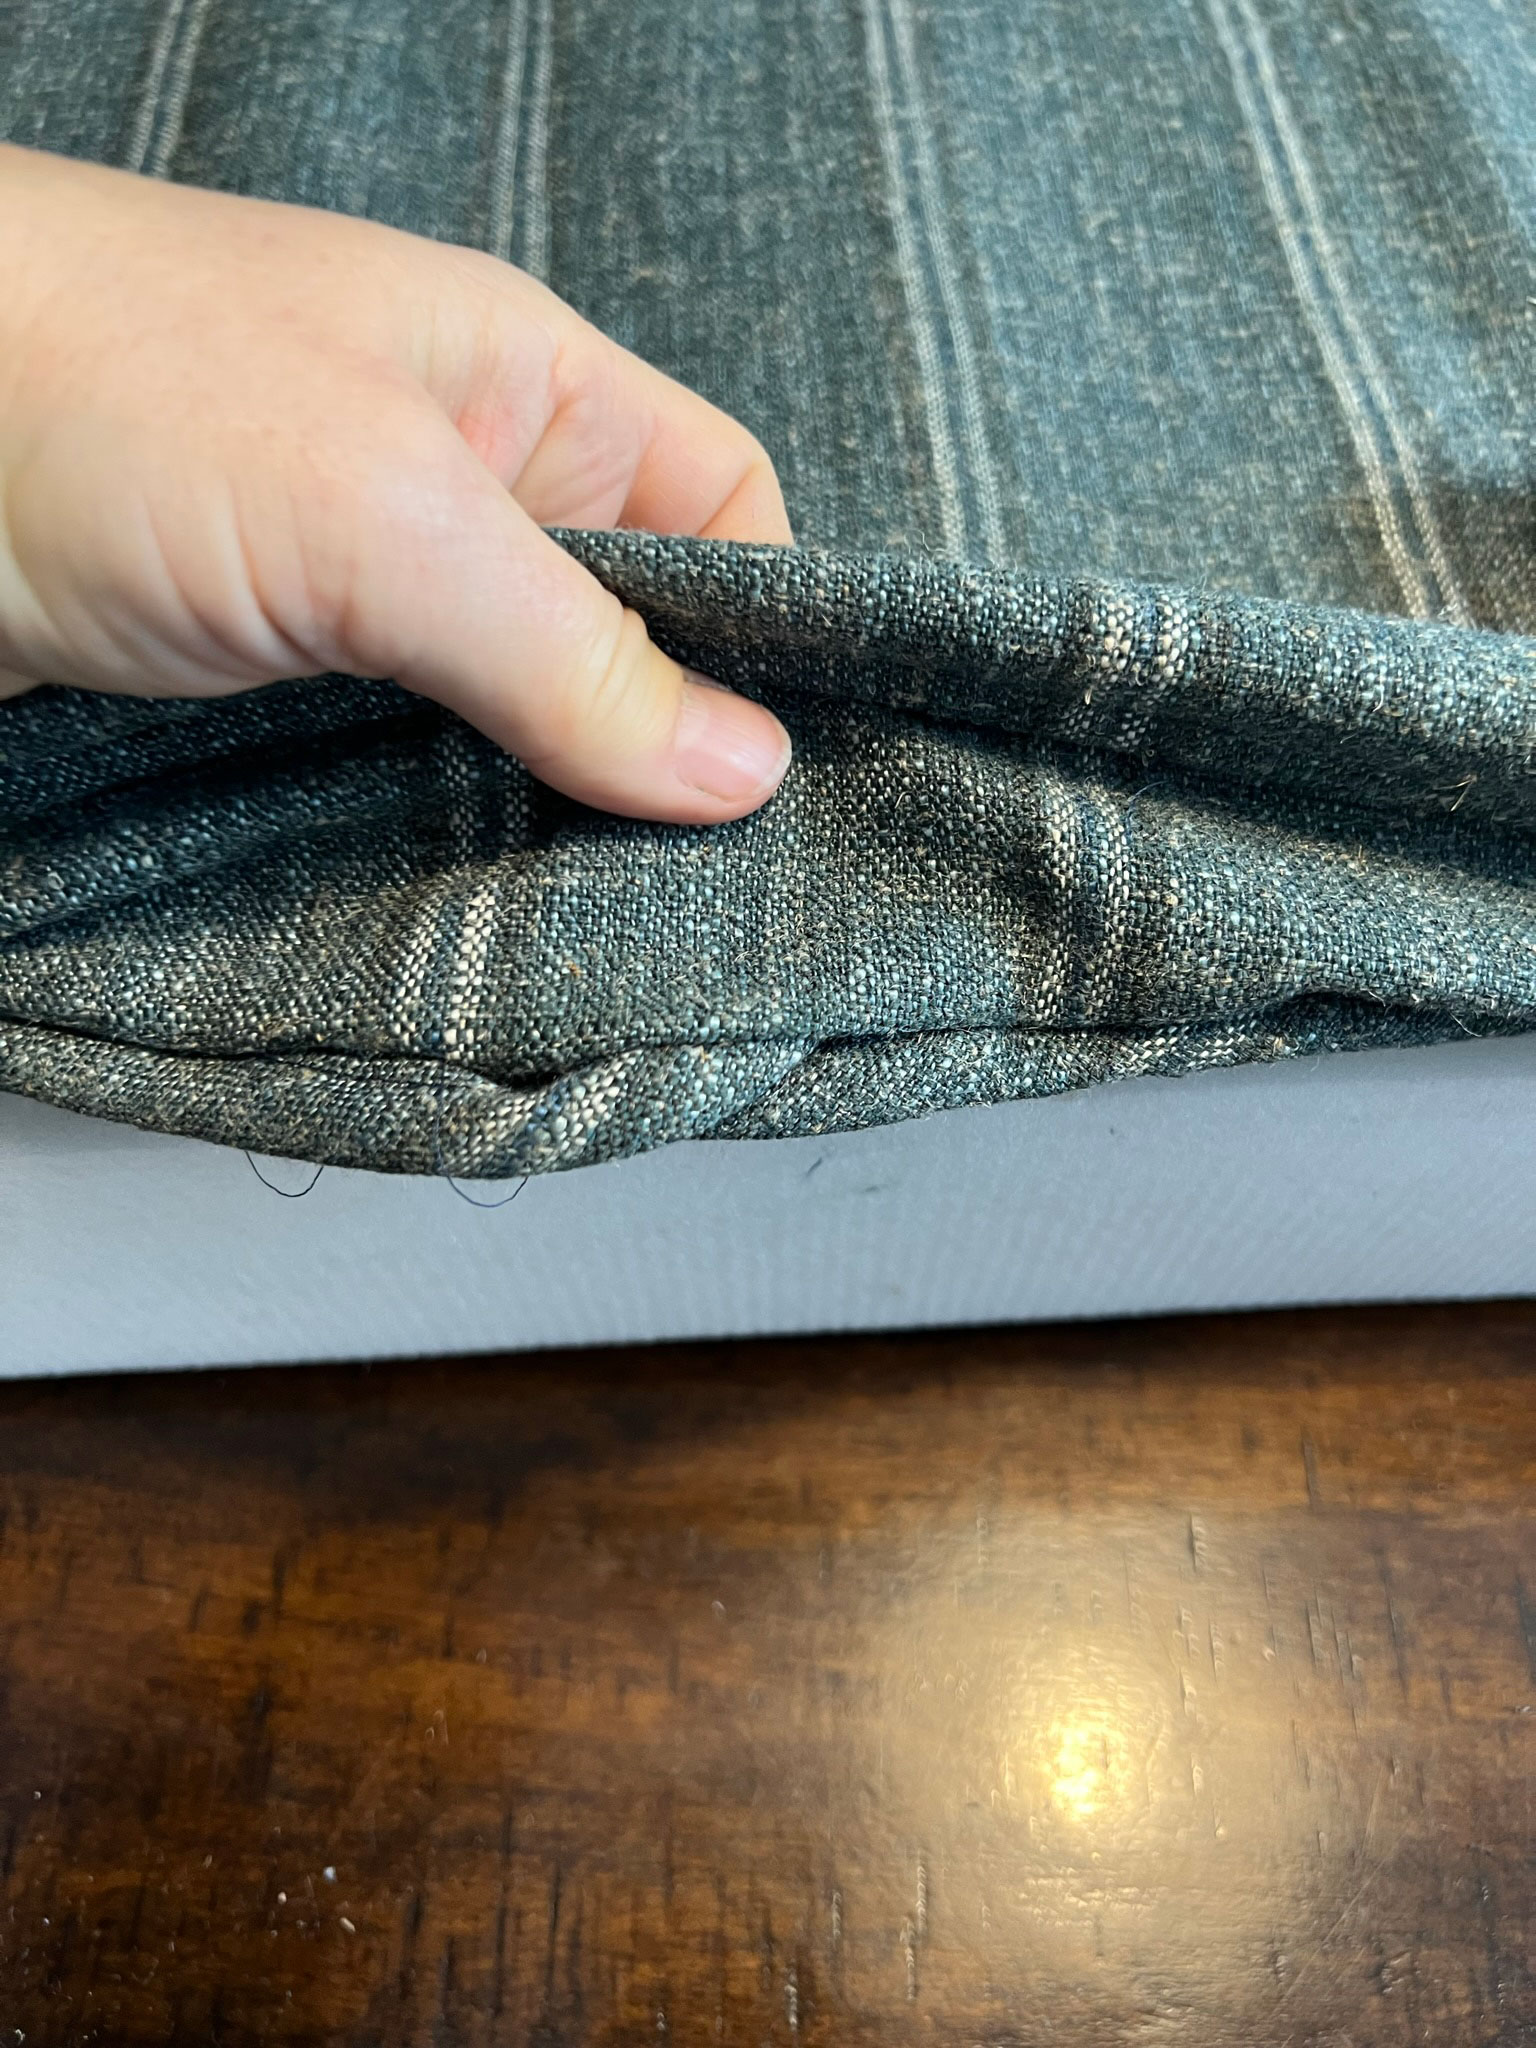
Once the top and side pieces are pinned, also pin the corners. At the front, just pin together the short and long sides at the corner. At the back, our zipper actually wrapped around the sides a little bit so we pinned it there.
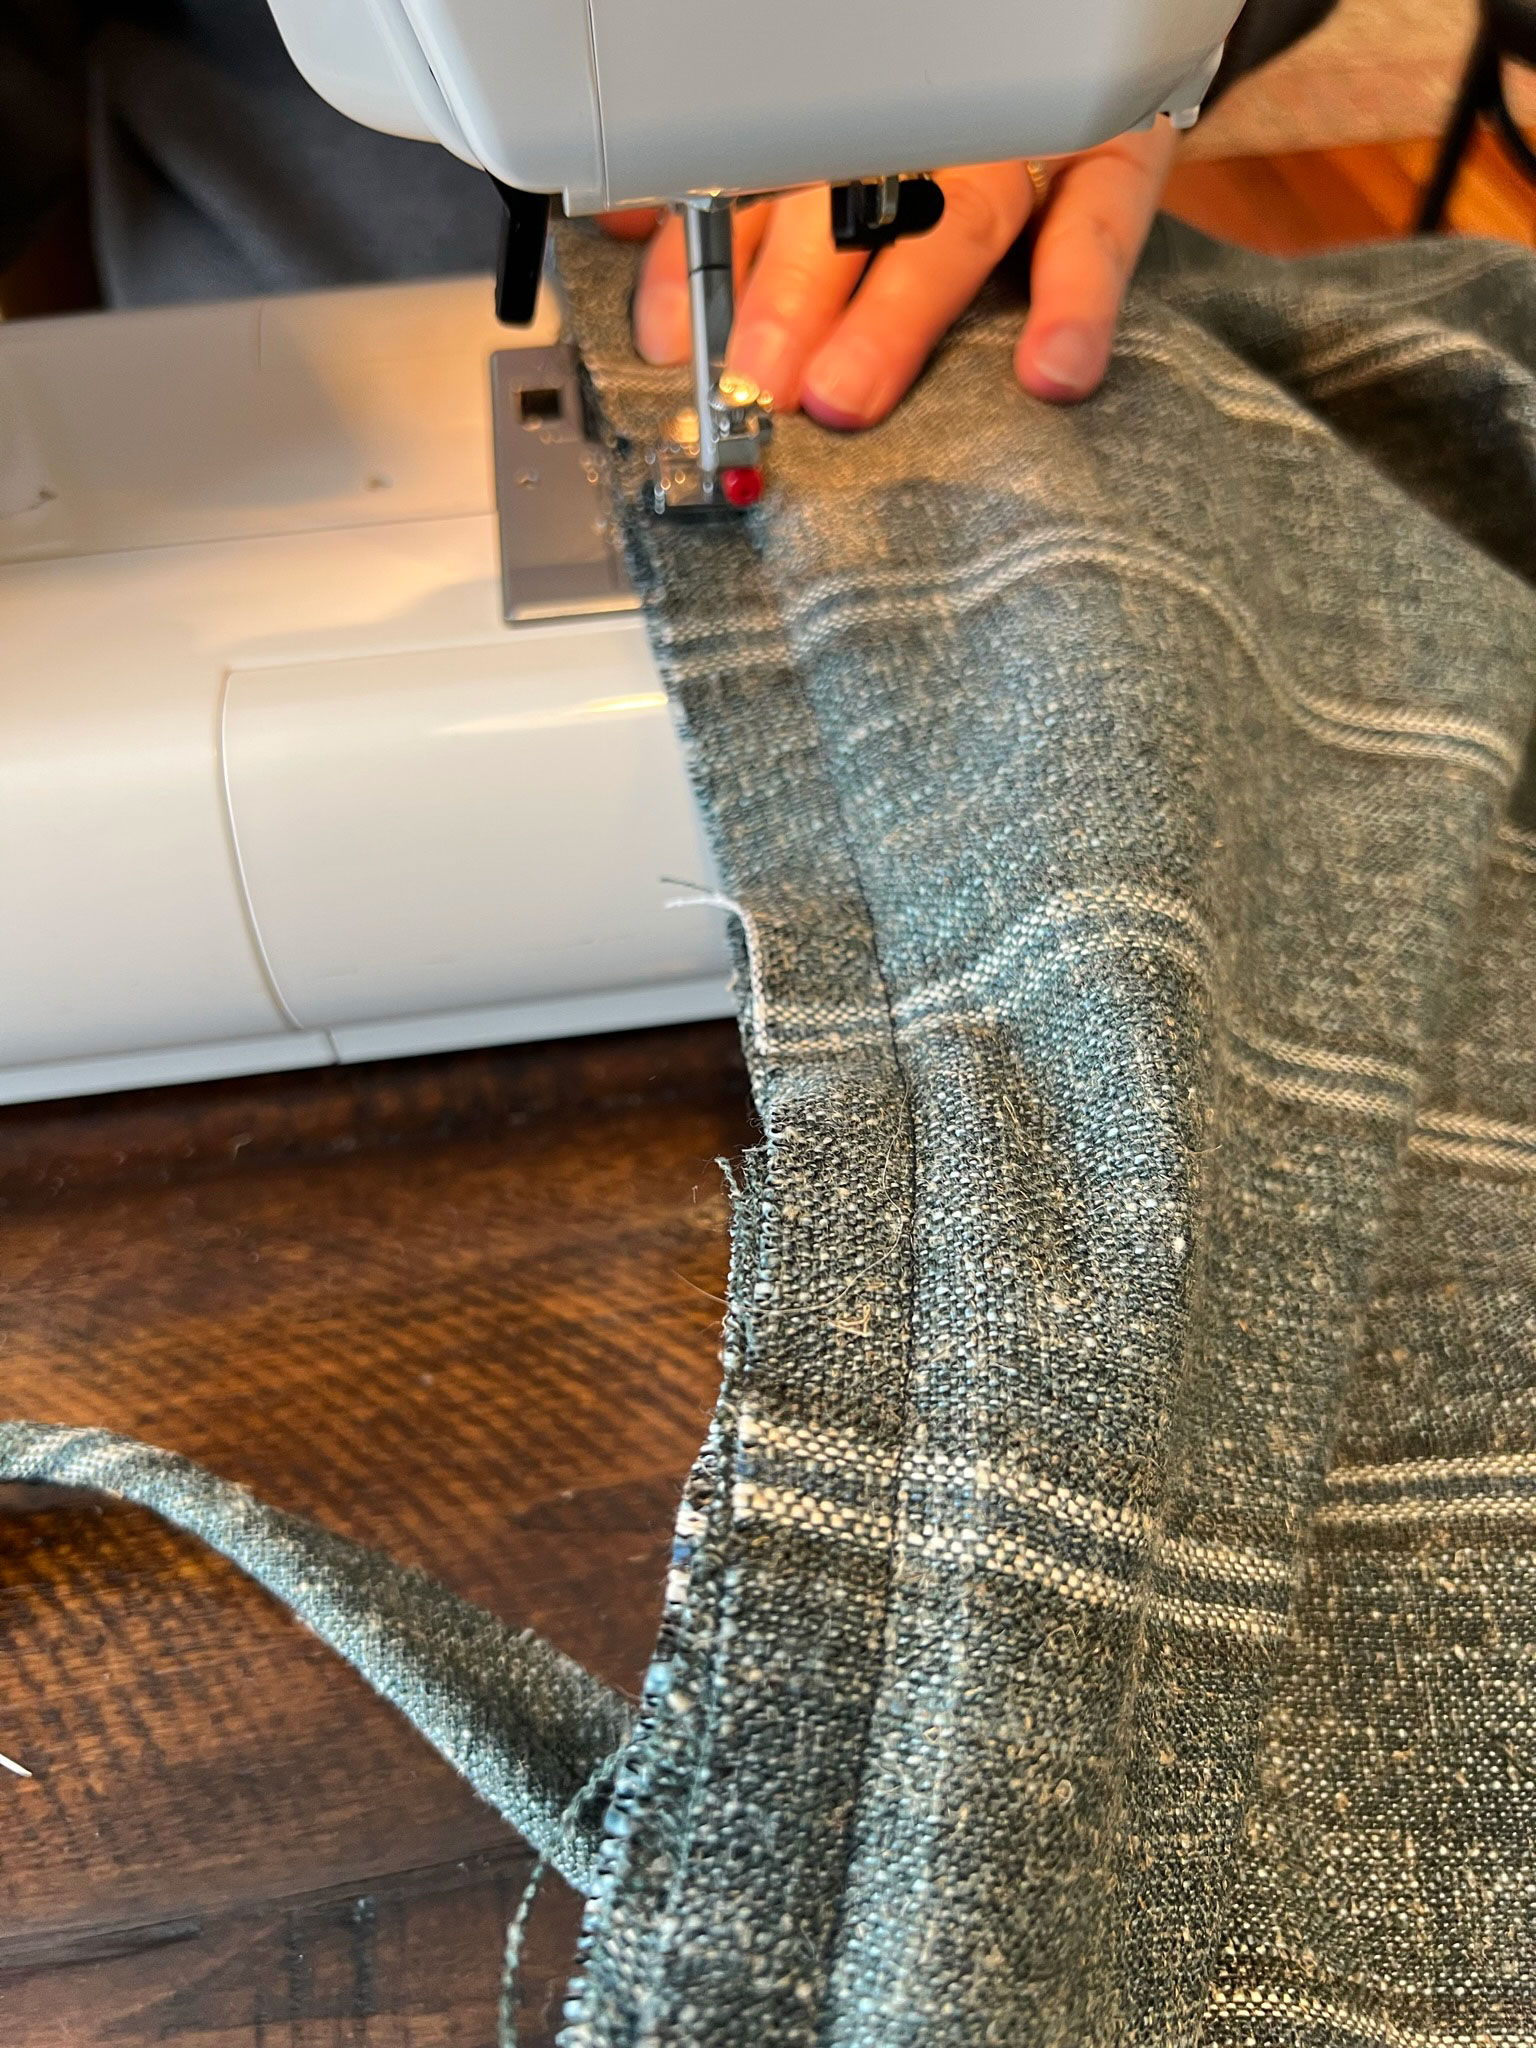
Carefully remove all of this from the foam and stitch everything you pinned using a zipper foot, getting as close as possible to the cording.
Sew the Bottom Seam
Home STRETCH! This is the last bit of sewing, you are almost finished with your DIY bench cushion!
Open the zipper a little before you start this next step or you will have a hard time getting it open to get the cover off once you pin on the bottom. (Ask me how I know that!)
Put the cushion back on the foam (inside out again) so you can sew on the bottom of the cushion cover. Repeat what you did for the top, adding the cording to the seam and pinning as you go. Keep it as close and snug to the cushion as you can and line up the stripes again.
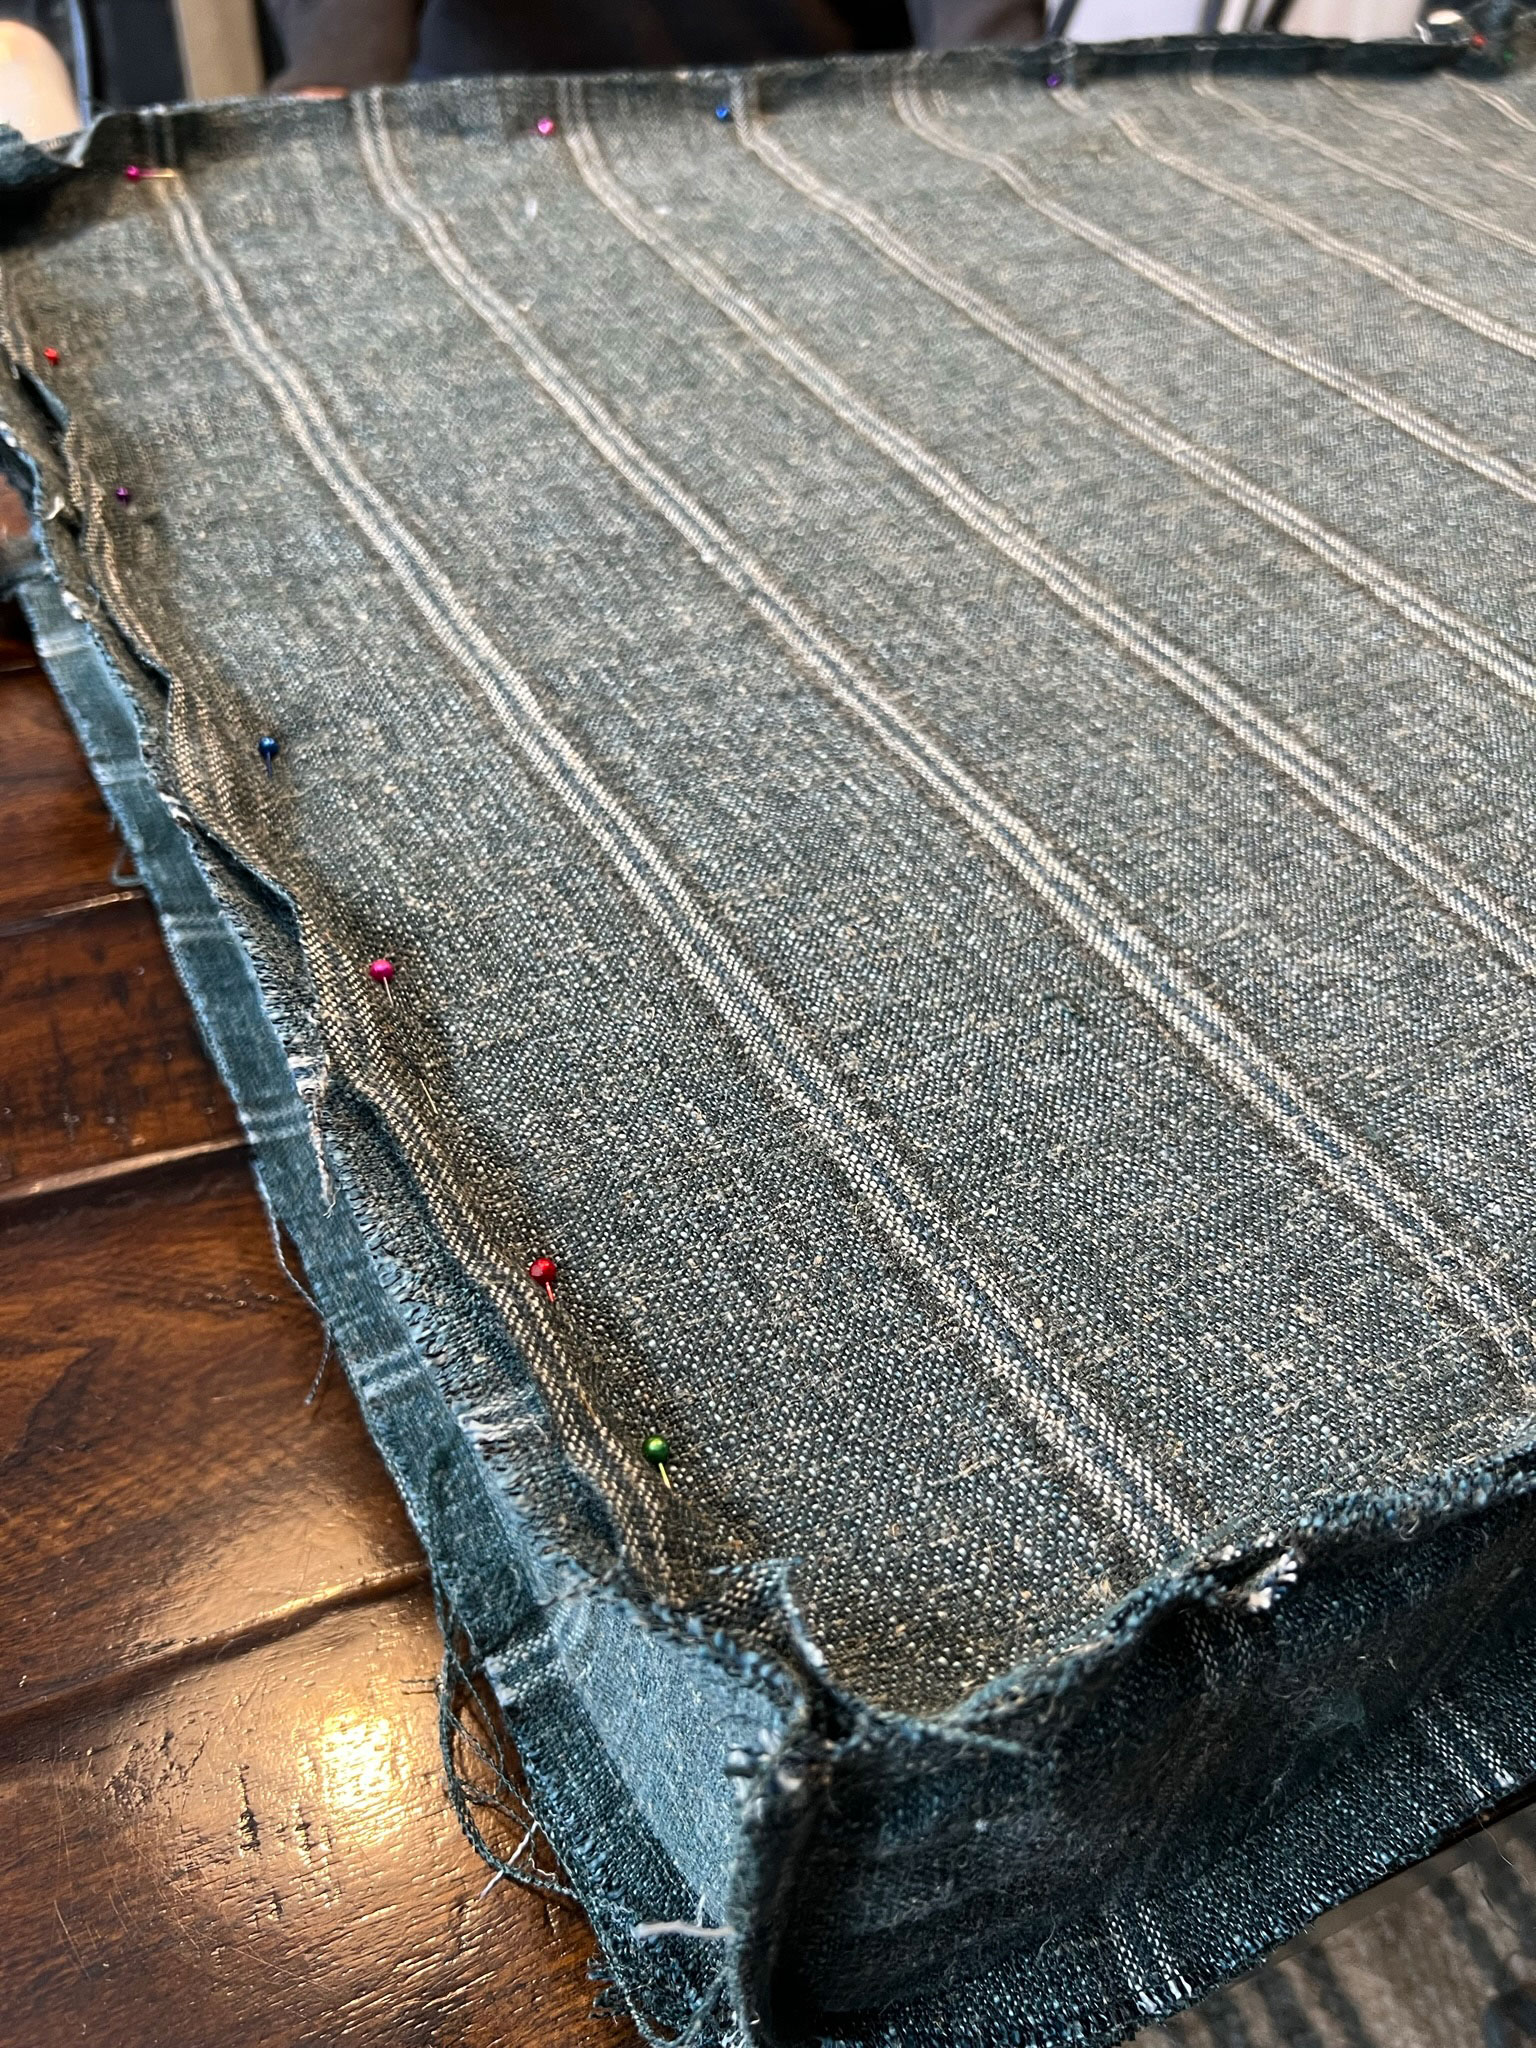
Now you will have to carefully remove the foam from what is now the fully enclosed cushion cover, so that’s where it is helpful to have an extra long zipper. Take the cushion off and sew the seam you just pinned.
Test fit
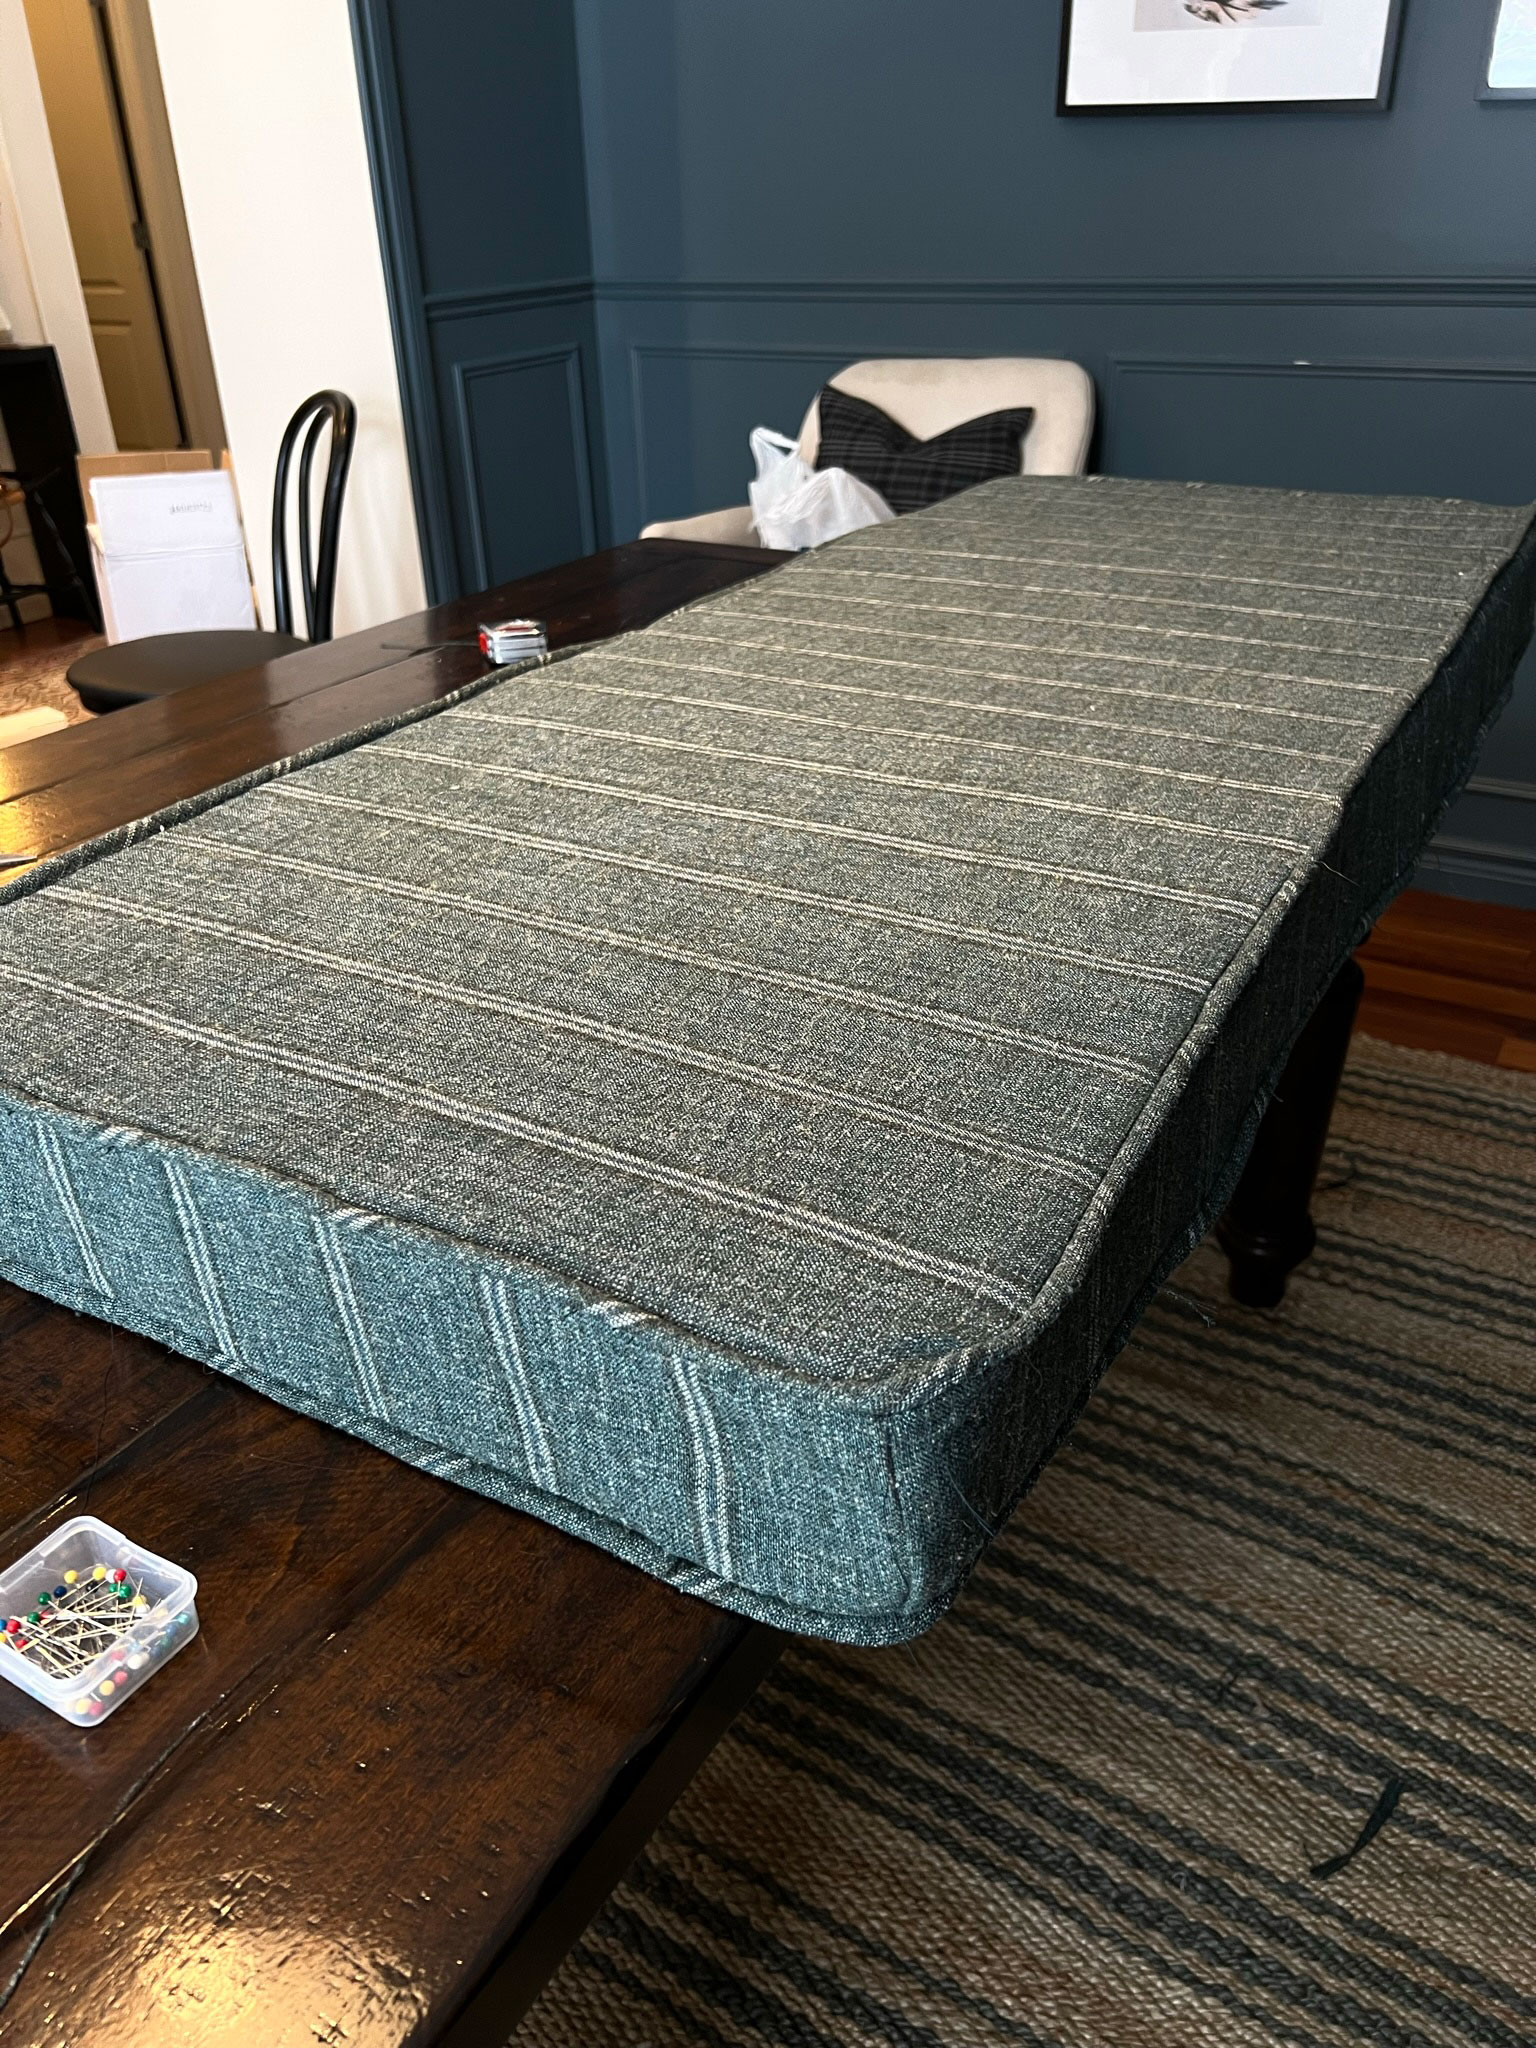
Now you sewing might be over at this point, yay! Slide your foam into the cushion cover and test the fit. We had one spot that didn’t end up being all that straight so we removed the seam and re-sewed that.
Pump it up! Plumping up the cushion
In the past, that is where we have ended our bench cushion making, but that results in a very flat cushion and over time the fabric can relax and you can end up with a bunch of loose fabric and a little bit of a sloppy cushion.
So I hit up the internet and found a youtube channel from an upholstery guy to find out how the pros get such nice, full-looking cushions. It turns out they use something called Dacron and they wrap the foam in that to give it a little extra oomph. It helps fill the corners and edges a bit better and gives the top of the cushion a bit of a crown, or rounded surface.
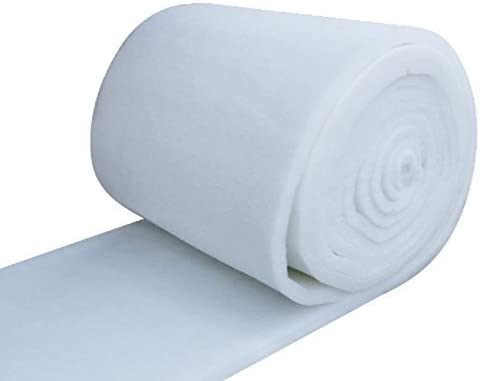
I headed to my local fabric store and I couldn’t find Dacron (it turns out that is just a brand name for batting!) but I did find some batting, so I bought a bunch of that and brought it home.
I took the foam and laid it out on the floor and wrapped it in the batting.
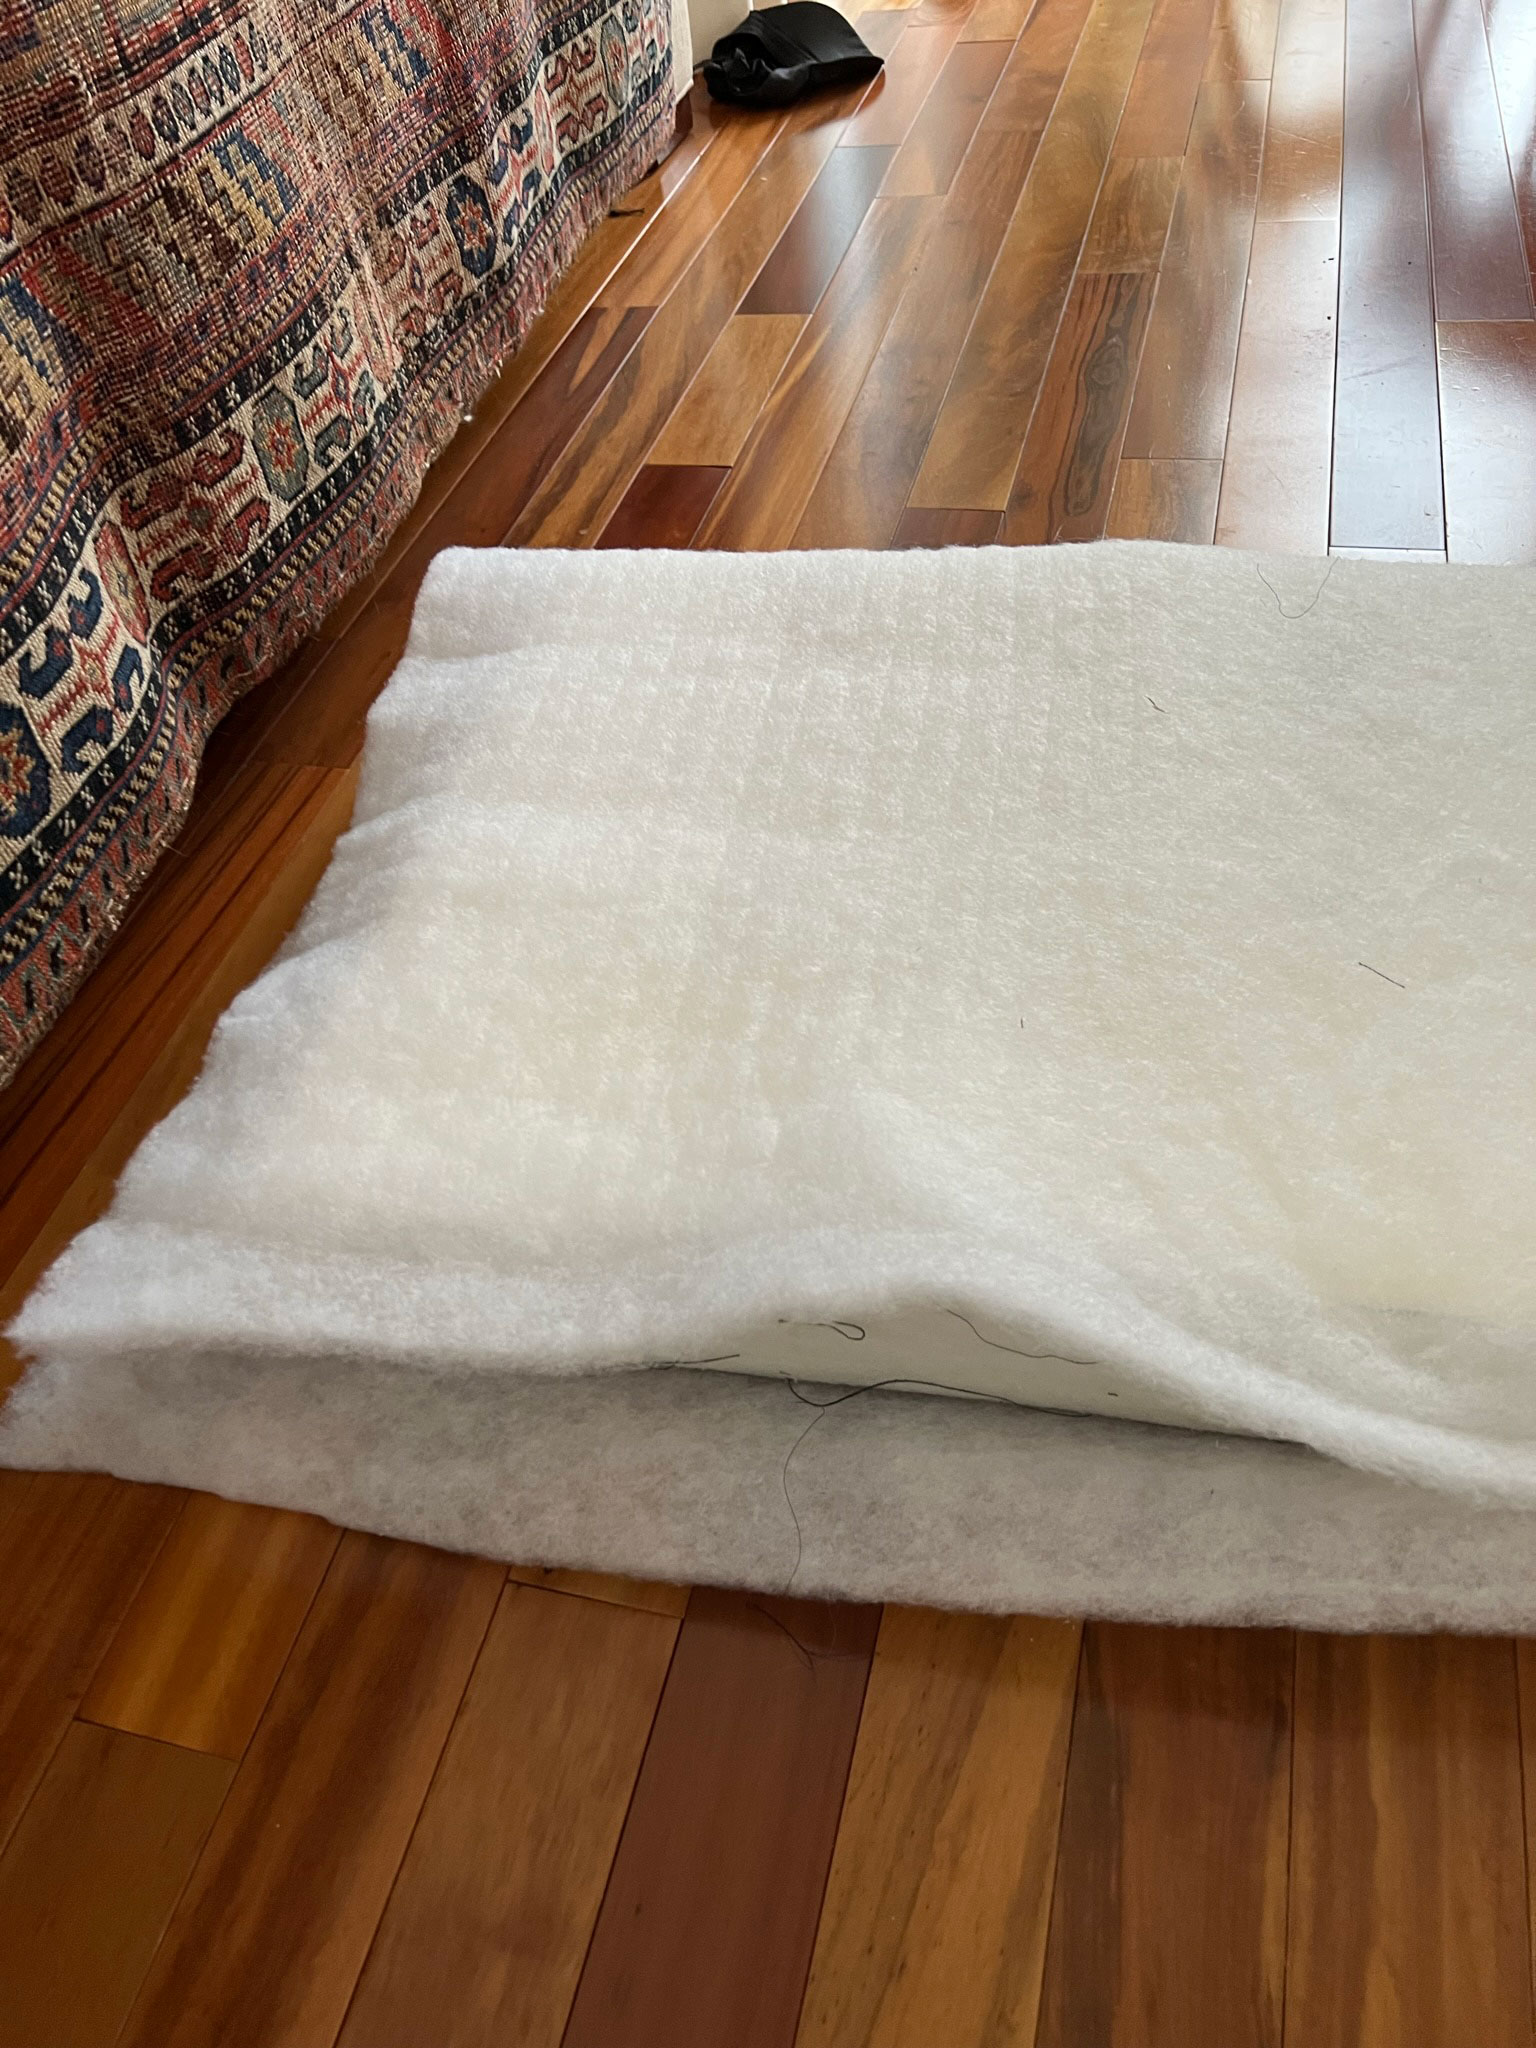
Full disclosure – I tried to wrap it a couple of times at first but it wasn’t able to keep it from bunching up so I found I had to do it one time and then staple it. I just used a household stapler for this and added a lot of staples to the seams. (I don’t know if there is a special staple gun for this, but really it just needed to hold it while the cushion cover is going on and off. Once the cover is on the batting is not able to move.)
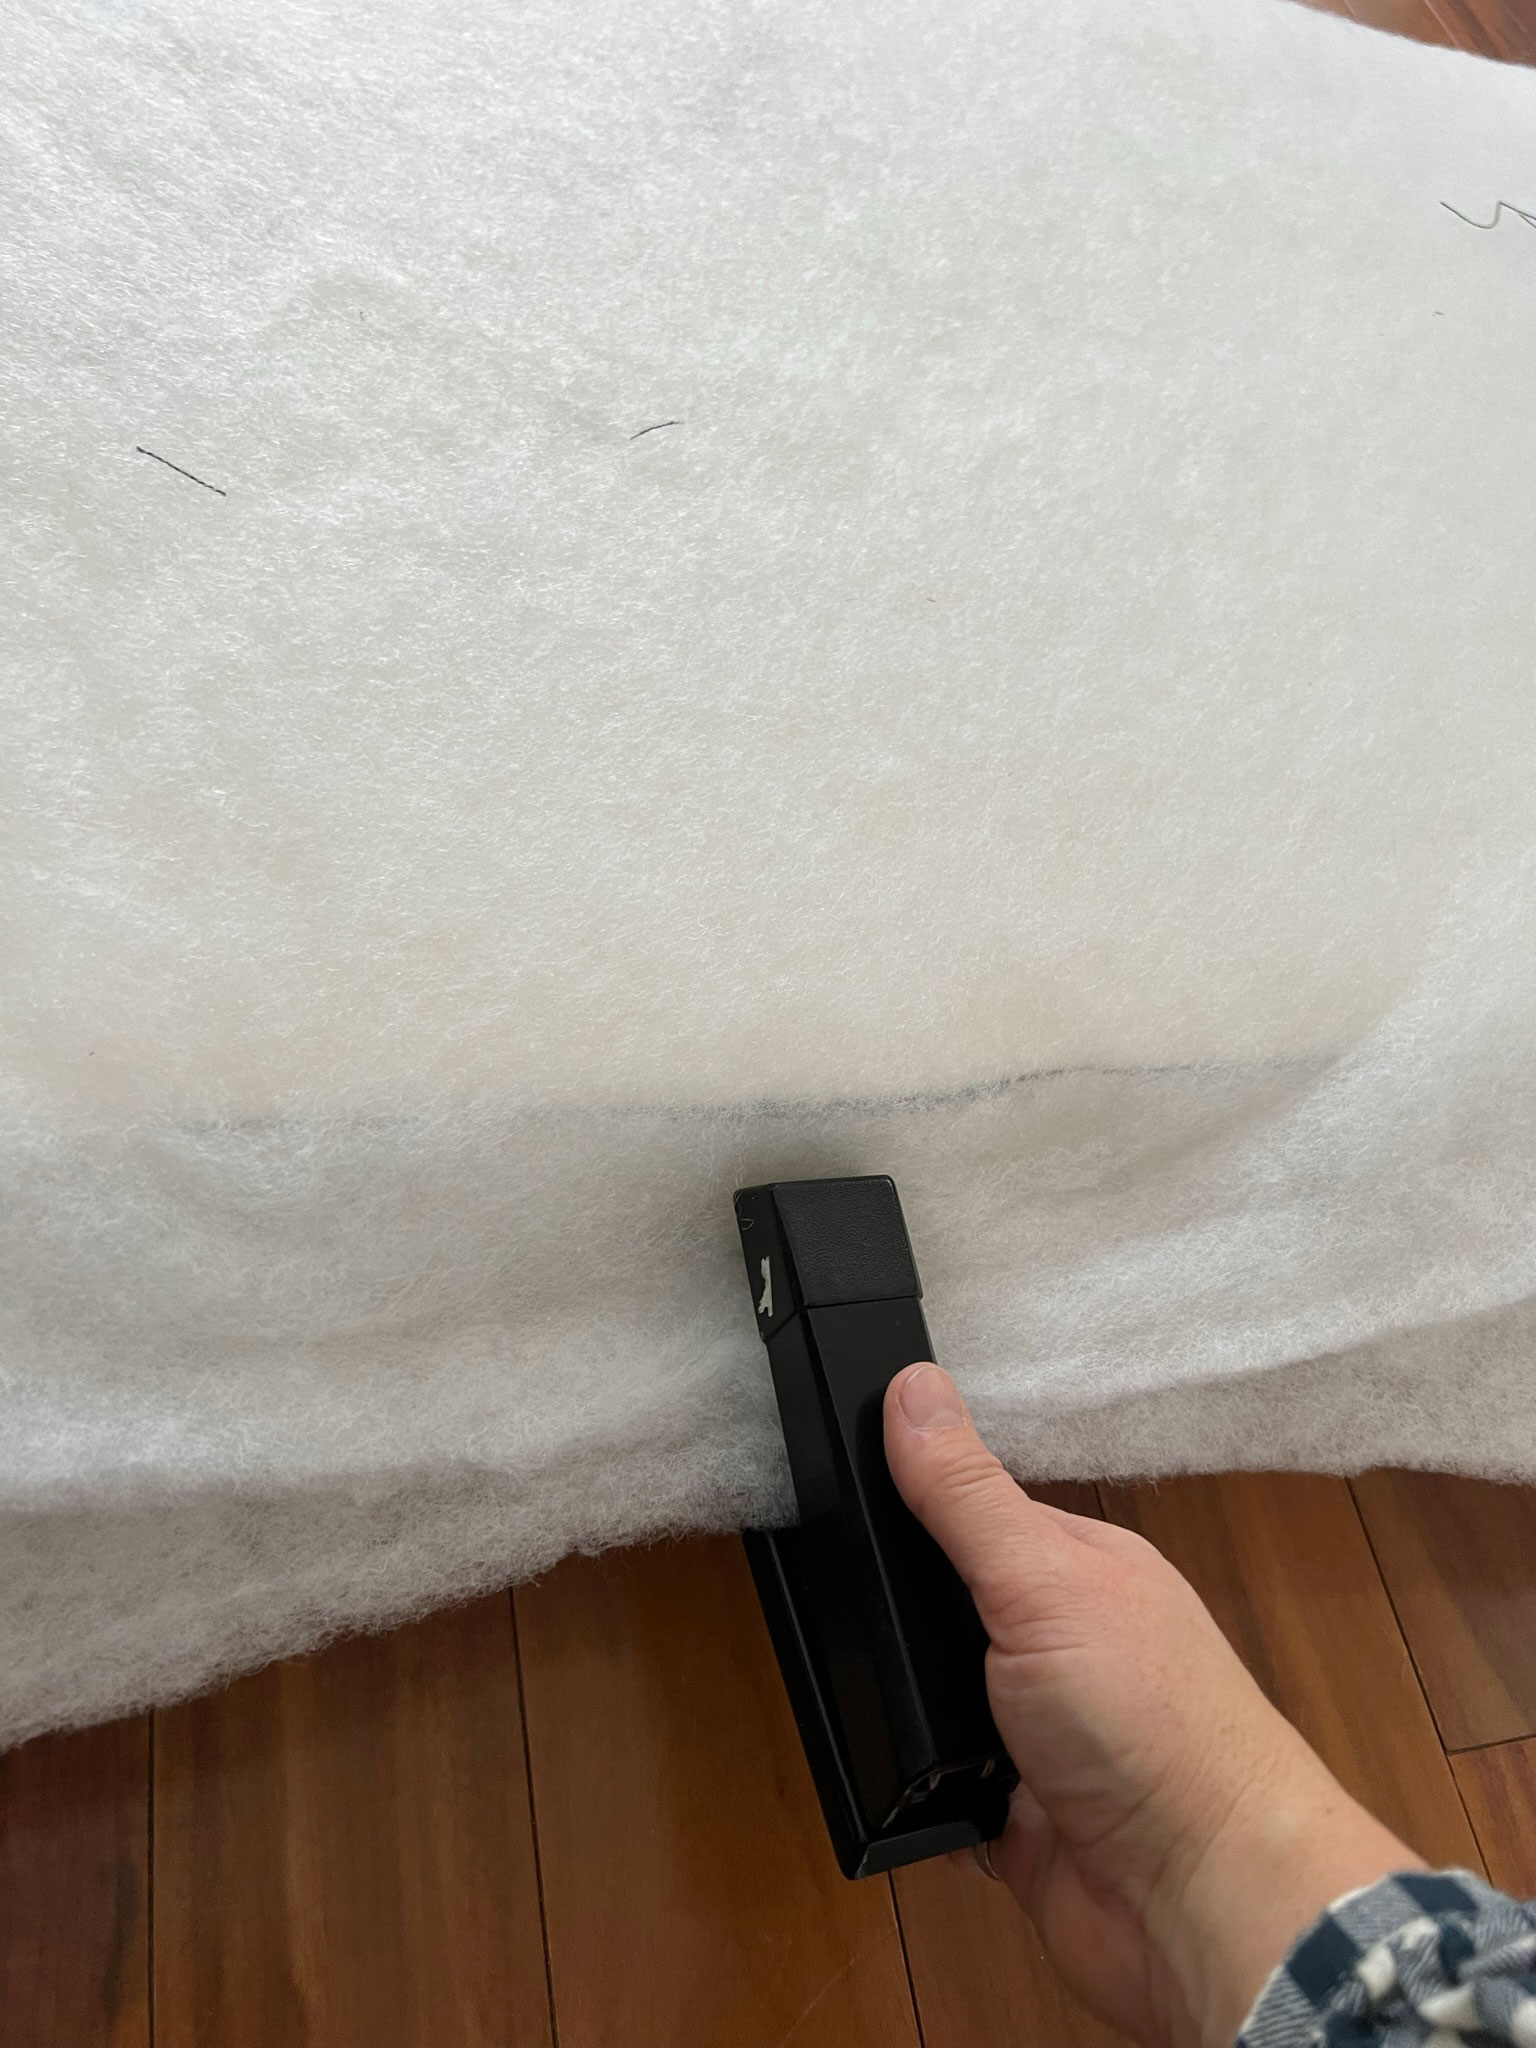
Once it was well stapled I trimmed off any extra batting with my scissors.
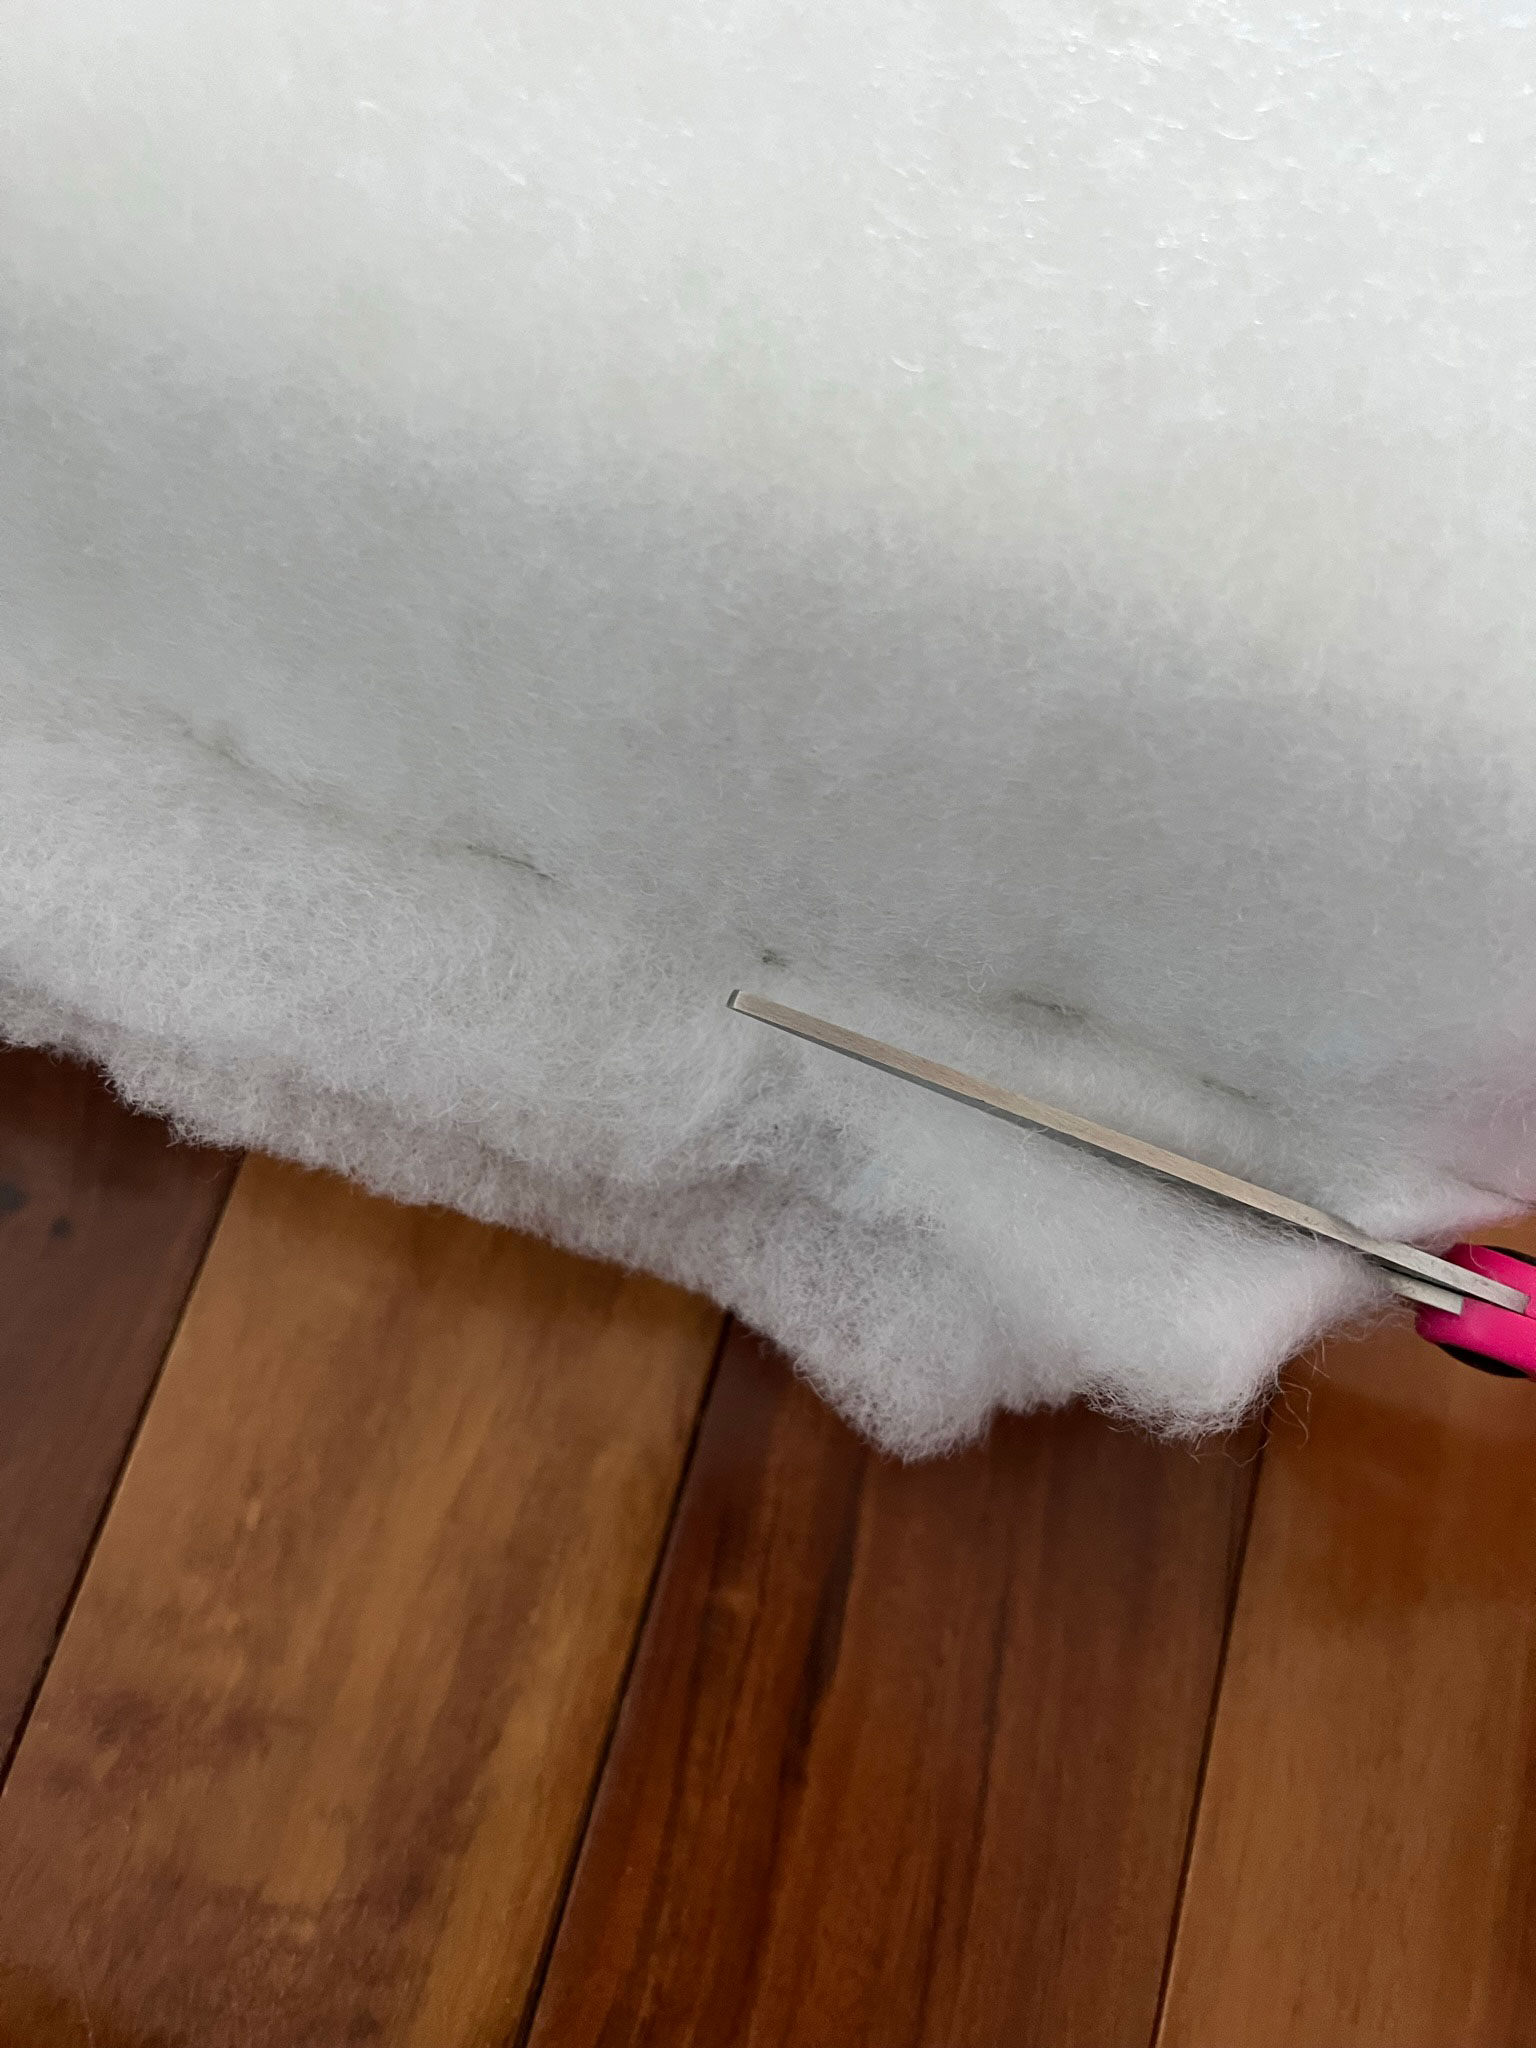
I tried it with one layer of batting and didn’t find it full enough, so I took the cover off and stapled a second layer to it. That did the trick! It’s nice and full now, and if over time I find that it loosens up at all I’ll just add another layer.
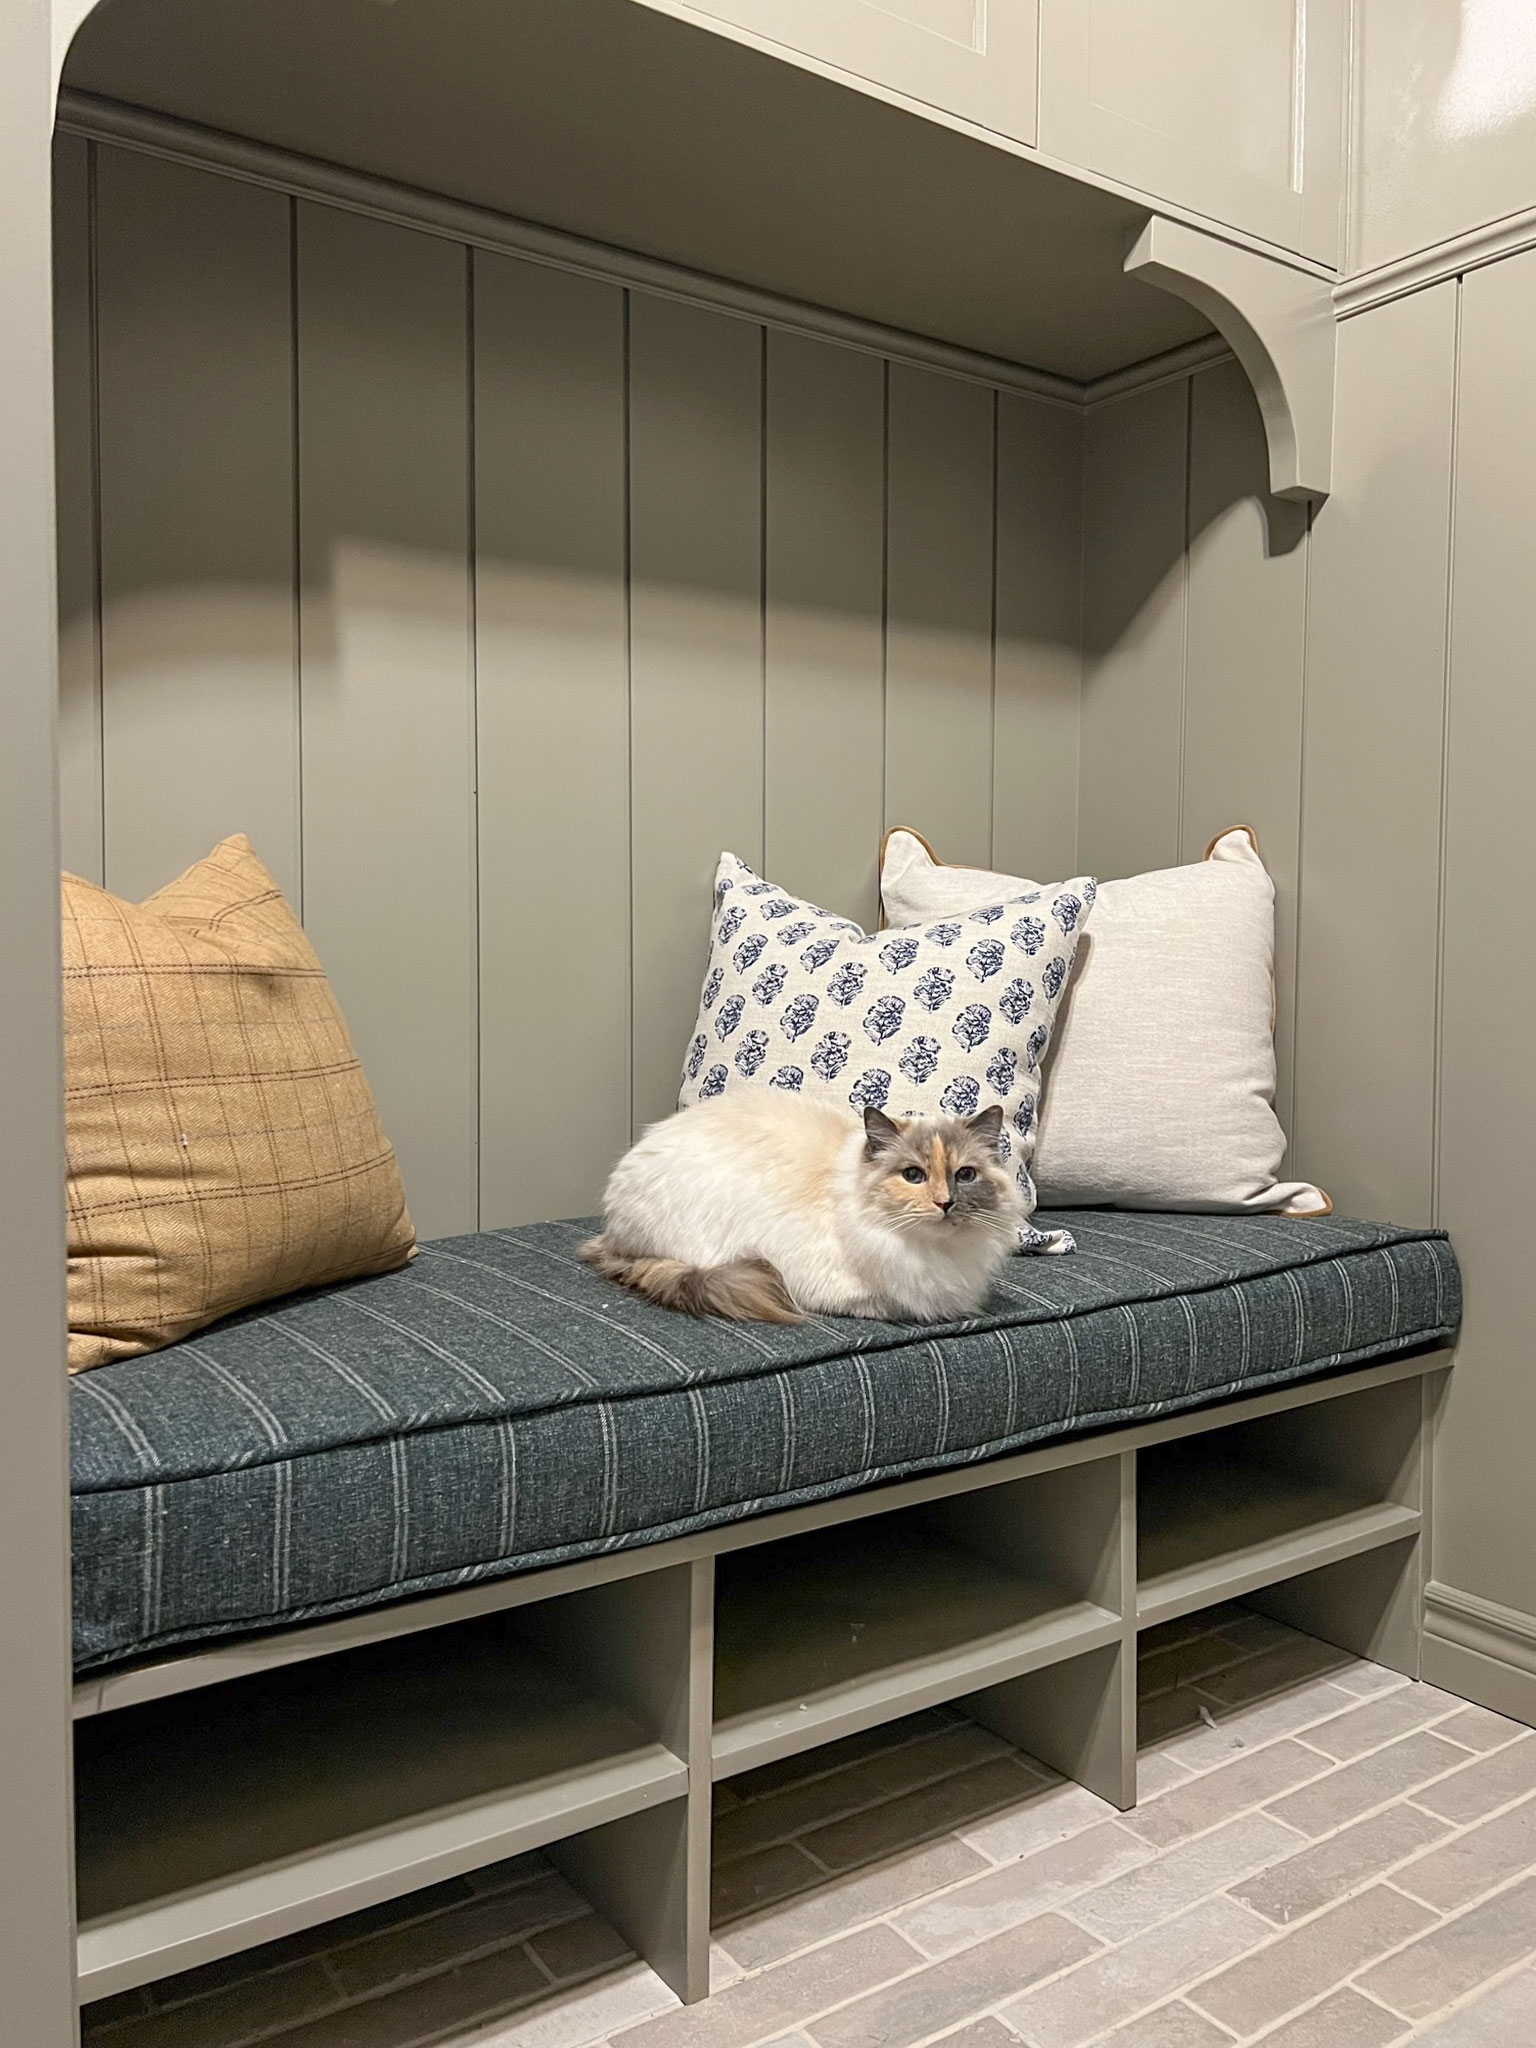
And that’s a wrap! The entire project took about 6 hours but might take a bit more if you are working alone (since it was my mom and I doing stuff sometimes simultaneously.) Hopefully, these detailed steps are enough to convince you to try to make your own DIY cushion!
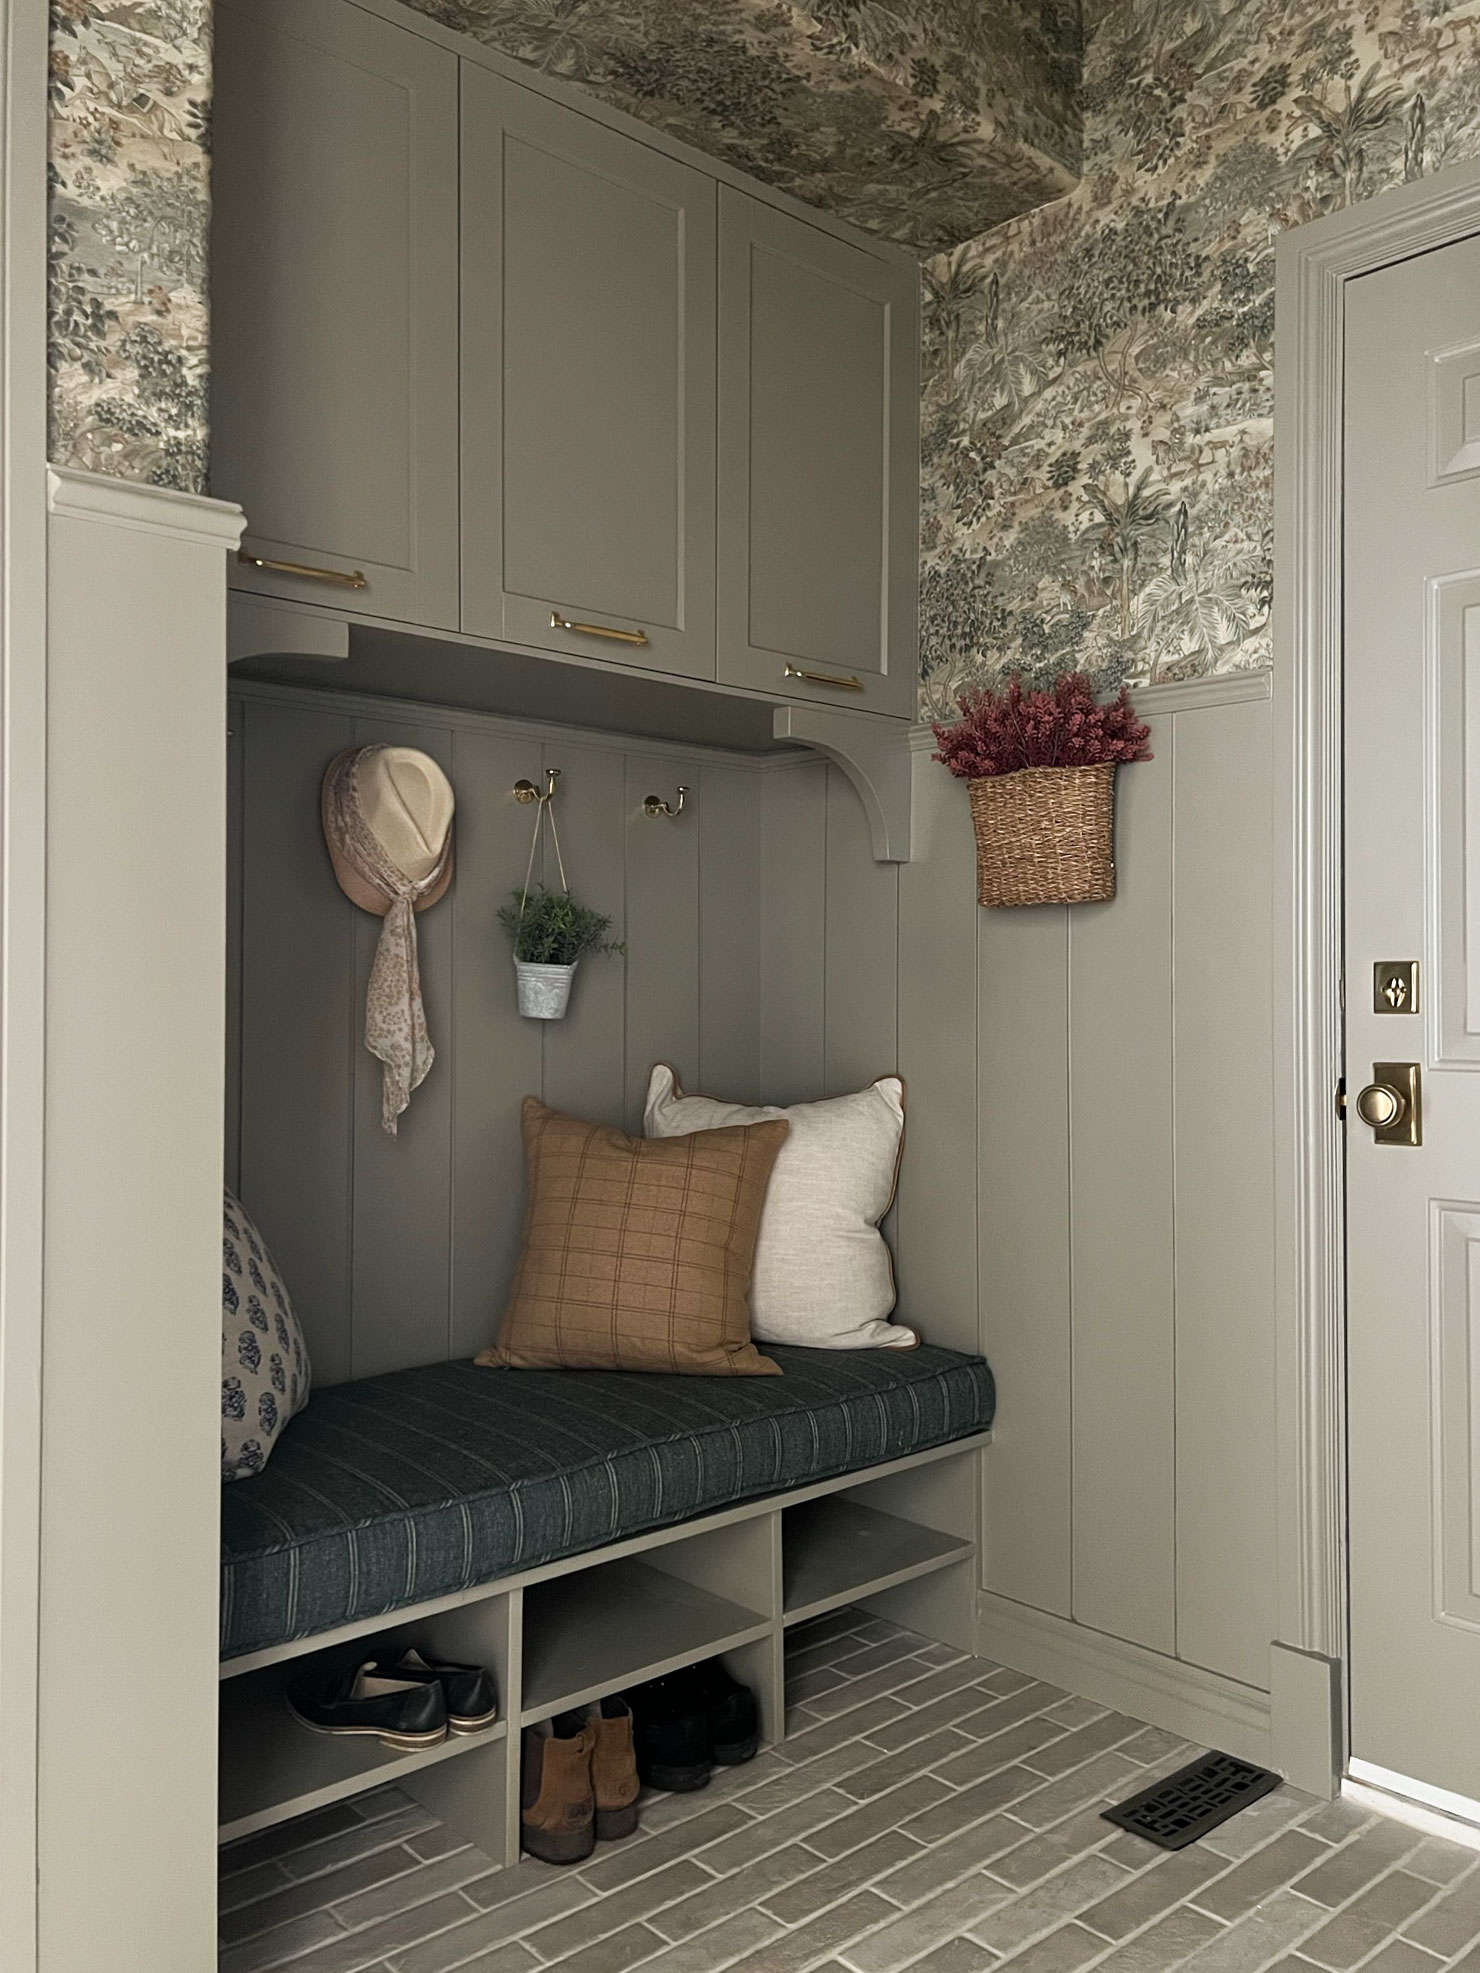
Here it is in place on my mudroom bench. Tonic Living supplied me with the fabric for this project and these gorgeous pillows, and I can’t get over how great it all looks together with the freshly painted panelling!
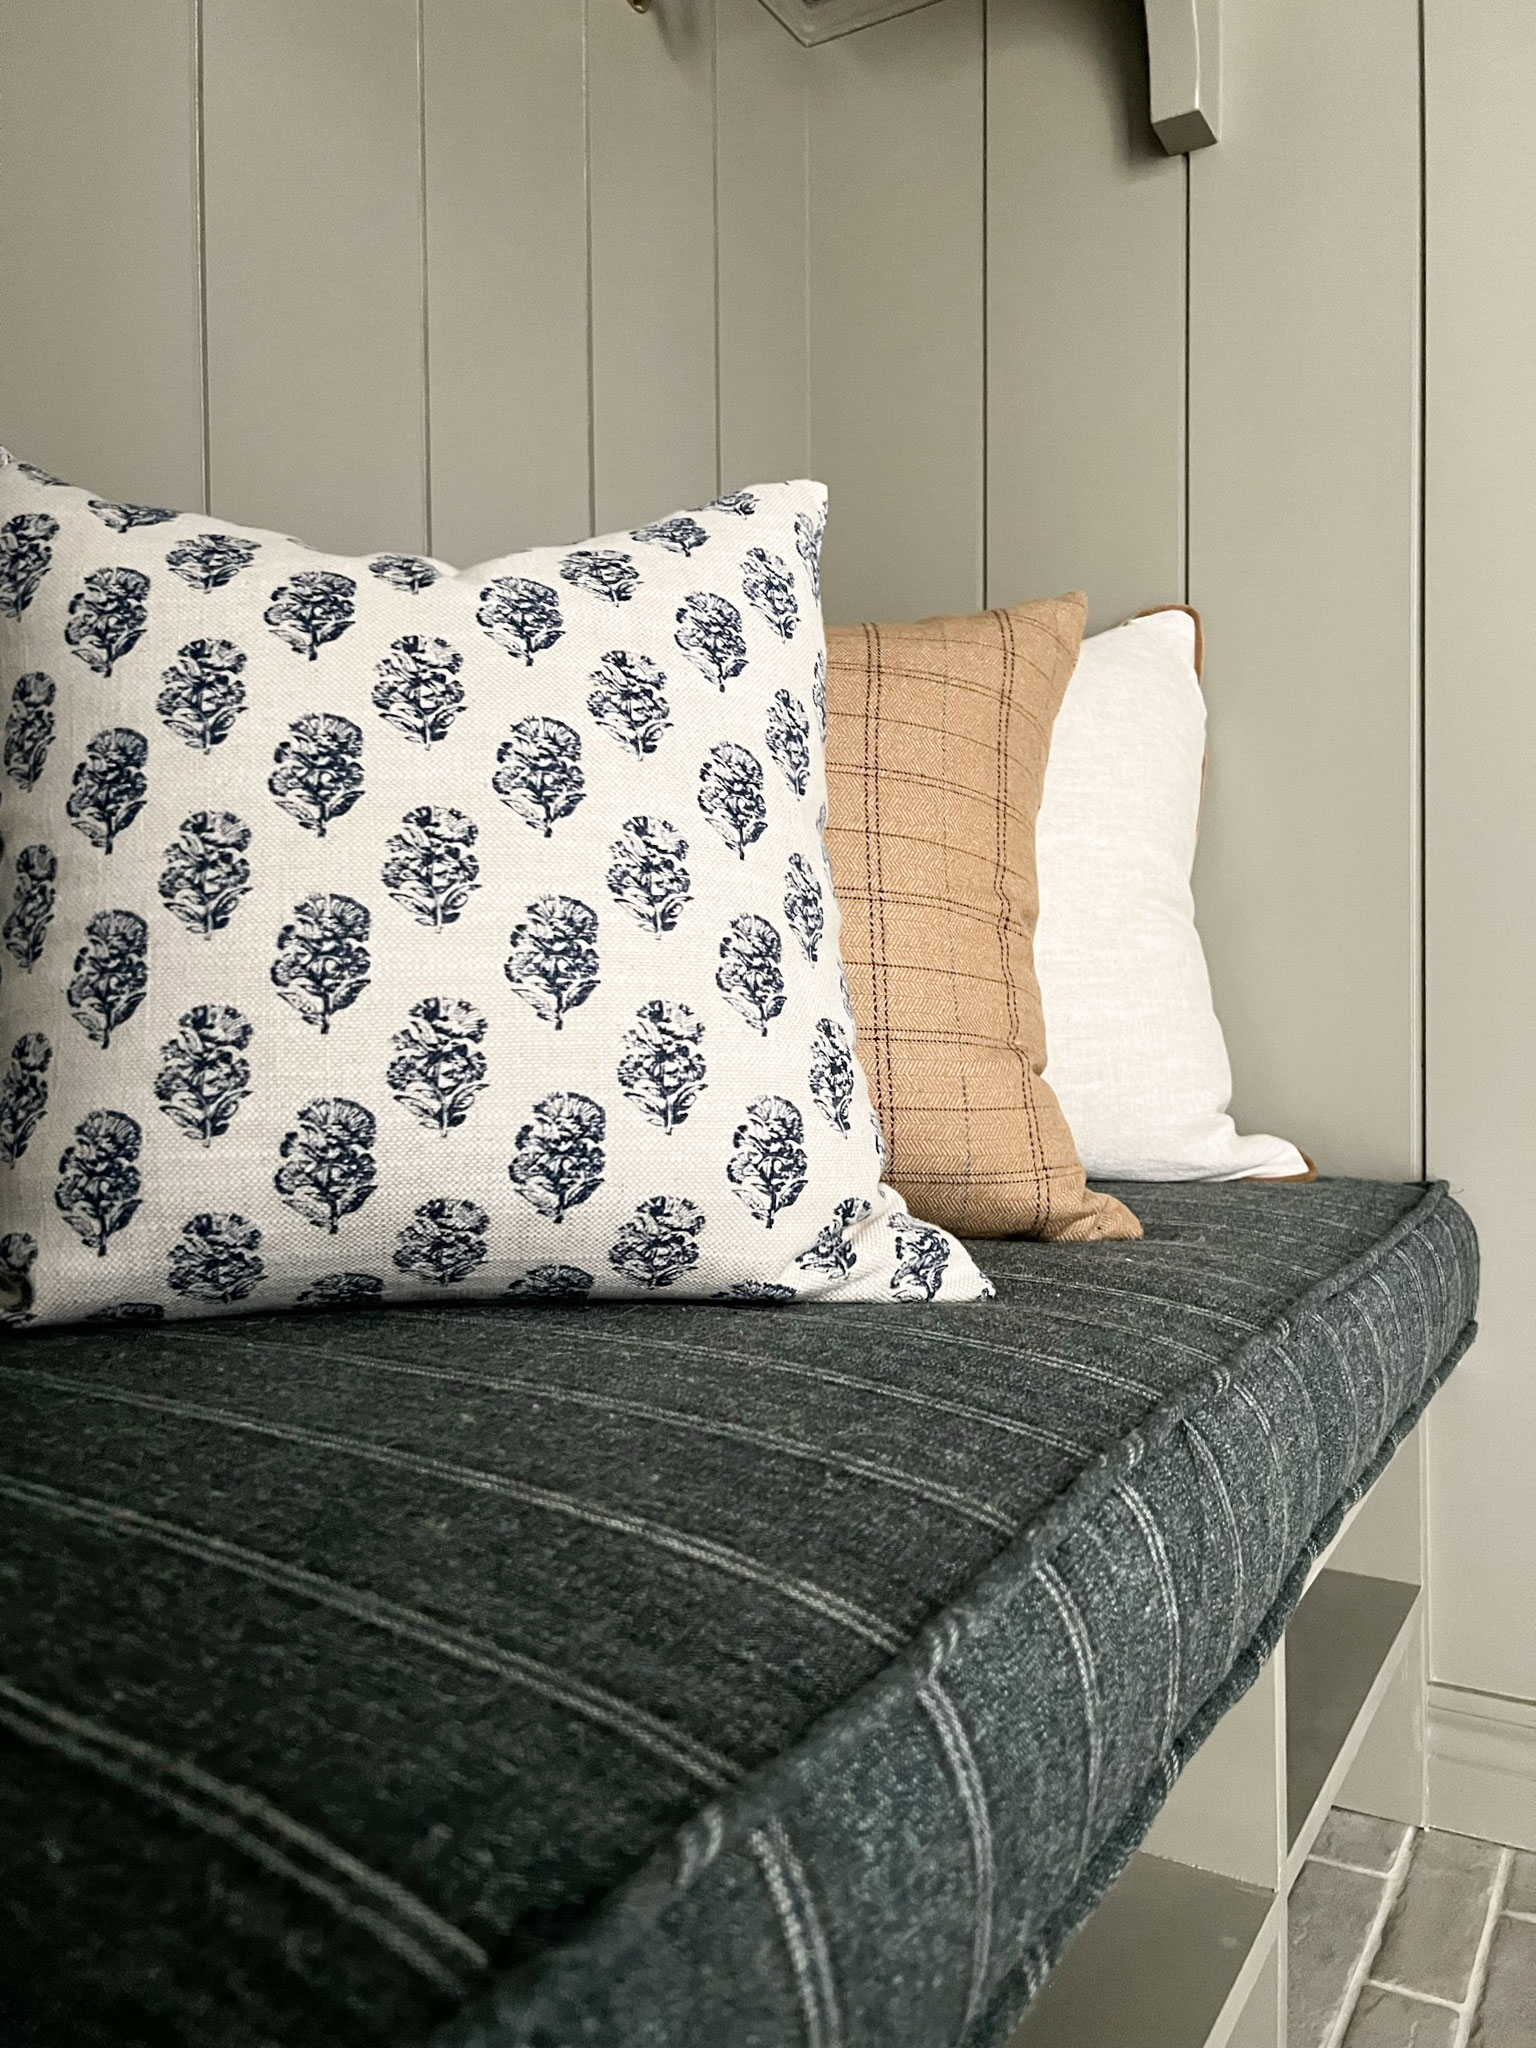
Of course, I have to thank my mom, who basically did this entire bench with very little help from me. I’m so lucky to have her!
This is the last week for updates for the One Room Challenge, next week is the reveal! I still haven’t put up the wallpaper from Wallpaper Direct so that is on my to do list, along with hanging the gorgeous light from Mitzi. Its going to be tight but I think we might make it! Come back next week for the reveal, and be sure to pop in to the ORC website and see what the other participants are up to!

Shop the Post


What a detailed tutorial! Thank you!
Thank you so much for the detailed instructions and tips. We are currently building a house where I will have four bench cushions to make and this is so helpful!!
I’m so glad you found the tutorial useful! Good luck with your cushions!
You are welcome, I’m so glad you found it useful!
Excellent tutorial and even encouraging (which I need). Thanks
I’m so glad it’s helpful! Good luck with your project!
Hi! Thank you for the tutorial! I am having a hard time with the zipper. I followed but I clearly did something wrong. Any chance you have a video or anything else to help with the zipper?
Hi Francie! I’m so sorry for your troubles with the zipper! It is hard to wrap your mind around for sure. For video, if you go to my Instagram page @erinzubotdesign and under the highlight bubble “bench cushion” that might help!
Great tutorial! what length did you use for the zippers? Should it be the same length as the cushion? Thanks!
Thanks Lydia! You want your zipper to be as long as possible so you can get that cushion in there, so yes!
My mom was an upholsterer. There’s an upholstery spray that you put around the foam before you put the batting on and in will stick, instead of having to use staples. 😉
Oh that is great info thank you! I will look into that the next time I do this!
Thank you! I am a beginner and was wondering about edge finishing? My fabric is fraying a little and I wasn’t sure if I should do the zigzag along the edges after (or before) sewing everything together?
Hi Rachel! Its normal for unfinished edges to fray a little but don’t worry, it won’t fray past the seams you sew so no need to treat the edges before sewing. Good luck!
Great advice about adding the batting around the memory foam! I made my cushion this weekend and it looks so good.
Oh I am so happy to hear that!