How to Make an Easy DIY Tufted Headboard Pillow
I saw a bed on Pottery Barn’s website that I loved but was pretty out of budget for my cabin bedroom, but it seemed like it might be easy to dupe! I found a similar bed, a fabric I loved, and made pillow for the headboard. It was actually quite easy, if you have some basic sewing skills! I thought I would put together a tutorial for how to make an easy DIY tufted headboard pillow.
This post may contain affiliate links. That means if you purchase anything from these links I earn a small commission, at no extra cost to you! This helps support my blog, so thank you!
I loved the look of the Pottery Barn bed, but not only was the bed kinda pricey, but I would have liked more options with the patterns on the fabric. This way I get to make it using whatever fabric I like!
That is the best part about upholstery projects, the options are endless! Interior designers often choose fabrics and have everything custom made for them in a workroom. Being able to do just a little bit of sewing is such an easy way to make a room look more high end, with just a little time and patience. I was able to choose a fabric with my accent colors rather than what was available off the shelf. Instead of a boring bed, I have a new design element that enhances the overall room!
Read on if you want to learn how to make one of these headboard cushions!
Supplies
- Iron Bed Frame (This is the one I used, or use an existing bed frame of choice)
- Fabric of Choice (I used THIS red striped fabric from Spoonflower in their Belgian Linen)
- 1″ Thick Foam (Optional – Read Directions to see why)
- Stuffing
- Button Cover Kit
- Sewing Machine
Plan your Fabric
Keep in mind that you will have to adjust the measurements to suit the bed you are using, but I will give you some general guidelines for a queen size bed. If you are doing a King or single bed, adjust accordingly. You should also double check the measurements of your particular frame.
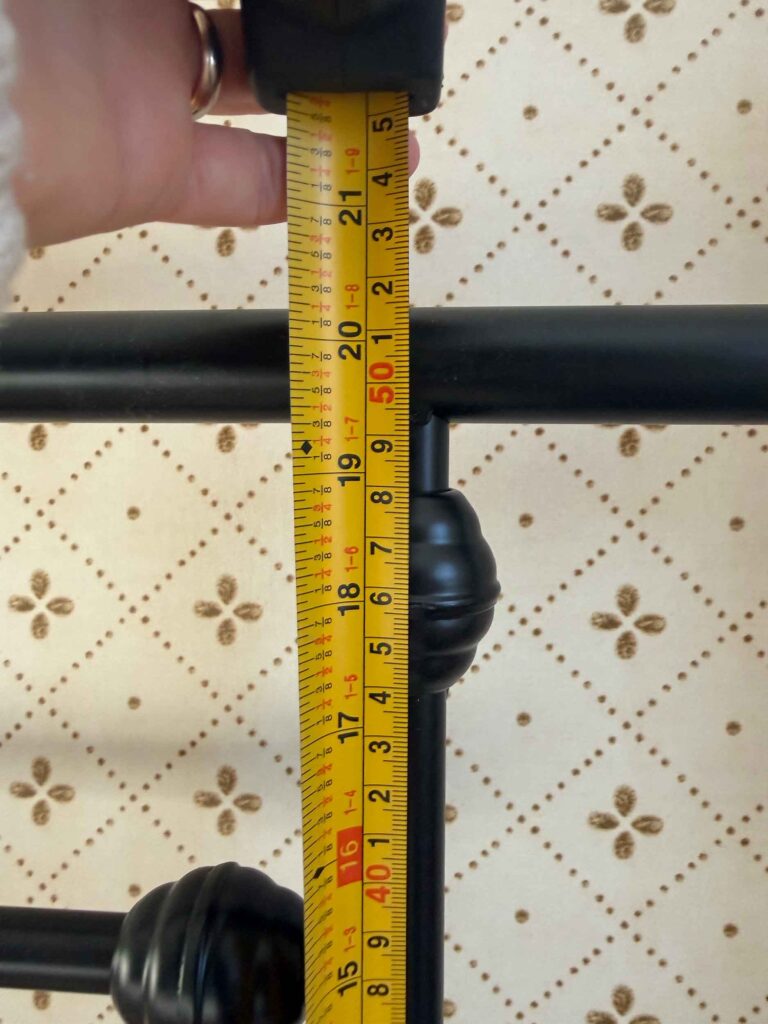
Measure the size of the bed to decide what size you want your upholstered headboard to be. I measured from the inside edges of the side posts and from the top of my mattress to the top rail.
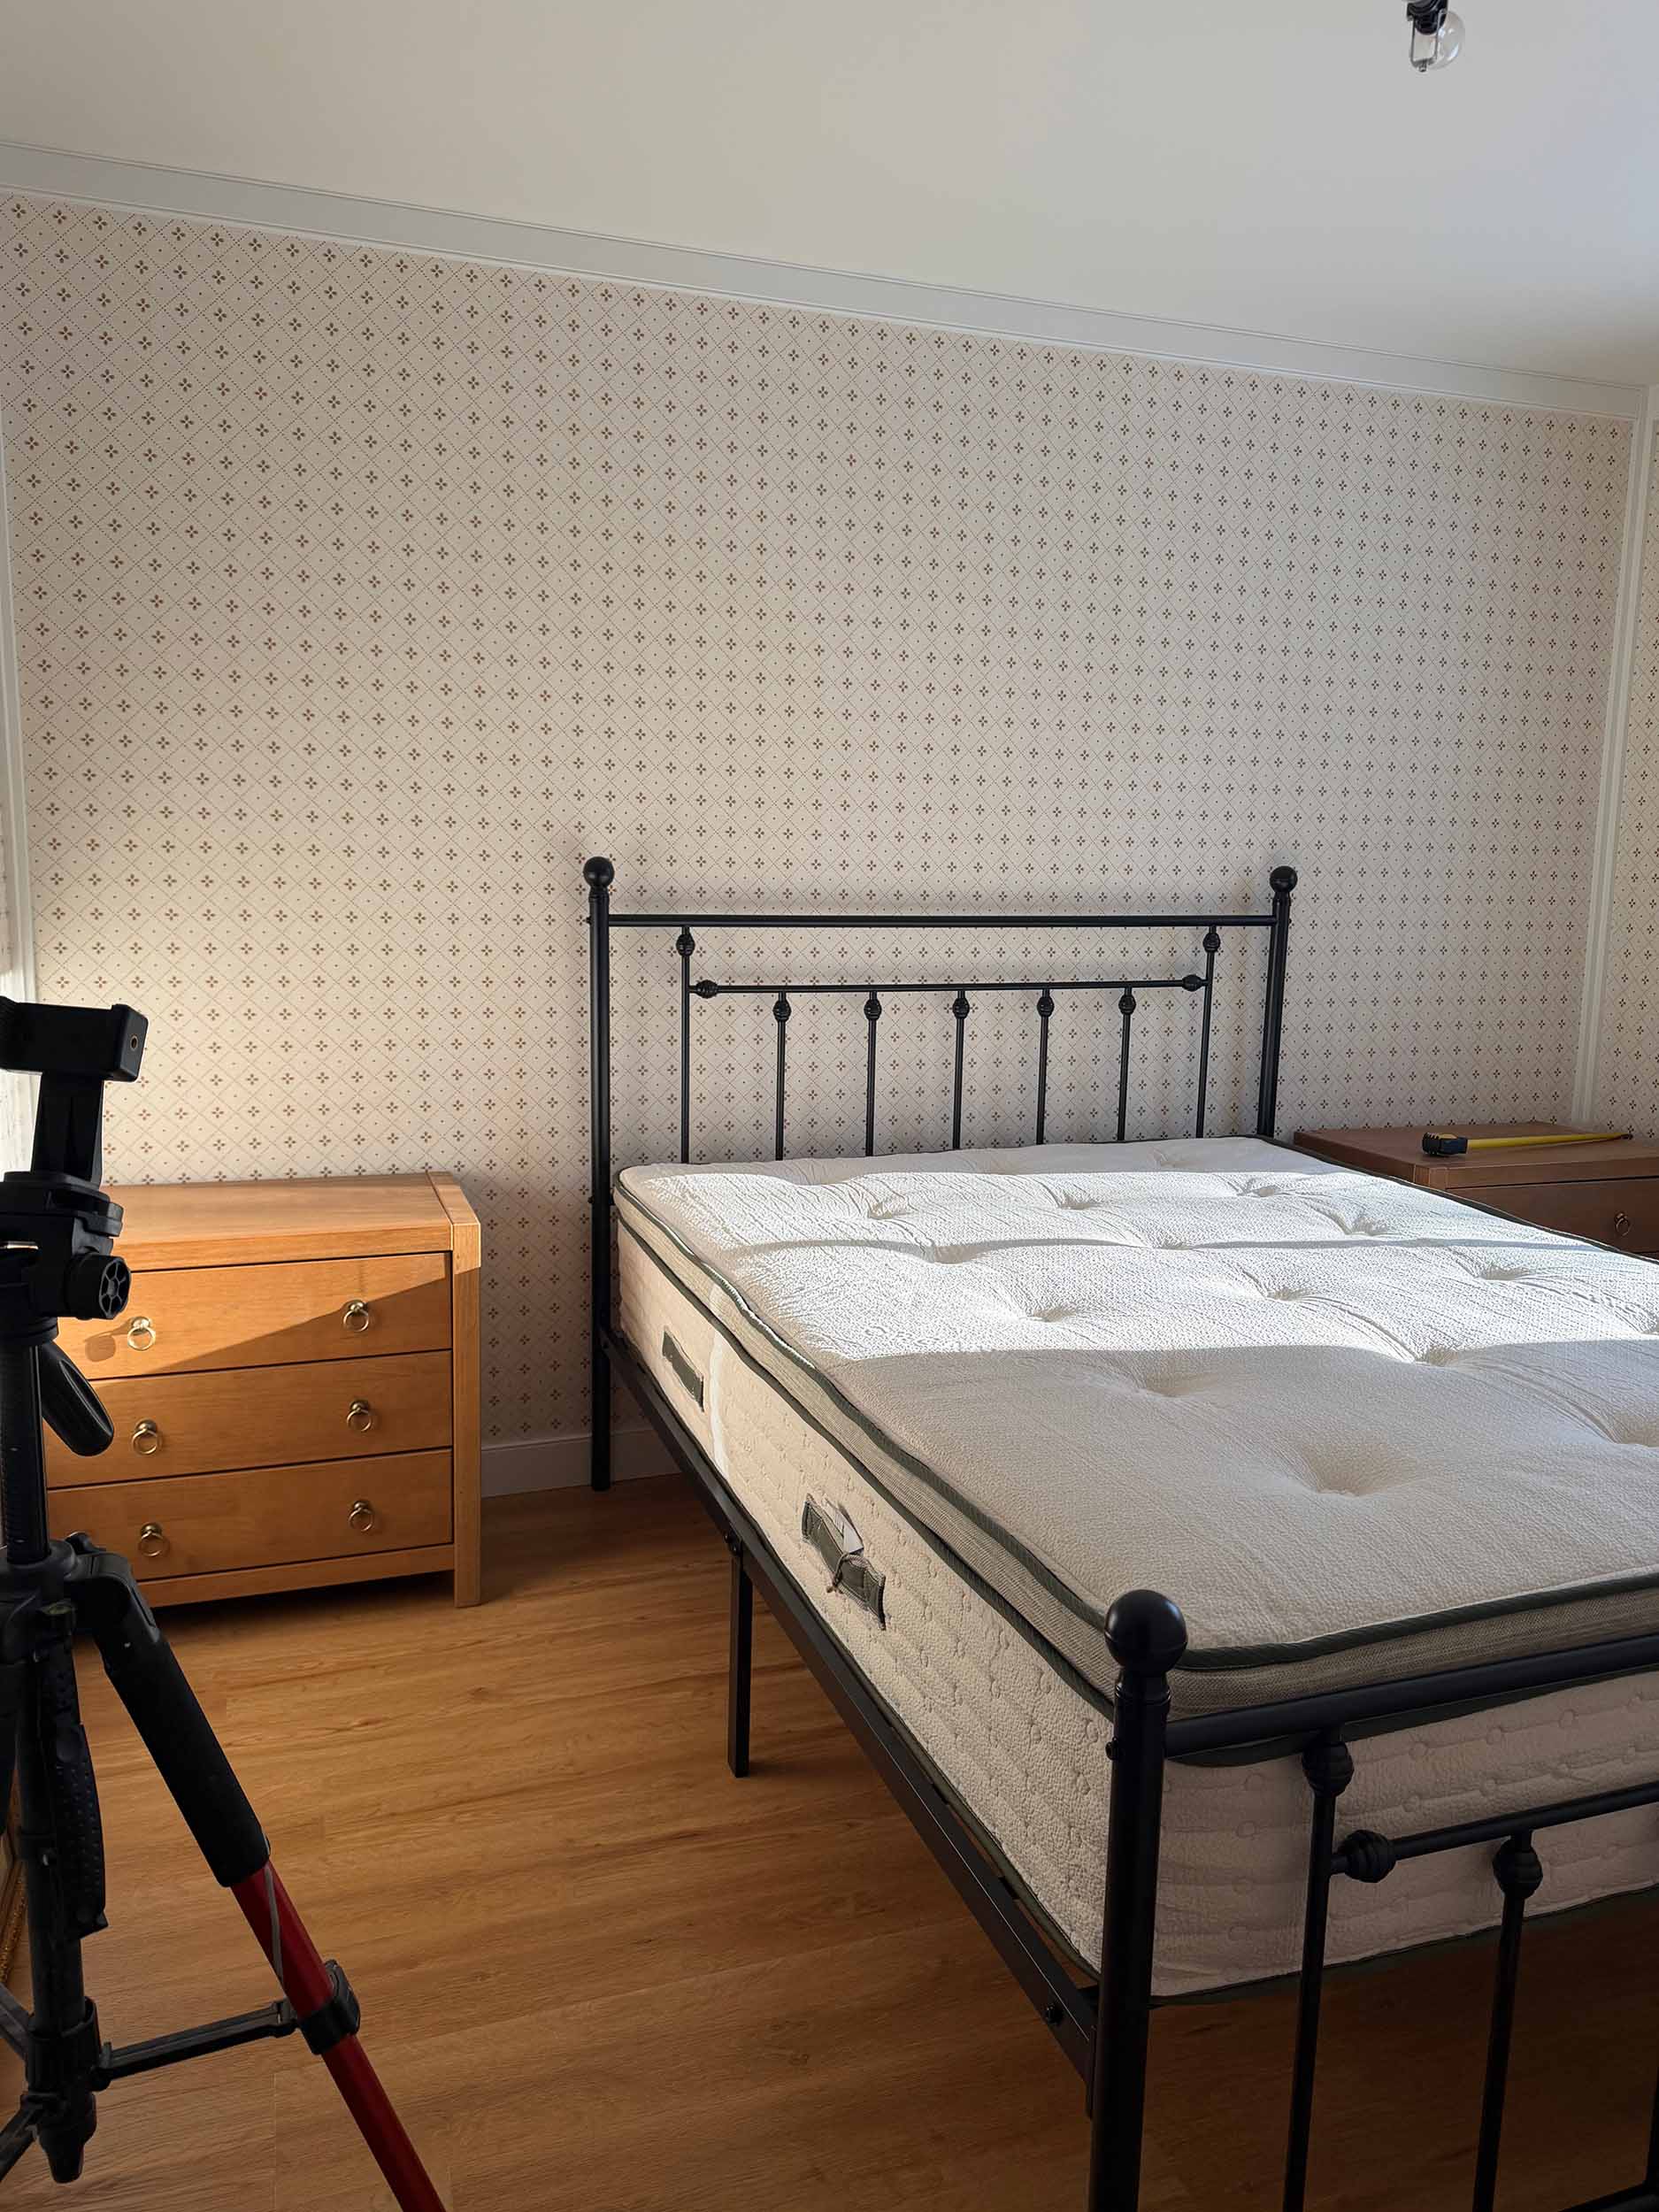
I had originally measured the headboard from the bottom rail to the top rail, but once I put our (rather deep) mattress in place, I realized it needed to be a bit shorter. Its a good idea to measure your particular bed with your own mattress to see what size you need.
If you are using a patterned fabric like I am, note that the pattern usually runs across the fabric. Most fabric is about 54″ wide, and a queen size headboard is about 64″ wide. If you run your fabric the long way along the headboard, make sure your pattern does not have a specific direction (like a solid, plaid or random floral). Alternatively, you can find a fabric that is “railroaded”. Railroaded fabric is fabric who’s pattern runs horizontally across the width instead of vertically, allowing you to cut longer pieces.
I got my fabric from Spoonflower, so I asked the fabric designer to rotate the fabric 90 degrees so my stripes would still go up and down. (That is the best thing about Spoonflower, you can get them to adjust the patterns before they print them!)
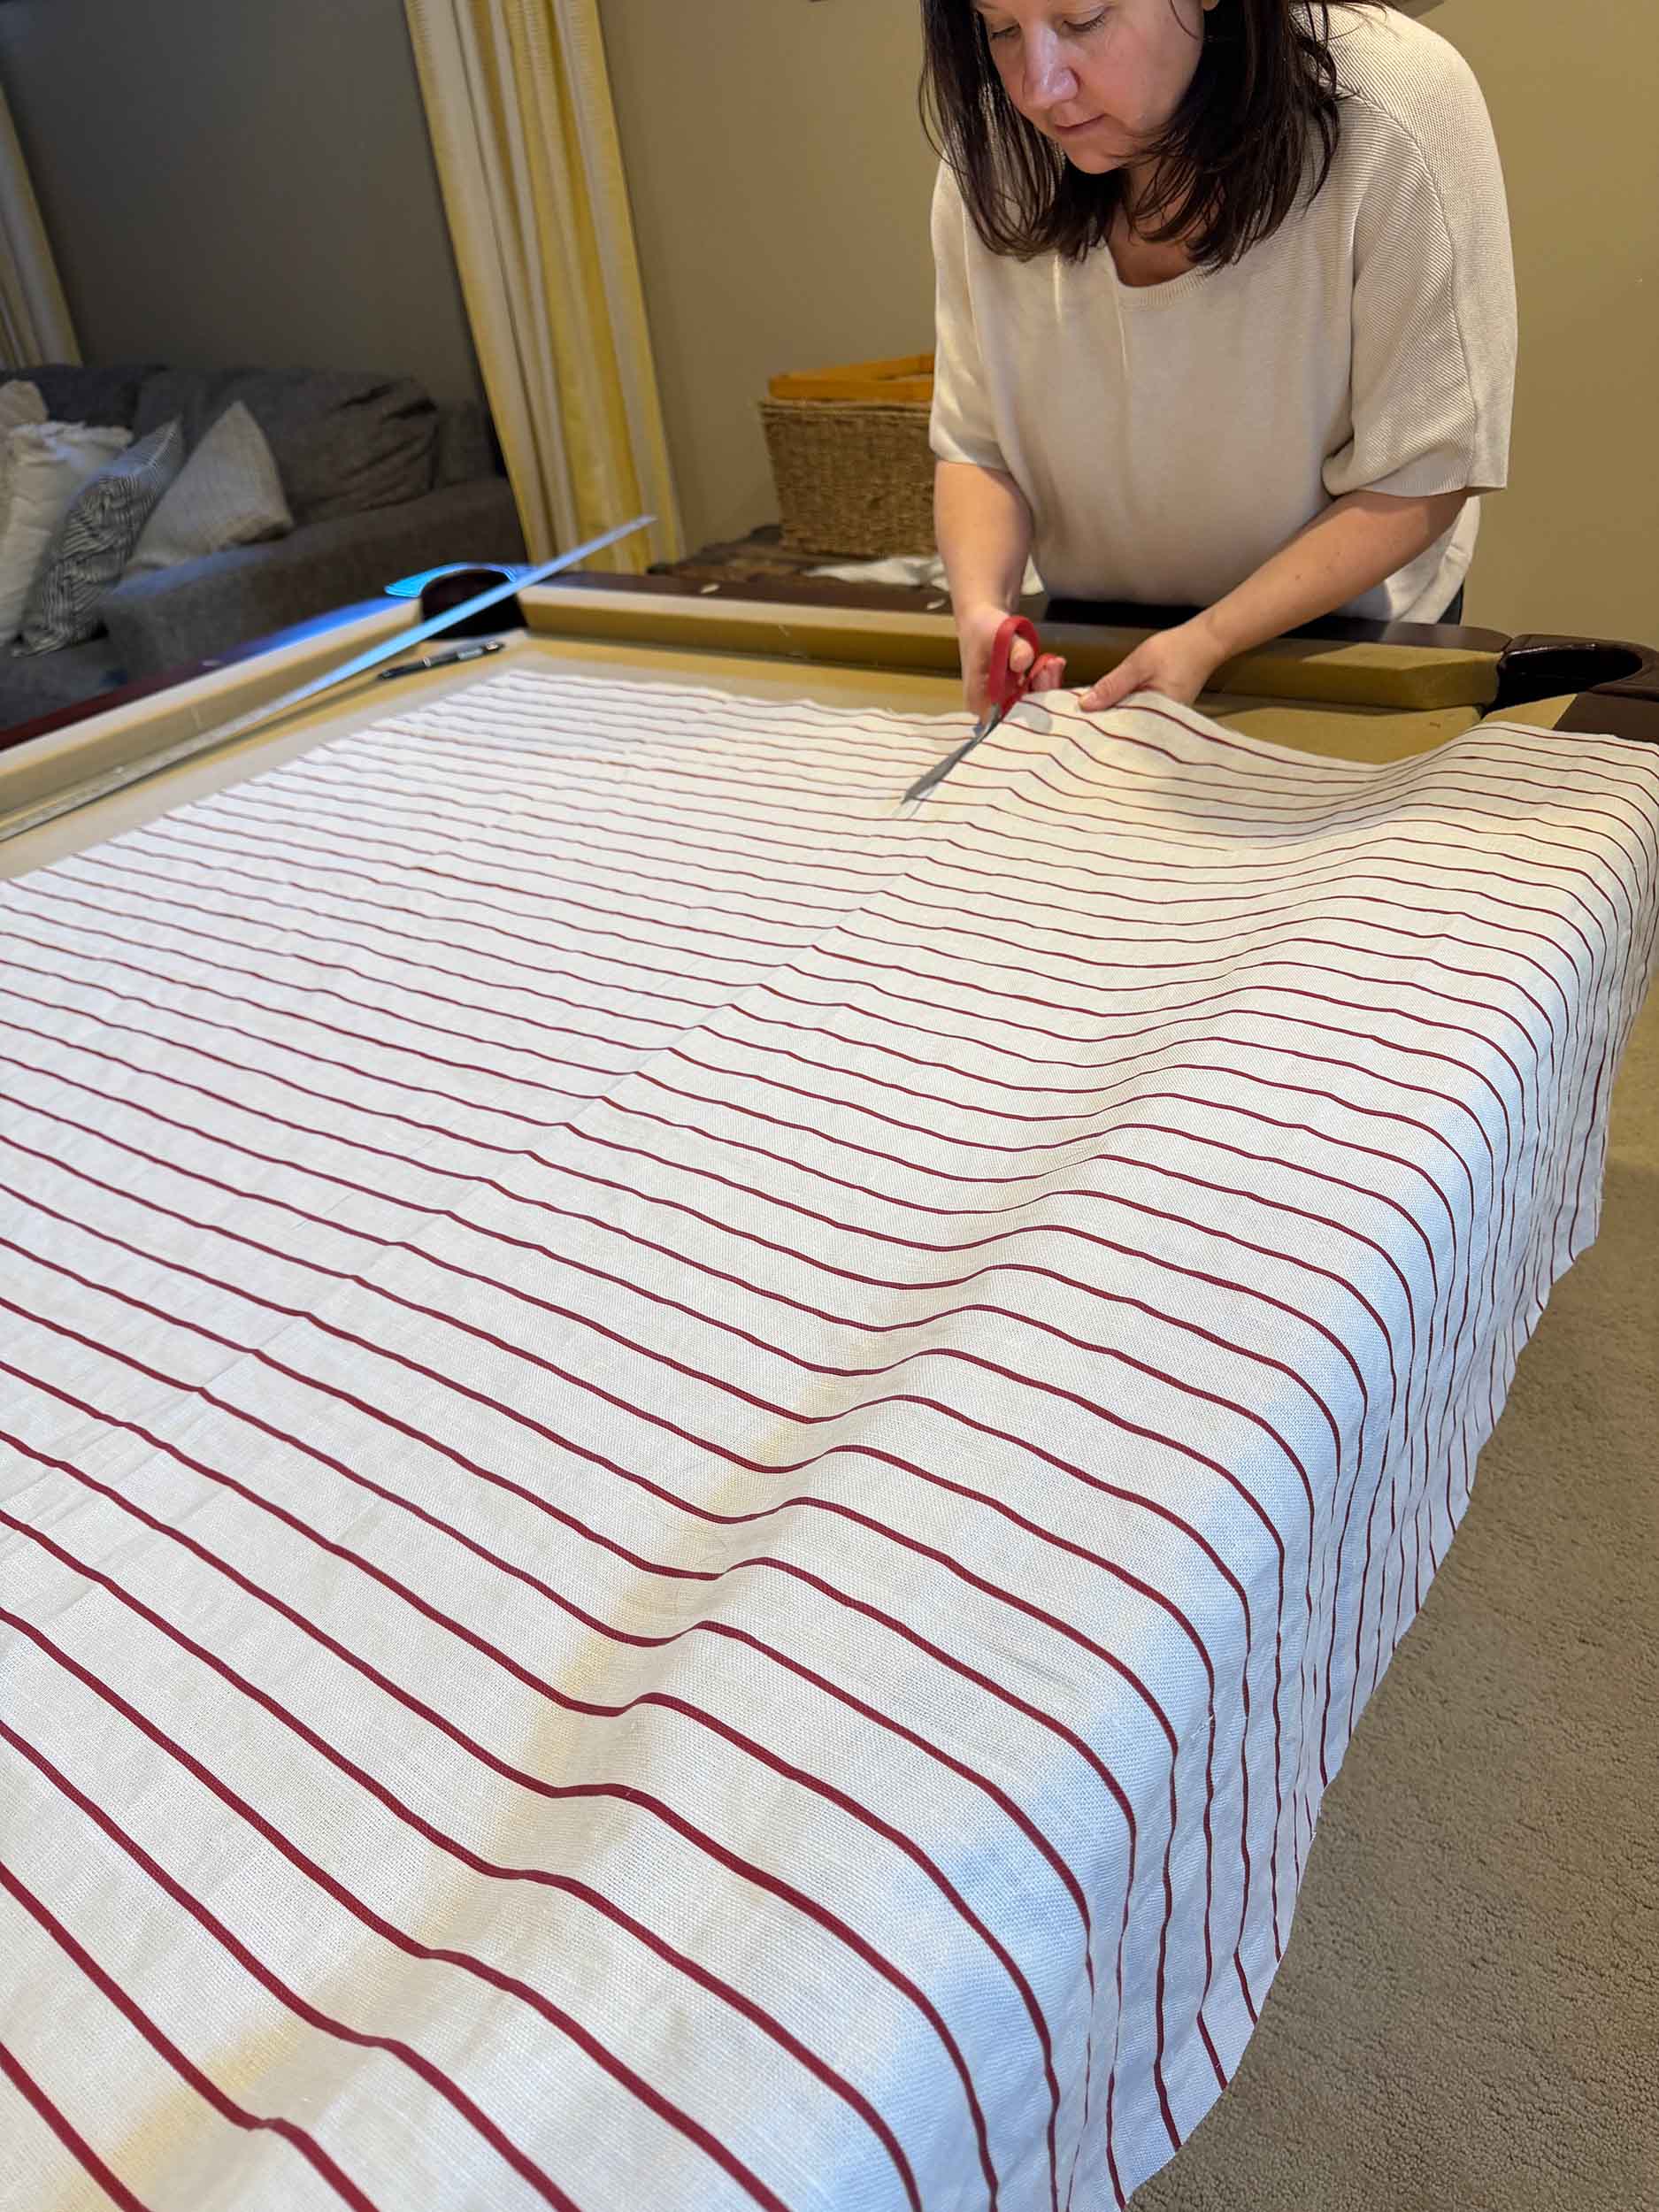
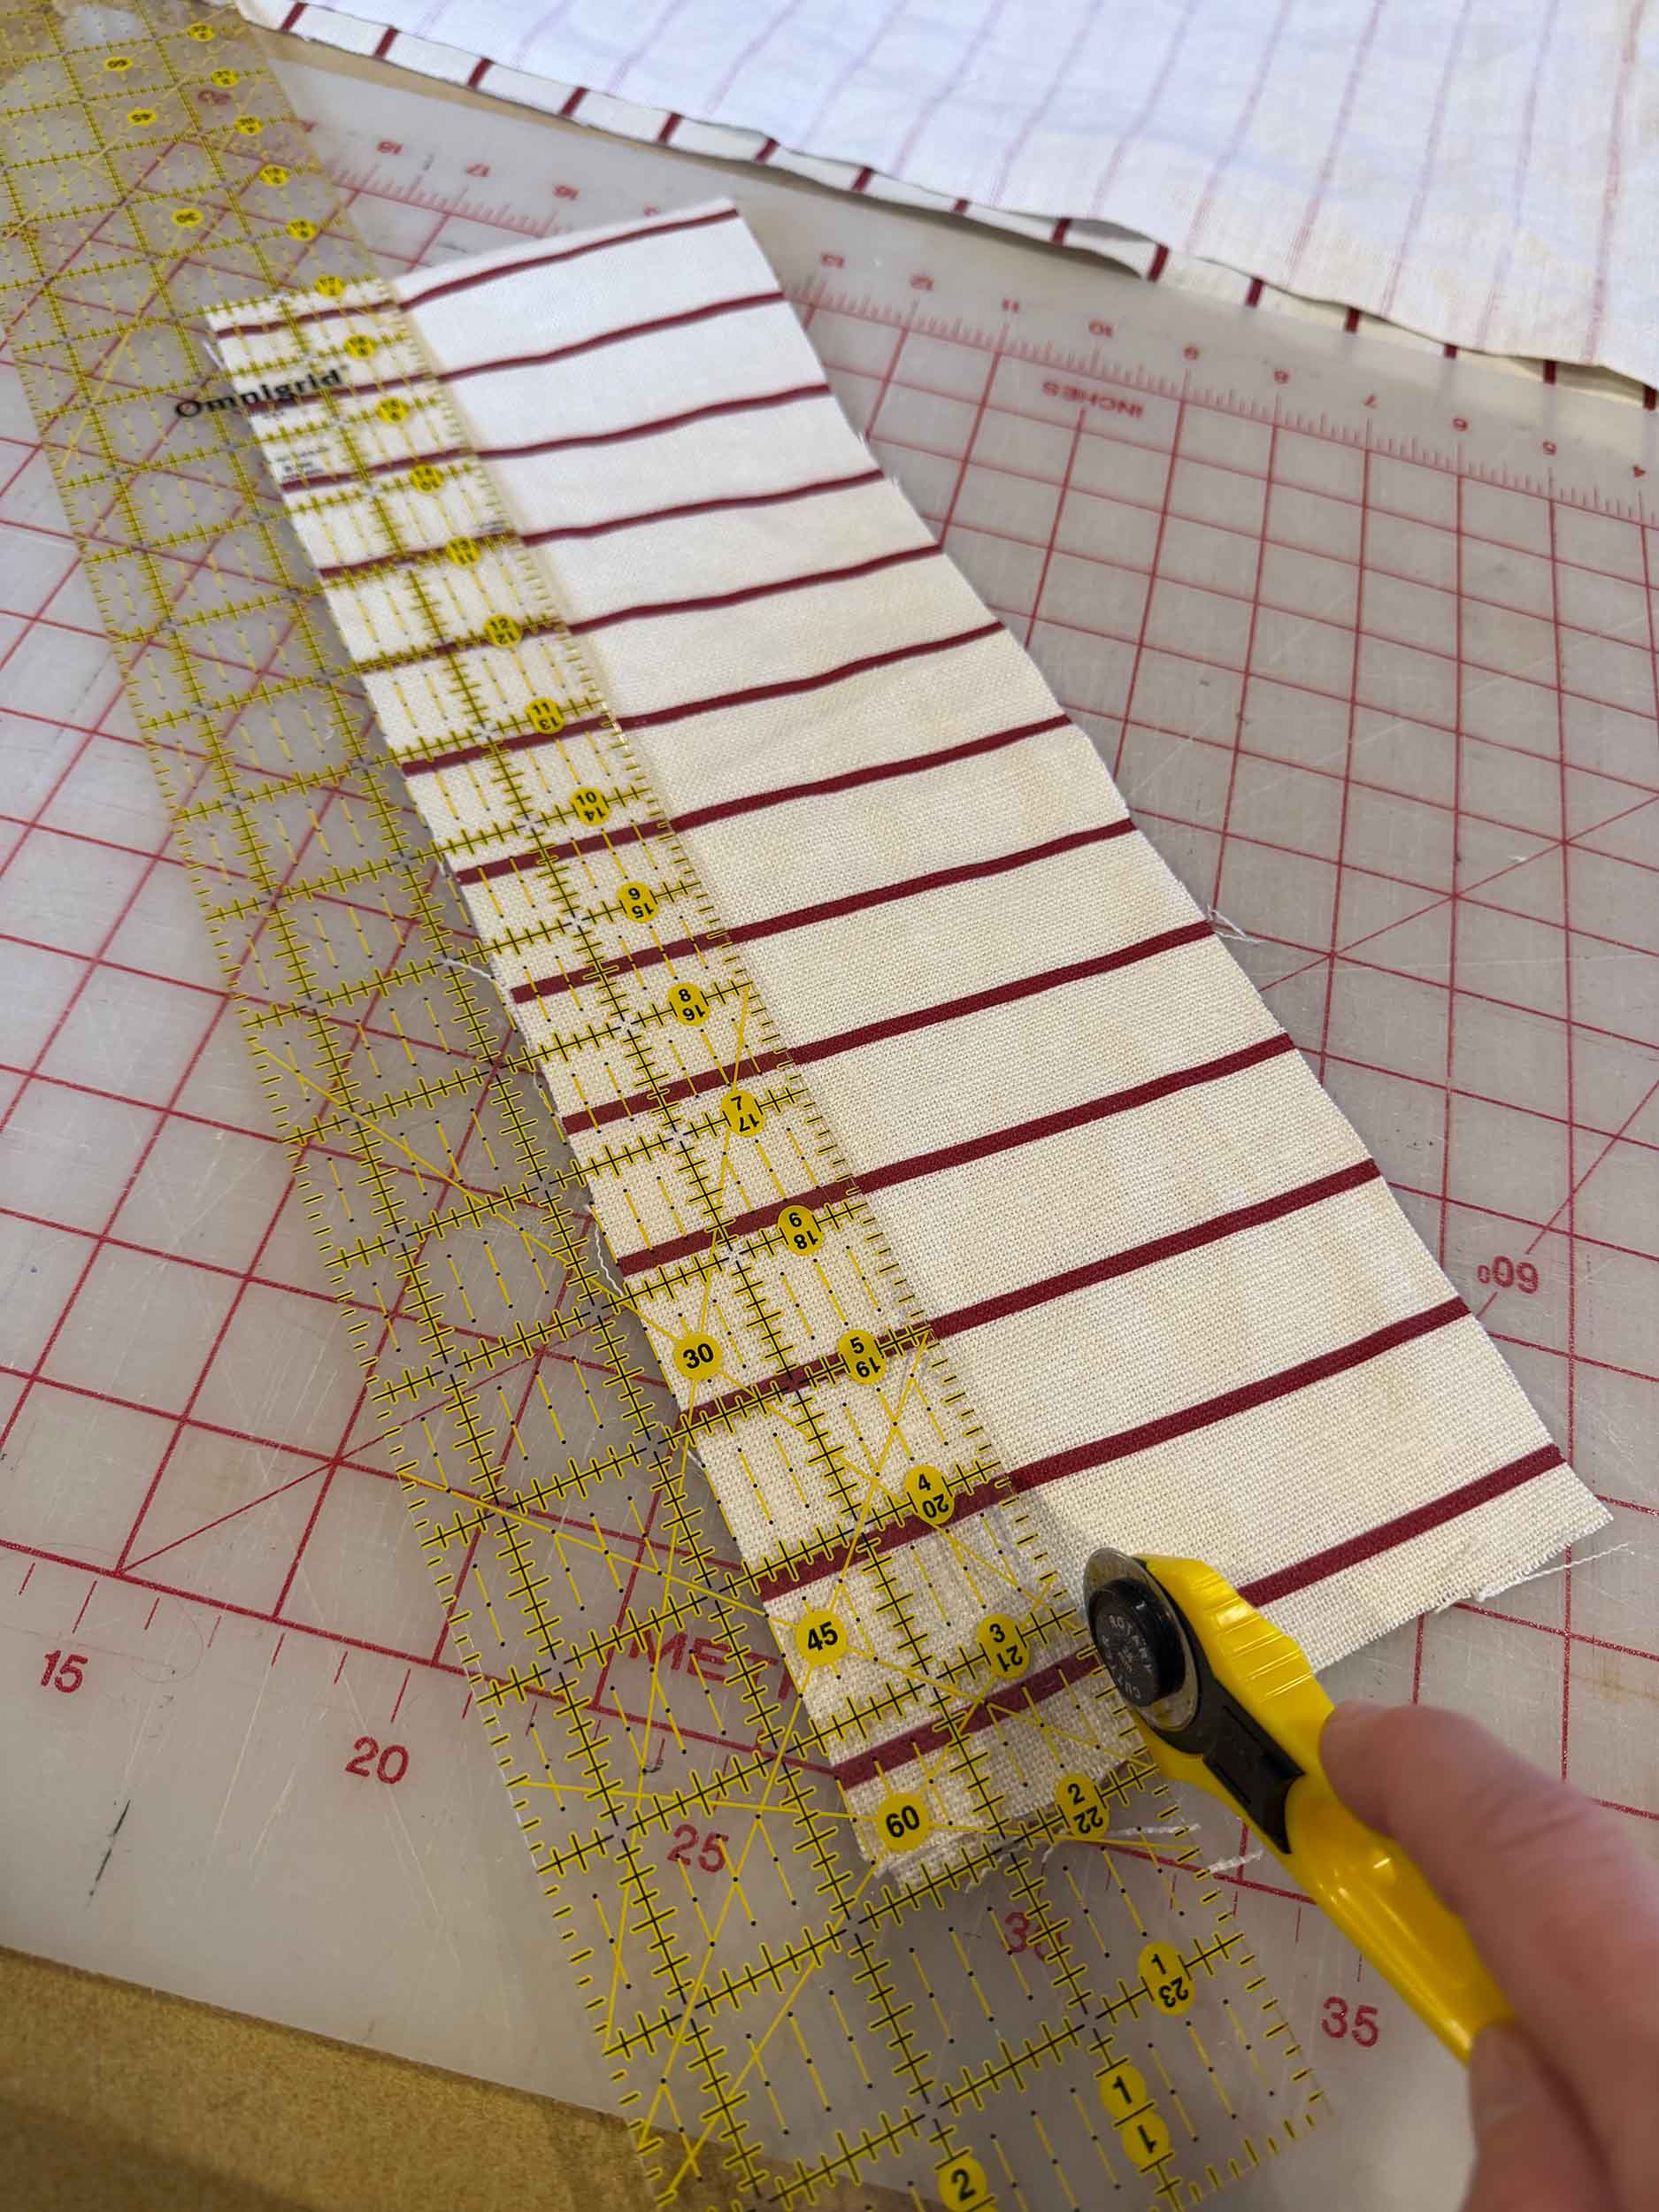
Cut your Fabric
My pillow was 20″ wide, so I was able to cut both the front and back out of a single width of 54″ fabric.
The first step is to cut two rectangles 1″ wider than your want your finished pillow to be (one piece for the front and one for the back). This allows for a 1/2″ seam allowance all around.
Keep in mind that the pillow will “poof up” a bit too when you stuff it so it you want to make sure it covers your whole headboard, you might want to keep that in mind. I did not consider that when I made mine and I really had to stretch it on there, so if I had to do it again I might make it an inch or two wider.
(You could also consider using “nice” fabric on the front, and less “nice” fabric on the back to save a bit on this if you want, since no one will really see the back of the headboard!)
For my pillow, I wanted my final pillow to be 20′ x 60″ so I cut two pieces 21″ x 61″.
Cut Strips for Headboard Ties
We cut strips of fabric 2″ wide out of the piece of fabric. We cut each piece 15″ long. We cut 6 of these for our queen size headboard, one for each corner and one for half way down each long side.
Then, we folded them in half and then half again to create a nice edge.
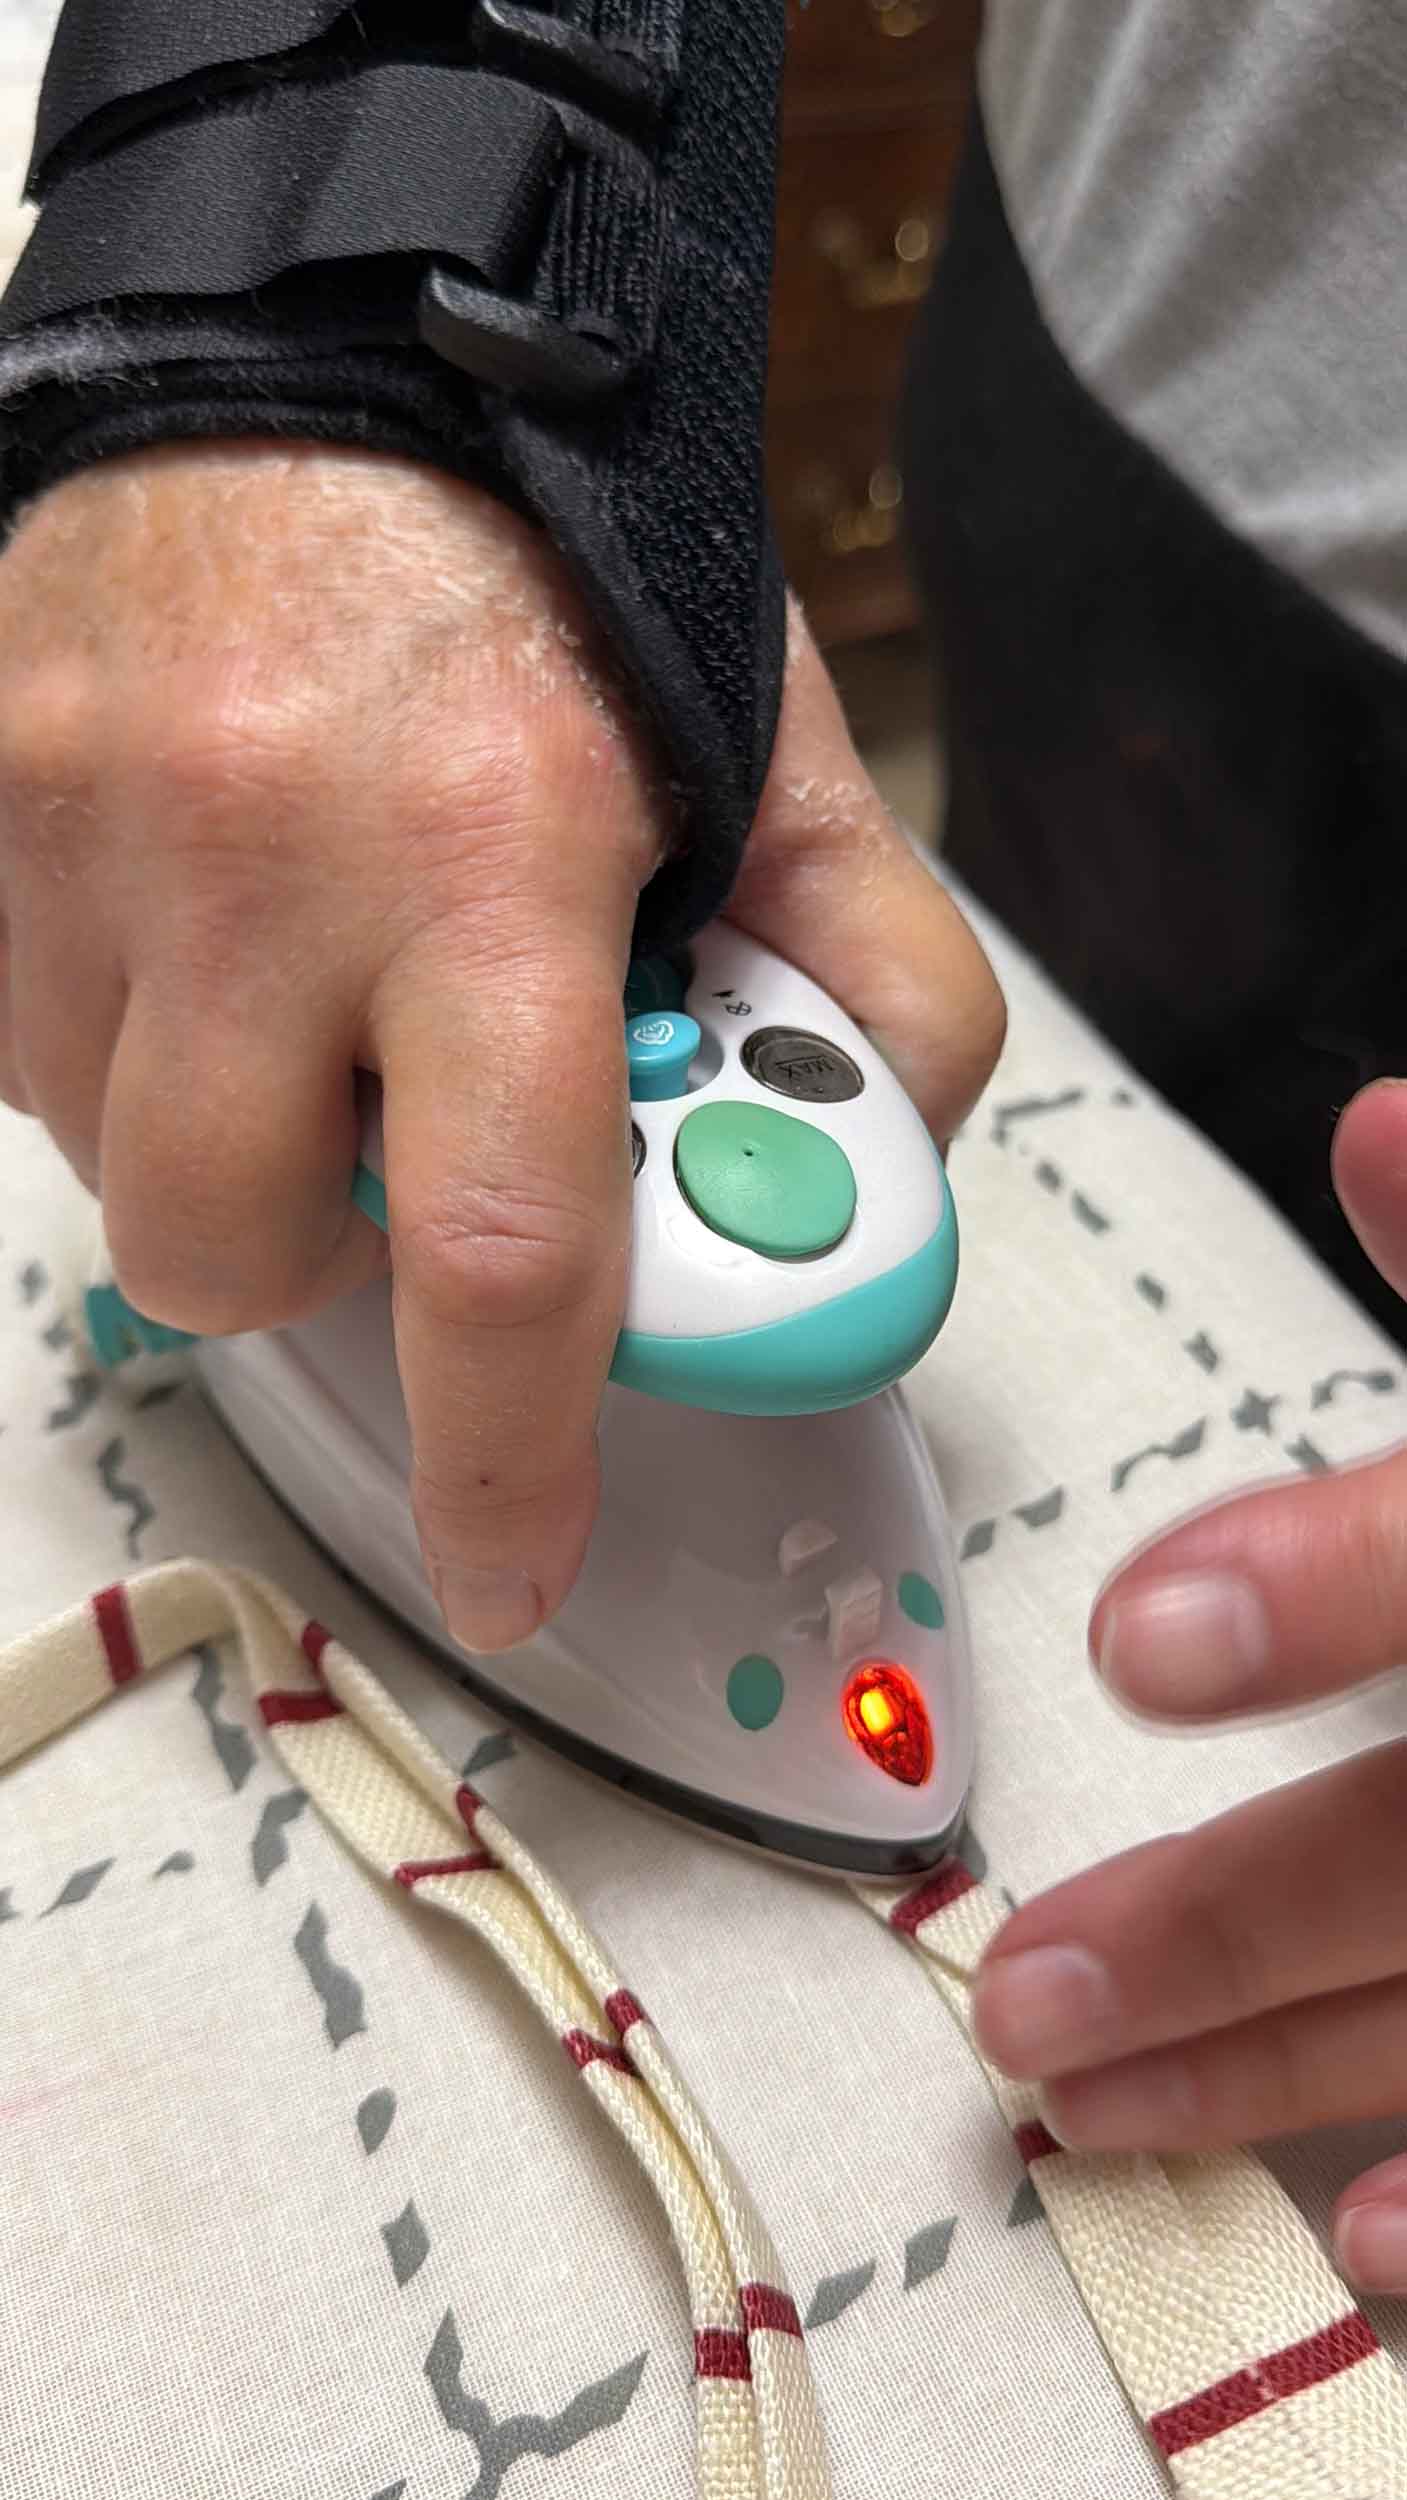
My mom sewed each of these ties along the length.

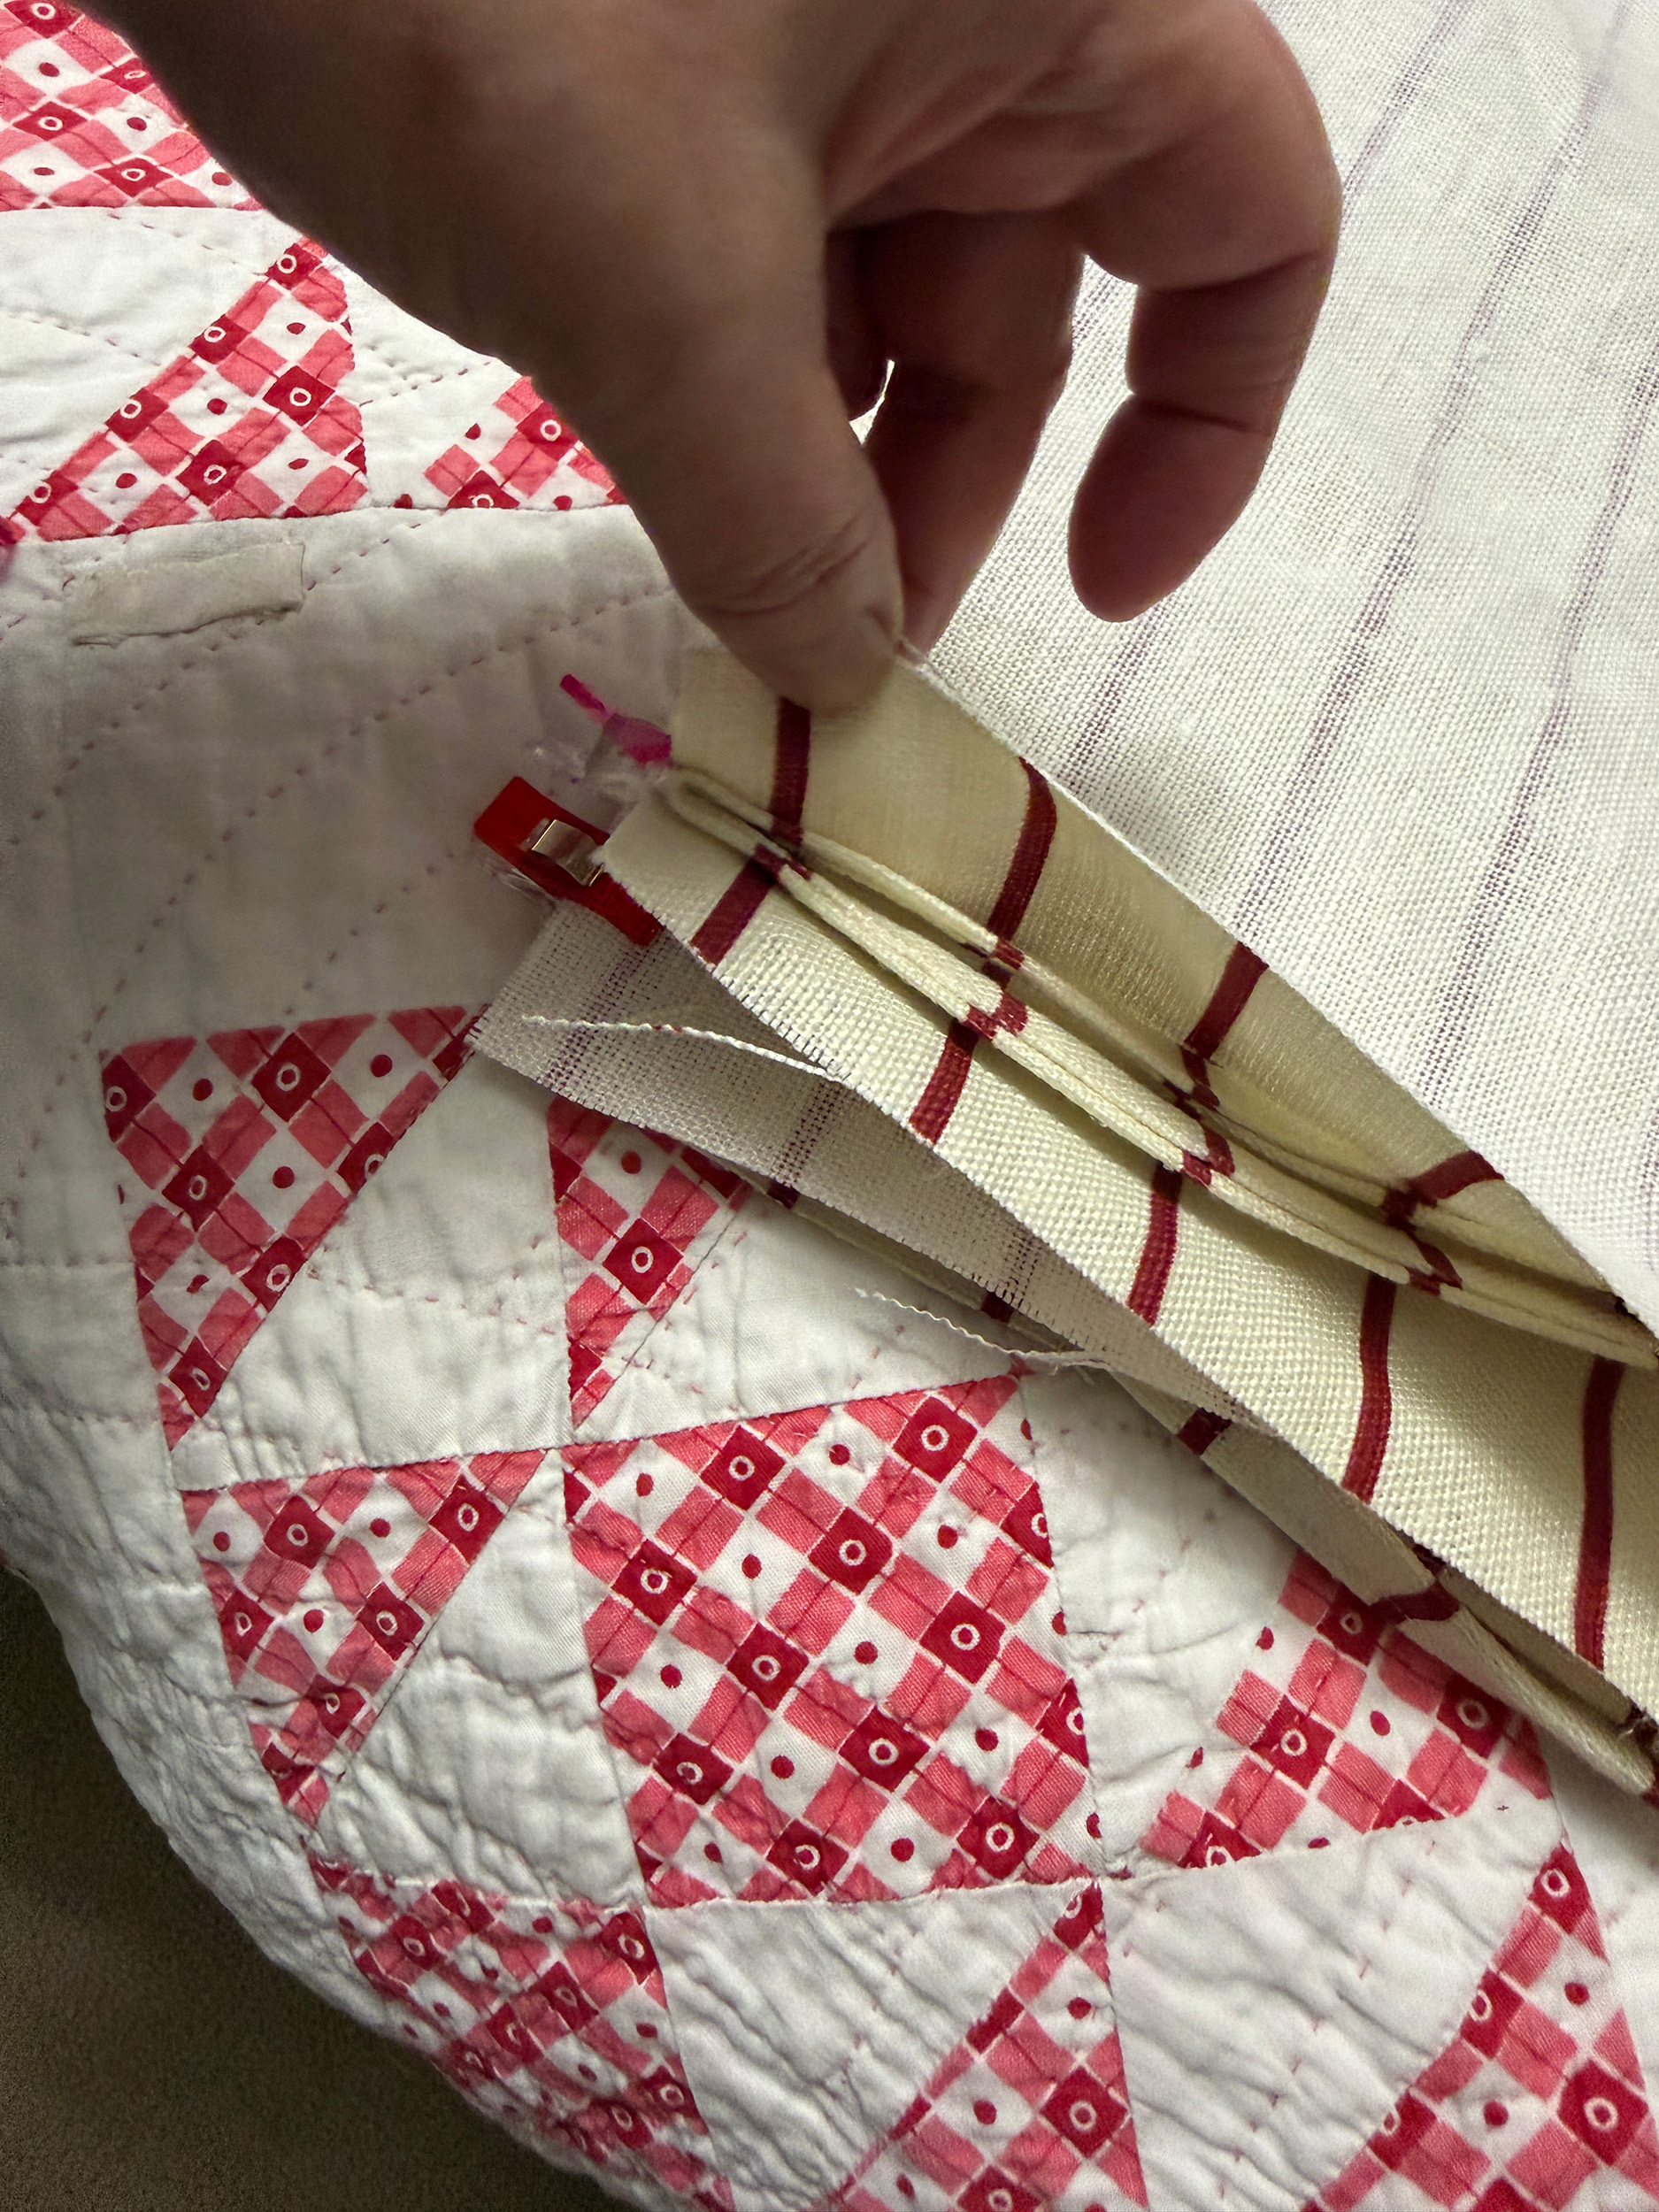
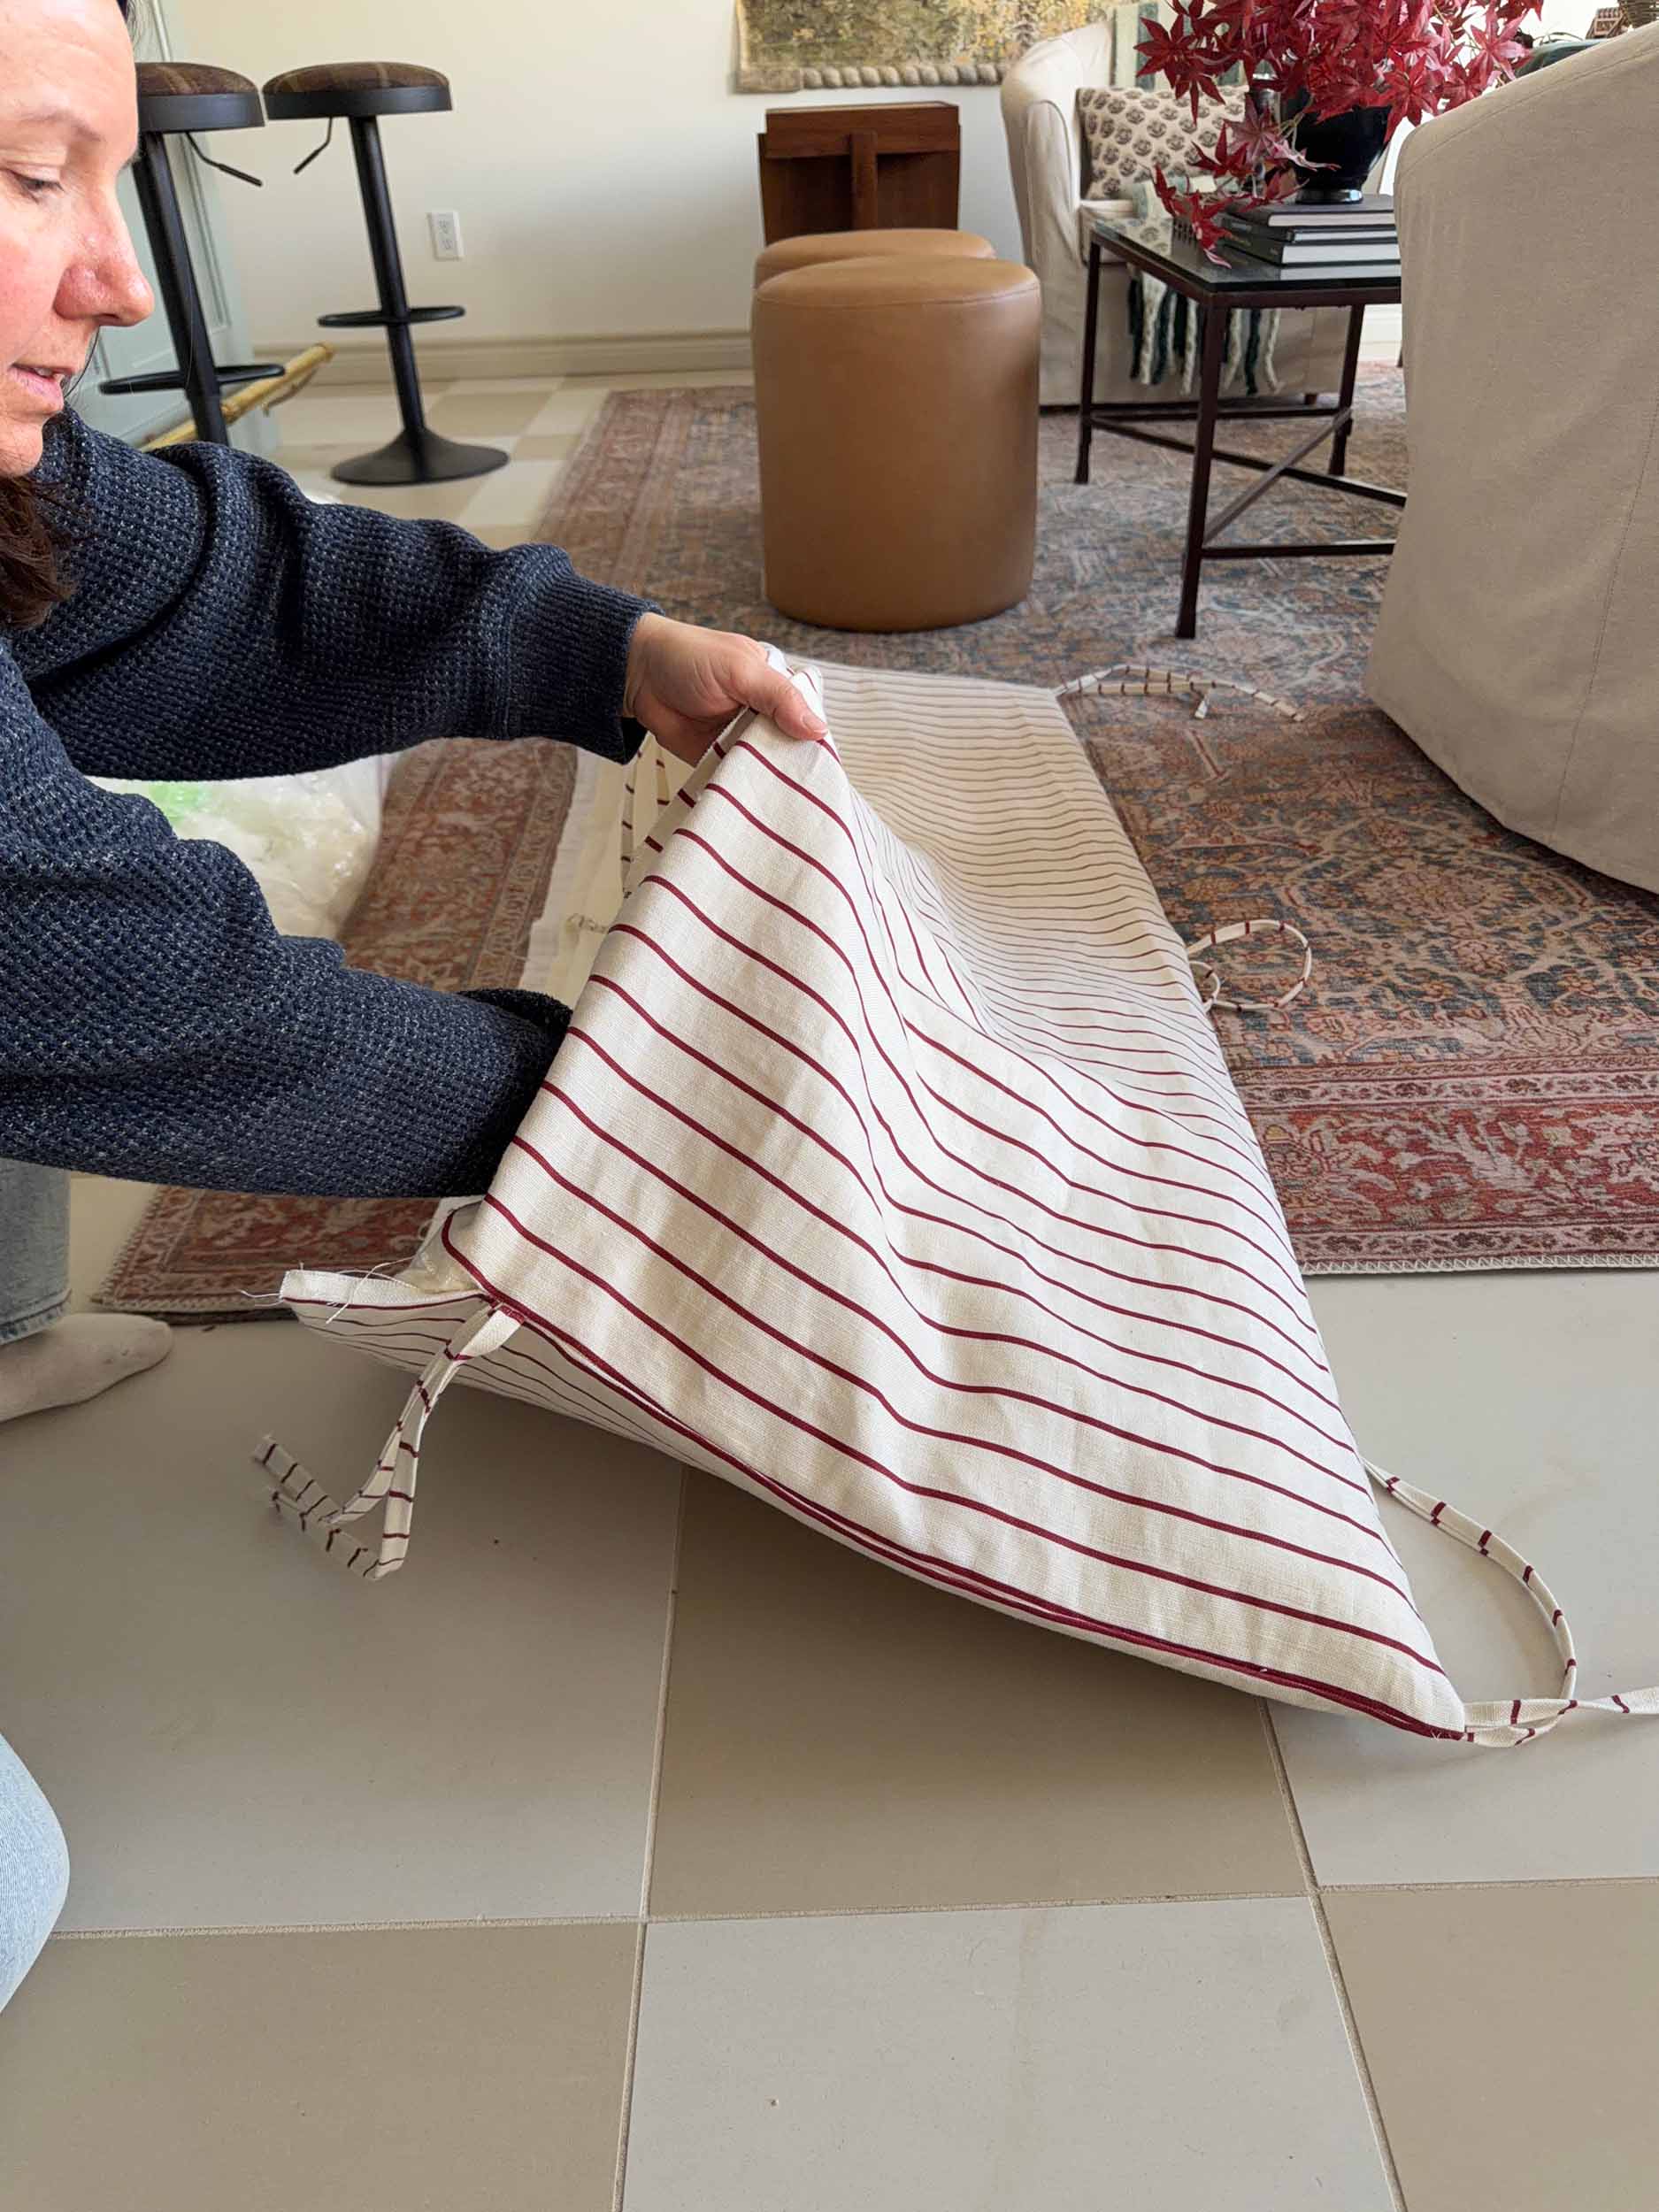
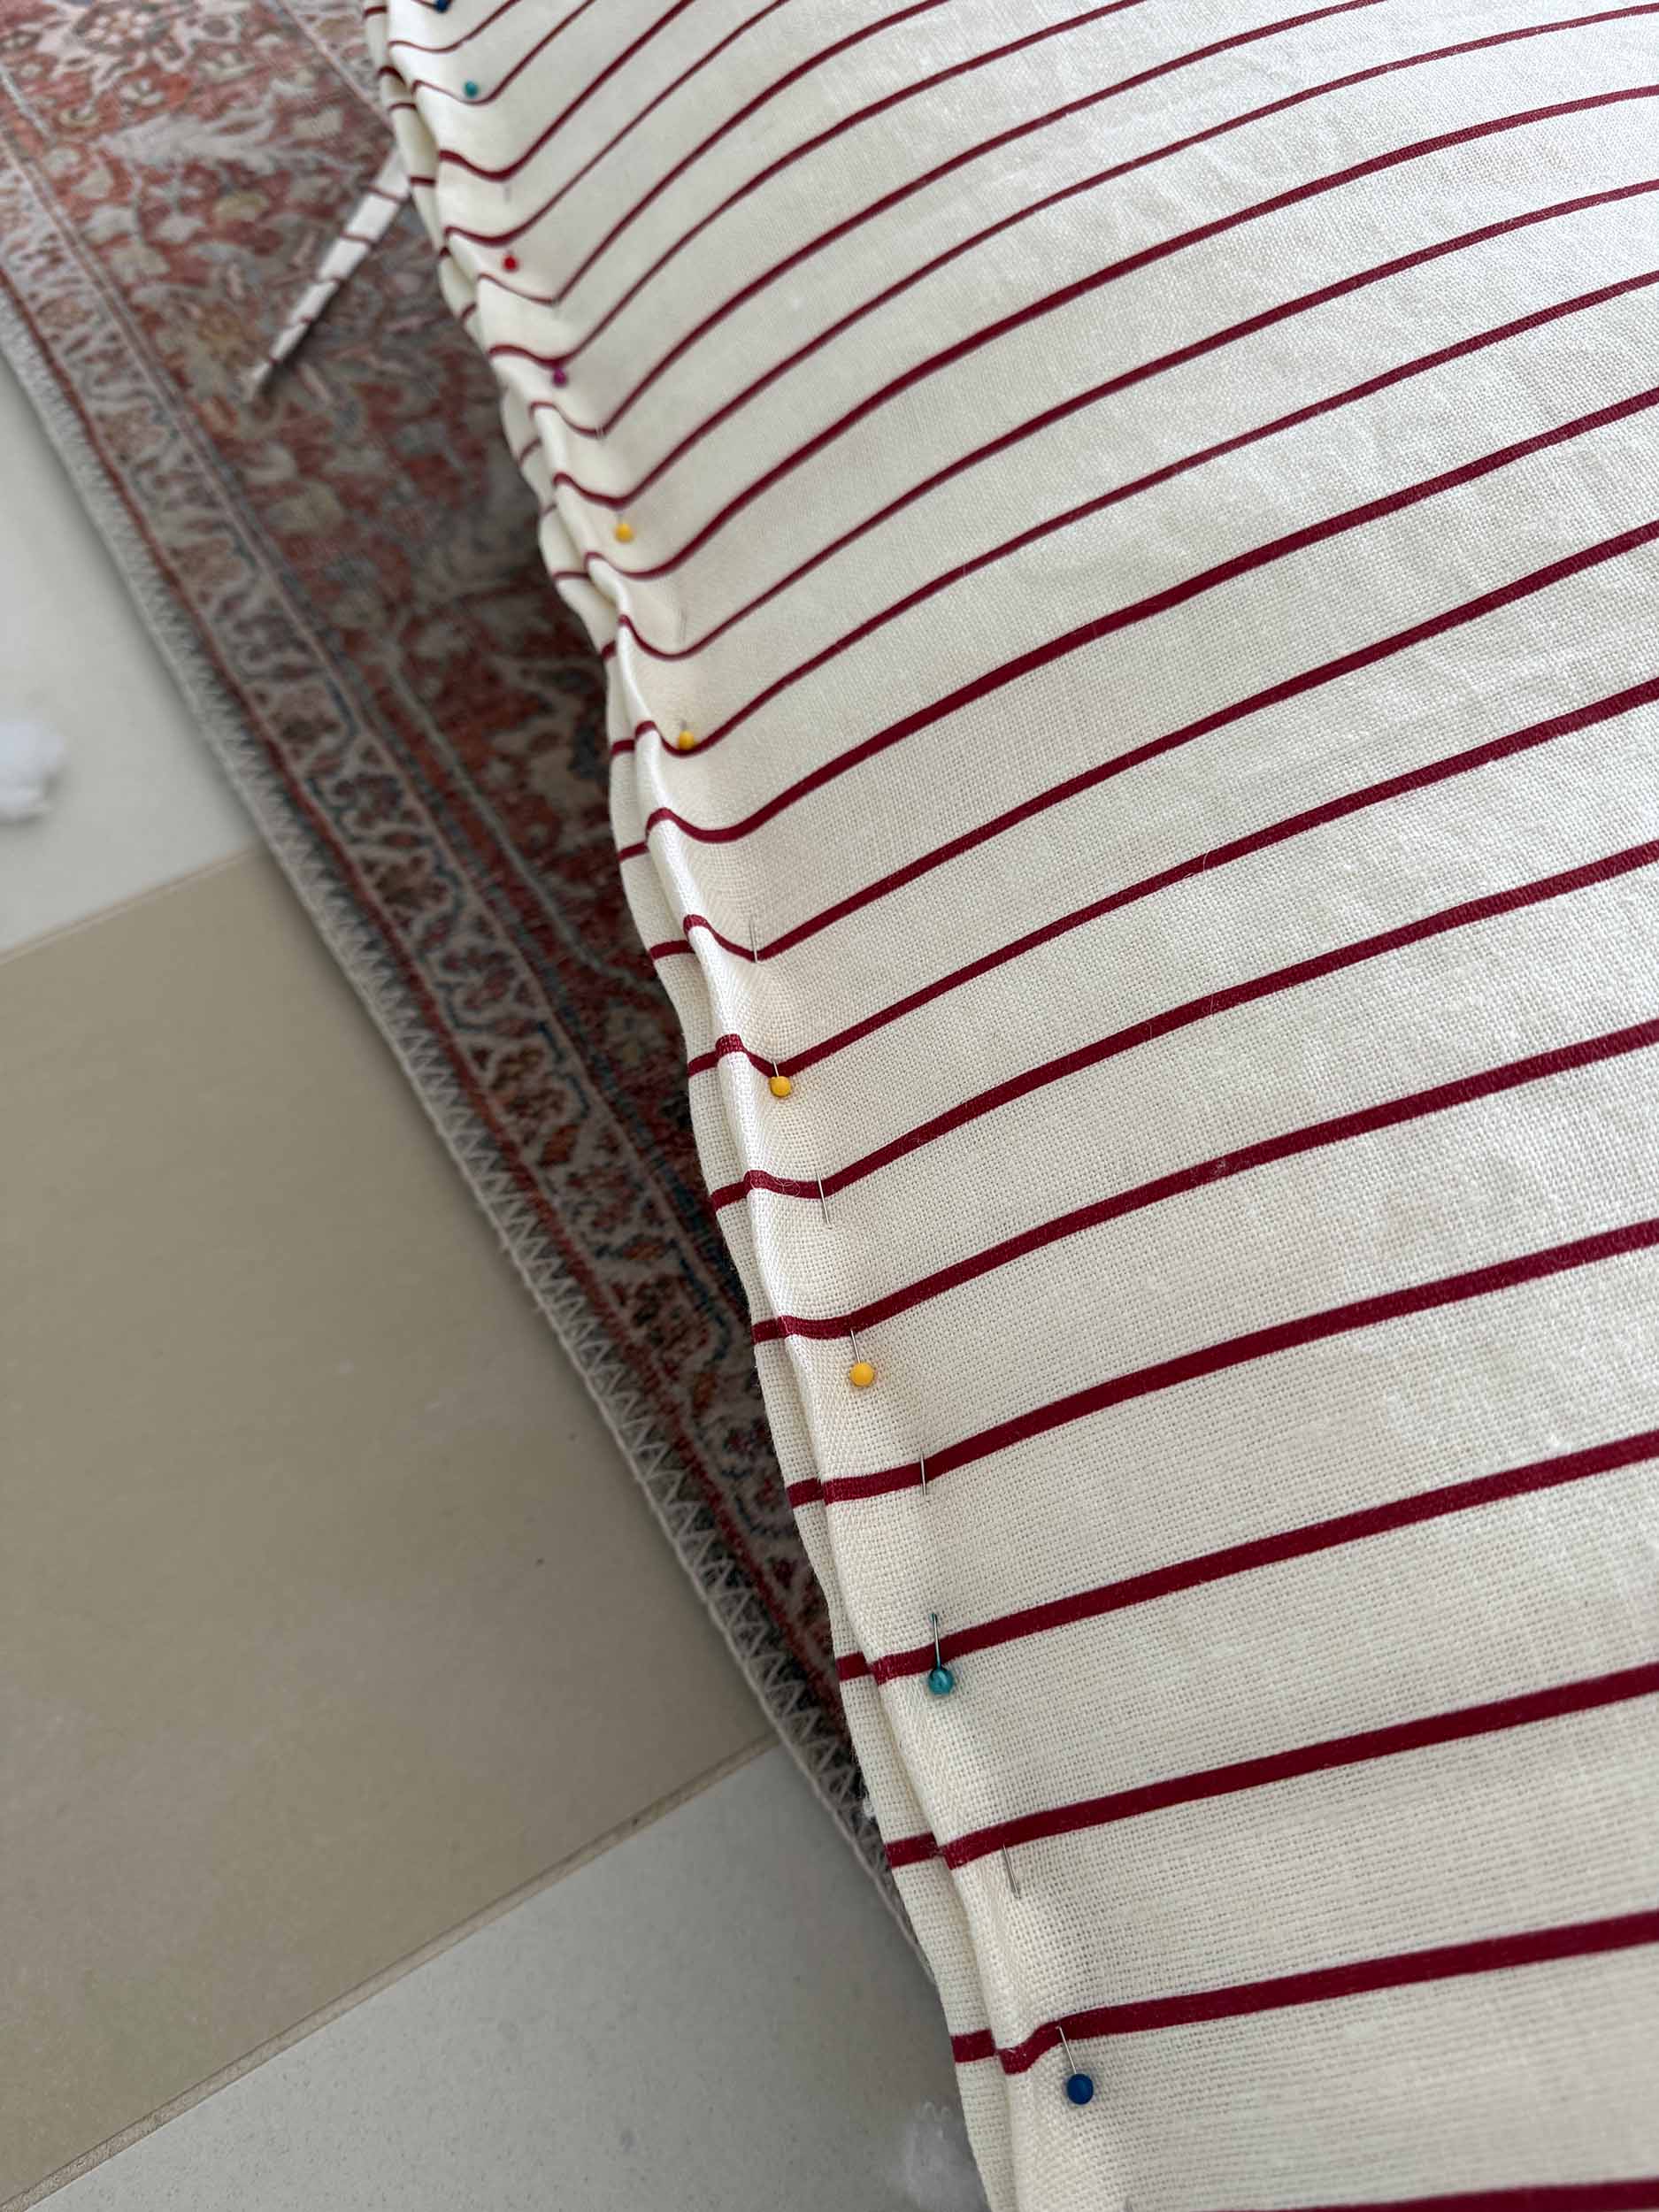
Pin Everything Together
Decide where you want your ties to go. I wanted one at each corner and one about half way down the long sides of the pillow along the bottom and top of the headboard, resulting in 6 ties.
Place your fabric with the right sides together. Fold your 12″ long ties in half and place the ties between the fabric where you want them. The folded middle should be flush with the edges of the fabric. Pin everything in place.
Sew around three sides of the rectangle’s outside edge, leaving the bottom of the headboard piece open.
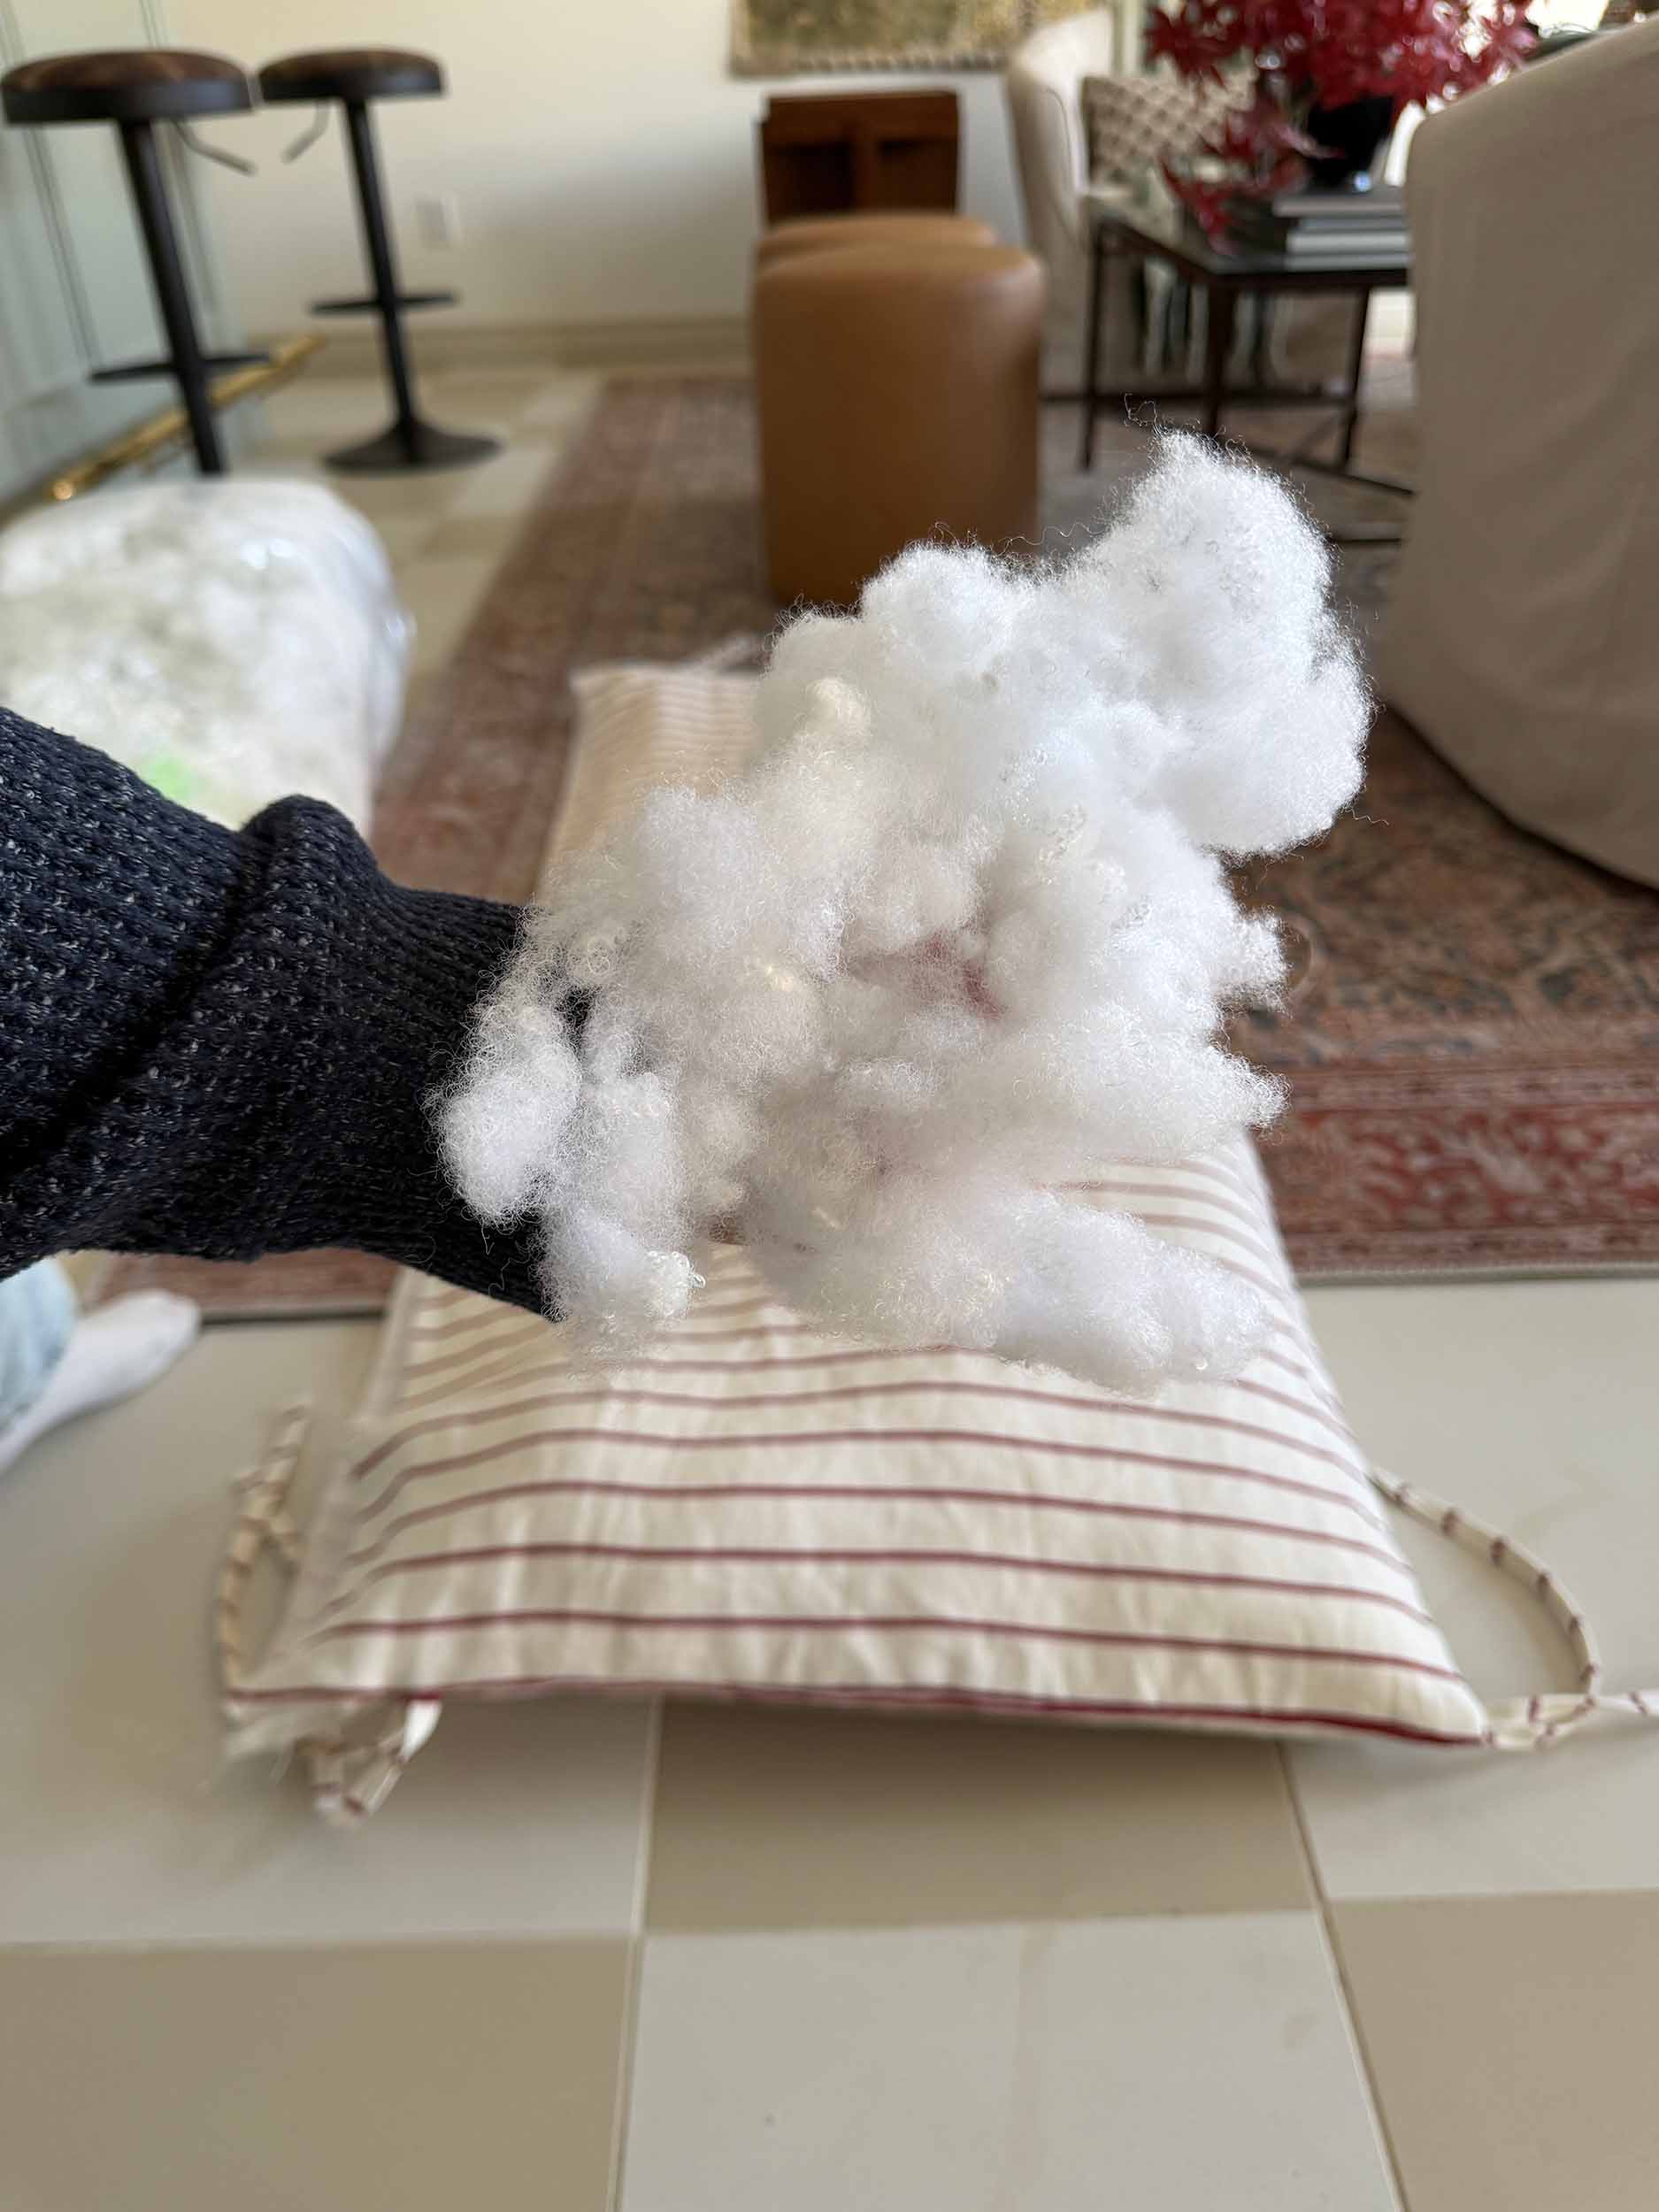
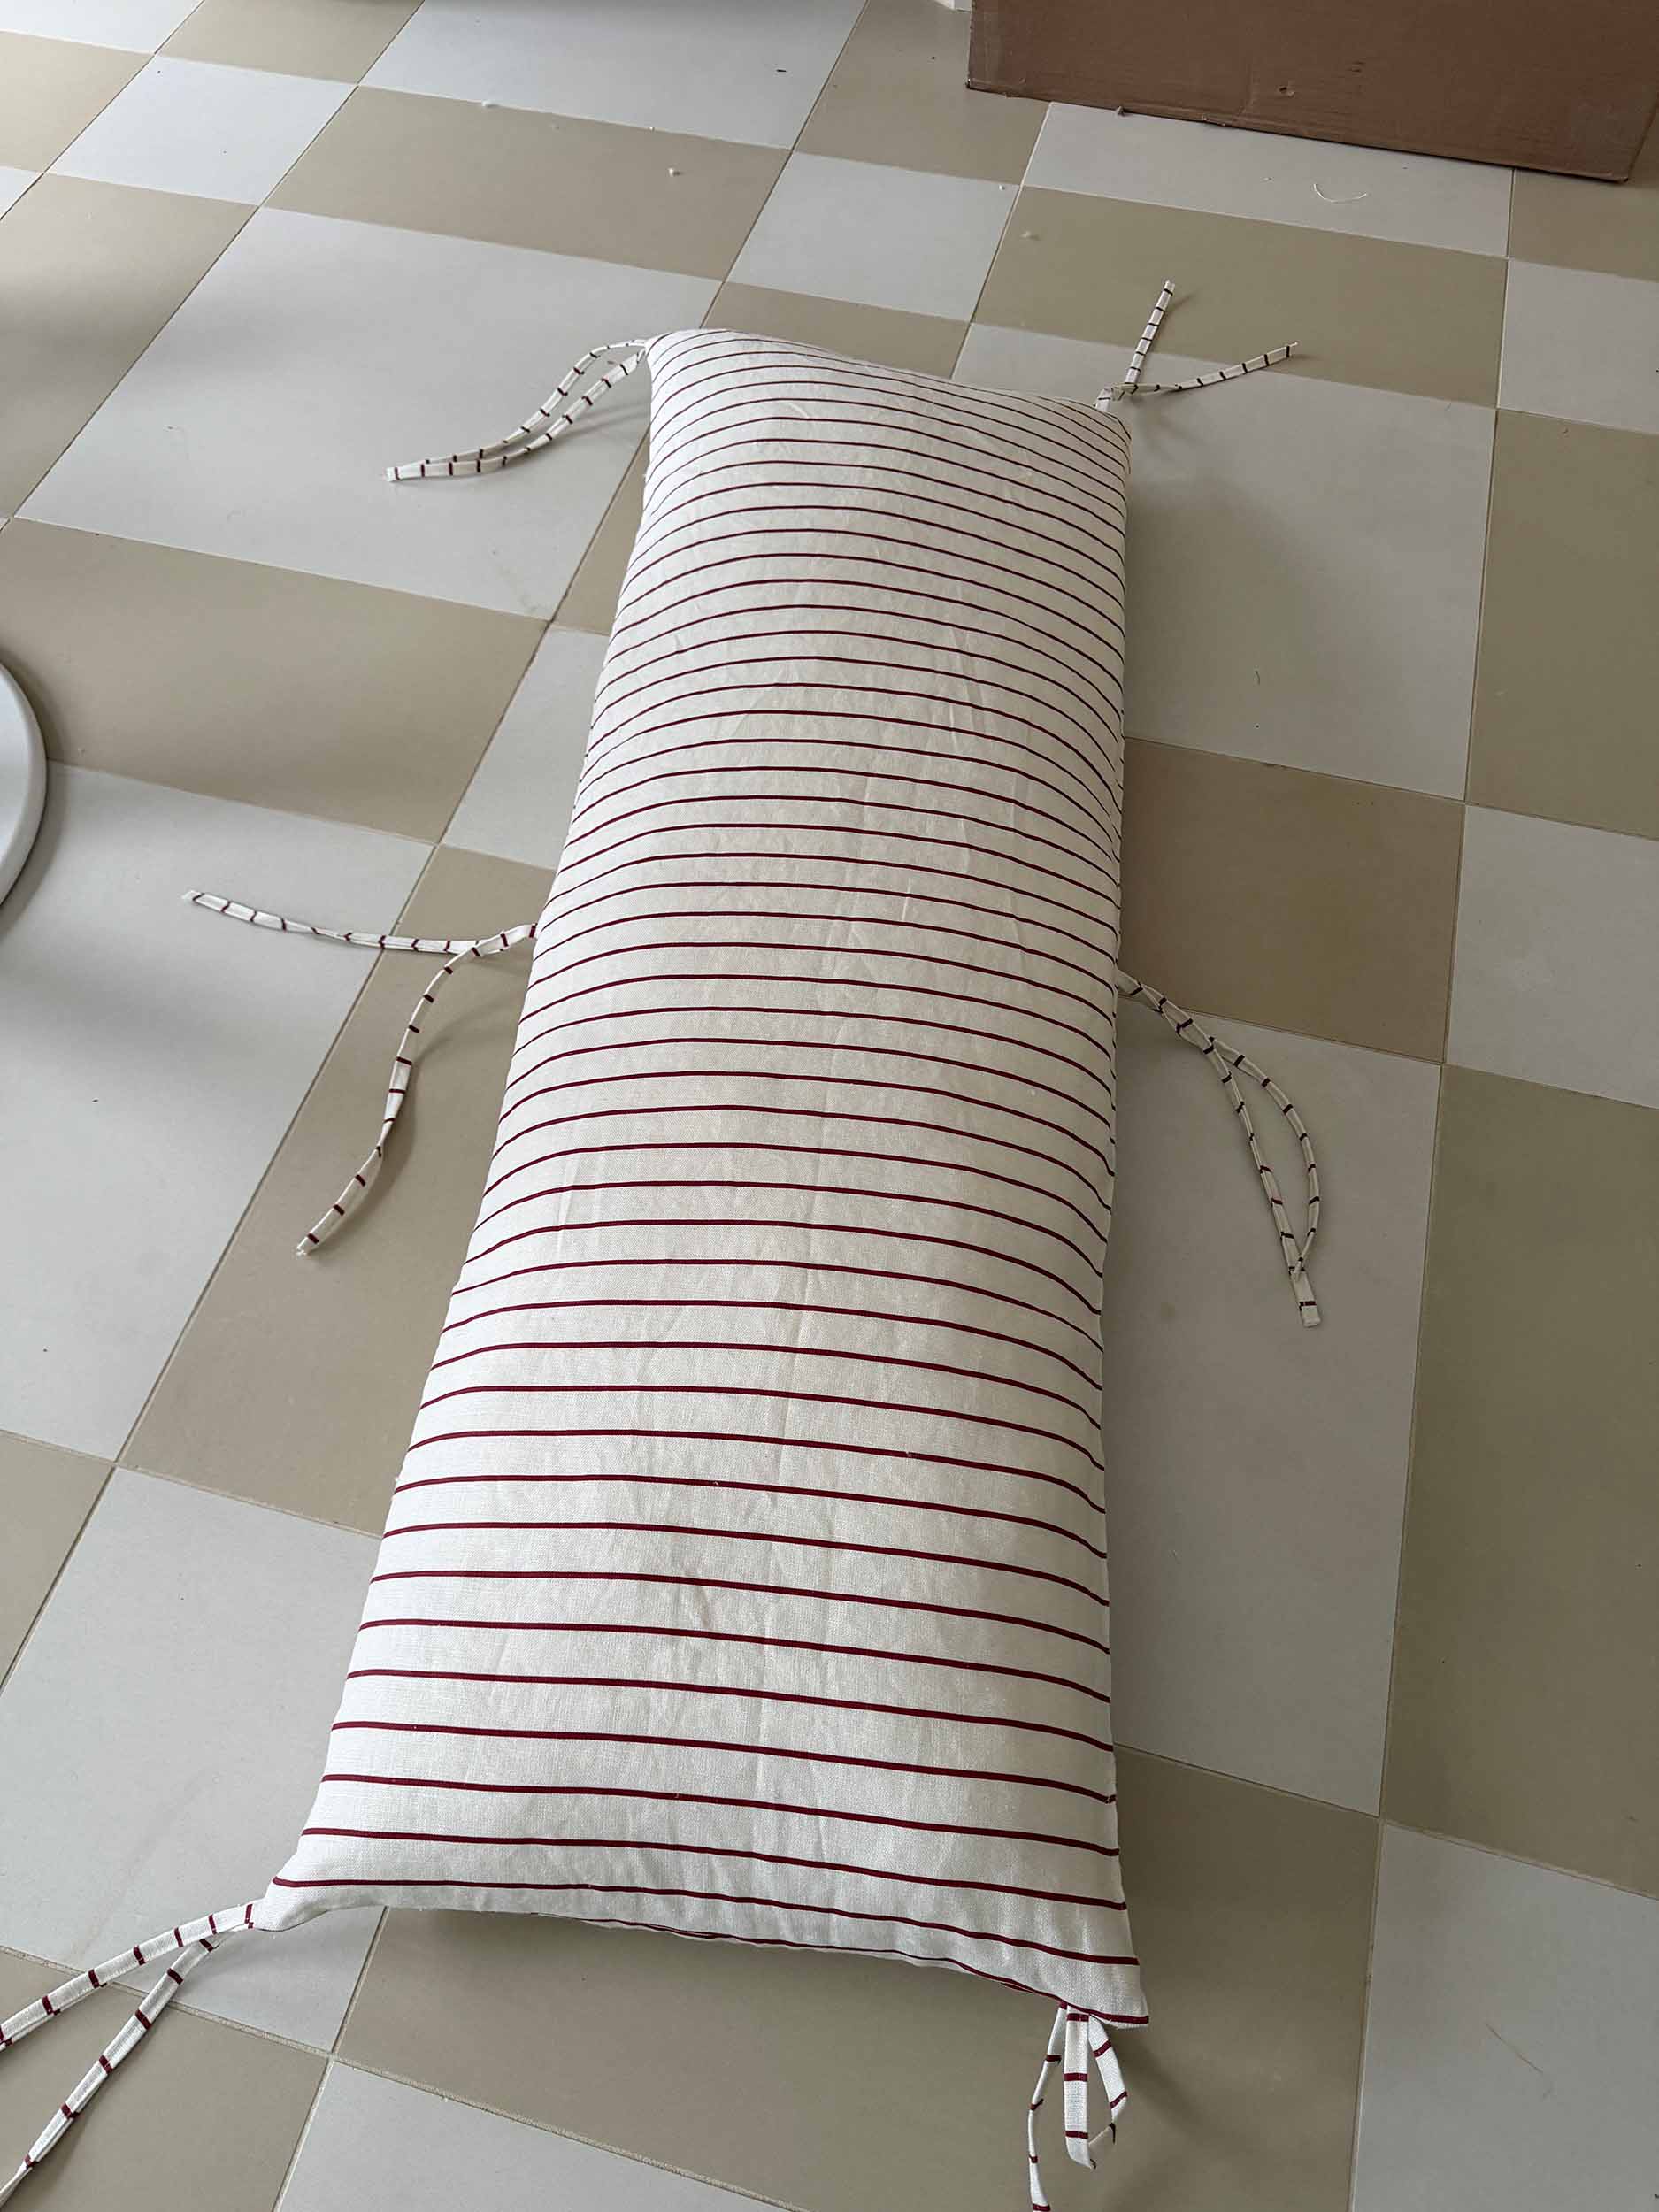
Stuff the DIY Tufted Headboard Pillow
My original idea was to add a piece of foam to the headboard pillow and wrapping it in a layer of batting (or several layers). After cutting the foam to fit inside, I realized that was going to result in a pretty square and rigid looking final product, and I really wanted something more poufy.
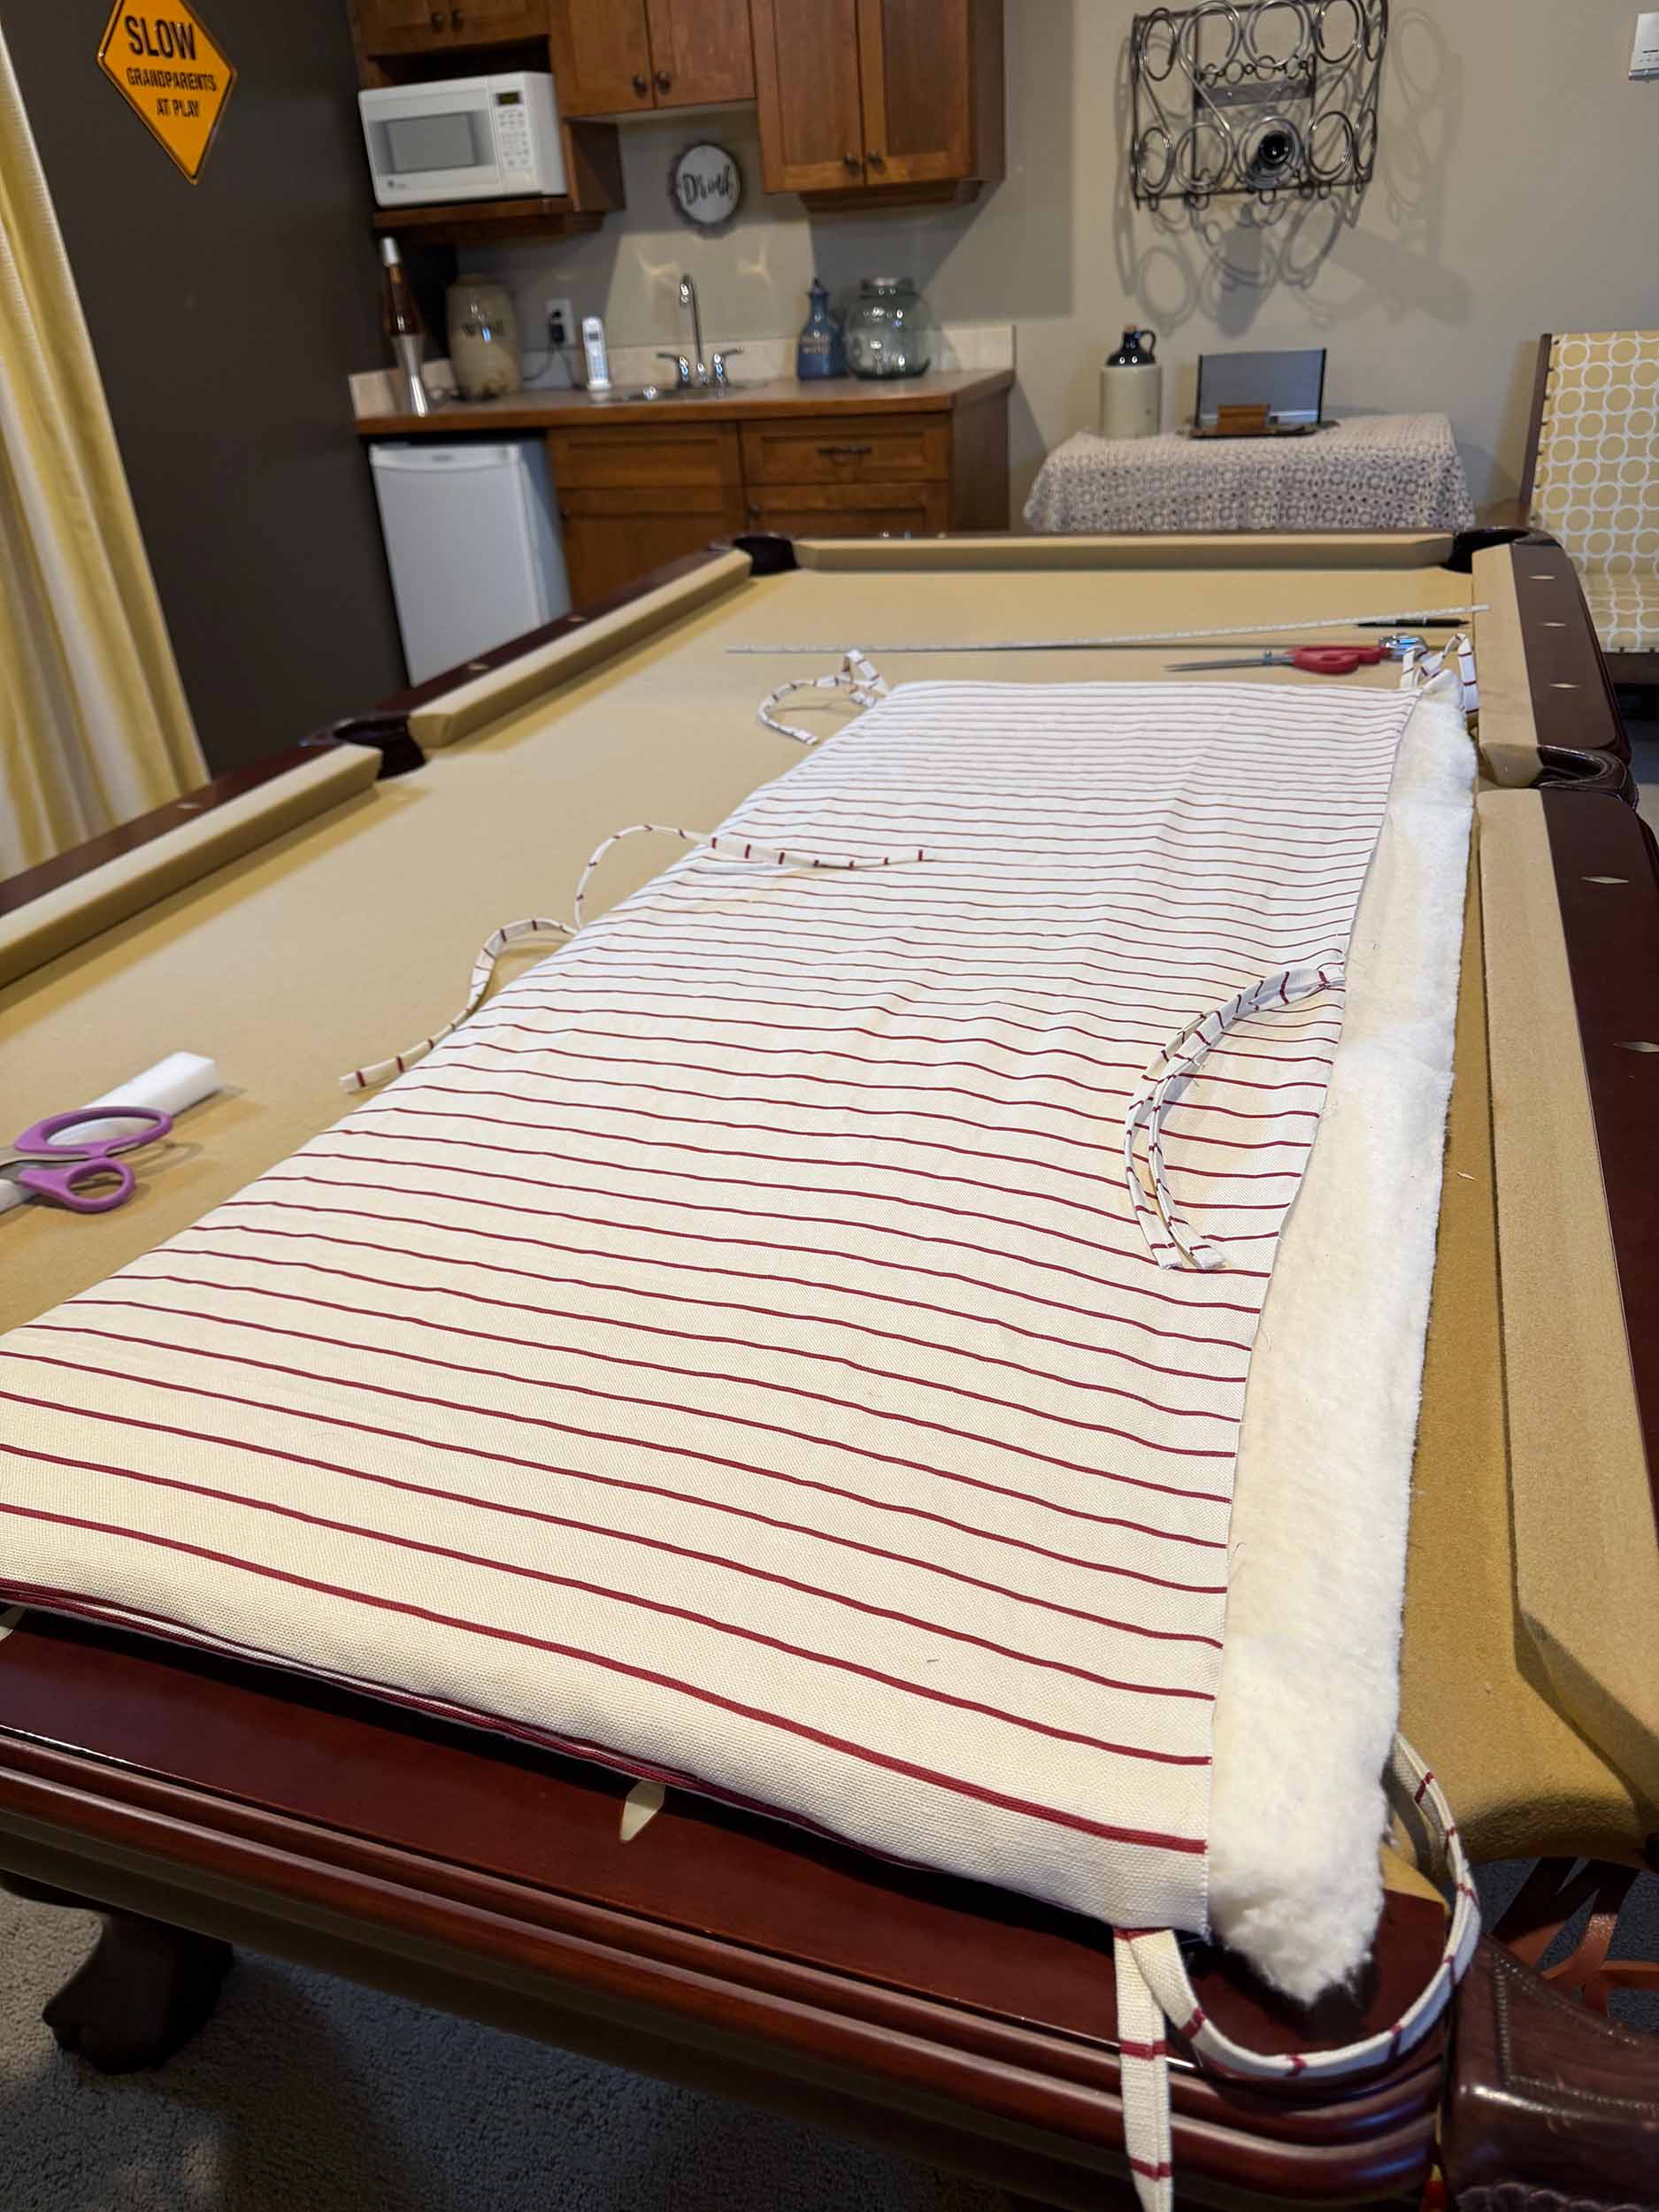
What I ended up doing is adding stuffing all around the foam inside the pillow to get the poufiness I wanted.
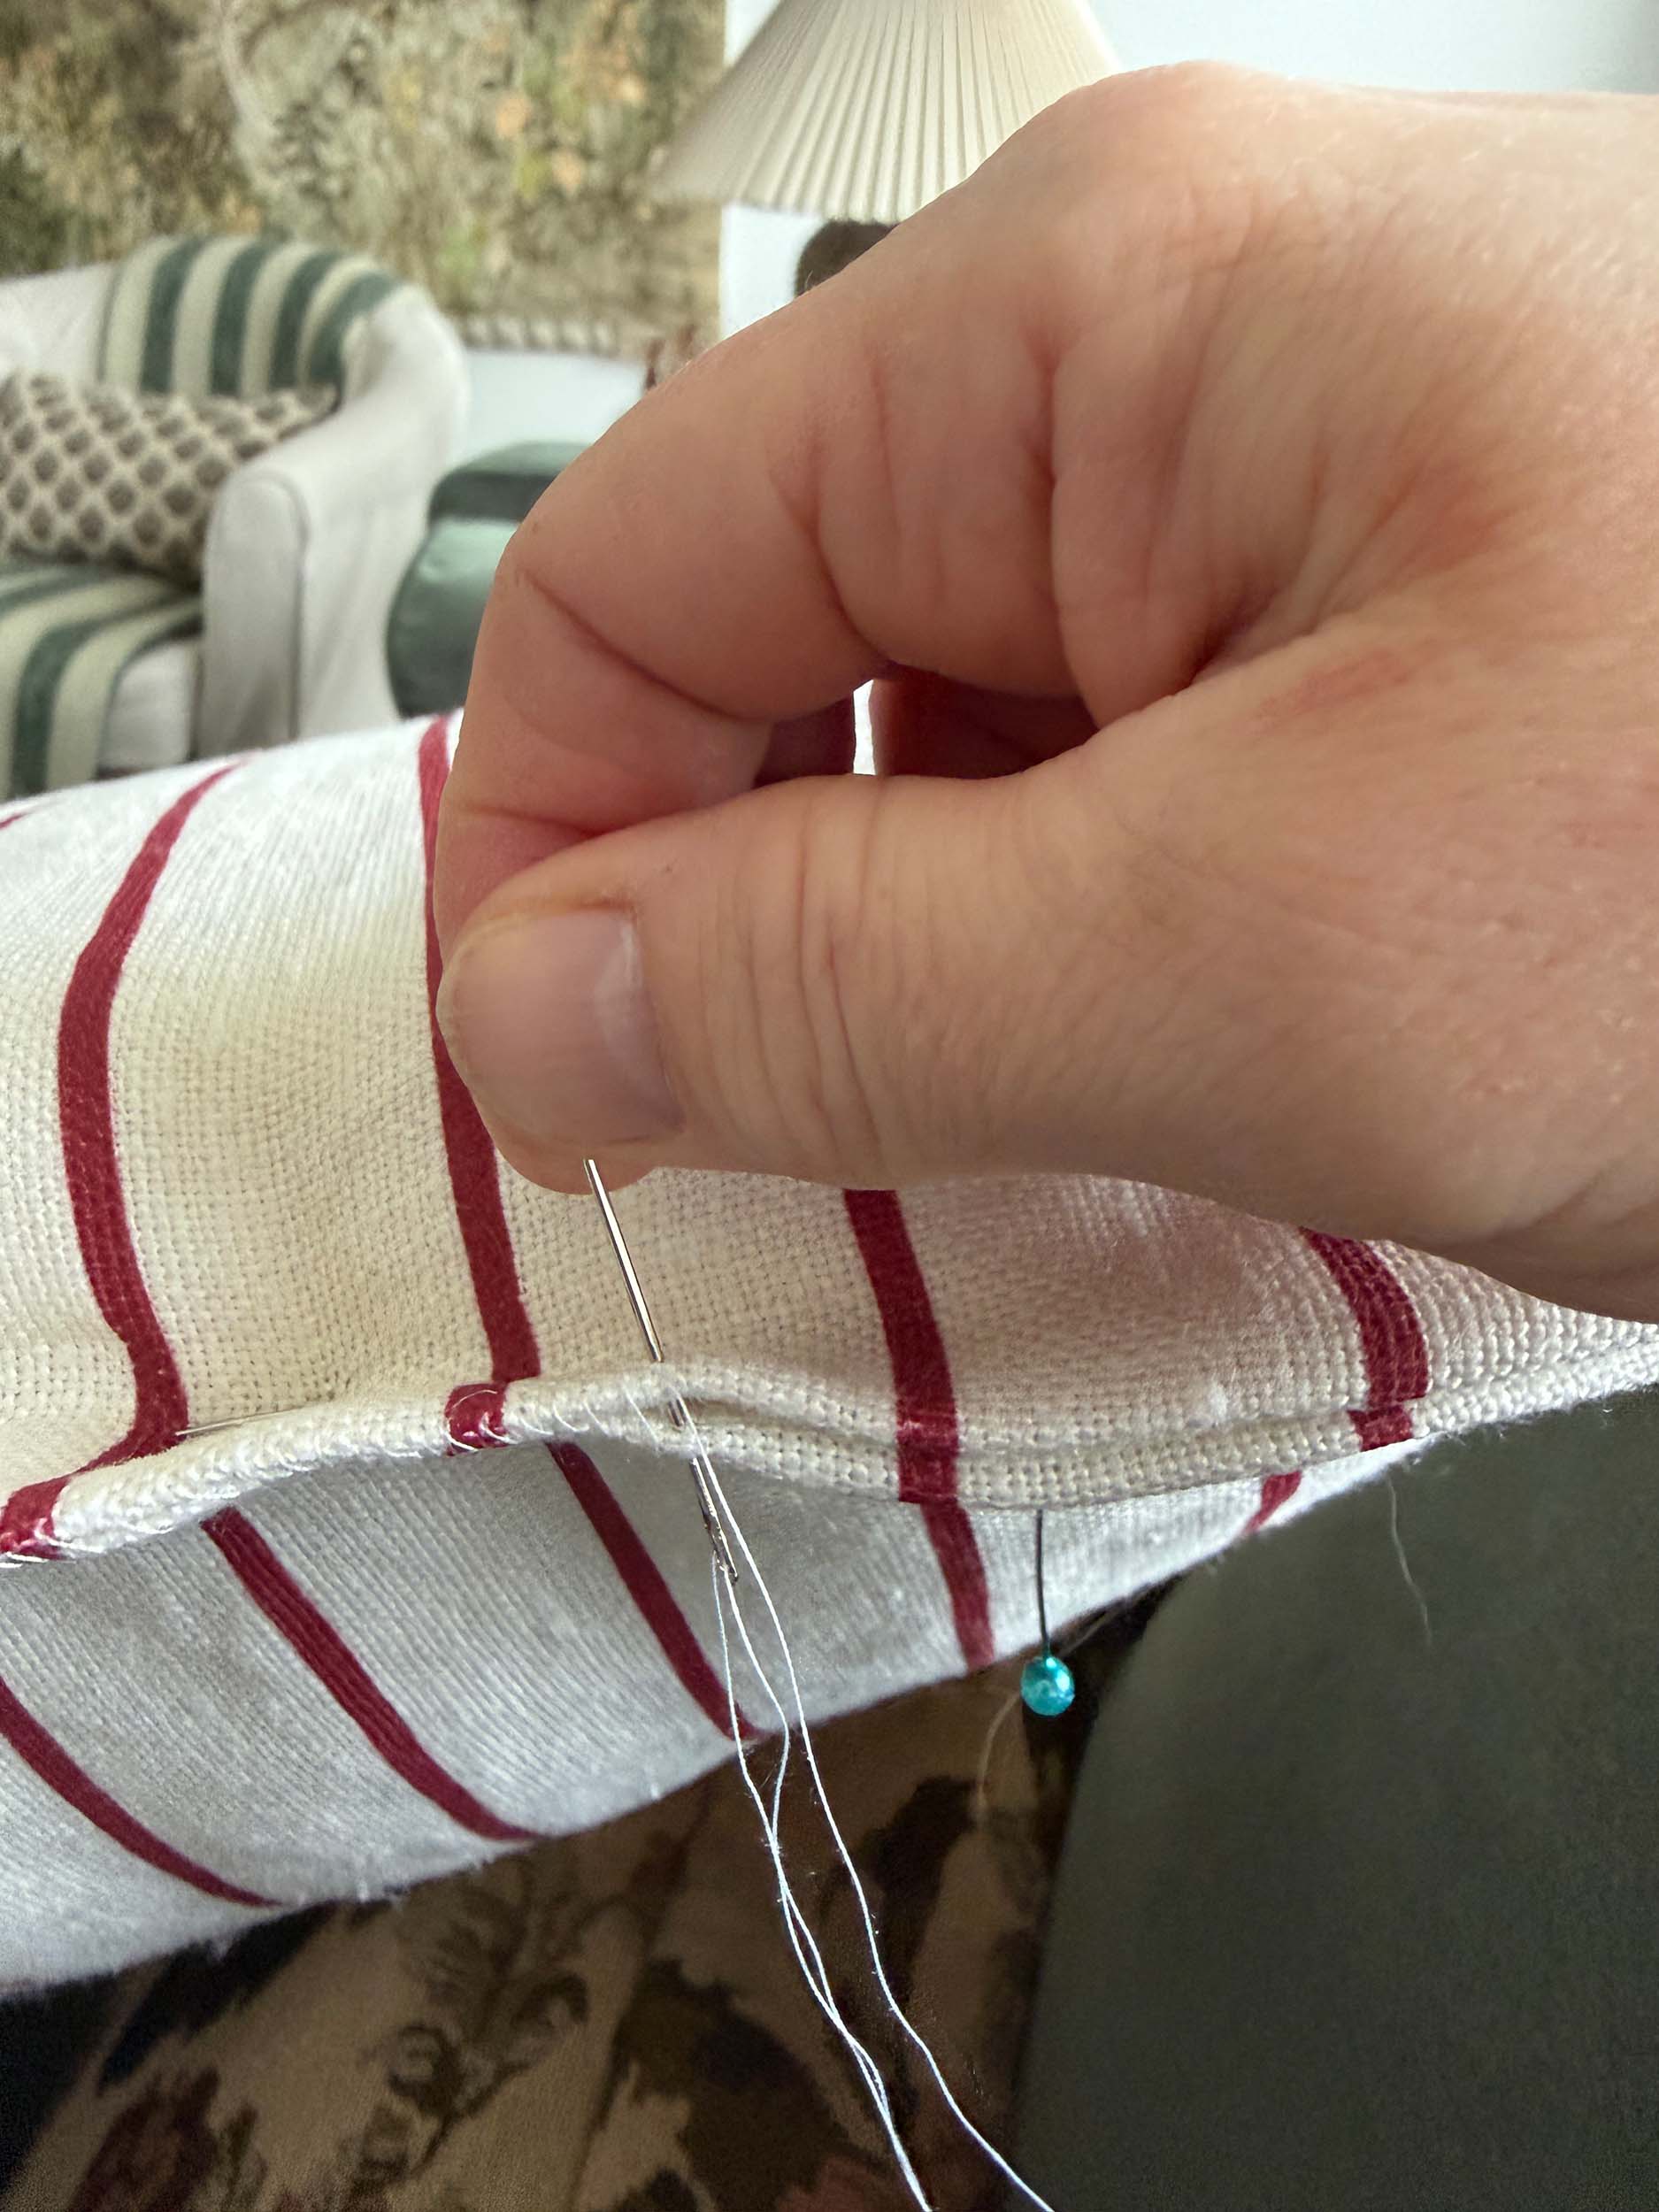
Sew the Bottom Shut
Once the pillow was all stuffed, I got comfy with an audiobook and sewed it shut by hand. It is a bit time-consuming, but it did not take me a long time, maybe 20 minutes or so? Sewing it by hand was the best way to close that bottom edge.
You could also add a zipper to the bottom edge when you are sewing it together if you are familiar with how to do that. You do not really need a zipper, however, since you won’t be able to take the cover off after it’s tufted, so keep that in mind.
How to Cover Buttons
I bought a little button cover kit on Amazon and it worked like a charm! It came with little templates to cut some fabric circles, and you simply push the fabric into the little tool, add the button front, fold the fabric over the back, and push the back in using the little tool.

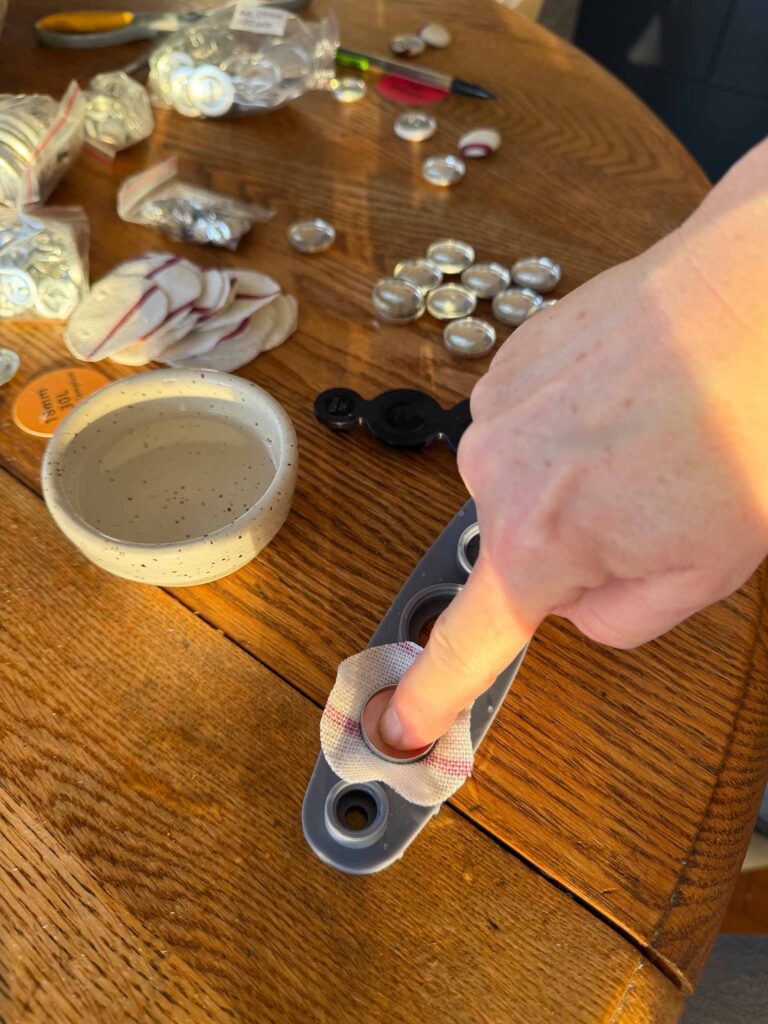


I made 20 matching button covers for my pillow.
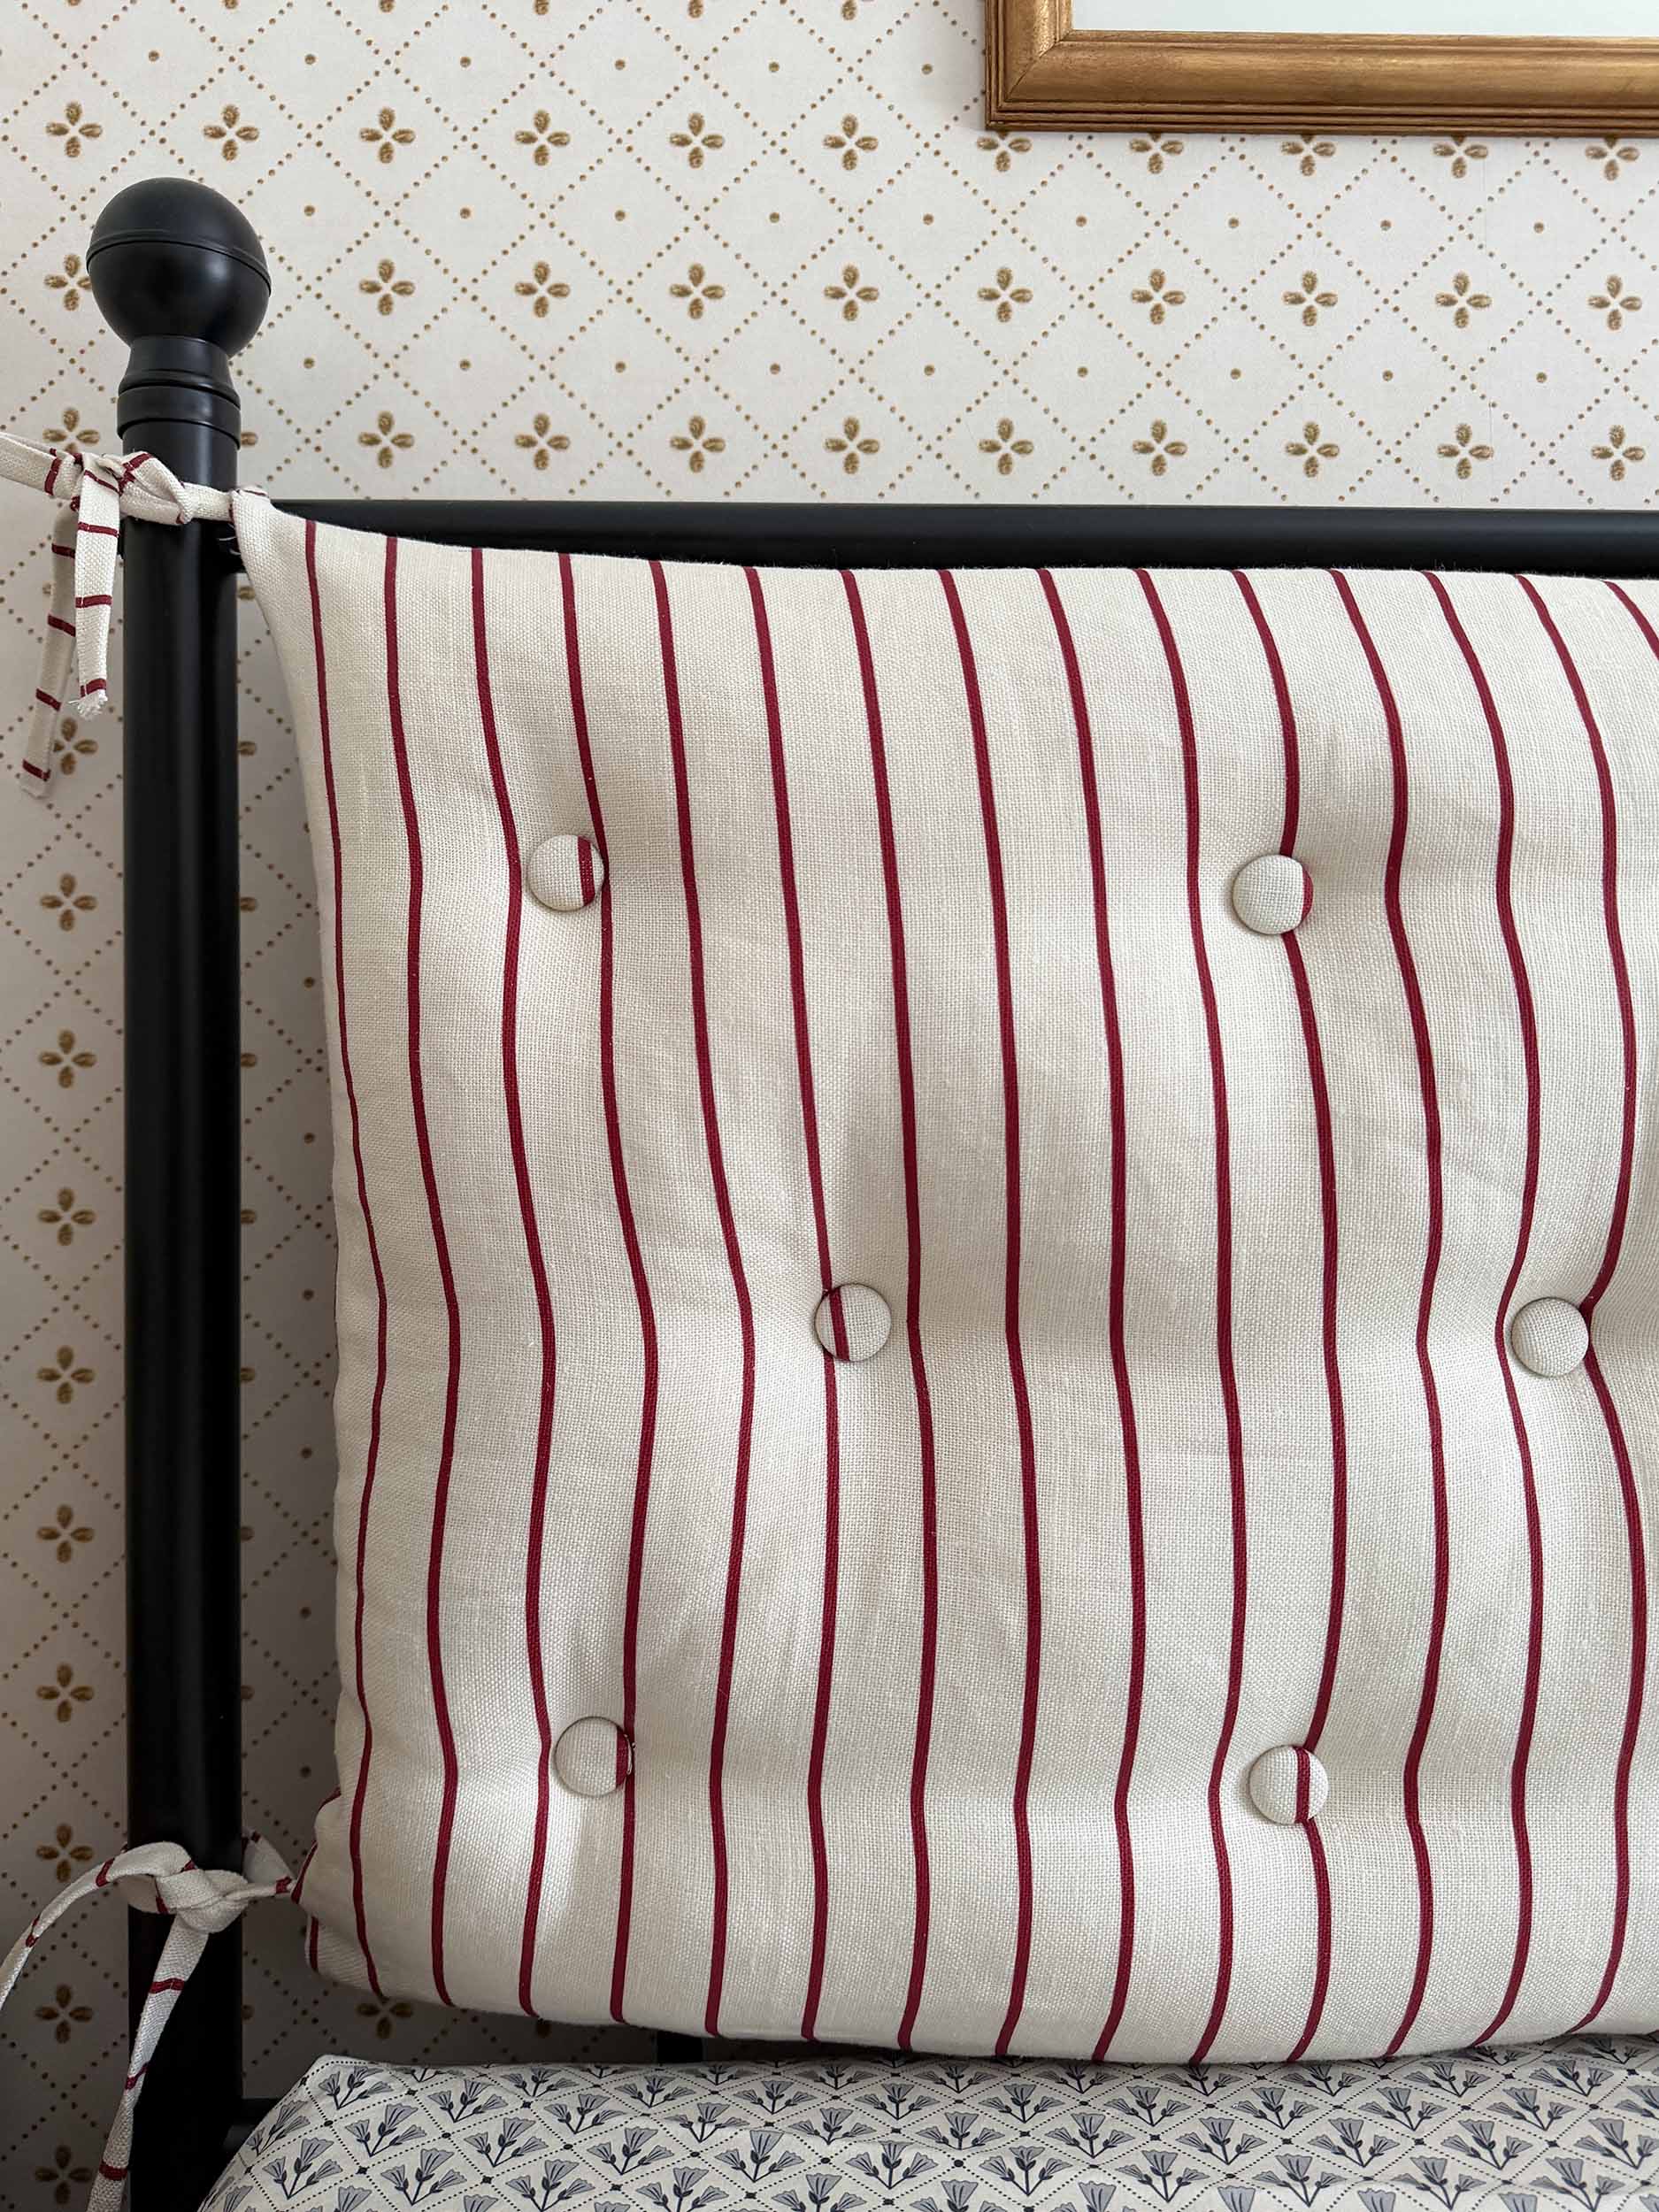
Add the Tufting
To tuft, you simple use some very sturdy thread to push through from the back. Don’t pull the thread all the way through. Add the button onto the thread, and then loop it back in using your upholstery needle to the backside. You want to come out close to (but not exactly at the same spot as) where you went in.

Get someone to help you pull the thread really tight and tie a few knots to hold it in place. Trim the excess thread. You are done!
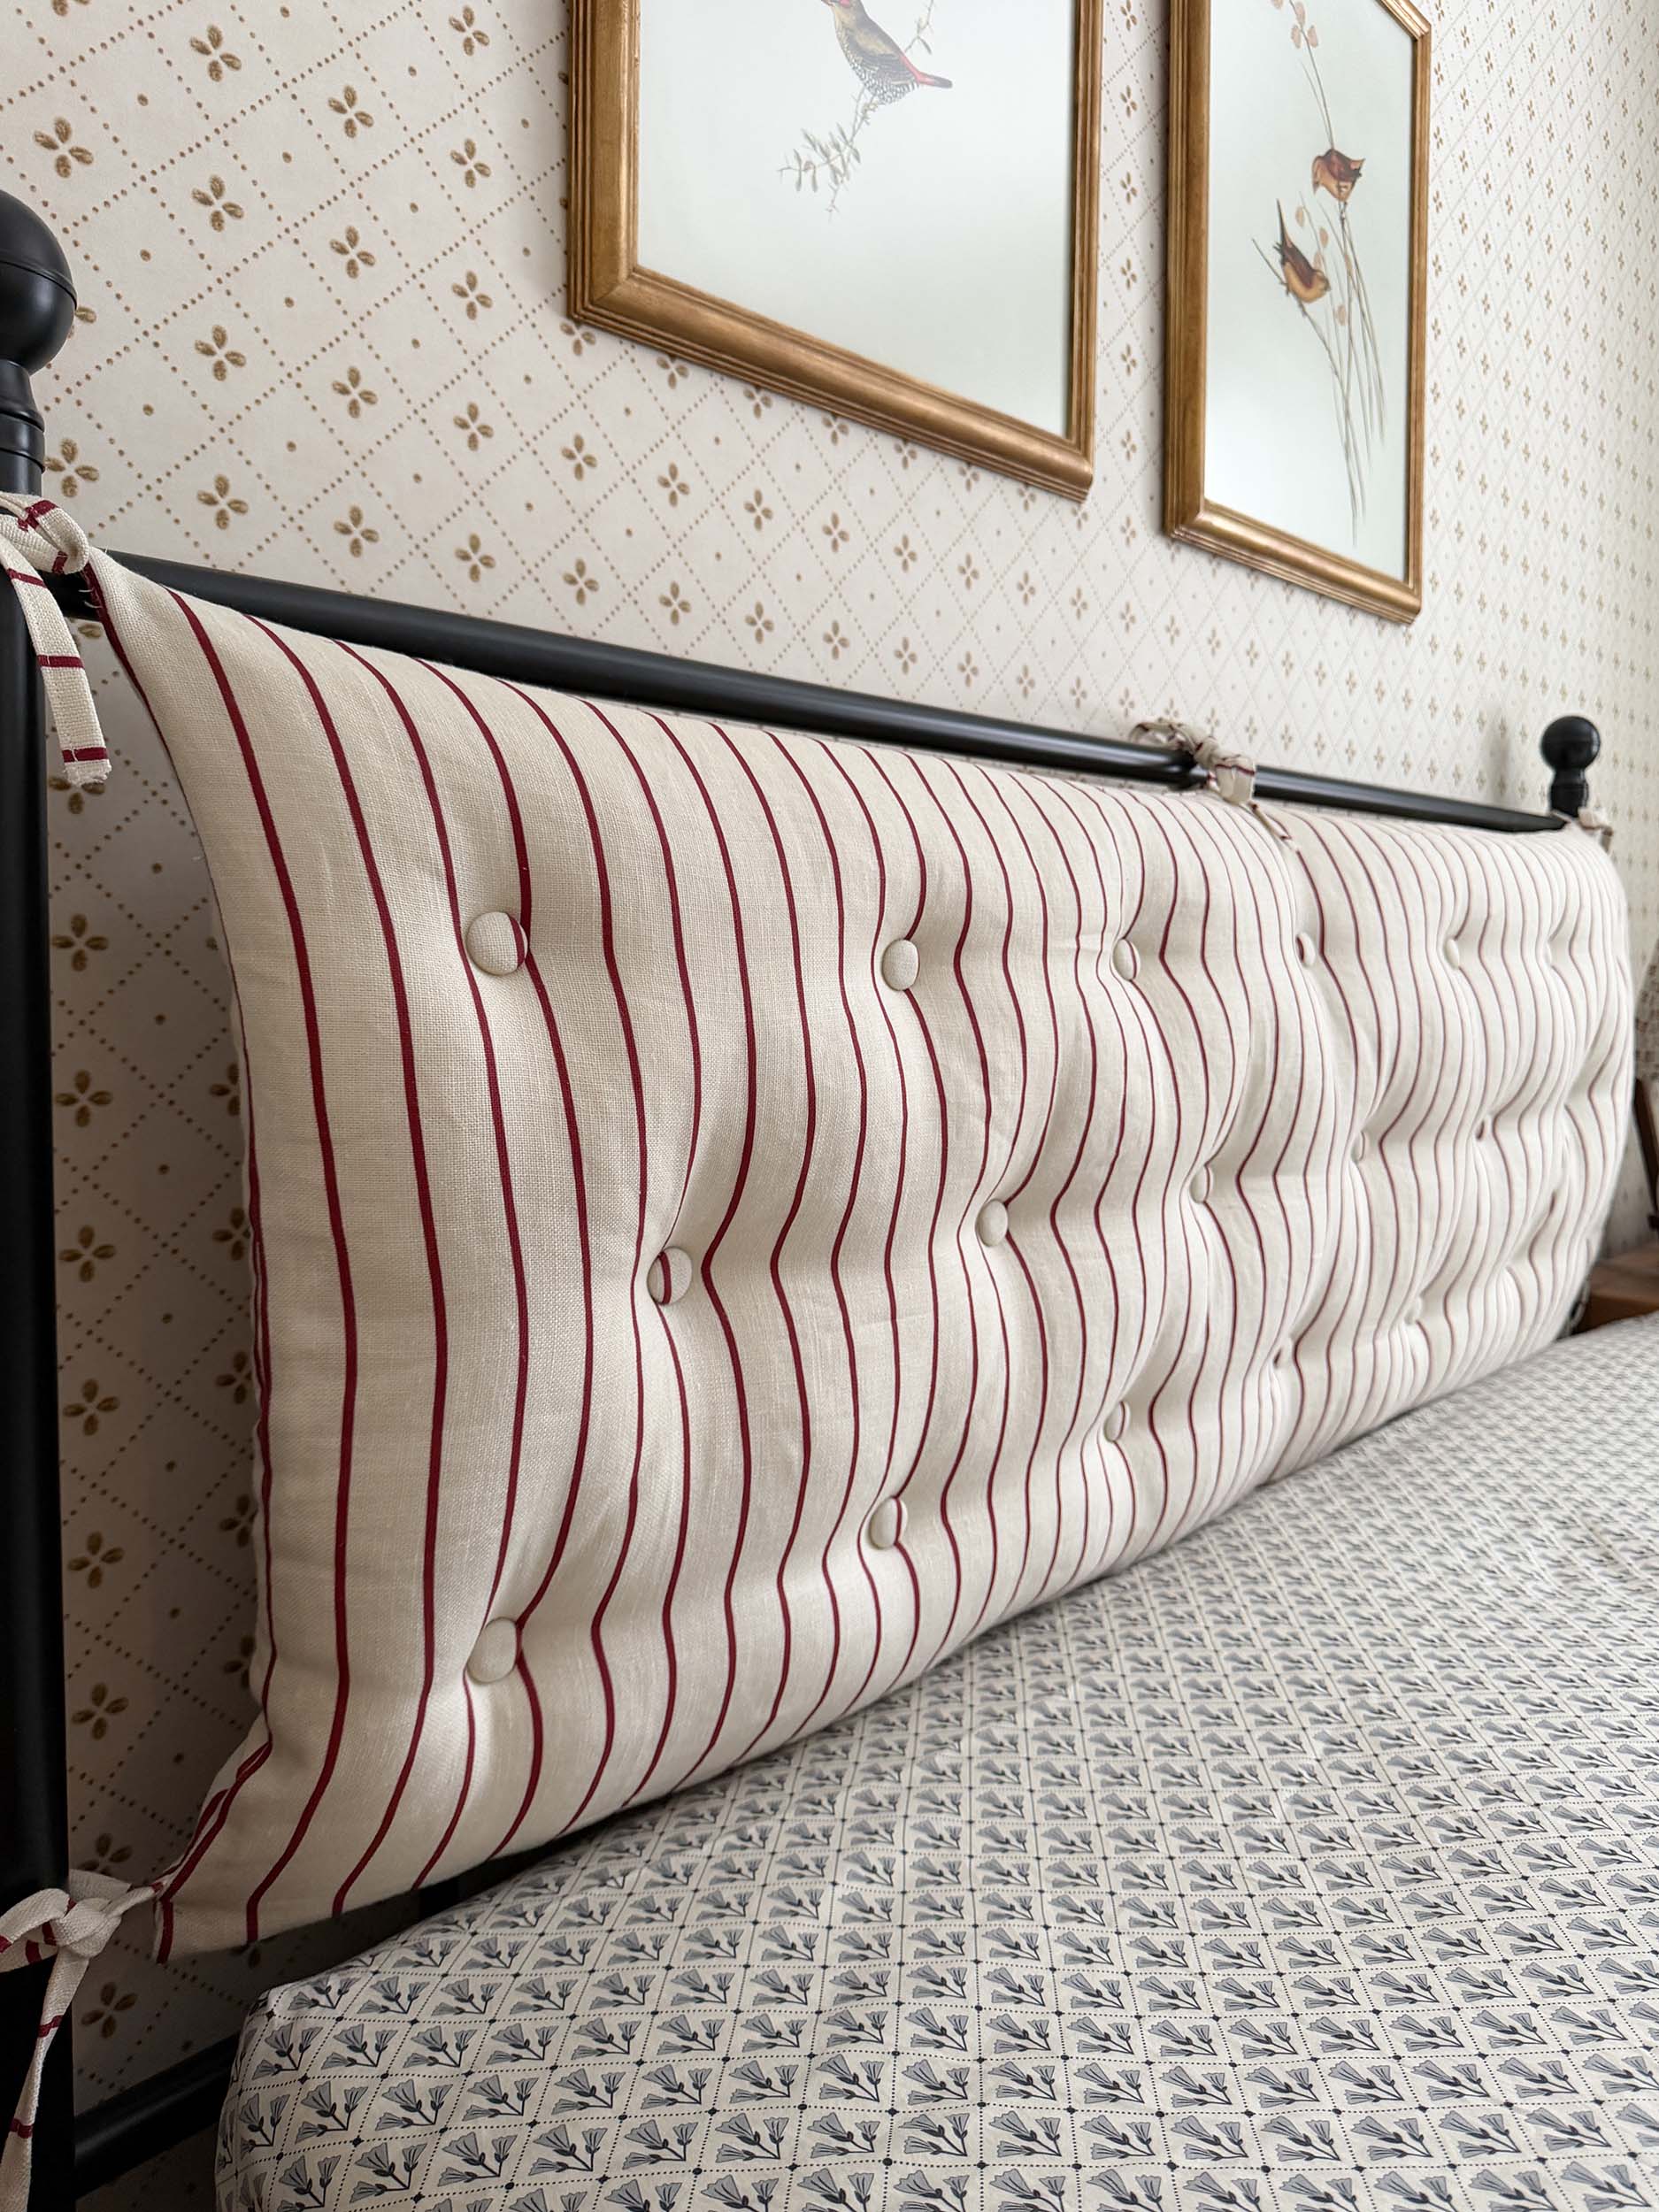
Tie it to your Bed
This is the perfect headboard for my iron bed! I love how custom it looks, it’s such a unique way to change up an otherwise fairly basic bed. And the best part is, you can easily change it up in the future if you want a new headboard, or new colours, to coordinate with bedding or a room refresh to reflect your personal style.
Total Cost/ Shop this Post
The cost of this project is dependent on the type of fabric that you choose, which will vary based on your own unique style. The best materials for this would be a linen or sturdy upholstery fabric. You could use something like a table cloth or a curtain panel to keep the costs down too! I used 2 yards of fabric for my project and it was plenty.
The bed was $235 and with the fabric and stuffing, the total cost was around $400.
The upholstery foam I used was a little pricey but as I mentioned, if I had to do it next time I think I would just use more stuffing and ditch the foam. I think you would probably need two full bags of stuffing.
I hope you enjoyed this tutorial for this simple diy headboard! Let me know if you make your own headboard and how it turned out! Be sure to check out some of my other diy tutorials, I have a project for everyone!
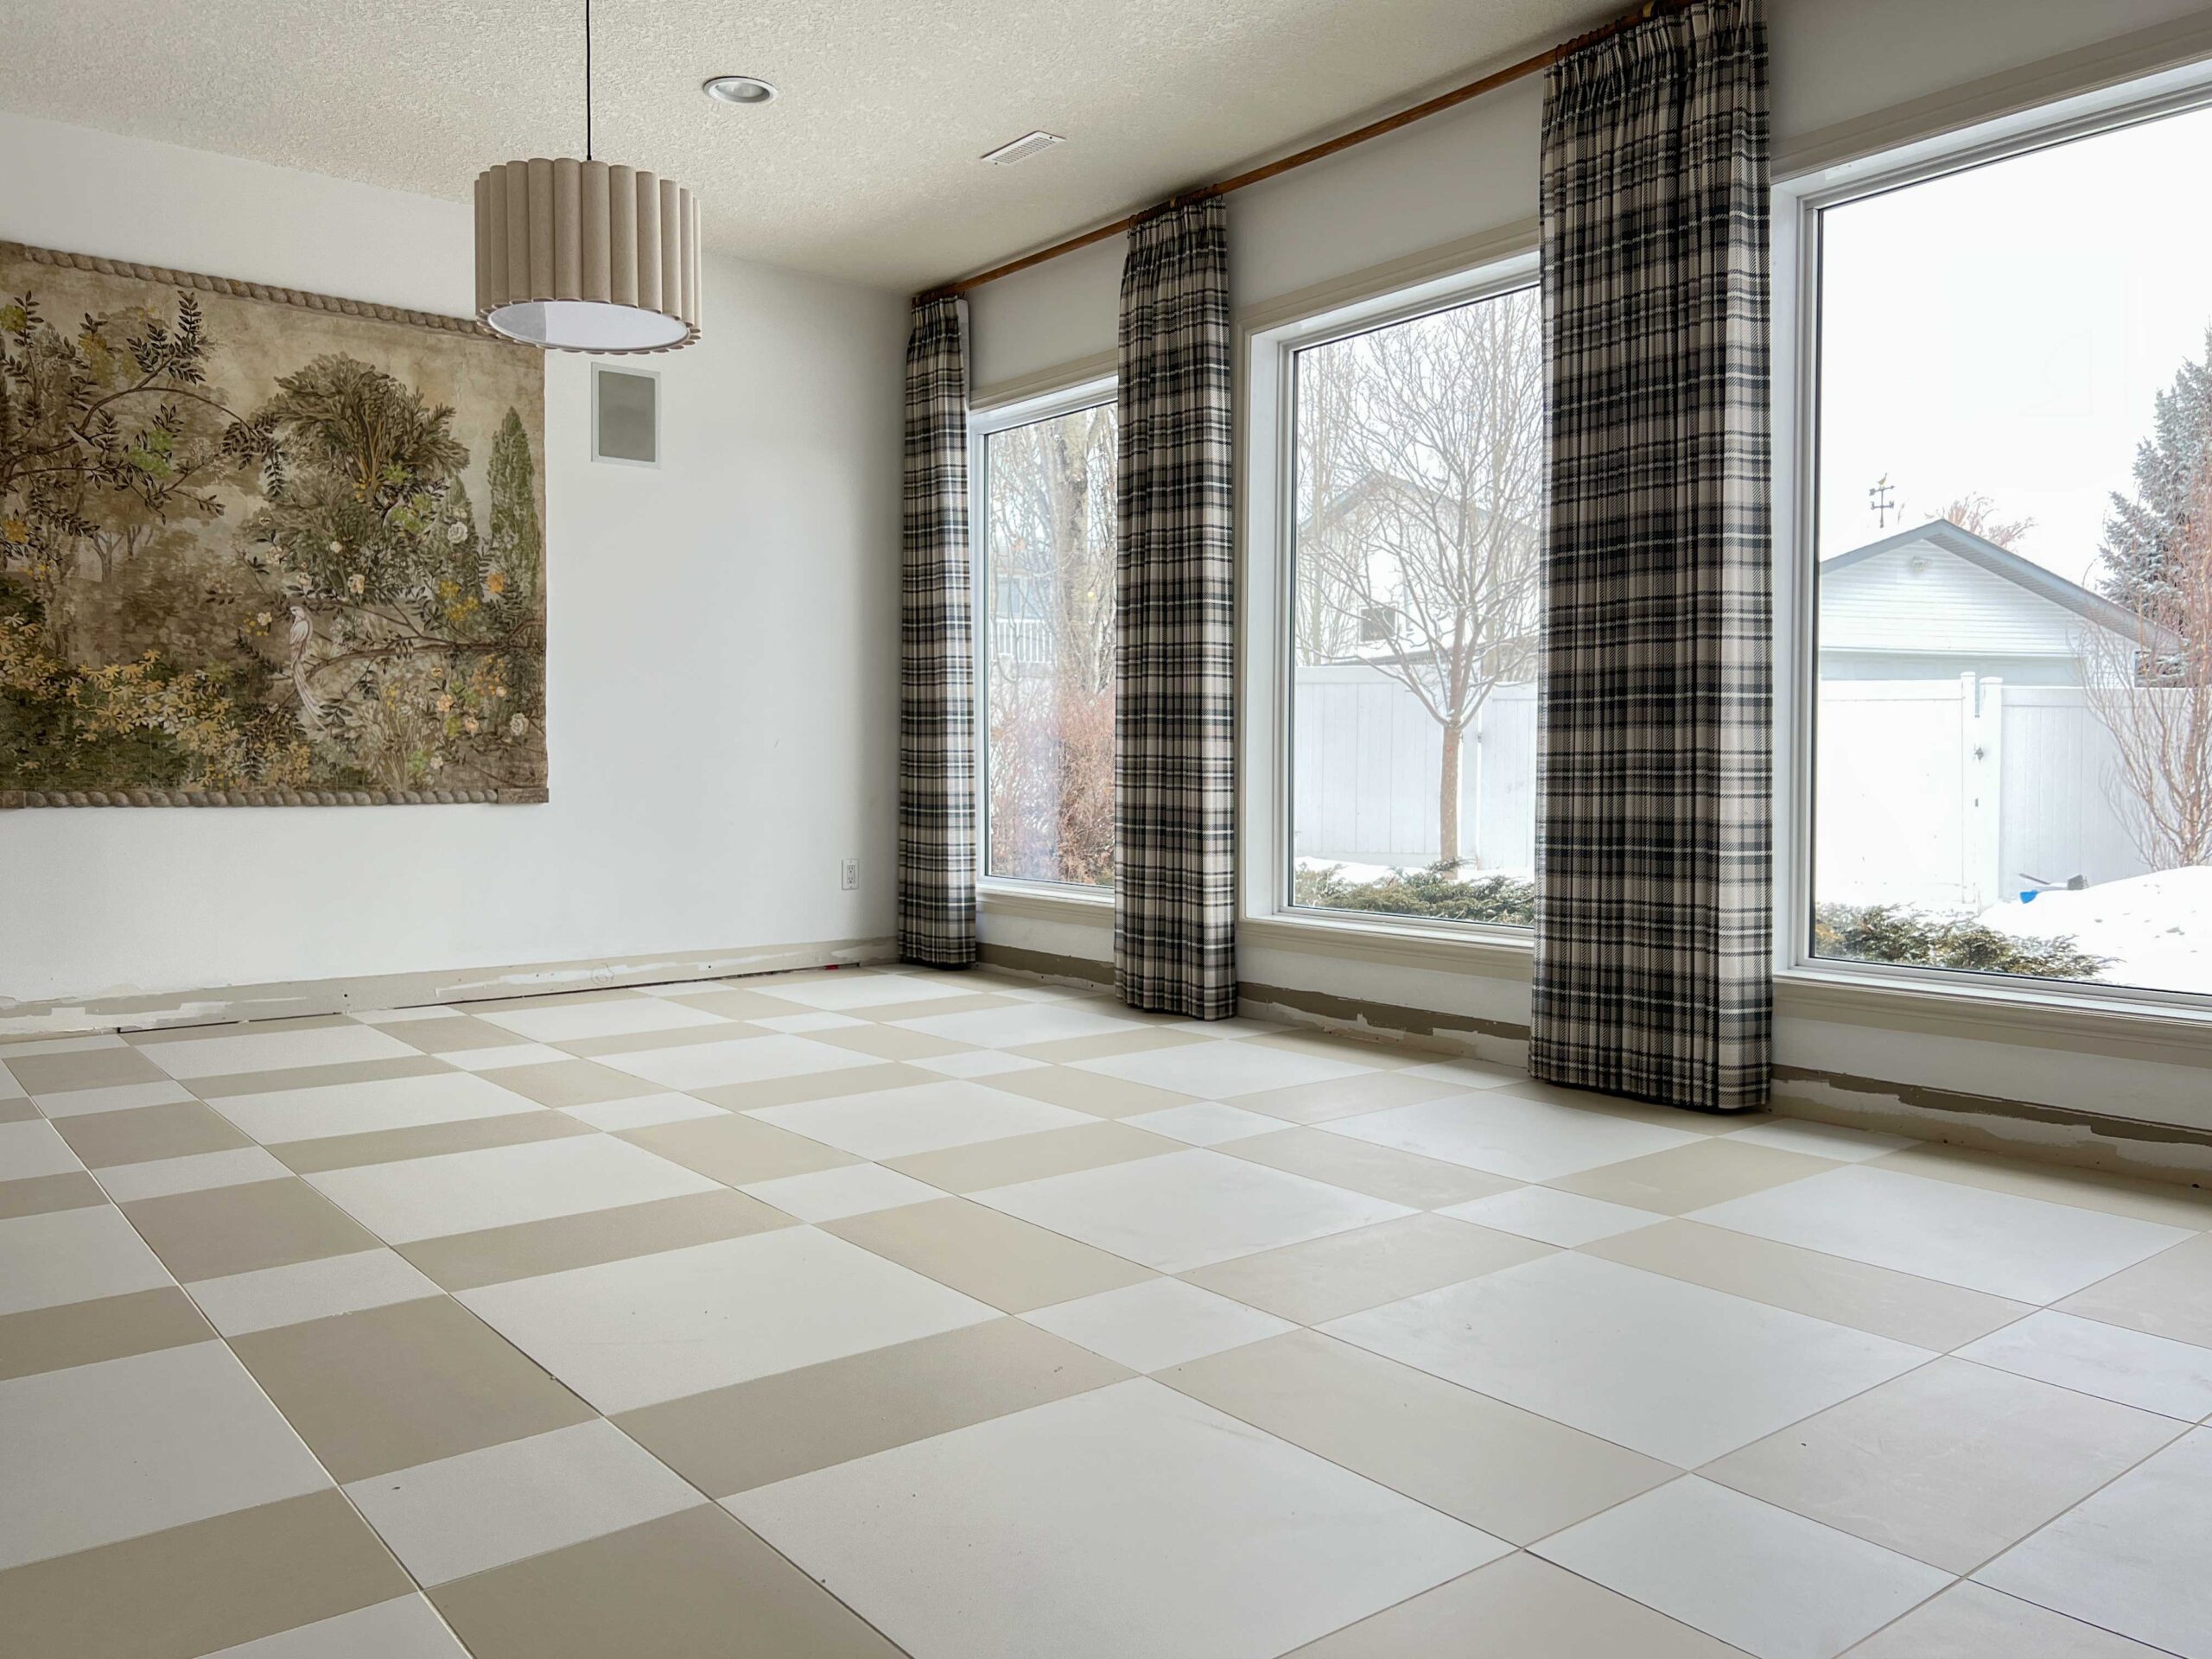
I’m just adding the finishing touches to this room at the cabin and I am finally getting to the bottom of my to-do list, so make sure you swing back in for the full reveal!
You Might Also Like:


Very informative and helpful post. Thanks so much much.
I’ve been contemplating doing something like this, and now, you’ve shown me how to do it! Thanks so much for posting this!
I’m glad you found it useful!
Wonderful!
What do you mean please by the ‘tufting’ part? Going from the back?
Yes!
I’m a beginner and absolutely love this tutorial and how you walk through each step! I’m inspired to make my own as we refresh our bedroom. Thank you!!