DIY Pull-Out Cabinet Organization for Hair Tools
One thing that I really wanted in my renovated bathroom was a designated spot to keep my hair tools. Not only a designated spot but also something super easy that would encourage me to actually put them away. I mulled over a bunch of ideas for building a hair tools organizer but at the end of the day, I decided the easiest way was to buy something to retrofit inside my cabinet. I also had to figure out how to keep the cords under control so I did a little research on outlet options for my area. What I came up with was a simple project for DIY pull-out cabinet organization for hair tools, that is safe to use in Canada!
This post may contain affiliate links. That means if you purchase anything from these links I earn a small commission, at no extra cost to you! This helps support my blog, so thank you!
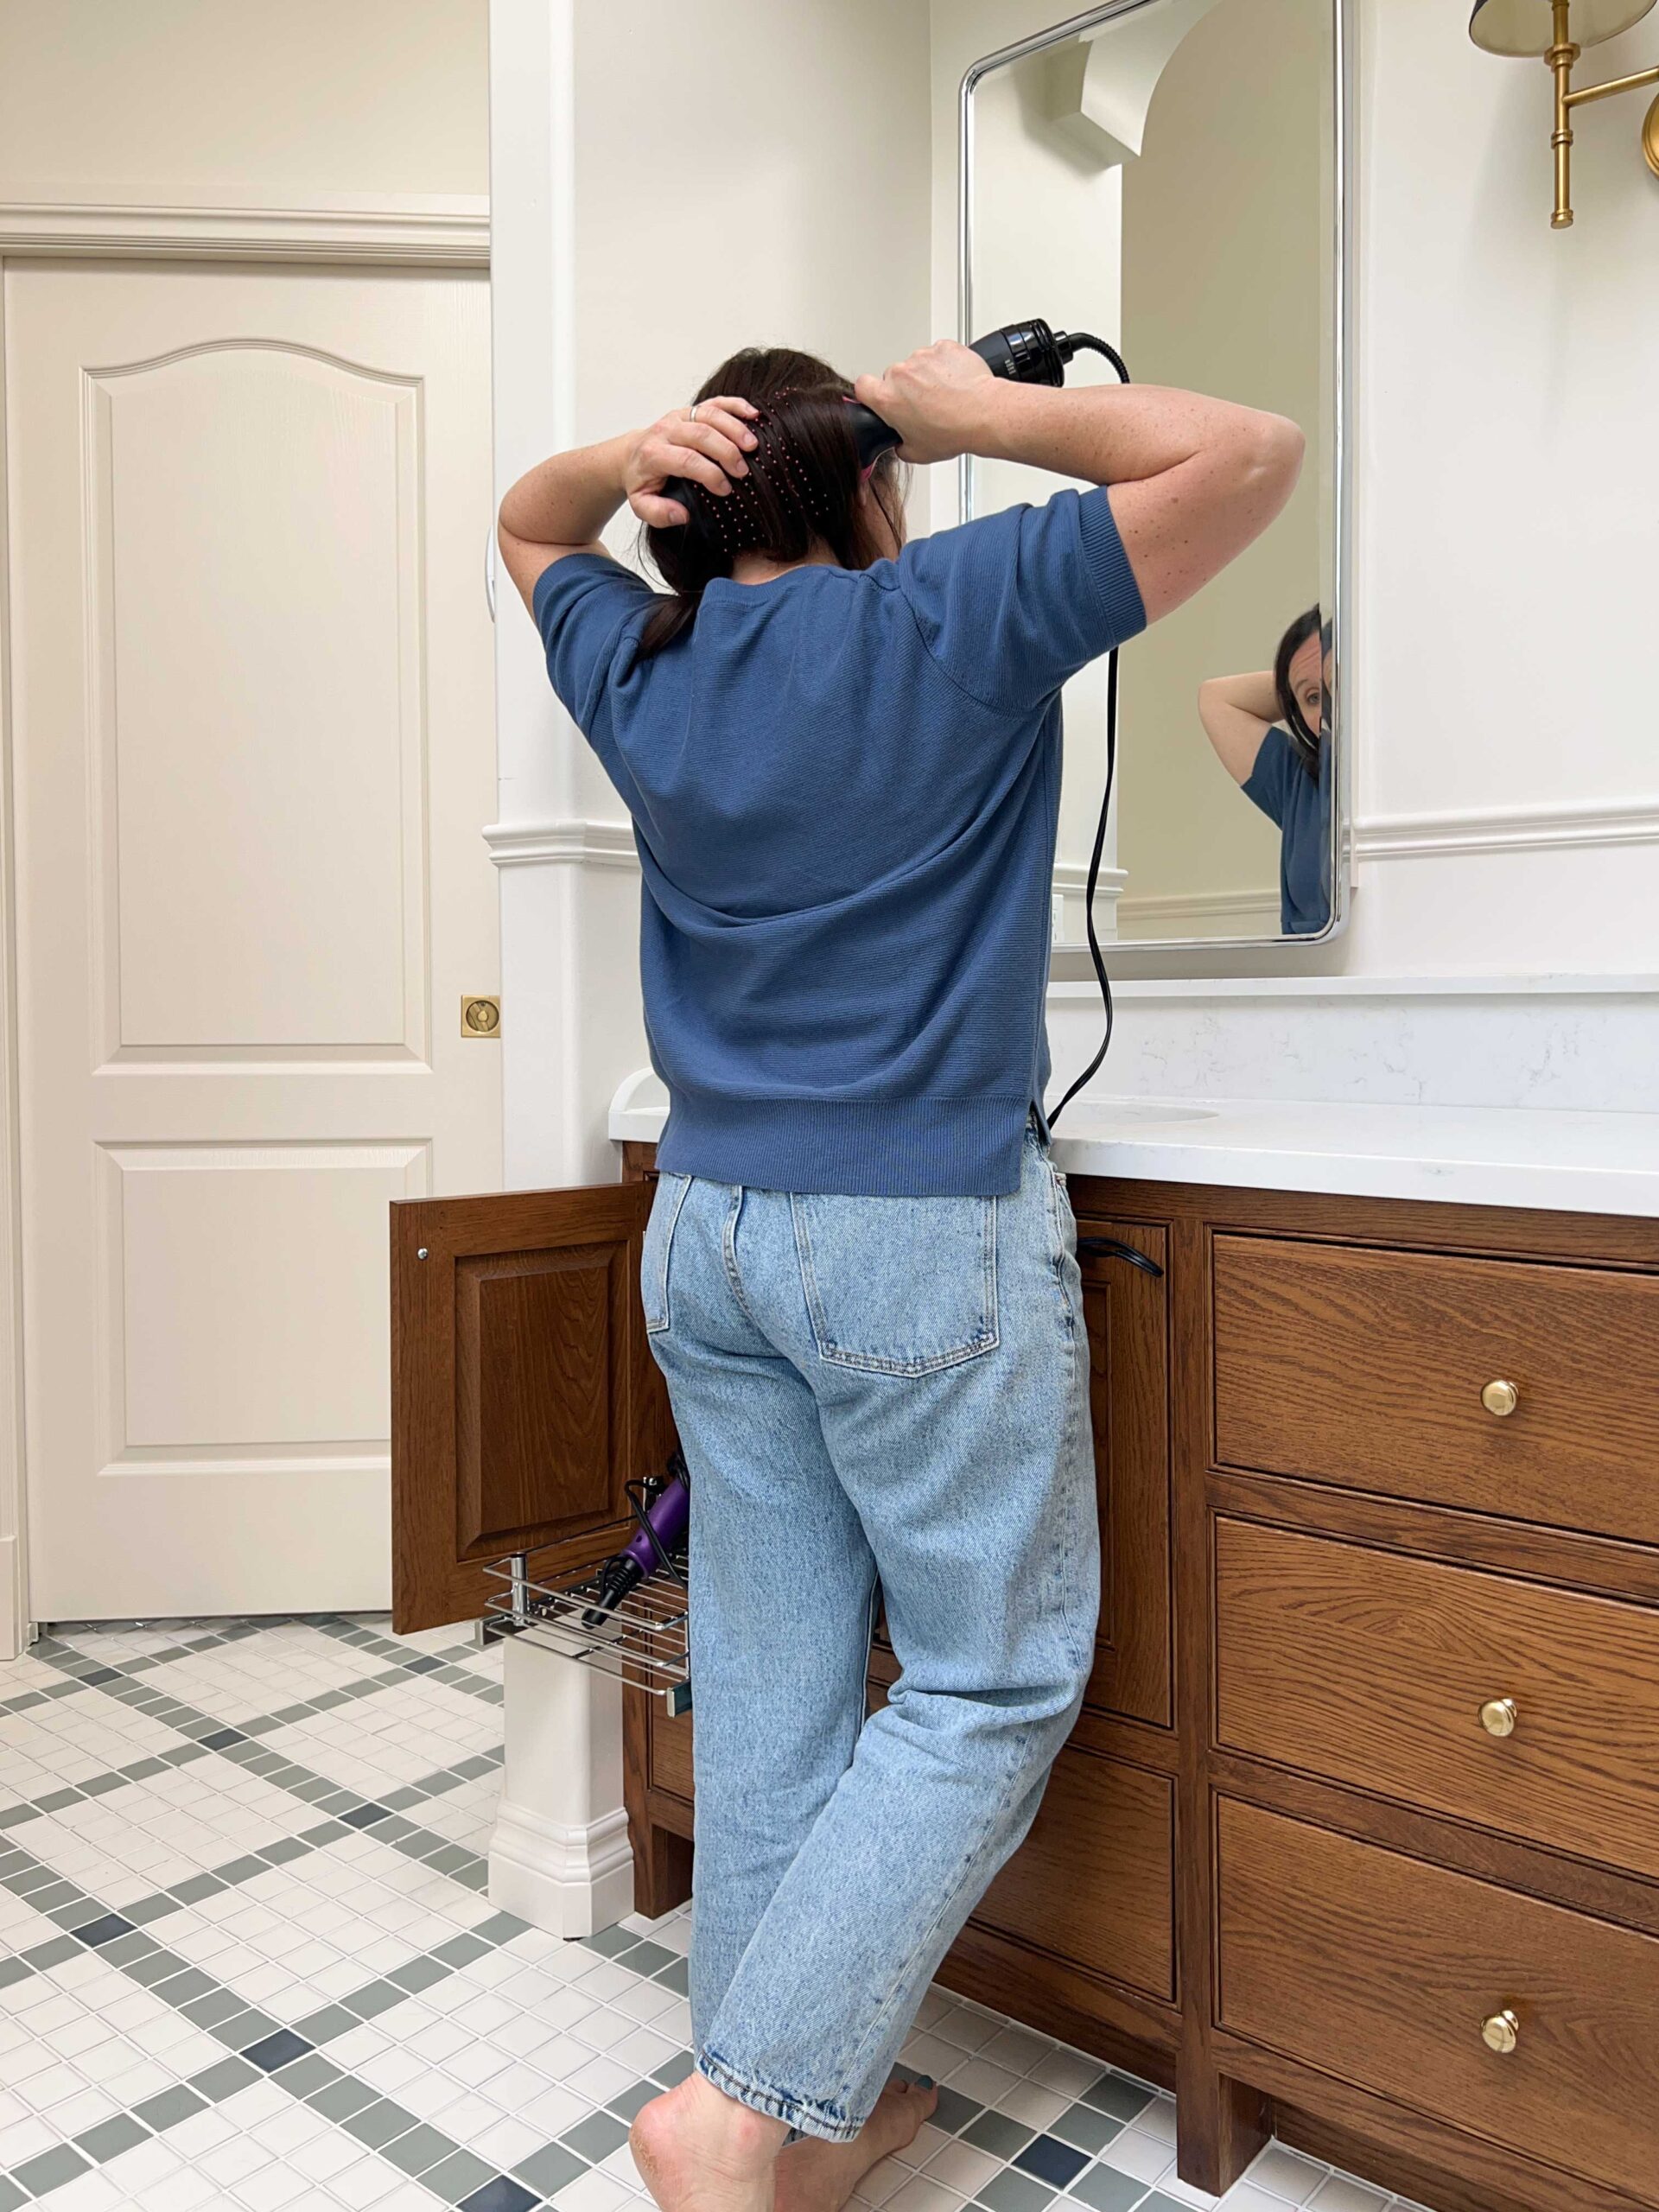
Table of Contents
- How to Get Power to the Cabinet Safely
- How to Store the Hair Tools in the Cabinet
- Installing the outlet
- Installing the pull-out
- Installing additional outlets
- What are some Other ways to add vanity organization for hair tools?
- The Results
- Shop the Post:
- You might also like:
How to Get Power to the Cabinet Safely
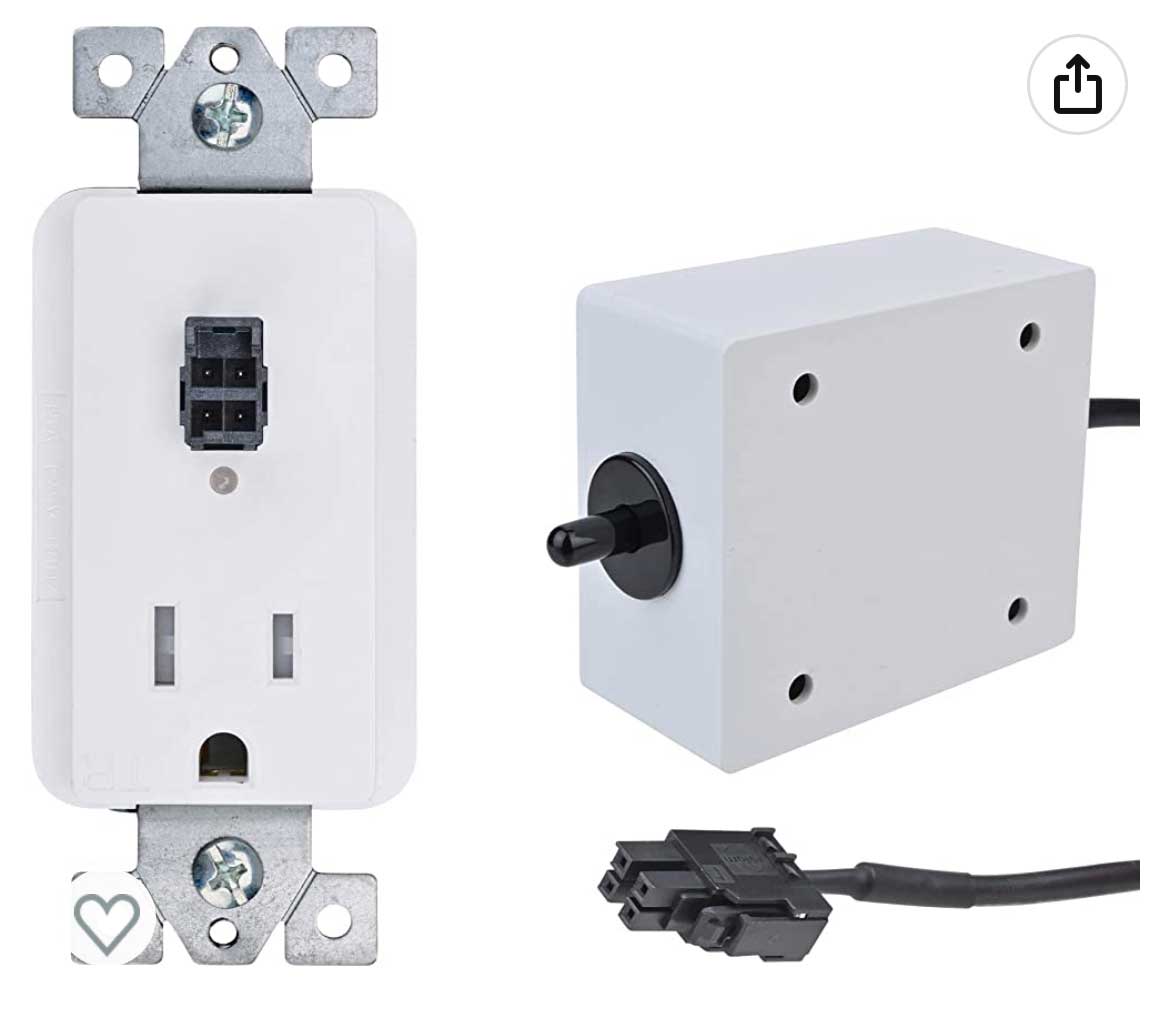
In Canada, you are not allowed to have an outlet inside a drawer or cupboard unless it is installed with a switch that will turn off the power when the door is closed. Regardless of where you live, I think this is an excellent safety feature, especially if you are talking about hot hair tools.
I found a great solution to this with a simple switch on Amazon. The outlet I bought is attached to a button that pushes in when the cupboard door is closed, which cuts the power to the outlet. Perfect!
How to Store the Hair Tools in the Cabinet
I looked at all the different ways to store hair tools. There are a lot of pre-built hair tool organizers that store your tools upright in little metal canisters. The problem with those is that they take up a whole lot of room. Most of them require a very deep drawer or a lot of room in your base cabinets. I didn’t have the room to spare so I looked at some other ideas.

I considered just adding the outlet and then just shoving all the hair tools into the cabinet in a bin, but I thought having some sort of slide-out shelf or pull-out drawers might be slightly easier to use and to keep organized on the day-to-day. Personally, I’m the type of cleaner that is happy as long as I can’t see the mess so I knew that most of the time I would just be shoving everything into the cabinet and being on my merry way. I’m not the type that will meticulously wrap cords every day.
In my temporary space where I do my hair now, I have a plastic bin I have been keeping my hair tools in and I’ve already melted the plastic on that once when I set the hot curling iron down on it. I knew that whatever I used for my DIY pull-out shelves, they would have to be heat-resistant.
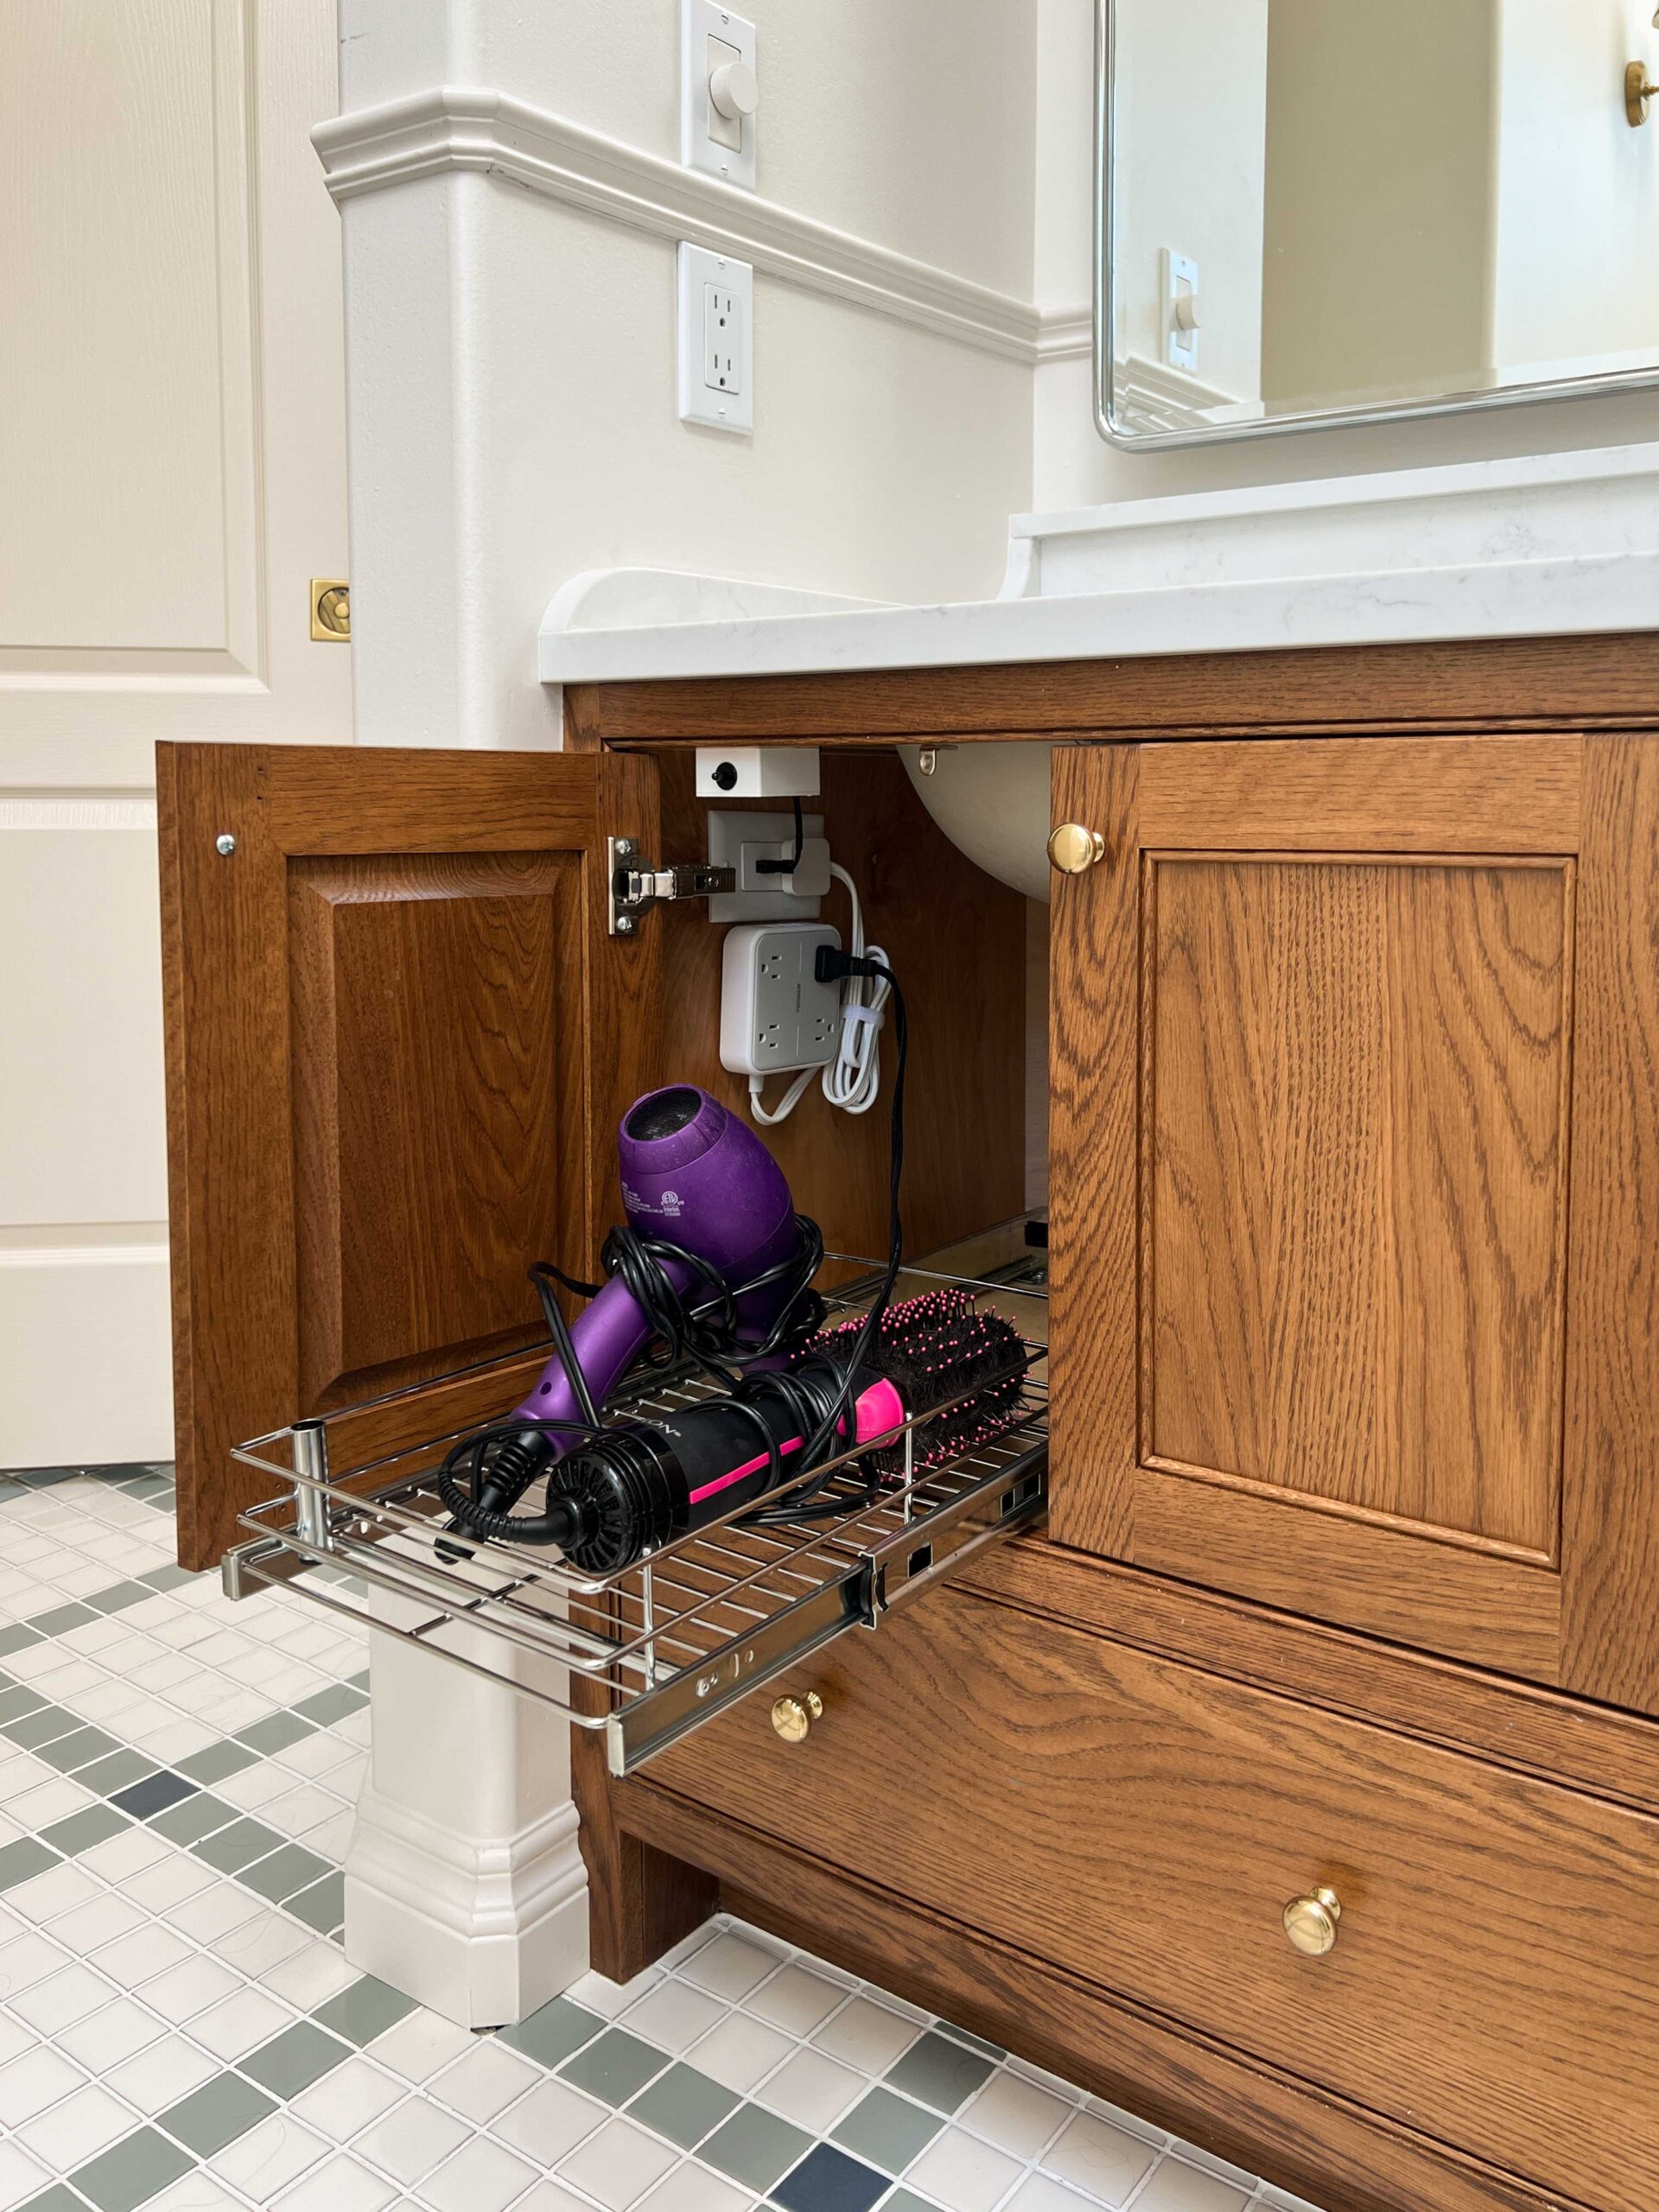
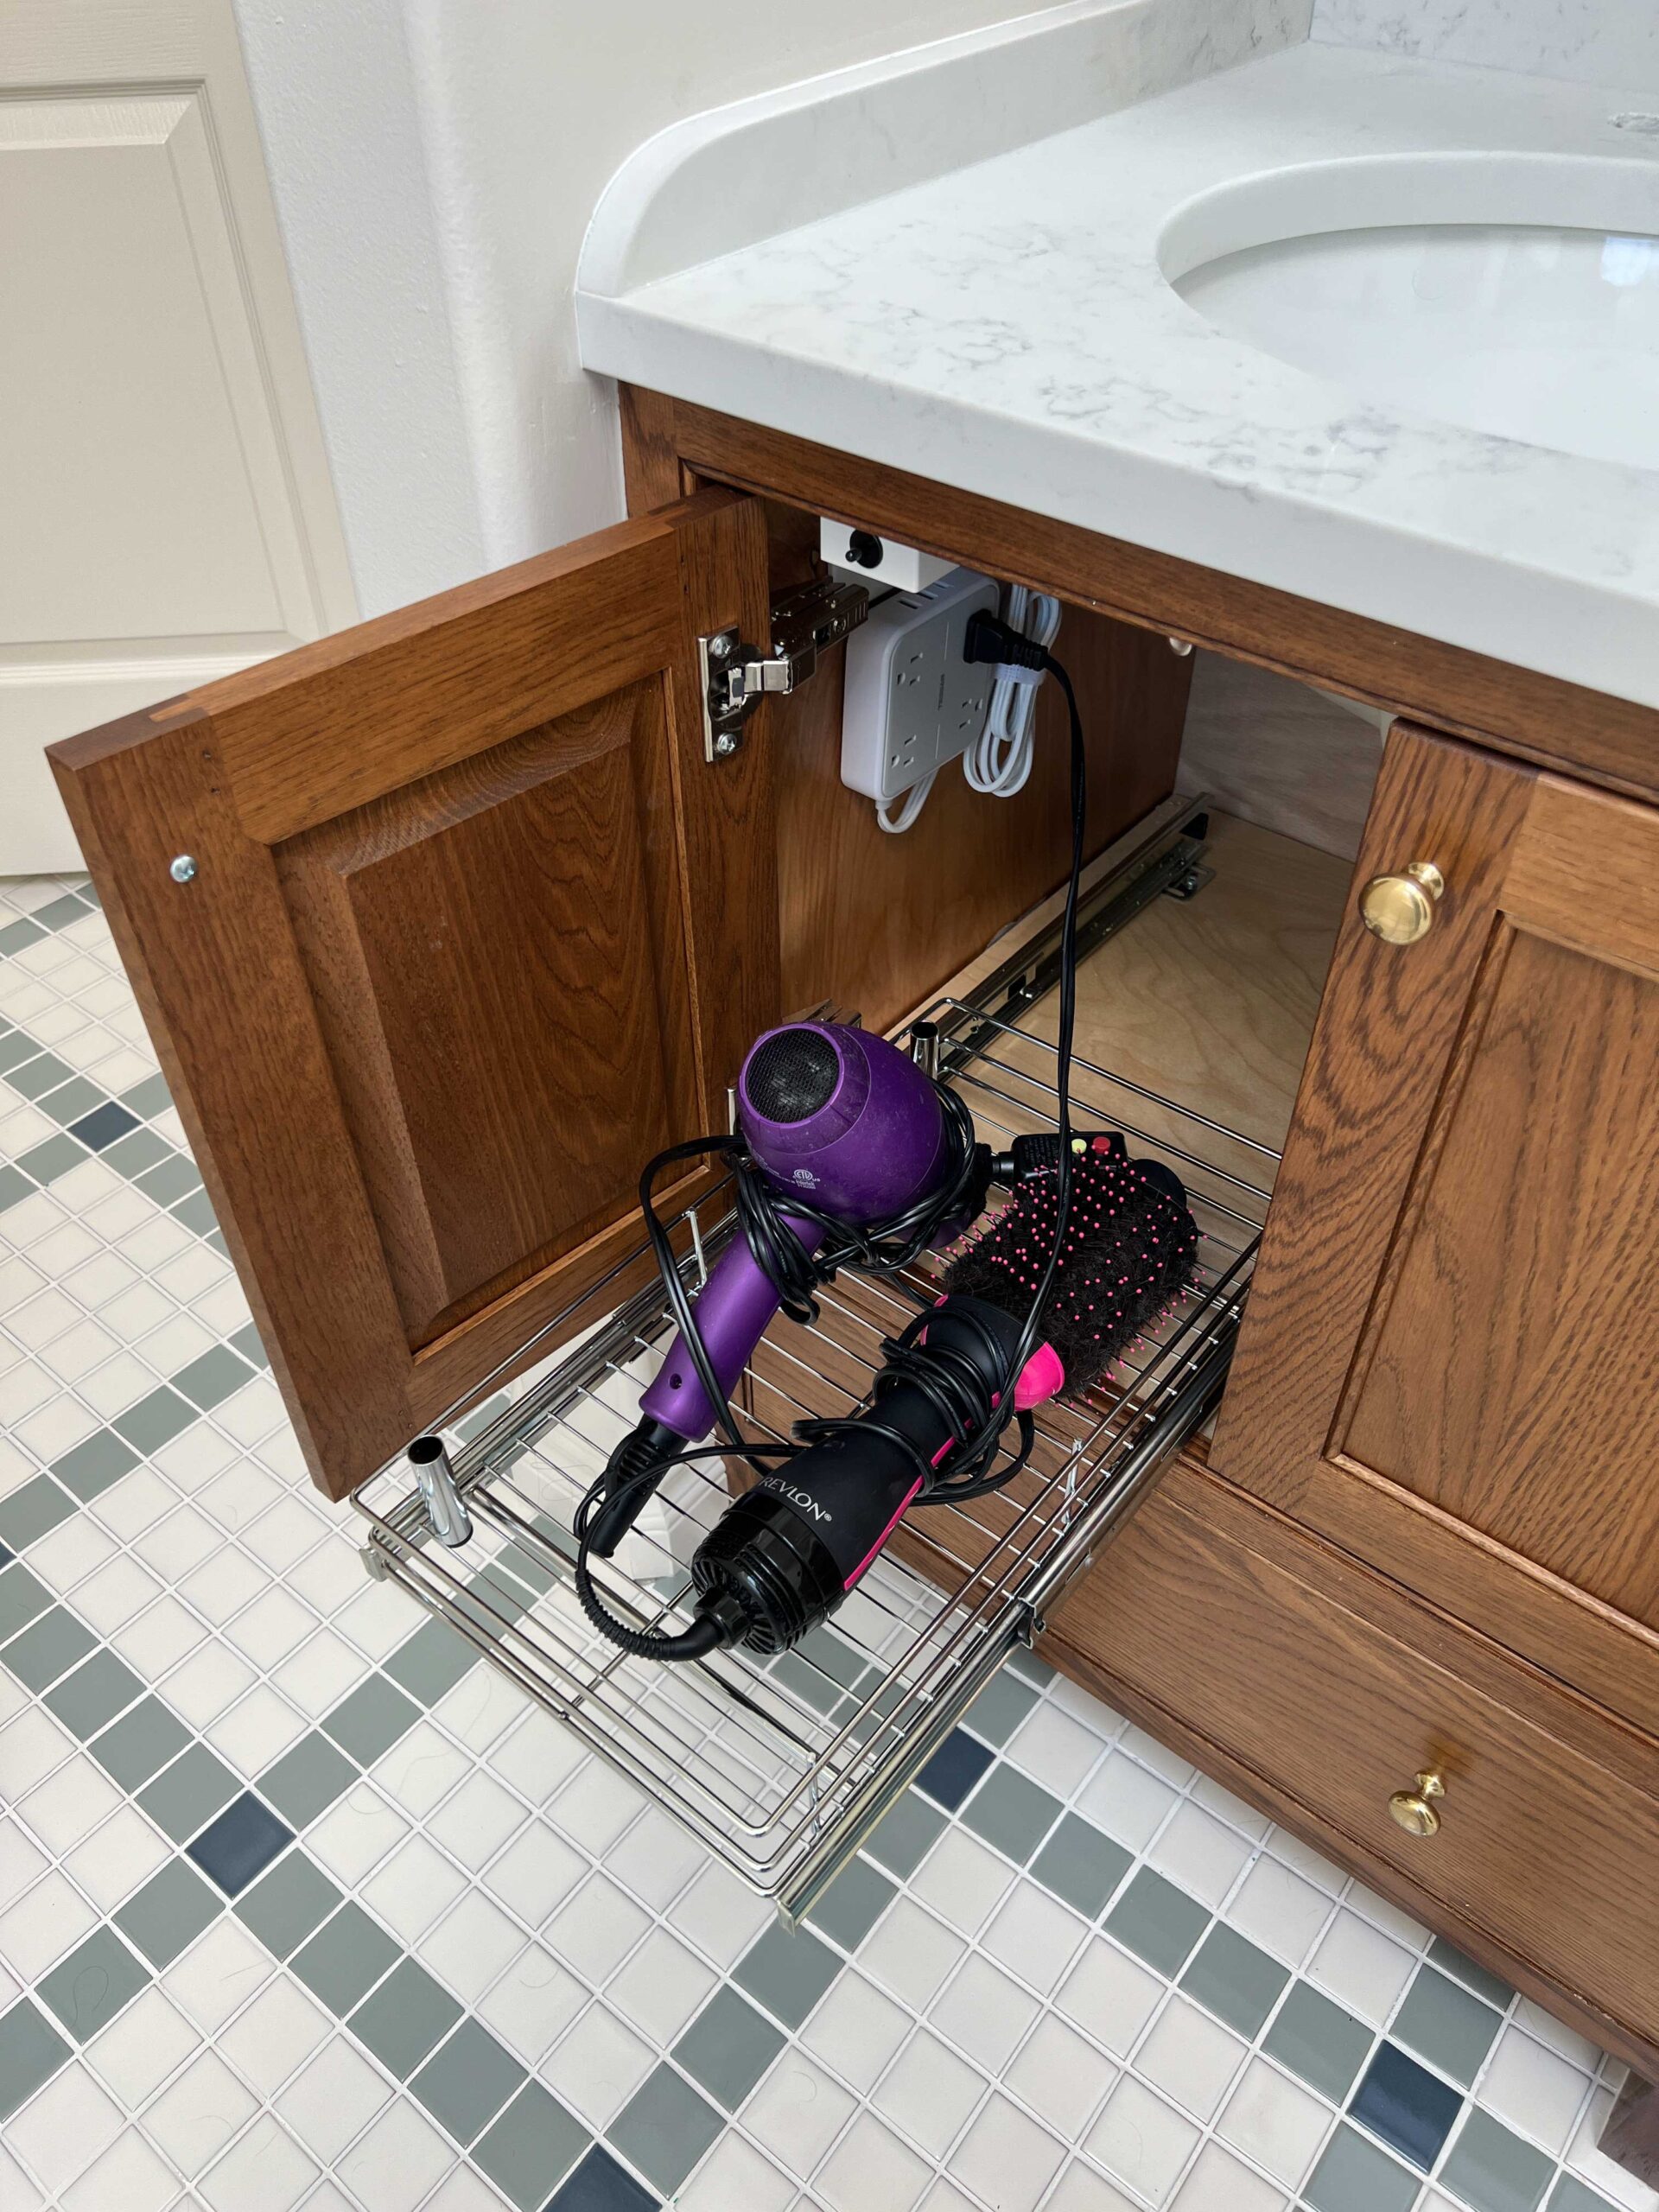
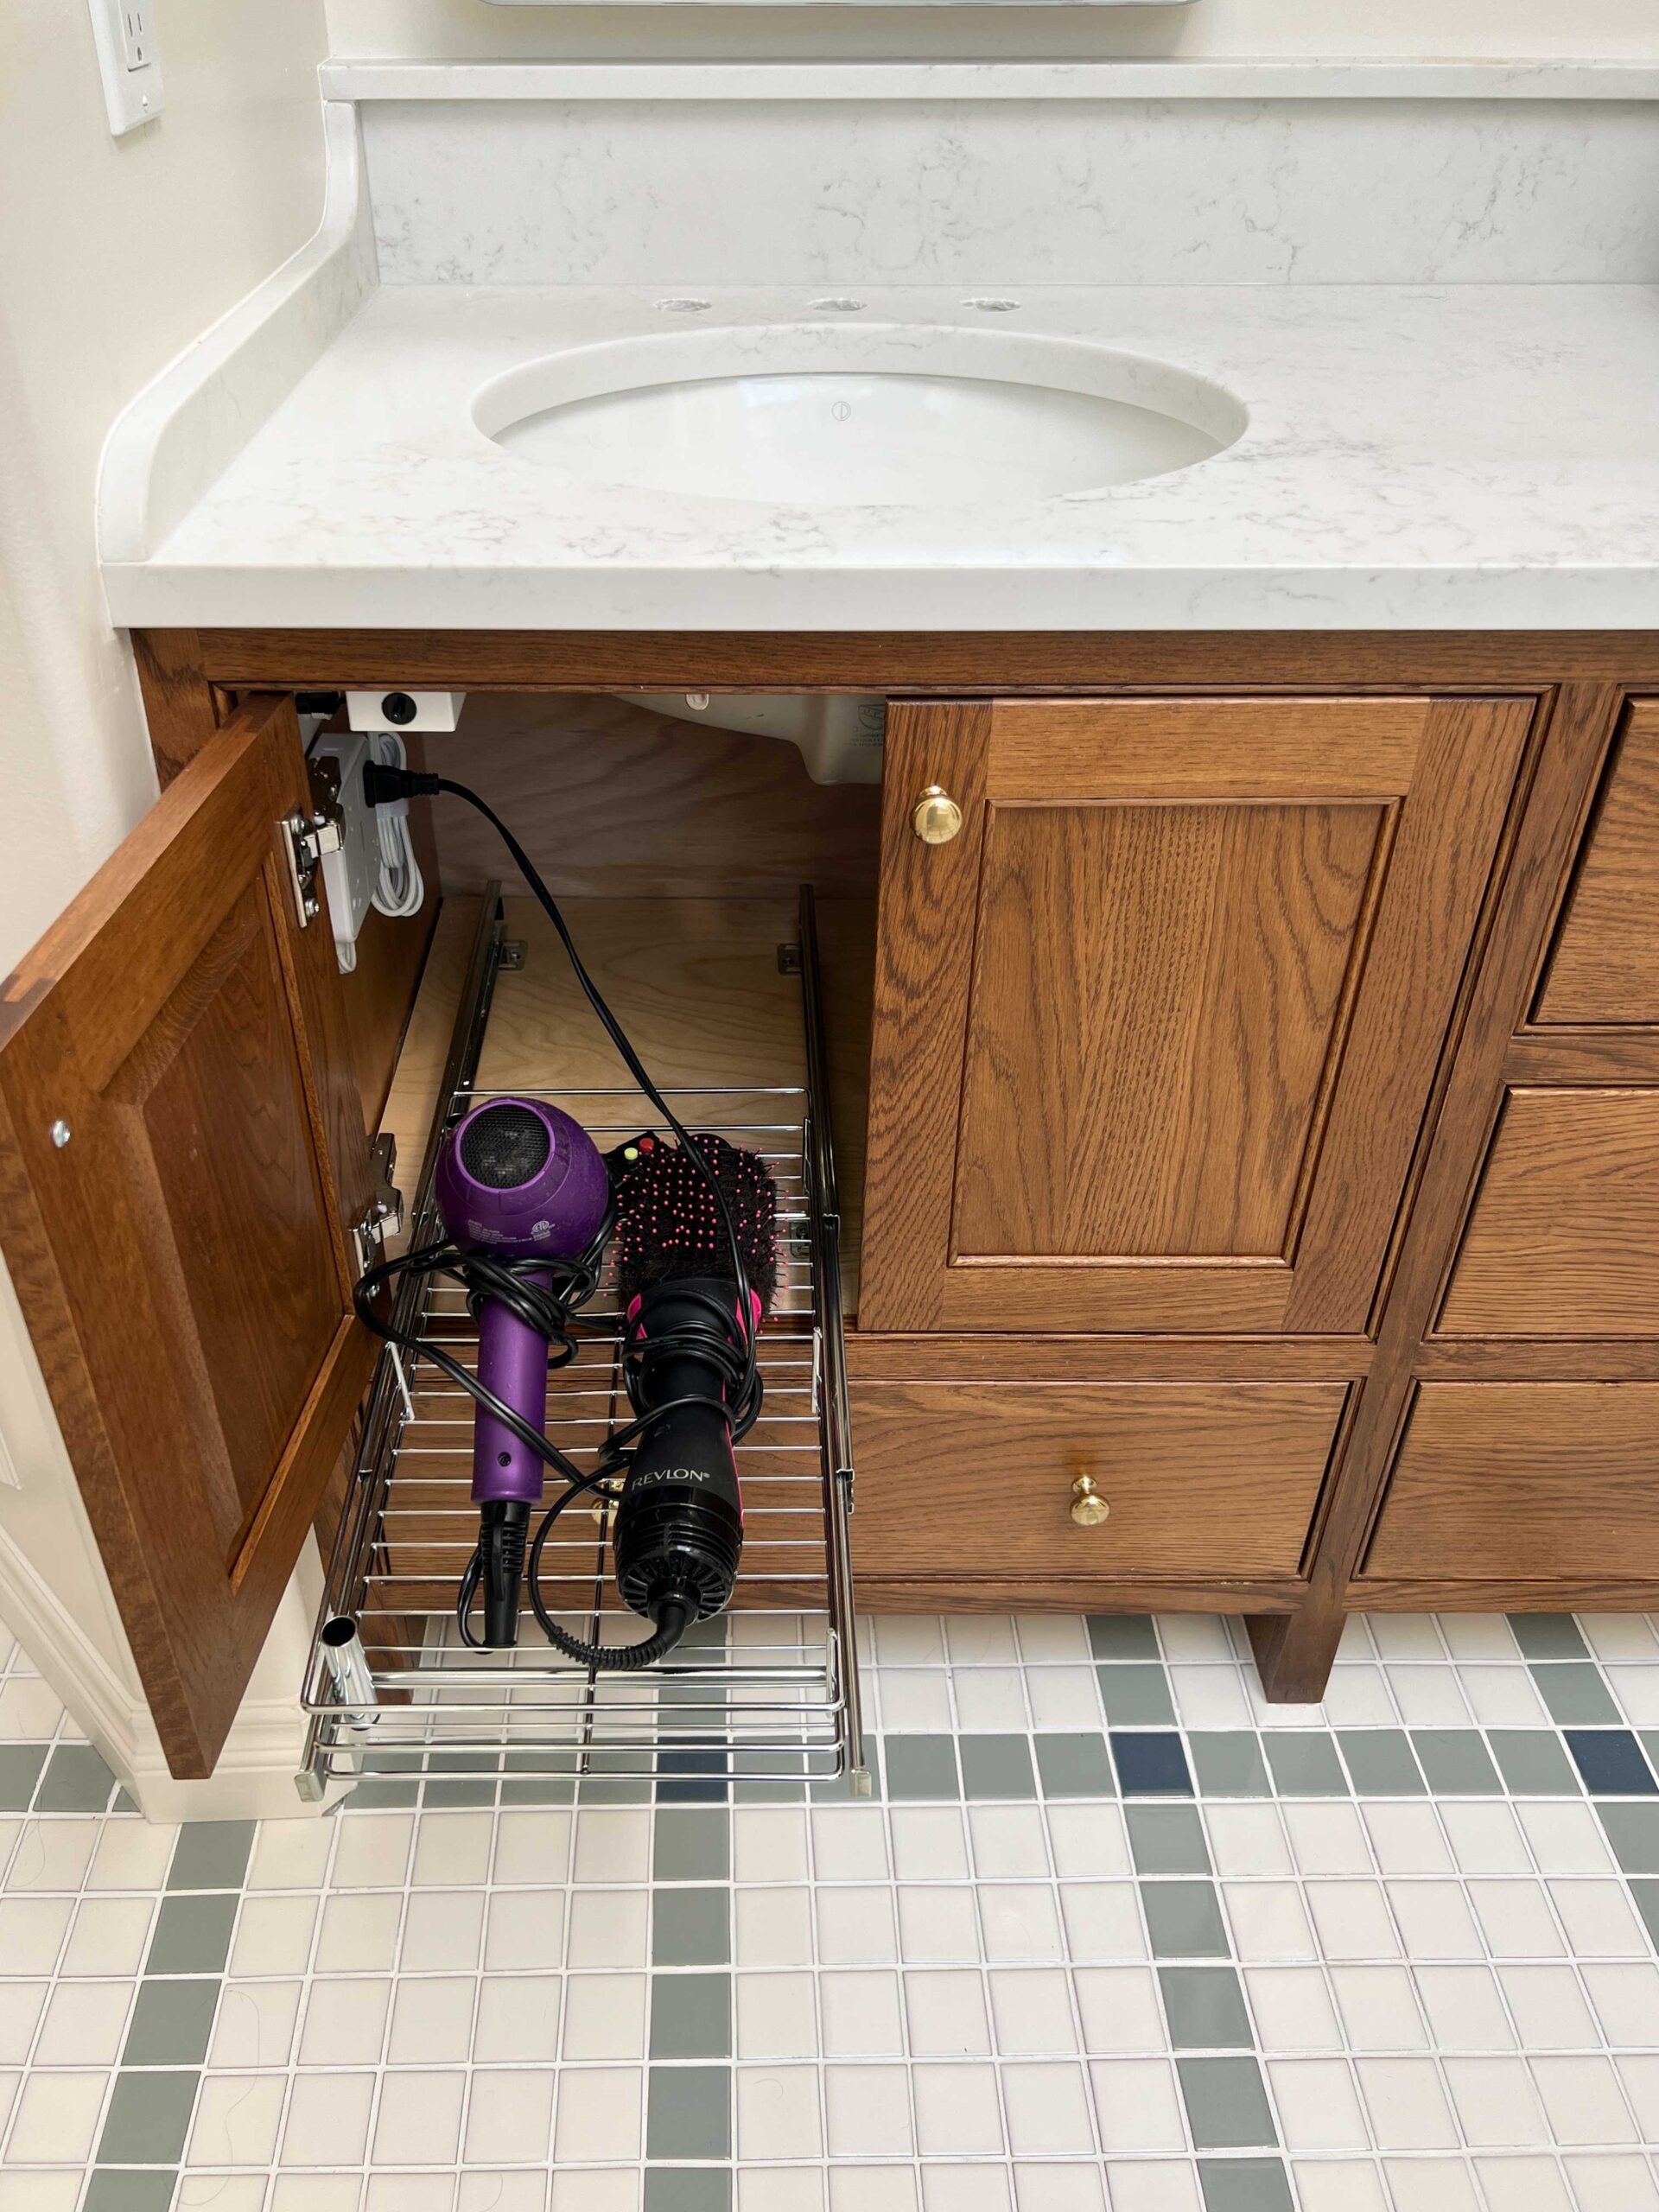
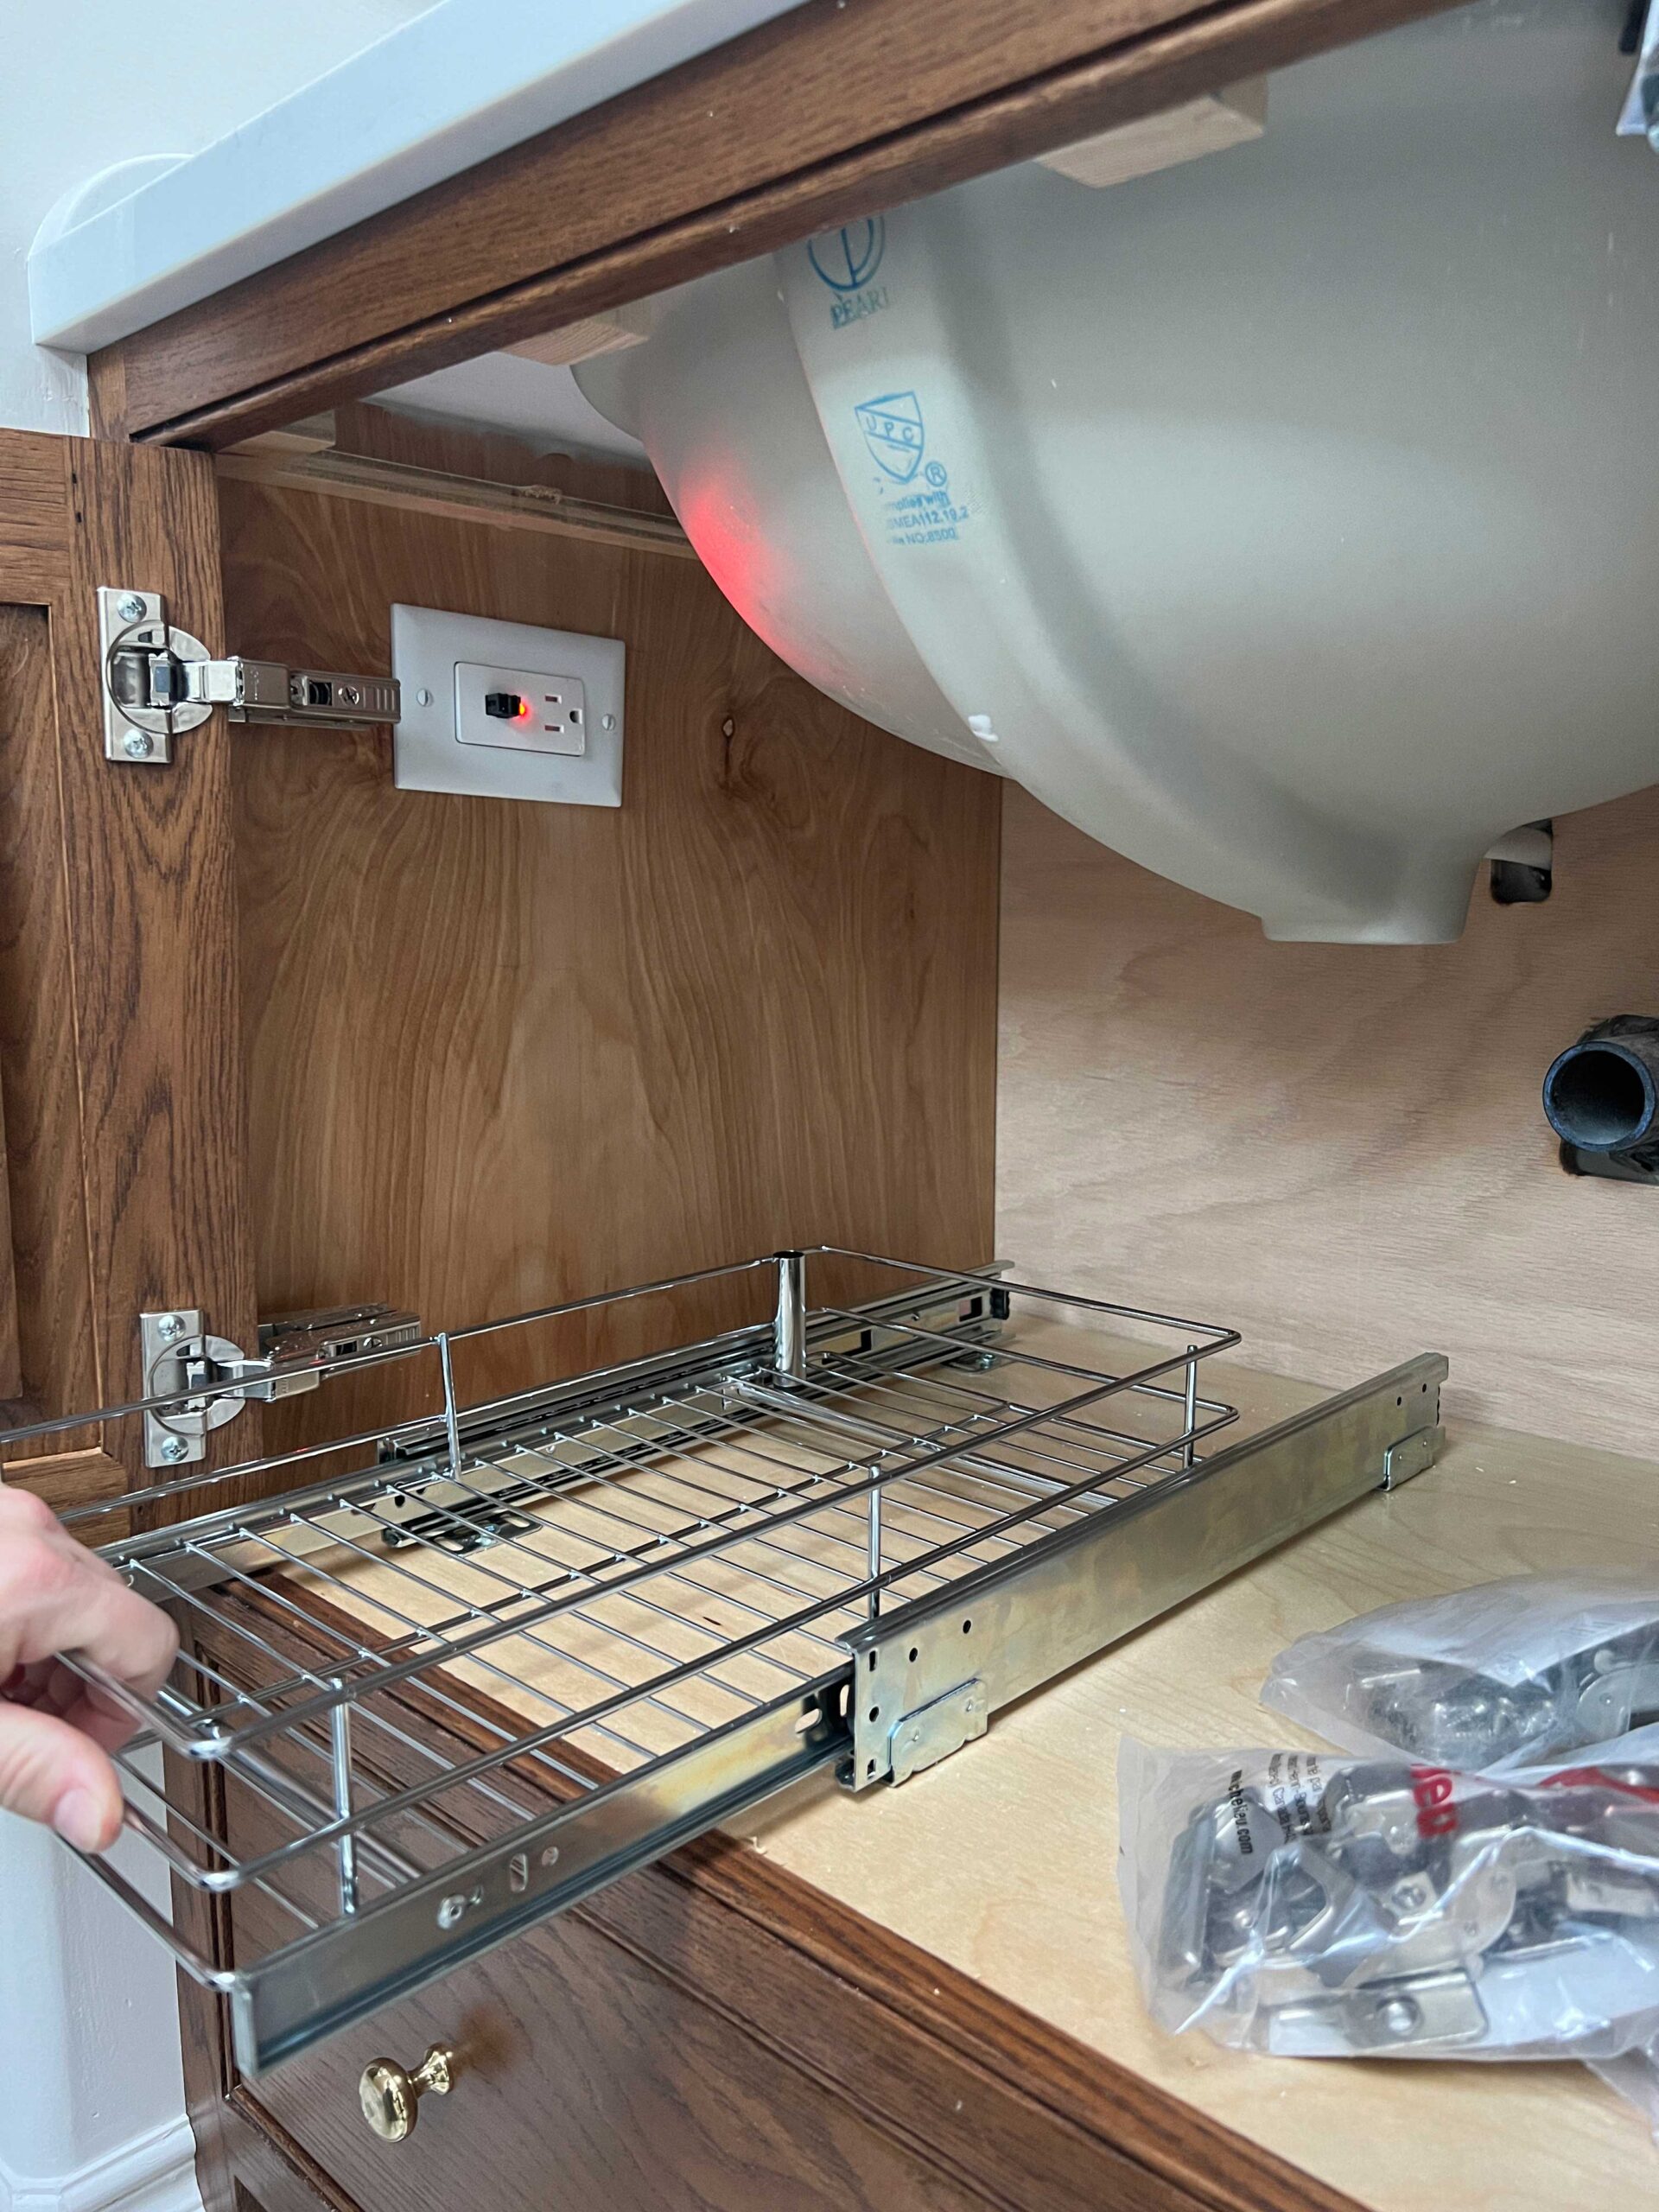
That is when I came across this pull-out made from a wire basket for the kitchen. It was made of metal, so I wouldn’t have to worry about my hair tools melting it or causing a fire. It was also a simple solution for the storage space I was looking for, the right size to keep my hair tools and easy access for everything right under my sink.
Wire Pull Out – Saftey Outlet –Power Bar – Hair Dryer – Blow Dryer Brush
When looking for a pull-out for your own cabinet, make sure you measure your cabinet’s clear opening width dimension and get a pull-out that will clear the inside of the door opening. Also, be sure to check the cabinet depth and anything that interfere with opening and closing, like plumbing pipes. Finally, consider what you are going to store in the DIY pull-out cabinet and decide if the size is right for you. Do you need a deep basket? A simple shelf with no sides that slides out? There are so many shapes and sizes of pull-out shelves on the market there really is something for every cabinet without reinventing the wheel!
I also chose this particular drawer because it was a bottom mount. That means that the bottom of the drawer is mounted to the bottom of the shelf inside my vanity instead of the sides of the cabinet. Because my cabinets are inset, I don’t have frameless cabinets so installing side mount slides would require me to install a spacer block, and I really just wanted to keep it as simple as possible!
Installing the outlet
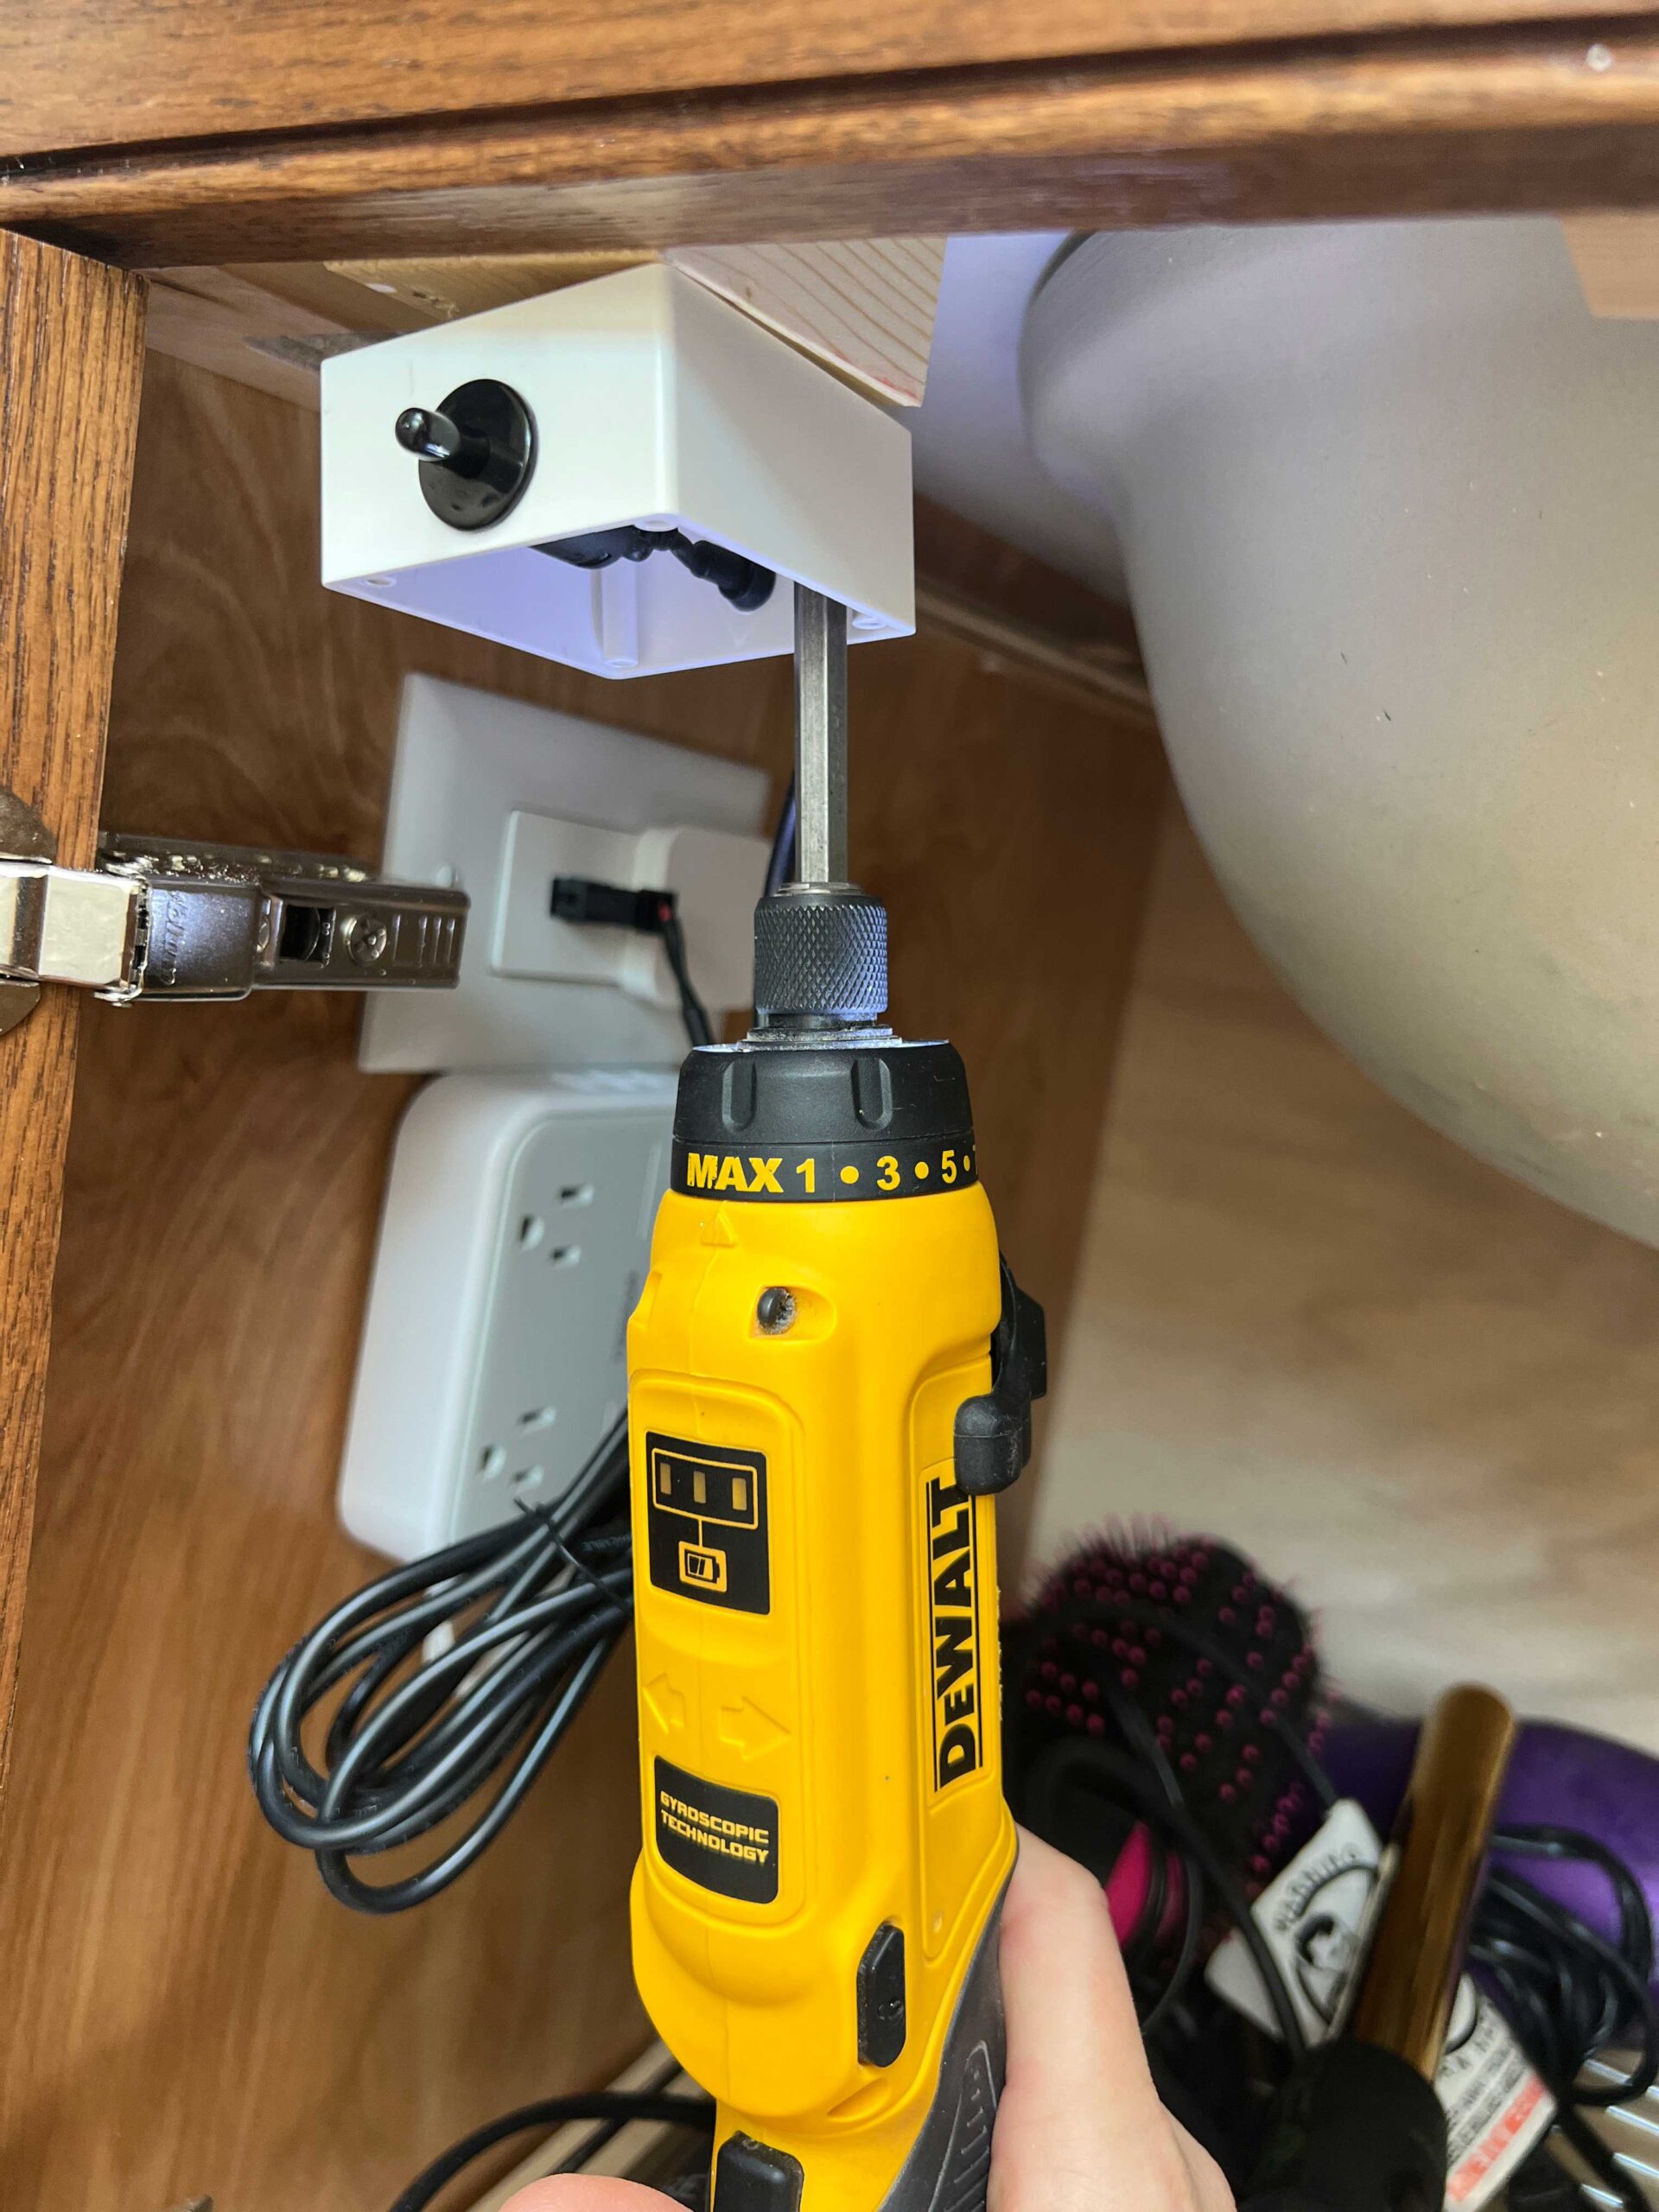
We had our electrician install the outlet when he made all the changes in our bathroom, but it was quite a simple process for him. He fished a wire from the existing outlet that was already on that same wall above the vanity down to the location inside the vanity and installed this special outlet inside of the cabinet in the cabinet wall.
Then, once my doors were in I attached the switch to the inside of the cabinet so that the cabinet door would press the button when closed. Because my cabinet has inset doors, I had to install a wood block to the inside face of the vanity to give something to mount the switch on. (Note, if you have overlay cabinet or no face frame, you can likely just mount this switch directly to the cabinet ceiling.)
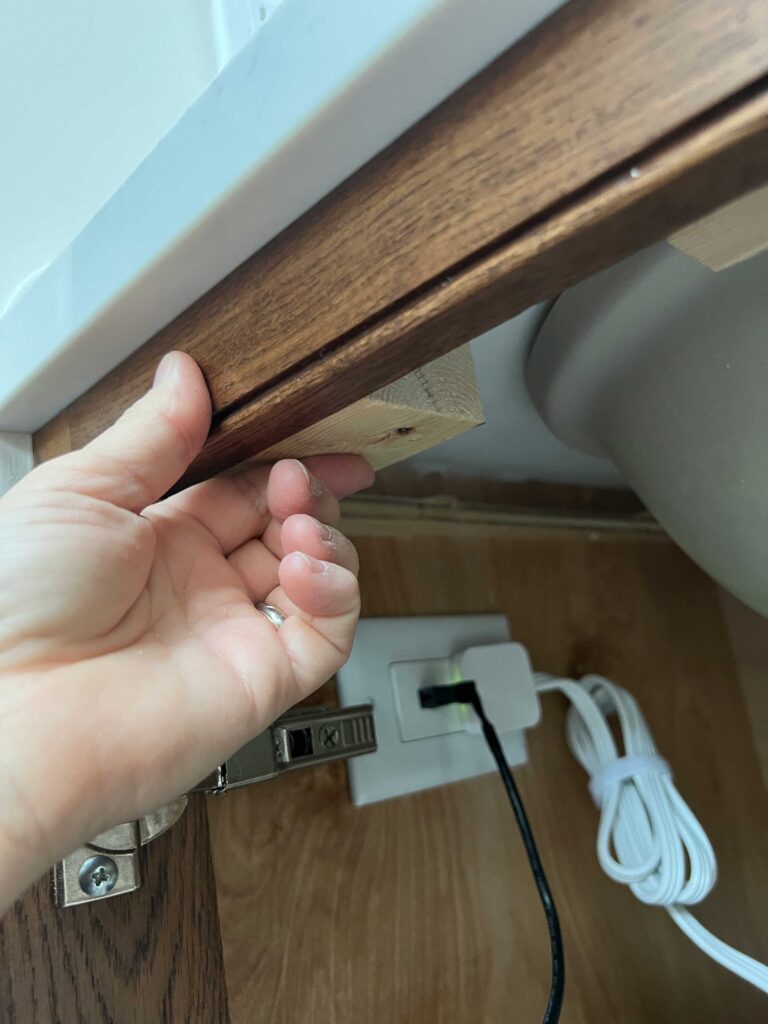
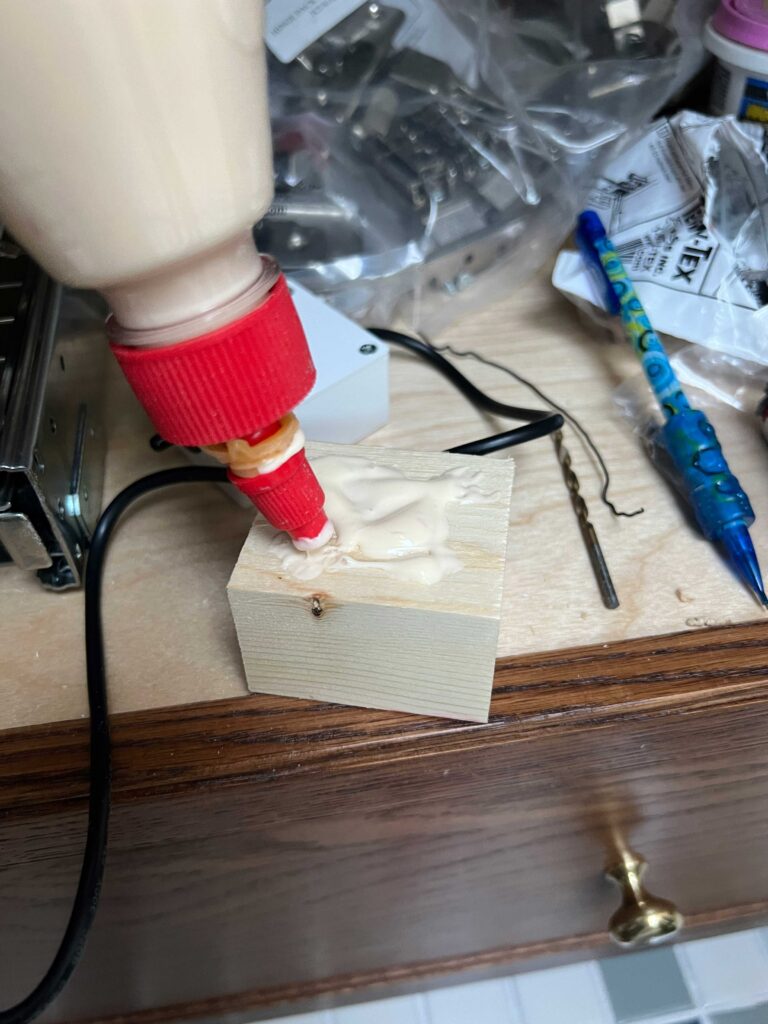
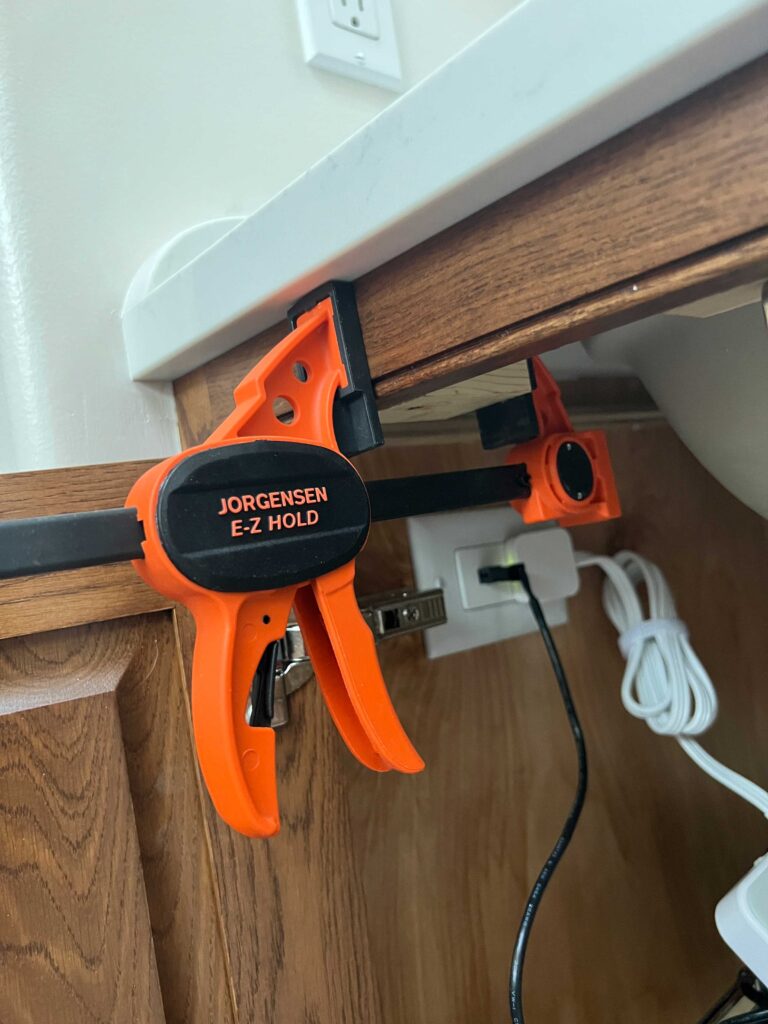
Because my cabinet has a face frame I had to add a block onto the inside of the frame to mount the switch
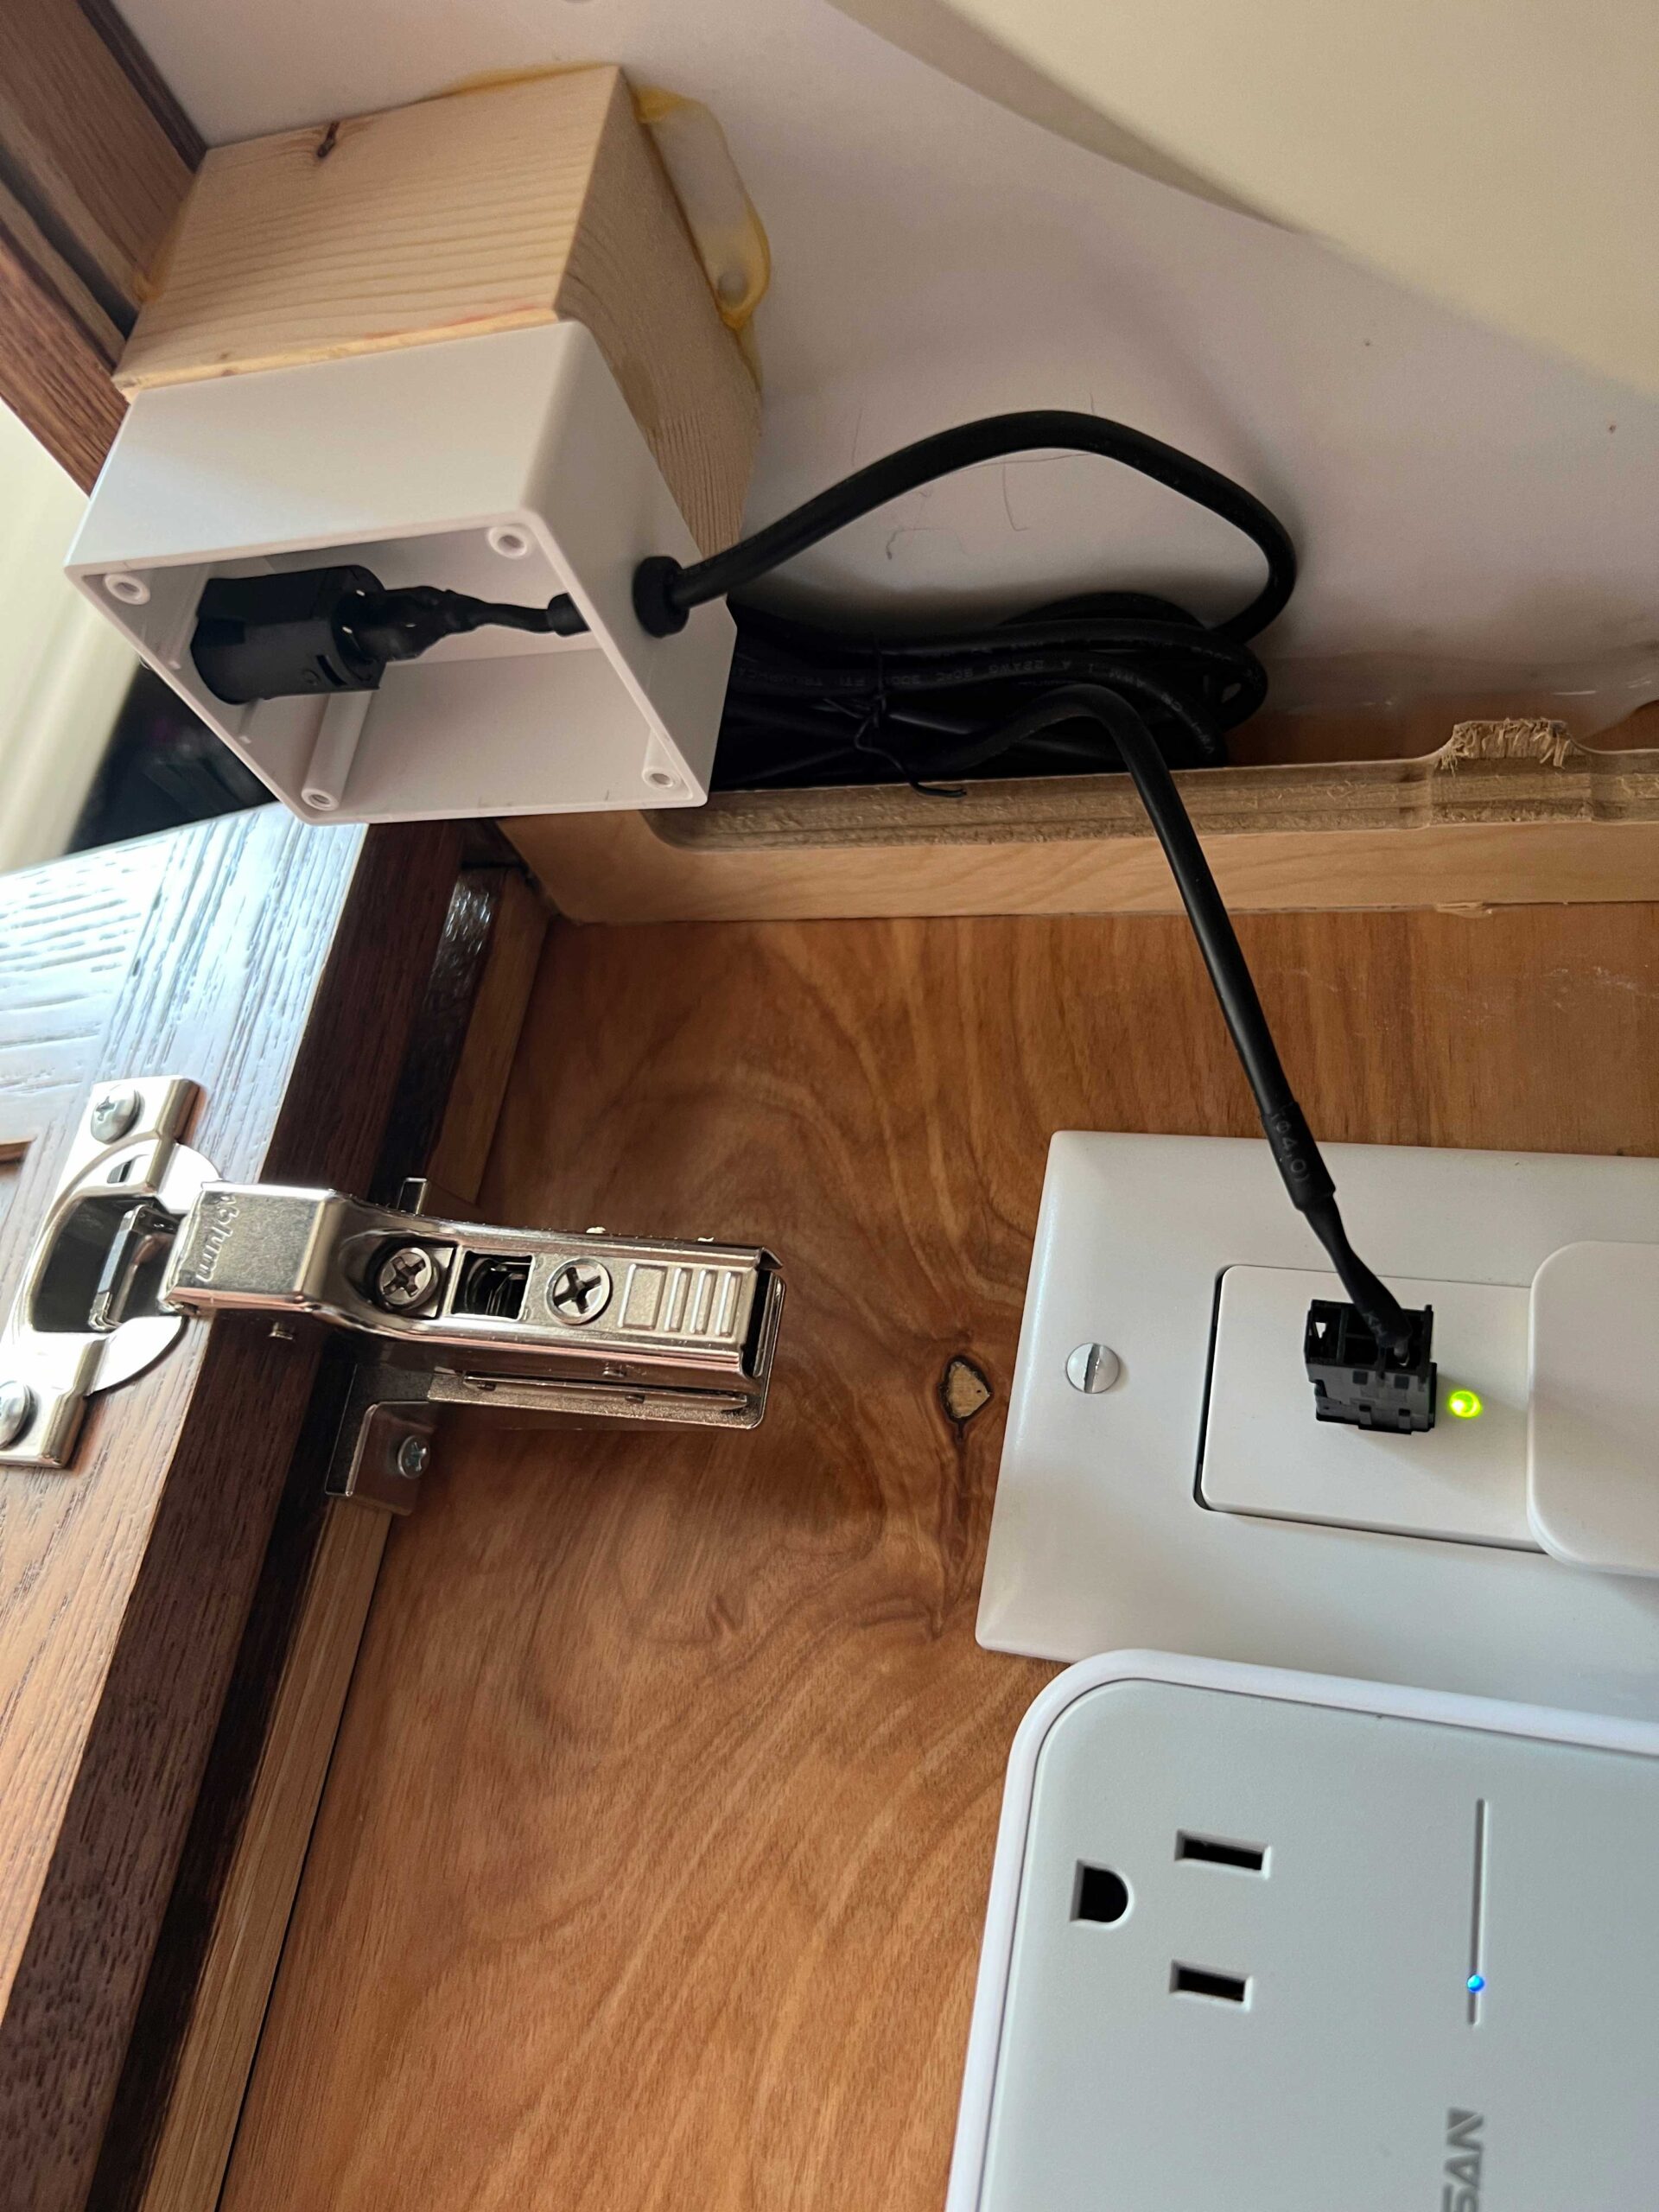
I ran the switch’s cords along the top of the vanity to conceal them.
Installing the pull-out
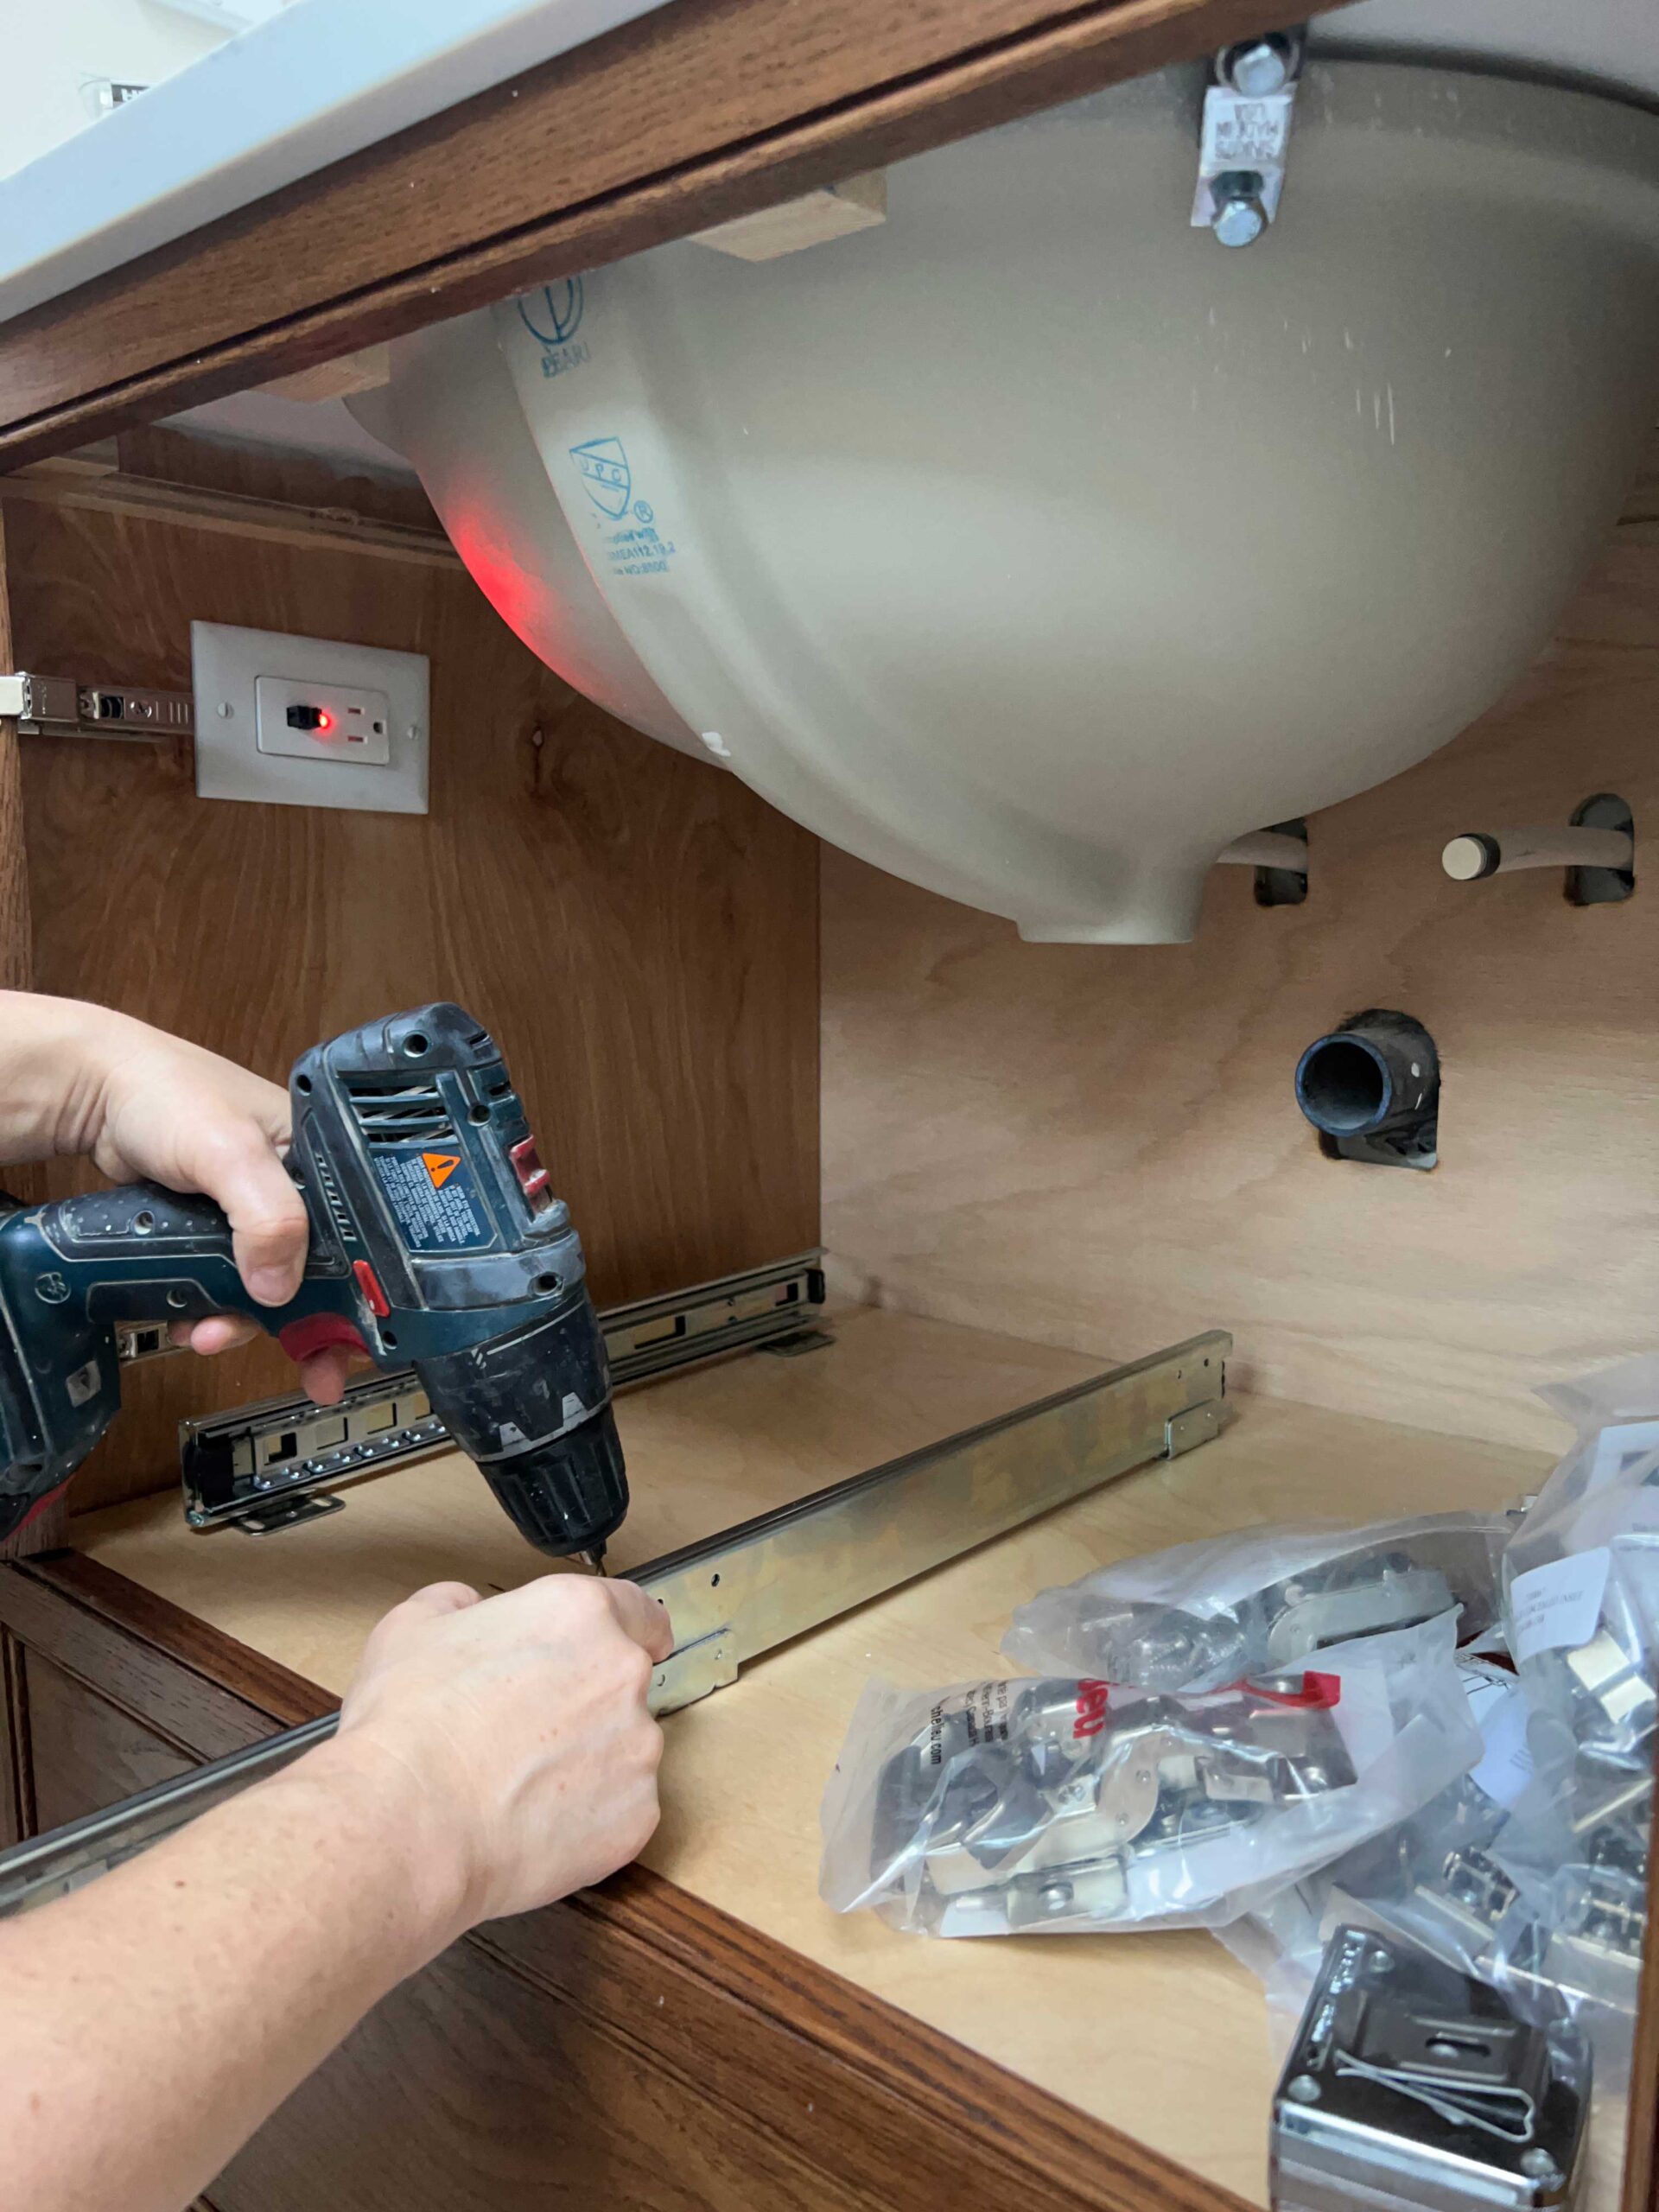
I followed the assembly instruction for the pull-out. I recommend making sure your door is installed before installing the pull-out so you can make sure that when it’s pulled out of the cabinet it clears the door. the last thing you need is for the pull-out to be all installed and then hit something when it slides out! I also think it is a good idea to make sure the basket you buy is small enough that it can be pulled out when you only have one door open for ease of use.
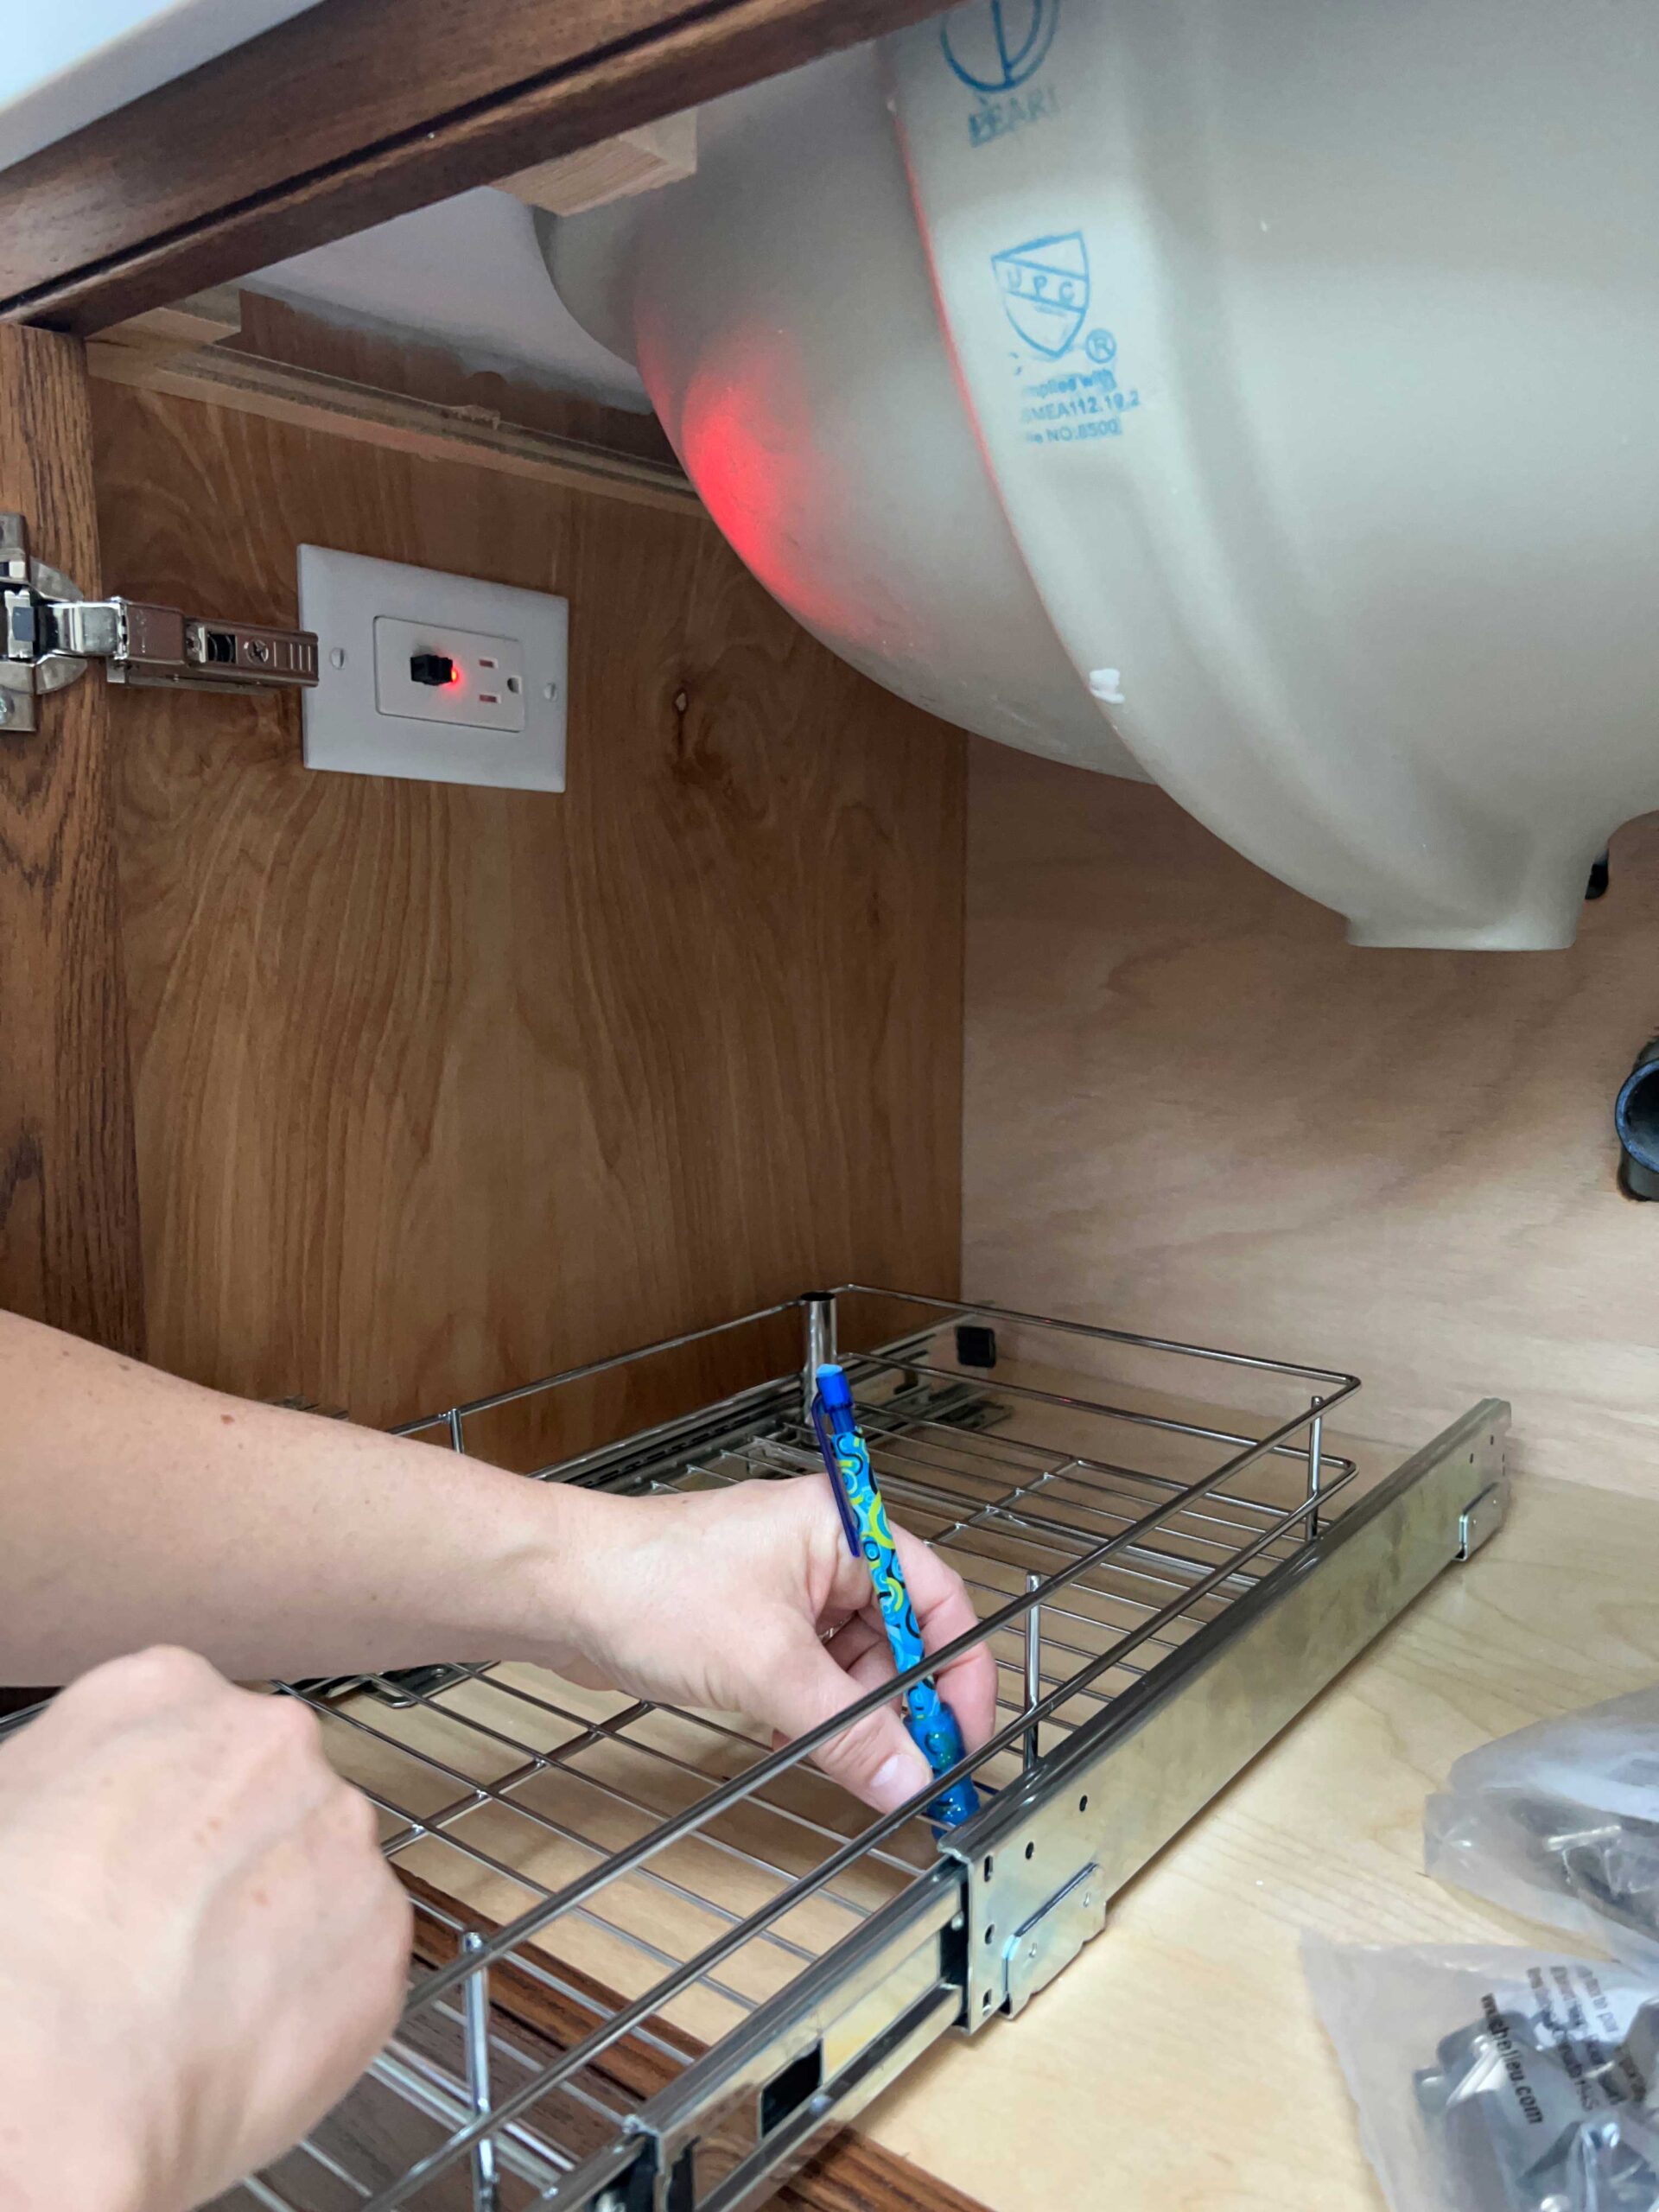
I dry-fit the whole thing inside my cabinet to make sure I liked the placement, to make sure it didn’t hit the cabinet door and was far enough back inside my cabinet that the door could close properly. I installed the pull-out drawer slides using screws to the bottom shelf of my cabinet, after first drilling a few pilot holes to make sure the bottom panel of my vanity shelf didn’t split. Once that was in place, it was a simple matter of sliding the shallow drawer onto the slides.
Installing additional outlets
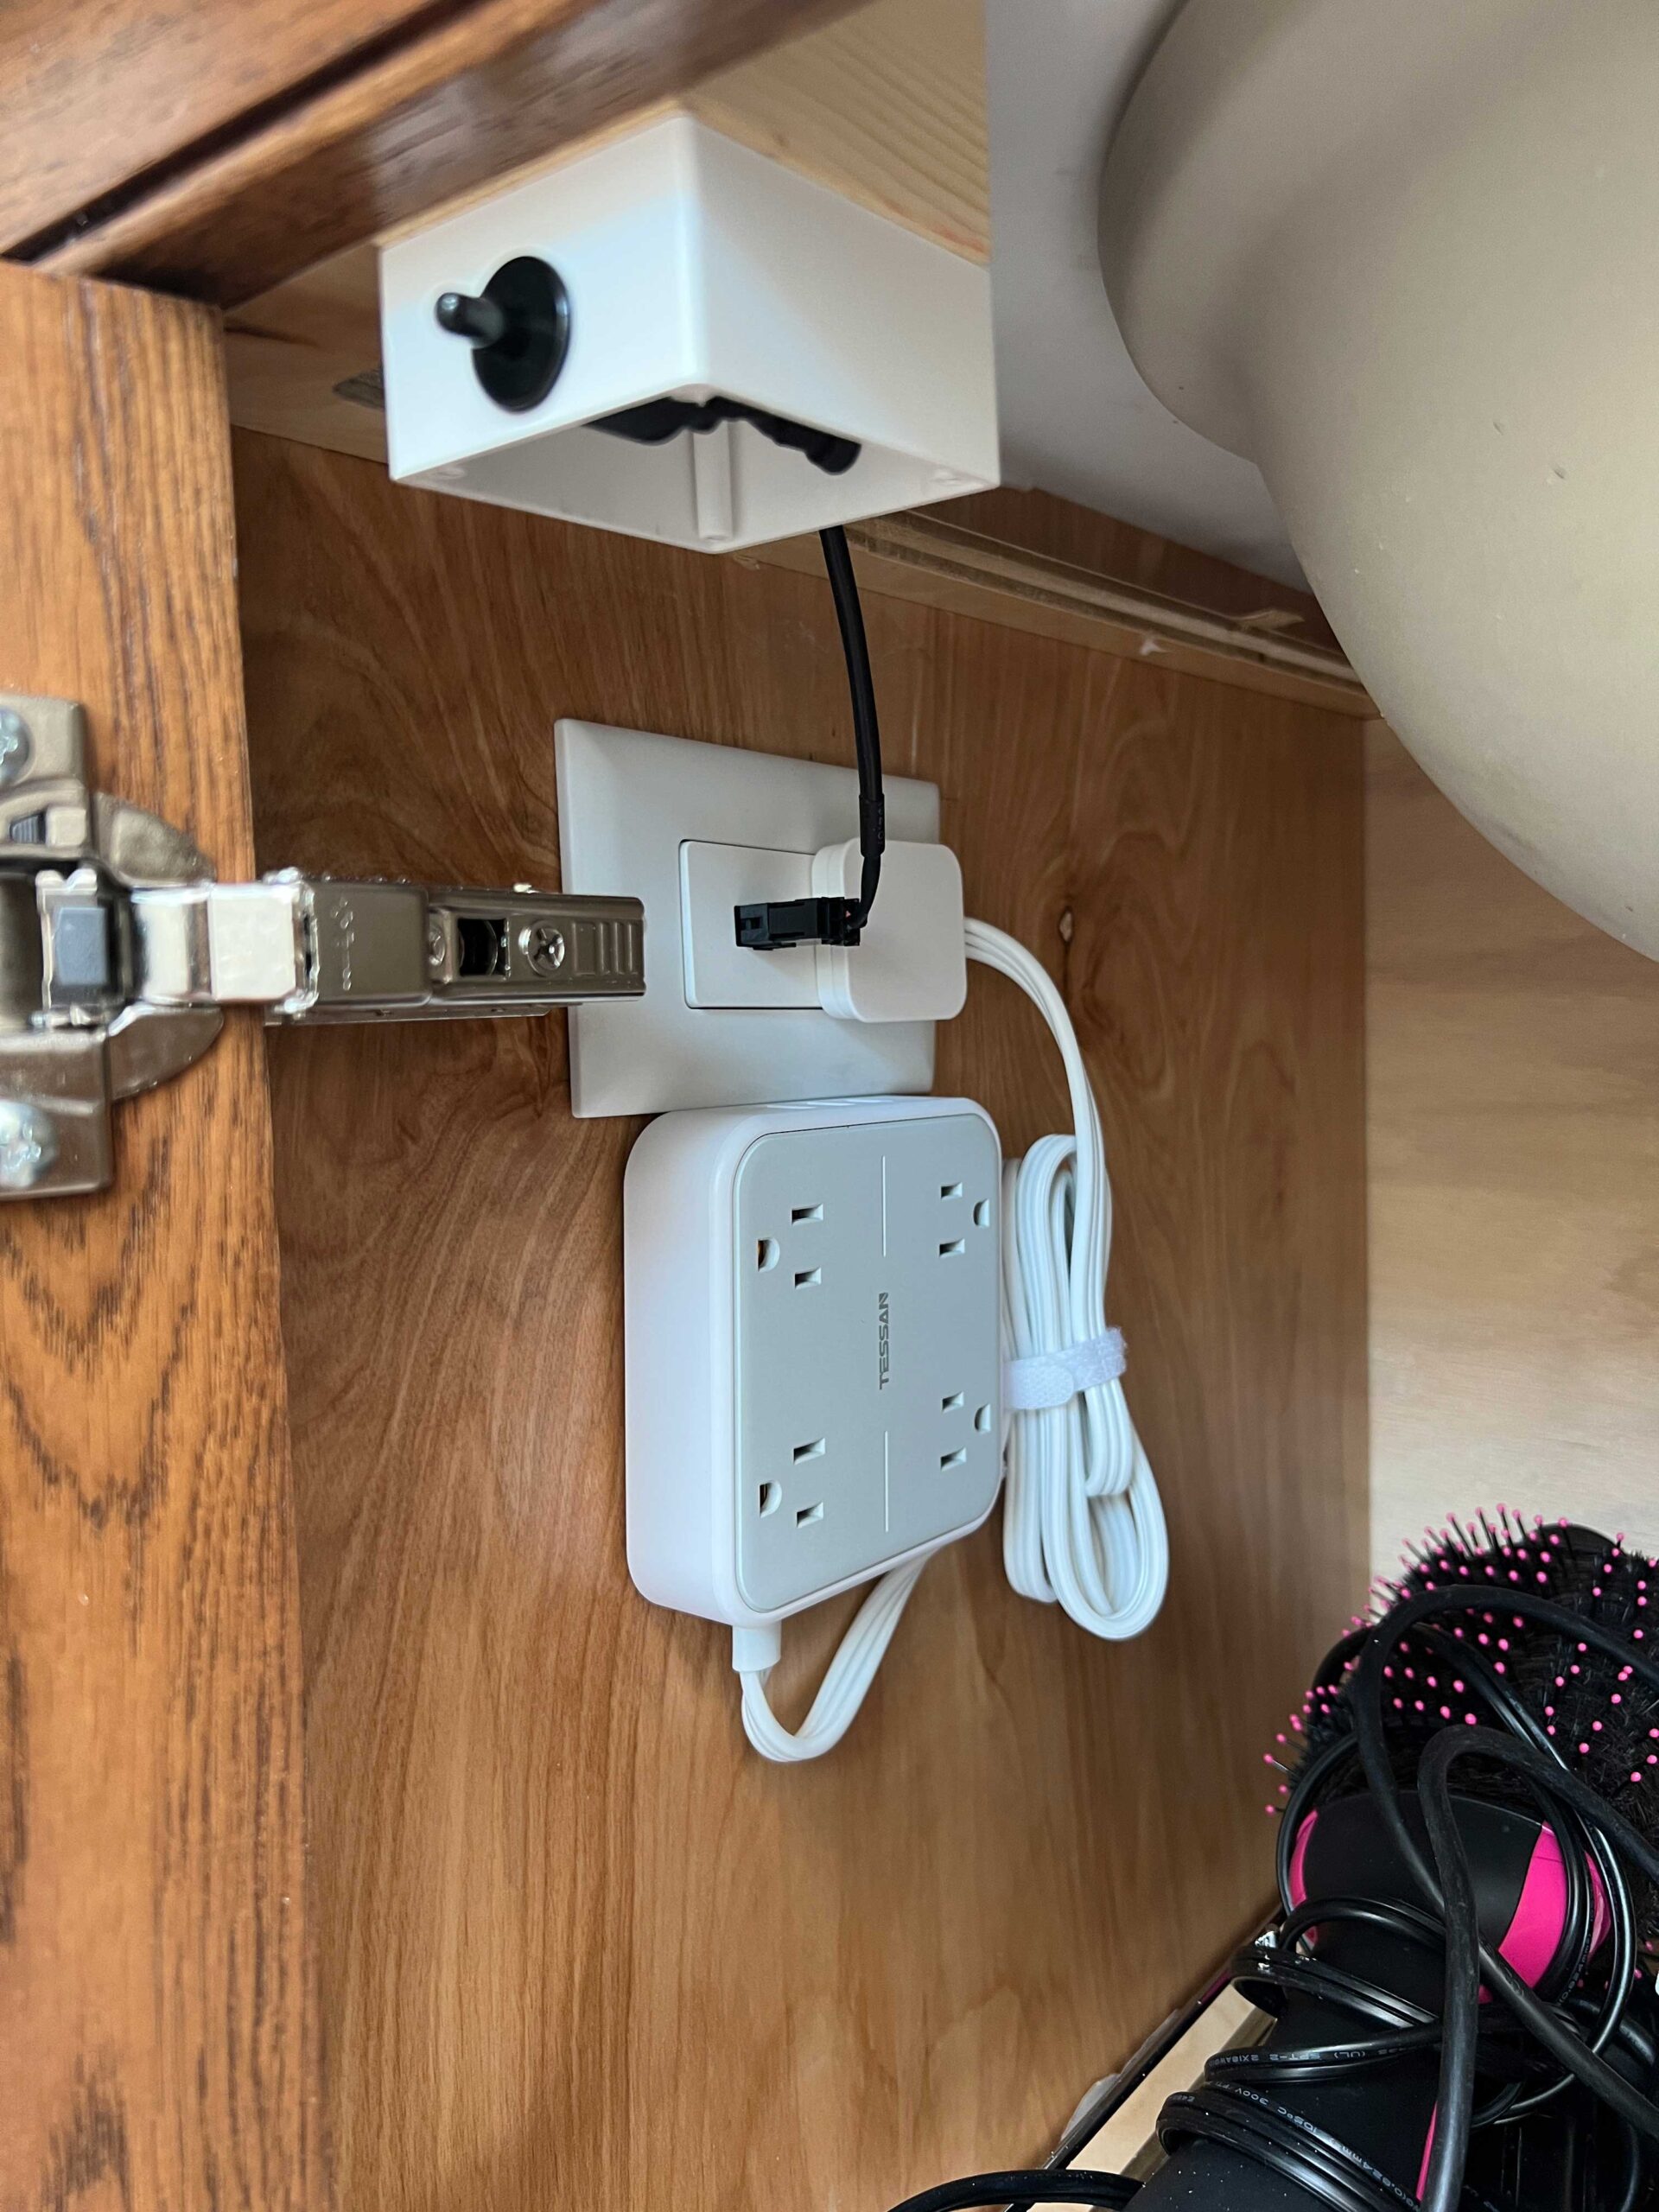
Since the outlet that was inside the cabinet only has one plug-in, I decided to add a power bar to power up a few more of my hair tools so I could leave them plugged in inside the cabinet. I was originally planning to use zip ties or something similar to attach it to the back of my pull-out but instead decided to mount it directly to the cabinet side. I thought it would be better to have fewer cords moving about when I was pulling the drawer in and out, and I still have plenty of reach with my cords to use the tools from that location.
What are some Other ways to add vanity organization for hair tools?
I originally intended to make a DIY pull-out shelf but realized early on that in order to do that for my hair tools, I would need to install steel canisters for my hot tools to be safe. Because my drawer boxes were all shallow I could not install them in an existing drawer. However, if you have the space inside a deep drawer, building or buying a system that allows you to hold your tools upright and also plug them in inside a drawer would be ideal!
This system allows you to install an outlet inside a drawer and if used in conjunction with this outlet, it cuts the power to the outlet once the drawer is closed. This is a really nice system and is perfect to use with a drawer if you have one that is deep enough to accommodate the small appliances you want to store in there.
For this type of setup, I would make an insert that fits perfectly inside the drawer using pieces of wood and some steel canisters.
One other idea that I tossed around was to build a simple sliding tray using some bottom mounting drawer slides, and then just use a silicone mat like this to protect the wood surface. This type of silicone mat can also be used inside a drawer and would be a simple and inexpensive way to store those hair tools while they are cooling off safely.
The Results
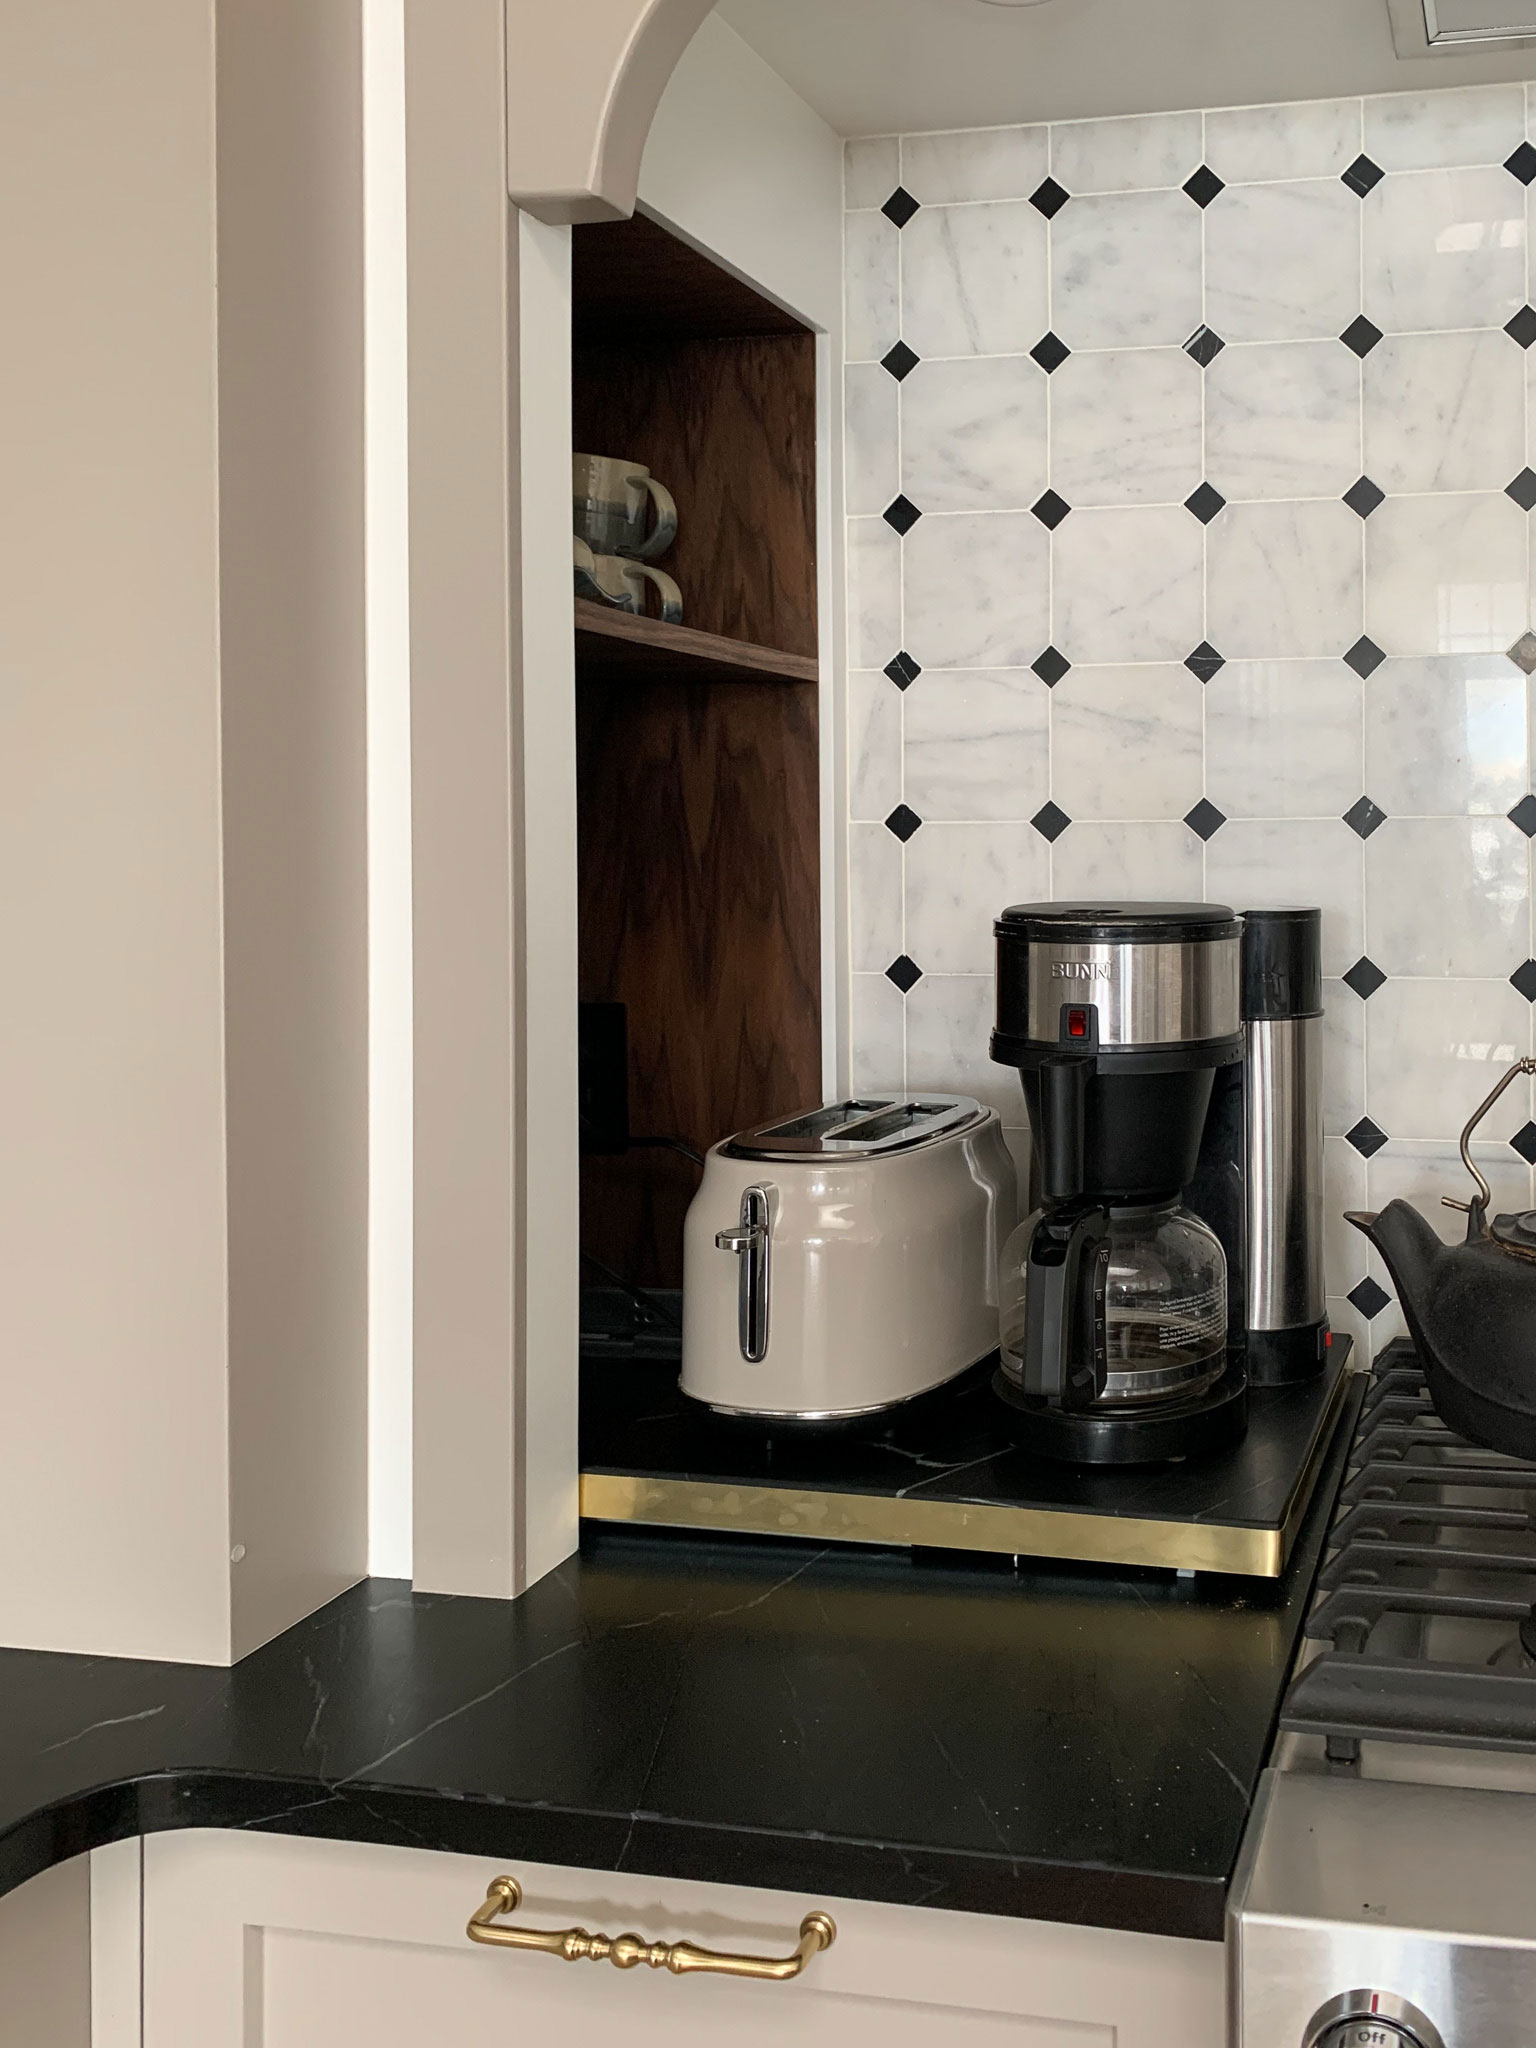
With some of the electrical code restrictions that we have in Canada, it can be difficult to come up with smart solutions to hide our small appliances. In our kitchen, we have a coffee maker that needs to stay on with a hot water reservoir so having a switch that powered the appliances off when the door closed didn’t work there. In the kitchen, I ended up making a slide-out shelf that holds the coffee maker and toaster. It slides out of the way and out of sight when not in use but because it is open to the kitchen with no door, it’s still just a regular outlet.
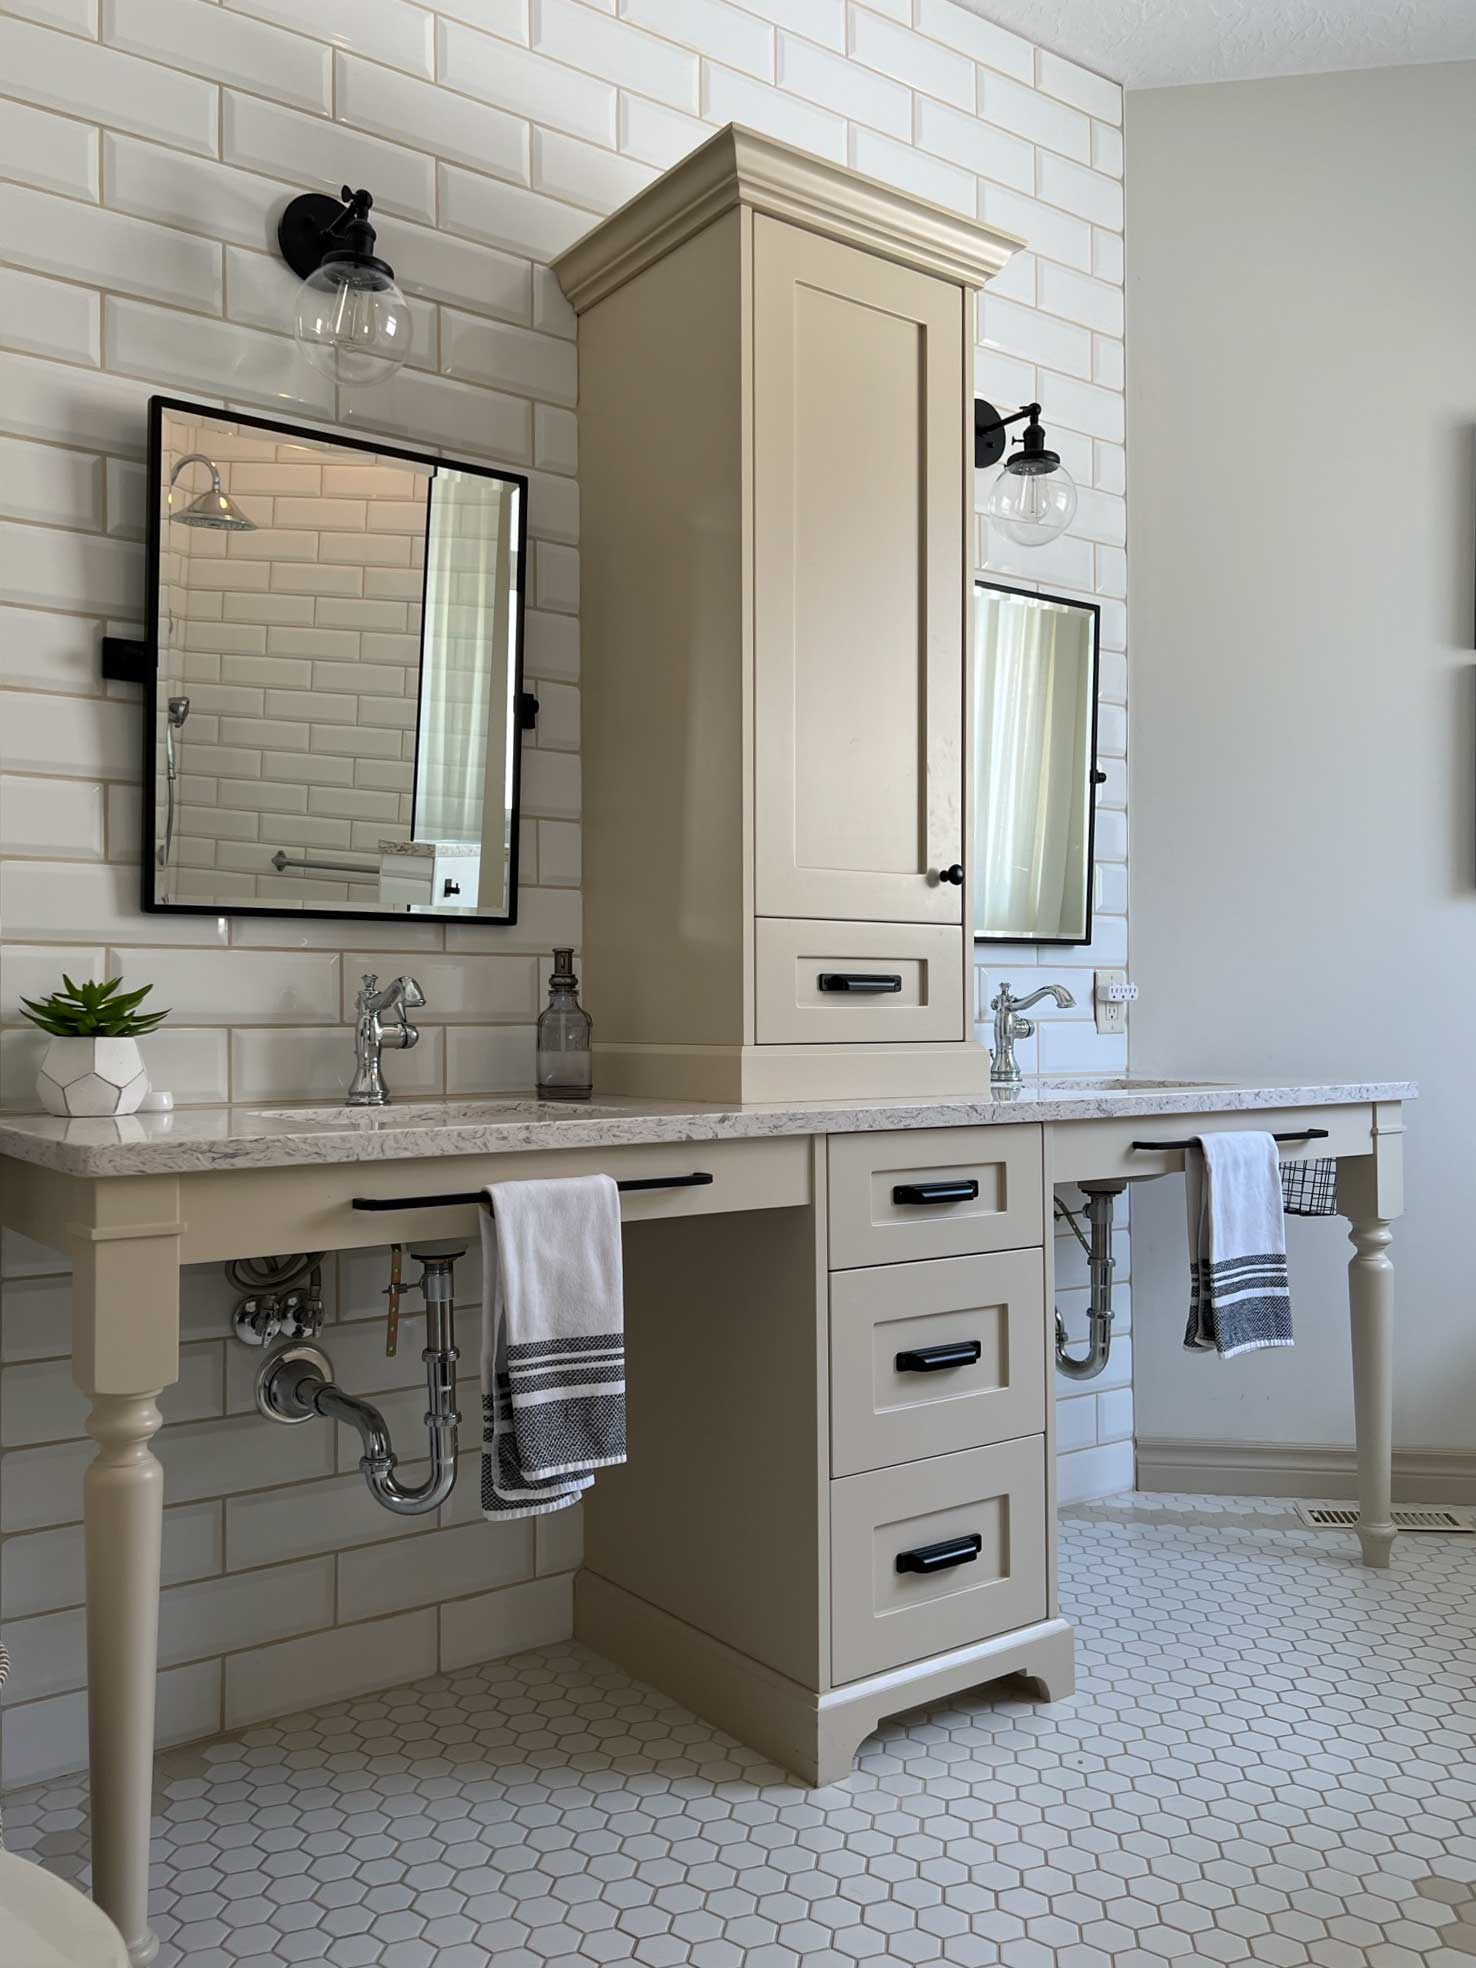
Here in the bathroom, I needed to hide away all that mess on the countertop and having a switch on the door was the perfect solution. Although there is very expensive hardware I could have gone with, I found that this kitchen organization storage basket met my needs perfectly and still provides me with a simple solution to contain my hair tools. No more cluttered countertops for me!!
Shop the Post:
- Outlet with Switch
- Pull out drawer (Note! I used the bottom part of this pull out only as the top part didn’t fit in my cabinet)
- Power Bar
- Cabinet Door Hardware
- Vanity Mirror/ Medicine Cabinet