How to Level your Floor with Self Leveling Compound
When we first looked at our cabin, one of the first things we noticed were the uneven floors. My husband and I decided to investigate a fix, and what we ended up using is self-leveling concrete. I did a ton of research but we were nervous about doing this ourselves. It really was not that hard and it turned out great! Here is everything you need to know about self leveling, and how to level your floor with self leveling compound.

This post may contain affiliate links. That means if you purchase anything from these links I earn a small commission, at no extra cost to you! This helps support my blog, so thank you!
Table of Contents
- Sloped Floor Cause
- Why Level?
- Determining How Much Levelling to Do
- You Can Save Money With Plywood
- You Can Go Over Tile
- Other Floor Types
- Prime your Floor
- Seal your Edges
- How Much Product to Purchase
- Tools, Supplies and Setup
- Determining the Level as You Pour
- Mixing
- Spreading
- How to Fix Mistakes
- Enjoy your New Floor!
- You Might Also Like:
This post may contain affiliate links. That means if you purchase anything from these links I earn a small commission, at no extra cost to you! This helps support my blog, so thank you!
Sloped Floor Cause
If your floors are out of level, make sure you investigate the underlying cause. Generally, in older homes, the cause is settlement. Foundations were not built to the robust standards that they are built today, and it’s probably a matter of settlement over time. However, there can be broken structural members or foundation issues, so make sure you check that out before proceeding.
Before we bought this cabin, we almost bought one that had some pretty significant sag in the floor. When we did the house inspection, we insisted on looking under the house to see if there was an issue we could see. It turns out, one of the main beams was broken in half! That house was ready to collapse. Needless to say, we did not buy that one!
The cabin we have now is very solidly built but it’s likely that the piles that the cabin is sitting on have settled unevenly over time, causing the dips and high spots.
Why Level?
We did not HAVE to level the floors, but we were putting in click together floor coverings and it’s pretty important that your subfloor be level and that it be a smooth surface with no bumps. Often times basement concrete floors are not level and people use LVP, and wonder why their floor clicks when they walk on it or comes apart at the seams. That’s why!
I wanted to fix the sloping floors just because…. well hi, I’m Erin and I like straight lines. And also to make sure the flooring we put in would last for years to come.
Determining How Much Levelling to Do
So figuring out how much to level is the hardest part and in the end, we found the best way to do it was with a laser level.
We set the laser level in the middle of the room at a set point. We took a tape measure and found out how high the laser line was off the floor at various points on the floor and made a bit of a “map”
For example, if we measured one point of the floor and the laser line was 30″ from the floor, and then we moved the tape measure 10′ over and measured there and found the laser level was 31″ off the floor, we knew that the second point was 1″ lower than the first.
Once we had an idea of how much leveling we needed to do, we got to work.
You Can Save Money With Plywood
In our case, we had tile that had a layer of plywood under it on one half of our room, so that half of the room was already more than an inch higher than the other side. That meant we had a LOT of leveling to do in some places, up to 2″. Self levelling concrete works great but it’s NOT CHEAP. Plywood, on the other hand, is cheap(er).

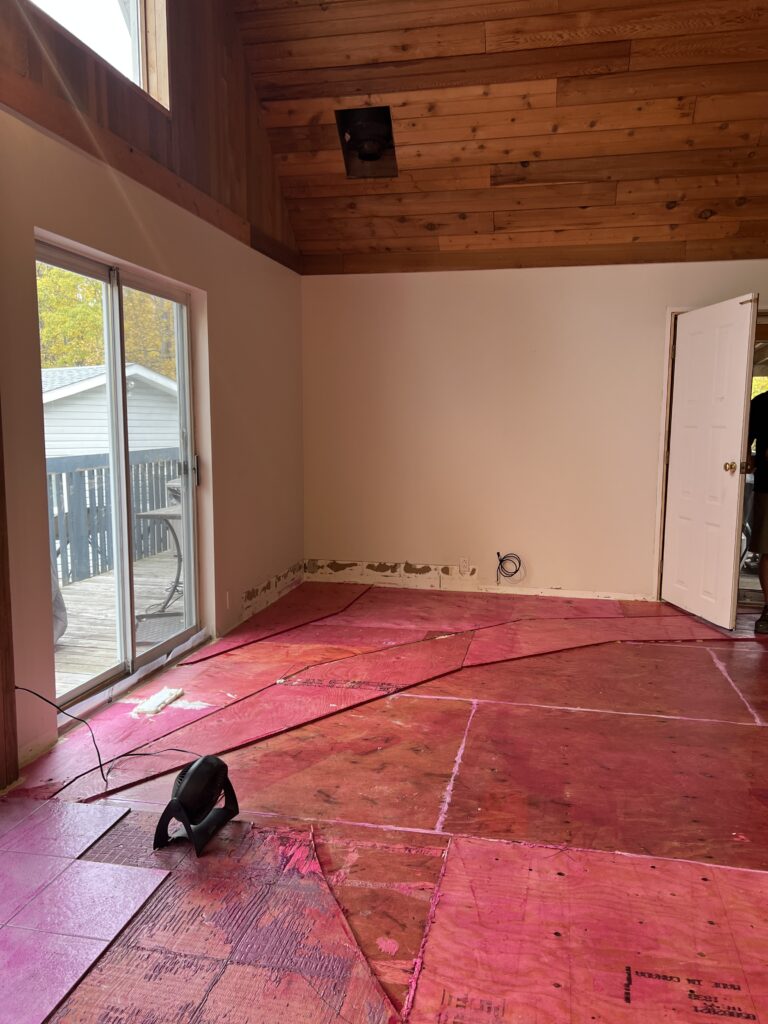
In order to minimize the amount of self-leveling underlayment we needed, we decided to add some additional plywood first to the low spots. We put one or two layers of plywood around the edges where we needed more depth. We also removed the tile in the middle part of our room (where the floor was high) so we didn’t have to come all the way up to that level.
When screwing down the plywood we used lots and lots of screws, about ever 12″ in every direction. We wanted to make sure nothing moved or creaked afterward. We also added screws to the existing subfloor where it had only been nailed to eliminate some creaks.
You Can Go Over Tile
We chose not the remove all the ceramic tile in our house, because it was adding the additional thickness we needed and with proper prep work, you can go right over it.
If you are planning to go over tile, it’s important to use a special primer that is made for proper adhesion when going over tile. This is the one that I used. I have used this primer before, when I tiled over the tile in our bathroom, so I know it works well!
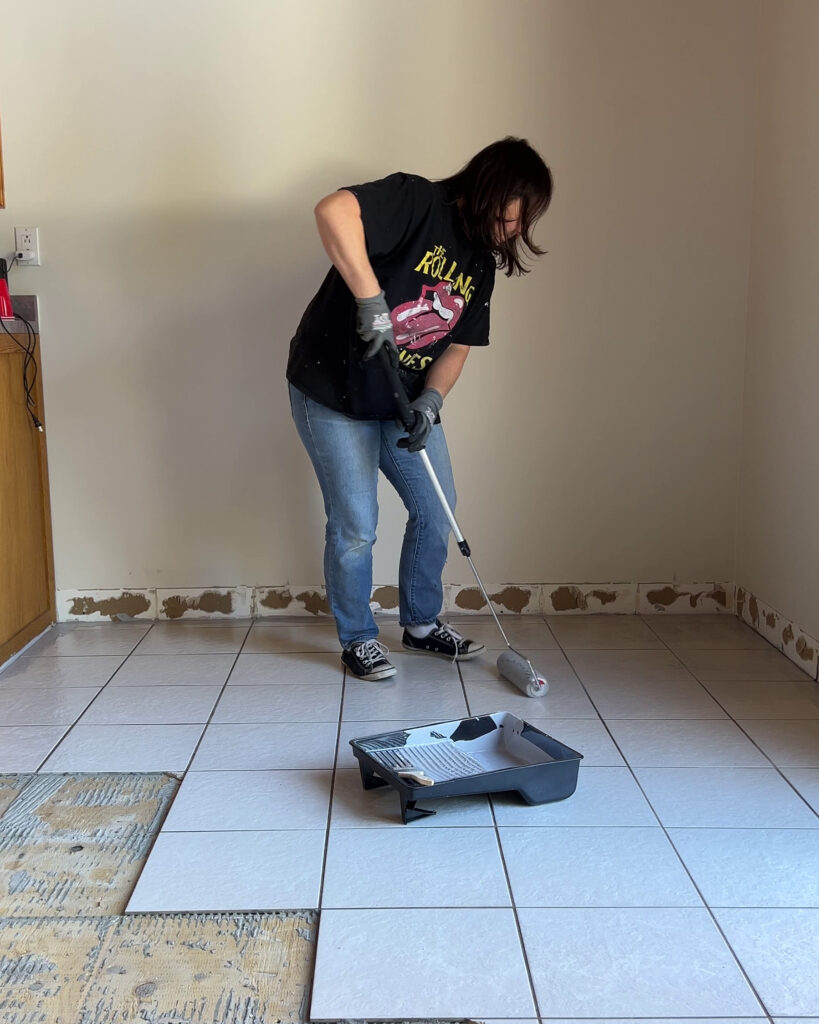
It is very easy to apply. All you have to do is clean your tile really well and roll it on. It is very gritty.
Keep in mind your tile needs to be in very good condition to do this. If the tile is loose or cracking it’s not bonded well to the surface below it and it should be removed.
Other Floor Types
Basically, you need to make sure your floor that you are going over is solid, there is no loose material, and your floor is very clean. The concrete needs a solid base to adhere to.
Prime your Floor
You need to prime your floors before adding the self levelling underlayment. This is the one we used. Always read the manufacturers directions on the application. The one we chose we were able to just roll on top of the existing wood subfloors, and it also could be used over a concrete slab. We also primed over the tile again (so the tile got the tile primer plus the underlayment primer, whereas the plywood just got the underlayment primer).
The directions say to do this within a certain time period of the pour. In our case, we did it the evening before the pour and it was dry by morning, and we were able to pour. If you wait too long after priming, you will need to prime again so make sure you read the directions!
Priming is VERY important. If you skip the primer step, you risk your underlayment not sticking to the floor and it could break up over time.
Seal your Edges
Before you pour your self levelling compound, you need to go all around the room and make sure that it will be contained when you pour. This means creating a dam to other rooms, sealing cracks and crevices.
We used a combination of caulking for small cracks and spray foam for larger ones. Make sure you check the plywood subfloor too, if there is a knot that has even a small hole, you will end up with a basement full of concrete!
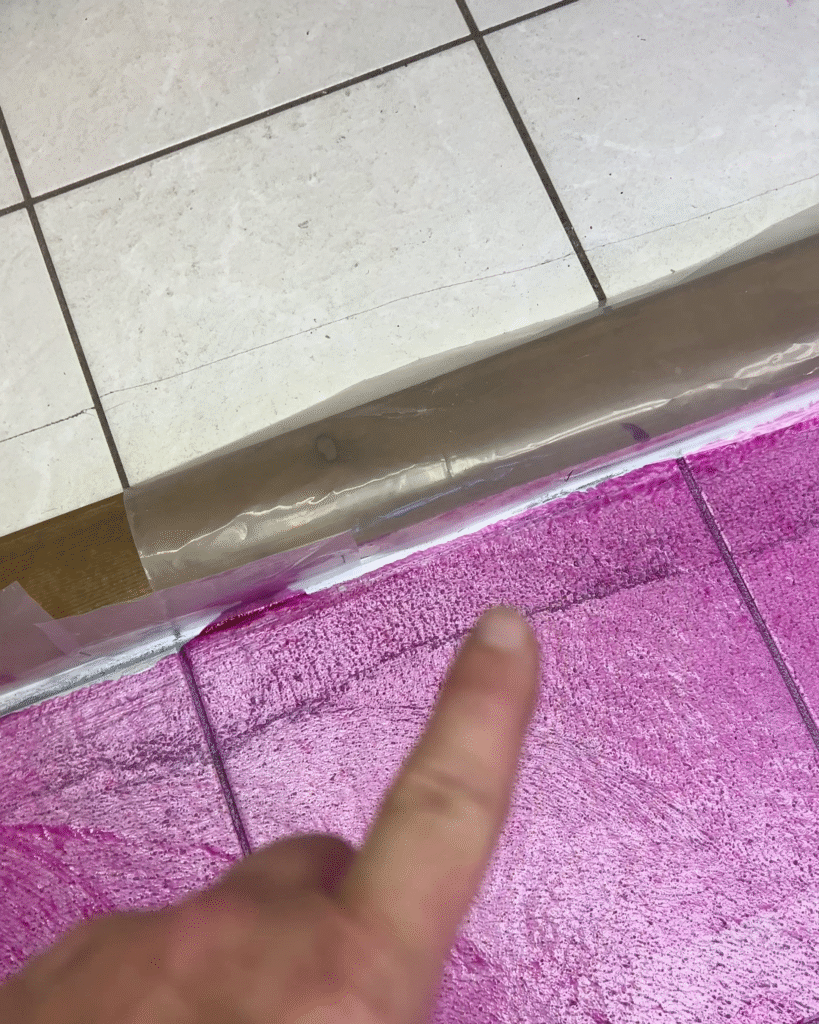
We nailed a 2×4 to the floor and sealed up the edges to create a dam at the entrance points.
For best results, we went around the room and added a little plastic to the 2×4 dams. The wood in the 2×4 will suck out some of the moisture in the concrete, and leave a weak spot. Plus, having a little plastic there helps it to release when you remove it.
How Much Product to Purchase
Before you begin, you need to determine how much self-levelling compound you need. In order to do this, you need to figure out the final level that the room will be.
Start by finding the highest point in the floor. Set up a laser level, and take a measuring tape and measure from your laser line to the floor as you walk around the room checking it in various spots. The measurement that is the highest will be the low spots, and the measurement that is the smallest will be your high spot.
Once you have found your high spot, you are going to add the minimum thickness allowable on your type of product. For the self-leveling cement we used, that measurement was 1/8″. So you will have 1/8″ thick concrete at the highest spot and it will be thicker in all the other areas that are lower.
To estimate how much concrete you will need, you should find you low spot and determine the thickness that the concrete will be in that area. Then, you have to estimate how much of the floor is low versus high and try to figure out what you think an average thickness might be on your irregular surface.
For us, we had added a lot of plywood to try to minimize the thickness of the pour, so we assumed that most of the floor would be covered with about 1/2″ of concrete.
If I had to do it again, I would estimate the thickest amount of concrete on the whole floor and return any extra product when you are done, because you DO NOT want want to run out! We were down to our very last bag and that was stressful!
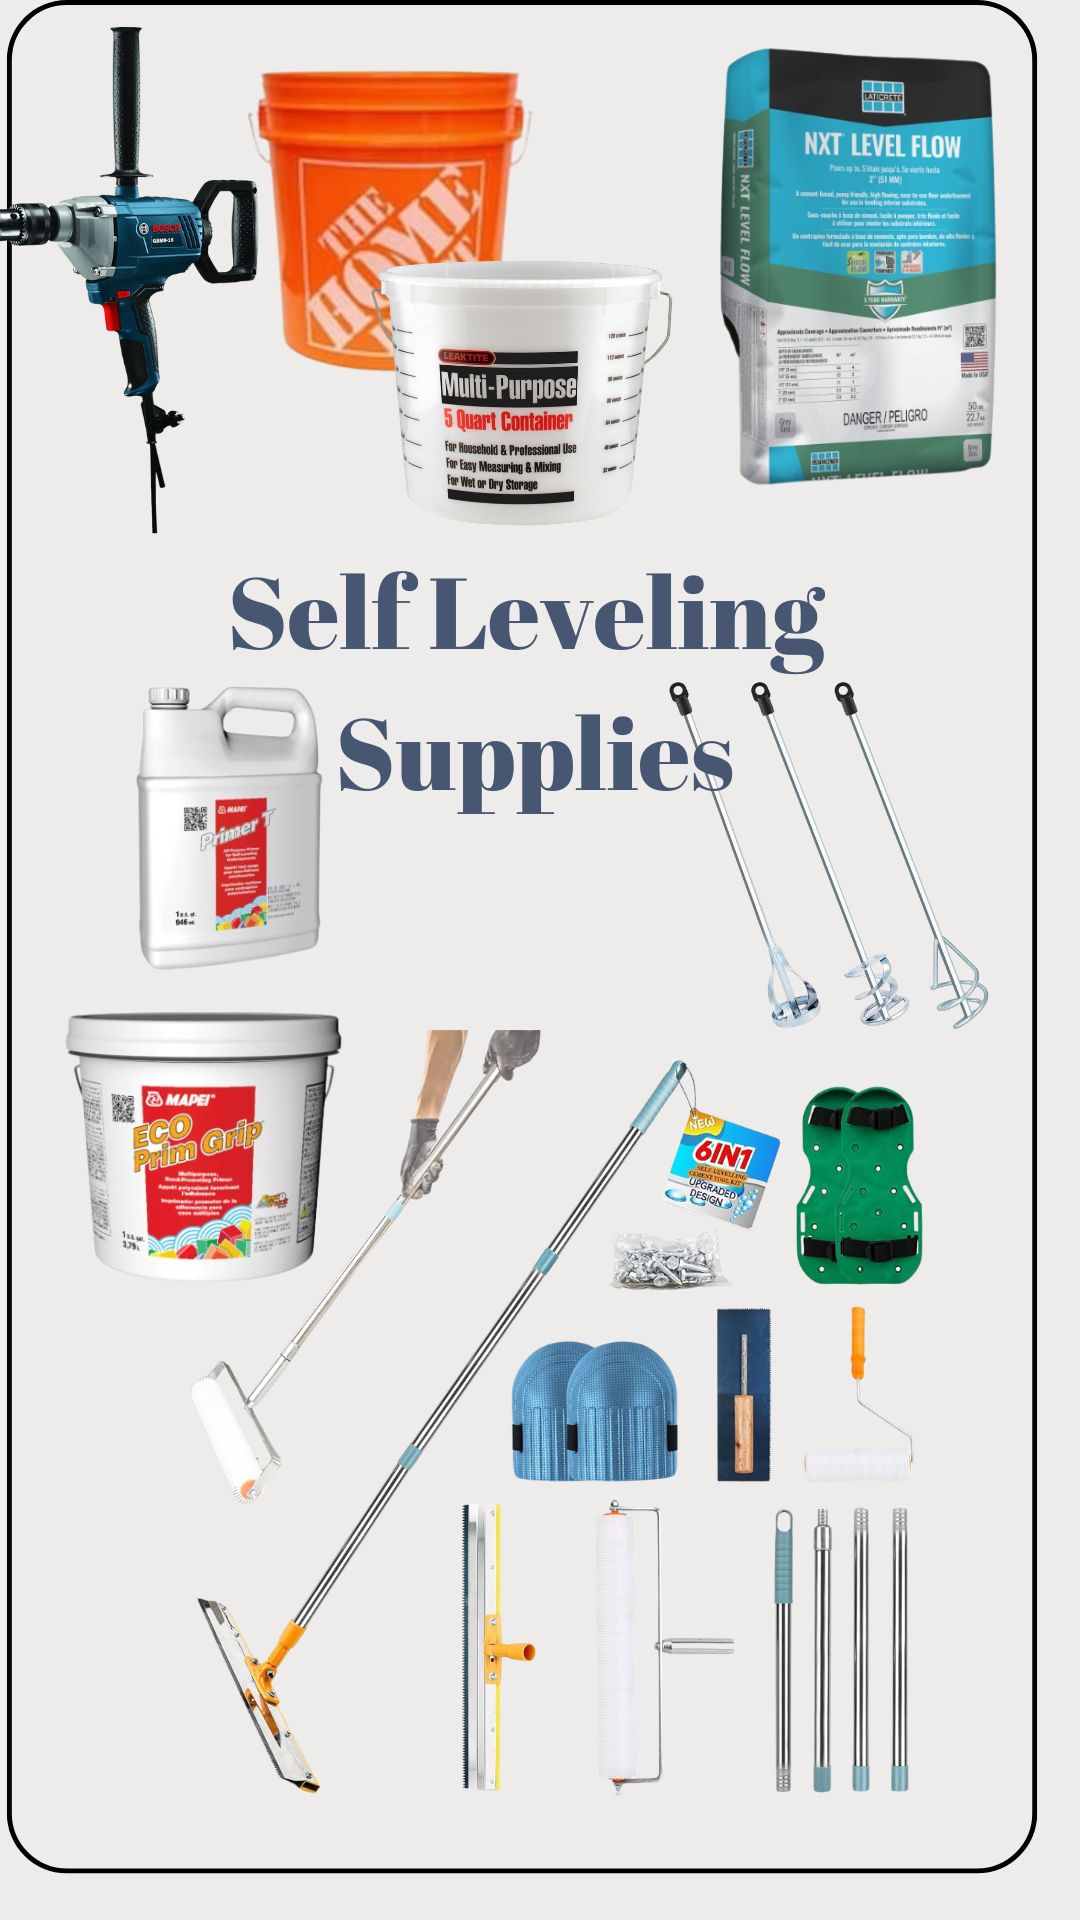
Tools, Supplies and Setup
This can be a DIY project but I do think it’s very important that you have two people, especially if you are doing a large space. The concrete sets up really quickly and if you have to stop to mix buckets every five minutes you are going to have a real mess on your hands!
Set up a spot for the mixing person. They will need access to water and a 5 gallon mixing bucket, as well as an accurate water measuring bucket. They will also need a drill or a mixer and a mixing paddle. A battery operated drill does not have enough power to mix concrete, so an actual mixer or at the very least, a corded drill, is necessary. Also have a timer on hand to time how long you mix each bucket (we used our phones).
The person spreading should have a spreader/ squeegee, a spiked roller, a few trowels, and some spiked shoes. Using the right tools is important. I actually bought this self leveling concrete kit on amazon, and while the tools were pretty cheap they were good for one or two uses.
Determining the Level as You Pour
The last thing you need before you begin is to set up a laser level at a spot where you don’t have to move it, and you can see the laser line from all over the room. Now that is easier said than done, so if you do have to move it during the pour, here’s how.
Determine where your laser levels will be set up. Put the laser level in the first location (at whatever height, it can be on a tripod), and mark a line on the wall where the laser level hits. Make sure you can still hit the line you made on the wall with the laser level at the second location. That way, when you move the level, you can adjust the tripod to hit the line you made and you know your level is at the exact same height that it was before.
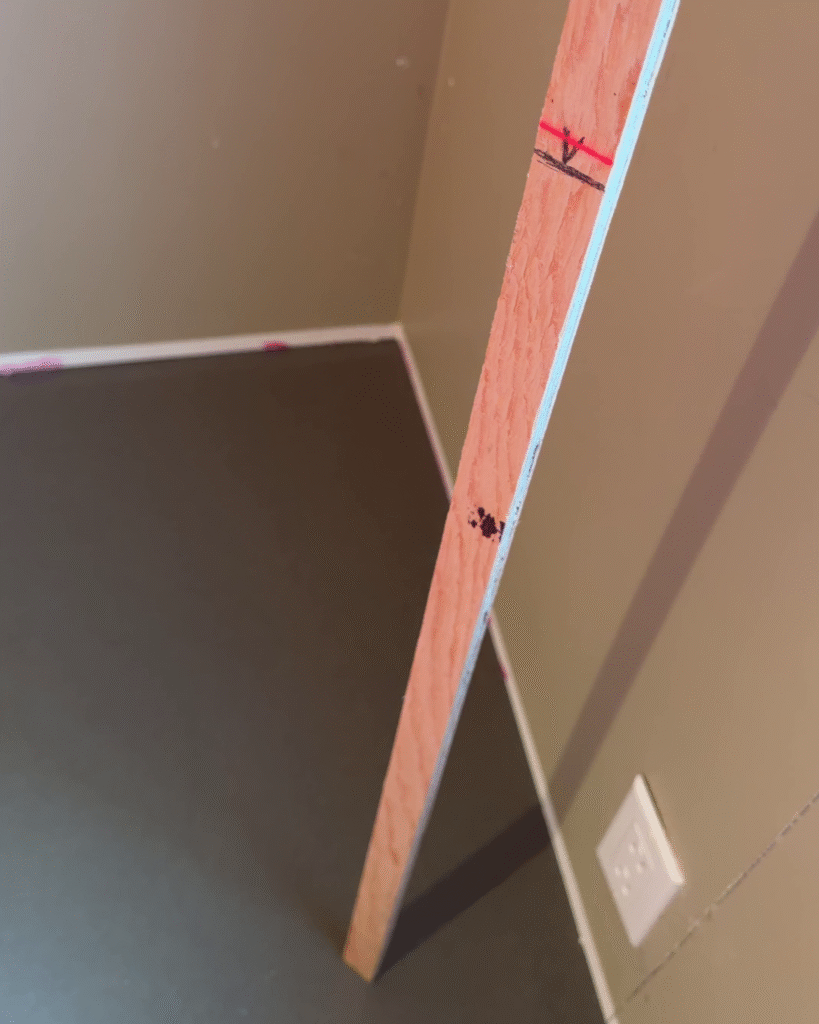
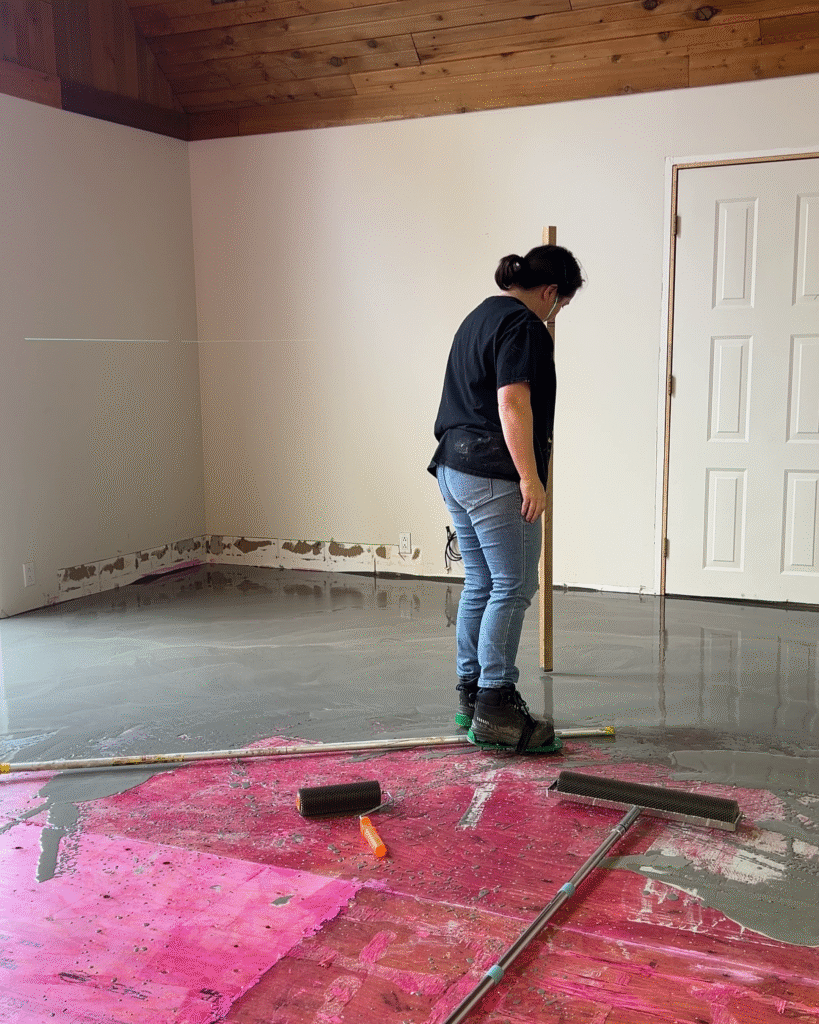
Once you have the laser level set up, go to your high spot in the room. Hold a stick or a broomstick on the high spot. Make a mark on the broomstick 1/8″ below the laser mark. Now, if you raise the broomstick up by 1/8″, you will end up with a 1/8″ space under the broomstick which will be the level of your concrete. As you pour, all you need to do is touch the very end of the broomstick to the surface of the self-leveling concrete to know when you have hit the right height.
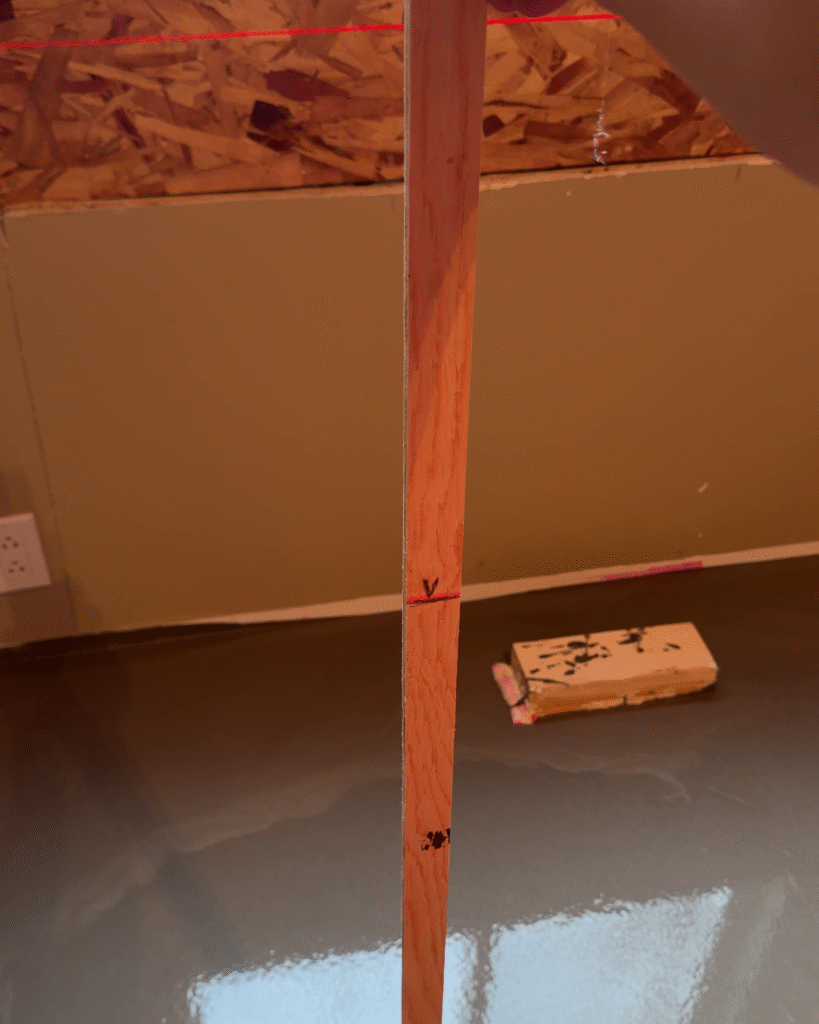
Now that the stick is marked, all you need to do is move around the room and pour until the surface of the concrete touches the bottom of that stick when you hold the line on that mark. This works really well, as it is really impossible to tell if you have enough concrete or a level surface if you have a big room.
It is also helpful to mark the walls with your final height but I found I used the stick a lot more than the wall marks. The concrete occasionally splashes up over the mark and then you can’t see it, so the stick is much more reliable!
Mixing
Mixing needs to happen quickly and you need to mix one bucket after another until you are done in a single pour. There are no breaks! Eat a snack before! Hit the bathroom! If you have a really large pour, consider breaking it up with a 2×4 dam if you want to do it on multiple days. Our room is about 400 square feet, and it took us about 3 – 4 hours to pour.
Measure the water for one bucket of self levelling compound according the manufacturer’s instructions. Be very careful with the amount of water you add, as a little more or a little less does affect it quite a bit.
Most instructions will give directions on how long to mix, the stuff we used said three minutes, then wait one minute, then one minute more. Follow these directions and make sure there are no lumps!
The mixing person is going to bring the bucket in, pour it out, and start mixing the next batch right away while the first person is spreading. We found that we got to know how dry or how wet we needed it, so I would let Darren know to add a tad more or a tad less water to the next bucket so the concrete was workable. That was a bit of trial and error, so start with the recommended amount and you will figure it out as you go.
Spreading
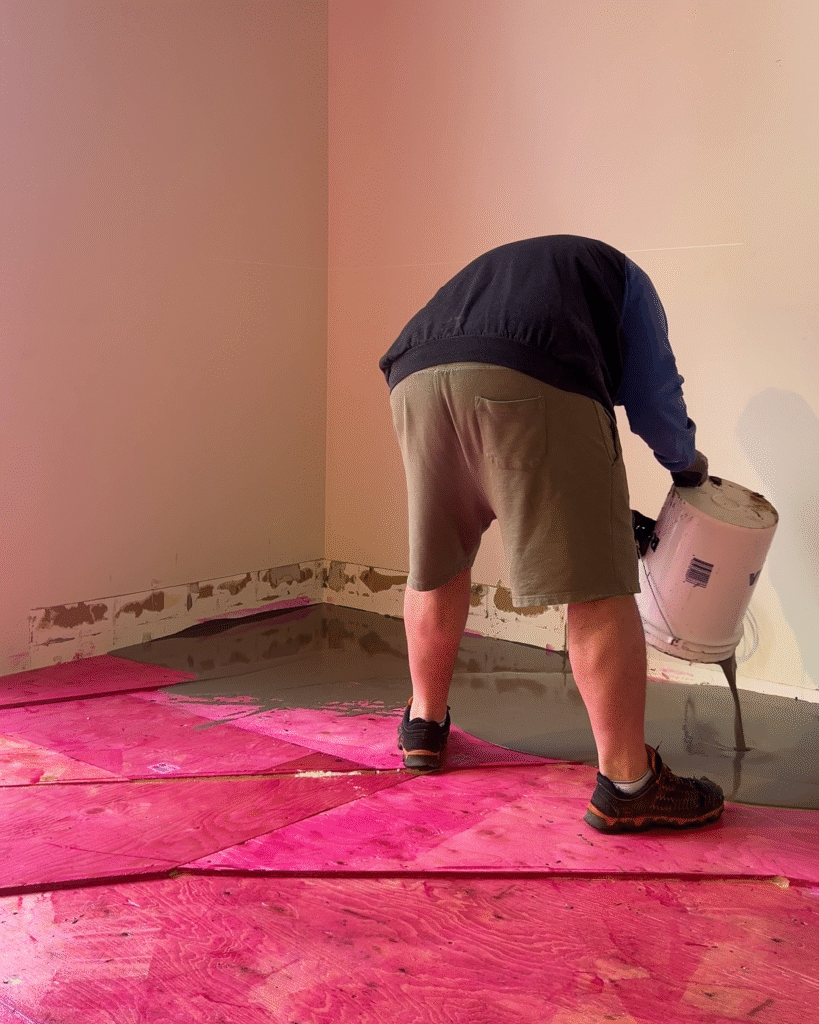
If you have a really small space, like a small bathroom, you might be able to just dump some concrete in until you hit the line you need and be done, because the concrete won’t start to dry before you are finished. But if you have a large room, you are going to have to push the concrete where you want it and try to get it to stay there while you continue to add more buckets and it starts to dry.
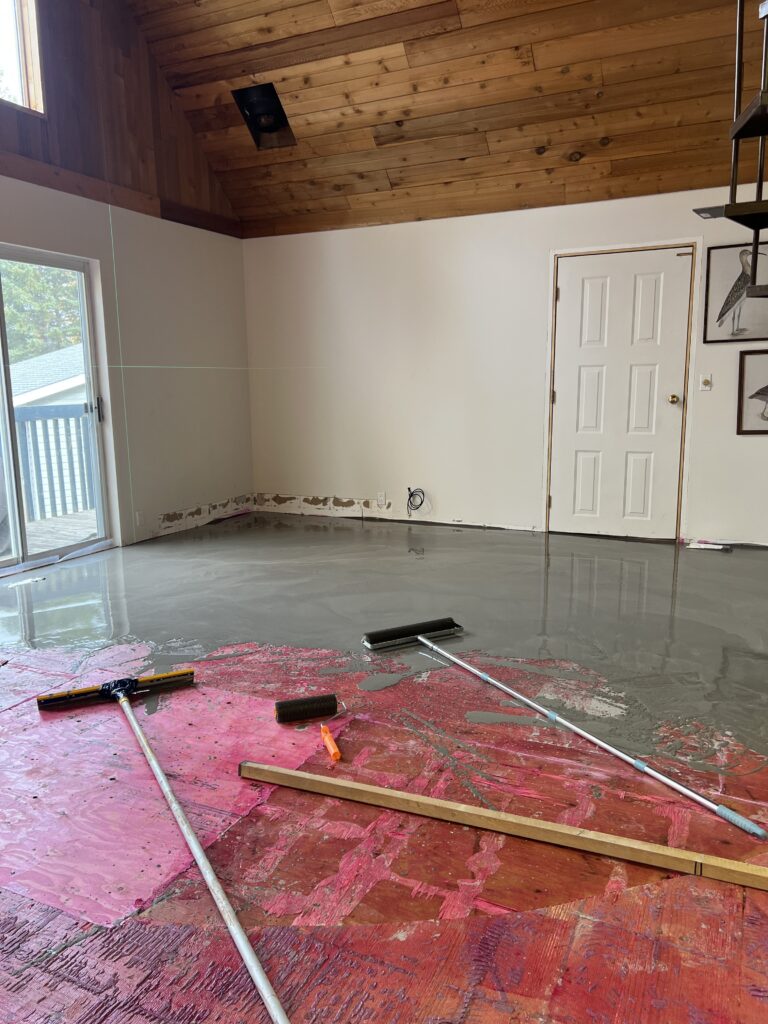
Consider the layout of the room and where you are going to end up as you work yourself out of the room. Start in the opposite corner of the room as your exit, and work your way across one wall and then out into the middle of the room. The strategy is to keep the working line as fresh as possible so it does not start to set up before you are able to blend in the next bucket.
Pour a bucket out and use the squeegee to push it into position. Continue to add more buckets, checking the level as you go with the measuring stick. Only once you have pushed enough concrete into place, and it’s sort of staying put (it thickens fairly fast) should you move on to the adjacent area.
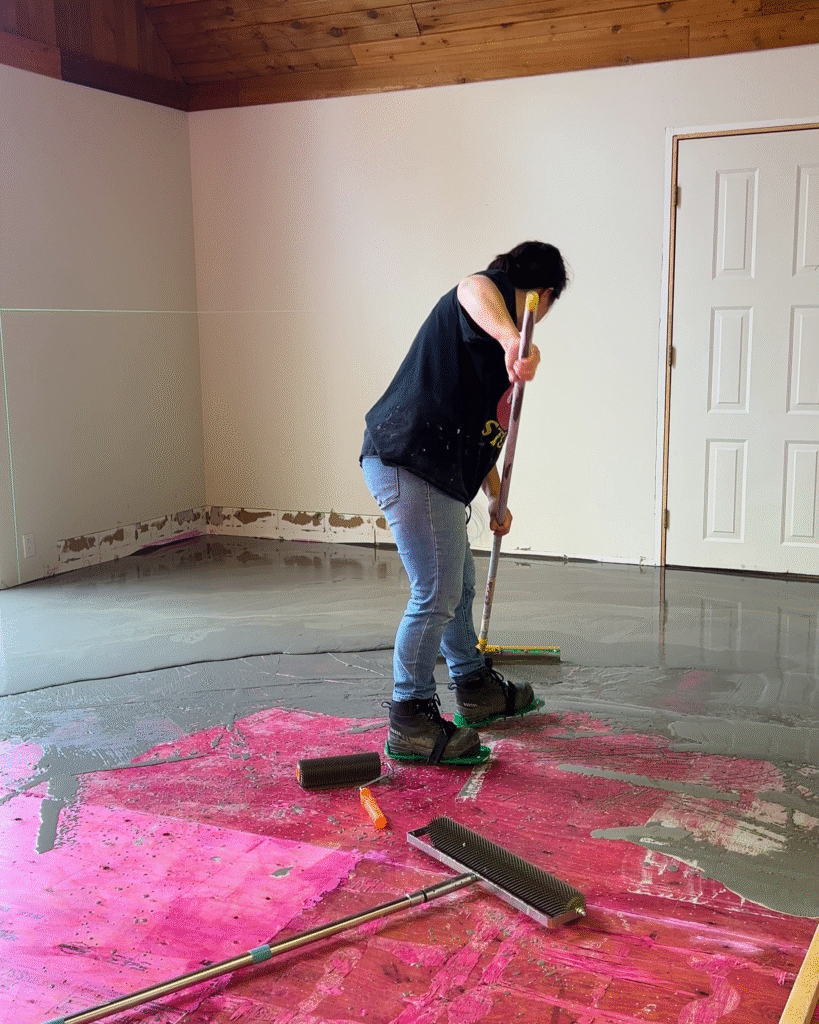
As you are adding new buckets, the spiked roller helps to blend the line between the buckets, and level out any uneven areas. It will also spread it out a bit so keep an eye on the level.
The spreader will spend a lot of time waiting for the next bucket. While waiting, it is helpful to constantly work and push the wet edge back so that it does not start to dry out. You can also use a flooring trowel for this or to work on smaller area.
Continue working your way towards your exit point until you have covered the whole area. Make sure you check the final level constantly so you end up with a level and flat surface.

How to Fix Mistakes
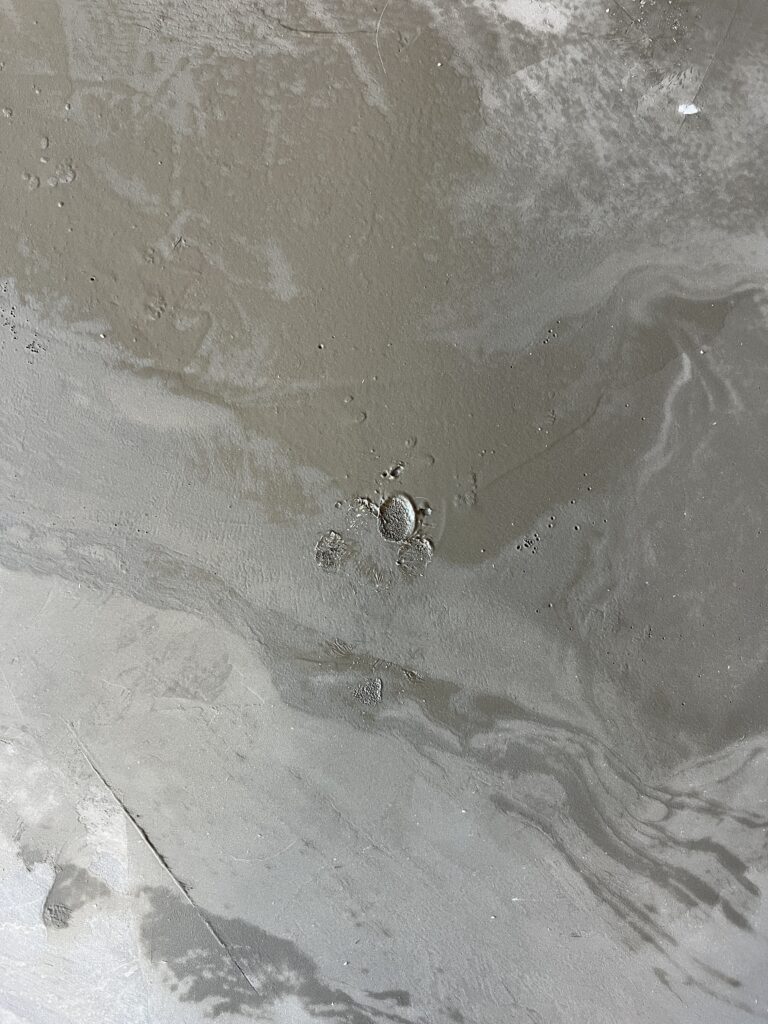
In our case we ended up with one spot where the concrete set up a little too much before we got the next bucket in and there was a few dips and bumps. But never fear, you can fix these the next day.
The concrete will hold up to light foot traffic pretty soon and I think the sooner you do repairs, the better. One thing about concrete is that it just gets harder over time so the sooner you do the repairs the easier it is.
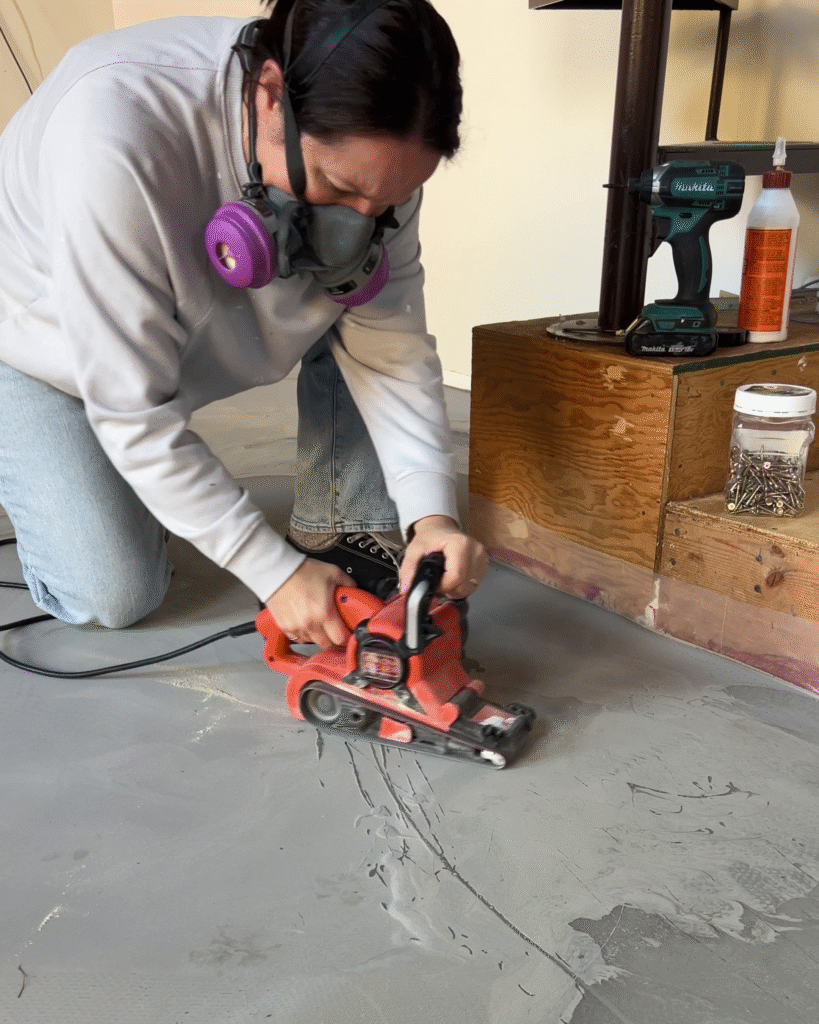
For high spots, take a belt sander with a rough sanding bit and sand out the bump. It takes a minute so prevention of these is always better than repair!
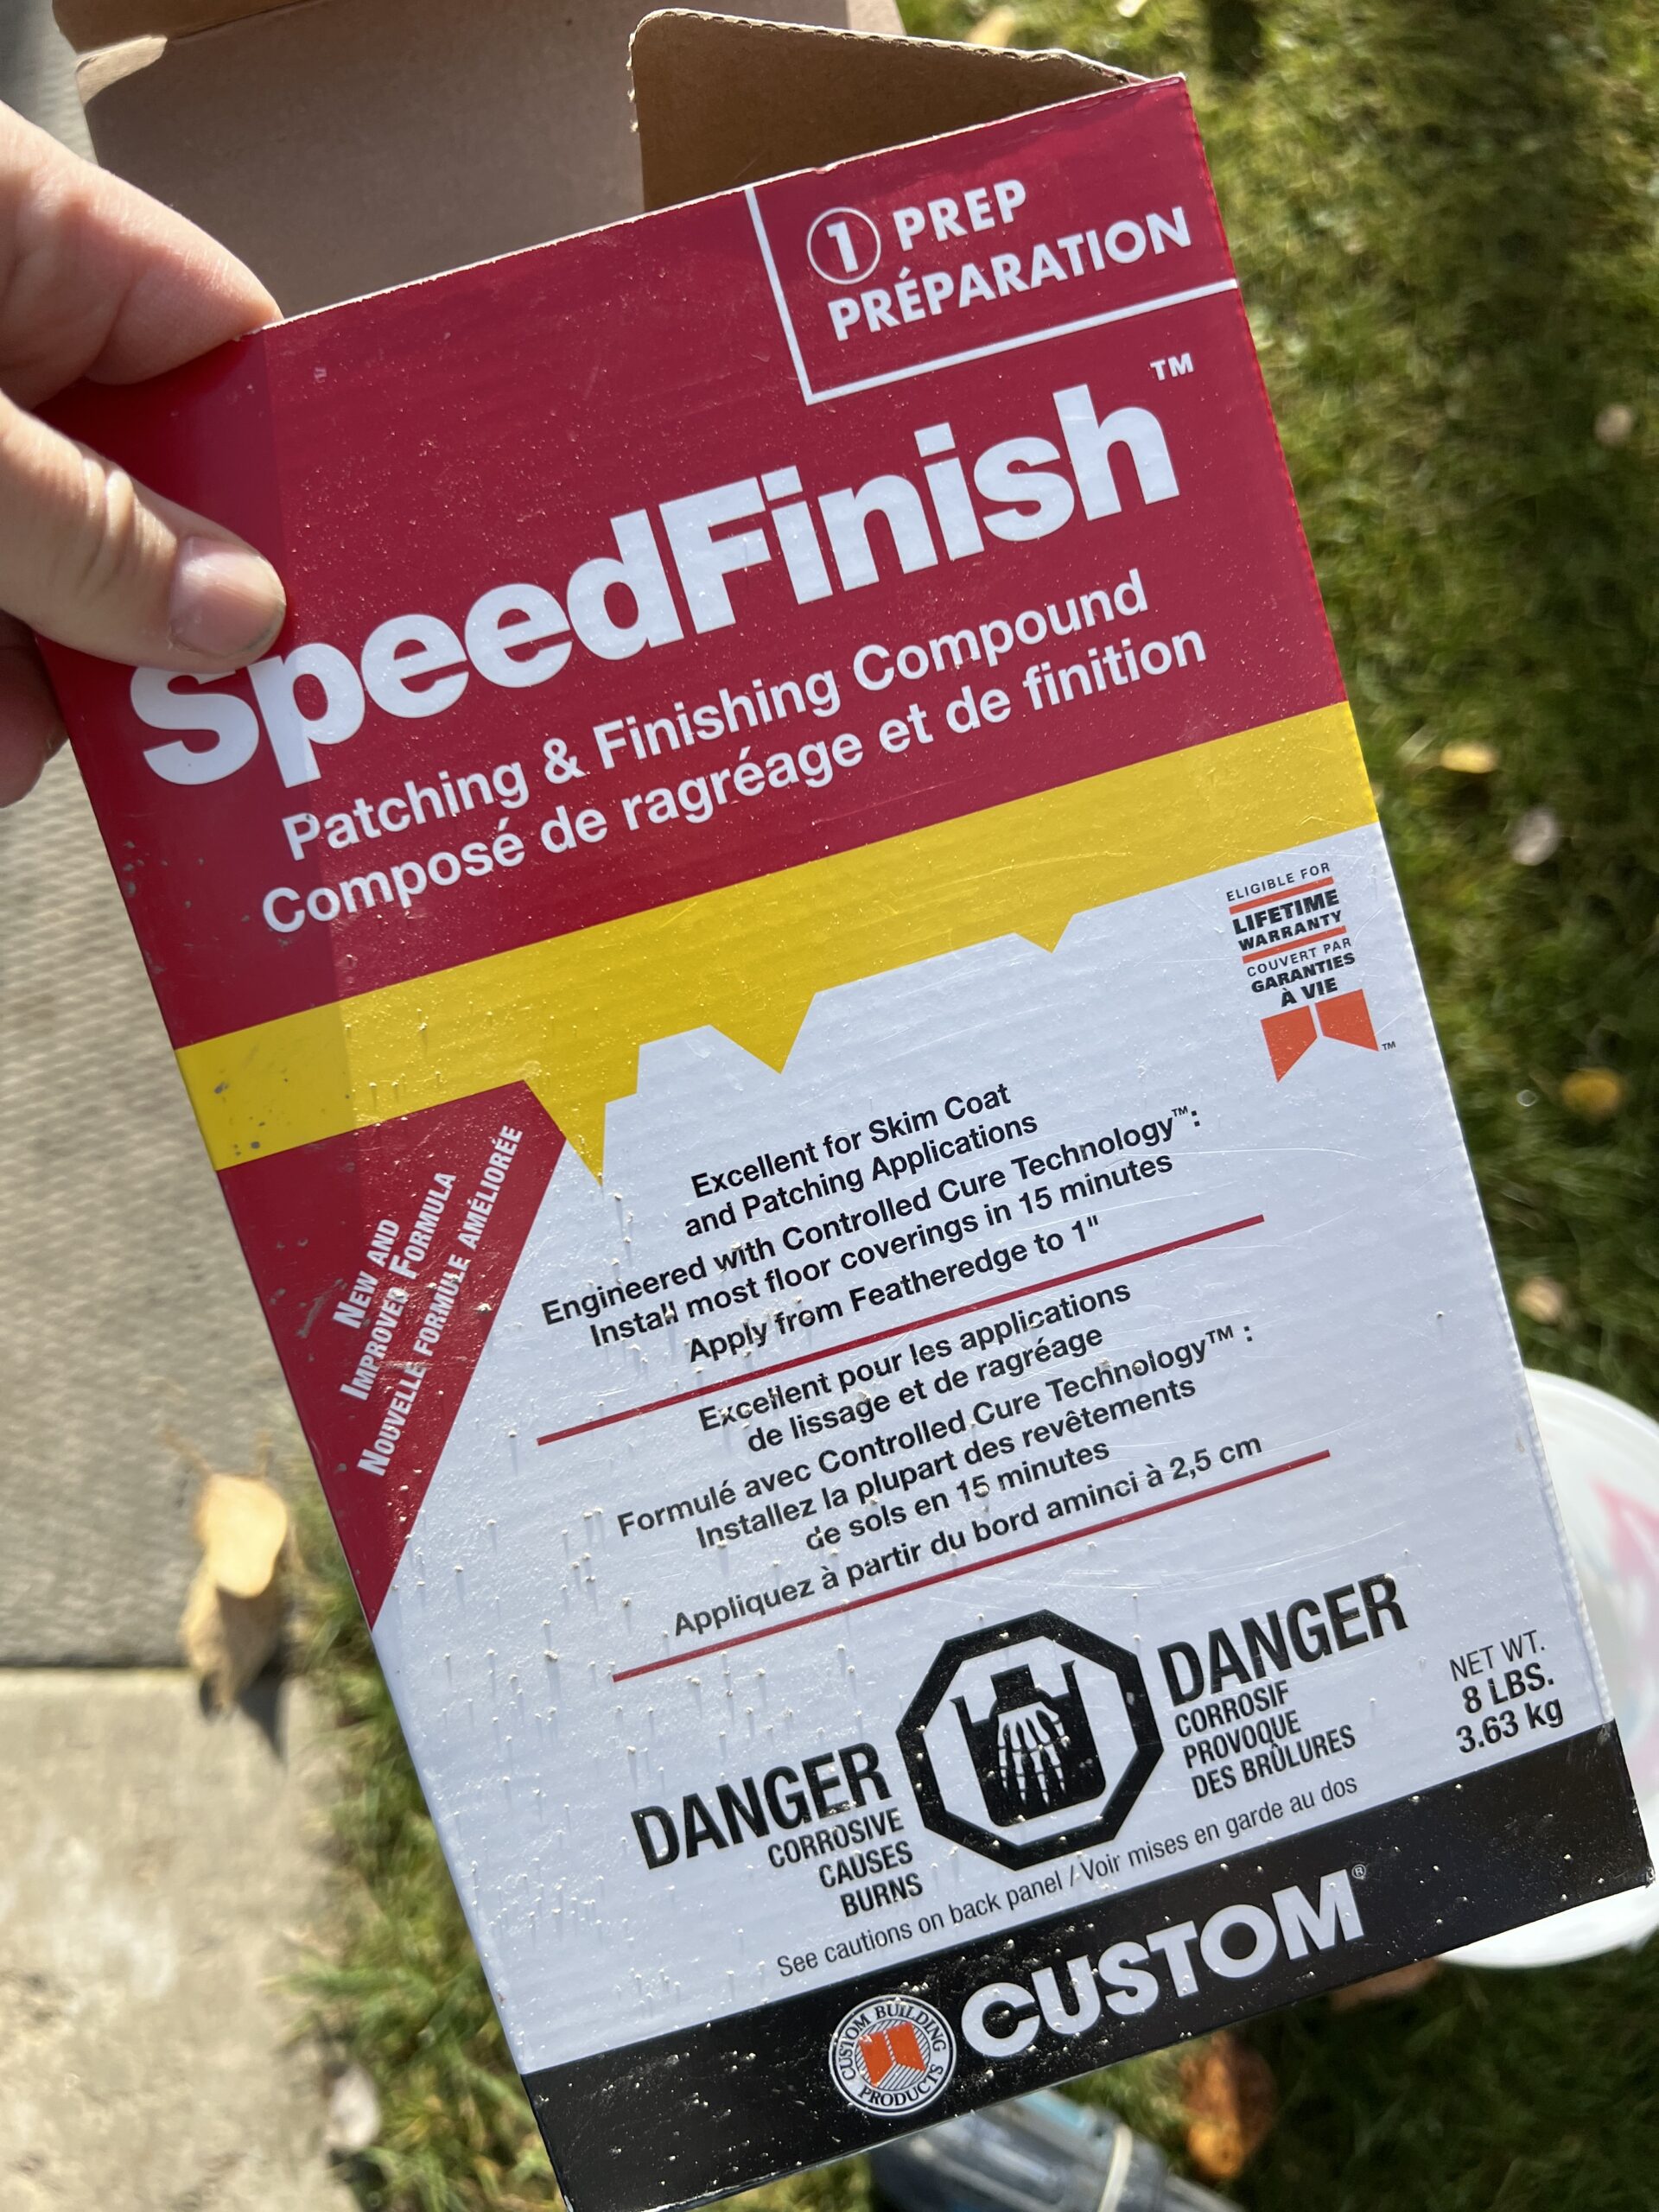
For low spots, you can buy a feather finish patch kit that dries very quickly and can be troweled on into the low spots.
Enjoy your New Floor!
You did it! As DIY enthusiasts this project seemed overwhelming even to us. But with enough research, proper preparation and working fast, you can save thousands on labor cost and not bringing in expert help. Although it felt intimidating, when we got into it, it really was not all that hard and I’m glad we tackled it as a DIY!

I am so incredibly glad that we did this in our cabin! The level floors make such a difference and make our flooring go down easy-peasy!