How to Remove and Reinstall Baseboards Yourself!
We have removed and reinstalled SO MANY baseboards in our home, I feel like I now have a system down pat. It can be hard to get the baseboards off without making a mess of the walls, and then hard for them to look good again once they go back on. Here are all my top tips for how to remove and reinstall baseboards yourself!
This post may contain affiliate links. That means if you purchase anything from these links I earn a small commission, at no extra cost to you! This helps support my blog, so thank you!
Why Would You Want to Remove the Baseboards?
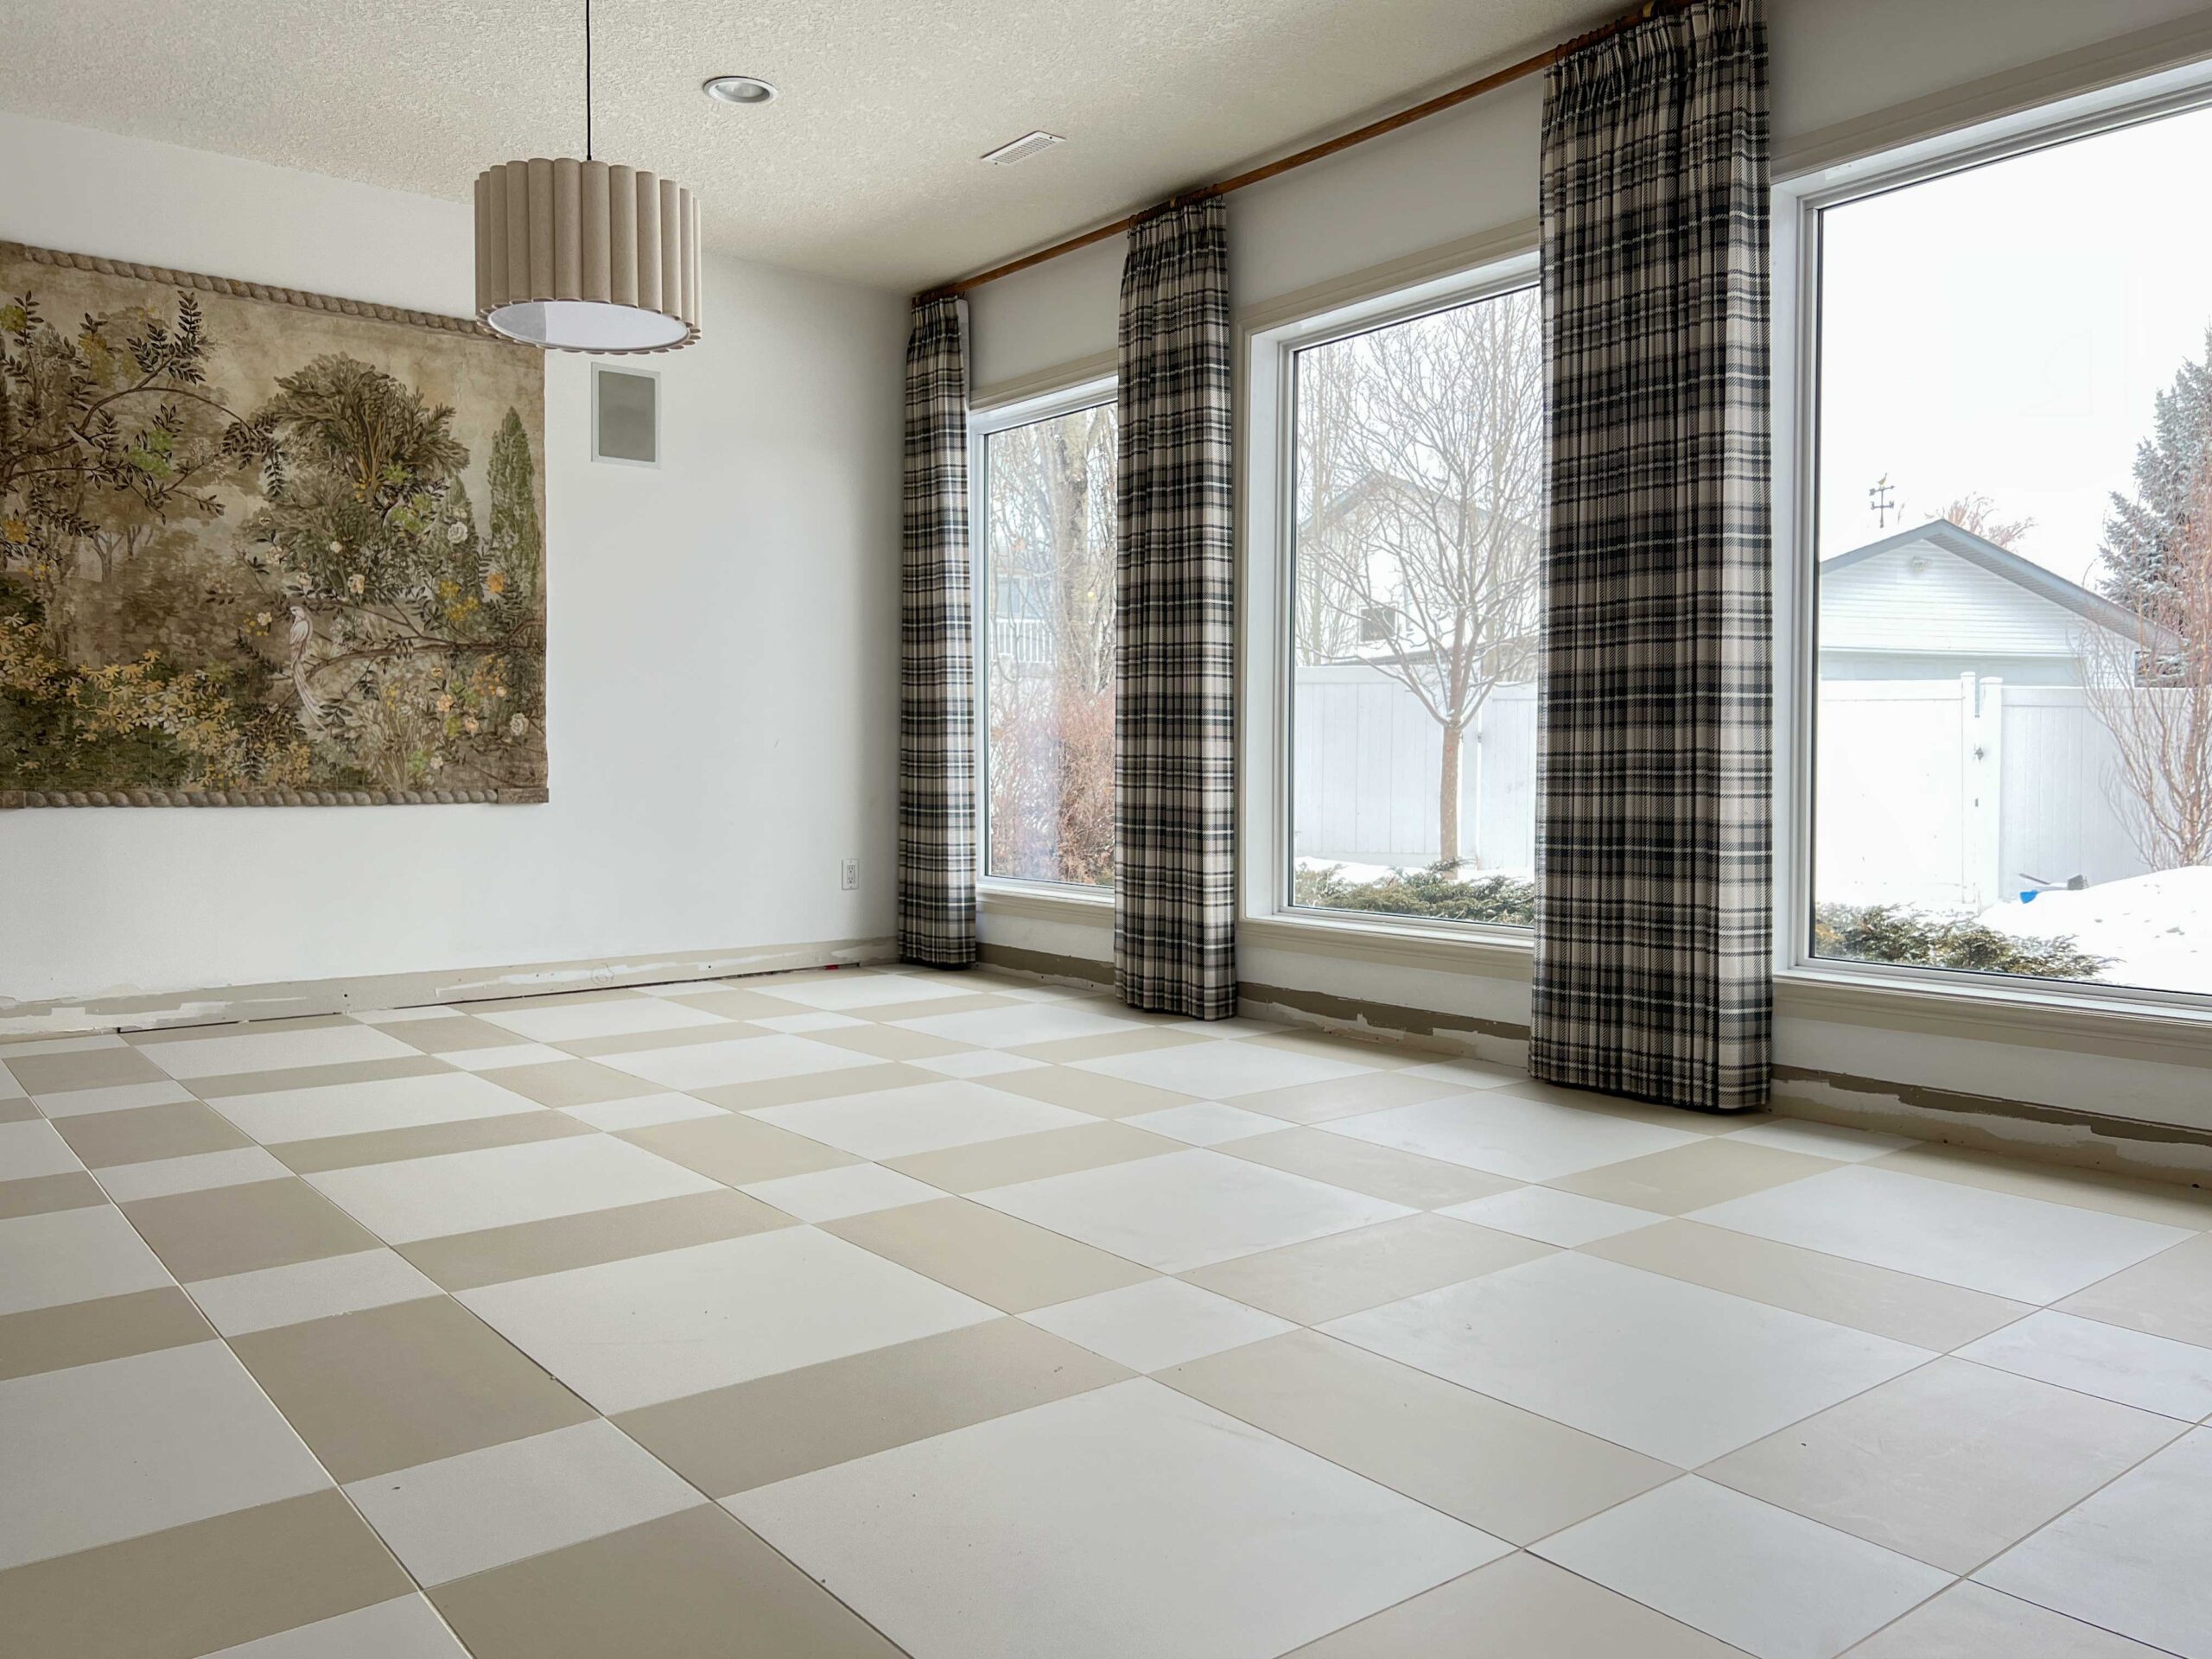
Whenever you install flooring, it is a good idea to remove the baseboards. This way, you can run your baseboards up to the wall and cover that space against the wall with a piece of baseboard. This covers the gap for a seamless look.
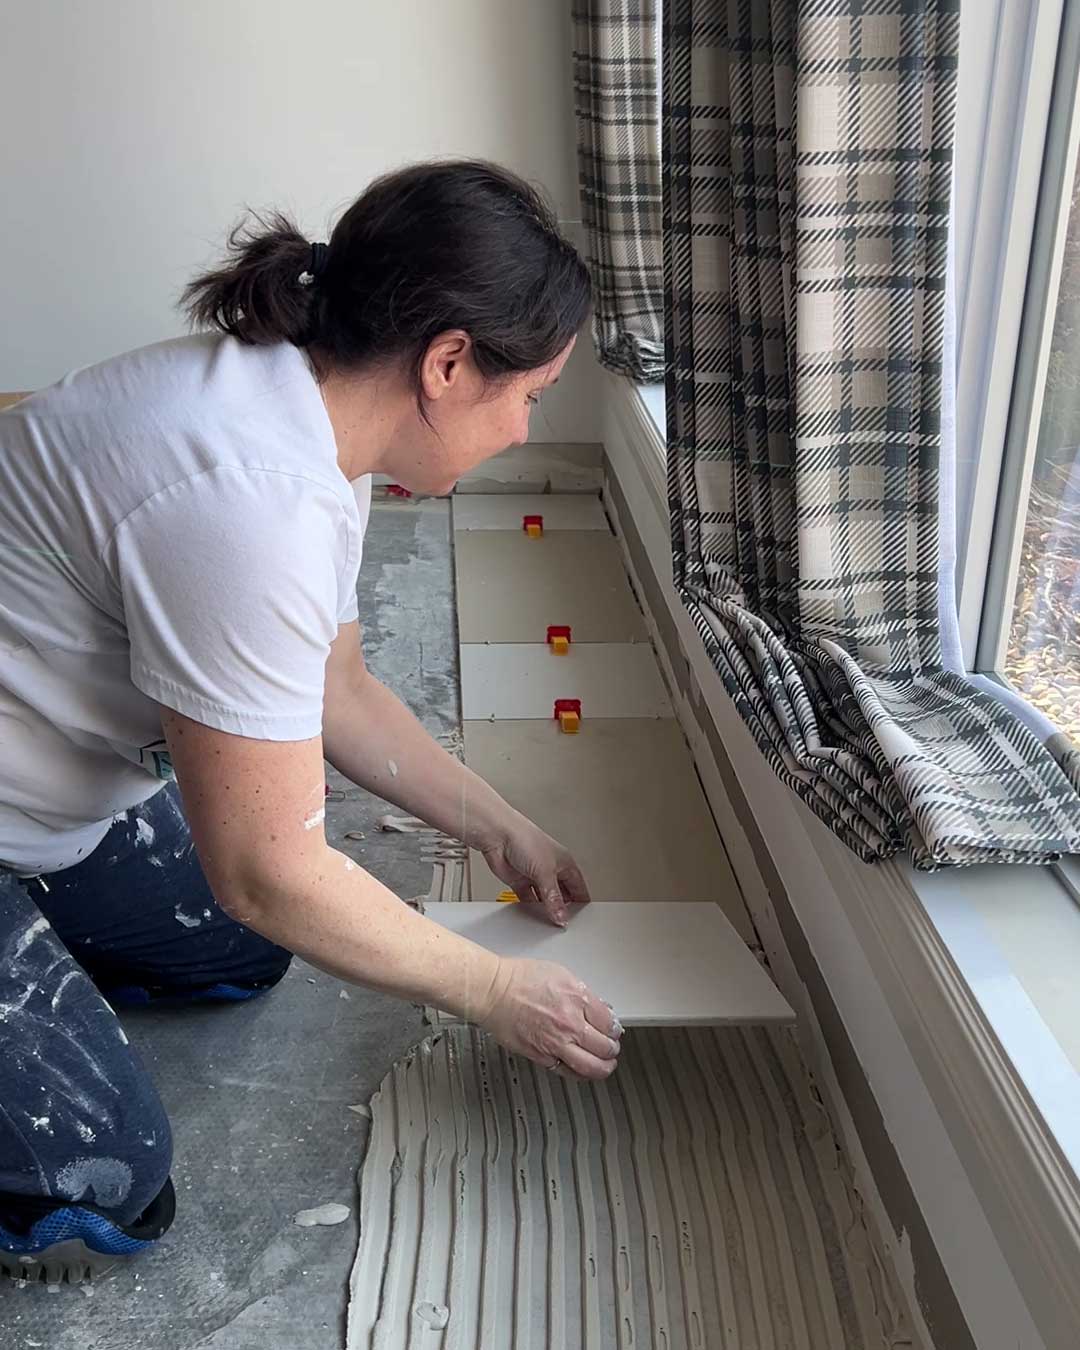
But unless you want to install all new baseboards, you are going to want to remove those pretty carefully so they can be reinstalled.
Some people choose not to remove their baseboards and instead install shoe moulding, which is a small piece of moulding intended to cover the unsightly gap between the flooring and the old baseboard.
Removing the Baseboard – Step 1 – Cut the Caulking
Before you start, make sure you take a utility knife and cut the caulking along the top edge of the baseboard. There is usually a small bead of caulking that is often painted over that makes the baseboard sit tight to the wall.
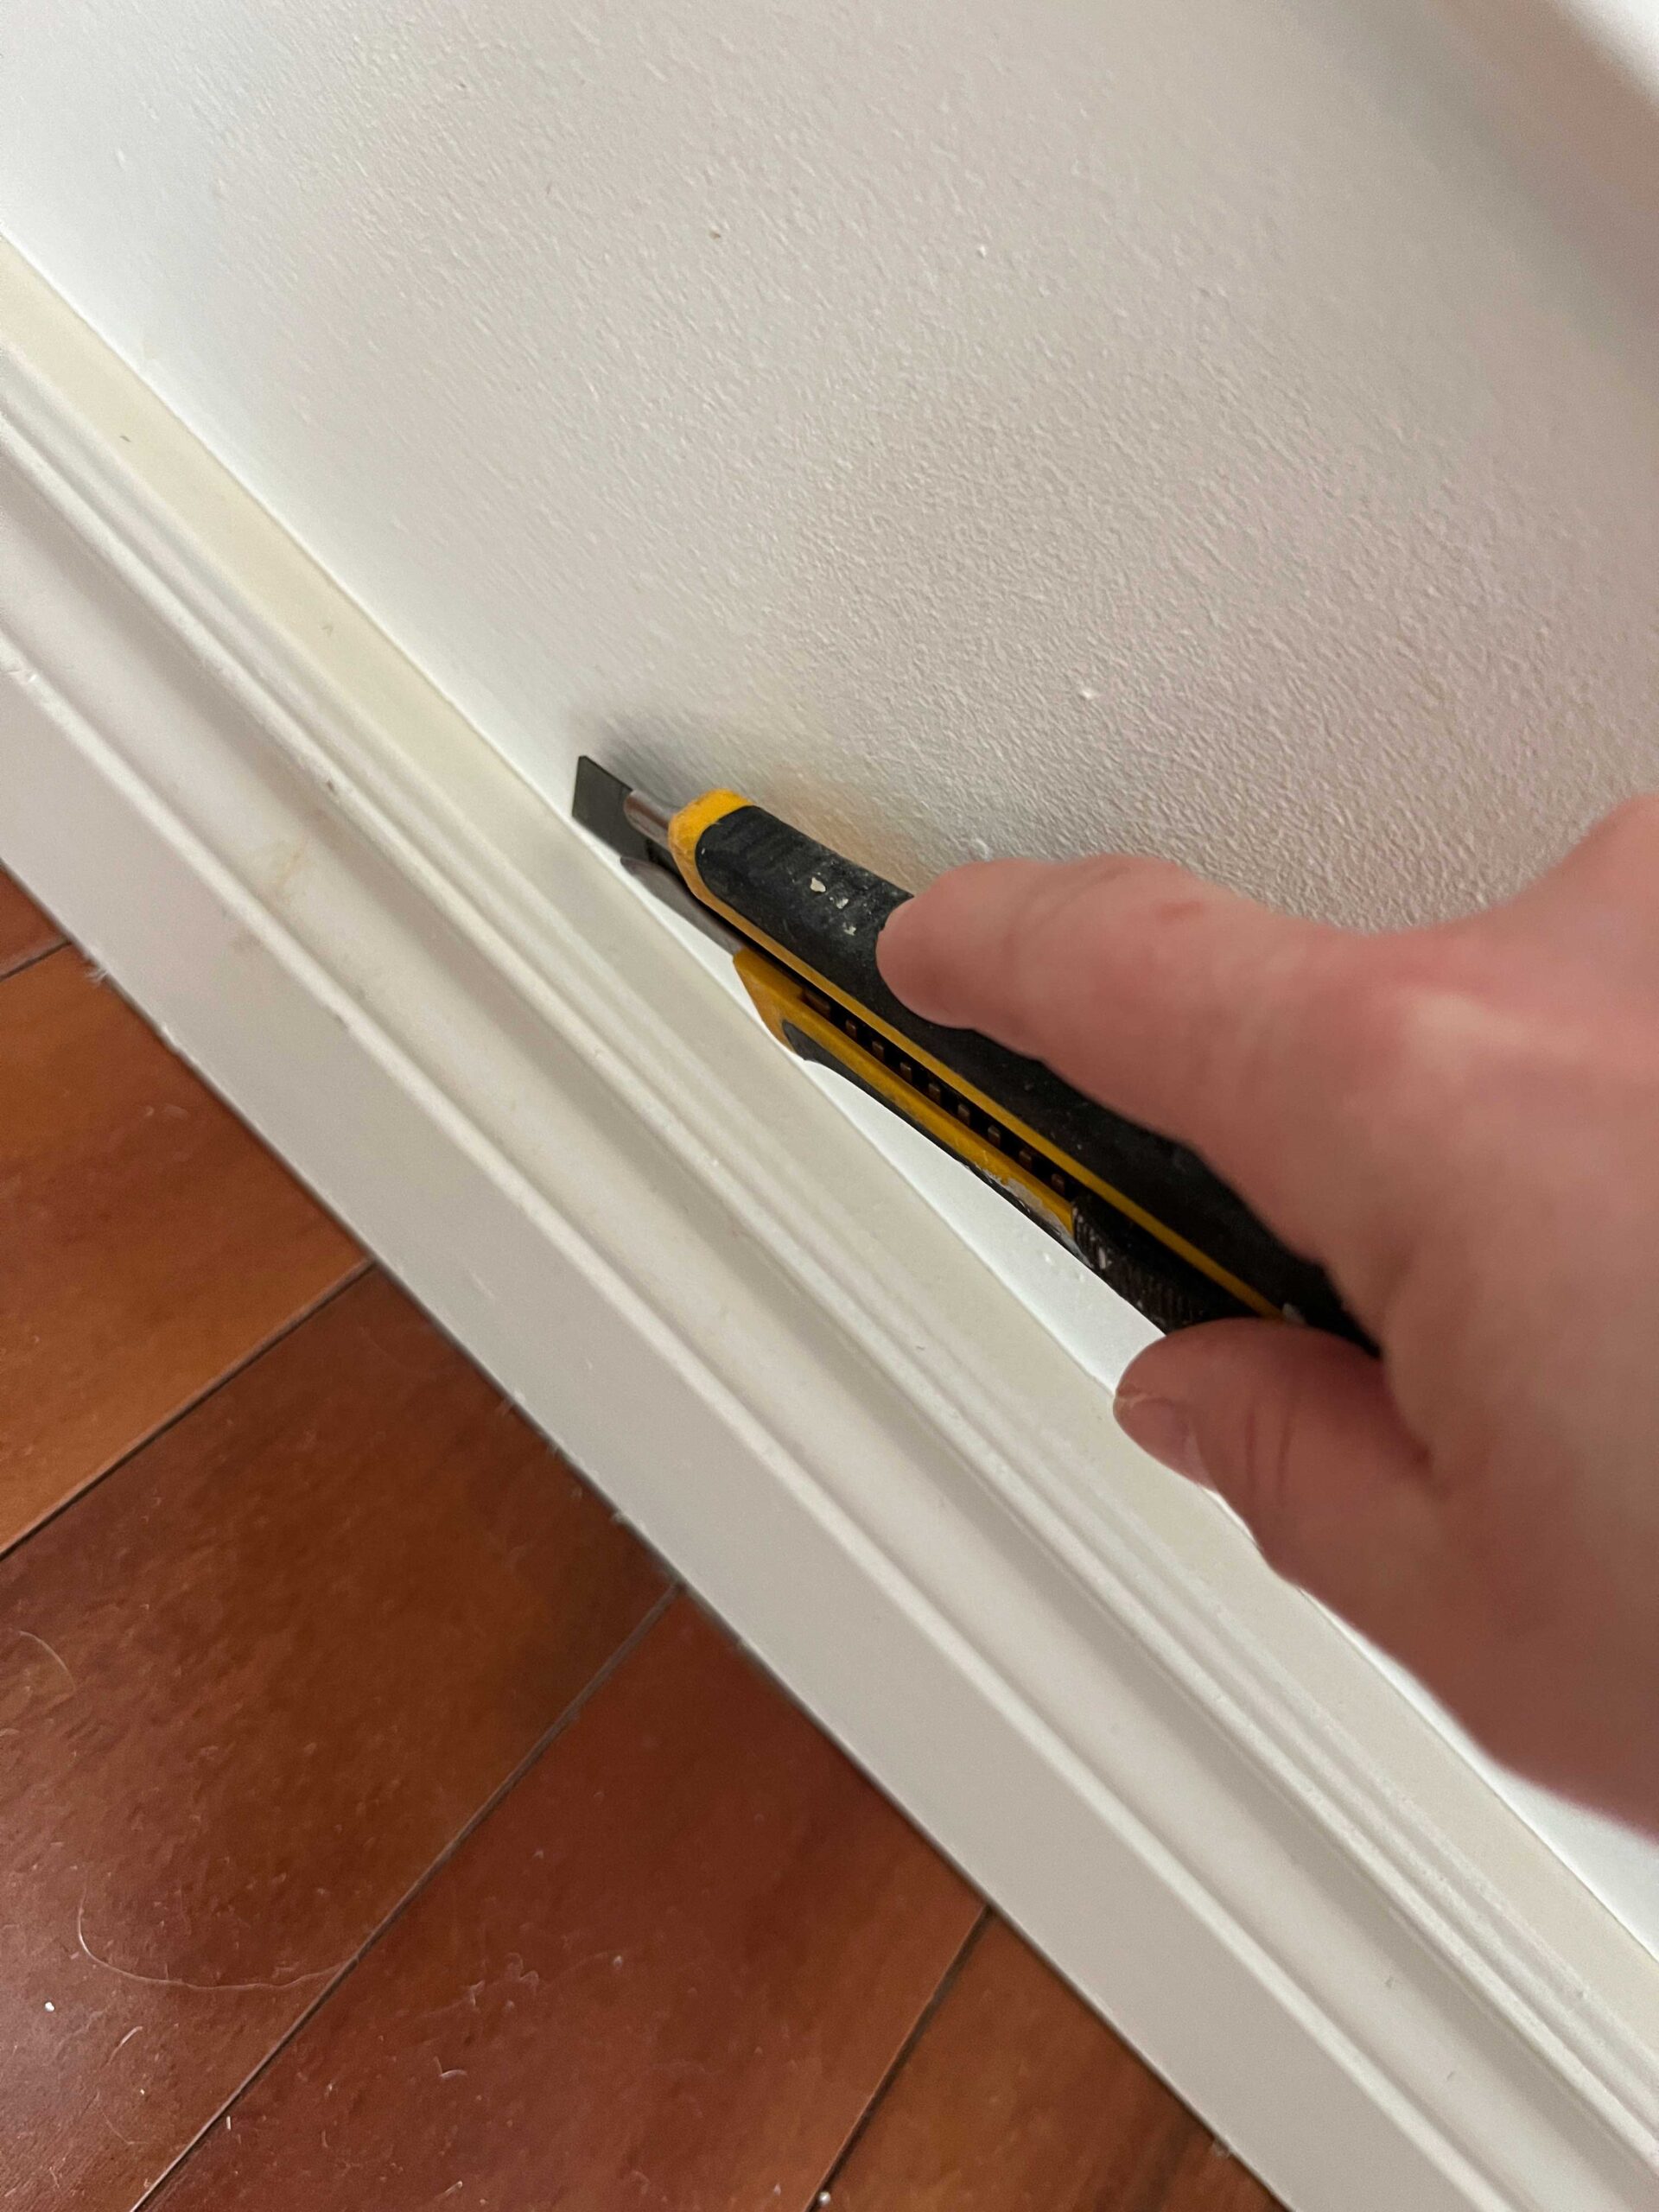
Run your utility knife carefully along this edge to cut that free from the wall. If you don’t, you might end up taking a bunch of drywall (or just the top layer of drywall paper) with the baseboard when you remove it. If that happens, you will have some wall repairs to do, as well!
Removing the Baseboard – Step 2 – Pull the Boards Off
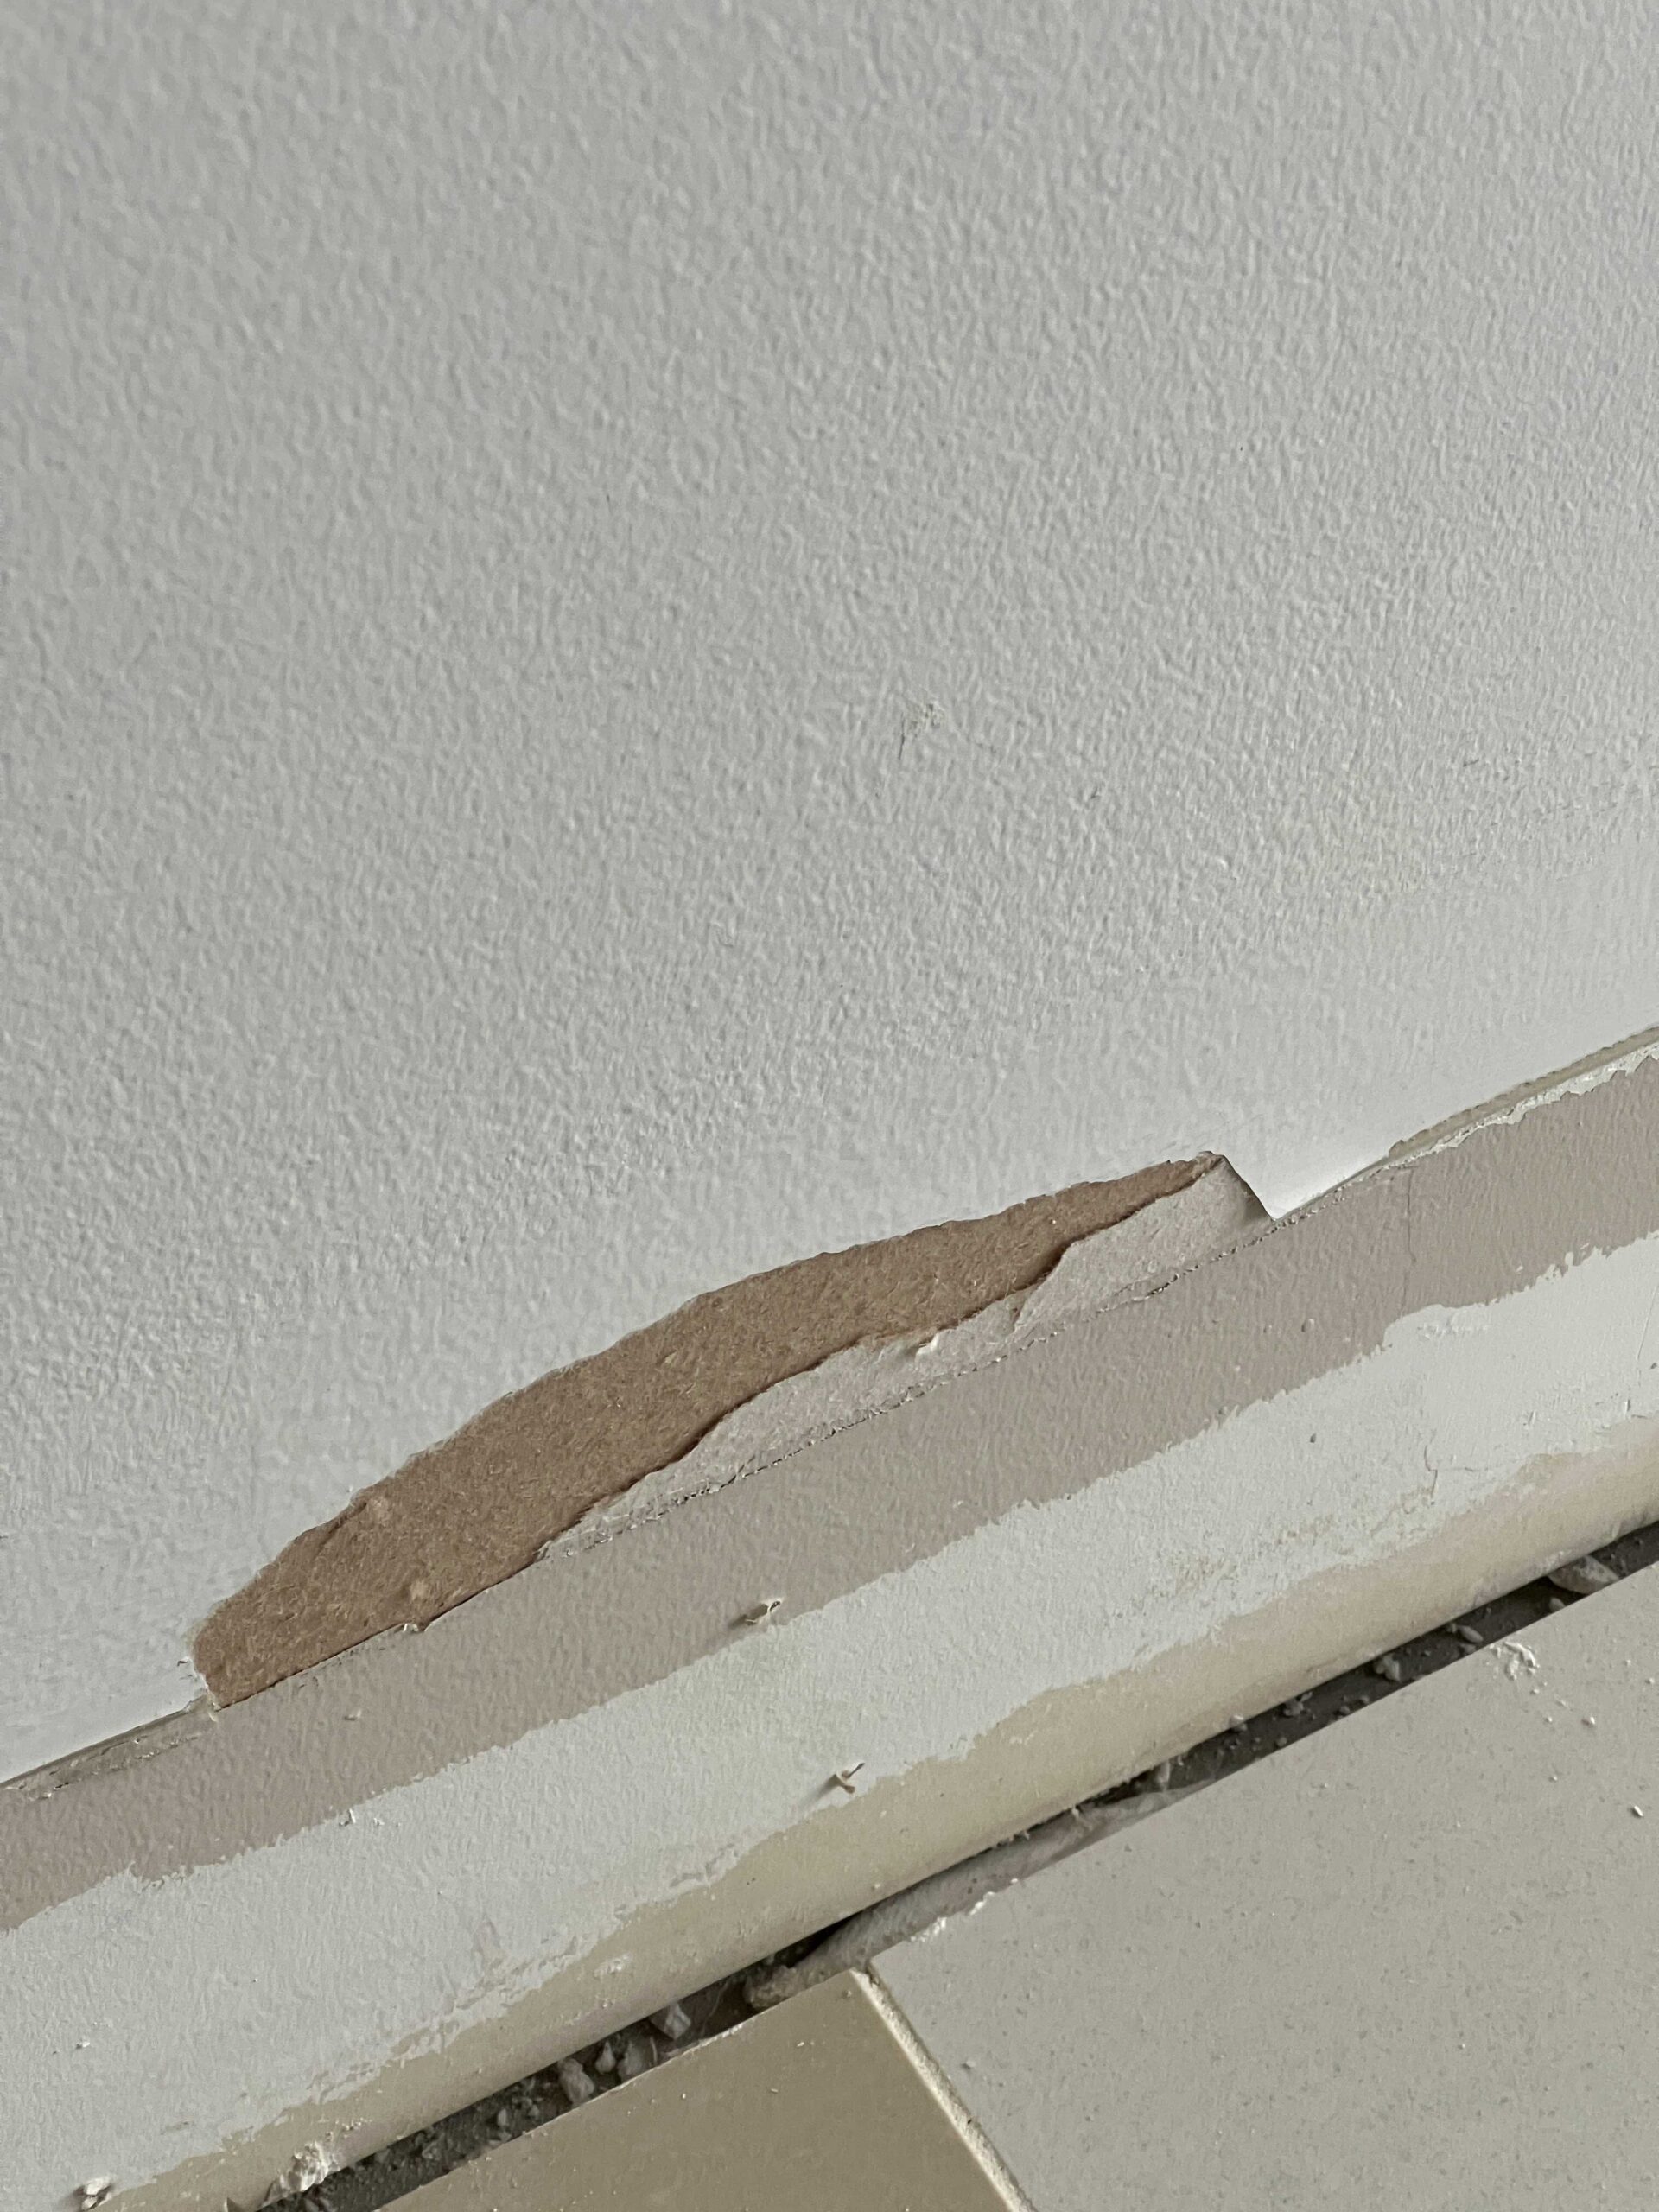
The next step is to pry the baseboards off the wall. If you are not careful, you can do a lot of wall damage in this step too. If you take a pry bar and just start sticking it willy-nilly behind the baseboards and pulling them off, there is a good chance you will put that pry bar right through the wall.
When prying, you have to be very carefuly that you only do that where there is a stud. If there is no stud behind the drywall, the tool will just go straight through. (Ask me how I know that!)
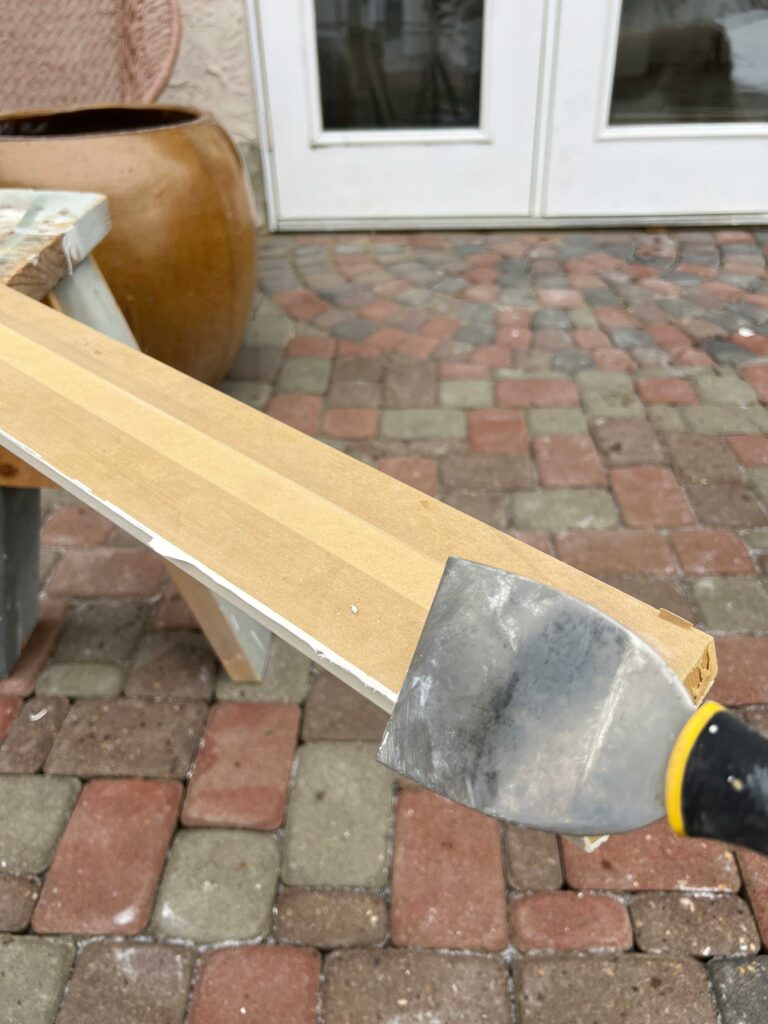
When we were removing the baseboards to install some hardwood floors at my parent’s house I bought a baseboard removal tool that is a game changer! It has a wide, flat part that sits up against the drywall and distributes the prying force along the drywall so it doesn’t punch through. It works so well, it’s what we always use now!
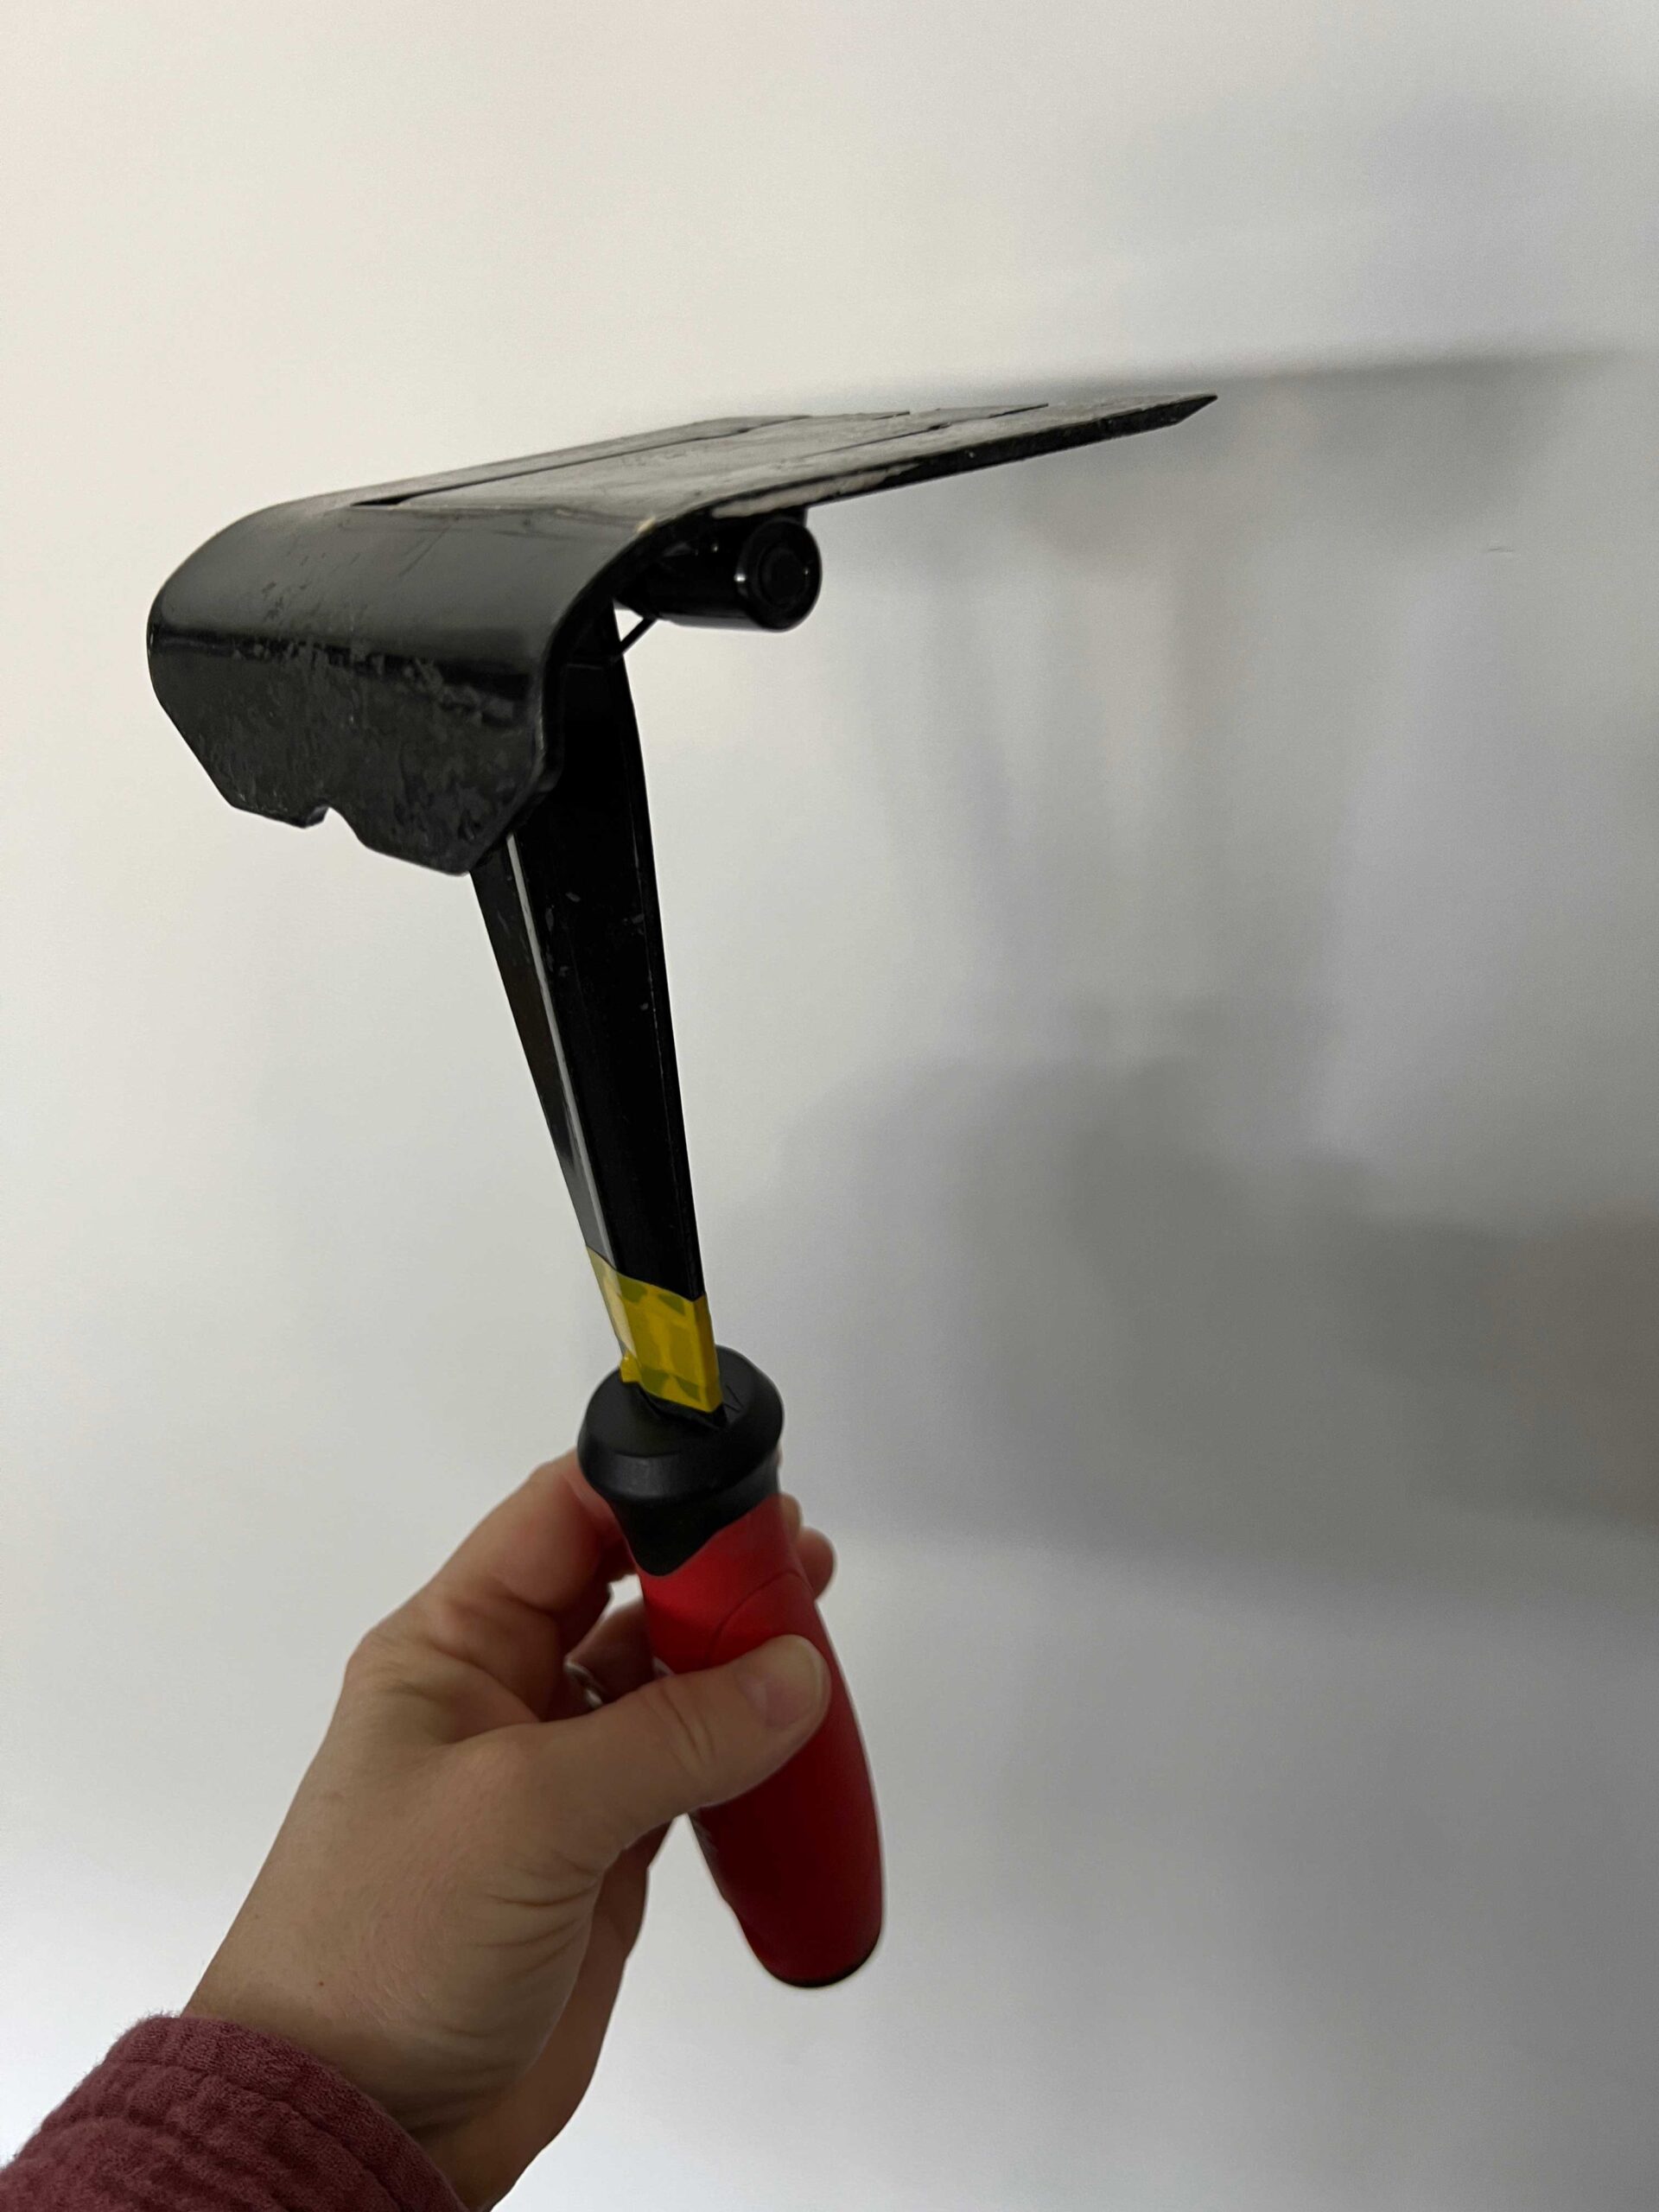
To get started, use a putty knife or something very flat to work behind the baseboard and pry off carefully. Work you way down the baseboard, pulling off a little at a time using the putty knife or the baseboard removal tool. If you need a pry bar, be careful to only do those at stud locations.

Once it’s a little loose you might be able to gently pull it off. Take care not to apply too much force or you could break it!

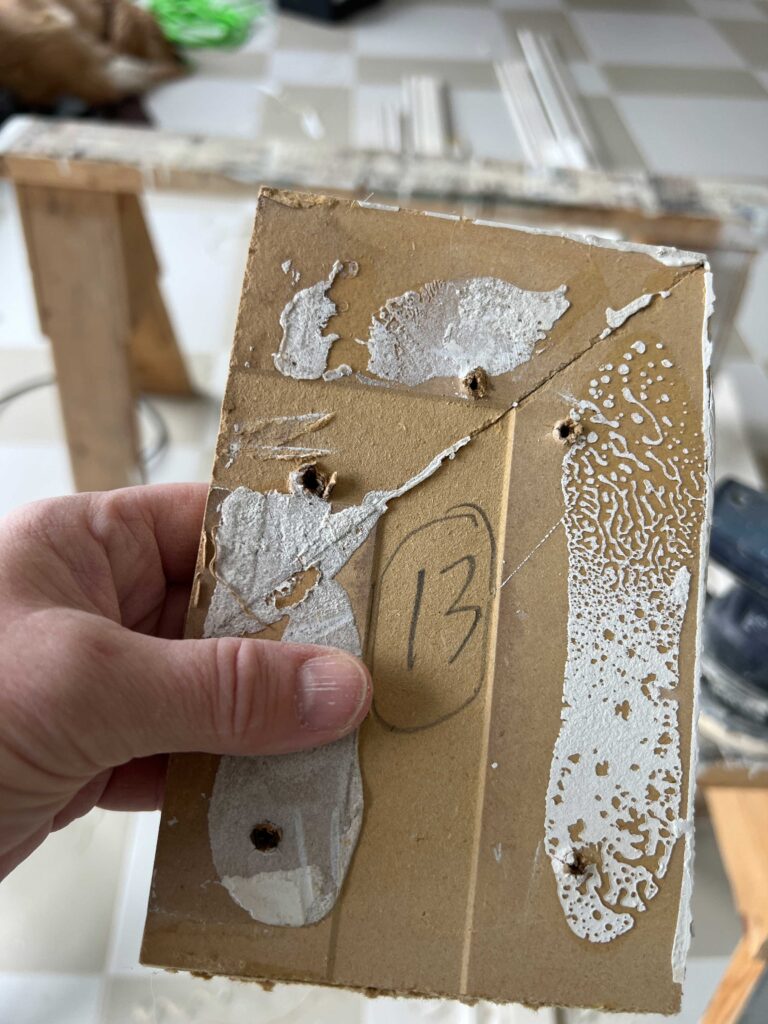
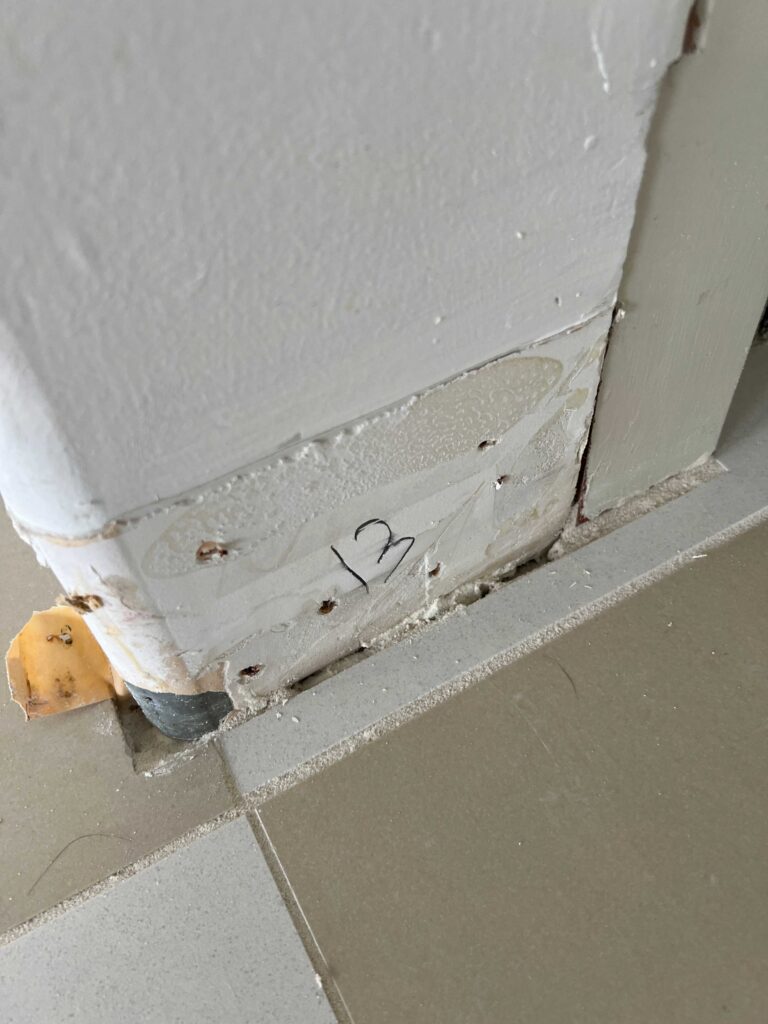
Number as you go
Save yourself some headache and number the baseboards as you to to reinstall them. I like to write a number on the back of the baseboard and that same number on the wall where they go so there is no question!
Step 3 – Prep the Boards and Wall to Reinstall
After you have finished your project and are ready to reinstall the baseboard, make sure you take a minute to clean them up.
They will likely have old caulking stuck to the top edge of them. You can peel this off or sand it so that top edge is smooth again.

You will also have to remove the old nails. I find the best way to do this (depending on the types of nails used!) is to pull them through from the back. If a nail gun was used to install small finishing nails, they should pull through the back pretty easily and that helps you avoid having to fill a bunch of old nail holes.
I like to use a pair of pliers and pull them from the base of the nail and twist rather than pull straight up so the nails pull out instead of breaking. If you do get some that break, cut if as short as you can and take a nail set or a nail punch and push them below the surface so you can fill in the hole with a little wood putty.
If there are any nail holes or imperfections, take some time to fill them and sand to make your baseboard look like new again.

This is a good time to put a quick coat of paint on those baseboards too so you have to do minimal touch-ups once they are back on the wall!
If you have any wall damage or any caulking stuck to the wall, peel that off too and repair the wall. Touch up any paint on the wall too.

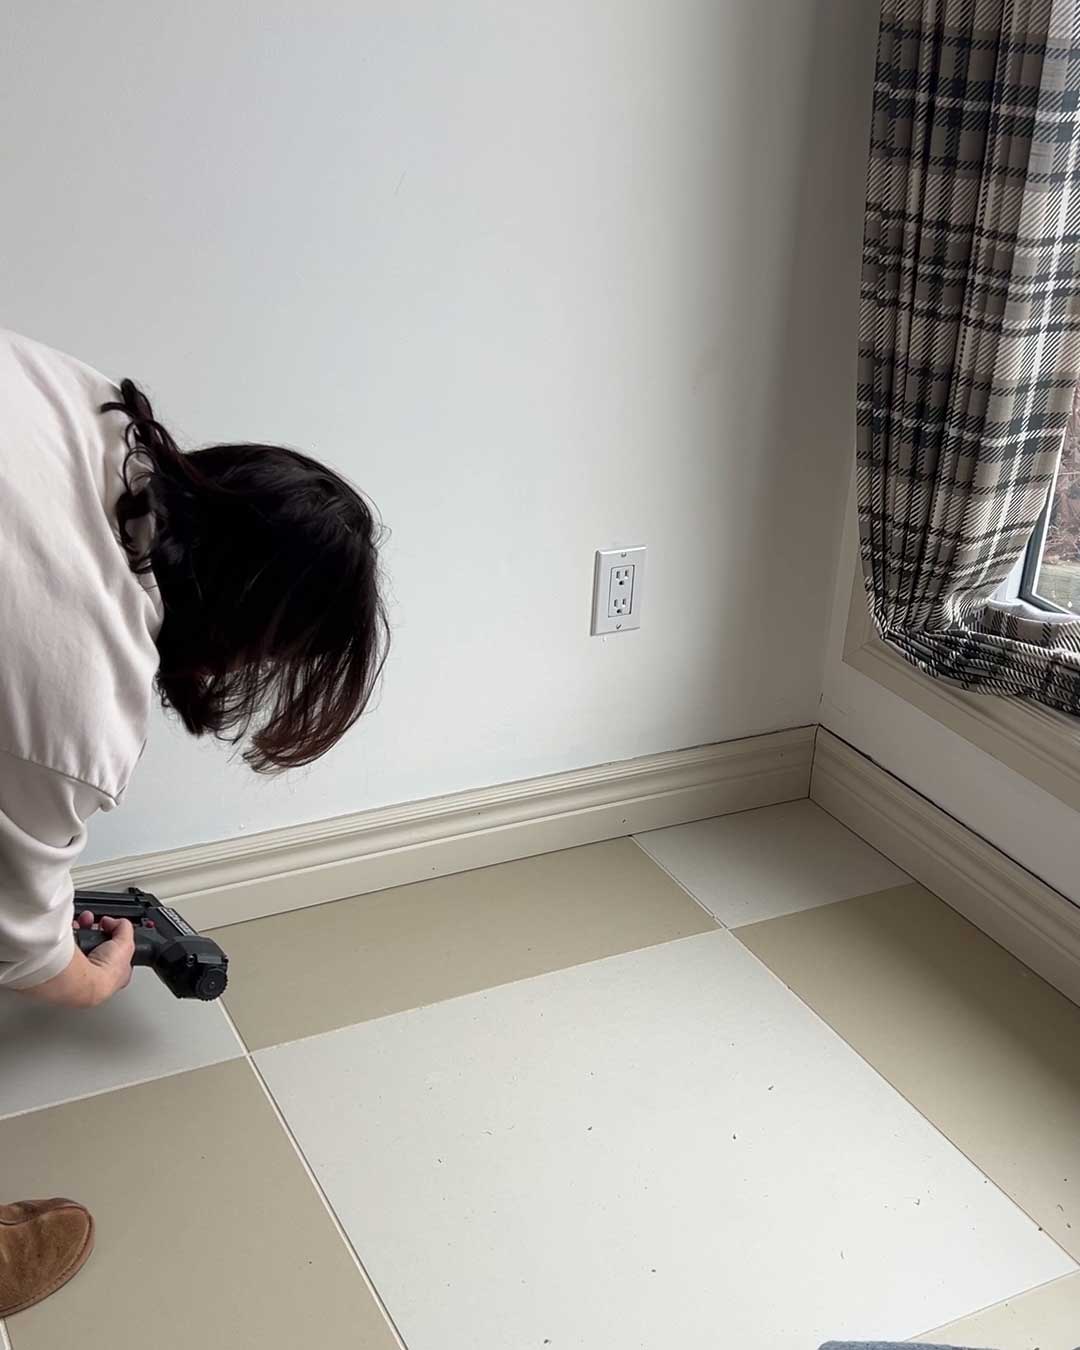
Step 4 -Reinstall the Baseboards
This is the point in the project where you are going to be thanking your foresight to number those guys!
Using finishing nails or a nail gun, reinstall your baseboards. Try to add the nails where you know there are studs. I like to add glue to any of the corners or miters so that they don’t come apart at the seams with any movement of the wood.
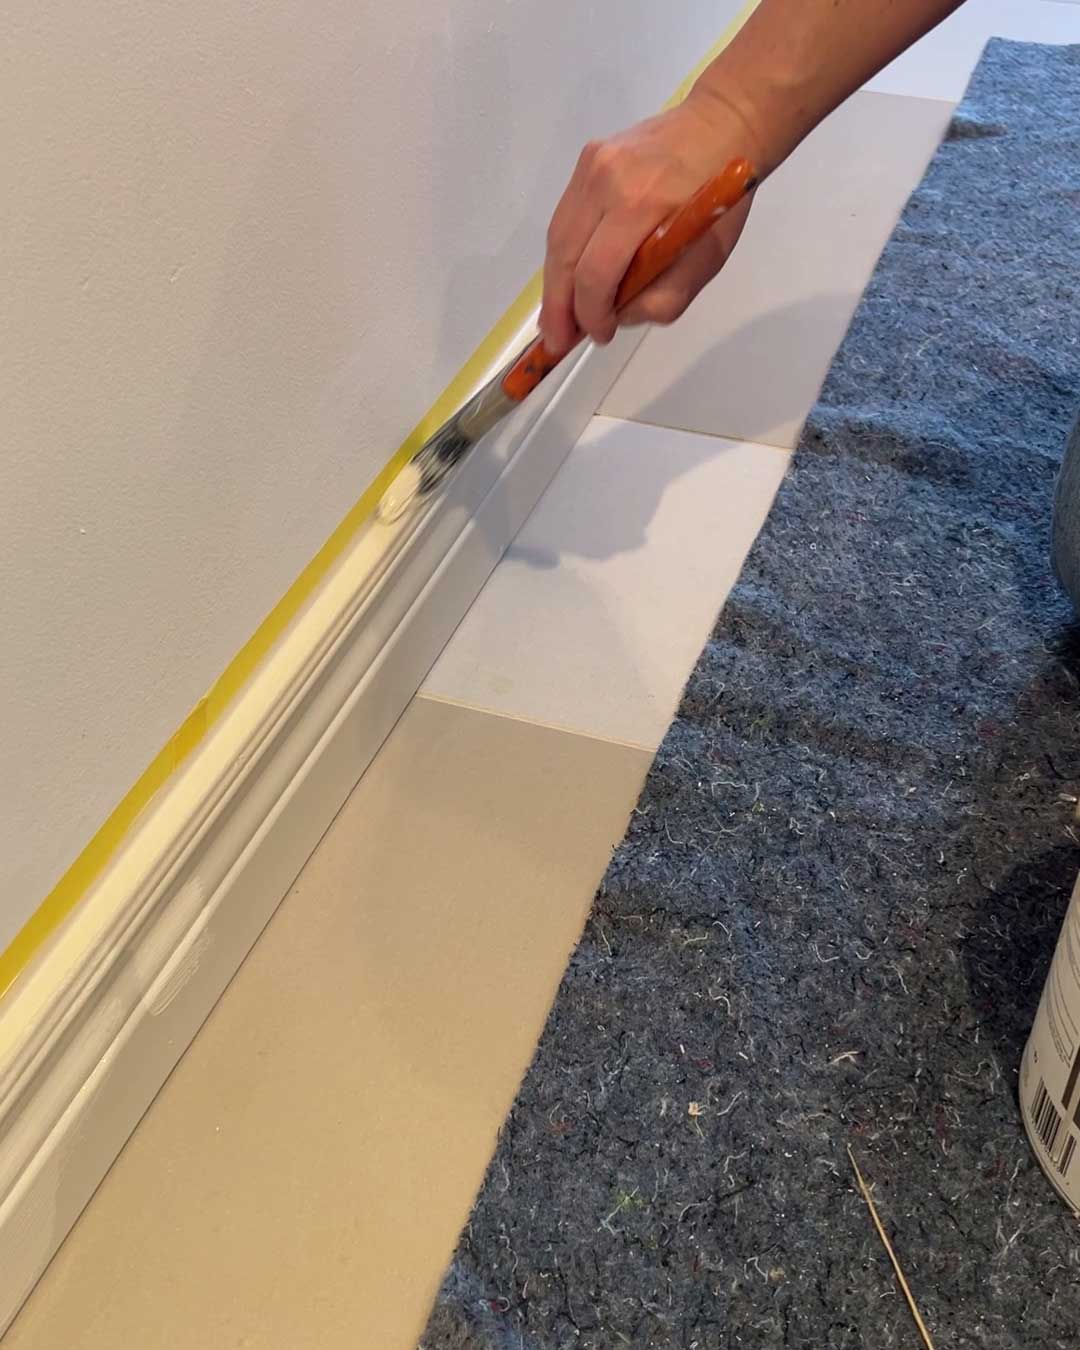
Step 5 – Caulk and Paint your Baseboards Finishing Touches
Once your boards are back on, it’s important to take the extra step to making them look really finished. Add a small bead of paintable caulking along the top edge and at the seams.


Fill in your nail holes with spackle or wood filler and sand those smooth.
Finally, add a coat of paint to the baseboards to cover the caulking and the nail holes.
I think it is worth saving and reinstalling baseboards whenever you can. It keeps materials out of the landfill, ensures your home has the same consistent baseboards throughout, and saves time by not having to redo all the cutting!

I hope this gave you the confidence and knowledge you need on how to remove and reinstall baseboards and have a professional-looking finish!
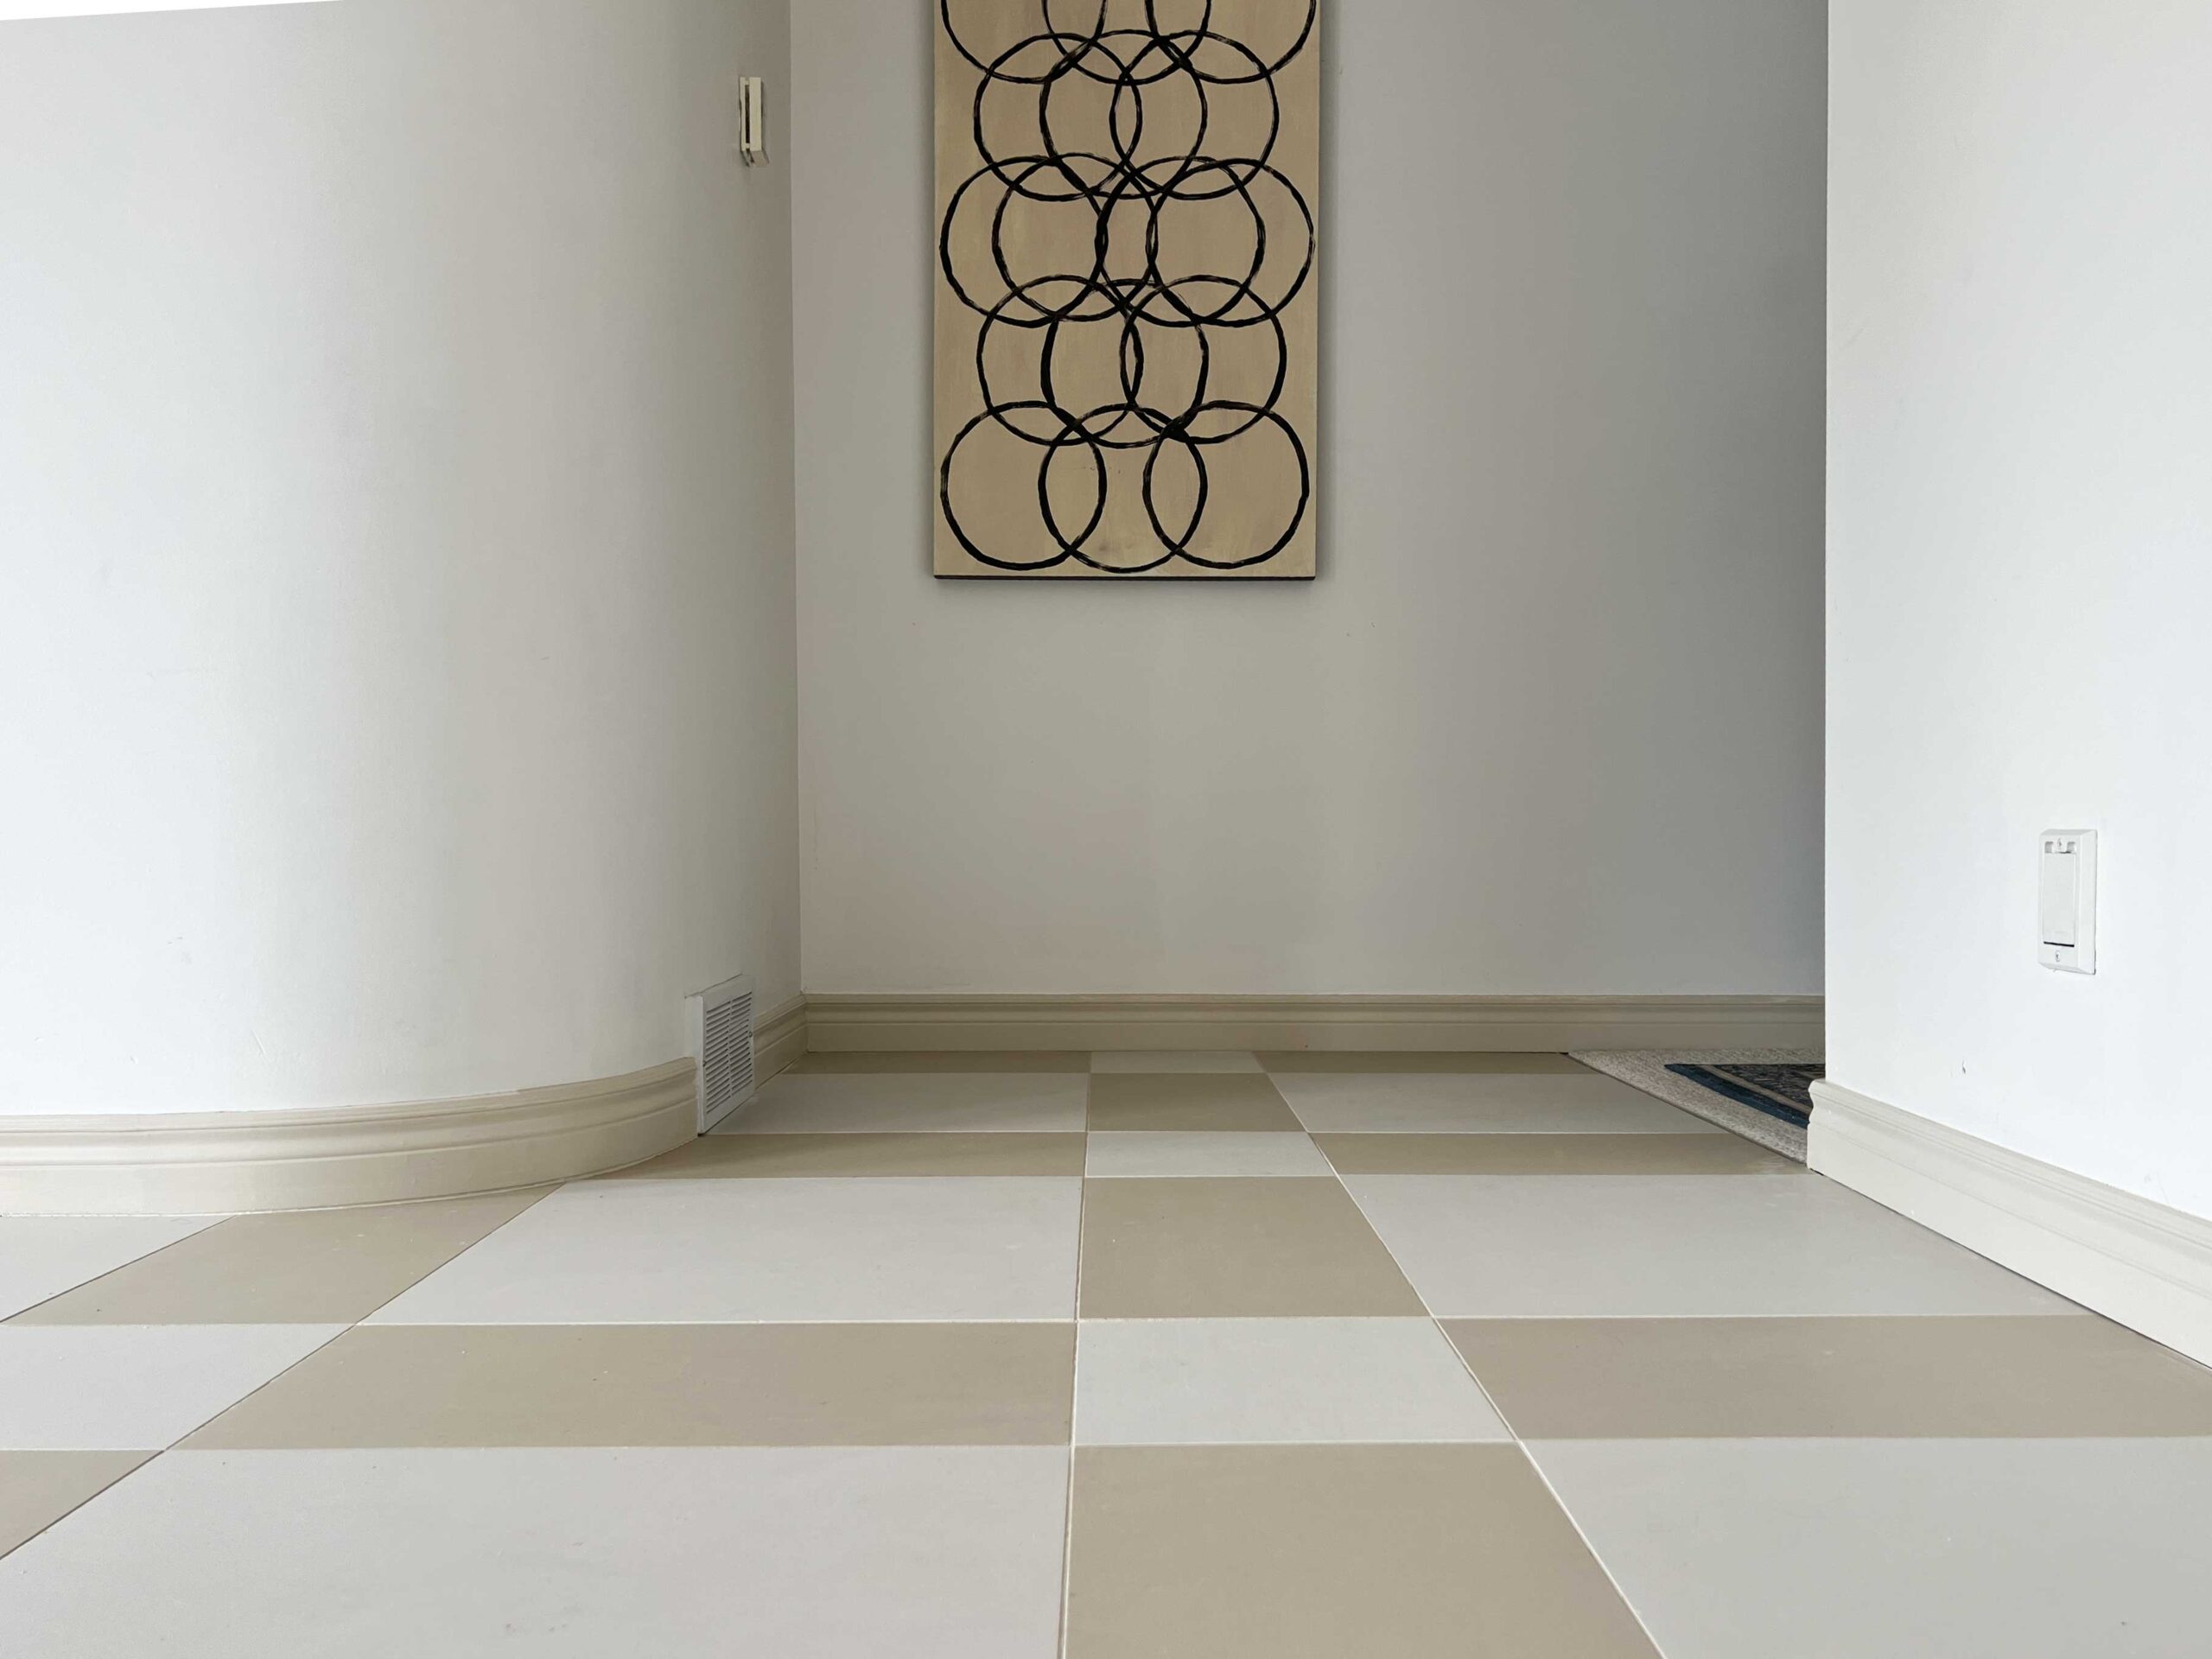
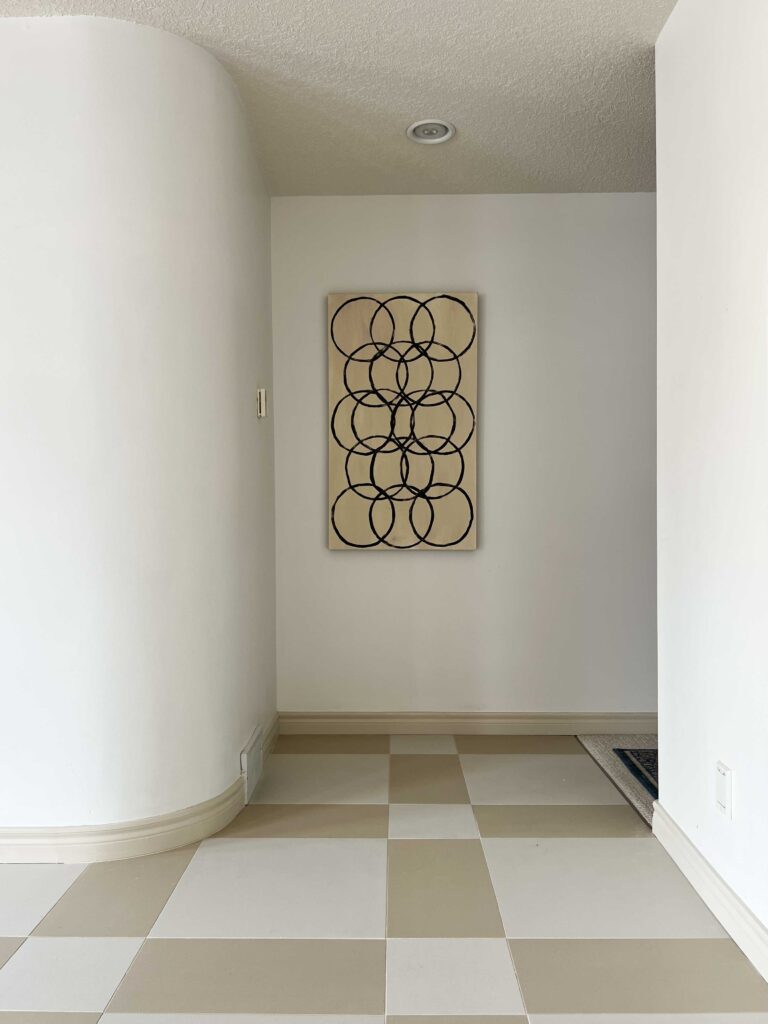
Tip: It is worth noting that in the photos above, I was trying to avoid having to re-paint my walls so I taped the walls when I caulked and painted the baseboard. However, this did not give me quite as clean of an edge as I would have liked.
Normally, I would paint the baseboard fully, add the tape to the top of the baseboard and caulk, and then paint the wall along the caulking edge. That gives a nicer, cleaner edge on the caulking and I recommend doing that instead of what I did in the photos above!