Using Vinyl Stained Glass Window Film for a Skylight
How we created DIY stained glass windows on our skylight by framing out the space and adding plexiglass and vinyl stained glass window film!
This post may contain affiliate links. That means if you purchase anything from these links I earn a small commission, at no extra cost to you! This helps support my blog, so thank you!
The Inspiration Behind the Idea
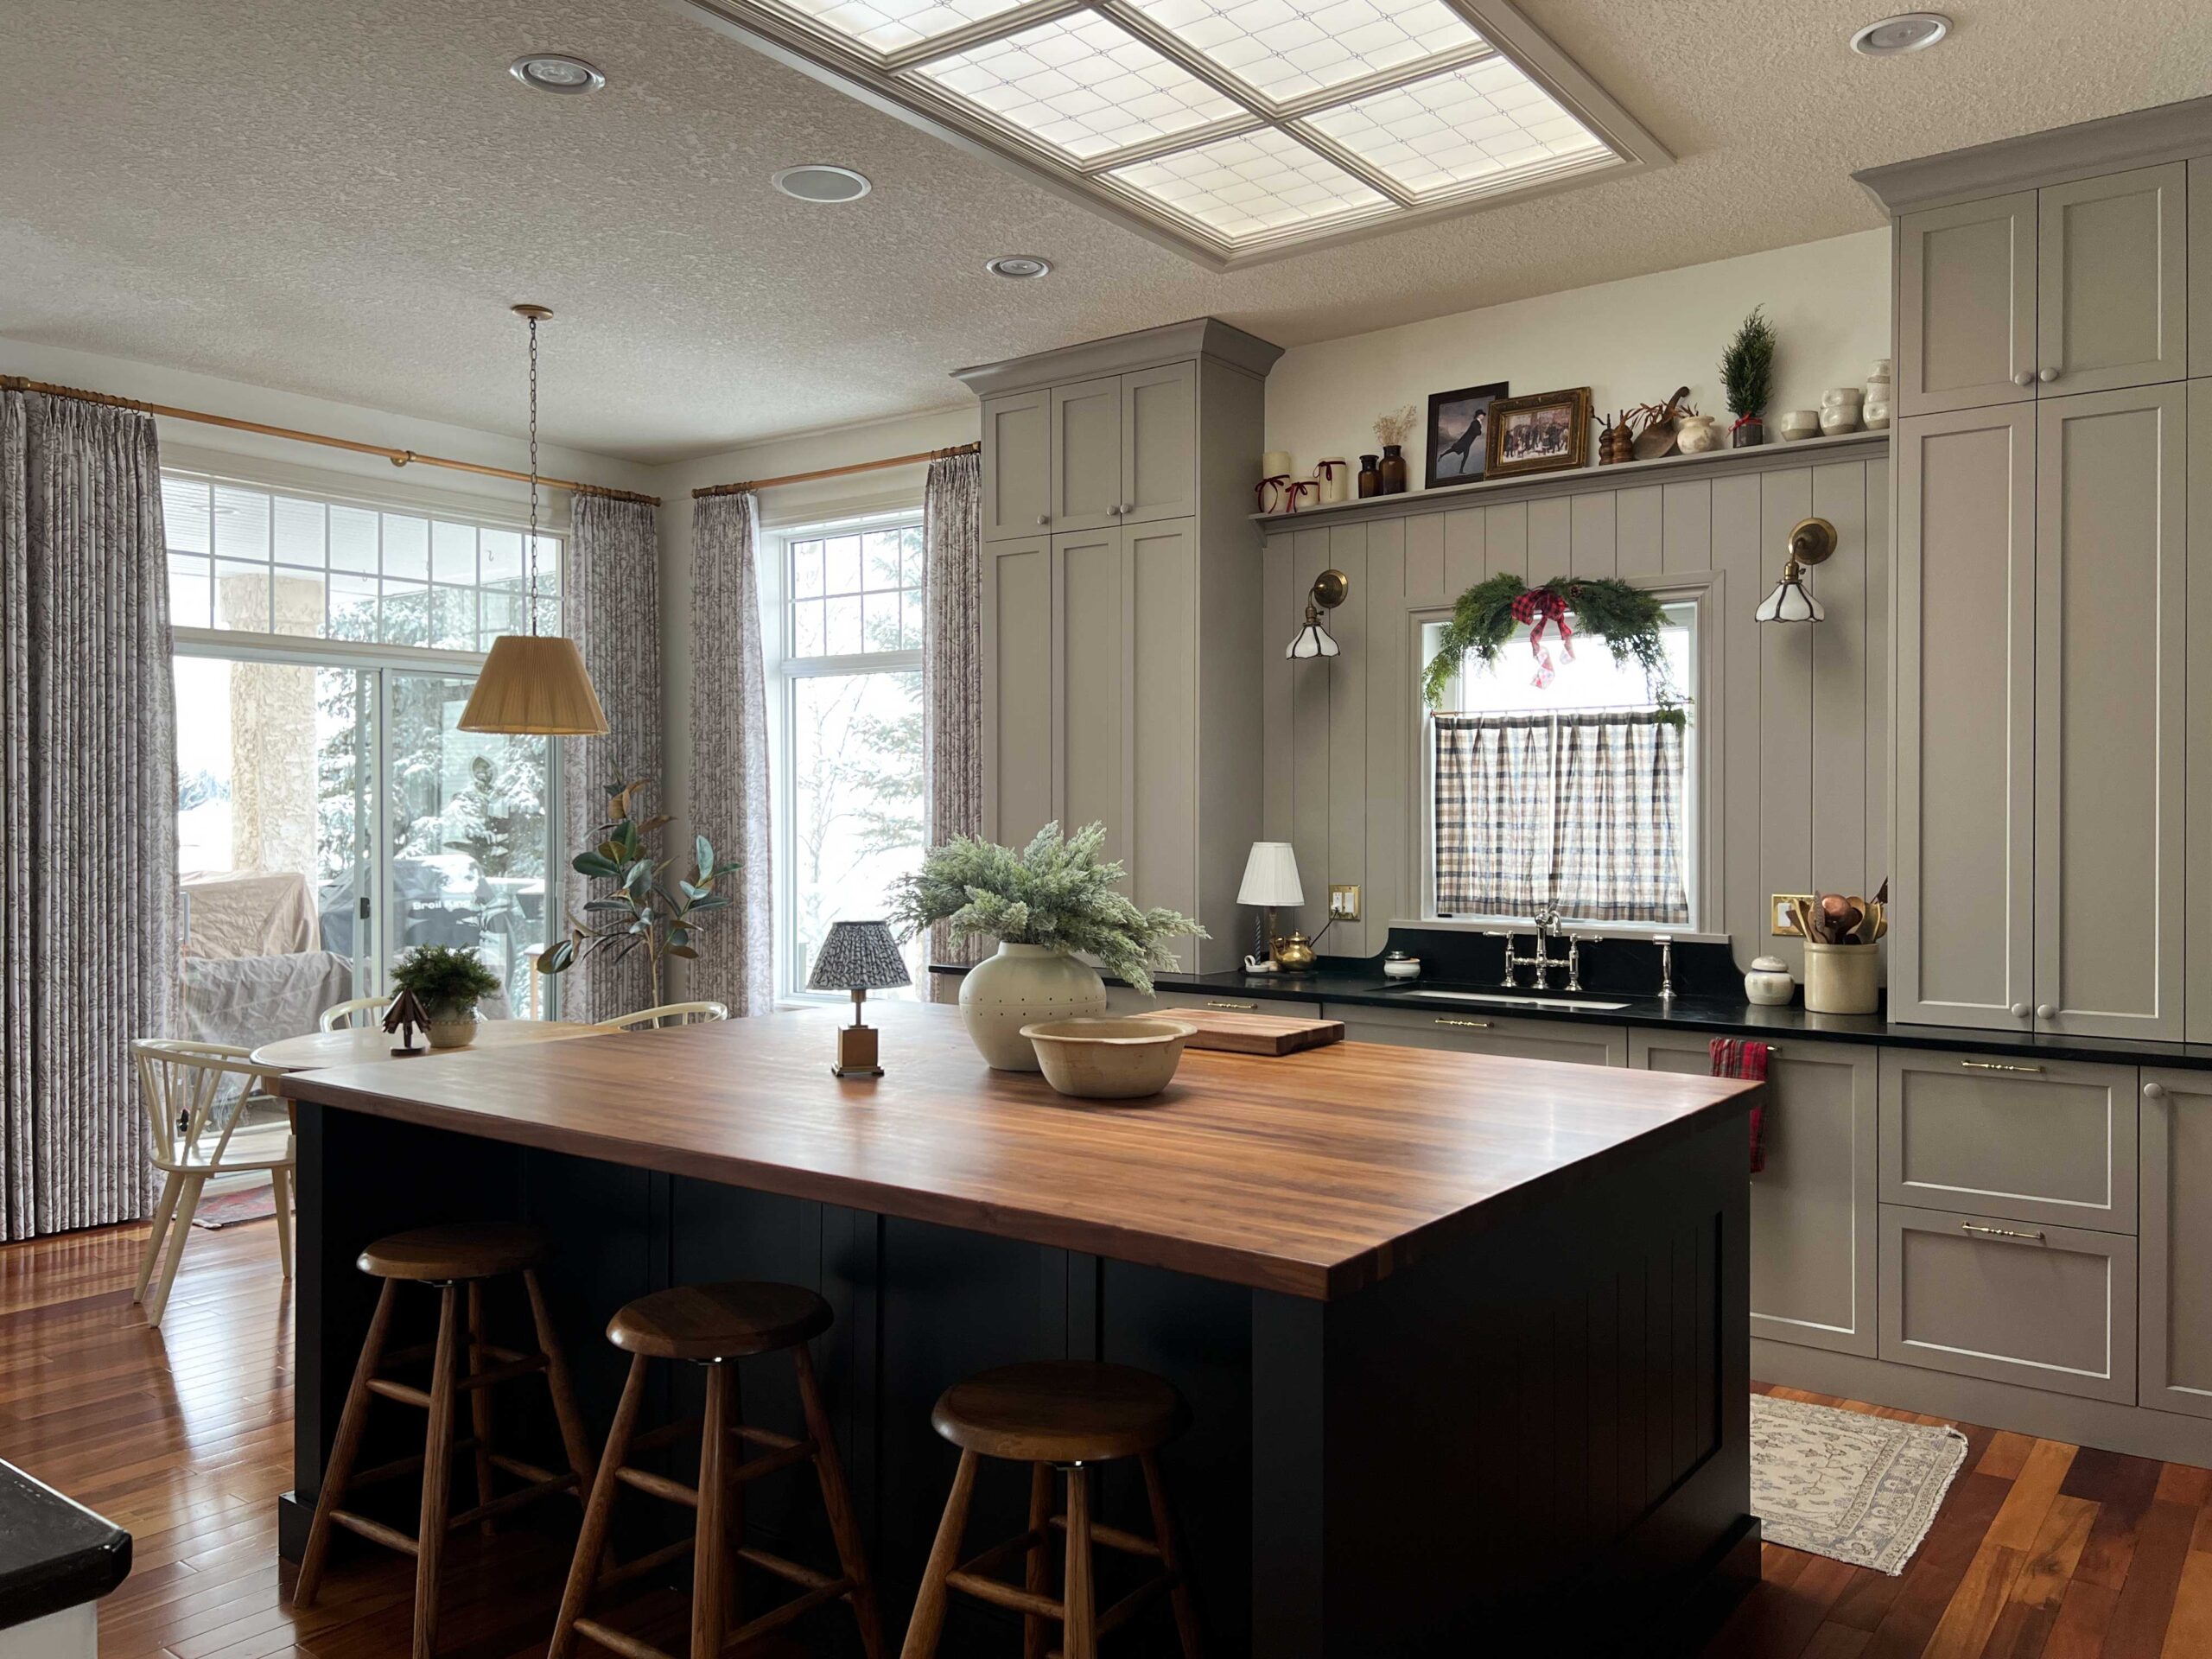
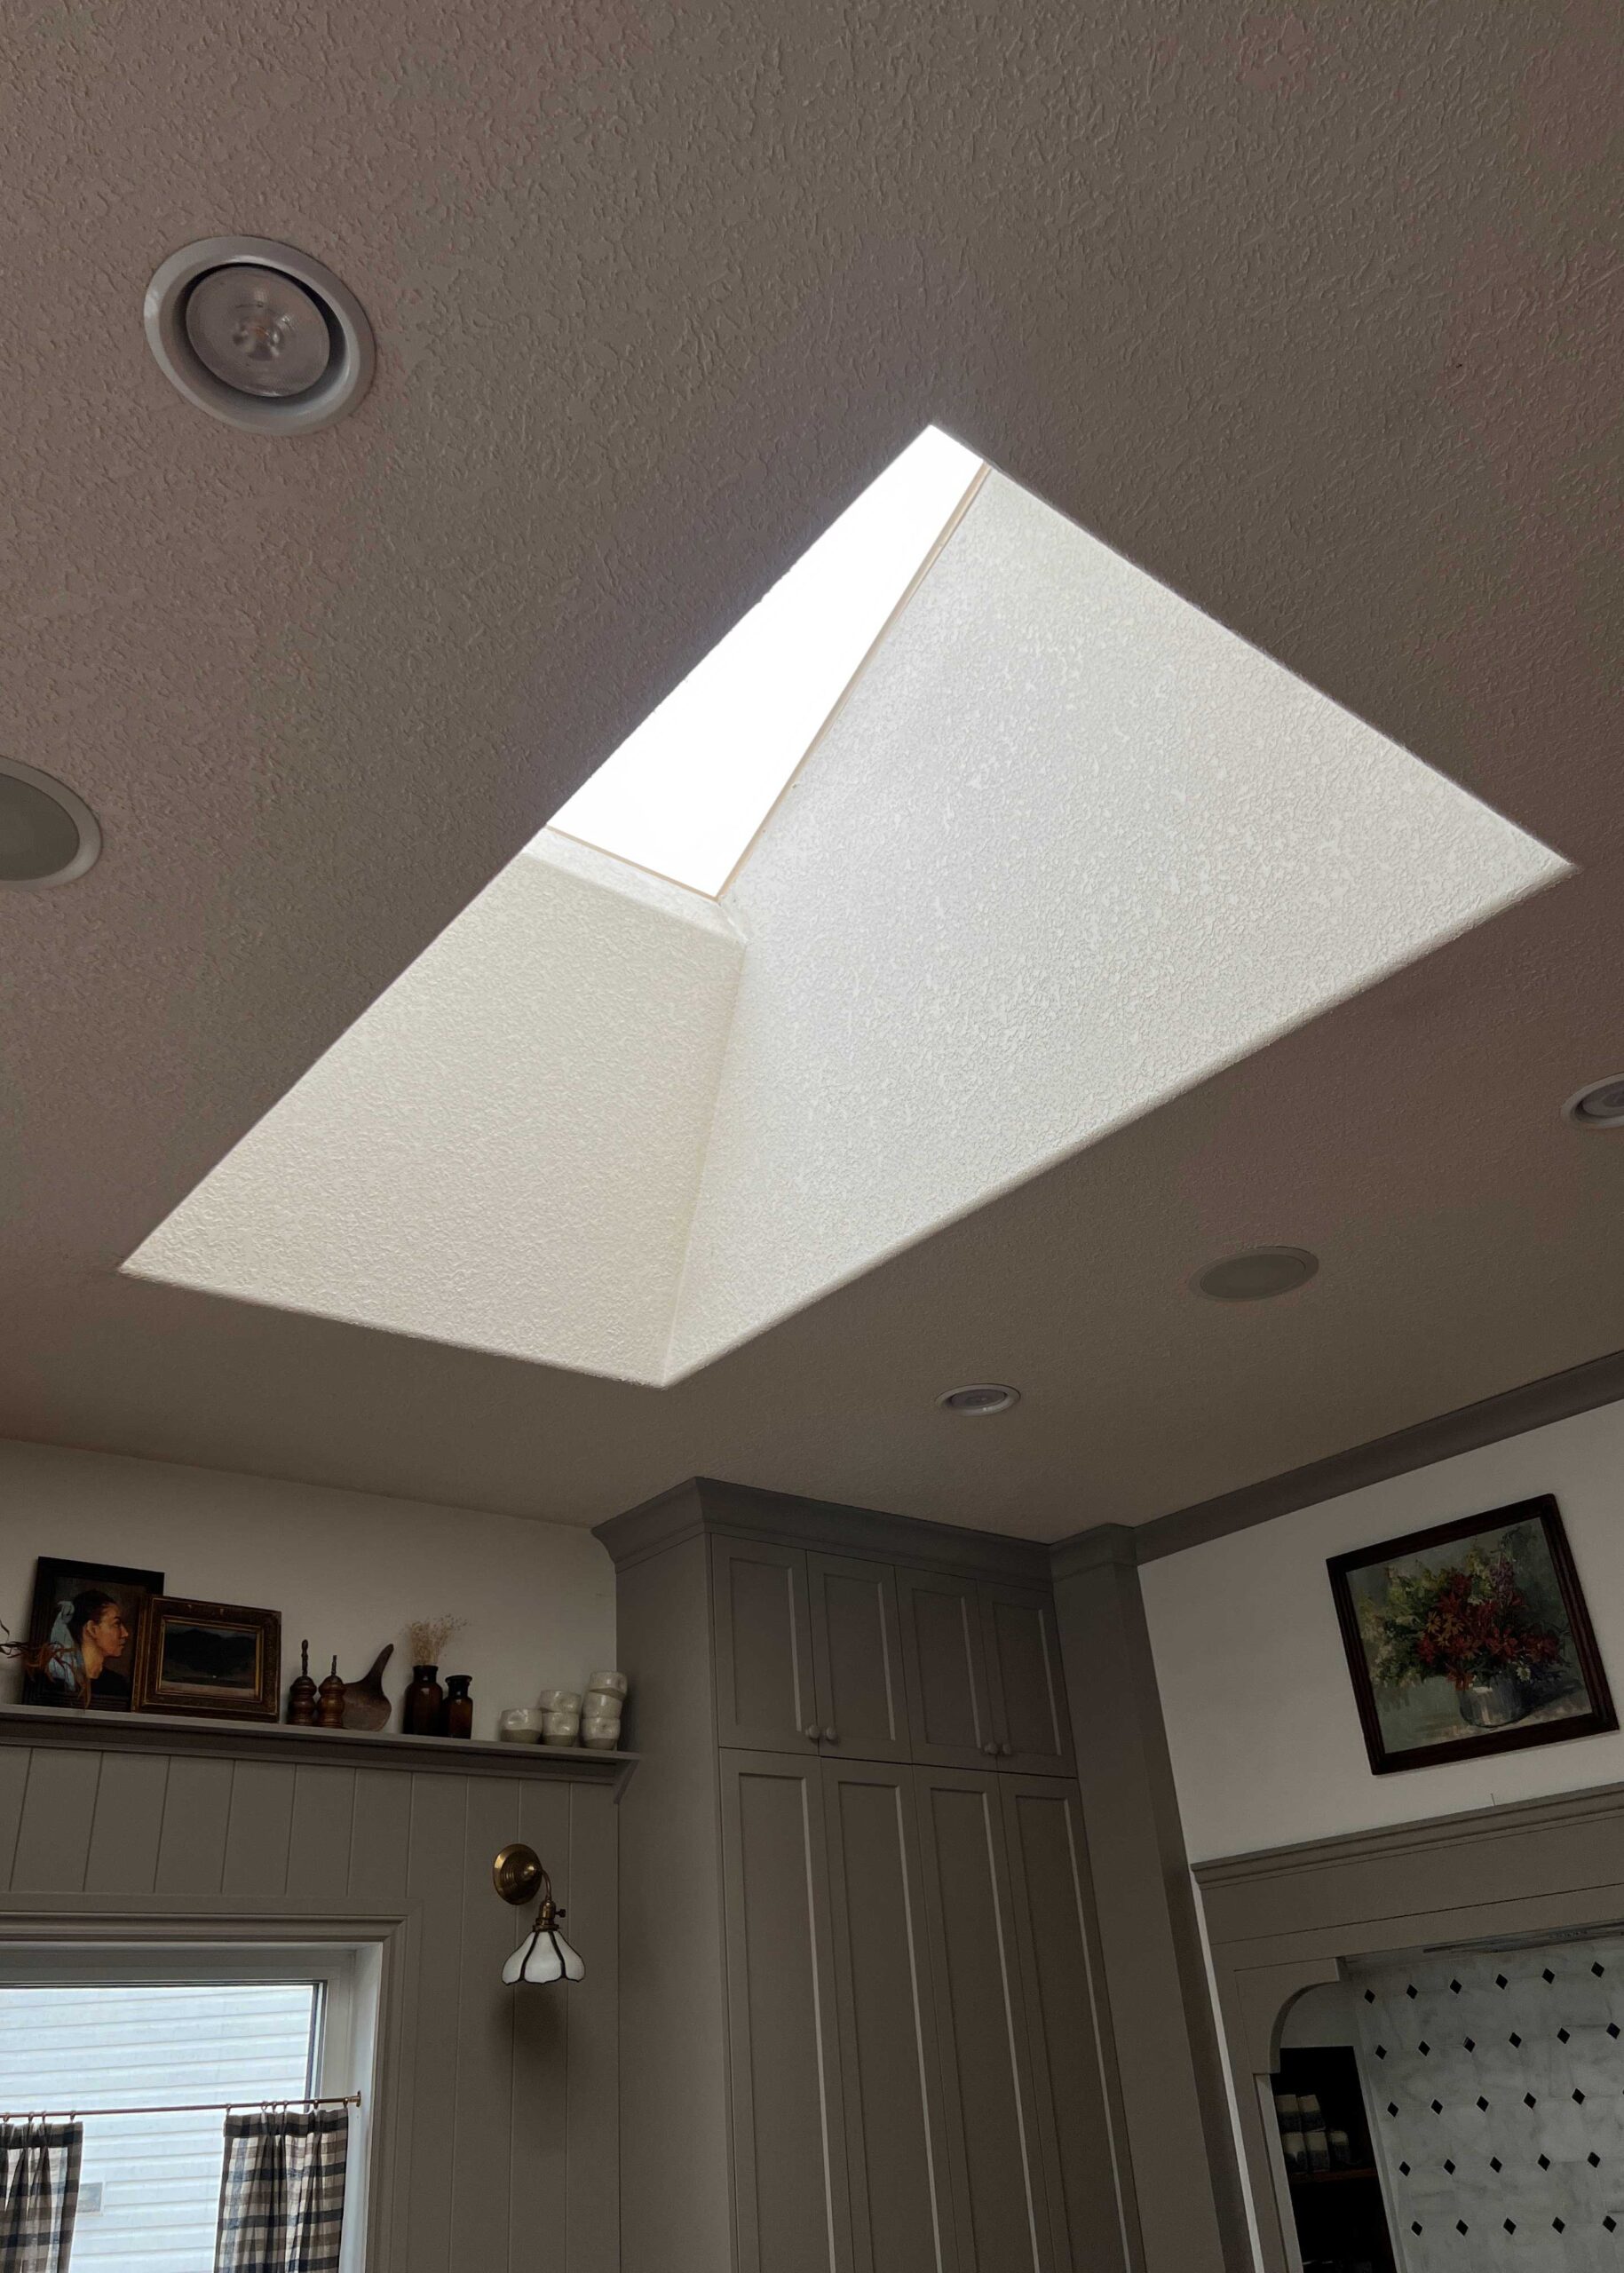
When we renovated our kitchen, I originally thought about trying to install a couple of beautiful pendants over the island. However, we have a huge skylight smack dab in the middle of the room which made that very difficult to figure out. I decided not to do any pendants, but ever since then, I have wished that skylight looked a little nicer. It is just a drywalled hole and it’s not finished in any meaningful way.
Whenever I travel to beautiful historic buildings I’m always looking up. Travelling through Europe, I always was so impressed by the beautiful ceiling details and stained glass and leaded glass skylights!
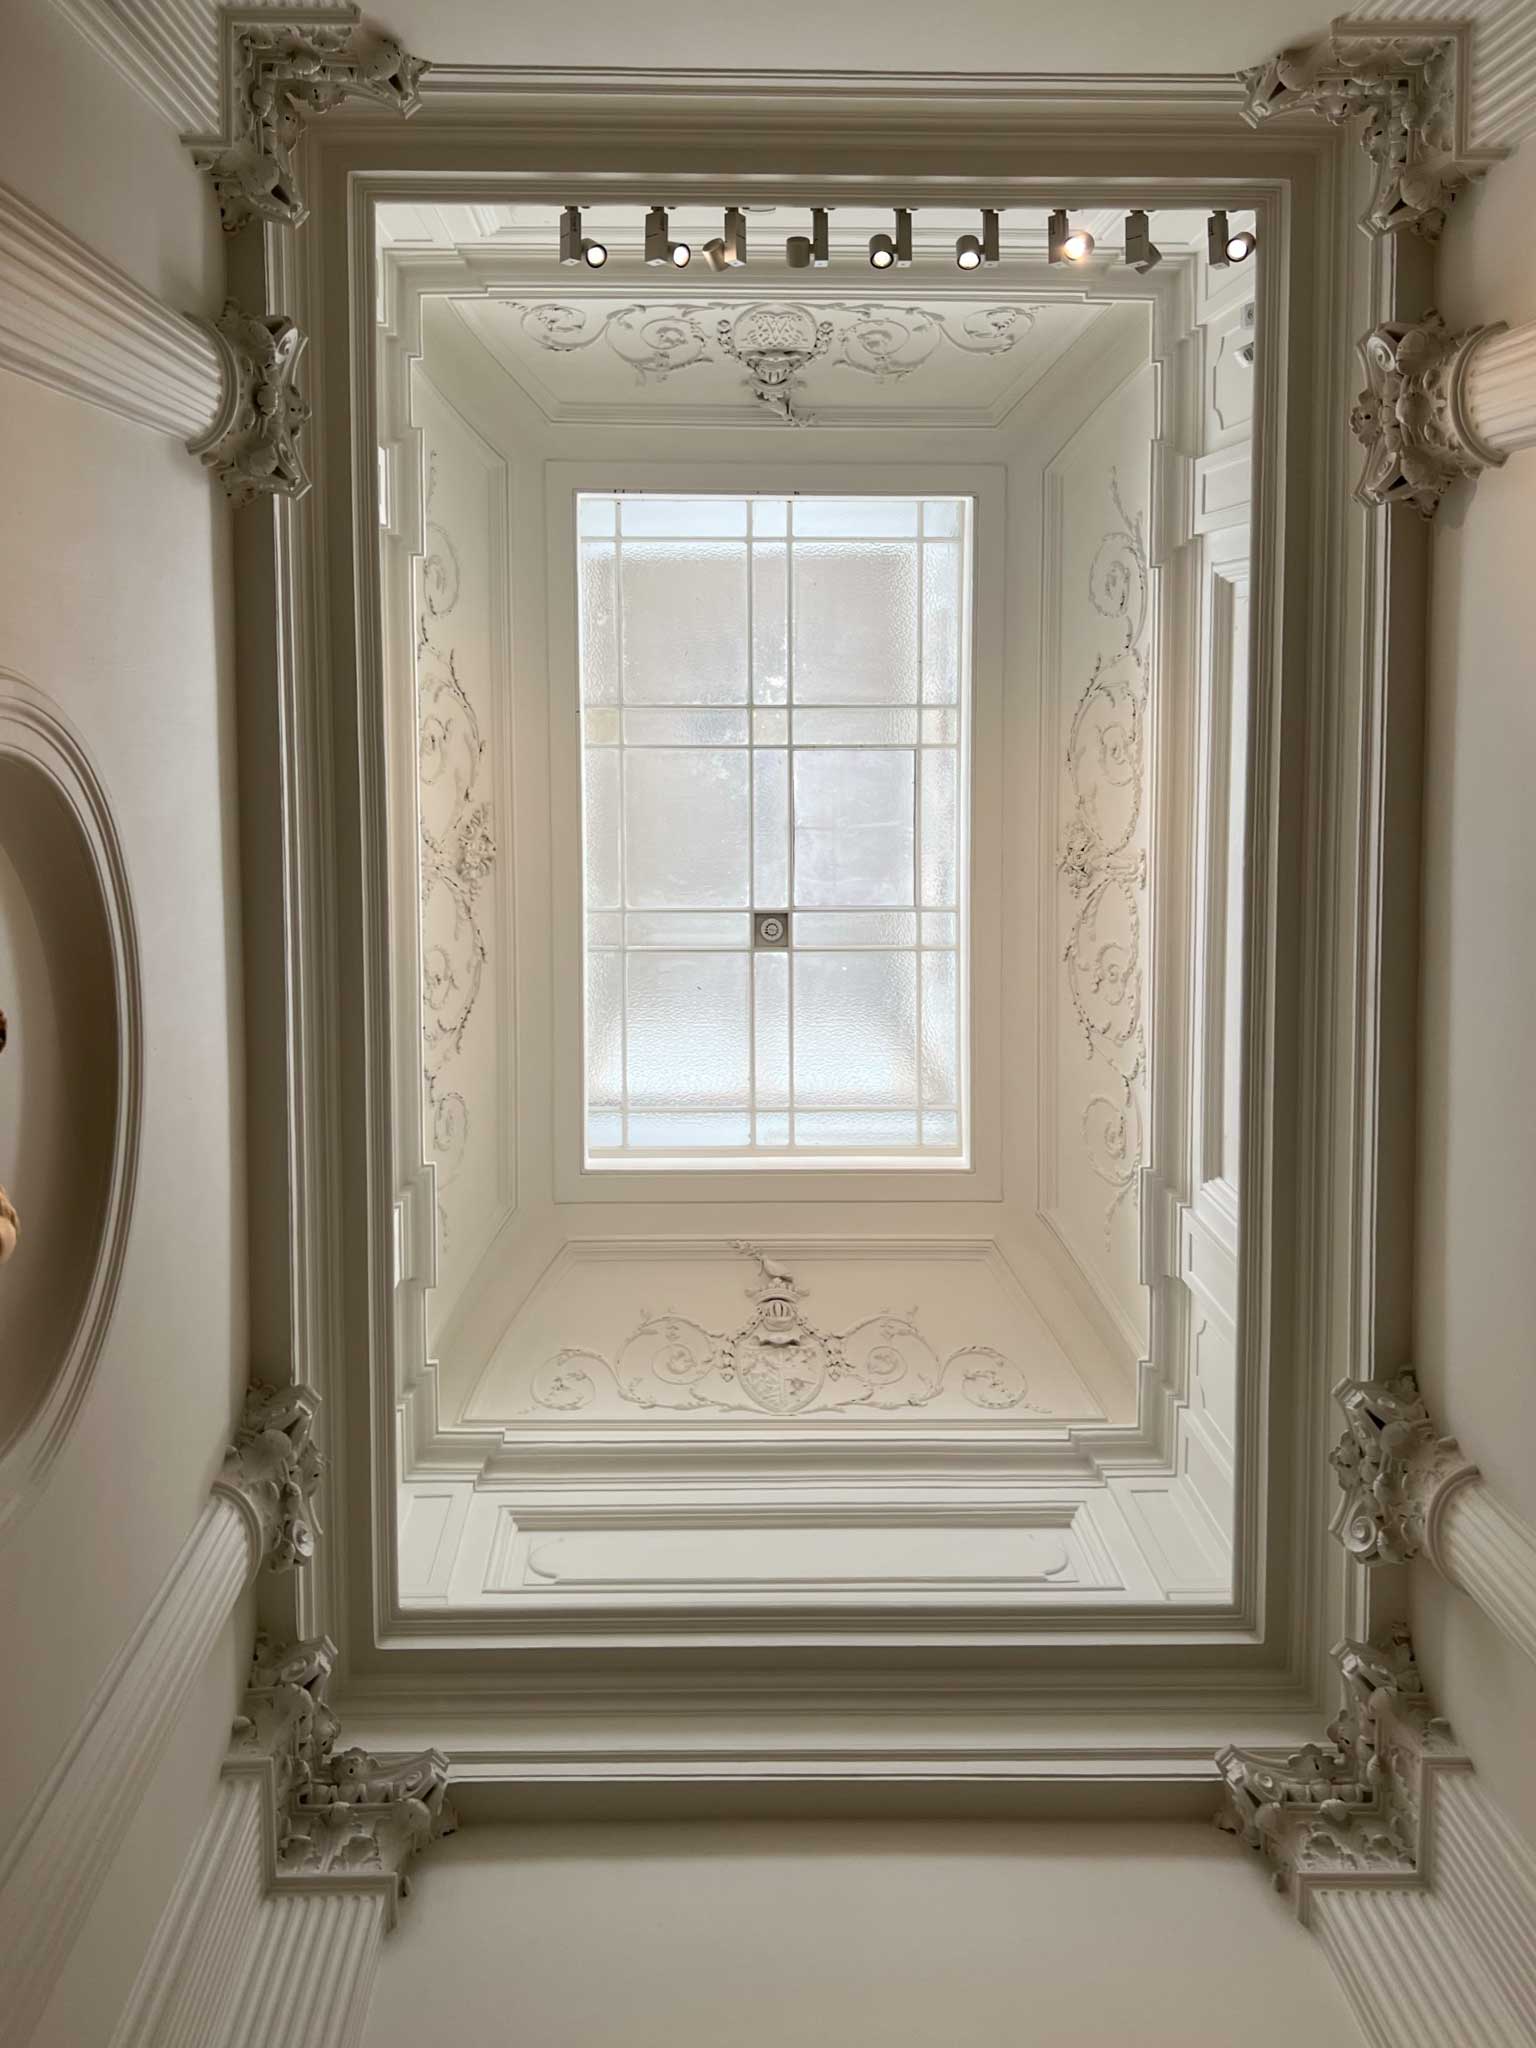
I was inspired when I saw Mallory from @reserve_home on Instagram turn her (smaller) skylight into a stained glass one. I thought that was so clever, but the problem was that my skylight was a LOT bigger and I didn’t know how I could pull it off on a larger scale.
But if you know me, I always say where there is a will, there is a way. I figured out how to create a frame for the existing window and then used some of the decorative privacy window films to create a beautiful stained glass look!
Supplies
I used the following supplies to create this faux window frame:
- 1×2″‘s for the grid
- Window Casing (perimeter trim)
- Decorative Trim (Inside of each box)
- Plexiglass
- Window Film
- Application Kit
Step One – Determine the Frame Size and Order the Materials
I originally thought that I might be able to create a single solid large window out of a single sheet of plexiglass. However, I saw a couple of issues with this idea.
First of all, I was not sure if a single sheet of plexiglass would flex at all (or bow in the middle) if it was only supported on the sides. I thought it would be ok, but I was not sure and I could not find any information on this online.
The second problem was that a large sheet of plexiglass like this was pretty expensive. The cheapest one I could find was around $300, and I didn’t want to spend that much just to have the thing bow on me. Instead, I decided to make individual panes to support smaller sheets of plexiglass, which I was able to buy on Amazon for around $130, a fraction of the price.
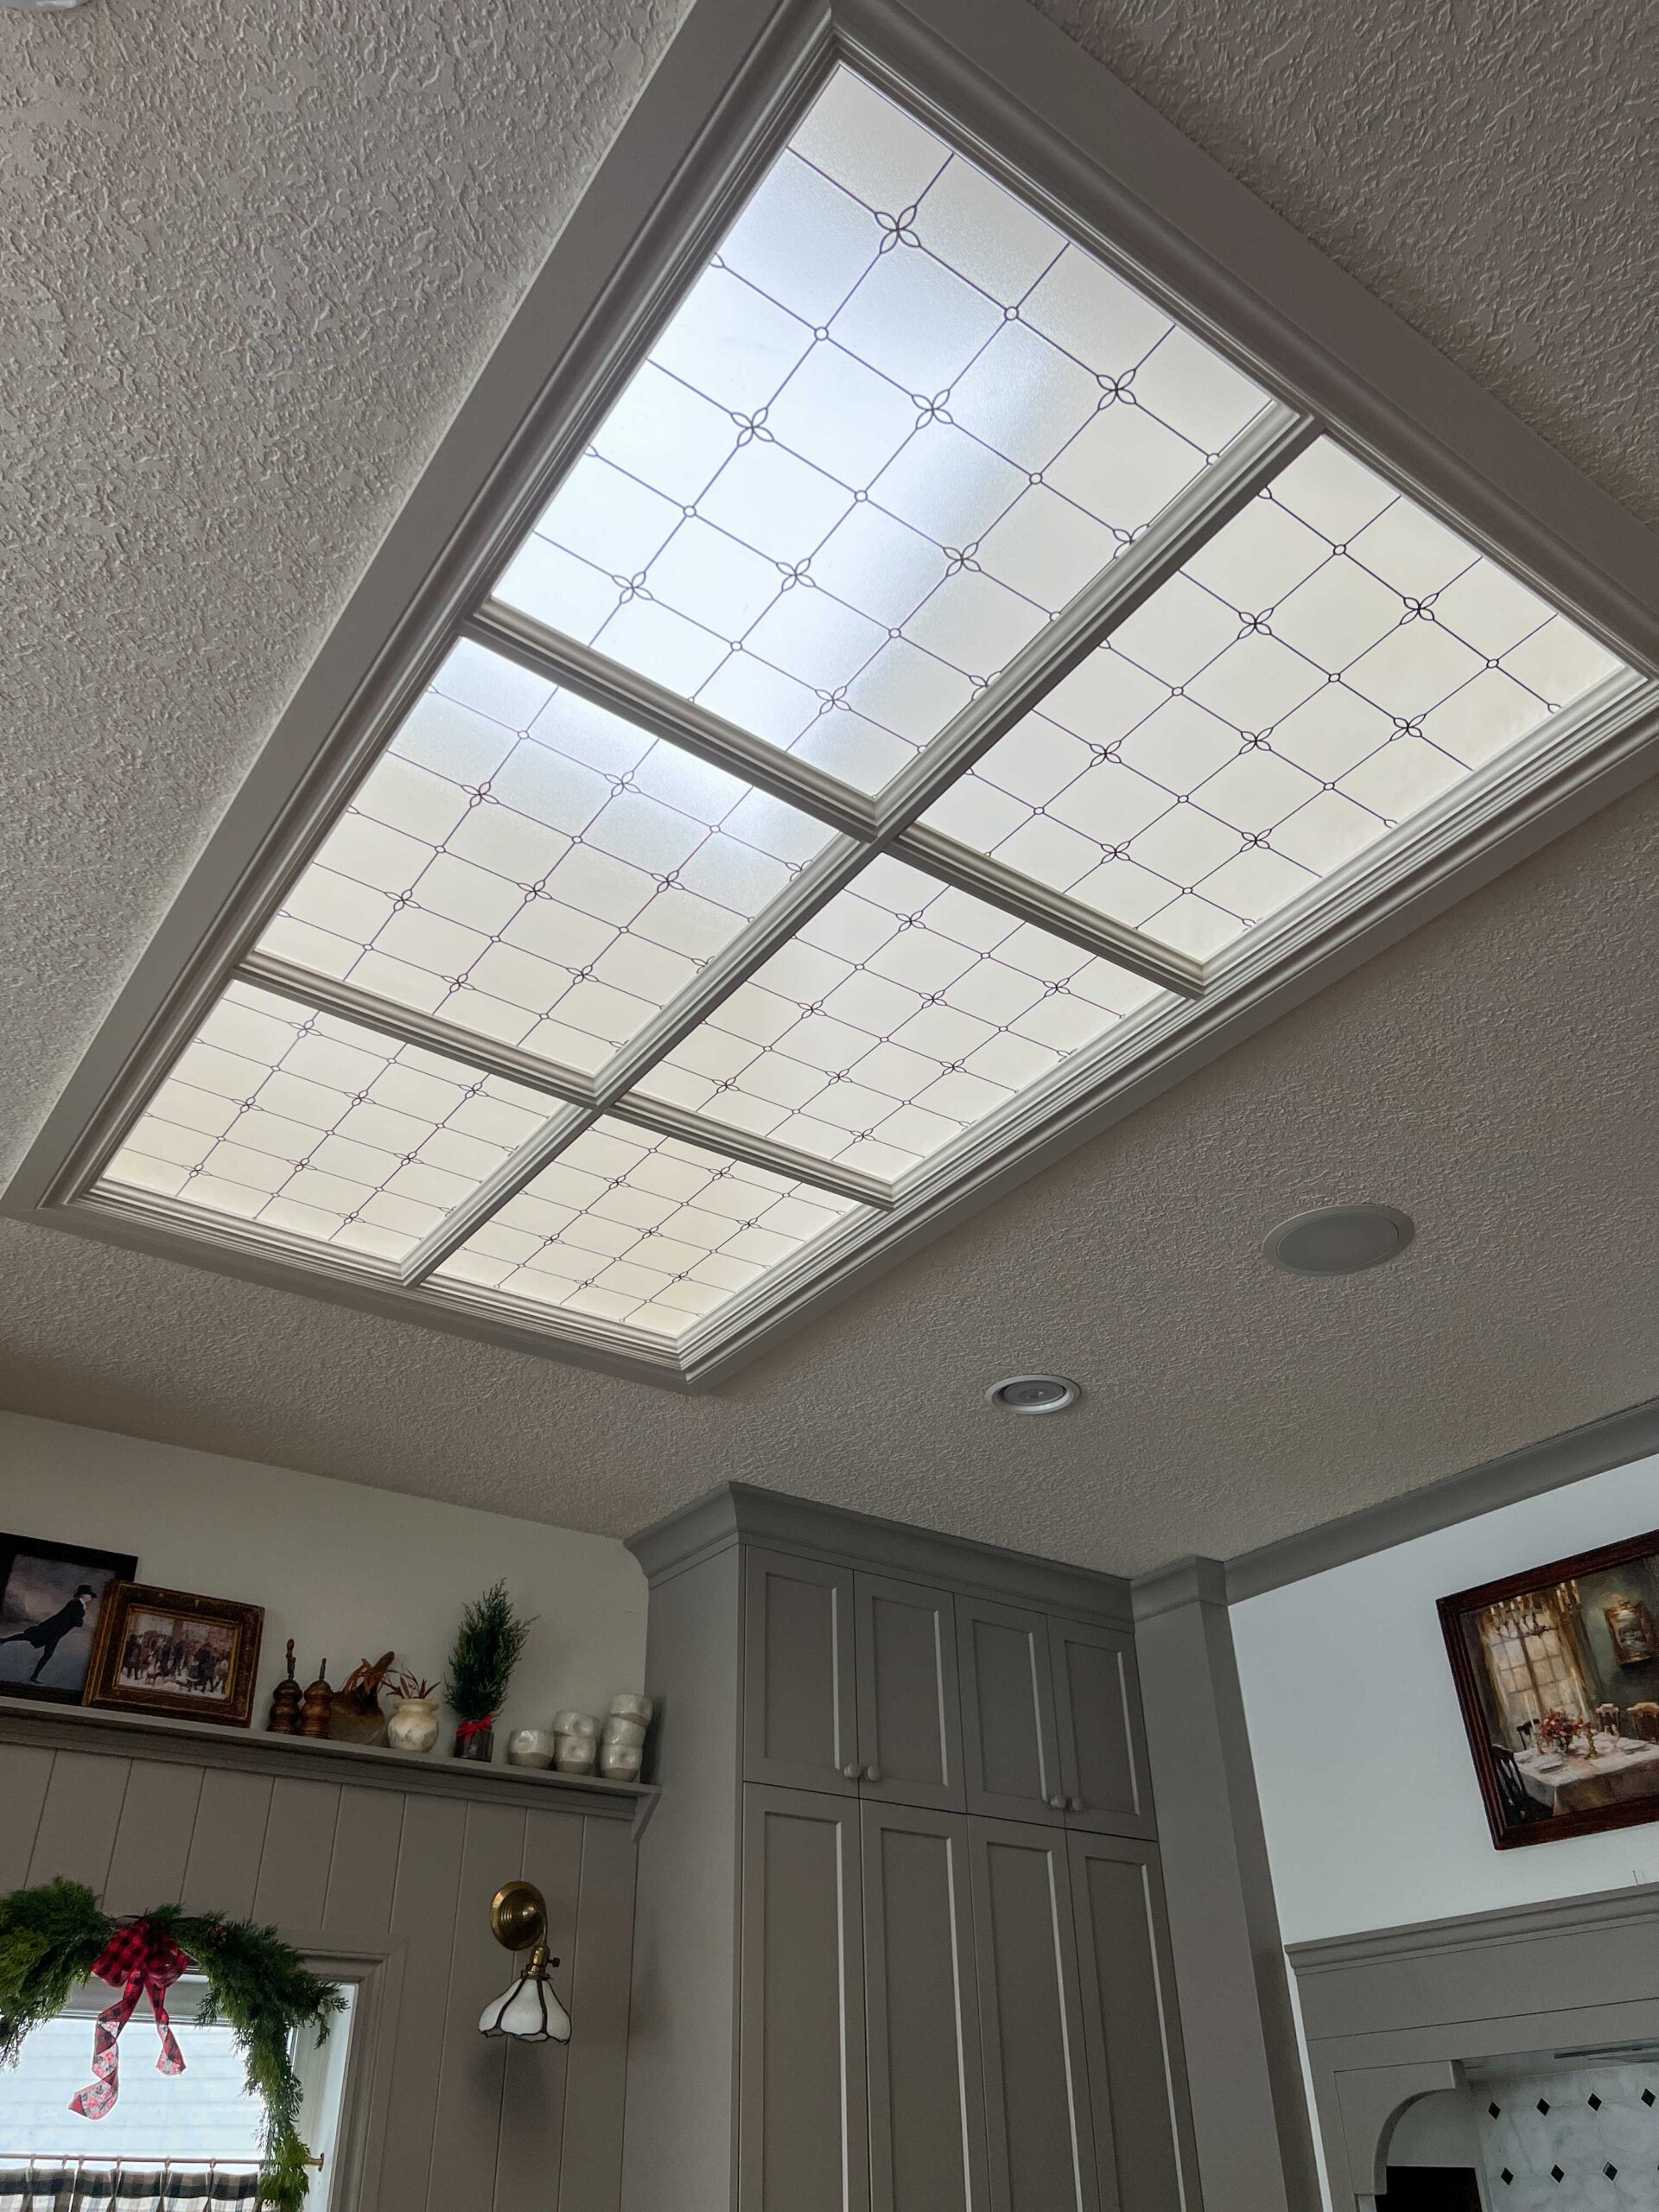
We decided on a layout for the window panes based on the size of the plexiglass sheets I bought (2×4′) which gave us 6 panes.

I got a few samples of this premium design window film from Artscape before I finished the layout. I wanted to make sure that whatever sizes the panes were that I chose would line up well with the glass patterns on the decorative window film I was going to use.
I also thought long and hard about some of the more colorful options but at the end of the day, I want to make sure that the natural light was not changed by the stained glass window decals and casting any strange colors into my kitchen. The skylight is HUGE so I think that was something that needed to be considered.
I chose a pretty simple leaded glass pattern that reminded me a lot of the backsplash behind the stove, and I love that callback!
Step Two – Create a Window Frame
If you have a smaller skylight, you can simply attach some trim or a small piece of wood around the inside of the skylight to provide a surface to set the plexiglass. That is what Mallory did and It looks amazing.
If you want to create panes like I did, you need to start with a frame. We used 1×2″ primed pine to create a frame. I used 1×2”s so that the whole frame stayed really light, and we didn’t have to worry about trying to affix a big heavy thing onto the roof!
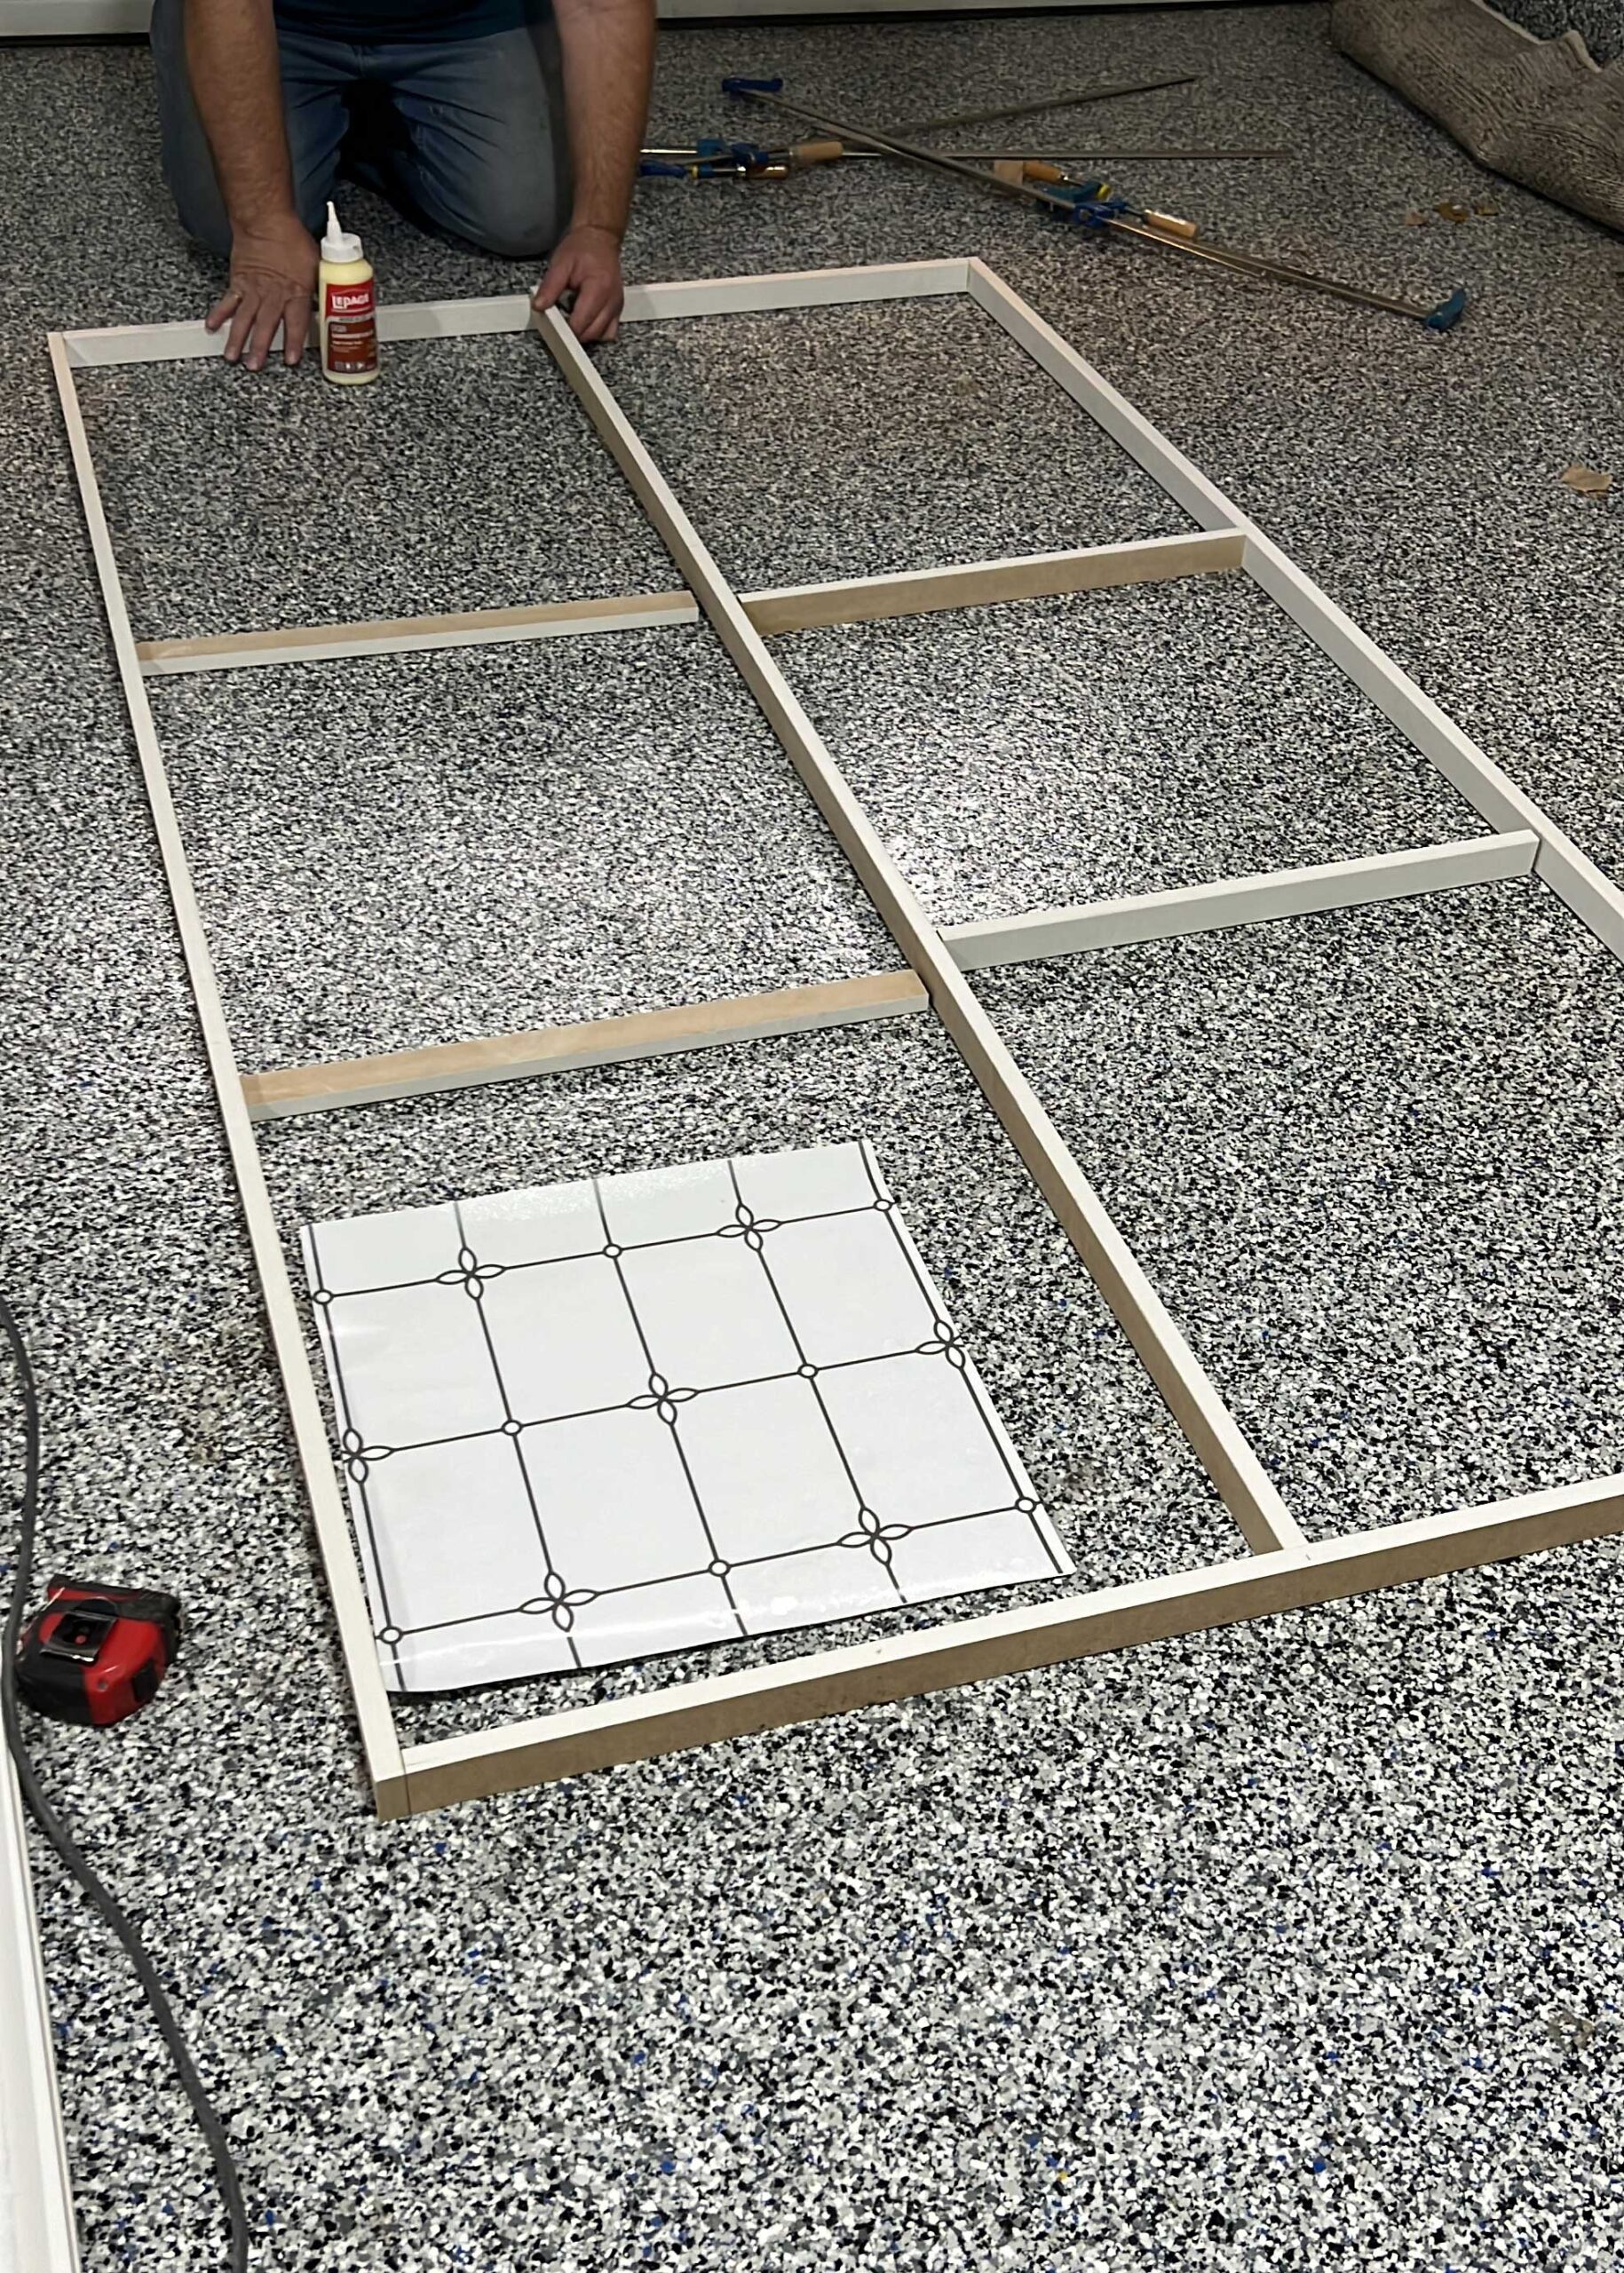
We added glue, and a few finishing nails to hold it while the glue dried, and clamped it overnight. I was not sure if glue and nails would be strong enough to hold this frame, but because we were using such small pieces of wood, I thought it was the best option.
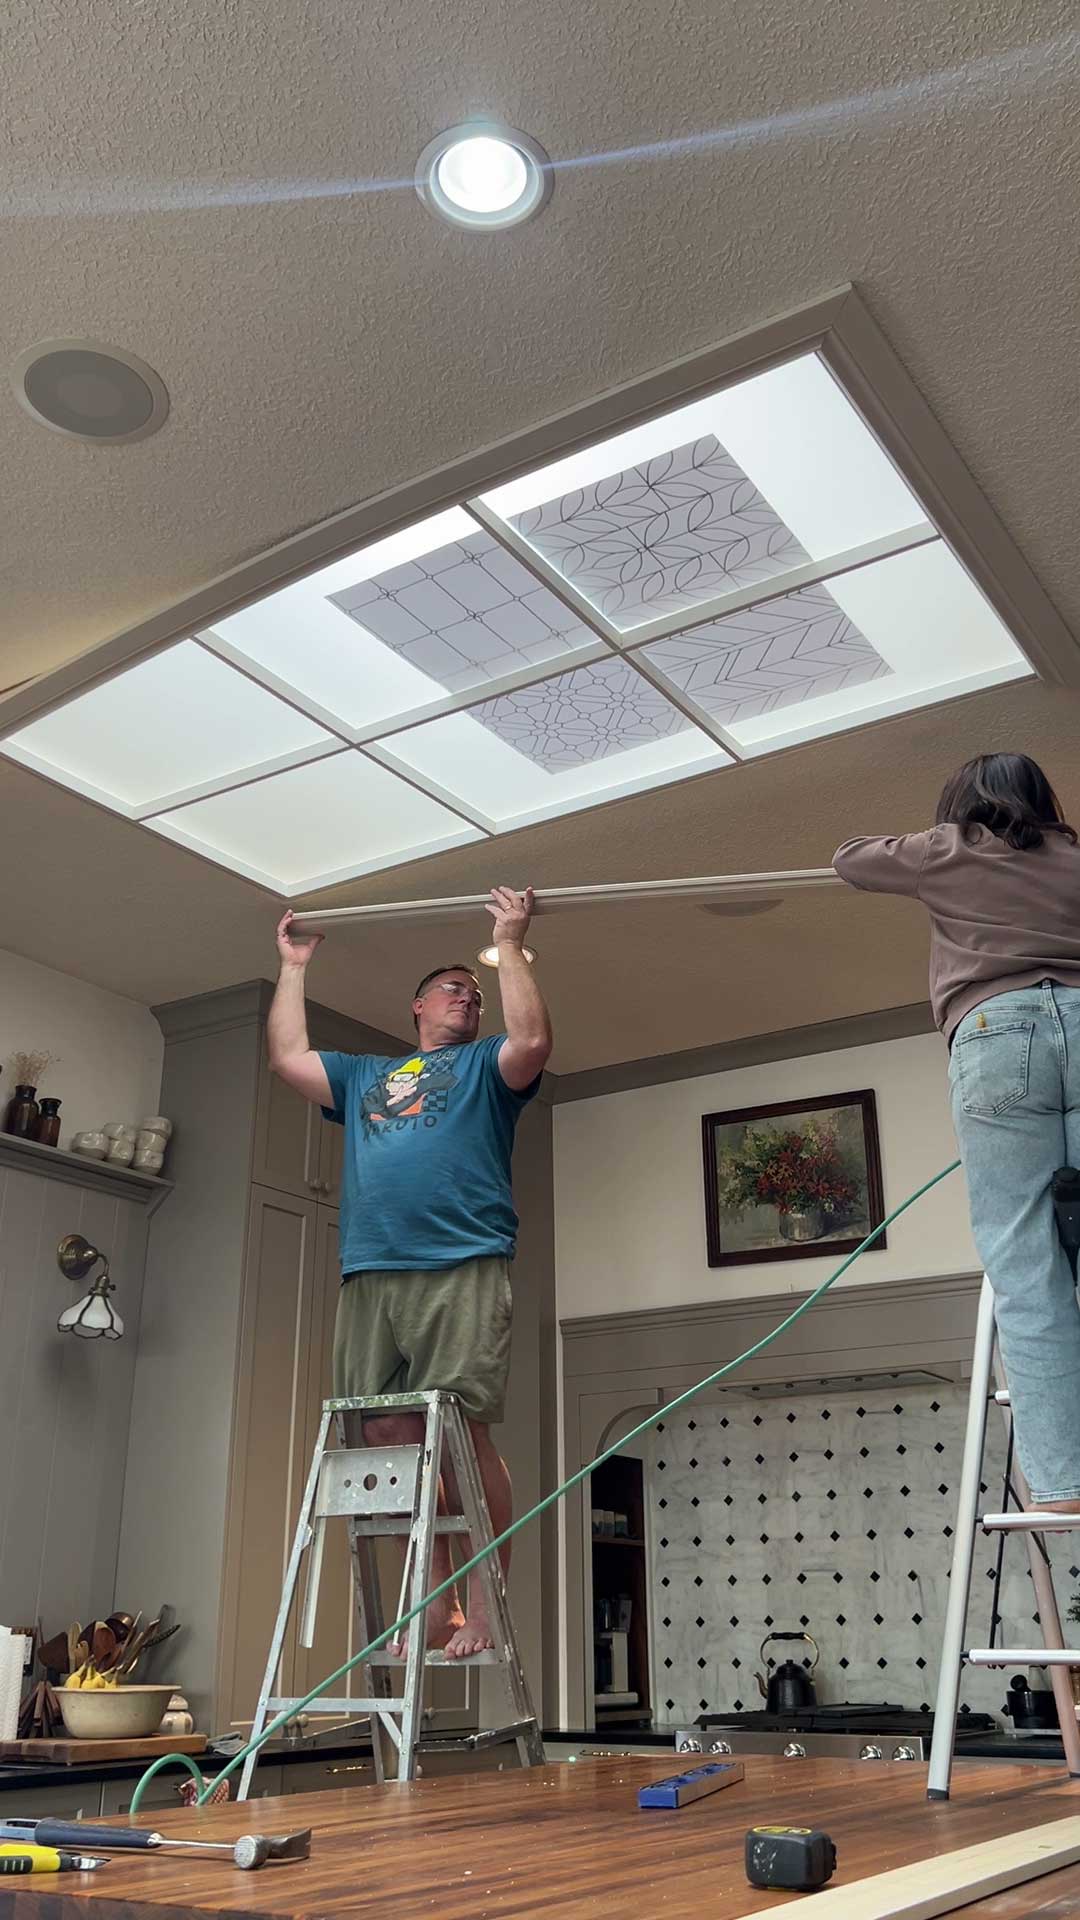
In the morning the whole thing was pretty solid (yay!) and we lifted it into place. We installed it just inside the skylight so that it was flush with the ceiling on the bottom. We attached the frame with a few longer screws and then a bunch of finishing nails to hold it in place.


Step Three – Trim It Out
Our skylight has some angles on it so installing the frame left some gaps around the edges. We cut some window trim to trim it out like a window, installing that flat on the ceiling to cover the gaps. It looked so good already! Only one thing would make it look even better that is EVEN MORE TRIM! HA!
Next, I cut out small pieces of decorative moulding to frame out the inside of each of the little panes. That trim is not one of the functional elements of this project – it is truly just a decorative bit- but I love the extra detail that it added! I used some very small finishing nails to hold this small trim to the main frame.
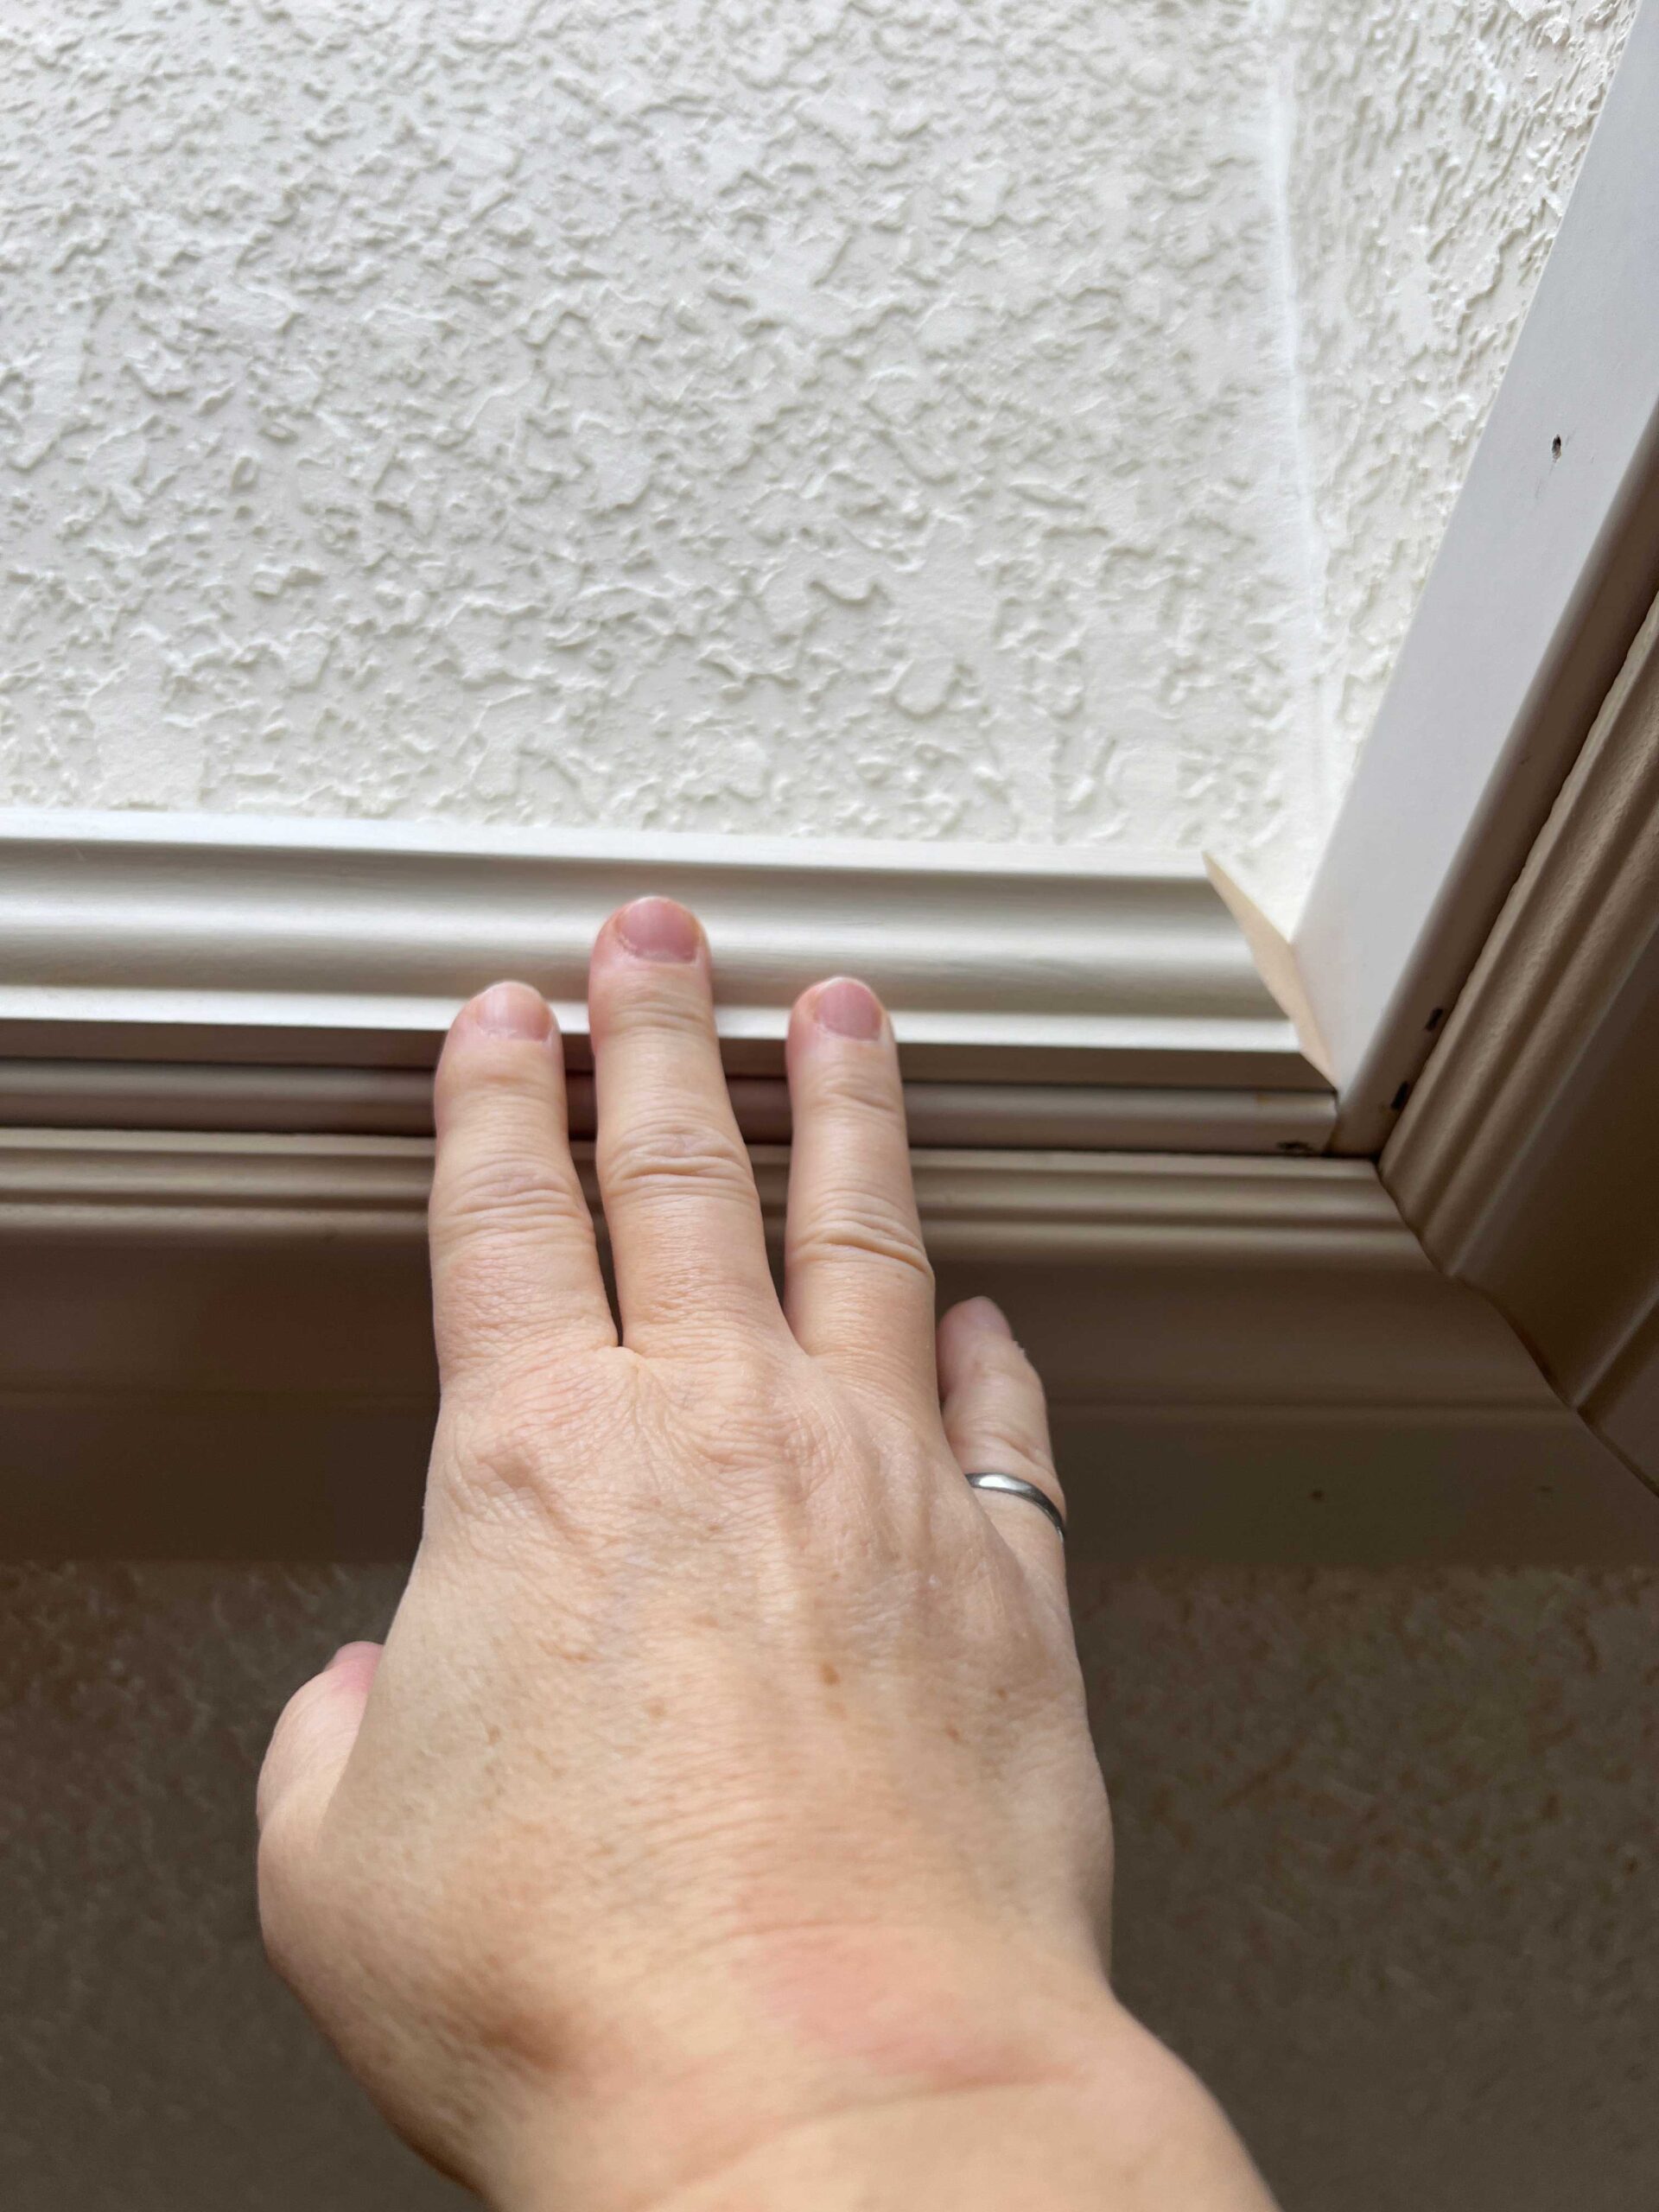
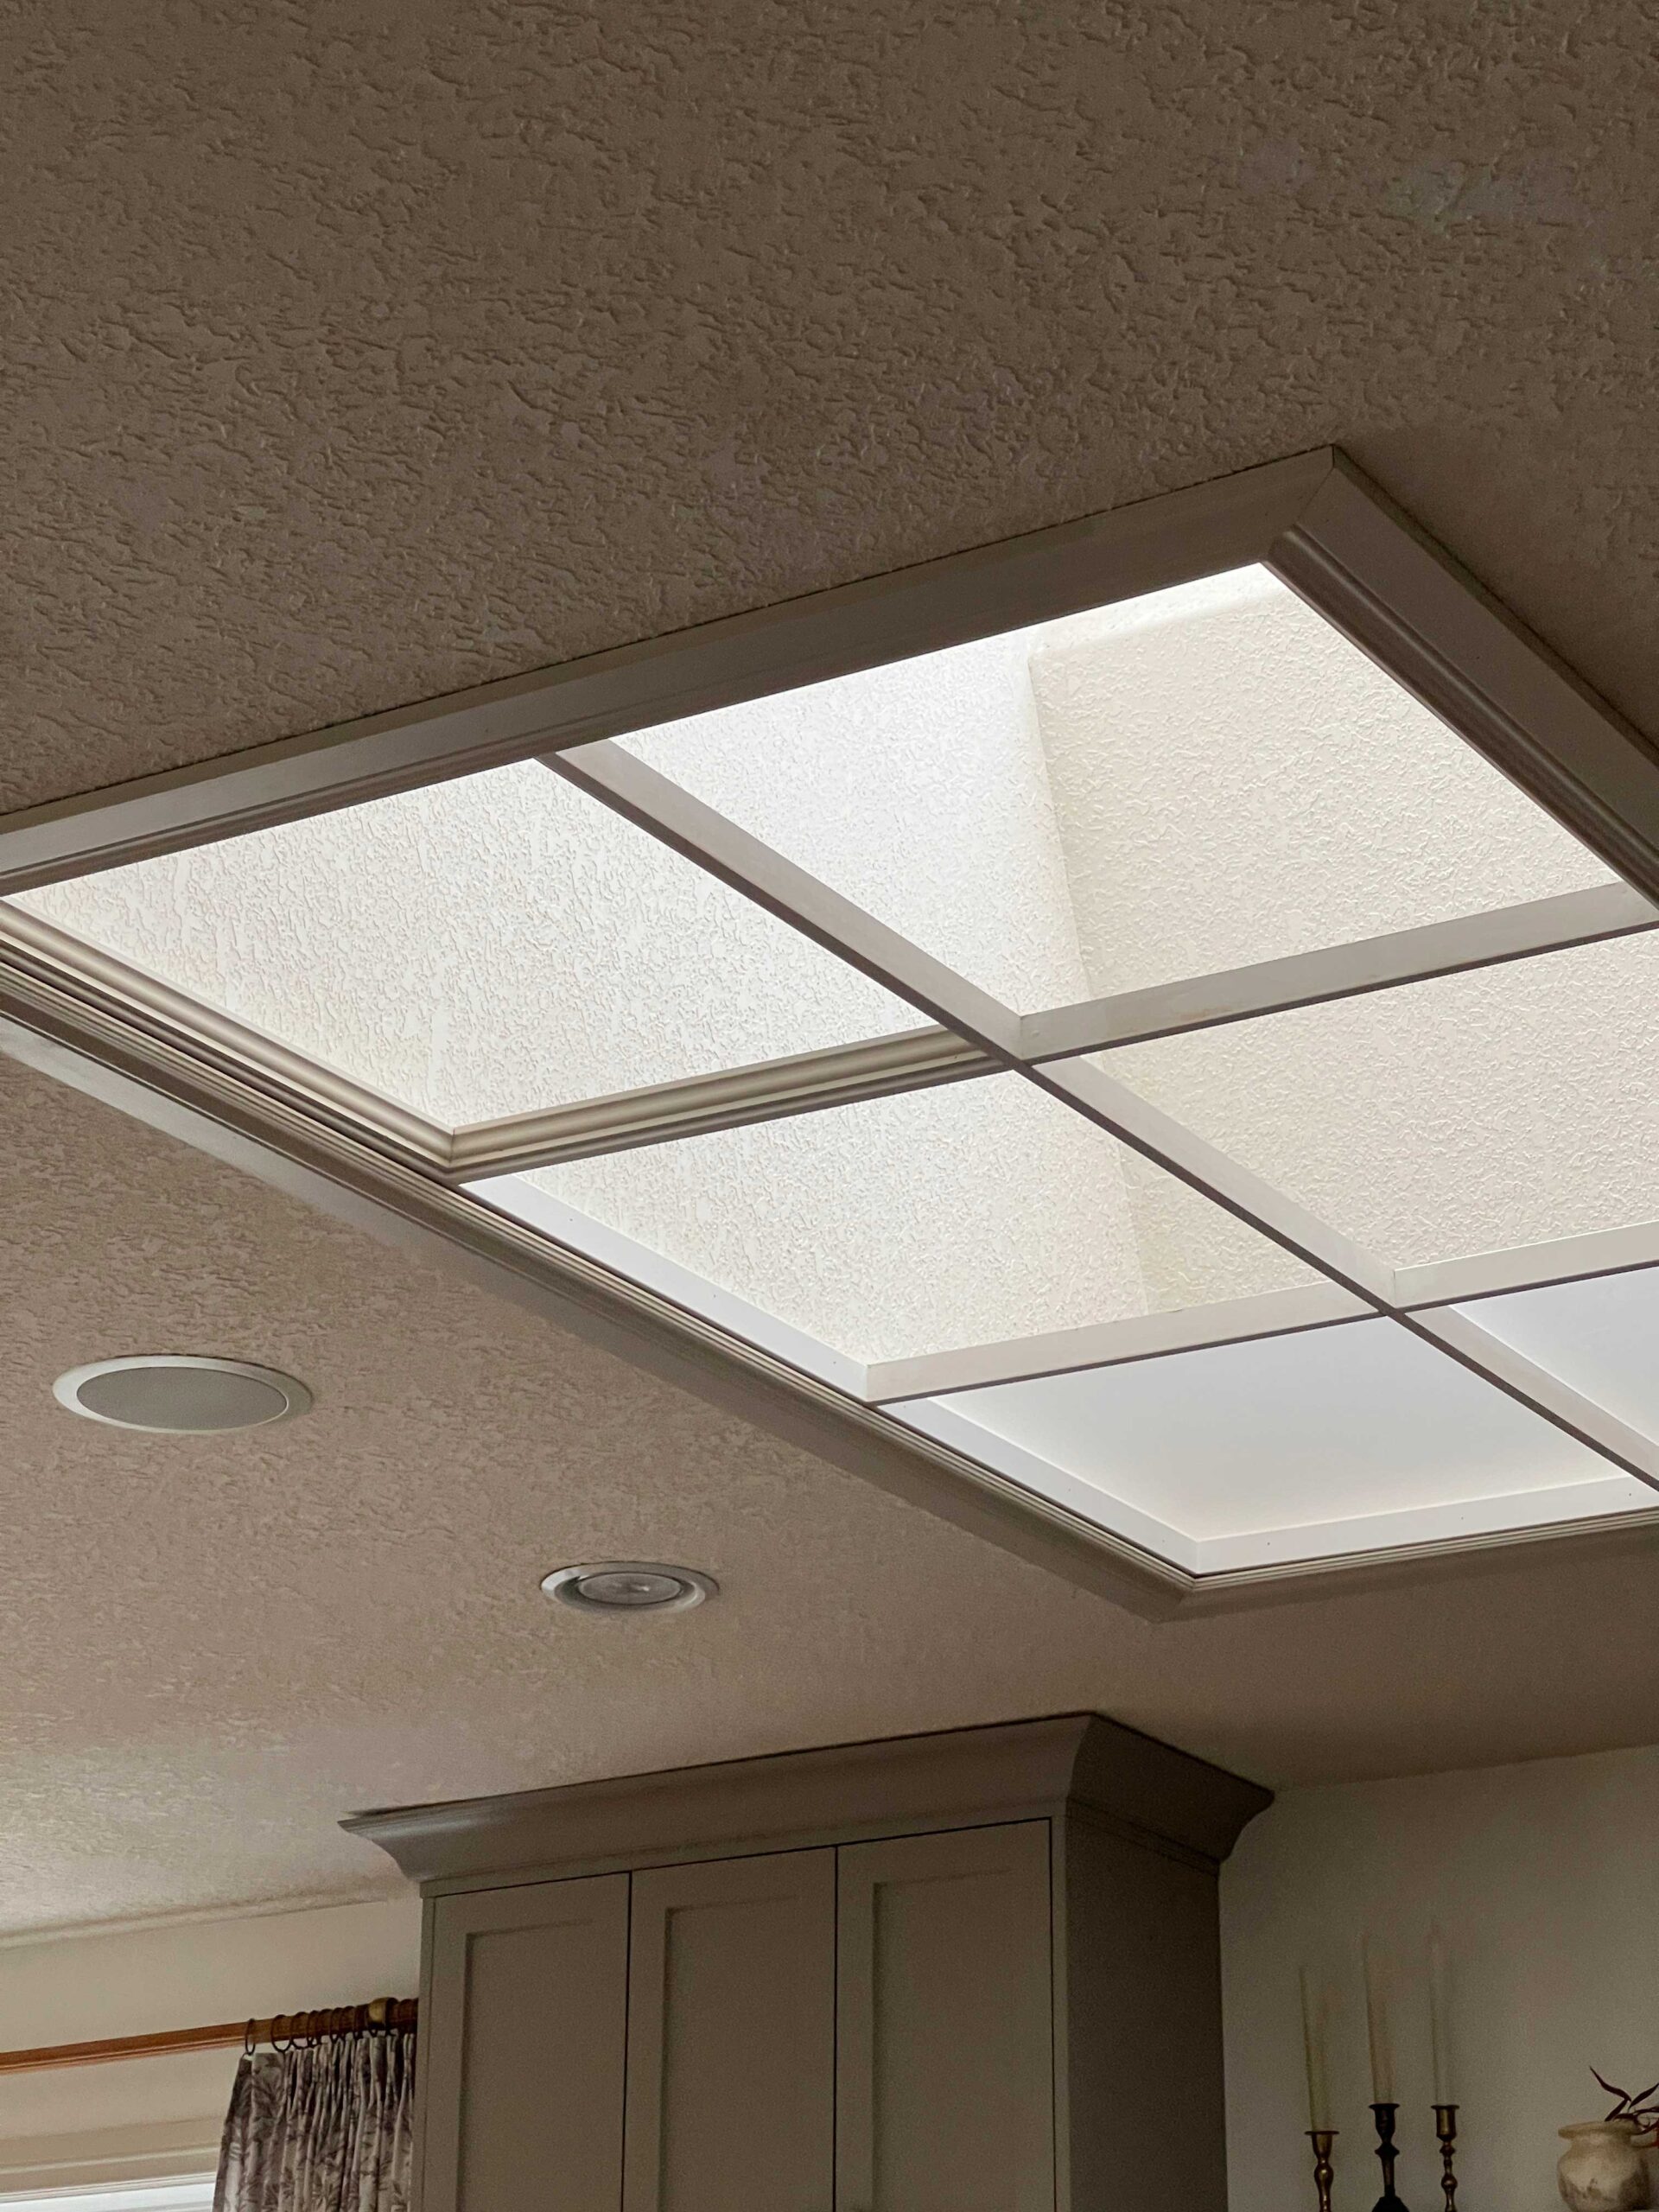
Once the whole frame and all the trim was up, I filled holes, caulked all the seams, and painted it all to match the rest of the trim in my house (Benjamin Moore Edgecomb Grey).

I was in LOVE with the added detail this added to what was once just a really boring opening!


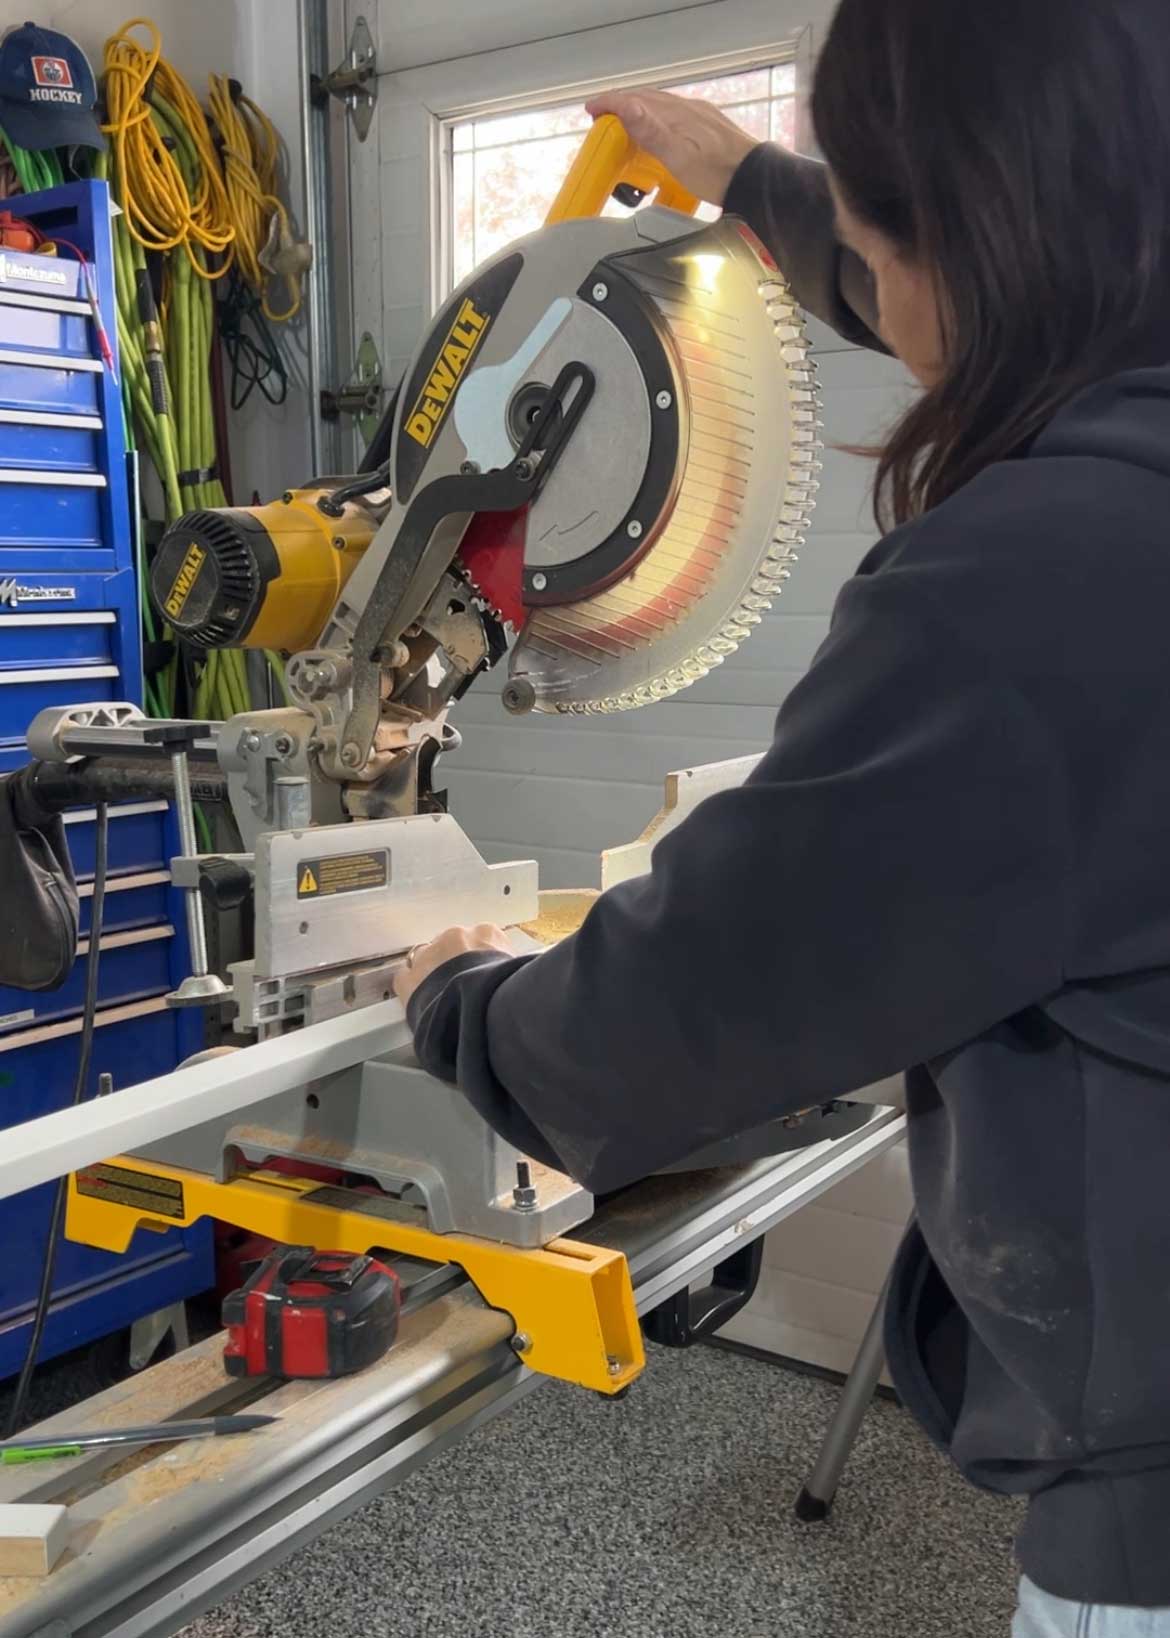
Step Three – Cut the Plexiglass
Next, we had to cut the plexiglass sheets I bought to fit inside the panes. I have never done this before but after some google-research, I found that you can just cut it with any old saw.
We used a few tricks that I saw online to cut it without too much chipping or breaking it, but after cutting a few we found that the plexiglass cut pretty well without doing anything special. We just ran it slowly through the table saw.
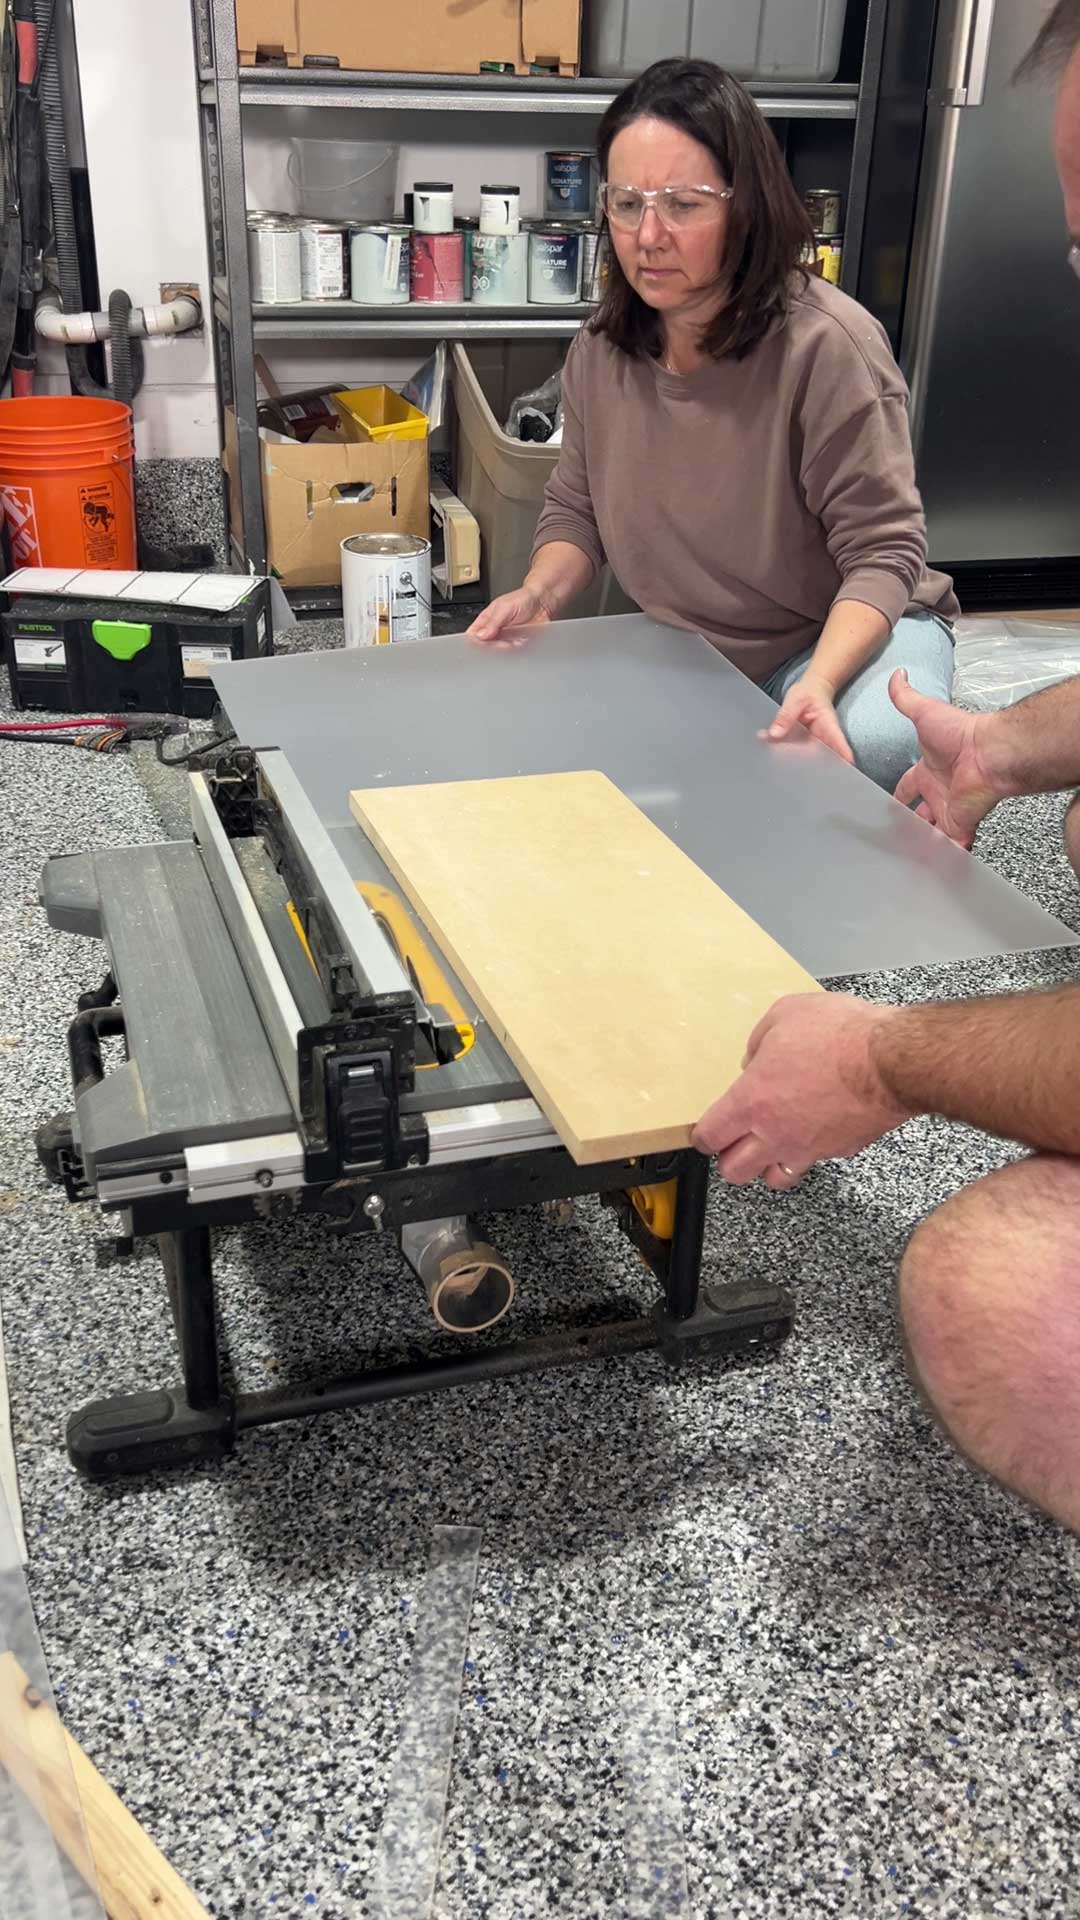
The edges do not come out super crisp, but because they sit inside the frame you do not see the edges anyway.
Step Four – Add the Adhesive Window Film
The skylight was GREATLY IMPROVED by the addition of the panes and all this trim, but the vision was for it to look like a real stained glass window. So I grabbed some sheets of this premium privacy window film from Artscape to apply to the plain glass surface. I also grabbed this application kit from Artscape which made the whole thing pretty simple!
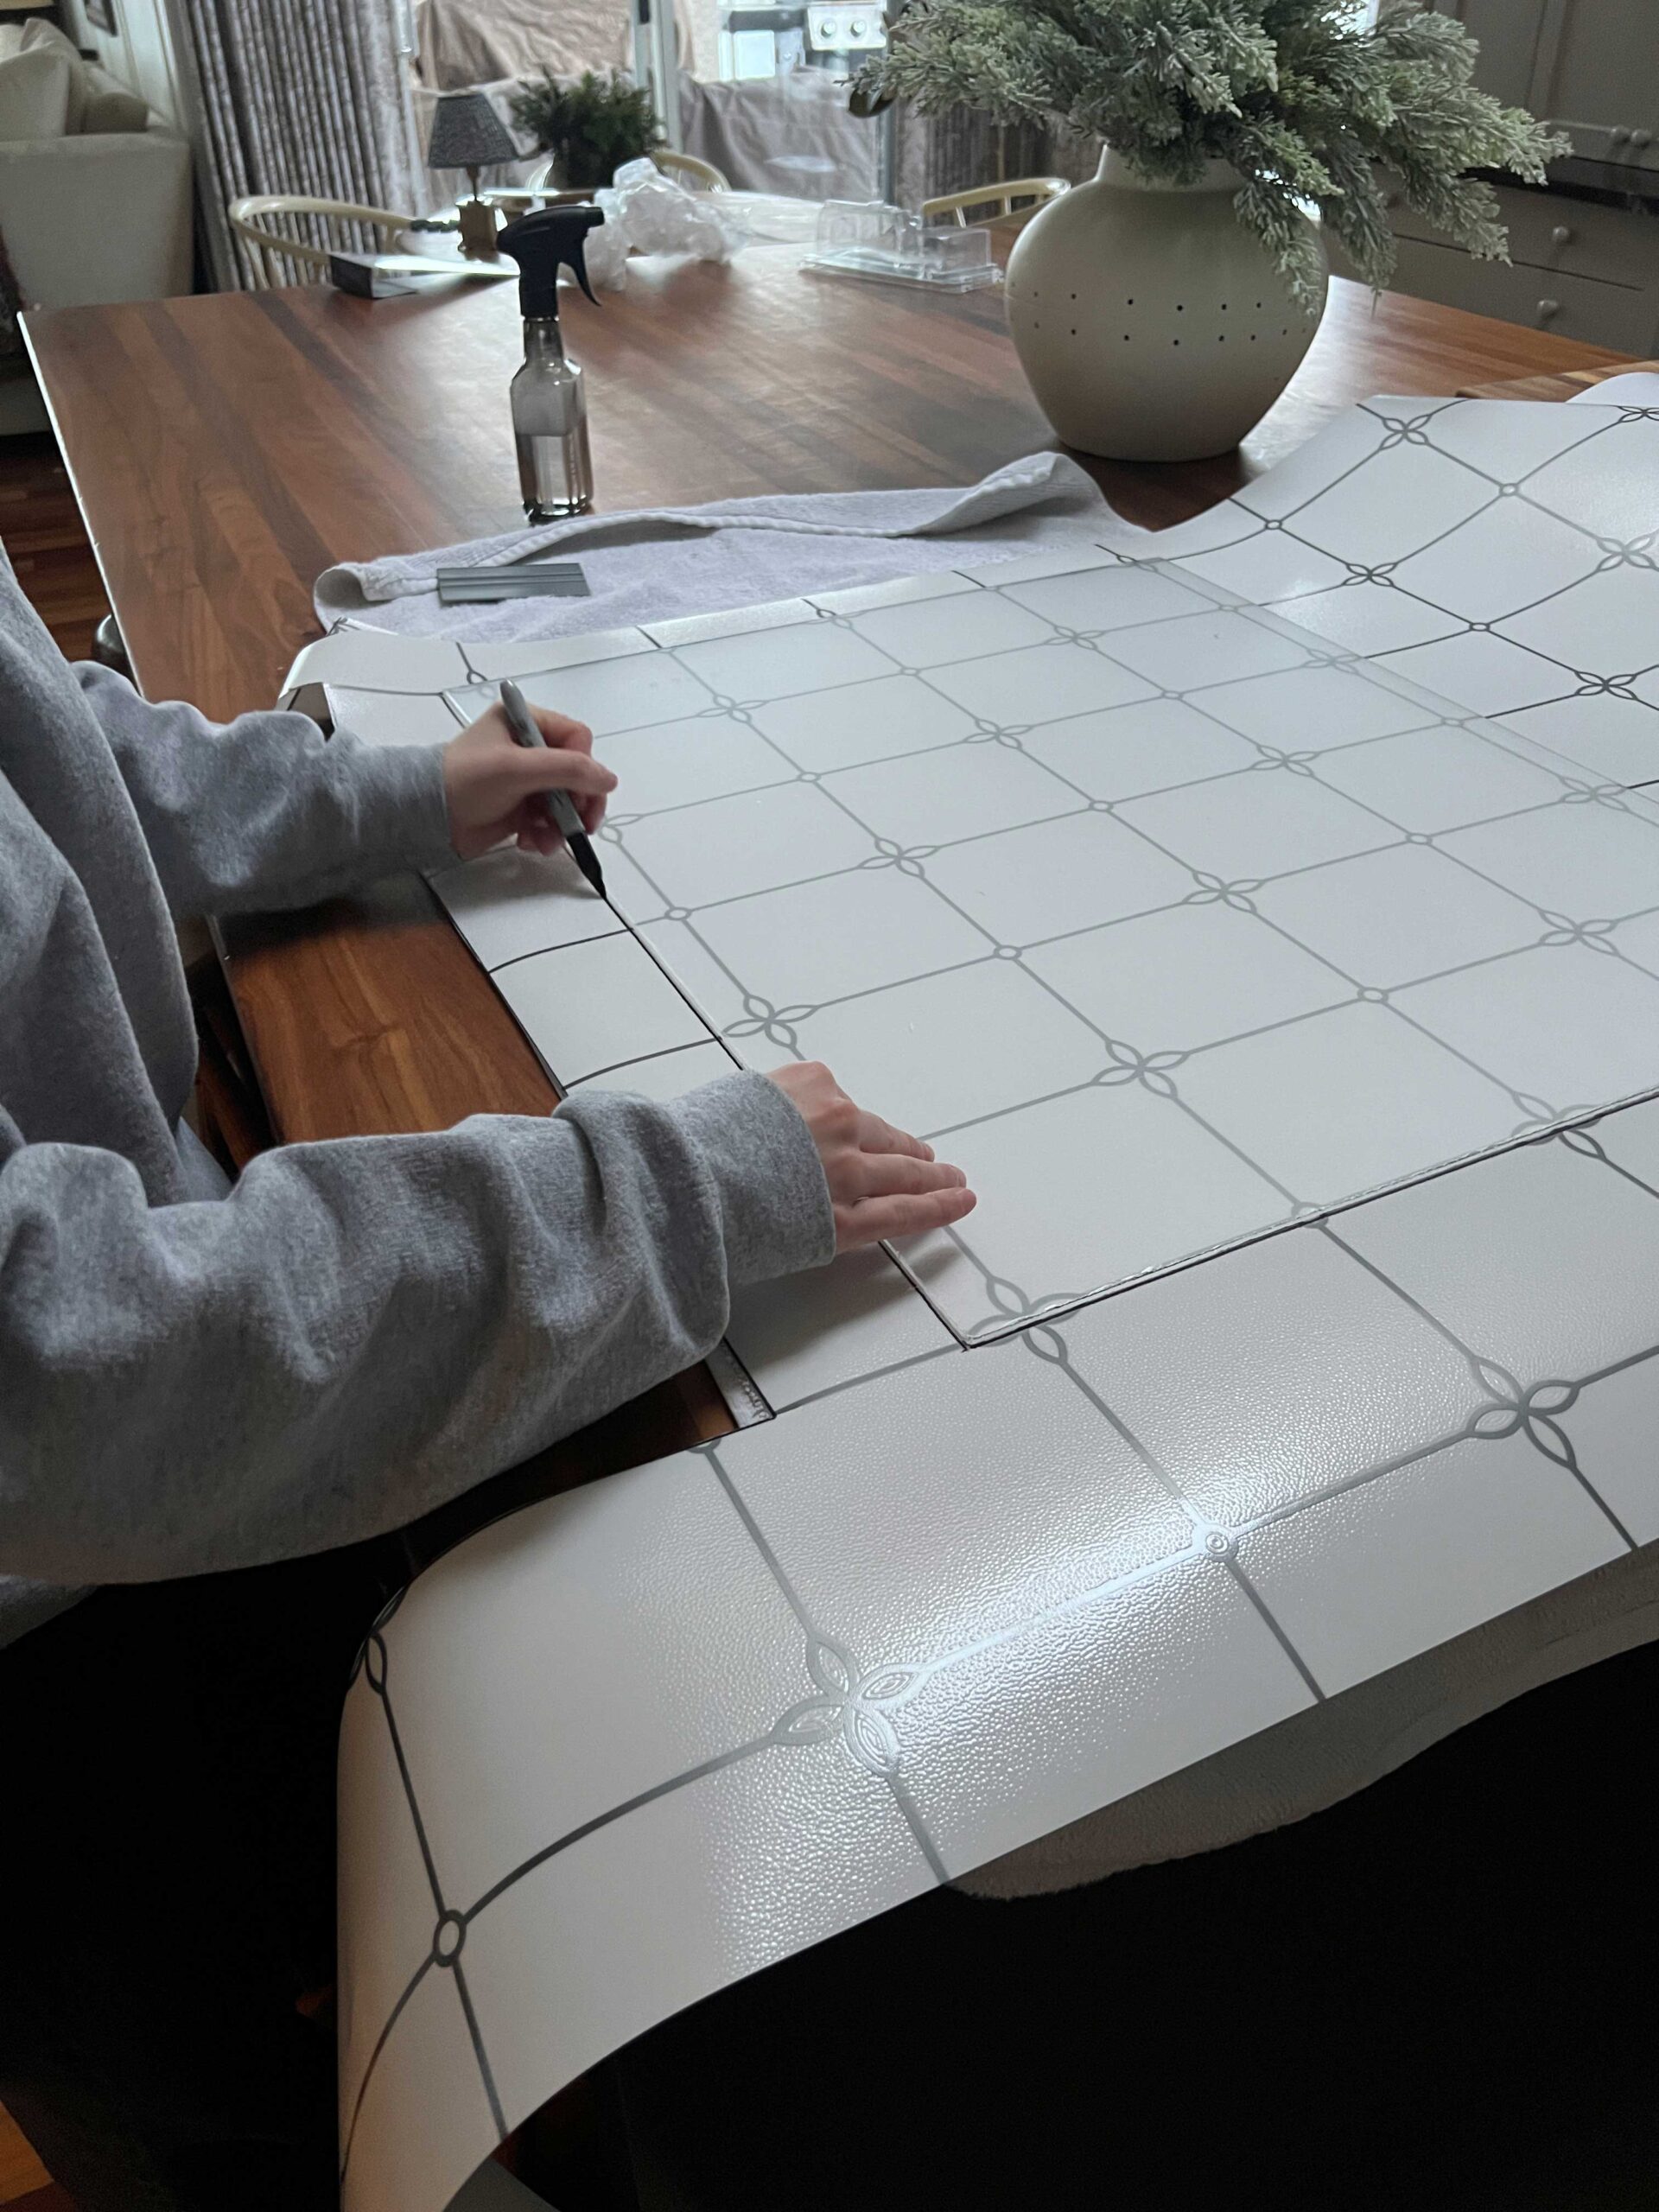
Applying the film is an easy application. All we did was wet the plexiglass using a little soap and water in a spray bottle, apply the stained glass film, and squeegee out the water. You spray a little water on top of the film so the squeegee glides nicely.


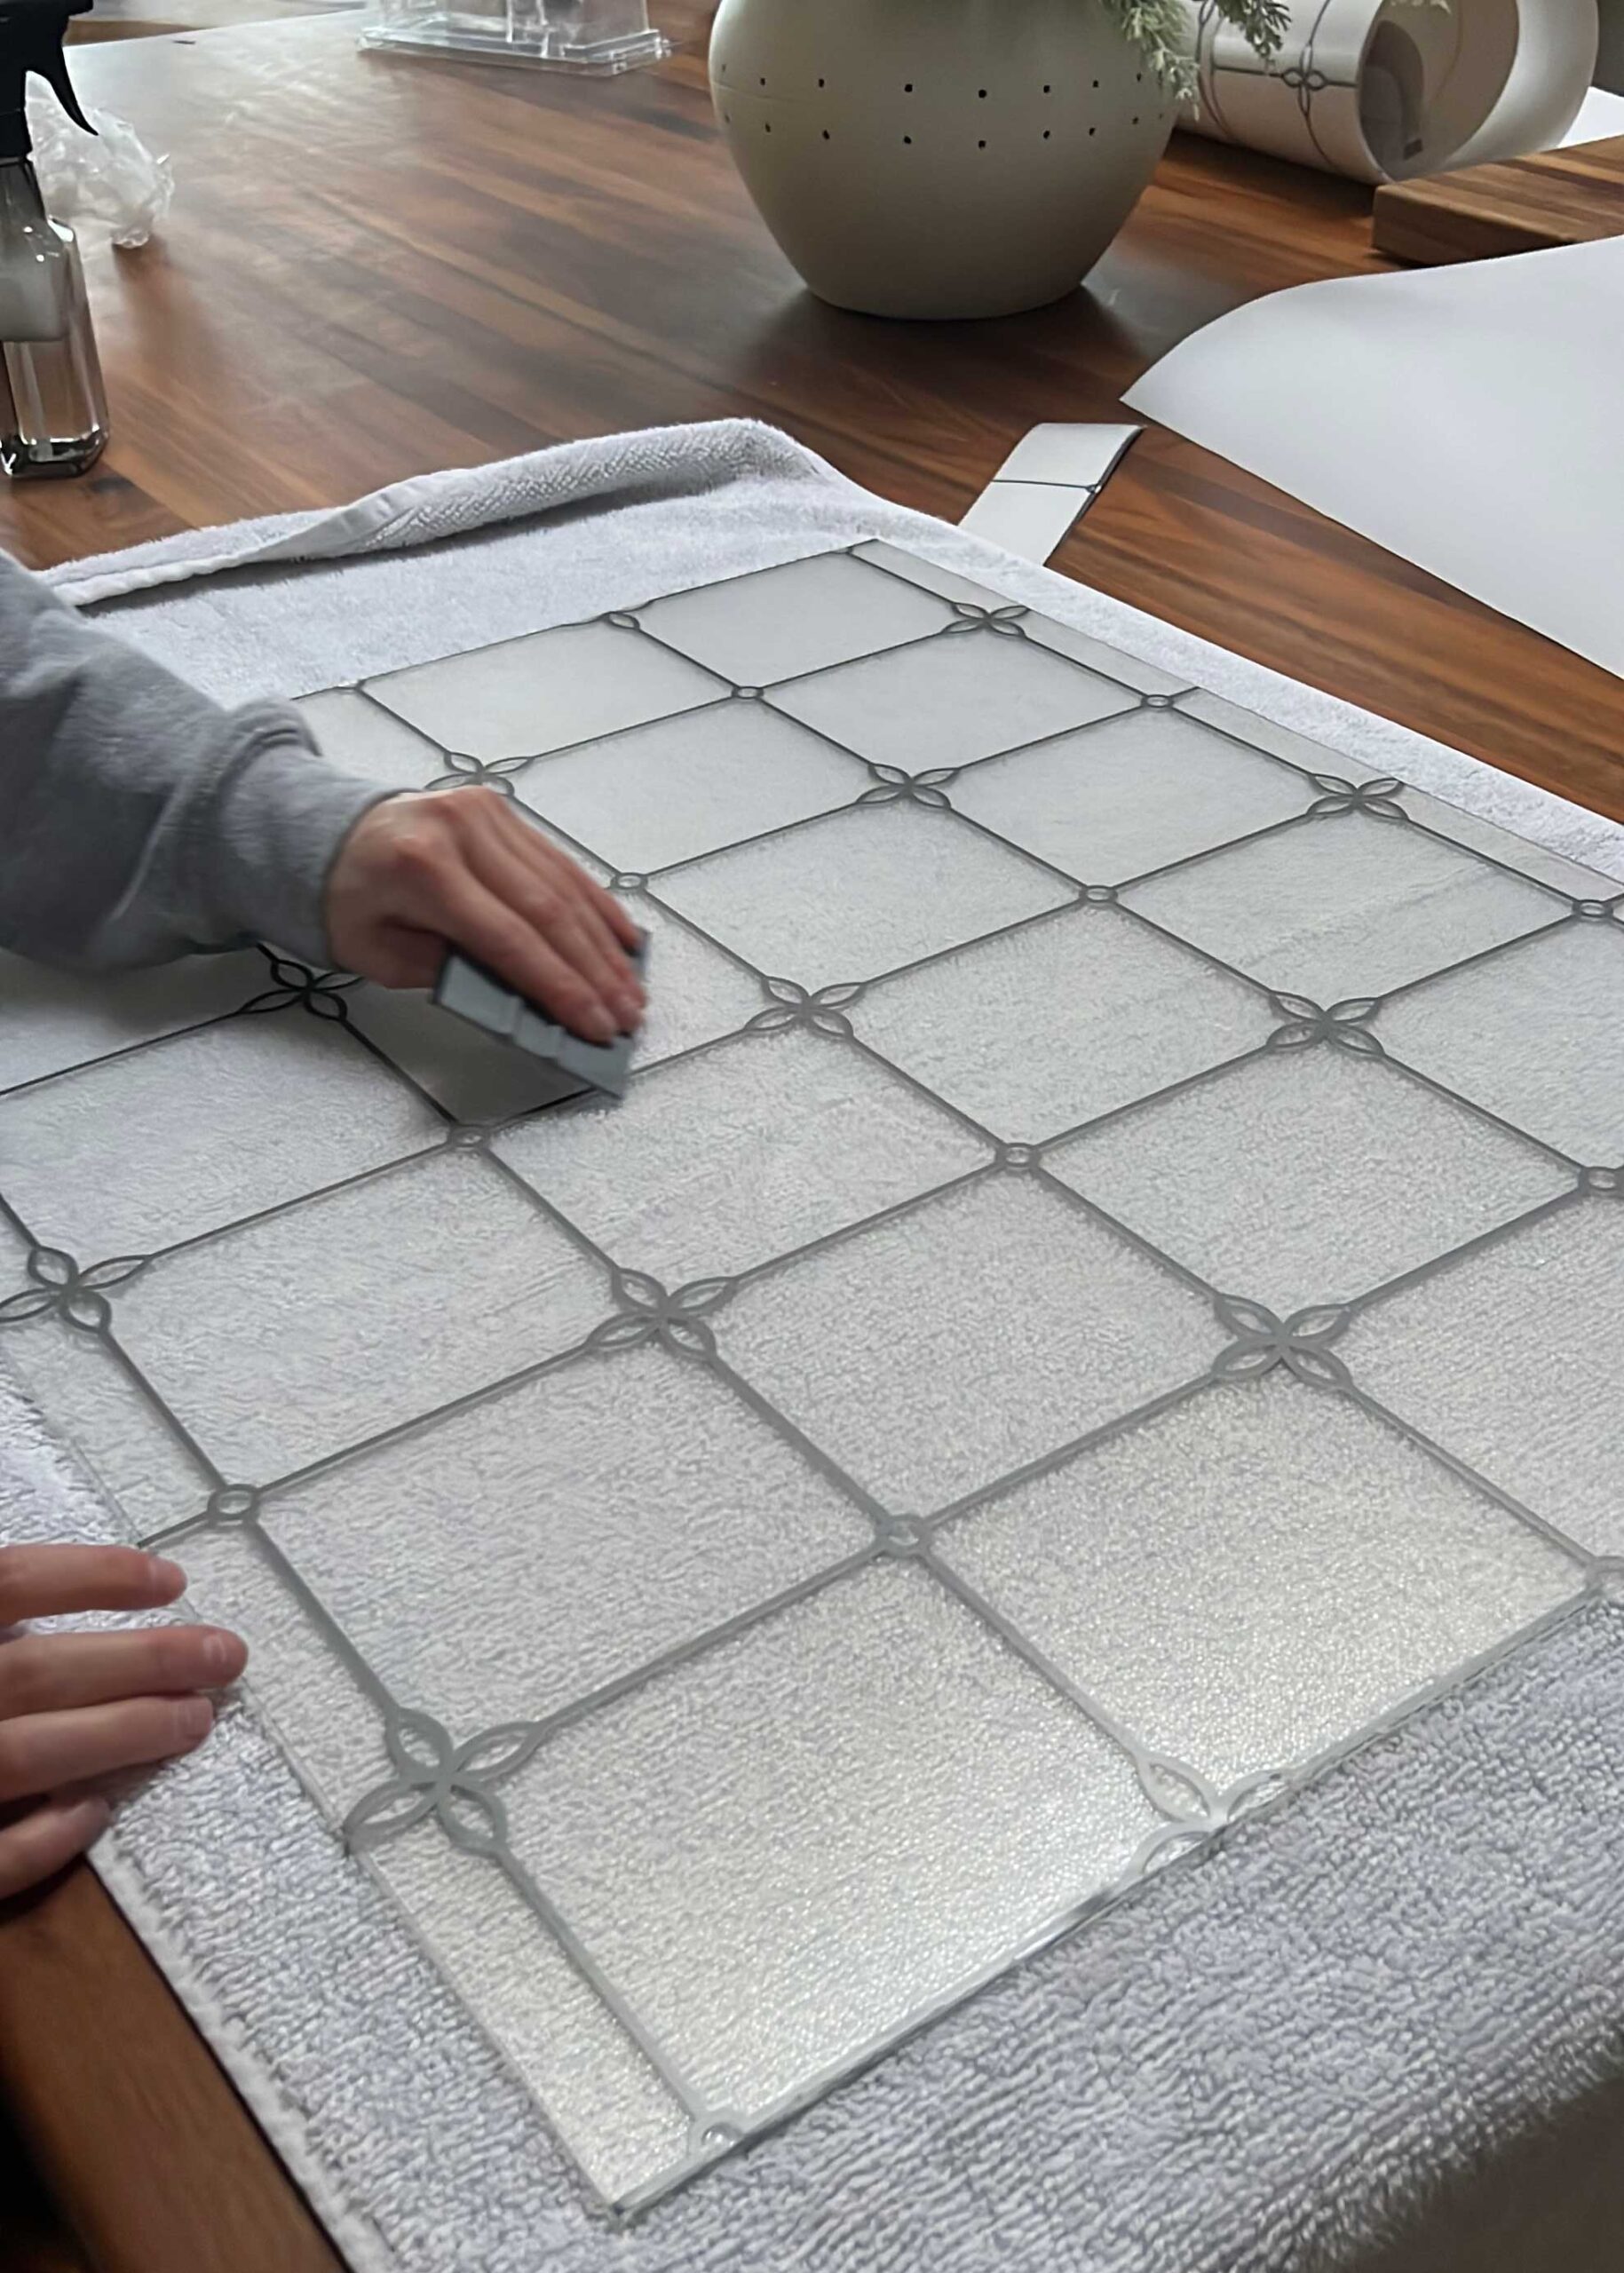
I was careful to center the pattern on all the different glass films so they lined up from one pane to another.
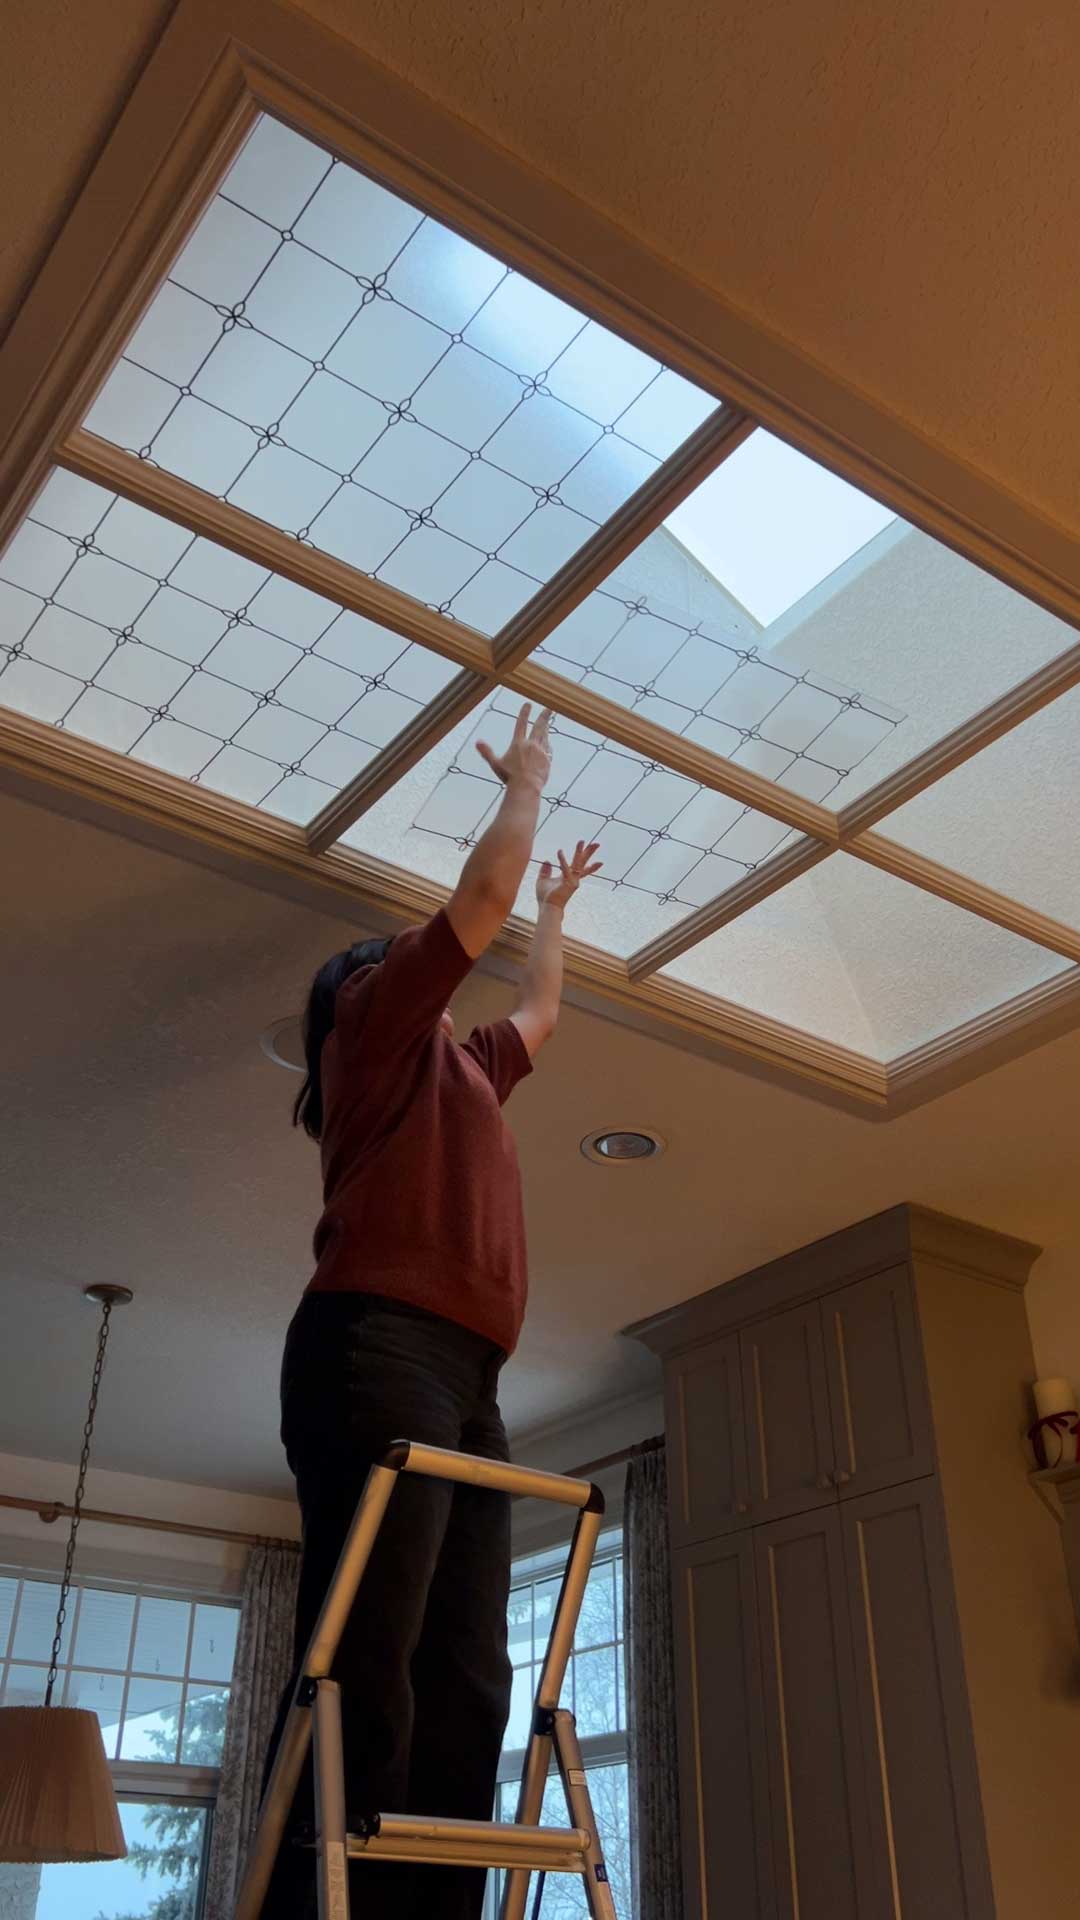
I am obsessed with how this turned out! It is a beautiful finish, and it looks just like the traditional stained glass window skylights I saw all over Europe!


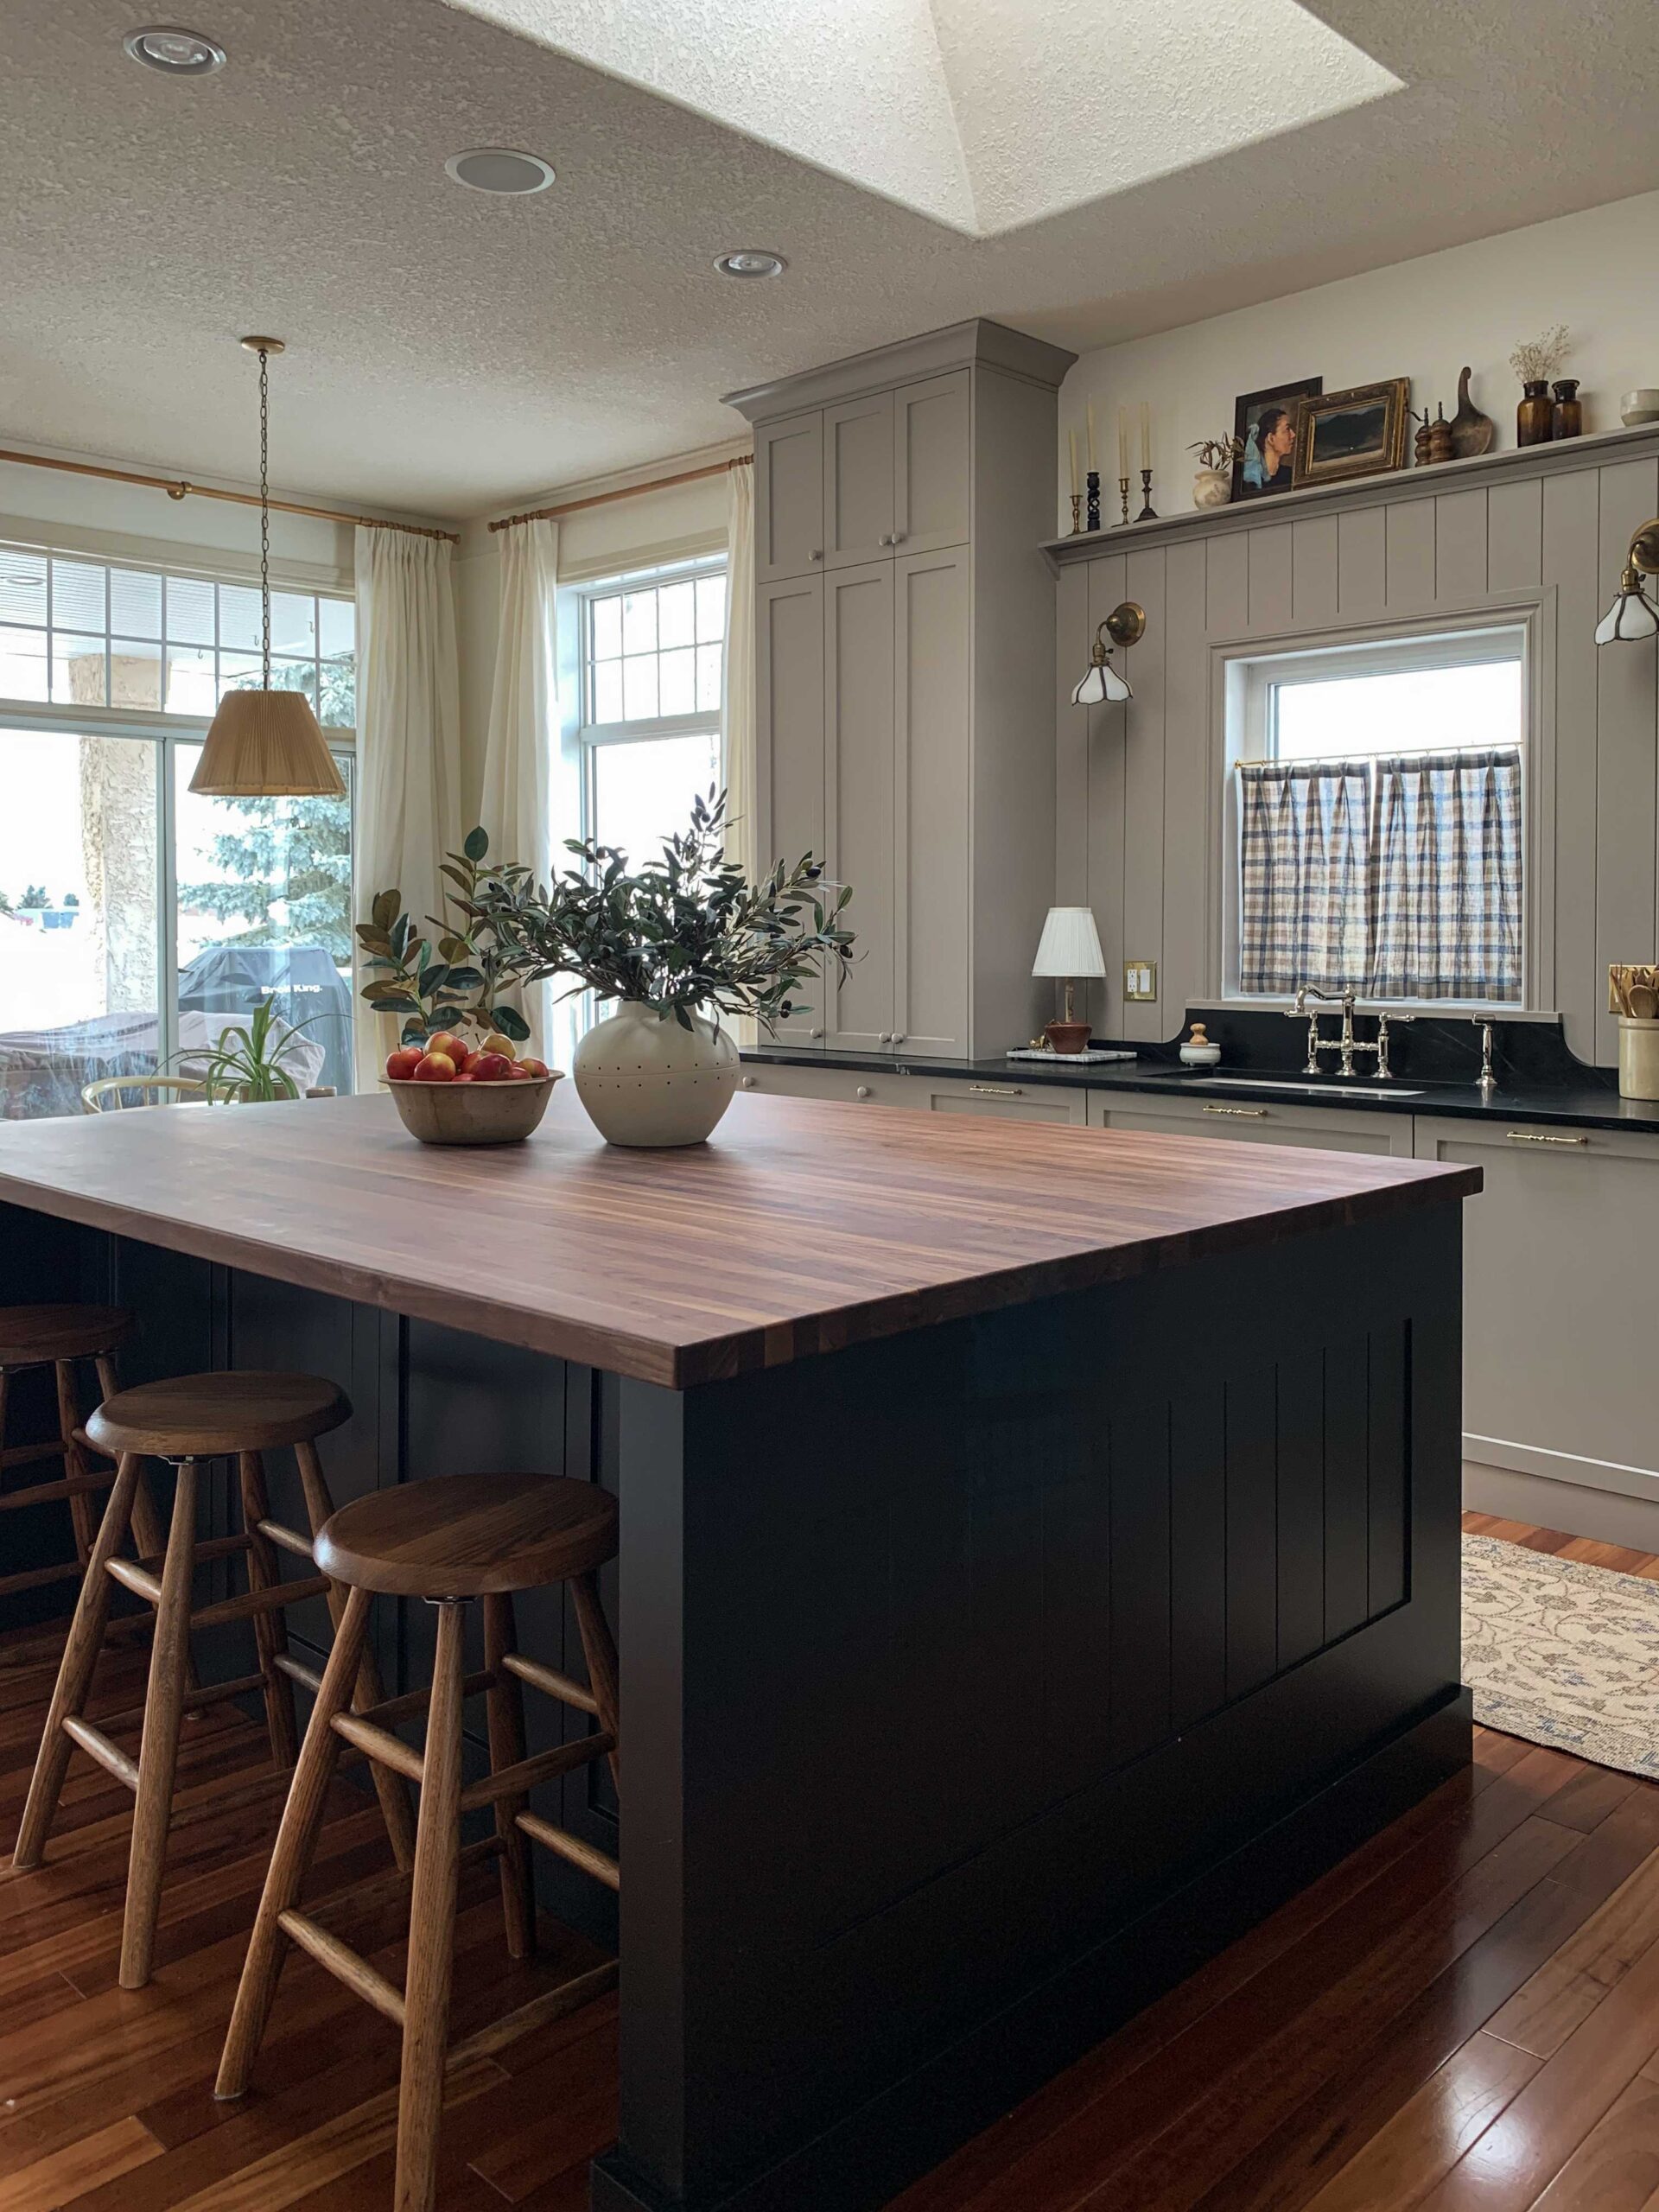

I really feel like adding the glass and panes to the skylight really made it fit in better in our home. I hope this inspires you to try something like this in your own home!
This looks so good – it really works so well in your kitchen. That extra trim that you added really puts it over the top too!
Thank you Leslie!