DIY Pocket Door Installation (From One Side Only!)
We installed a pocket door! We have installed quite a few of them. We were able to do a DIY pocket door installation from ONE SIDE ONLY!
We first did this in my parent’s bathroom to make it more handicap accessible, and we weren’t sure it would work, but it did! We were doing a bathroom renovation and on the other side of the wall was their closet – full of clothes which they didn’t want to disturb.
We then installed one in our bedroom without disturbing the wall on the other side (which was also a closet). In our latest bathroom reno, we installed two more! Read on for a full tutorial about how we did it!
(Note: I pulled from my old photos to write this post, so there are a mix of photos from all three of the pocket doors that we installed in our ensuite, but the method used was the same!)

This post may contain affiliate links. That means if you purchase anything from these links I earn a small commission, at no extra cost to you! This helps support my blog, so thank you!
Table of Contents
- What is a Pocket Door and Why Would I Want One?
- How Do I Know if I Can Install a DIY Pocket Door?
- How to Install a DIY Pocket Door
- Recommended Tools and Supplies for a DIY Pocket Door
- You Might Also Like:
What is a Pocket Door and Why Would I Want One?
A pocket door is a sliding door that, when open, slides right inside the wall out of the way. If you think about the way a traditional door swings out or in, the pocket door runs along a track system and sides inside a cavity in the wall.
Why Would You Want a Pocket Door?
Pocket doors save a ton of floor space by not requiring room in front of them for a door to swing. They are great space savers in small rooms or when you don’t have enough room for an interior door to swing one way or the other.
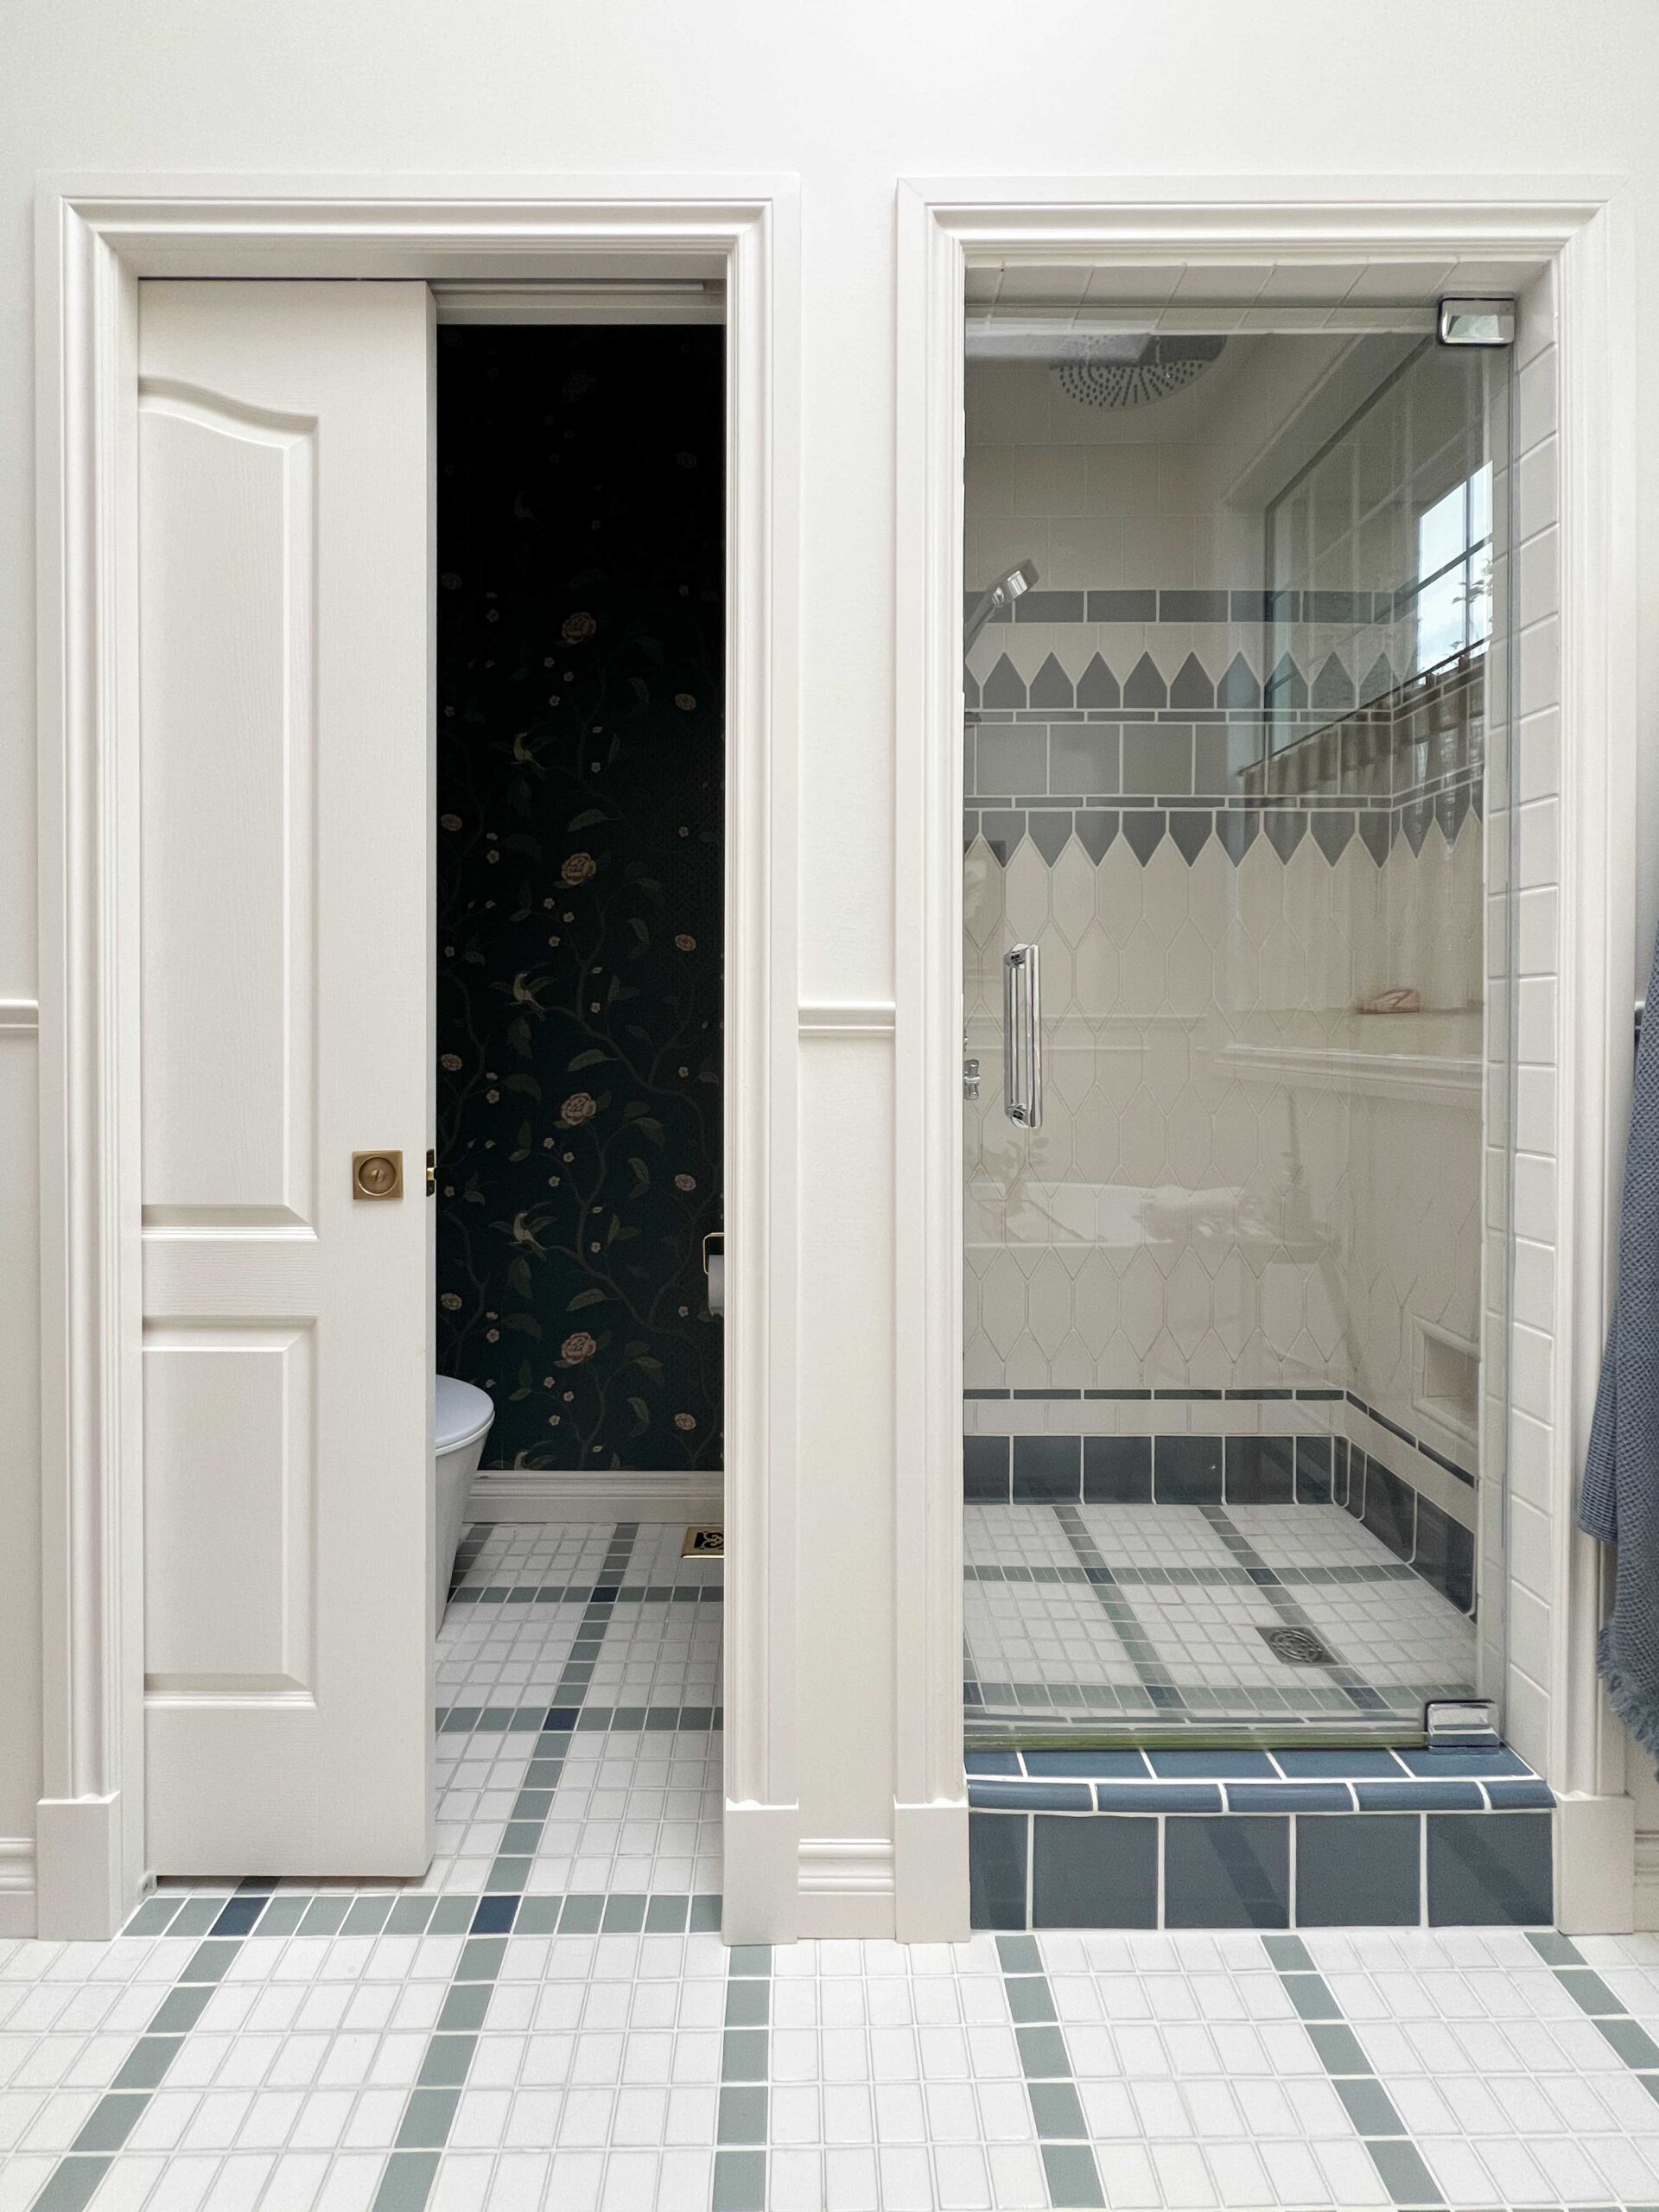
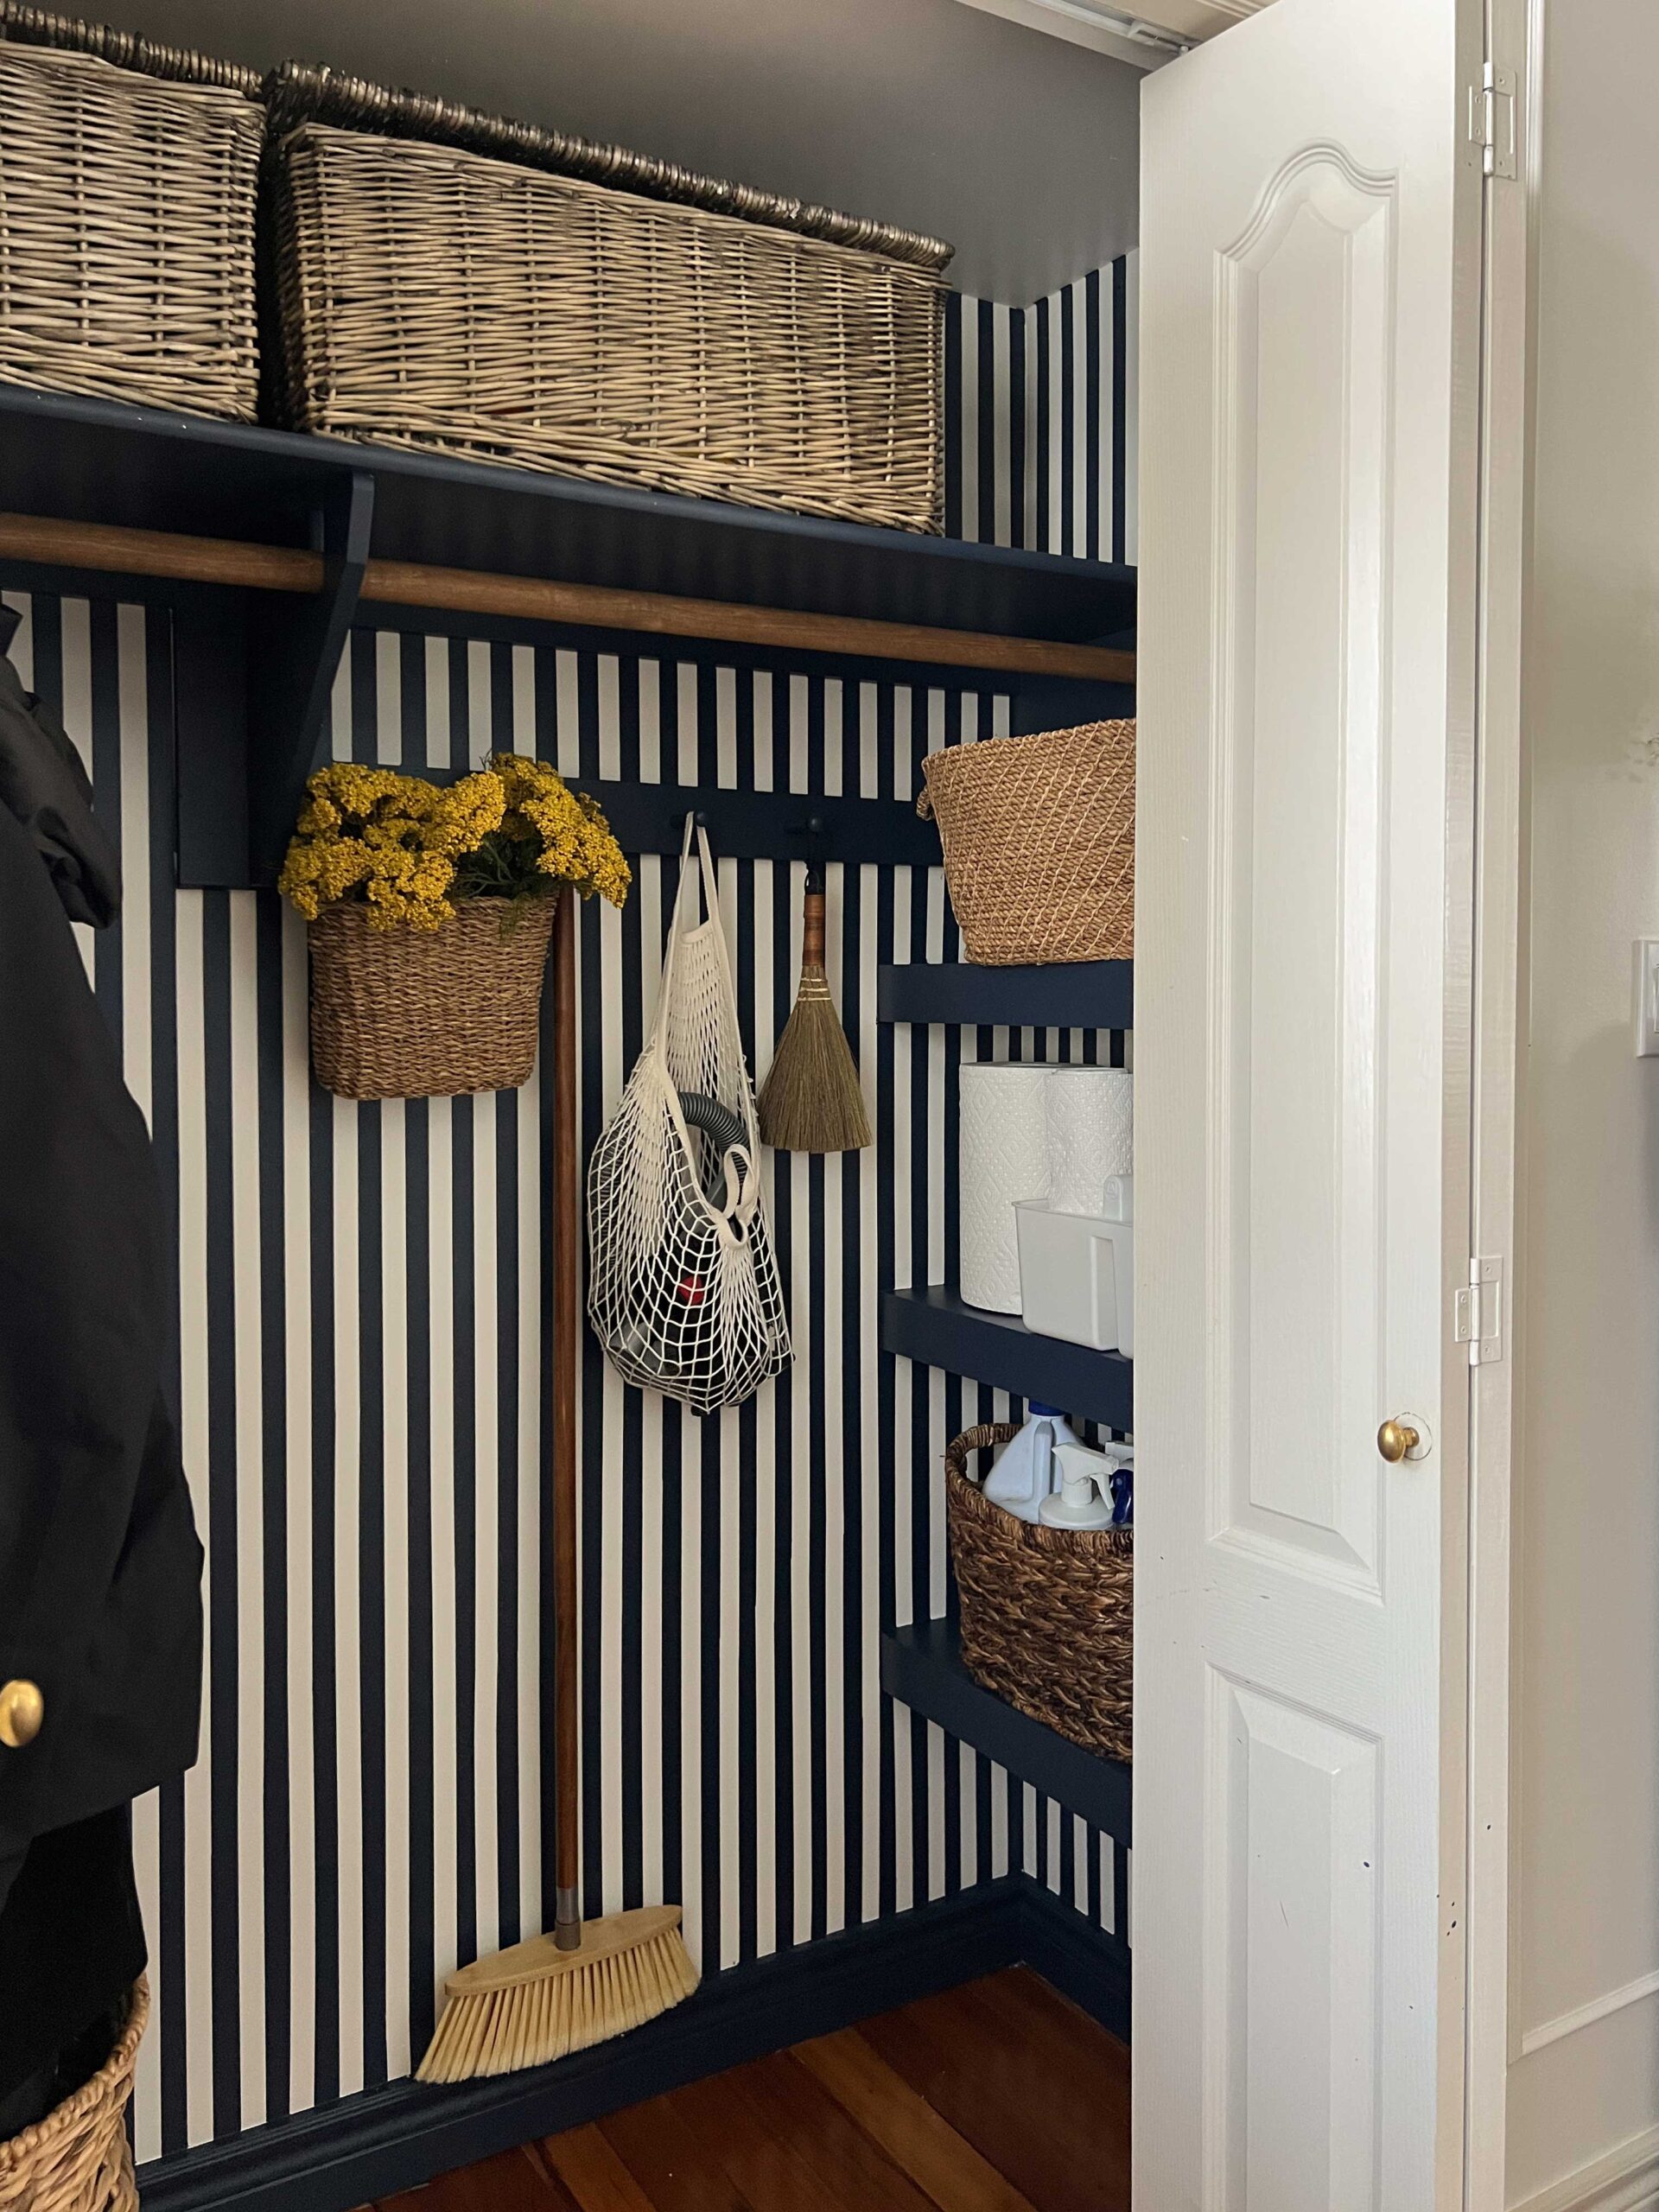
In our toilet room, we could have installed a traditional swinging door, but it would be inconvenient to have that door swing right in front of the vanity. In the closet, the old bifold blocked almost half of the walkway and installing a pocket door meant that the walkway stayed clear if the door was left open.


(I don’t know what is wrong with me but I am not a door closer. I leave cupboard doors open, closet doors, drawers, whatever. I annoy myself with this bad habit of mine!)
How Do I Know if I Can Install a DIY Pocket Door?
A pocket door requires enough wall space to install the door as well as the cavity that the door slides into, so roughly twice the width of the door.
In the area that the door is sliding into you can not have anything in the wall like electrical, plumbing, insulation, etc.
This is easiest if the wall is also not a load-bearing wall. If the wall is load-bearing, you may need to add additional support above the door for the door header to support the weight of the structure above.

Always make sure that your wall is not load-bearing before starting a project like this. If your wall is load bearing, you will need the recommendations of a structural engineer as far as the size of the new door header and temporary support while you reframe the opening.
How do you know if there is anything in the way inside the wall where you want your door opening and pocket to be? If there is a switch or plug or a vent opening in that location that is a telltale sign that there will be some electrical wires or ductwork.

If there is a sink or plumbing nearby there is a chance that there are water or drain lines in the wall, so those are some things to look out for. However, there still may be some things inside there that you won’t know about until you open the wall up. Fun little renovation surprises, we like to call them.
If you are going to be doing this project there are going to be some drywall repairs so I would suggest getting that out of the way early. Pull some drywall off the wall to see what’s in there and what you are getting yourself into! Most things can be handled but doing a DIY pocket door is easiest if nothing needs to be re-routed.
Some small things can be re-routed, but you may decide that it is not worth your time and effort to move a bunch of plumbing or ducting to make a pocket door work.
If you want to proceed and have things inside the wall that require relocation, you should consult with a professional electrician, plumber, or HVAC specialist, depending on what you need to re-route. Once everything is out of the way, you can start framing!
How to Install a DIY Pocket Door
Prepare the Rough Opening
Once you have determined that you have the space inside the wall for a pocket door and have moved what might need moving and that you are not dealing with a load-bearing wall, you first need to prepare the rough opening for the pocket door.
Remove Drywall
First, read through the directions from your pocket door kit. The kit will explain the rough opening requirements for the door size that you are using.
In general, you need about double the width of the door for a rough opening, plus a couple of inches. Mark this out on the wall. Remove the drywall from this area.

Tip: Don’t be shy about removing drywall. A sheet of drywall is inexpensive and once you are doing drywall, whether the piece is 8′ long or 2′ long, the amount of work is not that different. Make sure you remove enough drywall so you can see what you are doing and can easily make the framing adjustments.
Remove Studs for the DIY Pocket Door
Once the drywall has been removed from the area for the rough opening, you can get an idea of what studs are there and which ones will need to be removed. You will be installing studs as per the pocket door frame kit which will include a new header that spans the whole top of the rough opening, a stud on either side of the rough opening, and nothing in between.
First, we cut along the back of the stud between the stud and the drywall. This is to cut through any nails or drywall screws that might be attaching the drywall to the stud. You can use something like a flush cut tool that will slide easily in between the stud and the drywall to cut that free.

Determine which wall studs need to be removed. In order to remove them, we cut ours at the top of the header piece using a reciprocating saw, being careful not to cut into the drywall on the opposite side (which was a closet that we were trying not to disturb).

We also used the reciprocating saw to cut through the base of that stud where it met the floor plate so we could cut free any nails that might be nailed up into the vertical stud.
Lastly, once the stud has been cut free, you can ‘gently’ coax it out with a sledge hammer! Repeat this for any studs that need to be removed.

Once all the vertical studs are out, you can remove the base plate (or the horizontal piece) that will be located on the floor by cutting it at the location of your rough opening. You may have to pry that out with a long crowbar and remove any protruding nails.
Install New Door Framing
Once the area has all been opened up, you can install the new framing for the rough opening including new vertical studs and a header 2×4 to support the pocket door system.
You should consult the directions for the pocket door frame system that you buy for the dimensions of the opening. the opening needs to be square and plumb, this is very important for a pocket door to work properly, so take your time to make sure everything is really straight at this point.

You will need to have a vertical stud on either side with a header, or horizontal stud across the top. those should be secured to the framing already in the wall and to the floor. You may have to cut some small pieces as braces to secure it to the existing wall framing.
Take a chalk line or a straight line and make a mark on the floor on either side of the jam. This is going to be the lines you follow to make sure your kit is installed nice and straight inside the opening.
Install the DIY Pocket Door Kit
You need to check the manufacturer’s instructions on to see the next steps, but generally it will involve installing the overhead track. For the hardware kit we used, that involved driving a nail at a certain height up from the floor to sit the overhead track on.
Most kits can be used for a variety of door sizes, so you will first have to cut the header track to the size of your particular door. Follow the directions on the kit for your door size and cut the header.

Once that was loosely in place, the overhead track is leveled and nailed tightly in place. It is very important the overhead track is level or your door might not function well, or might open and close all by itself, which is sure to freak you out in the middle of the night!
Next, you install the split jambs. Split jambs are just what they sound like… door jambs that are split in two so that there is a space between them for the door to slide into.
Install the jams as per the directions. This means that the jams will be attached to the floor between the chalk lines you made on the floor, and then to either side of the overhead track. Once again, a level is your best friend here! Make sure everything is very square and very level!

Install the Door and Check for Issues
At this point, the directions tell you to install your drywall, but I am going to tell you to first install your new pocket door onto the track temporarily, as this is your last opportunity to make any corrections! Once the drywall is up it becomes *considerably* harder to fix issues.
Once again, refer to the manufacturer’s directions for the DIY pocket door kit. It involves attaching a piece of hardware to the top of the door that fits in the pocket door slides.

You can use almost any standard door as a pocket door, or even use an old door like a salvaged vintage number. If you do use an old door, make sure you find some pocket door hardware that will fit the old doorknob holes that might be there, because obviously you can’t use a regular doorknob on a sliding door.
Once the door is attached, slide it and see how it fits. Here are a couple of things to watch for:
1) How centred is it hanging inside the split studs? Does it rub on the split studs when it opens and closes? A little bit of this can be corrected when you install the door guides in a later step, but if it is very wonky you might want to check if the track and the split studs are plumb and level with each other.
2) Does the drawer slide smoothly? Does it open or close all by itself? Your door track might be out of level.

Add Drywall or Wall Covering to your DIY Pocket Door
Once you’ve done these checks, you can remove the door and install drywall (or whatever your wall material is) on the split studs. Take care to not use regular screws, your package likely included some shorter ones that won’t protrude too far into the pocket opening. The steel studs will generally stop this from happening, but just remember that you need some shorter screws for this step.

Once the drywall is up, hang the door back up onto the track. You might want to paint your door before you install it, as it can be hard to get the paint on the whole door when part of it is in the wall!
Install the Jambs for the DIY Pocket Door
The jambs will not come with the kit, they are something you pick up in the trim aisle at the hardware store or your local Home Depot. (I found this pocket door kit that includes the split jam and the regular jam all in one kit here!)
The size of your jambs depends on your door thickness. Most hardware stores carry a full-sized jam that is suitable for a regular 2×4″ wall with drywall on each side. Most door jambs are 5/8″ x 4 -5/8″”.
The split jambs need to be about 1.5″ x 3/4″.

You will need a split jamb on the top and the “pocket” side of the opening, and a regular full jamb on the side the door closes up to.

Install the split jambs by installing the two on the top first, on both sides of the door opening, with finish nails into the 2×4″ framing. Then, install the jambs on either side of the door opening in the same way.
Finally, install the full jamb on the side the door buts up to when it’s closed.
As you are installing the jambs, make sure that you test them with the door. You might have to adjust the jams a little by installing shims between the jams and the framing to make sure that they are straight. You should open and close the door and make sure that the door is square inside the opening. The little rollers on the top of the door are also adjustable so between shimming the jams and the door adjustments, you can get a very square opening.

Most pocket door kits also come with a guide that you install near the bottom of the door to make sure that the door hangs in the middle of the opening. This keeps the door from rubbing along the inside of the opening by keeping it centred. These are installed with a couple of screws.

Install the Door Trim and Door Hardware to the DIY Pocket Door
You can trim the door out as you would, using casing material to match your other doors or windows.
Next, you install the door hardware. Door hardware for a pocket door is a little different, as you can’t have a door knob as you would a traditional door. It needs to be flat so it fits inside the wall.


The one we have used on all pocket doors in my house is this one, we find it has a nice smooth mechanism and the lock works well. I won’t go into the installation of the door hardware as that varies depending on the type of hardware, so follow the directions on the included hardware.
And that is it! You have successfully installed a pocket door, congrats! I must warn you though, pocket doors are addicting so I am sure it won’t be your last!
Recommended Tools and Supplies for a DIY Pocket Door
We bought our pocket door kit from our local lumber yard. The first kit we bought was made by Johnson Hardware and it was great. The next time we bought one, they had changed suppliers and it was way more difficult to install. Since this is going behind drywall and you can not access it to repair, I would suggest using a good quality pocket door kit. I wish we had bought one with soft close! That will have to be our next house! Here are the kits and tools I would recommend:
- Pocket Door Kit (Soft Close) (Regular)
- Door Jam Kit
- Flush Cut Tool
- Reciprocating saw
- Pocket door hardware


This is a great tutorial! Did you use an existing door? We’re hunting for the right sized pocket door handle and wanted to check. Thanks!
You can use an existing door but you have to make sure that you get a handle that fits in the knob hole. At my parent’s house the first time we did this, we used the existing door.