Our Modern Traditional Bedroom Reveal!
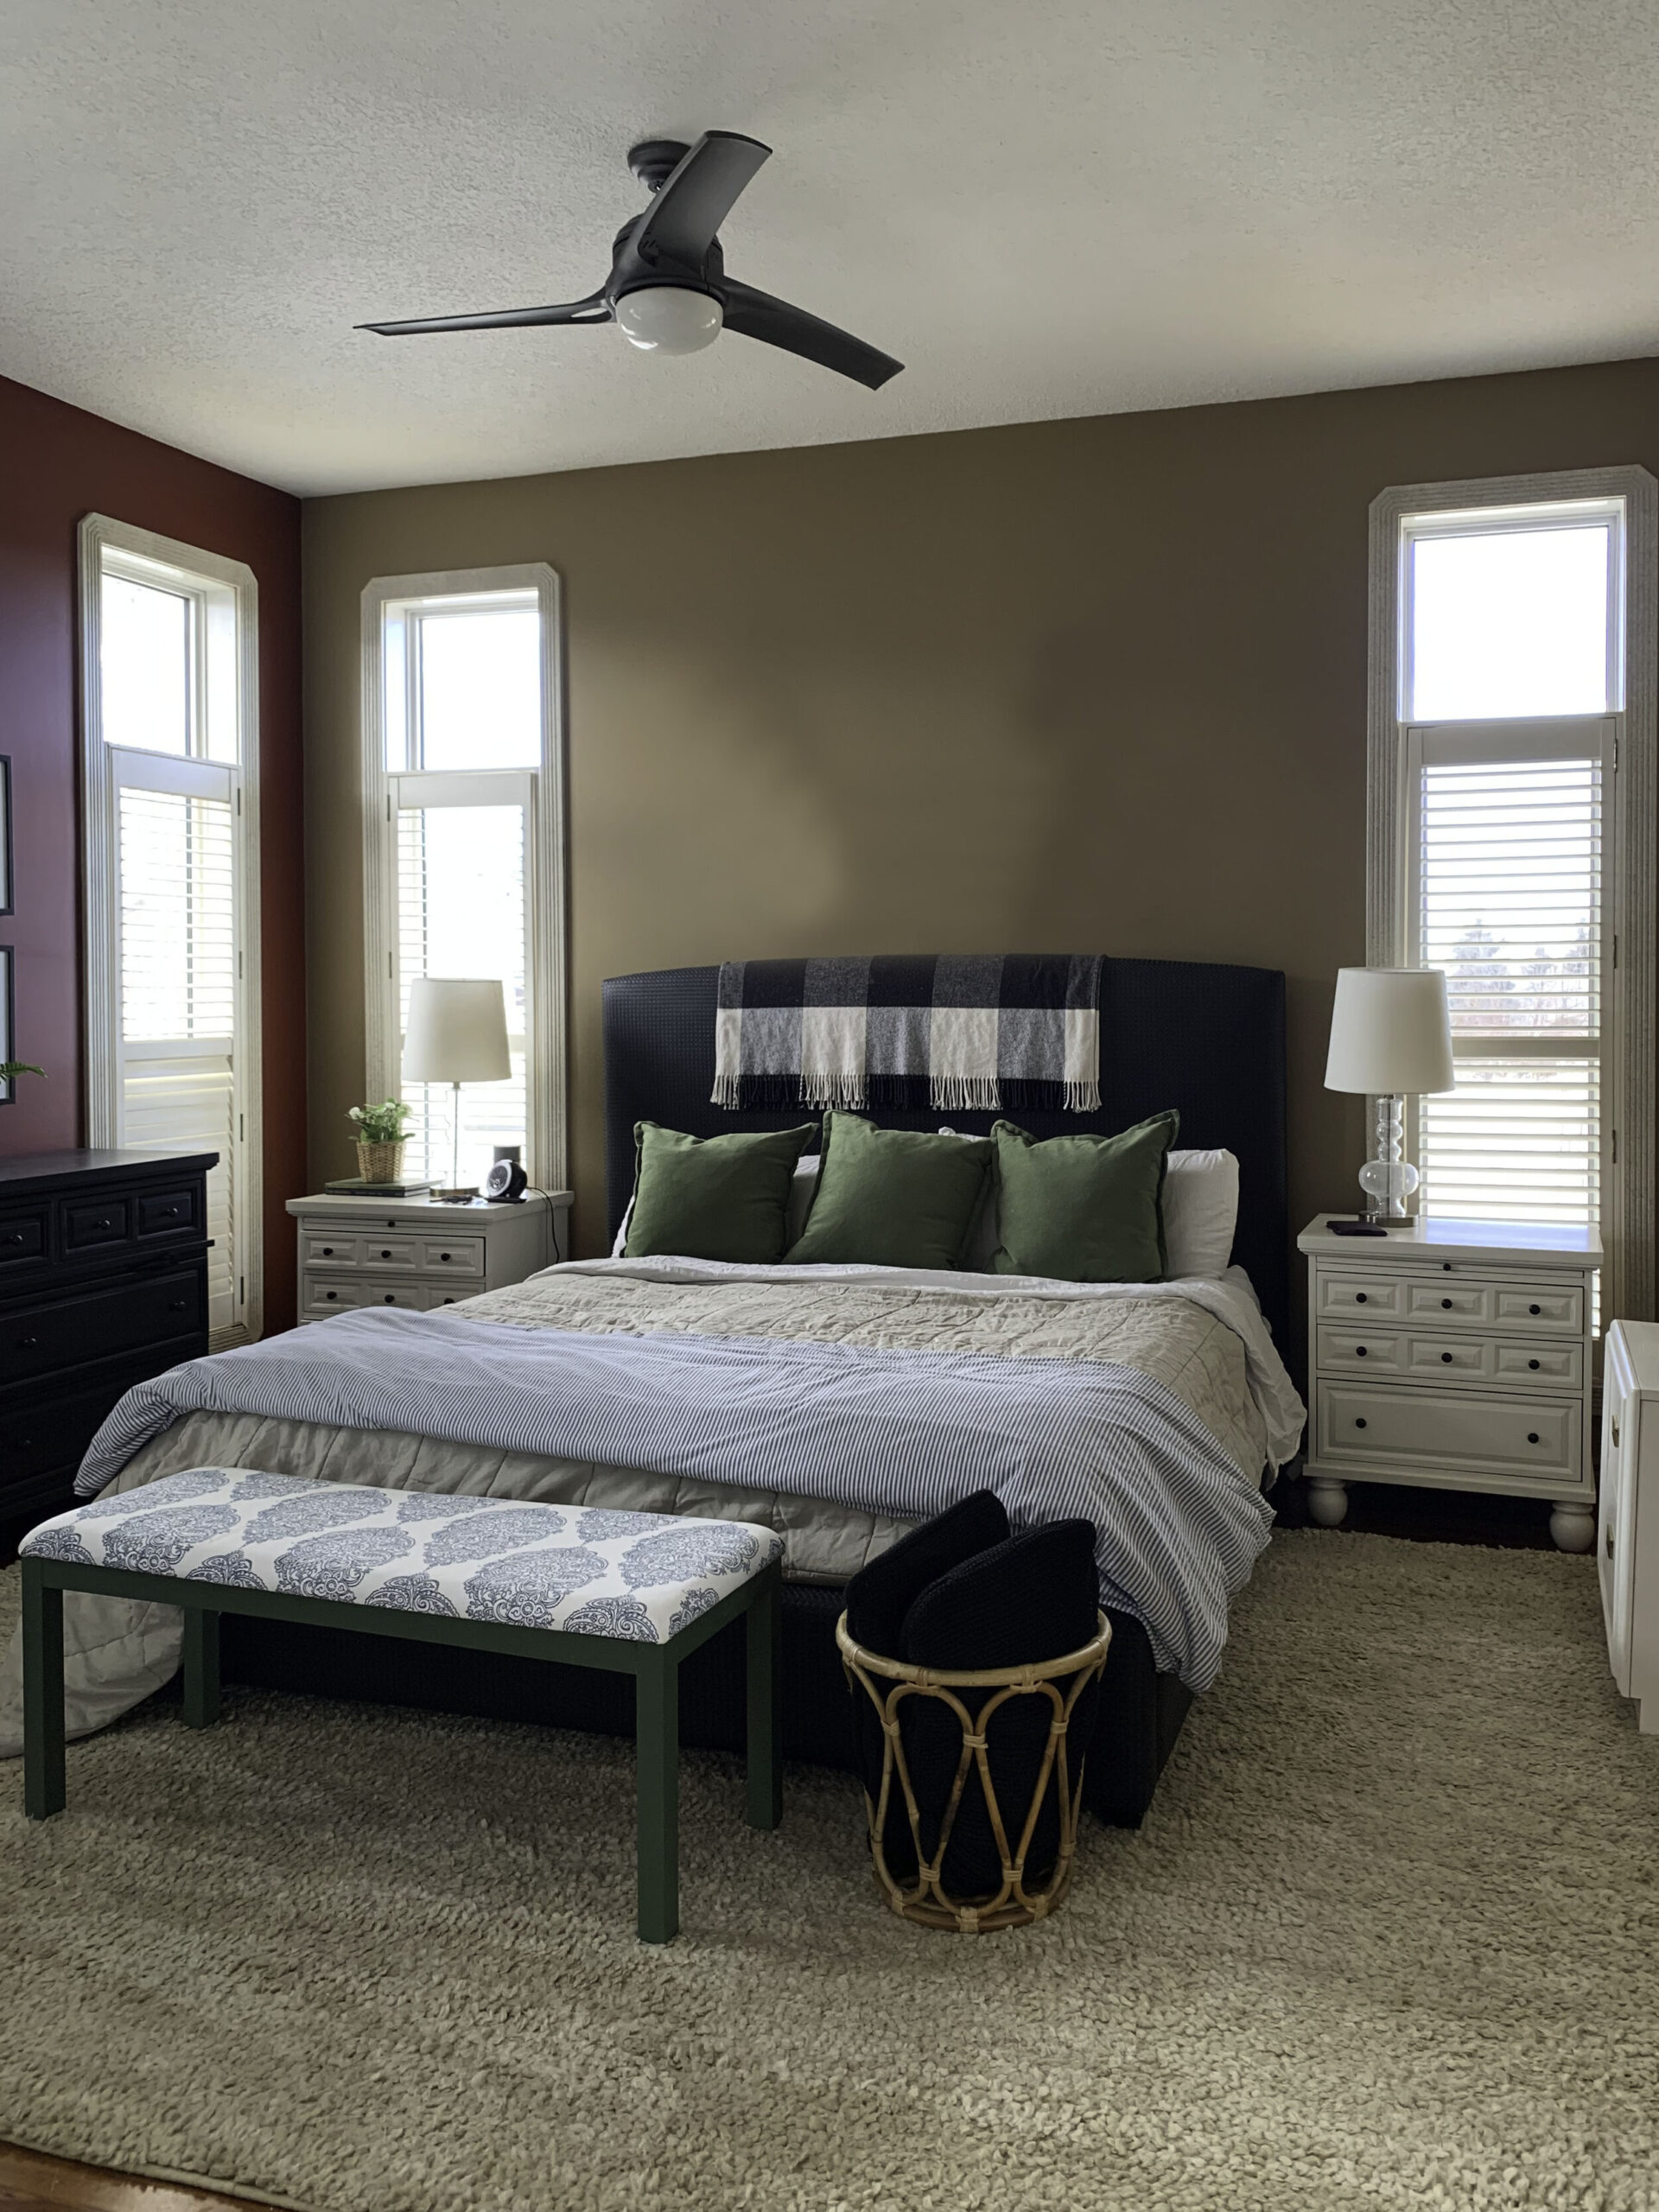
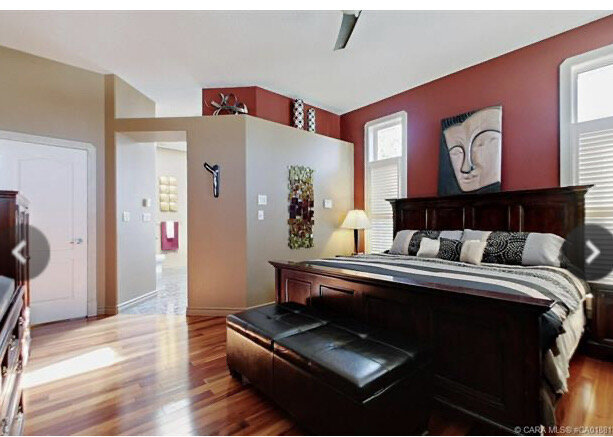
One of the rooms we started on when we first moved into this house was the main bedroom. The bedroom and adjoining ensuite were open to each other. The open bathroom was popular in the ’90s and early ’00s (this is actually not the first time we have owned a house with an open bathroom!) but often, the toilet is contained in its own room. Not the case here! You can CLEARLY SEE right through to the toilet. After living with this for a very short amount of time we decided the open-concept bathroom was not for us! My husband and I are just not that close! Here are some photos taken shortly after we moved in.
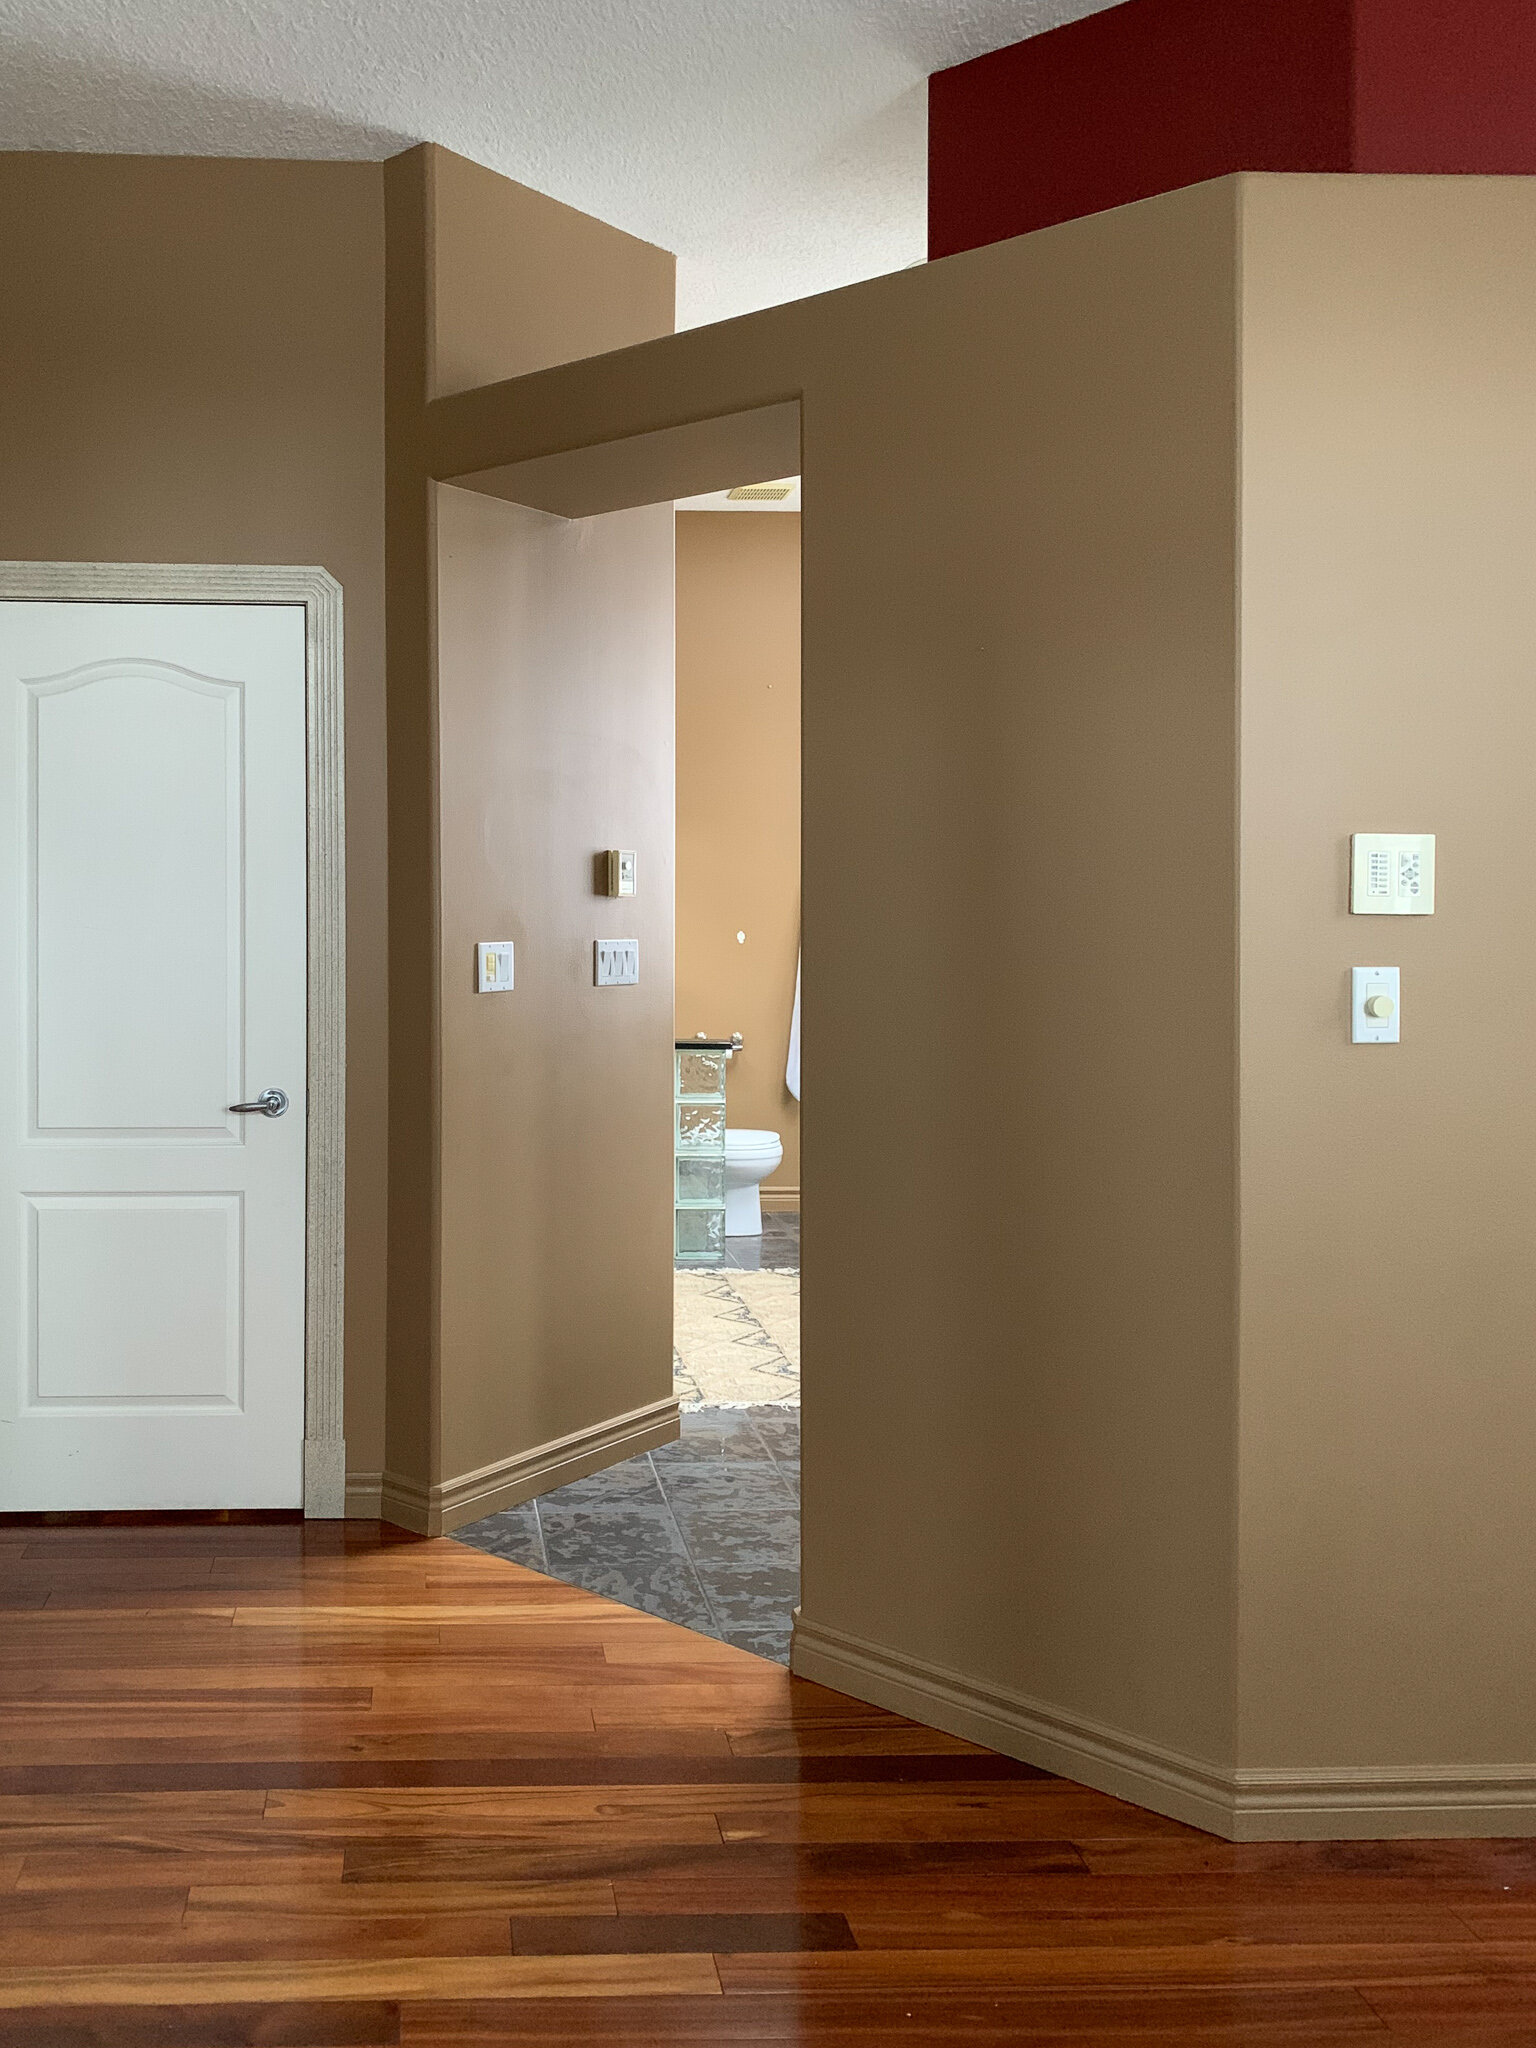
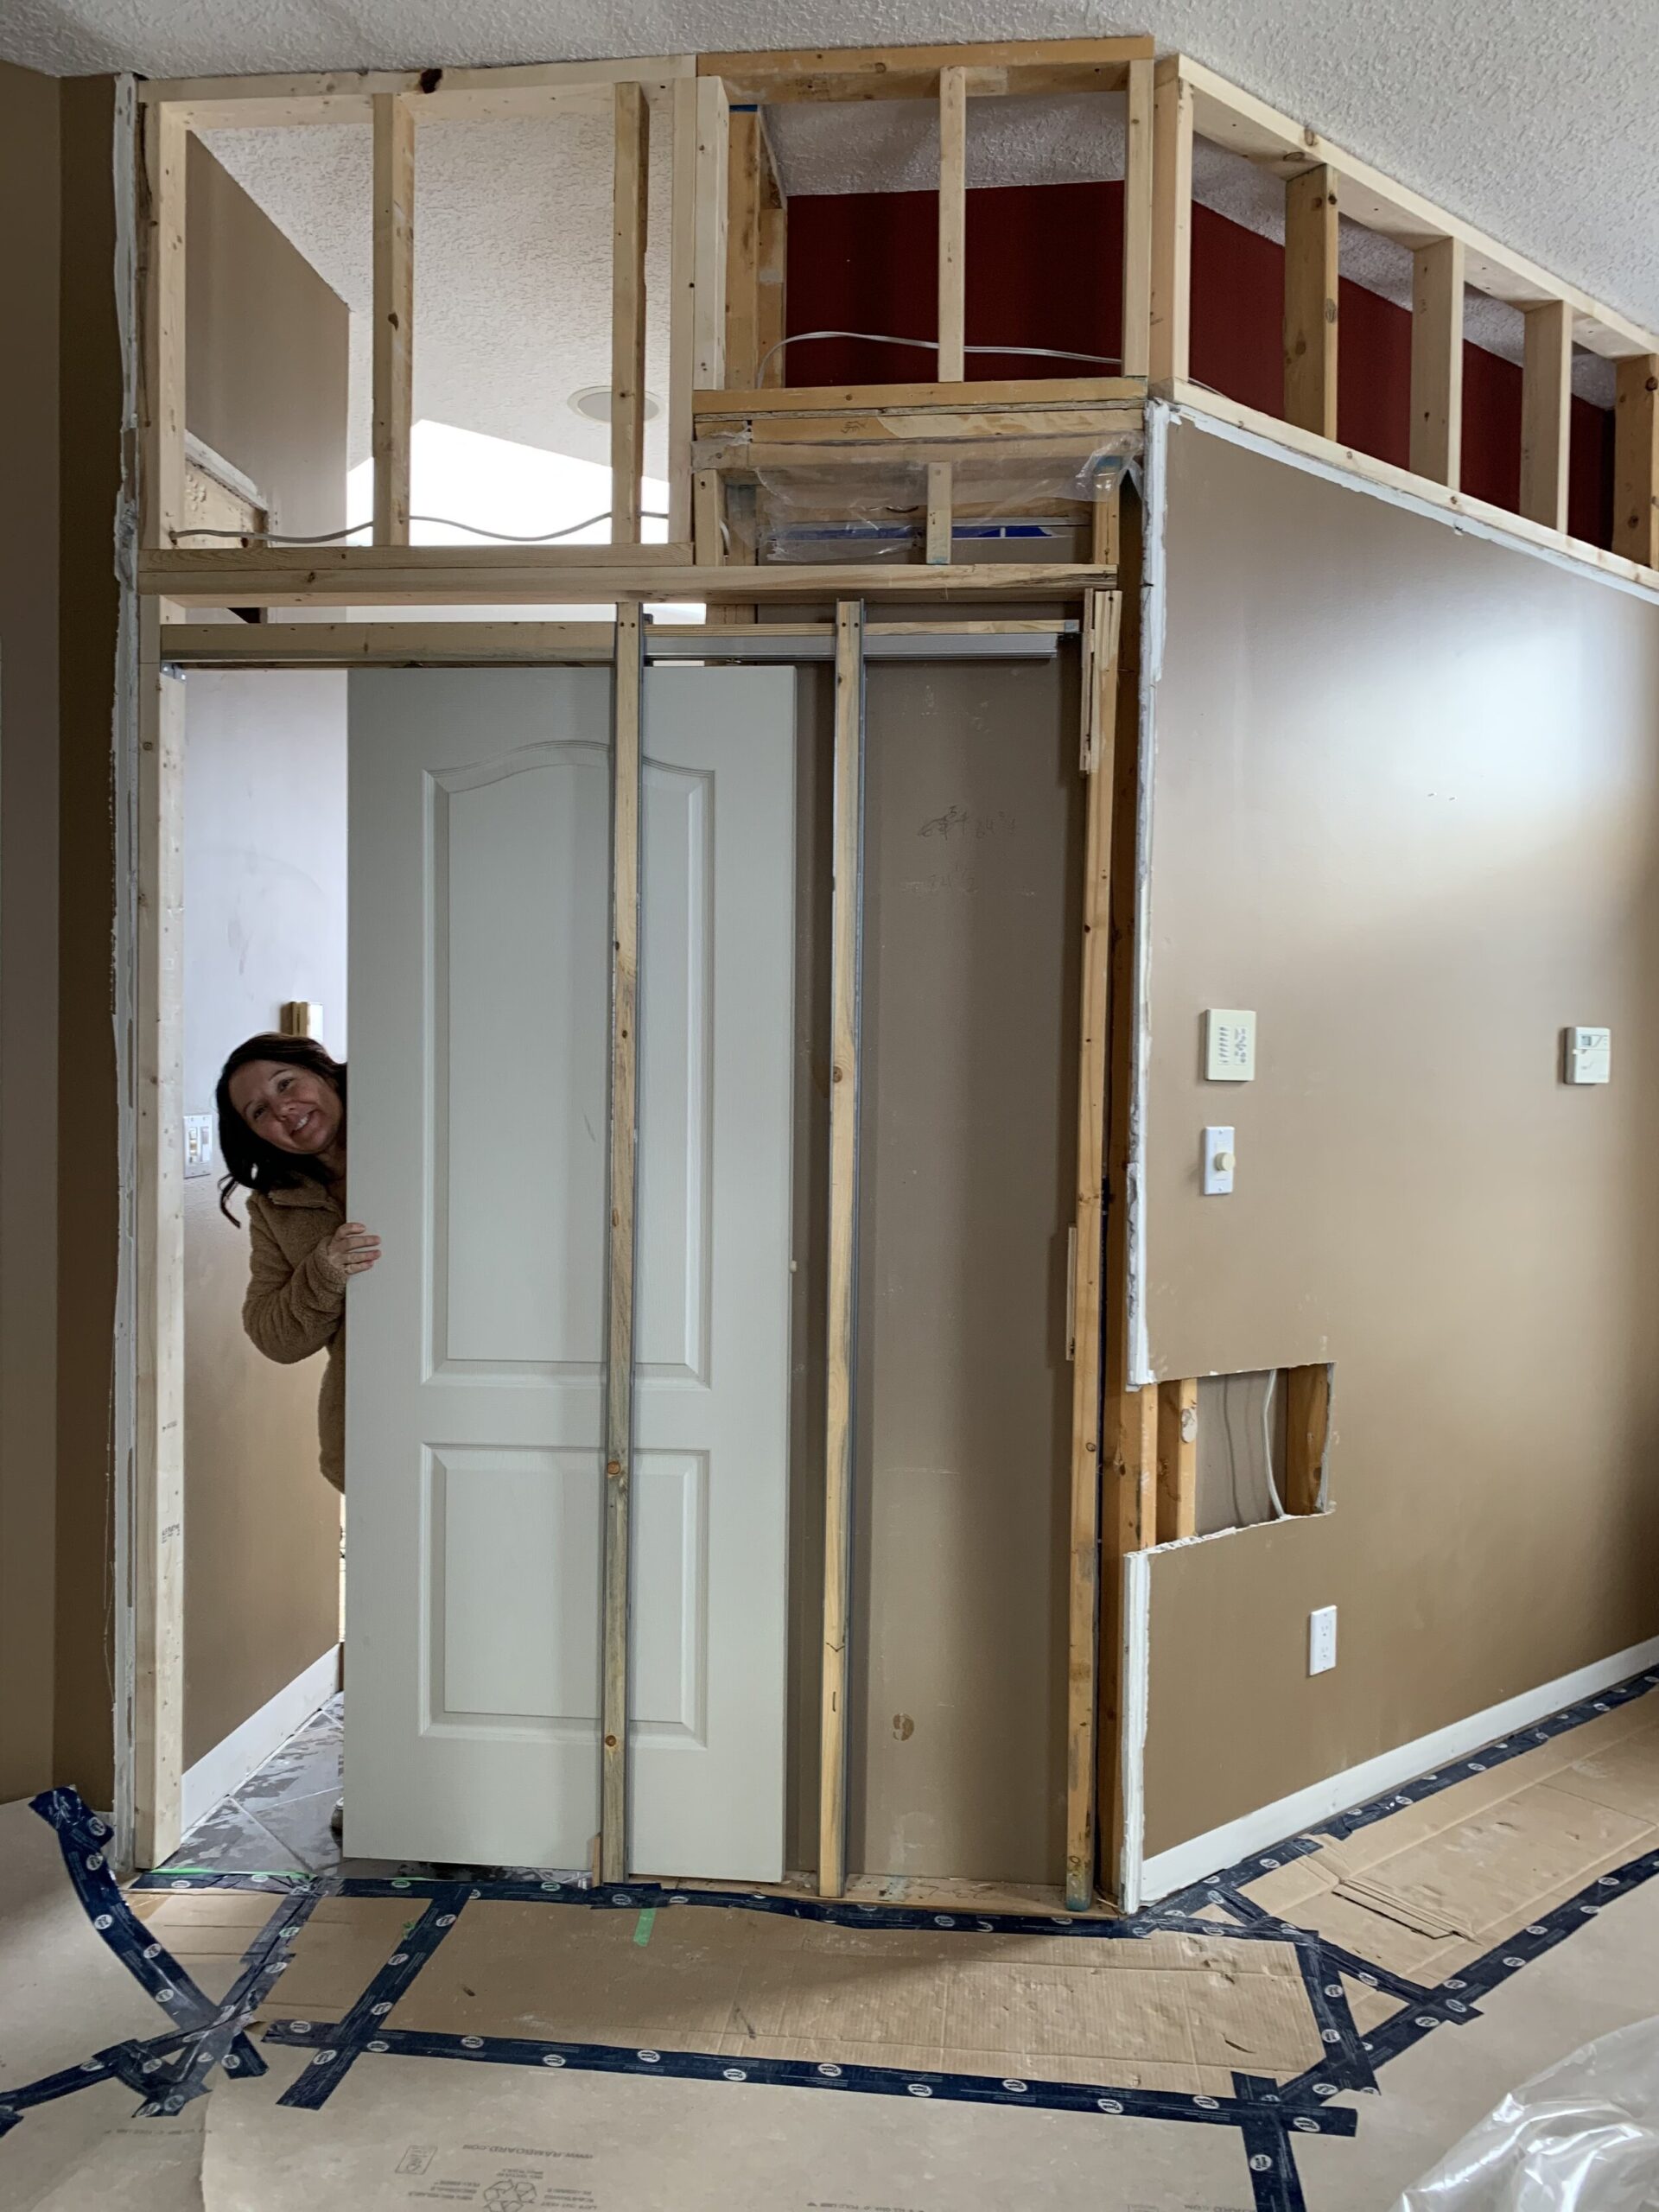
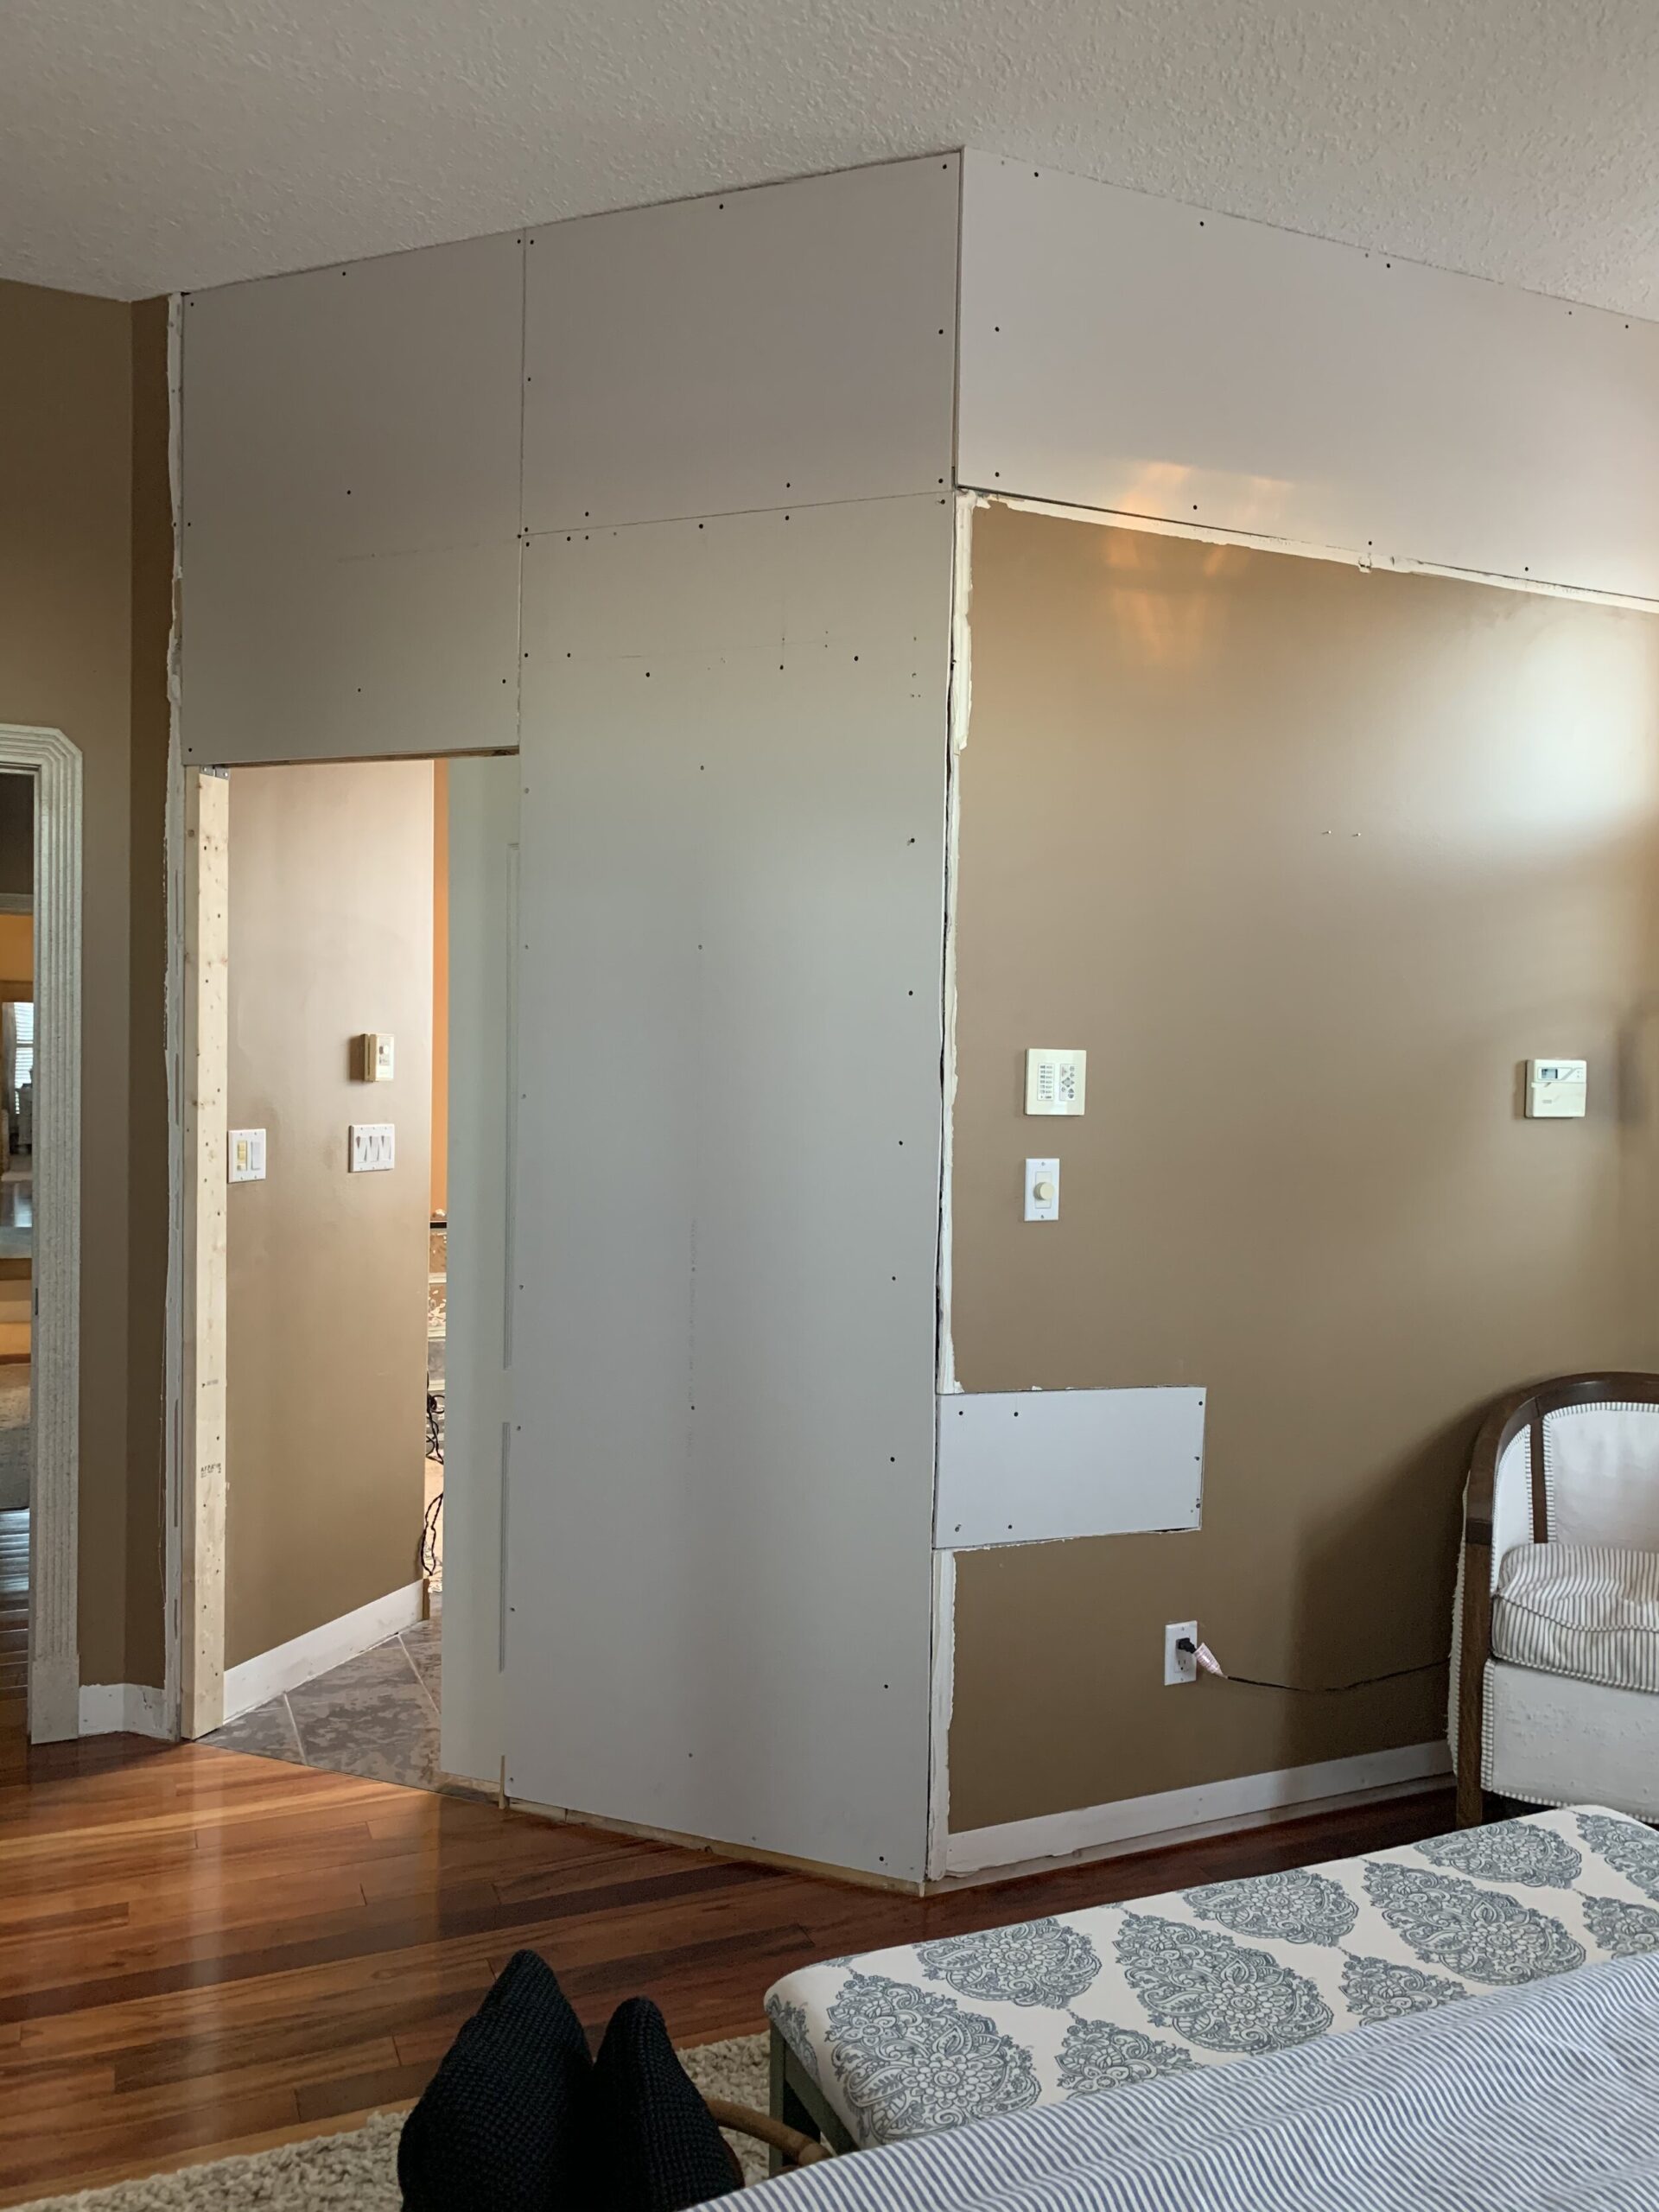
We needed to figure out a way to add a door. We tore out some framing and drywall and installed a pocket door and that felt like an instant upgrade. While we were at it, we decided to close up the ledge that was at the top of the wall to the bathroom as well. Once that was all drywalled, it sat like that for a while as we focused on getting our main living area painting and those updates complete! (You can read more about that here, that was a pretty drastic transformation itself and also involved the elimination of some ledges!)
This post may contain affiliate links. That means if you purchase anything from these links I earn a small commission, at no extra cost to you! This helps support my blog, so thank you!
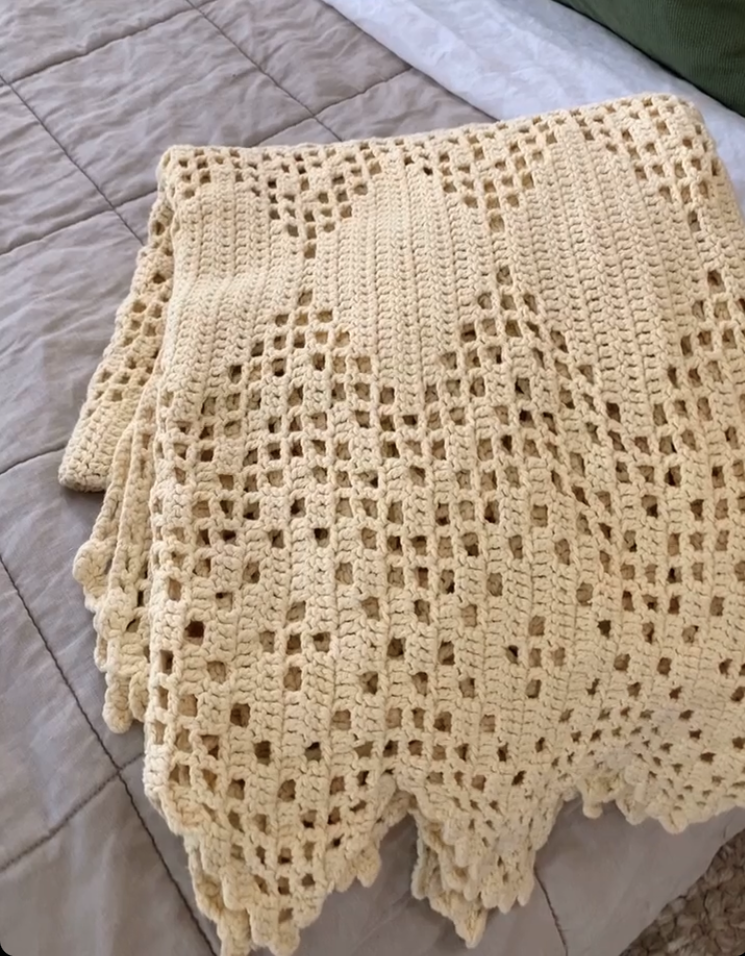
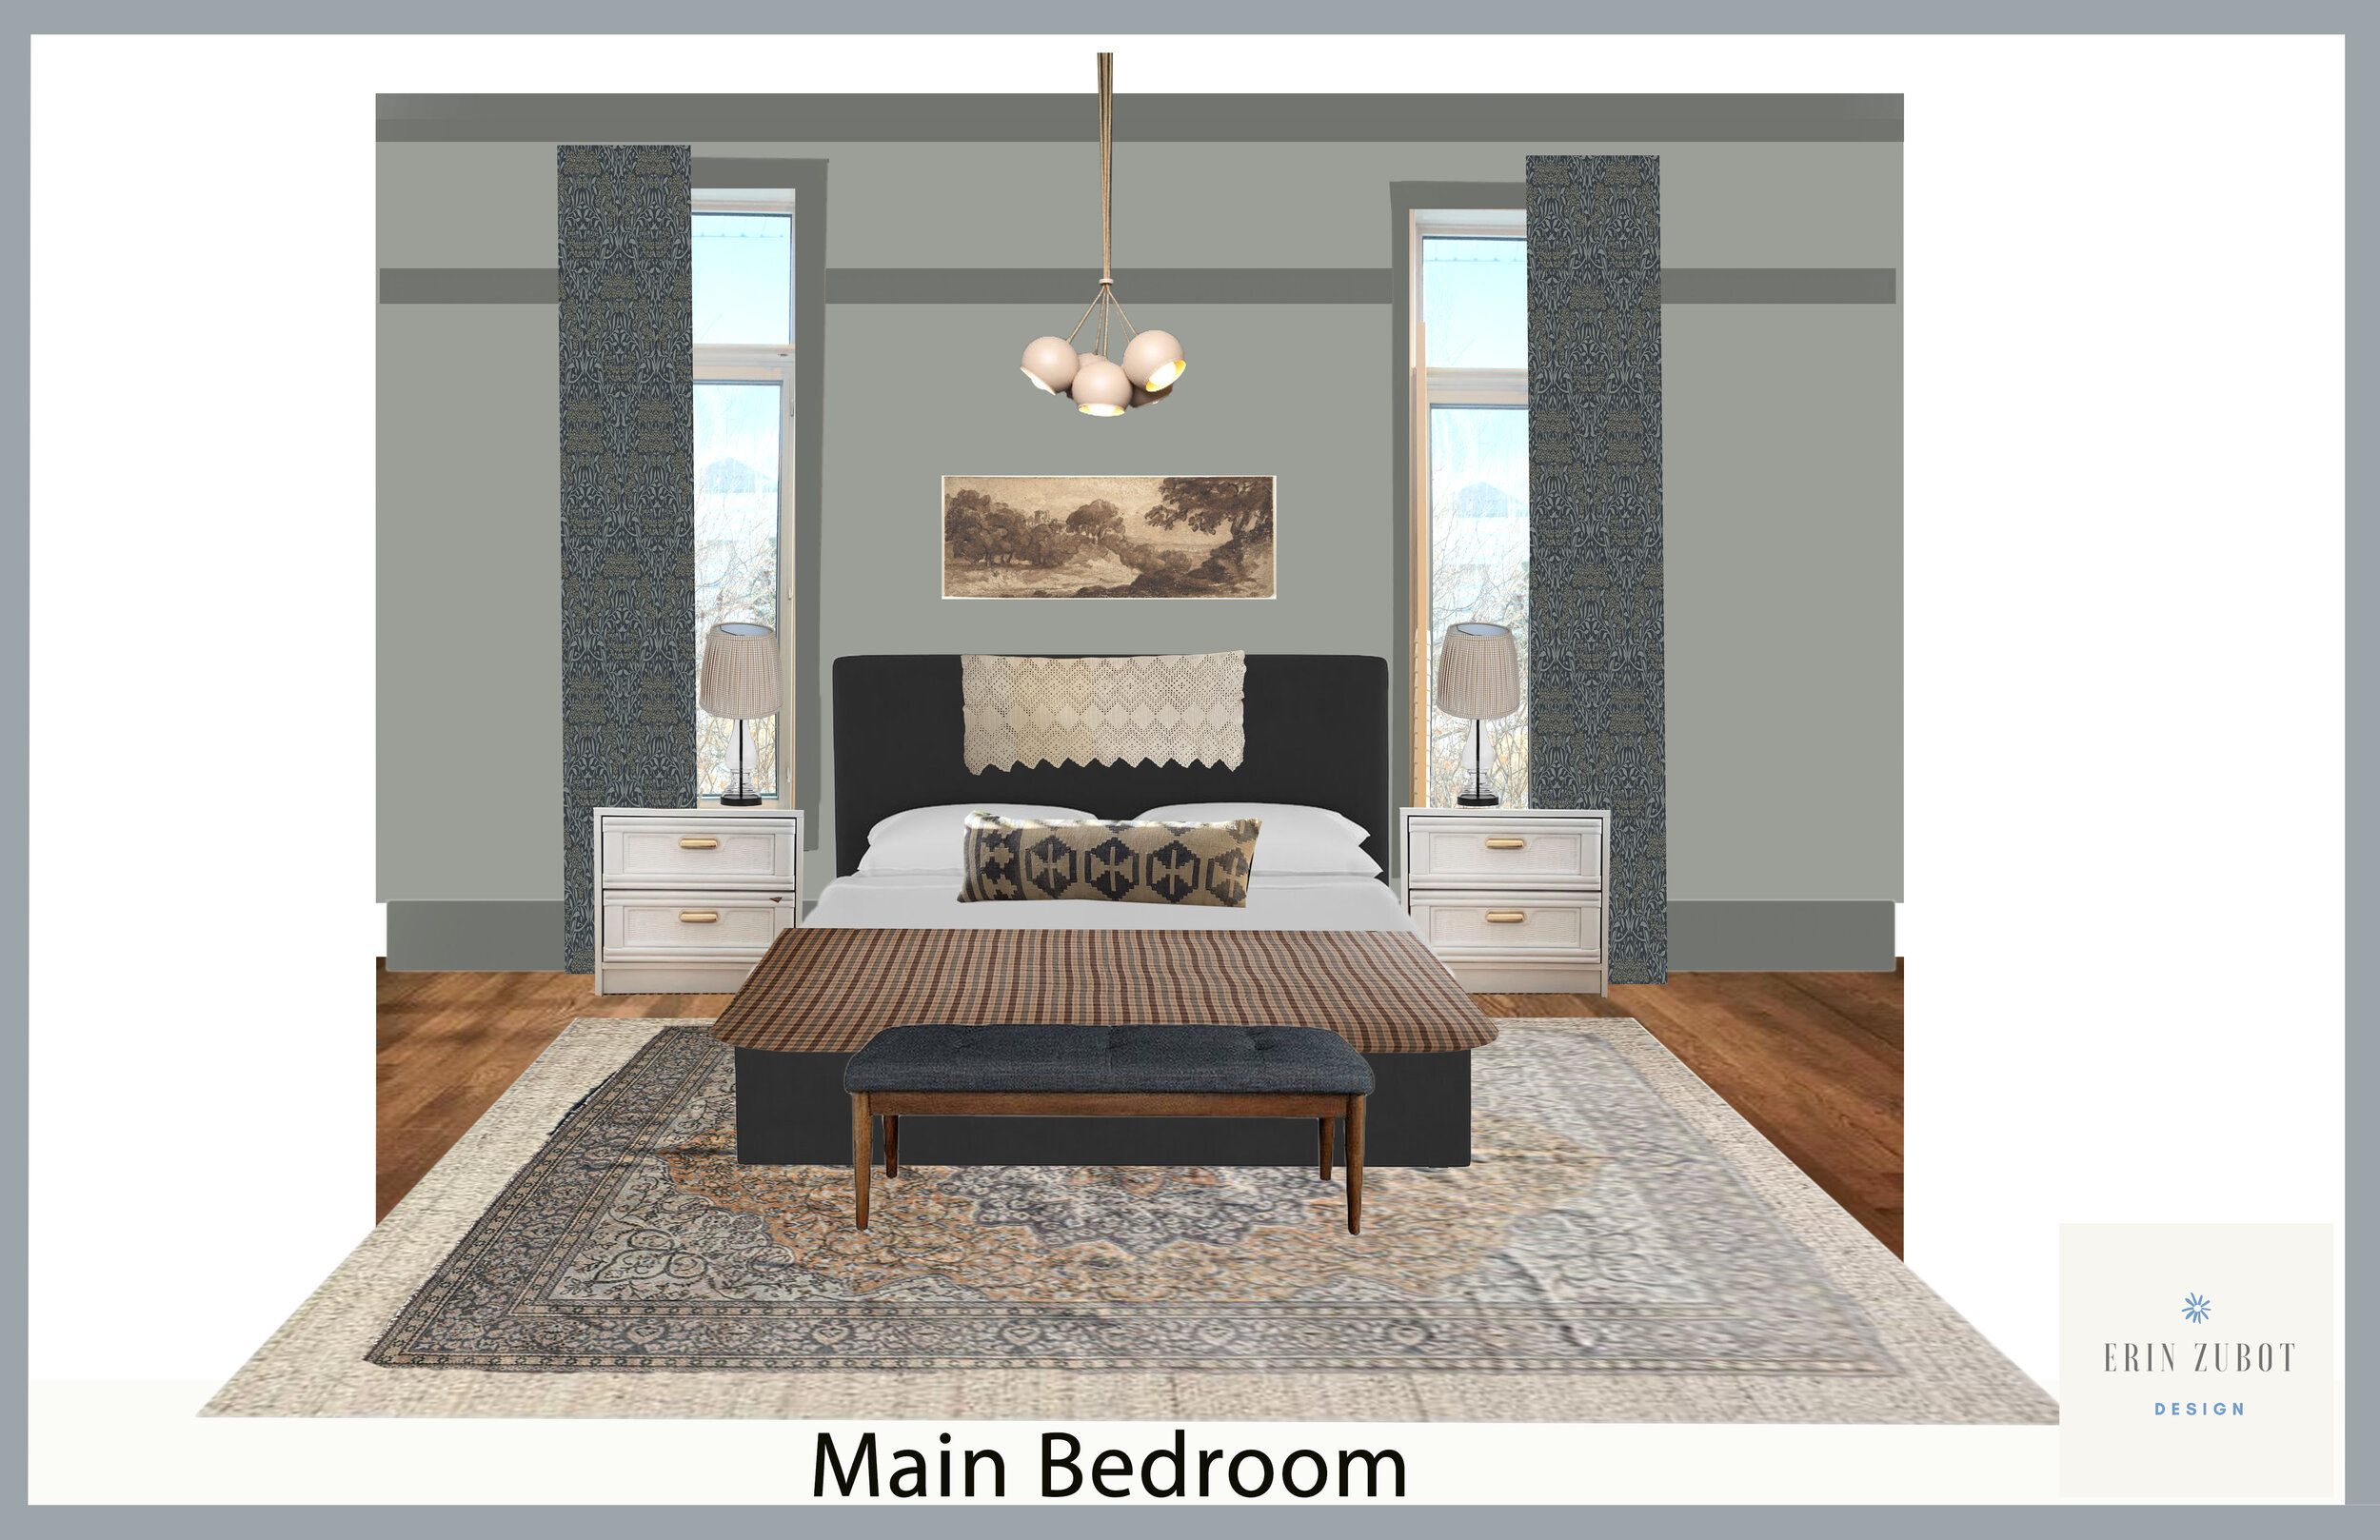
Once we decided to finish off this room I put together a little design plan. I wanted something restful, but interesting. I wanted lots of patterns but didn’t want it to be too over the top. I wanted colour, but not TOO much colour. This design for me took a fair bit of work to get to a place where I was feeling good about it, there was a lot of trial and error going on in photoshop! After a lot of back and forth, and indecision, I was feeling frustrated and took a break to go thrifting with my daughter and came across the most interesting $4 afghan. I brought it home, tried it over the headboard and the design just flowed after that! Sometimes inspiration strikes from the most unexpected places.
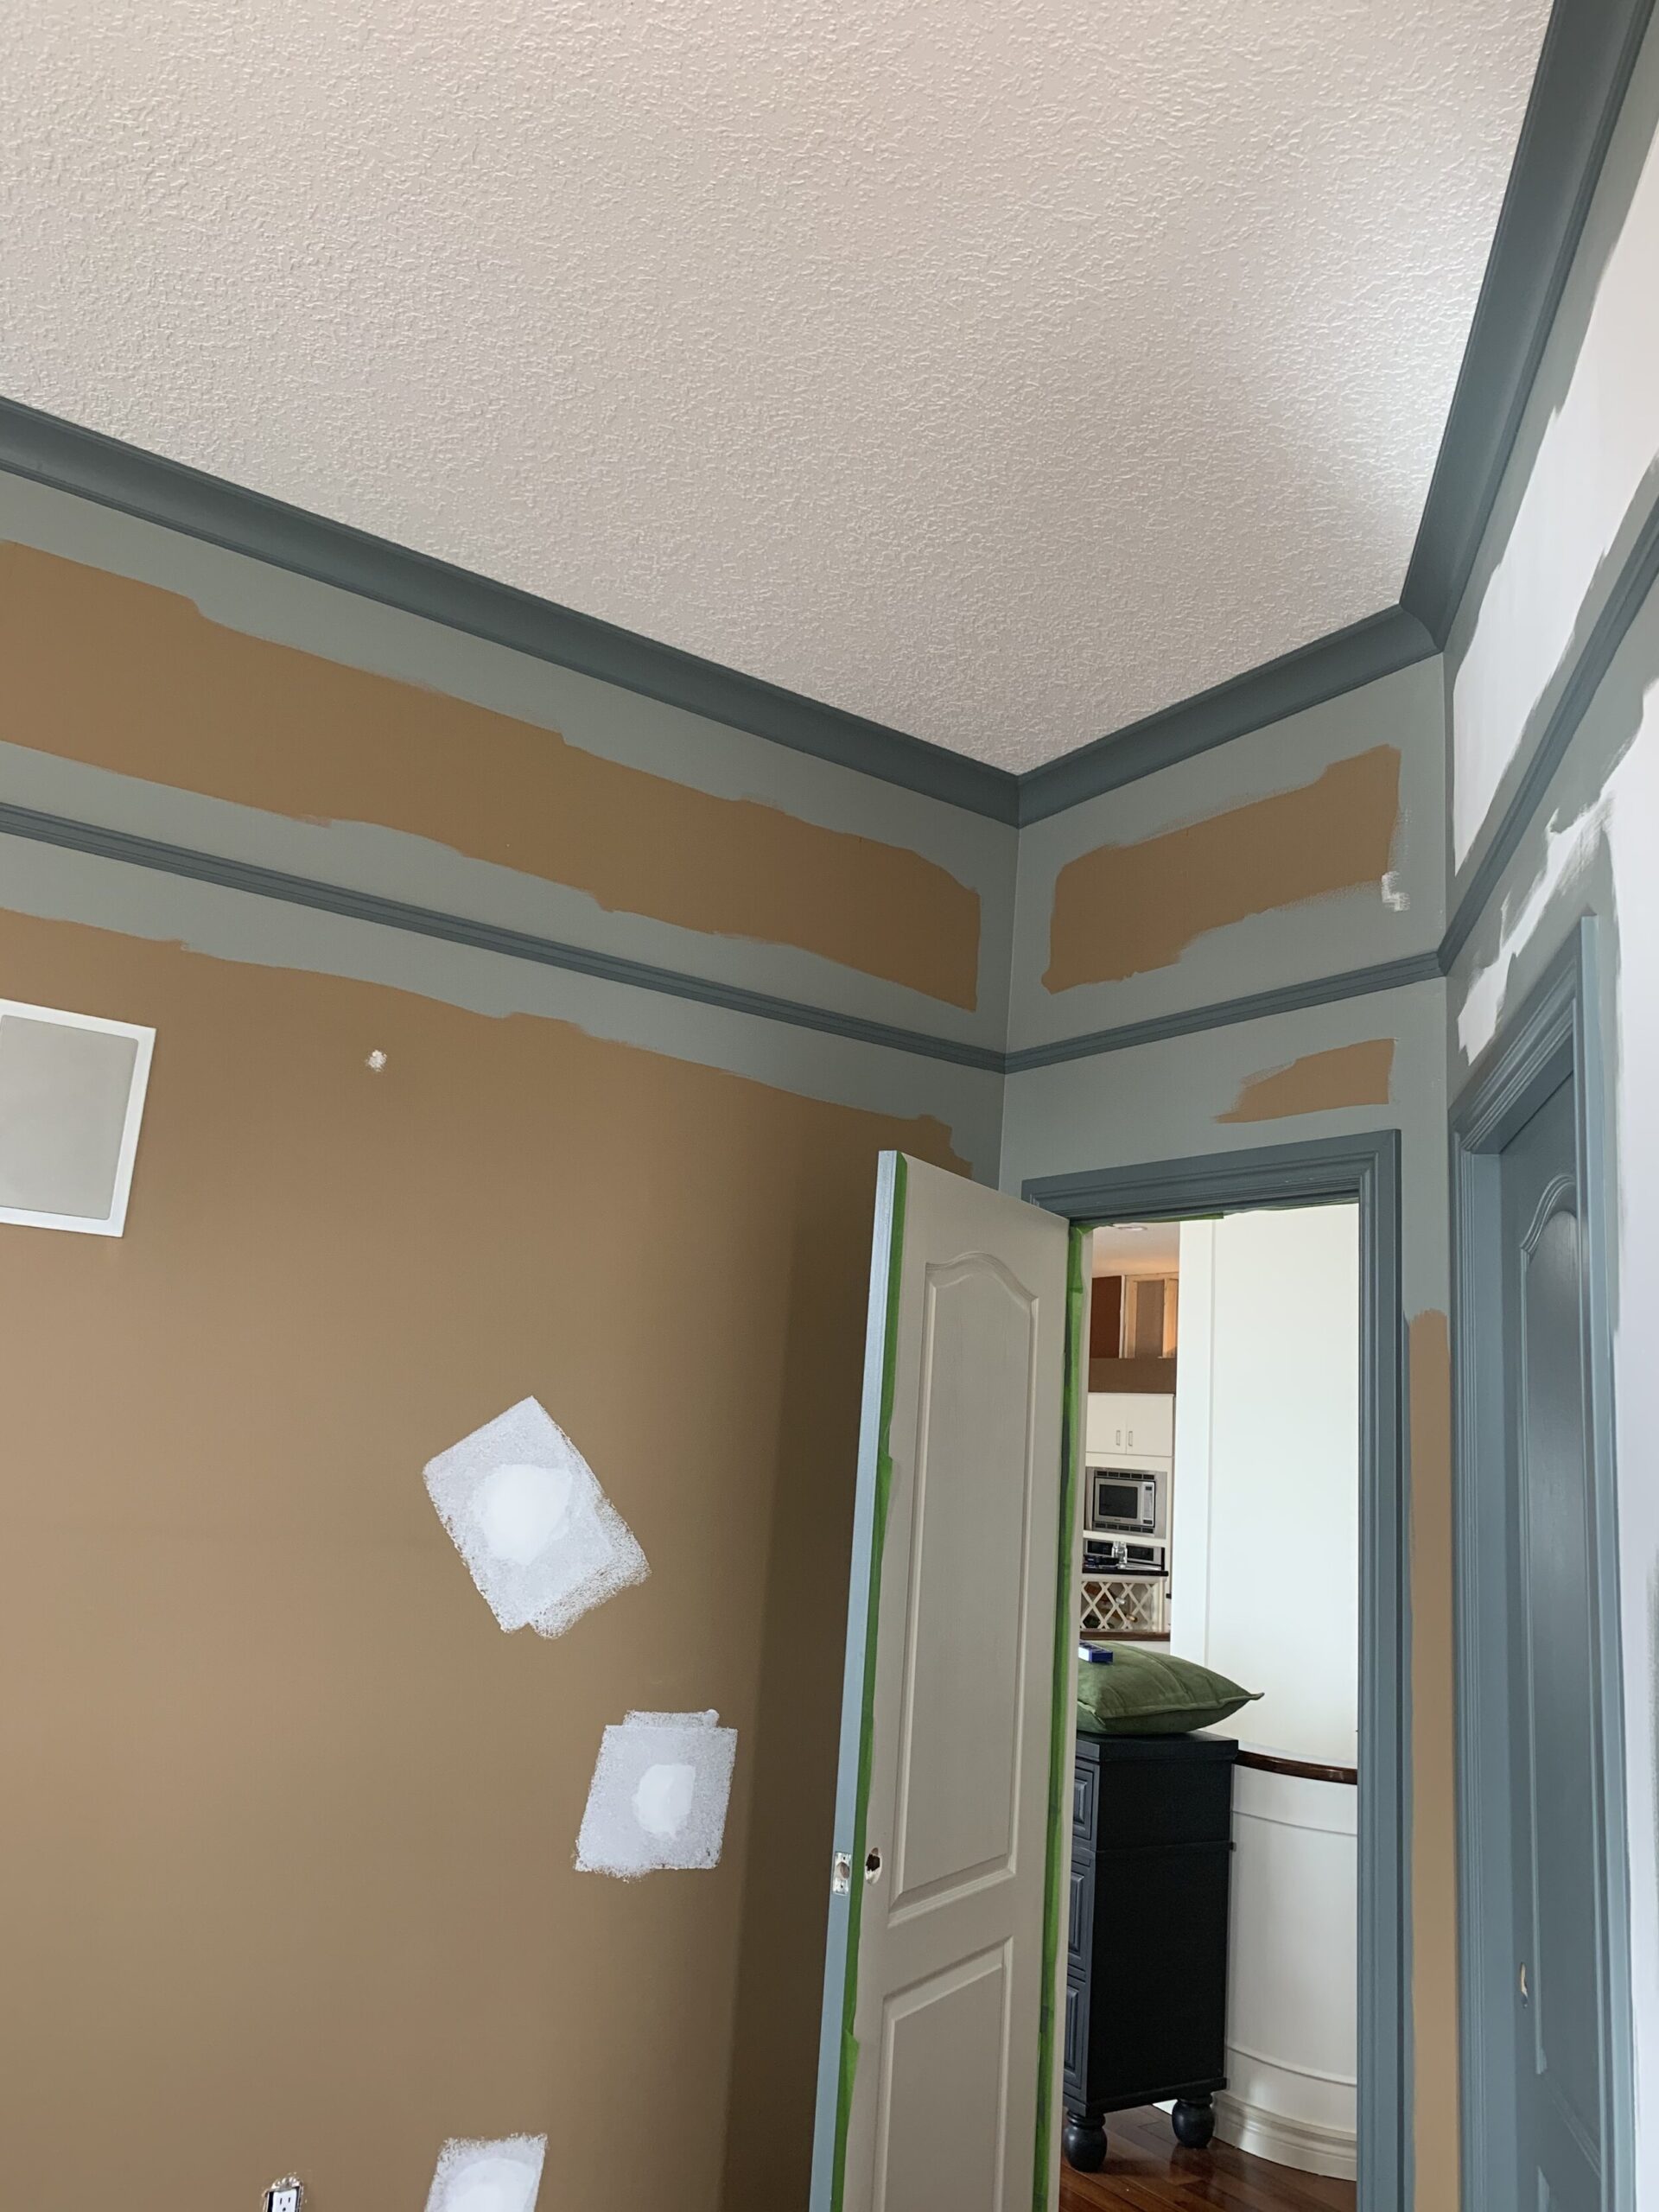
I wanted something to accentuate the 10’ high ceilings and take up a bit of that real estate high up on the wall, so I decided to add some crown moulding and picture rail moulding. My husband and I put that up over the course of a weekend or two. The existing window and door trim still had the old speckled textured trim that we have been removing as we renovate each space, so we took the opportunity to replace the door and window trim in this room at the same time.
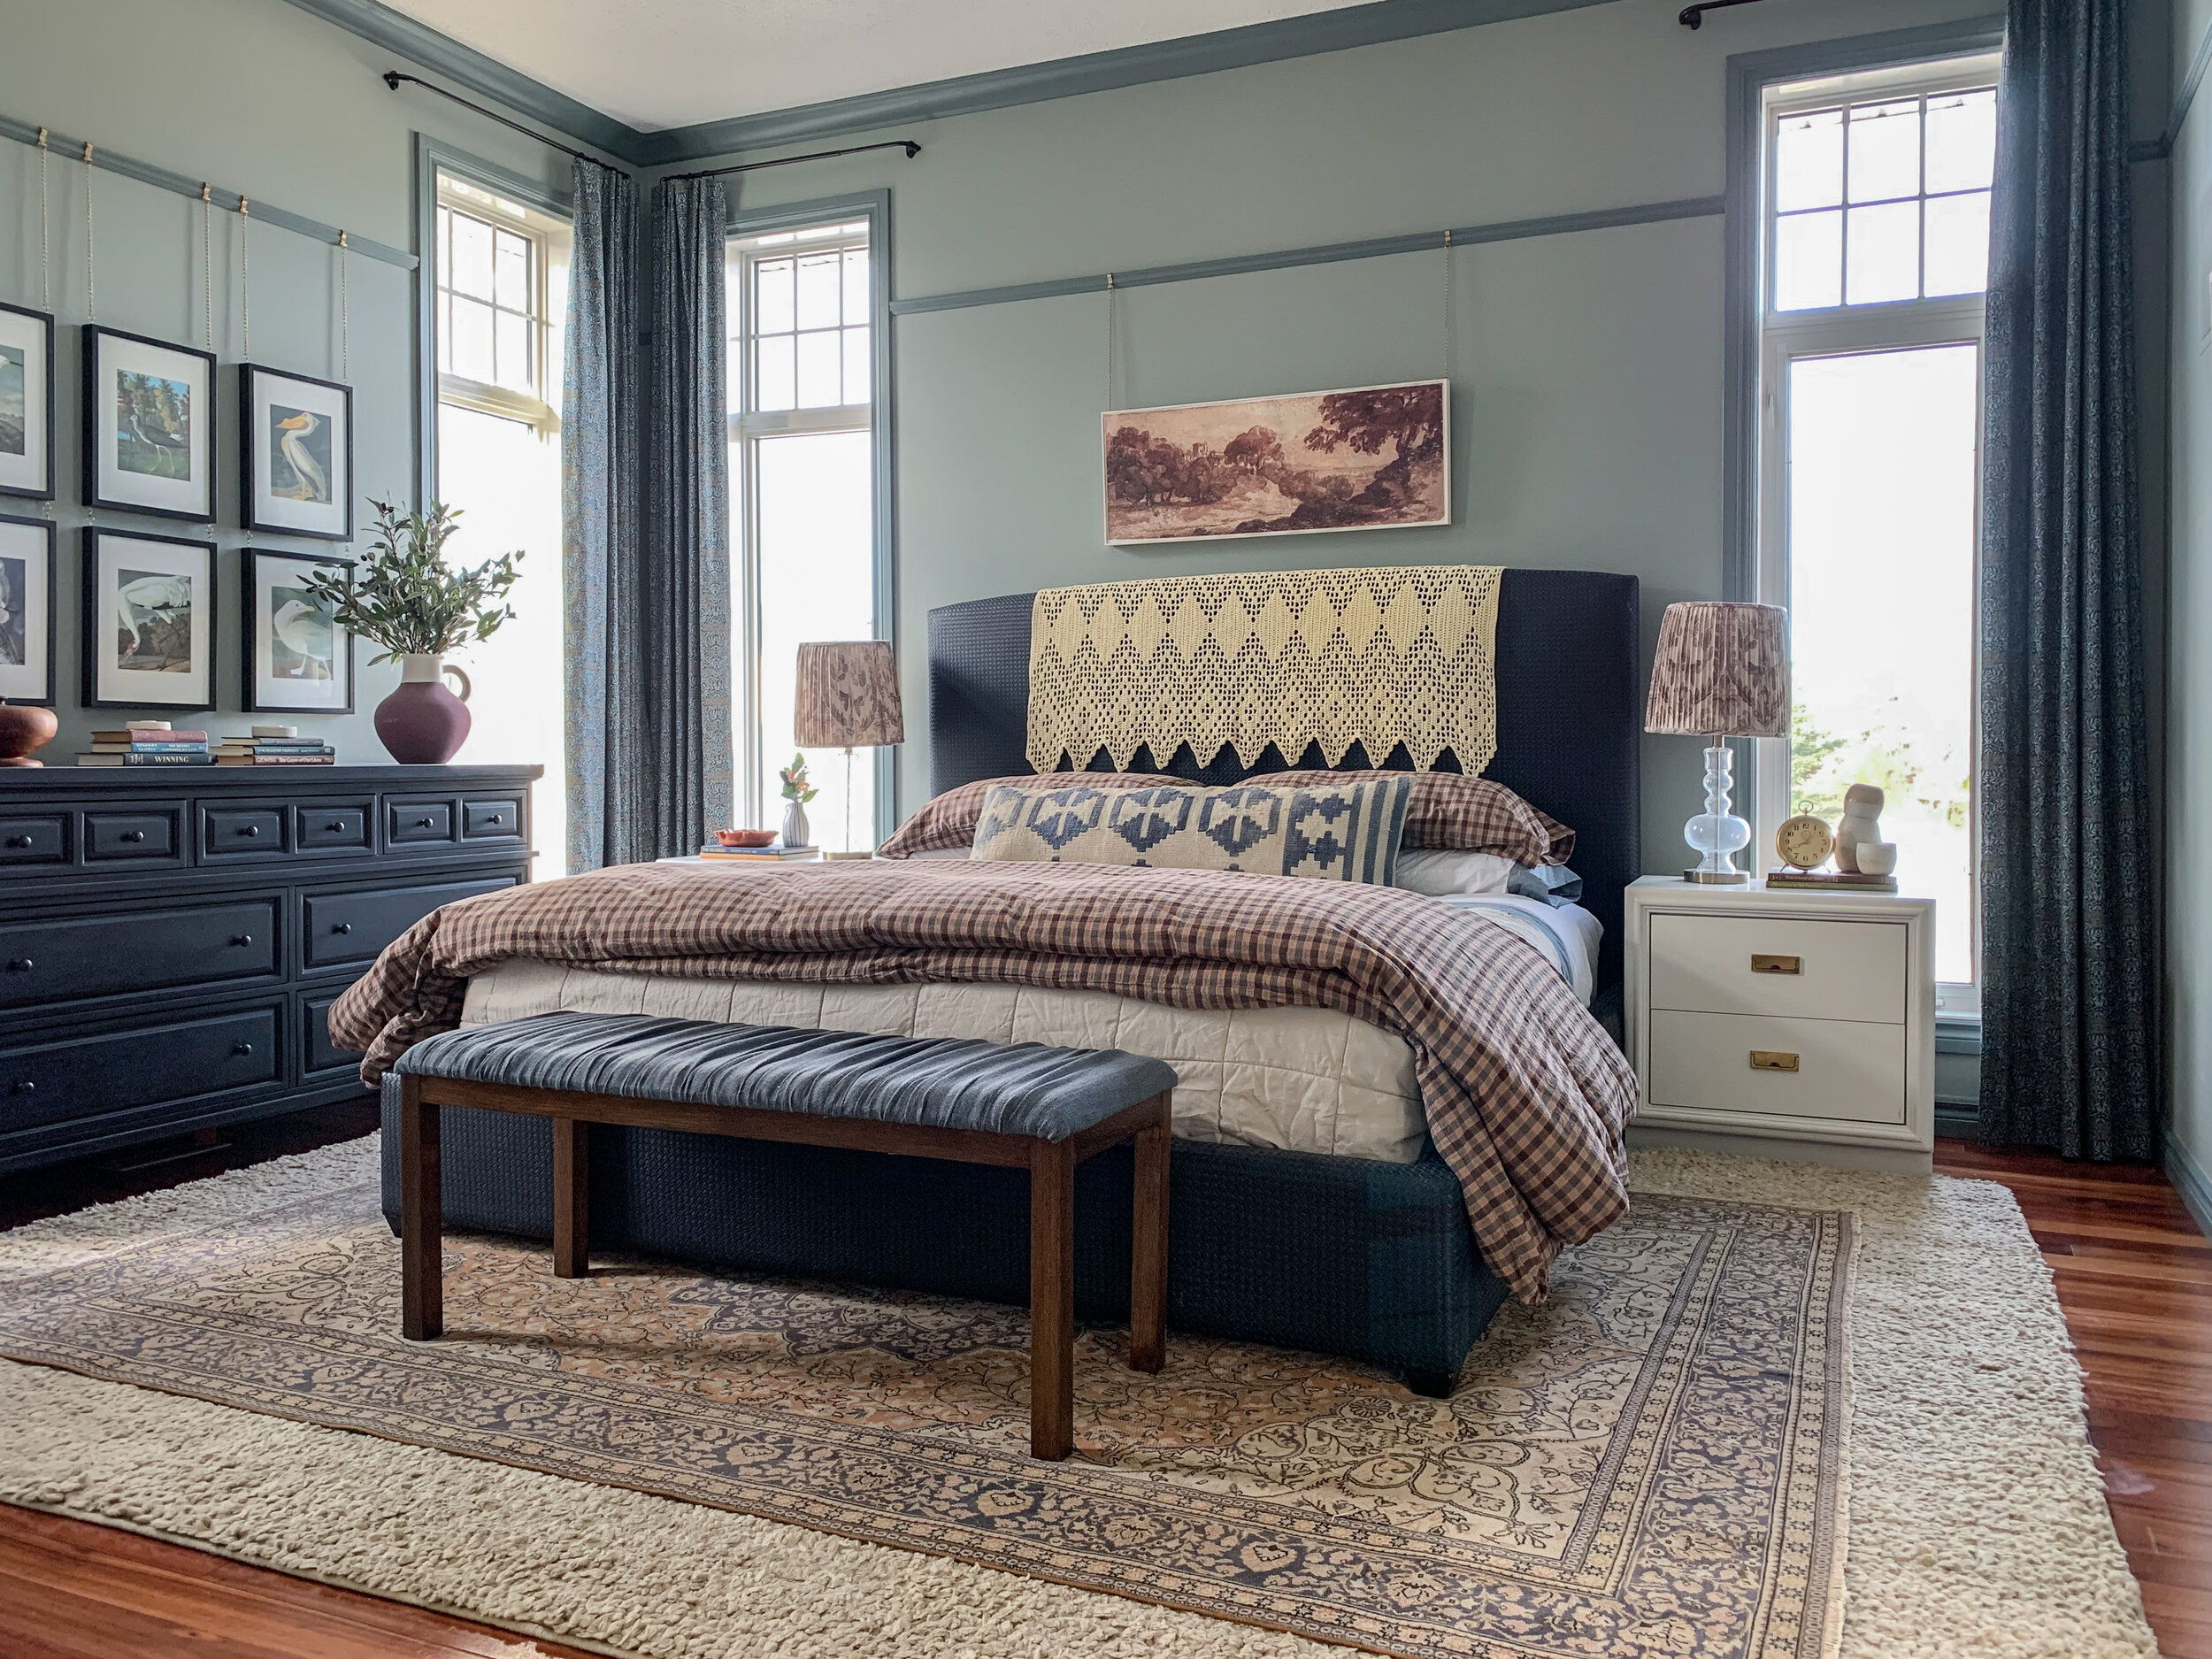
I really wanted to go for something that was restful, but still colourful and interesting and make a bit of a statement with the paint, so I wanted to try some tone-on-tone contrast trim. So I decided on a soft green-blue-grey for the walls (Valspar Secret Moss) which is not too dark and not too light, just a really nice middle ground kind of colour. In the cooler morning light, it looks very blue-grey, but in the evening when the sun beams in, it looks green! It’s the most beautiful chameleon colour and I love it. Then, for the trim, I chose a colour I’ve been crushing on for a long time but haven’t had the chance to use. It’s called Valspar Coastal Dusk, and Jenny Komenda painted her guest room this colour a few years ago and I haven’t been able to get it out of my head. I’ve sampled it for several projects and it wasn’t quite right until this one came along – it was the perfect darker blue-green-grey I needed to complement the wall colour. Together they are a match made in heaven!
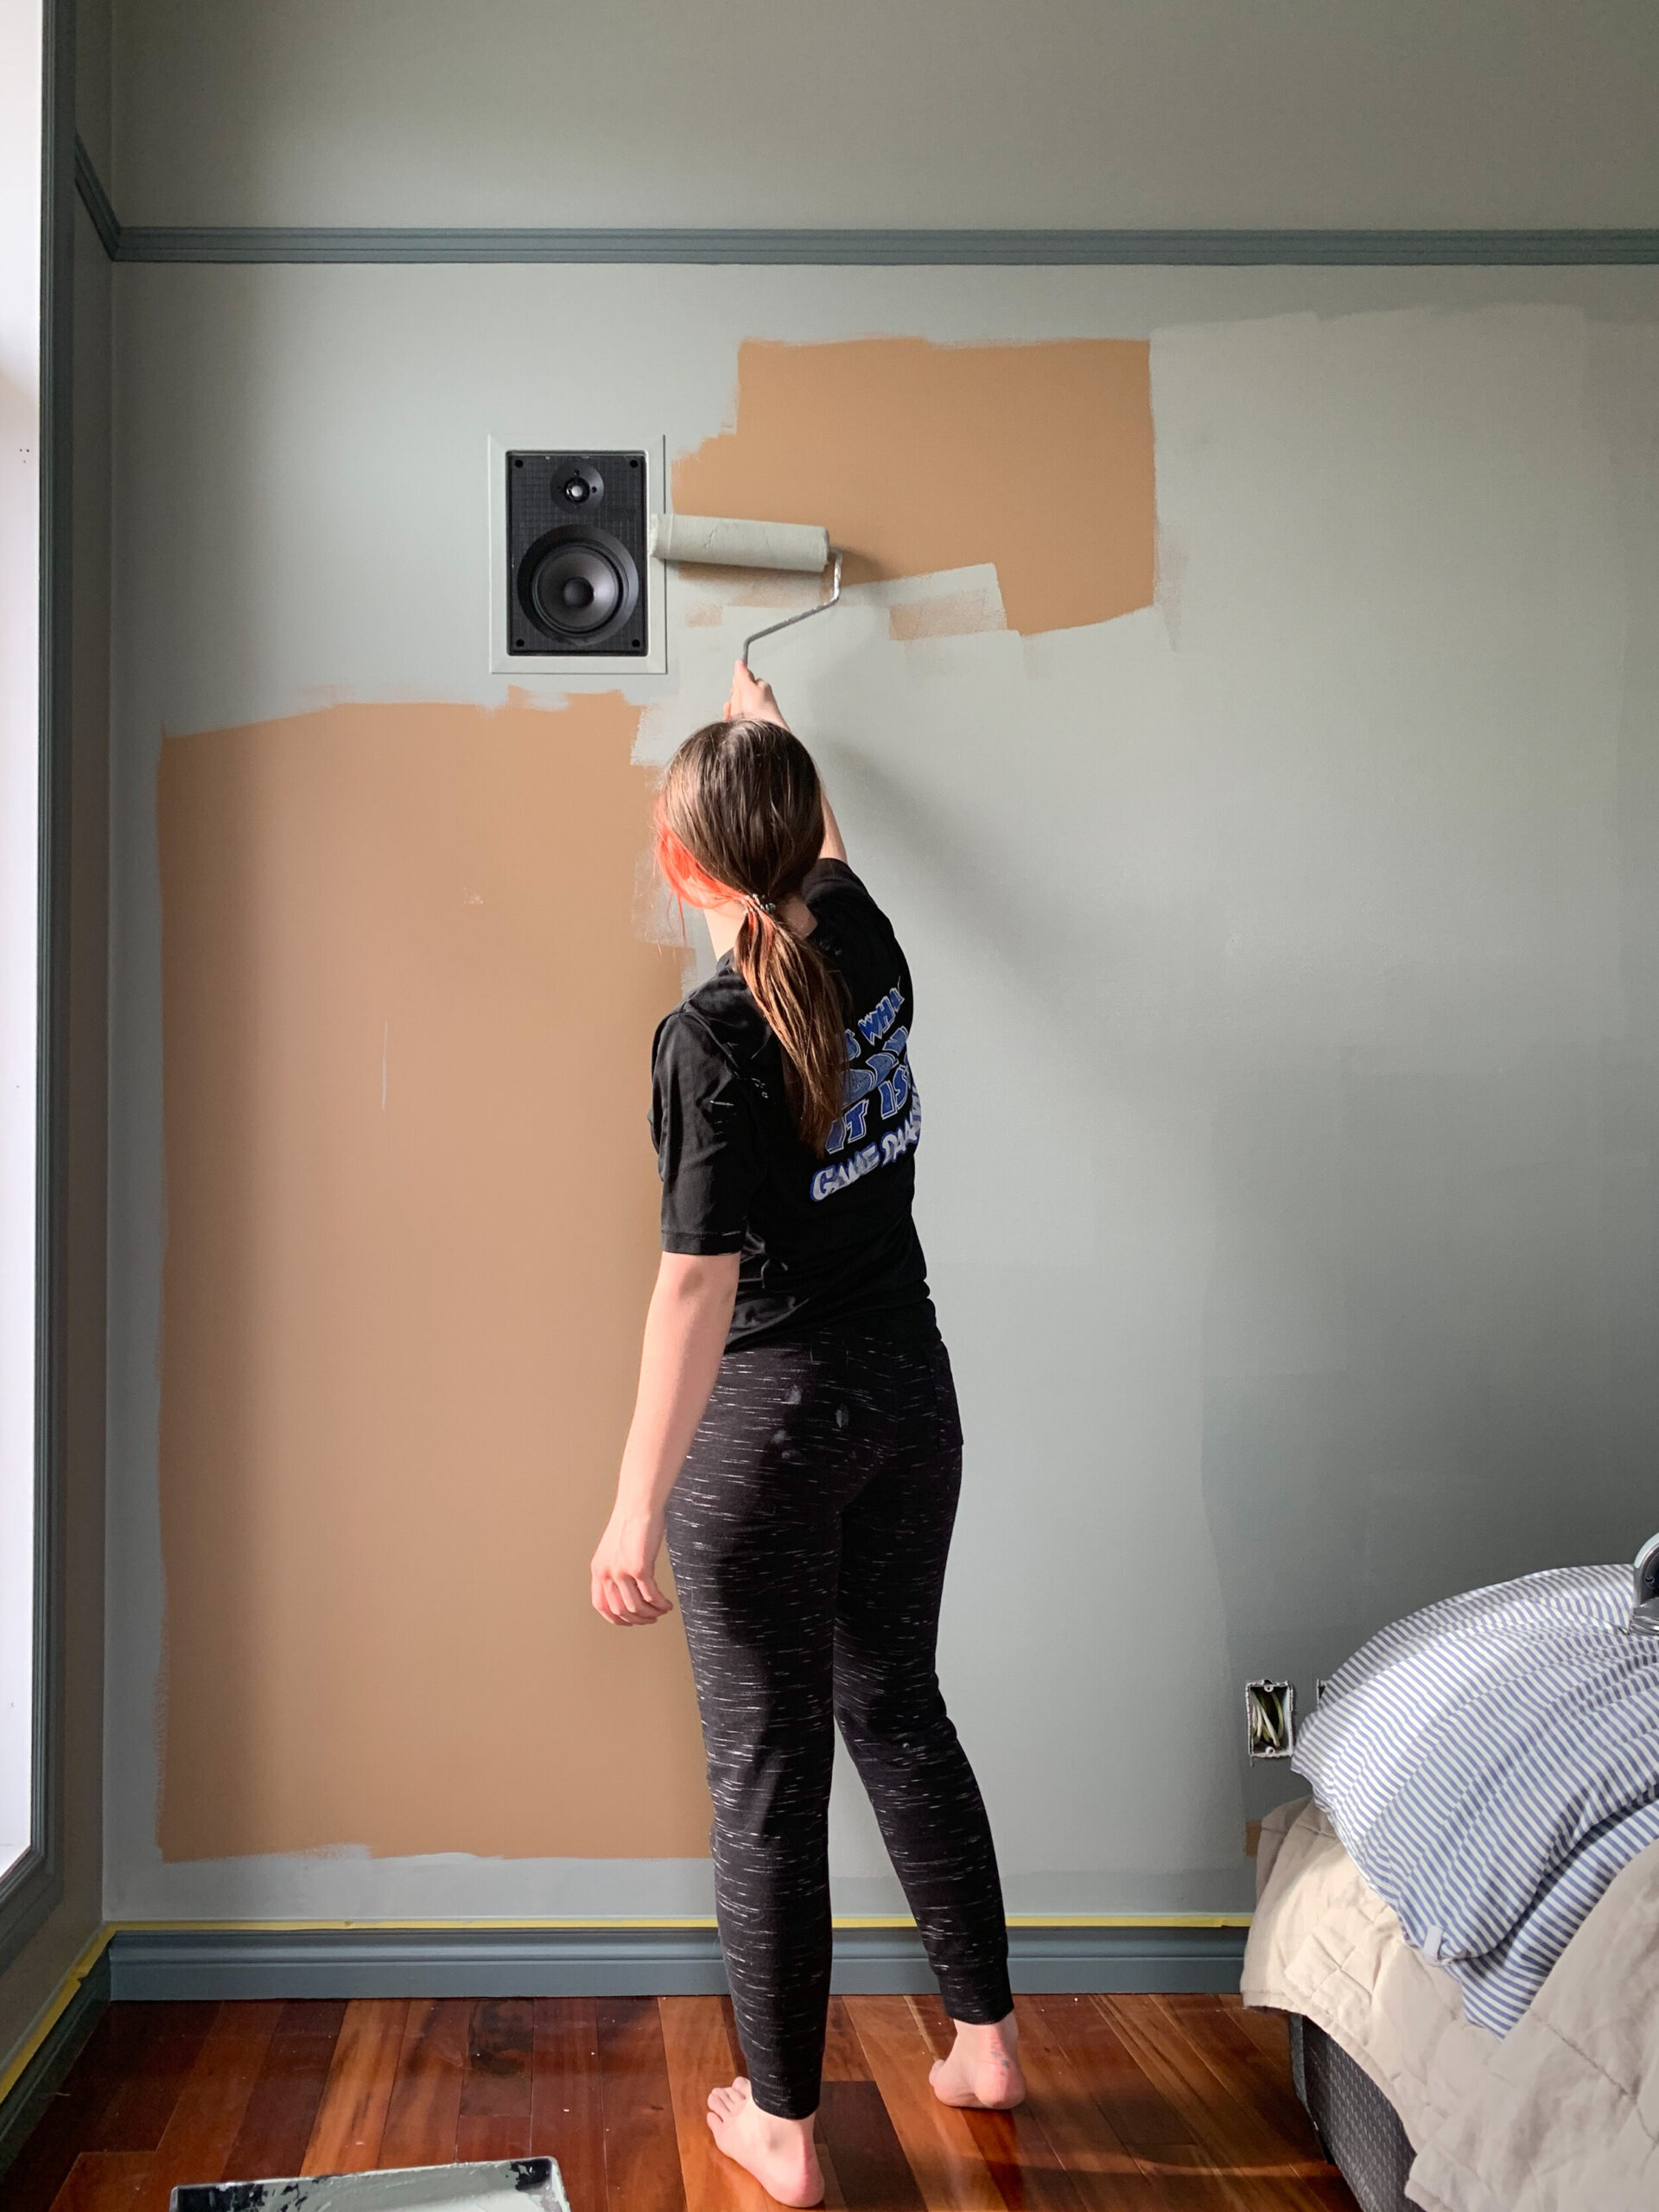
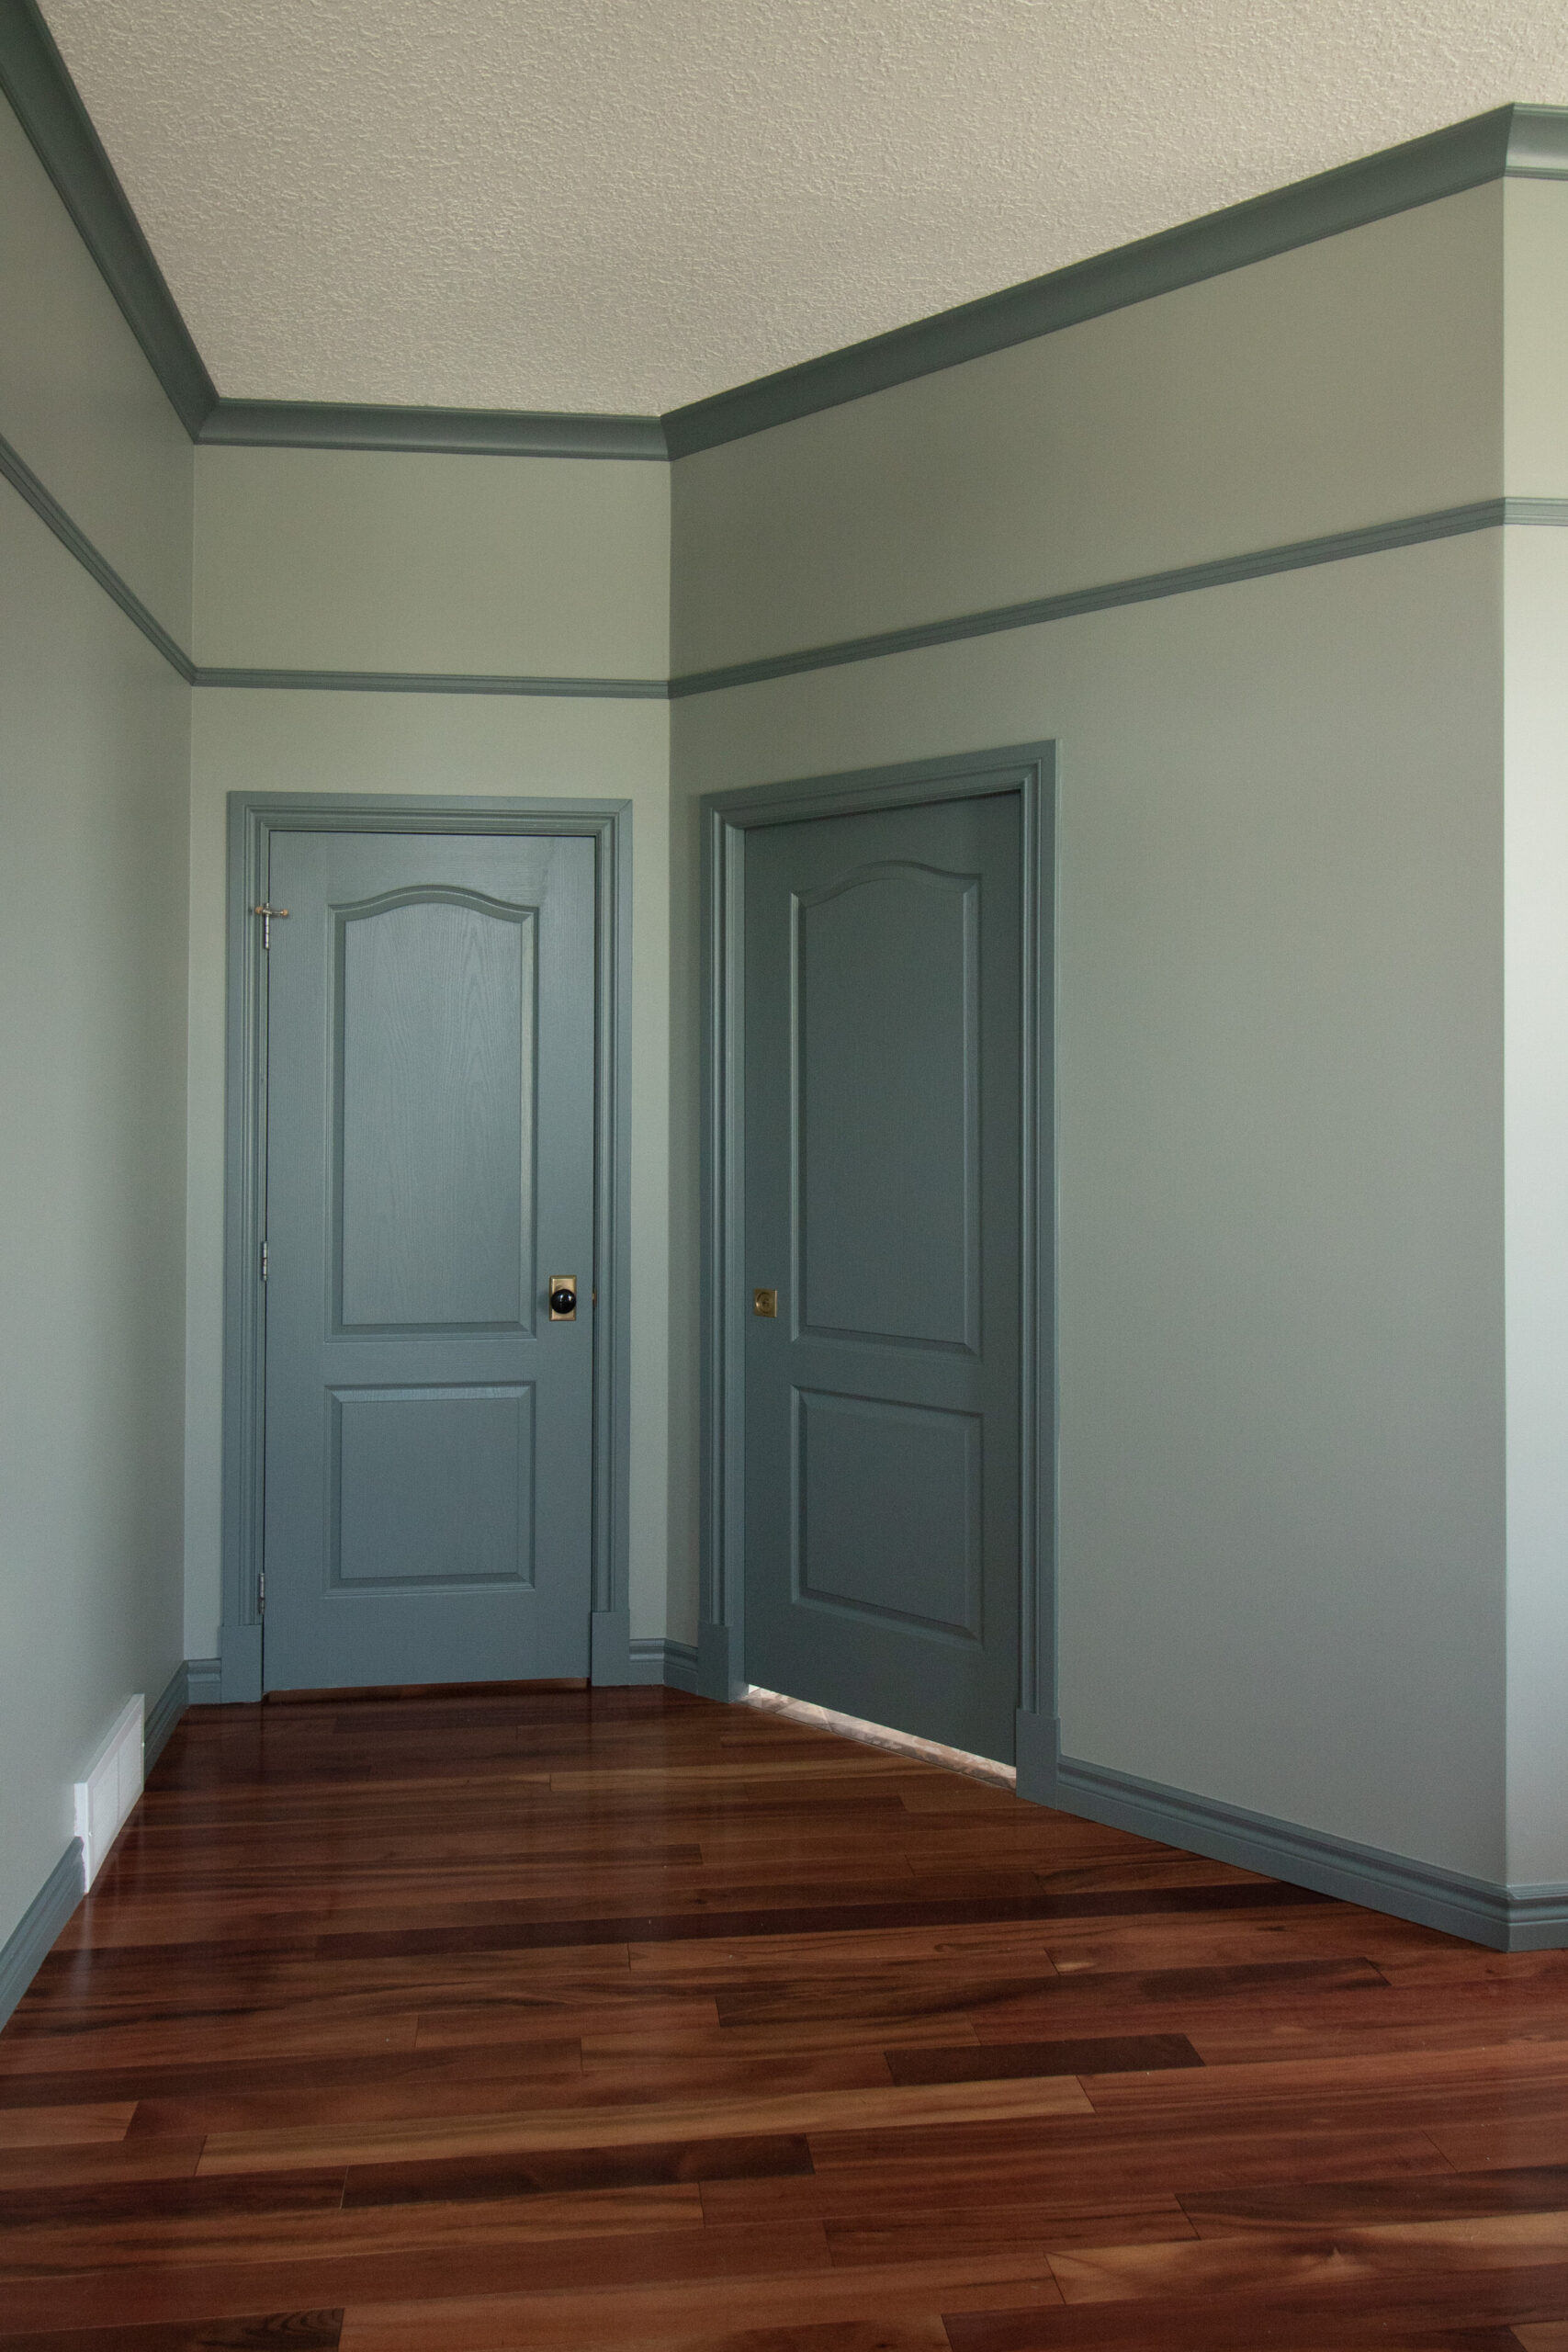
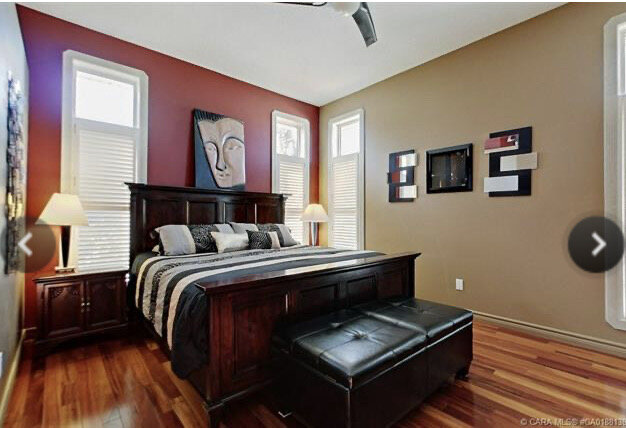
Valspar sponsored this room makeover, but even if they hadn’t, I would still use Valspar paint. The coverage just Can. Not. Be. Beat. After ONE round of Valspar Signature on my dark red and brown walls, I was done painting. No joke. One coat. I have yet to meet another paint that does this! It goes on very thick, and you need to make sure you don’t overspread it if you want it to be done in one coat (think of a 3’x3’ section of wall for every load of the roller!) but it can be done with this paint! I always use the Signature line, which is slightly more expensive, but worth every penny.
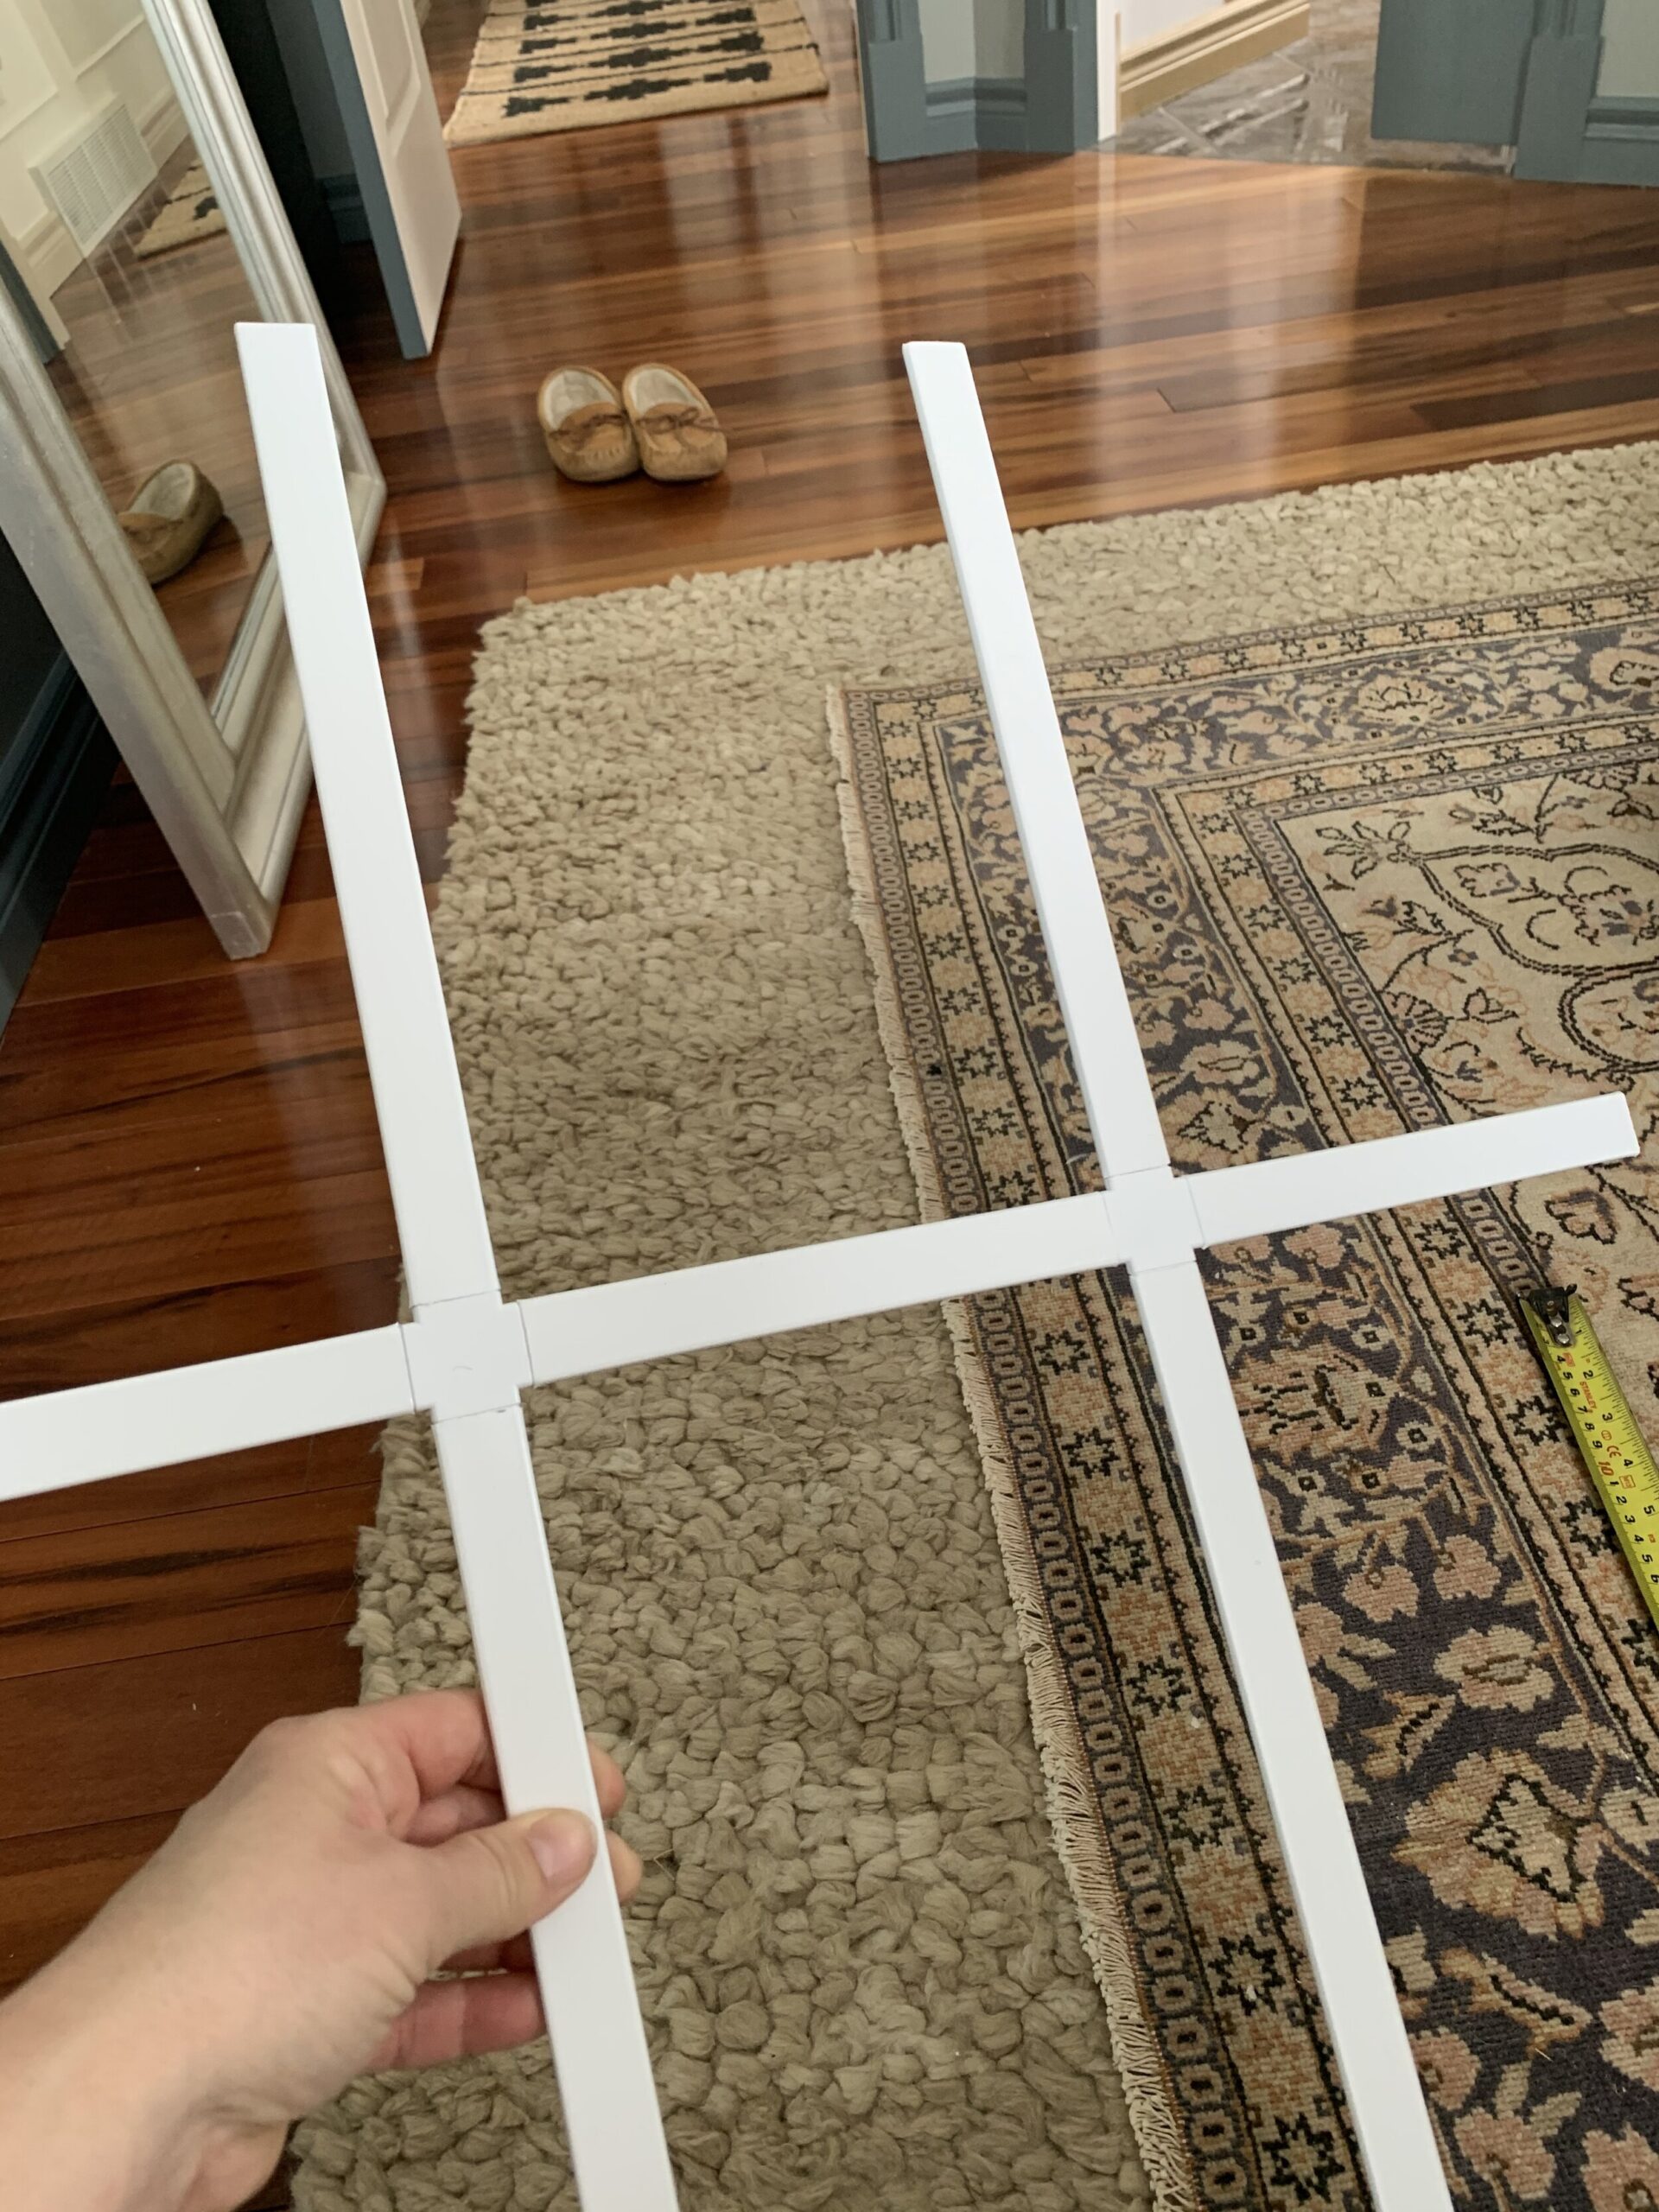
So after painting, it was on to just filling the room up! I didn’t want to buy any new furniture, so I repurposed what I had to make it work. I bought some new bedding (LONG overdue, I’ve had the same Ikea duvet cover for about 10 years!) and a gorgeous new vintage rug. We removed the old light-blocking shutters and I added faux window panes to the tops of the windows for some added charm. My mom sewed me some blackout-lined curtains using some William Morris quilting cotton (see this post for details!). I refinished the legs and recovered the top of my existing bench using a rushing technique. I used art I already had and printed some new art from the Audubon website to fill some existing frames and fashioned a way to hang it all from a picture rail moulding using hardware store supplies. I added fabric to my lampshades and pleated them for some pattern and dimension. I even hung a rug from my picture rail to cover my TV! There are tons of DIY’s in this space, just the way I like it. My favourite thing, however, just might be the $4 thrifted afghan that started it all.
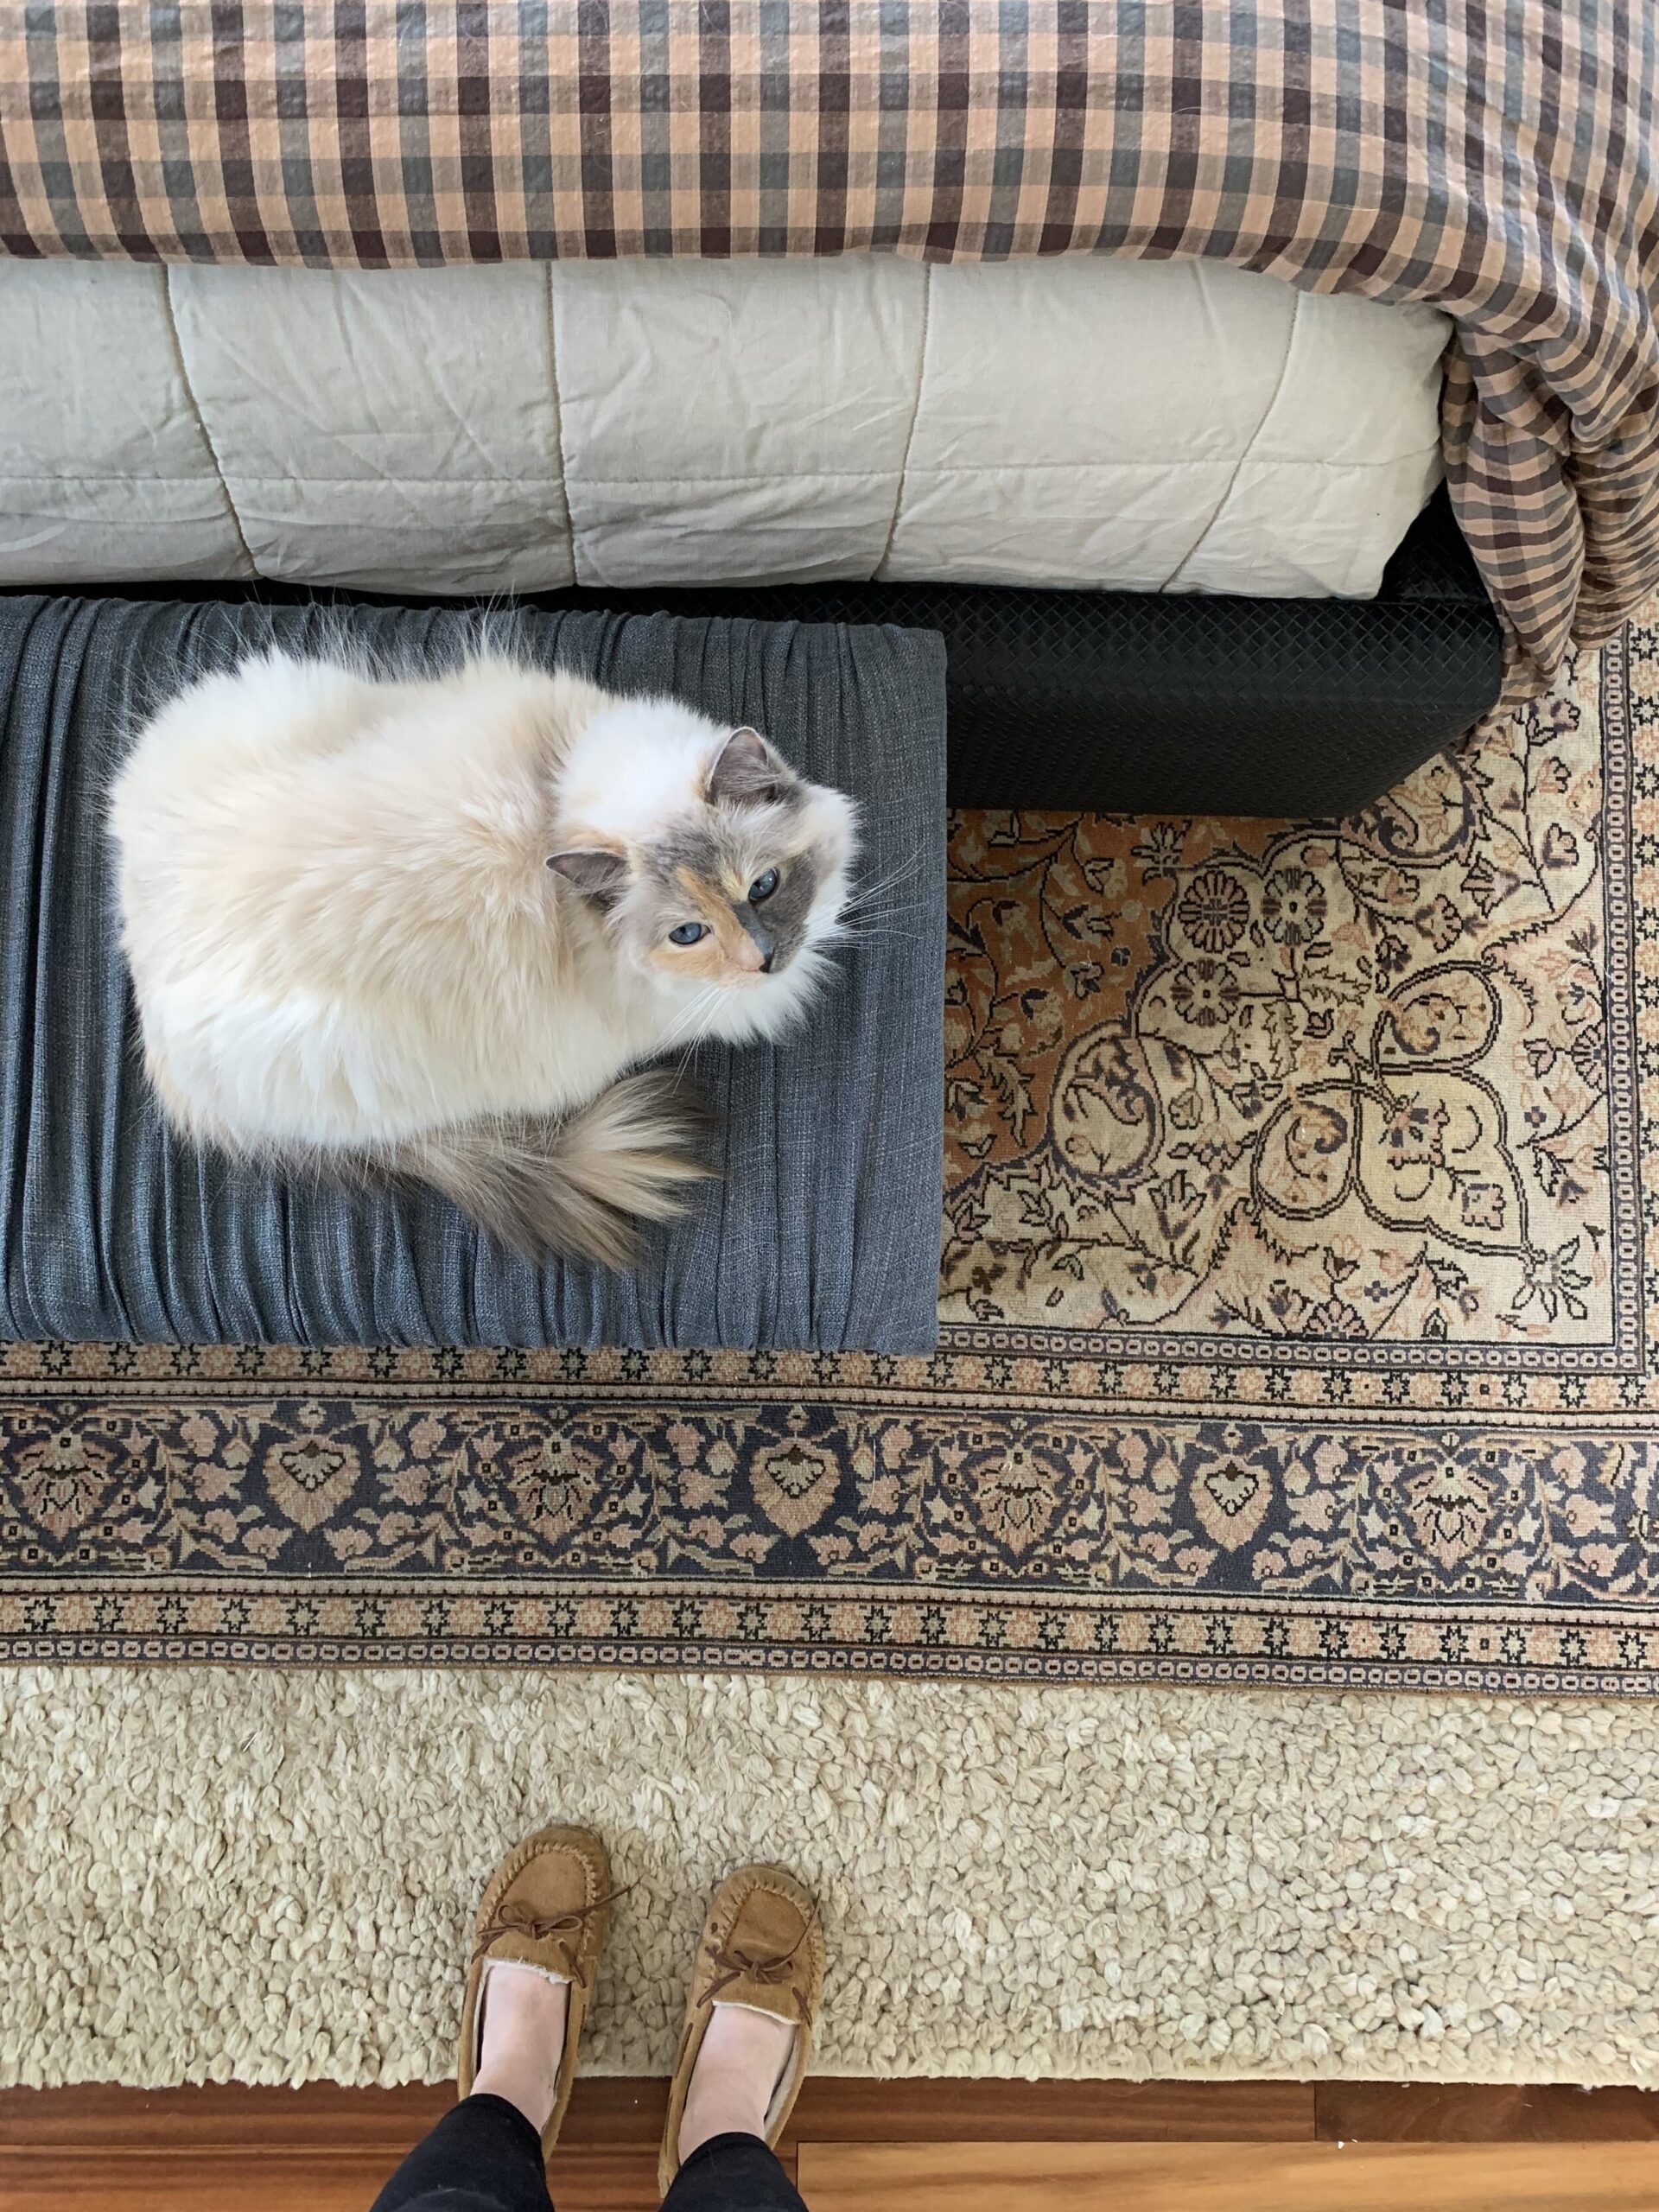
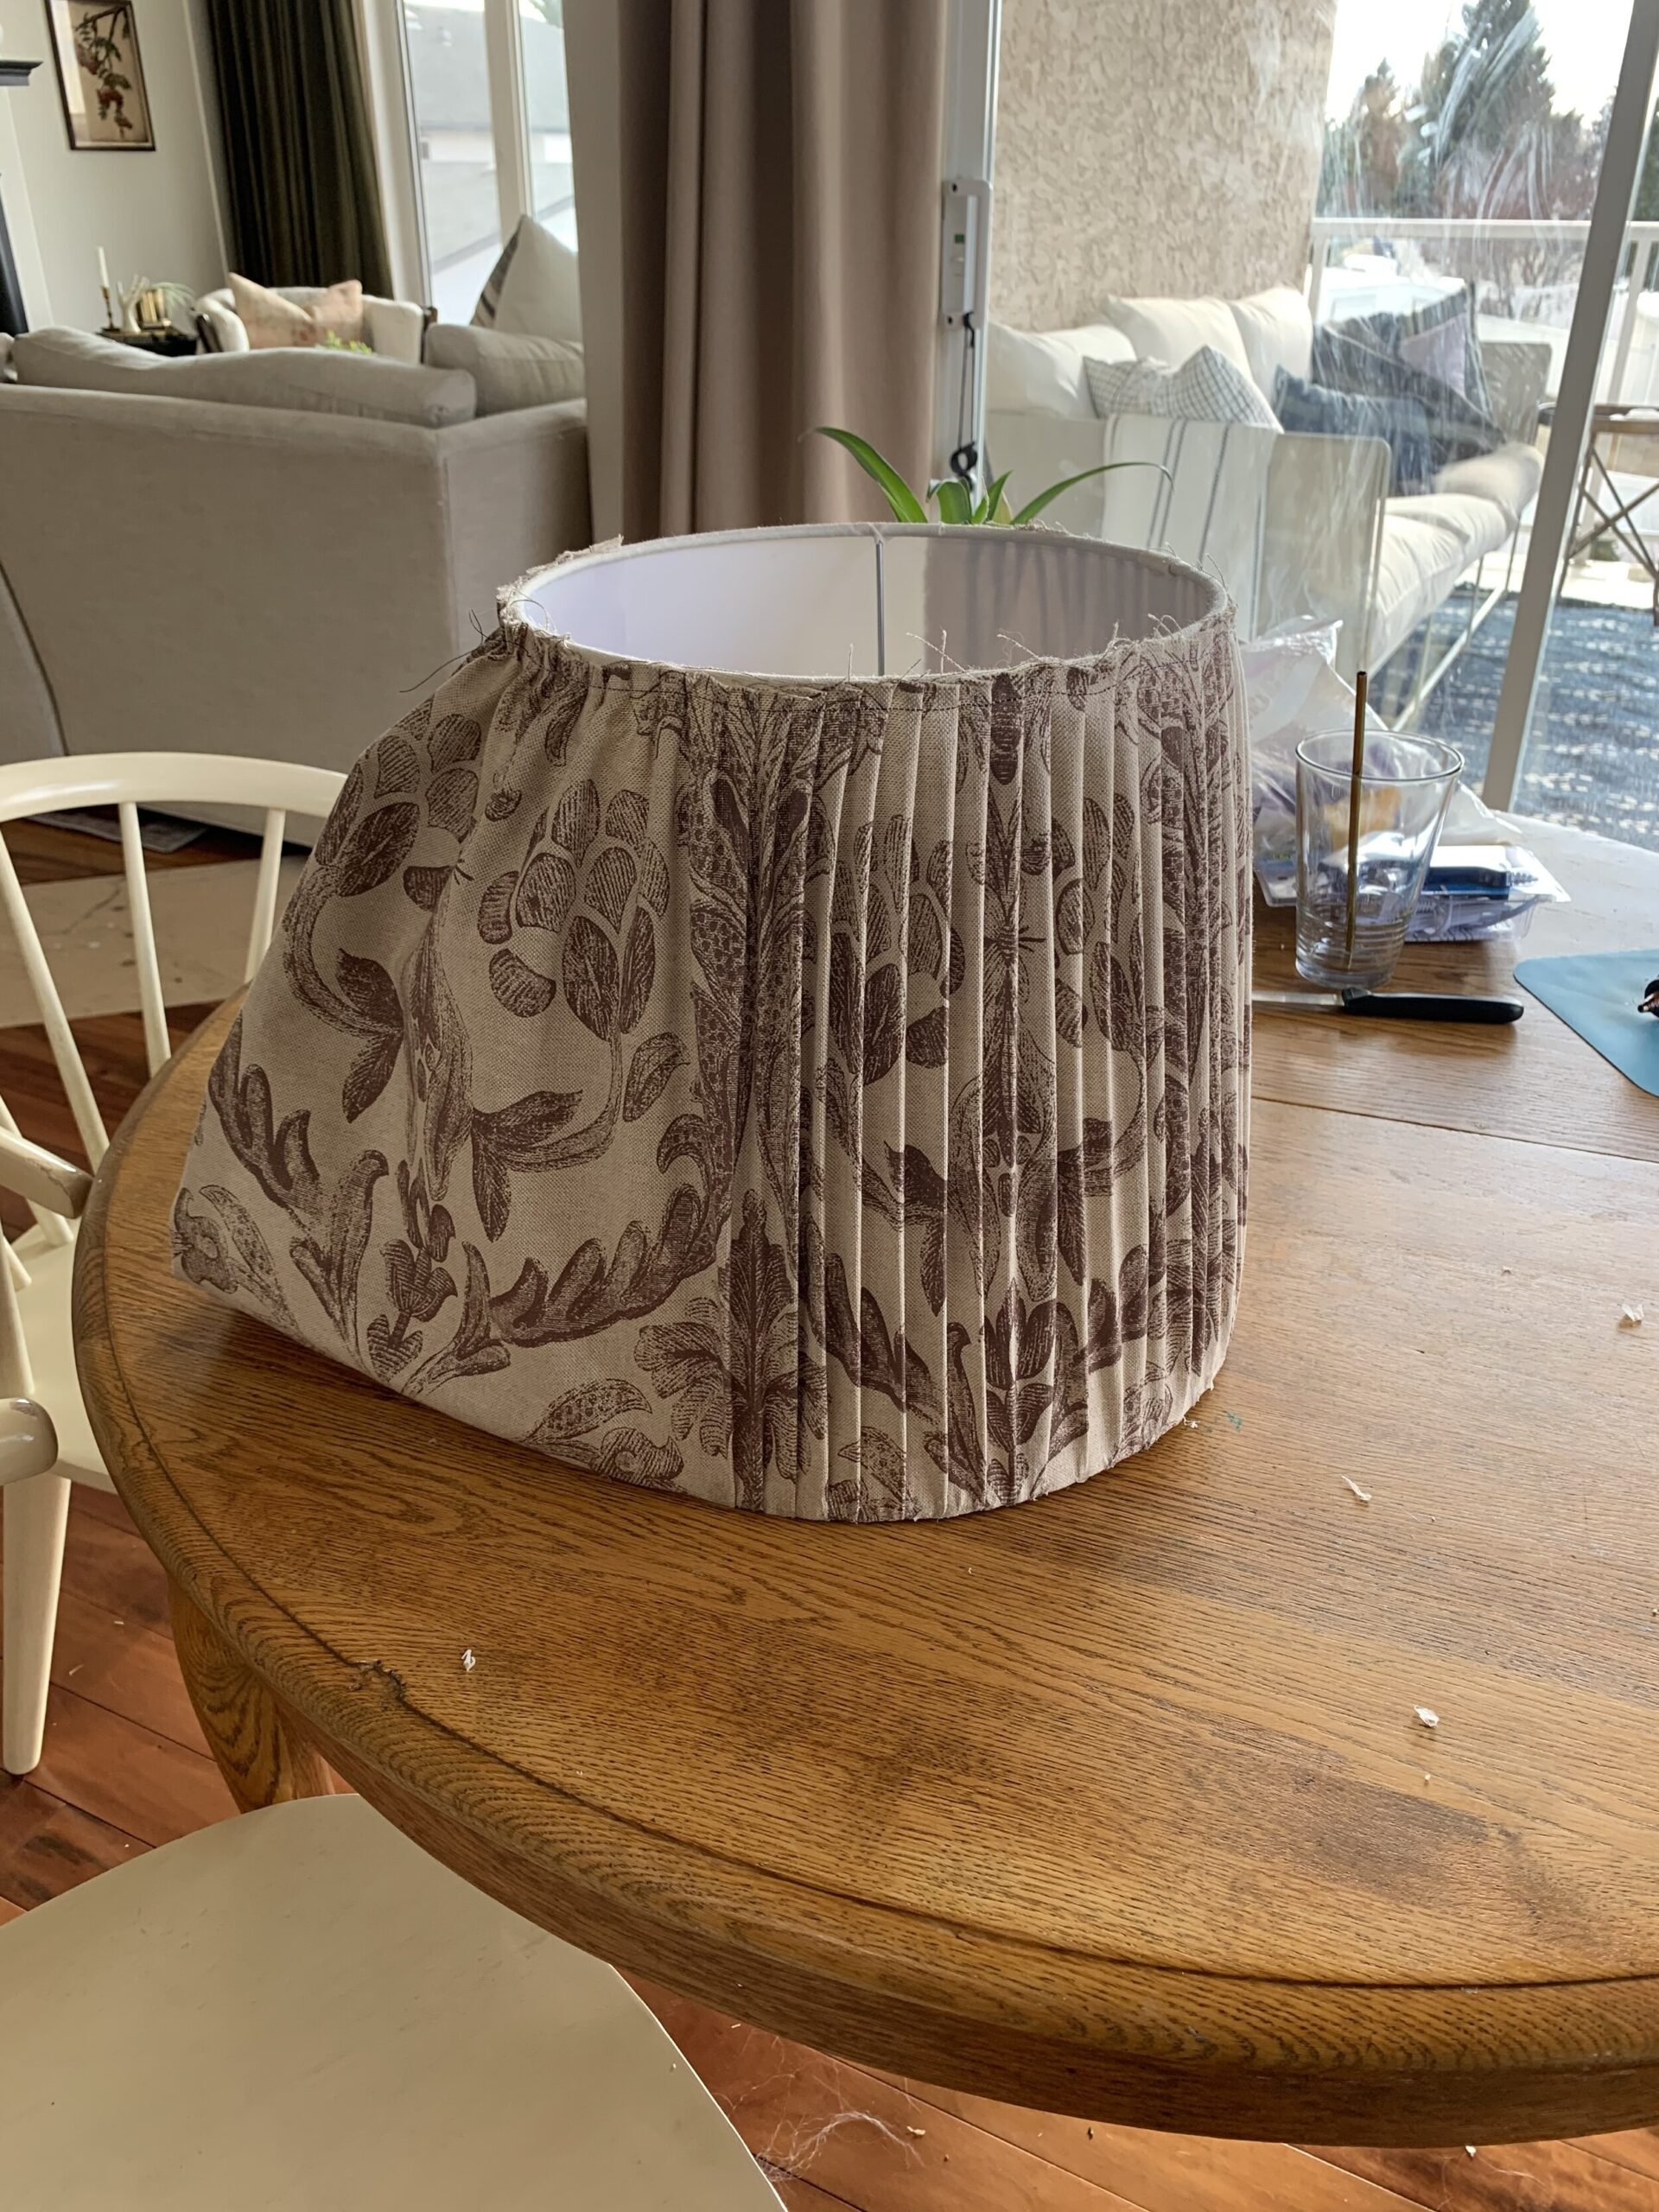
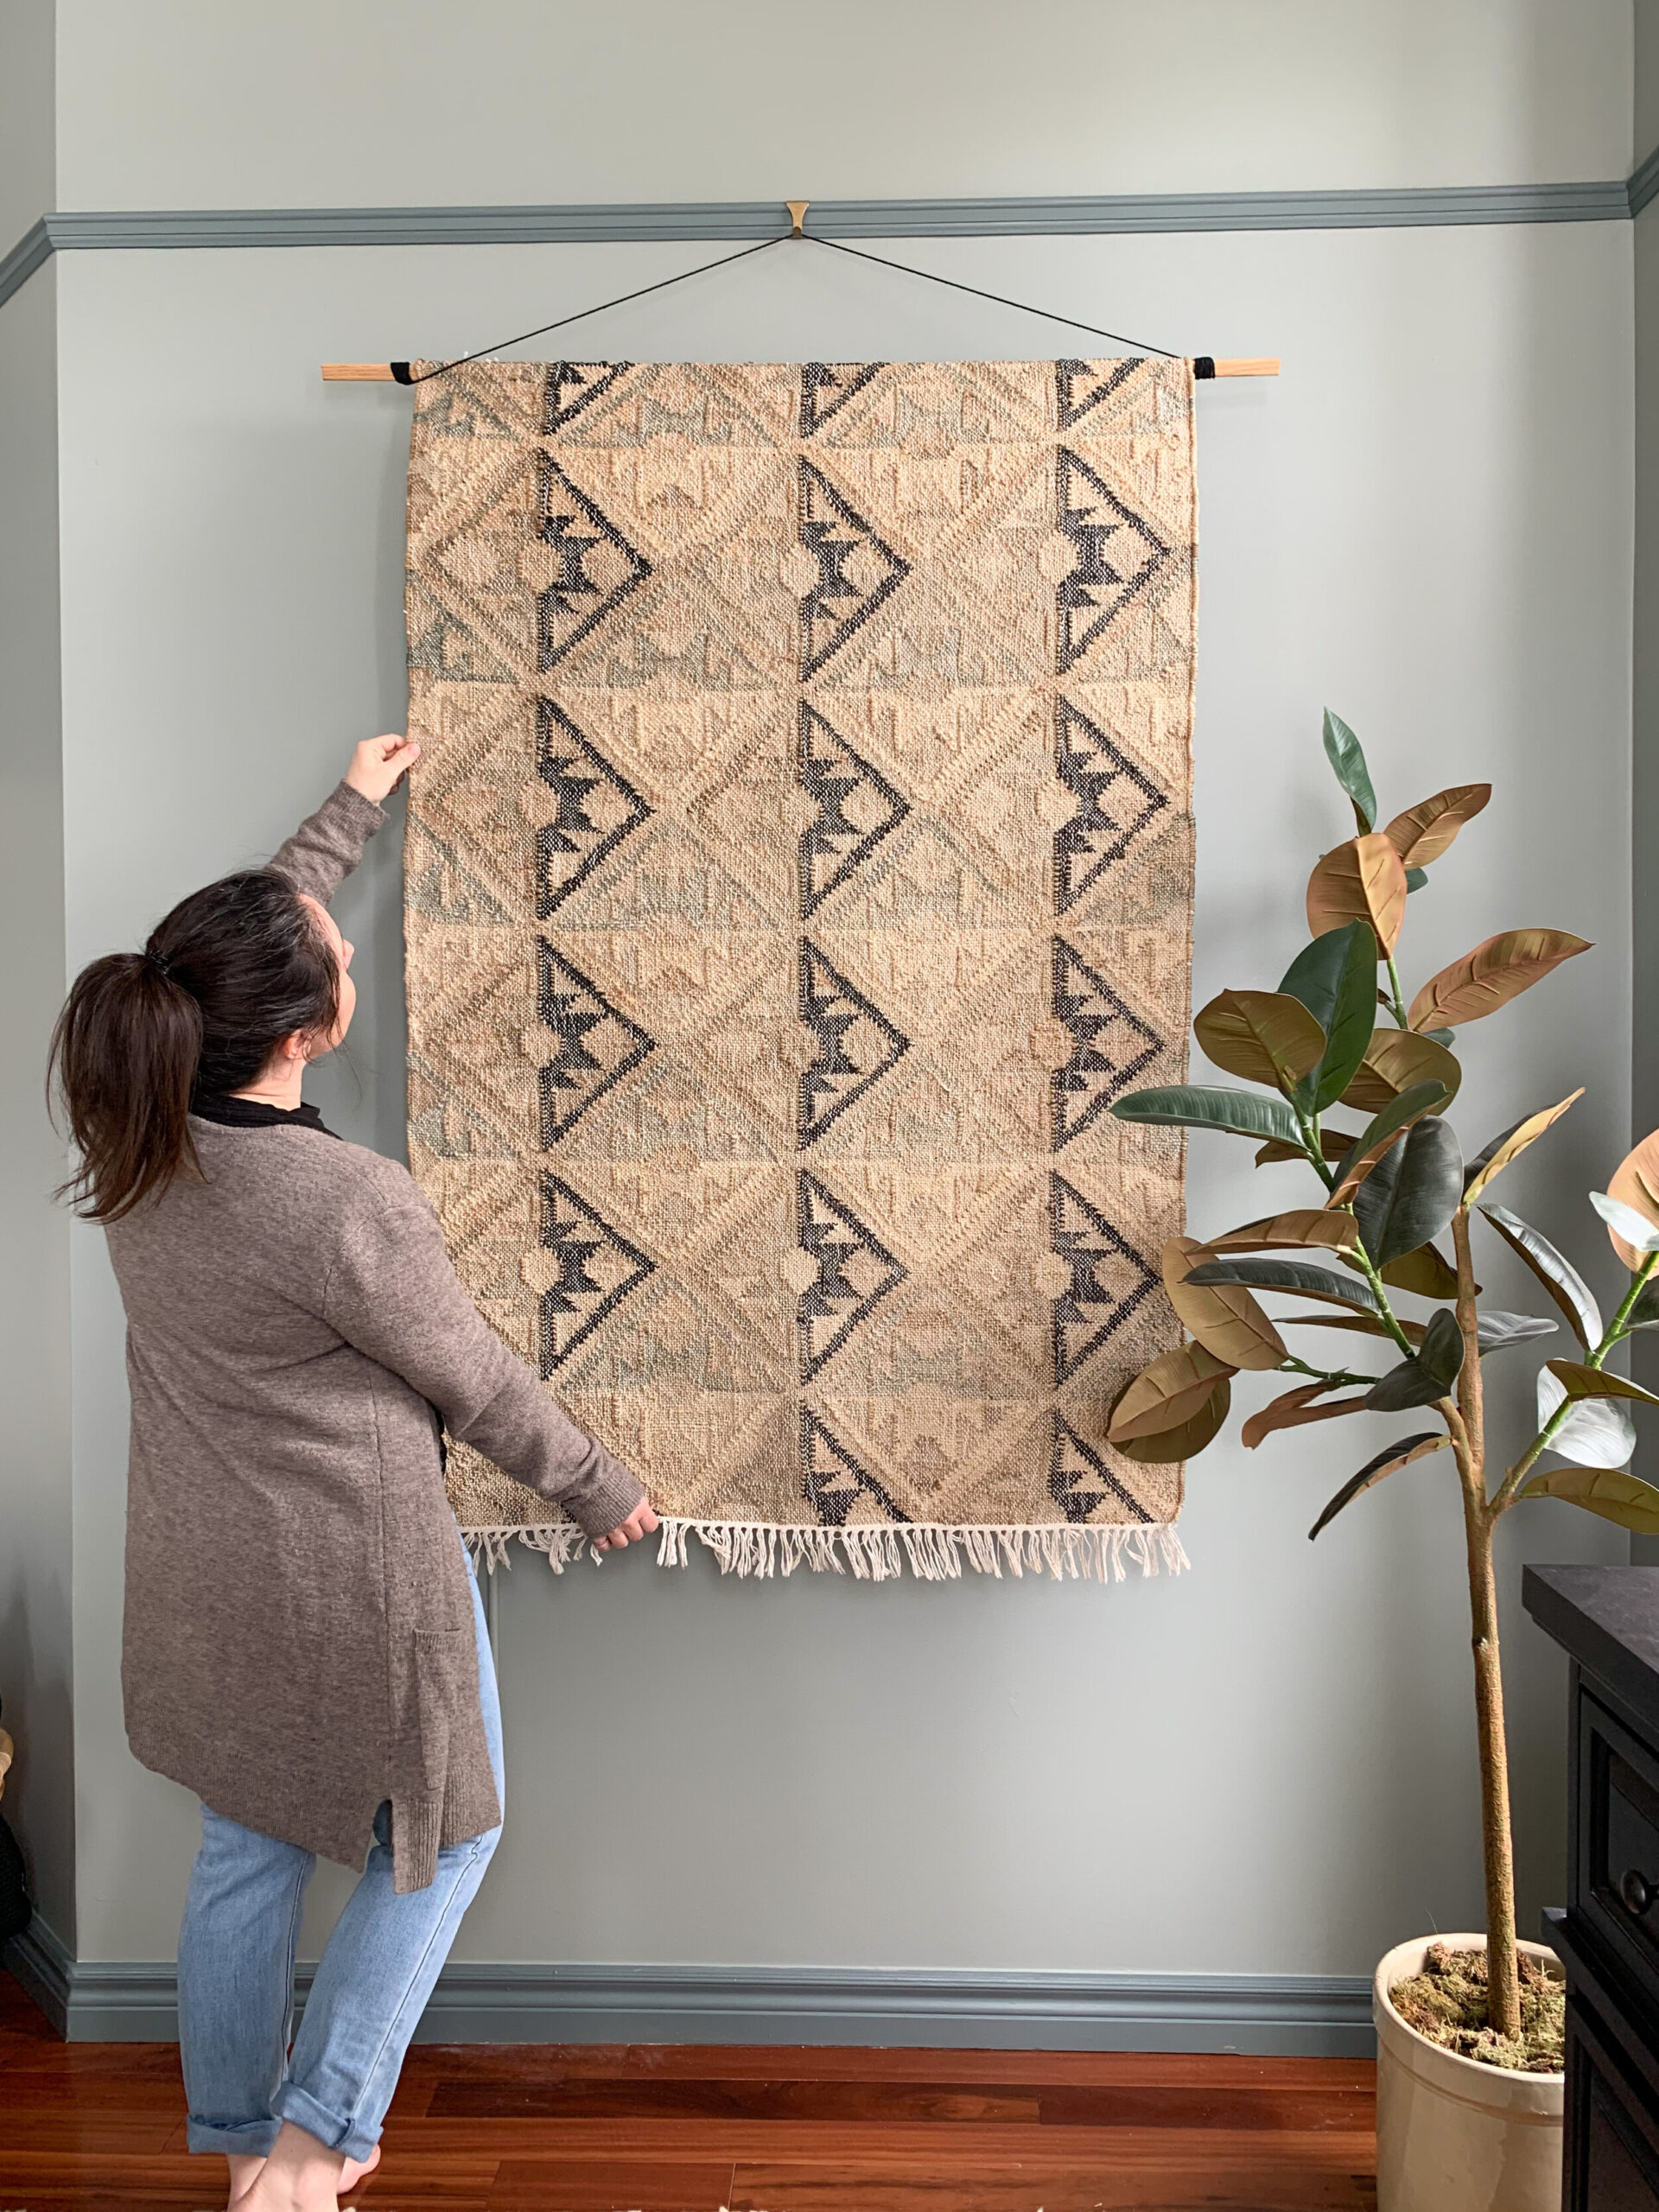
So without further ado, here is the room! (Still to come is a new light fixture… stay tuned!)

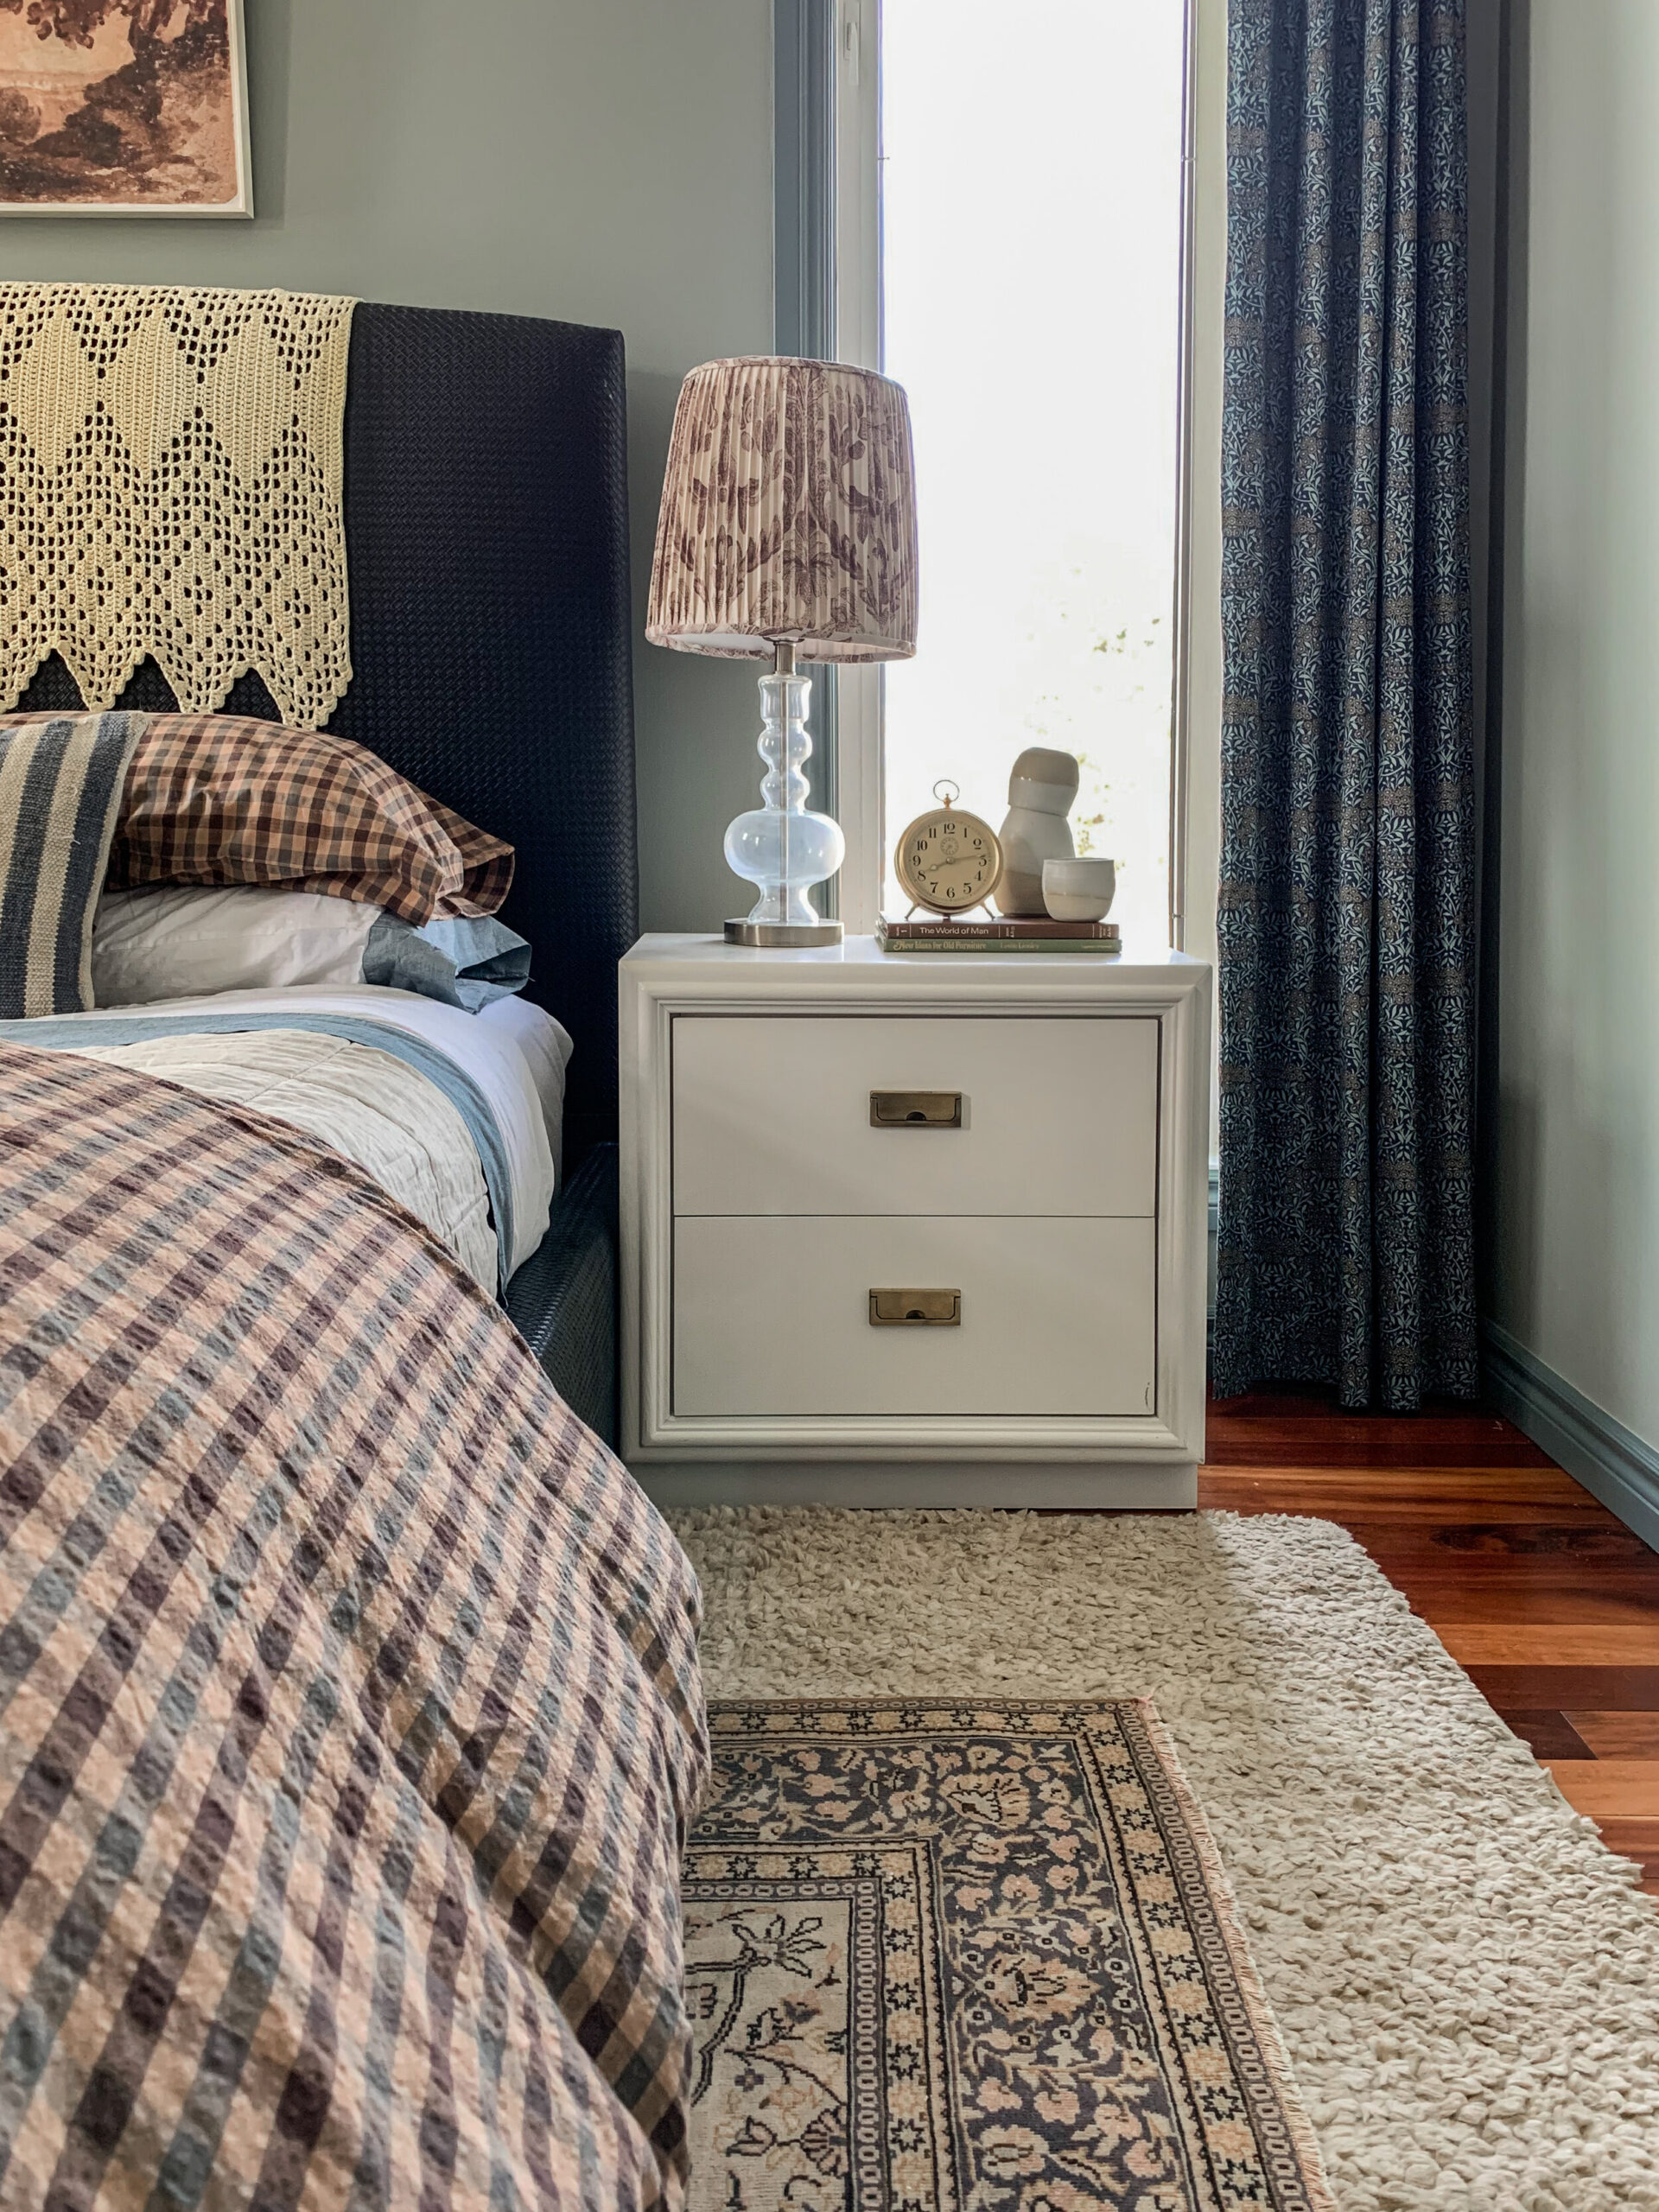
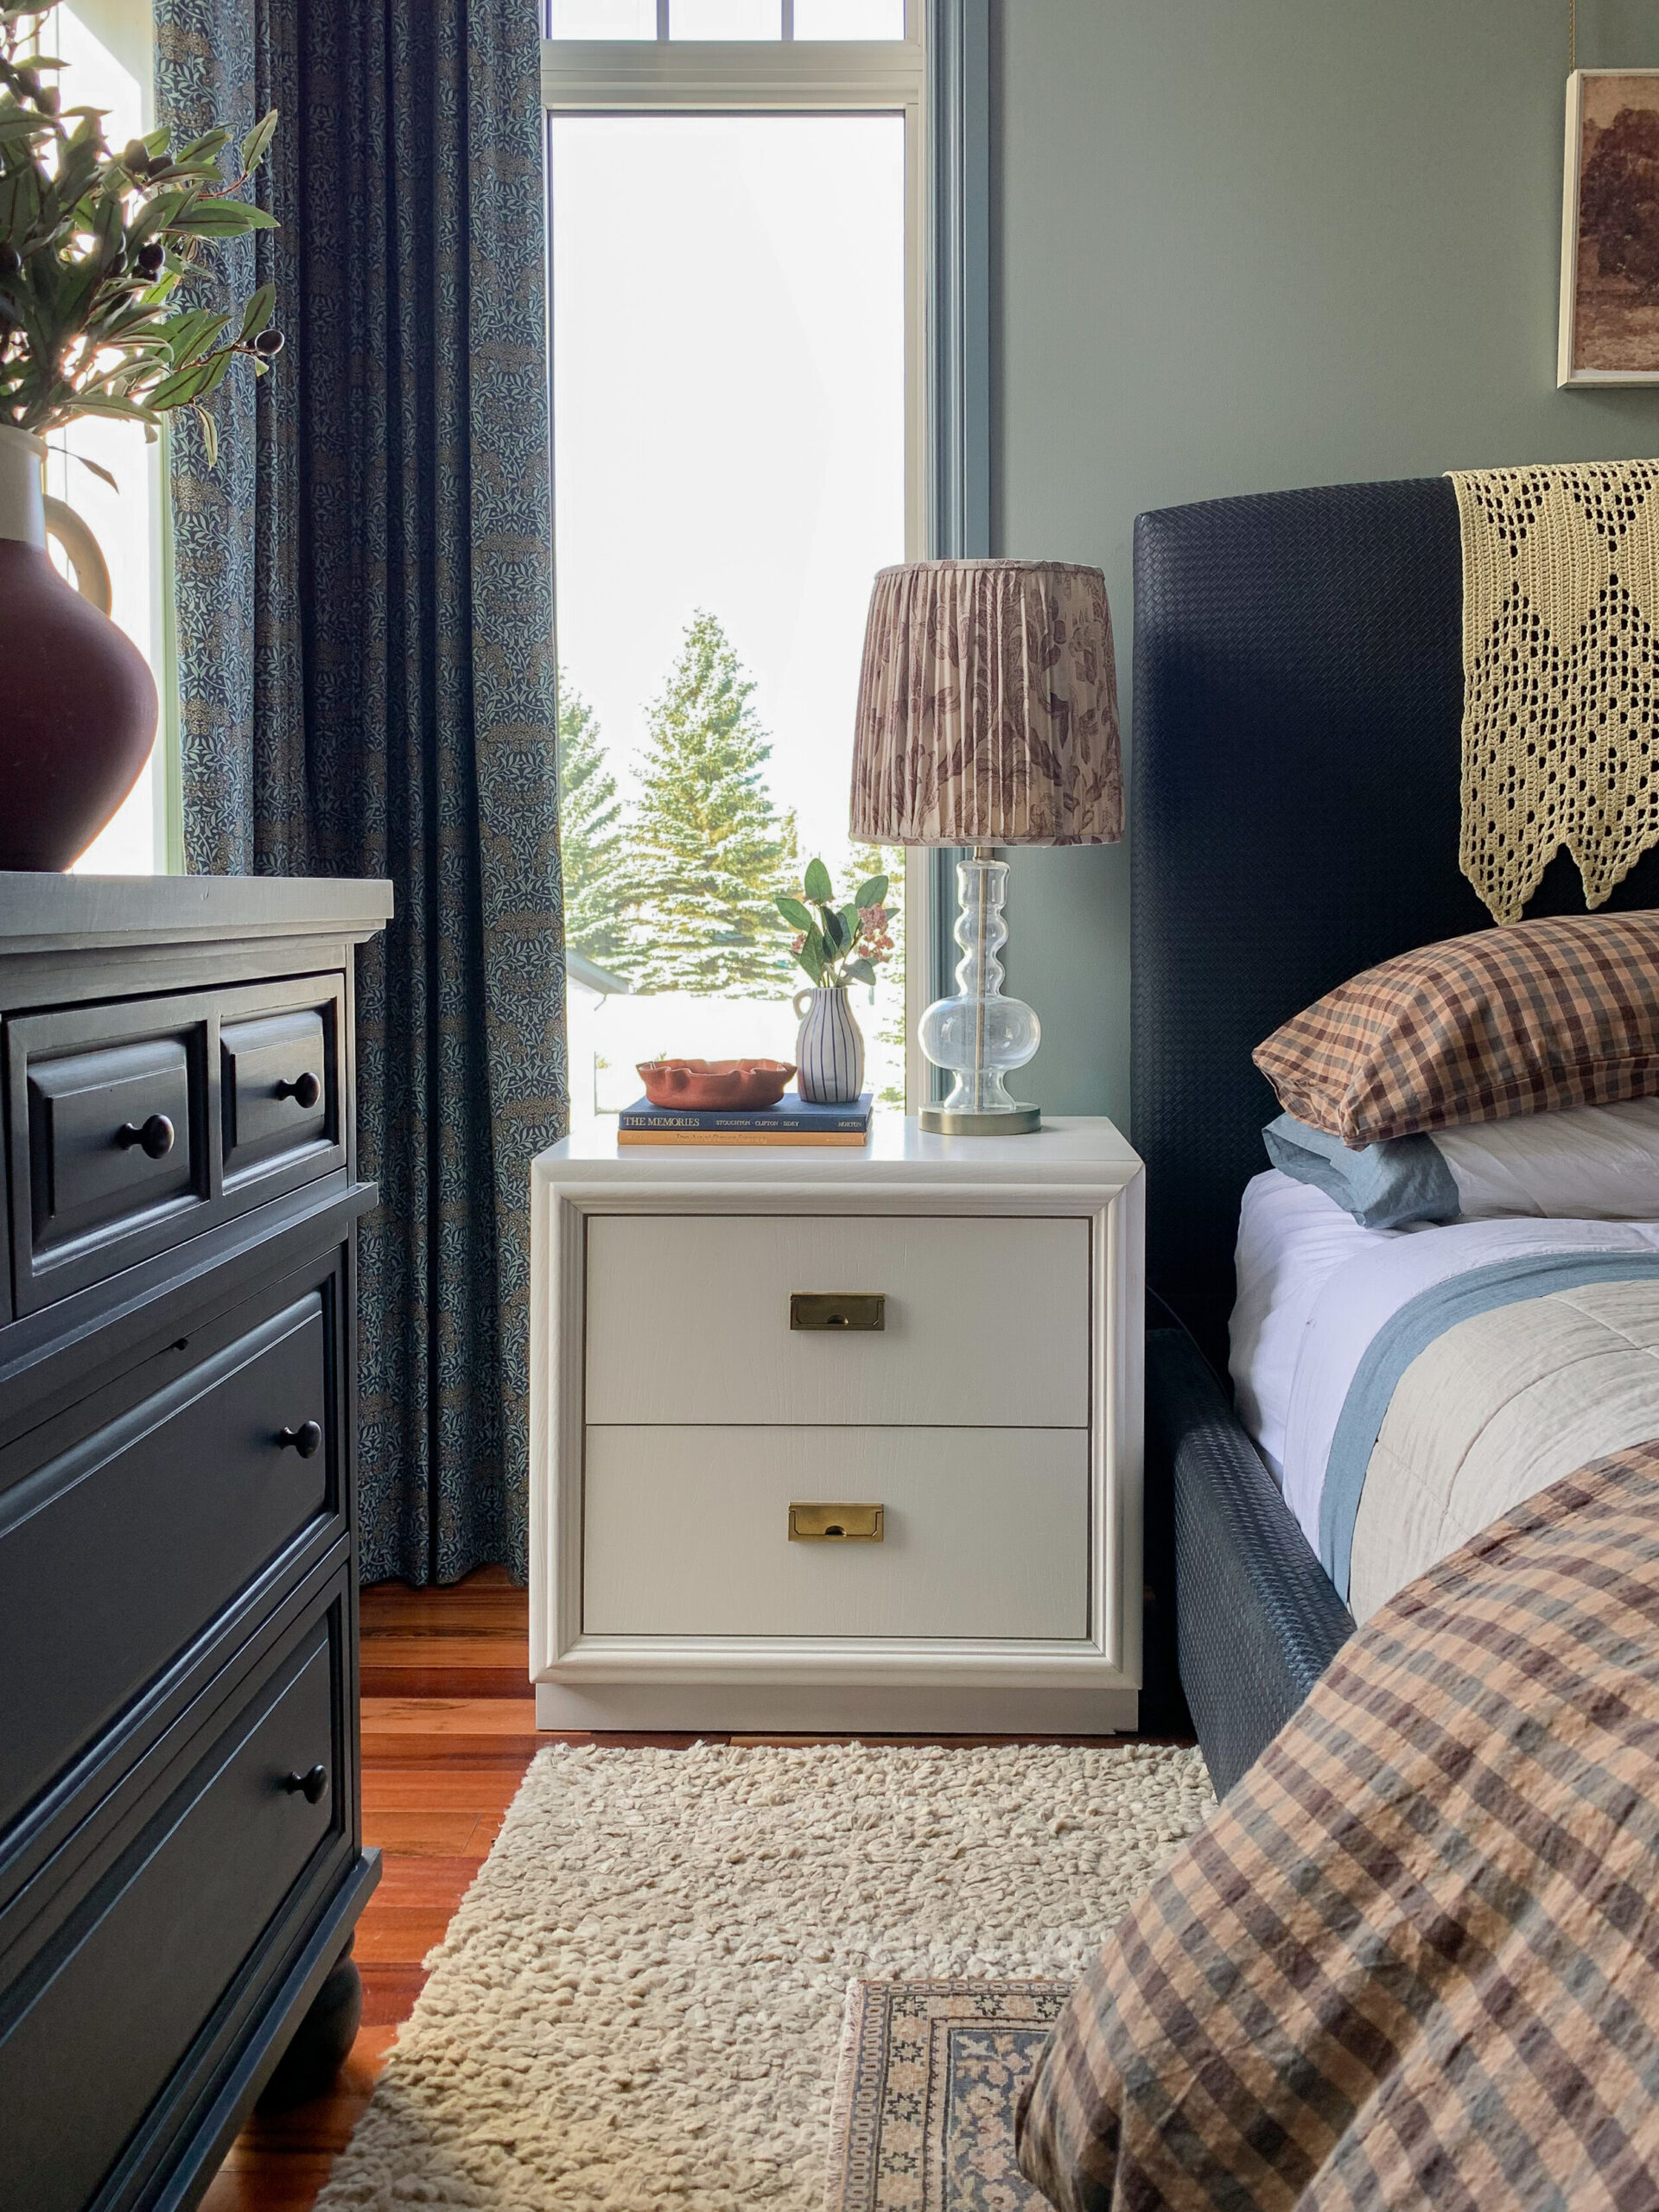
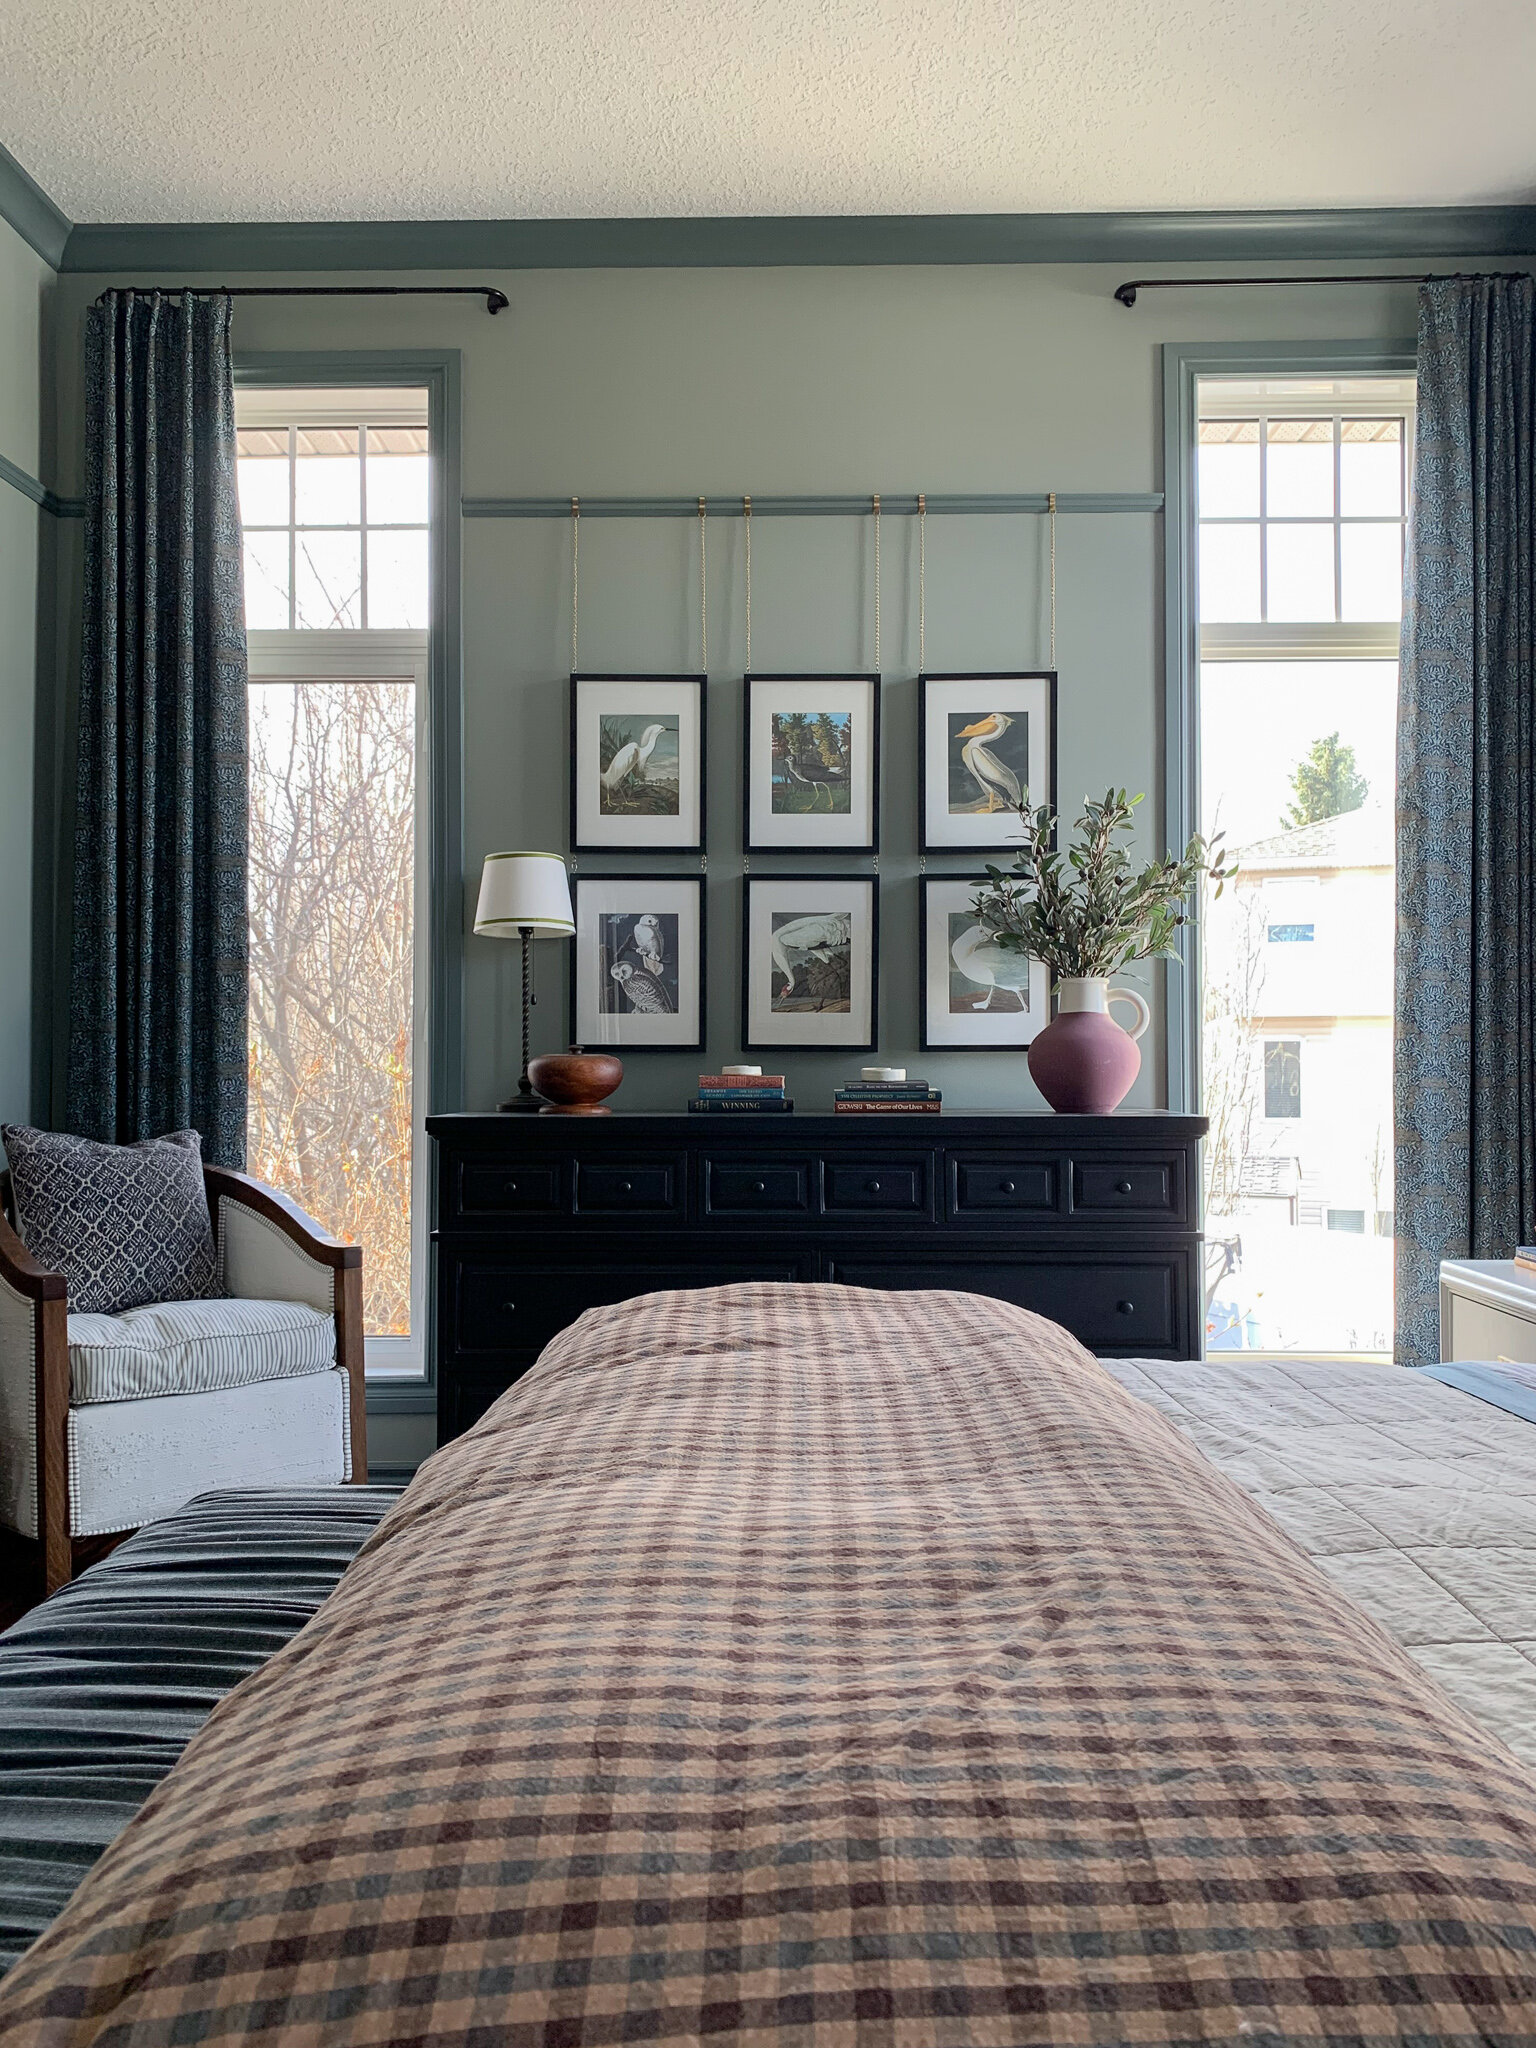
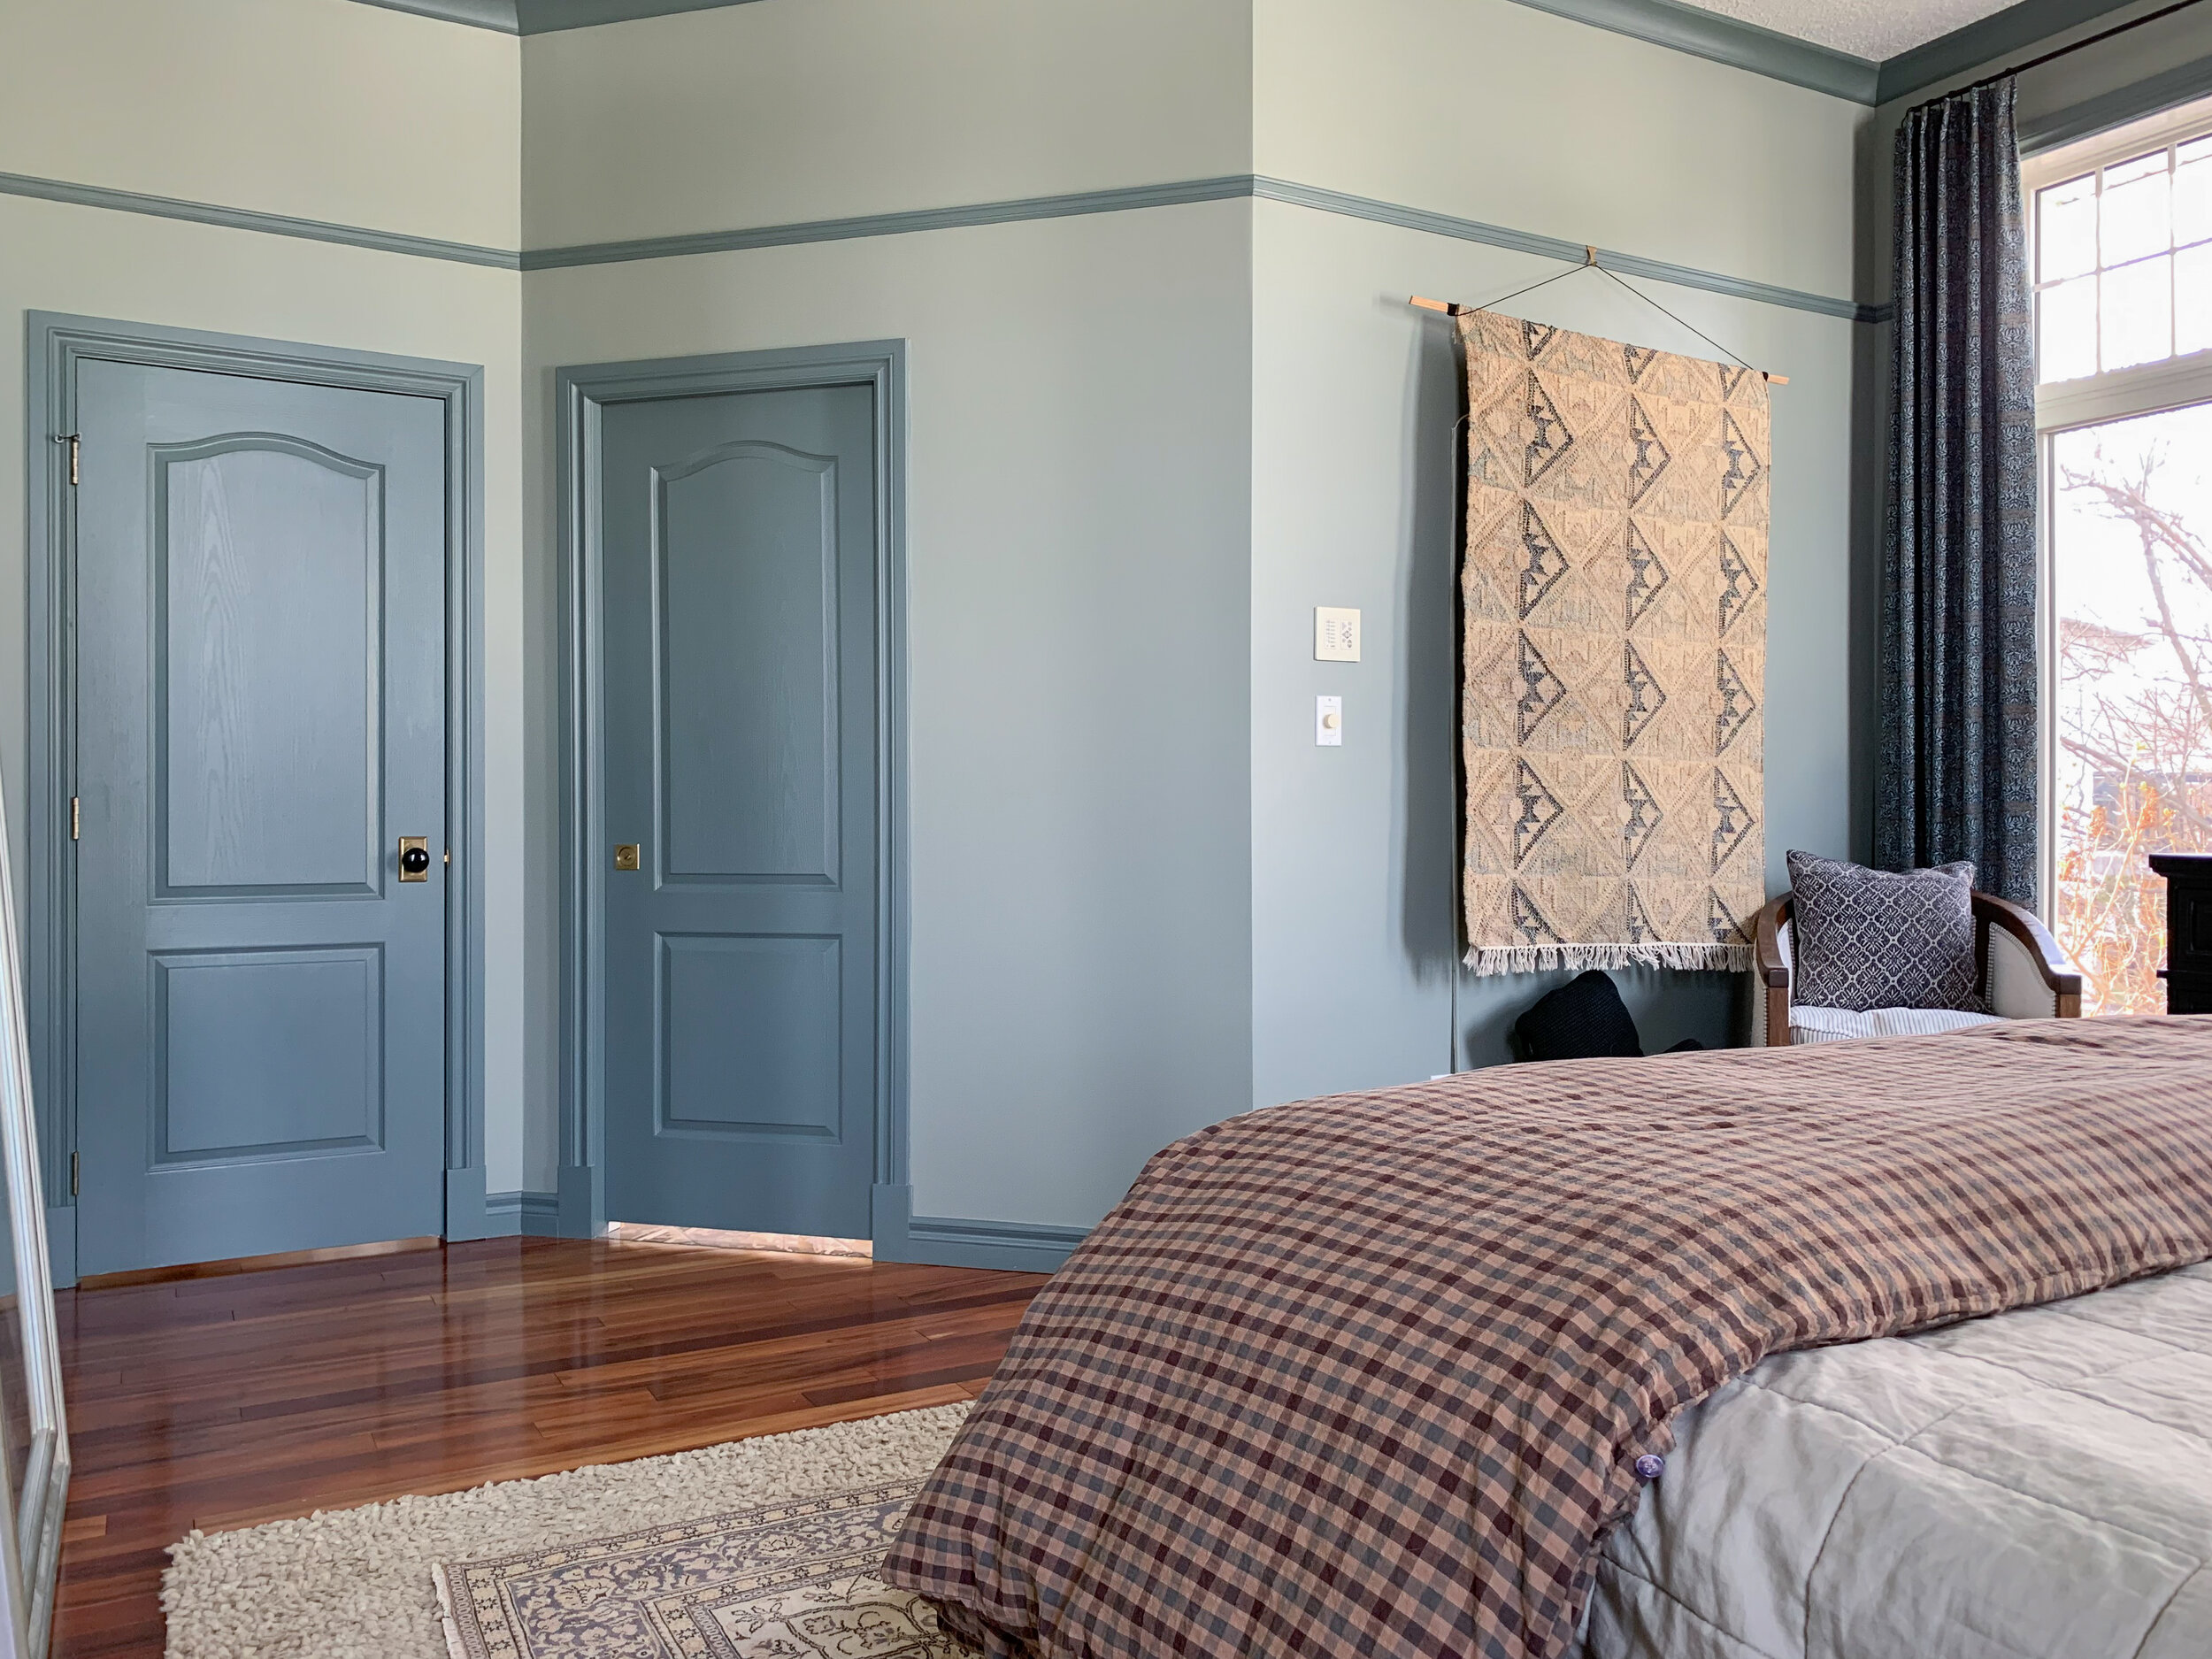
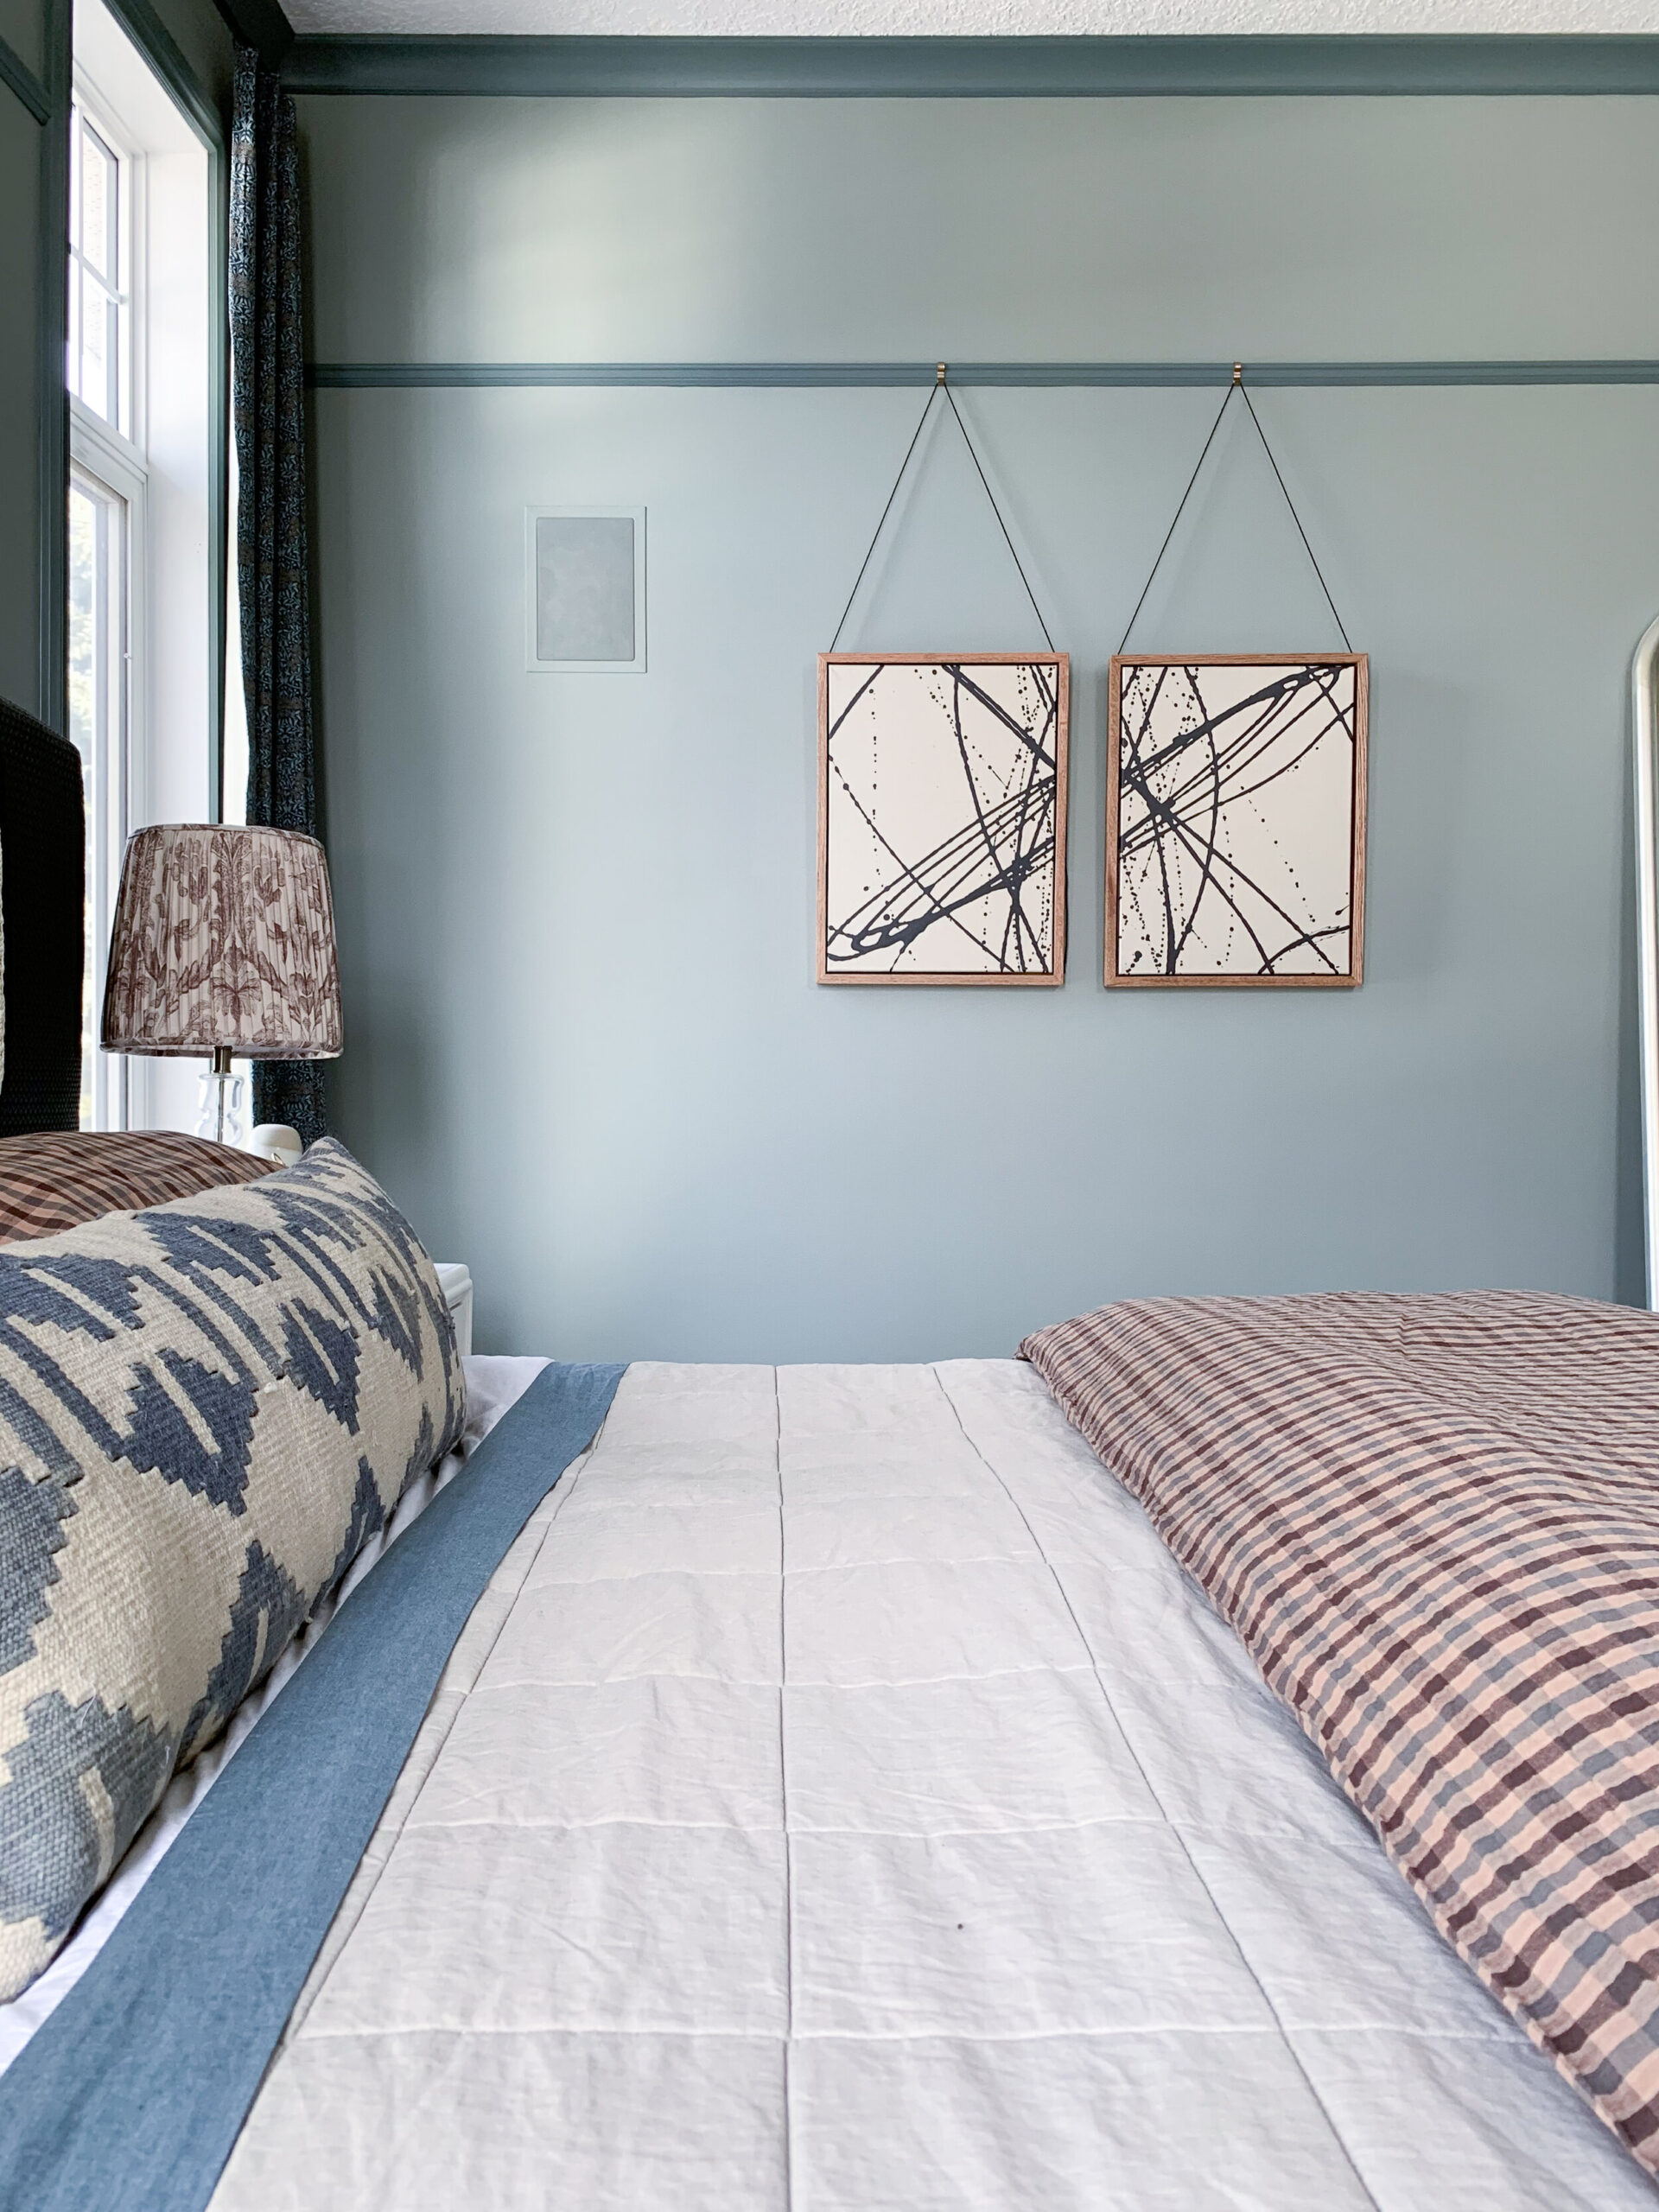
AAAAAND because I always like to have a little before and after action with a photo from the real estate listing I’ll leave you with these side-by-sides! So what do you think? I know one thing, this room is now calm, restful, and feels a whole heck of a lot like me.


Sources:
Paint – Walls – Valspar Signature, Secret Moss, Eggshell and Trim – Valspar Signature Coastal Dusk in Satin
Door Hardware – Local Emtek Dealer Special Order – Similar
Rug – Vintage (From this Etsy Shop)
Duvet Cover and Shams – Zara (sold out now but this one is similar) (Note: I have had to exchange the first one I got so I’m not sure I can vouch for the quality…. but she’s cute!)
Sheets – Home Sense
Curtain Fabric and Lining – Fabric.com, This is the fabric I used, but I also found custom curtains from the same fabric on Etsy HERE
Faux Window Panes – New Panes
Curtain Rods – Amazon
James Audubon Bird Prints (Free Downloads) – HERE
Fabric for Shade and Bench – Local Fabric Store
Linen Quilt – IKEA
Rug on Wall – Rejuvenation, discontinued (SIMILAR)
Chair Rail Hooks – Rejuvenation
Kilim Lumbar on Bed – Etsy, from THIS shop
Lamps – Target, Old (Similar)
Nightstands, Thrifted (Similar)
Bed – Custom (Similar)
Dresser – Pier One, Old
Bench – Thrifted and Recovered
Picture Moulding – Local lumber yard, also available HERE, Here
Crown – Local Lumber Yard, By Alexandra Mouldings #93040
Chair – Antique


Omg. Sooo beautiful ERIN!! Love, love it!
I love this! Your mix of materials and styles combine to an interesting but restful space — I’m so impressed!