DIY Corbels out of MDF
One Room Challenge Week 5
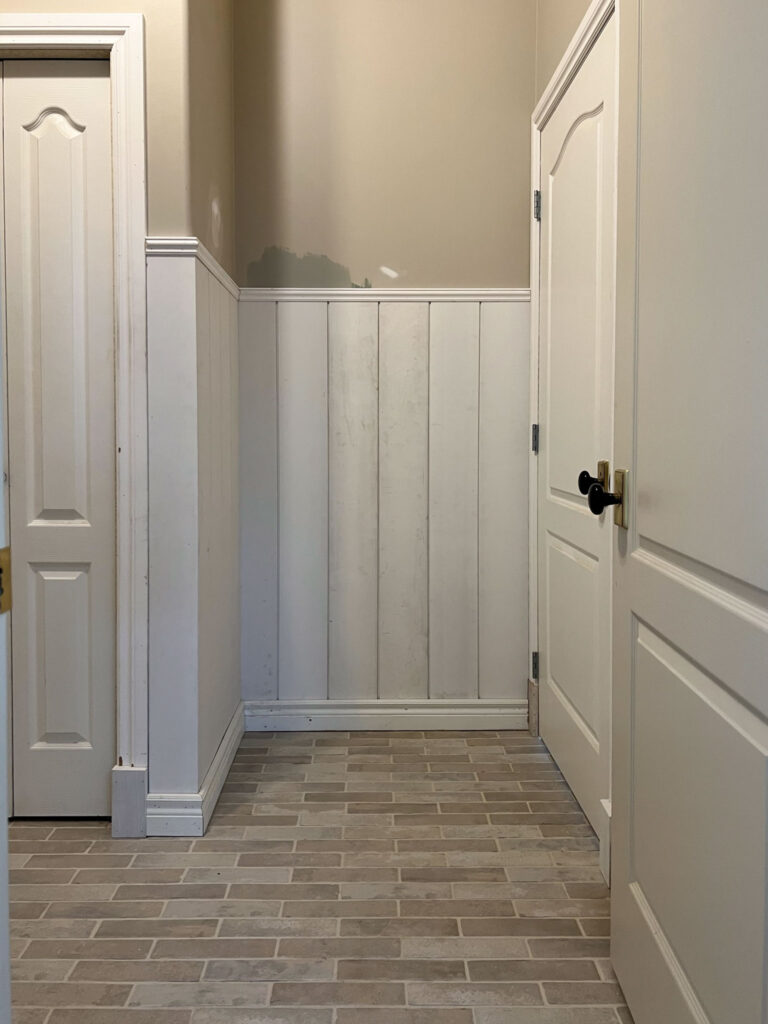
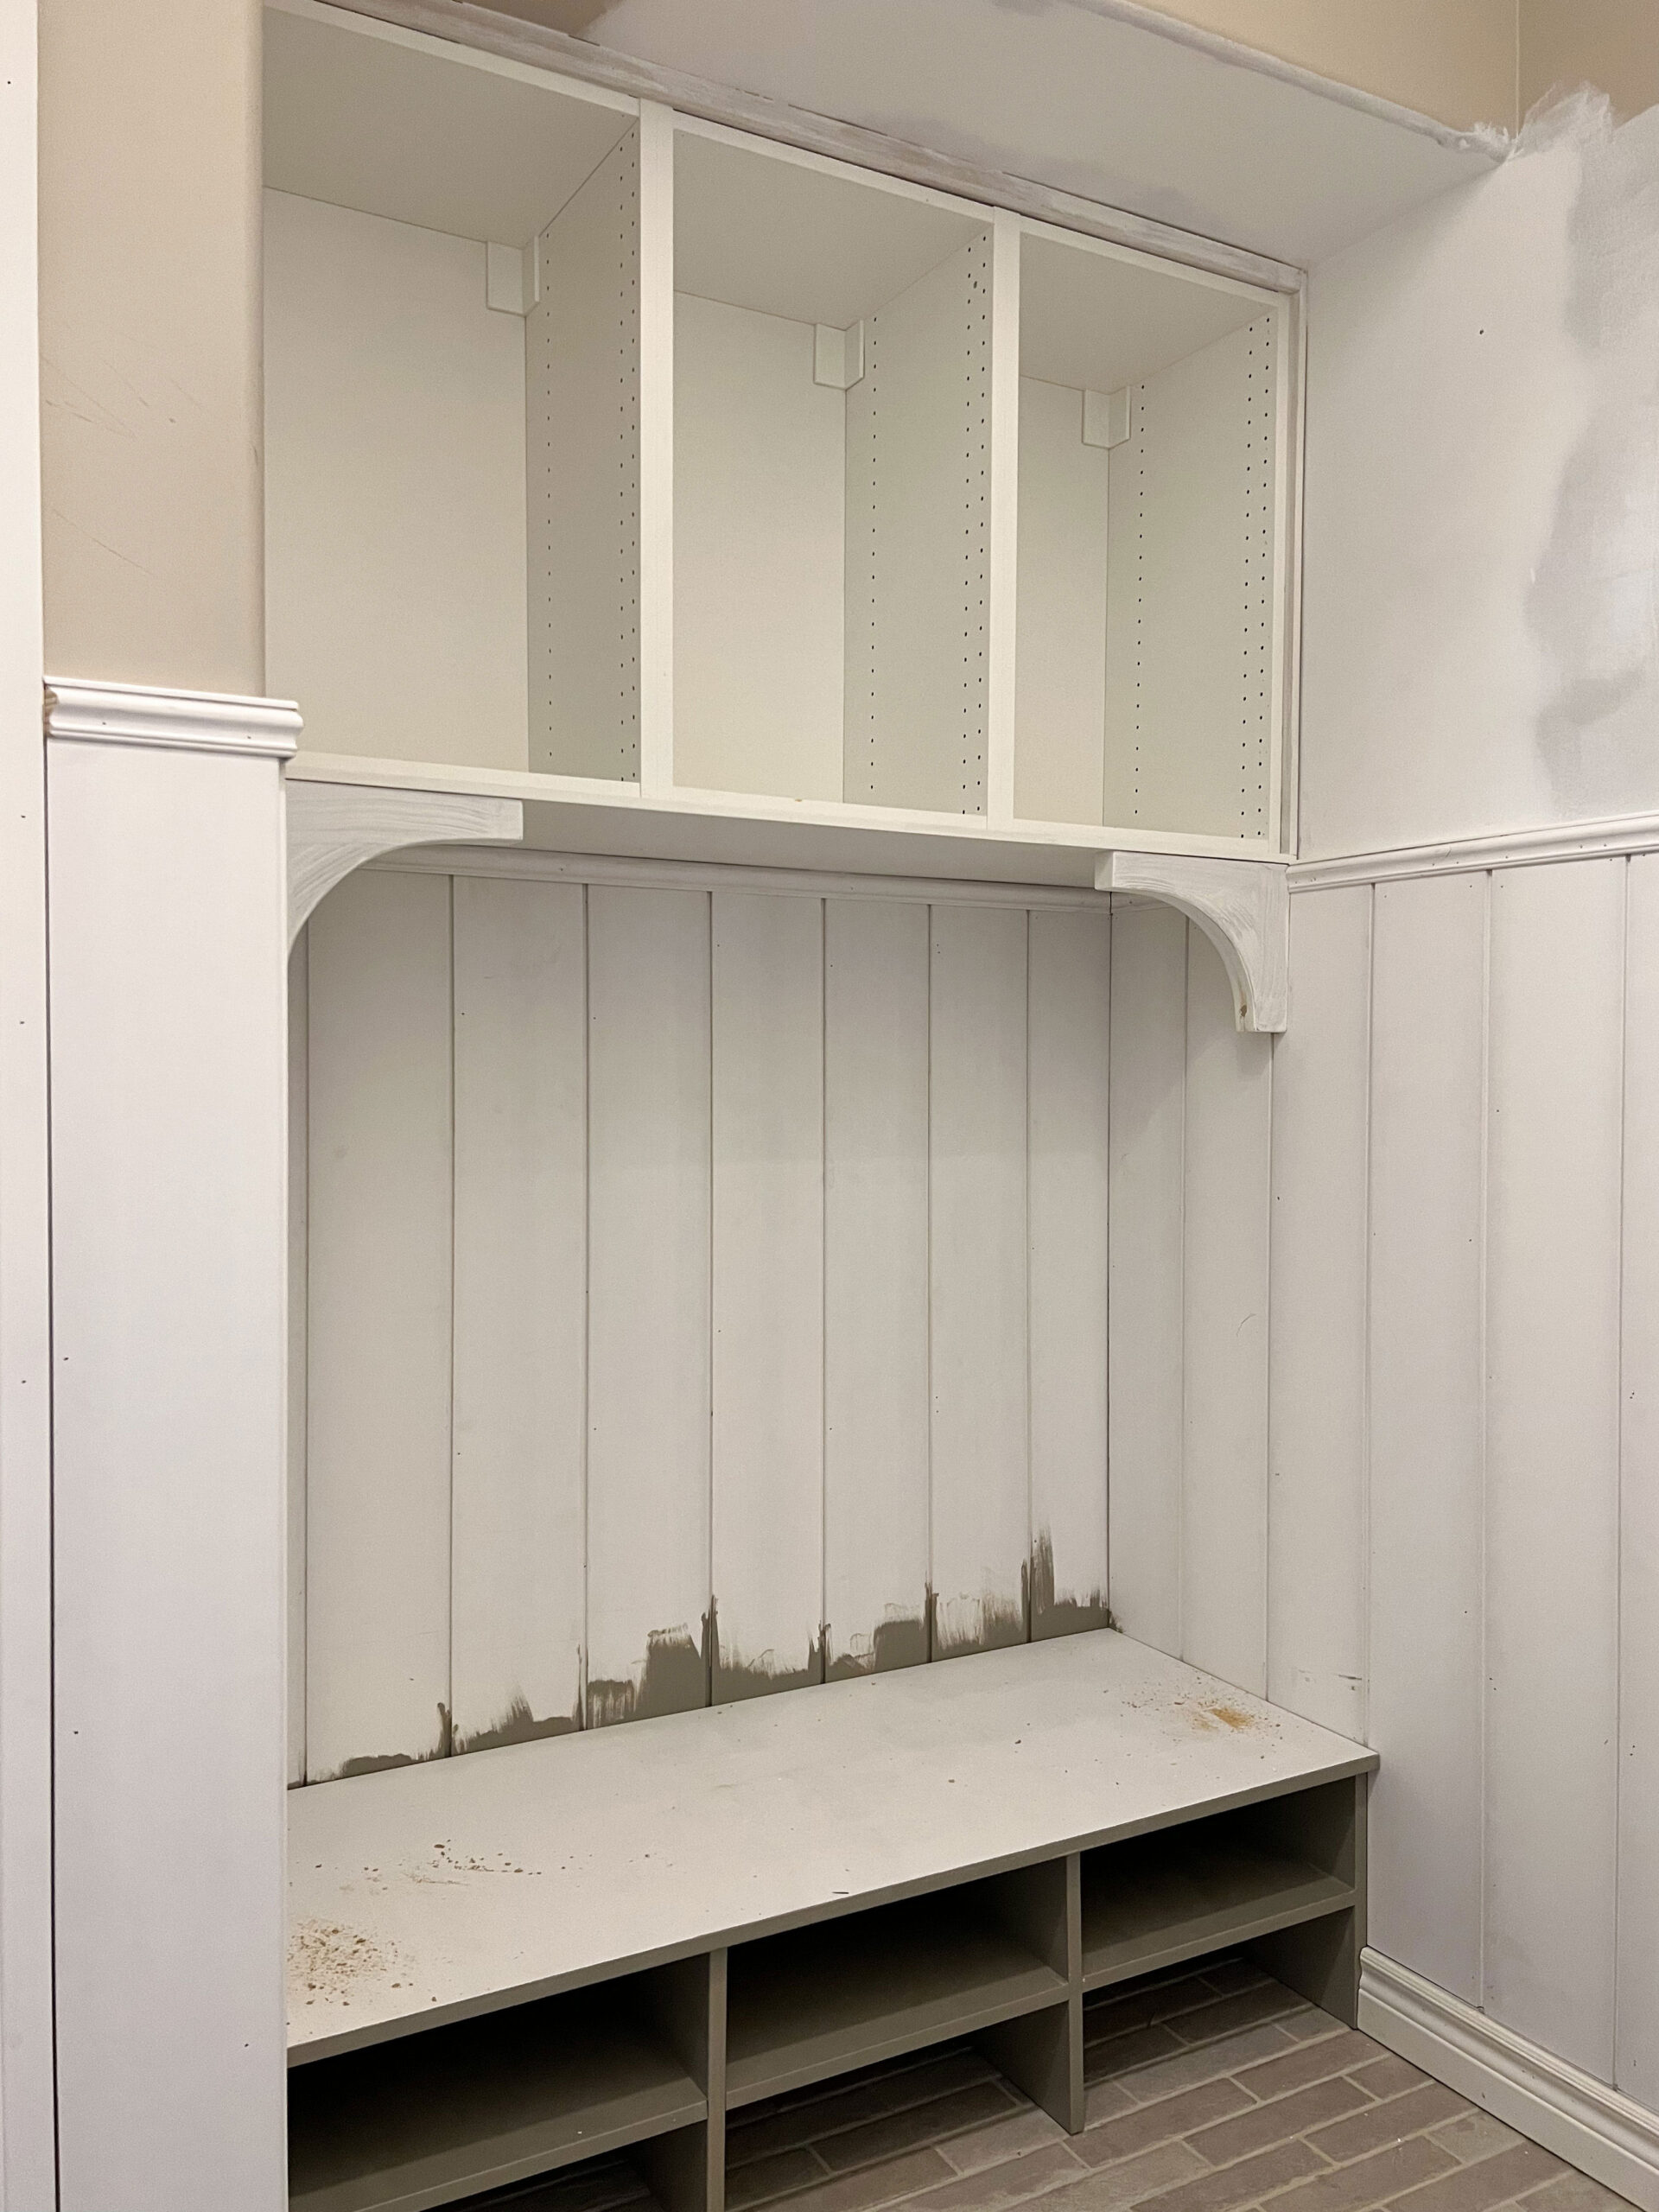
This week we made some good headway in the mudroom. We installed all of the shiplap wainscotting all around the room and added a top cap and baseboards. All the little bits of trim were finished up as well!
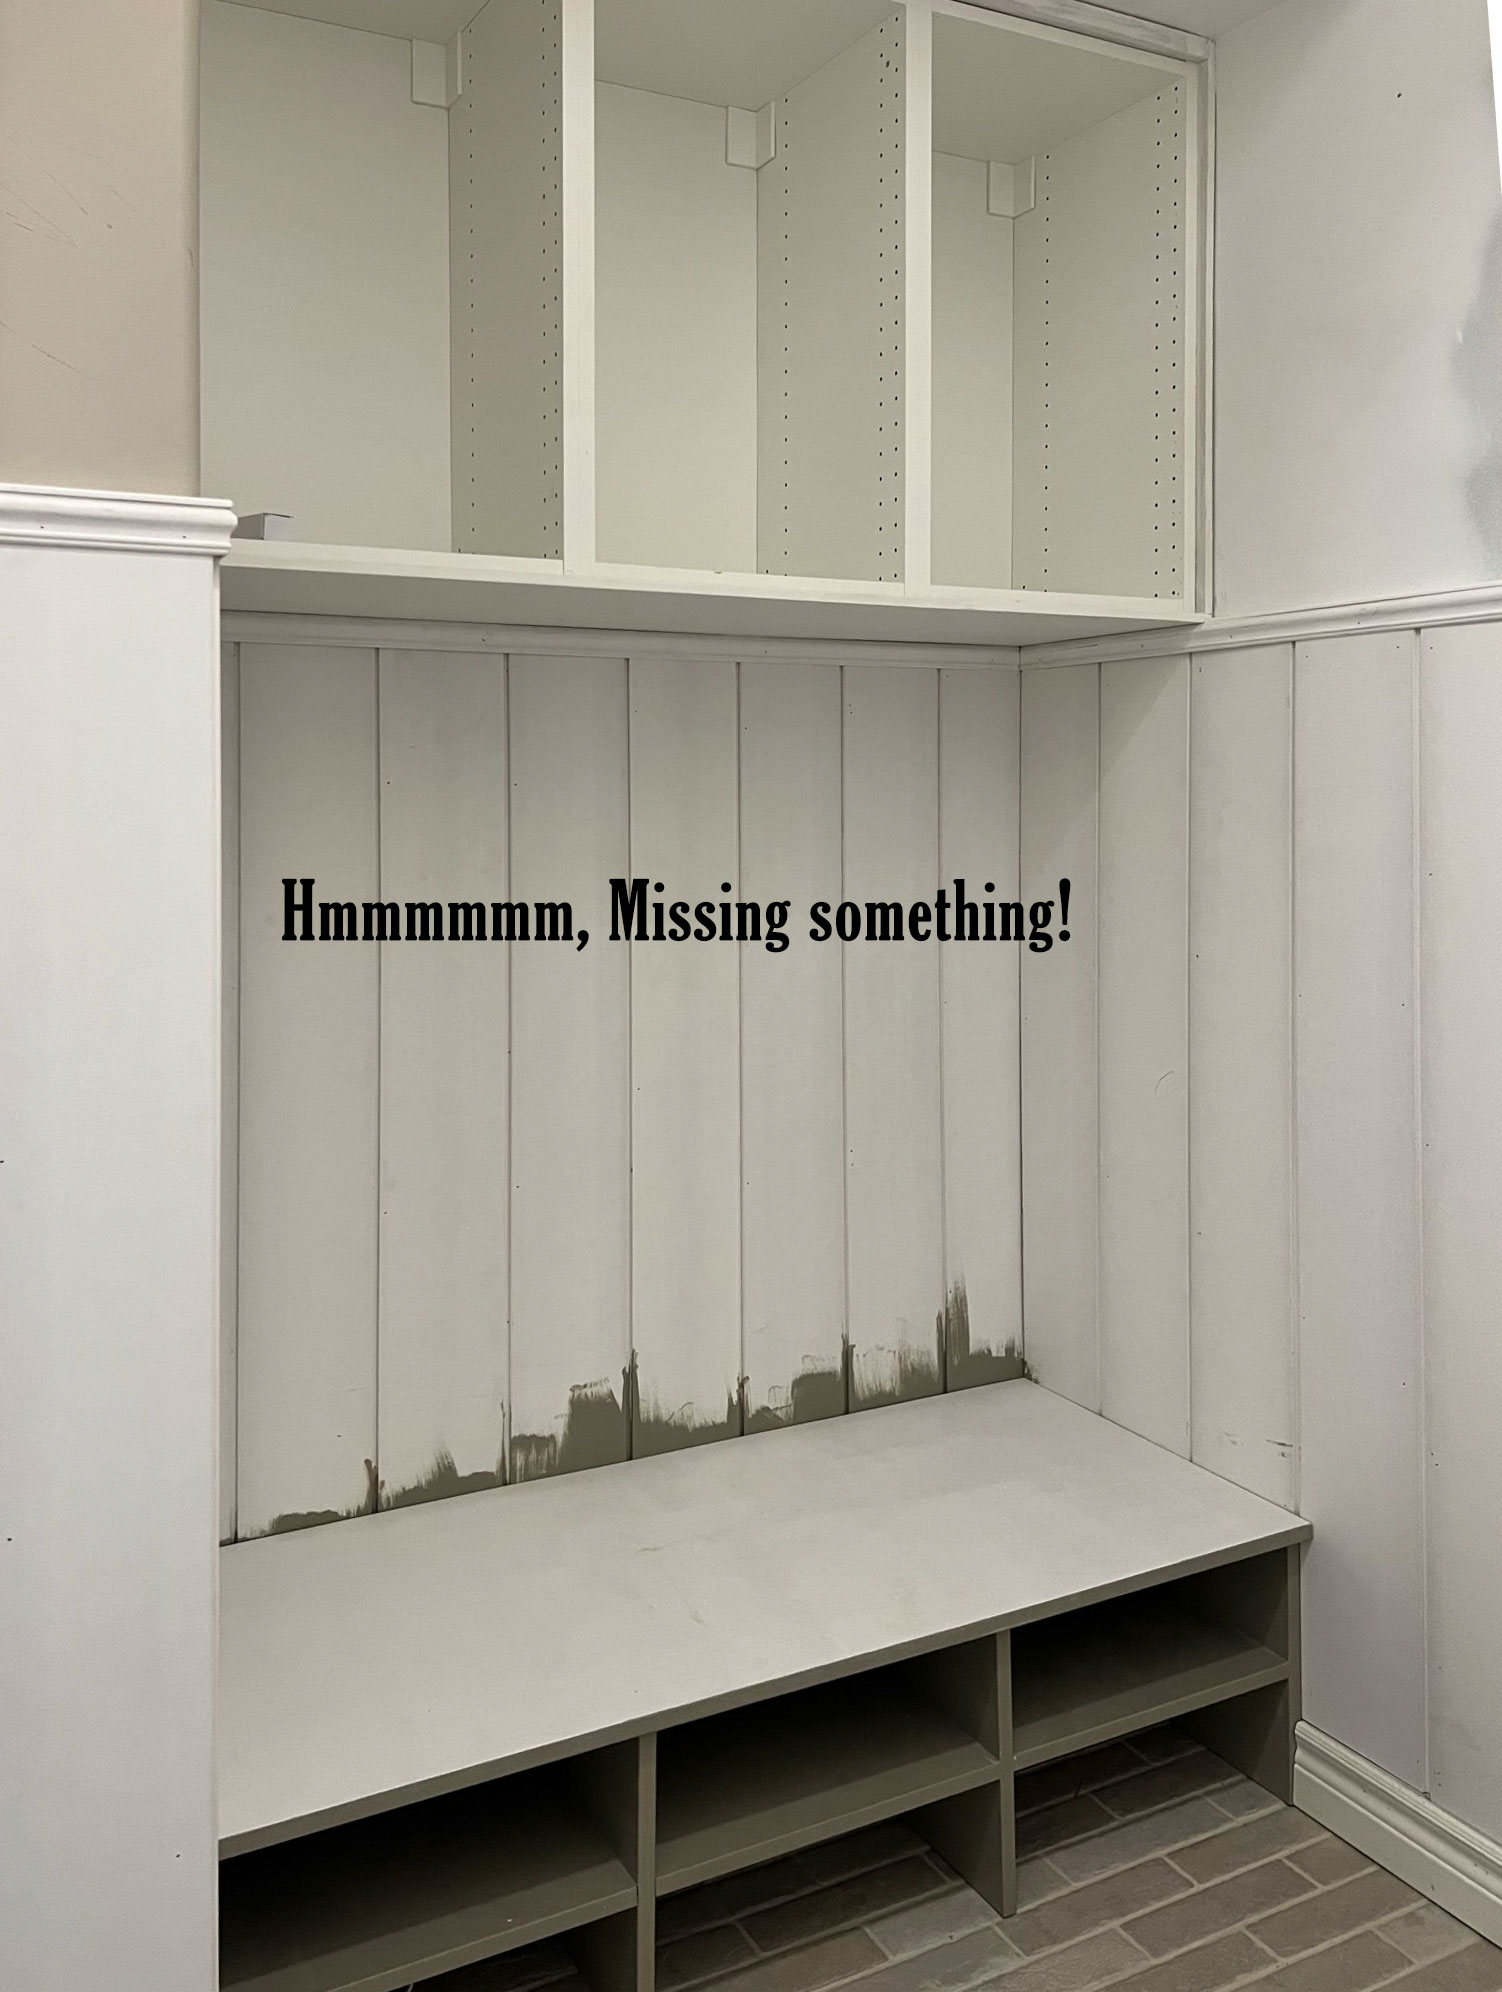
At the eleventh hour, I decided I wanted some corbels, or brackets at the corners of my new mudroom bench to add a little decorative detail. I did not have enough time to order some so I decided to make some! Read on to find out how to make your own DIY corbels using MDF plywood!
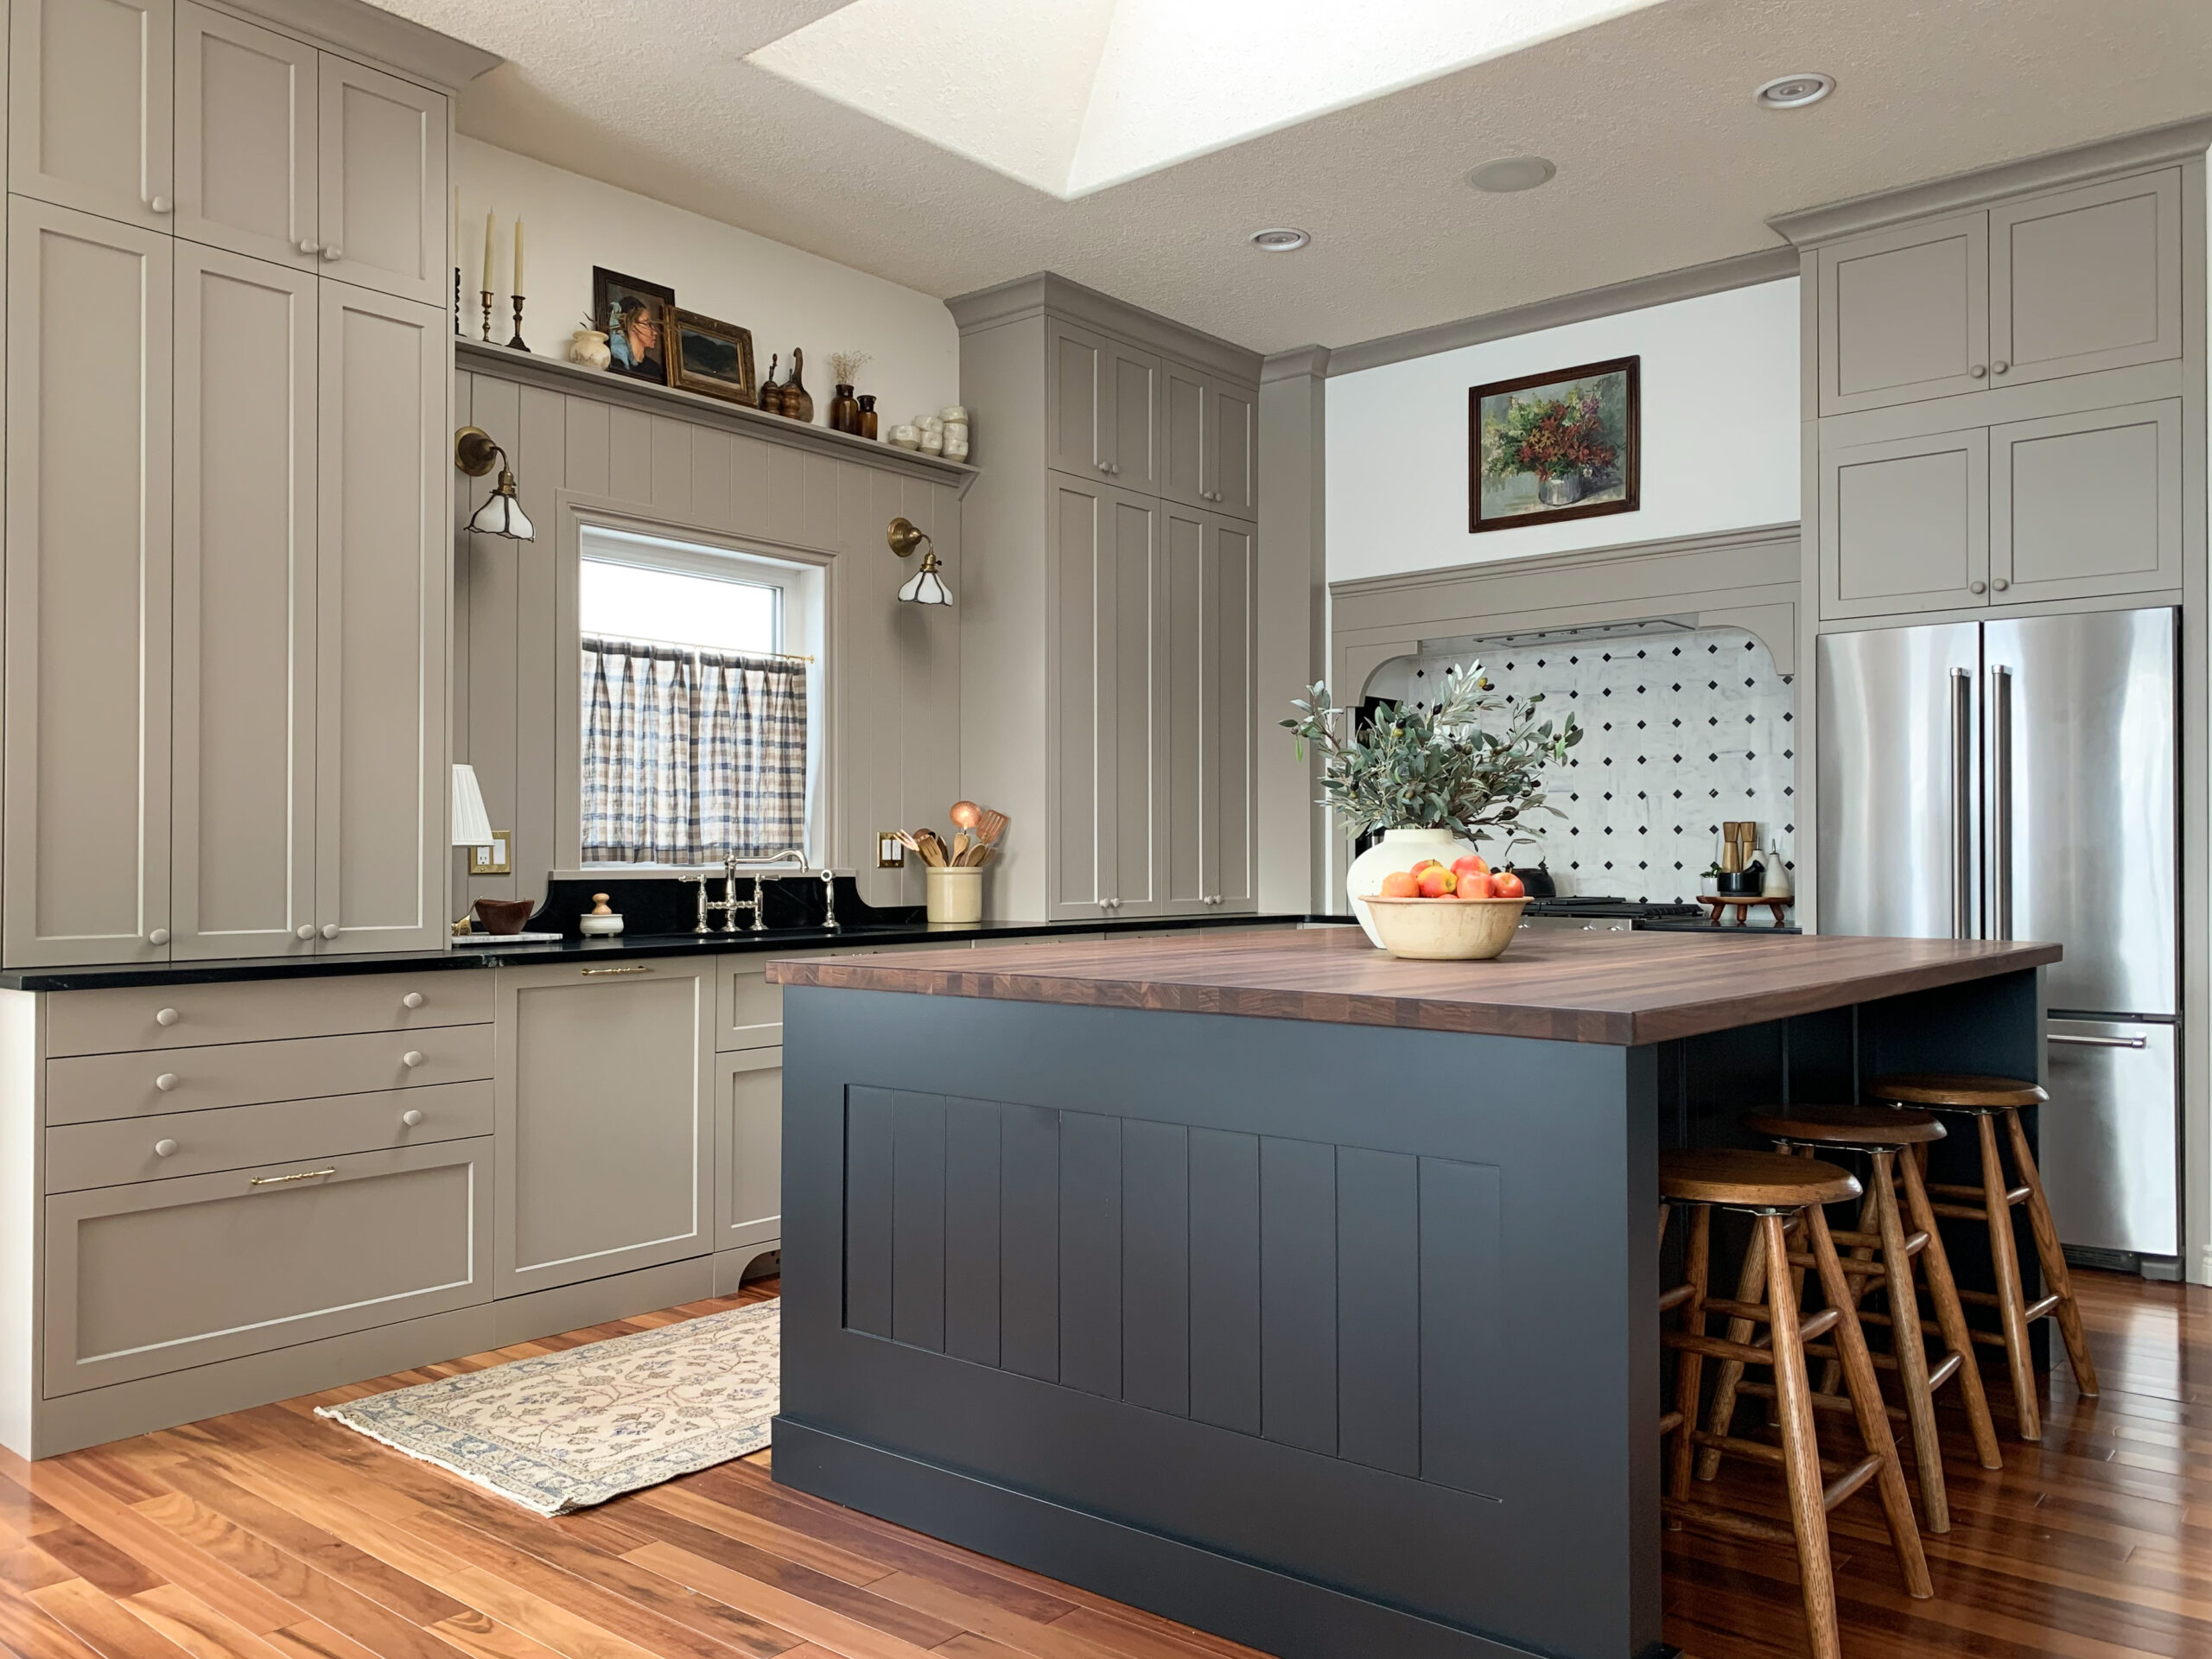
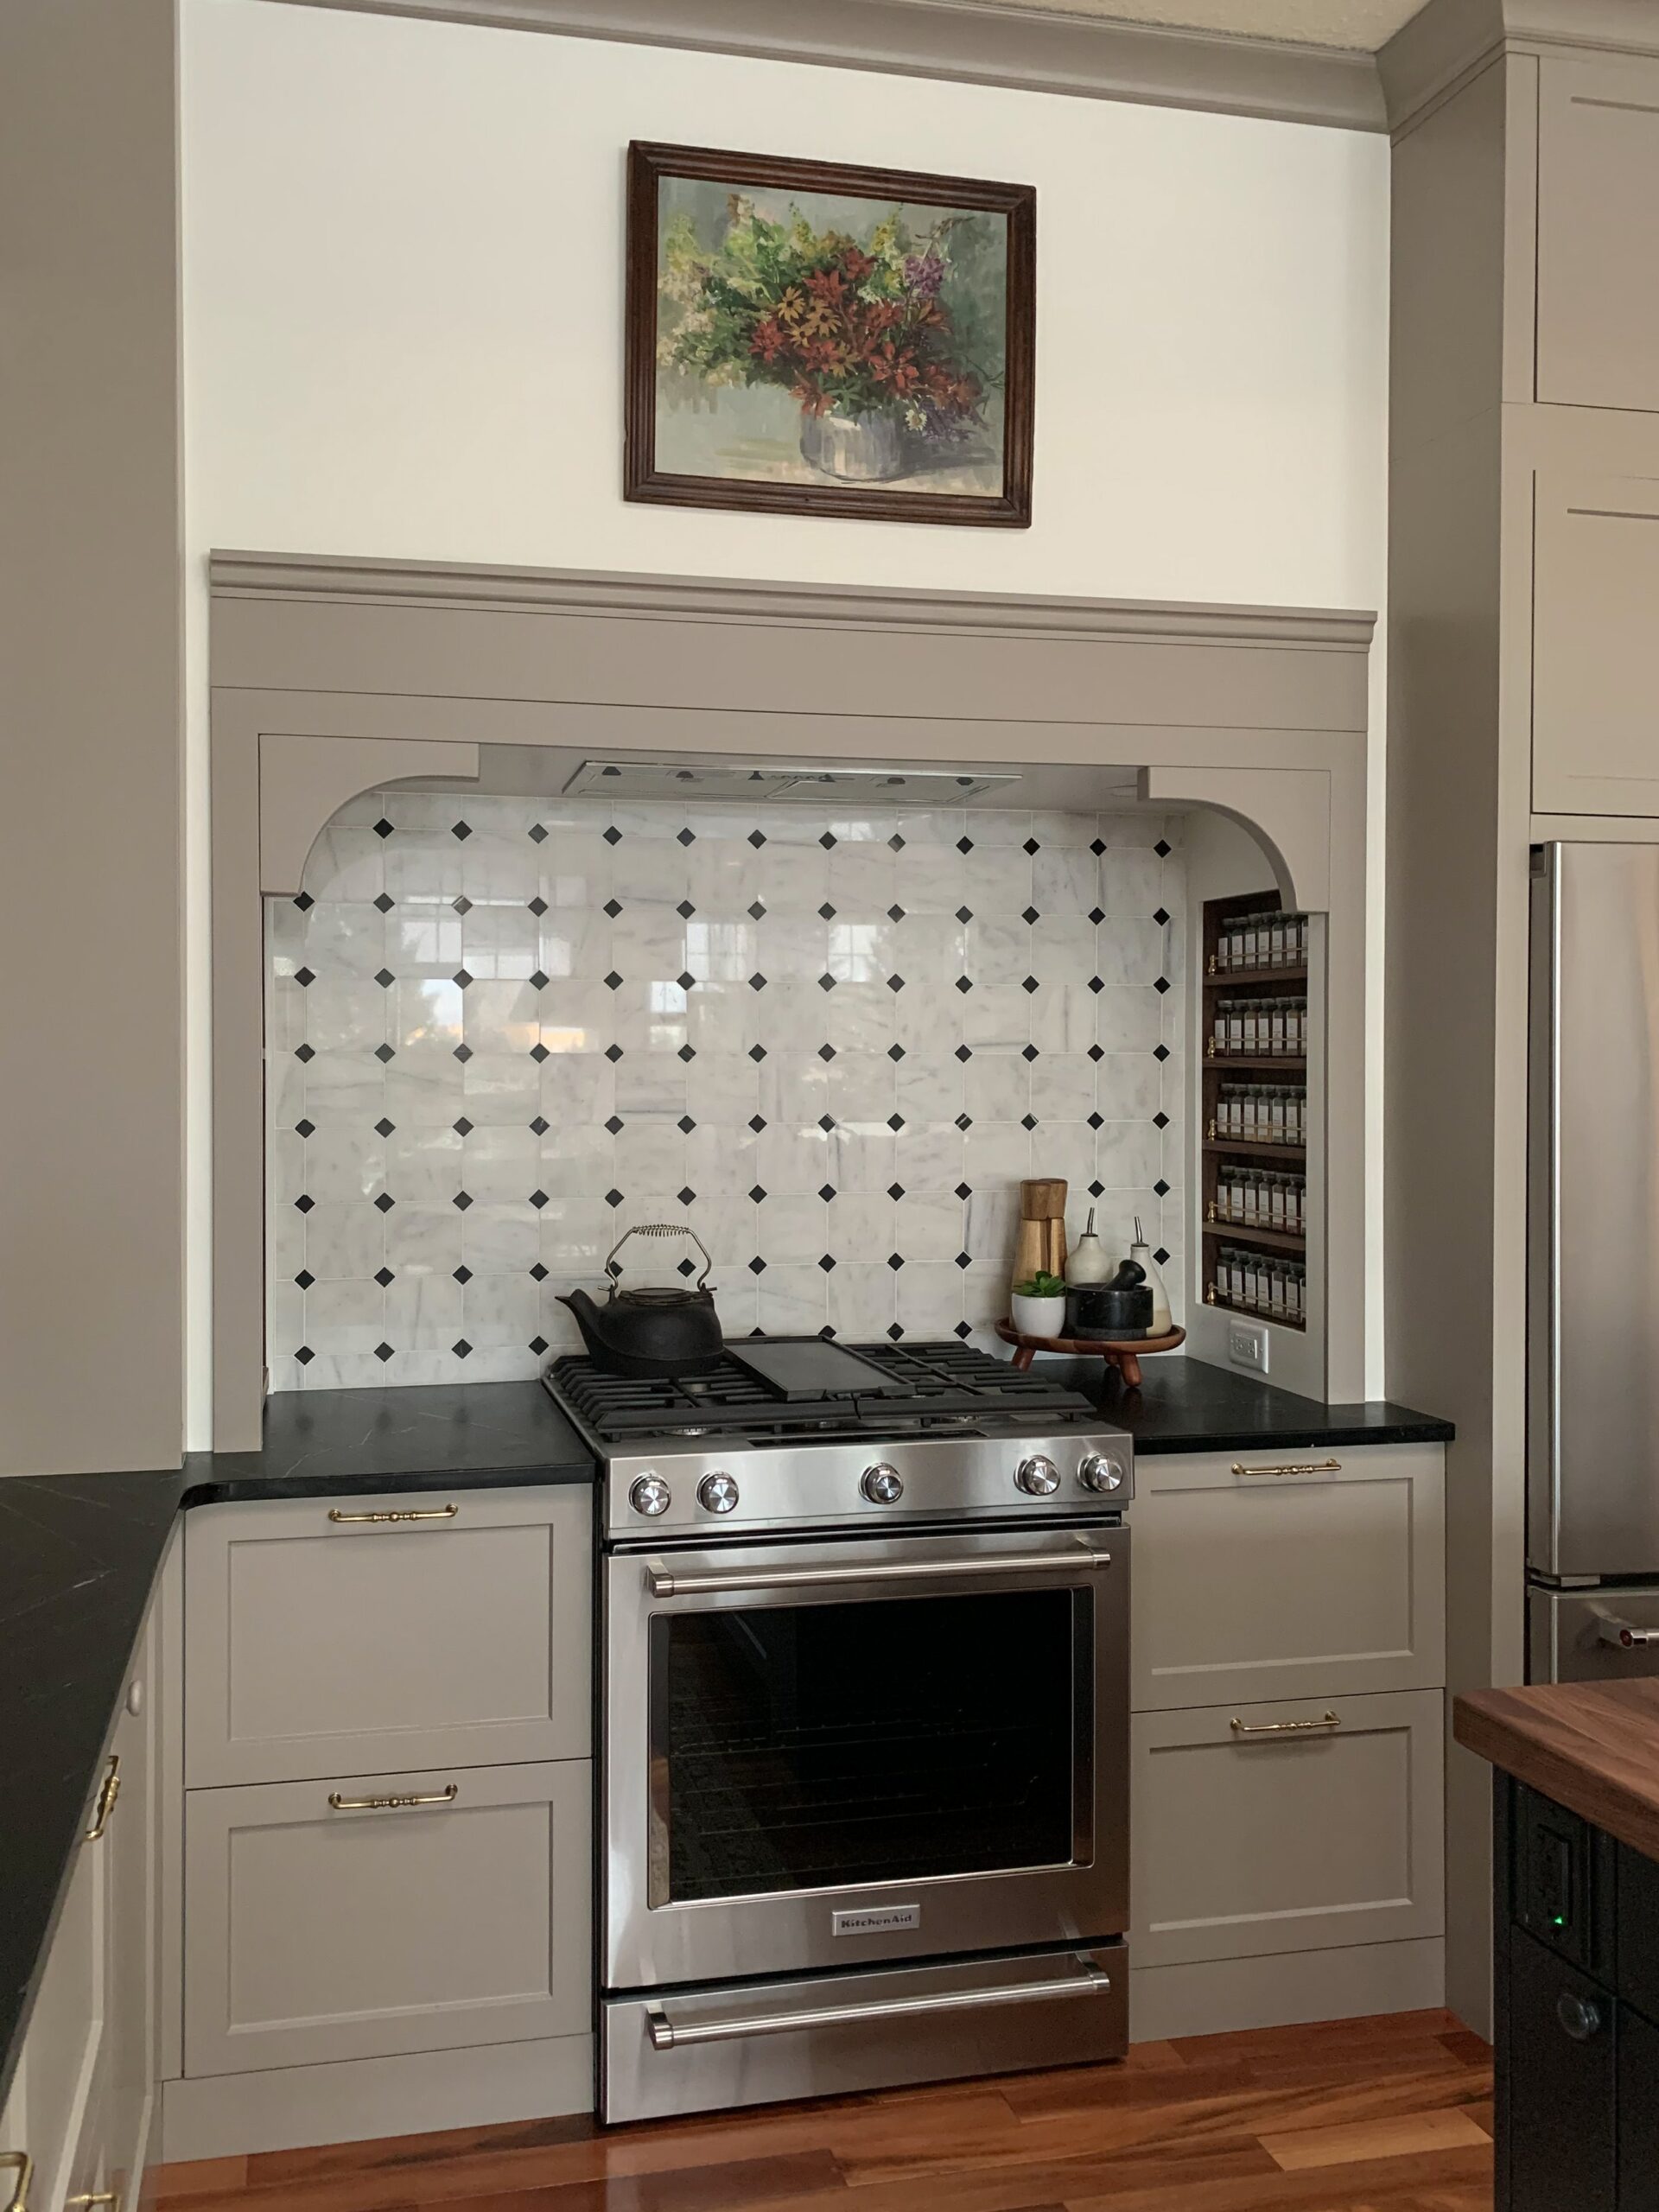
In my kitchen, I used wood corbels that I ordered from Osborne Wood. I loved how they look in there, and I wanted to add that same architectural detail to my mudroom cabinets as a bit of a call-back to other areas of the house. I also added little corner brackets in my recent laundry room makeover, so it’s an element that repeats throughout the house.
When I told my daughter what I was doing she said, “of course you are. You have been adding corbels to everything since I have been alive.” She might be a little dramatic, but I like what I like!
I like having this option in my back pocket for making shelf brackets, large corbels that might cost a pretty penny, and shapes that I might not be able to find easily. It was a quick project that had no additional cost (since I had the materials already) and has a big impact on the final look!
This post may contain affiliate links. That means if you purchase anything from these links I earn a small commission, at no extra cost to you! This helps support my blog, so thank you!
Table of Contents
- One Room Challenge Week 5
- How to make your own DIY Corbels out of MDF
- Coming Next Week
- You might also like:
How to make your own DIY Corbels out of MDF
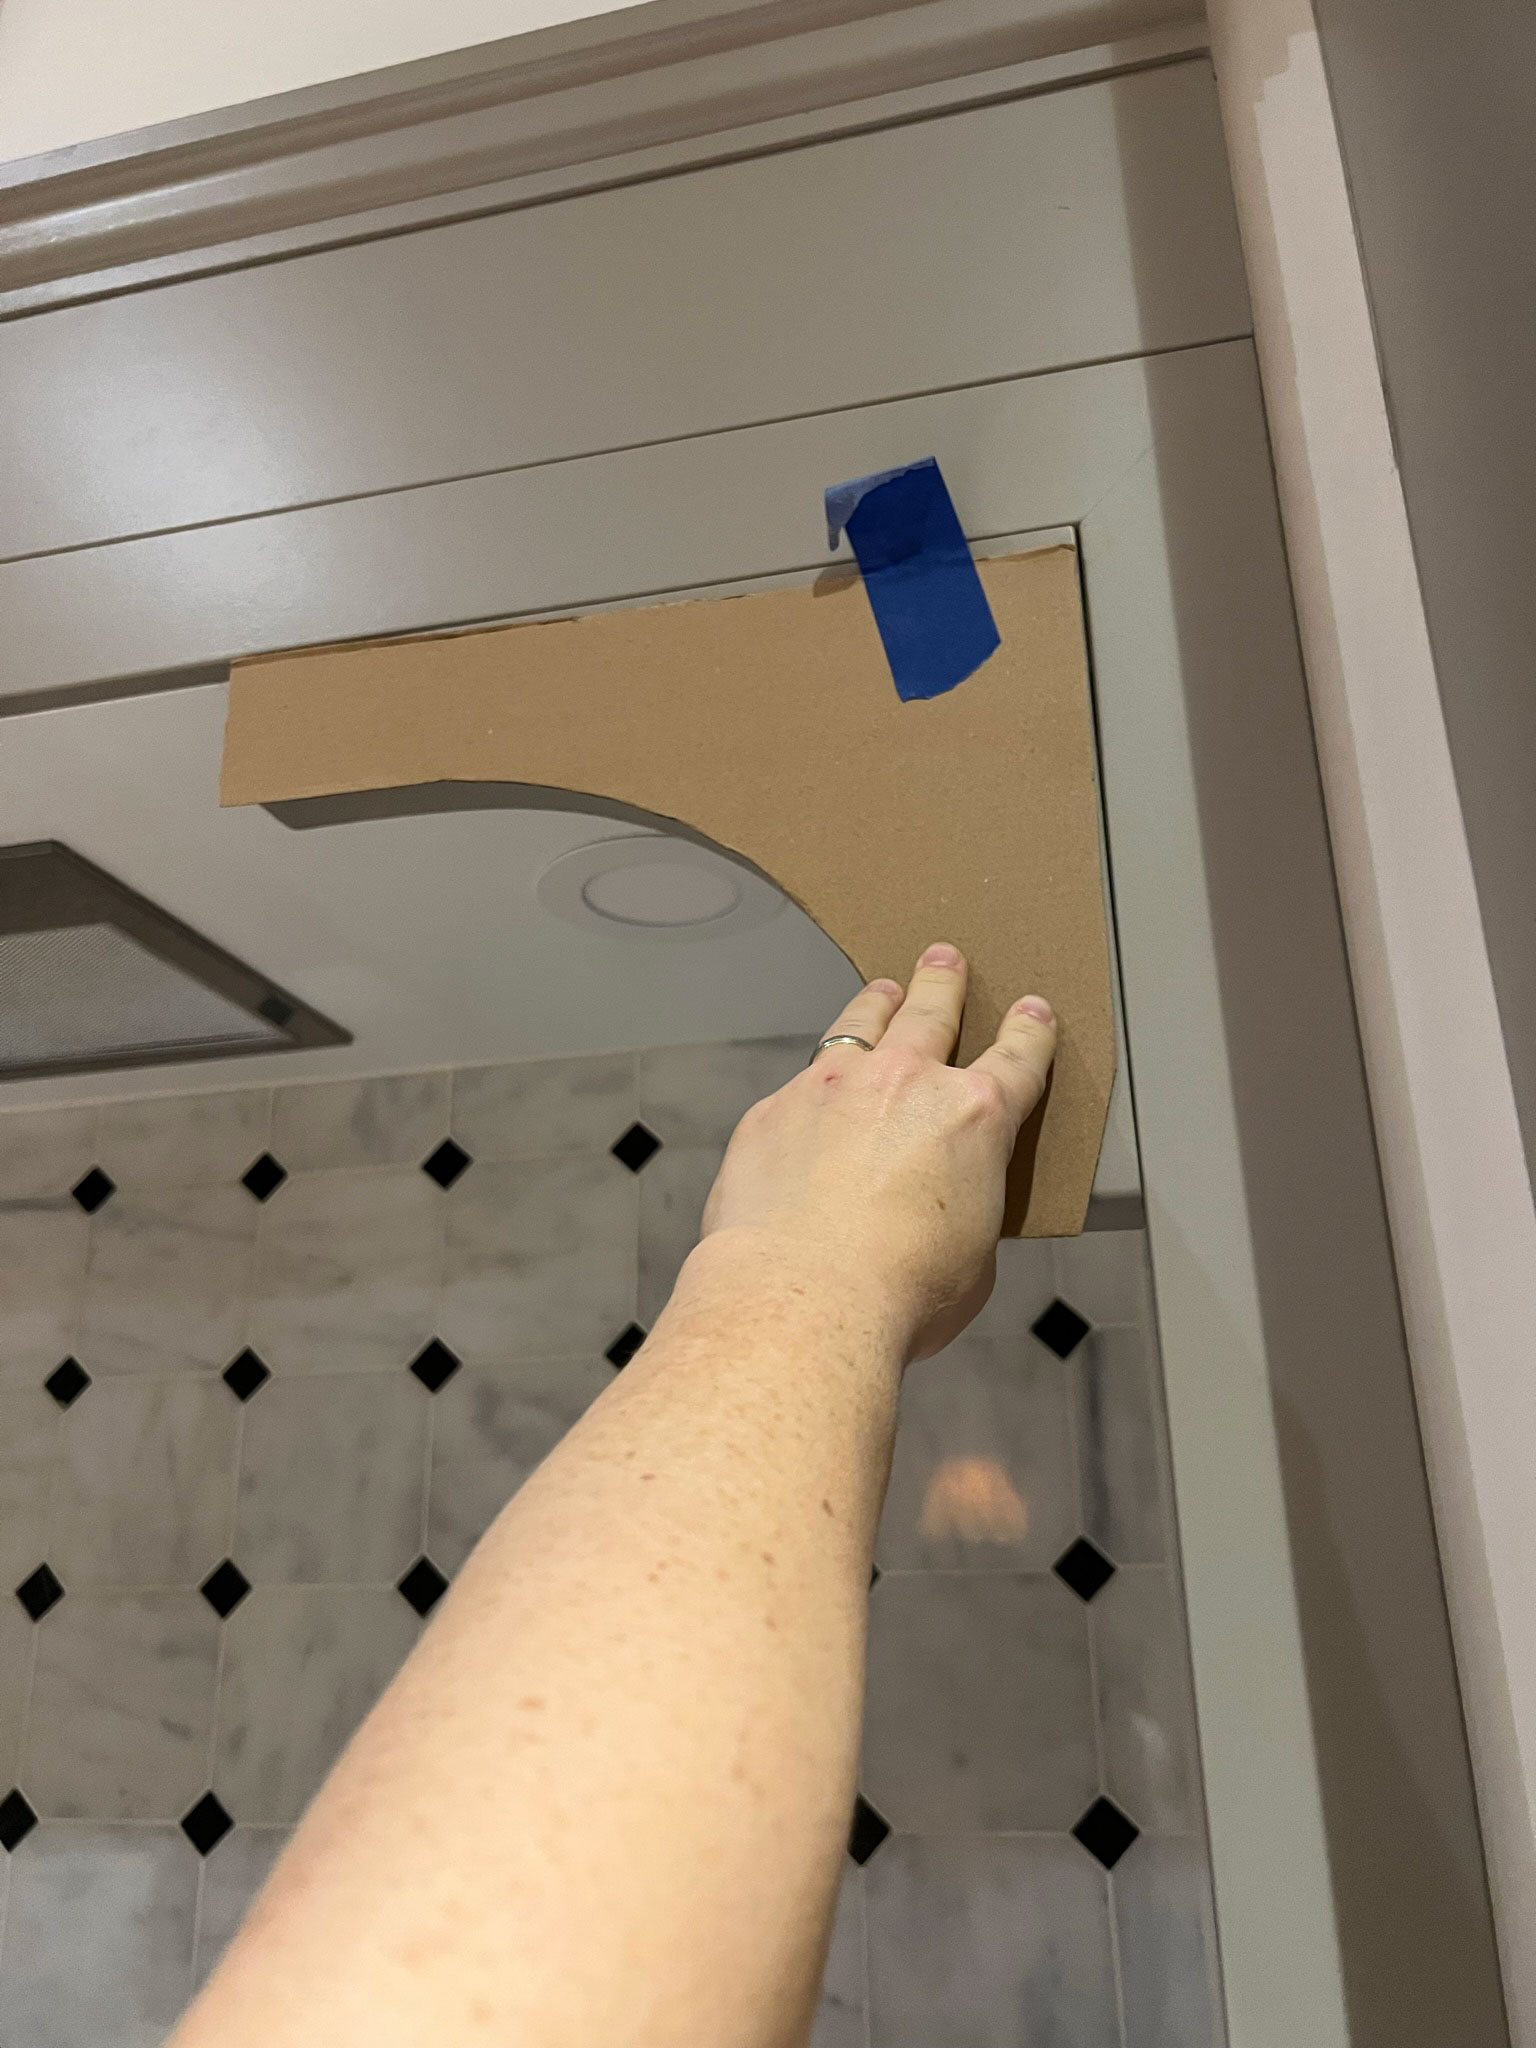
Step 1 – Make a template
Depending on the shape of your corbel, the first step is to cut a template out of cardboard for your decorative corbel. I used my own corbels that I previously installed in the kitchen and traced the outline of them onto cardboard, and cut it out.
If you don’t have one to work off of, you can use something round to trace the curved part and something straight to draw any straight parts. Basically, just come up with a shape that you like. Mine was a pretty simple shape but the possibilities are endless as far as the shape goes.
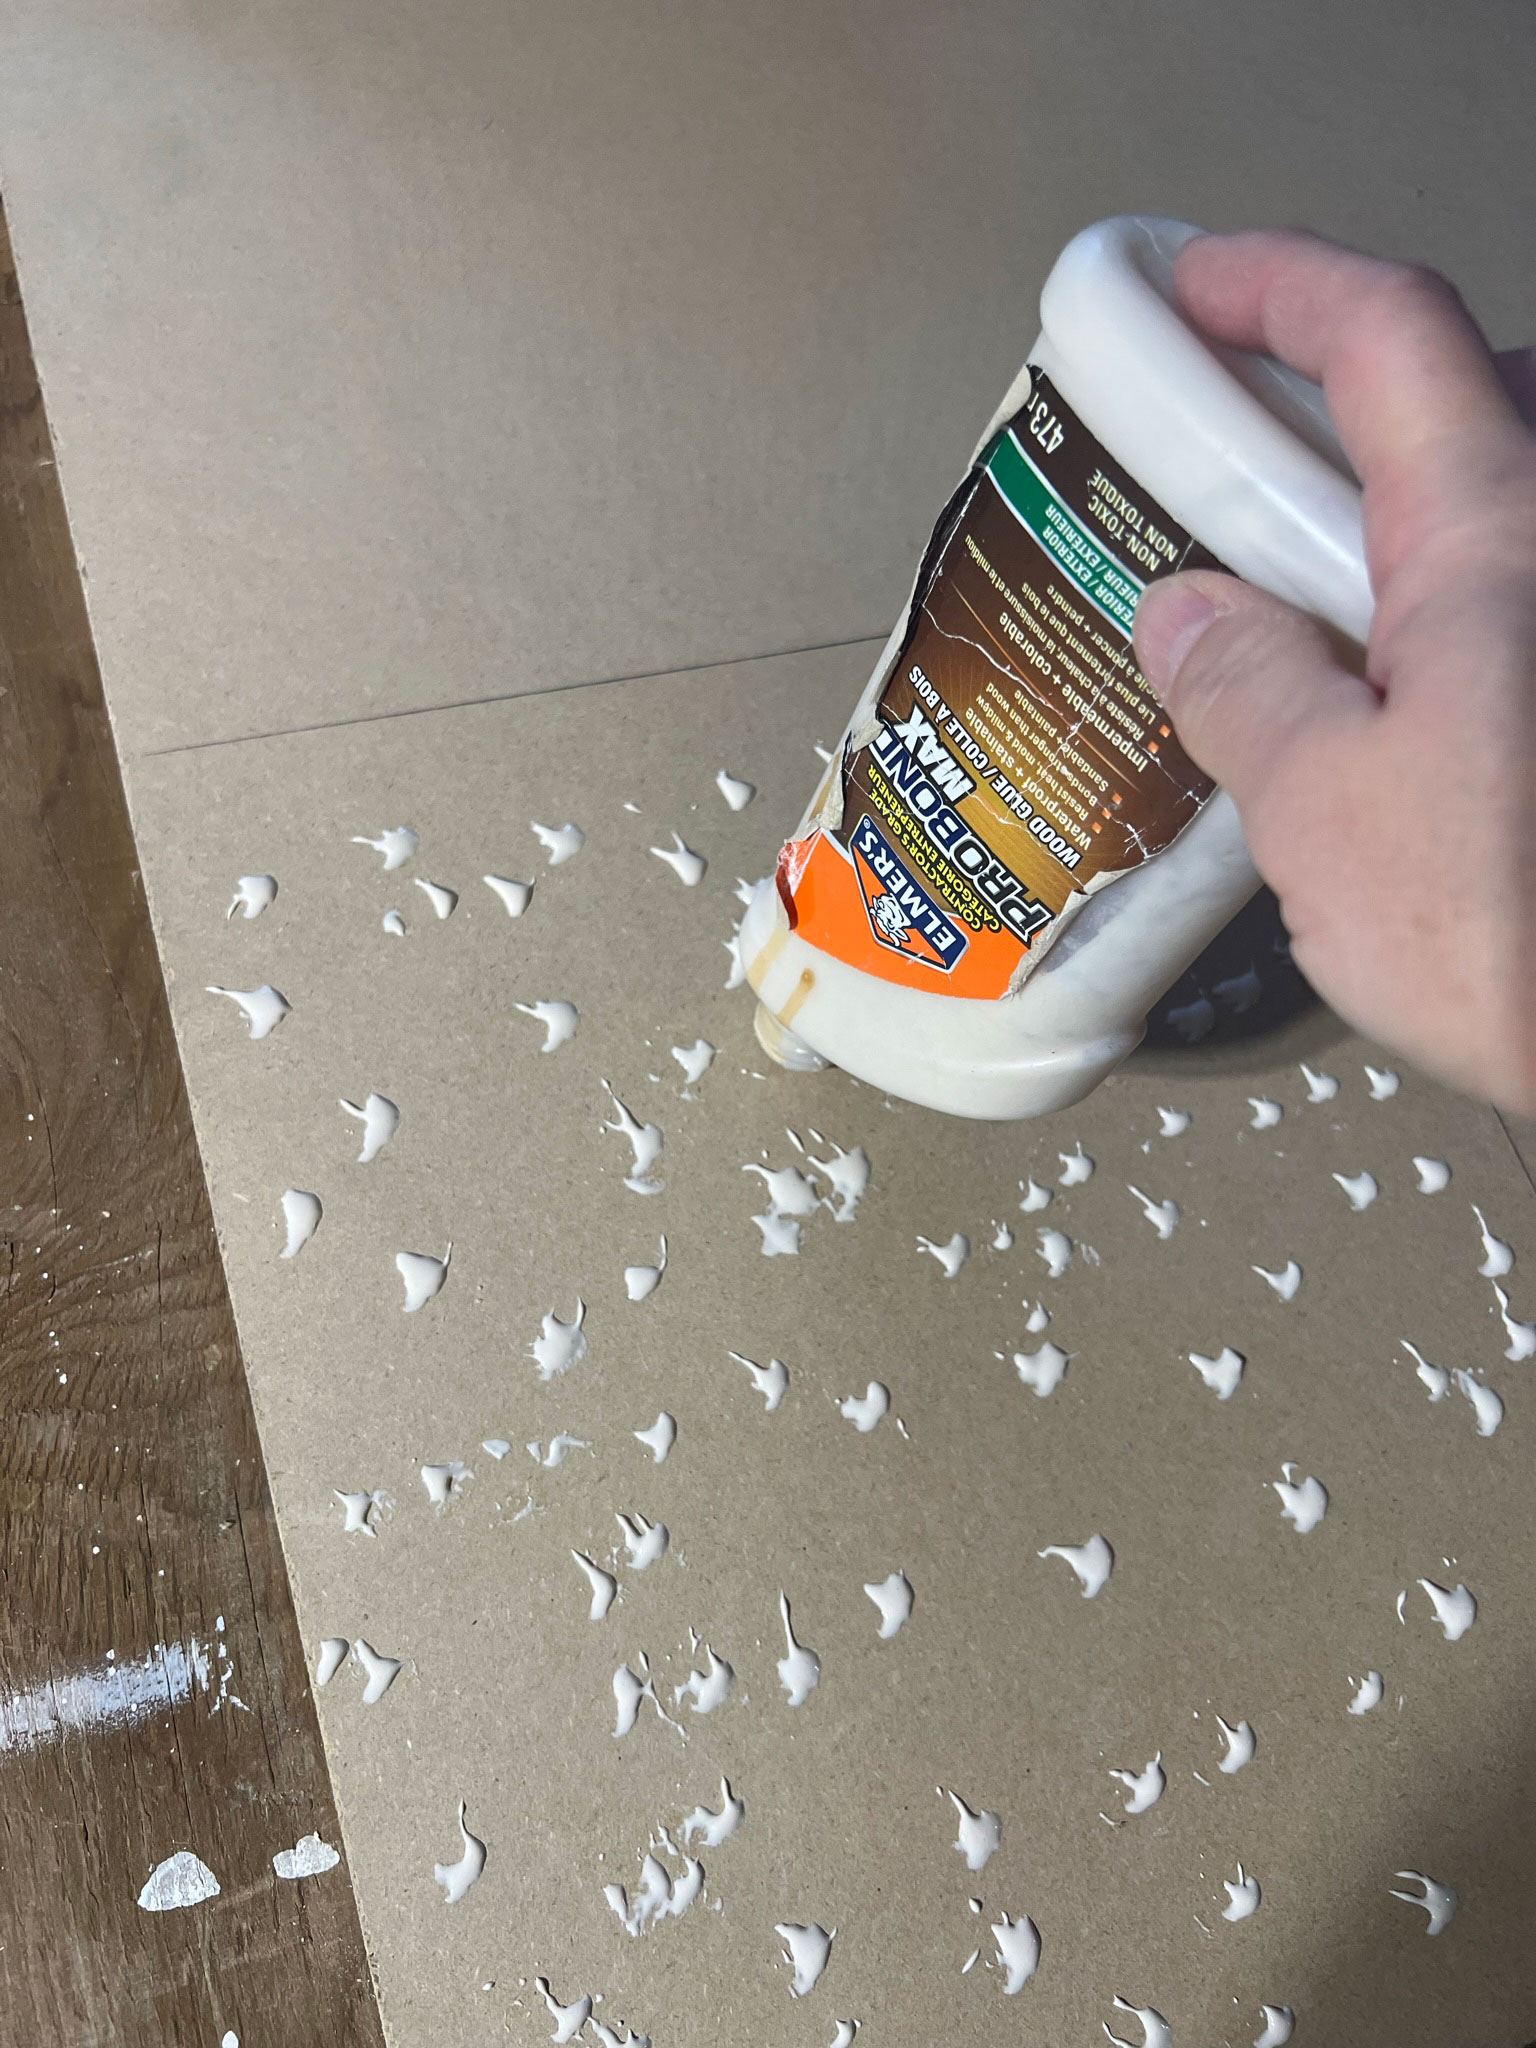
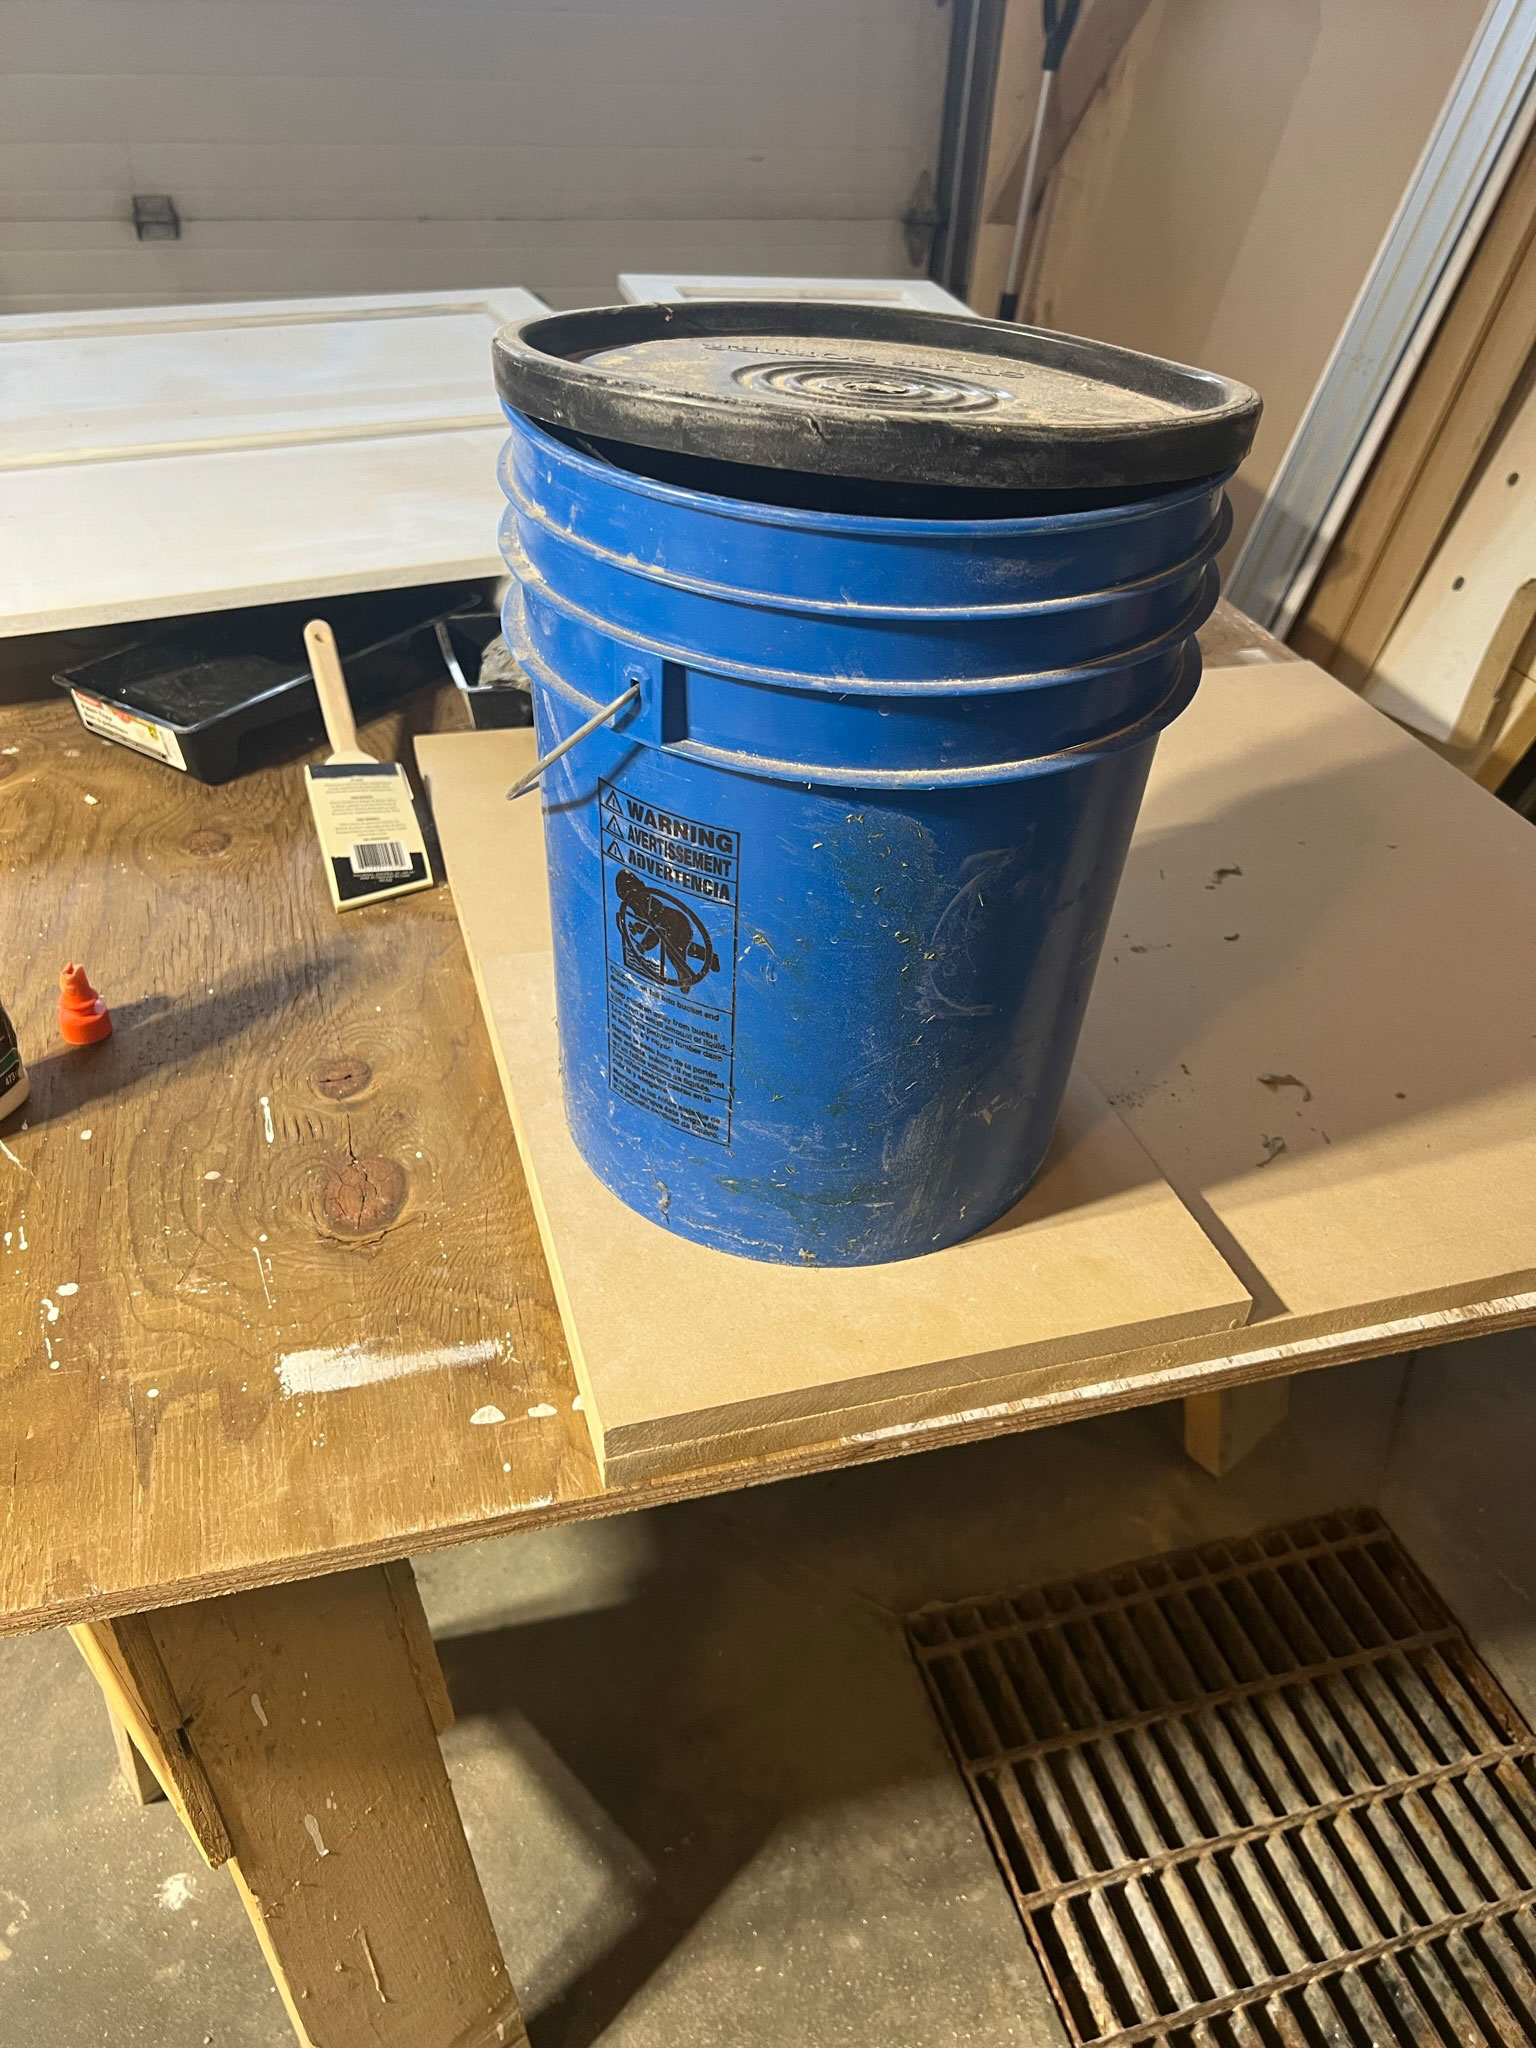
Step 2 – Glue MDF together
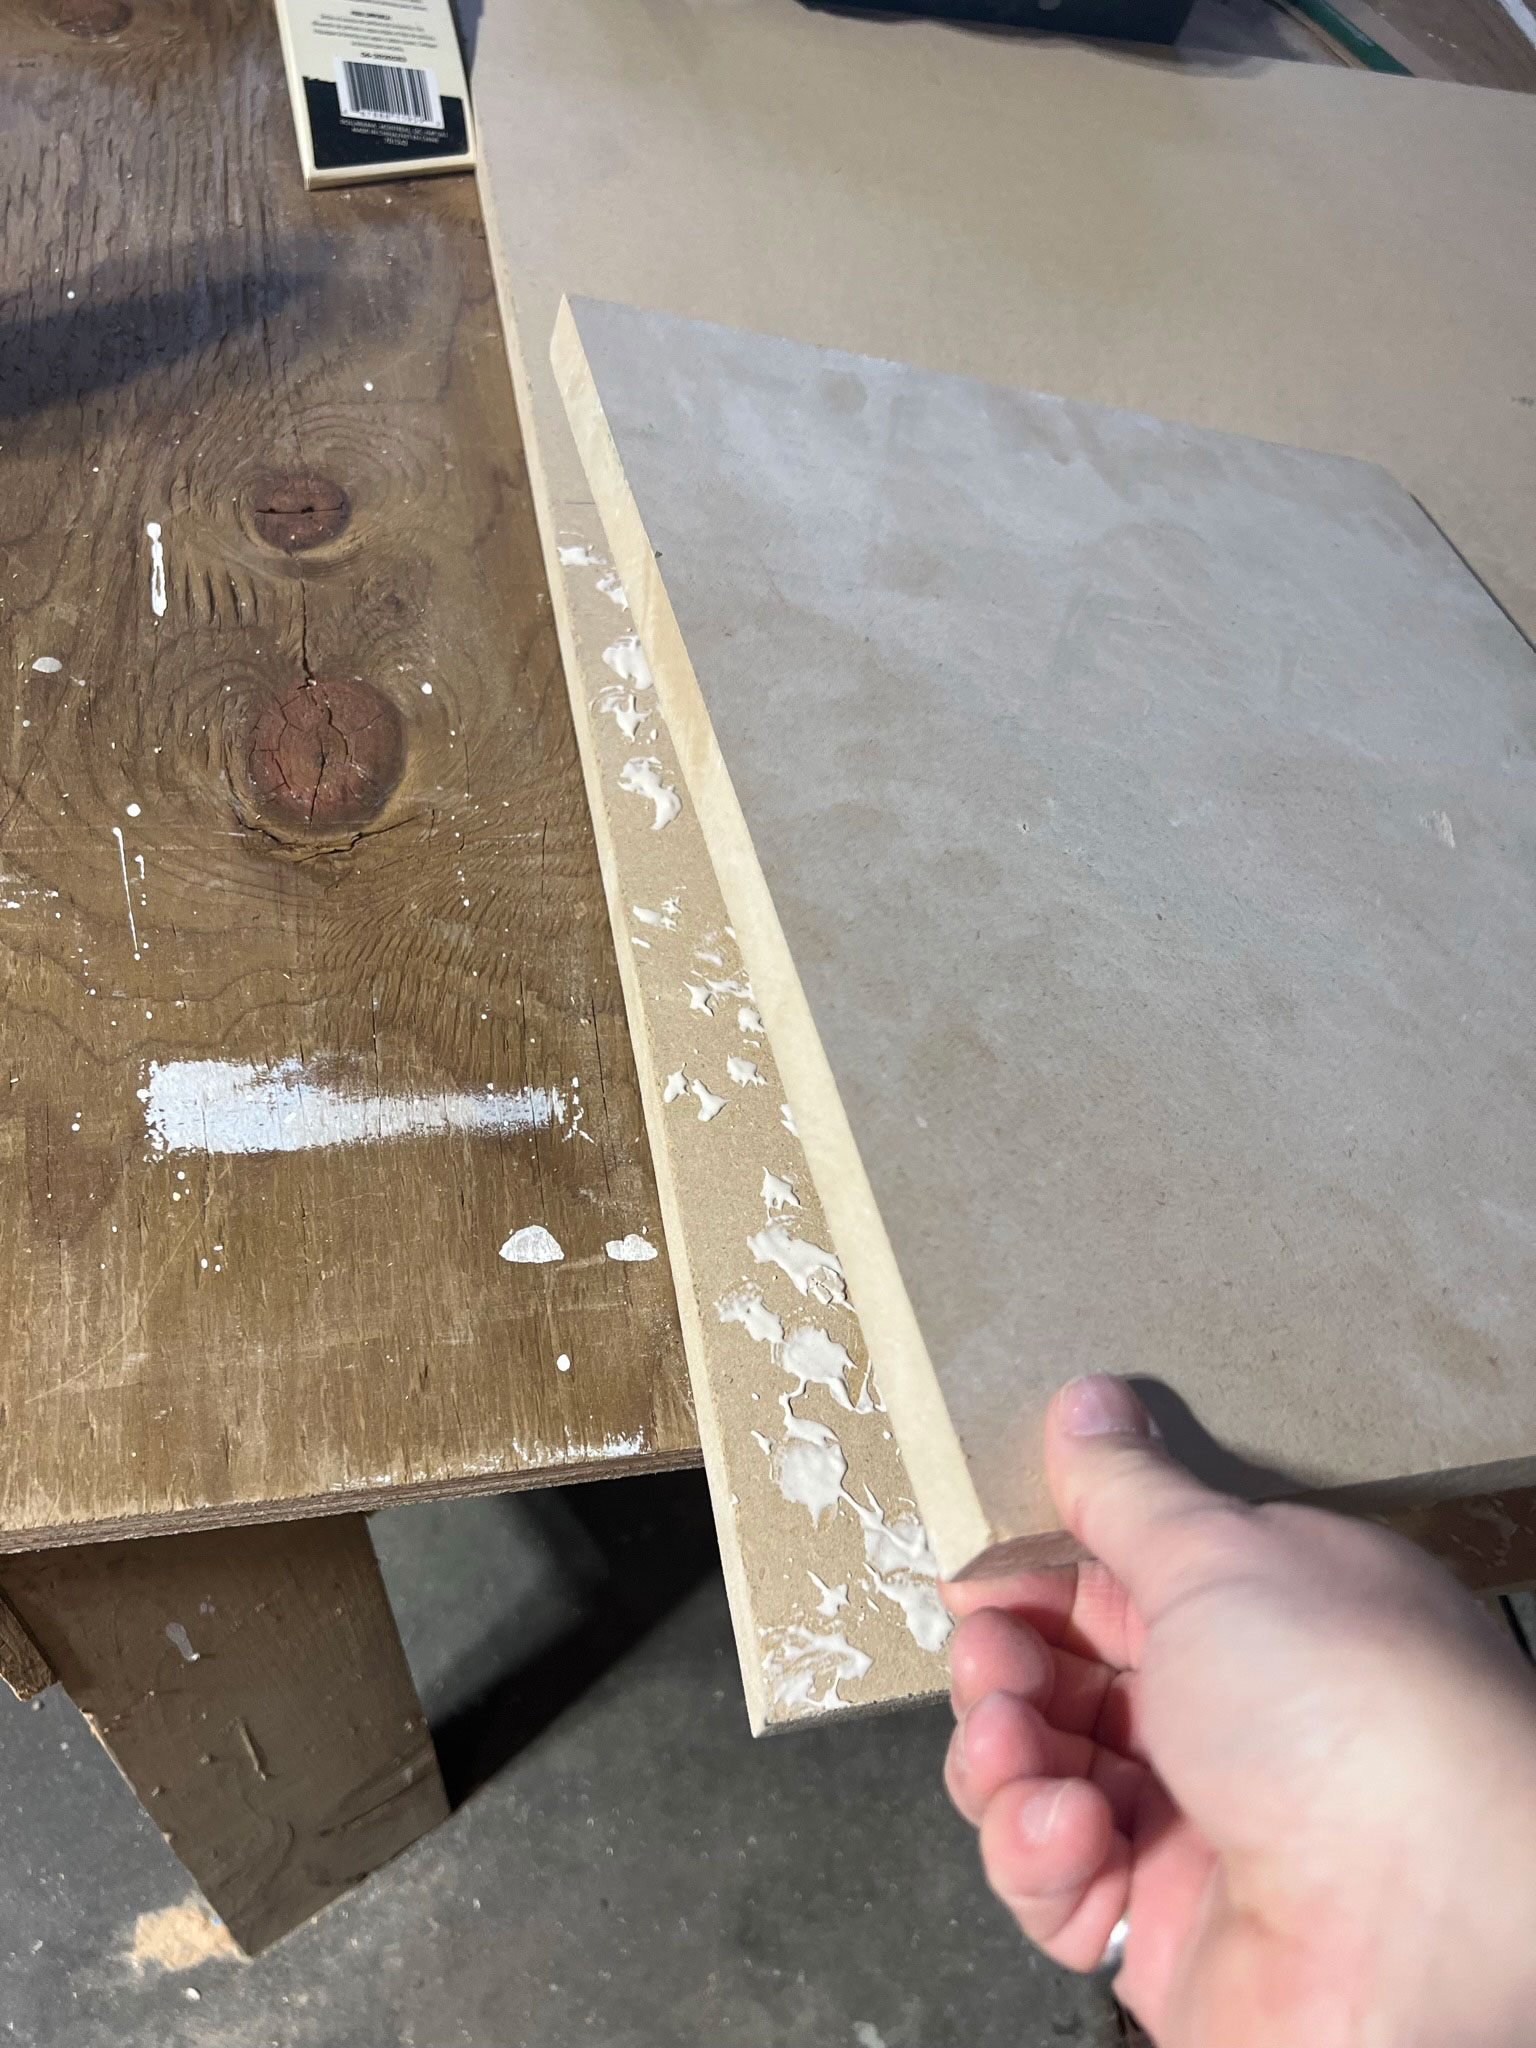
I wanted my corbels to be about 1 – 1/2″ thick and I had some 3/4″ MDF in my scrap pile, so I decided to glue two pieces together to gain the additional thickness. Once they are glued, they really do look and act like a solid, thick piece of MDF.
If you are using scrap wood like I am and you want to use something other than MDF, I think it would also work fine, but it would be more difficult to sand smooth (MDF sands really nicely so it is a great material for this project).
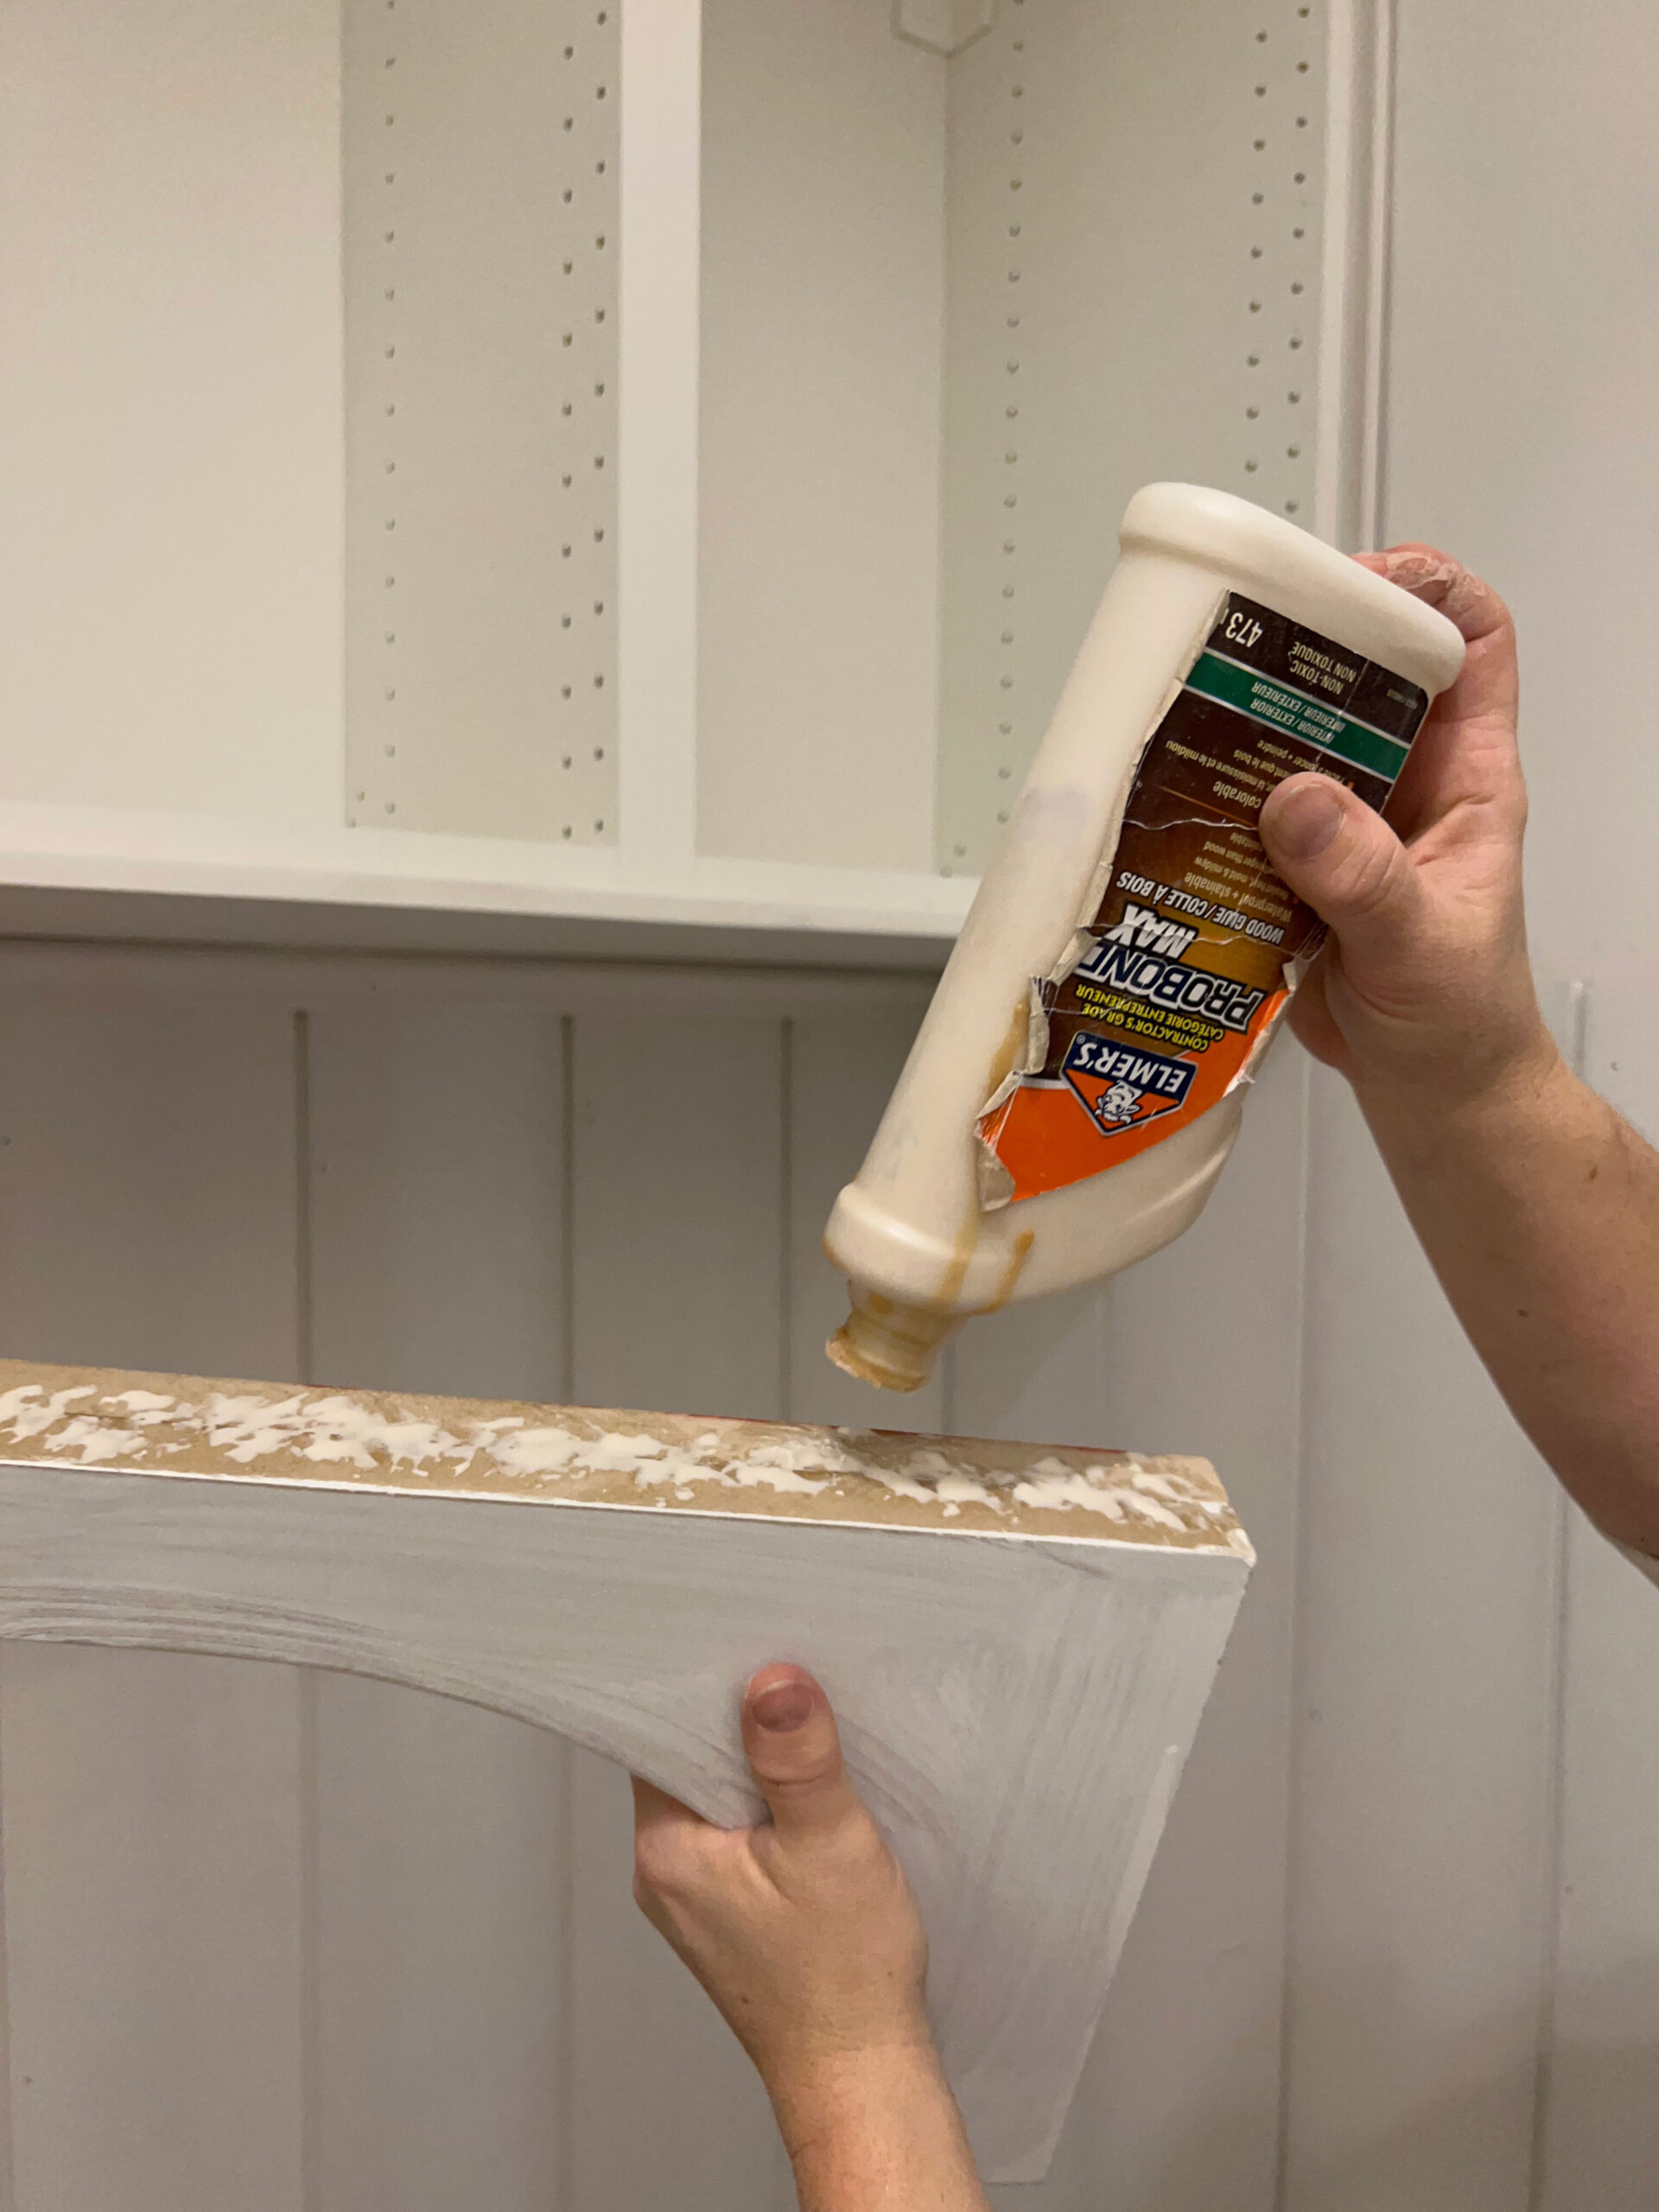
I added a generous amount of wood glue to one board and laid the other board on top. I added something heavy to the top so there was good contact while the glue set up between the two pieces of wood.
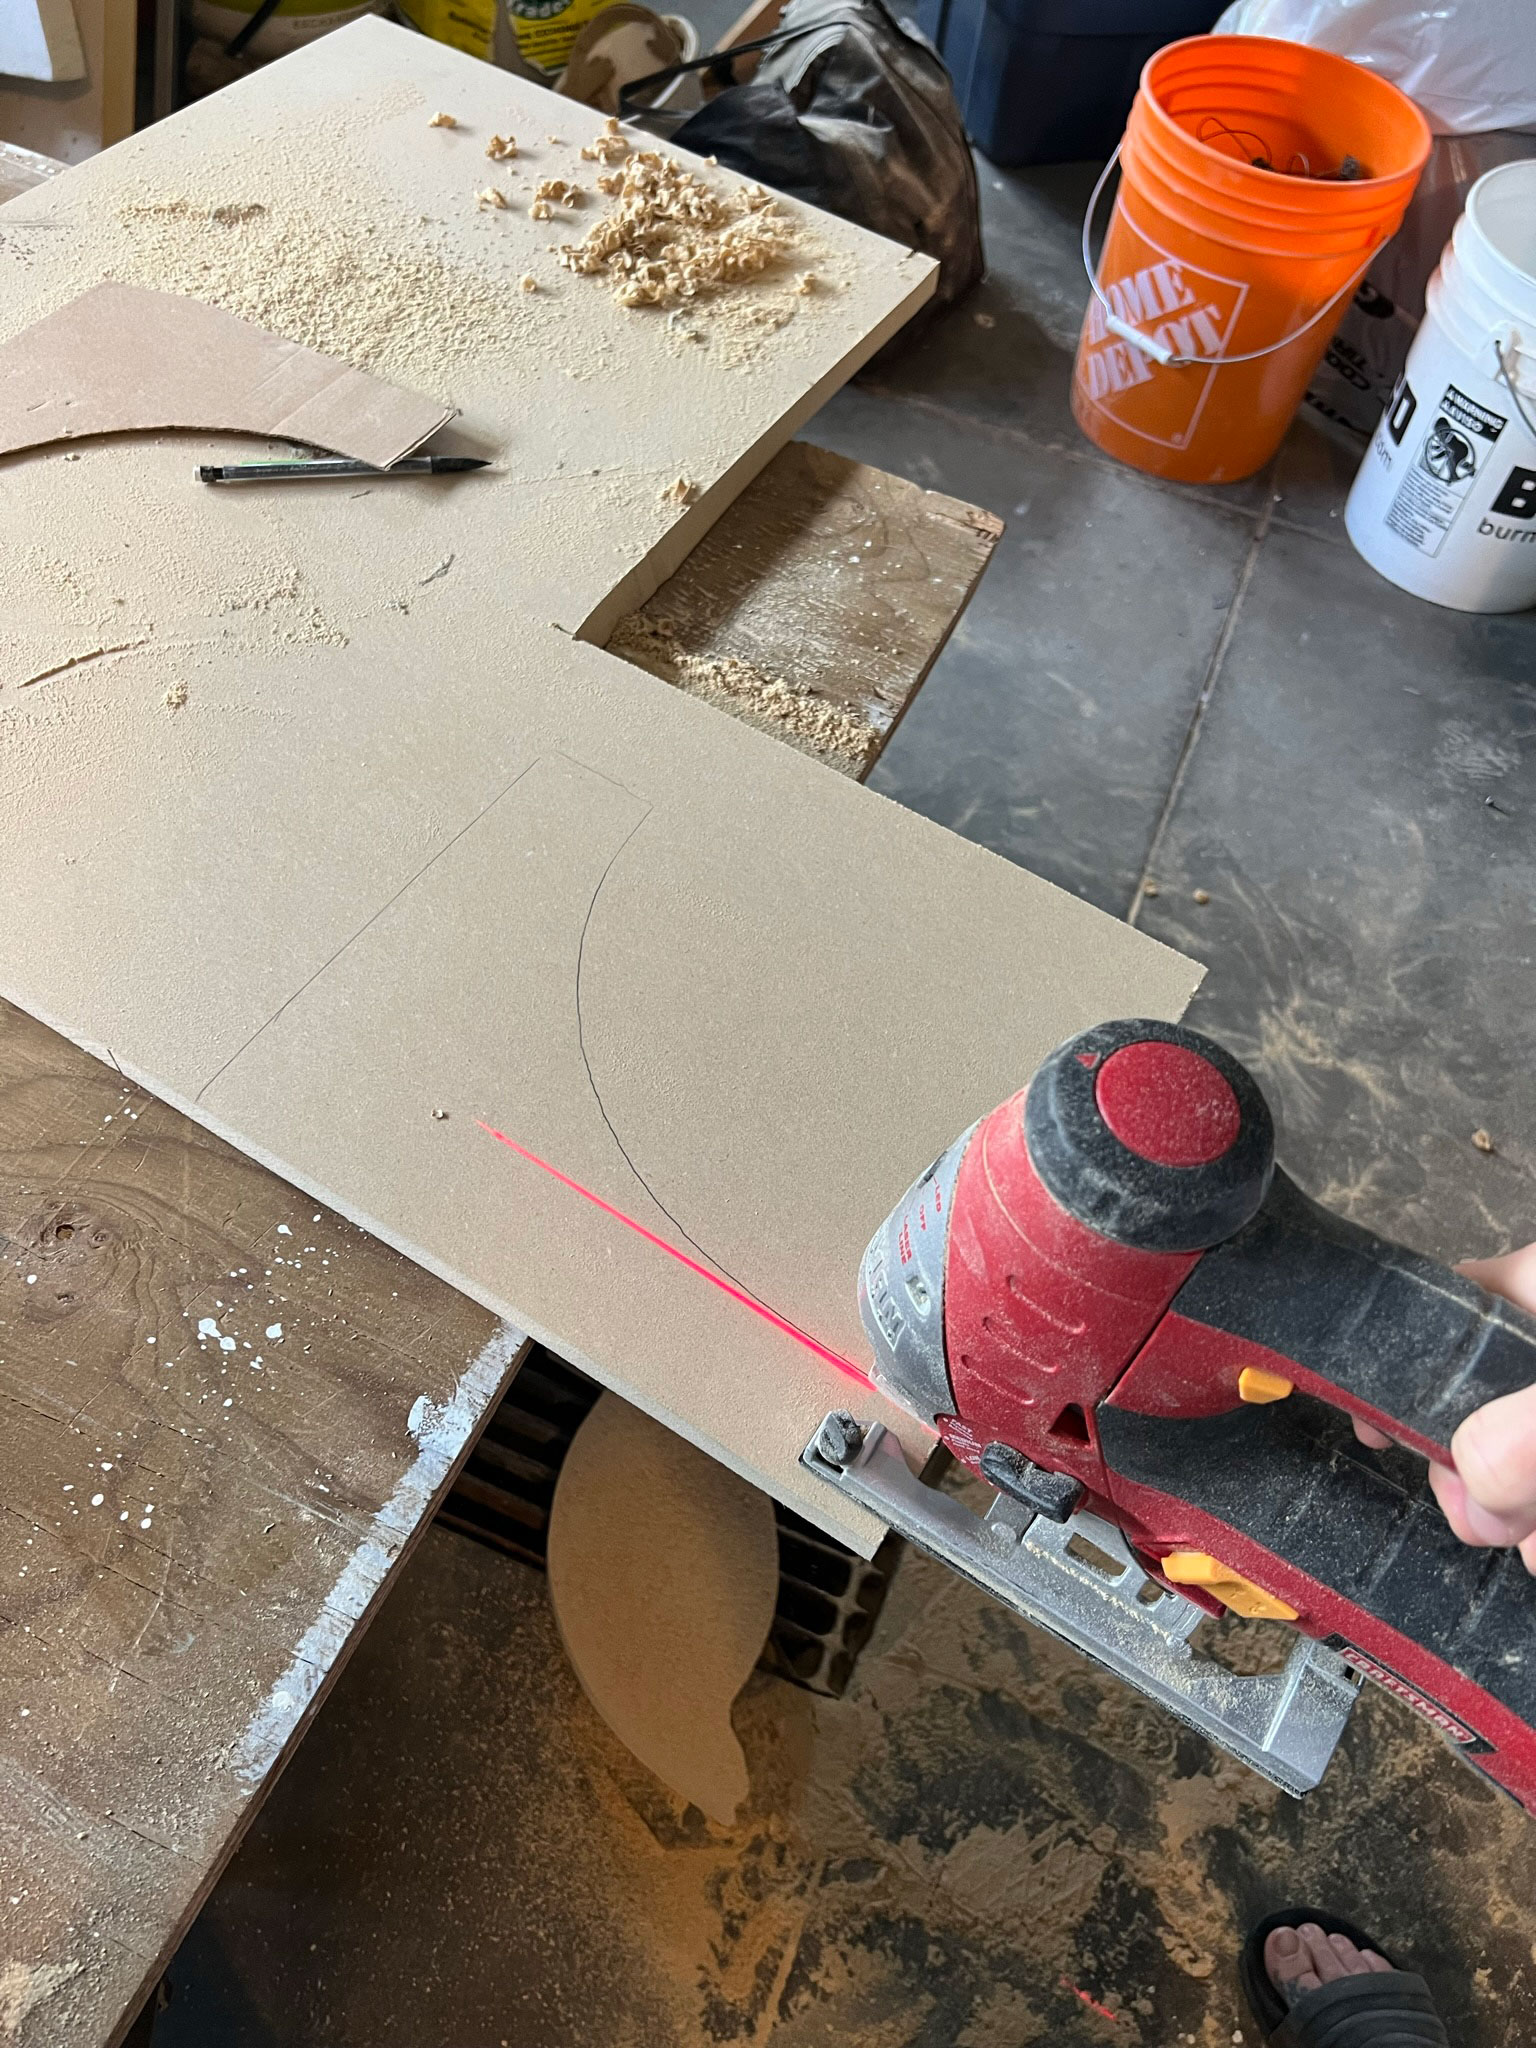
Step 3 – Trace your pattern and Cut
After the glue has set up, trace the pattern of the cardboard onto the top piece.

Clamp the piece of wood to a work table and use a jigsaw to cut out the curve. Cutting such thick wood with a jigsaw is slow going! Just take your time, go slow, and make the curve as smooth as you can.
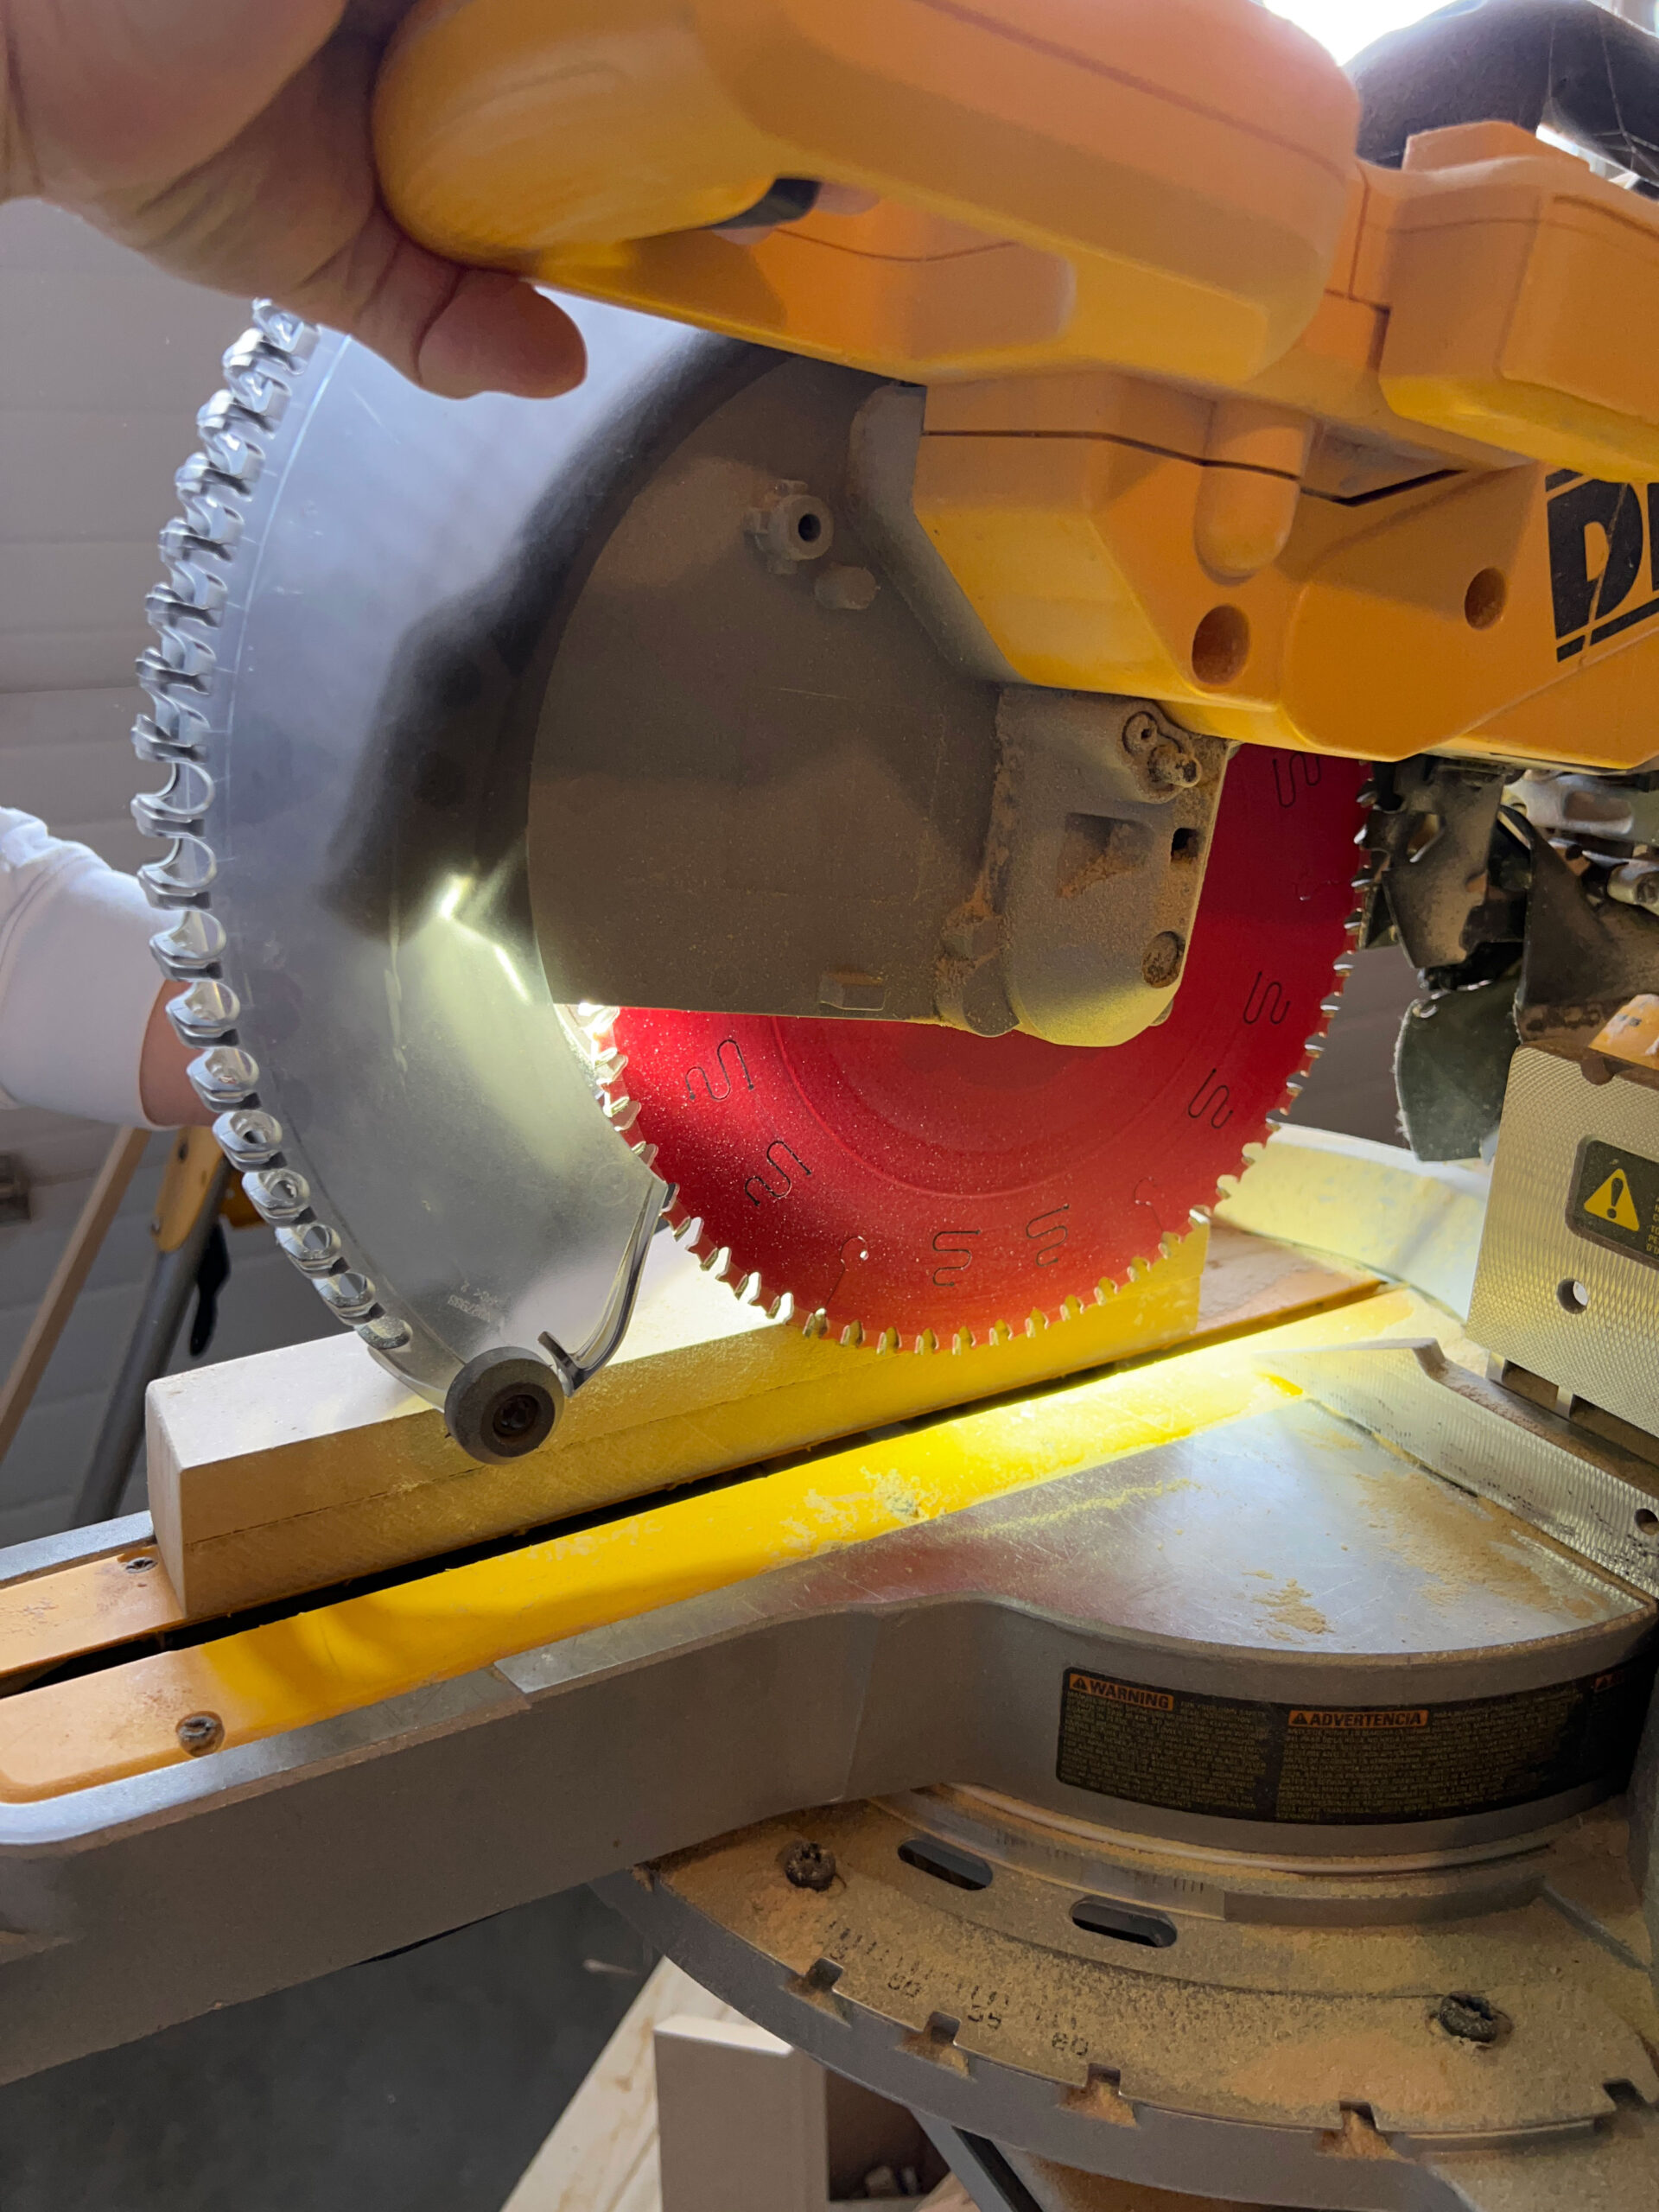
Step 4 – Cut the Straight Parts
Once the curves were cut with a jigsaw, I roughly cut each corbel out of the piece of wood, not cutting along the lines for the straight part but making it a little bigger. This was so I could make the corbel manageable in size so I could do the straight cut on the mitre saw. I cut the back parts of each corbel on the mitre saw so that they would not only be straight and the two MDF pieces perfectly even with each other, but also so the corner was a perfect 90 degrees.
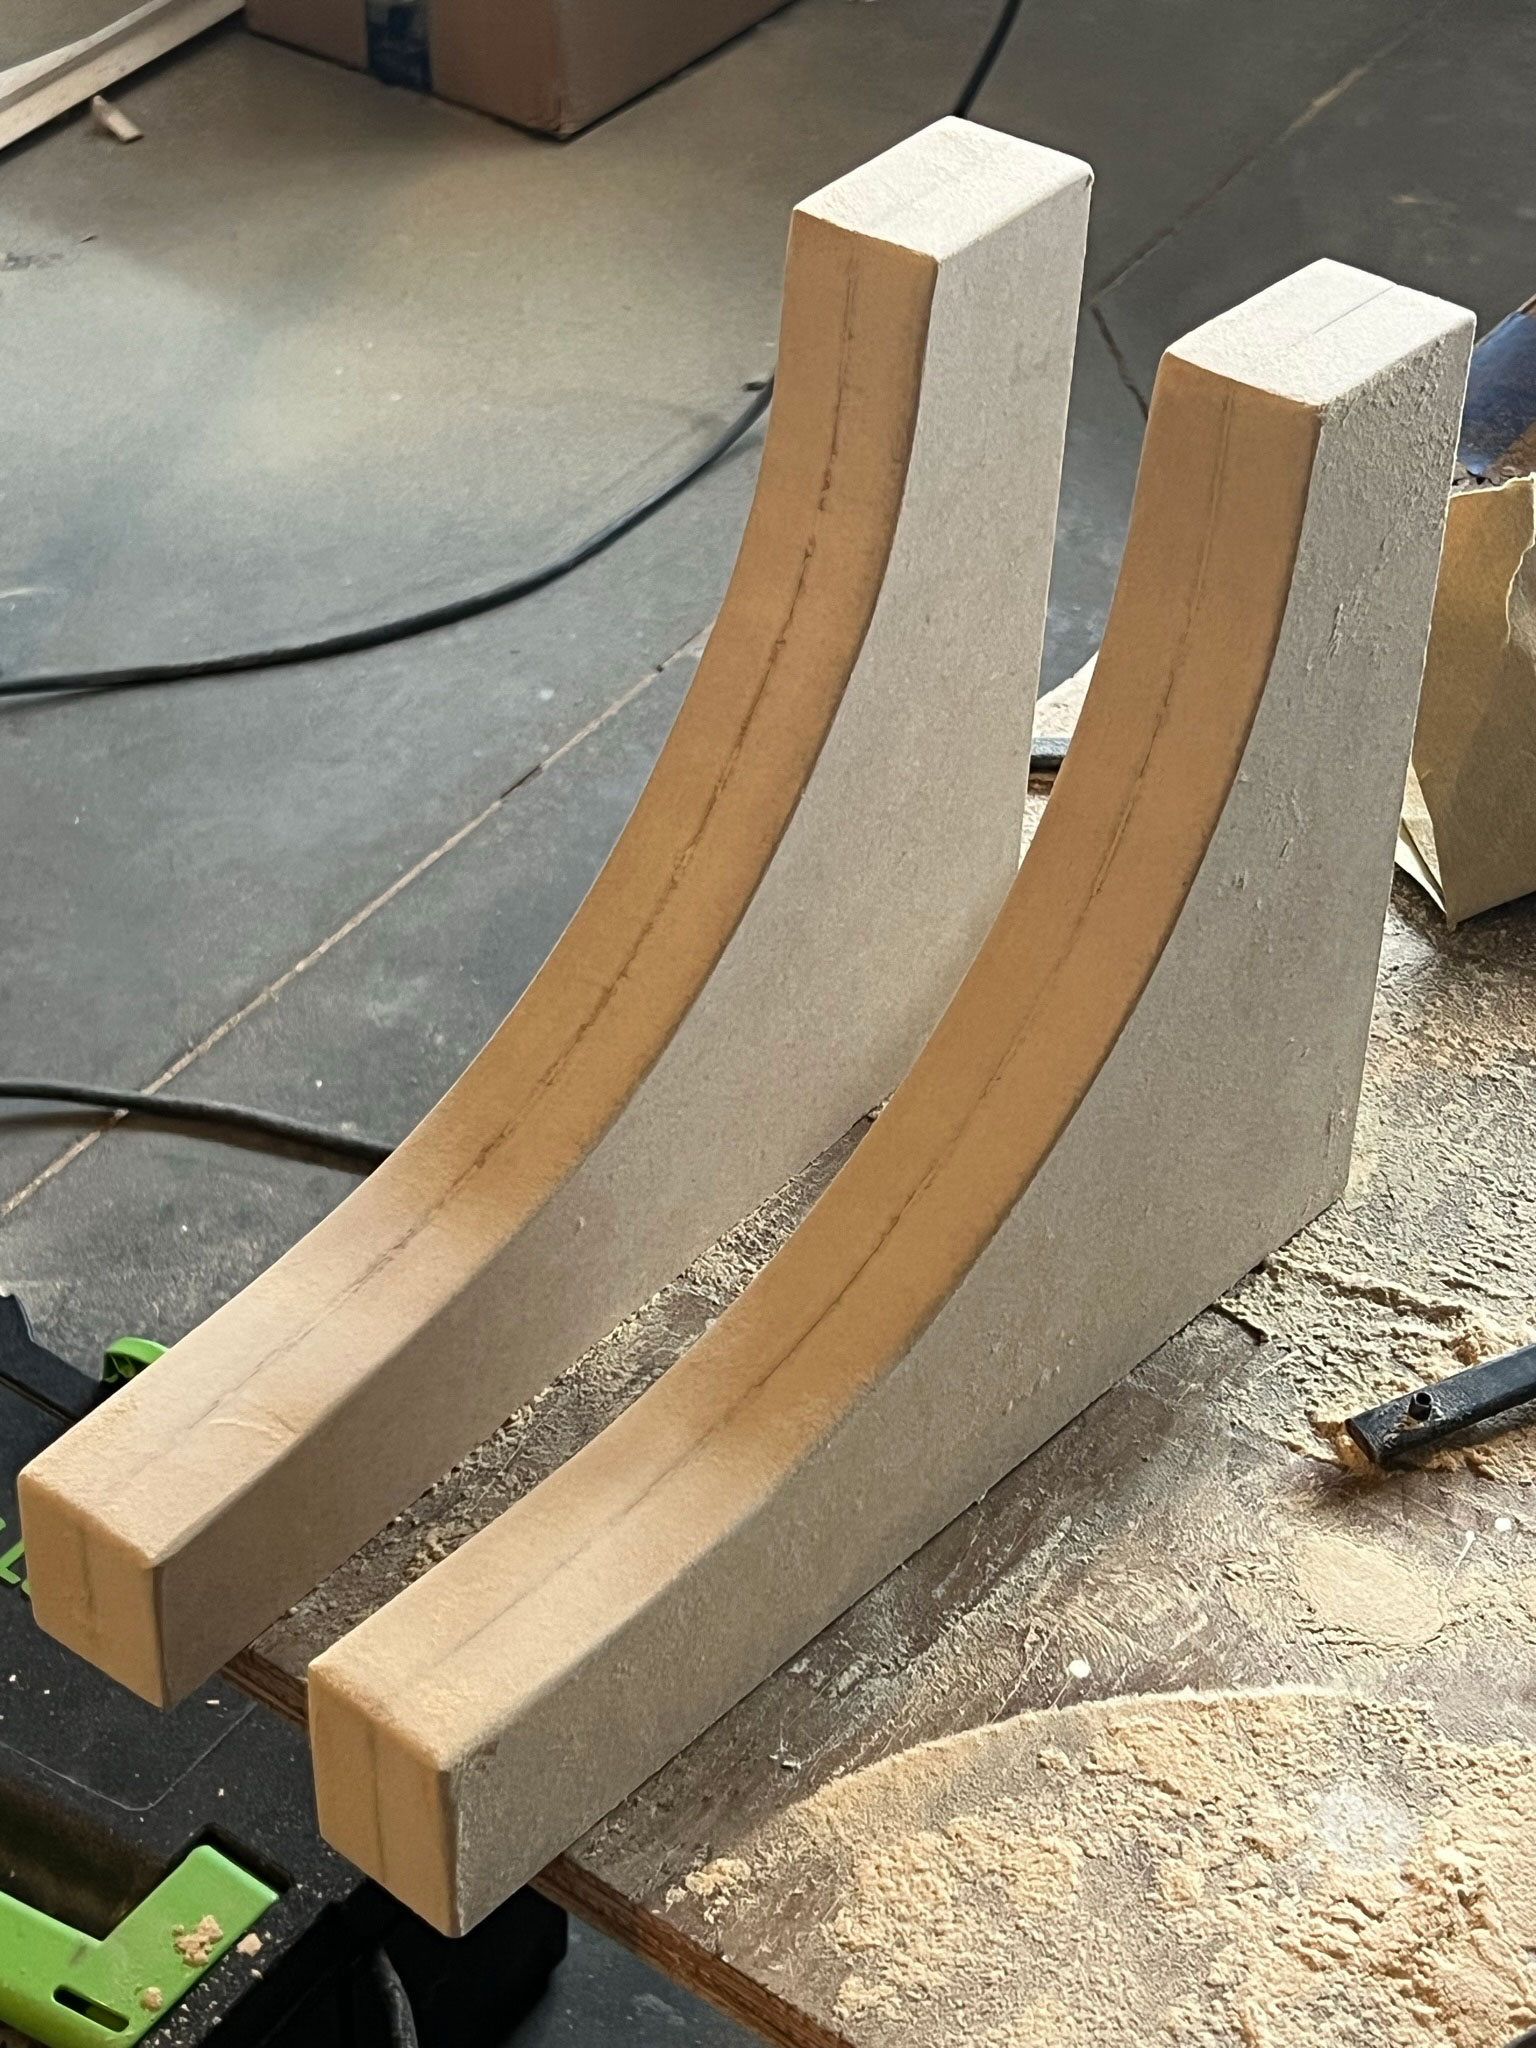
Step 5 – Sand
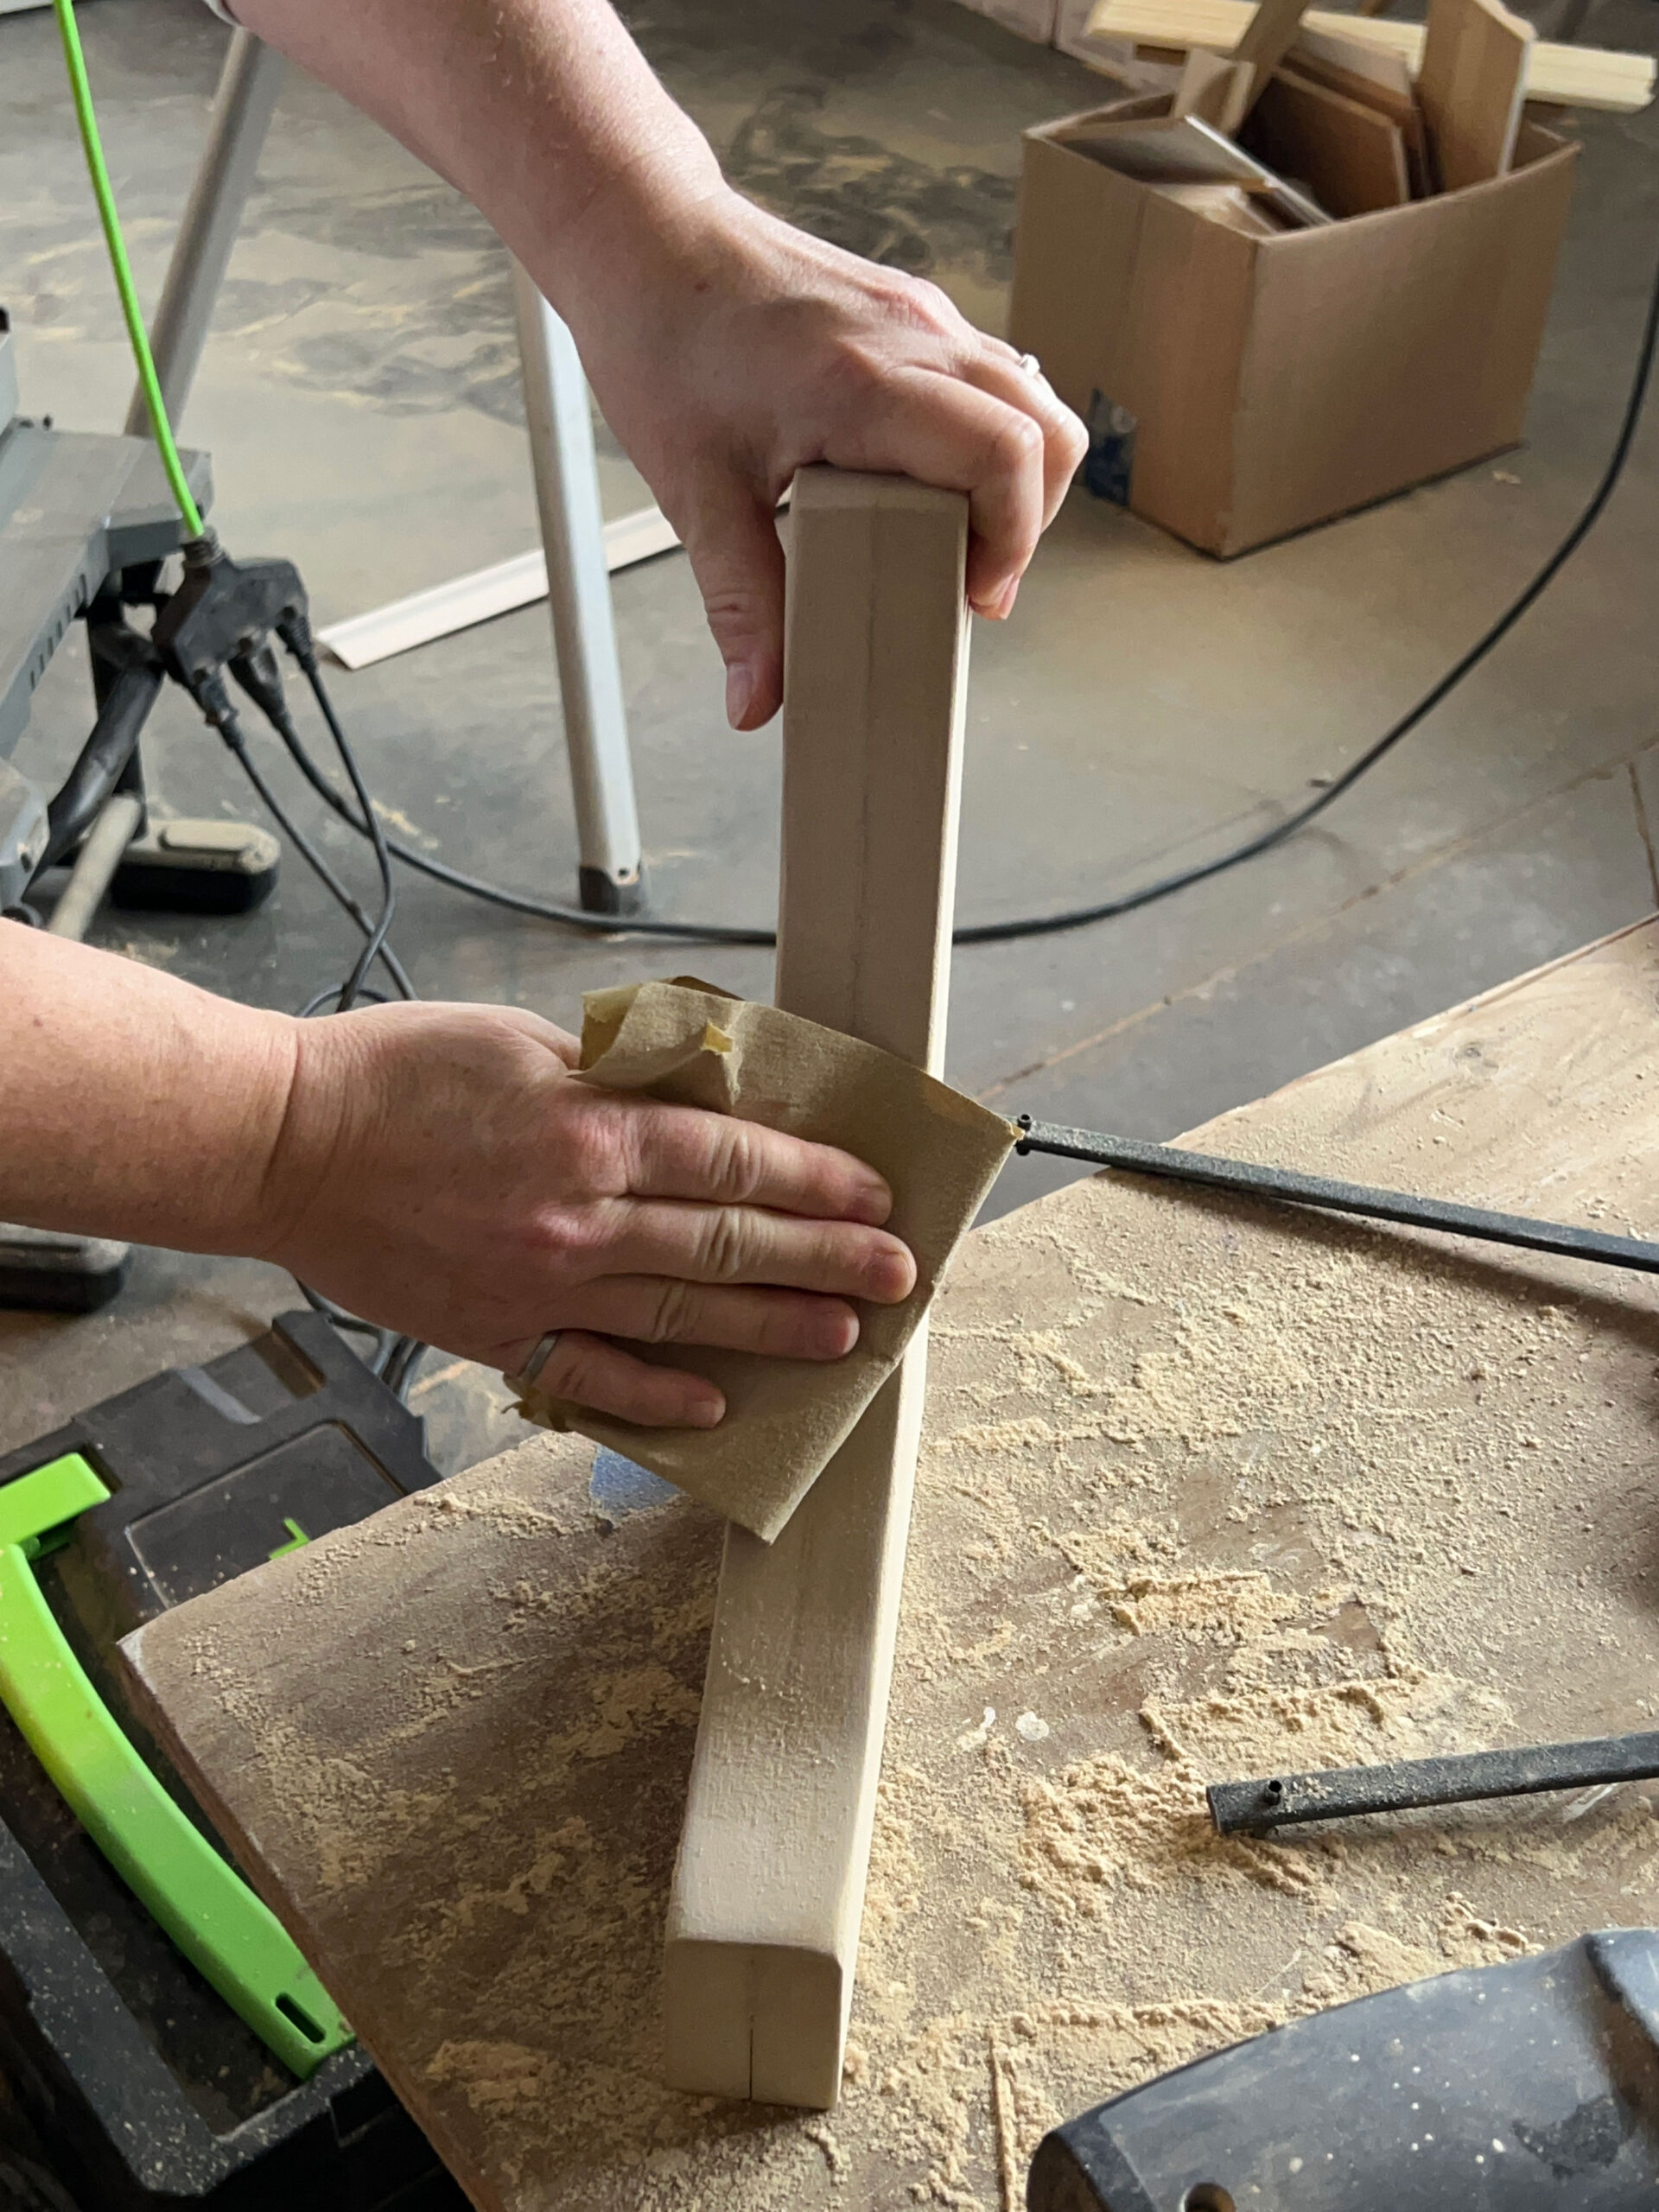
Your curved cut is not likely to be perfect so spend some time with the sander smoothing the curved parts. I started by clamping my two corbels together to get them relatively even with each other, and then I hand-sanded the scrolling pieces so they would be smooth.
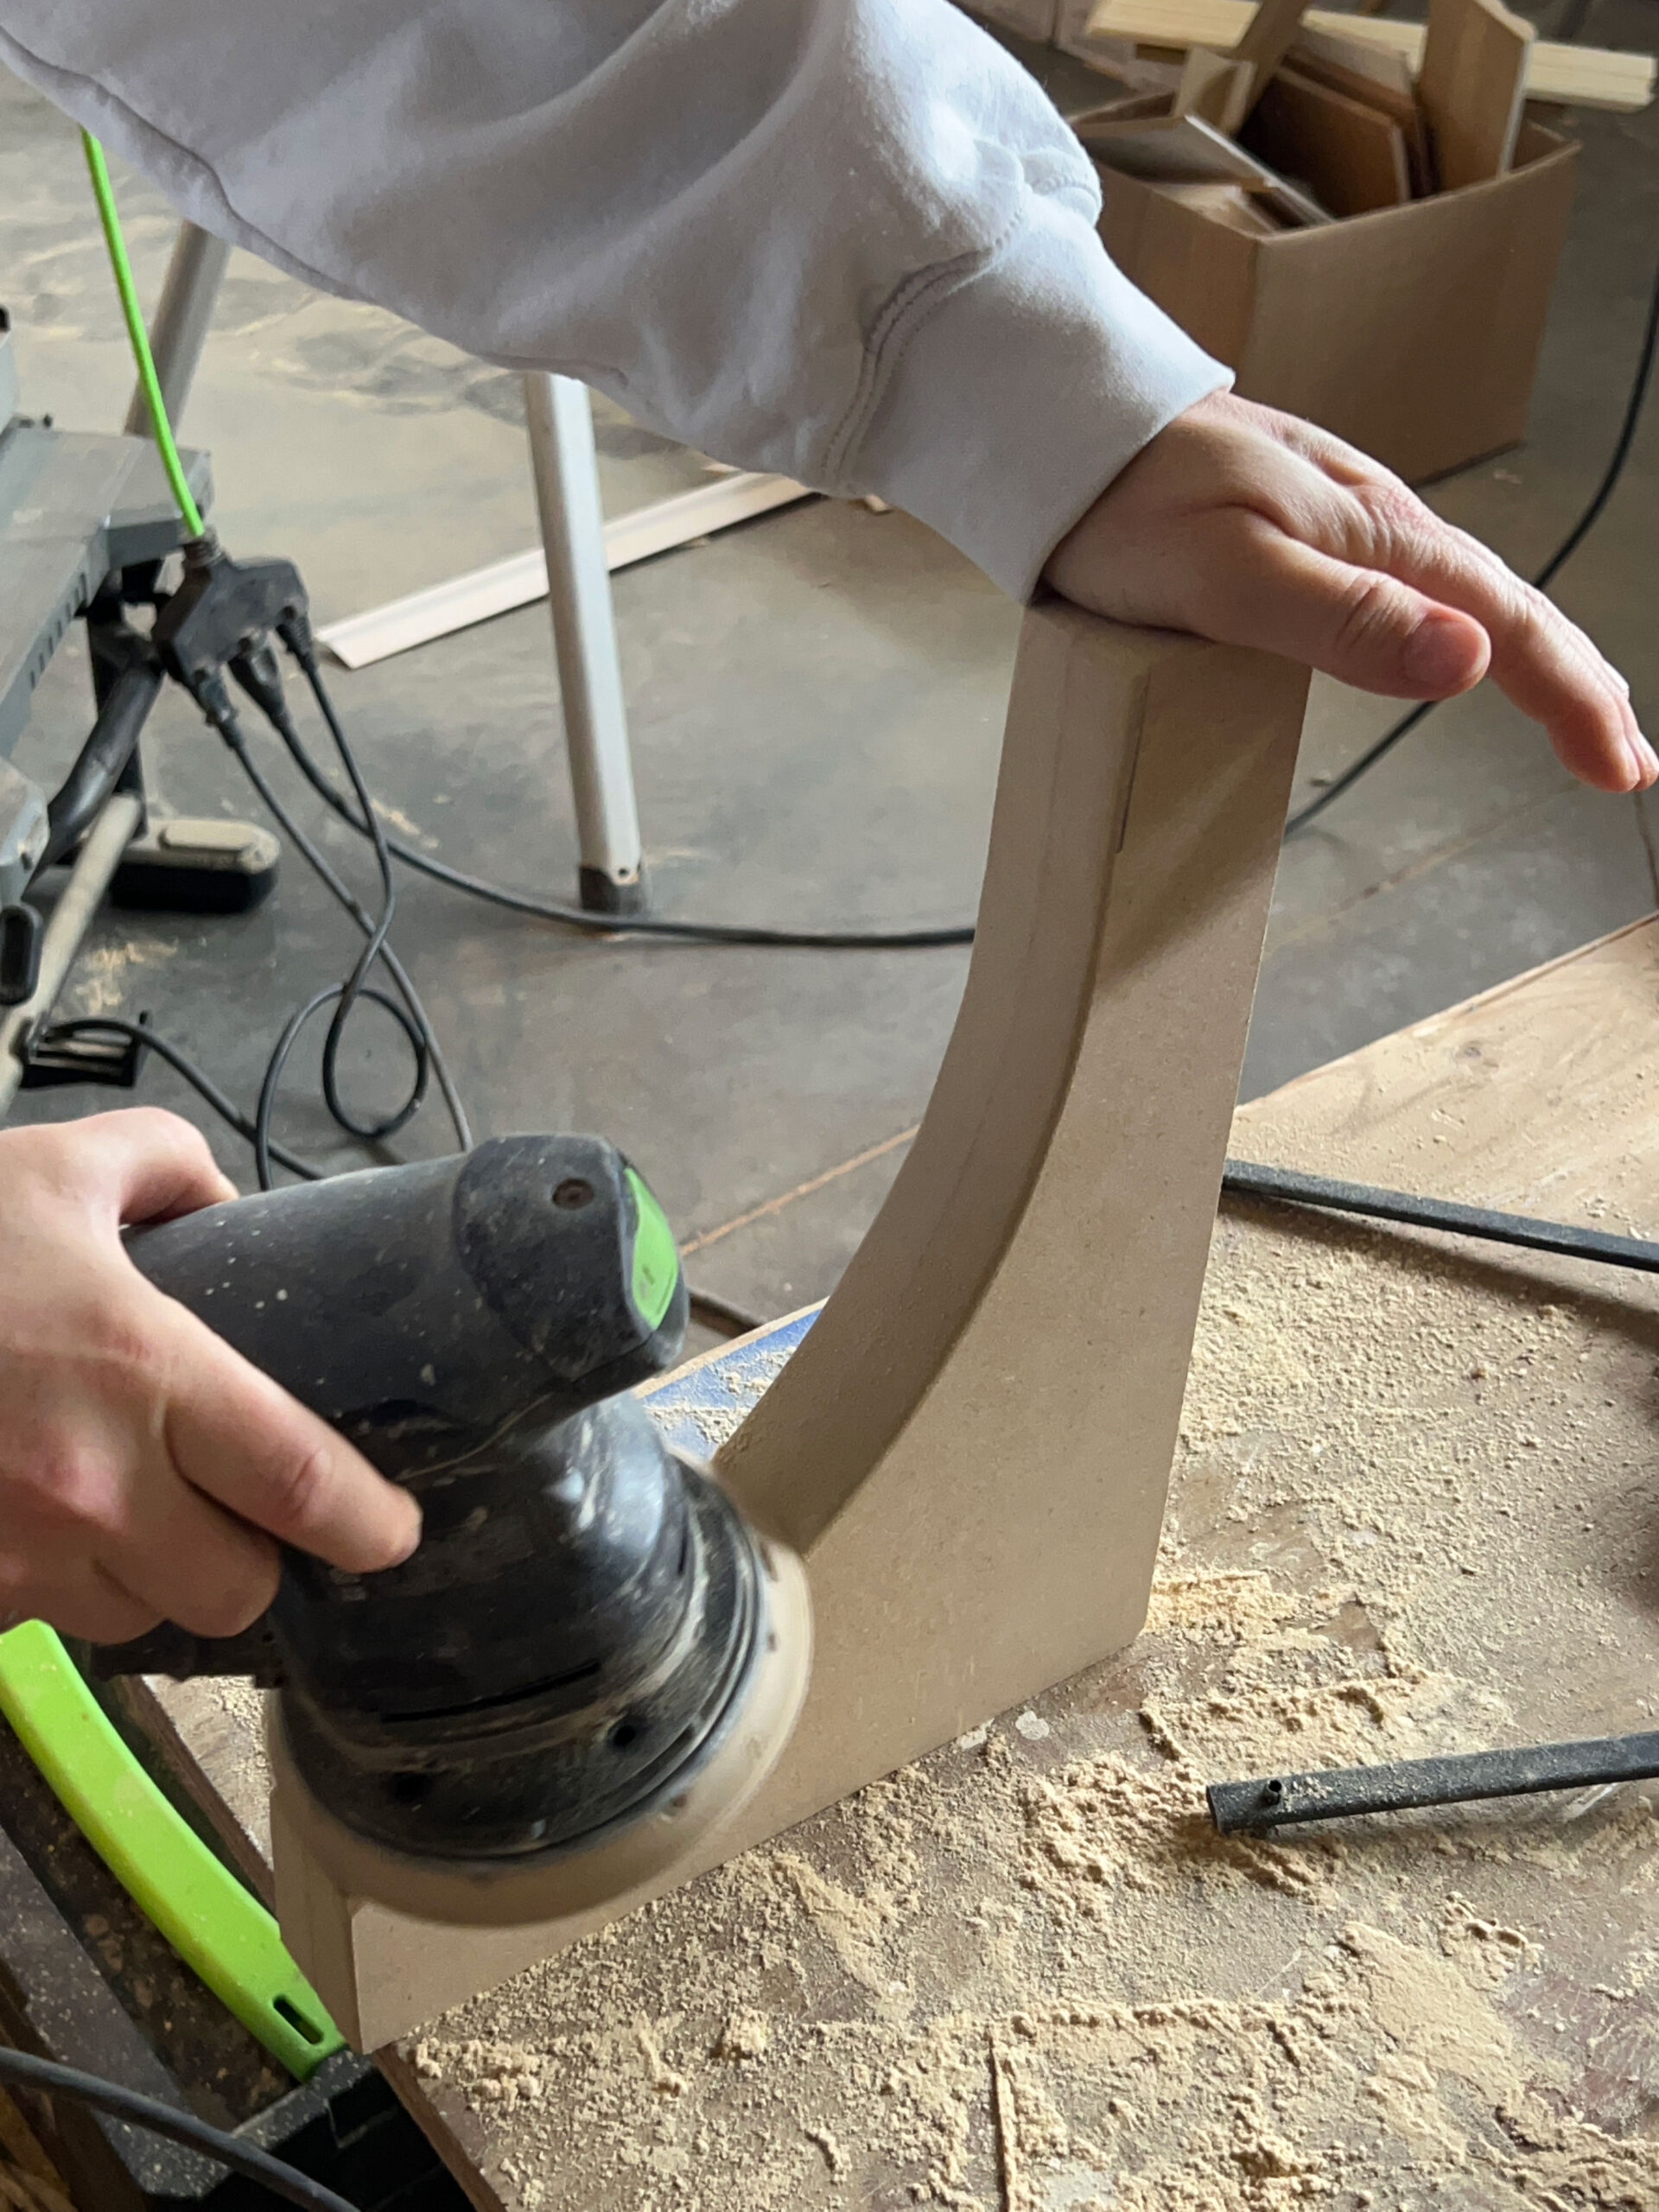
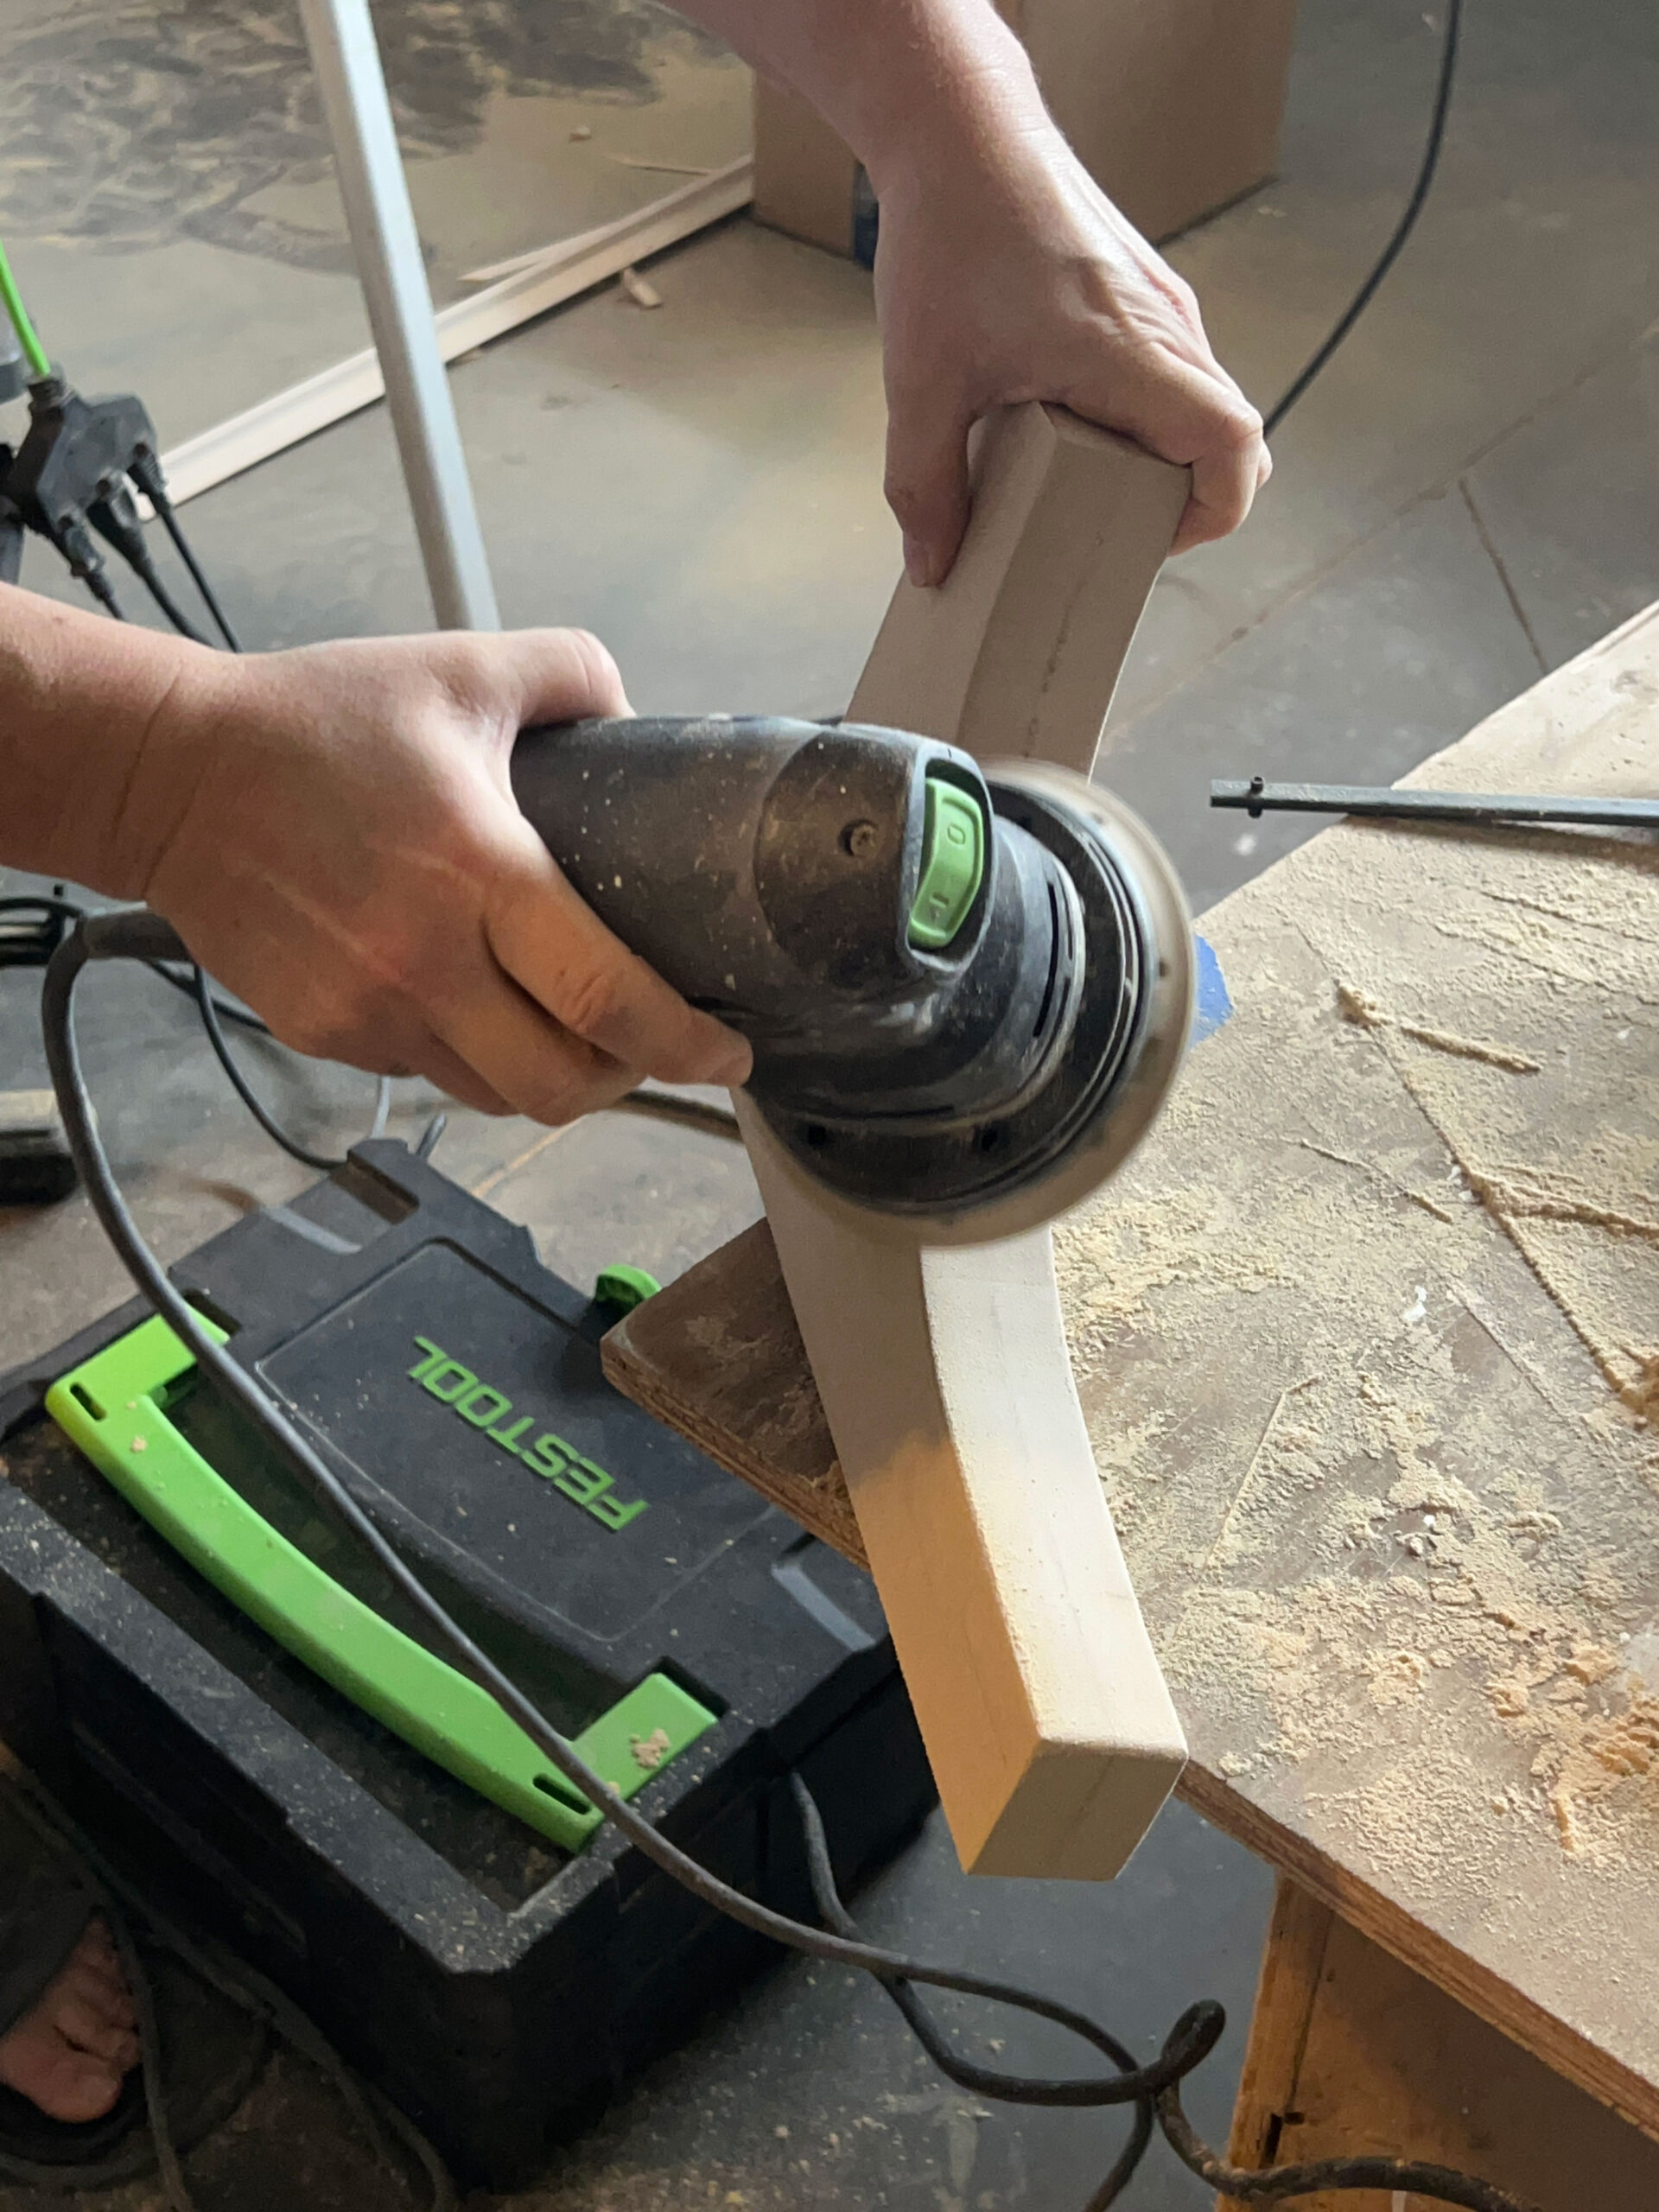
I also used the sander to round the cut edges (all but the two sides that go up against the wall, I left those edges sharp.
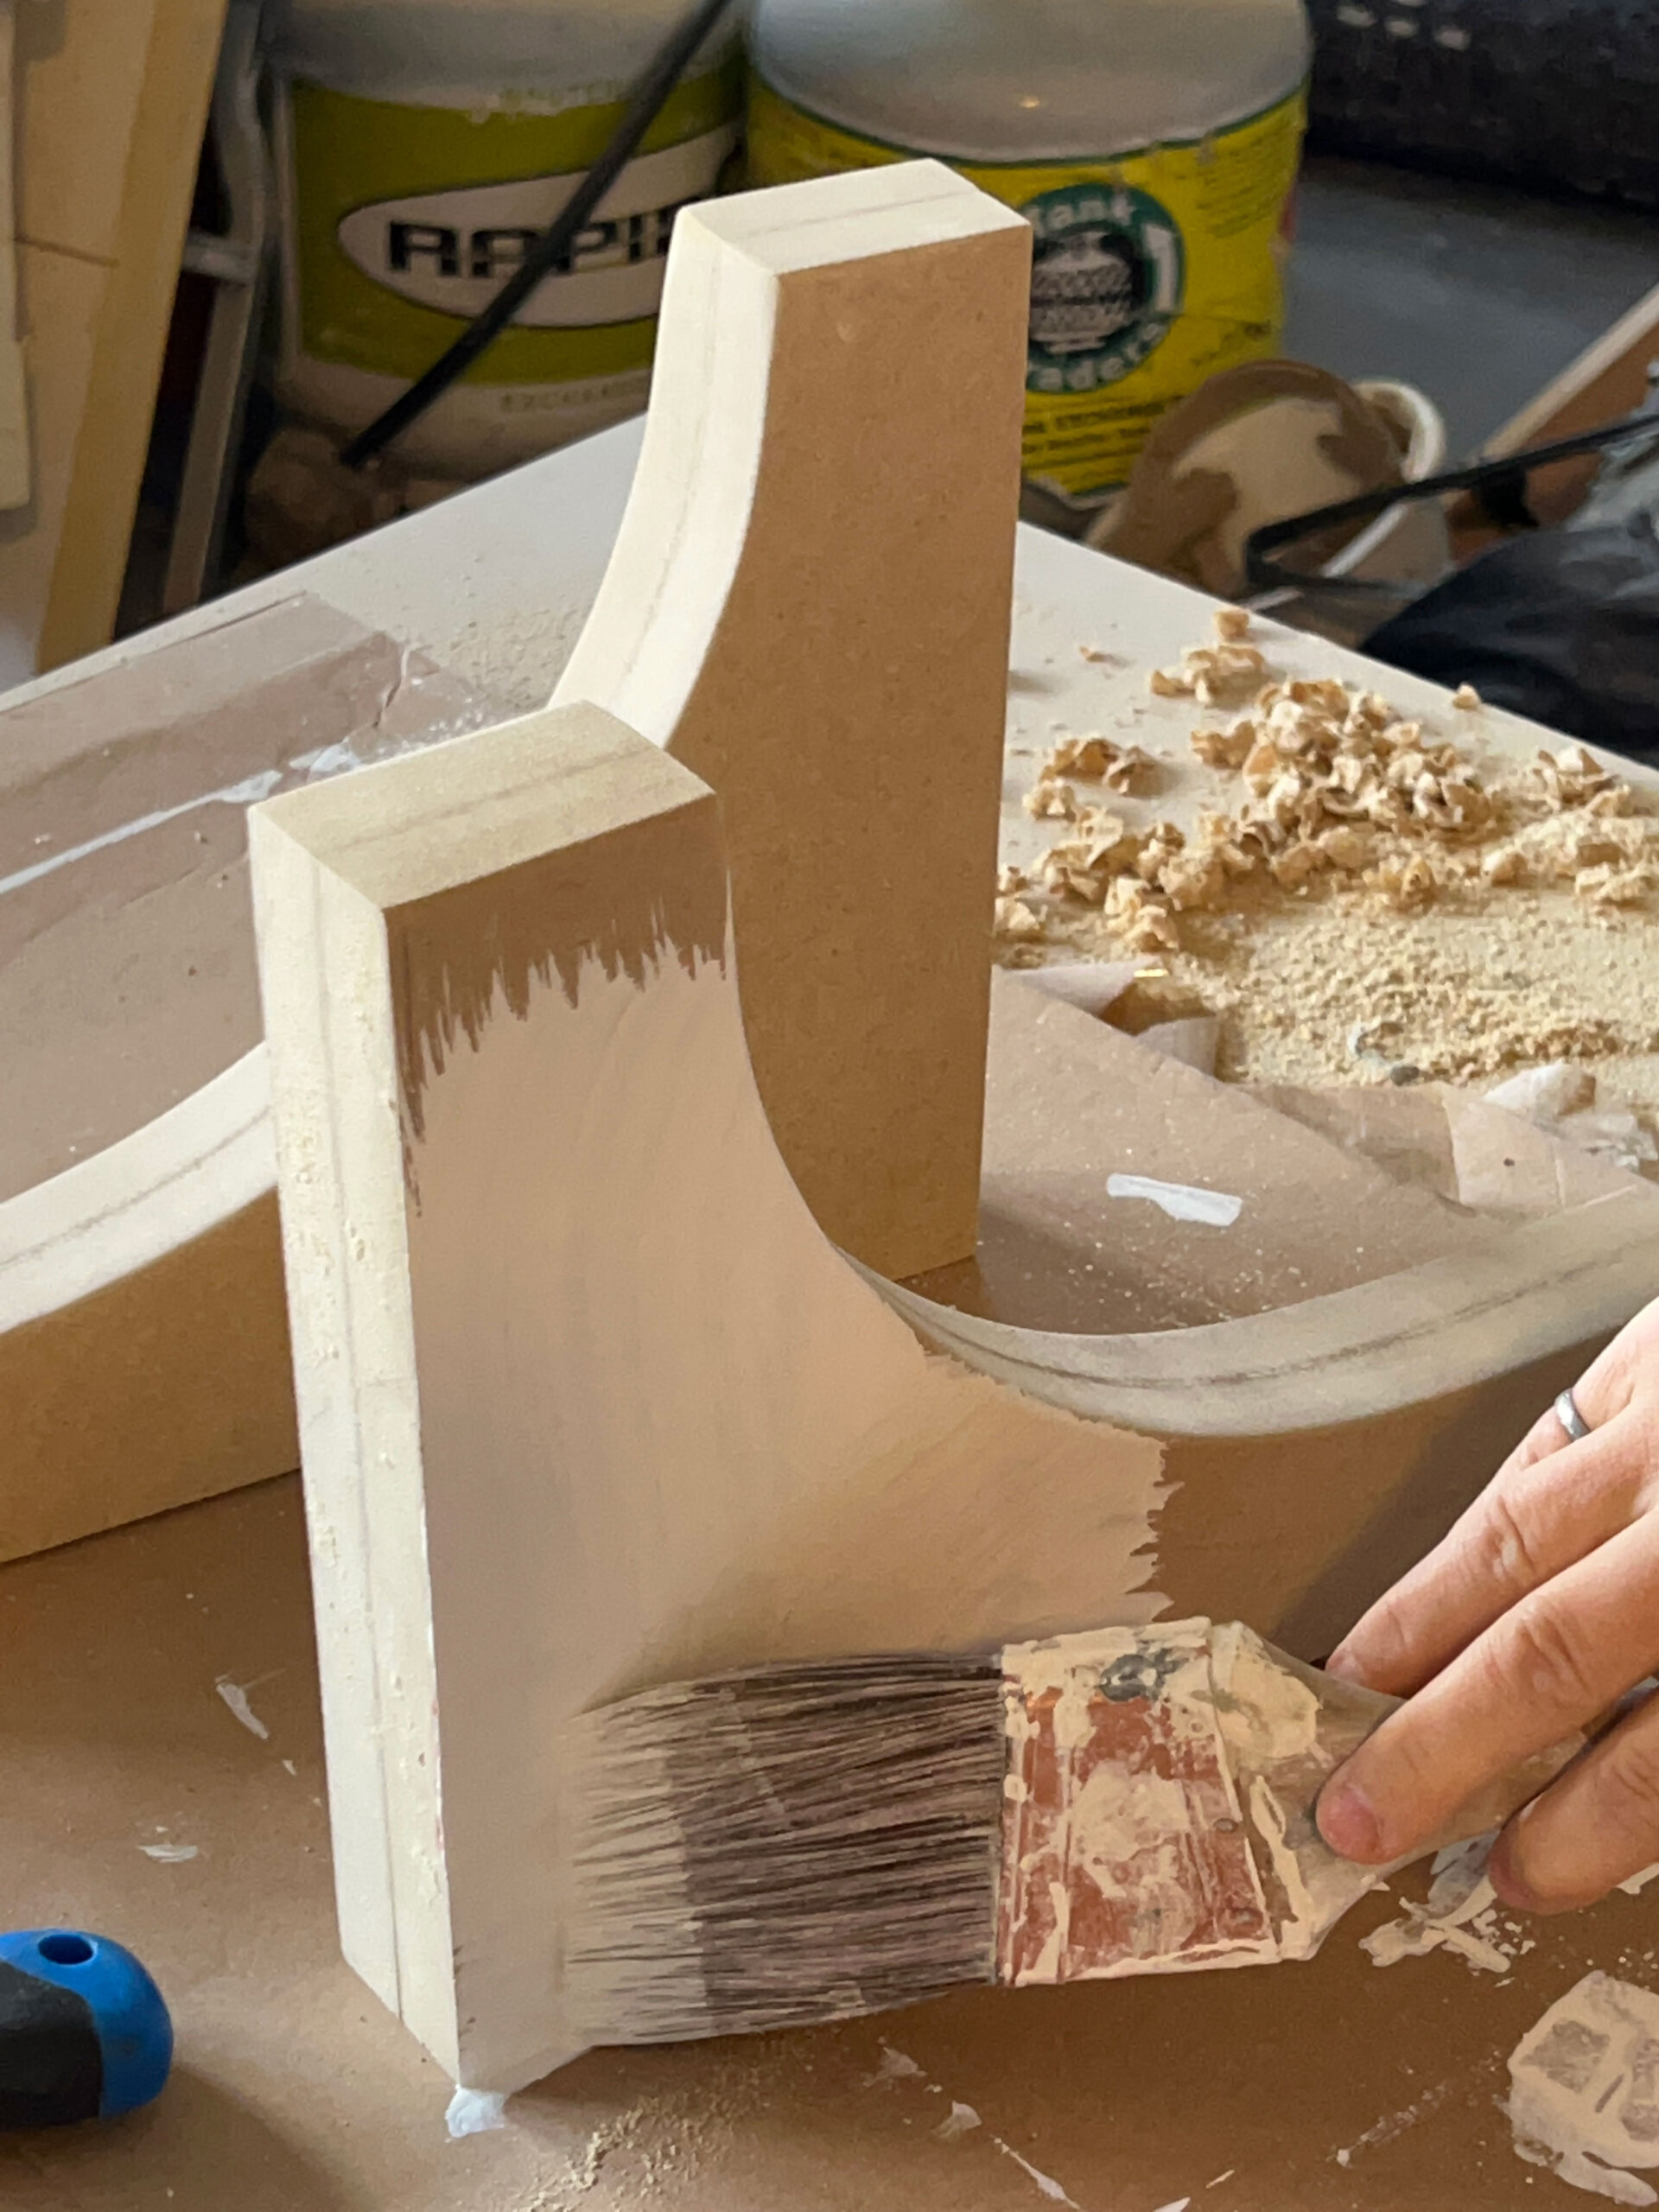
Step 6 – Prime
MDF is great for painting but you do have to make sure you prime it correctly. I have an extensive blog post all about priming, but if you want the Cliff Notes… you have to use an oil-based primer. I used my favourite one, BIN Shellac. Once it’s primed, give it a light sand with high-grit sandpaper for the smoothest finish for the next layers of paint. You can then use whatever paint colour you would like to paint your piece. (I’m going to paint mine all at once when I spray so I haven’t done that part yet!
Step 7 – Hang
Depending on what you are using your corbels for you may want to hang them a different way, but since mine were purely decorative I just needed to make sure they were secure enough to hold their own weight.
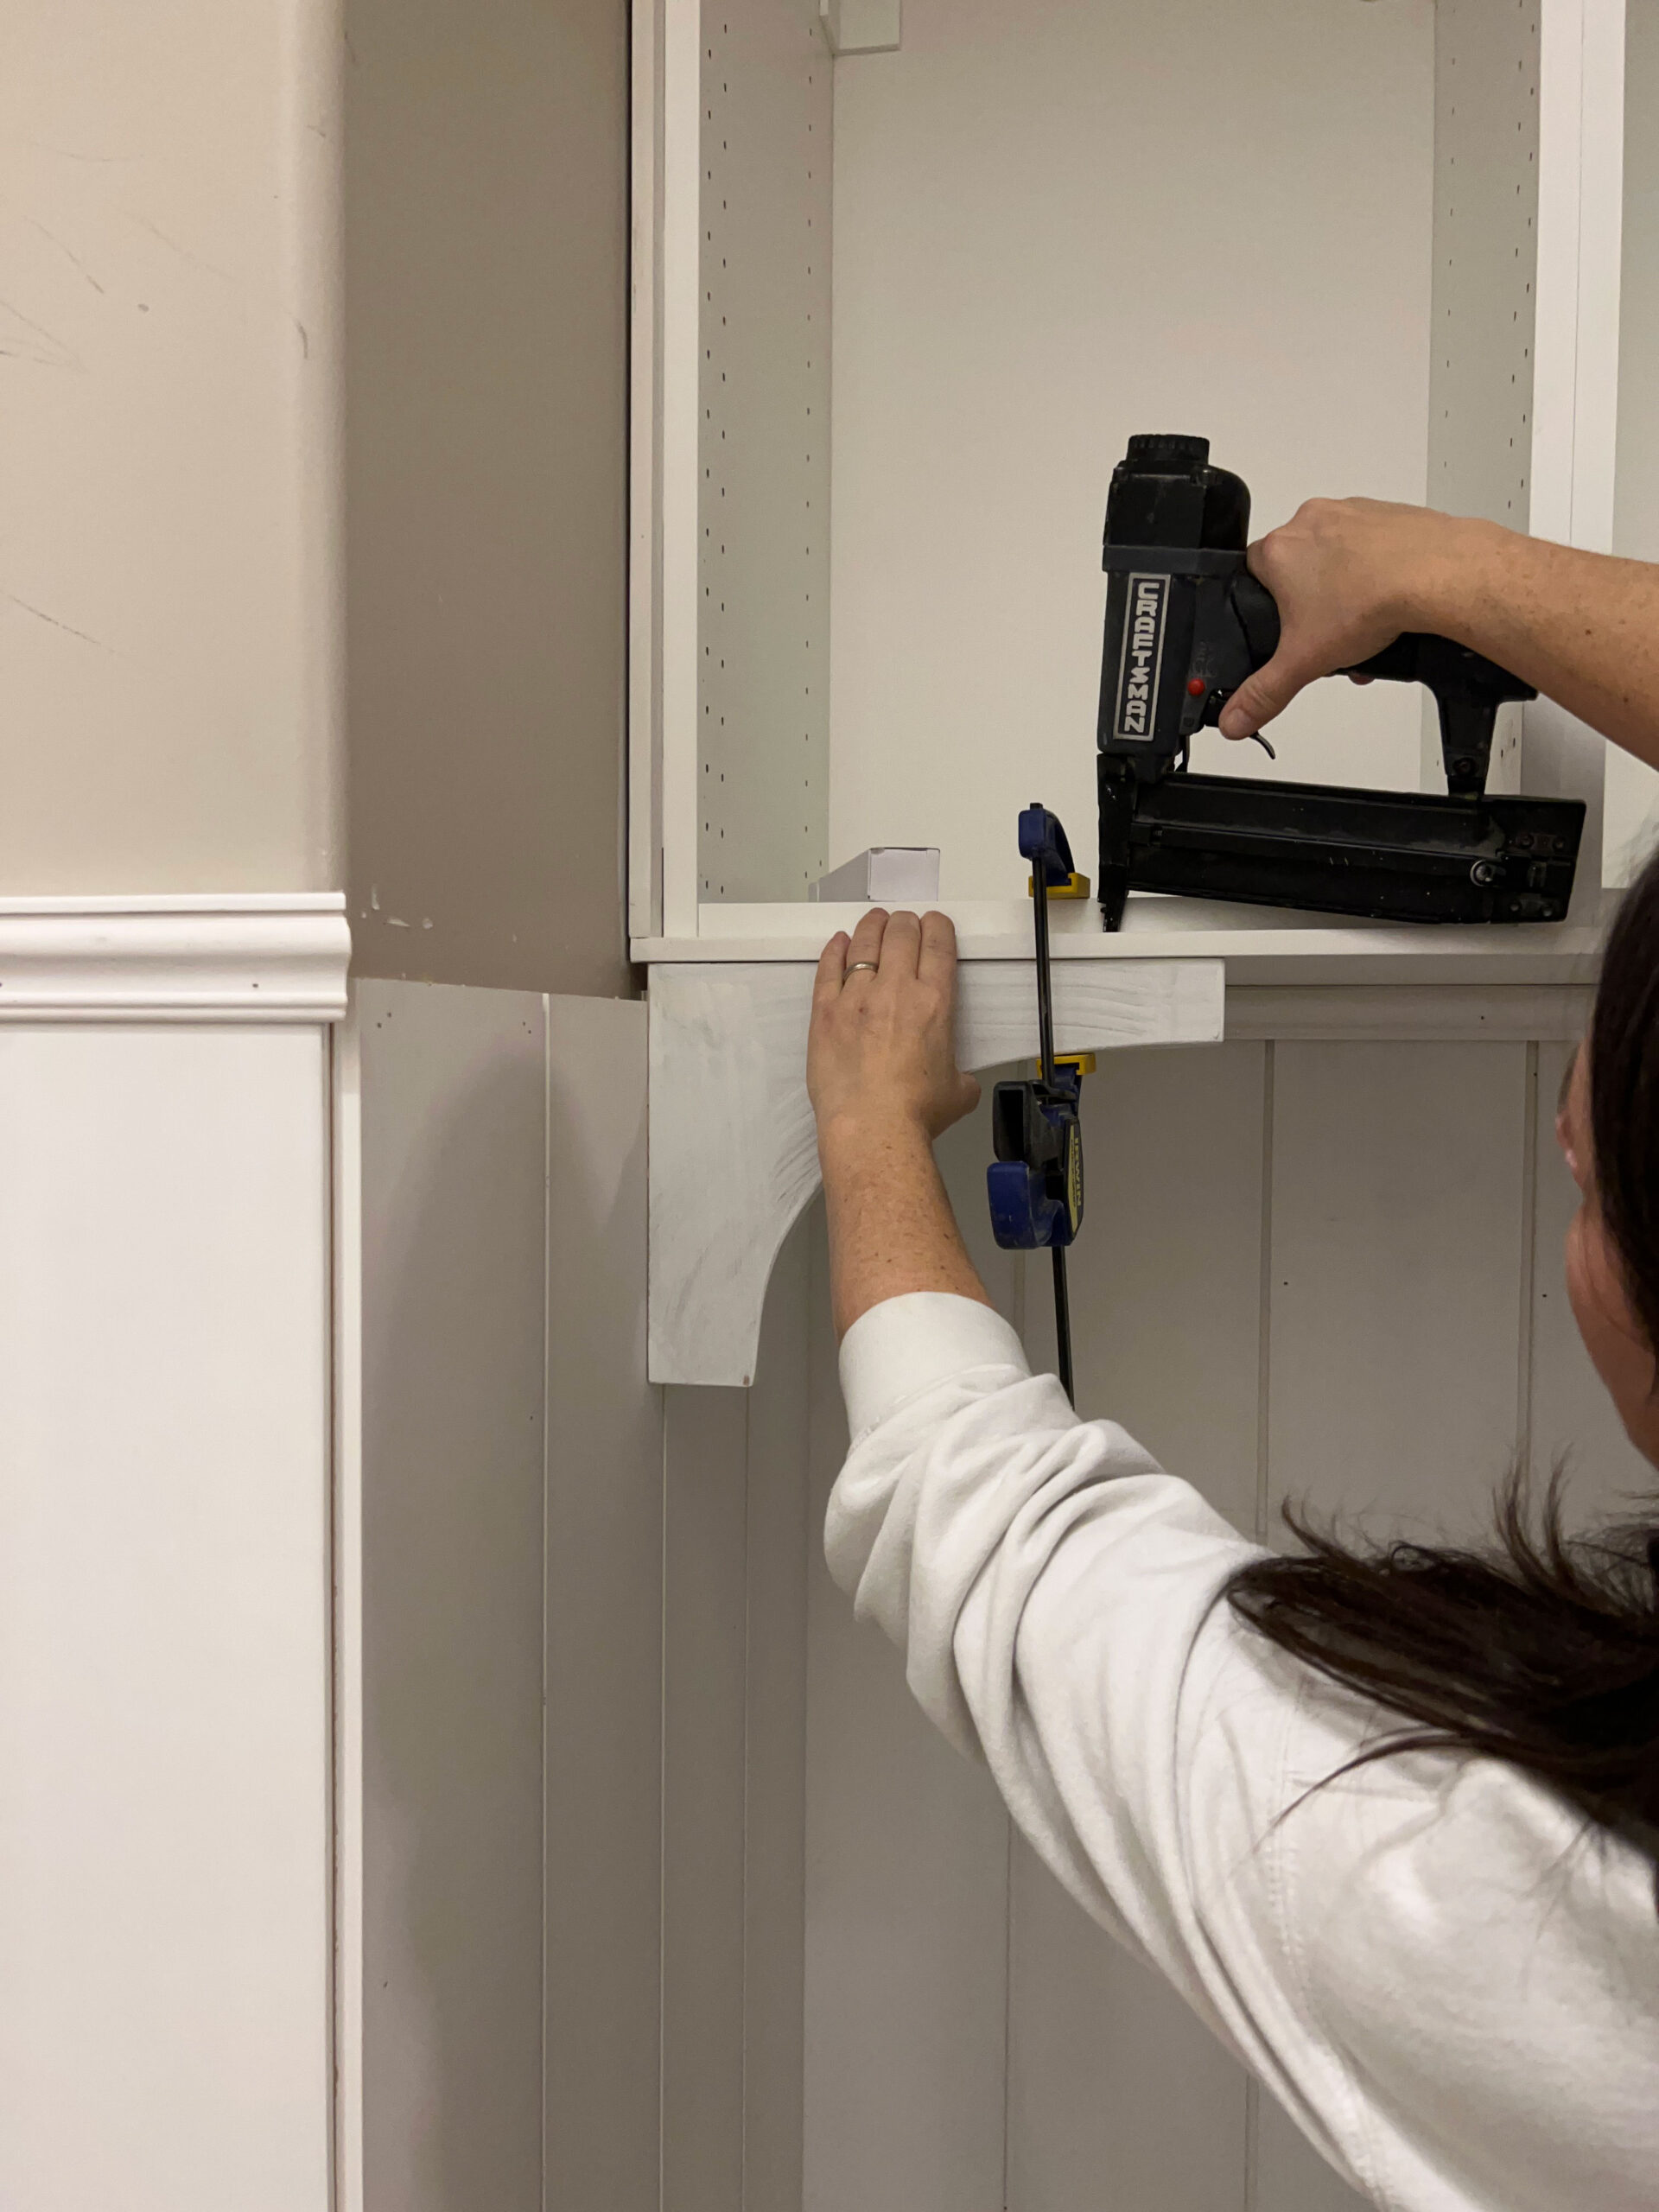
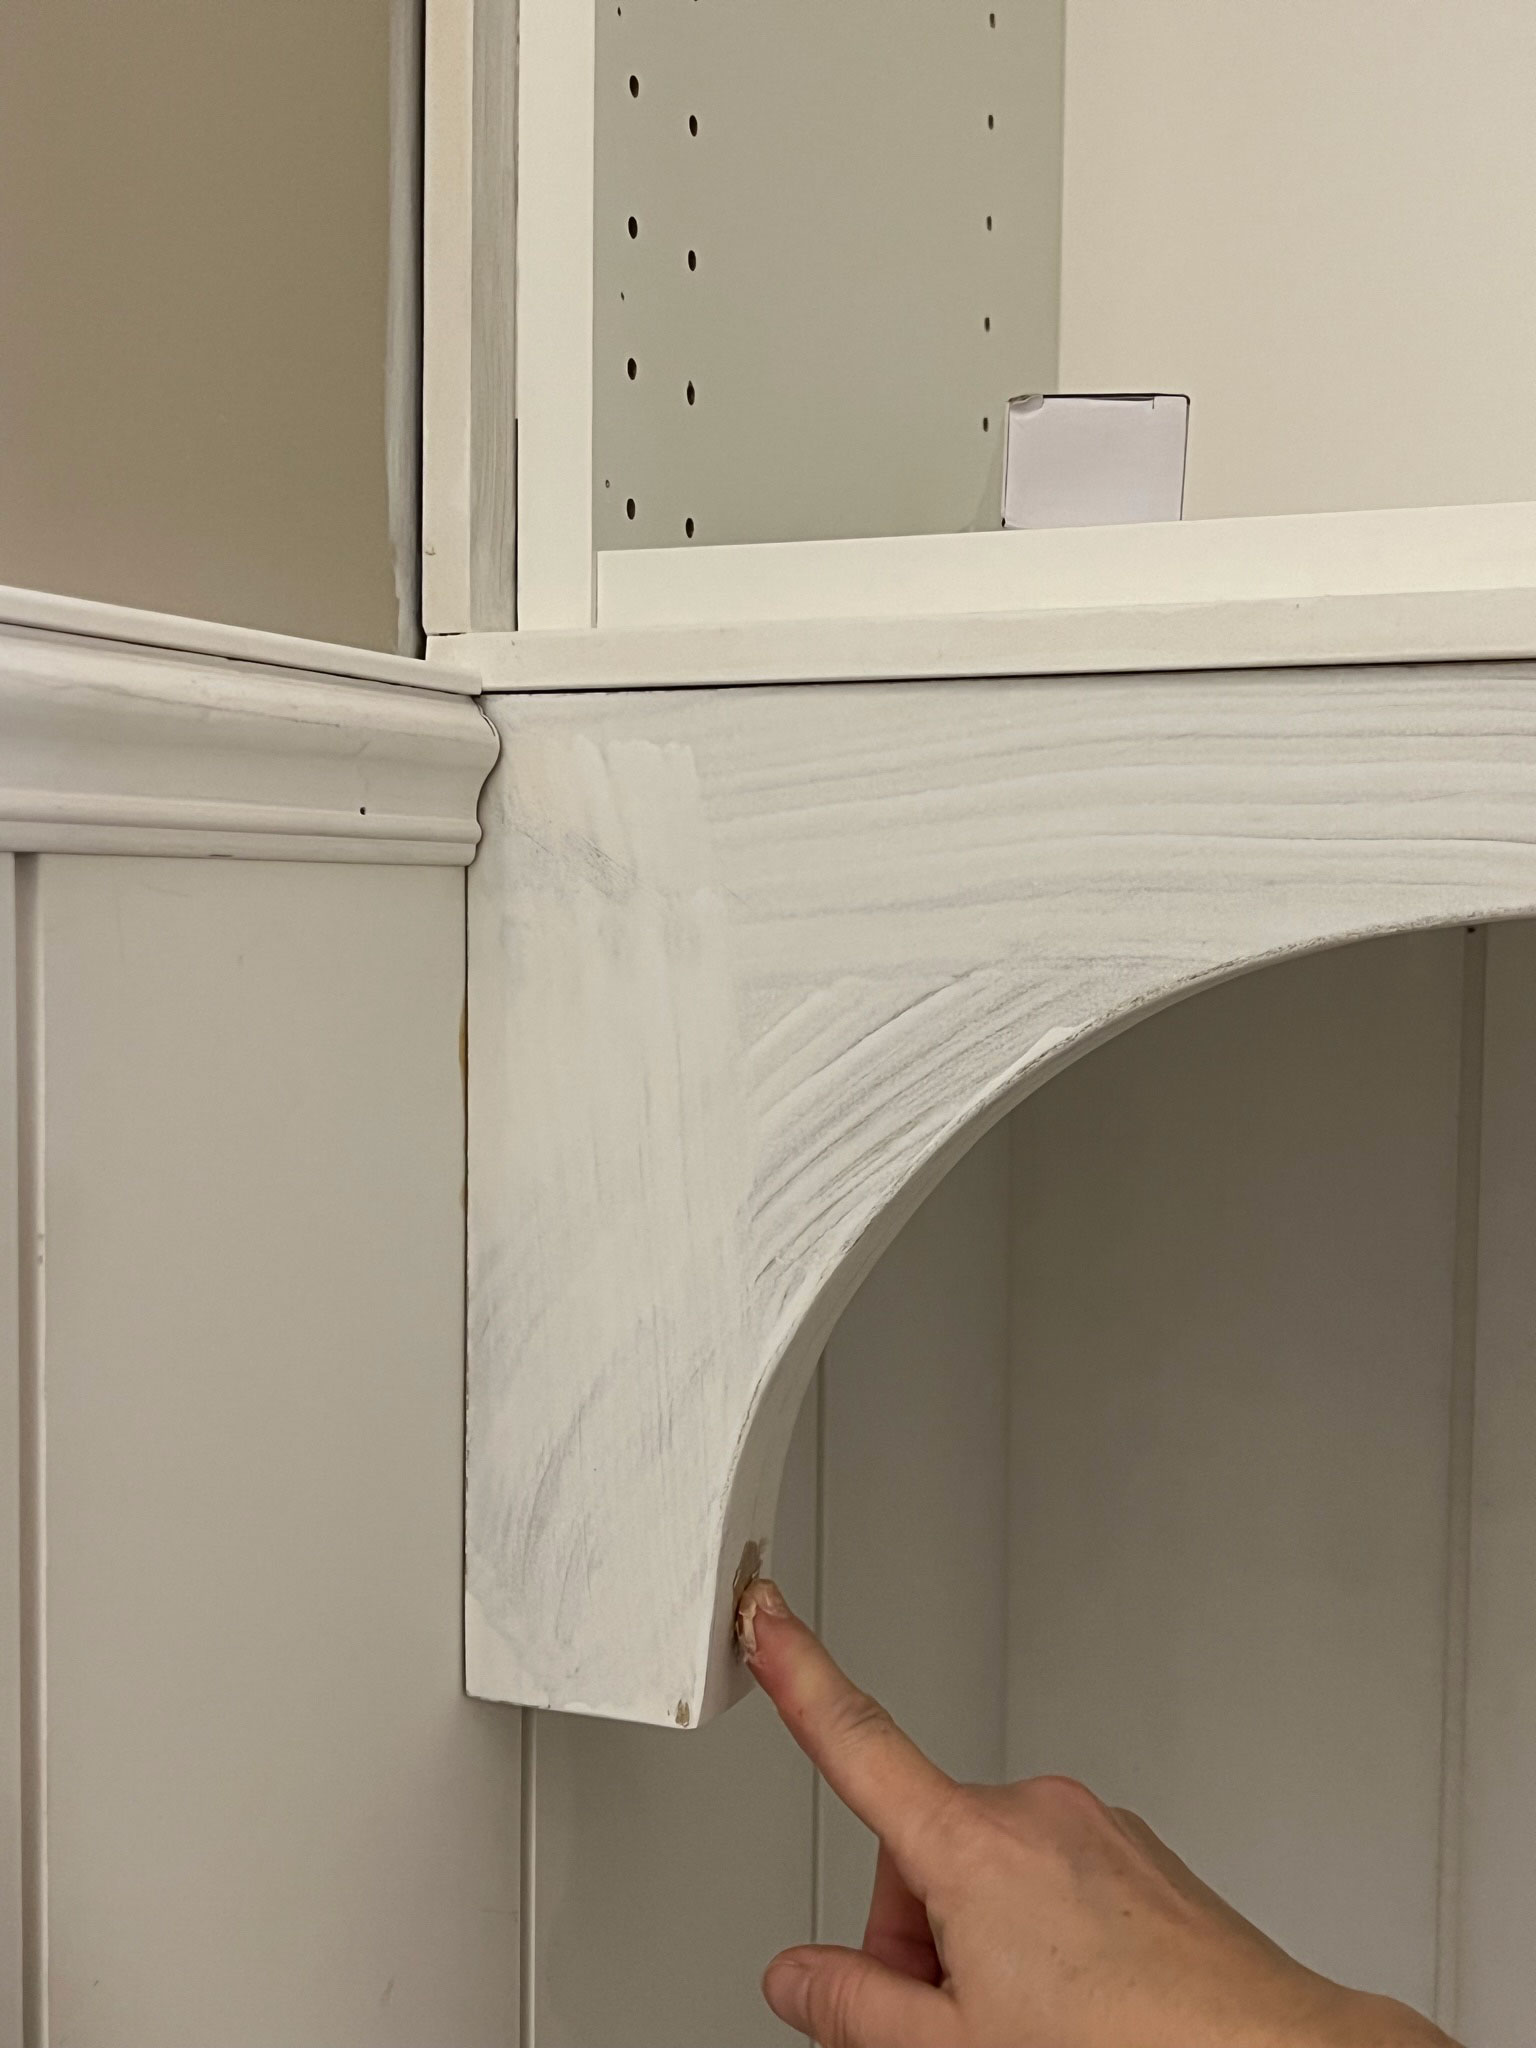
In our case, we attached the corbels to the wall using long screws, countersinking the wood screws. To attach the corbels to the bottom of the upper cabinets, we added some glue and then put in a few nails using the brad nailer to hold it in place while the adhesive dried. I would have preferred to use construction adhesive for this but we were out, but the wood glue worked!
The best way to hang these is to screw right through them using extra-long wood screws that go directly into a stud in the wall. Before you screw them in, pre-drill the hole through the corbel. Then, drill out a larger hole just a centimetre or so deep just large enough to fit the head of the screw, so the screw head is countersunk into the corbel itself.
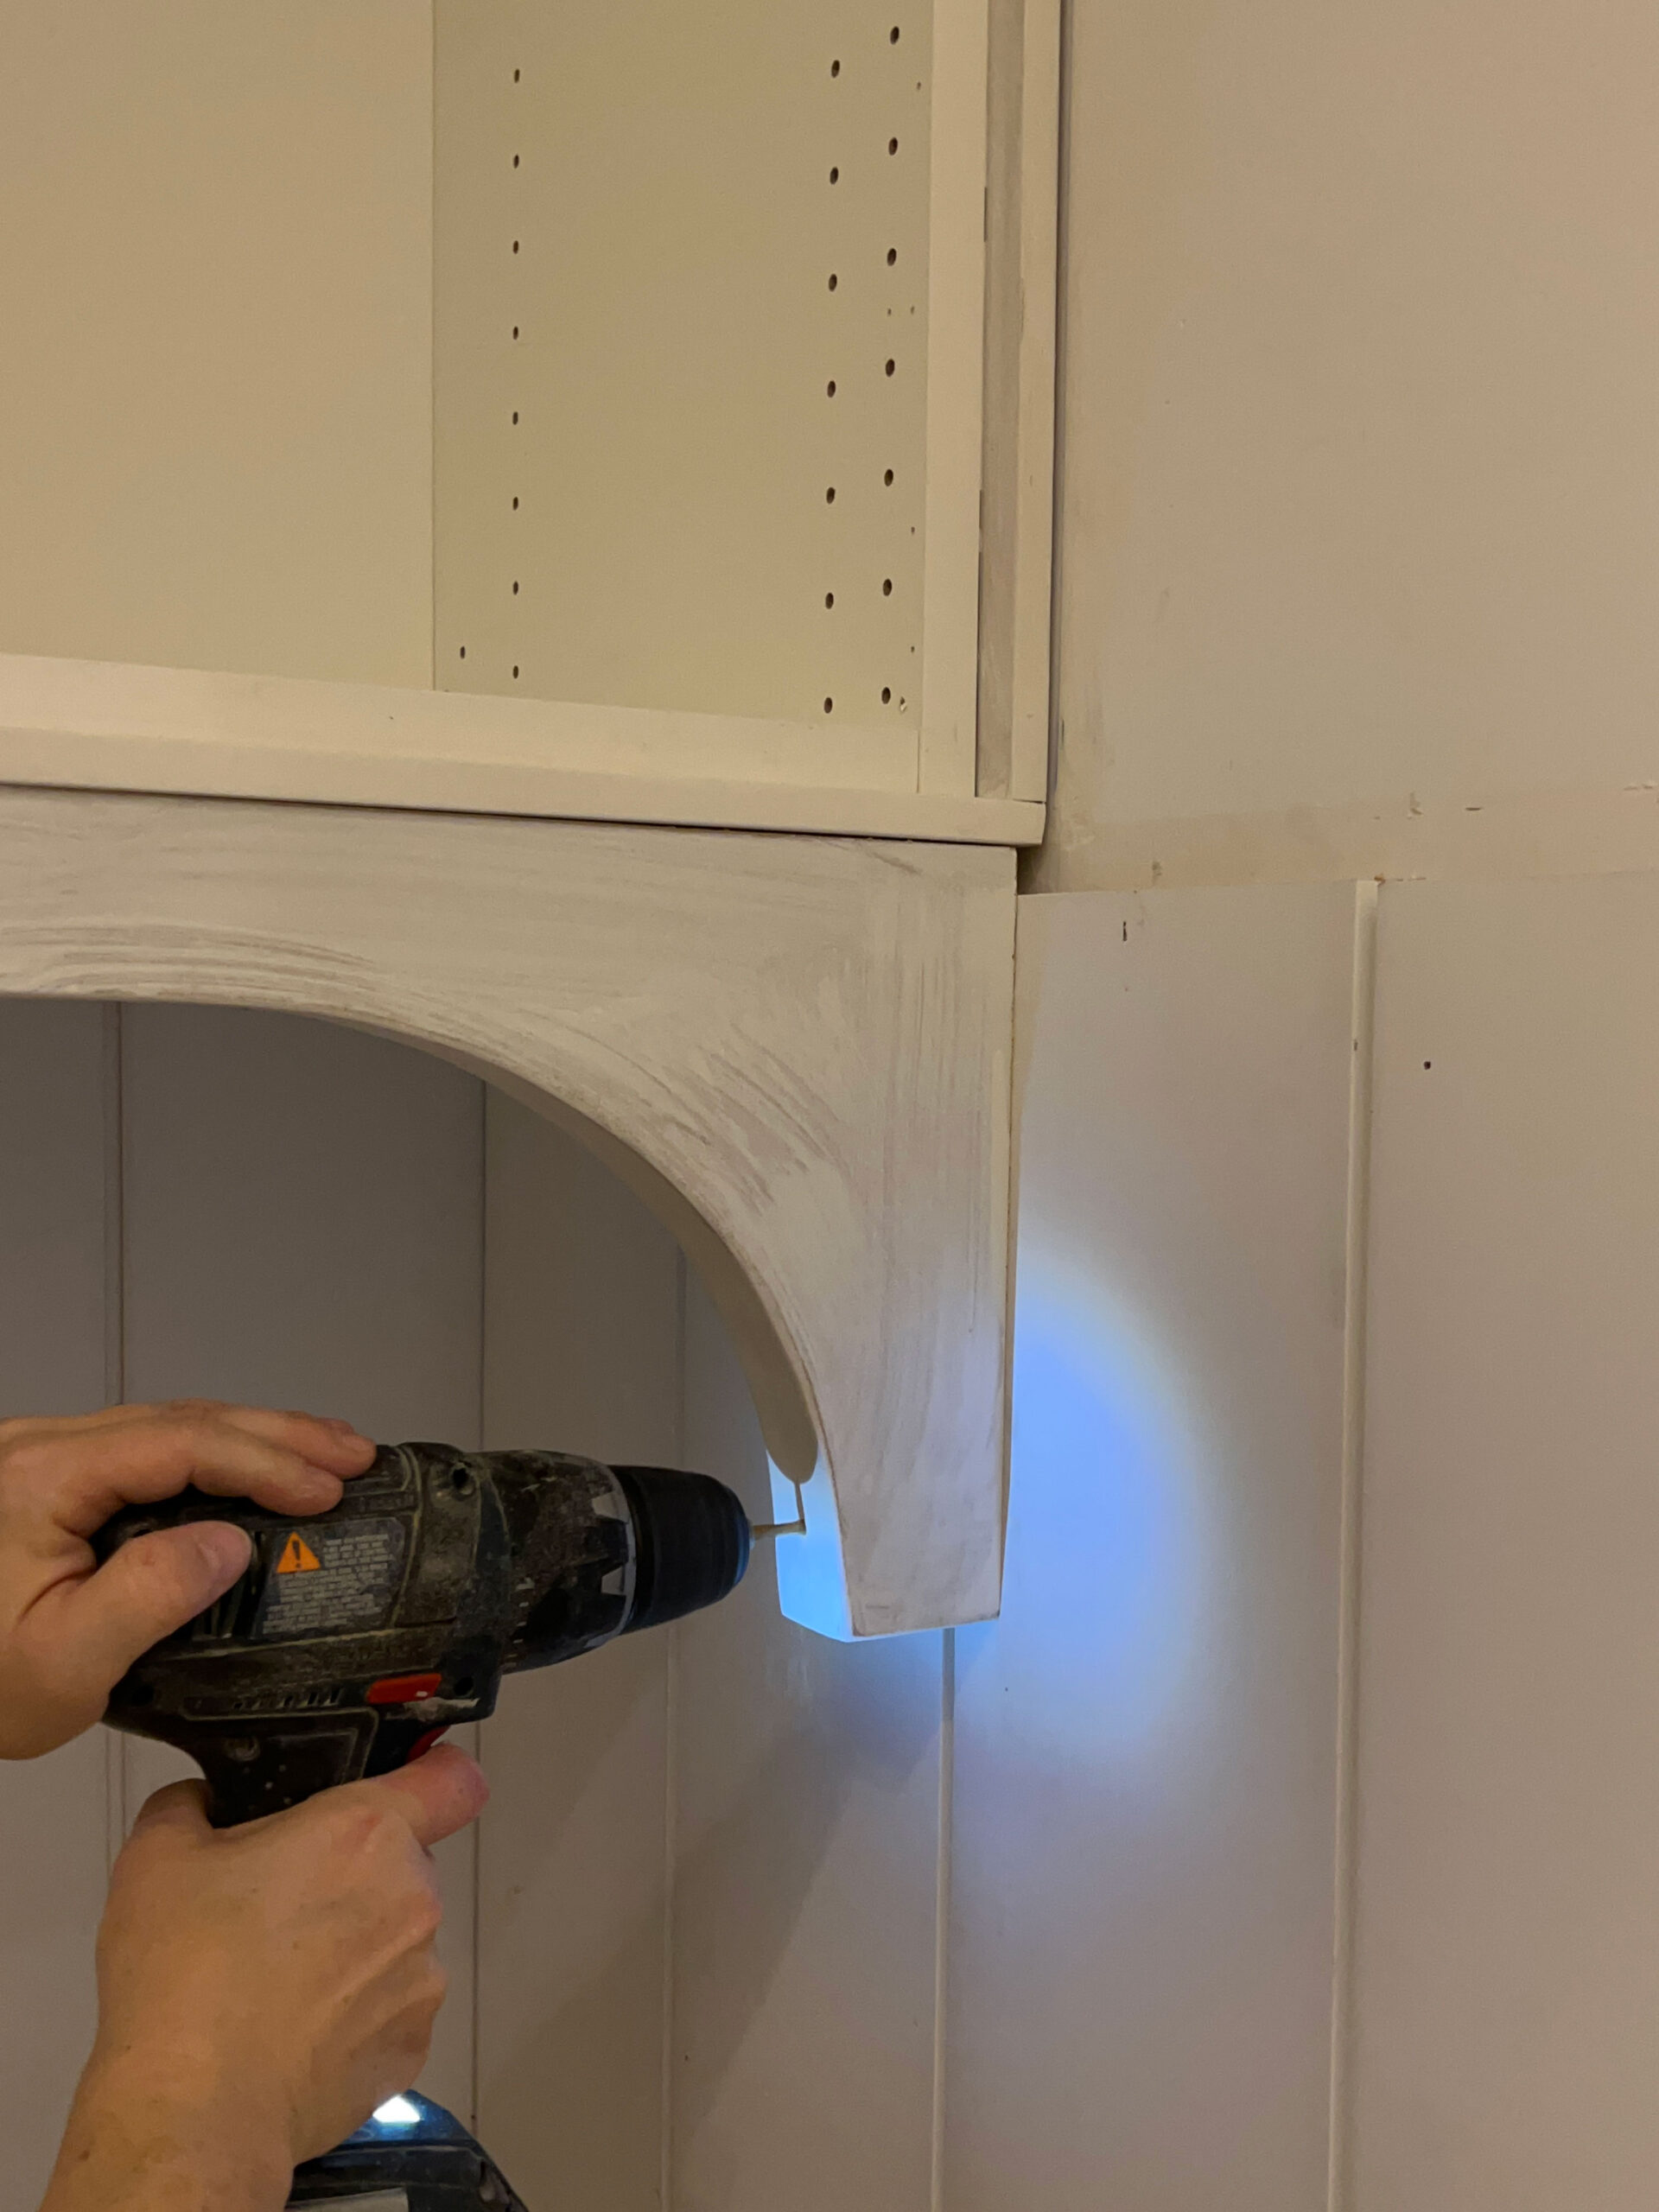
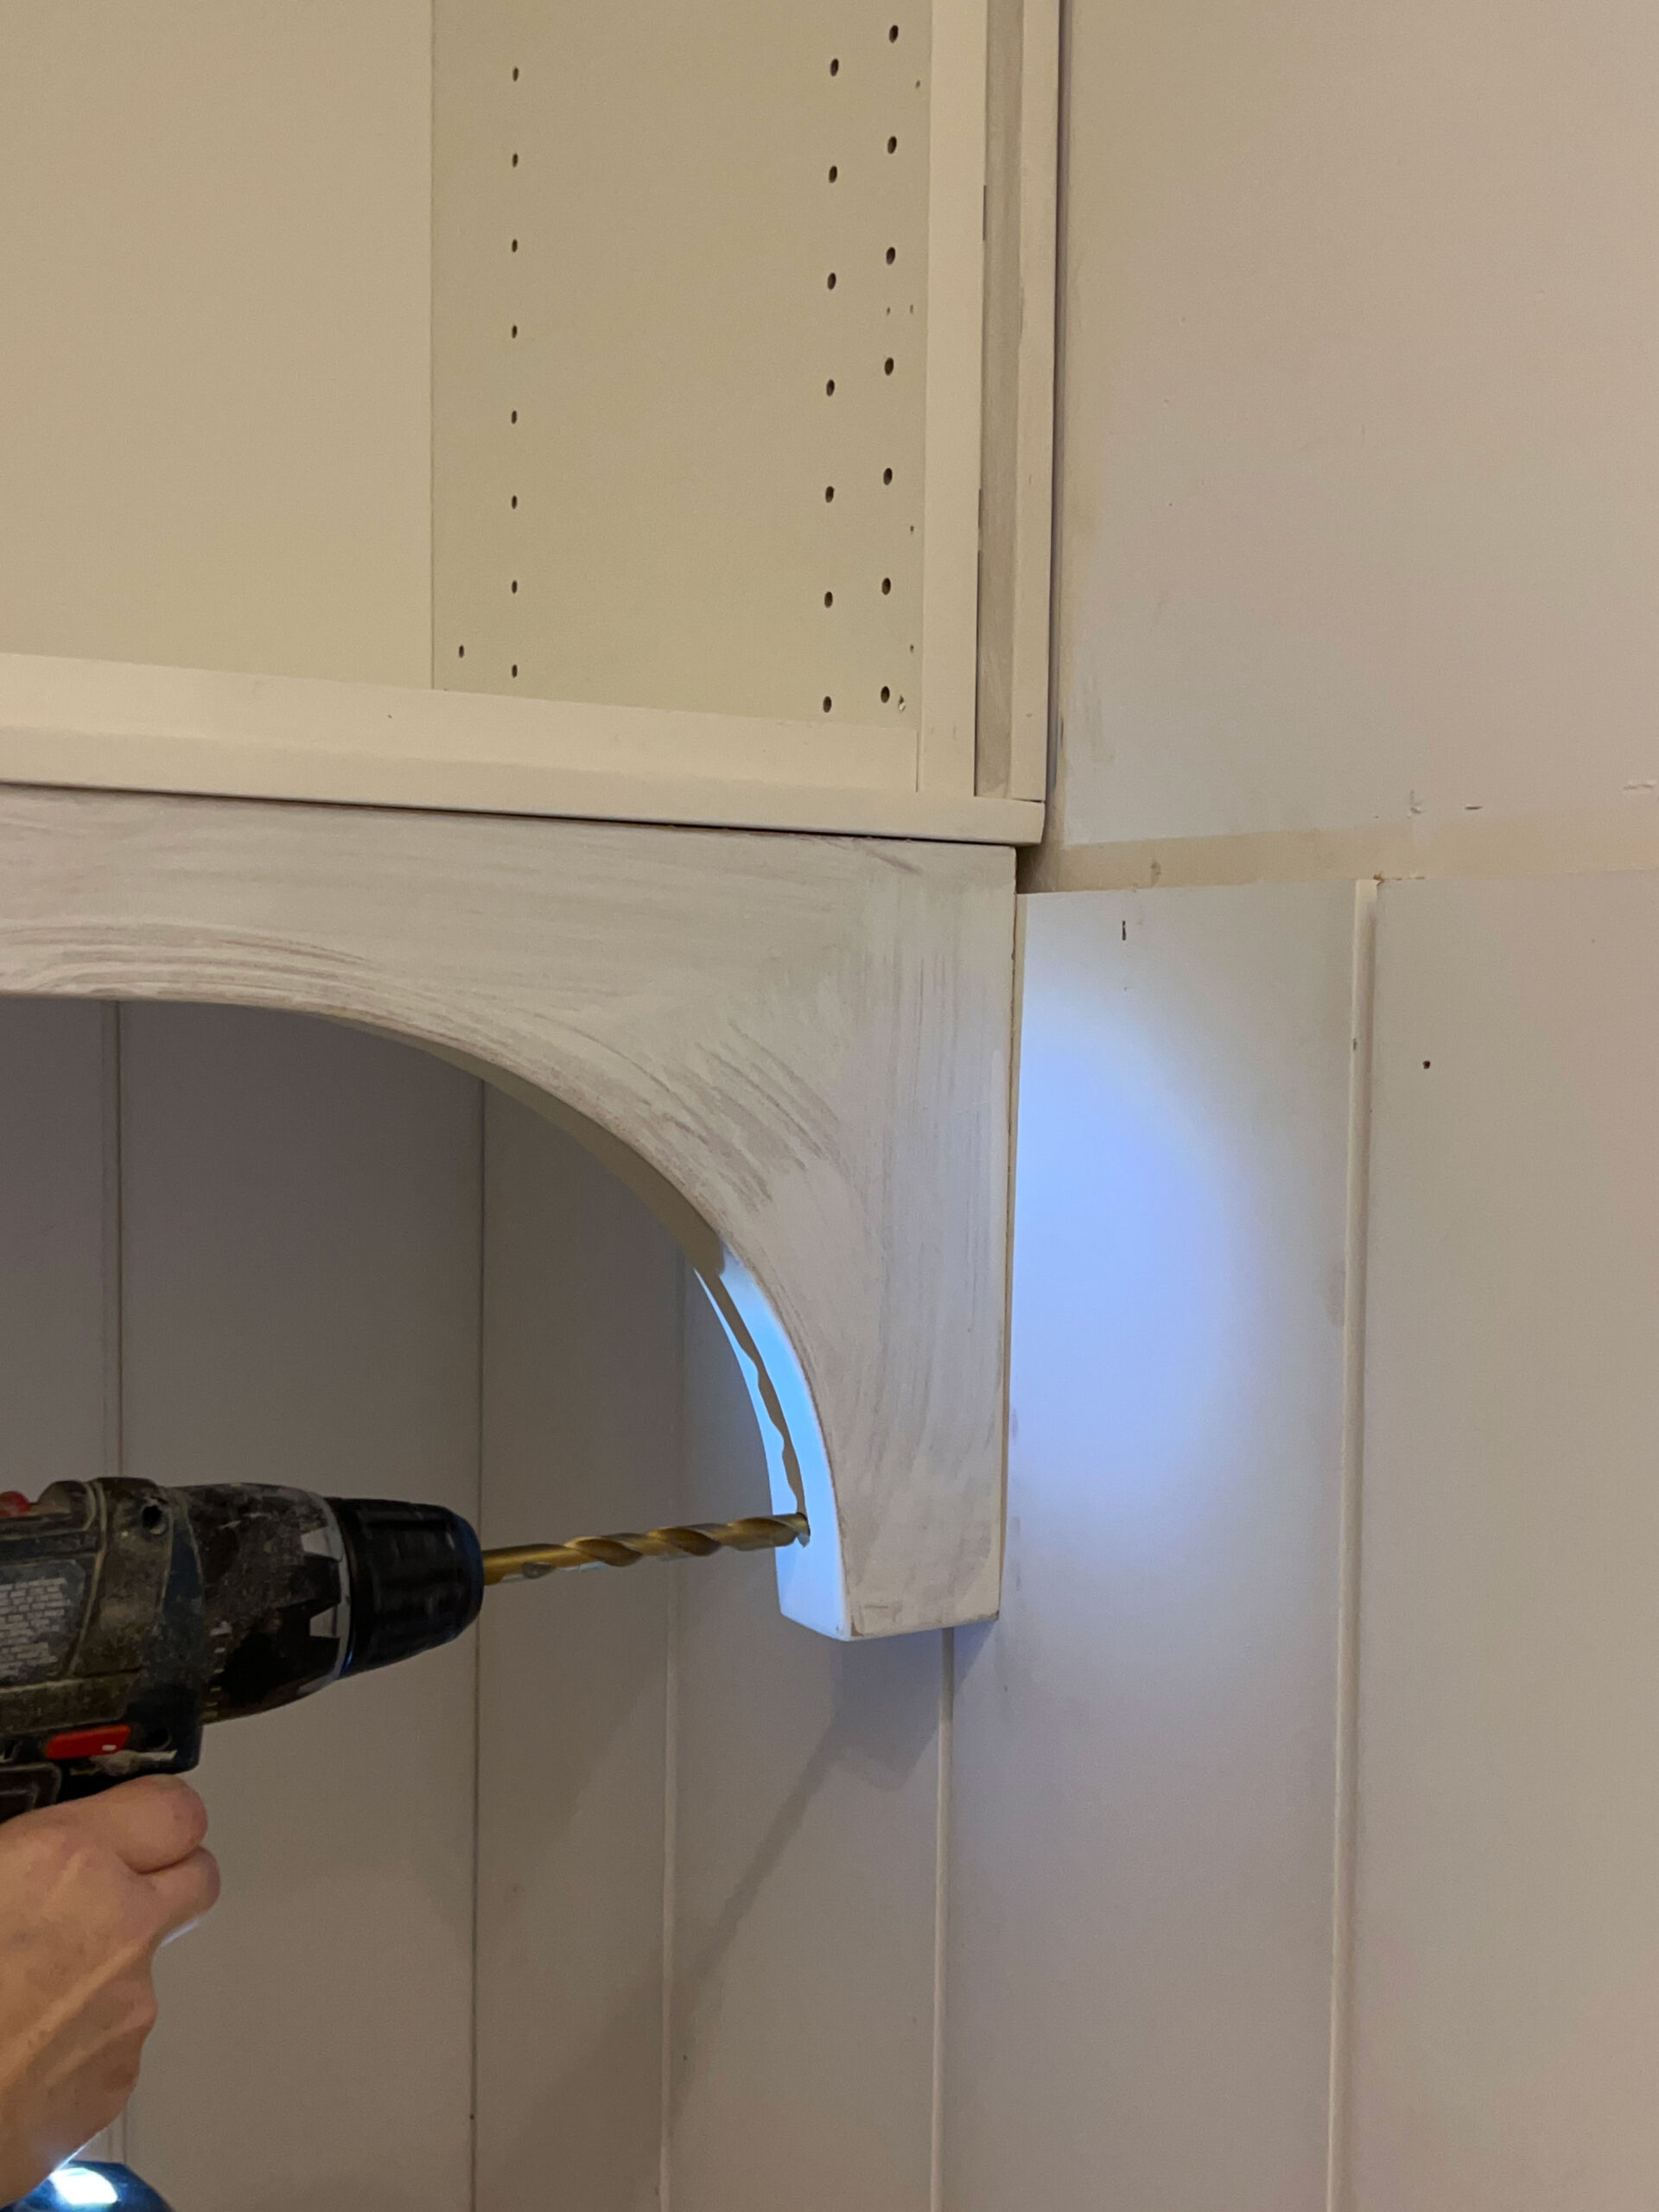
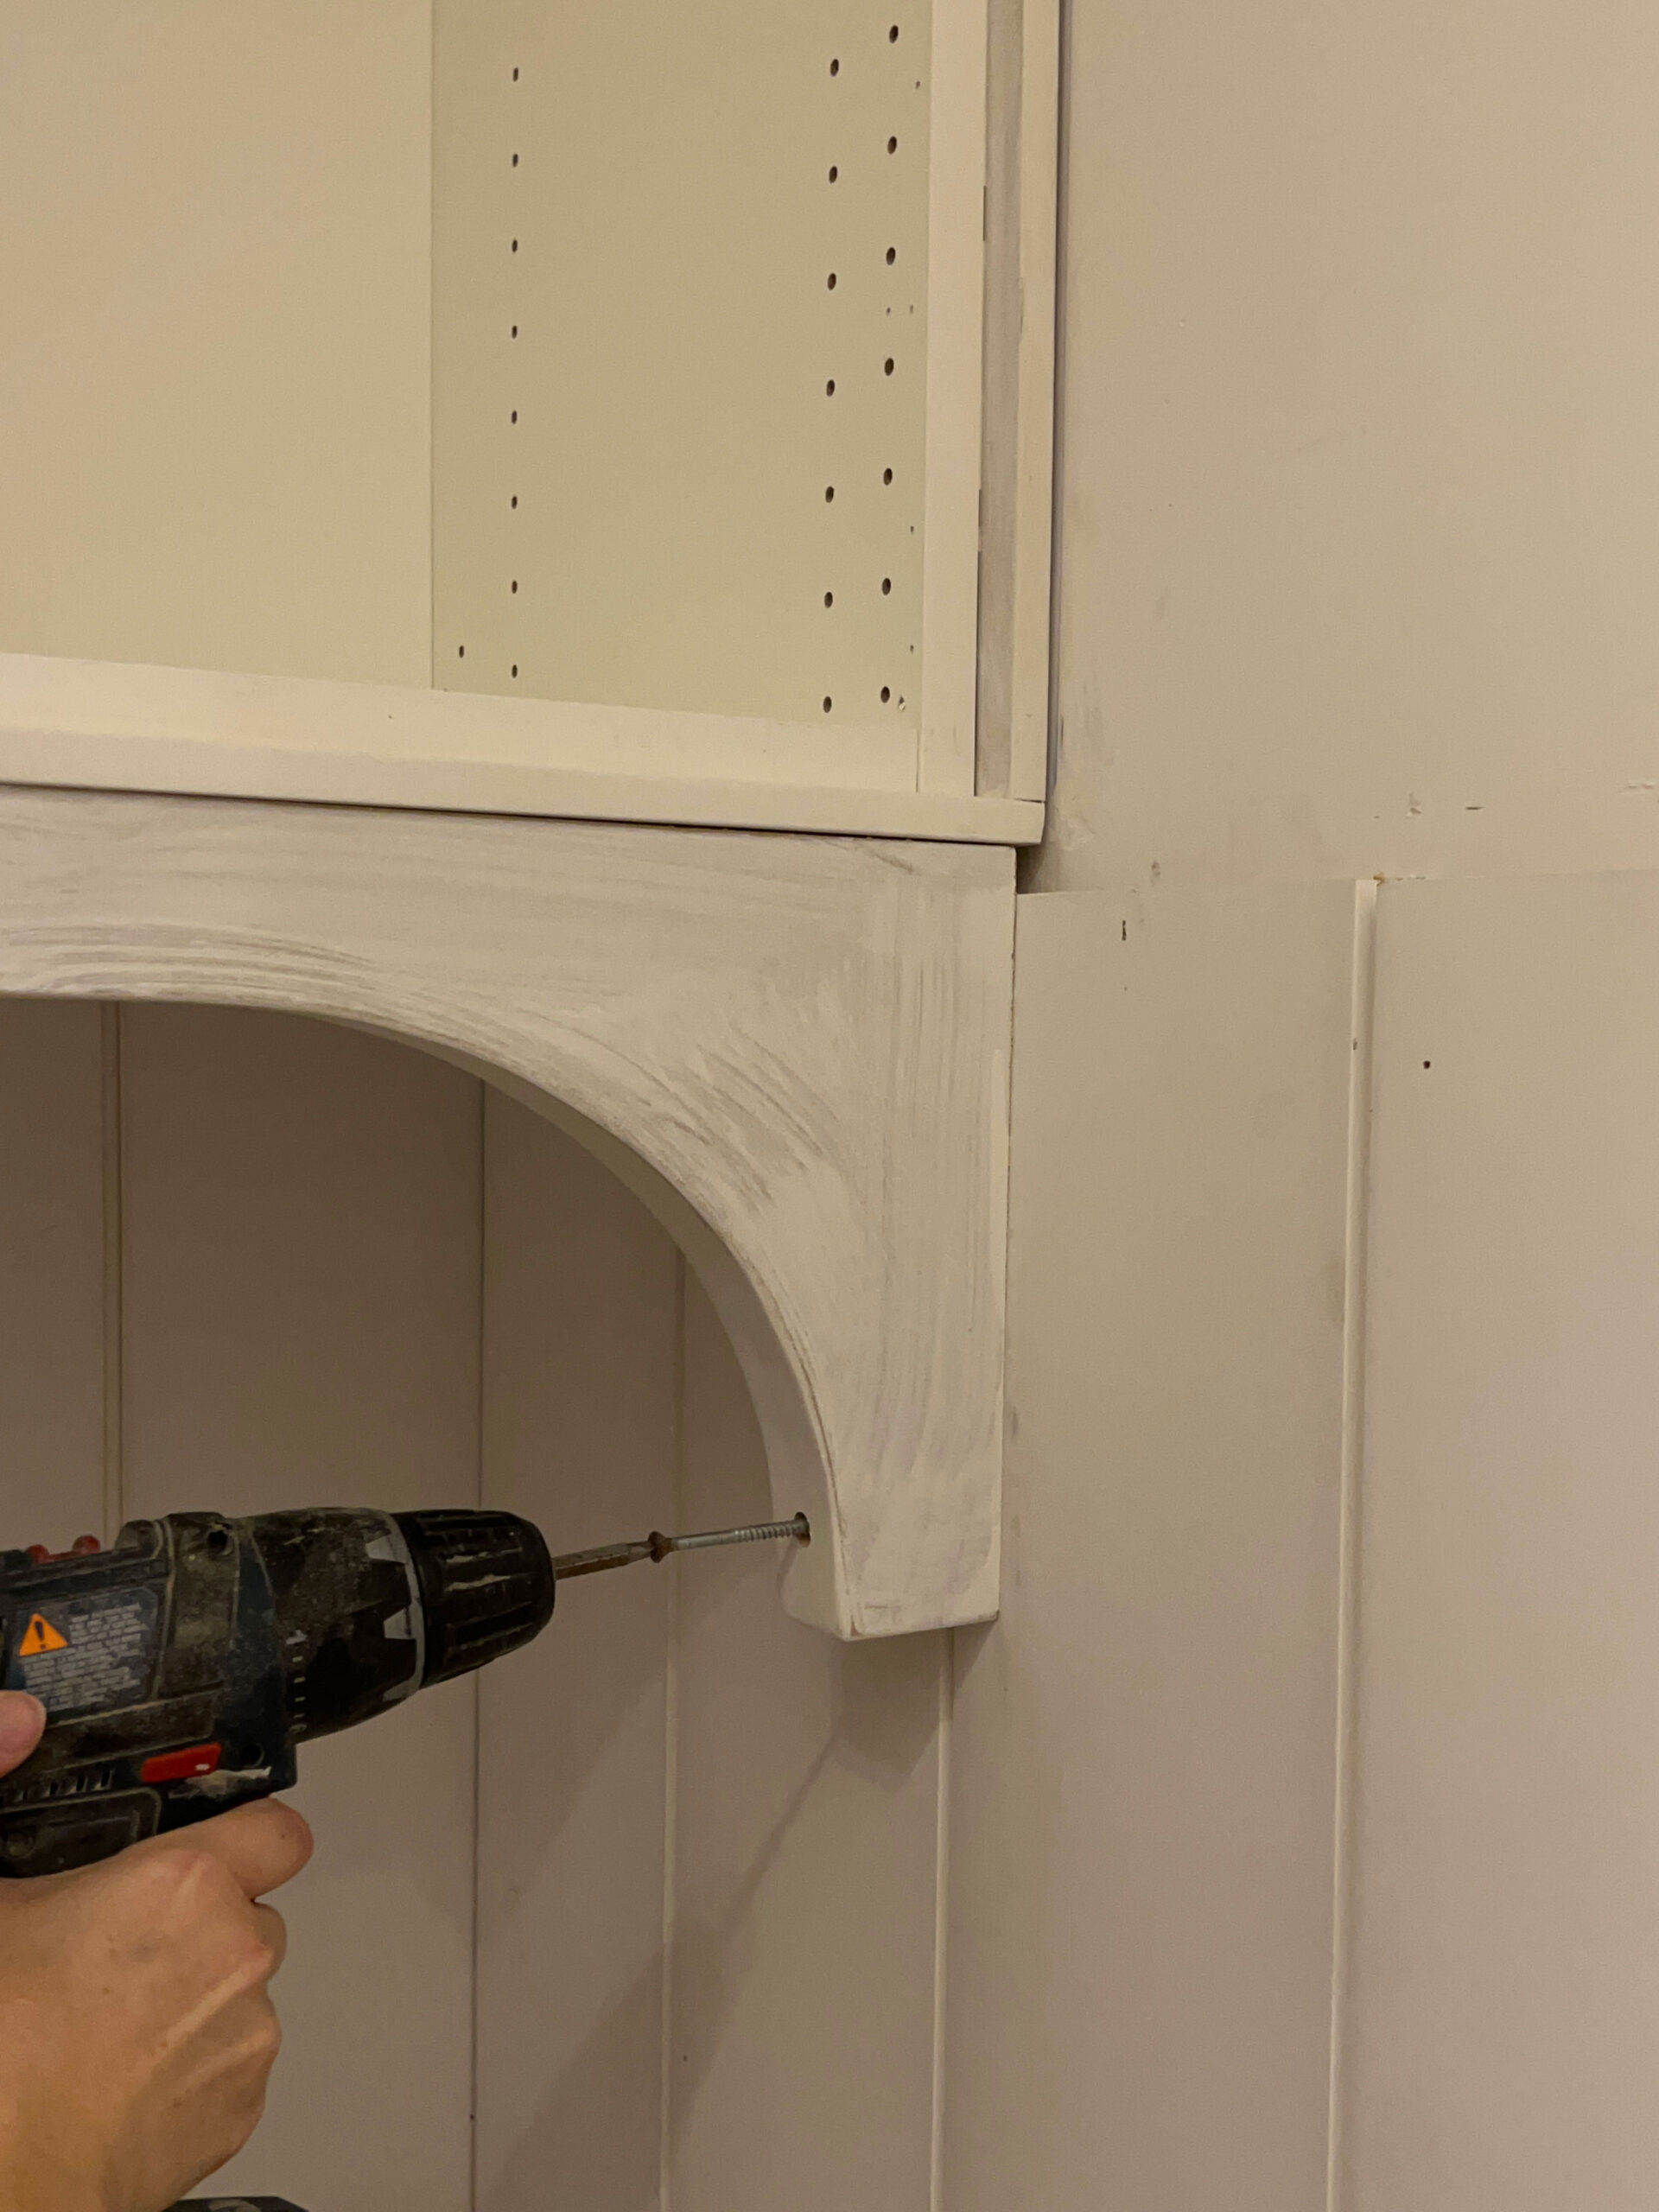
Once it’s secure, you can fill the hole over the screw with wood putty, sand, and paint.
If you have a pocket hole jig, you could attach the corbels to the wall into the studs using pocket holes as well.
Step 8 – Admire your beautiful corbels
Your next step will actually be to add a coat of paint to these bad boys, but for now, let’s just admire how fancy the addition of a little detail makes.

Coming Next Week
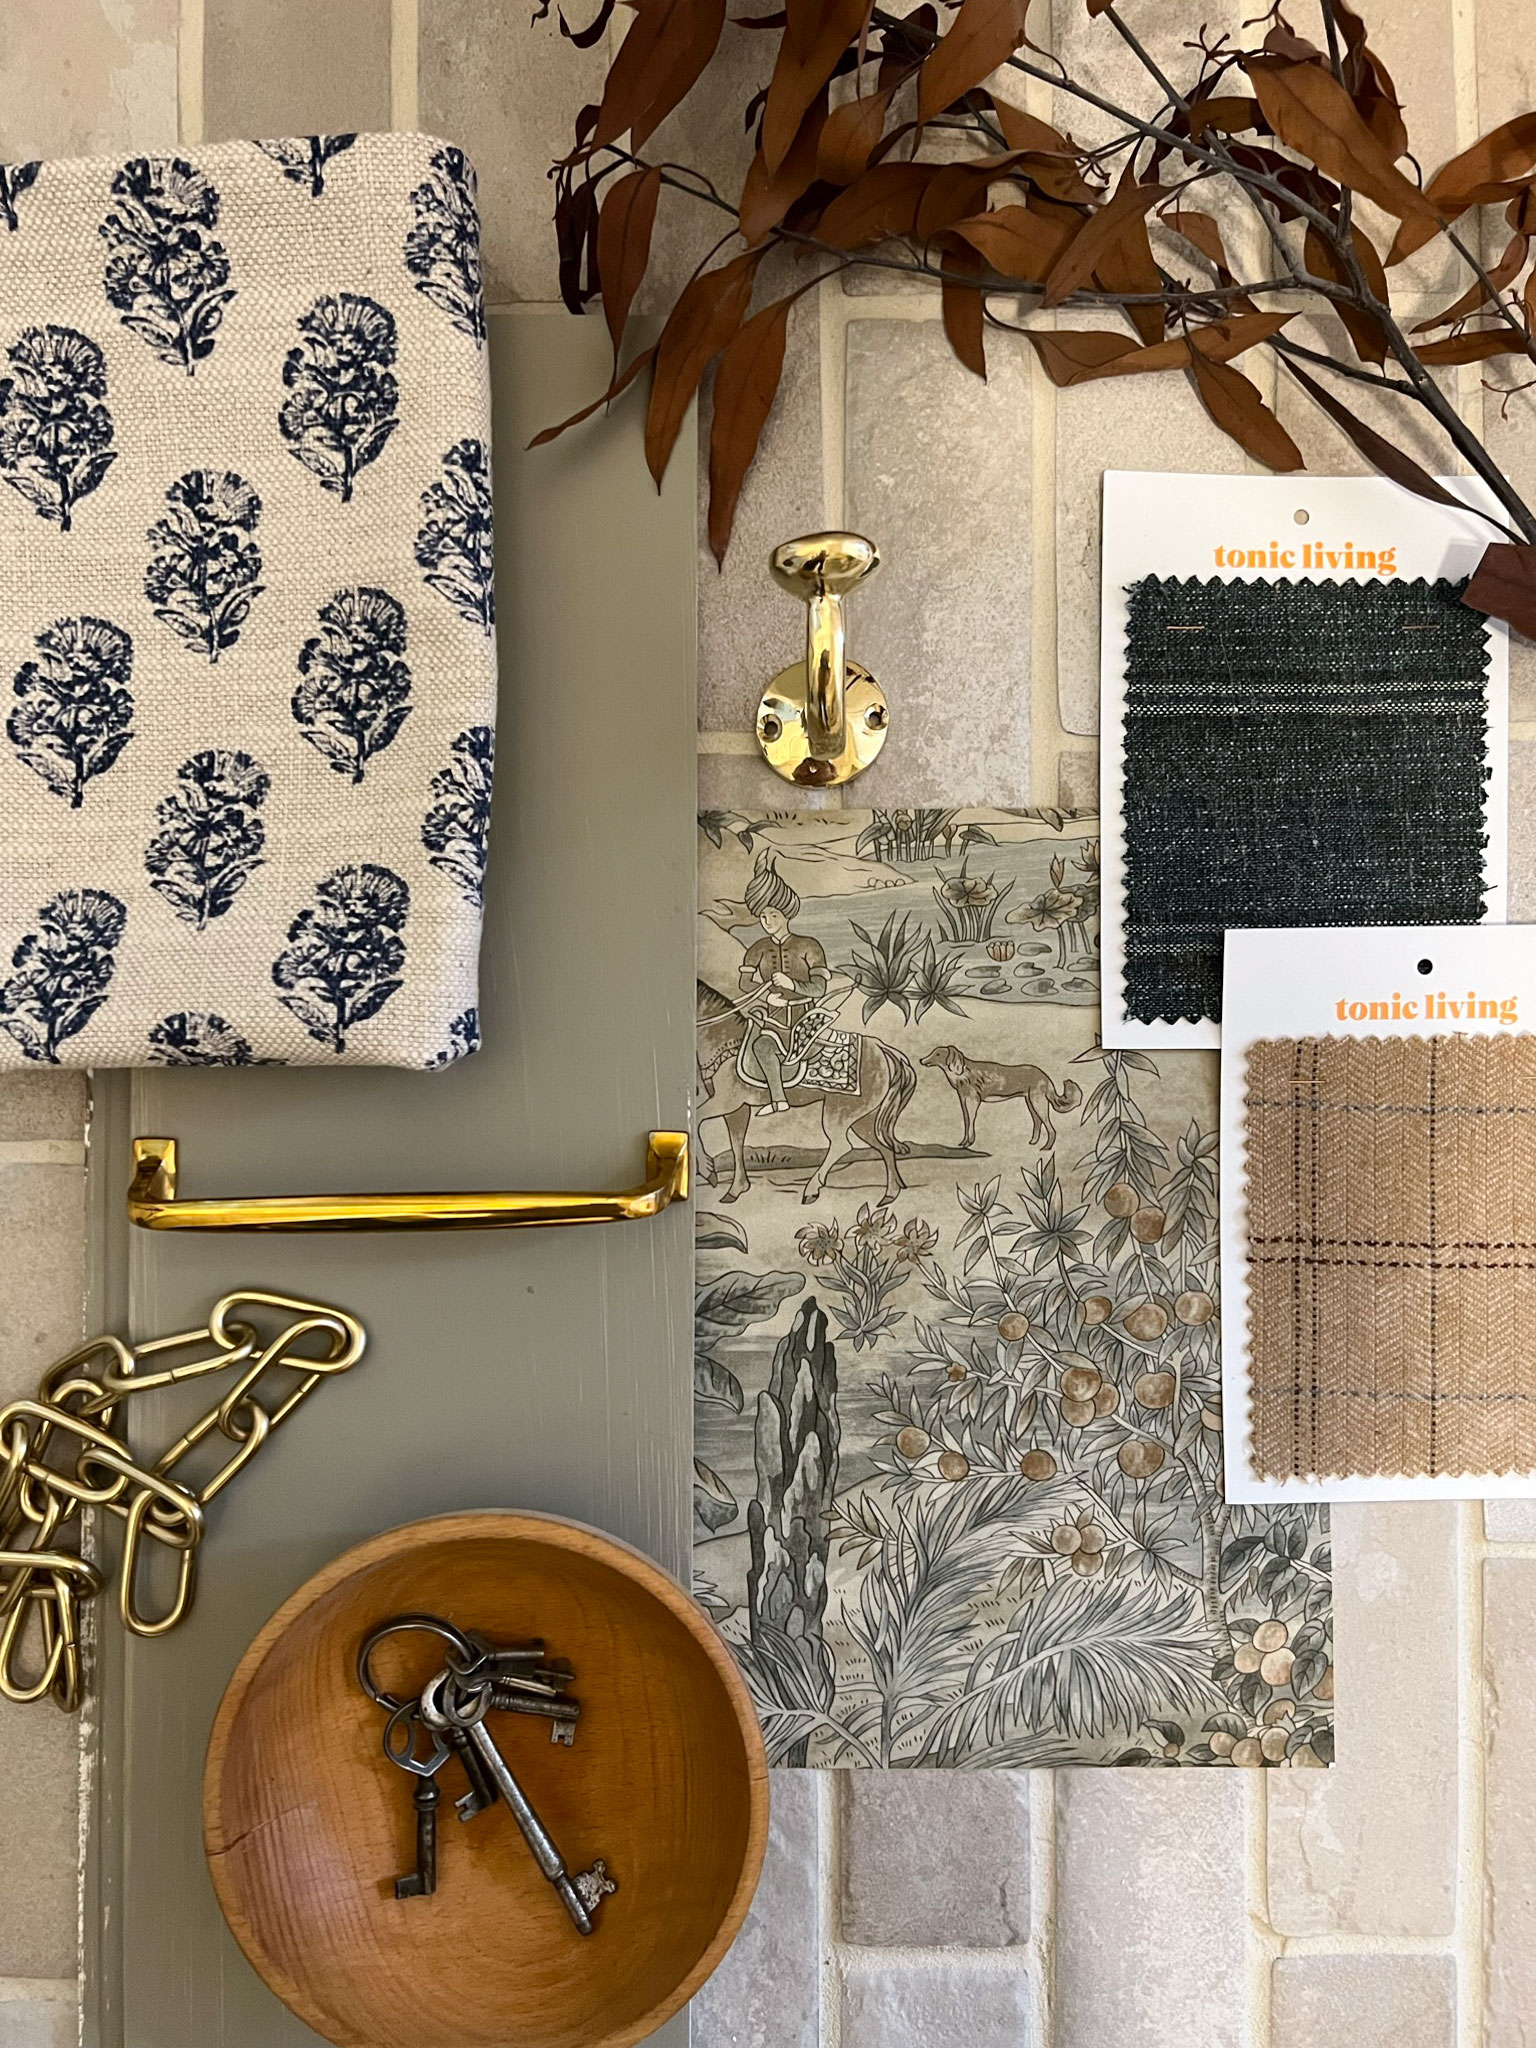
Next up is paint. Well actually, next up is actually filling holes and caulking which is something I should have been doing instead of making my own DIY corbels out of MDF, but let’s not focus on that. I am so excited to finally be starting to see the finishes come into the space, all of the things I need have arrived and are waiting to be installed, so I couldn’t resist a little flat lay of the materials. It’s making me so excited to finish up!
Be sure to check out what all the other One Room Challenge Participants were up to this week, you can circle back to the website here!