How Much does it cost to DIY a Kitchen?
When we finished up our kitchen renovation, one question we got often was “how much did it cost?” Of course, people wanted to know how much it all was and also how much we saved by DIY’ing the kitchen. Today I’m going to break down our own kitchen renovation cost so you can see what we spent, and also estimate what labour would have been for the parts we DIY’ed. I’m hoping this is helpful to you when planning your own renovation, and you can estimate for yourselves how much it costs to DIY a kitchen!
This post may contain affiliate links. That means if you purchase anything from these links I earn a small commission, at no extra cost to you! This helps support my blog, so thank you!
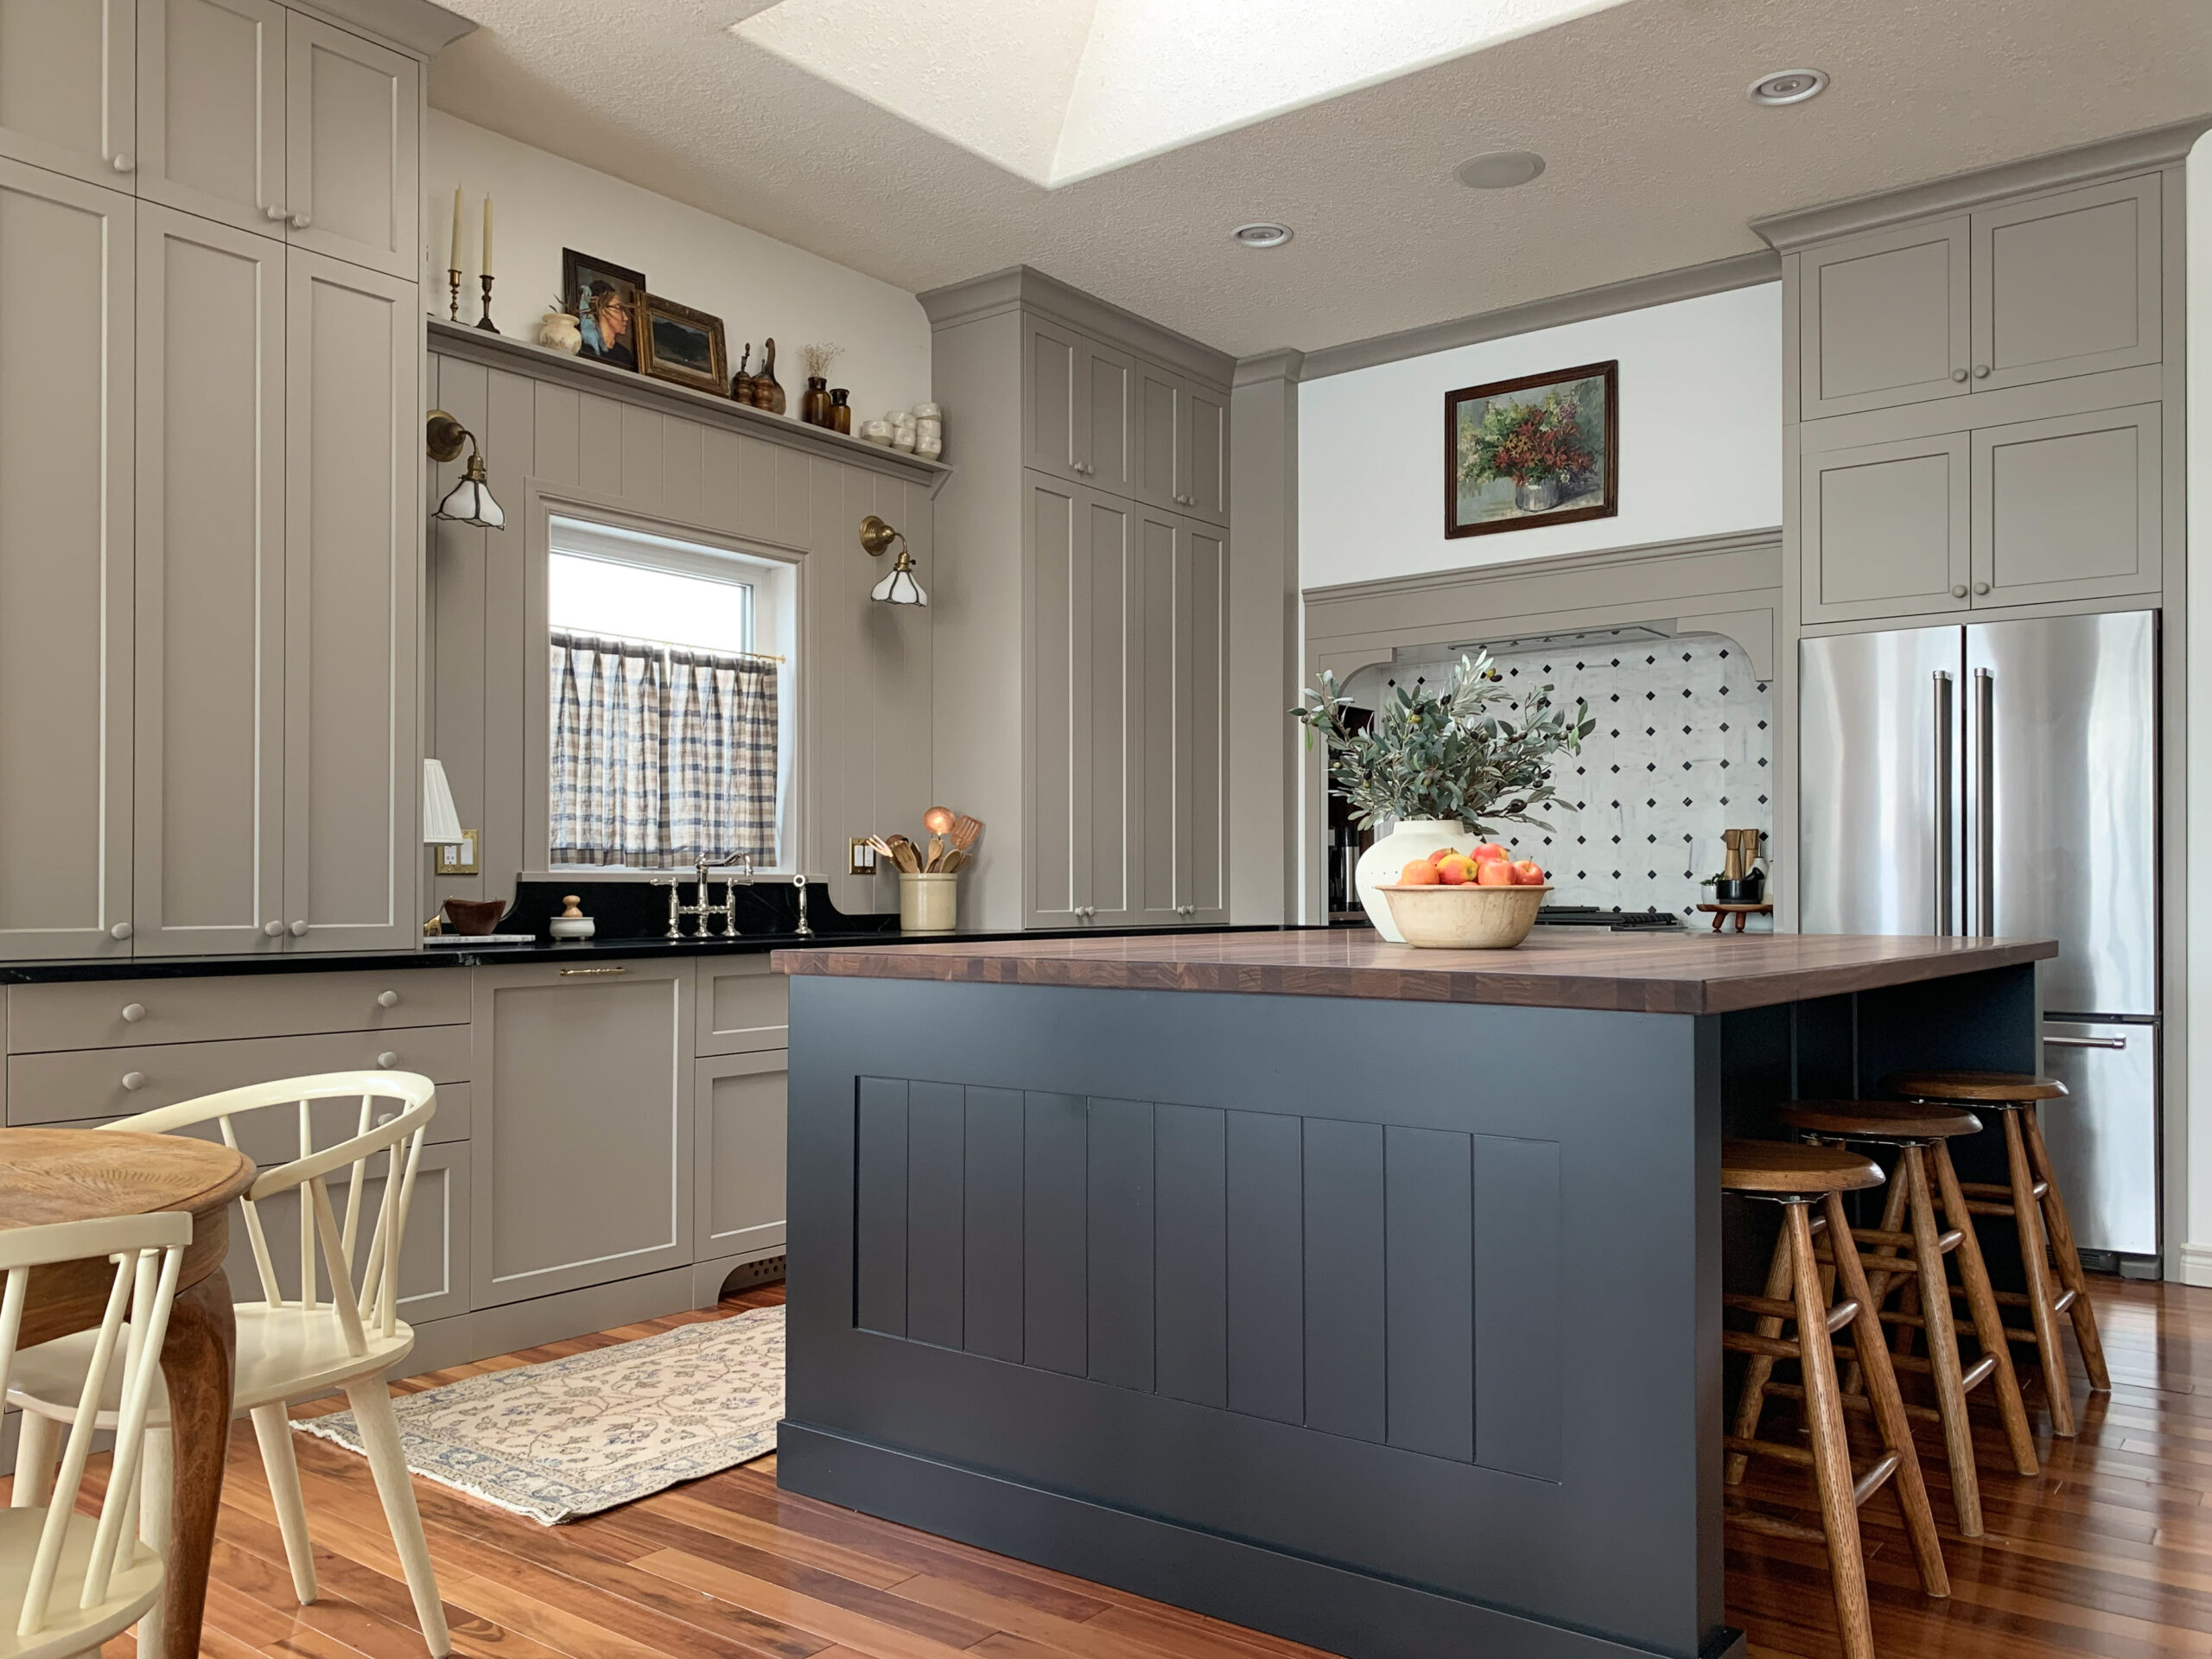
Table of Contents
- What factors affect the cost?
- Let's talk Labour
- How Much Does it Cost to DIY a Kitchen – a Breakdown!
- Other things that could affect the overall cost of a DIY Kitchen:
- Shop this Post:
- You Might Also Like:
What factors affect the cost?
Of course, all kitchens are different, the size of your kitchen, the material choices, custom cabinets versus off-the-shelf, and even the area of the world that you are located in can all affect the cost.
So today, I will try to estimate a high/ medium/ low cost for each item I talk about so you can use this as a bit of a tool to estimate your own kitchen renovation!
I am located in Red Deer, Alberta, Canada. so the costs that I discuss here will be in Canadian Dollars.
Let’s talk Labour
Labour costs are probably the thing that varies the most regionally. My husband is a Commercial contractor and he has found over the years that labour and materials tend to be pretty close to the same where we live. So, if you have a kitchen project and you estimate the value of materials to be around 20K, then you can expect to pay almost that much for labour as well if you live in our neck of the woods.
When I talk about labour, I’m including the cost to hire any human… so the electrician, the plumber, demolition labourers, carpenters, general contractor or project manager.
Even though we DIY’ed this kitchen, we did hire a plumber and an electrician for all the electrical work. The plumber ran a gas line for us and then hooked up our sink, faucet, gas stove and dishwasher, and the electrician had a pretty big job, basically moving everything in the remodelled kitchen.
We also hired a drywaller to tape and mud since we had a bulkhead removed from the ceiling and it was tricky to tie in the ceiling texture.
Another thing you may want to budget for in the labour category is an interior designer. Many custom cabinet companies will help with optimizing the kitchen layout, but there are so many decisions to make in a kitchen beyond the layout, that hiring a designer to help with those can make all the difference between a dream kitchen, or one that falls short.
Our kitchen was very DIY- heavy, considering we made all of the things like the vent hood, the spice rack, the corner appliance pull out, and took extra time to do flush mount toe kicks and build in our refrigerator. If I had to estimate the cost of labour had we hired a carpenter to do that as well as a general contractor to manage the deliveries and trades, I would say it would have been at least $15,000 – $20,000. (My husband and I estimated 4-6 weeks for a carpenter at $60/hr and 10 – 15% for a General Contractor, which is normal in the area I live.)
For our kitchen, our labour costs (electrician, plumber and drywaller) were approximately $4,000.
How Much Does it Cost to DIY a Kitchen – a Breakdown!
Because the cost of labour is such a difficult thing to pin down, we will focus on material costs for the remainder of this post.
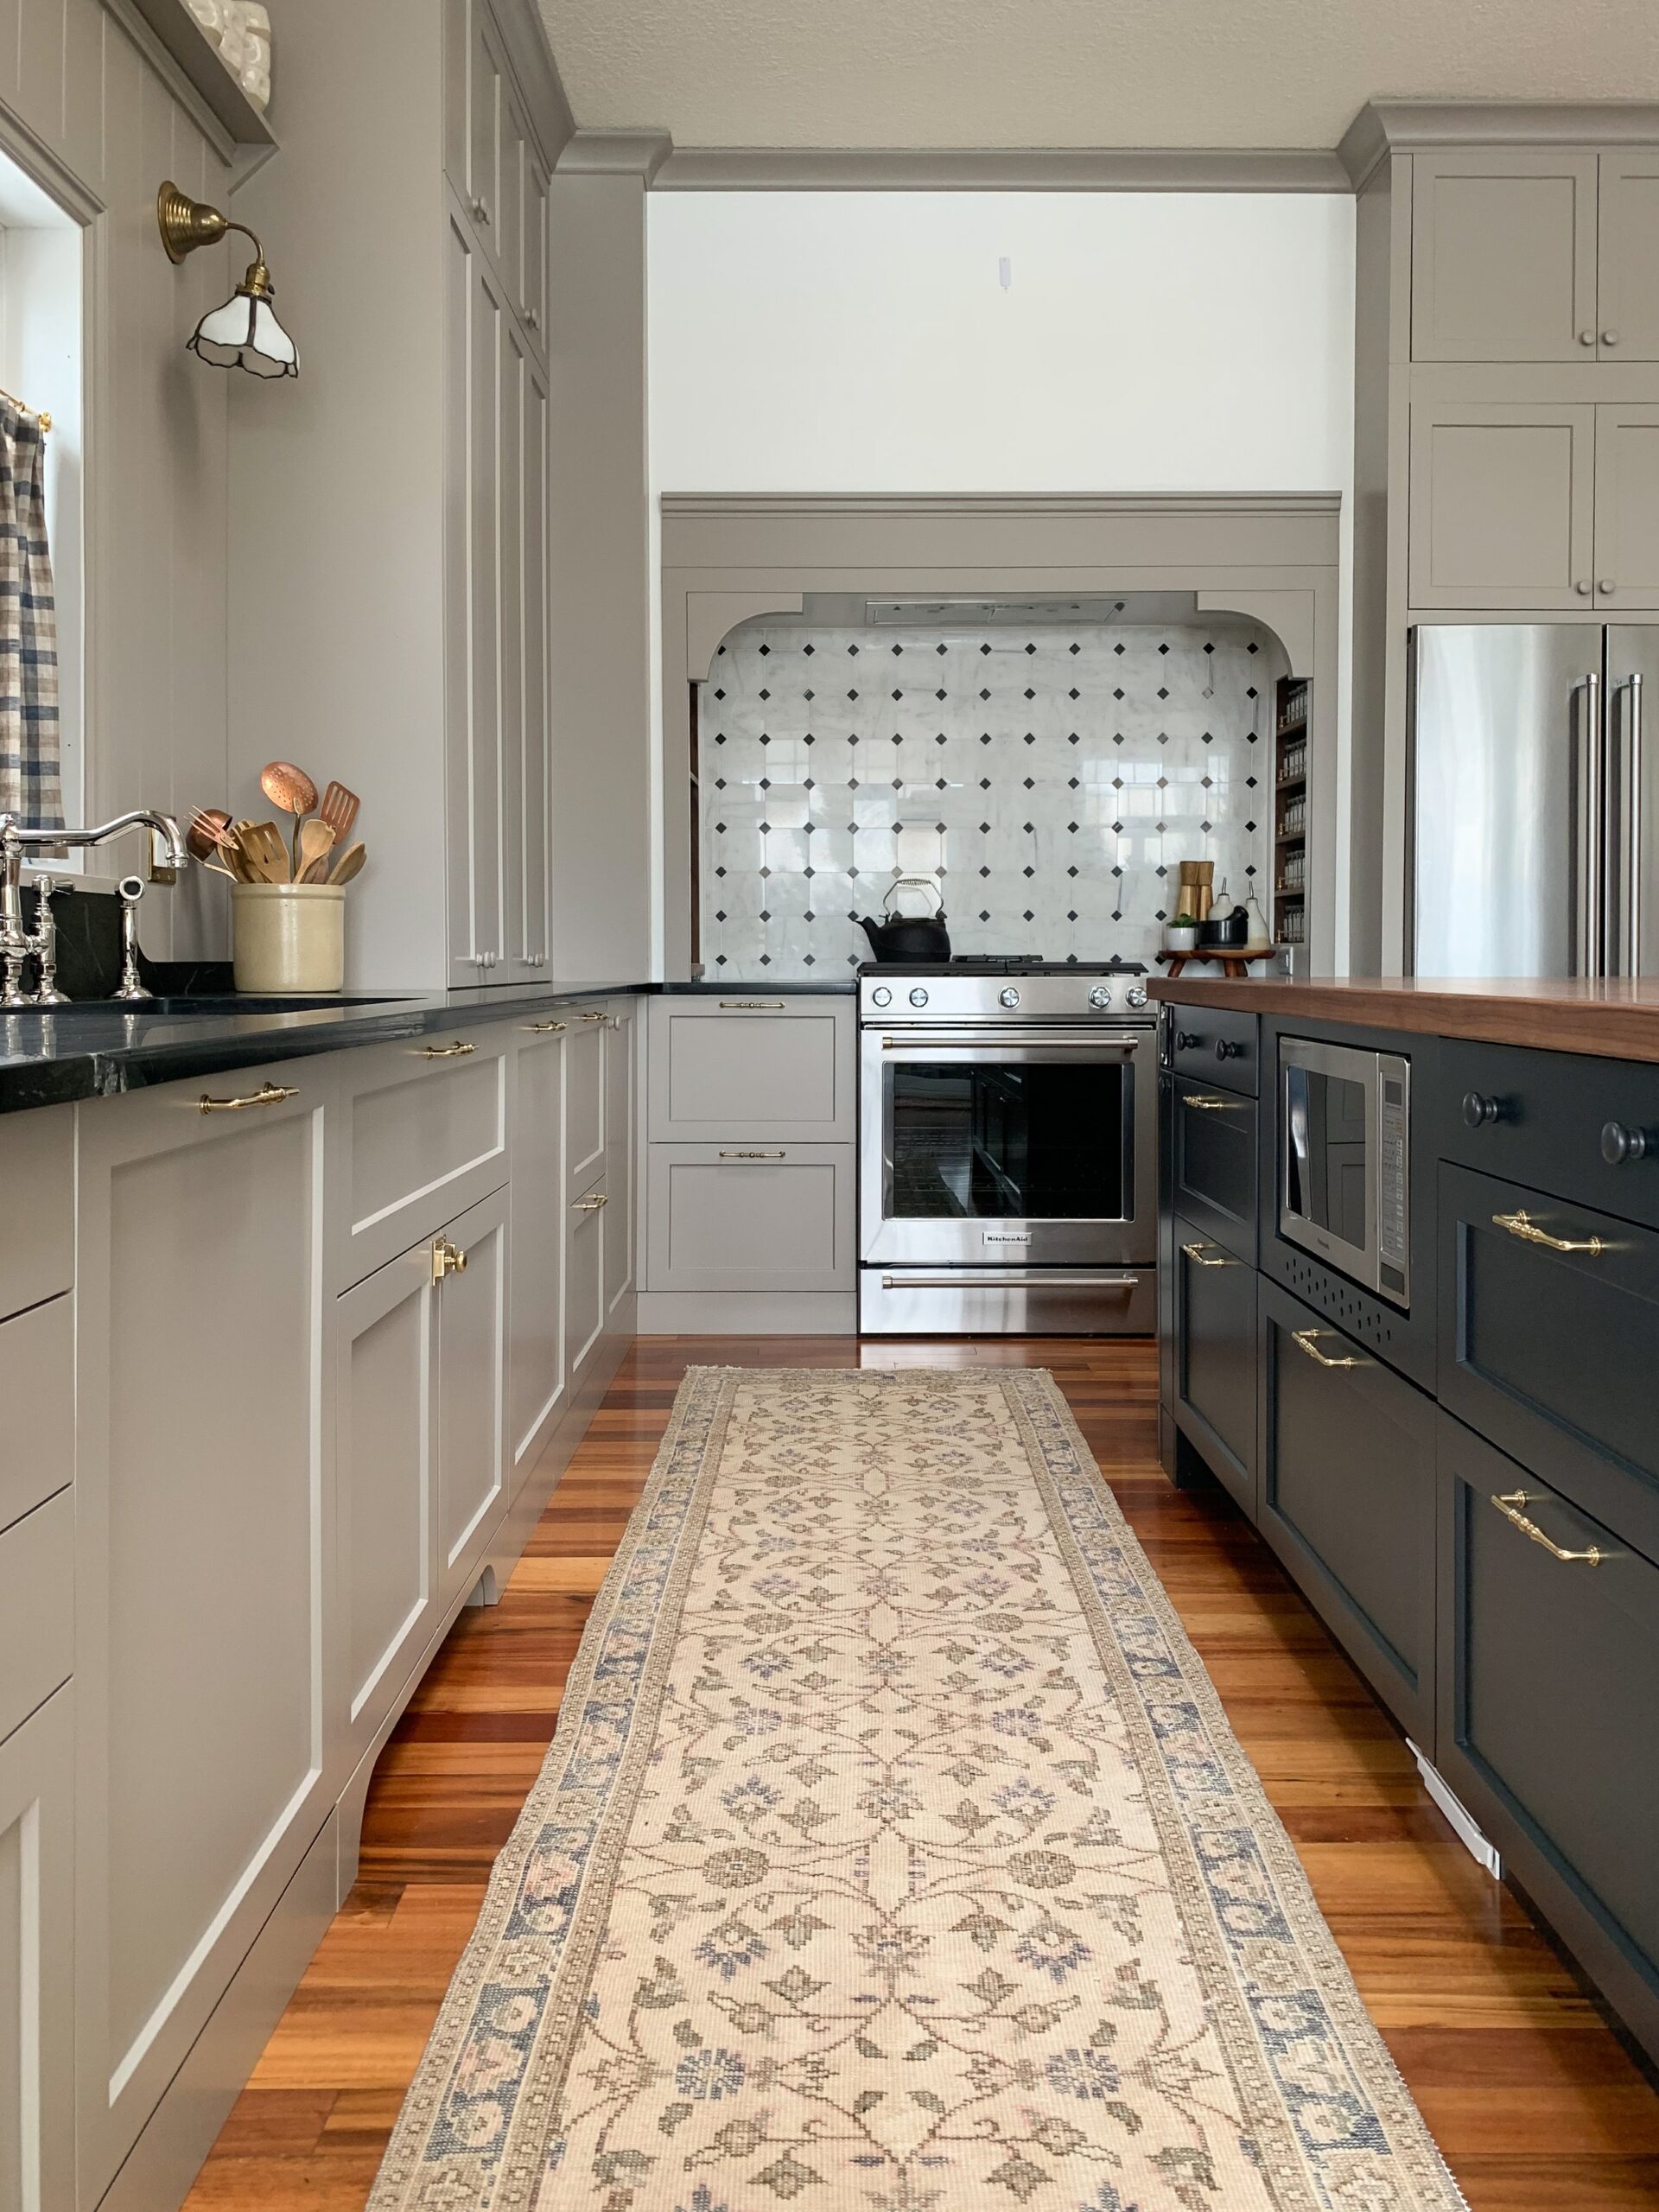
For each element, I will explain a little about why we chose to save or splurge on that item, what we paid, and what we could have paid had we chosen something more or less expensive. My kitchen is 16 ft by x 12 ft, so it gives you an idea of what a similar kitchen of that size might cost.
Kitchen Cabinets
The first item you need to think about when planning your budget is the new cabinets. The cost of cabinets depends on a few things, are you using stock cabinets, custom cabinets, or something in between?
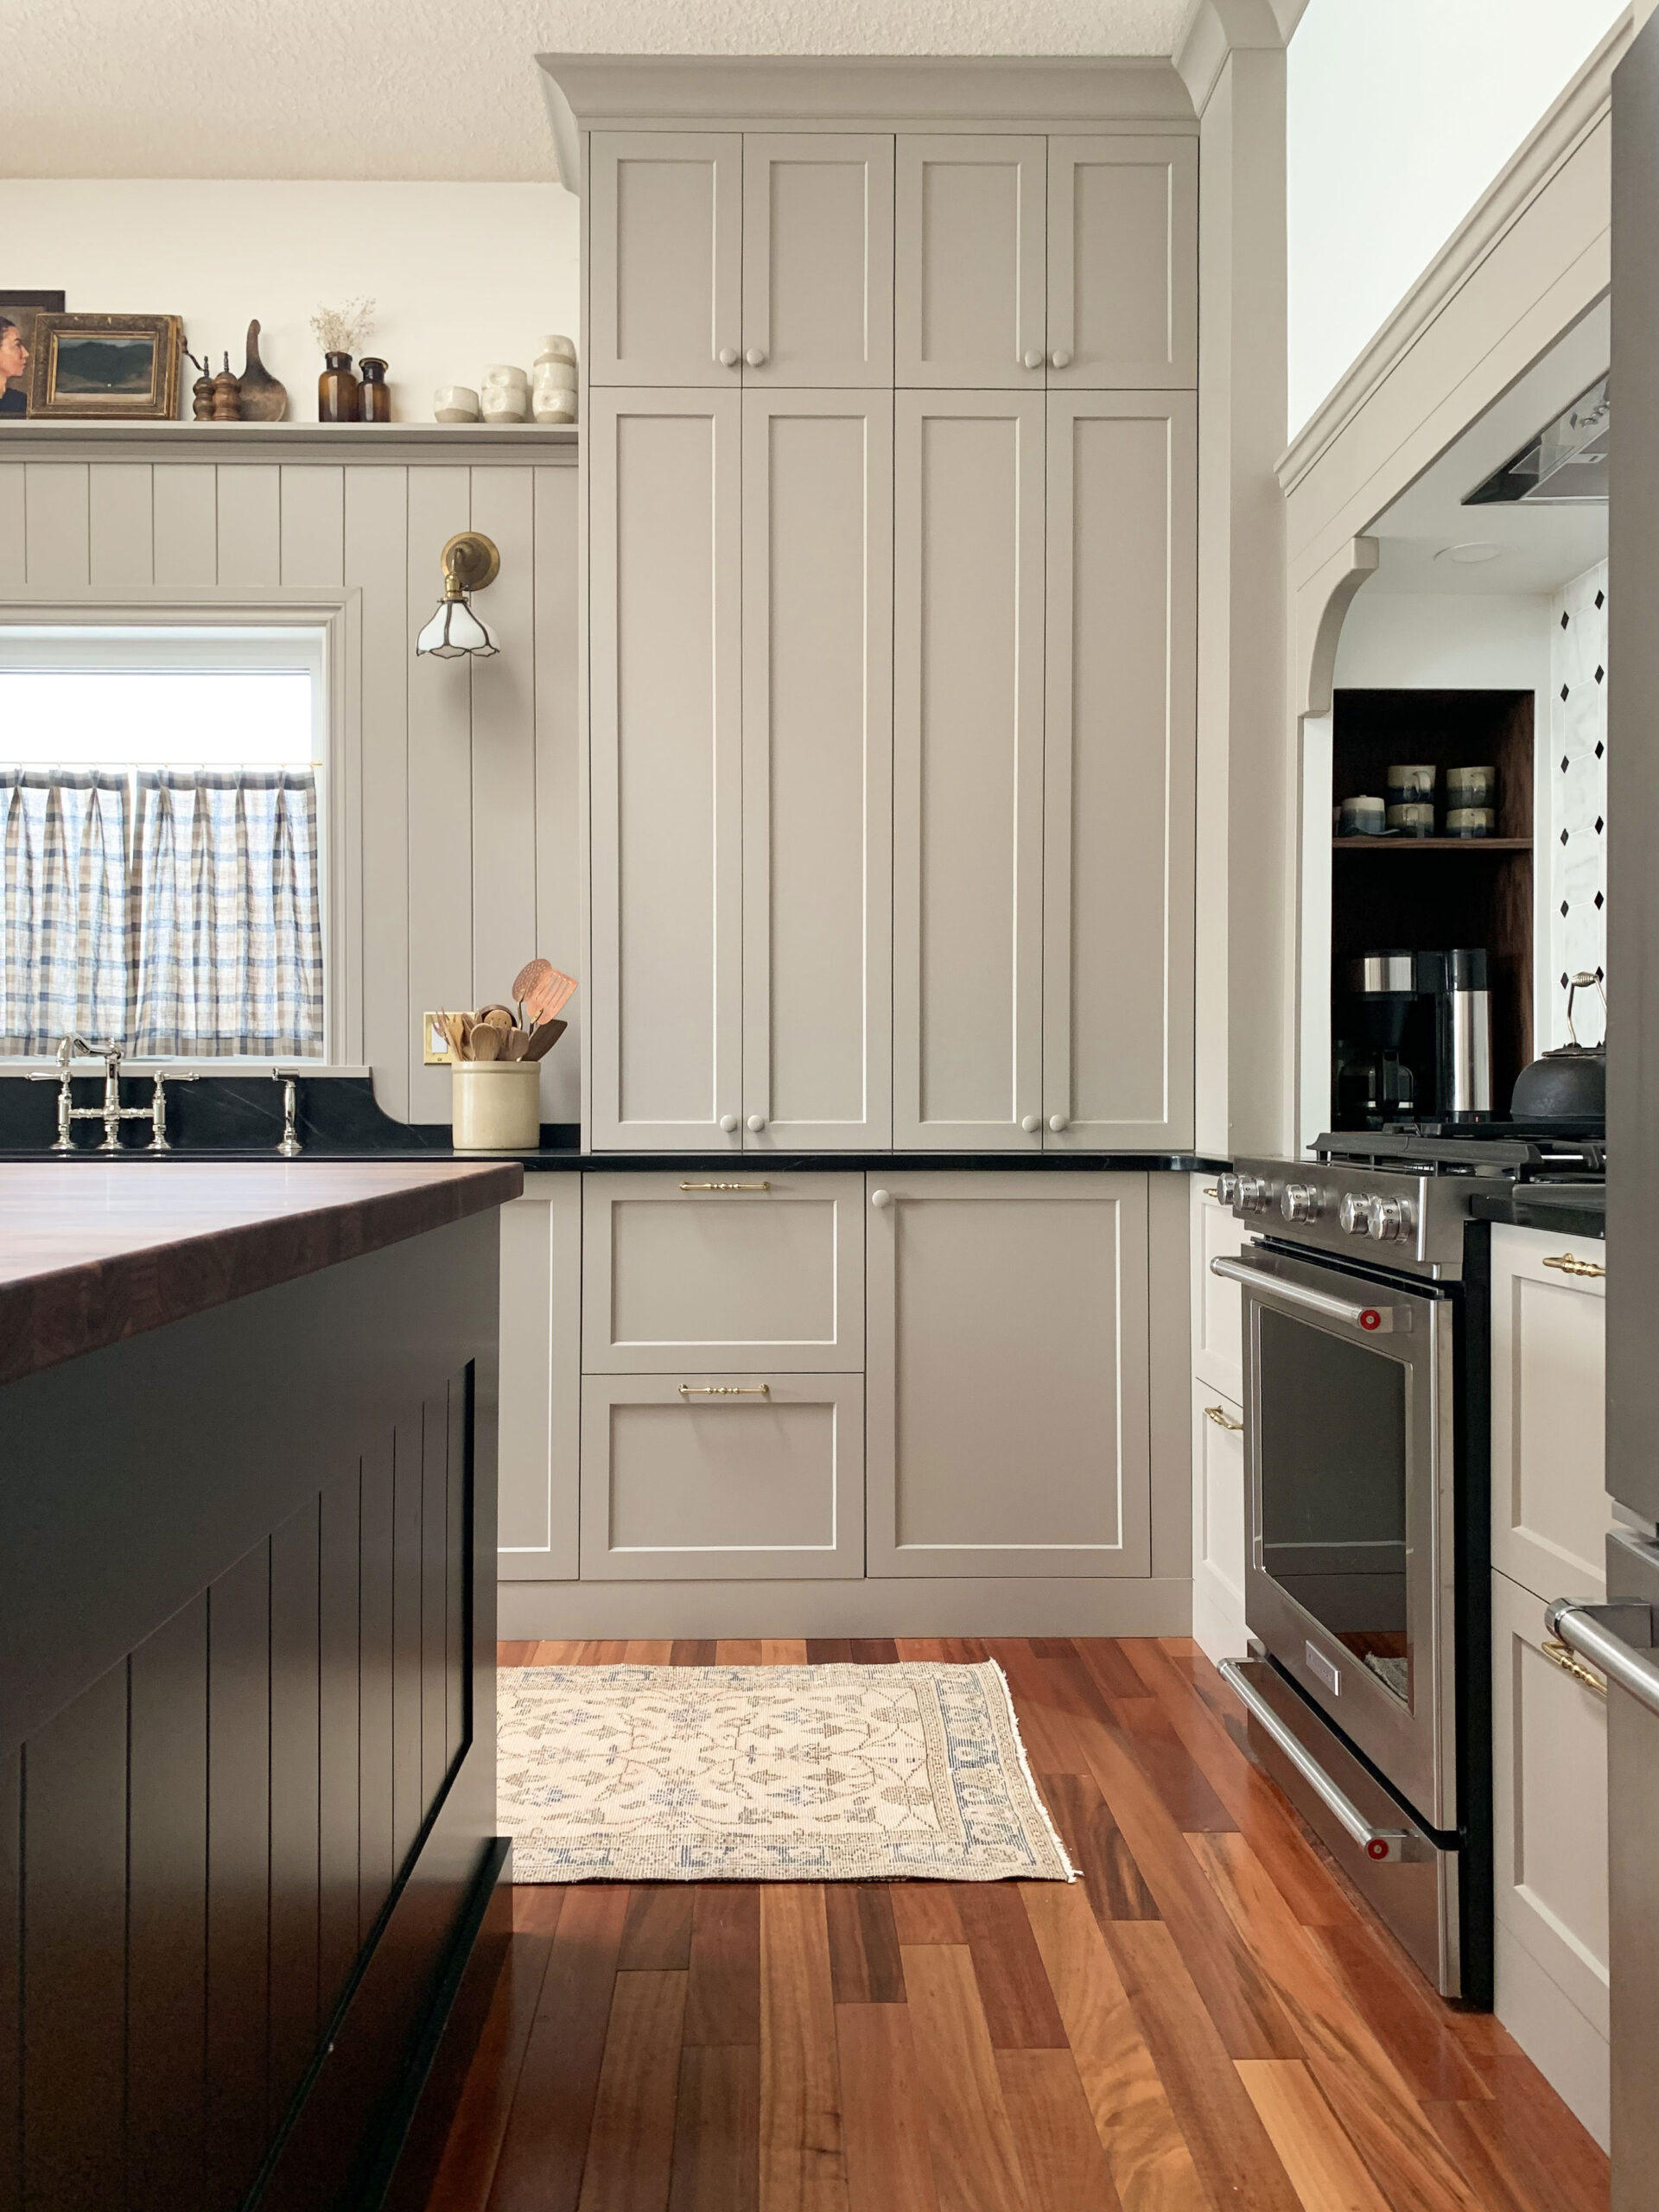
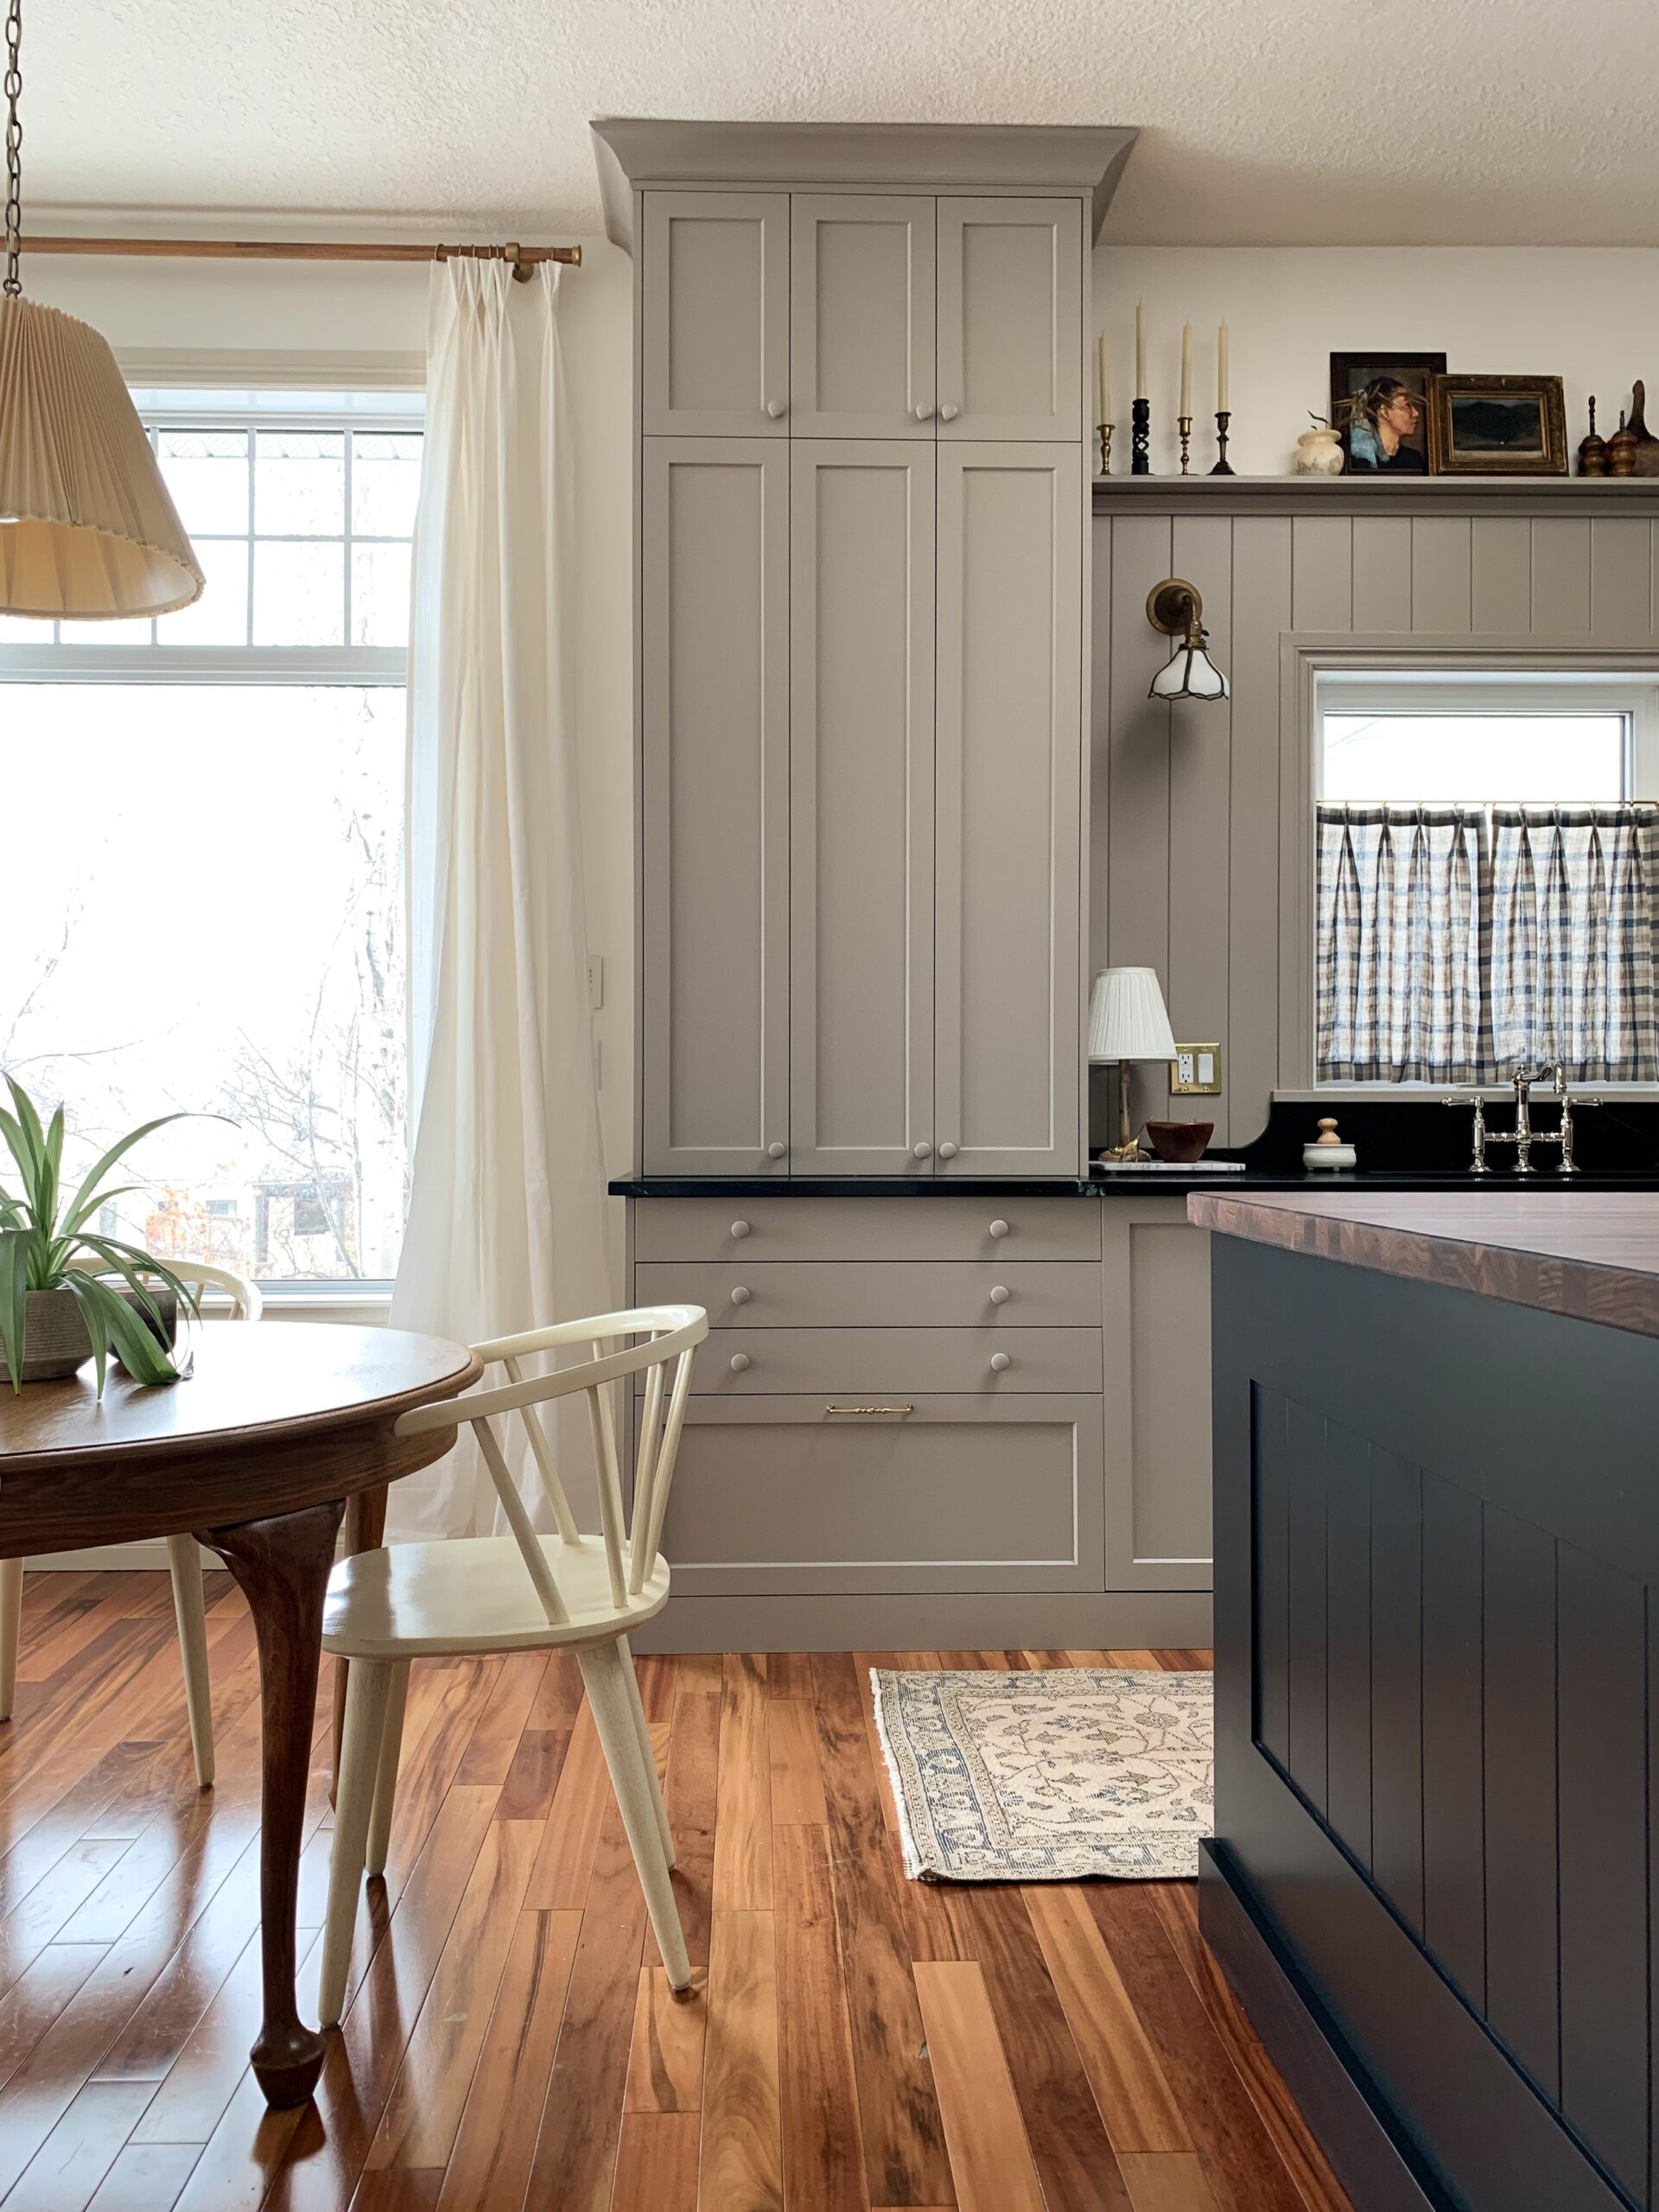
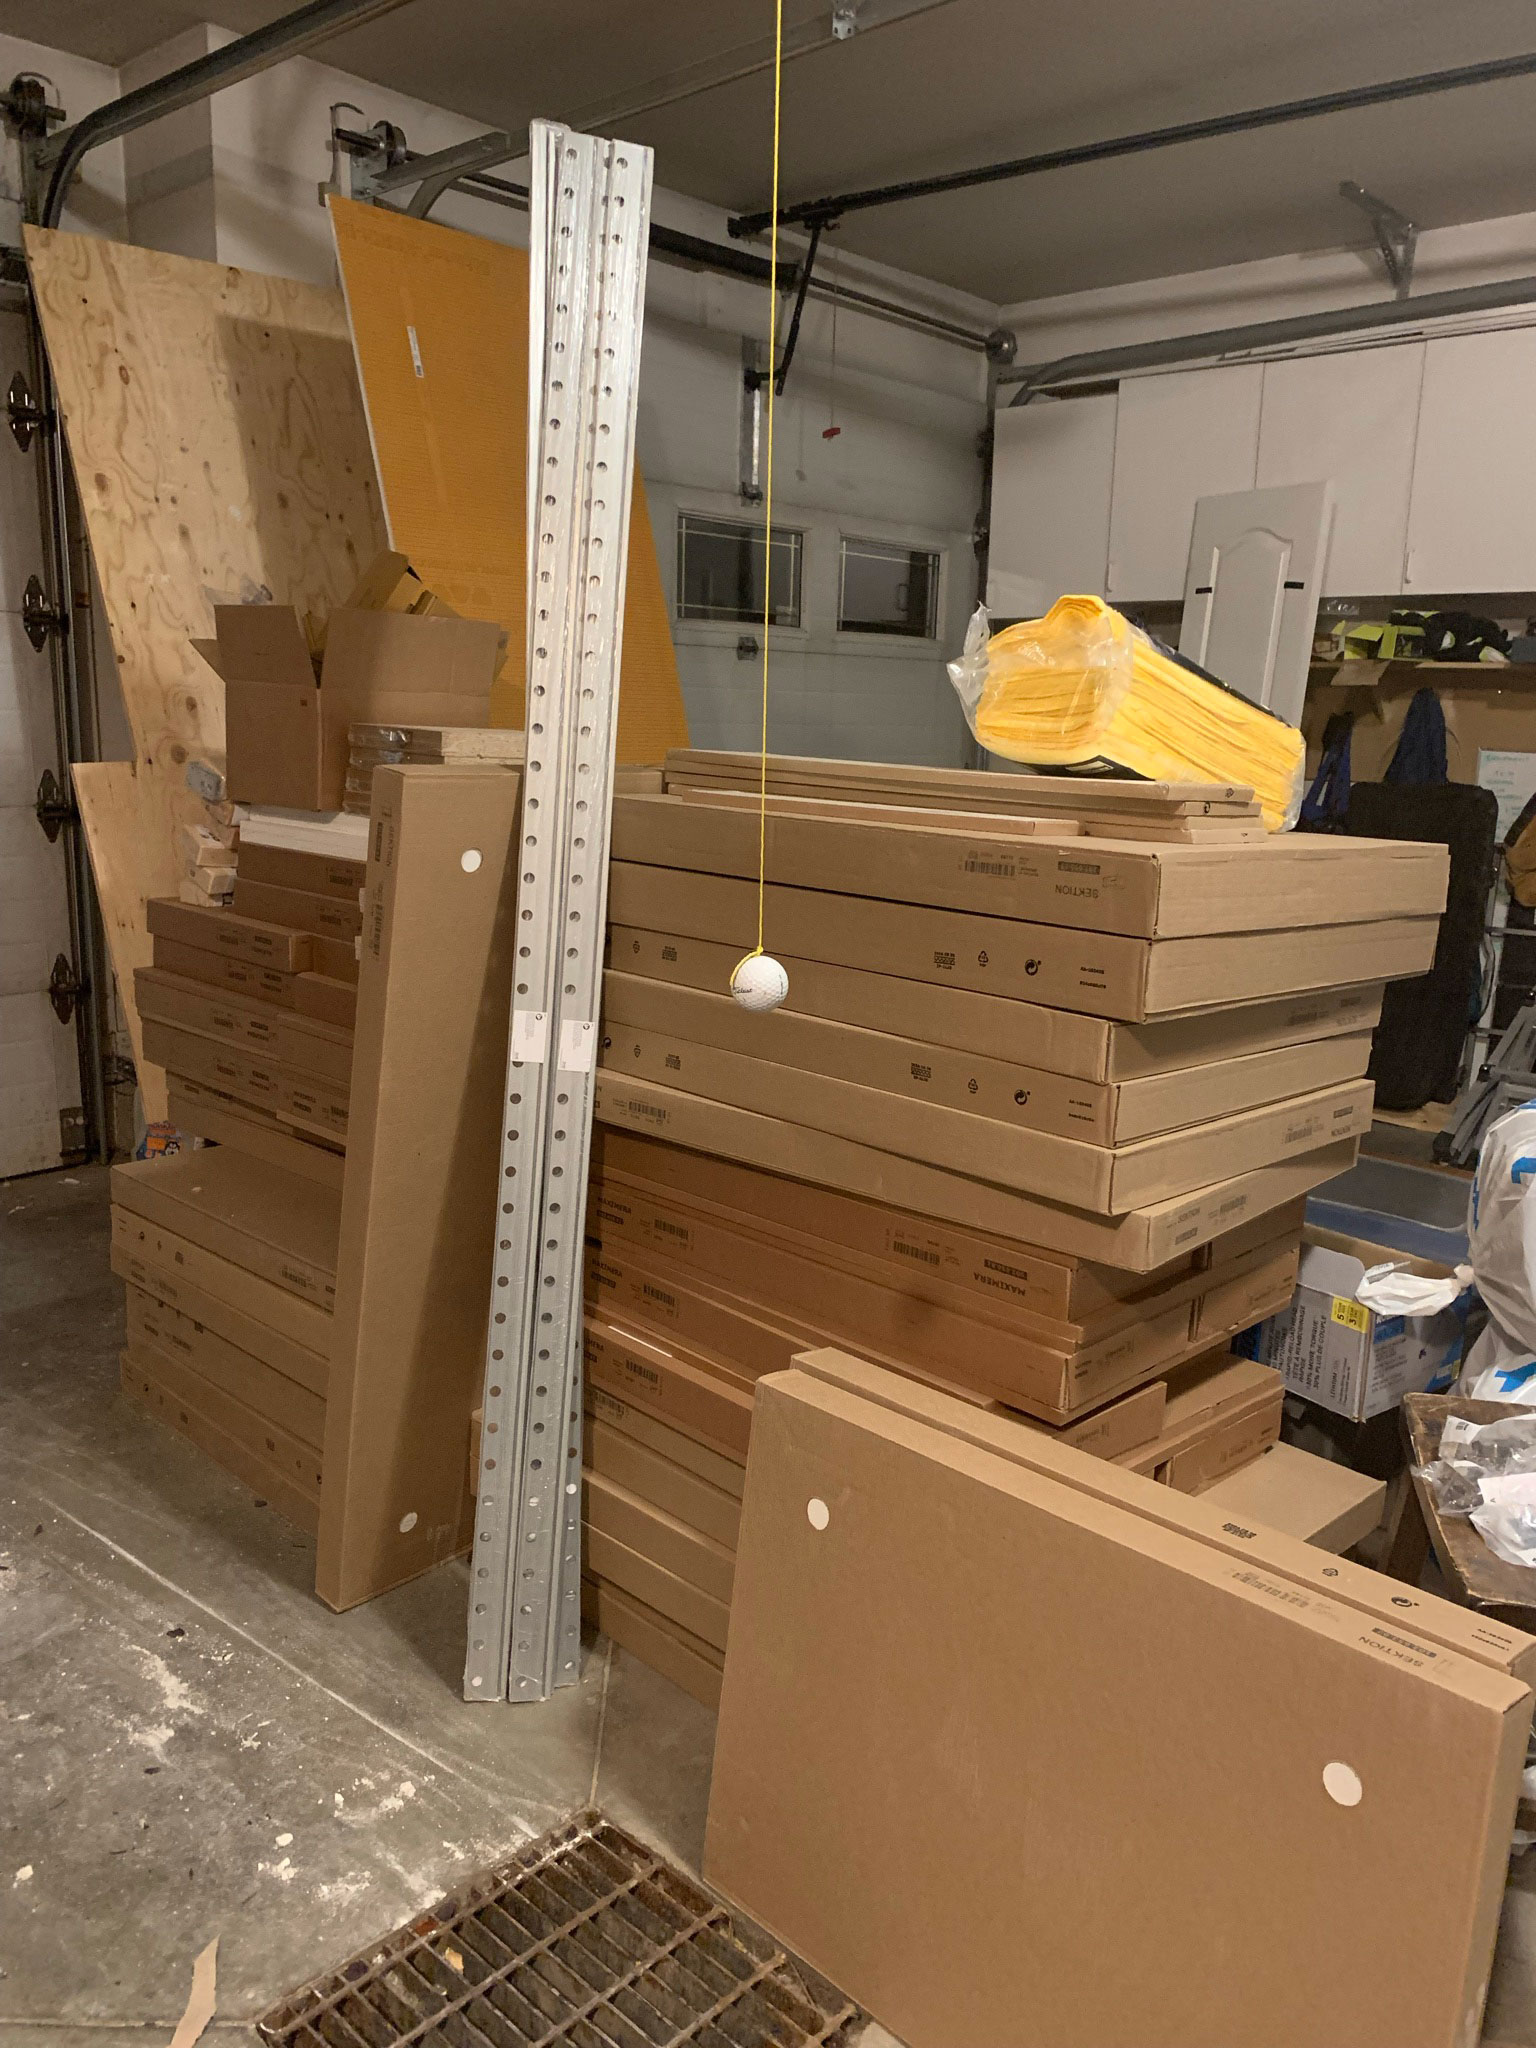
For our kitchen, we used Ikea cabinets (lower cost) but upgraded the doors and panels to Custom. This was probably the biggest savings (beyond labour) that we had. There are many companies these days that make custom doors, drawer fronts and panels for Ikea cabinets. I chose the company we used because I was able to customize the colour to any Benjamin Moore colour I wanted, which was something that is important to me.
I was also able to have a few custom pieces made which made our DIY project a bit easier, like my microwave cabinet and my island end panels.

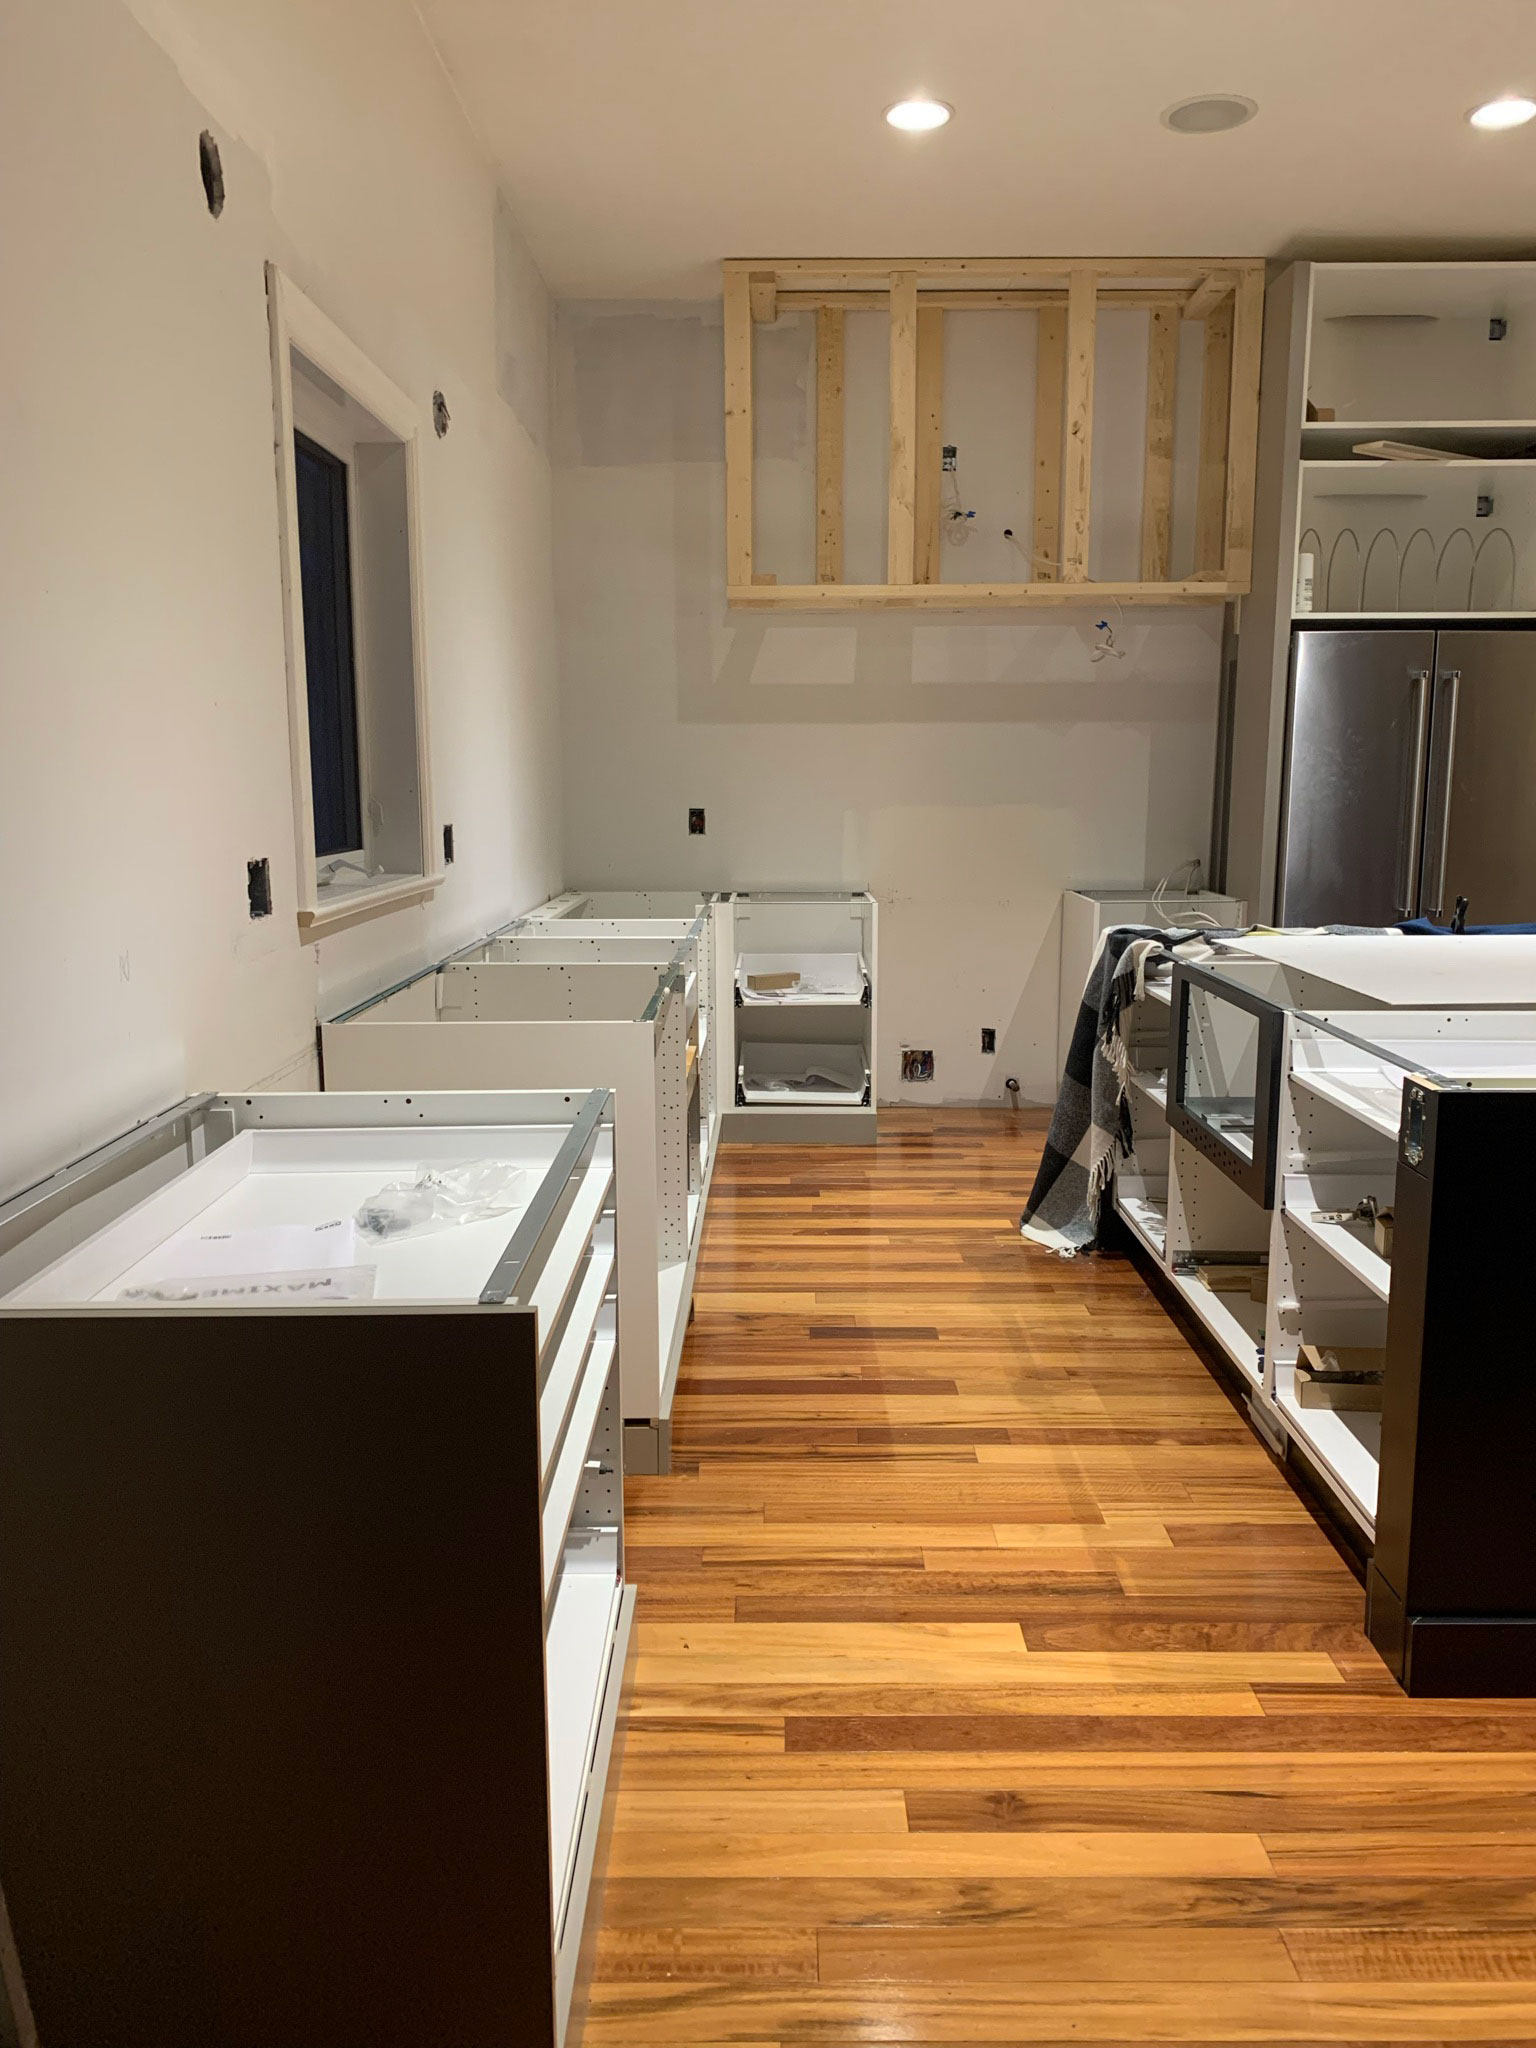
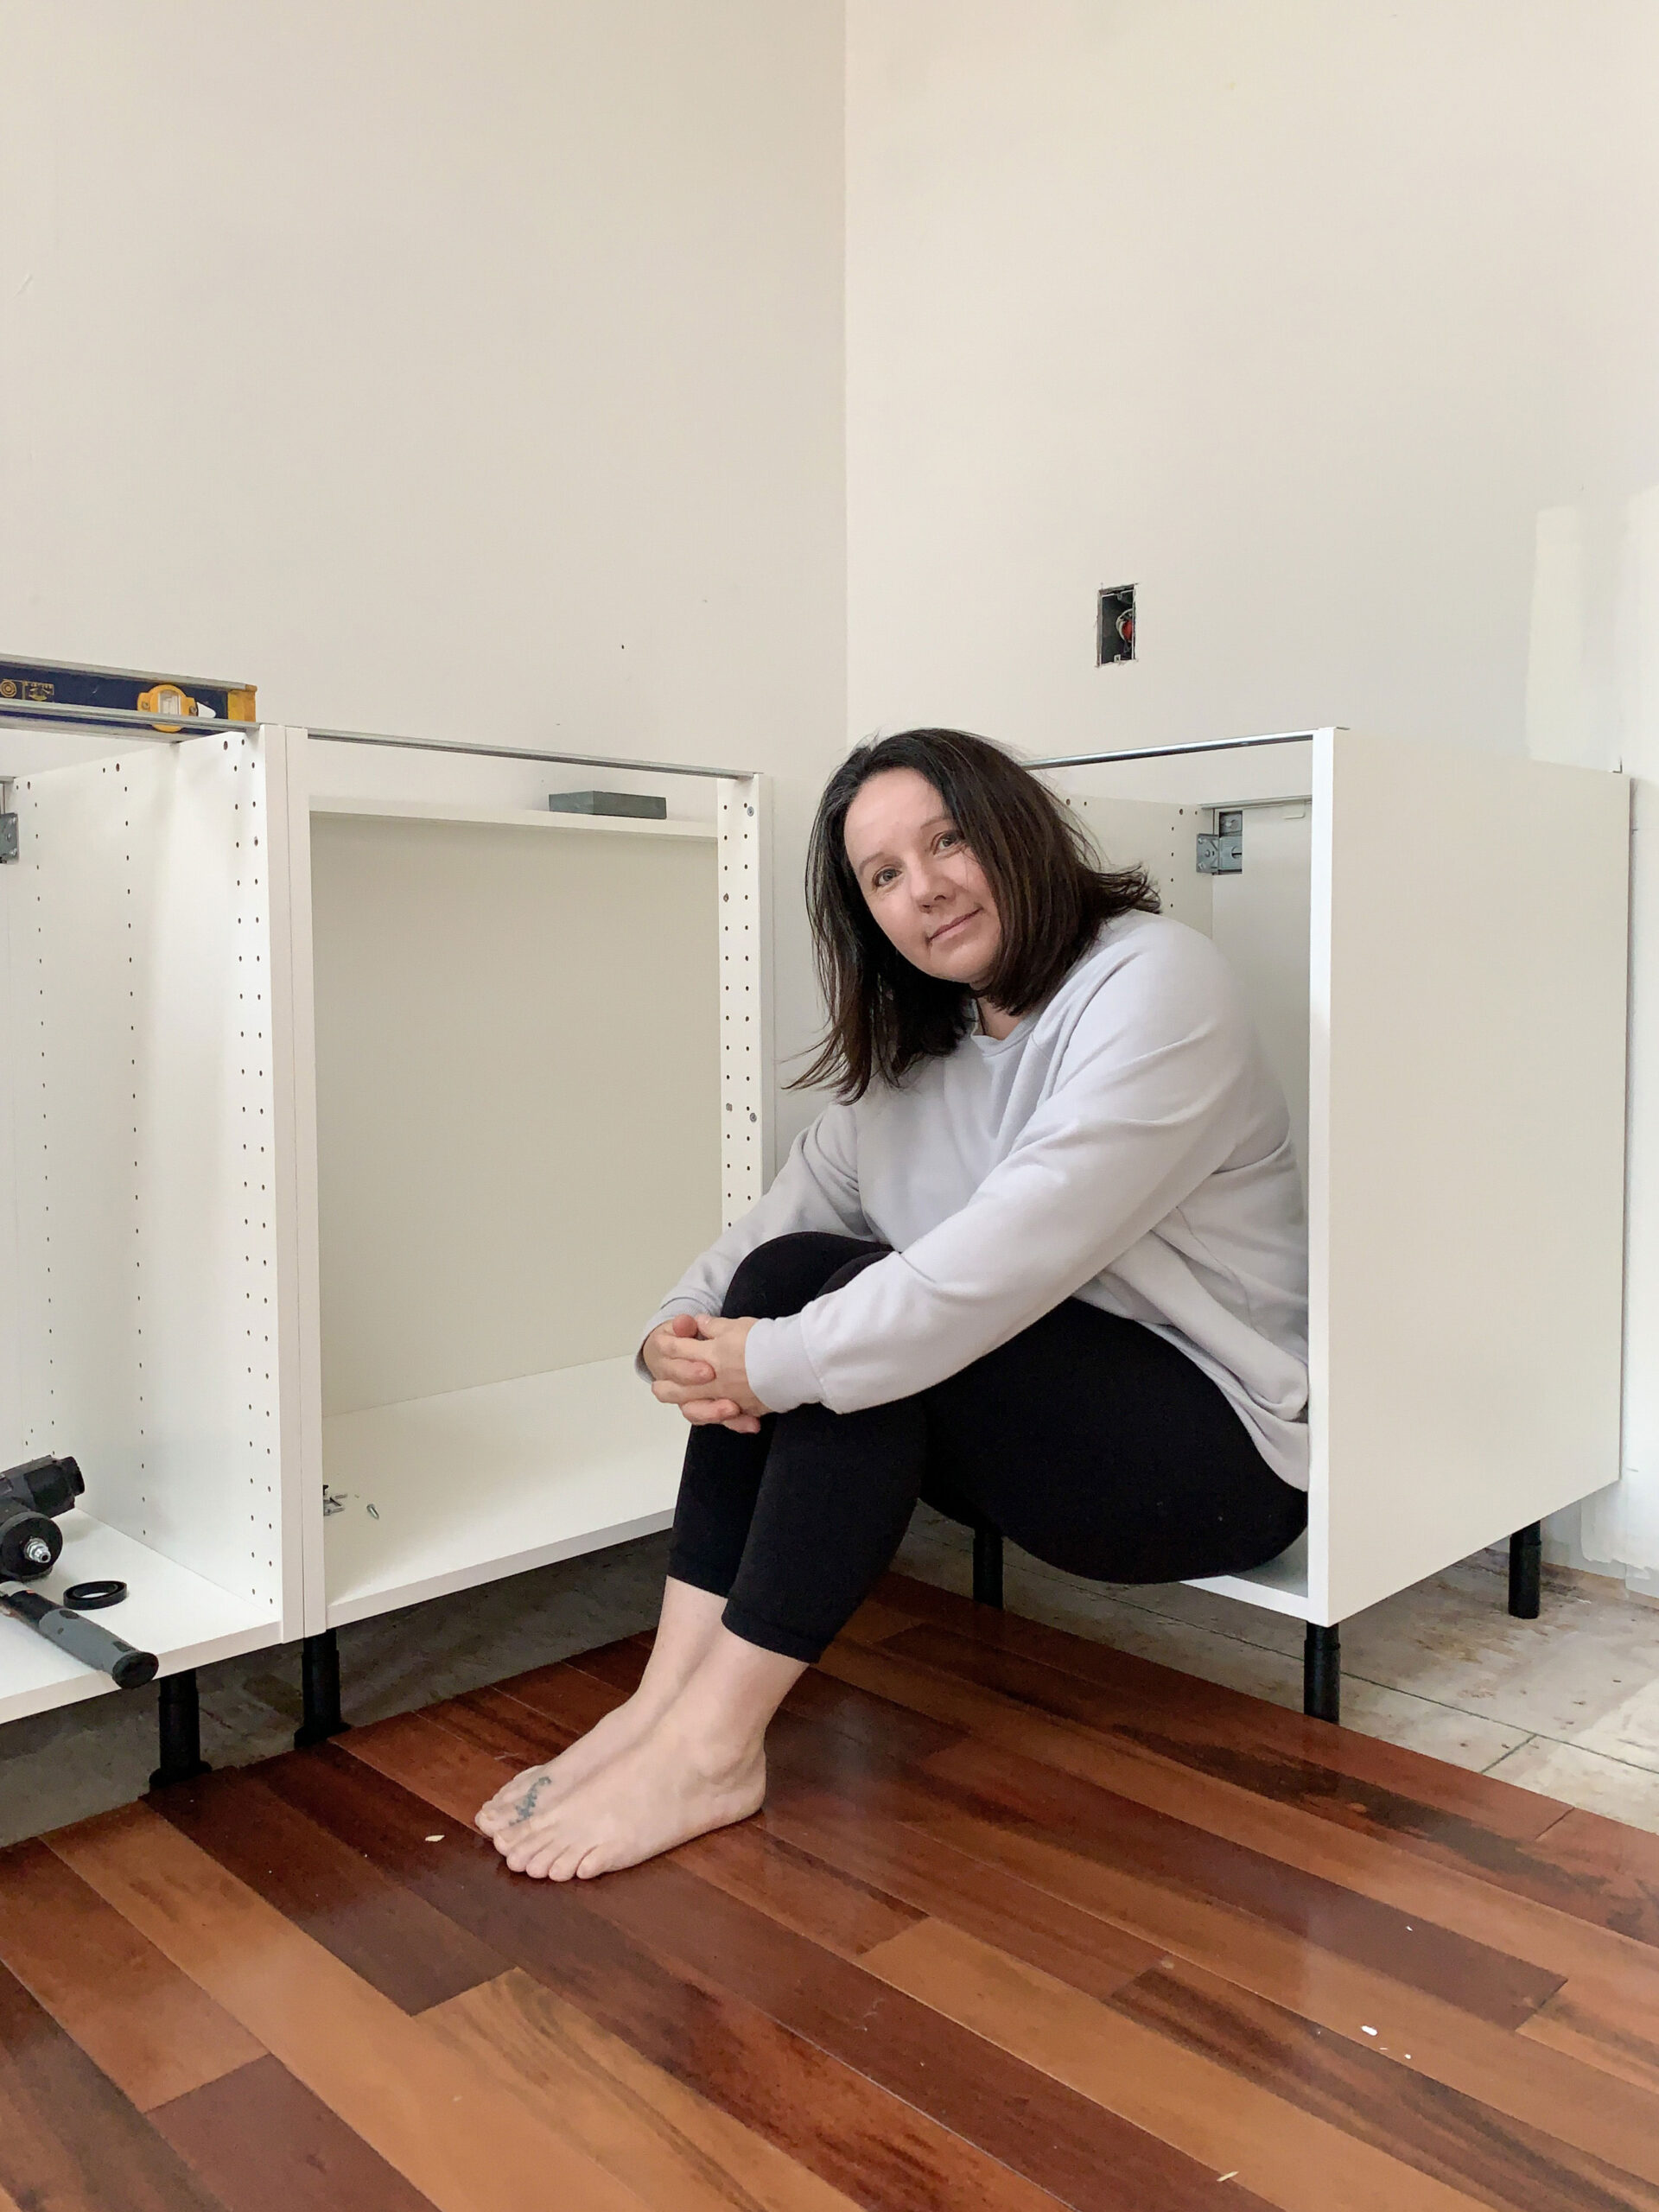
Ikea cabinets are really geared towards the DIY market. You have to put each and every cabinet together. If you are paying a contractor to do that, then whatever savings you might expect from going with Ikea might be used up in labour. In that case, it might be more cost-effective to have a semi-custom prefabricated kitchen than Ikea, so keep that in mind and be sure to obtain quotes and estimates for whatever route you choose.
If you are considering Ikea, here are a few things that won me over about them.
- The boxes are made of 3/4″ thick particle board and laminate. Having the boxes 3/4″ thick makes them a lot stronger than some from big box stores I have used in the past. Although some may argue that particle board/ laminate is not the most luxurious building material, it is not visible from the outside and wipes up nicely when you have spills inside the cabinets. Of course, prolonged exposure to moisture will damage them, but water damage will happen with prolonged exposure, no matter the material.
- The drawer slides and door hinges are made by Blum and are of very high quality. I have a drawer full of cookbooks and it handles the weight without issue! All of their hardware are soft close as well, but the price for their hardware compared to almost anywhere else is way, way less.
- Ikea kitchens have a 25-year WARRANTY!!! Are you kidding me? Enough said.
- Ikea has a long track record with their kitchens and all one has to do is Google to see just how many people love their Ikea kitchens. There are very few poor reviews and they have been making them for 50 years!
- Ikea has so many customization options for their drawer inserts at an affordable price, so you can always mix and match them for optimal organization.
Ok enough about Ikea, but I think you get the picture that if you are going to try to save money, Ikea is a good way to do it.
How much money can you save on an average kitchen remodel cost by using Ikea cabinet boxes? I would say probably at least half of the cost of your cabinets compared to custom. Here is an estimate of the cabinets we used in our kitchen and the save or splurge:
- Stock cabinets from a company like Ikea – Least expensive Option – This would have cost approximately $9,000 for our kitchen had we used one of Ikea’s mid-range door styles.
- Ikea cabinets with custom fronts – mid-range option – this is what we did, and this cost $12,450 for our kitchen (Ikea boxes + custom doors).
- Custom cabinets – this would have cost approximately $25K for our kitchen. It should be noted that custom cabinets are usually installed by the cabinet company and would include the installation of the cabinets, so this is not really a DIY project.
Our Ikea boxes were $3,600 and the doors were $8,850 for a total cabinet cost of $12,450.
Countertops
The next big ticket item to consider when planning a major kitchen remodel is the countertops. There are a few different types you can choose which affects the overall cost. The main choices are laminate countertops, natural stone countertops, butcher block, and manmade solid surface countertops like Quartz and Corian.
Laminate counters are the least expensive and have come a long way in the past few years. It is easy to put a stone countertop on your list of must-haves, but they can be very expensive. I think it’s important to consider the home’s value before dropping money on expensive countertops.
Butcherblock Countertops are sometimes known as a budget option but the quality of butcherblock does vary. I have high-end butcherblock and it was more expensive than a stone counter would have been for that space. Since the kitchen counter is something I use on a daily basis, it’s worth it for me to splurge on a more durable model.
Quartz, Corian, quartzite, and others are man-made materials that have been manufactured to function well in the kitchen, often resulting in a durable surface that looks like stone with less maintenance (and sometimes less cost).
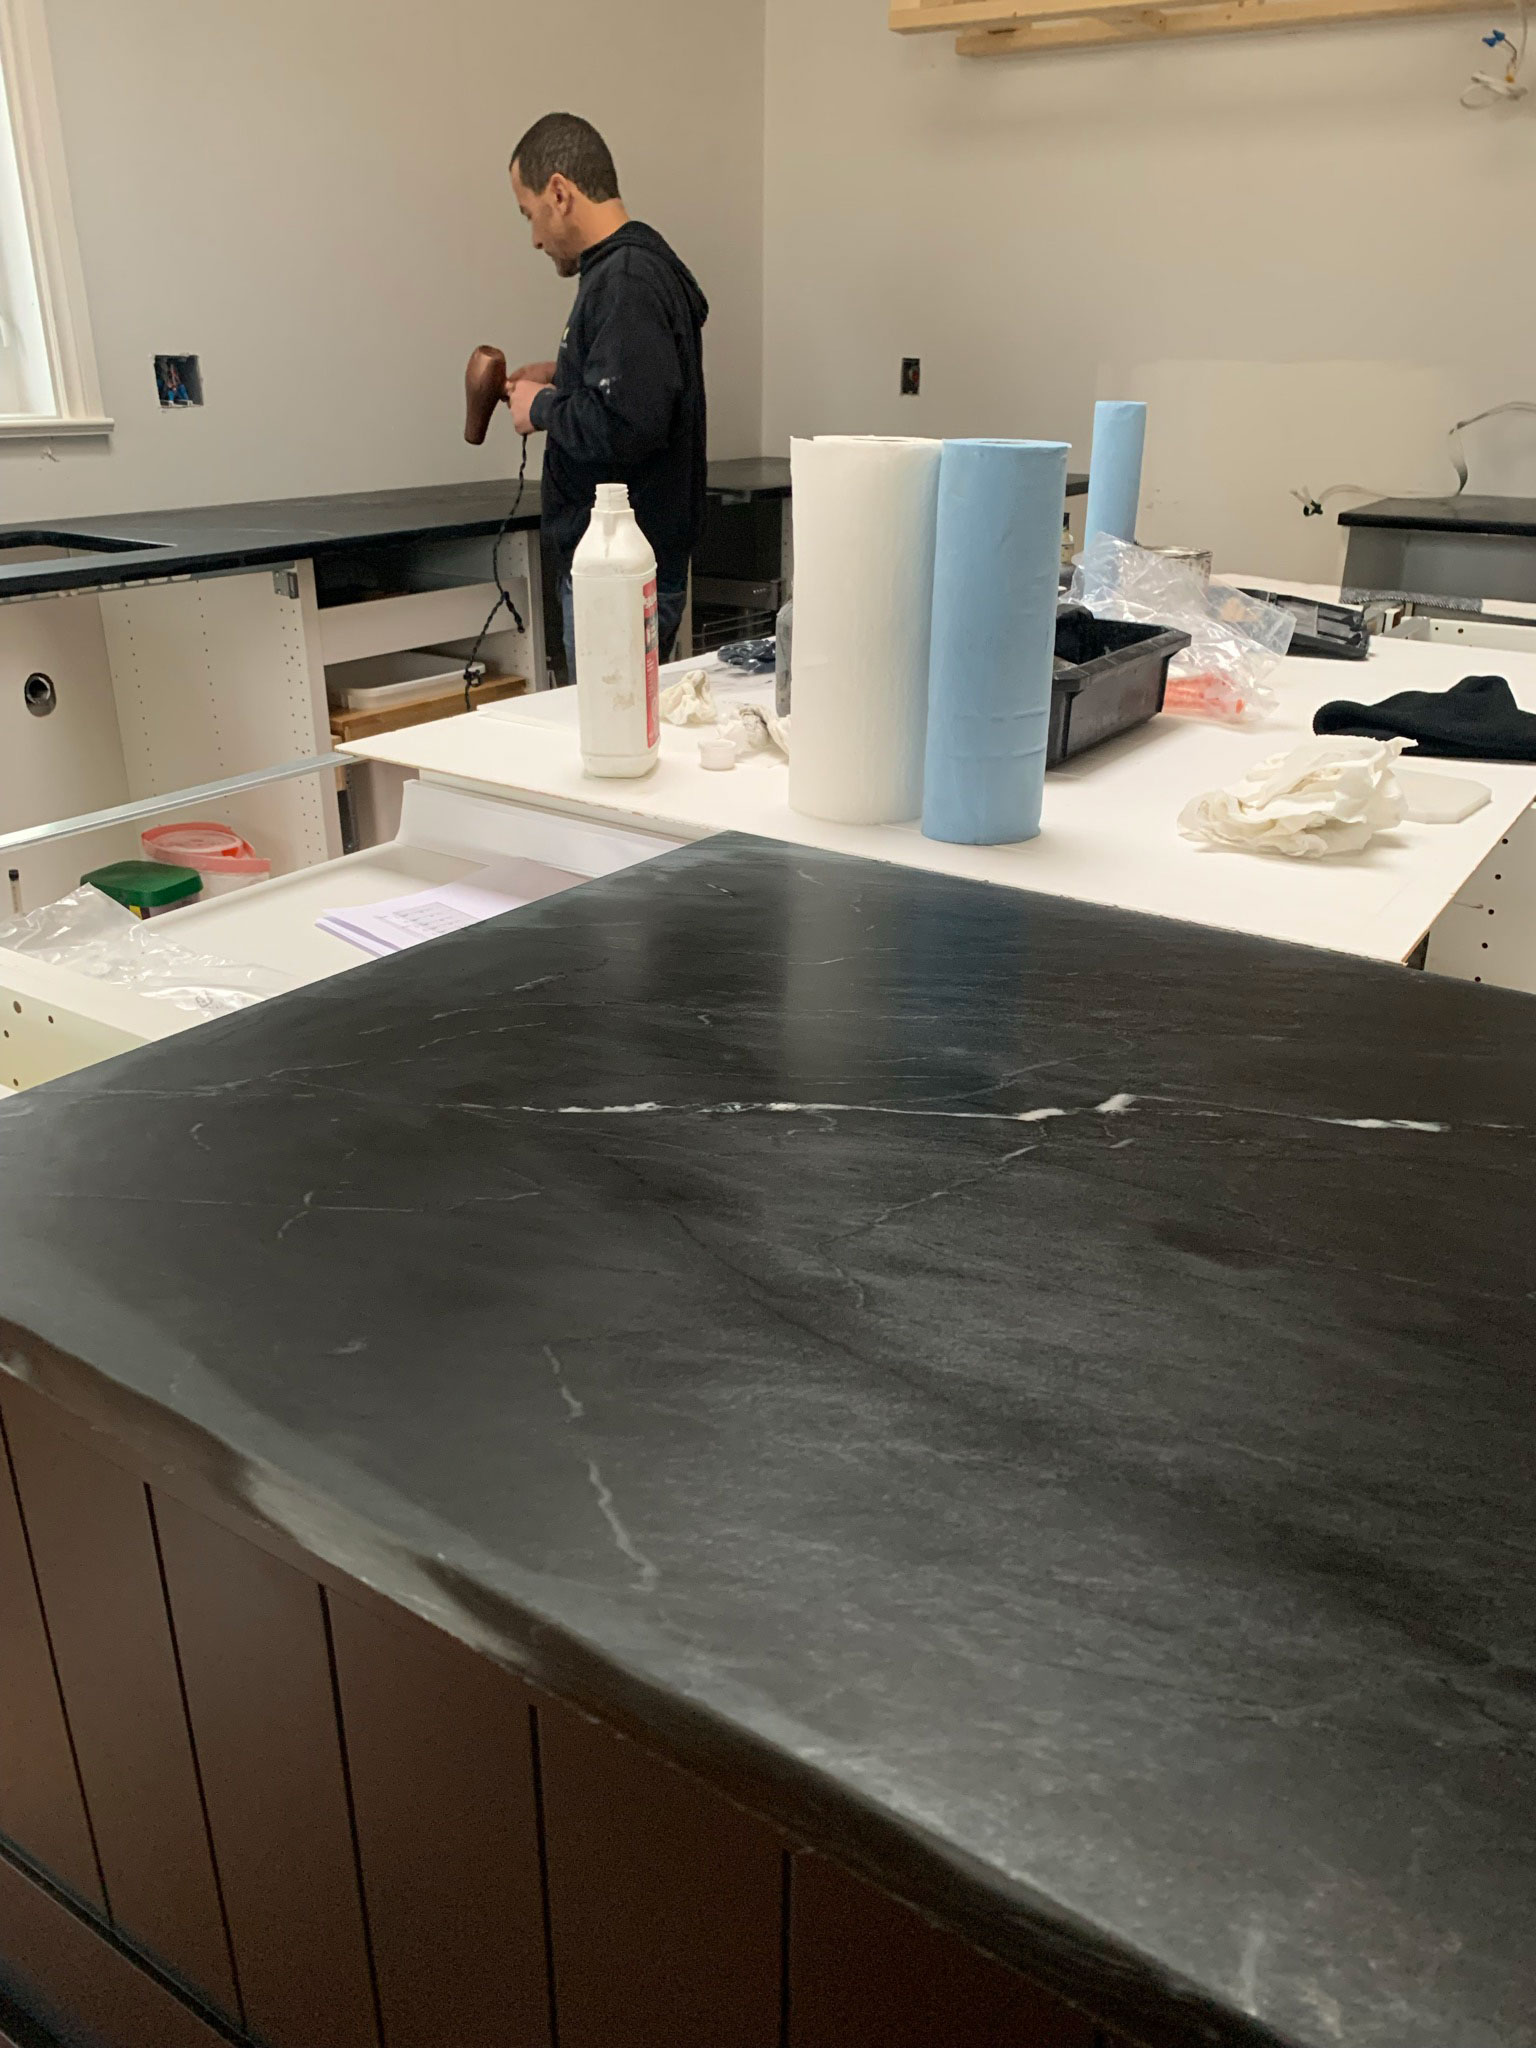
Natural stone can be higher maintenance and often requires some special care, but they are still often the preferred material in a high-end remodelling project. We chose soapstone for our project.
New countertops are something that definitely varies by region, so it’s best to get a quote locally to estimate your countertop costs. If we had chosen laminate counters, our cost would have been about 1/3 of the cost of the soapstone and butcherblock option we went with.
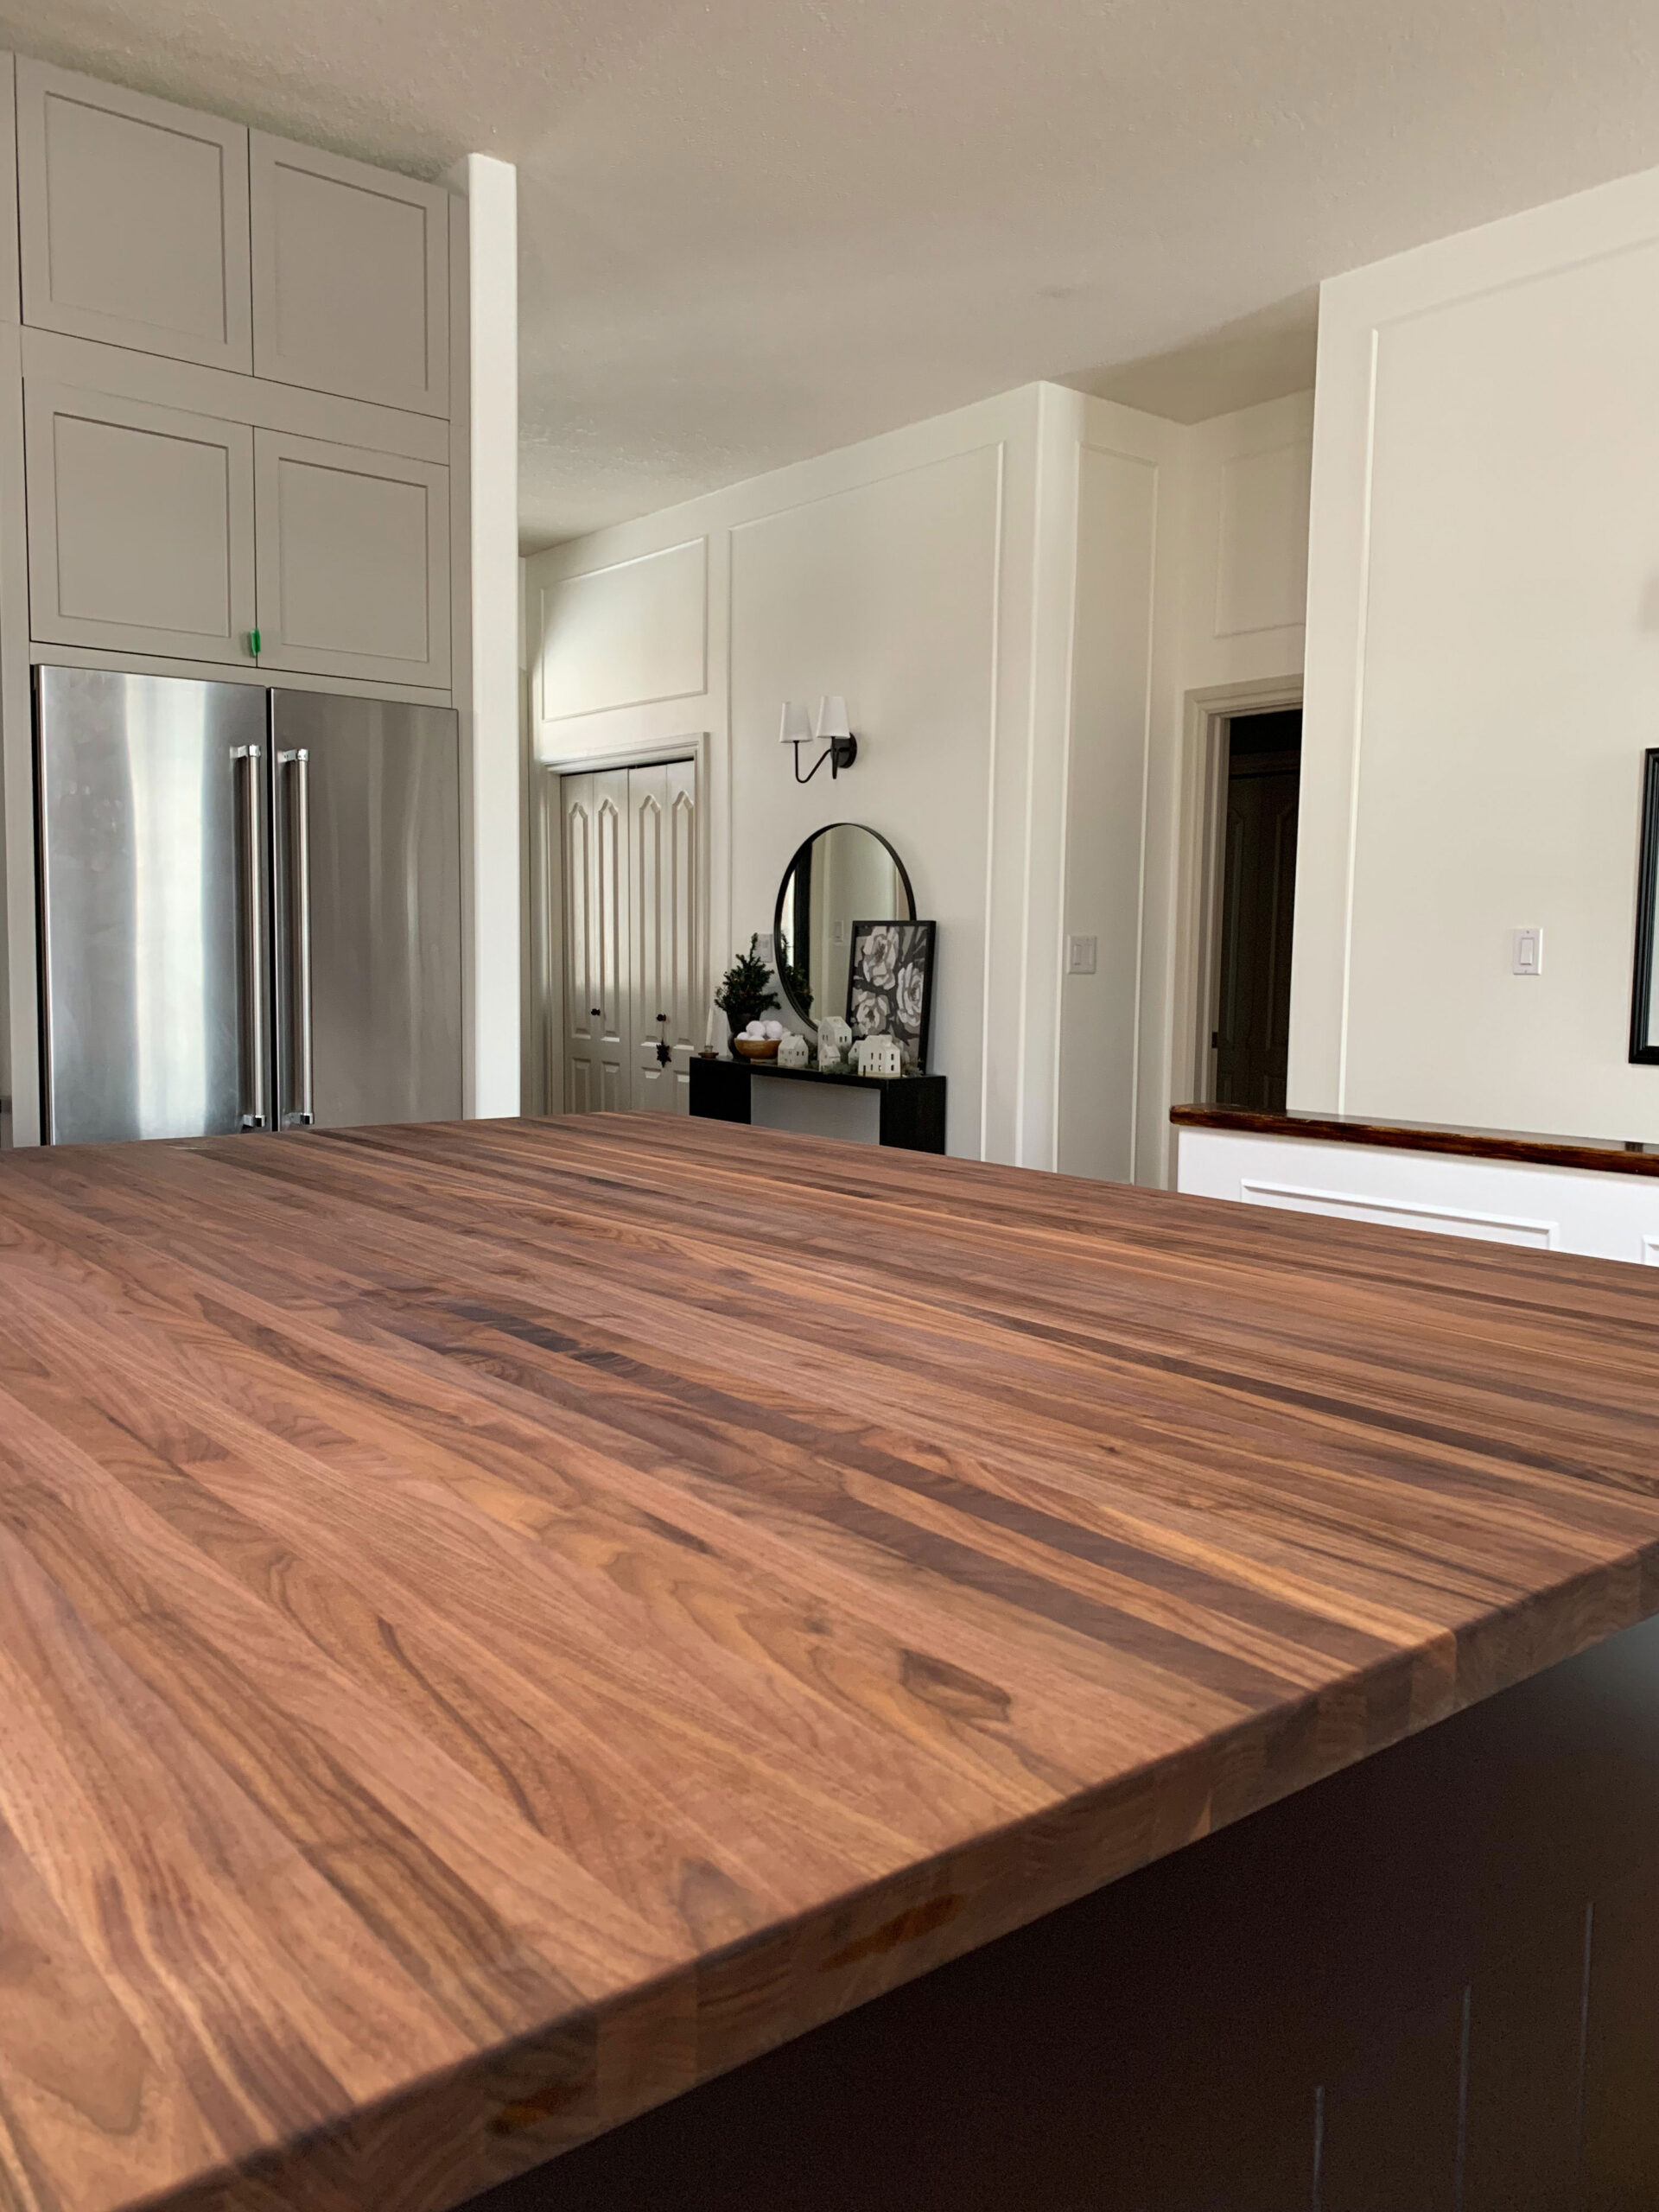
Our butcherblock on our huge kitchen island was $5,950 and the soapstone was $6,120 for a total countertop cost of $12,070. The price of both the stone and the butcherblock was around $200/ft2 in my area. I also had a quote for black granite instead of soapstone, and the cost was similar.
Appliances
If building the kitchen of your dreams, you are likely going to be considering new appliances. Cabinets are built around specific appliance sizes, so you really do want to think carefully about what you want when designing a kitchen.
High-End kitchen appliances are really that: high-end. There is a very large difference between the cost of mid-range and high-end in the appliance world. Appliances that are made to look built-in or be commercial size tend to cost a LOT more, they are really tailored to the high-end market. (For example, to go with a panel-ready fridge in the same Kitchenaid Brand it would have been $8000 more, and with a freestanding range in the higher-end line it would have been $3800 more, so a total of $11,800 more for high-end appliances.)
I think it’s important to consider the resale of your home in this case, and not to break the budget on appliances in your mid-range suburban reno. However, if you are renovating a multi-million dollar home, very high-end and expensive appliances are what is expected at that level.
In our home, we went mid-range for appliances as that was what was appropriate for our home value. I chose stainless steel appliances with good reviews that were recommended by our appliance repair man! The ones he seldom sees, in other words!
I also chose to spend the money to run gas lines to the range, because I much prefer cooking with gas. I opted for a dual fuel range so the oven was electric which I feel is the best of both worlds! We did upgrade the dishwasher to be panel-ready, as the increase in cost to go to a panel-ready dishwasher is not that significant and they look a lot nicer, in my opinion. These were small upgrades that were worth it to me and may be worth it to you too (or not!)
Our appliances (Fridge, Stove, Dishwasher, and range hood vent) cost $8,100. We reused our old microwave from our kitchen pre-reno.
Backsplash
So the backsplash is not going to make or break your kitchen budget, even if you go all out. You are not talking about a lot of wall surface, in most instances, so if you choose a higher-end finish it’s probably not going to make the biggest difference in the bottom line, and it has a huge impact on the final look!
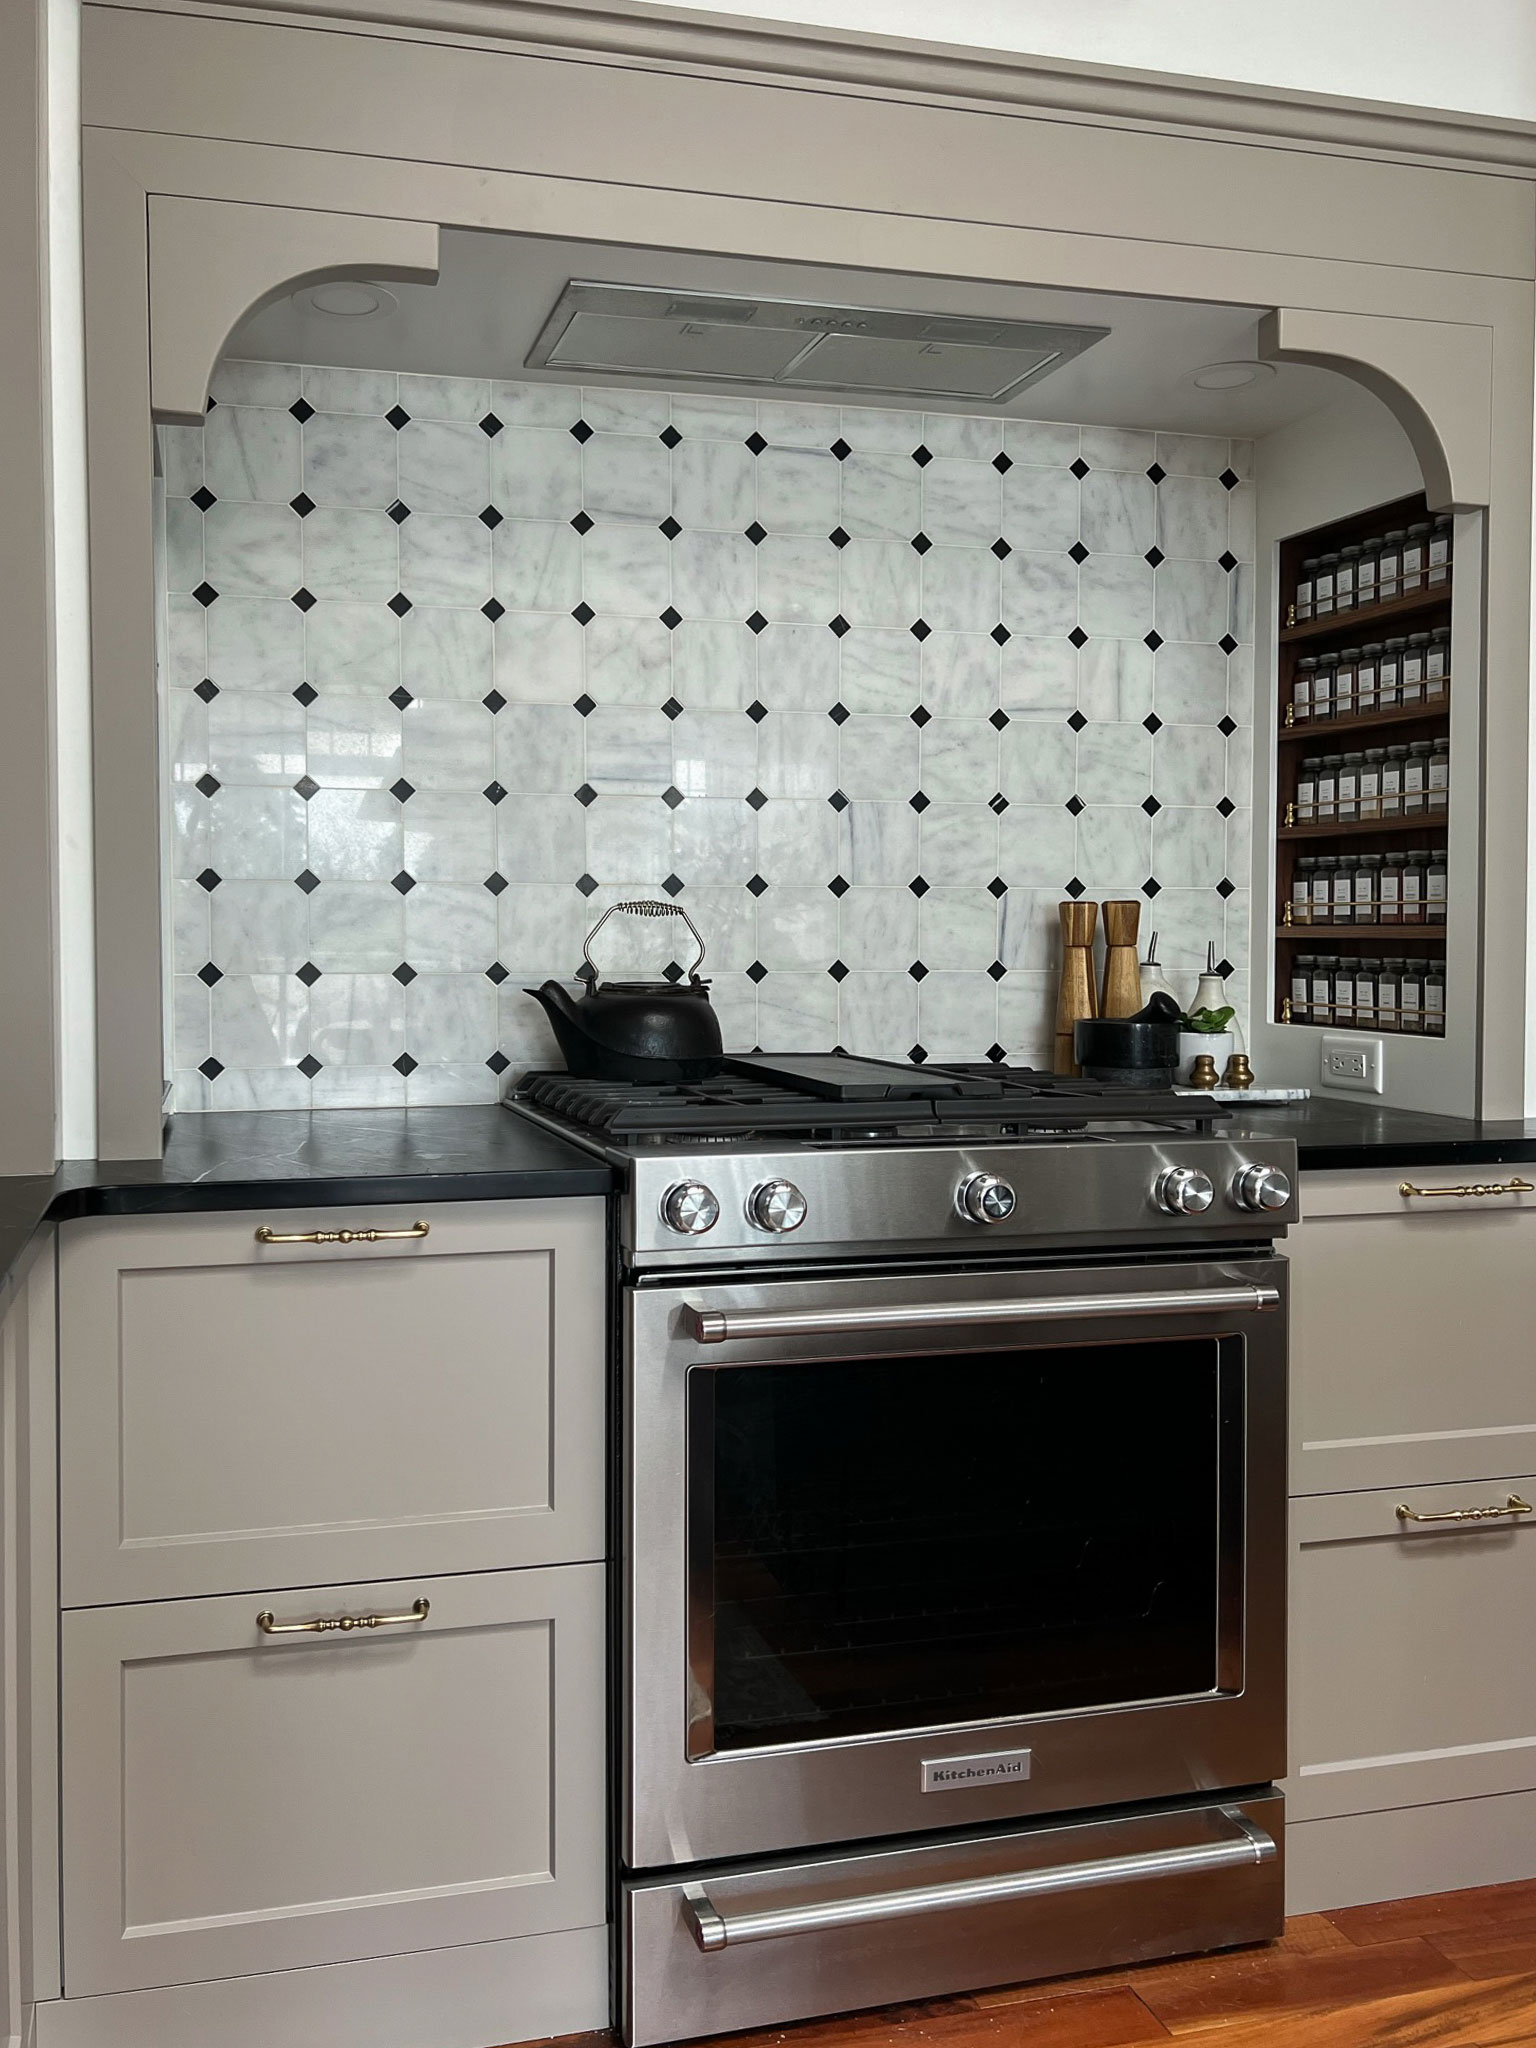
In our kitchen, we chose a marble hexagon and dot tile that I cut myself, and tongue and groove wall panelling behind a short piece of stone that I had my countertop fabricator cut. I would say this was a less expensive option than expensive tile everywhere, so this was a save for us. The tile behind the range area was quoted to me for $55 per square foot, and cutting it myself saved about $900.
One trend I am seeing a lot of lately is bringing the stone counters up the backsplash. That can be a very bold look depending on your stone choice and would also probably be the most expensive option as well.
Our backsplash tile cost about $200 and the MDF wainscotting was about $130 for a total backsplash cost of $330. (Our small stone backsplash behind the sink was included with the countertop costs.)
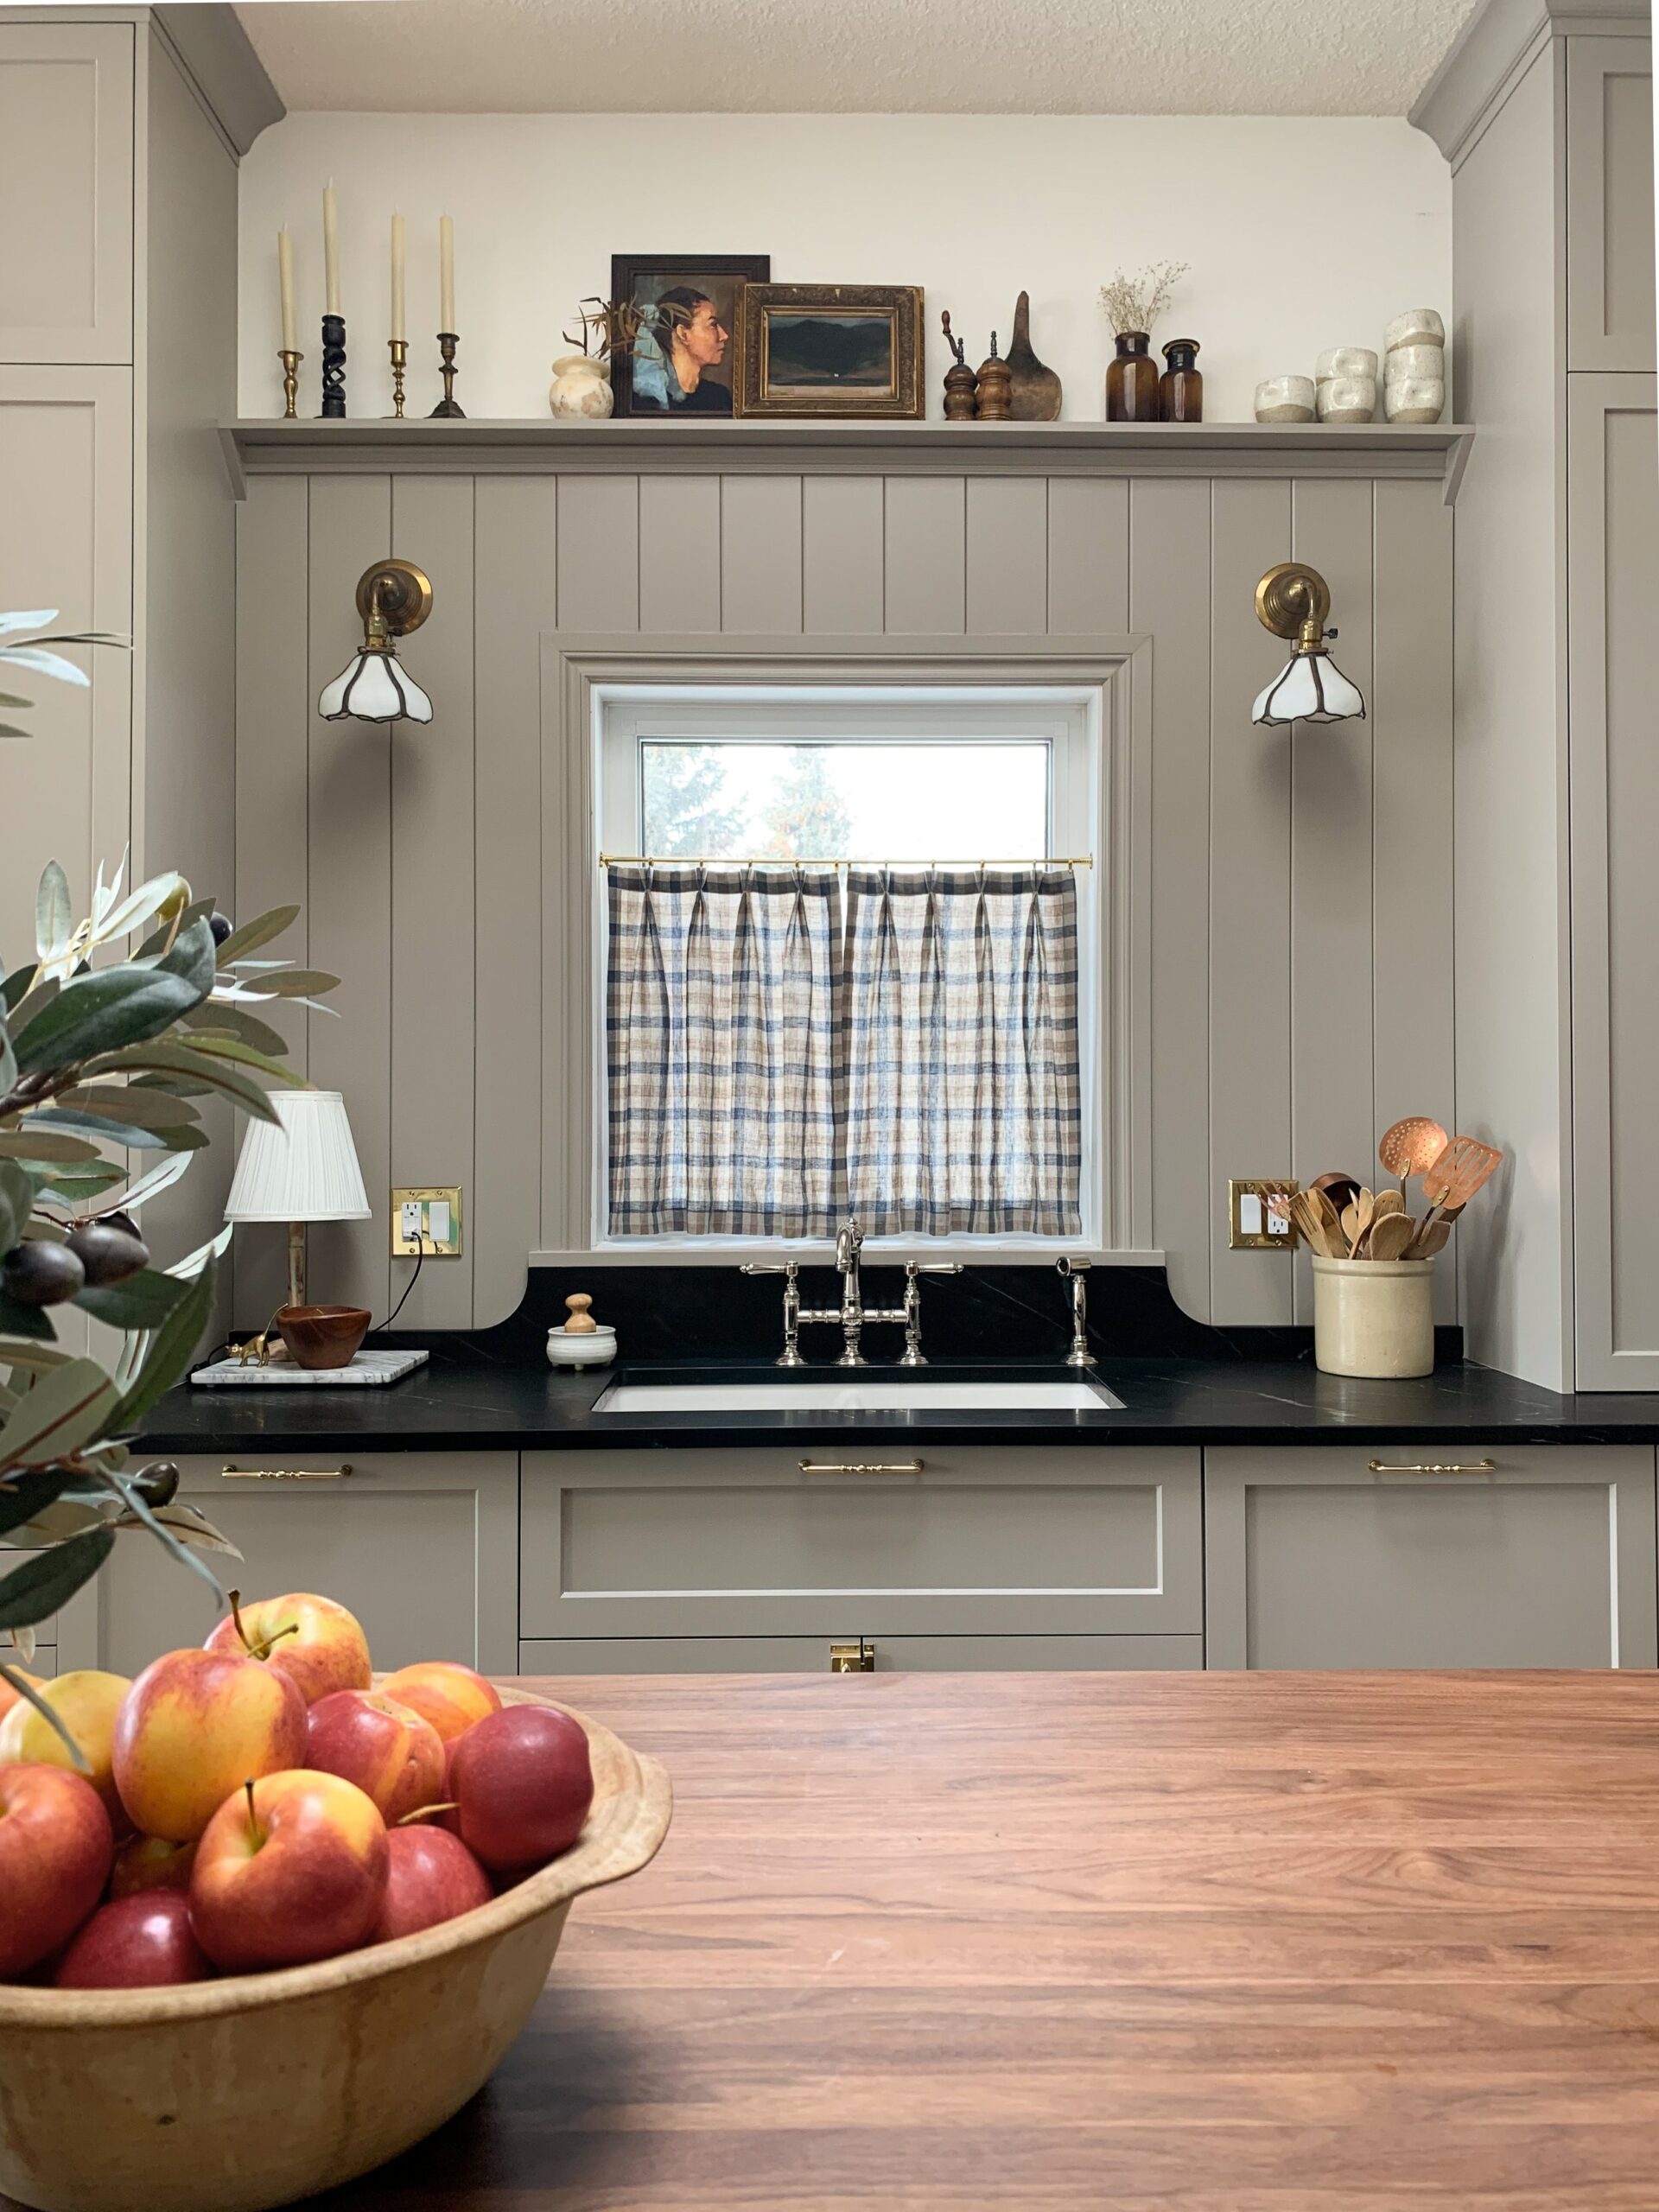
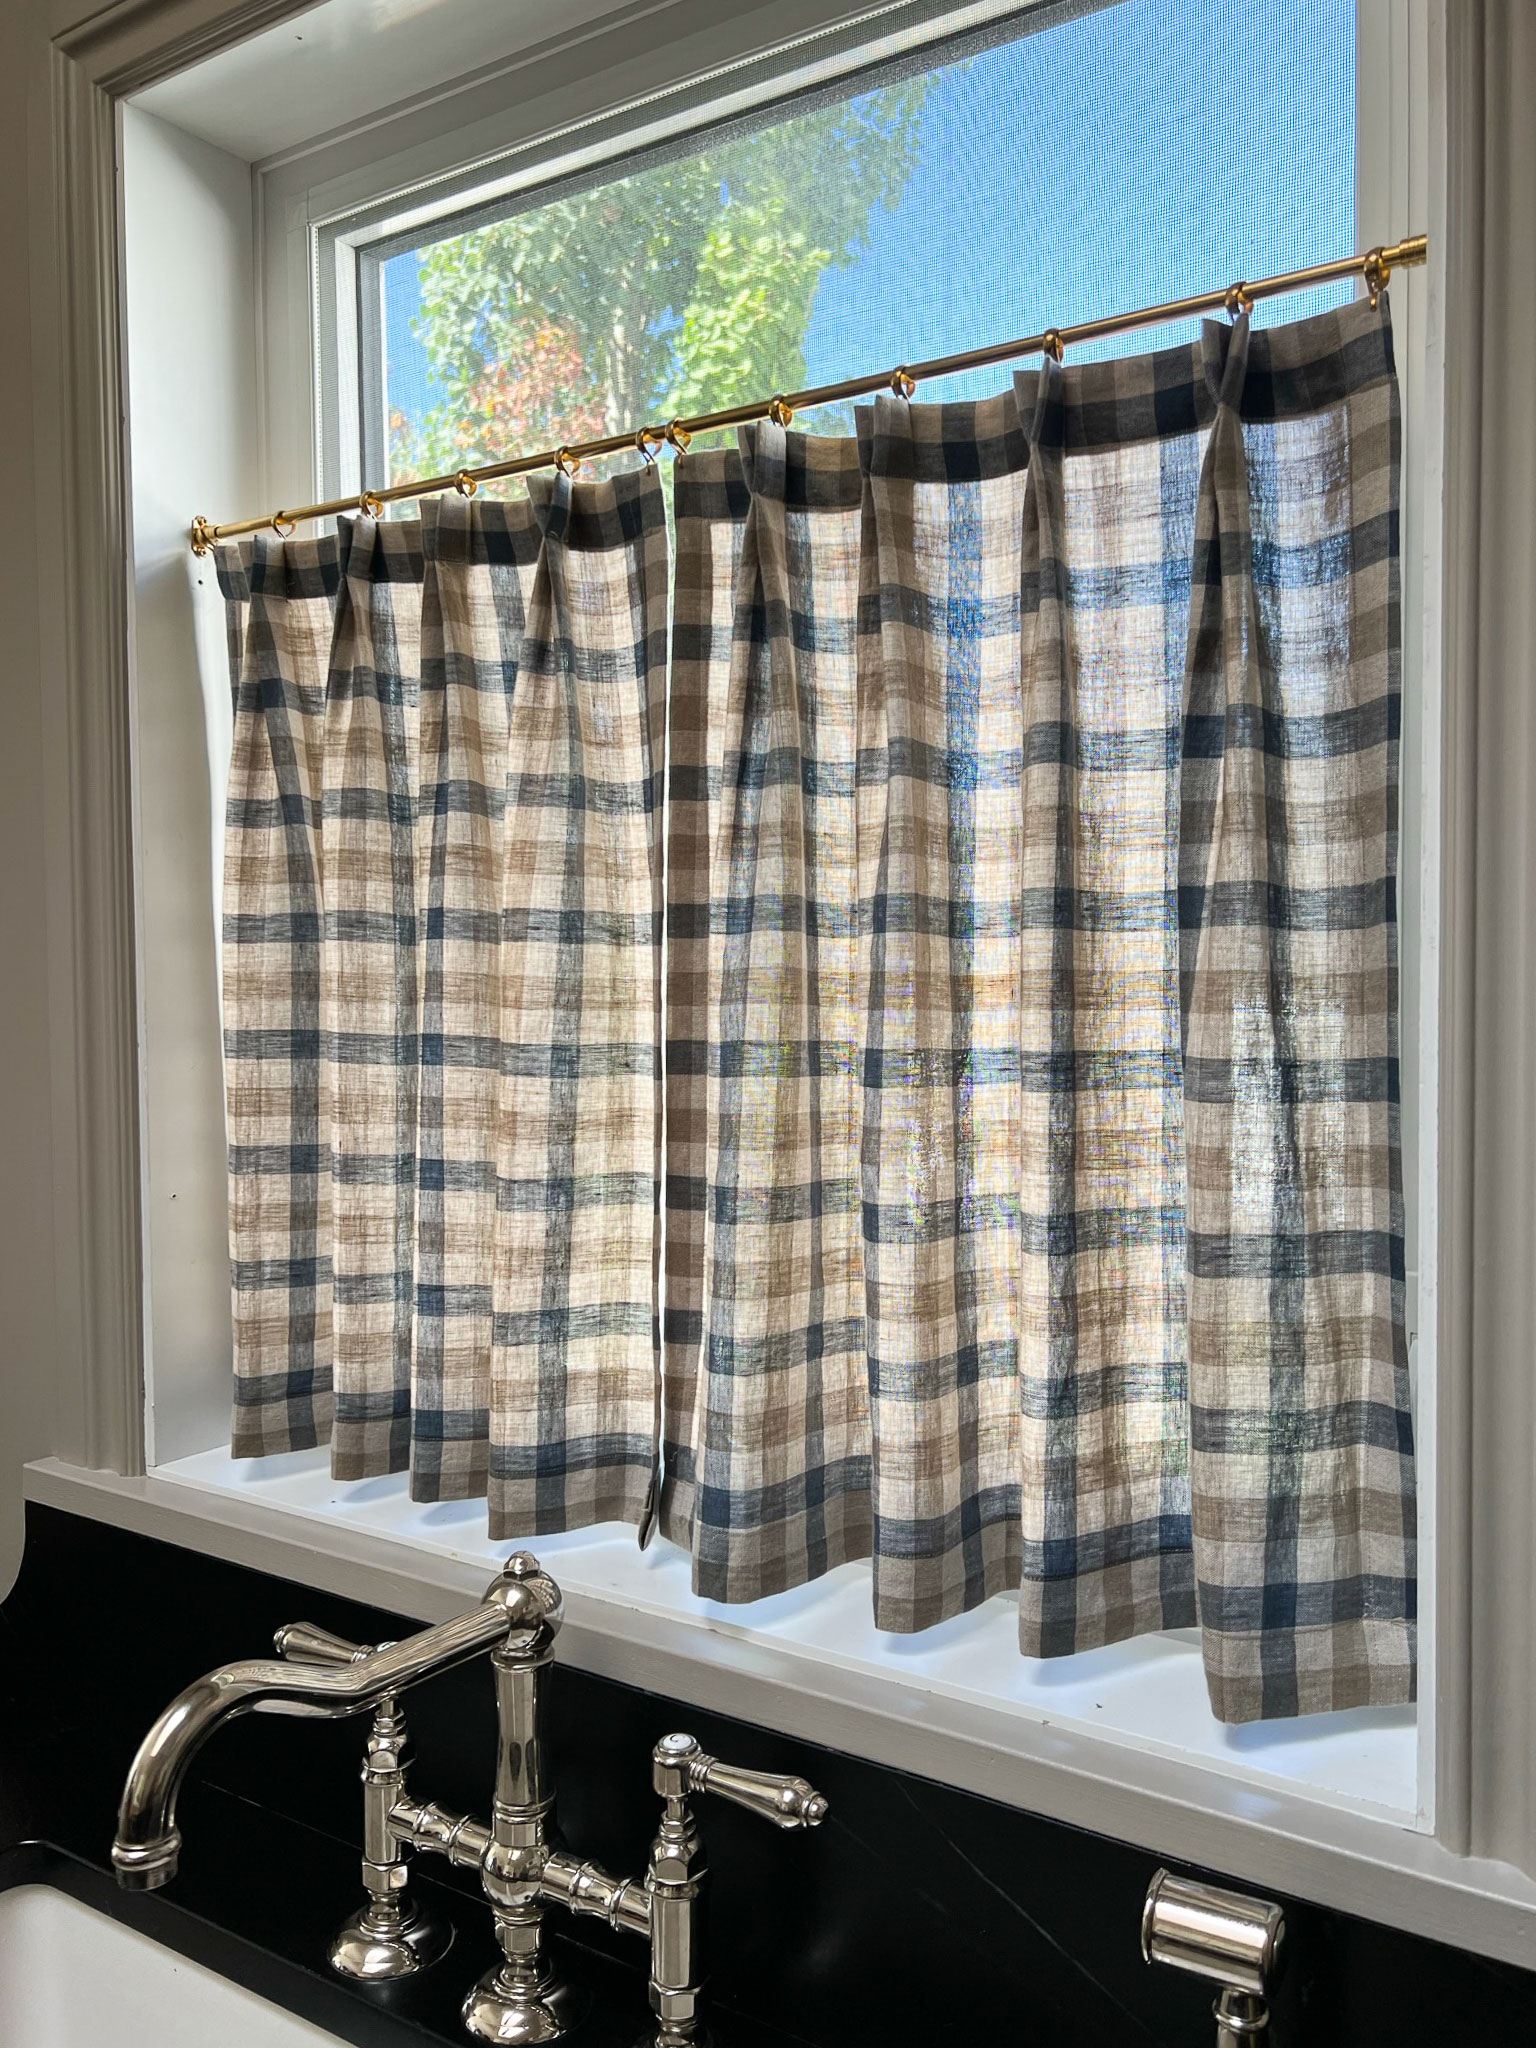
Sink – Faucet – Curtain Rod – Brass Handles – Brass Latch – Art (woman) – Art (landscape)
Plumbing and Hardware
Plumbing and hardware I lumped together because they are both things you touch every day.
In my kitchen, I opted to splurge on the faucet, and I really do love it. You usually have to drill holes in your countertop to install the faucet, so you want something that is going to stand the test of time, both functionally and visually. If you have issues with a faucet after a few years you might be stuck buying the same one again due to the hole placement, especially if you choose a bridge faucet with multiple holes like I did!
There are some faucets, like single-hole ones that come in standard sizes and would be easy to replace with a new single-hole faucet if you have issues down the road, so hole placement is something to consider if you are going to go with a more budget option.
I chose a mid-range Quartz composite sink, and I really am happy with that choice. It seems like a step above stainless steel but not as finicky to care for as a ceramic or farmhouse style. It cleans up beautifully and I have no complaints about it.
Hardware prices are all over the place, but in my opinion, nice hardware is worth the splurge. You can really tell the difference between a solid brass handle and a brass-look inexpensive option when you touch it, which is something that you do every day!
I opted to mix up my hardware and add in some painted knobs, which is something you see often in European-style kitchens. I love the look of a painted knob and they are very affordable too! Each knob is around $1 plus the cost and effort to paint, so that really reduced the overall hardware cost.
- Sink: $540
- Miscellaneous Plumbing (sink strainer, etc.) – $325
- Hardware: $350
- Faucet: $1,270
Total for Plumbing/ Hardware: $2,485
Pull Outs
I opted to upgrade the pullouts in my kitchen from what was typically offered by Ikea. I added a blind corner pull-out and a garbage pull-out. These are two things we use a lot and I wanted to ensure that they were sturdy and functioned well. This is not totally necessary, but I do recommend setting aside a small part of your kitchen remodel budget to consider the interior workings so that the kitchen really works. We spent $1,070 on upgraded pullouts.

Light fixtures
I opted not to add kitchen pendants in my design since I had an odd placement of a skylight over my island which would have made the layout of pendants difficult, so I added two sconces on the sink wall as well as two pot lights in the stove nook. The kitchen before was quite dark but the addition of this lighting is more than enough to combat that.
My sconces were a vintage Etsy find that I found for $320 and the pot lights were about $100 from Home Depot, my total lighting cost was $420.
Miscellaneous
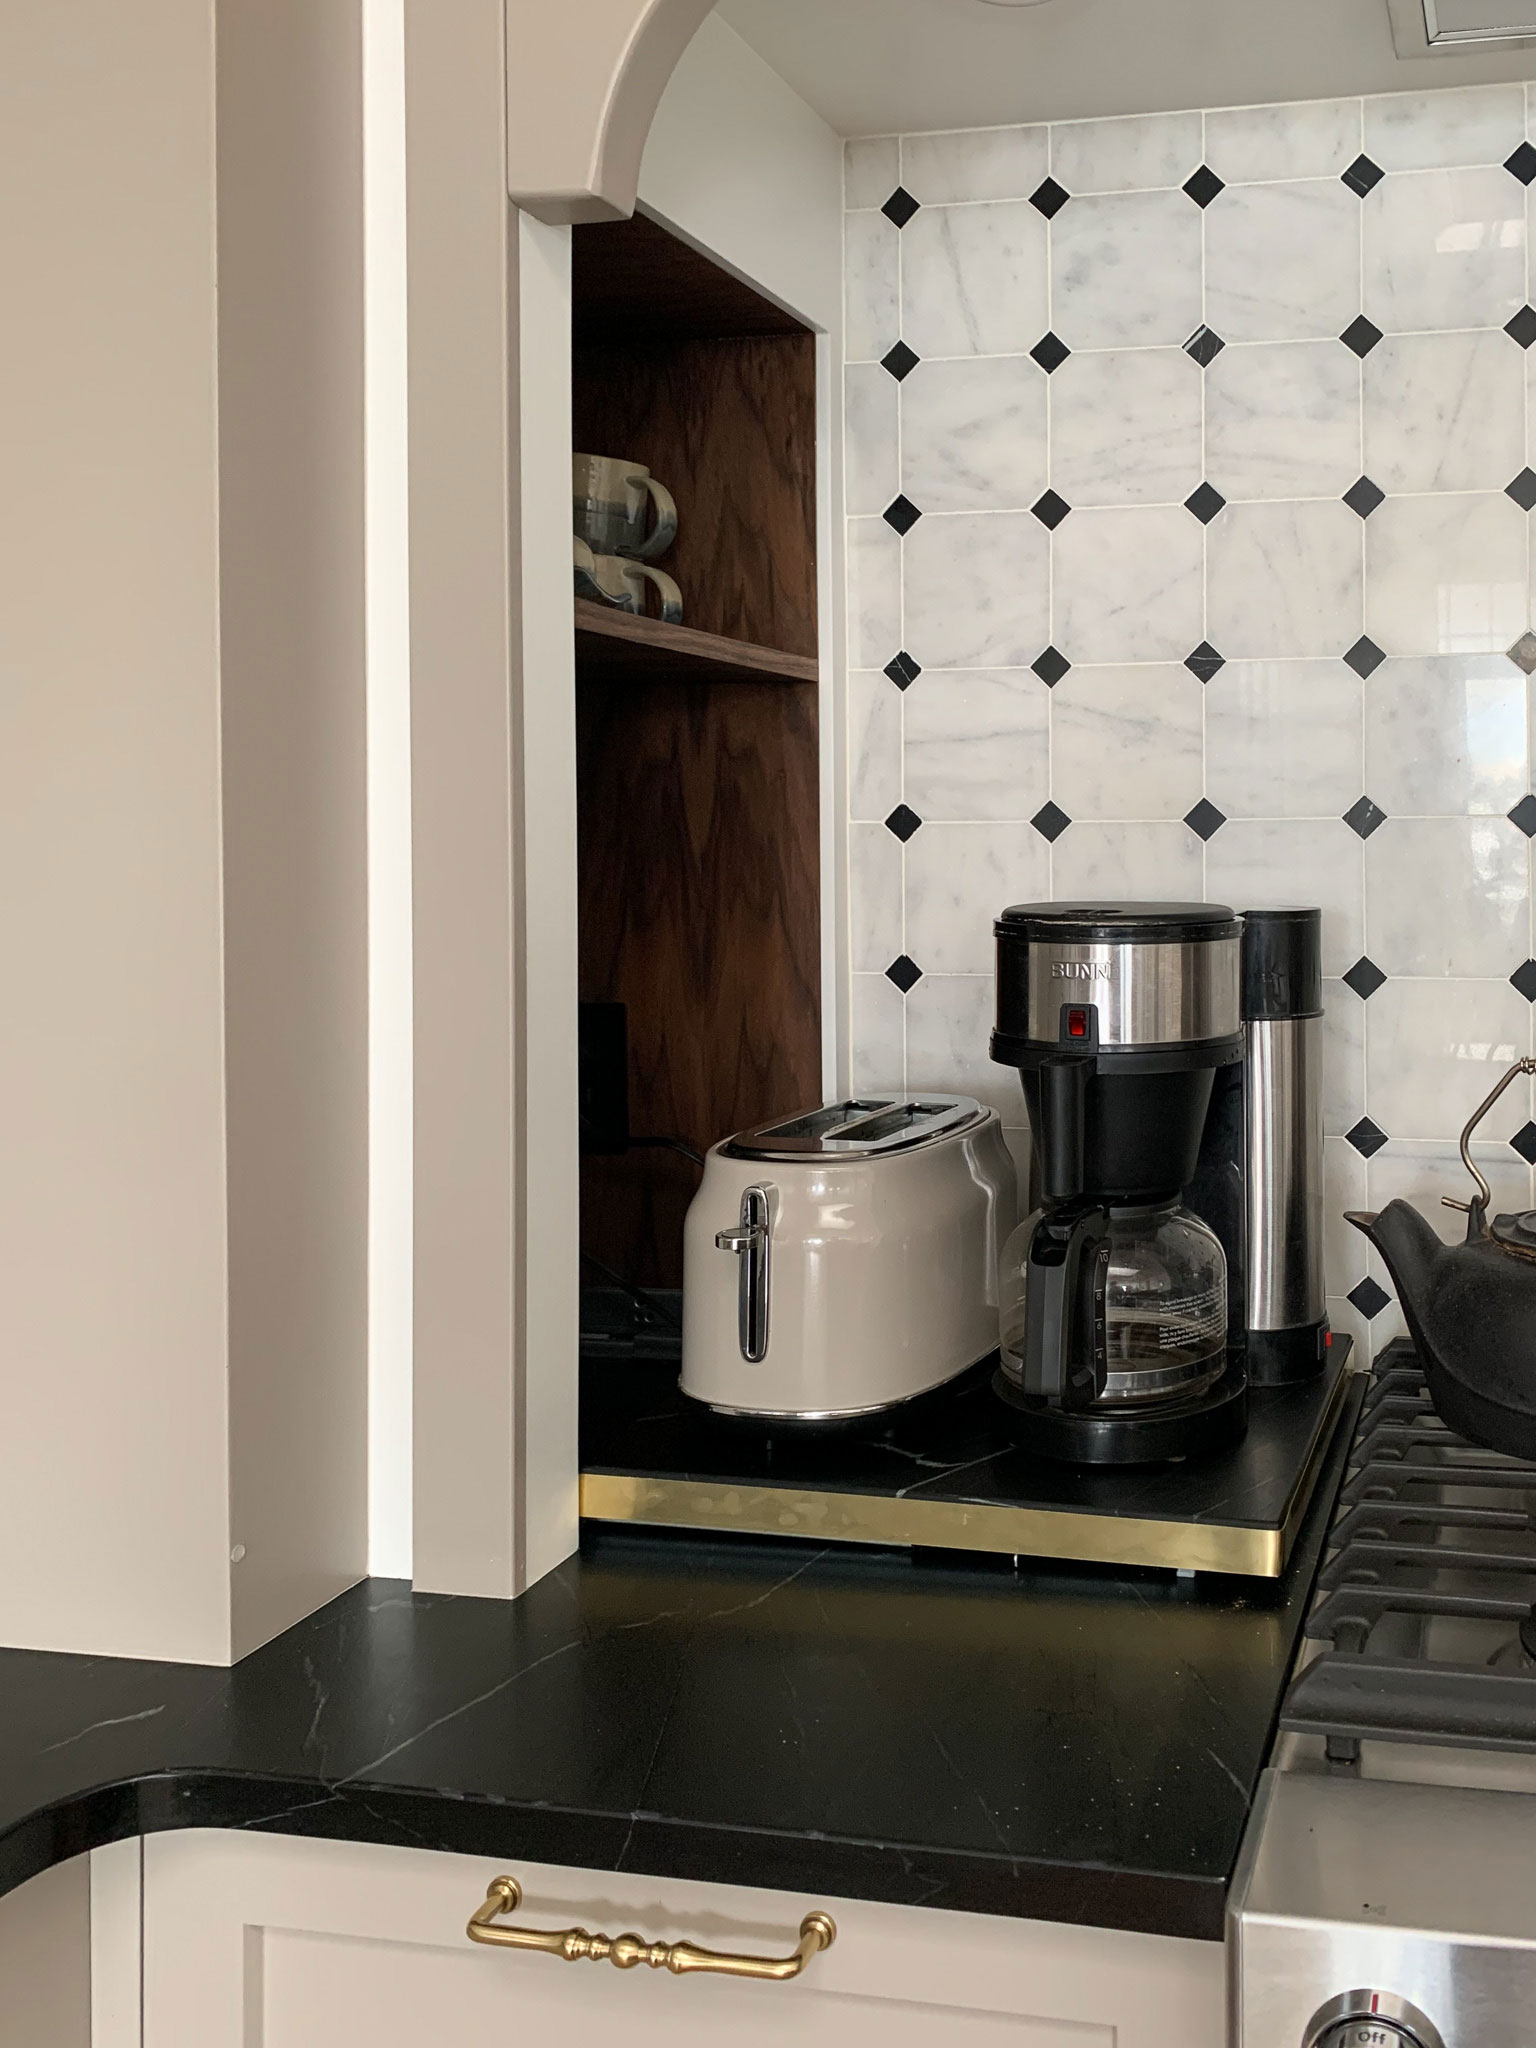
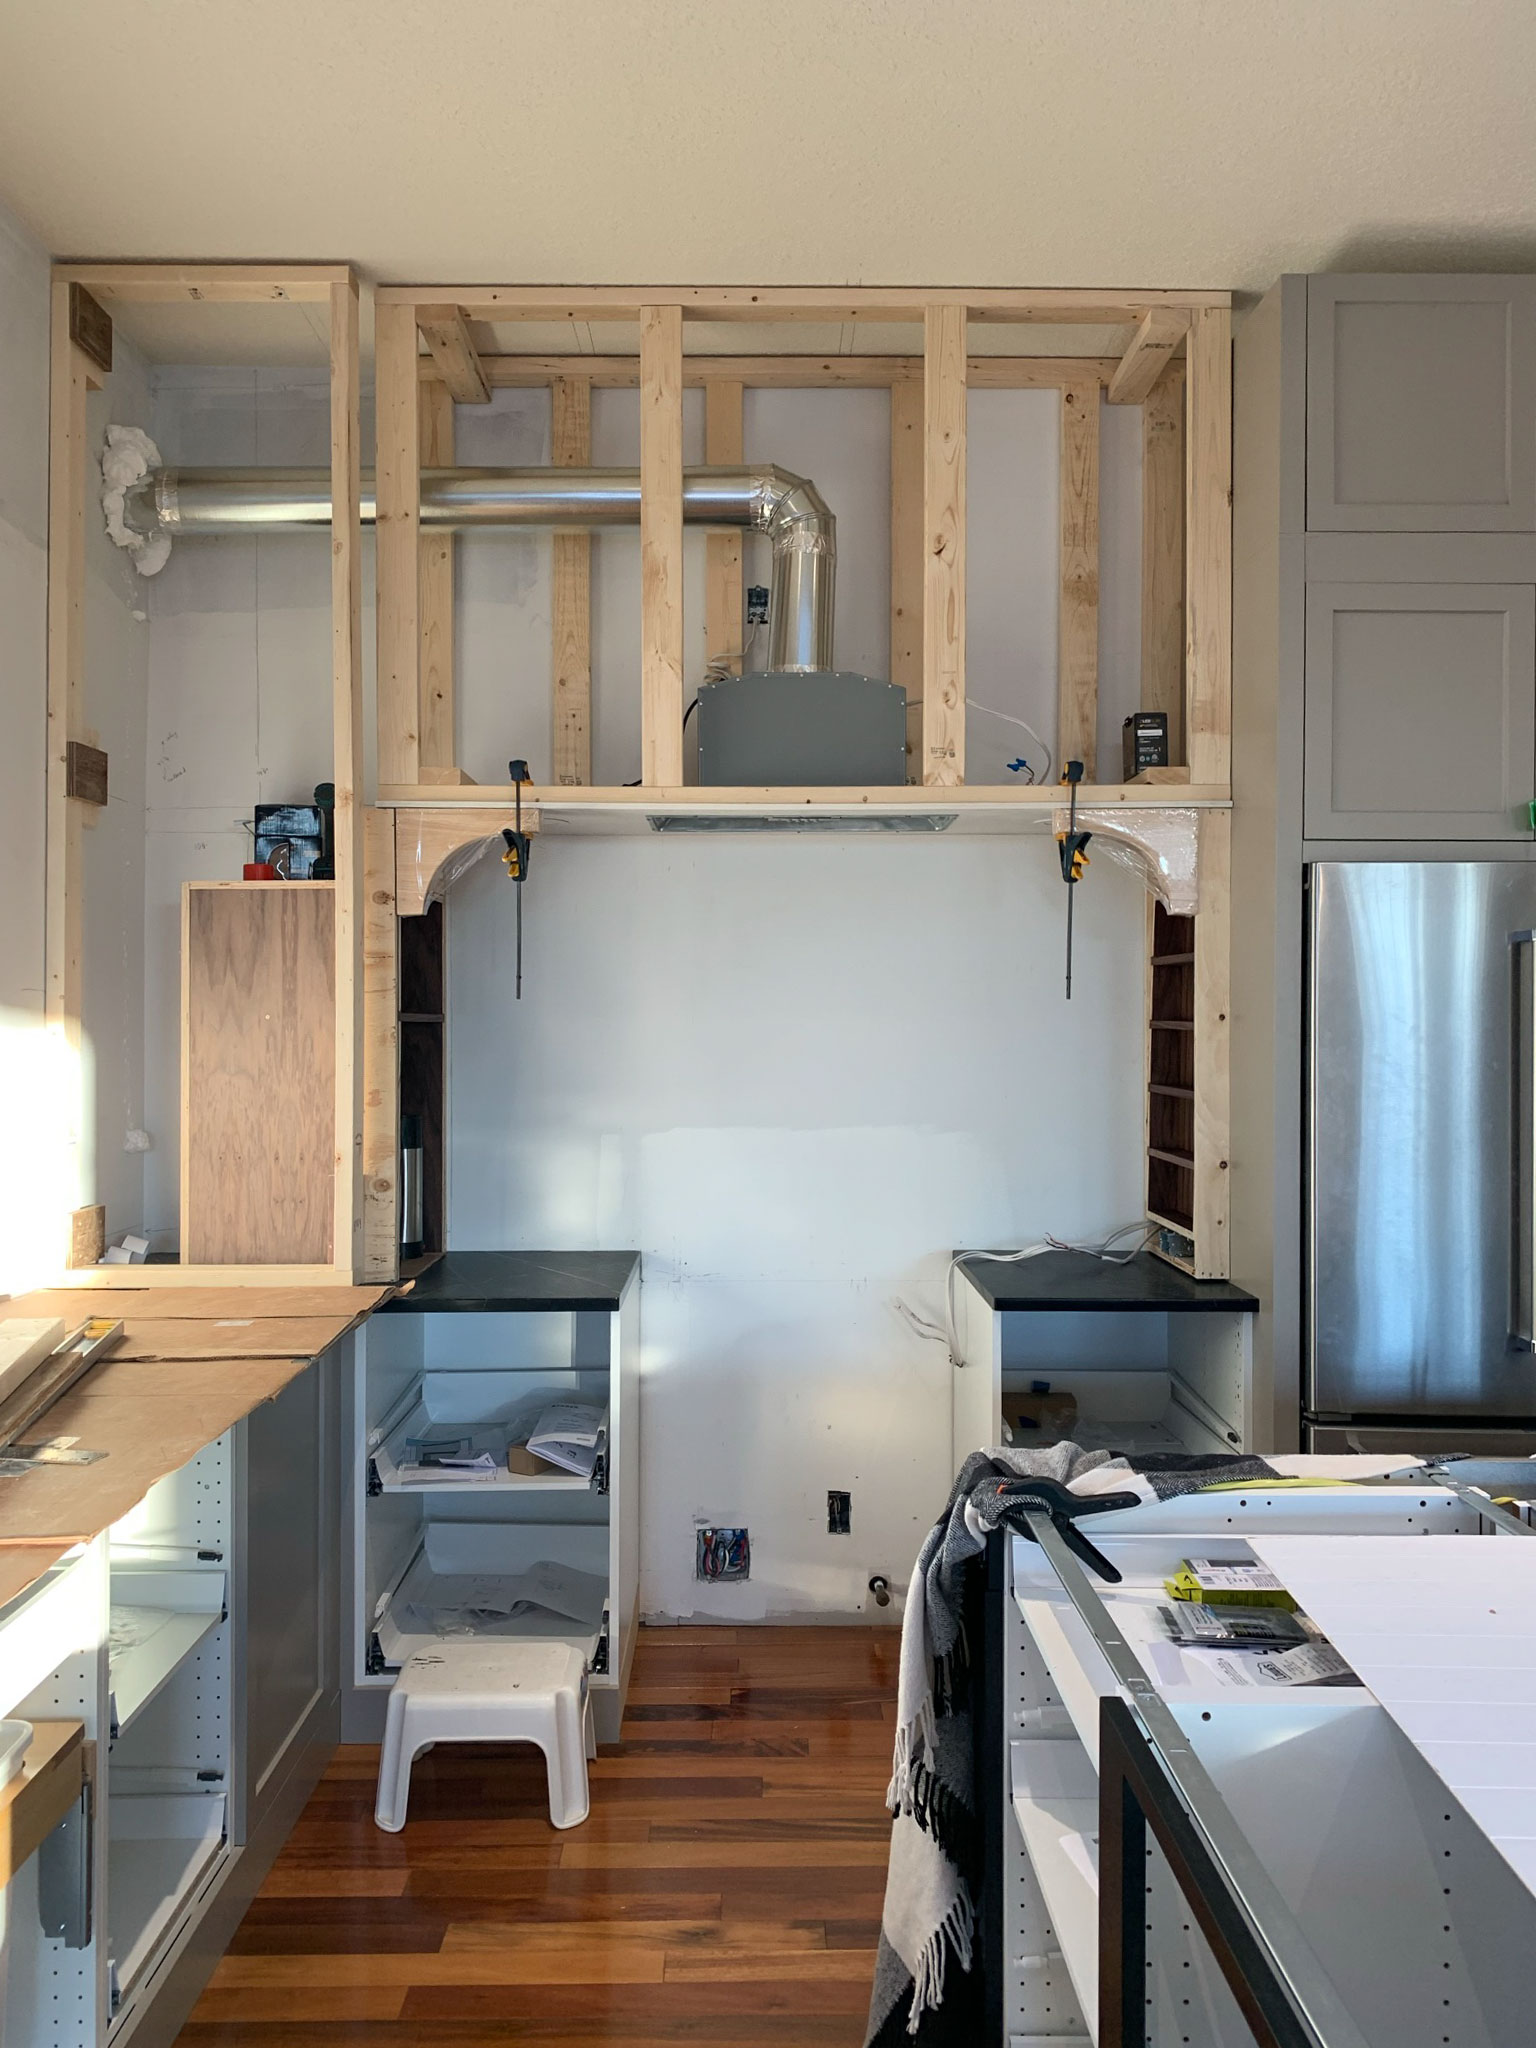
What falls into this category? We ended up building our own range hood and adding a corner build out which we made out of 2×4′ framing and painted MDF. We also bought and painted the panelling and shelf over the sink separately as well as all the crown moulding.
Also, there was the walnut spice rack and brass rails and the walnut pull-out alcove we built for the coffee maker. There were miscellaneous things like replacing some ducting, framing the island base, sheets of drywall and MDF, nails and caulking and all the miscellaneous supplies that we used.
All of that came to about $1500, give or take (I added a little float into this category as I’m not sure we kept every receipt for every little trip to the hardware store for more caulking!)
So HOW MUCH did it cost to DIY our kitchen?
- Cabinets and doors – $12,450
- Countertops – $12,070
- Appliances – $8,100
- Backsplash – $330
- Plumbing fixtures and hardware – $2,485
- Cabinet inserts and pullouts – $1,070
- Lighting – $420
- Miscellaneous building materials – $1,500
- Plumber, electrician, and drywaller – $4000
Grand Total: $42,425 in Canadian dollars. (As of today, that is approximately $31,000 in USD at the current exchange rate.)
We certainly could have done it for less, but we also could have spent more! I am very happy with how our kitchen turned out and I wouldn’t change a thing!
Other things that could affect the overall cost of a DIY Kitchen:
- Structural changes
- Plumbing moves – keeping things in the same location as much as possible is certainly the cheapest option, so if the kitchen functions well, it’s best to minimize layout changes. If you don’t have access to the area below the kitchen to run new plumbing and electrical this could be a lot of money, if you need to tear into finished drywall in a floor below, for example.
- Square footage – obviously large kitchens are going to cost more than smaller kitchens. Our kitchen is 180 square feet, so if you want a kitchen with similar quality materials to mine, you can scale the cost of mine to yours to determine a very rough ballpark total cost.
- We did not replace our flooring but if you are renovating a kitchen, it might be something you need to consider.
Other useful kitchen statistics:
I did a little research to see how my kitchen reno stacked up with what was out there on the world wide web, and I came across some useful kitchen statistics that I thought might be helpful if you are planning your own kitchen remodel!
- Some experts say that you shouldn’t spend more than 10-15% on the property value of your home on your kitchen remodel to maintain the home value (unless you don’t plan to sell within the next 15 or more years).
- $200 per square foot is quoted by some as an average cost for a kitchen reno in Canada as of 2022 (although these numbers are all over the map, and of course, very regional).
- Shaker-style cabinets still account for 64% of cabinet door styles in 2022. I don’t see shaker-style doors fading from popularity anytime soon, although some cabinets with a bit more detail are gaining momentum.
- On average, kitchens are renovated every 15 – 20 years which is the time for trends to change and finishes to have significant wear and tear.
- Kitchen cabinets are generally the biggest expense in a kitchen, and statistically eat up about 25 percent of the overall project cost. If your cabinets are in good condition, there are other options to give the kitchen a new look rather than replacing your current decent cabinets. Refacing (new doors and panels) or a fresh coat of paint are two great options which make good use of existing cabinets.
I hope you found this break out useful to help you plan your own kitchen reno!
Shop this Post:

You Might Also Like:
- How to Update Your Kitchen Without Painting Cabinets!
- A DIY Kitchen with Ikea Cabinets – the Kitchen Reveal!
- Blind Corner Kitchen Cabinet Ideas
- DIY Pull Out Tray for Appliances (Using a Stone Remnant!)
- 90’s Bathroom Makeover – The Kids Bath REVEAL!
- Updating our 90’s Home on a Budget
- Clever Ways to Hide Outlets in the Kitchen
- How to Make a Kitchen Island Out of Base Cabinets
- A Guide for Standard Kitchen Cabinet Dimensions
- 12 ways to Make an Ikea Kitchen Look Custom
Your kitchen is stunning. I love every detail. What paint color(s) did you use?
Thank you so much! It is Benjamin Moore Indian River.
I’m also obsessed with your kitchen! What is the wall color please?
Thank you! The wall colour is Valspar Swiss Coffee.
Hi, I’ve been trying to figure out if the wainscot paneling you used for a backsplash is nickel gap shiplap or v-groove. I can’t find a link on any of your posts, and I can’t get a photo to blow up enough to clearly tell! I’m debating between the two for my own kitchen, and your style is very close to what I’m envisioning. Thanks!
Mine is V-groove! We couldn’t find V-groove anywhere so we actually flipped over some beadbaord planks and painted the back.