
How to Build a DIY Wall Hanging Plate Rack
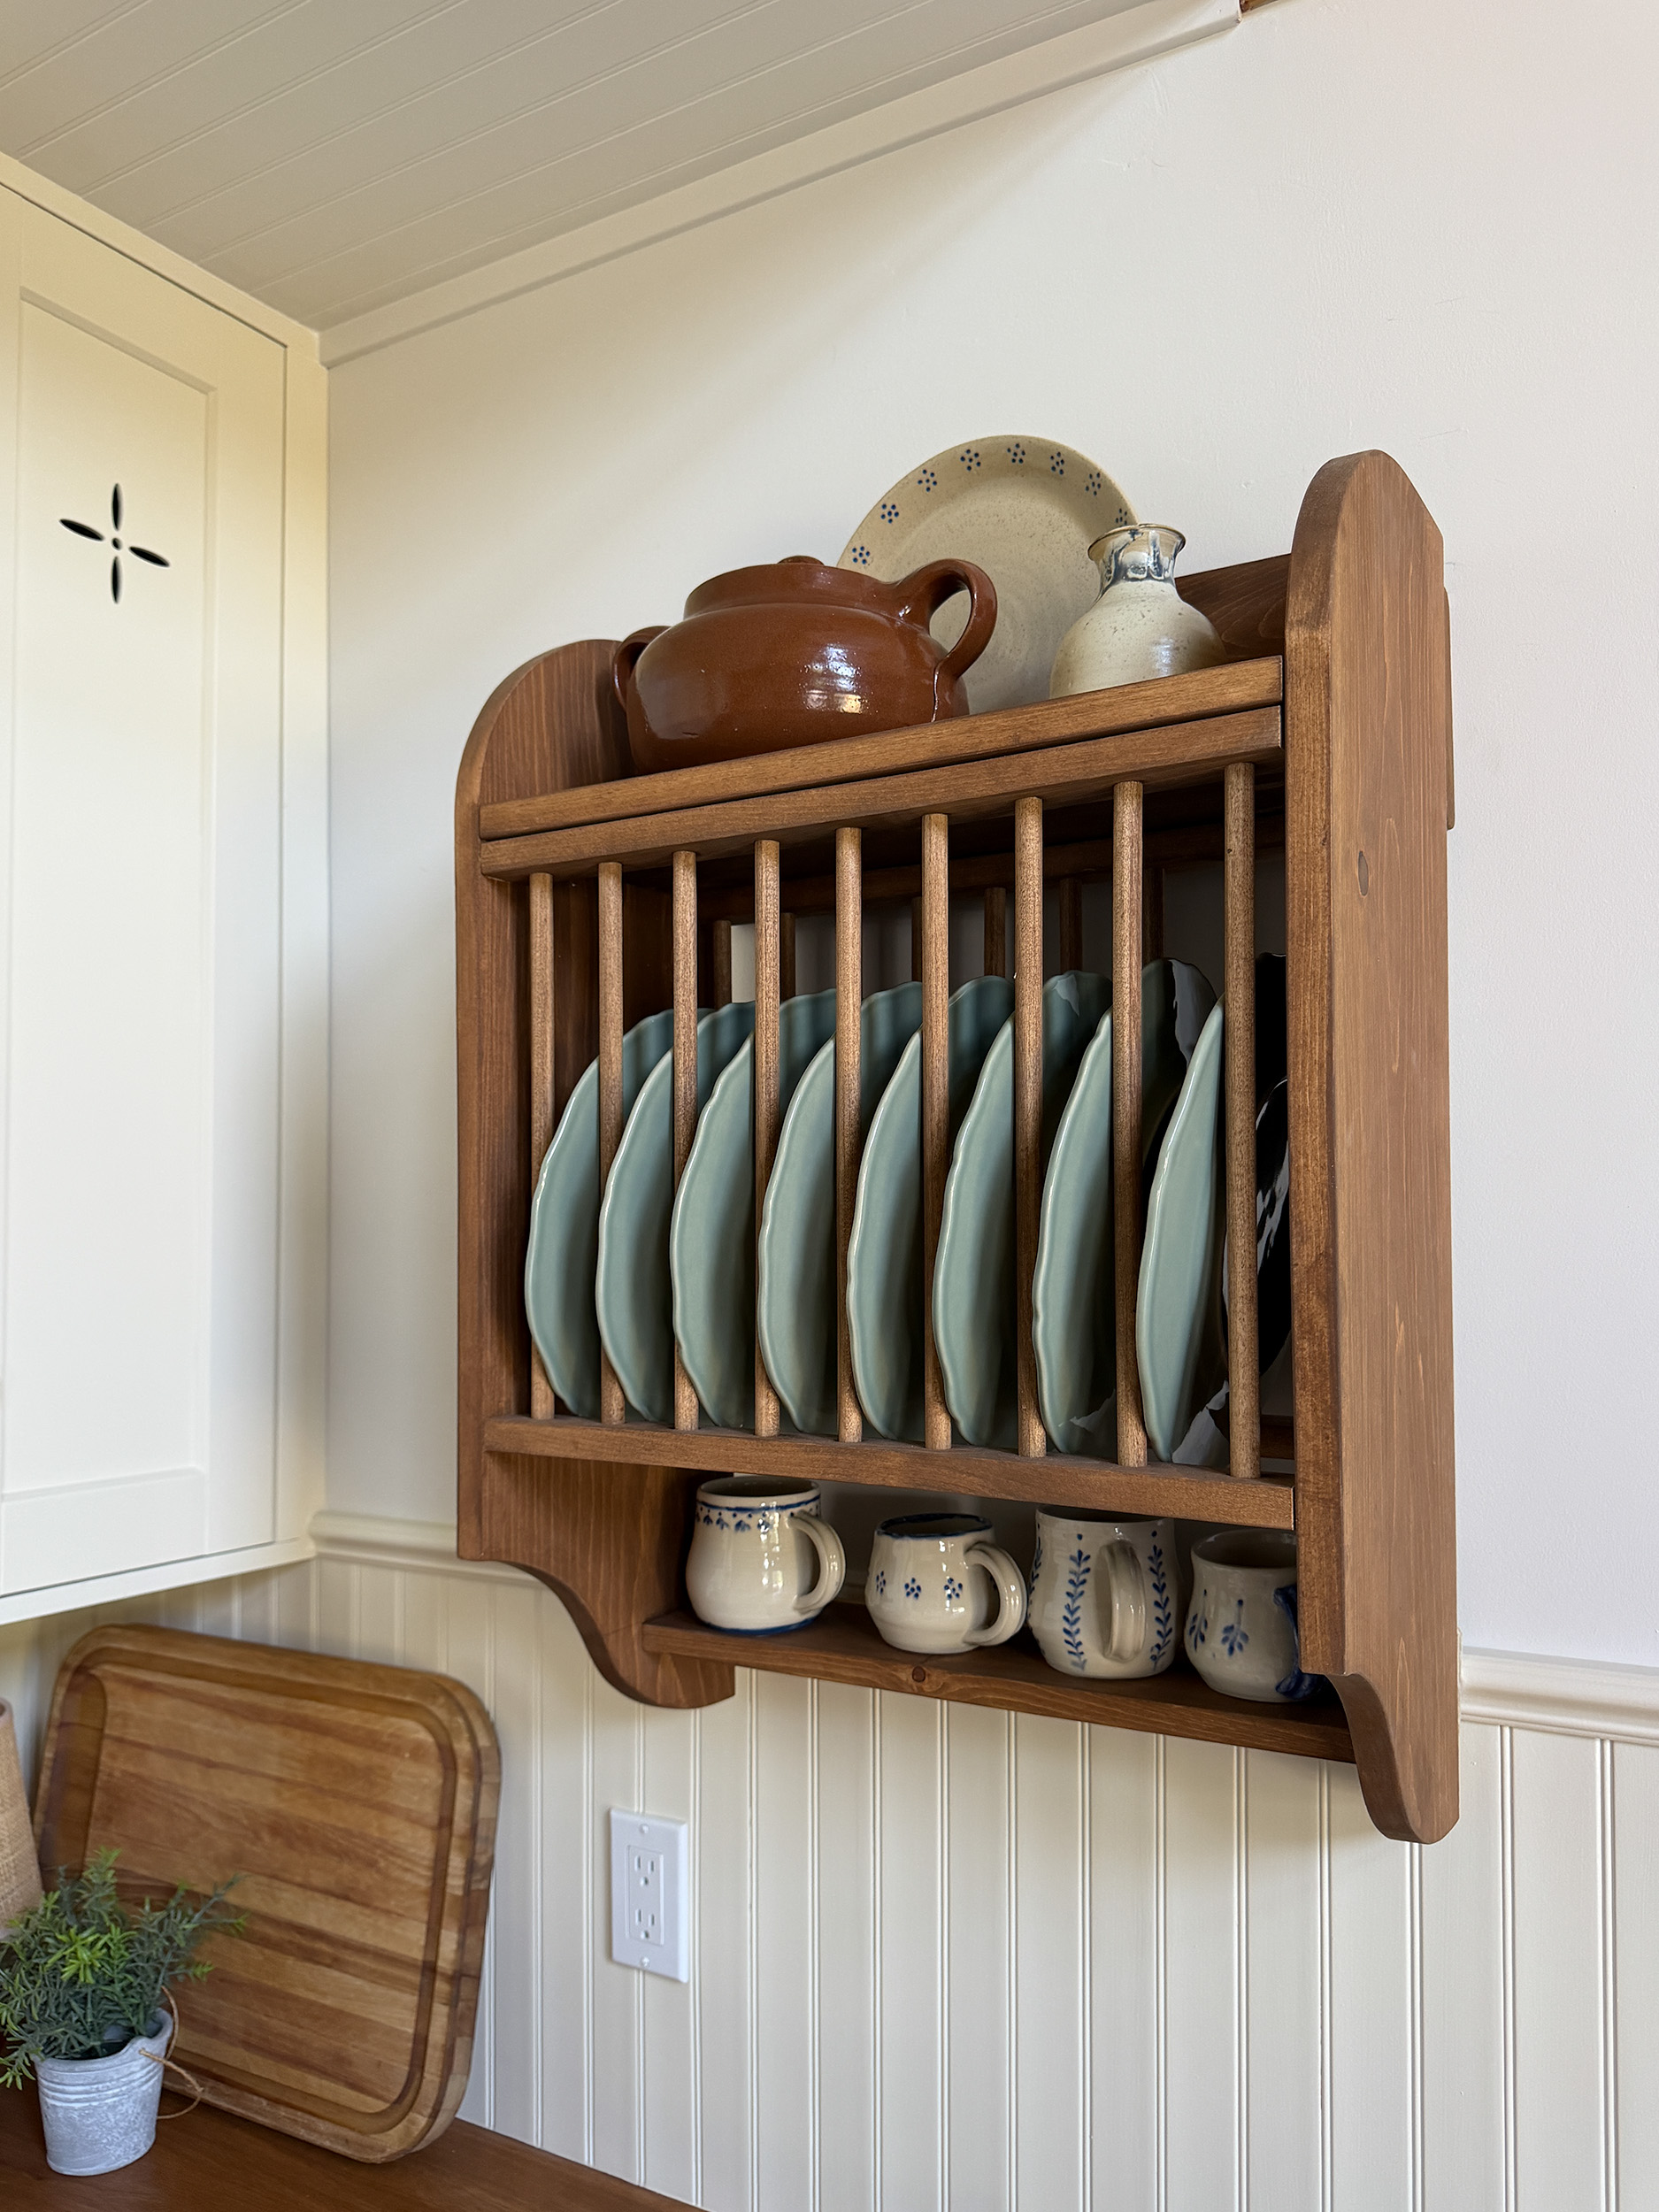
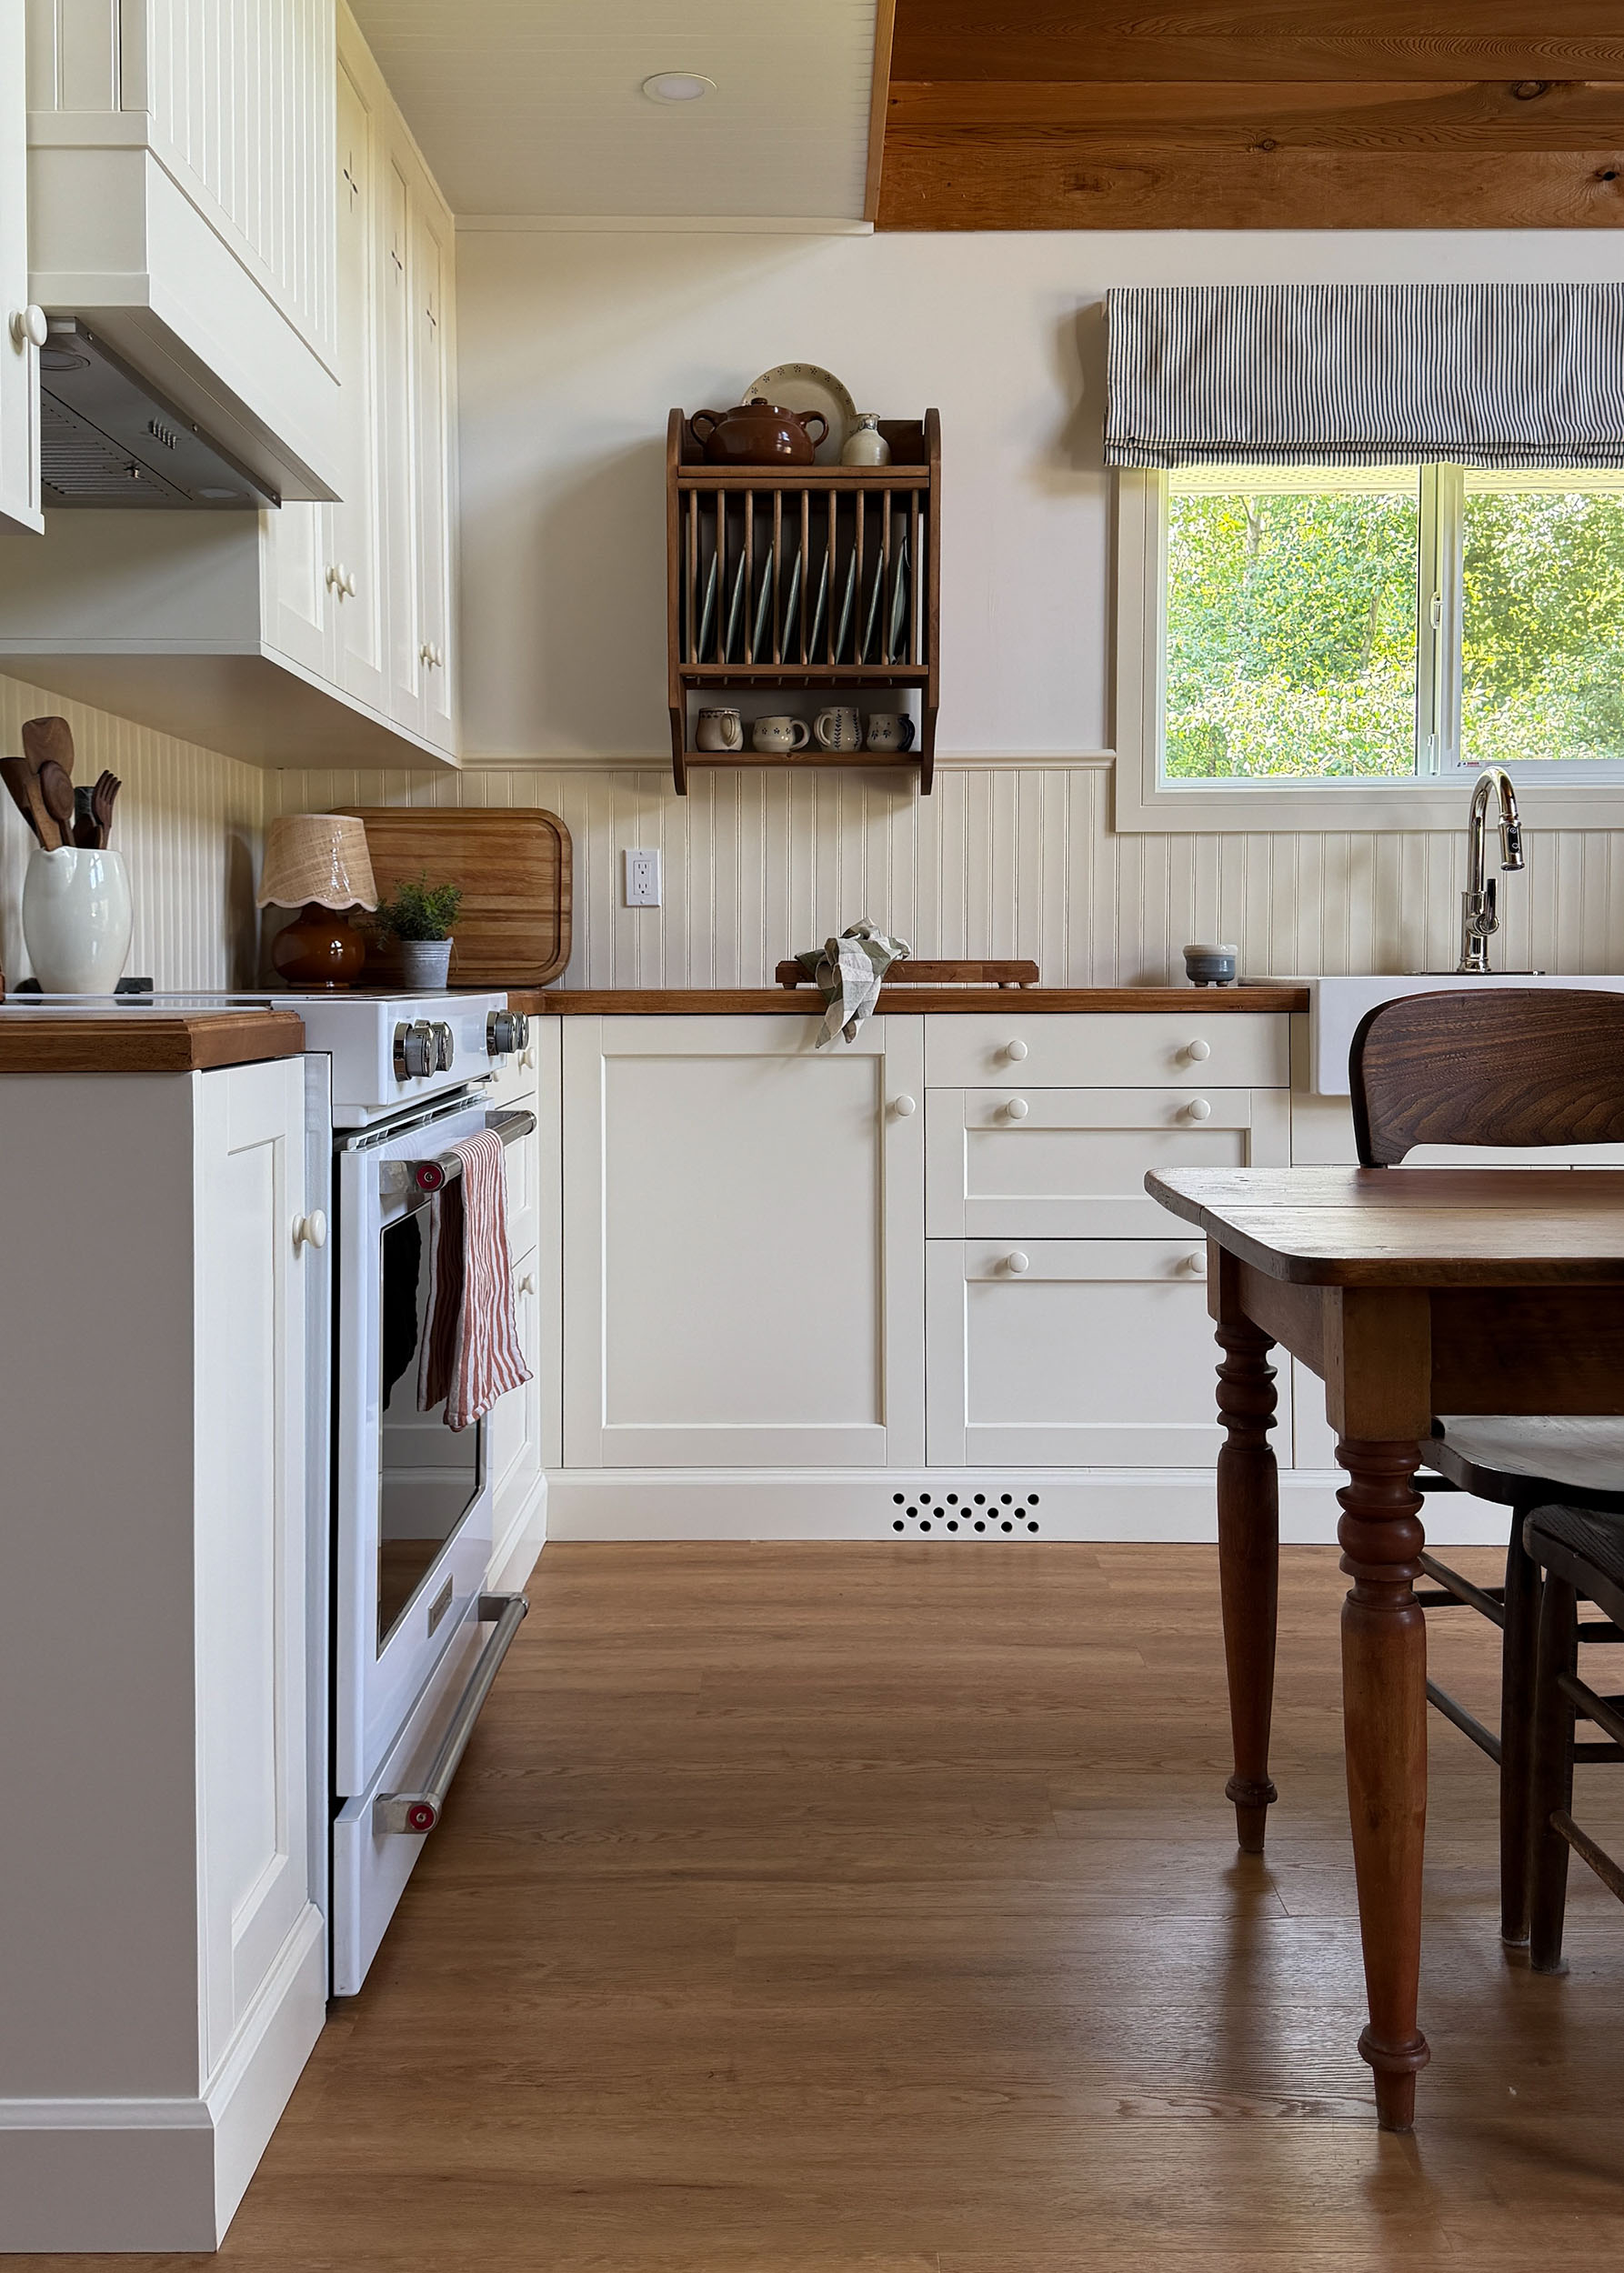
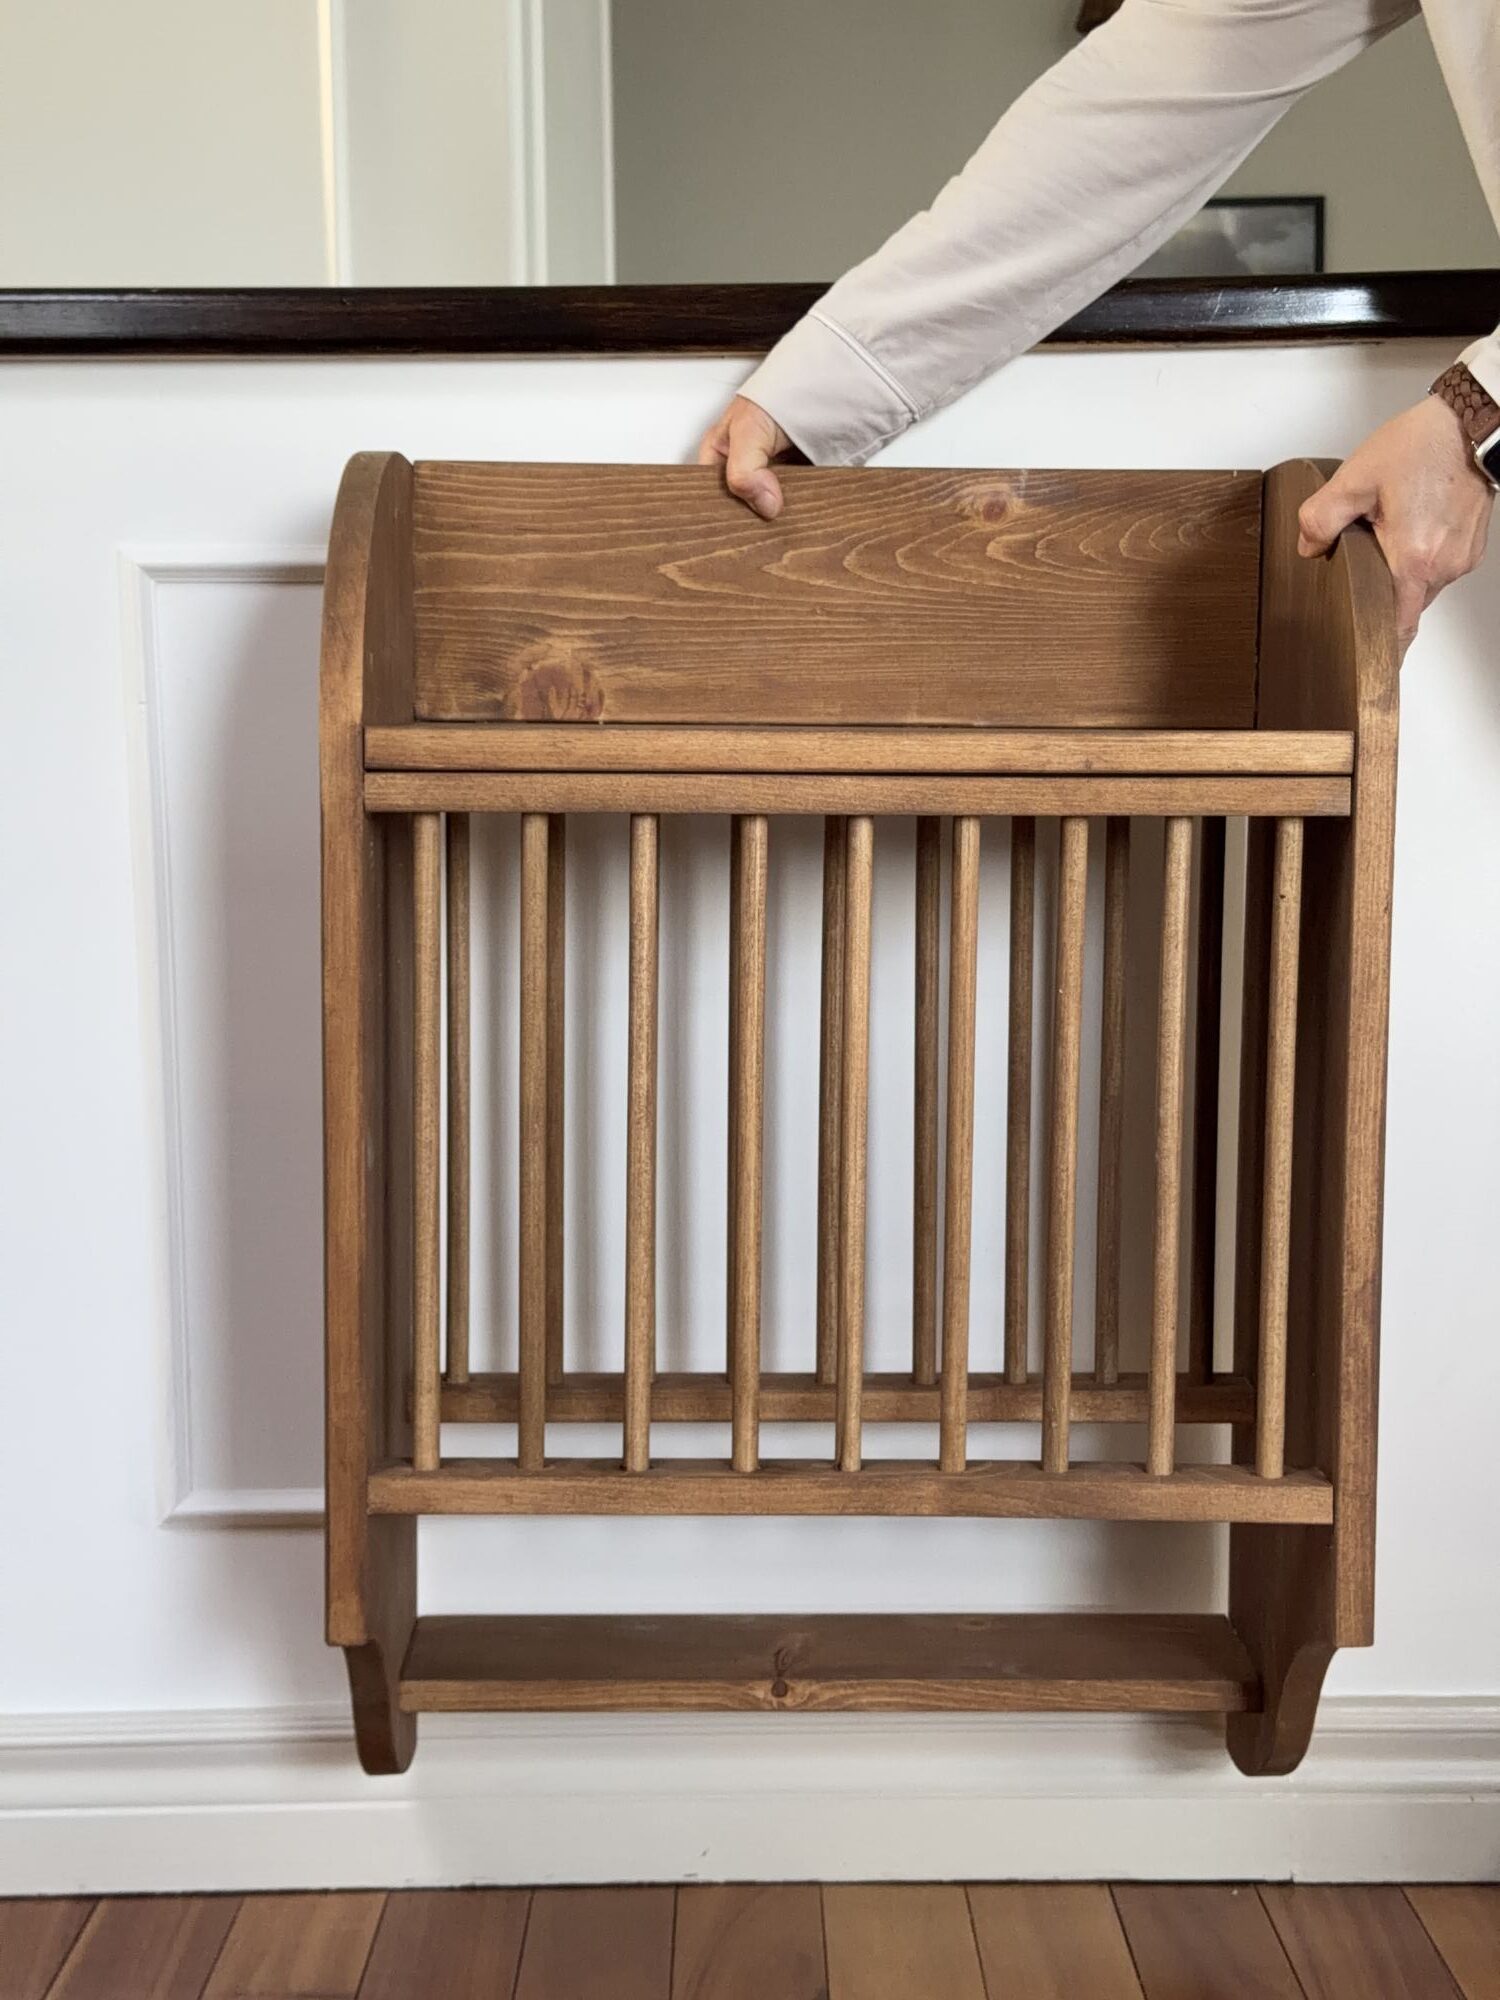
When I was working on the design for my cabin kitchen, I really wanted a cottage-y collected over time feel. I looked around for a vintage plate rack because I thought it would be the perfect solution, but I couldn’t find one in the size I needed. I decided to make one! It turns out it was not too hard at all, and turned out pretty cute! Here is how I built my DIY plate rack, with a step-by-step tutorial!
This post may contain affiliate links. That means if you purchase anything from these links I earn a small commission, at no extra cost to you! This helps support my blog, so thank you!
Materials
I briefly considering using oak for my plate rack, but once I added up the cost of oak, I quickly reconsidered!
I was honestly not sure that this was going to work out, so I decided to make it out of pine to save money. I’m actually really glad I did, as pine works really well in my cabin and it was a lot more affordable! I was worried about getting a nice finish on the pine, but I found a really great solution for that (more on that later!)
I will share my exact sizing for my plate rack in case you want to build it exactly like I did. If you want to adjust the size, you could easily do so!
Materials
- 1×12 x 10′
- 1×2 x 8′
- 1×4 x 2′
- 3/8″ wood dowels
- Wood Glue
- Clamps
- Orbital Sander
- Wood stain (I used Osmo Wood Wax Finish)
Sizing and Design
I taped the size I thought I wanted out on the wall and started cutting all my pieces to fit that. However, I really wanted to know how far the thing would stick out and if it would look to big, or hinder the access of the kitchen cabinets it was in front of.
I decided to tape together a little prototype out of cardboard to visualize the size of it and it turned out, it was way too big.
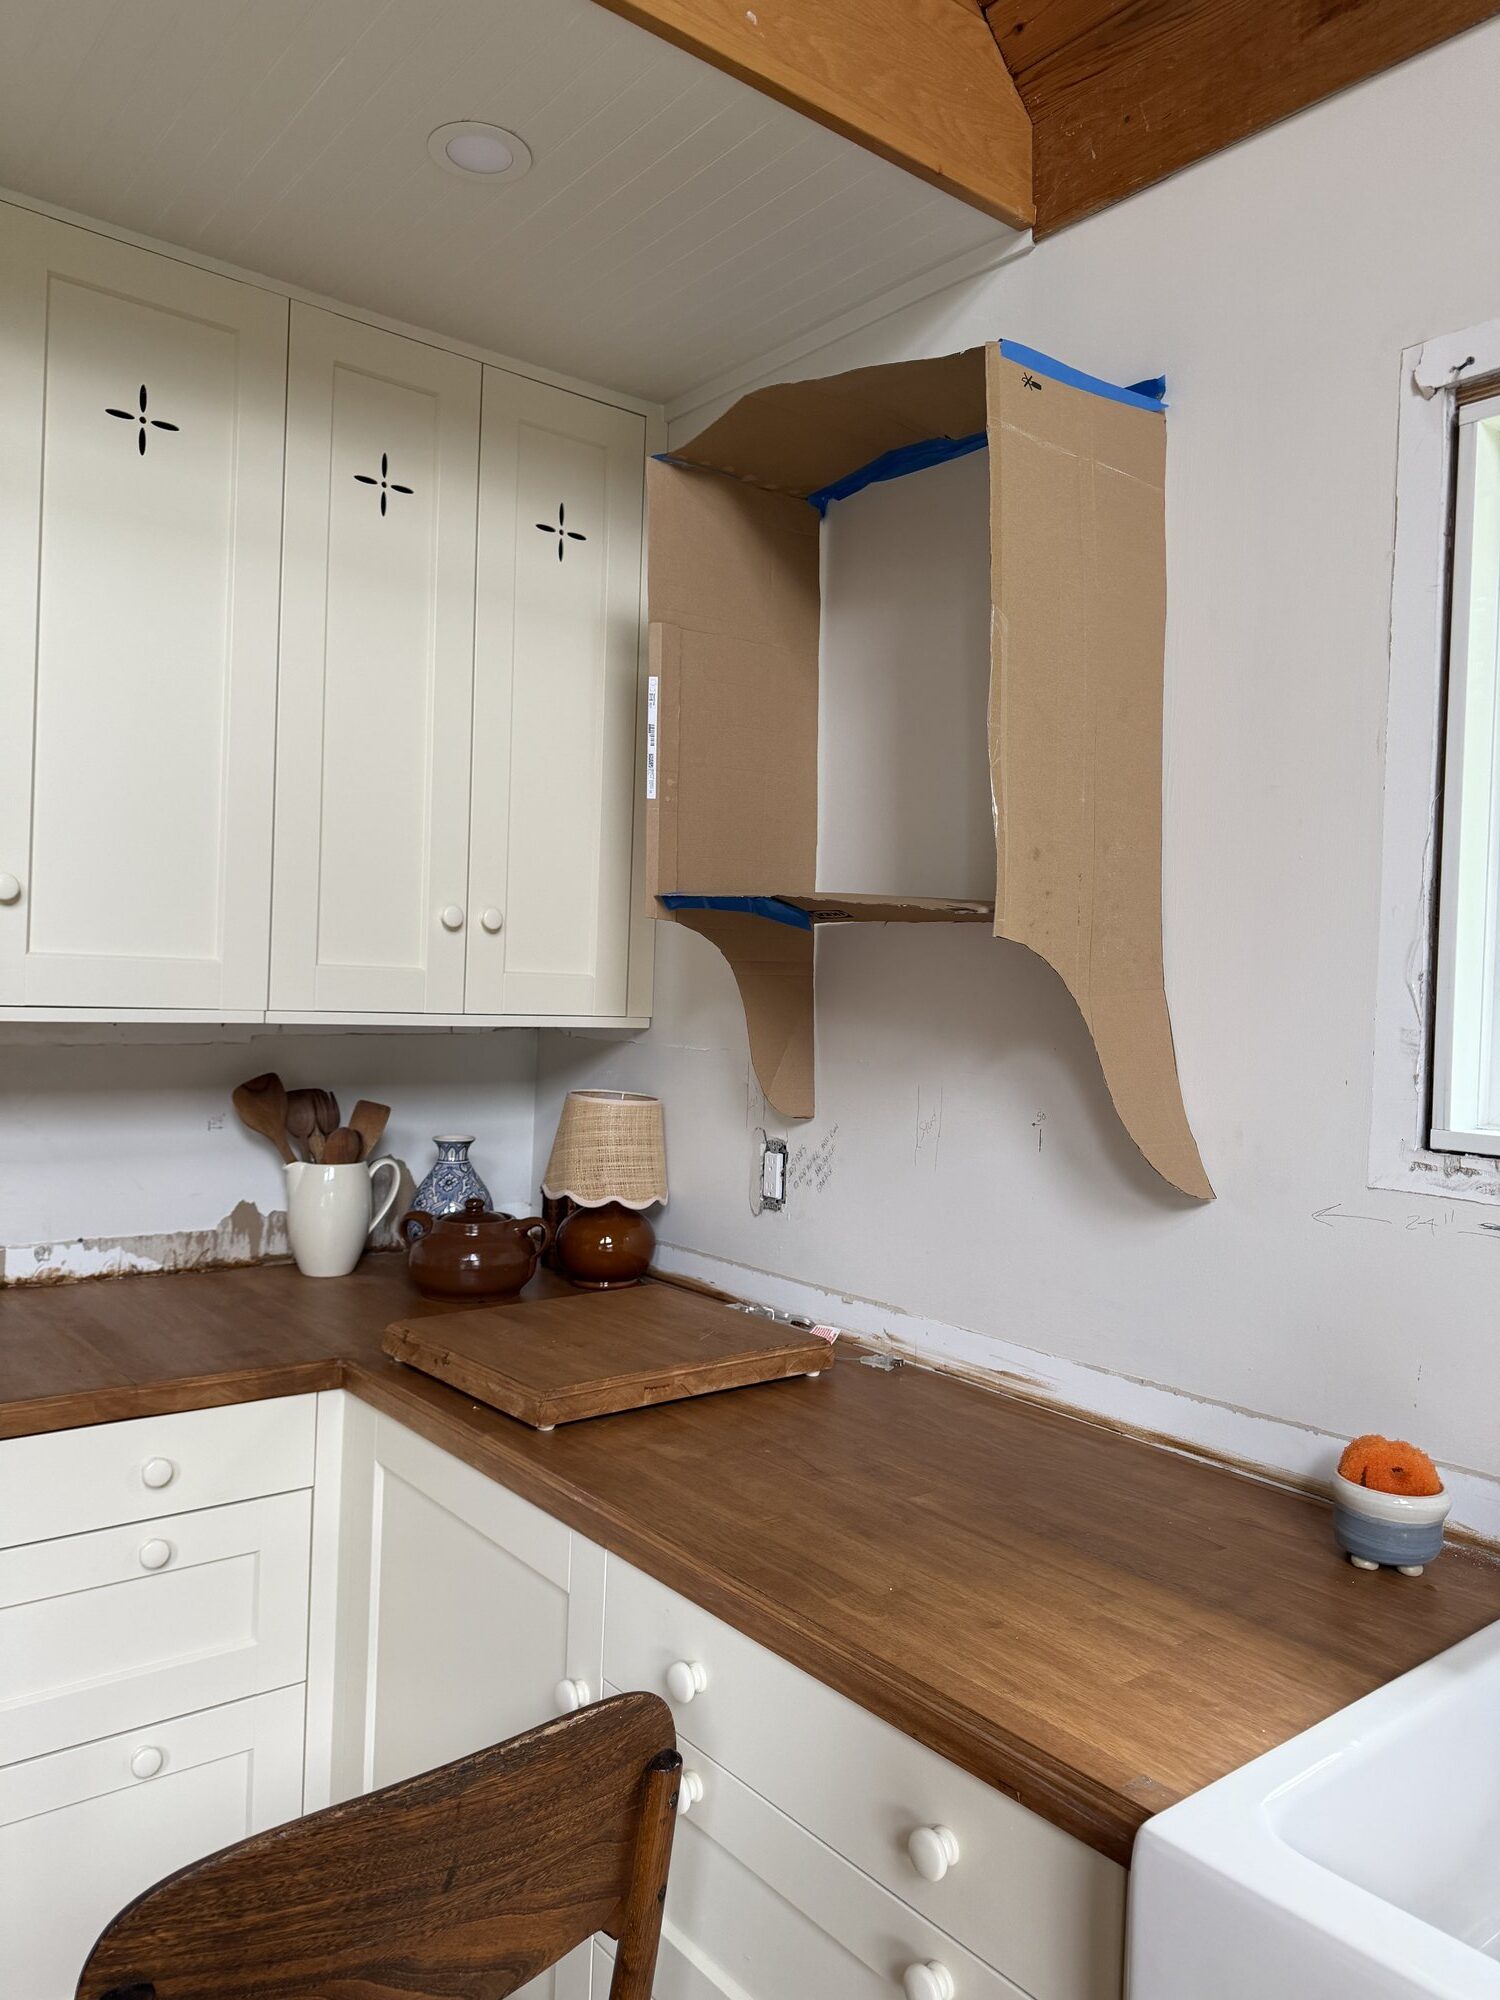
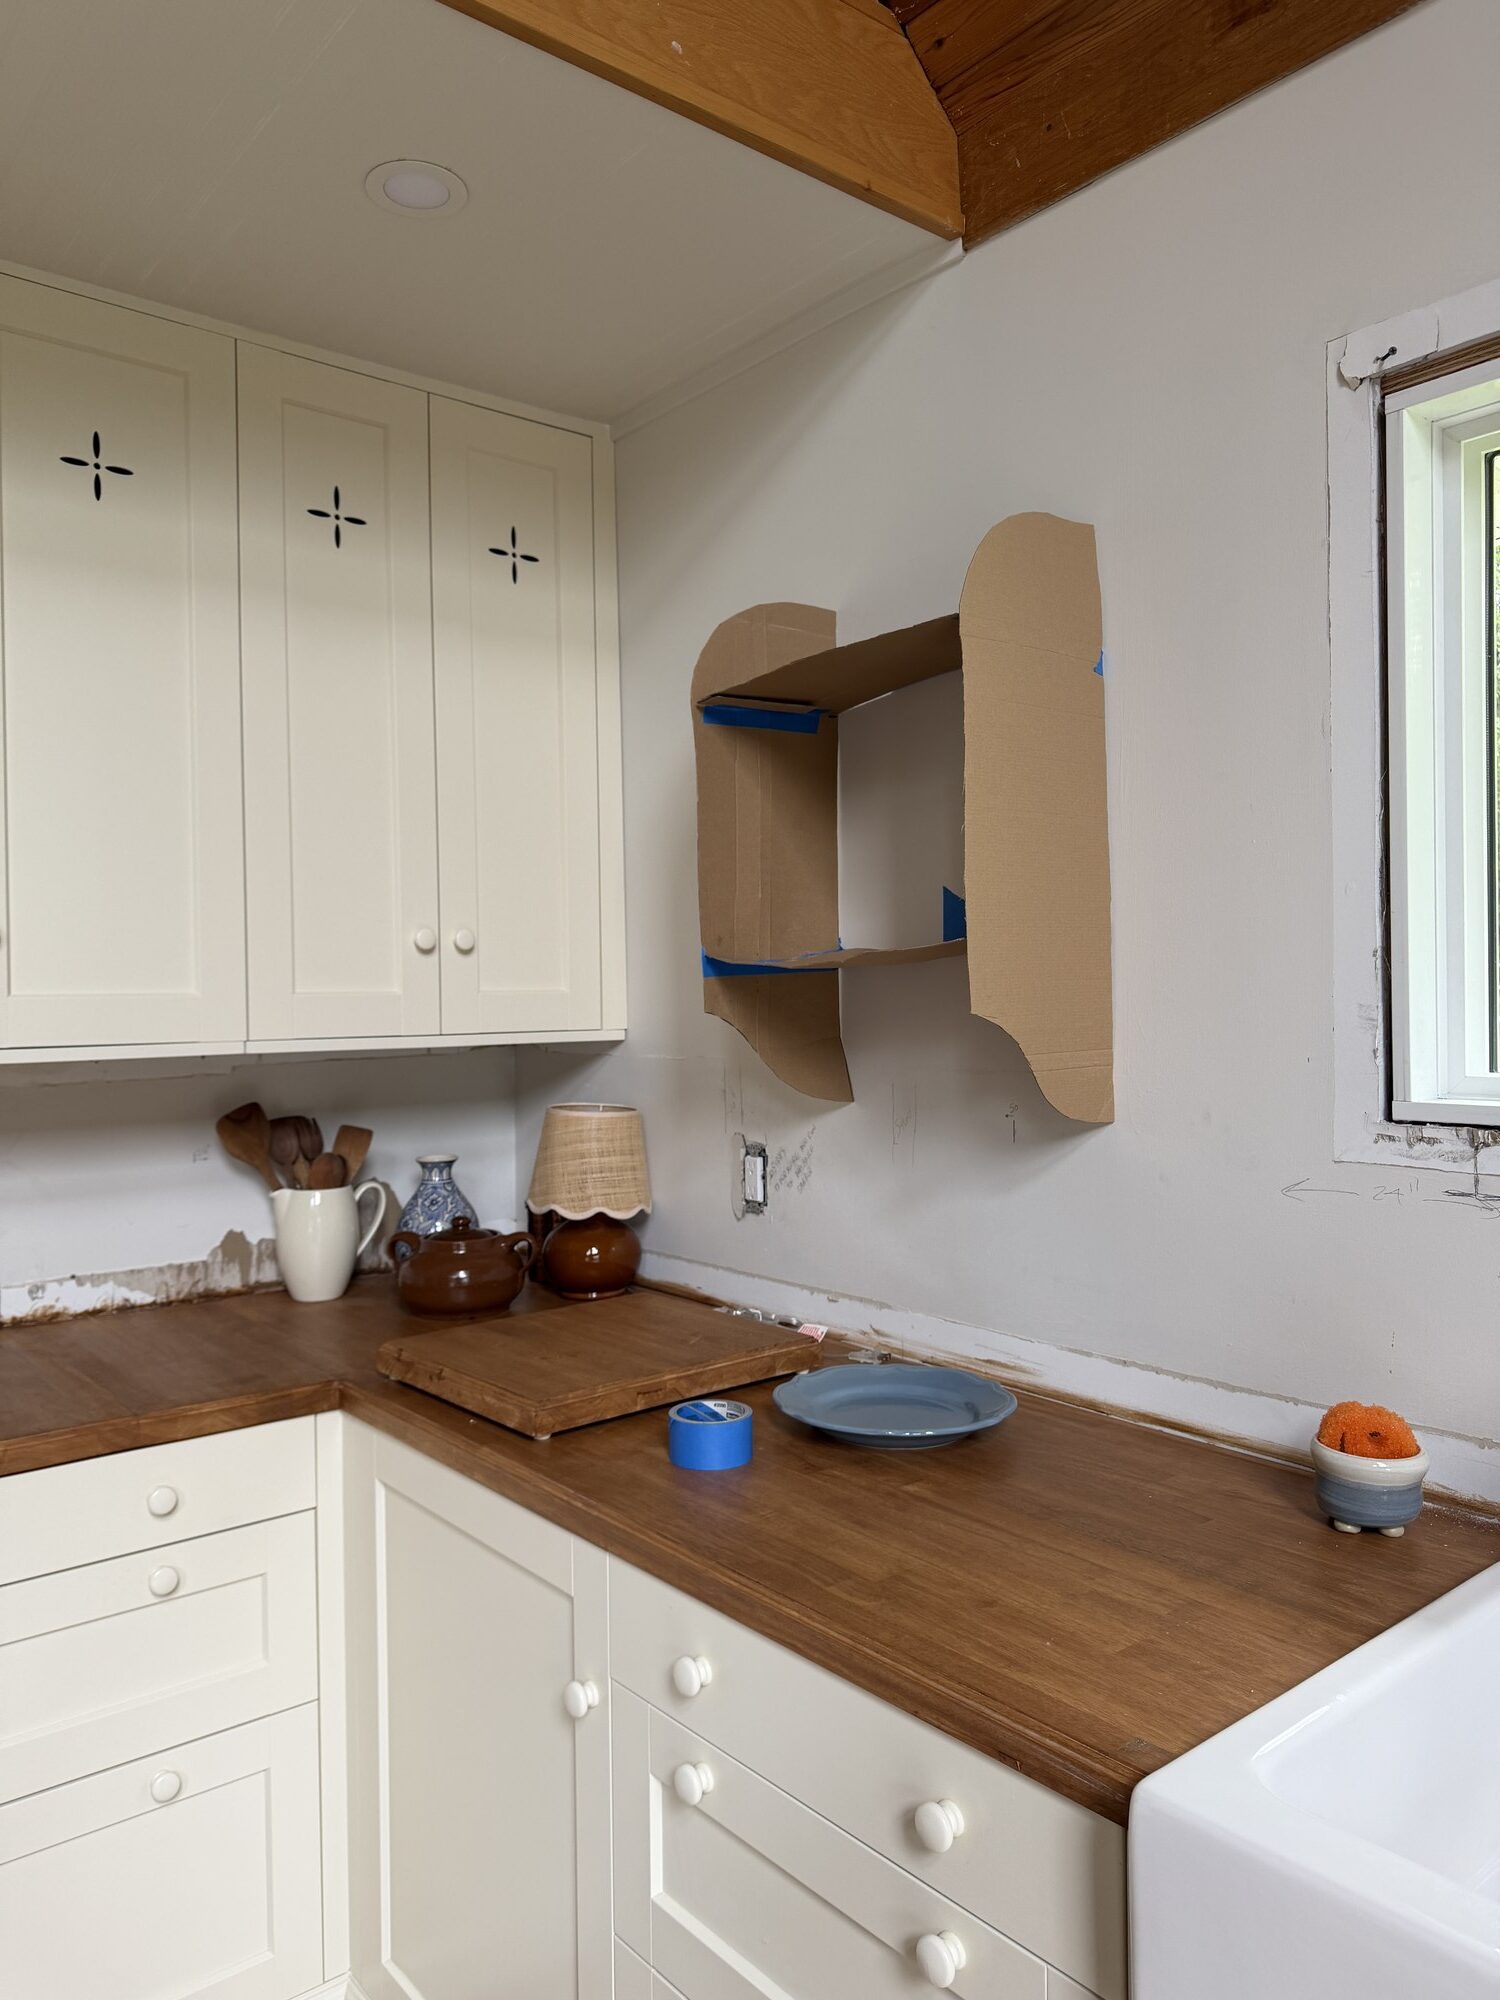
I cut the cardboard into smaller pieces until I was happy with size of the 3D cardboard version. It was super helpful, so if you have a constrained spot like I did, making a little prototype worked really well.
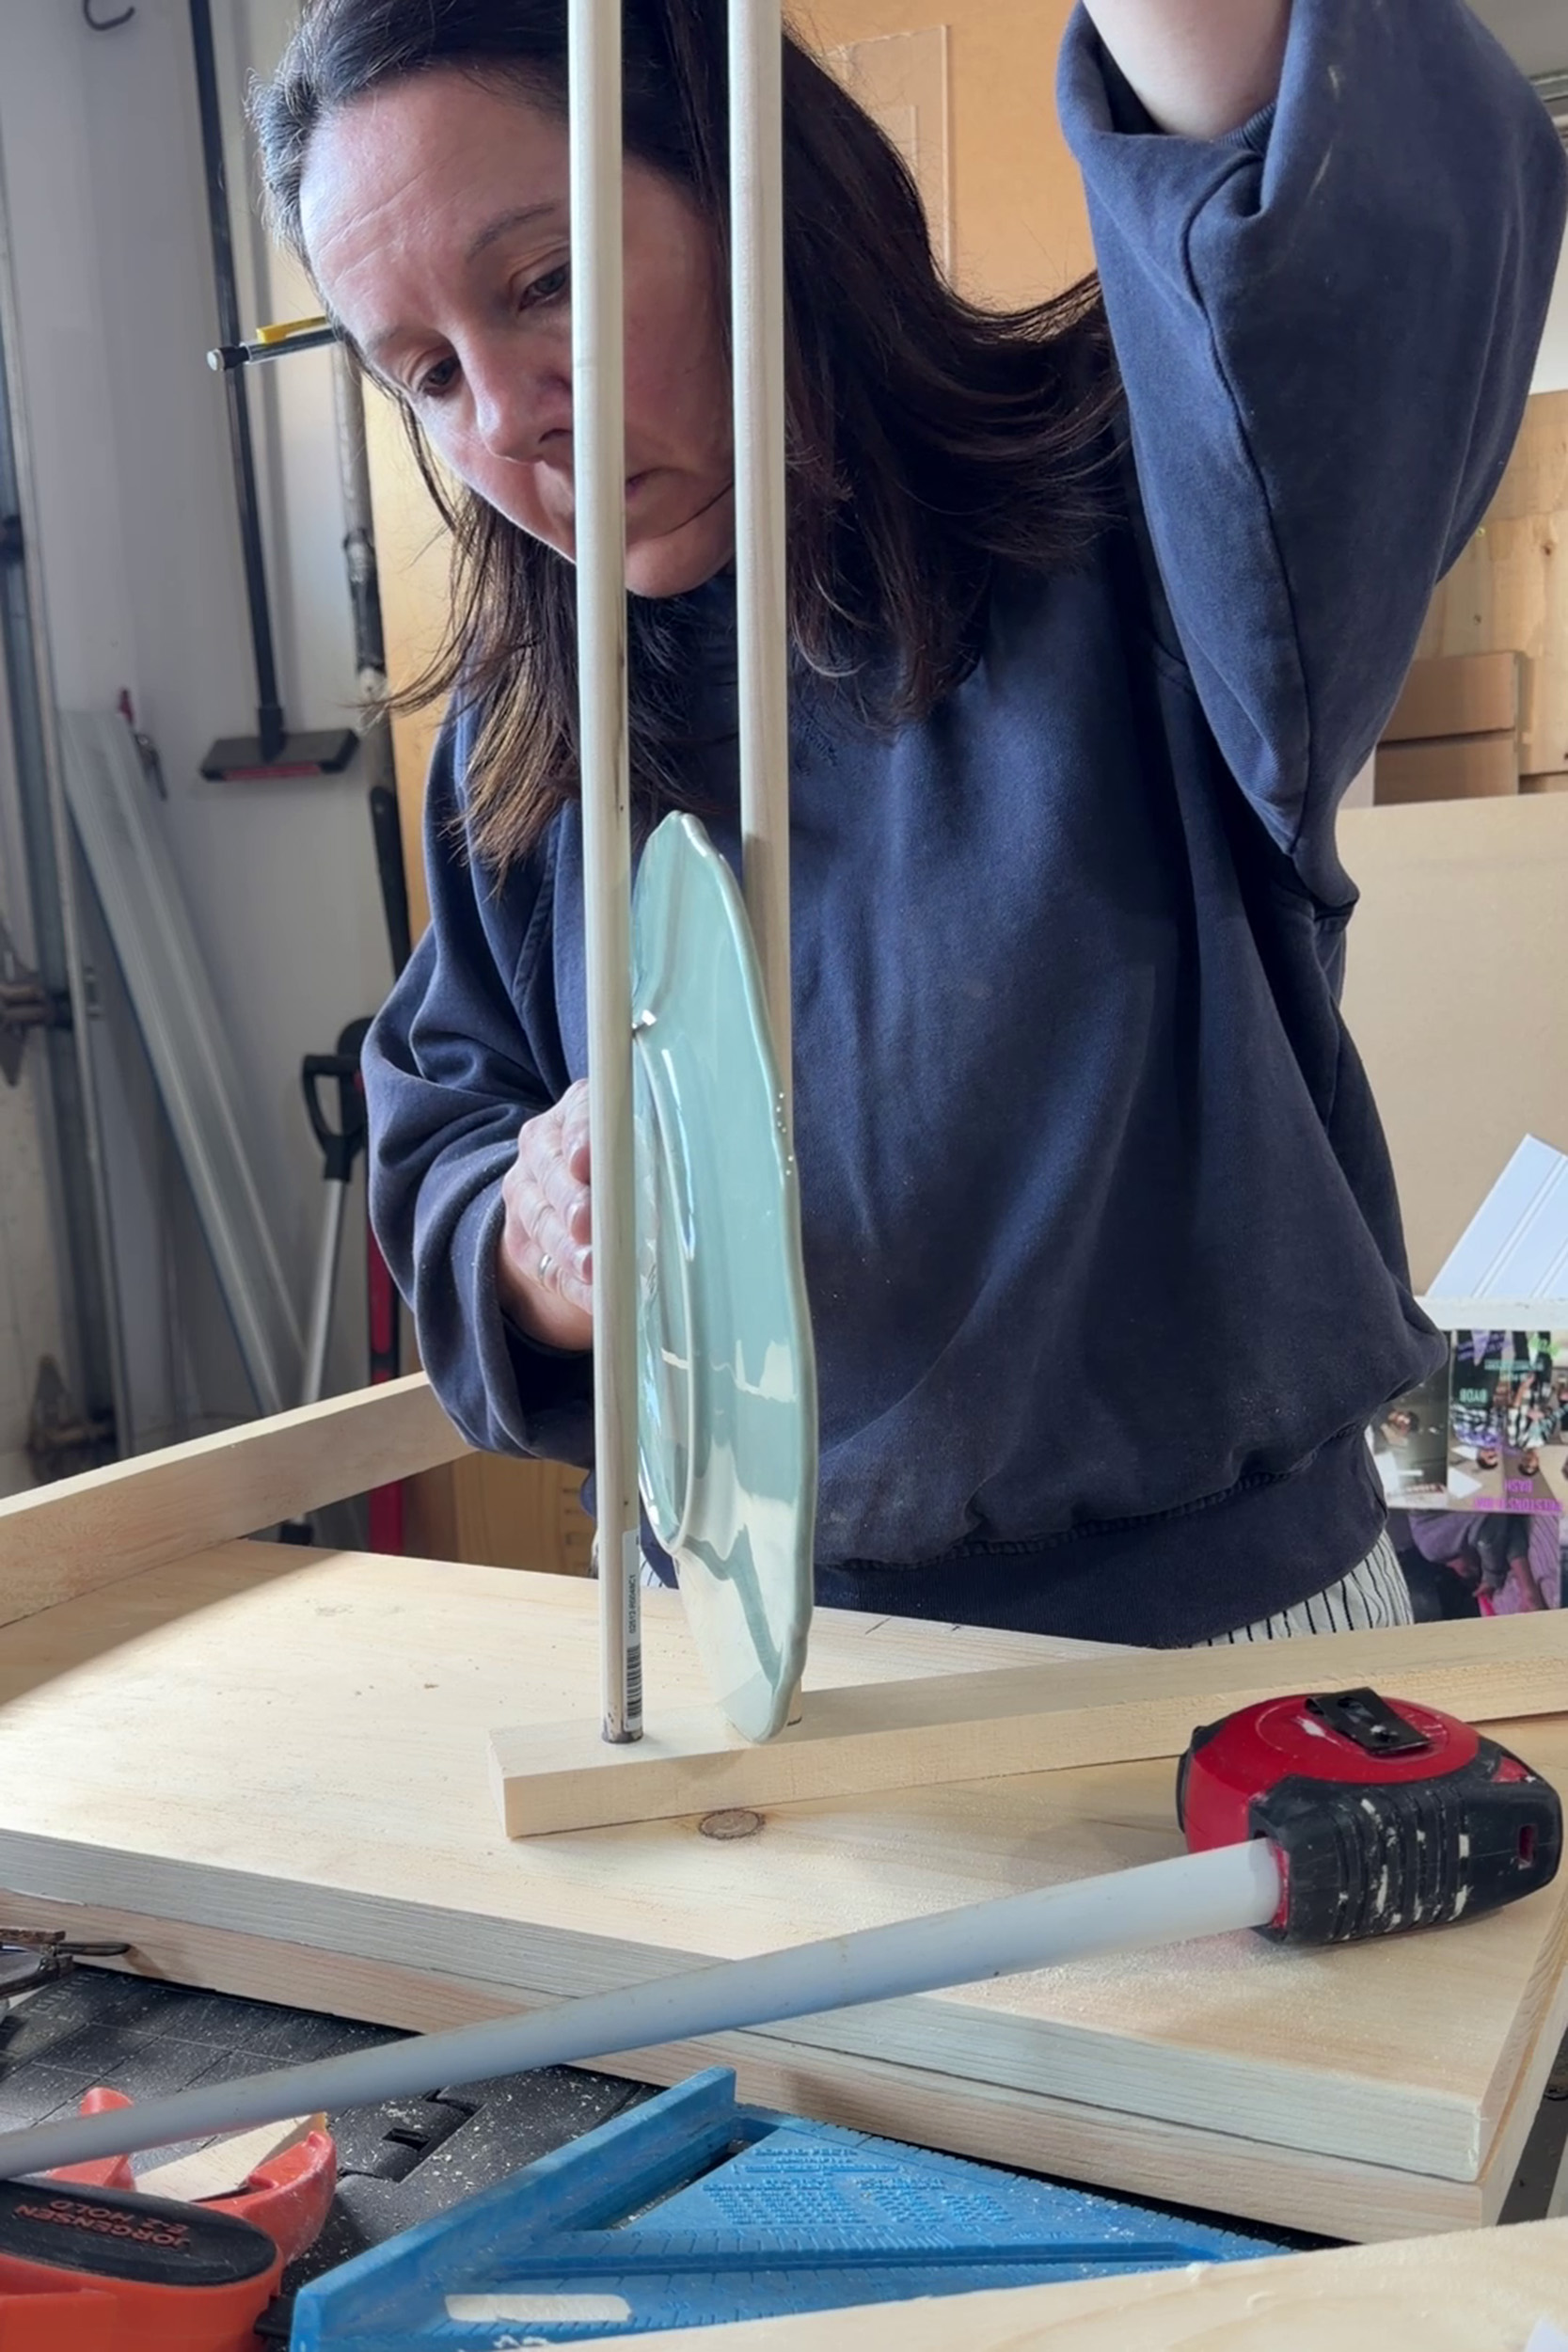
I did a little testing to see how far apart my round dowels needed to be to have enough space to fit the plates but not be so big so that they sat in there too slanted. I found 2″ to be a good spacing.
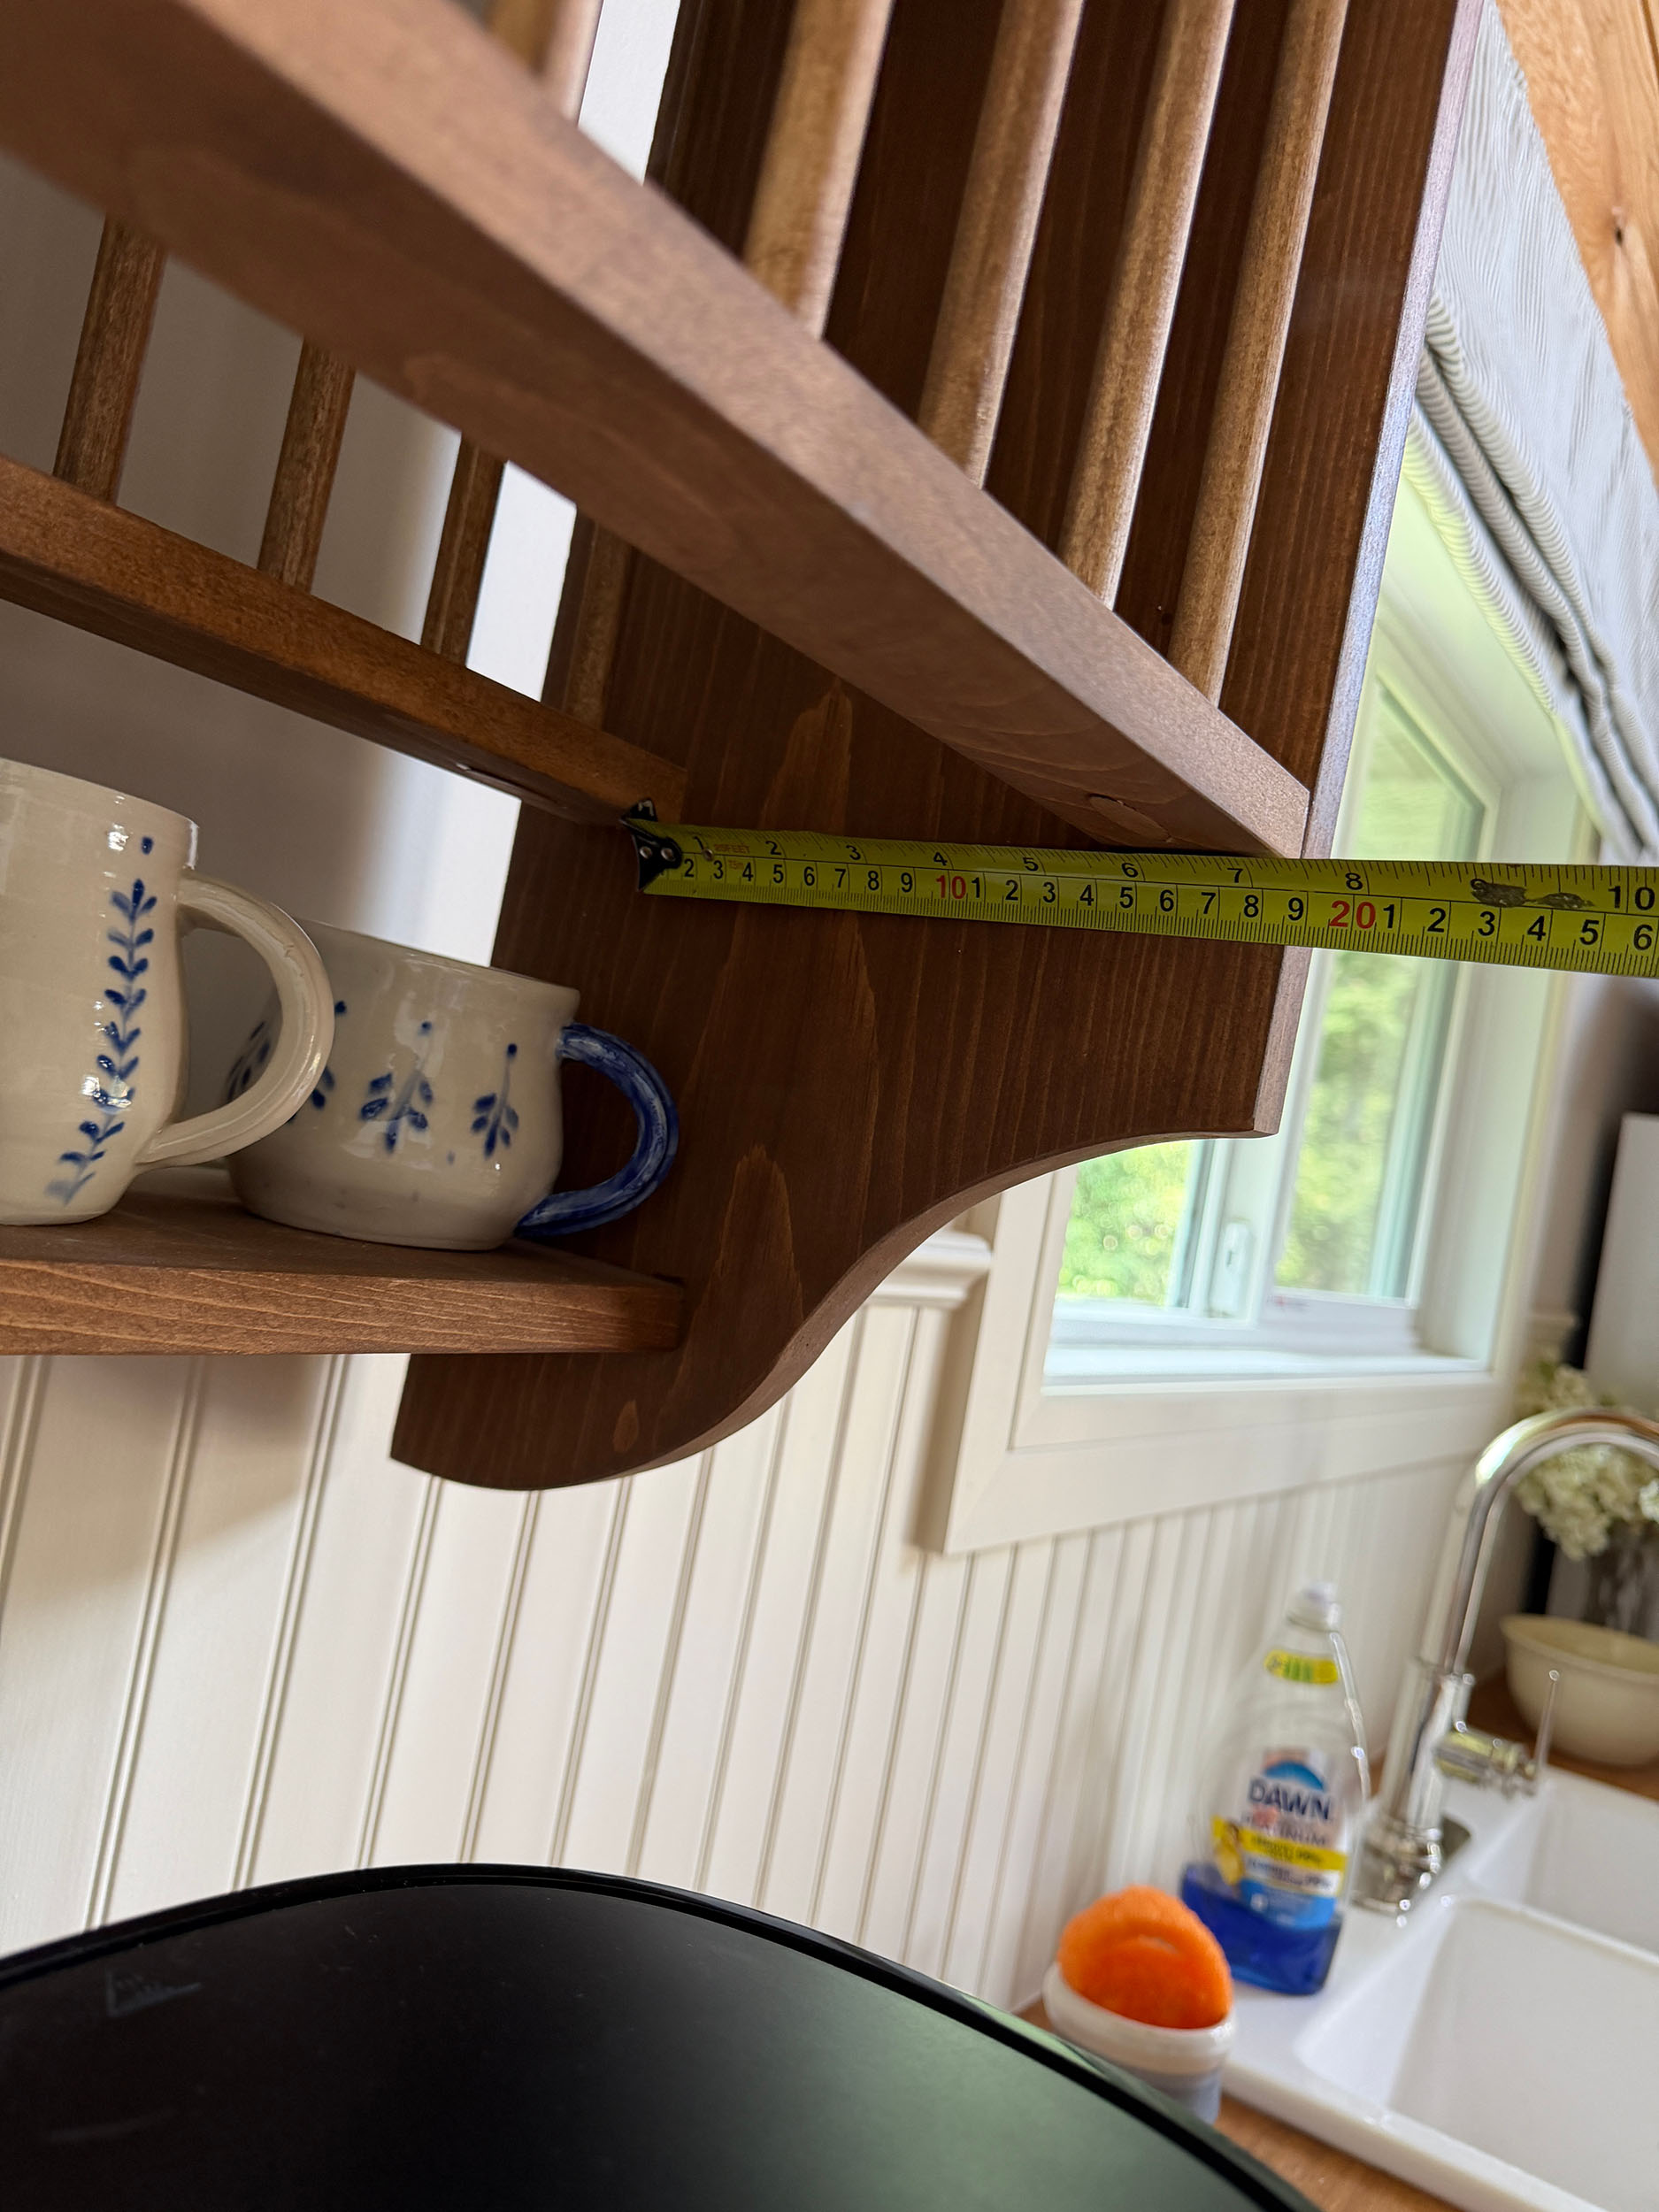
I also checked to see what would be a good amount of space between the dowel rail holders, so that the plates would sit firmly in the bottom piece but not sink too far down. I spaced mine as tight as possible since I did not want my entire plate rack to be too deep. The tightest I thought I could do mine is about 7.25 inches, which seems to work well for a standard 11″ dinner plate (and smaller plates, too).
Finally, I decided to keep the bottom of my plate rack open for a reason. When I mentioned on Instagram that I wanted to build a plate rack, a few people who had them mentioned to me how difficult it was to clean in between the rungs. Keeping the bottom open should eliminate most of that issue.
Make Your Cuts
The first step is to make all the cuts. Below is my cut list if you want to build a plate rack the same size as mine. I originally cut my pieces larger, but after trying out my prototype as noted above, I ended up cutting them all a bit smaller to suit my space. (The photo below was my first iteration before I made it smaller. The list below is what I actually ended up doing).
Note that I used a table saw to cut my 1×12″ boards narrower when needed.
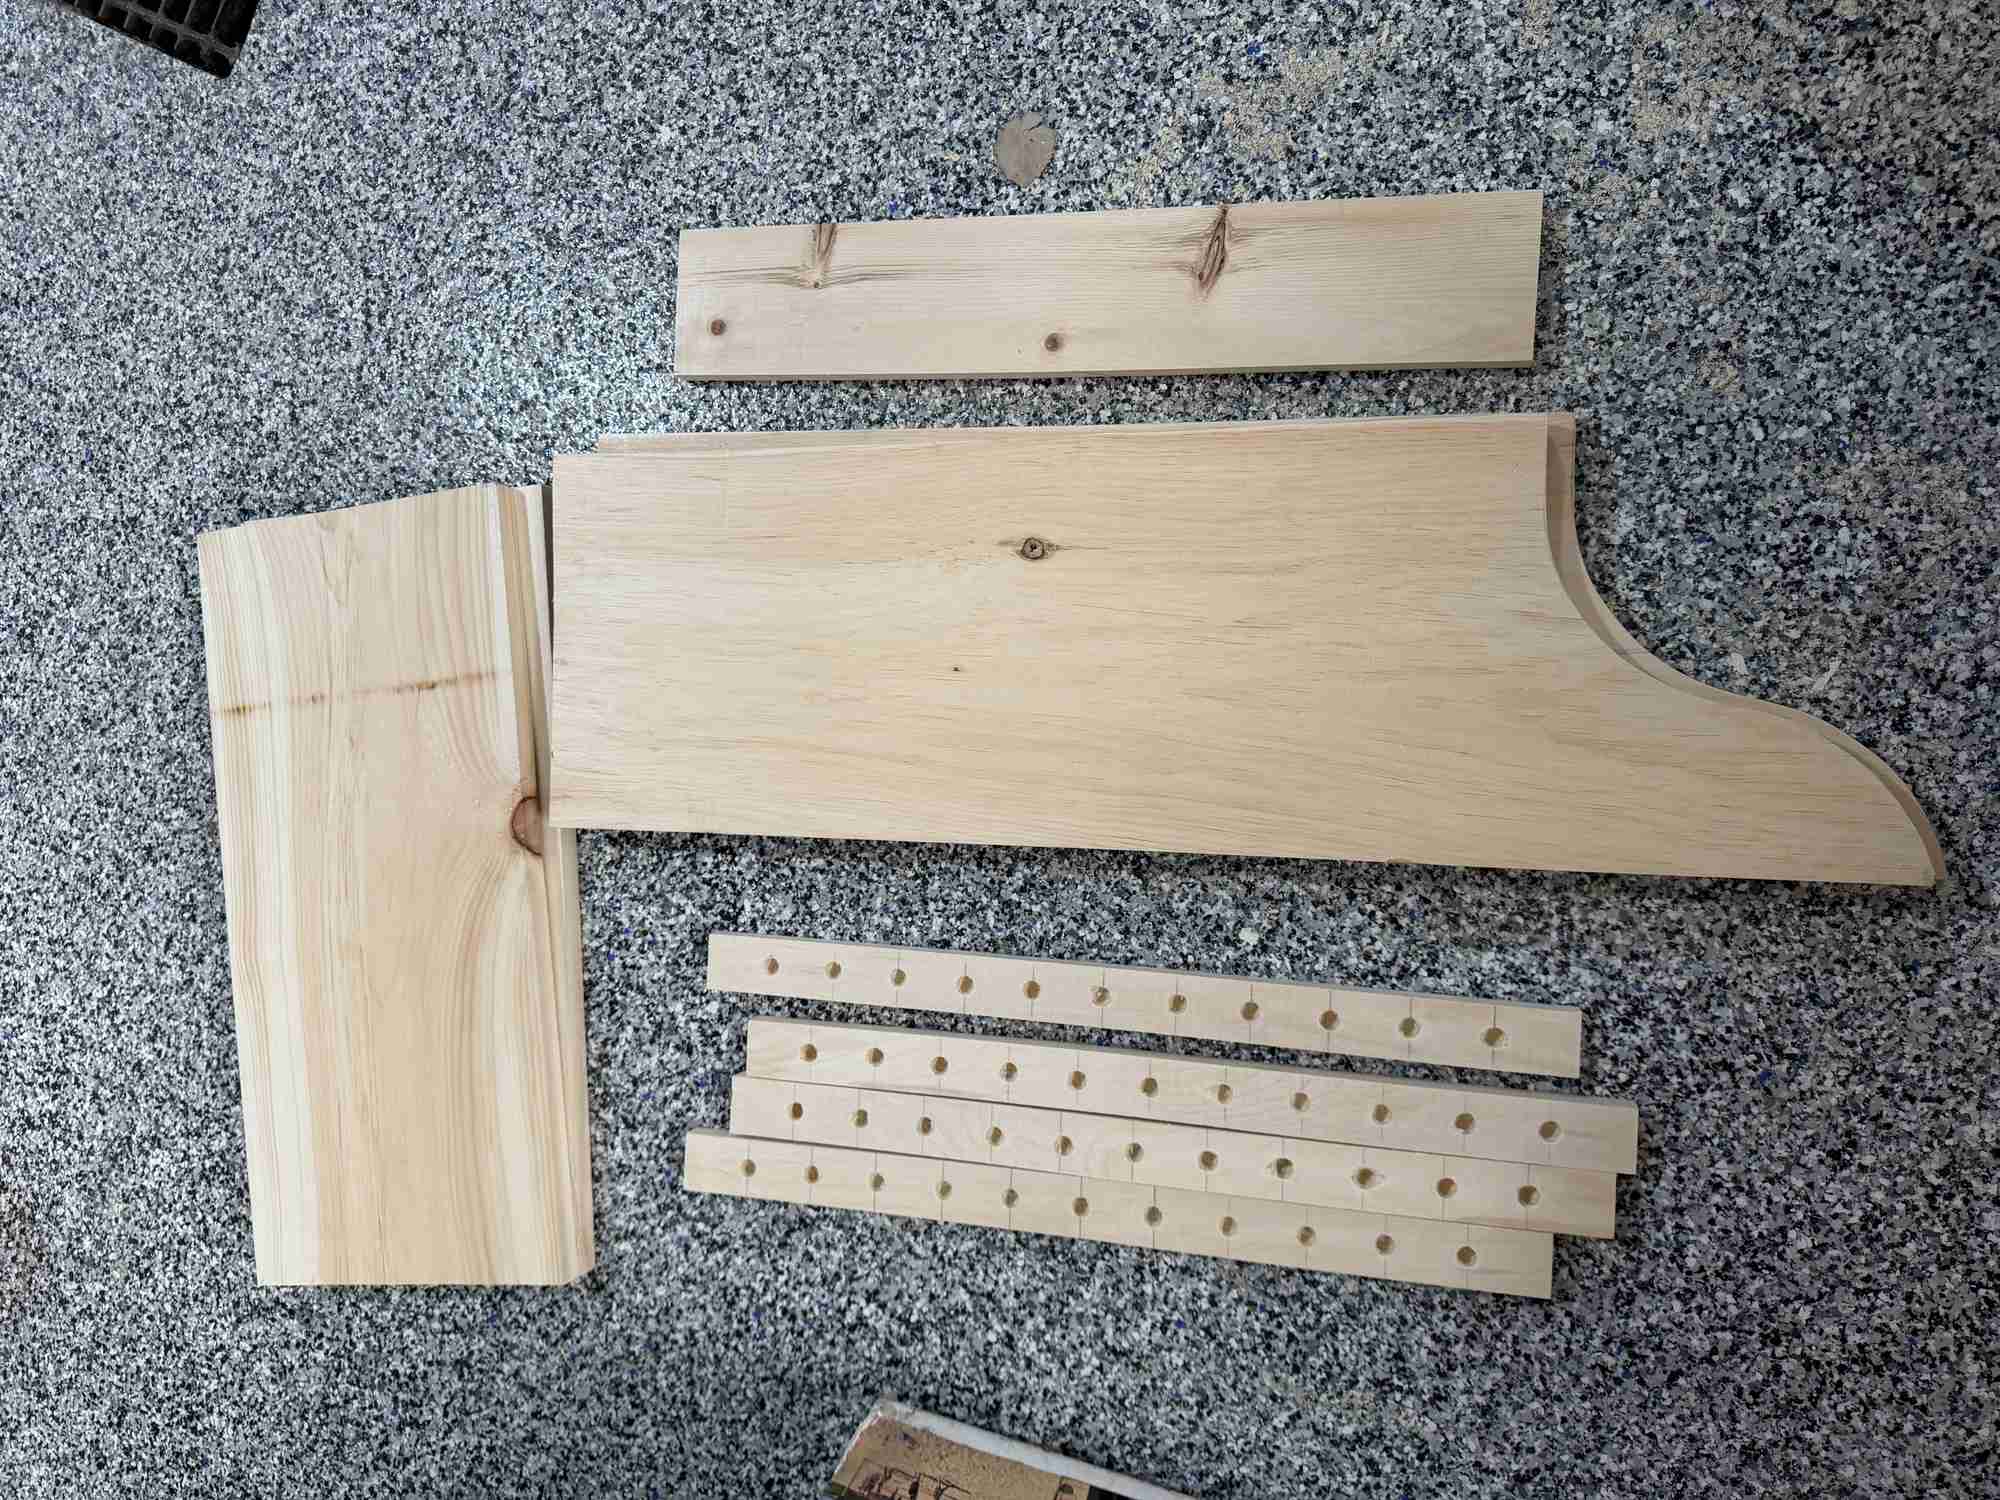
- Side Pieces – Mine are cut from the 1×12″ board. I cut mine 28 inches tall x 10″ wide (Cut 2)
- 3/8″ Dowels x 12″ (Cut 18 of these)
- Dowel Rails – 18″ long (Cut from 1×2″)
- 1×4″ x 18″ (Bottom Shelf) (Cut from 1×4″ board)
- 1×10″ x 18″ (Top shelf) (Cut from the 1×12′ board)
- 1×5.5″ x 18″ (Back Piece behind top shelf) (Cut from the 1×12″ board)
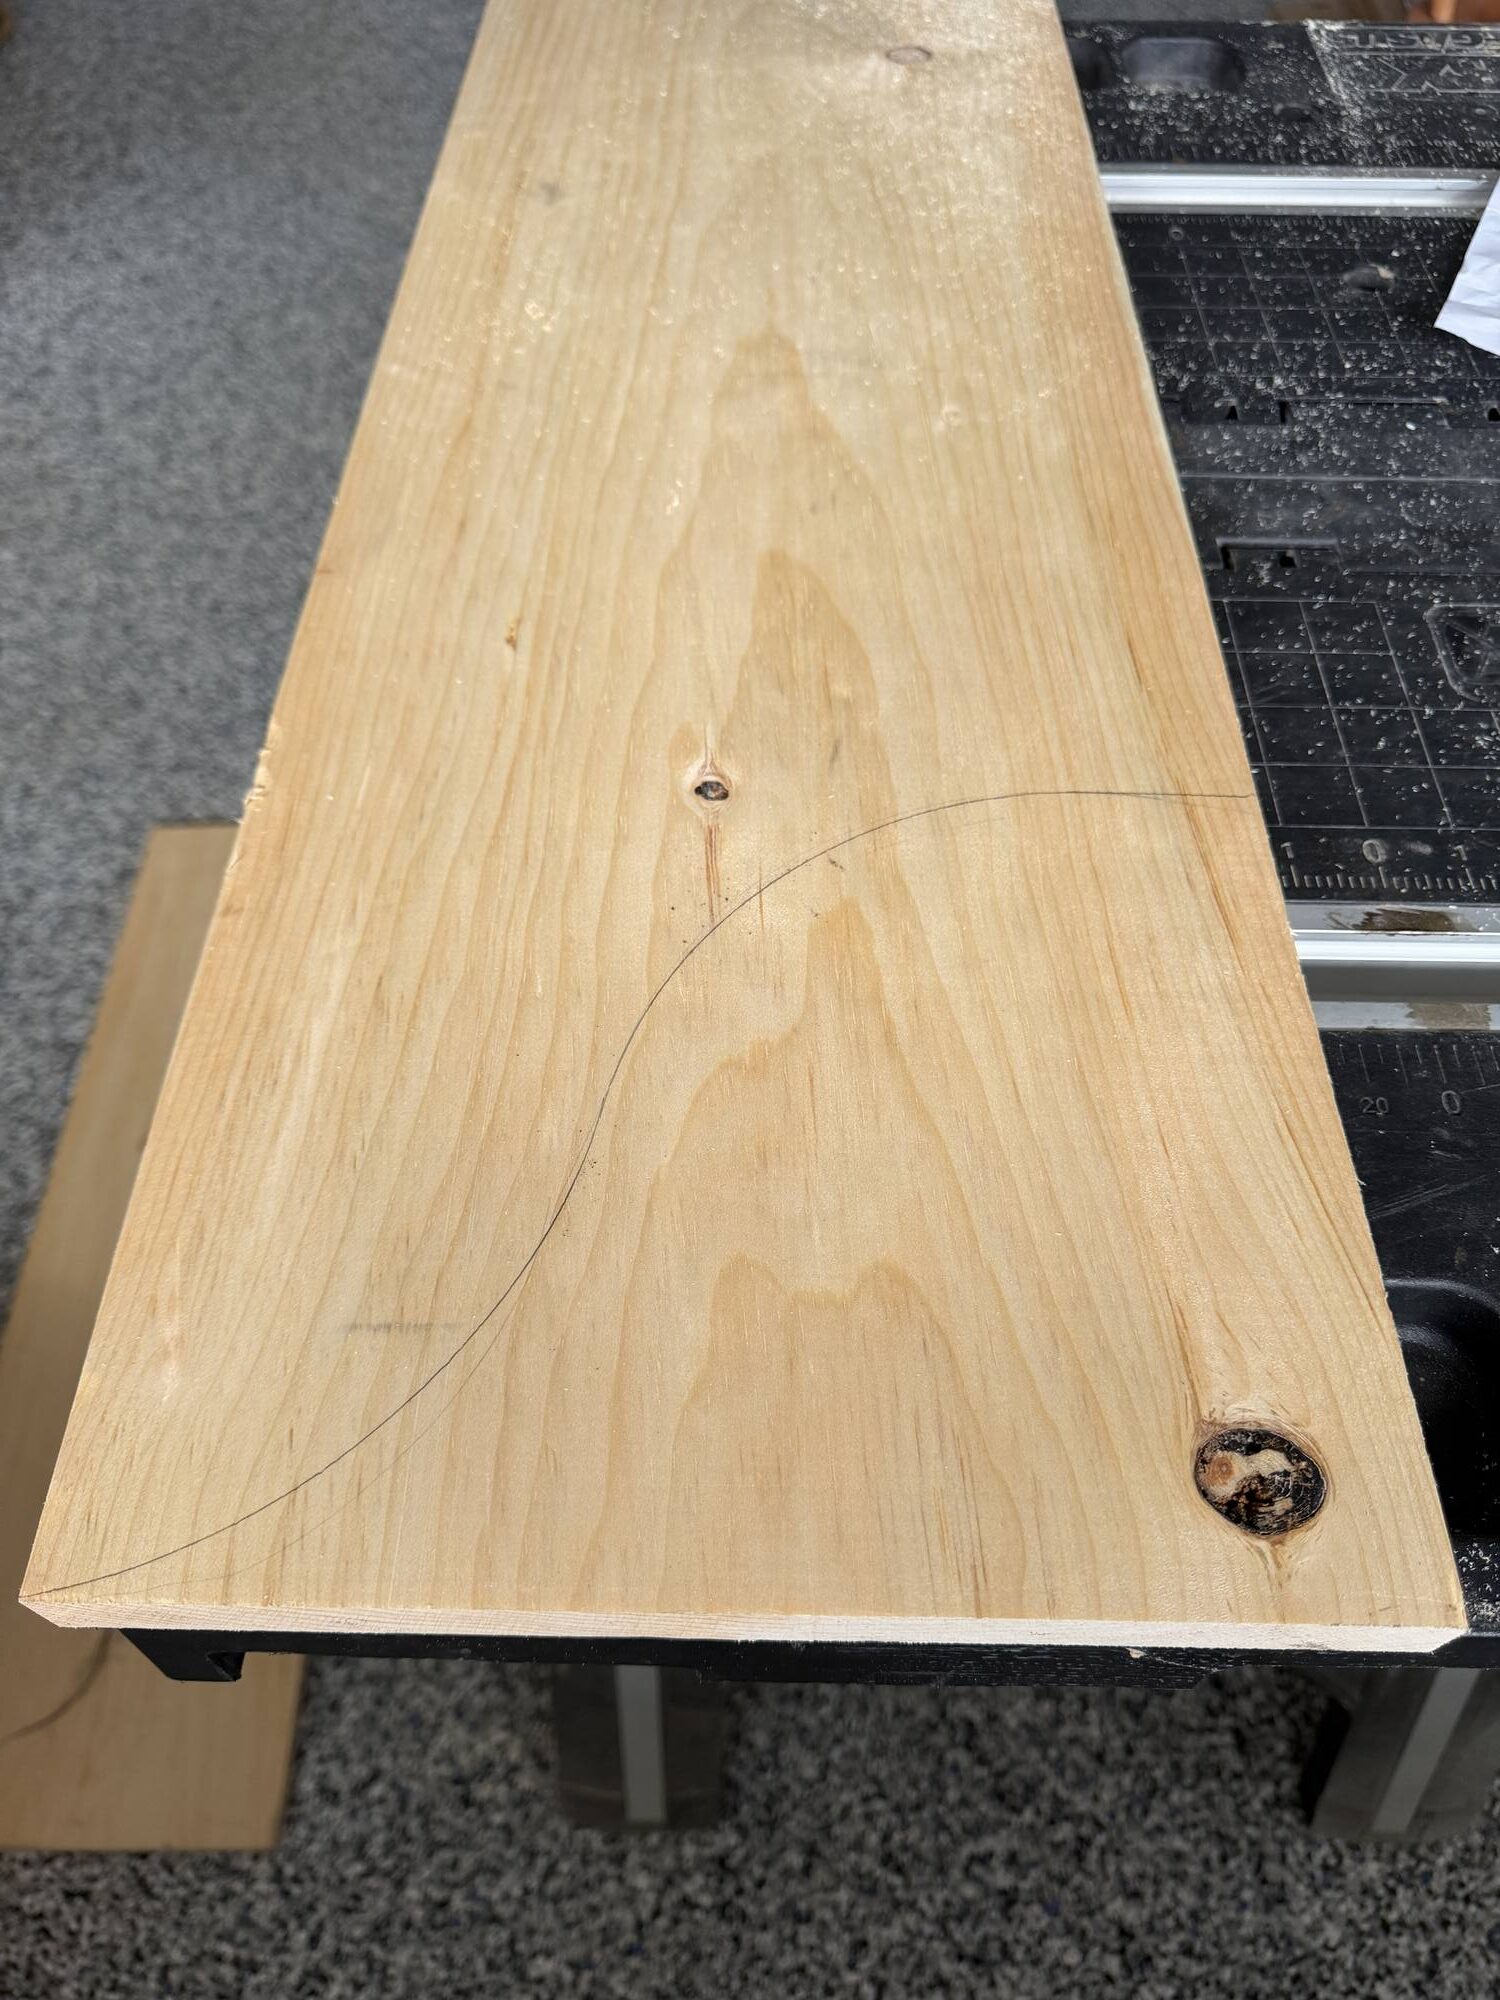
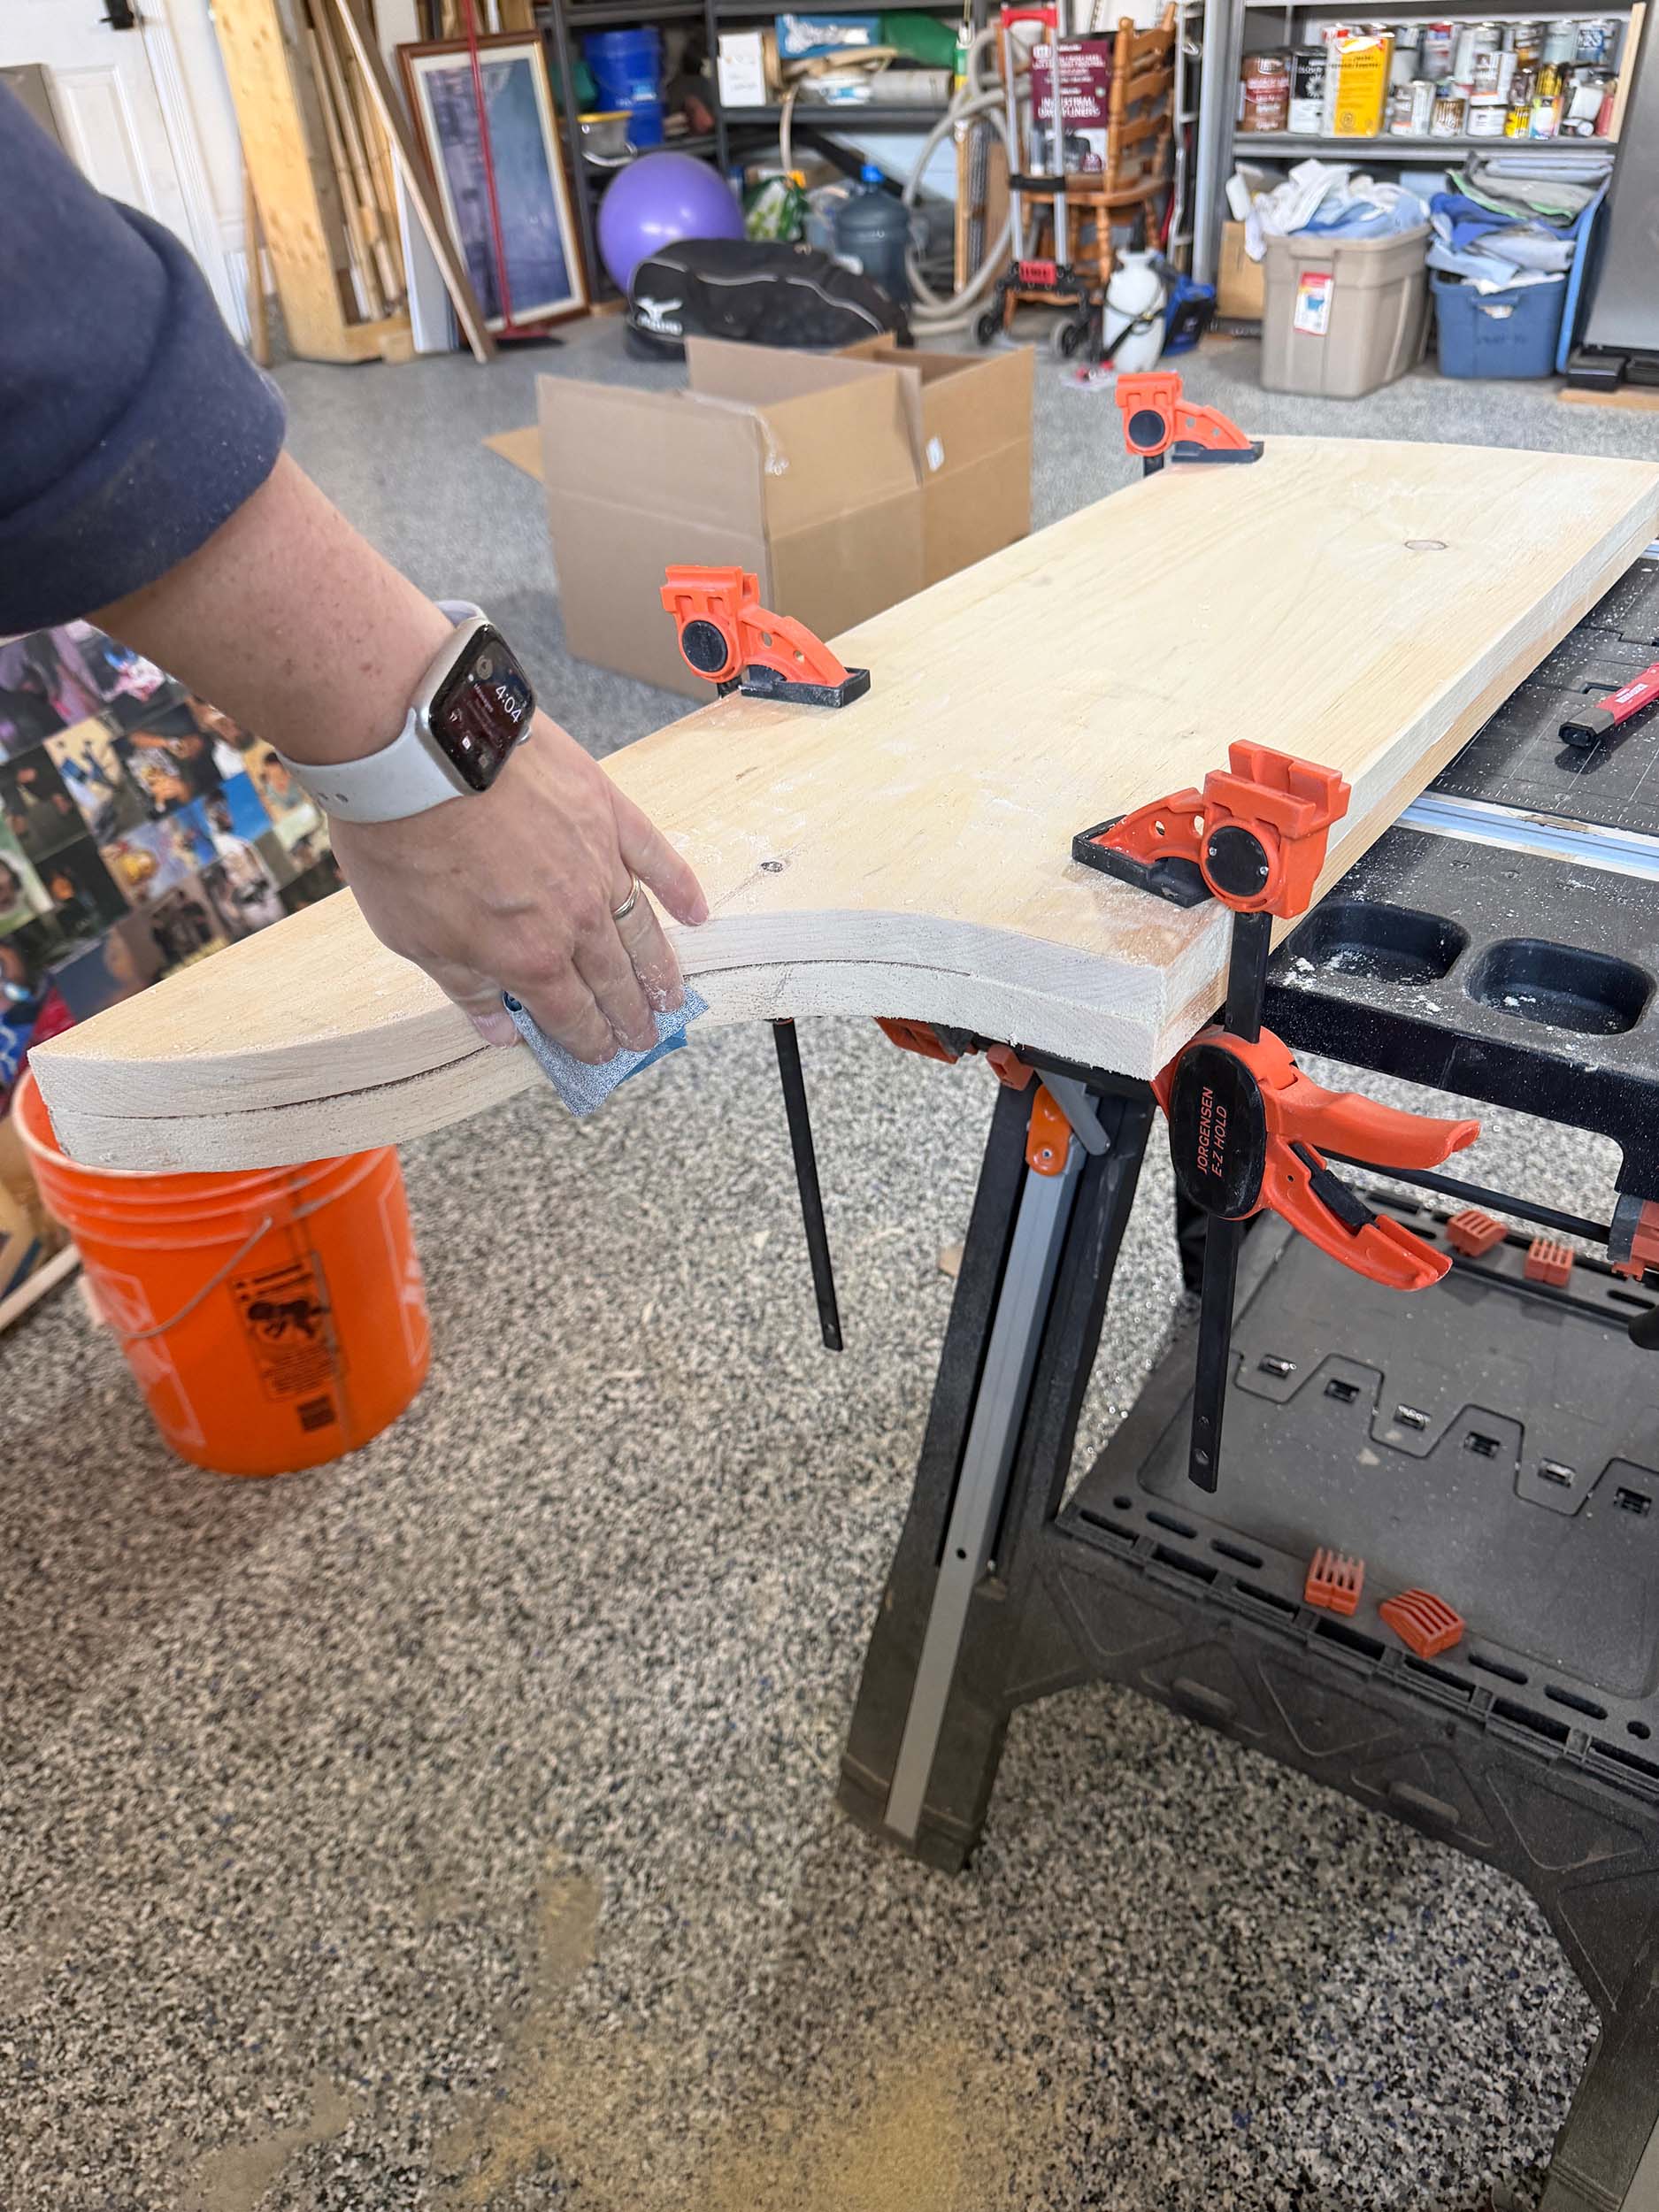
For the side panels, I wanted a little bit of a curve in them so I traced out a design on the side with a pencil. I used a bucket and paint can to create the shape I wanted.
I cut that out with a jigsaw, staying just a little way away from the final pencil line. To make sure both sides were the same, I cut both, then clamped them together and then sanded them at once to the final pencil line.
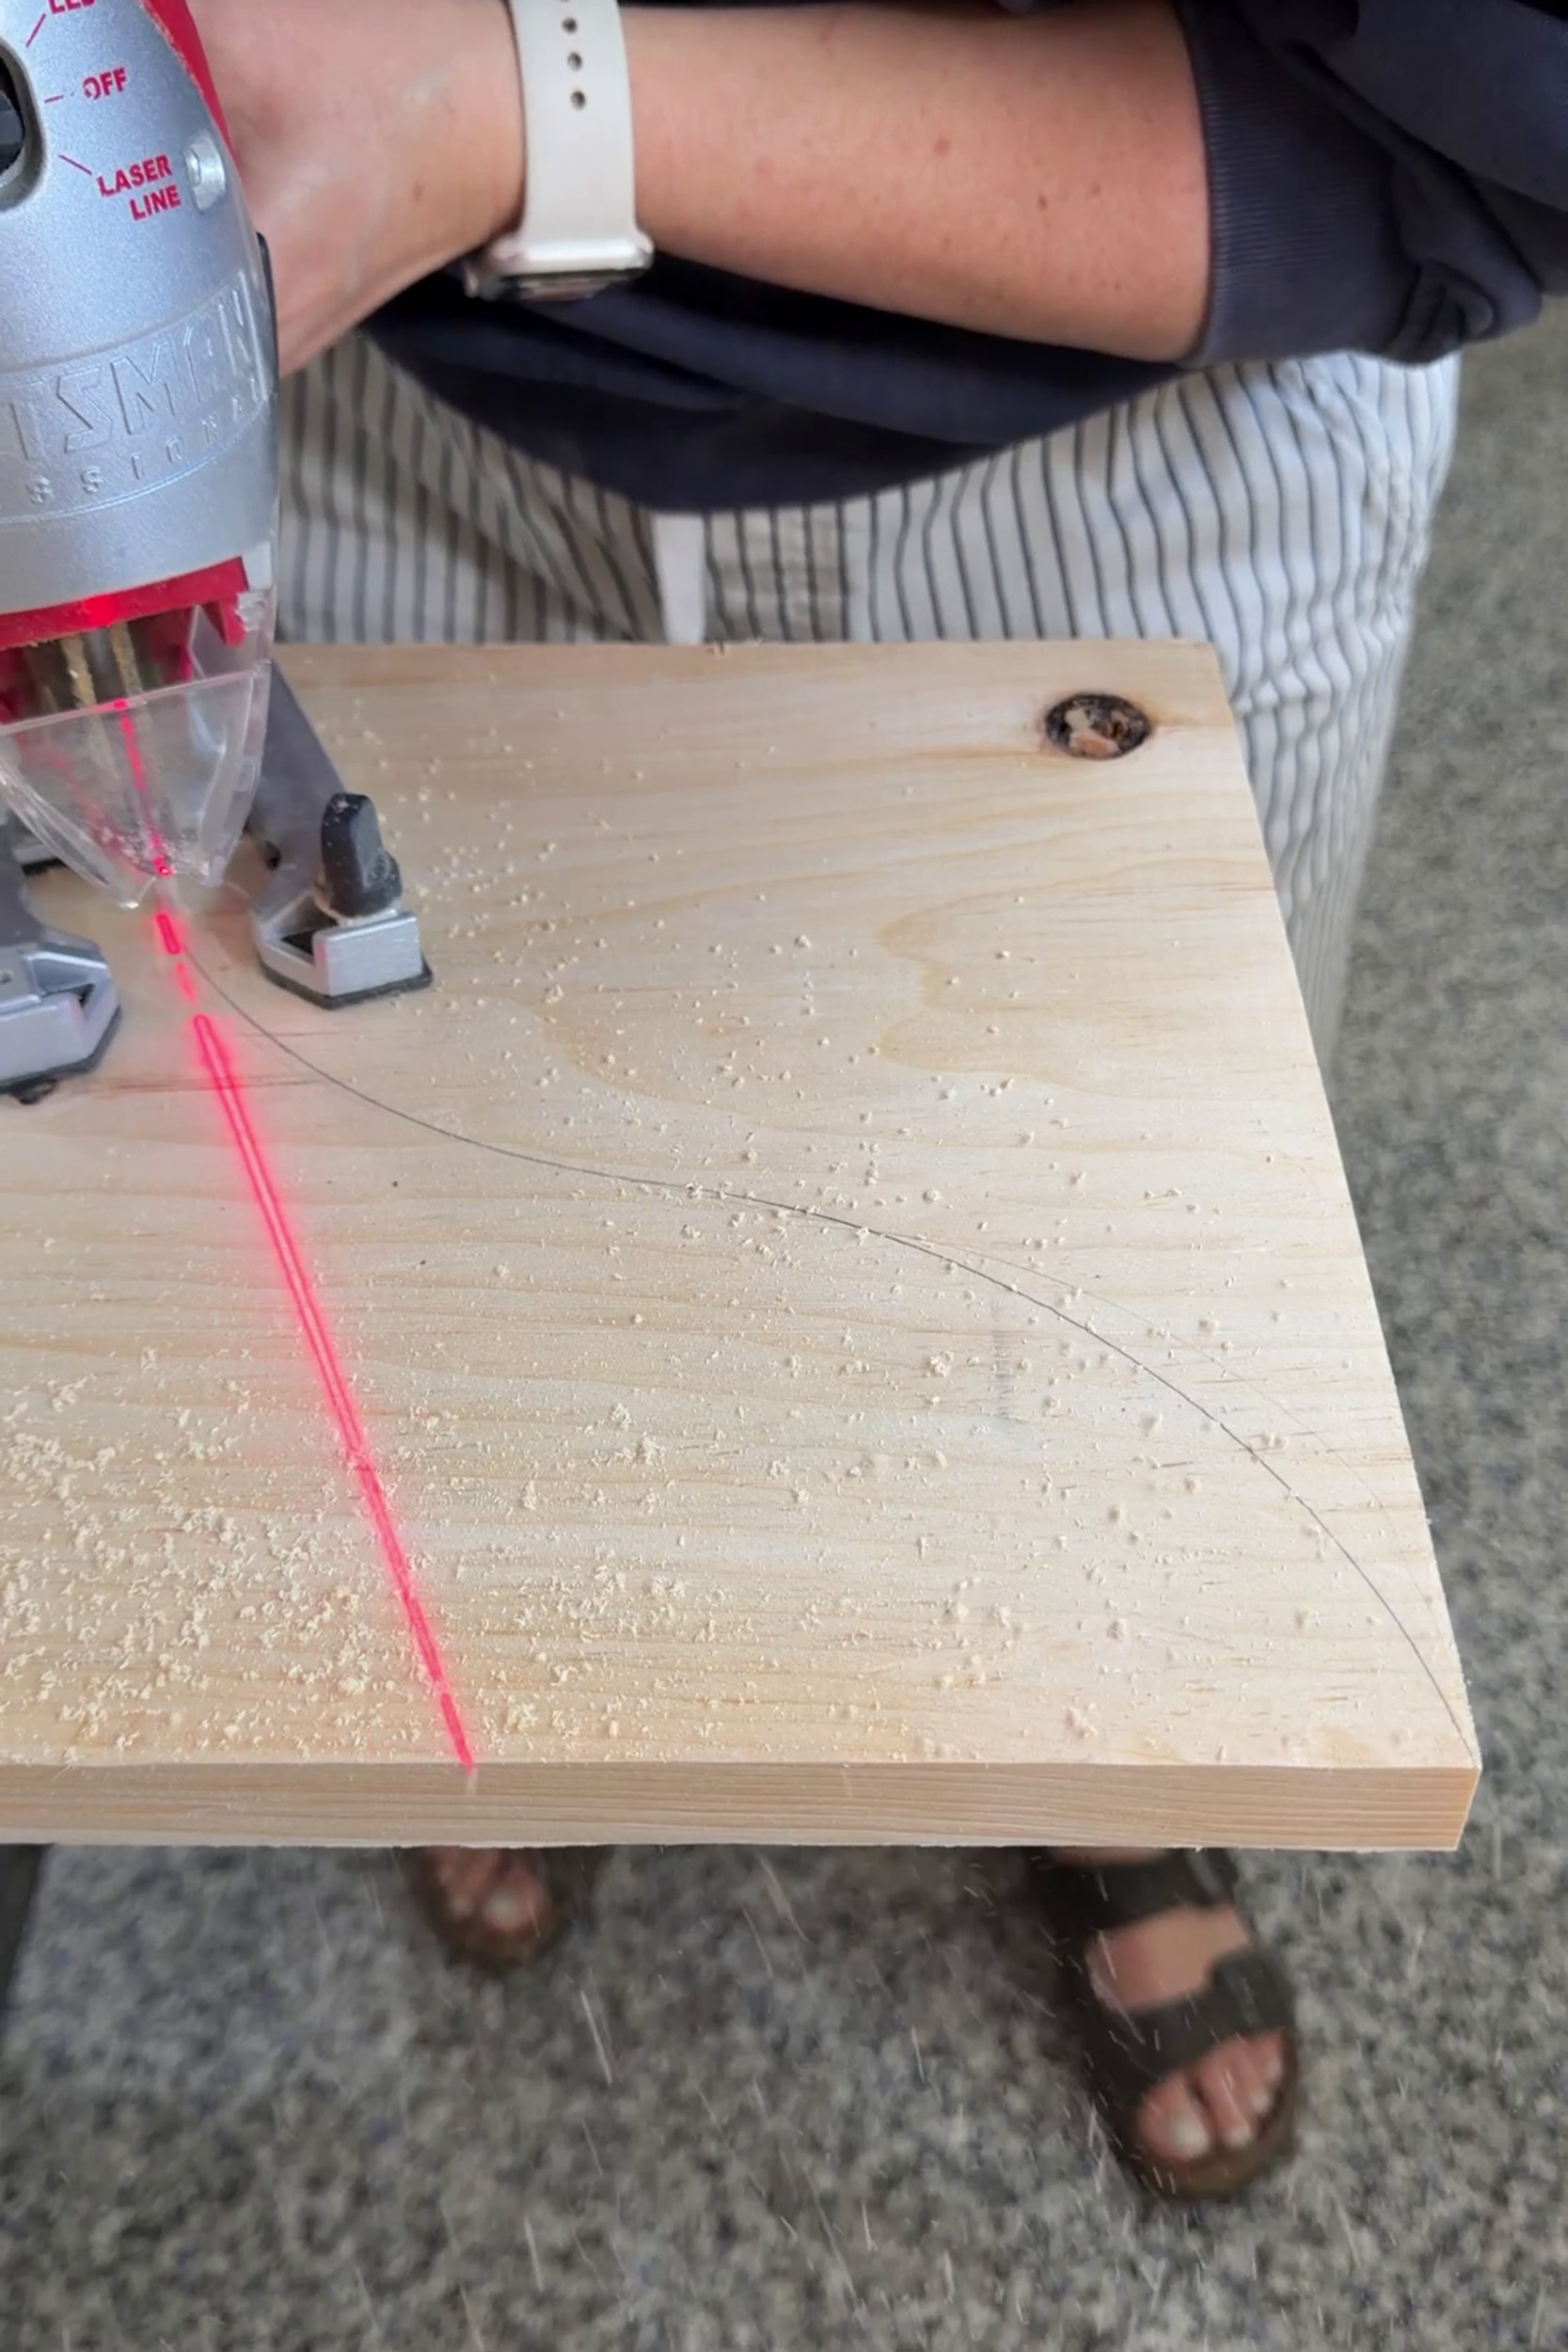
The pine is very soft so the sanding went very quickly! Another good reason to use pine.
Drill Holes in Dowel Rails
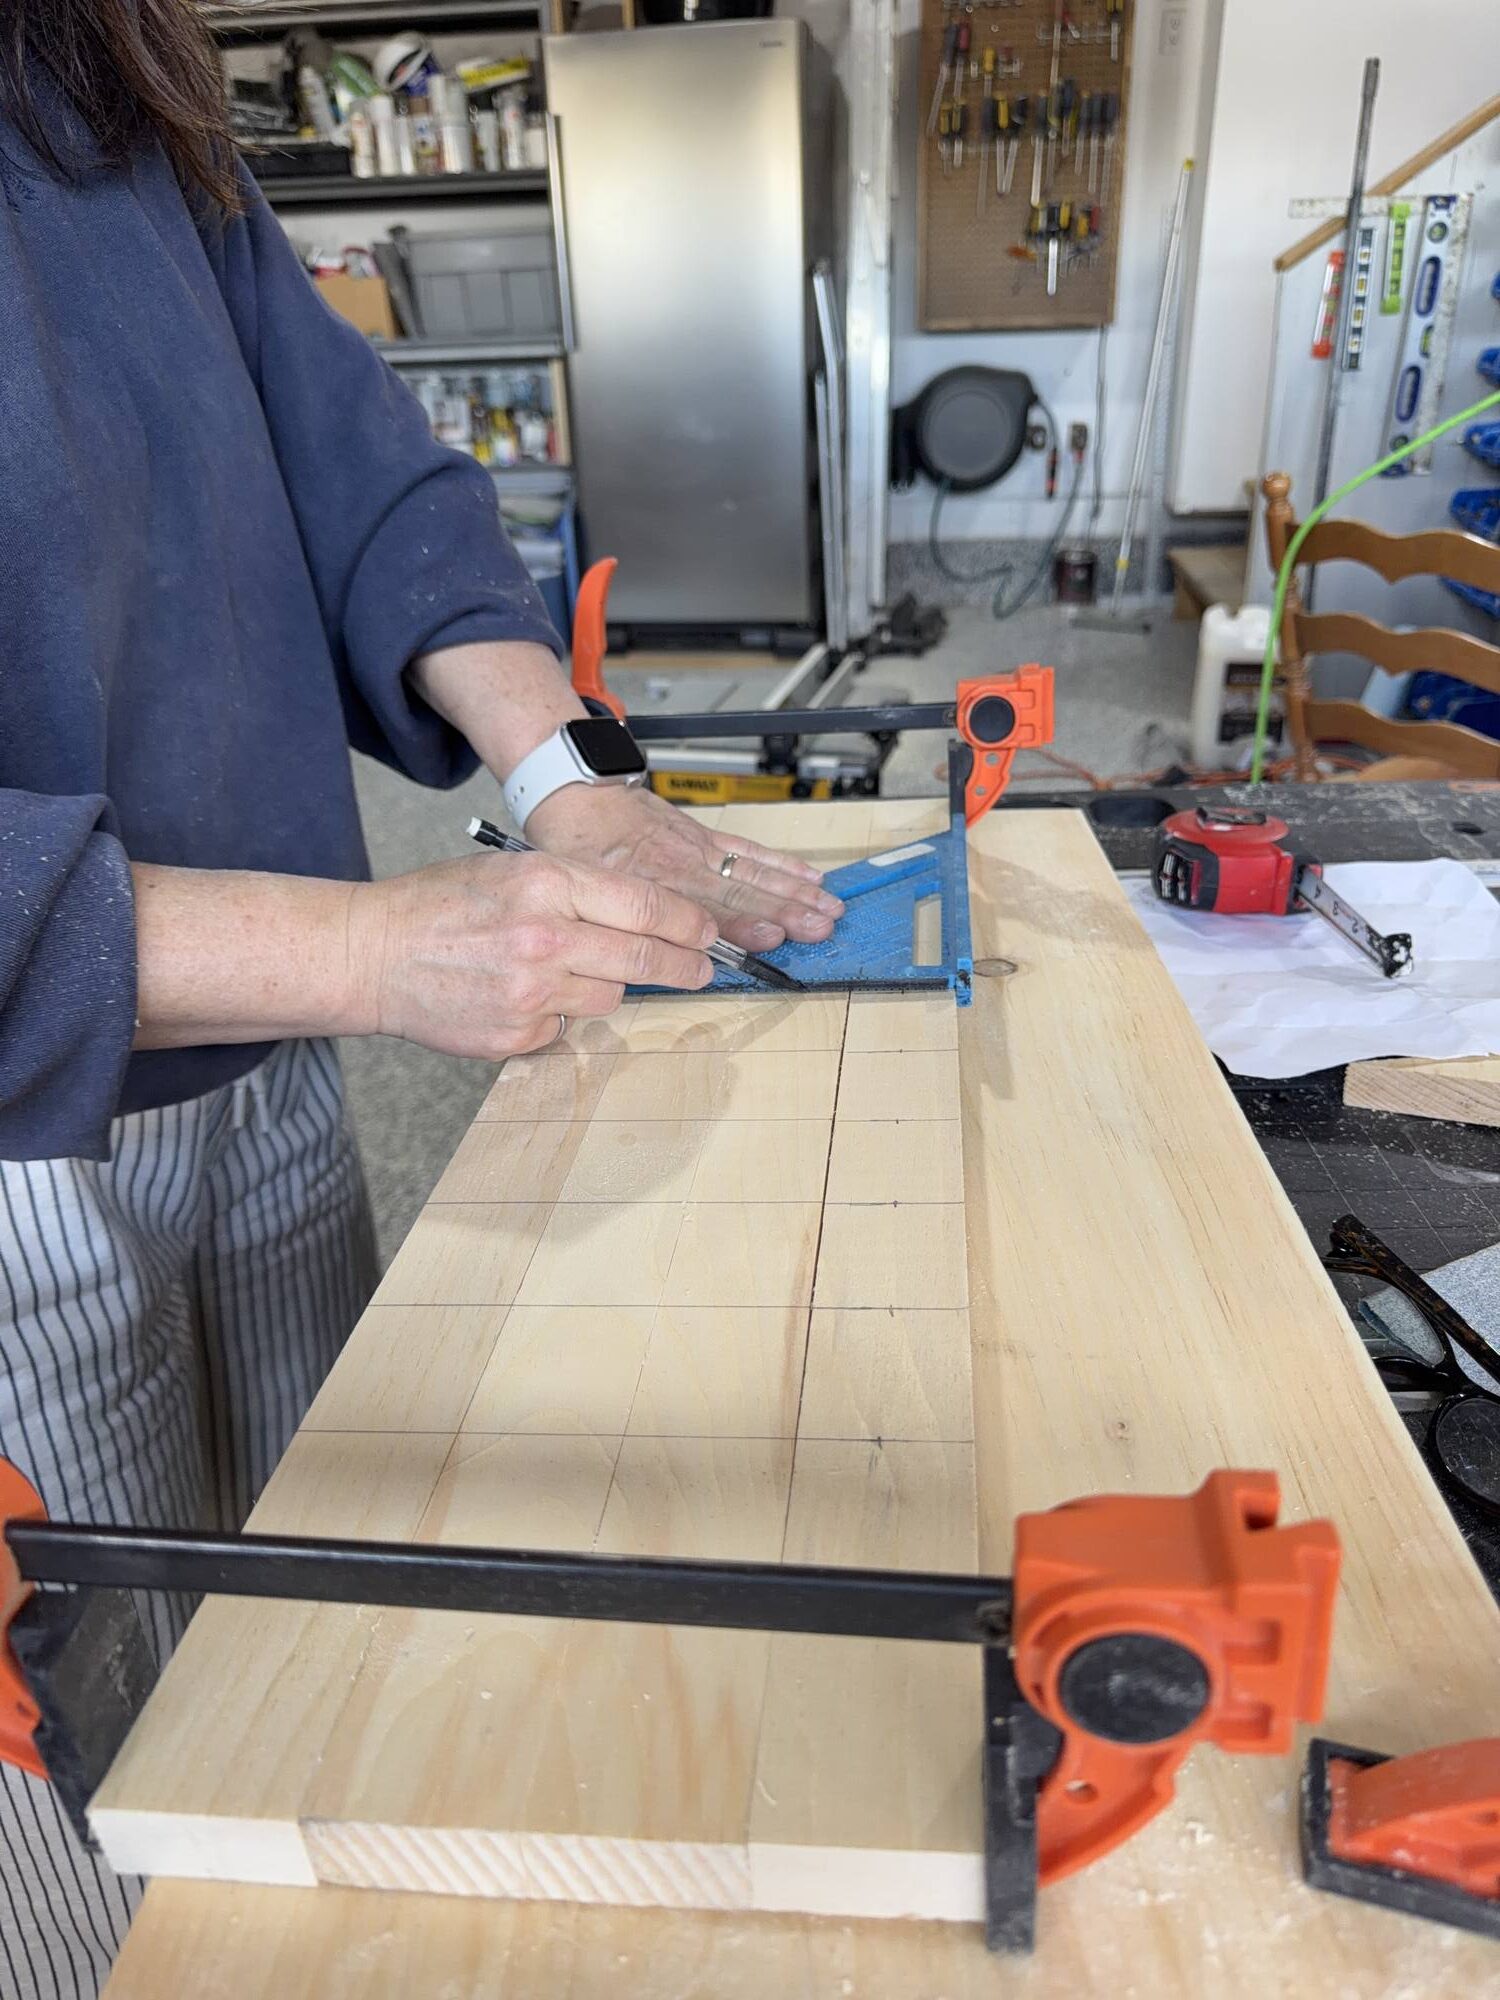
I marked my holes 2″ m apart and drilled the dowel holes using a 3/8″ drill bit. To make sure all 4 of my dowel rails were exactly the same, I clamped them together and drew my lines every 2″ across them all.
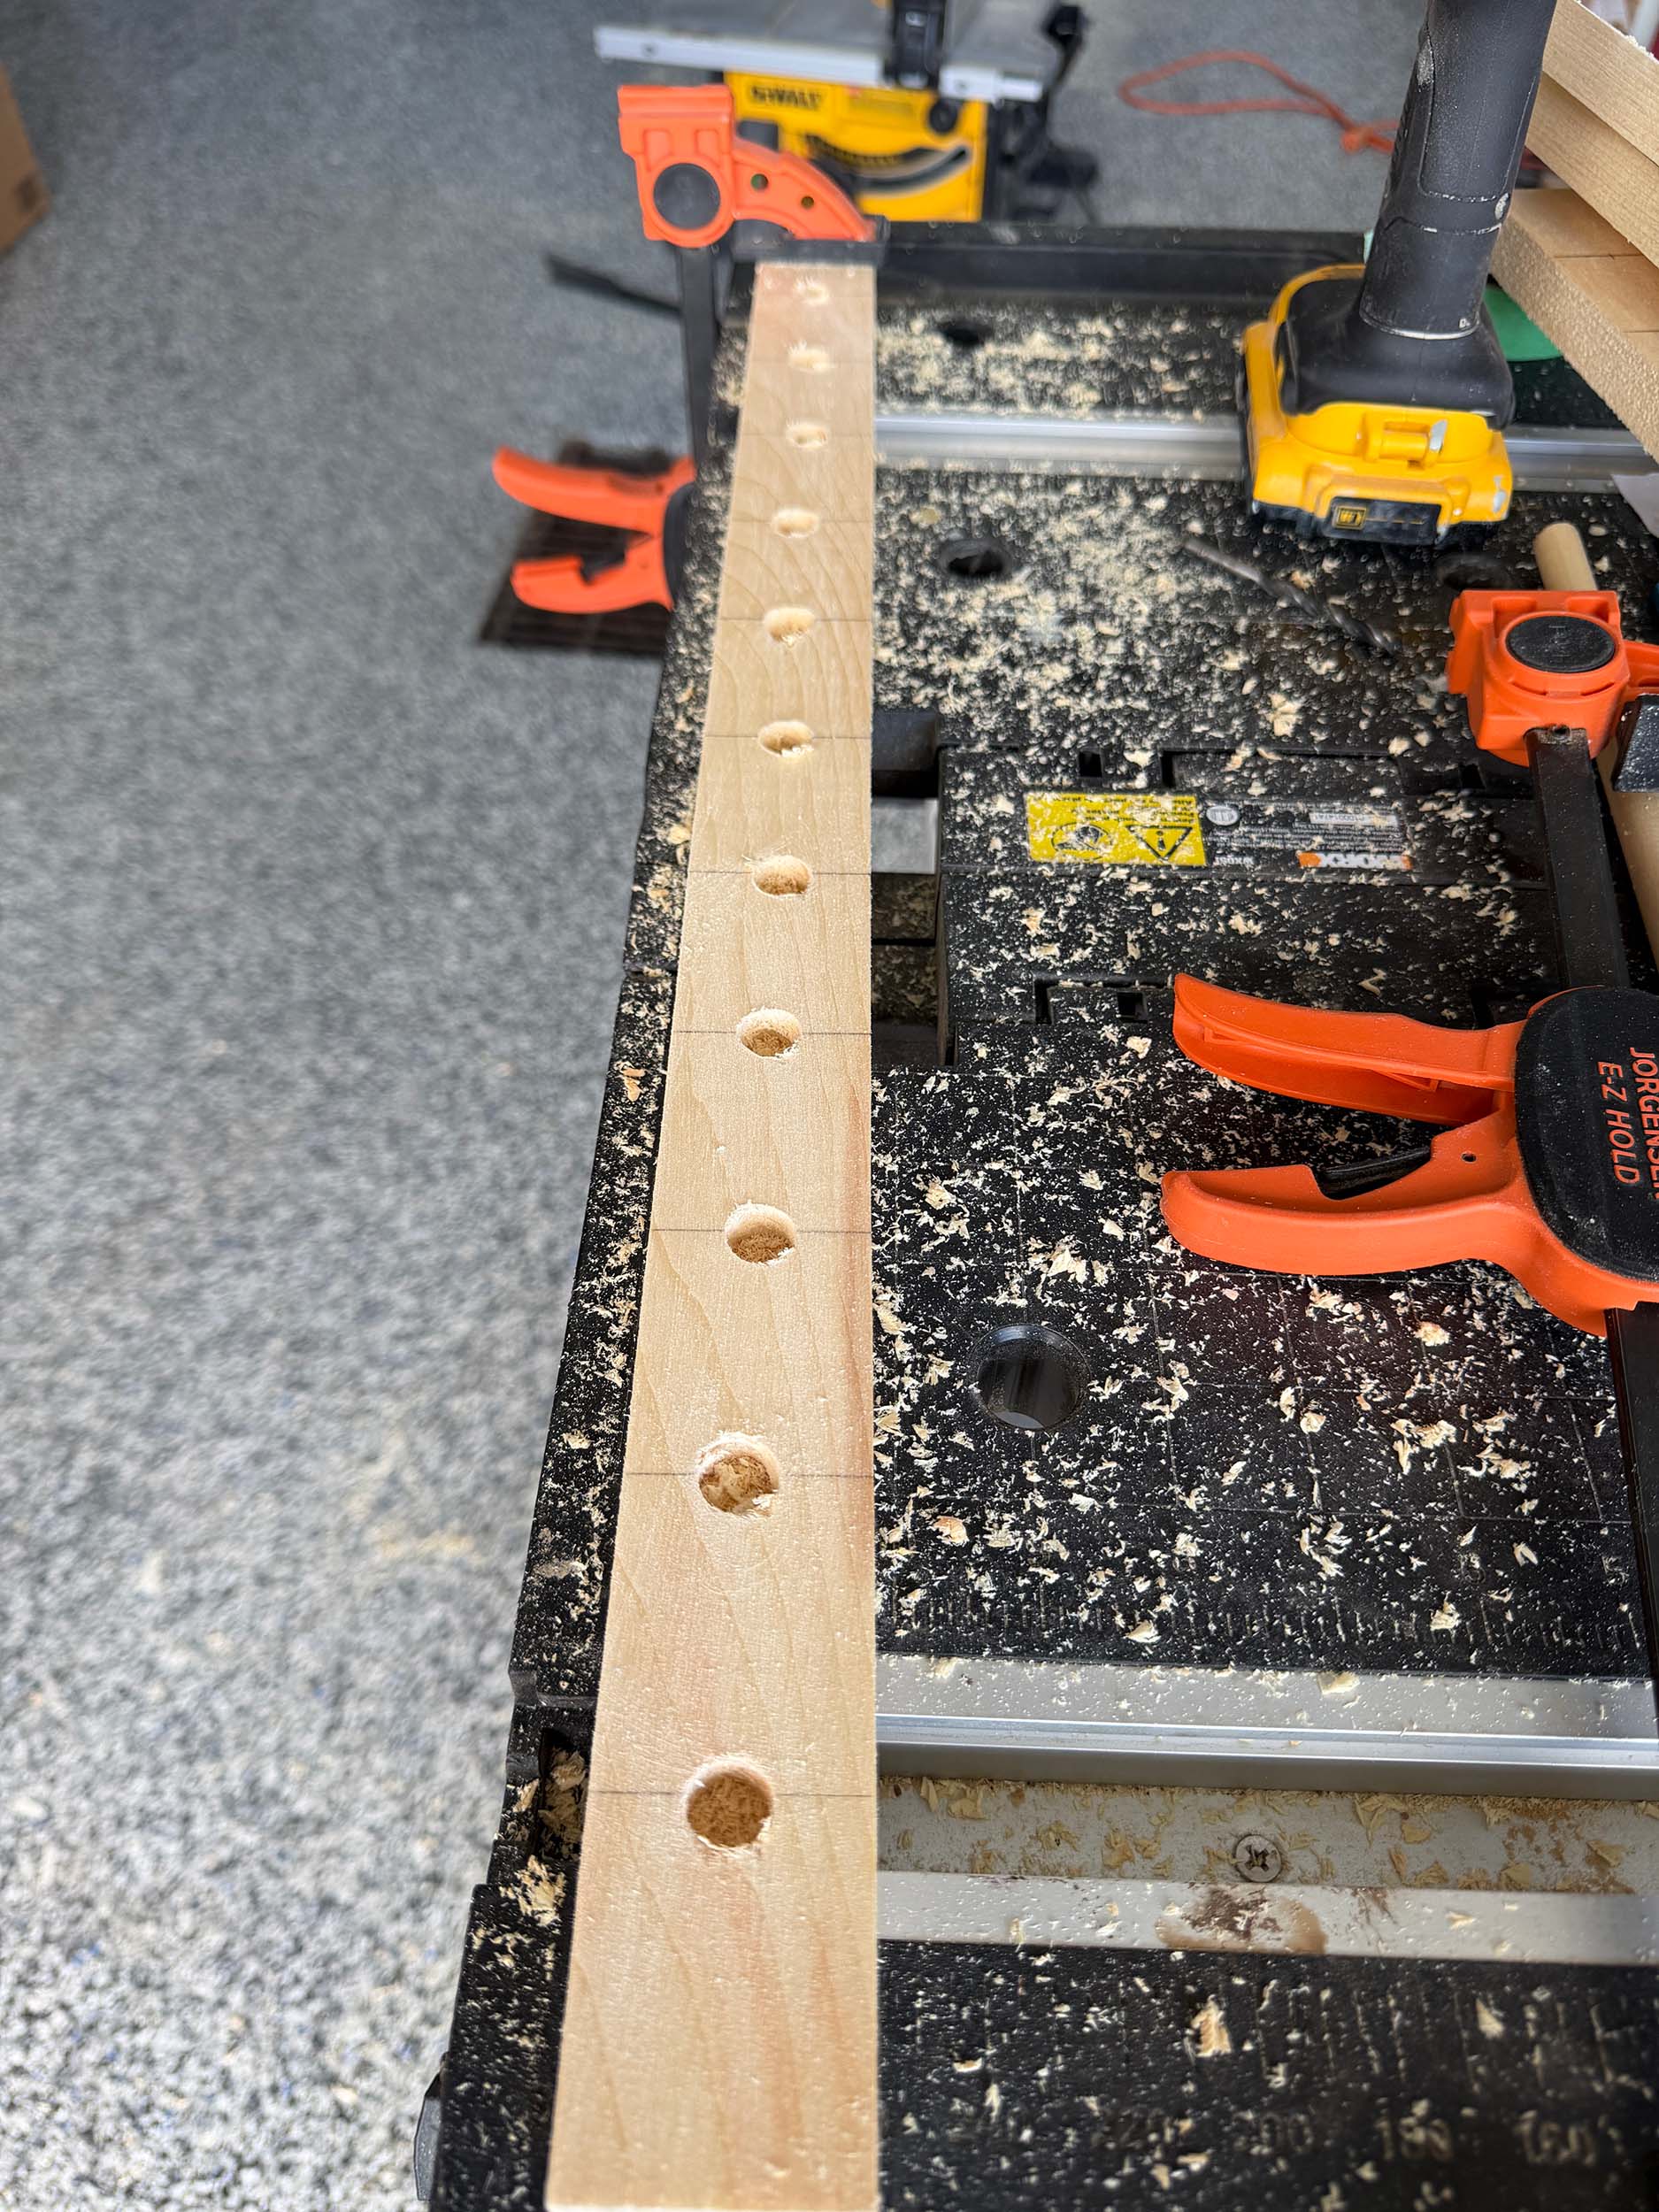
I wanted to make sure I did not drill all the way through the dowel rails so I added a piece of tape to the drill bit to mark the depth. I drilled the holes about half way into the dowel rails.
Stain
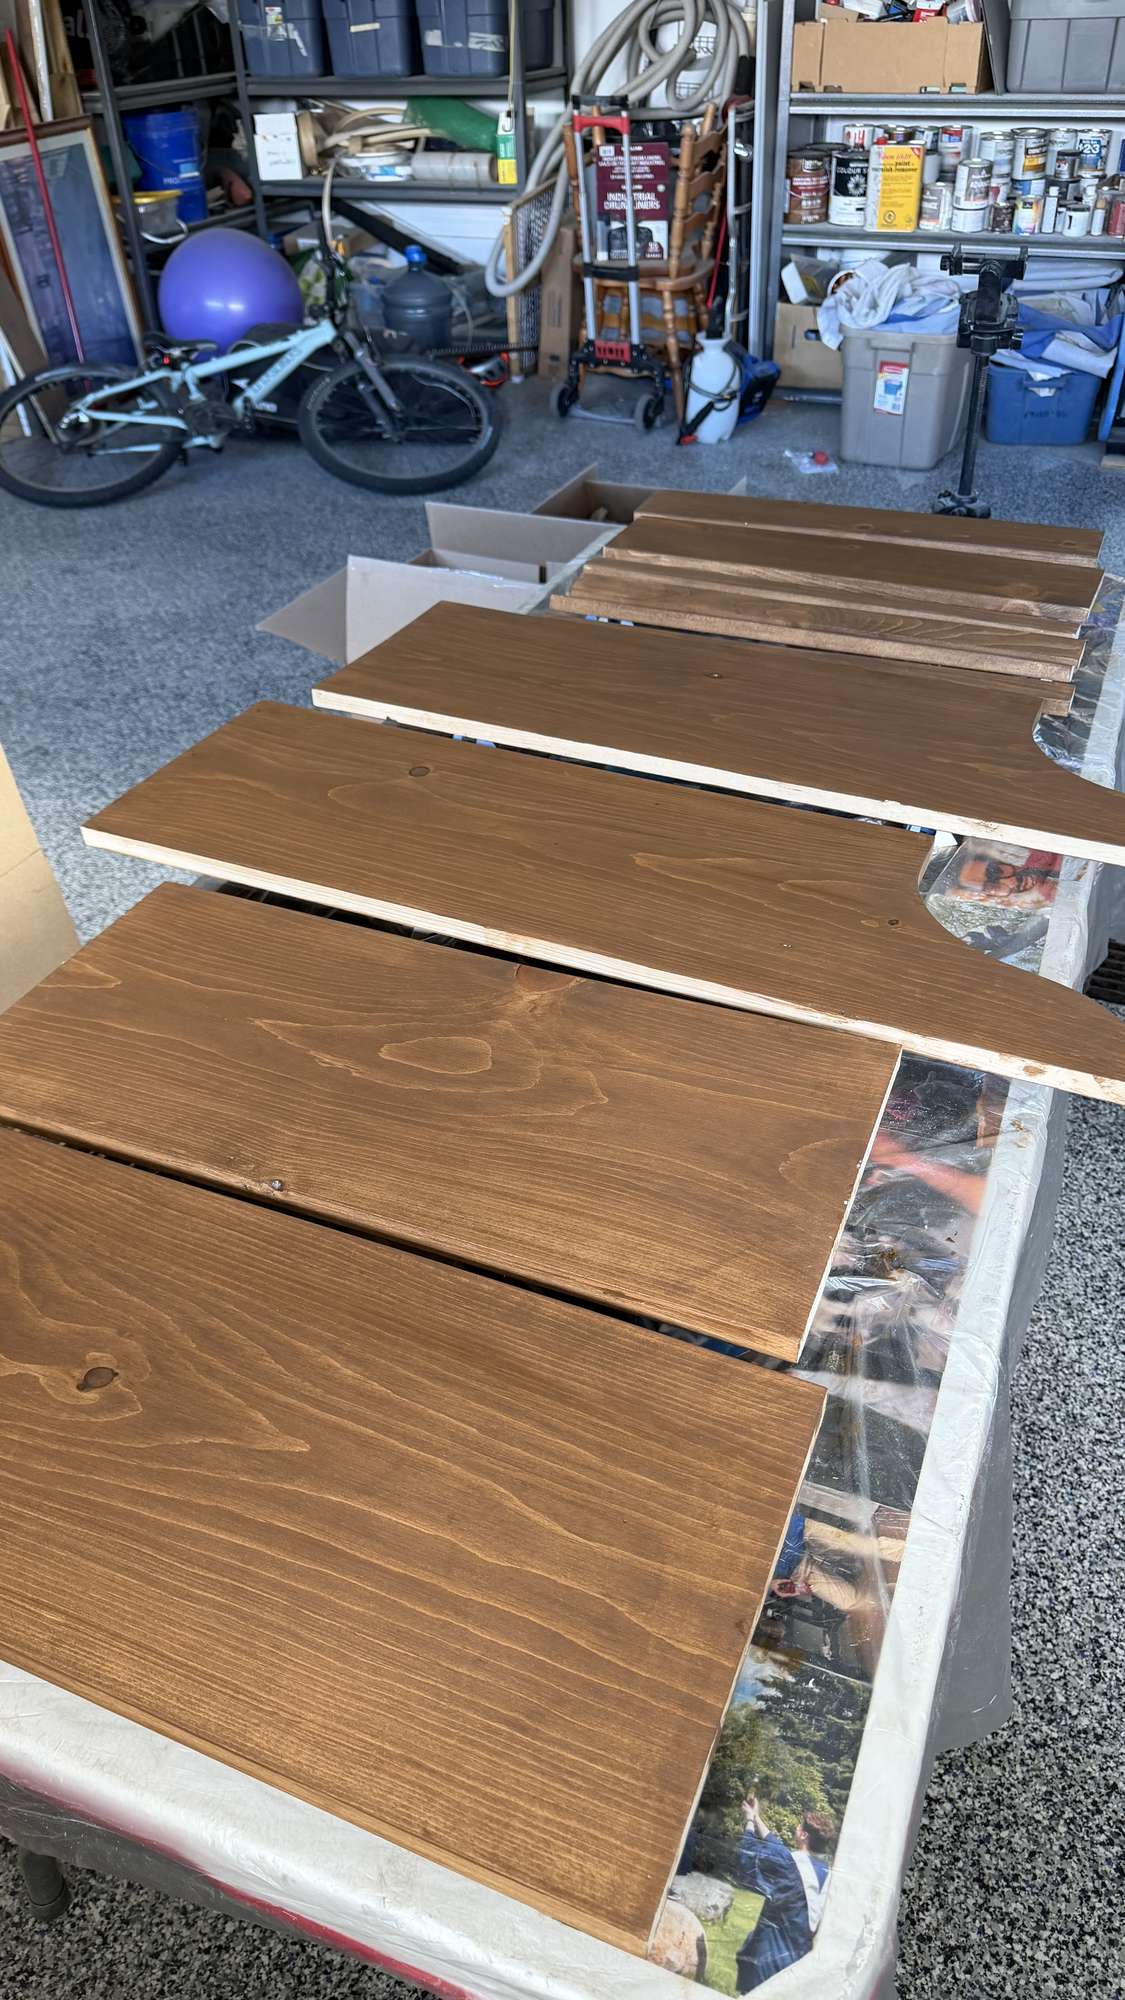
I thought that once this thing was all assembled it would be a lot harder to get into all the nooks and crannies, so I decided to stain all the pieces first.
Since pine is notoriously difficult to stain, I decided to test them all on a scrap before committing.
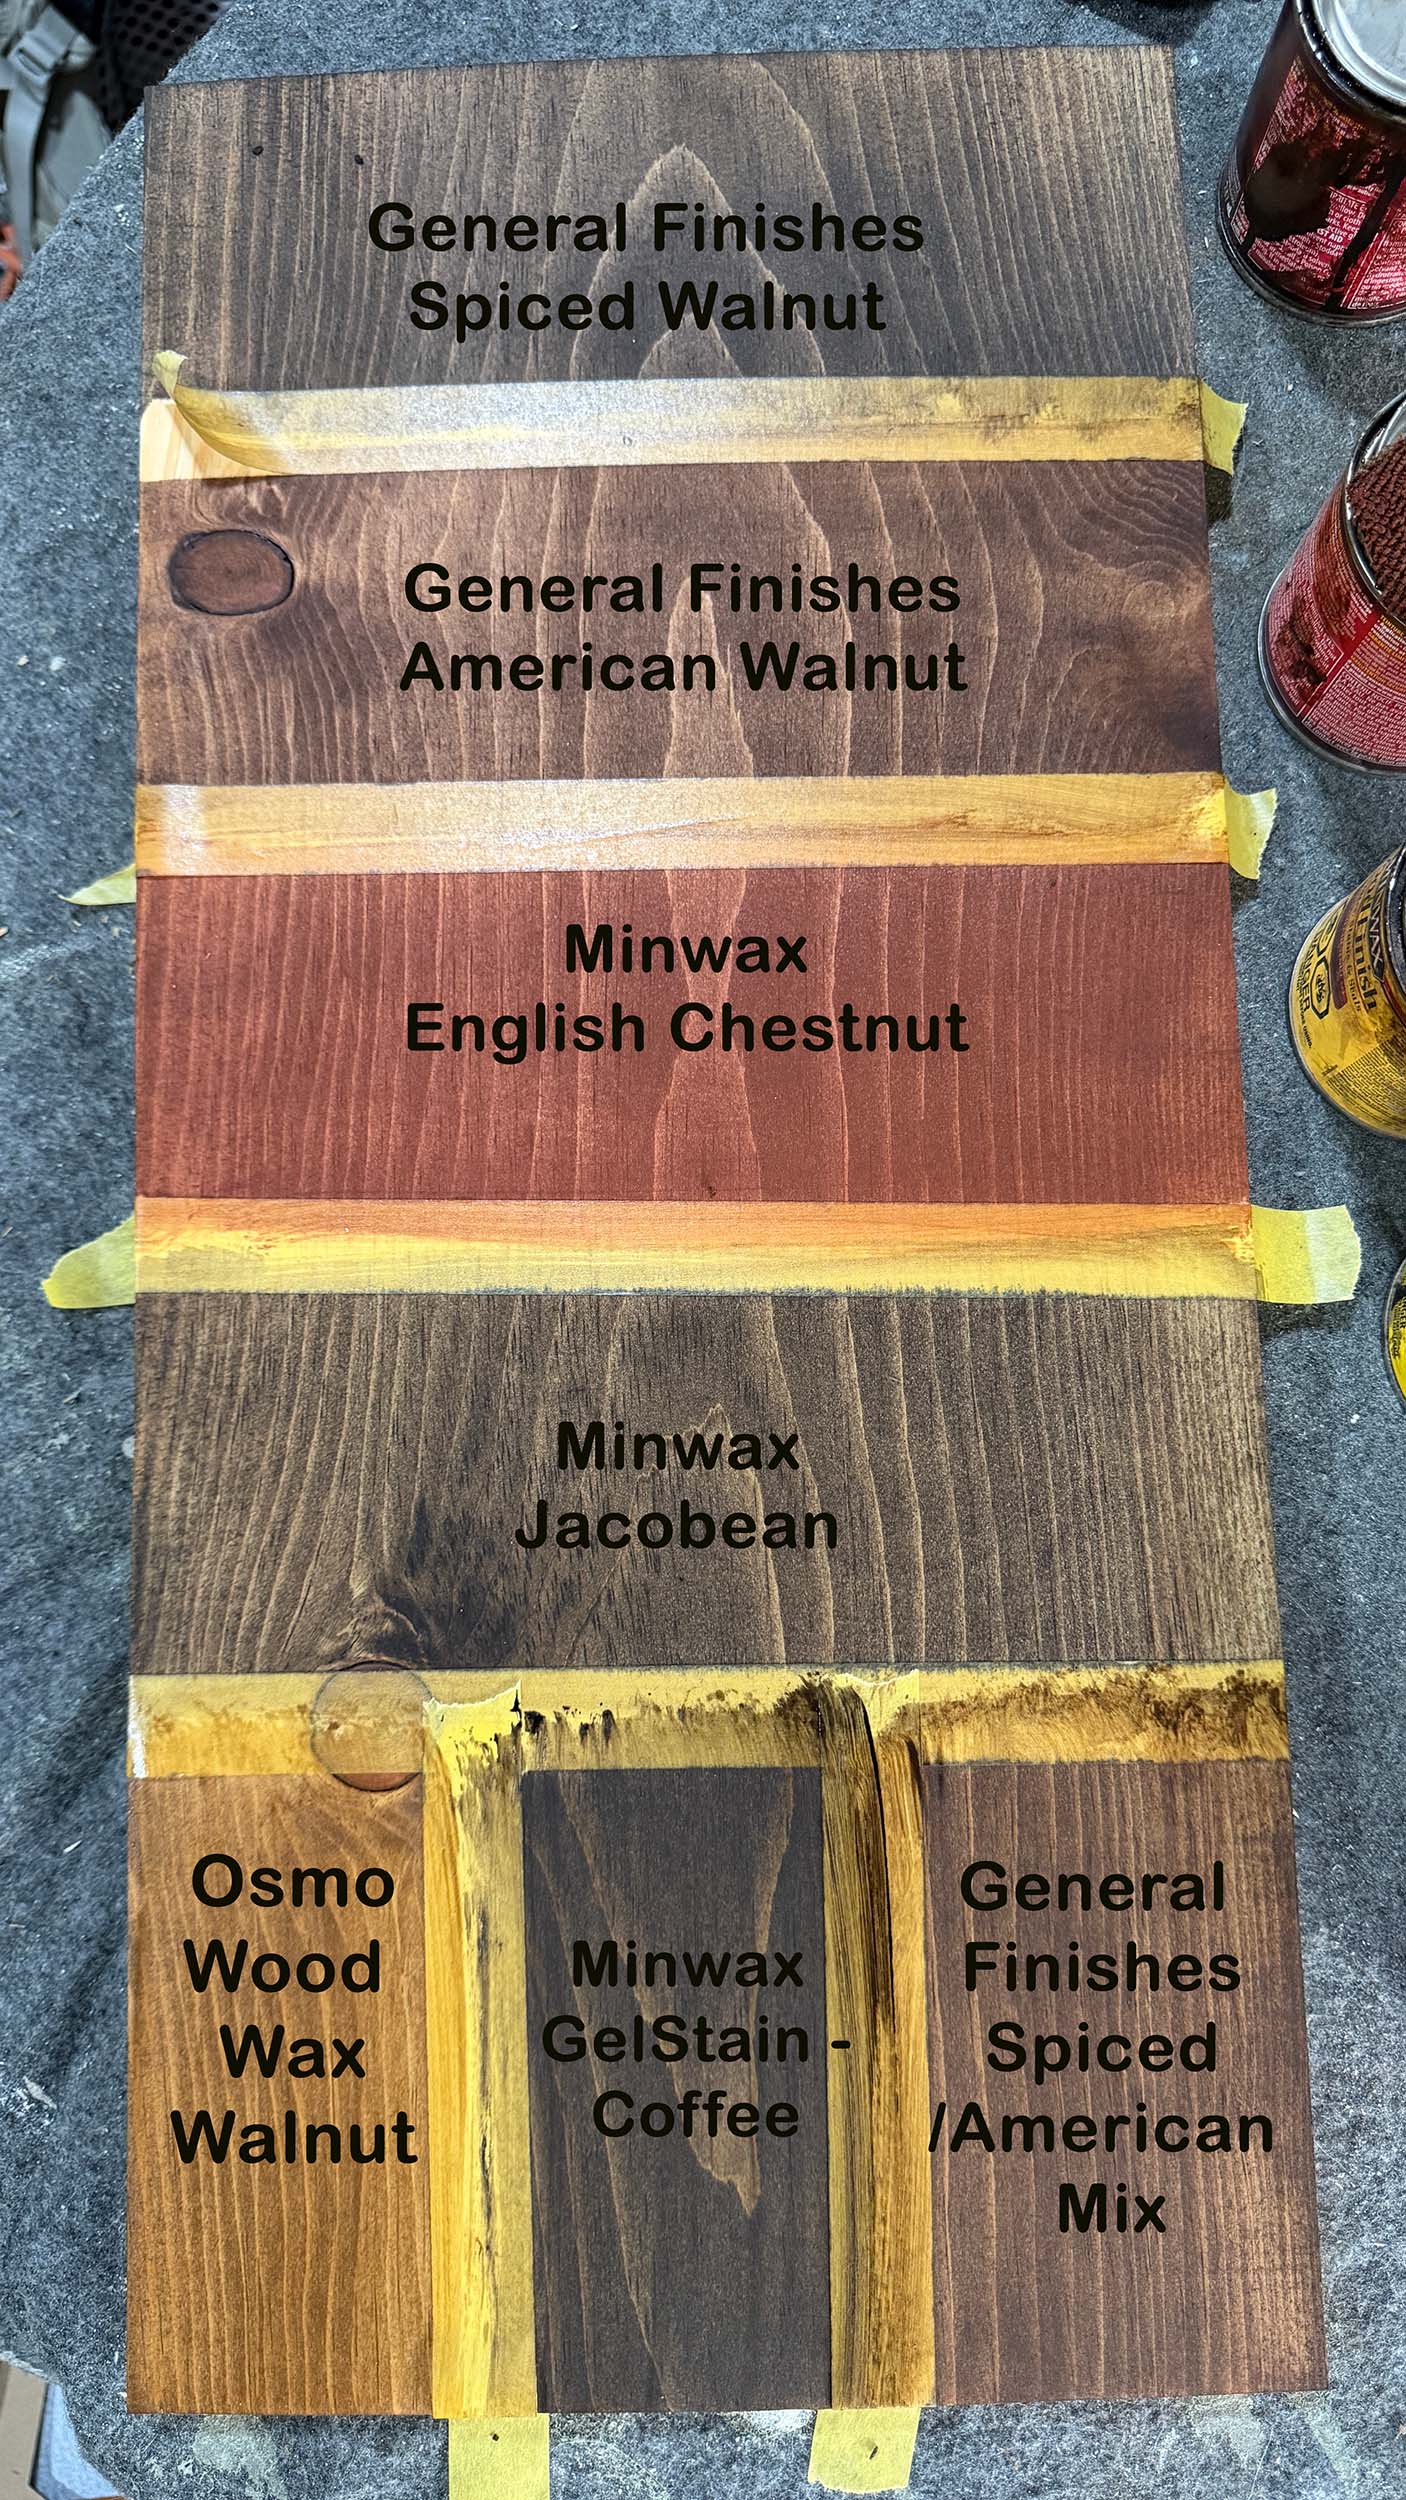
The one I liked the best ended up being Osmo wood wax finish. That is a one step wax and stain and its quickly becoming one of my favourite ways to finish wood. It goes on easily, is almost impossible to mess up, and does not require a top coat. And as an added bonus, it did not end up streaky or uneven like a lot of stains do on pine!
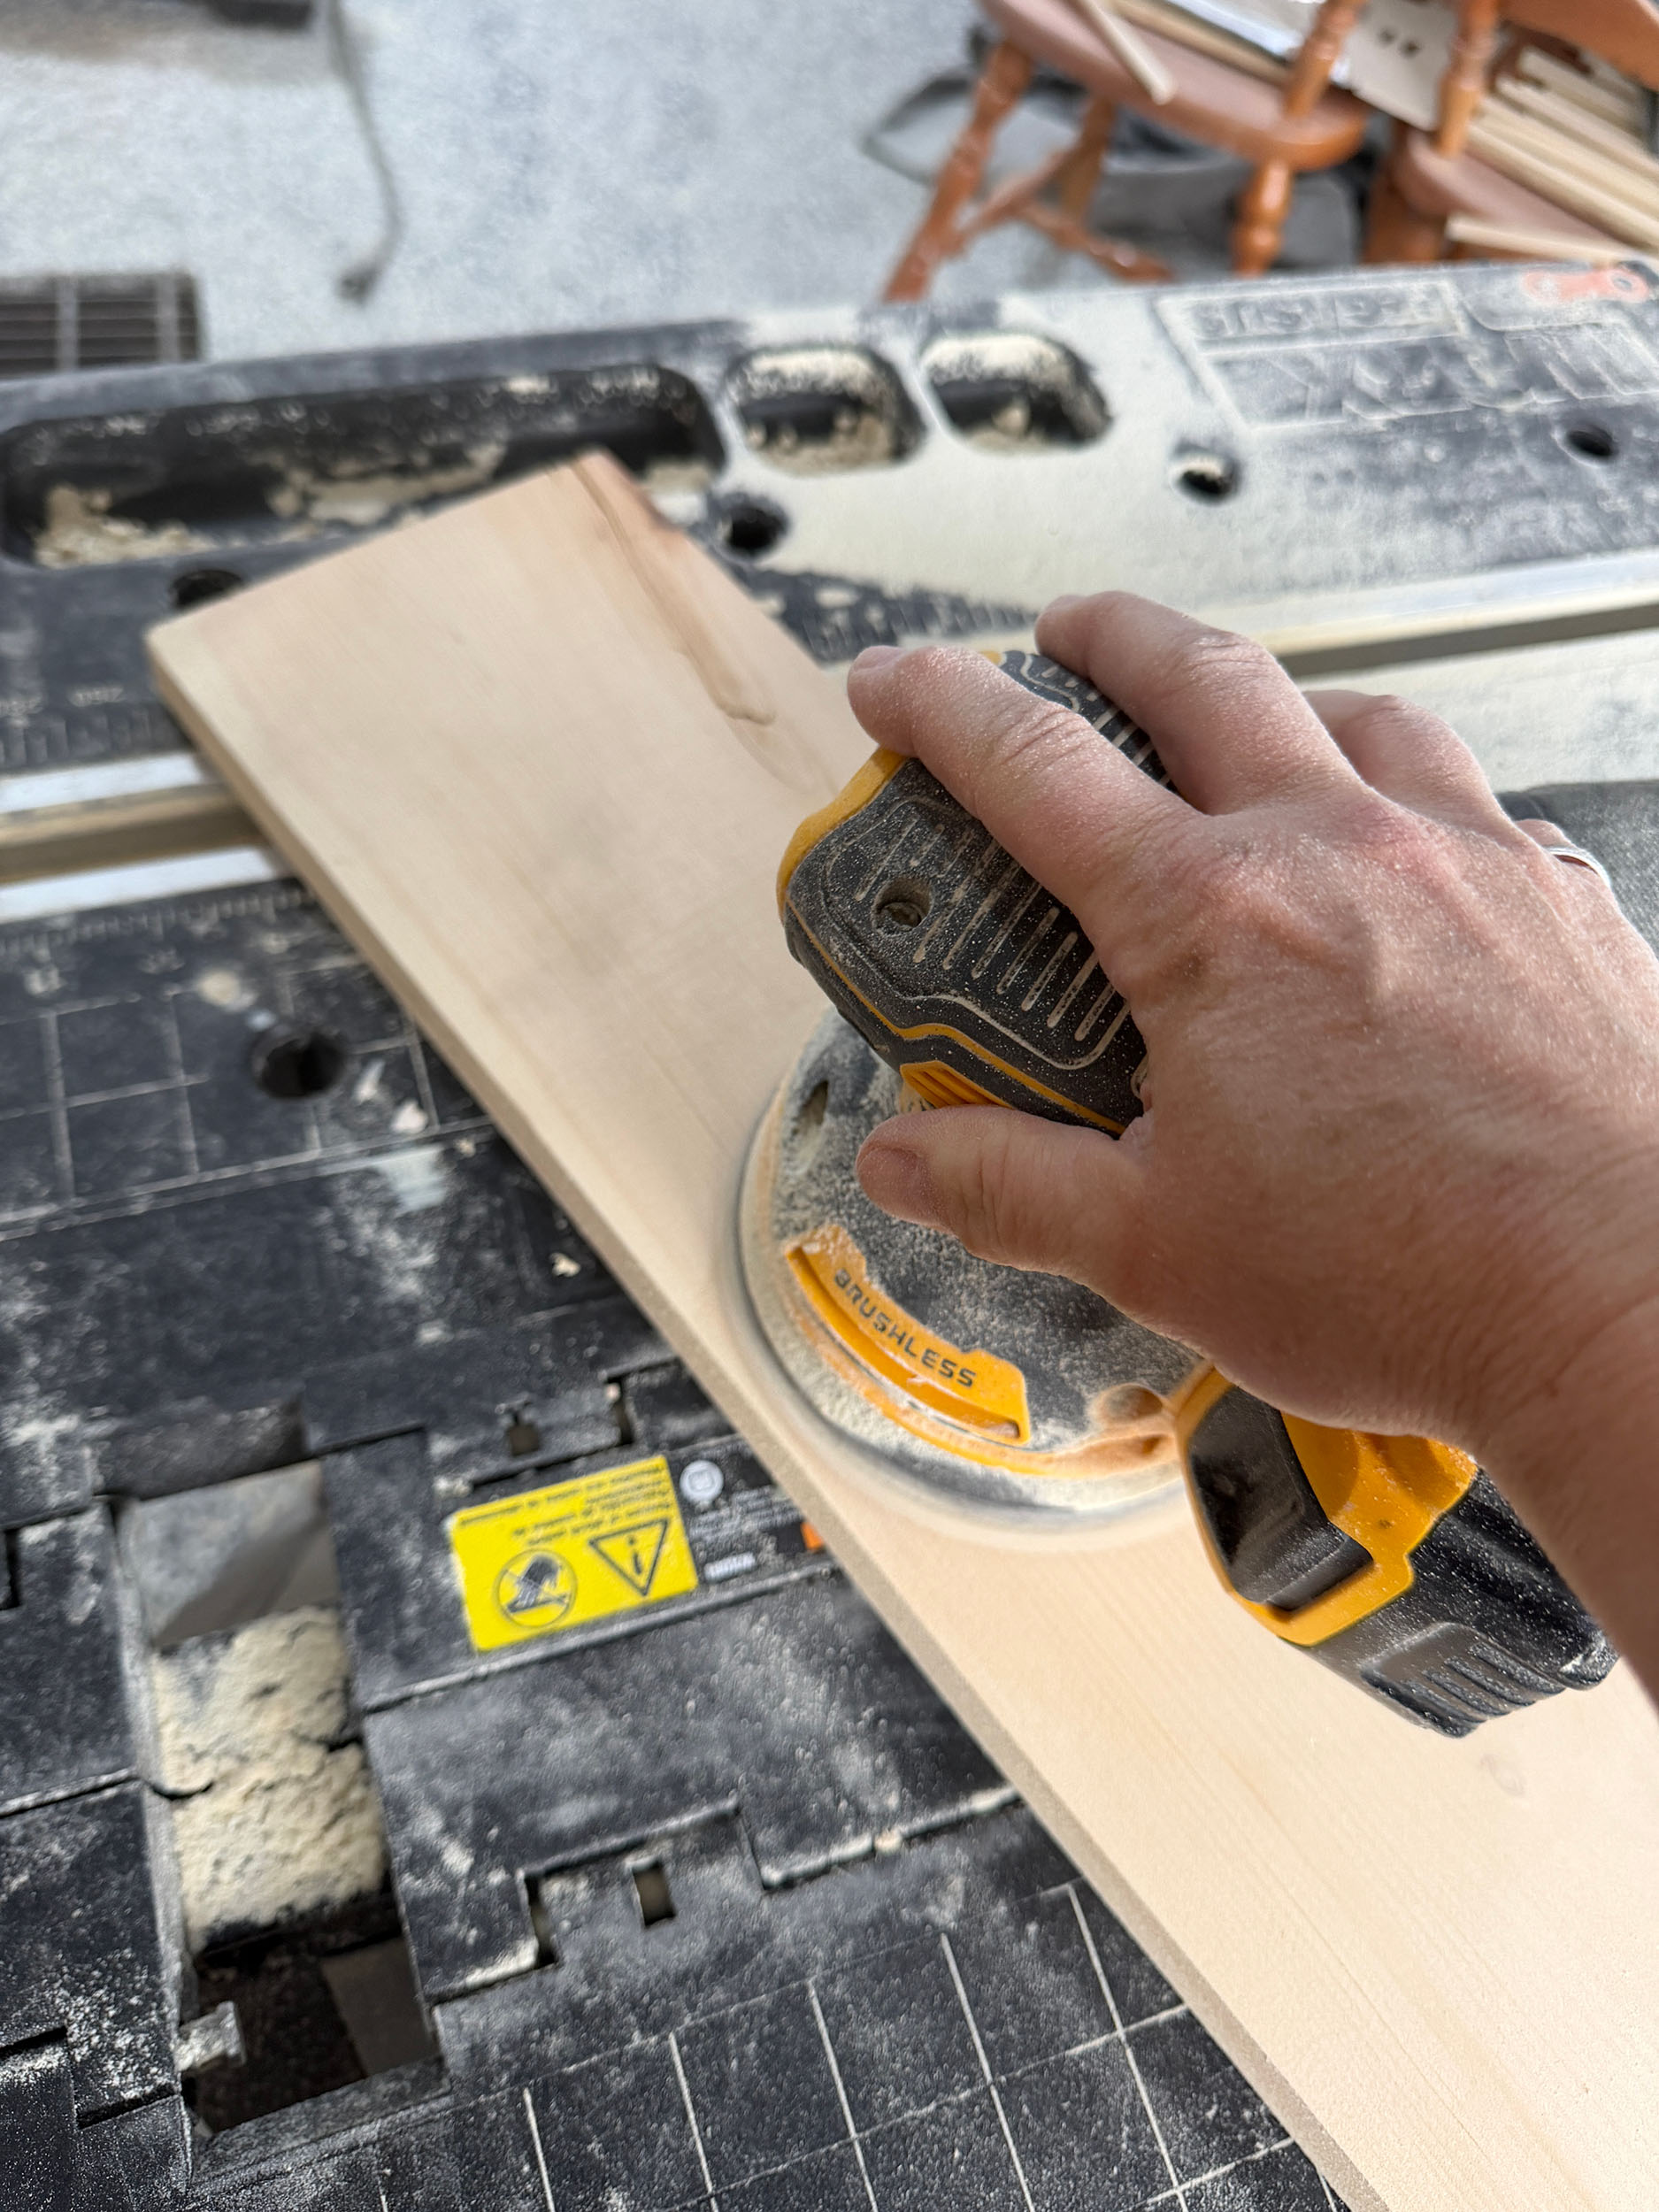
Note that I did sand all of my pieces really well prior to staining to be sure that the stain had a good even surface to sink into and to remove that factory glossiness that can be present off the shelf.
Drill Pocket Holes
I tried to think about how the plate rack would be assembled so that the pocket holes would not be visible. To do this, I placed pocket holes in the bottoms of boards or where they would be covered by another board, as much as possible.
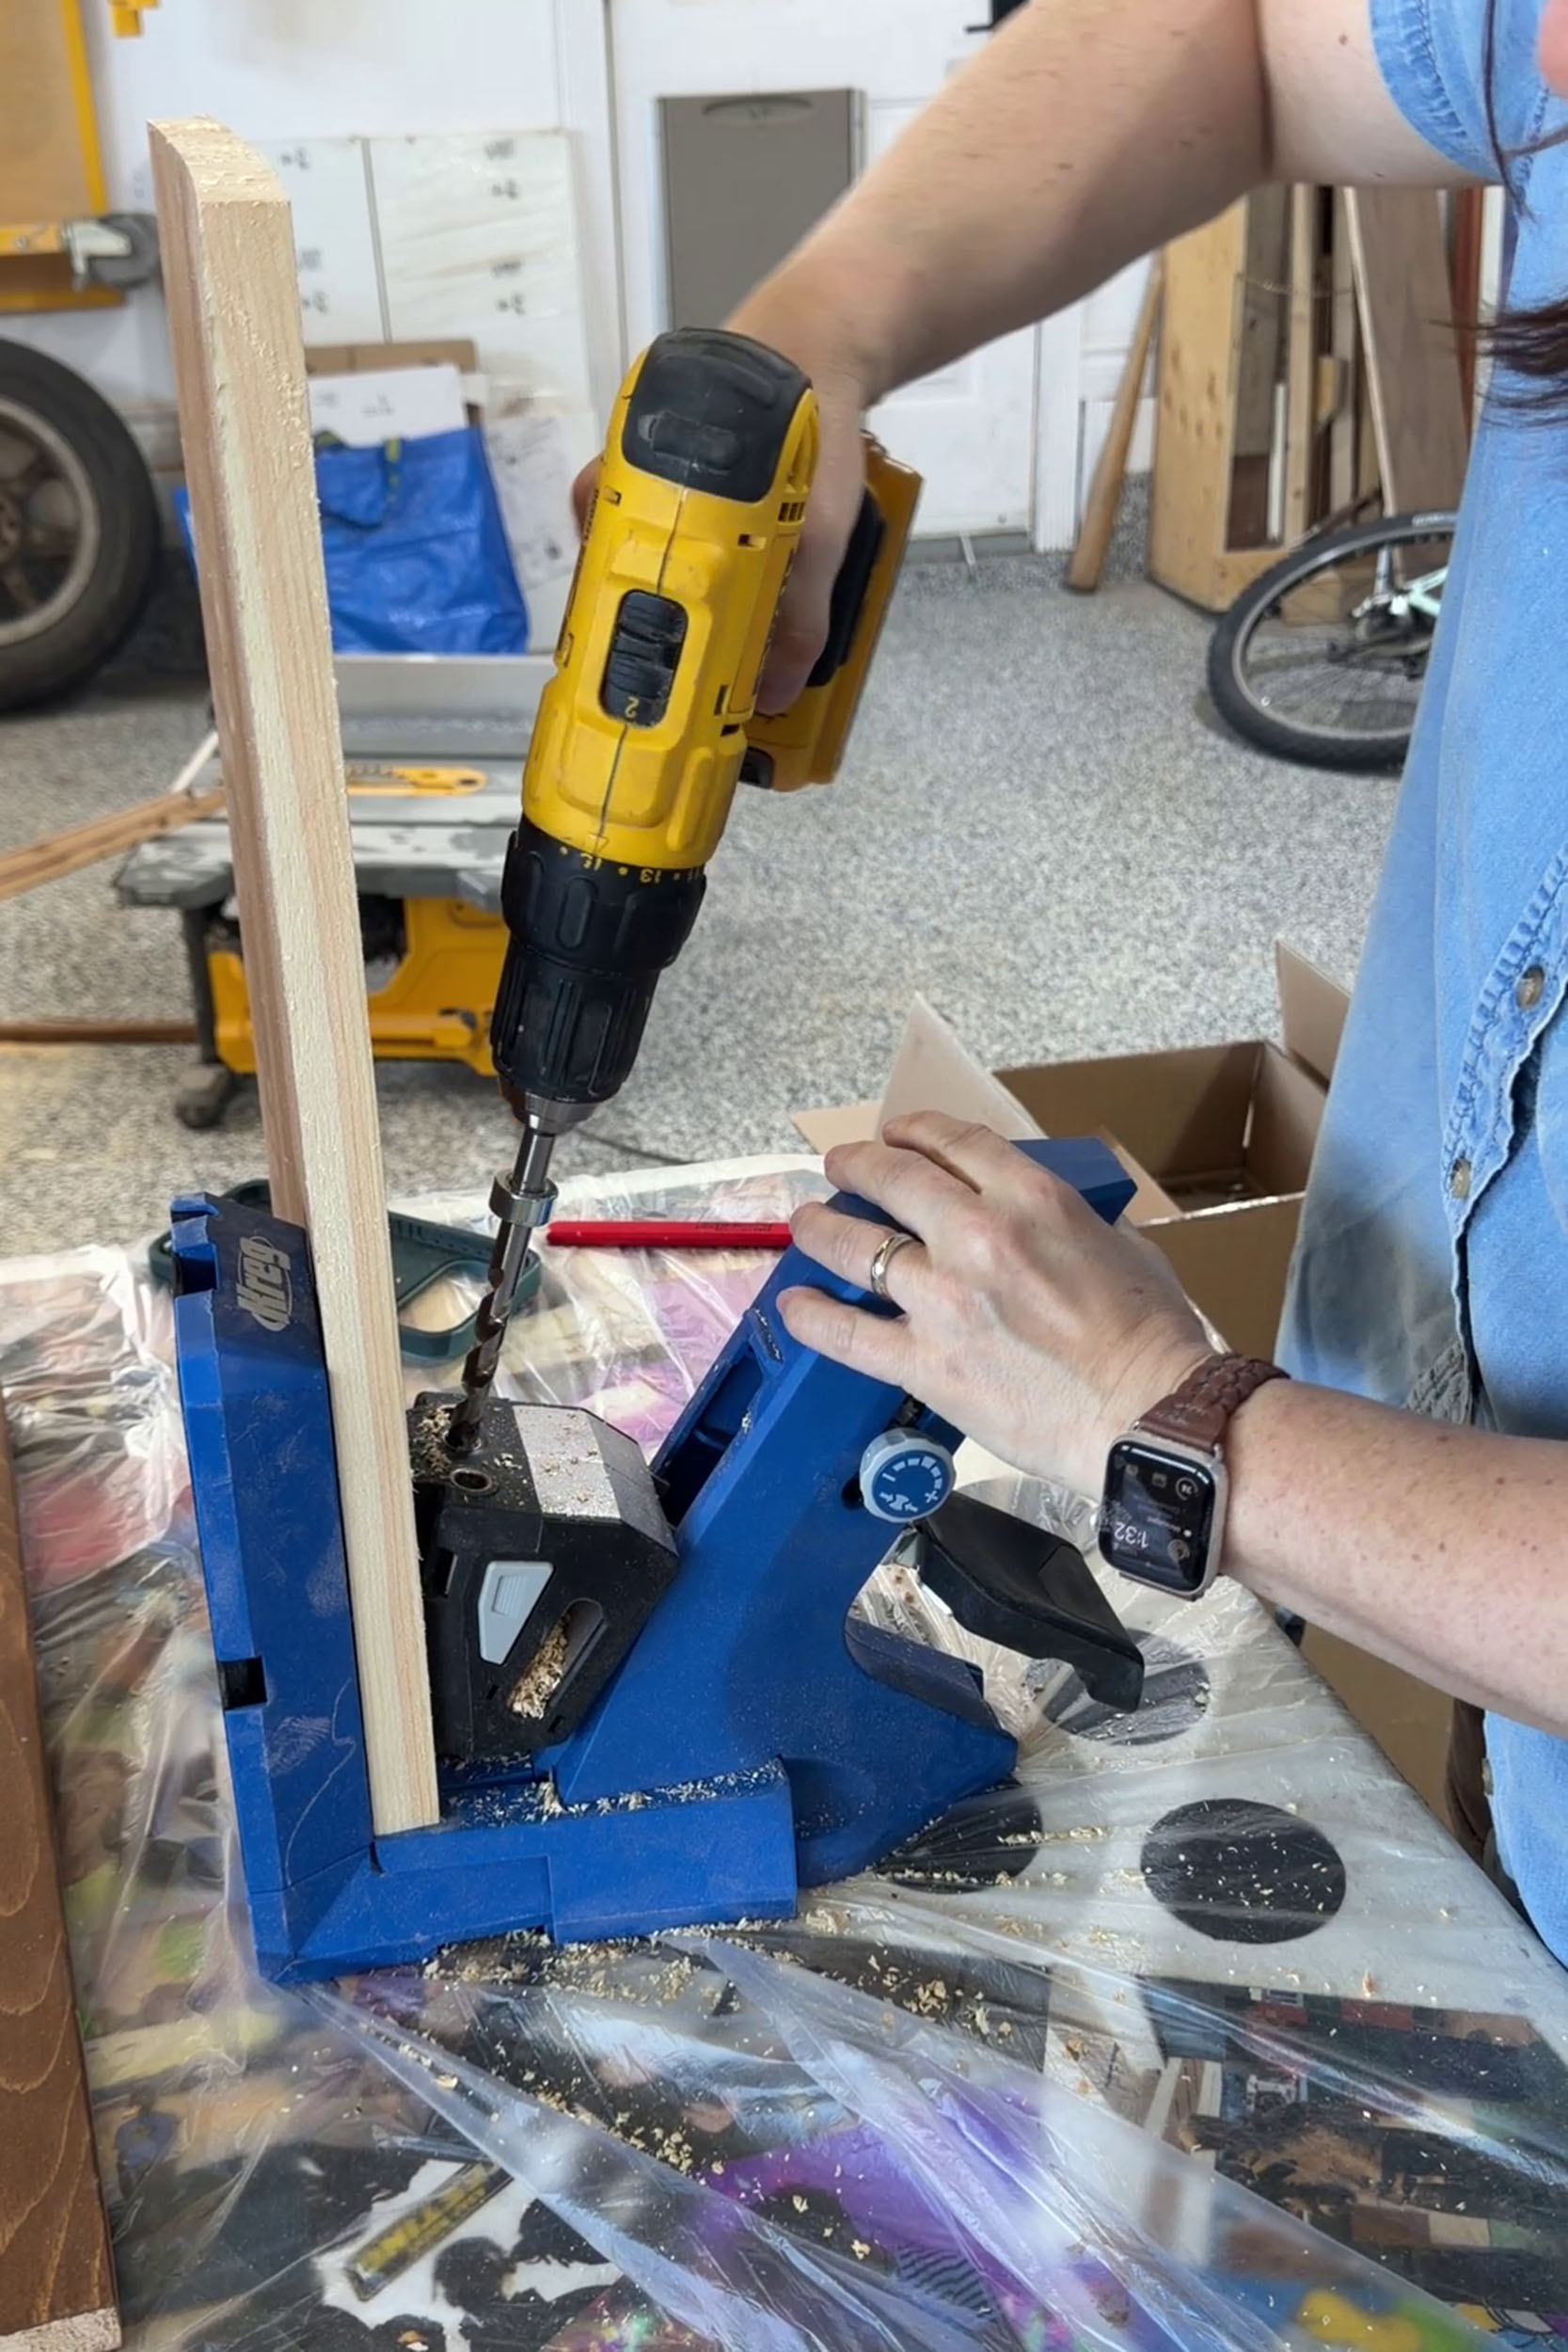
I drilled pocket holes in each end of the each of the dowel racks and in the bottom of each of the shelves, and the back of the top back piece. I was careful not to do anything to the side pieces that would be the most visible.
Glue the Dowel Racks
I added glue to all the holes in one of the rails and stuck the dowels in, wiping off any excess glue.
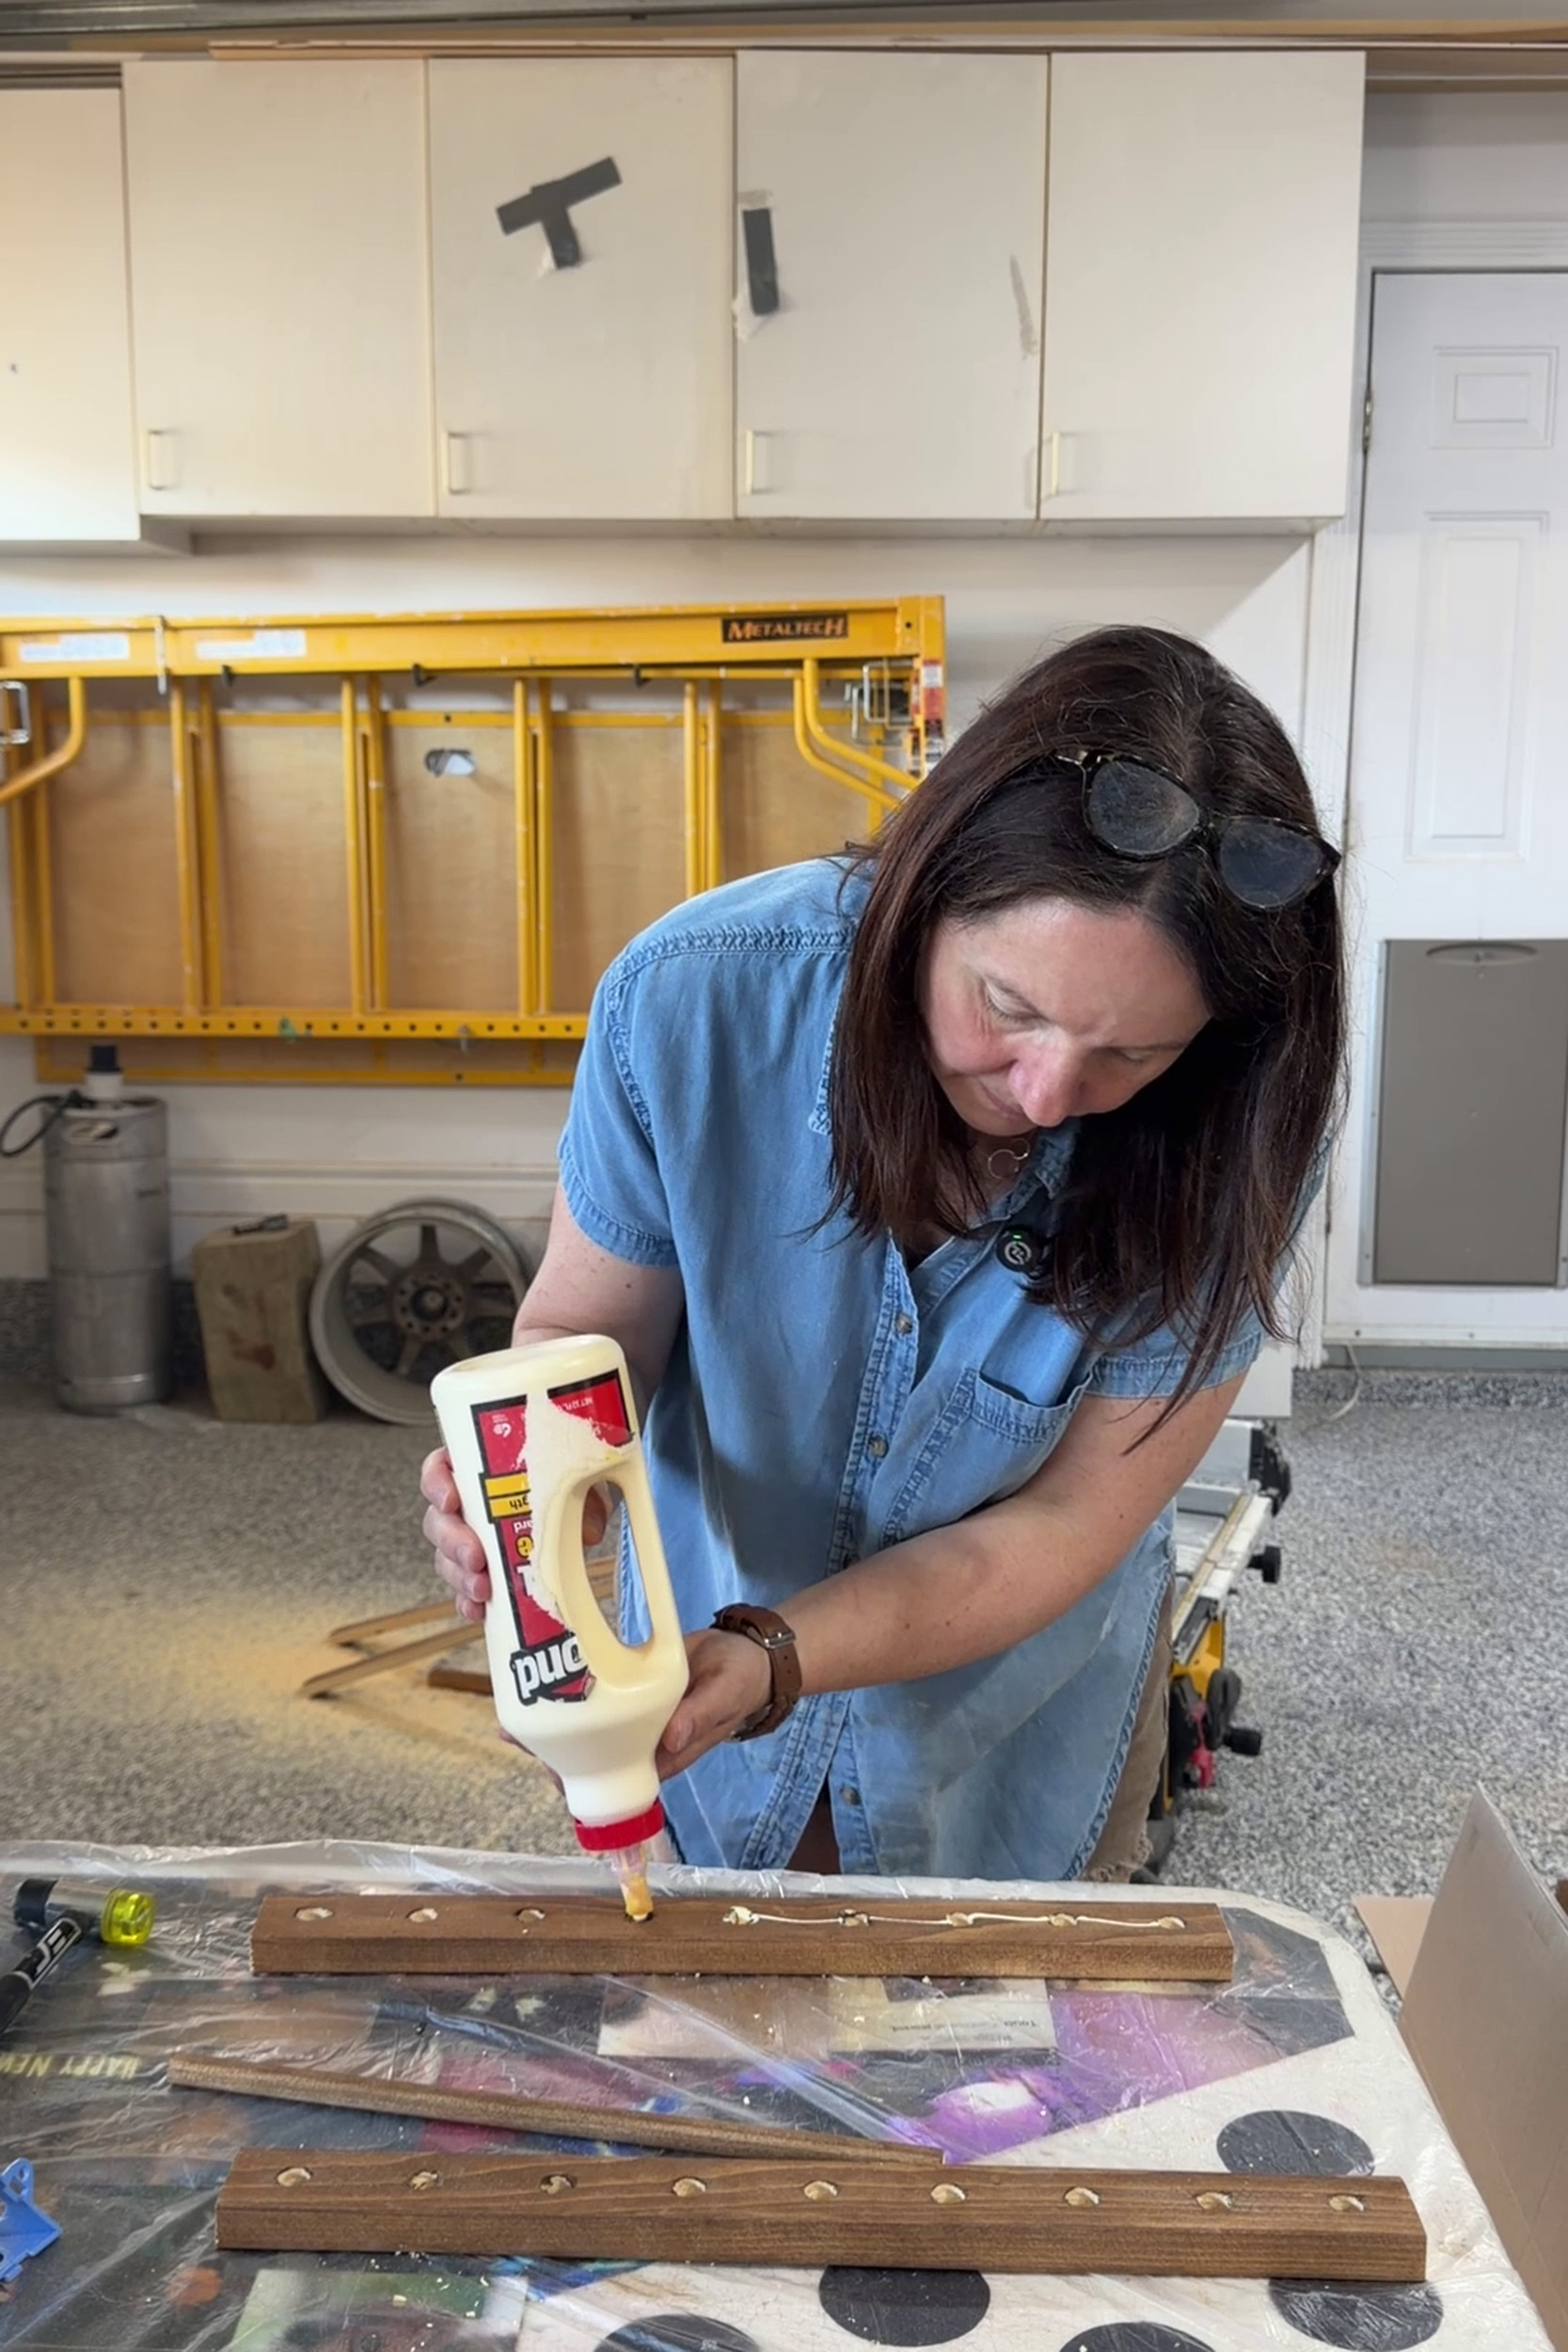
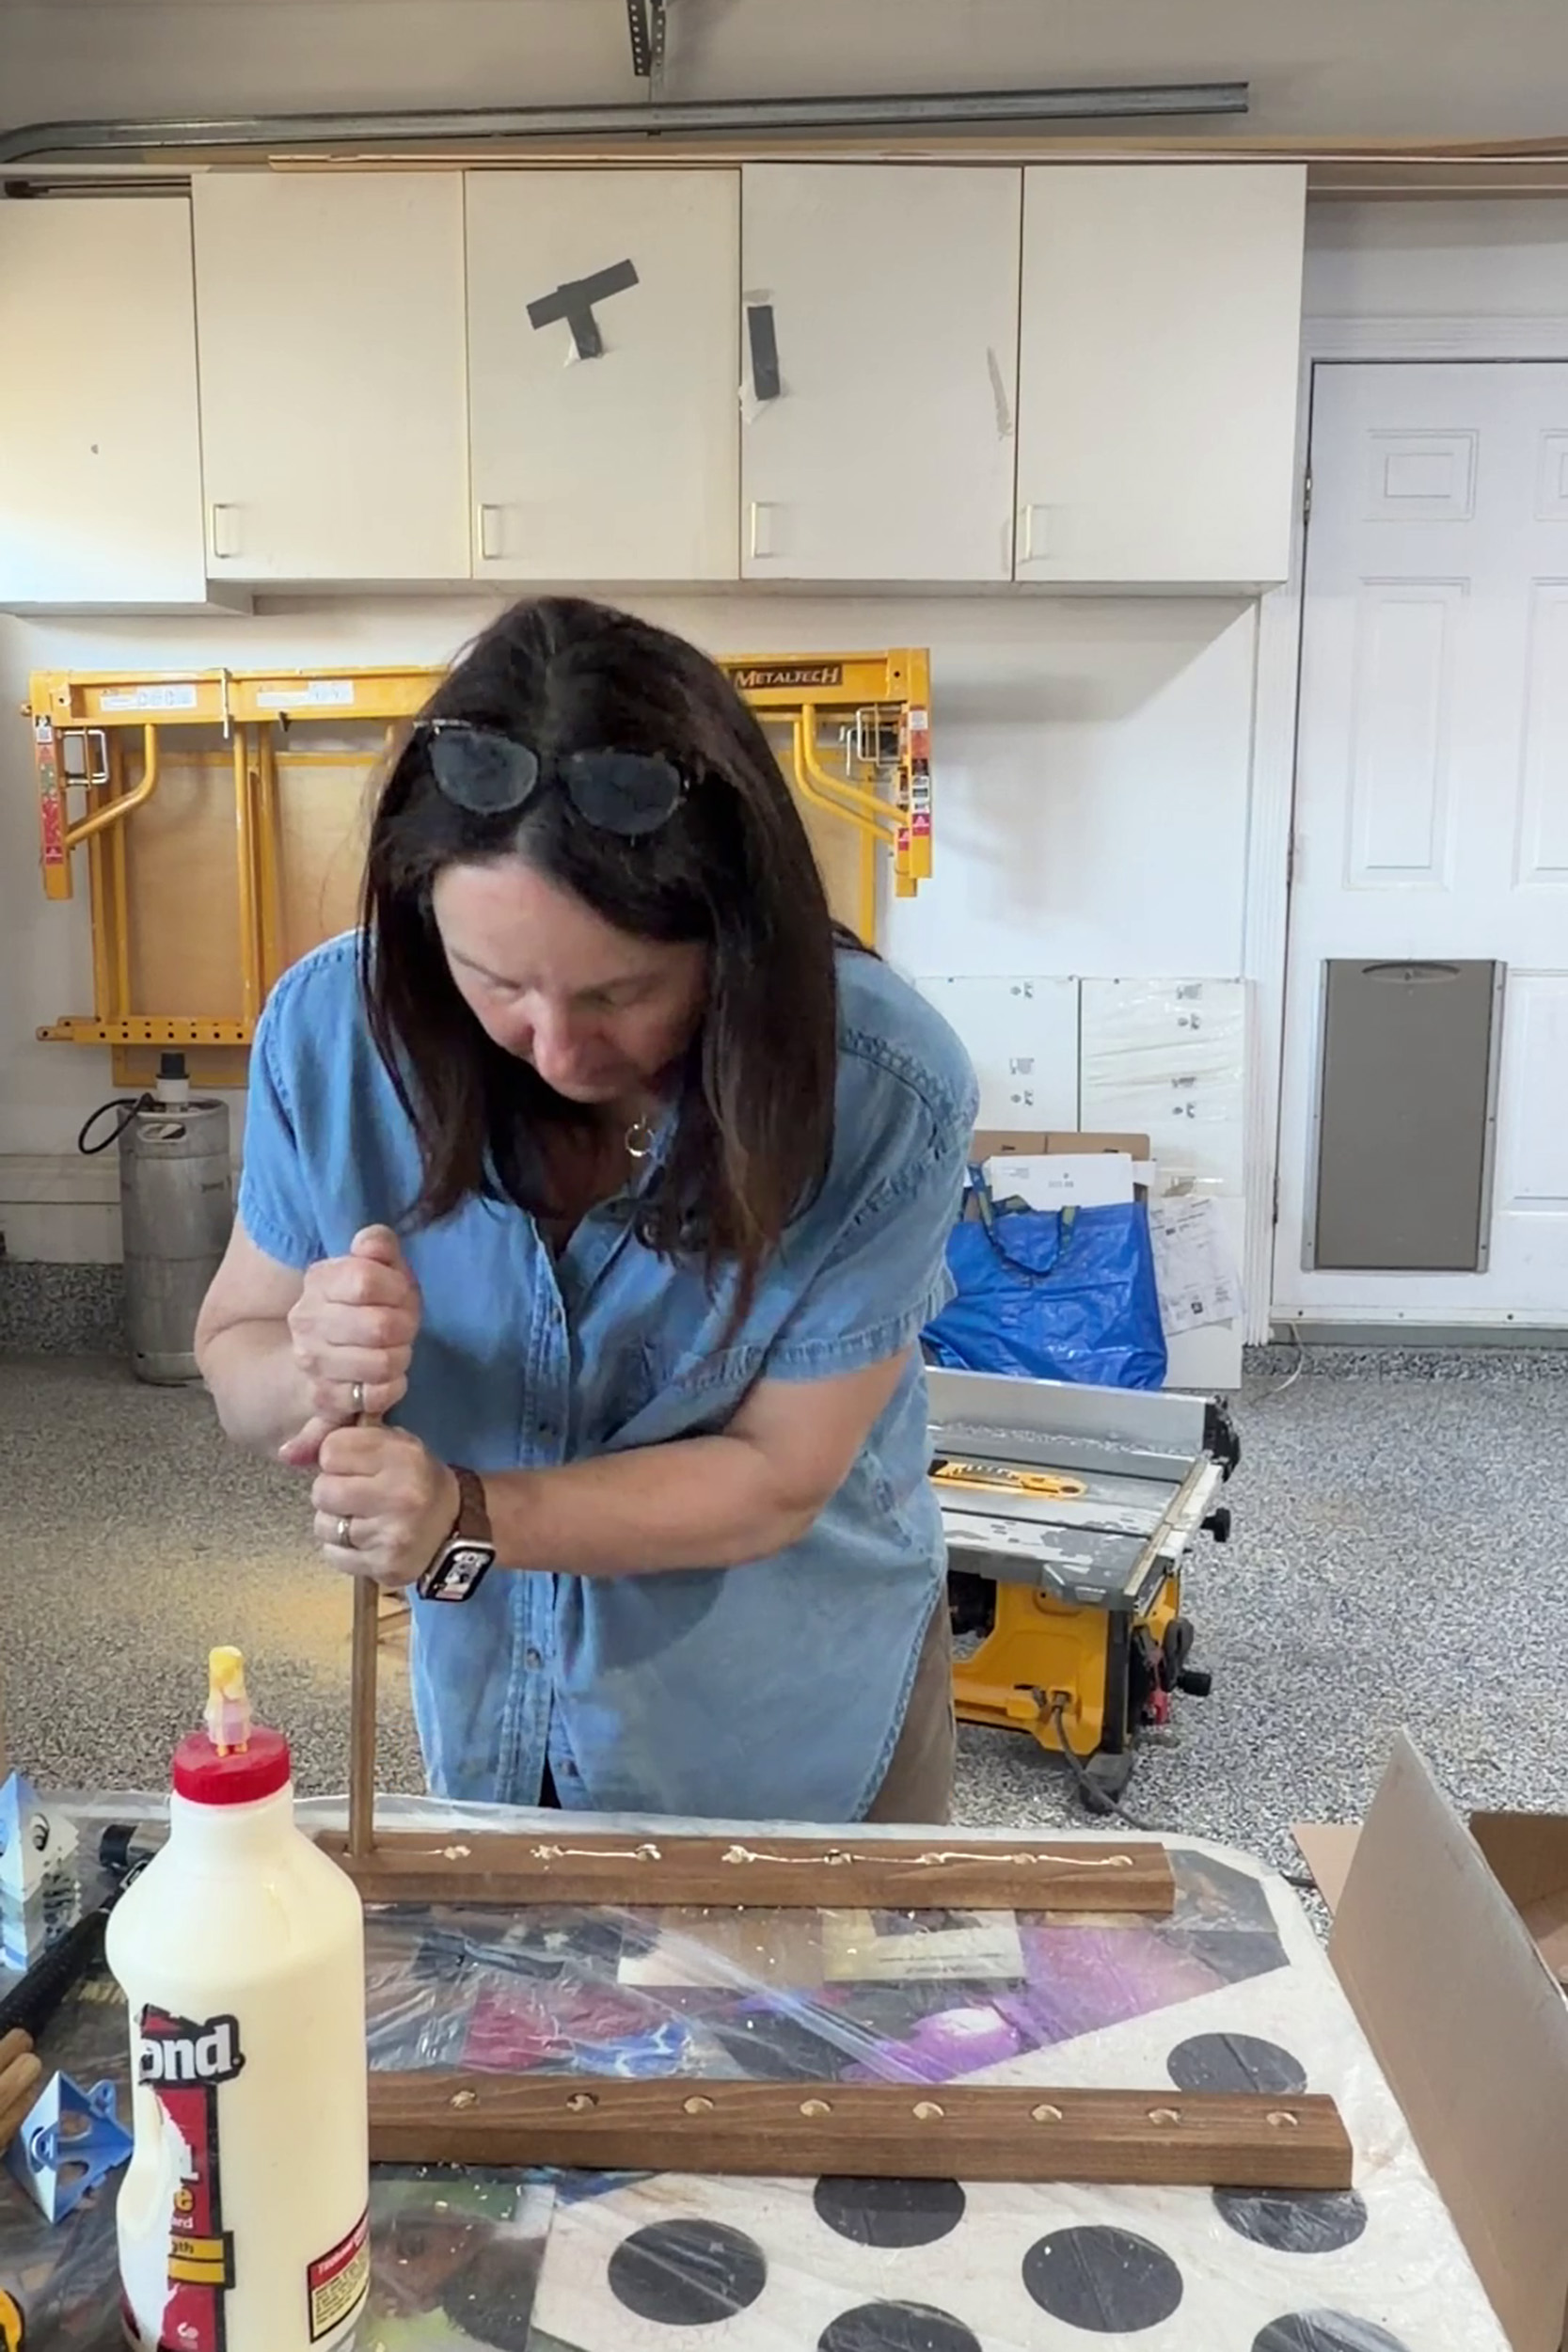
Next I added glue to a second rail and lined up all the dowel rods to the holes. I thought this was going to be tricky but it was not too tough.
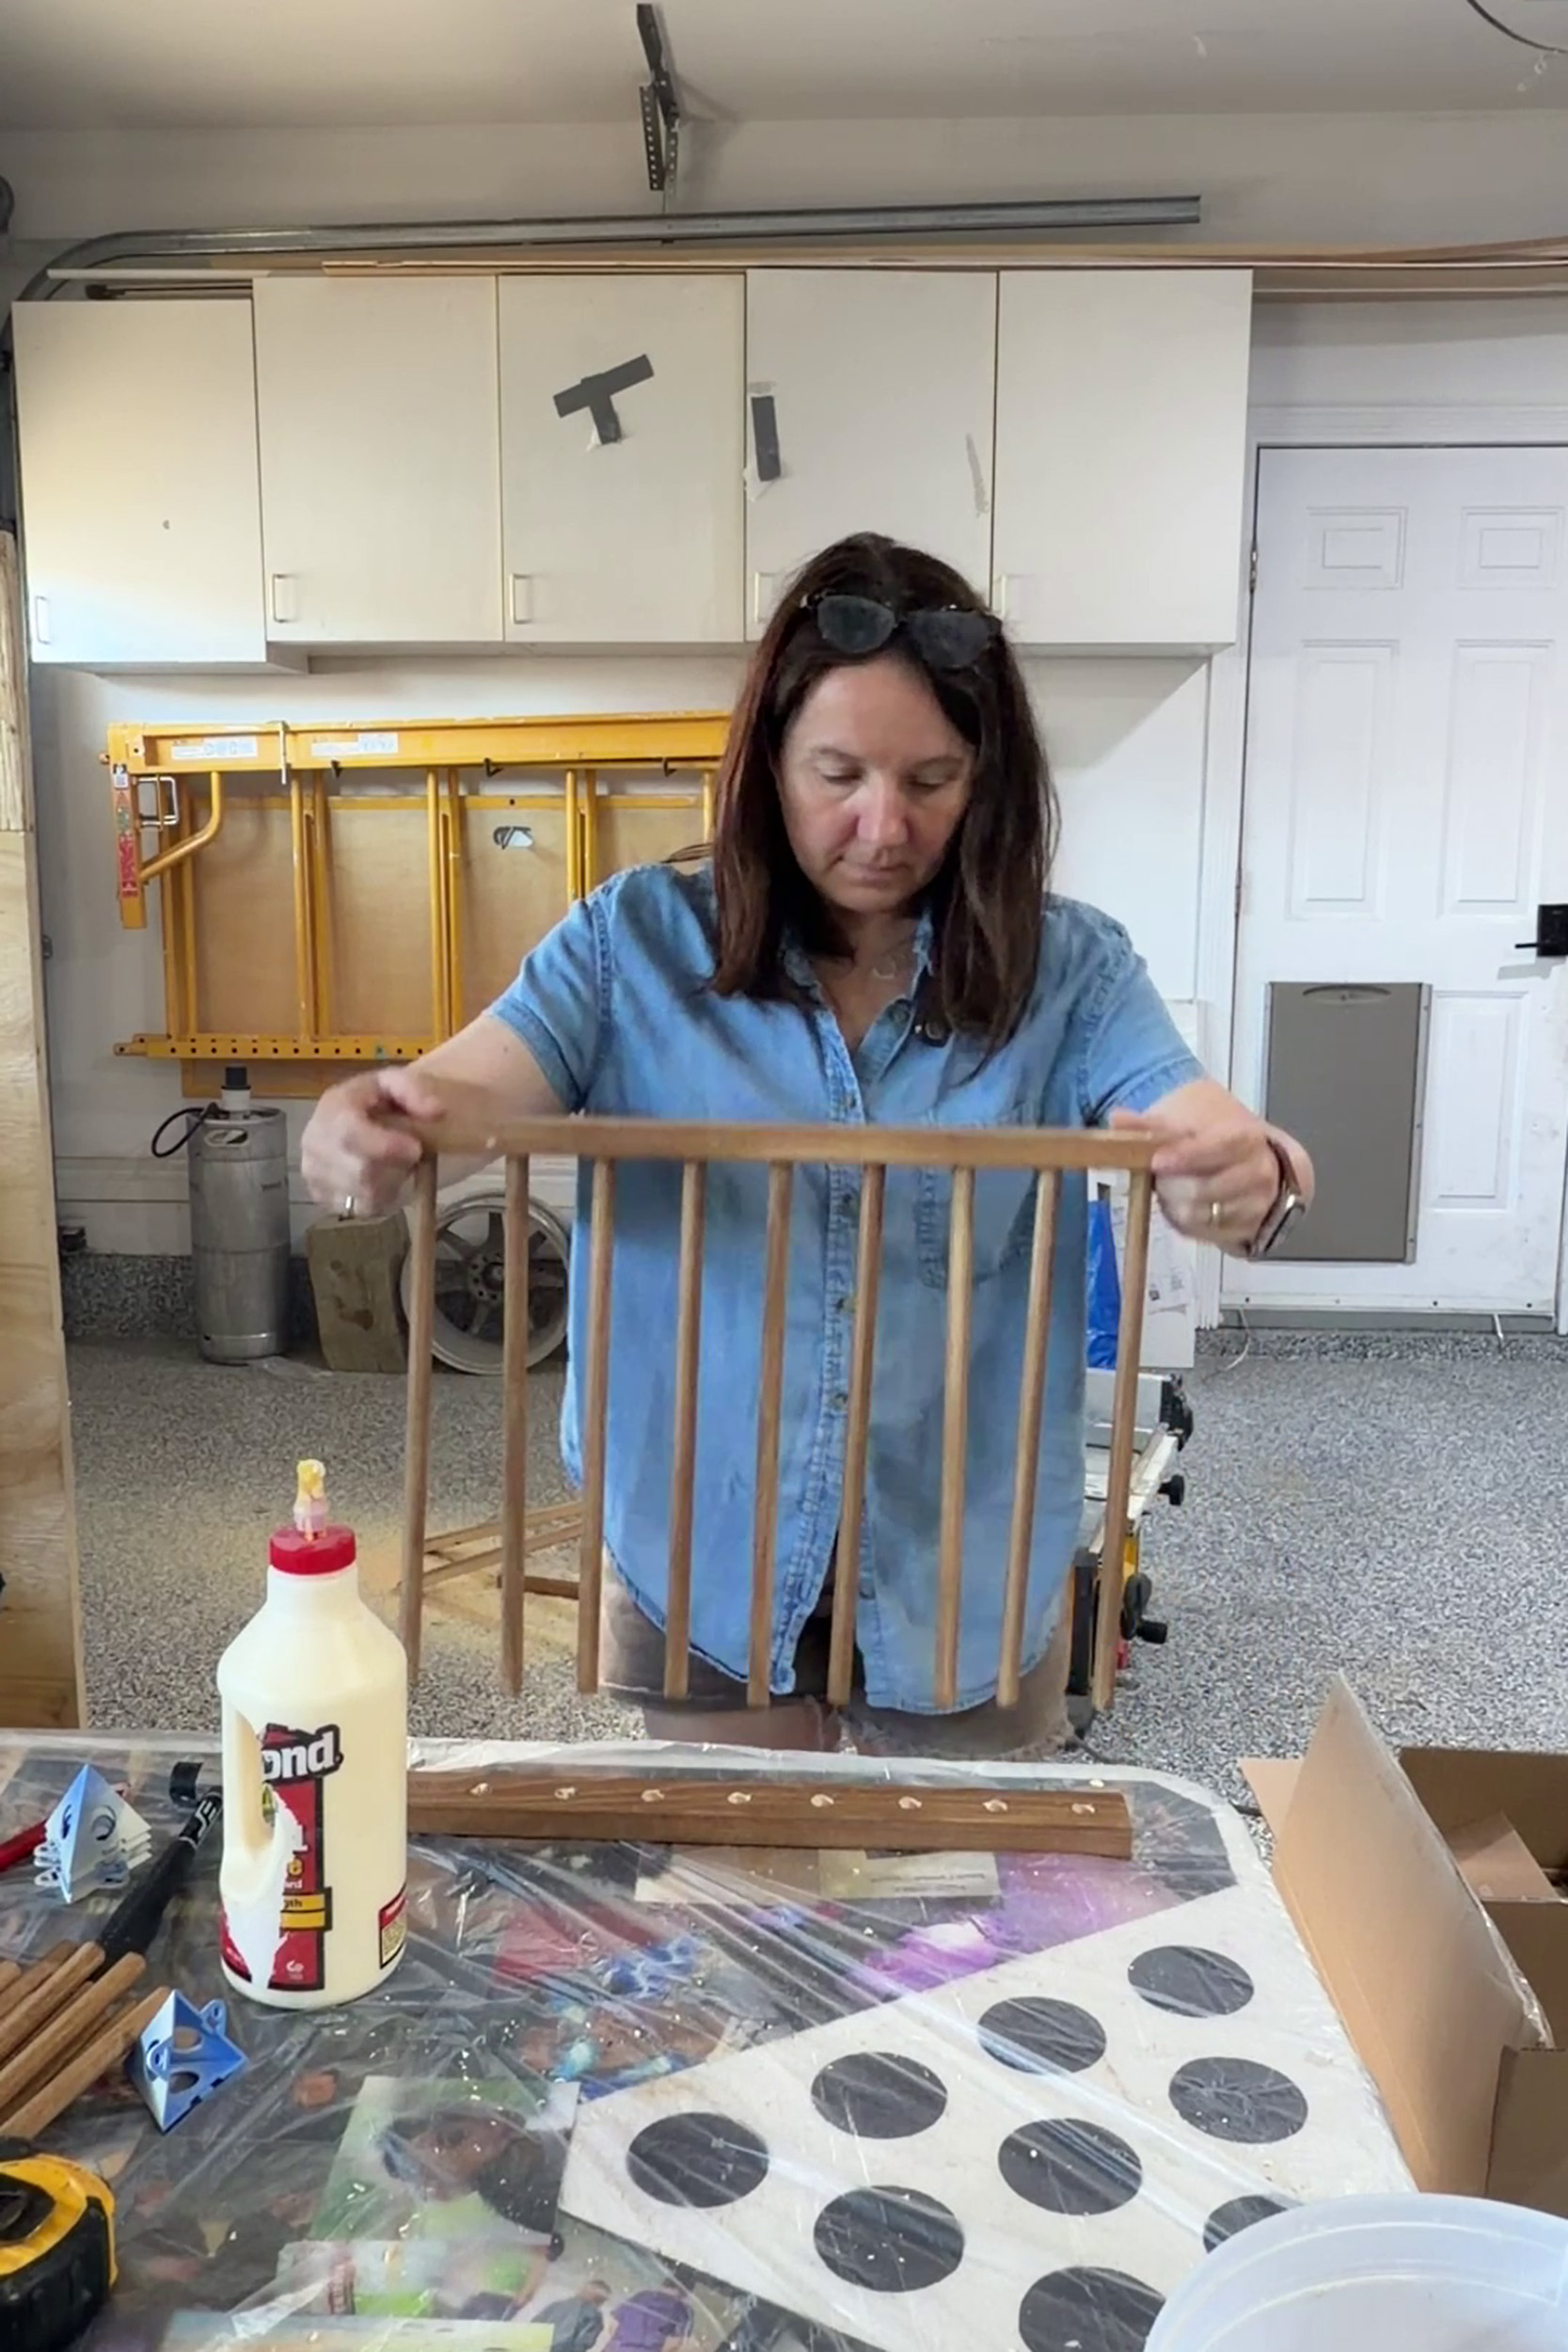
I was careful to work quickly so the glue did not have a chance to dry before I got everything in place.
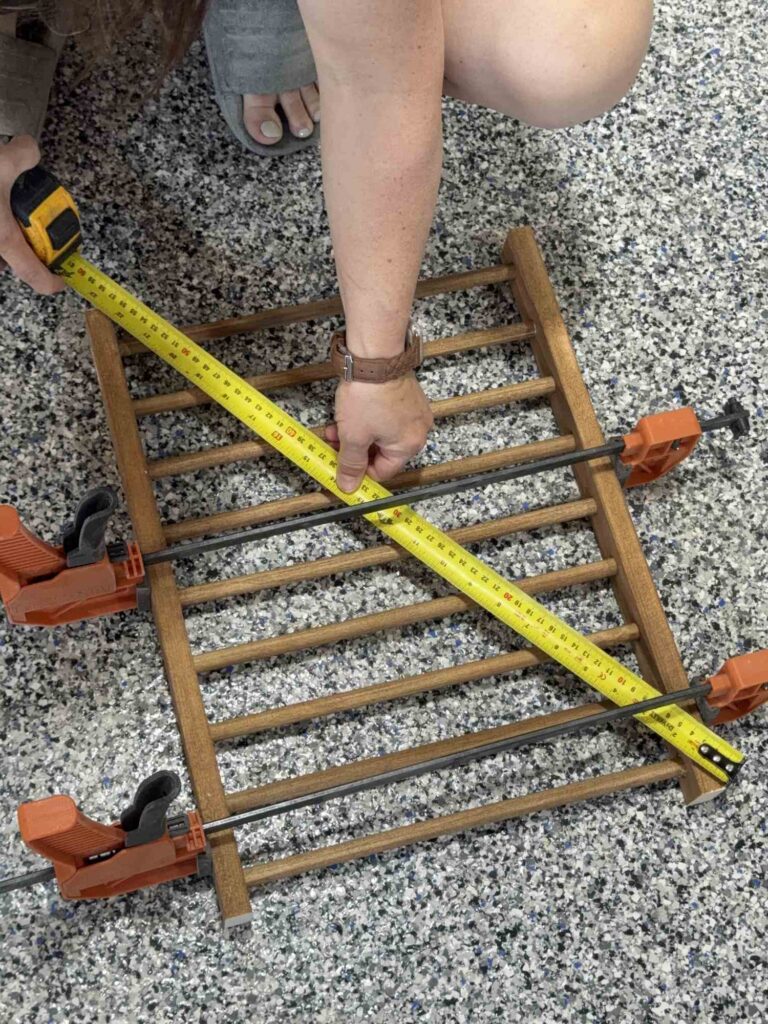
Once the two rails were on, I placed it on a flat surface and made sure it was square. To do this, I just measured diagonally and made sure the two diagonal measurements were the same. I did have to push and pull it a little bit to get it square. Once it was square I clamped it tight until the glue dried, double checking that adding my clamps didn’t move anything.
Assemble the DIY Plate Rack
Once the glue was dry on the dowel racks, I set both dowel racks on one side piece.
I put one right at the front edge of the side piece, but the back piece I kept away from the back by about an inch and a half. This is so that the back of the plate does not hit the back wall before it was fully seated in the plate rack. I just did a dry fit with a plate to get that spacing.
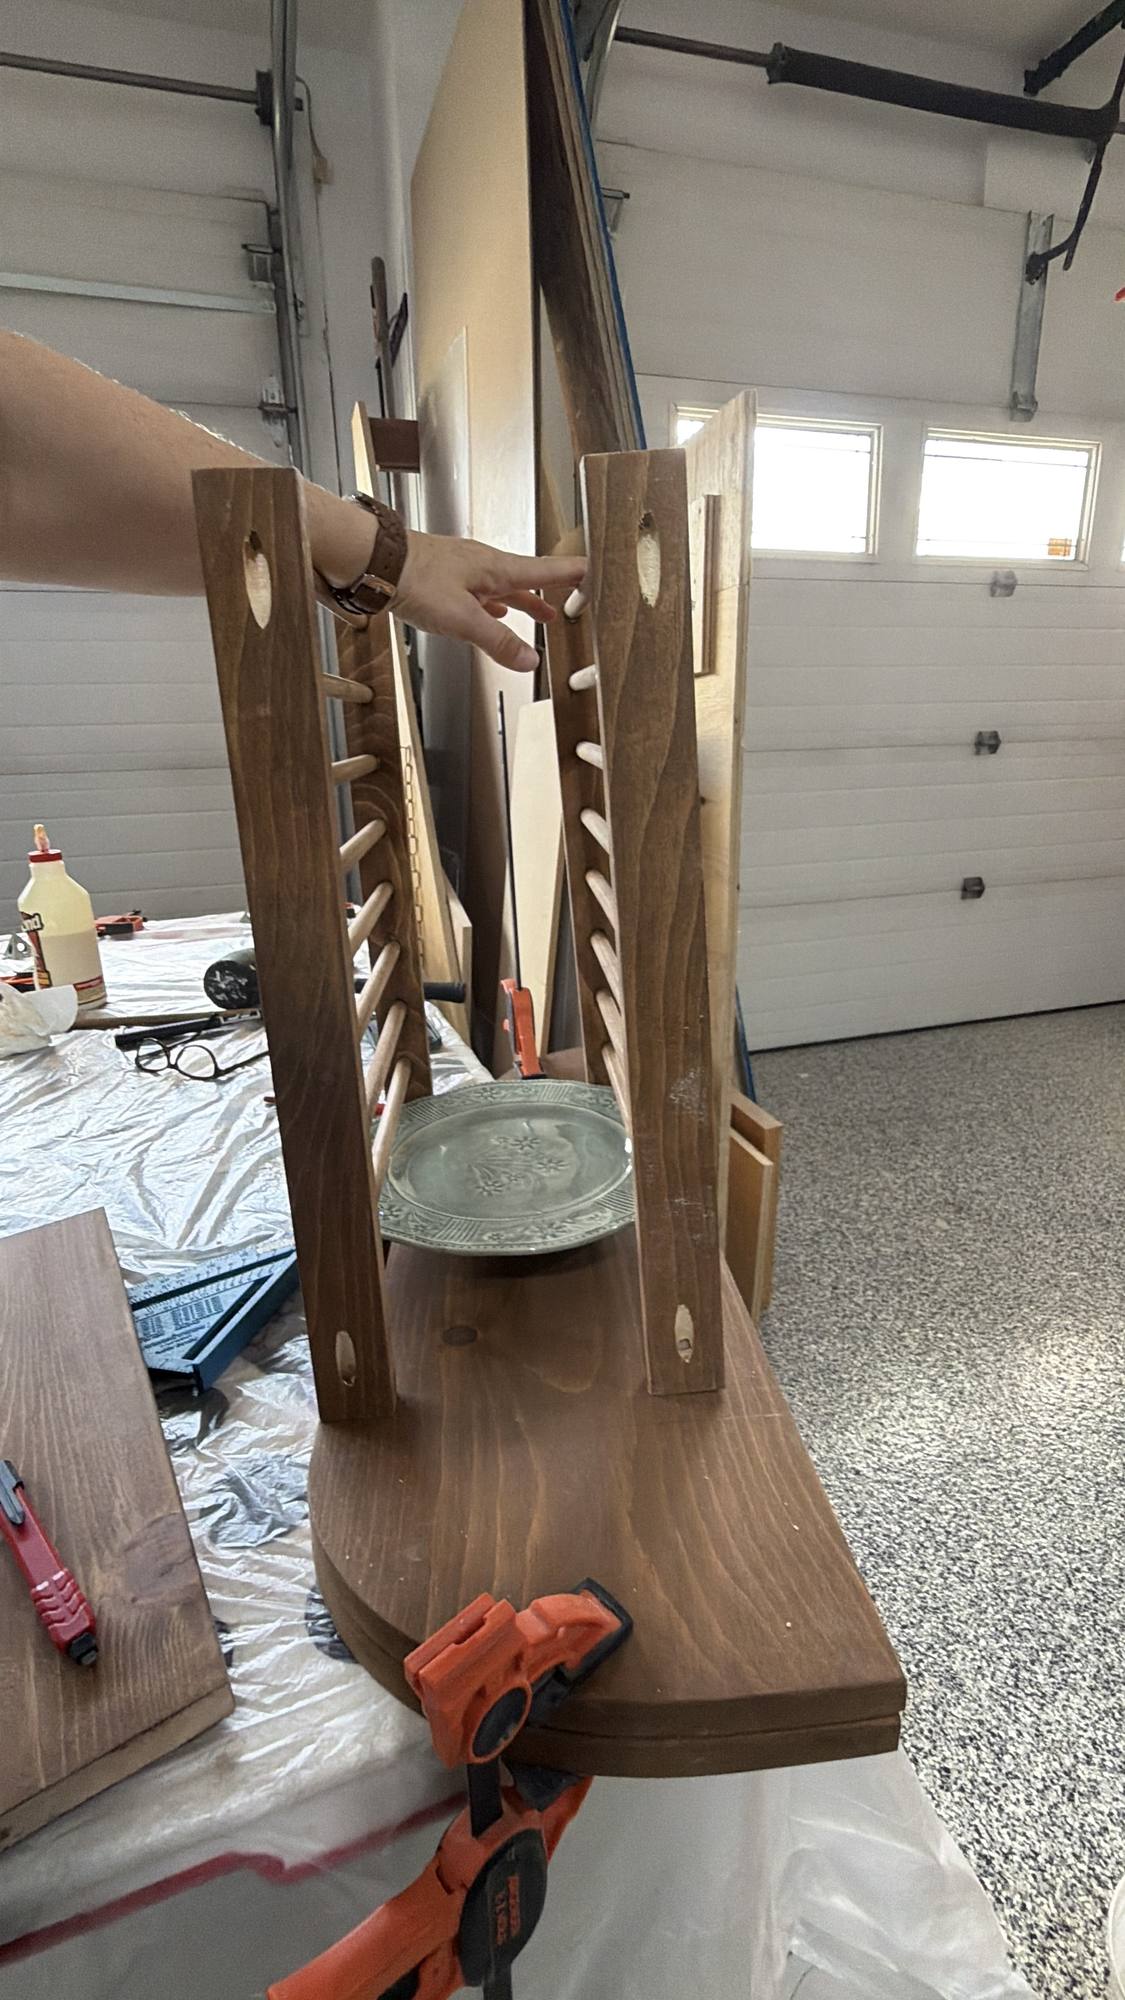
Note: Before I screwed or glued anything in place, I made sure to mark out where everything was going to be attached to the side pieces. Starting at the top of the shelf, I measured 5.5″ down to mark the location of the top shelf. Then, I drew a line to represent the thickness of that shelf so I would know where to place the top of the plate rails.
Once I determined the best location for these, I added some wood glue and then screwed these both on to one of the side pieces to start.
Next I flipped it over, and attached the other side to the two dowel racks.
The next piece I attached was the shelf that went directly on top of the dowel racks. I was able to screw these in place from inside the dowel racks from the bottom.
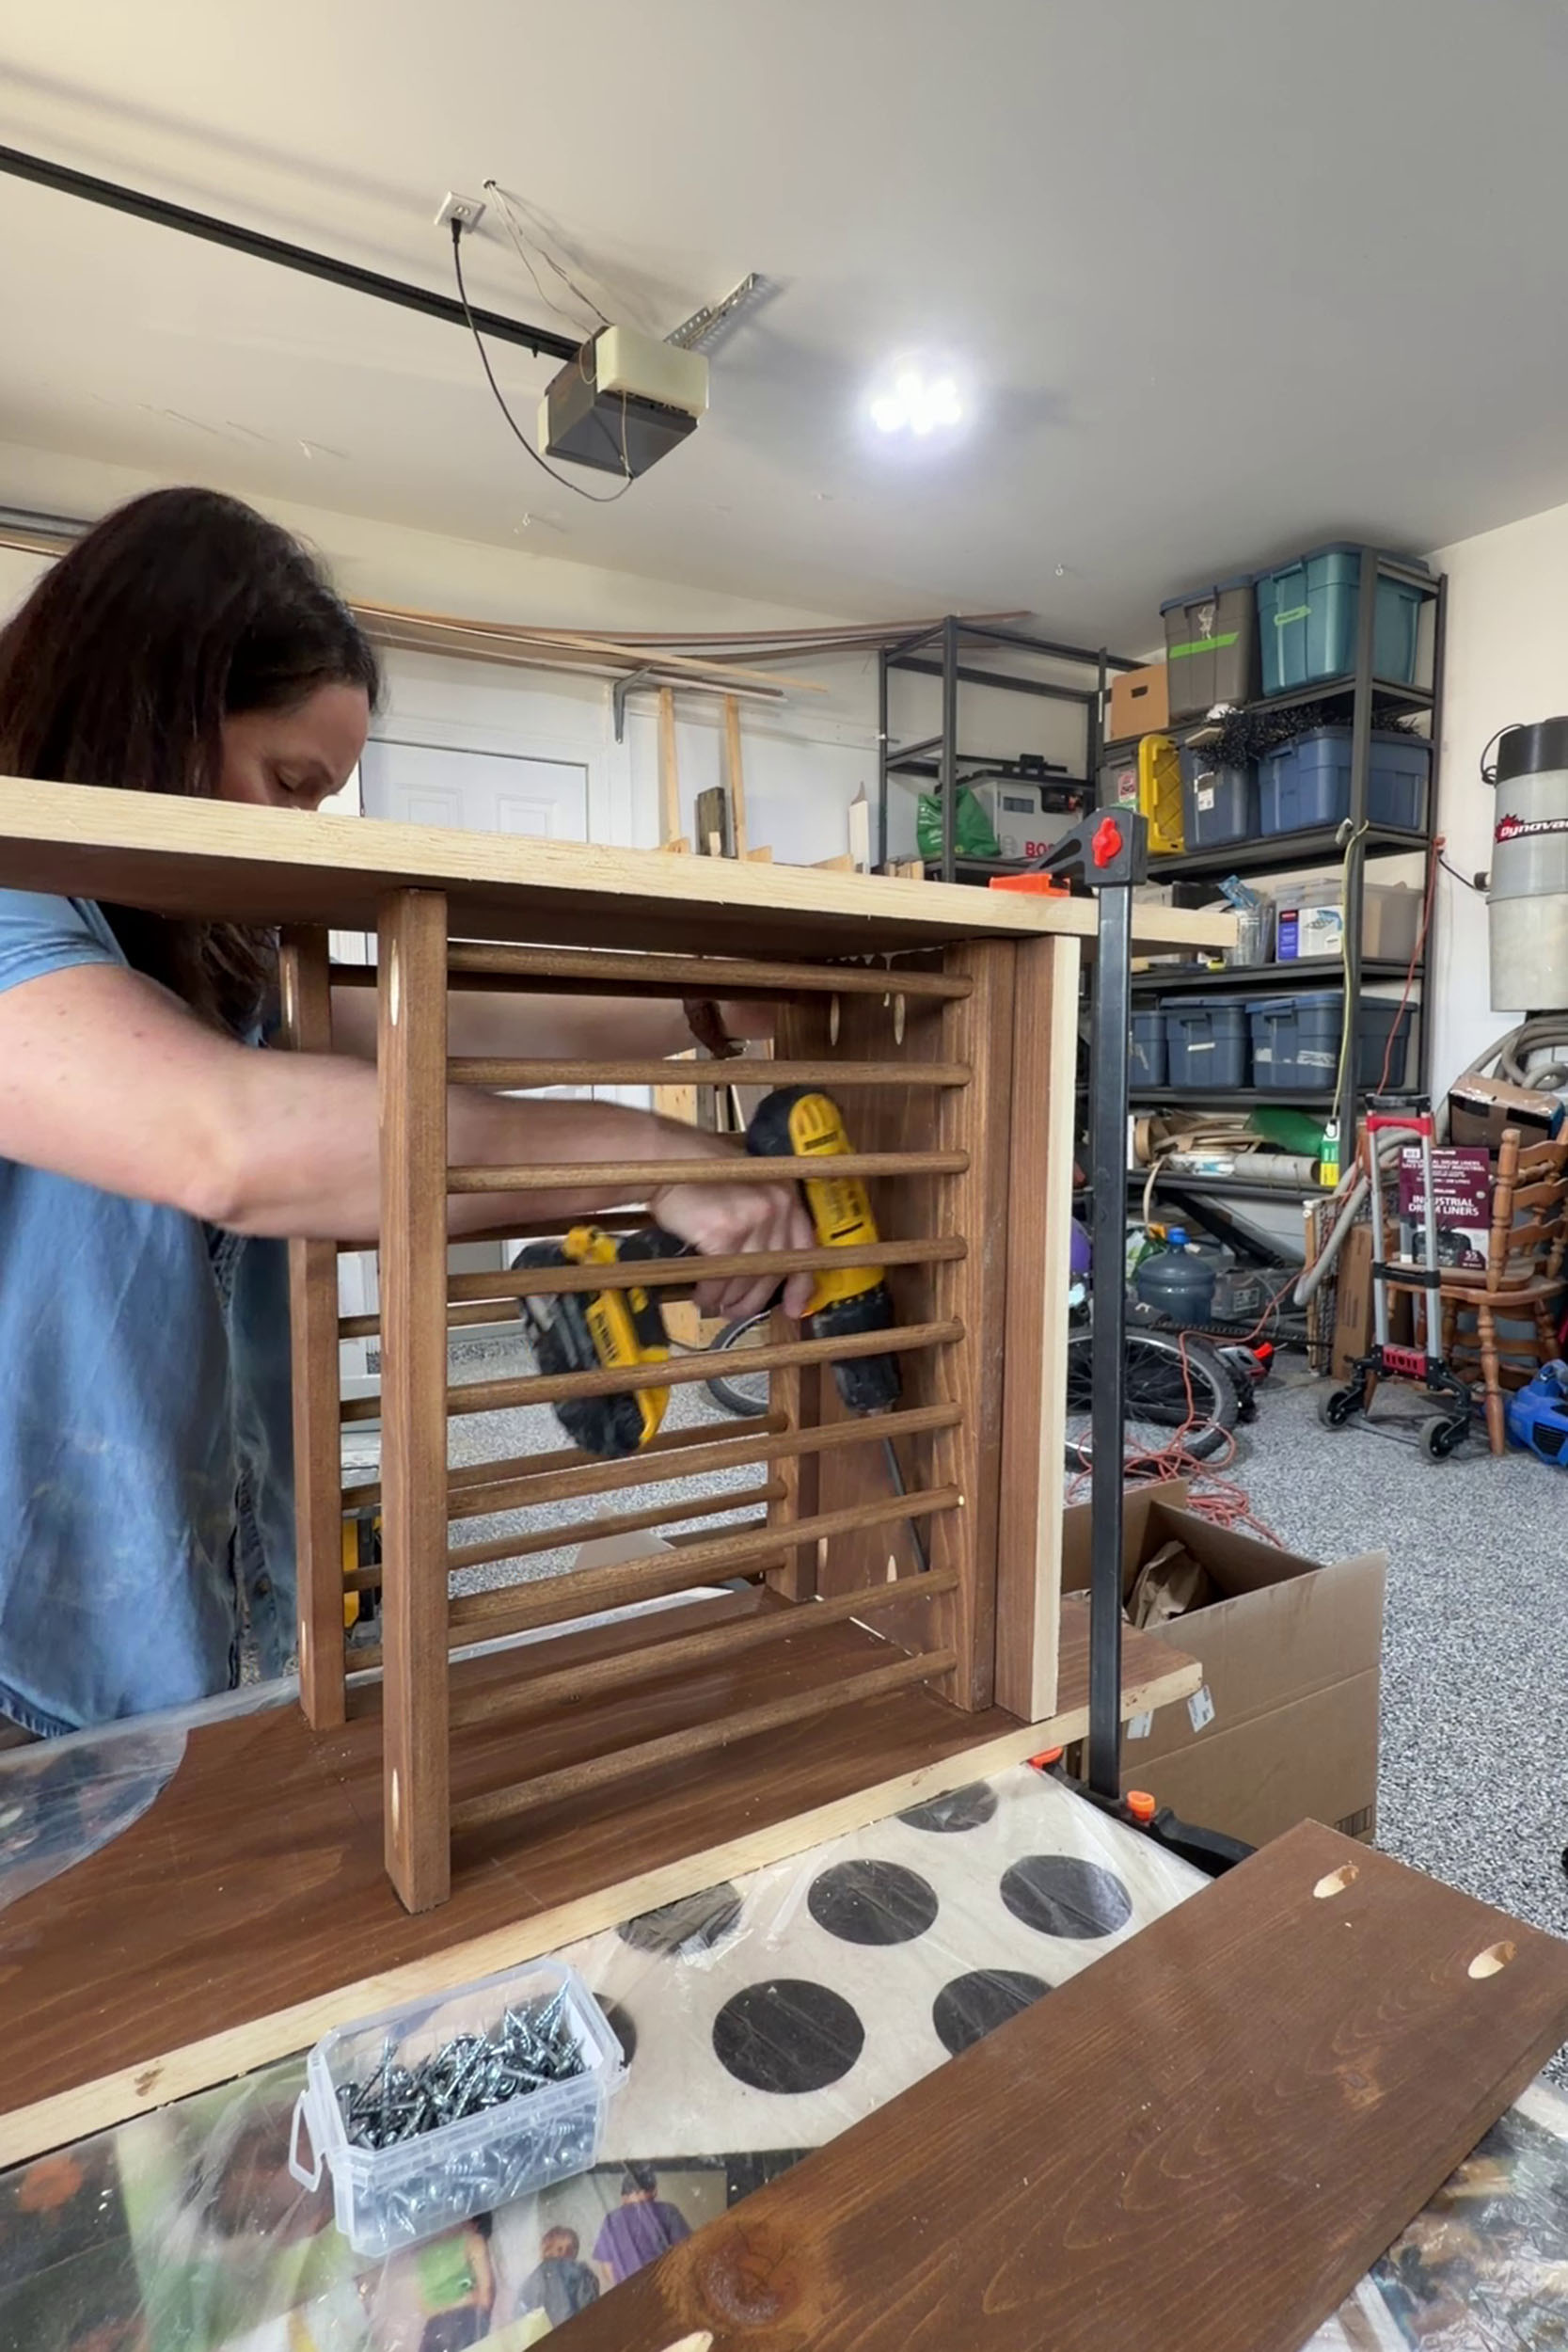
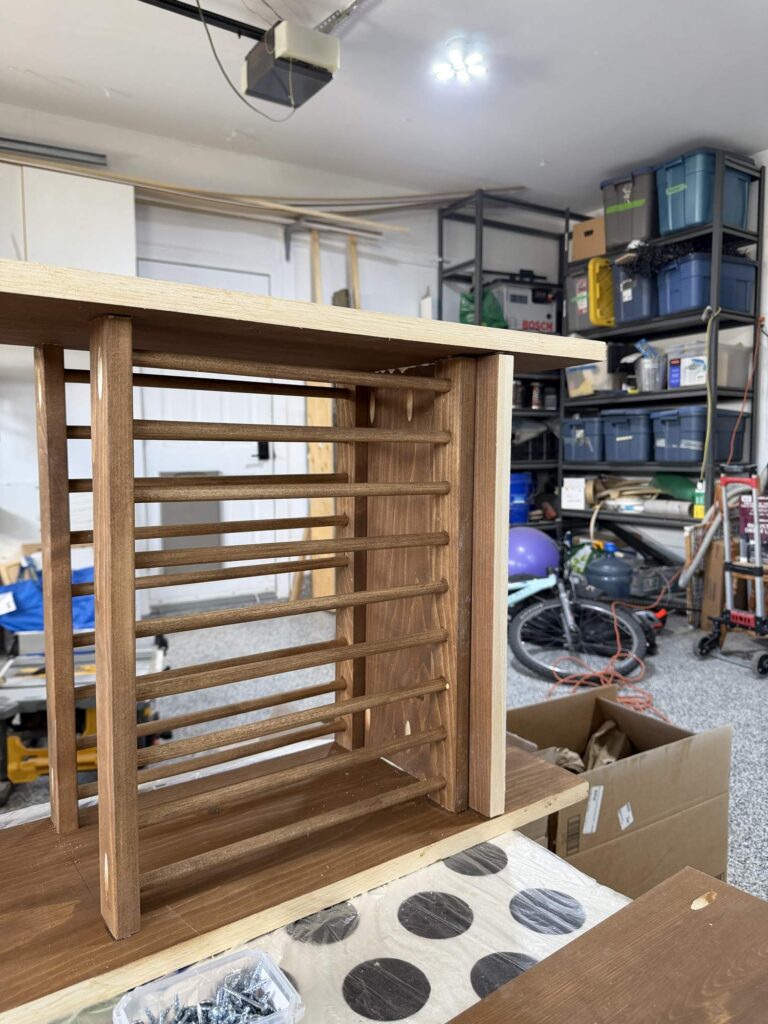
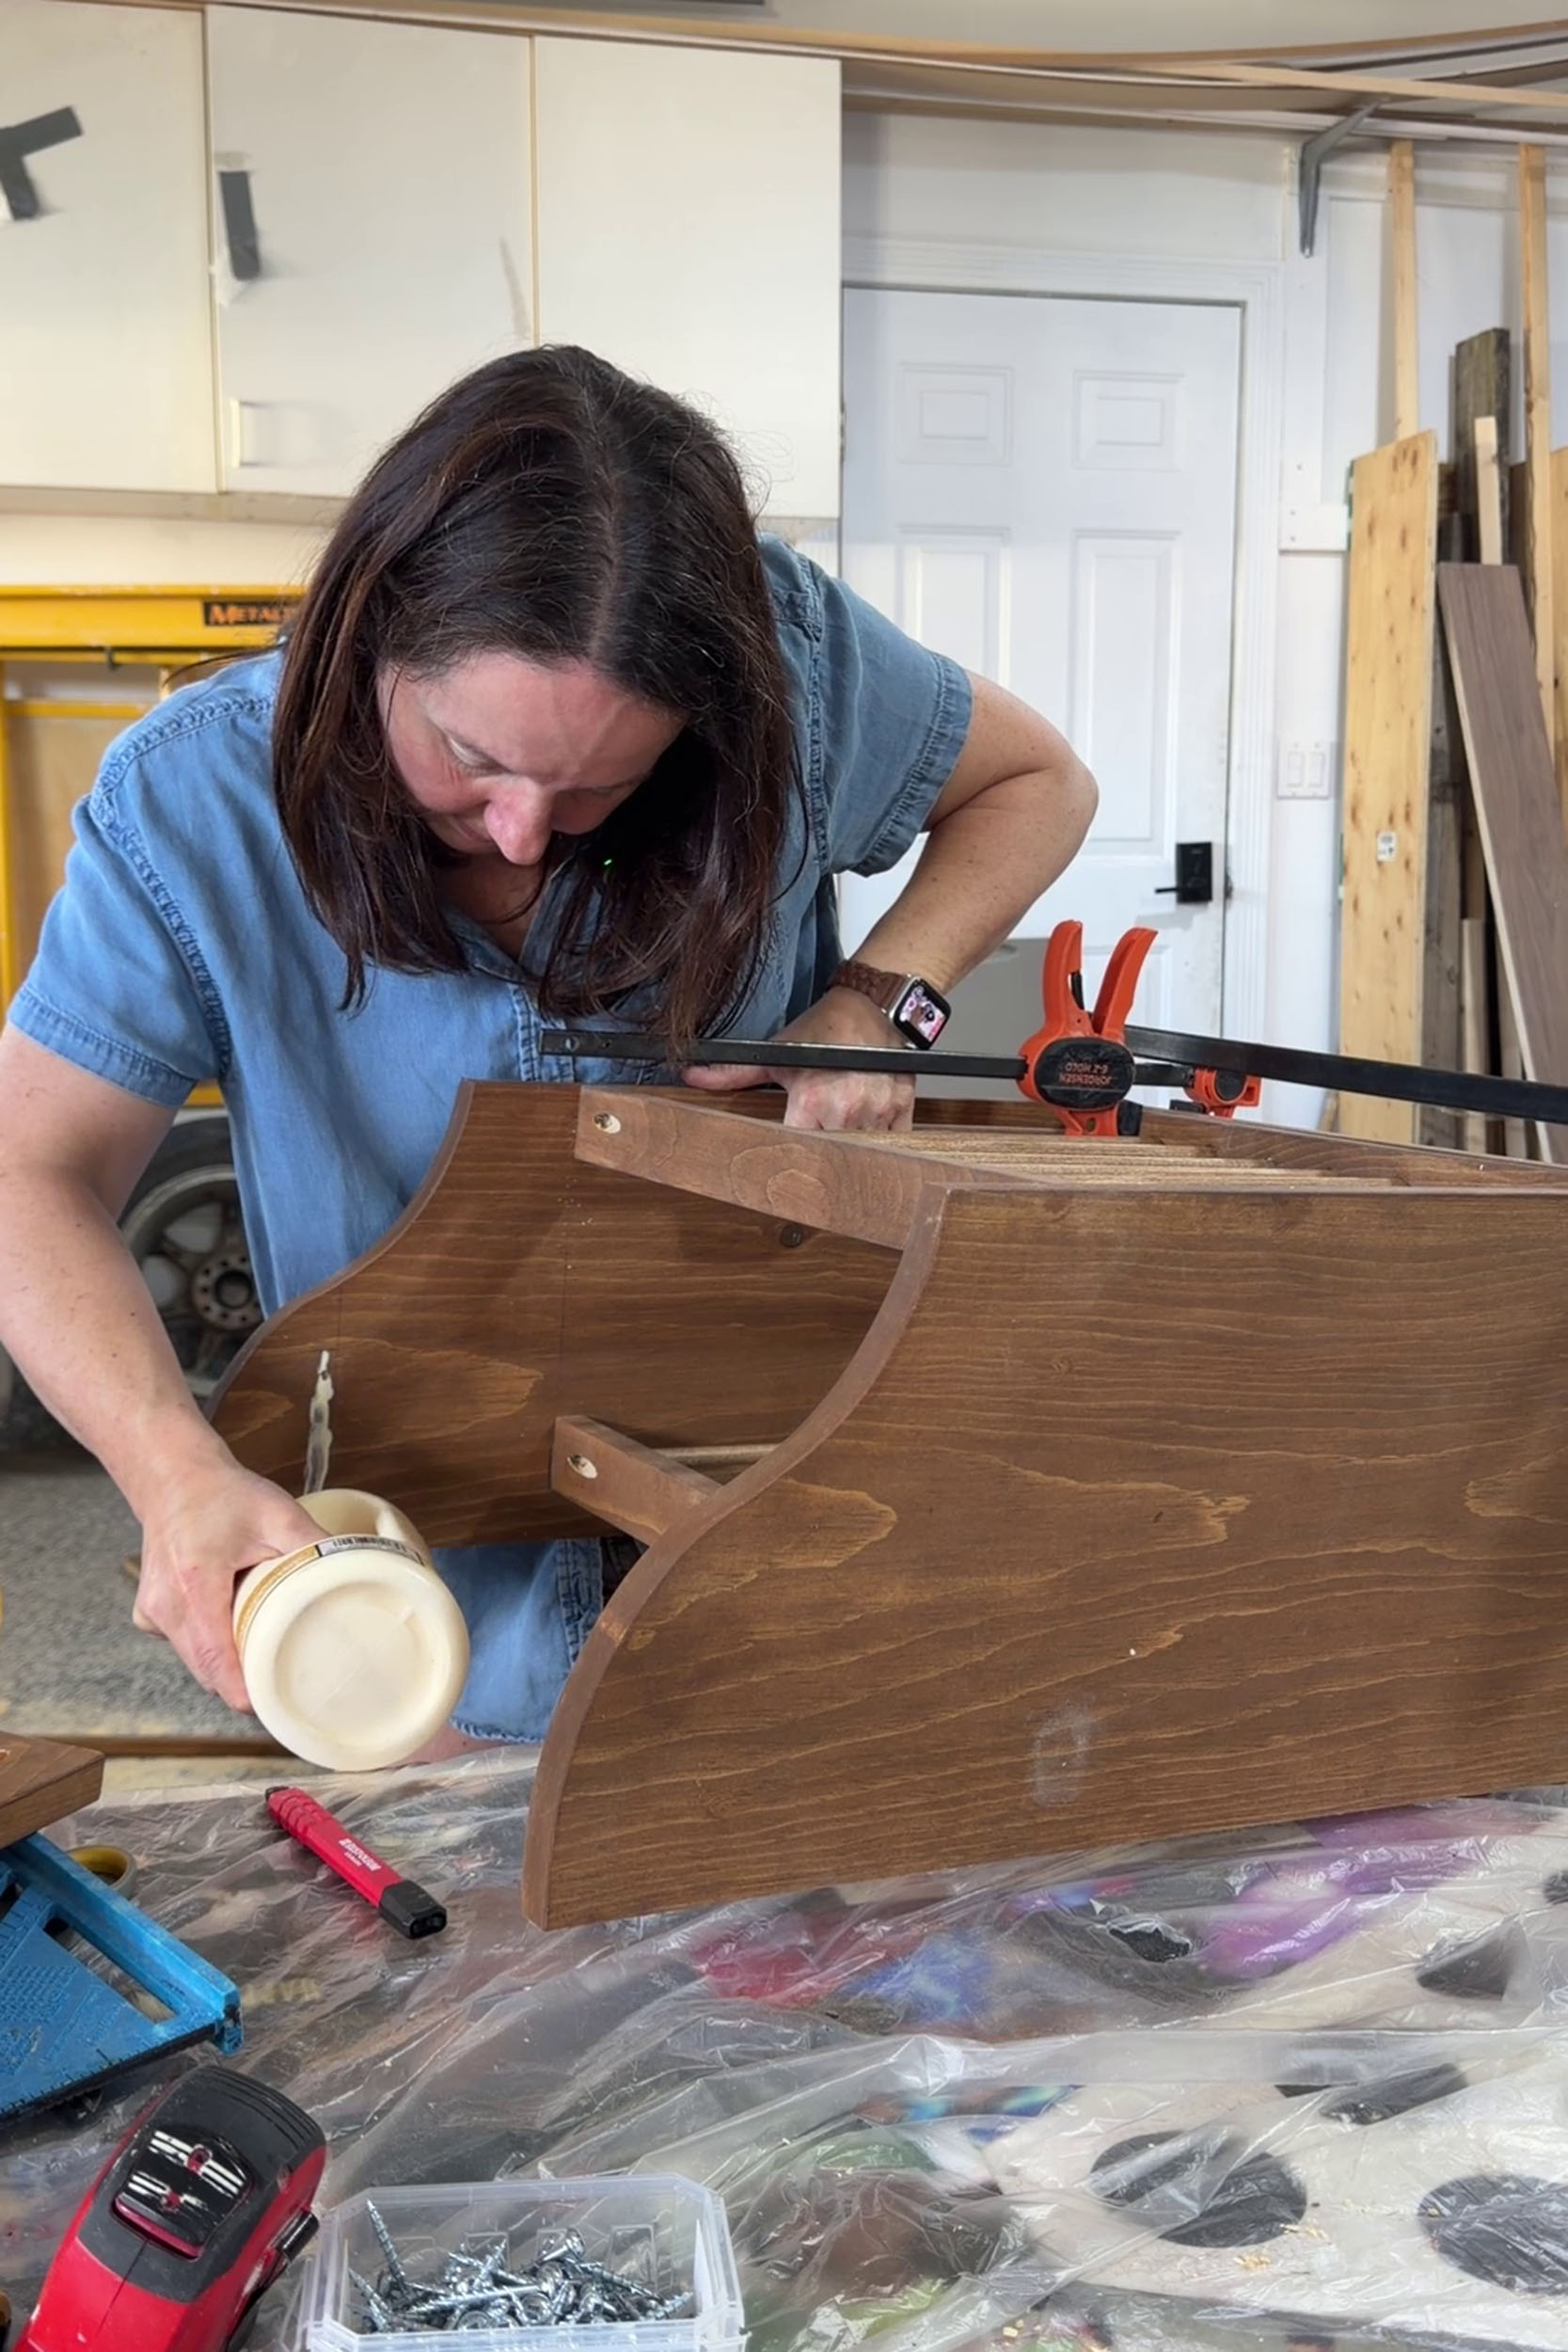
The next piece I attached as the little 4″ shelf at the bottom, making sure my pocket holes were on the bottom of the shelf. On mine, that shelf is 2″ above the bottom of the shelf.
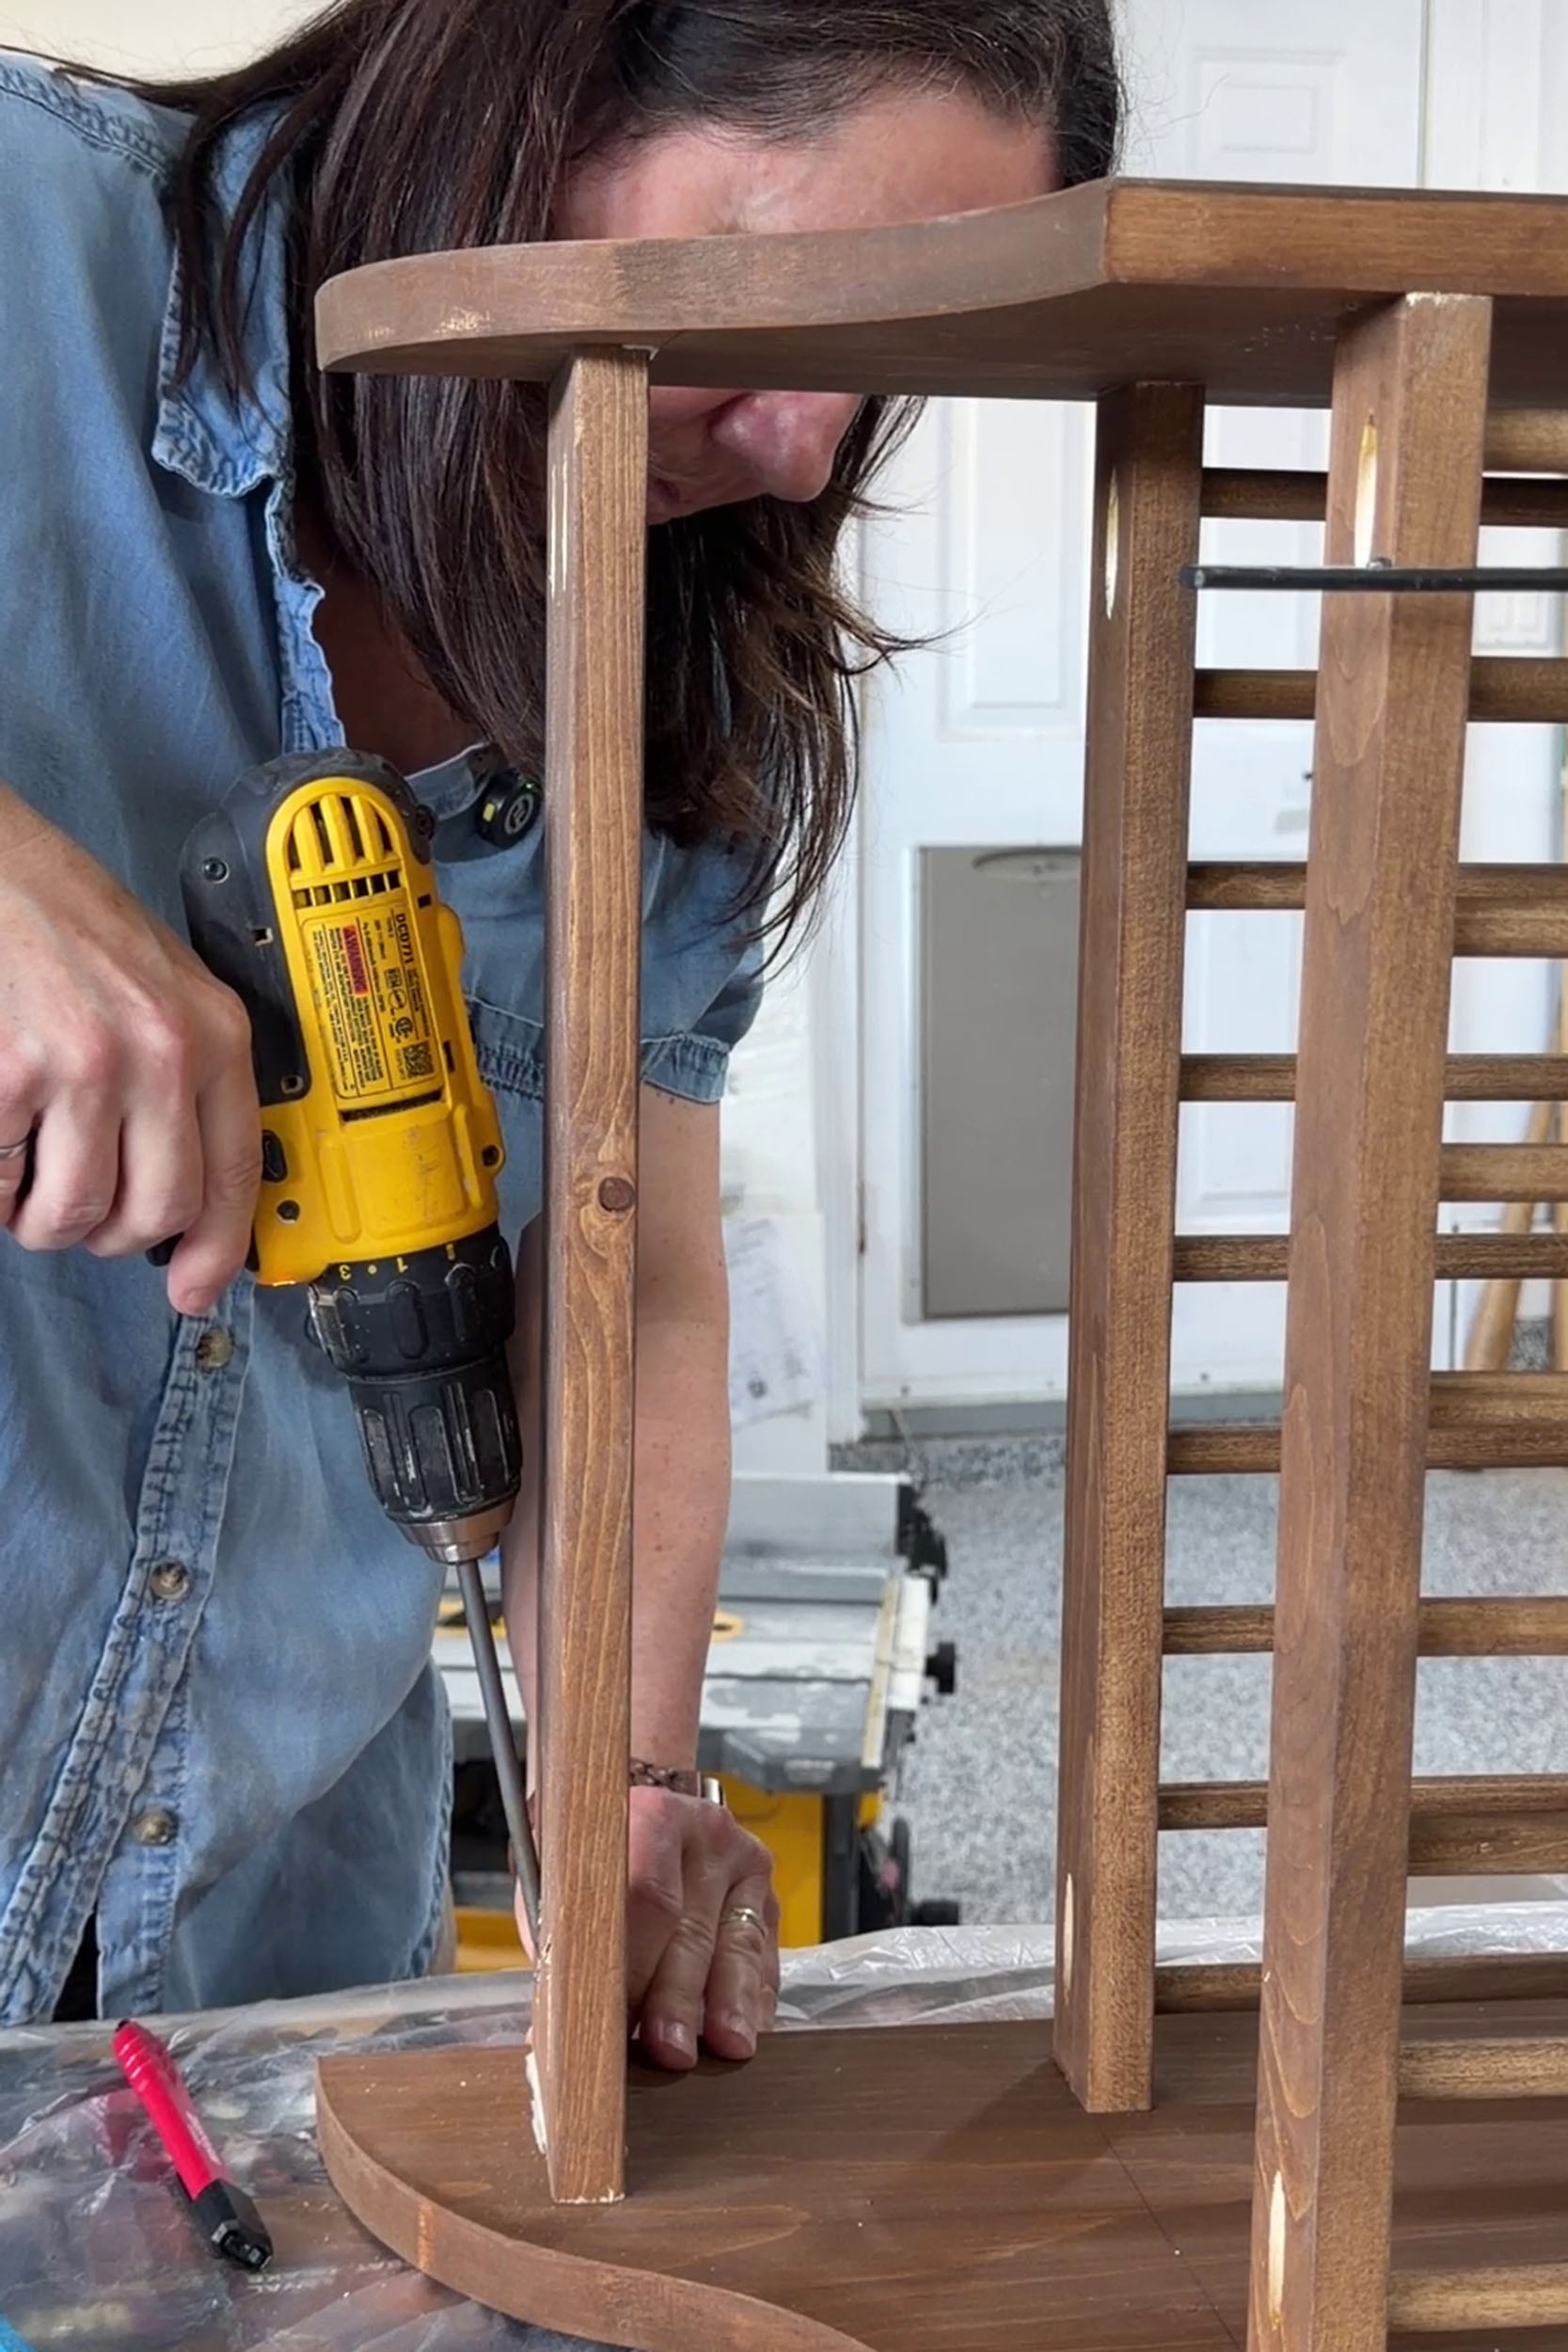
I then added the back piece above the top shelf. Those pocket holes ! drilled in the back of that piece and screwed into the side of the shelf, so they would be on the back of the plate rack.
Plug Holes
The final step might not be entirely necessary, but I think it was a nice way to finish it.
I bought some Kreg pocket hole plugs in pine and stained them with the same wood wax finish as the rest of the piece. Then, anywhere the dowel holes were exposed, I glued in the dowel plugs.
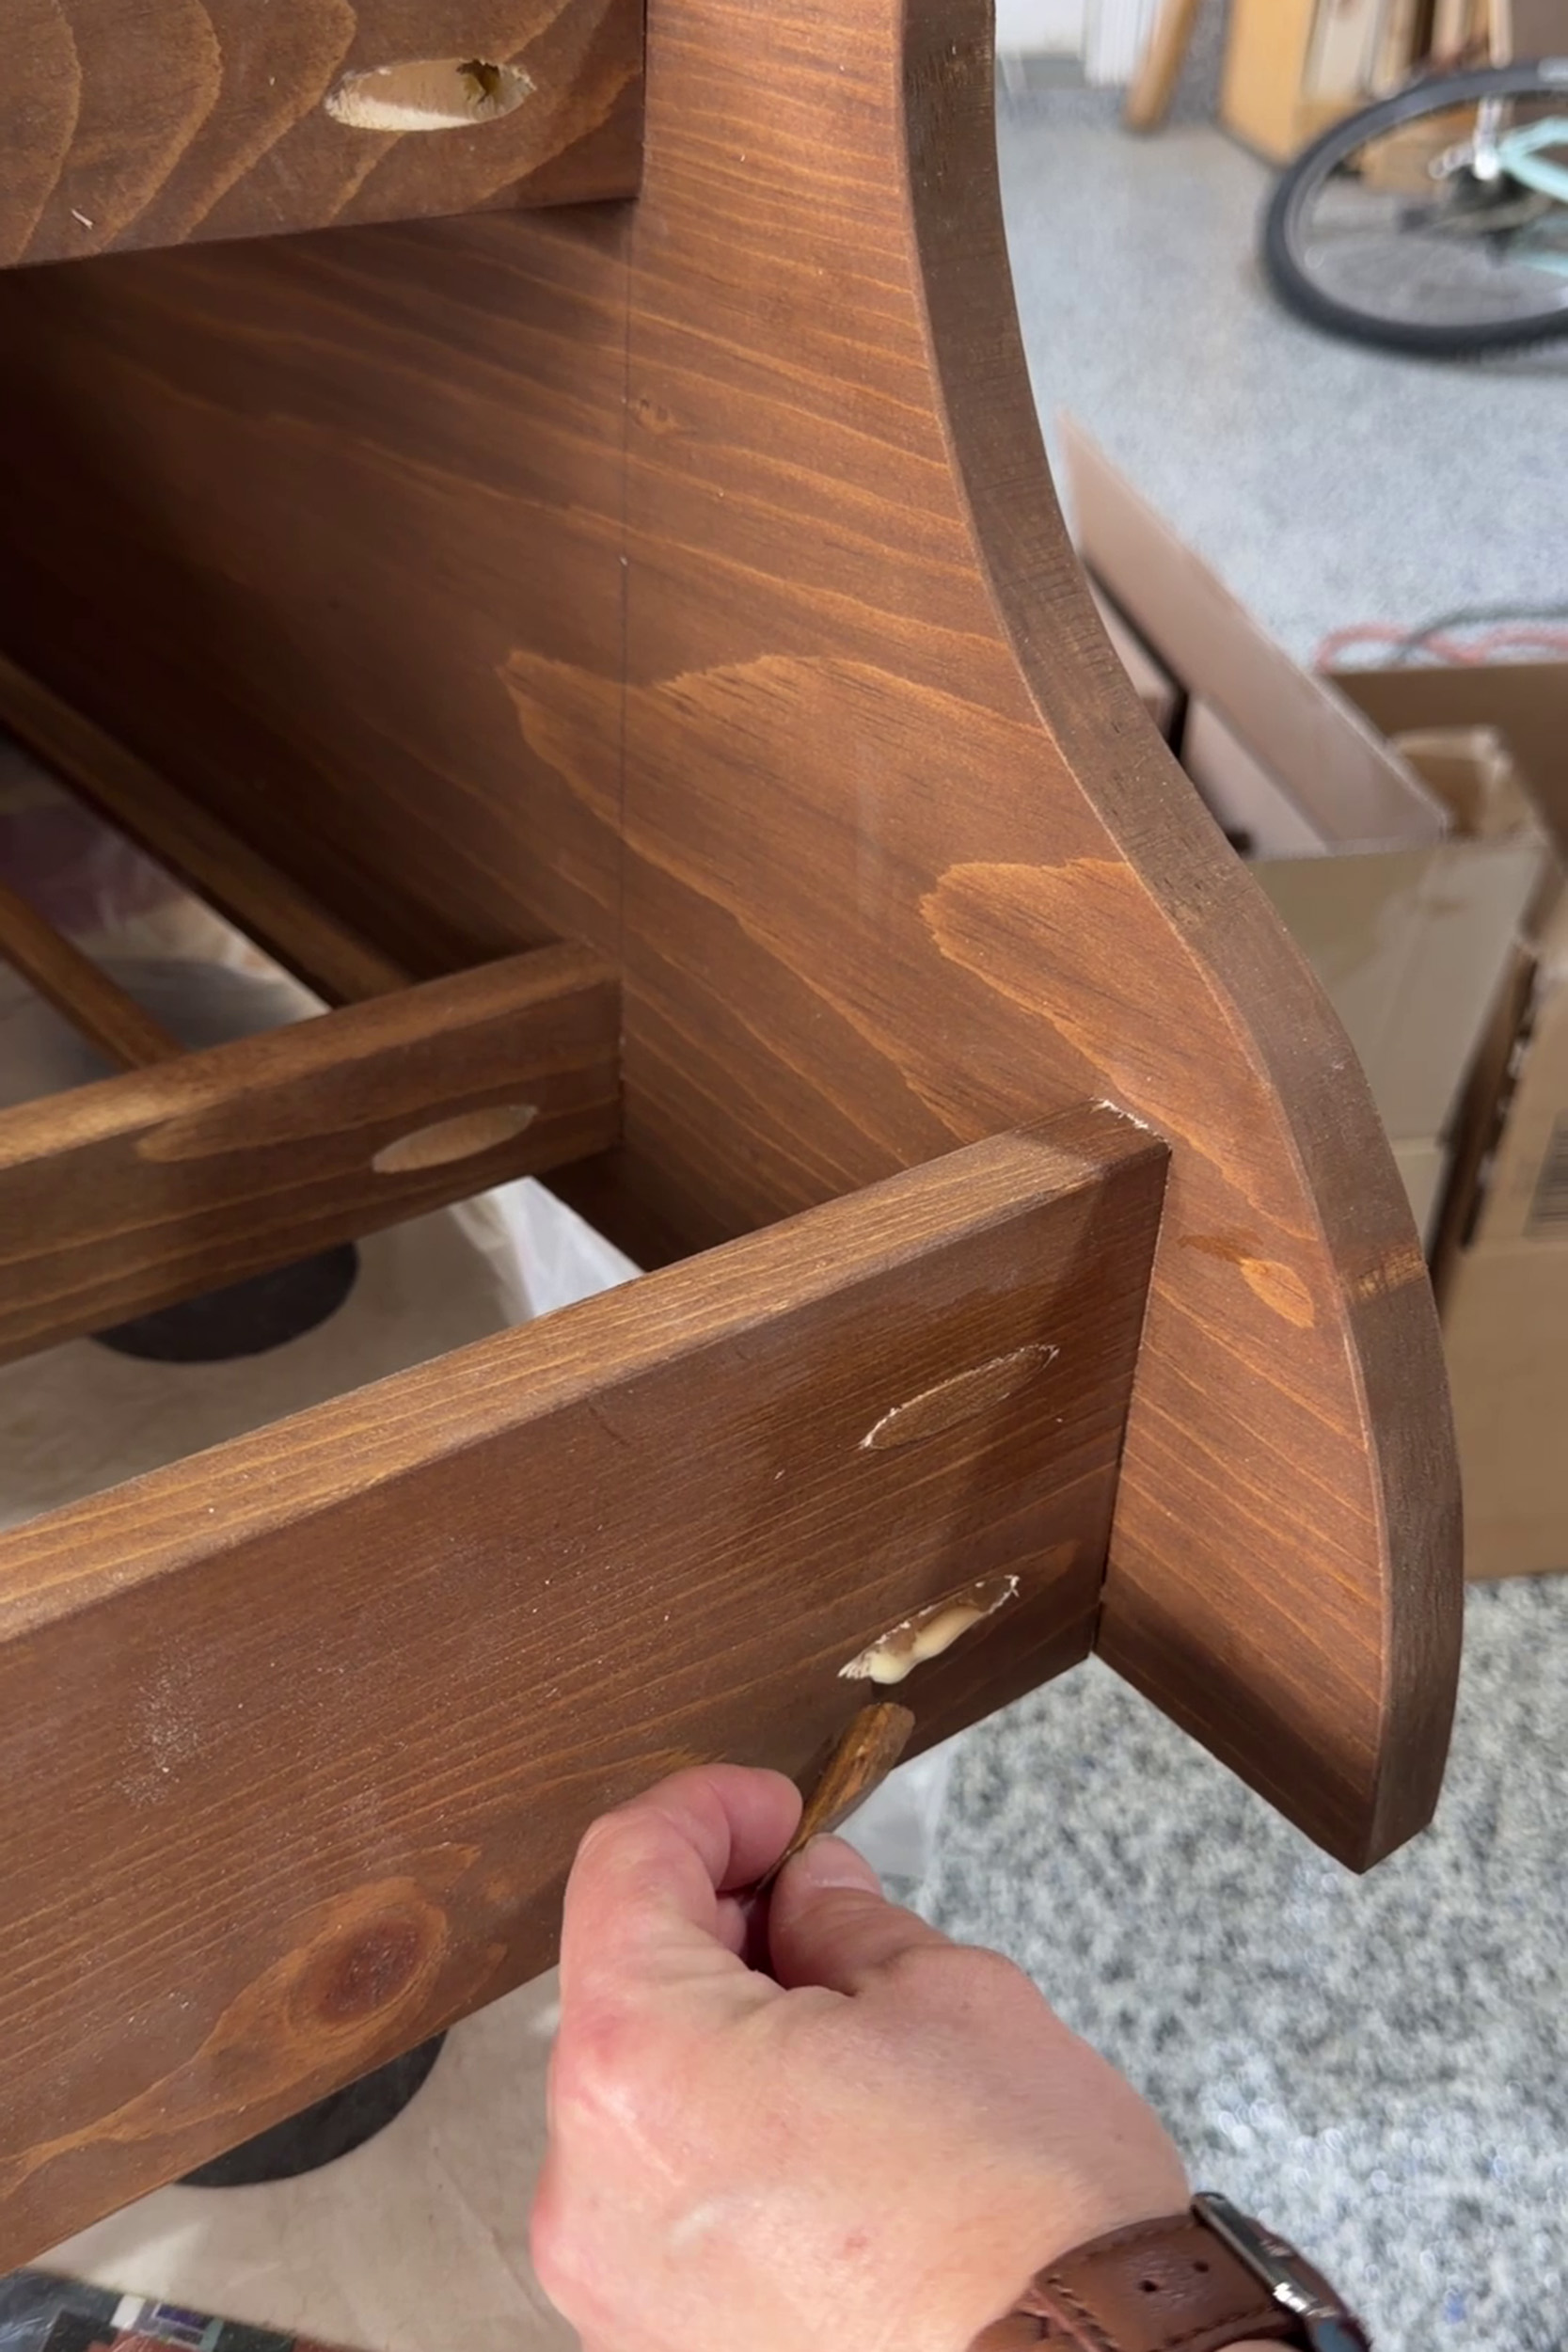
The screw holes are not really that noticeable because they are all on the bottom, but the plugs really make them less noticable.
If you really really want to make them disappear, you can sand them flush with the surrounding wood and then touch up the stain. (That is part of the reason I like Osmo wood wax – you can do something like that without messing up the stain job). I thought about doing that but at the end of the day the pocket holes are really not that noticeable since they are out of the way.
How to Hang
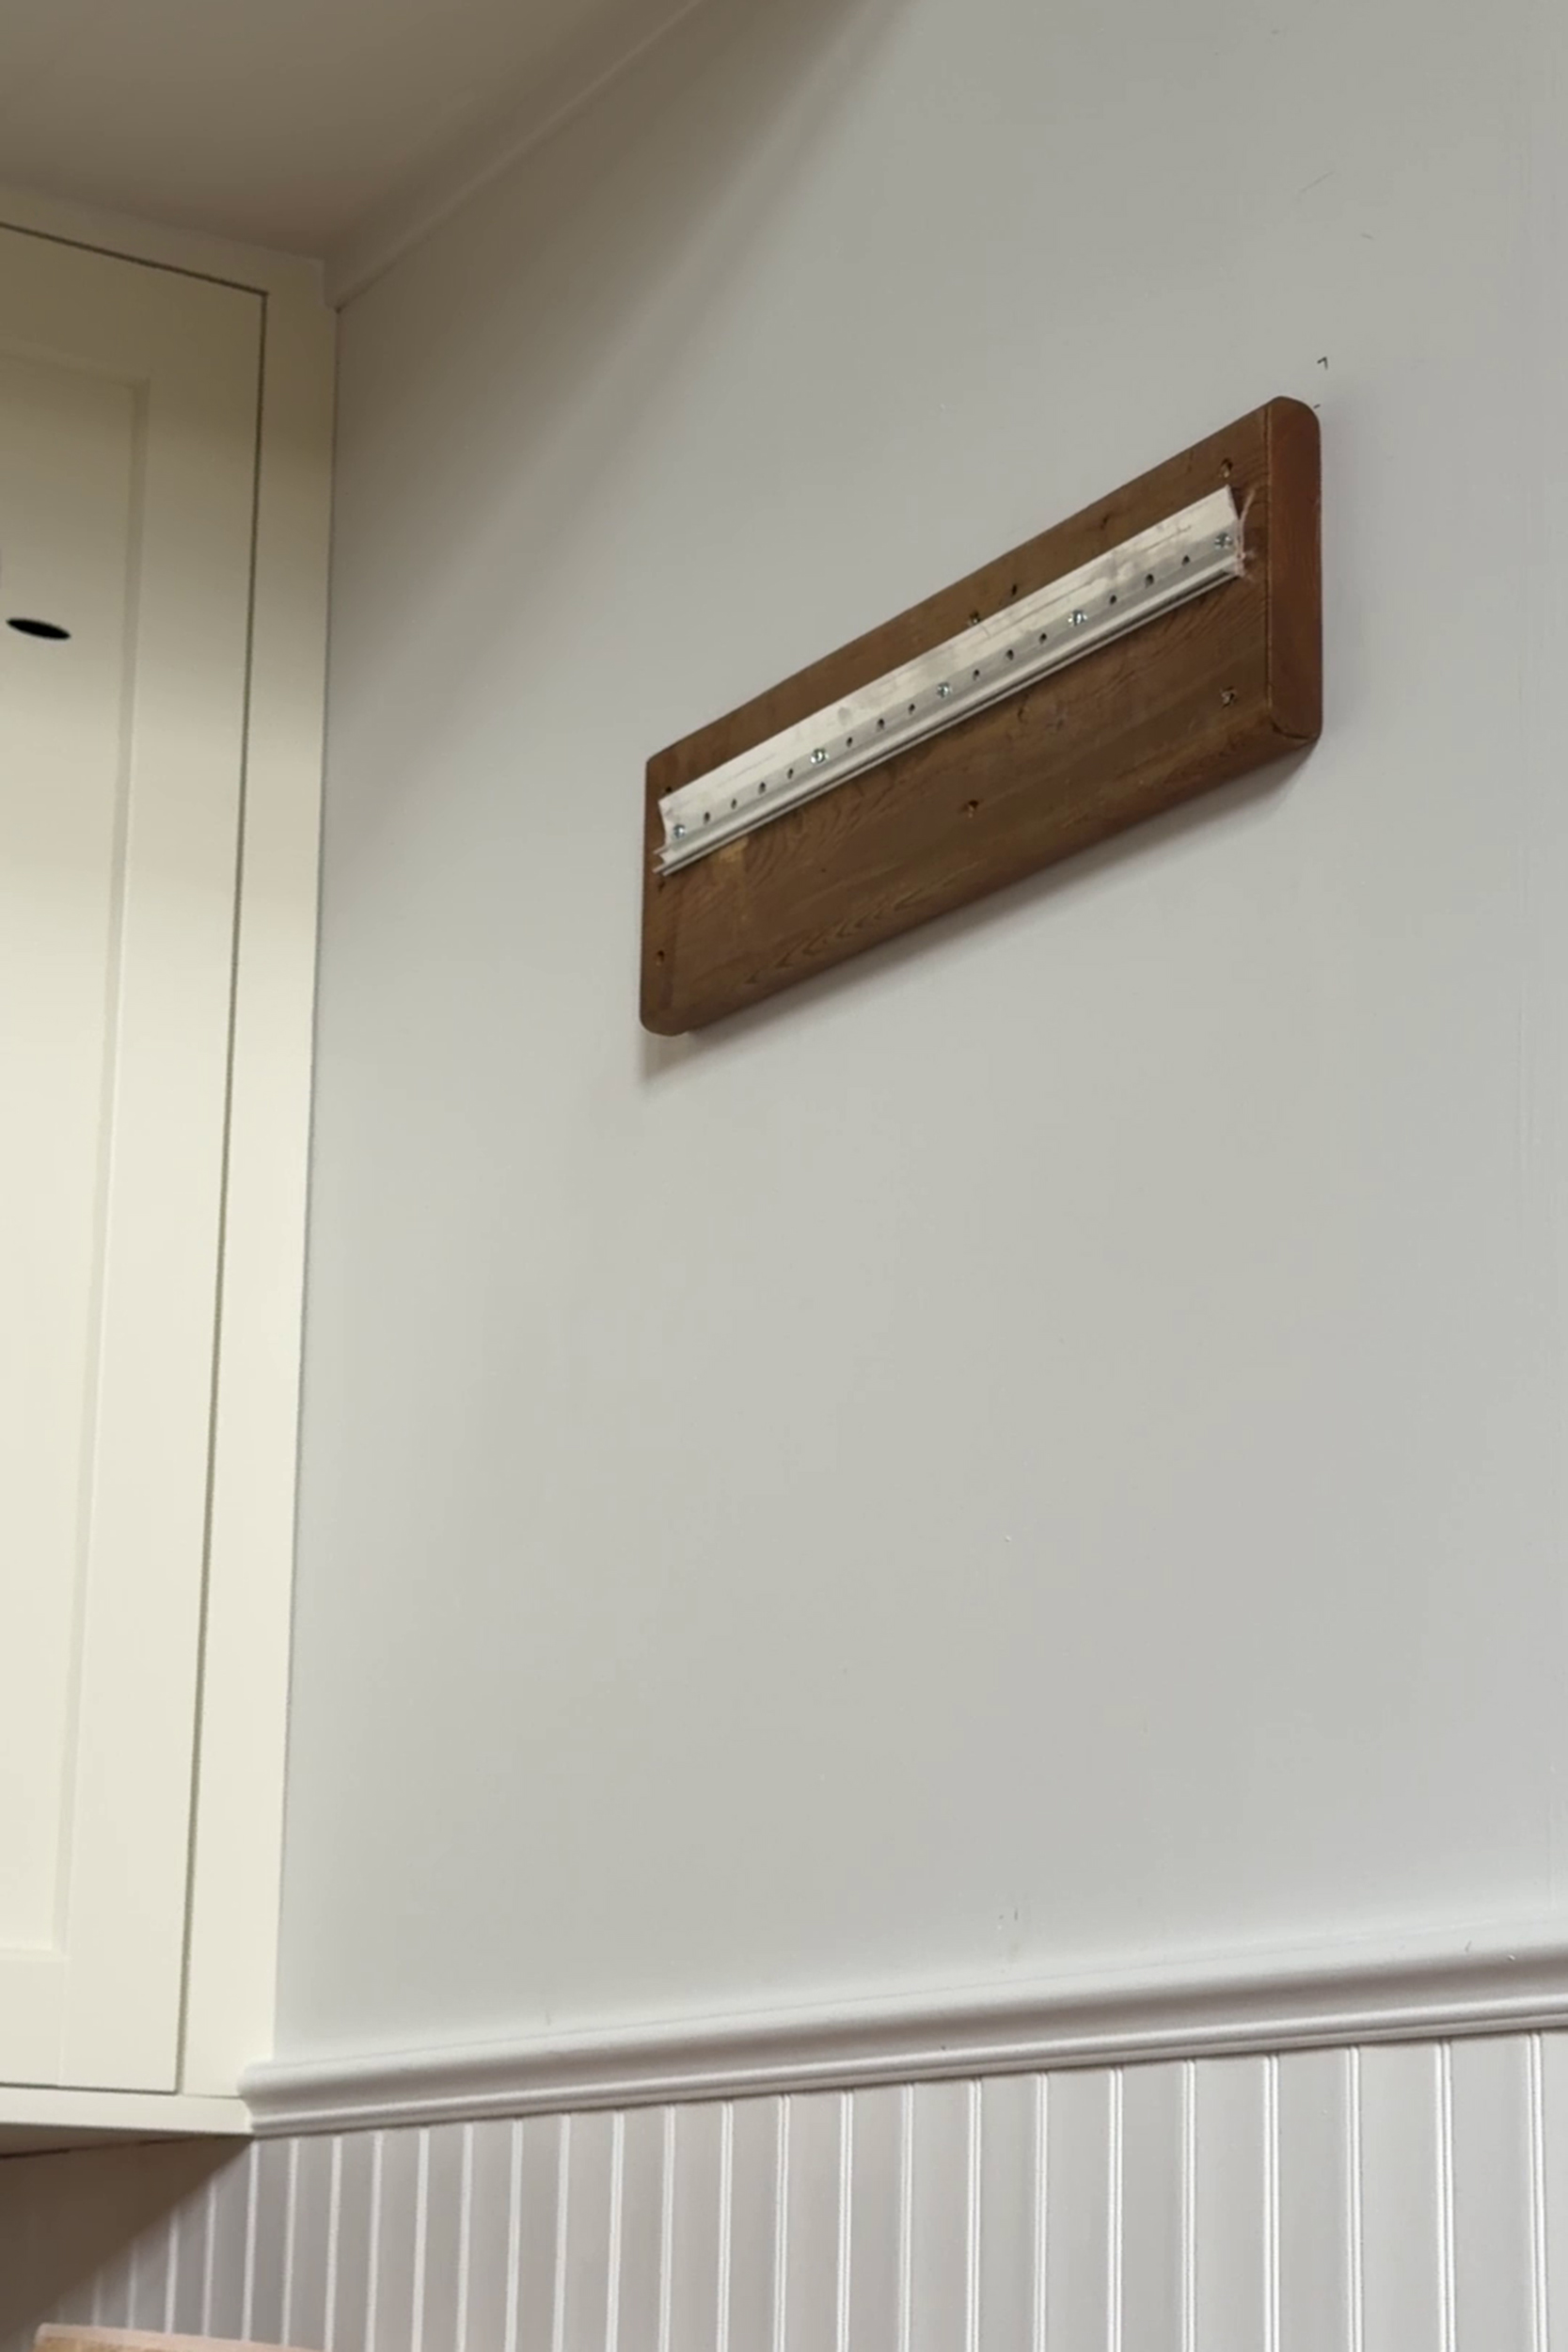
If you are going to be placing plates on this thing it’s going to be hella heavy. So it’s important that you hang it really securely.
I decided to hang mine with a french cleat that was rated for a couple hundred pounds.
Note that because I have a chair rail for my backsplash, I ended up adding a board on the wall first that was attached to studs before I hung up my French cleat. This was so the whole plate rack would sit out in front of my chair rail.
Style!
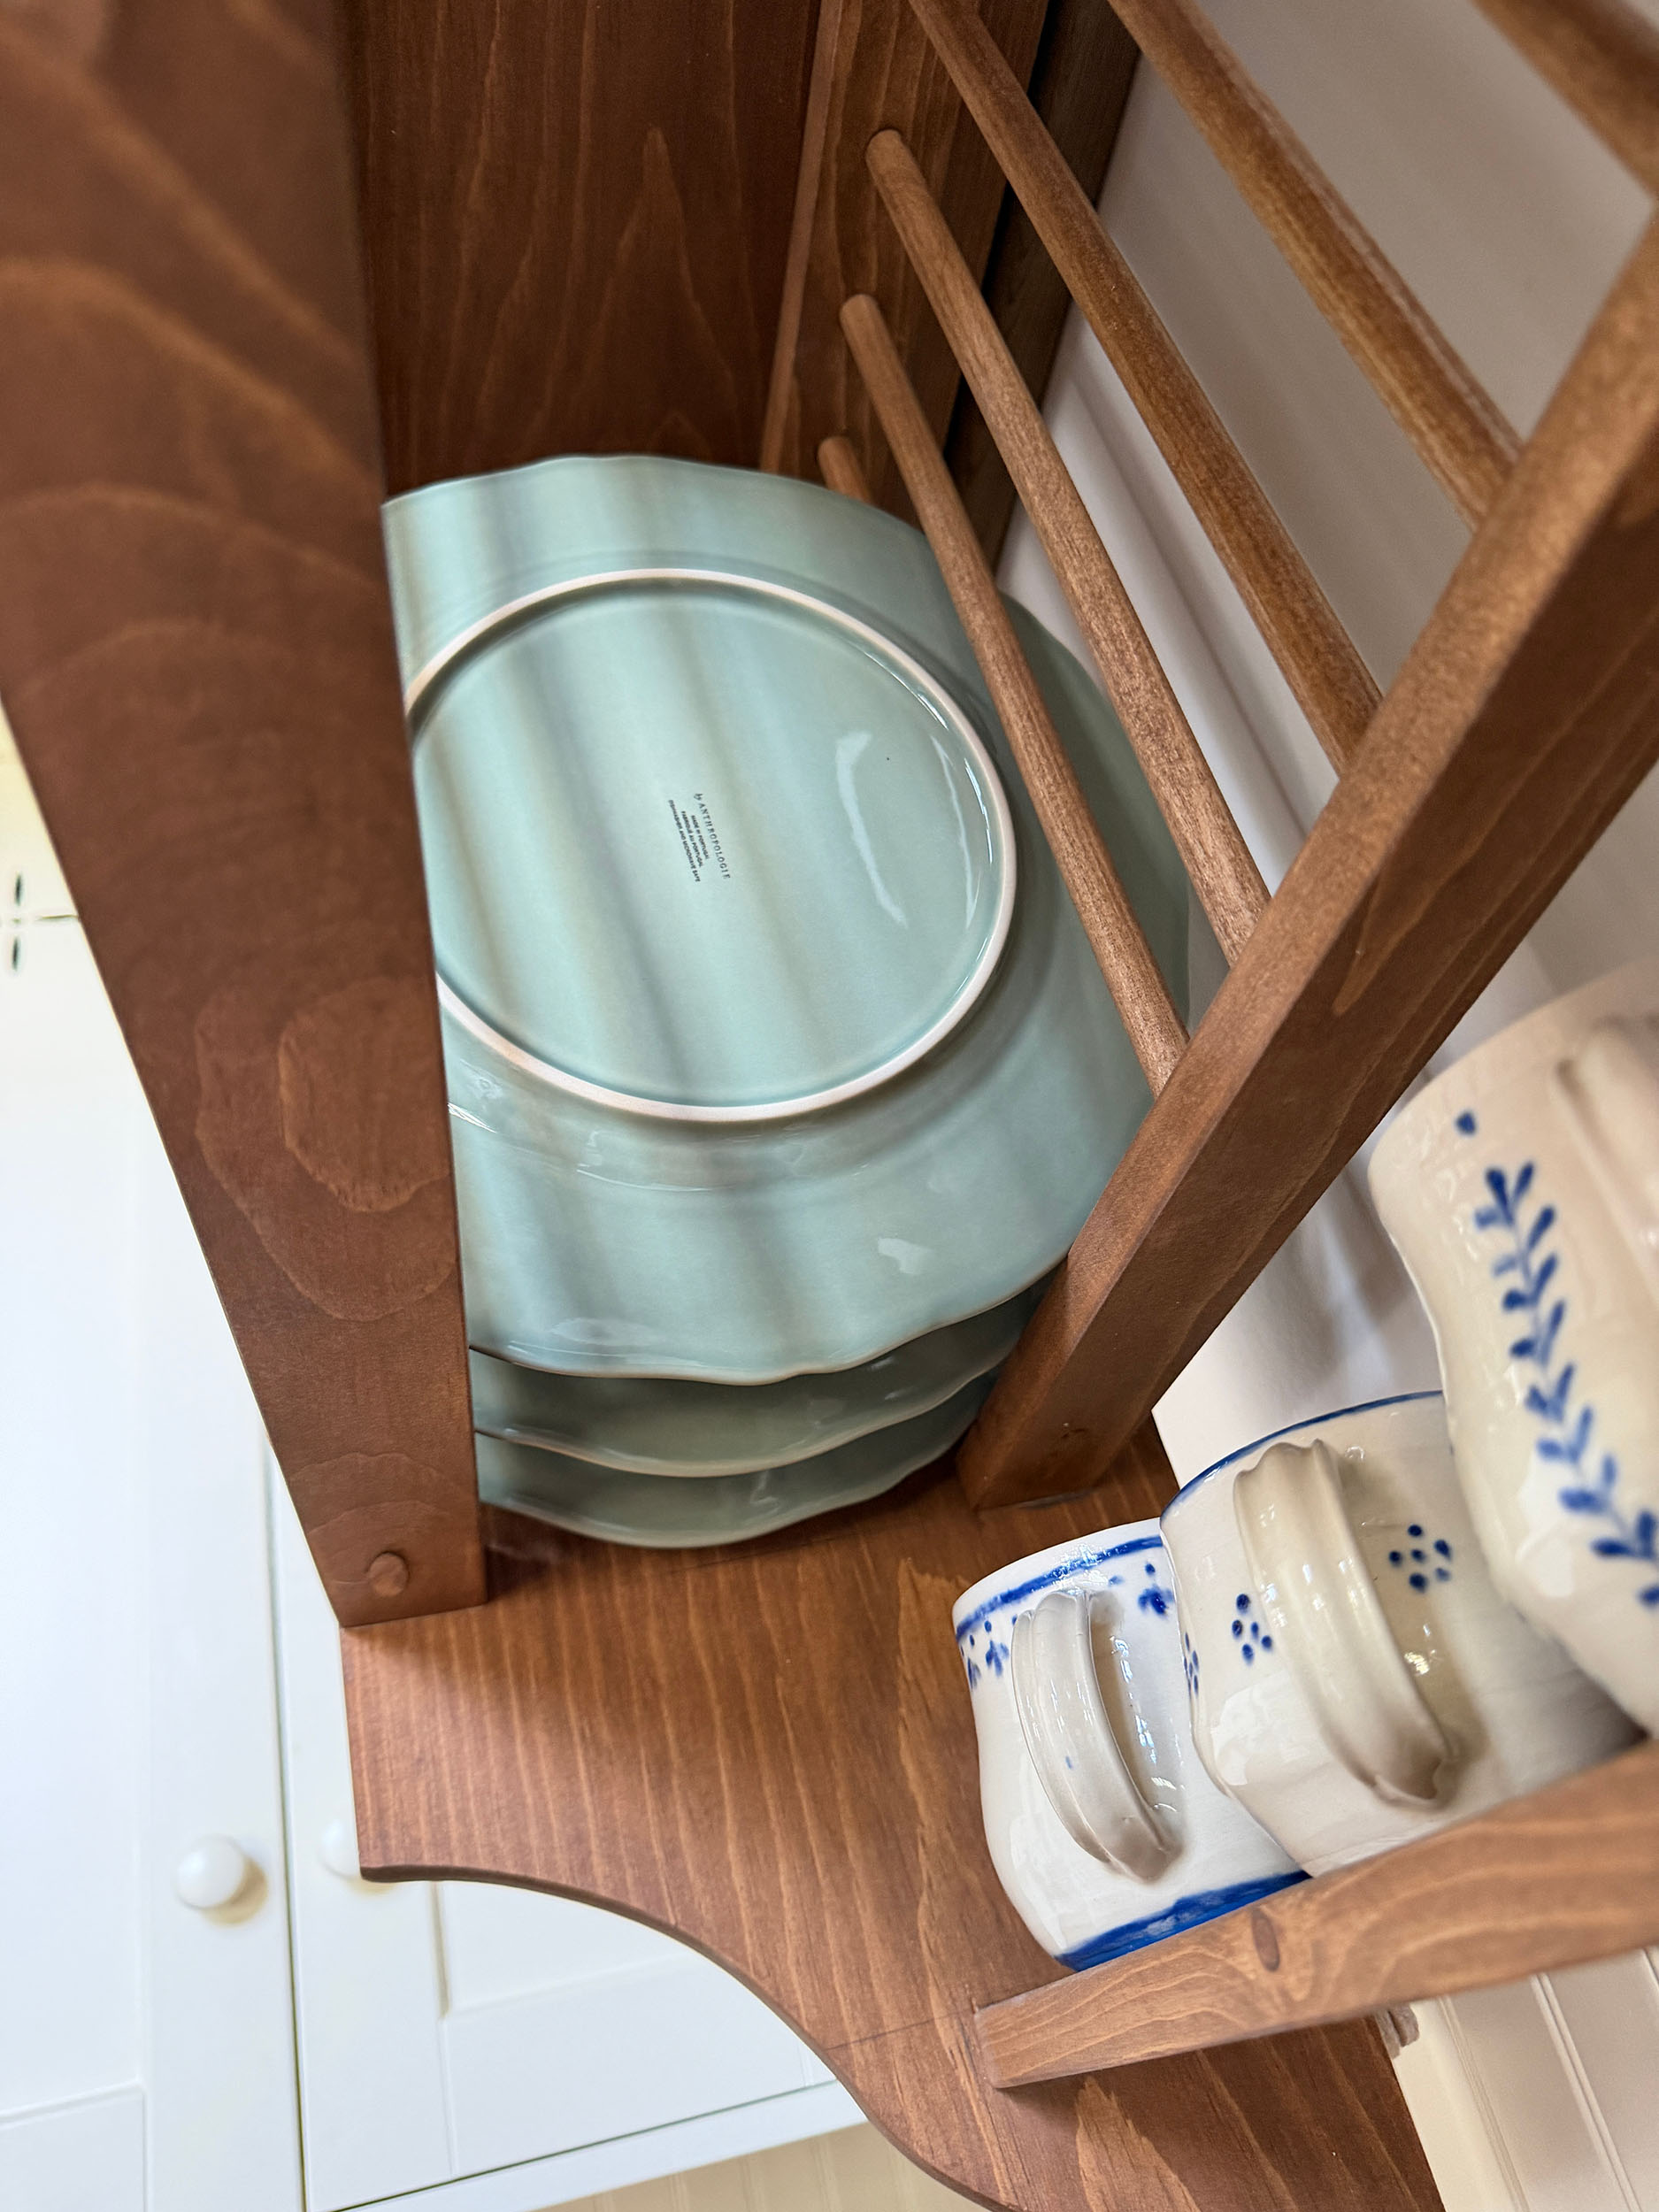
I filled my plate rack with some beautiful plates from Anthropologie, some mugs that I made with my sister, and some thrifted finds. I’m really pleased with how the whole project turned out!
To be perfectly honest, it is not the most practical use of space, as a closed cabinet would house so many more things. But it still holds 8 of our regularly used plates, and I think it’s a great way to add a little charm to any blank wall in the kitchen or dining room!
I was a little bit intimidated by the idea of making this but it really was a pretty easy project! I did it all in a few days (not working more than a couple of hours a day) and really had no major issues despite the fact that I pretty much made this whole thing up as I went along!
I hope this helps and let me know if you make your own plate rack!