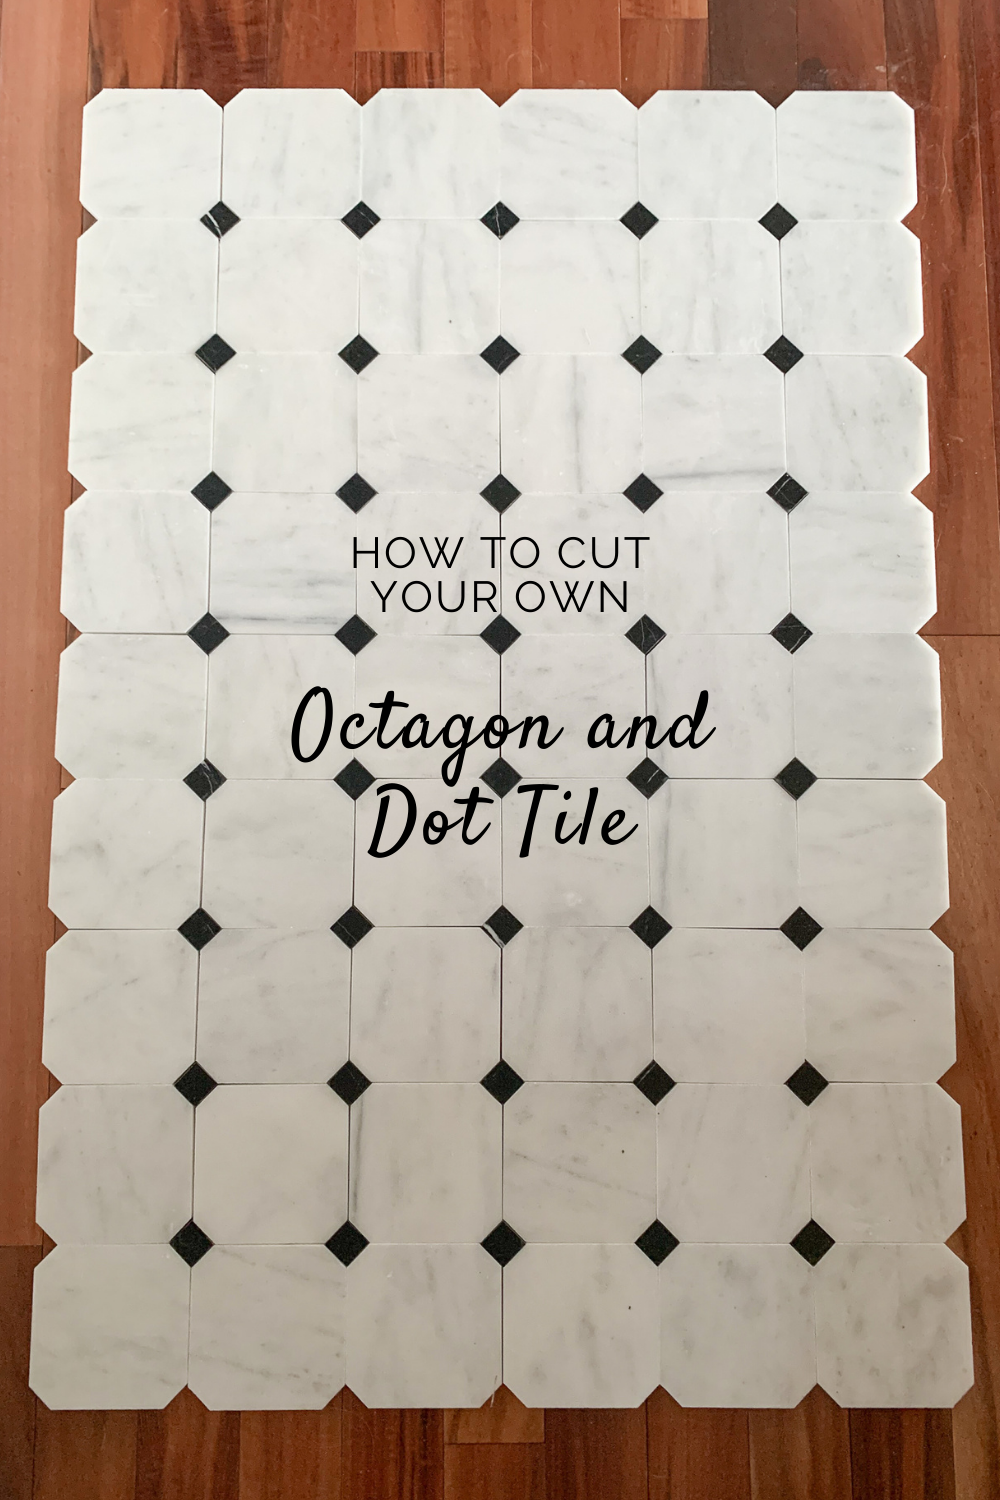
How to Cut Your Own Octagon and Dot Tile
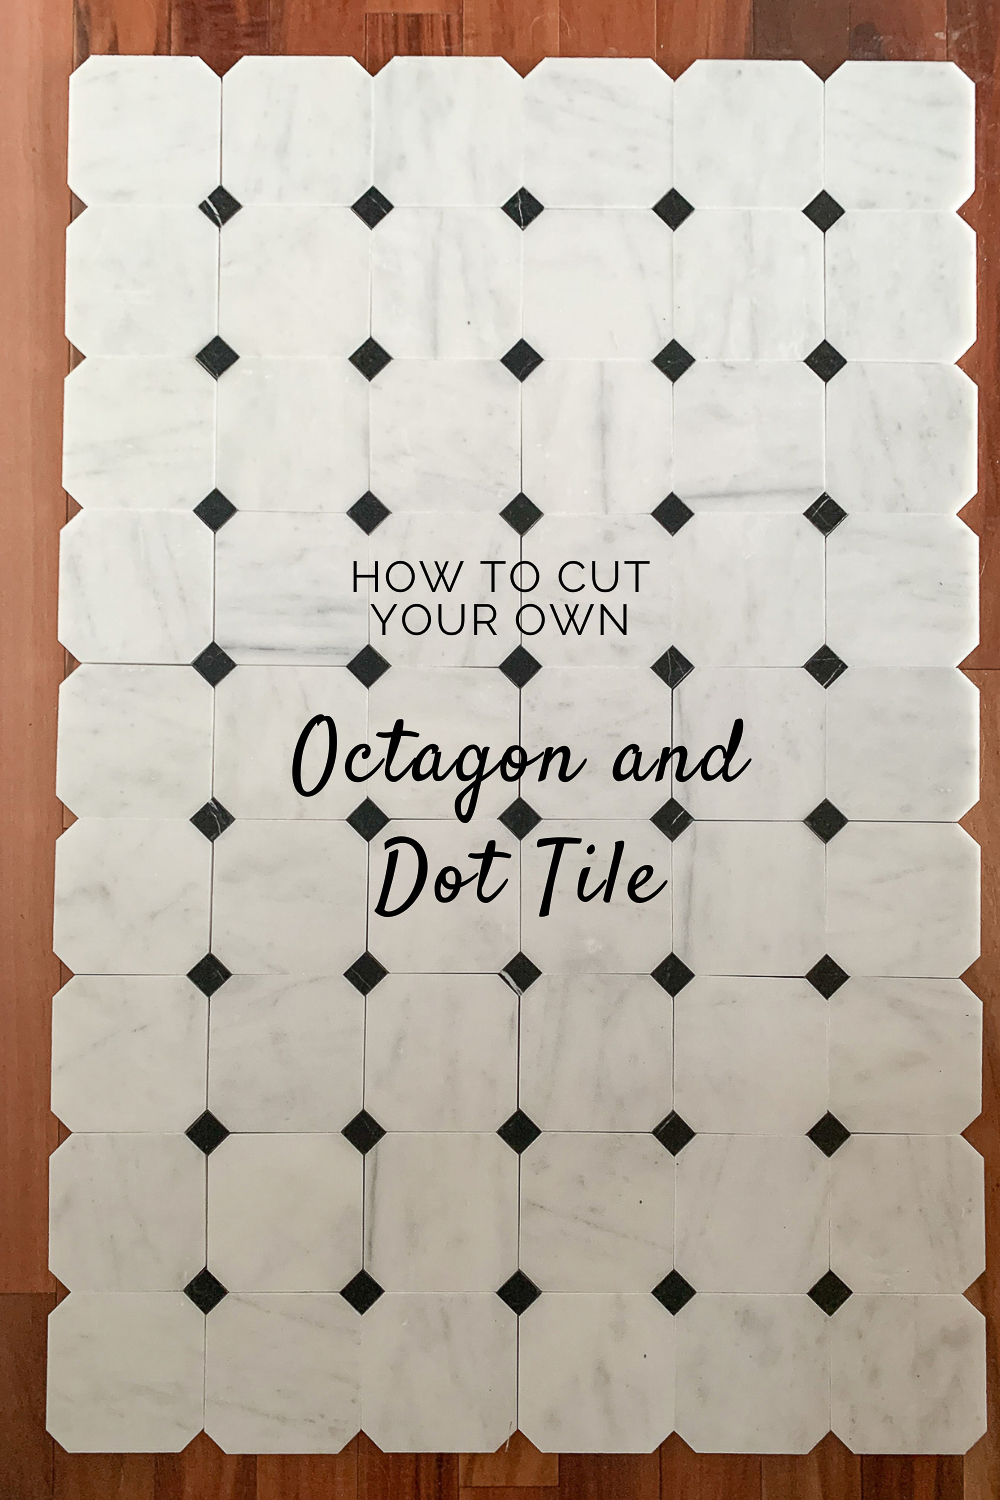
So if you follow me on Instagram, you may have seen that I had a minor (major) obsession with an octagon and dot shaped tile. Cle Tile makes a nice one, but I can’t get it in Canada and I wasn’t sure that the spanish-look tile is right for my home. I became obsessed with finding one made out of marble, in a slightly larger scale (5 or 6”), similar to this inspiration image
This post may contain affiliate links. That means if you purchase anything from these links I earn a small commission, at no extra cost to you! This helps support my blog, so thank you!
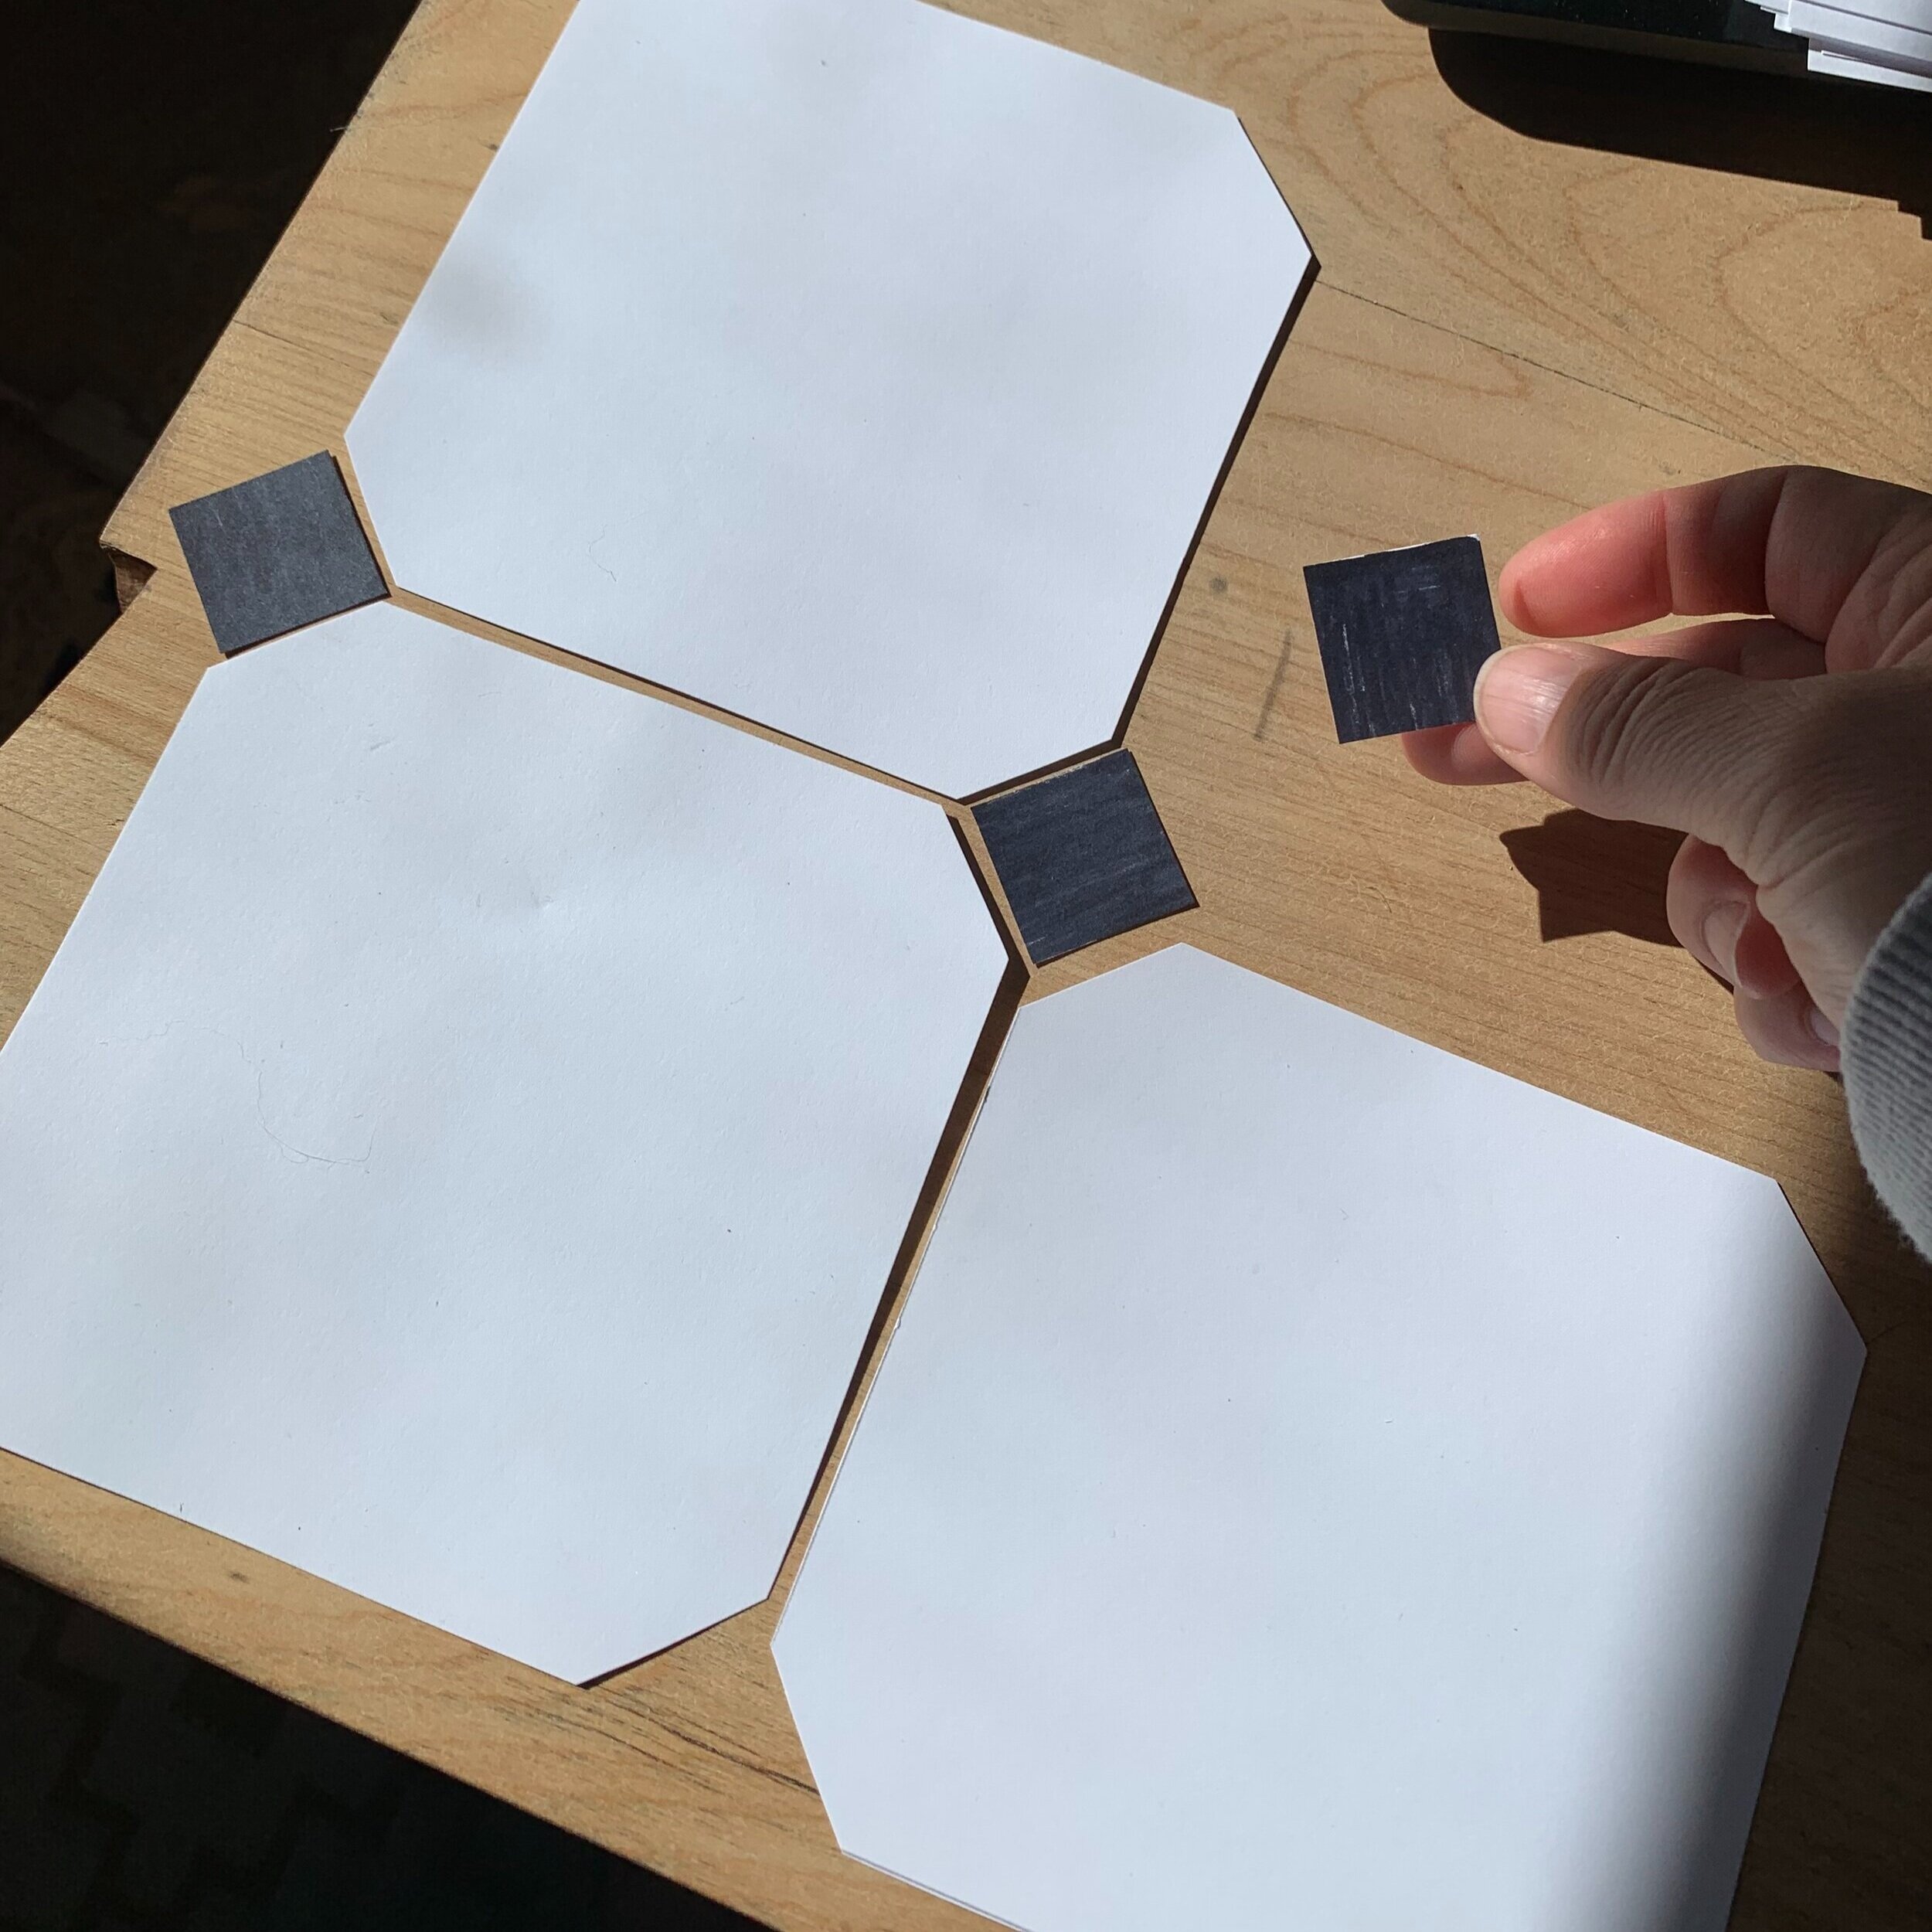
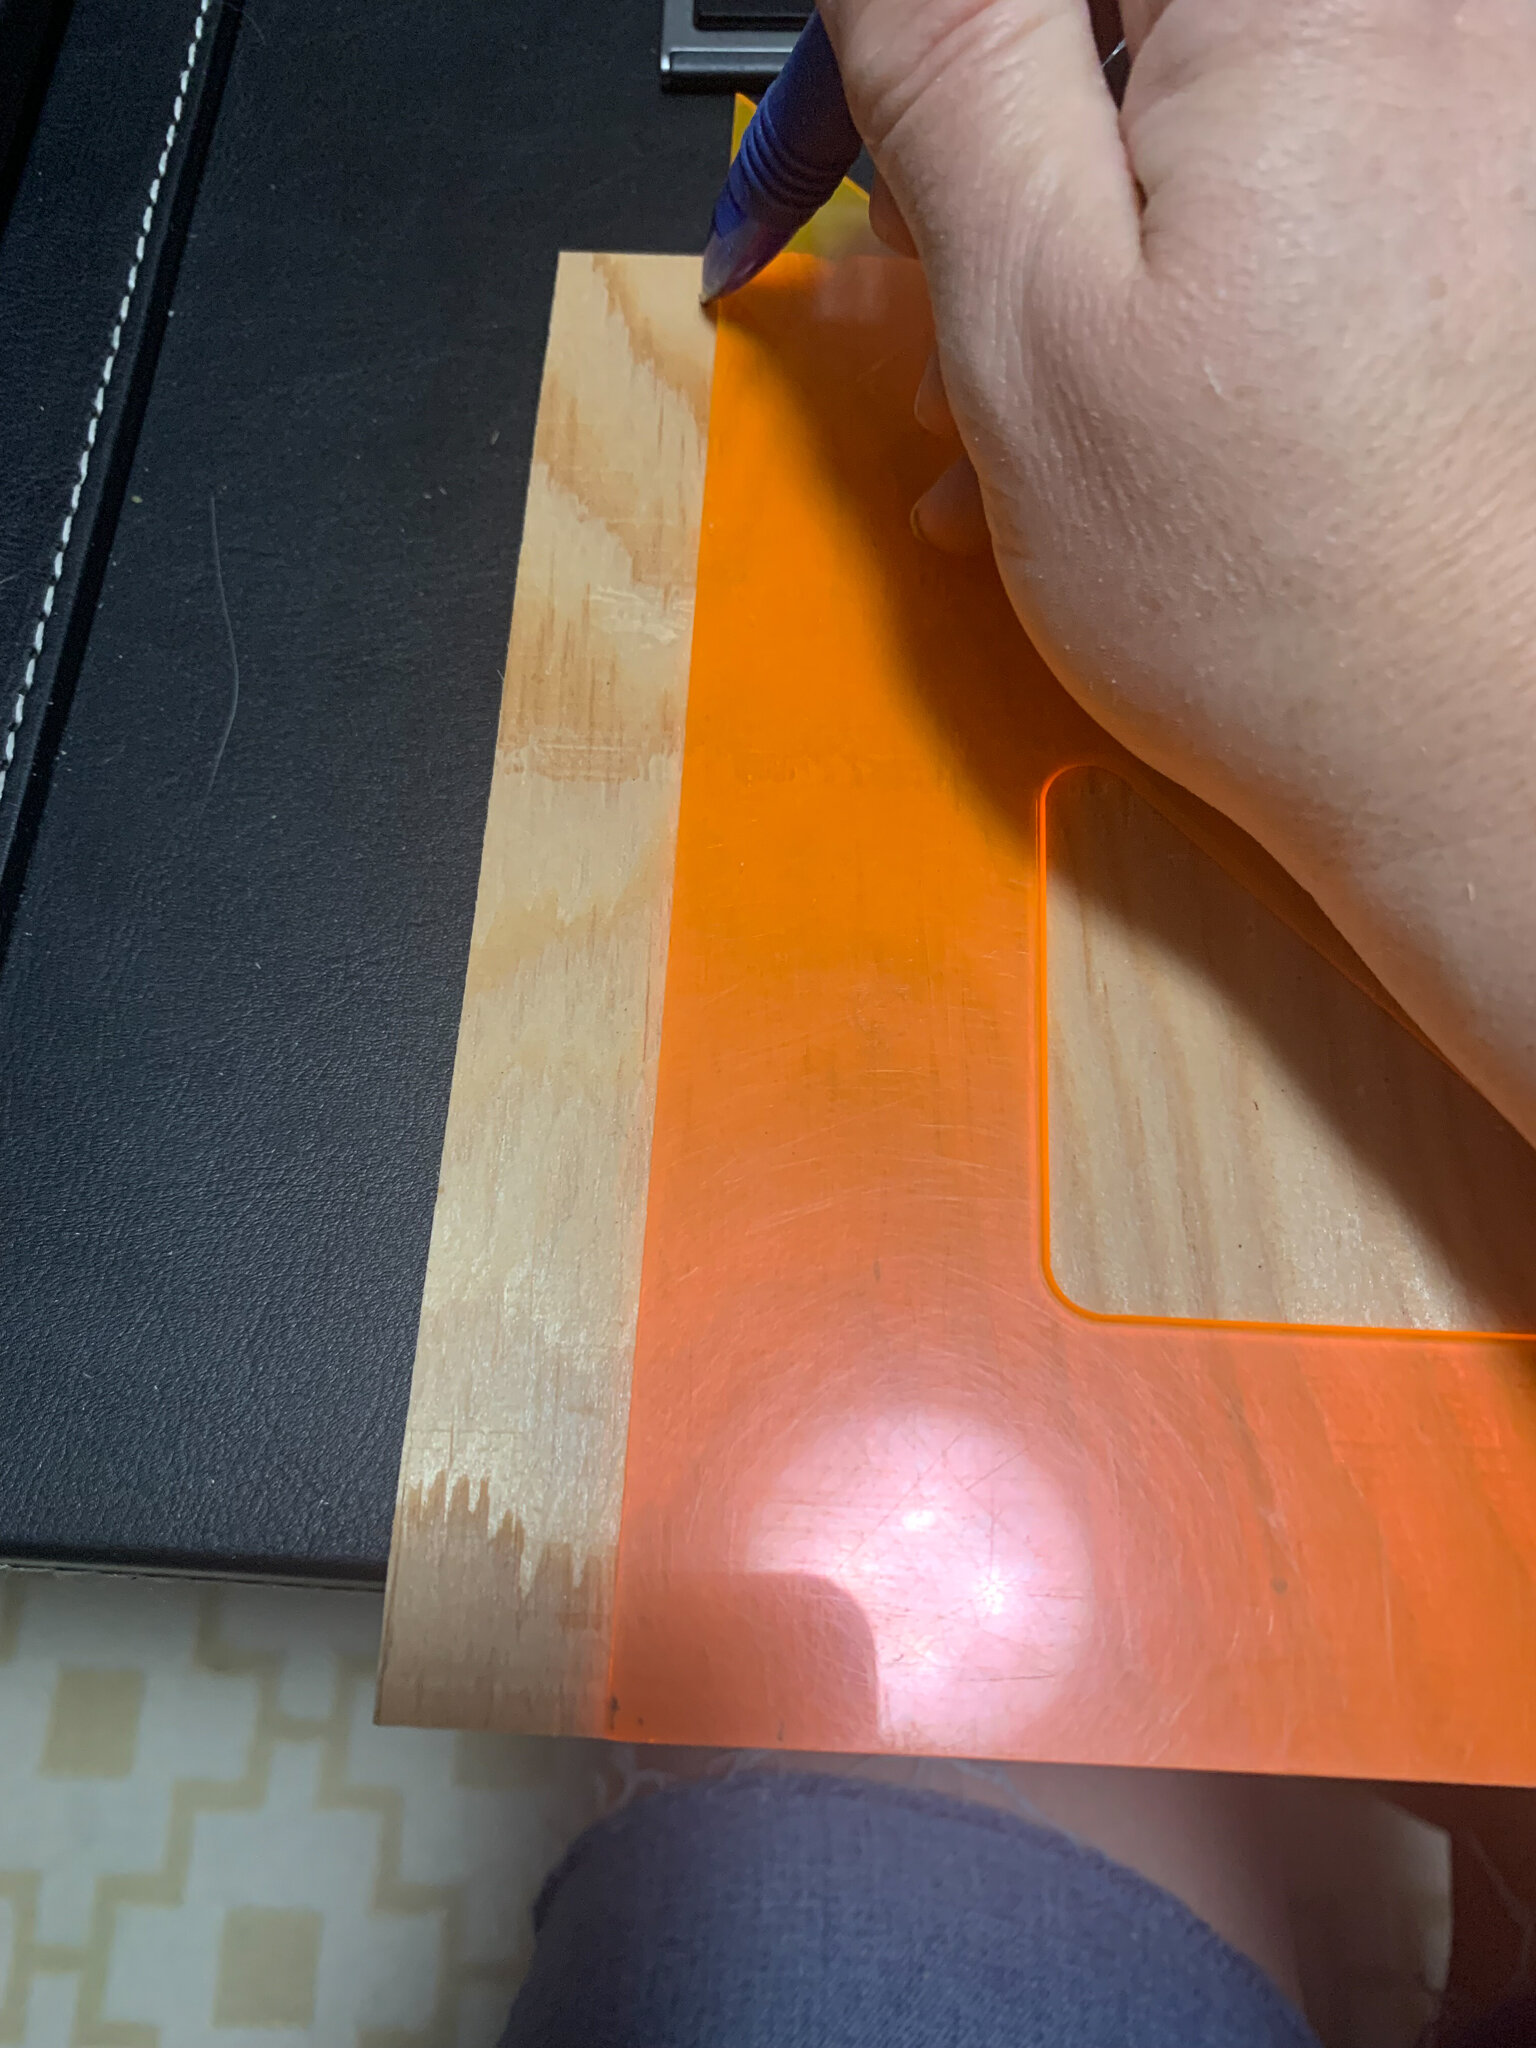
After searching and searching, I finally found a tile company that said they could custom cut some tile for me like this. Yay! I only needed a little bit of it, and so I was willing to pay a custom price to get exactly what I wanted. I decided to make a little paper template so I could be sure of the scale before I ordered. As I was cutting out the paper I thought to myself…. I can cut this paper to the right shape, why can’t I cut this tile? I actually own a tile saw already so why not at least try before I spent so much on a custom tile?
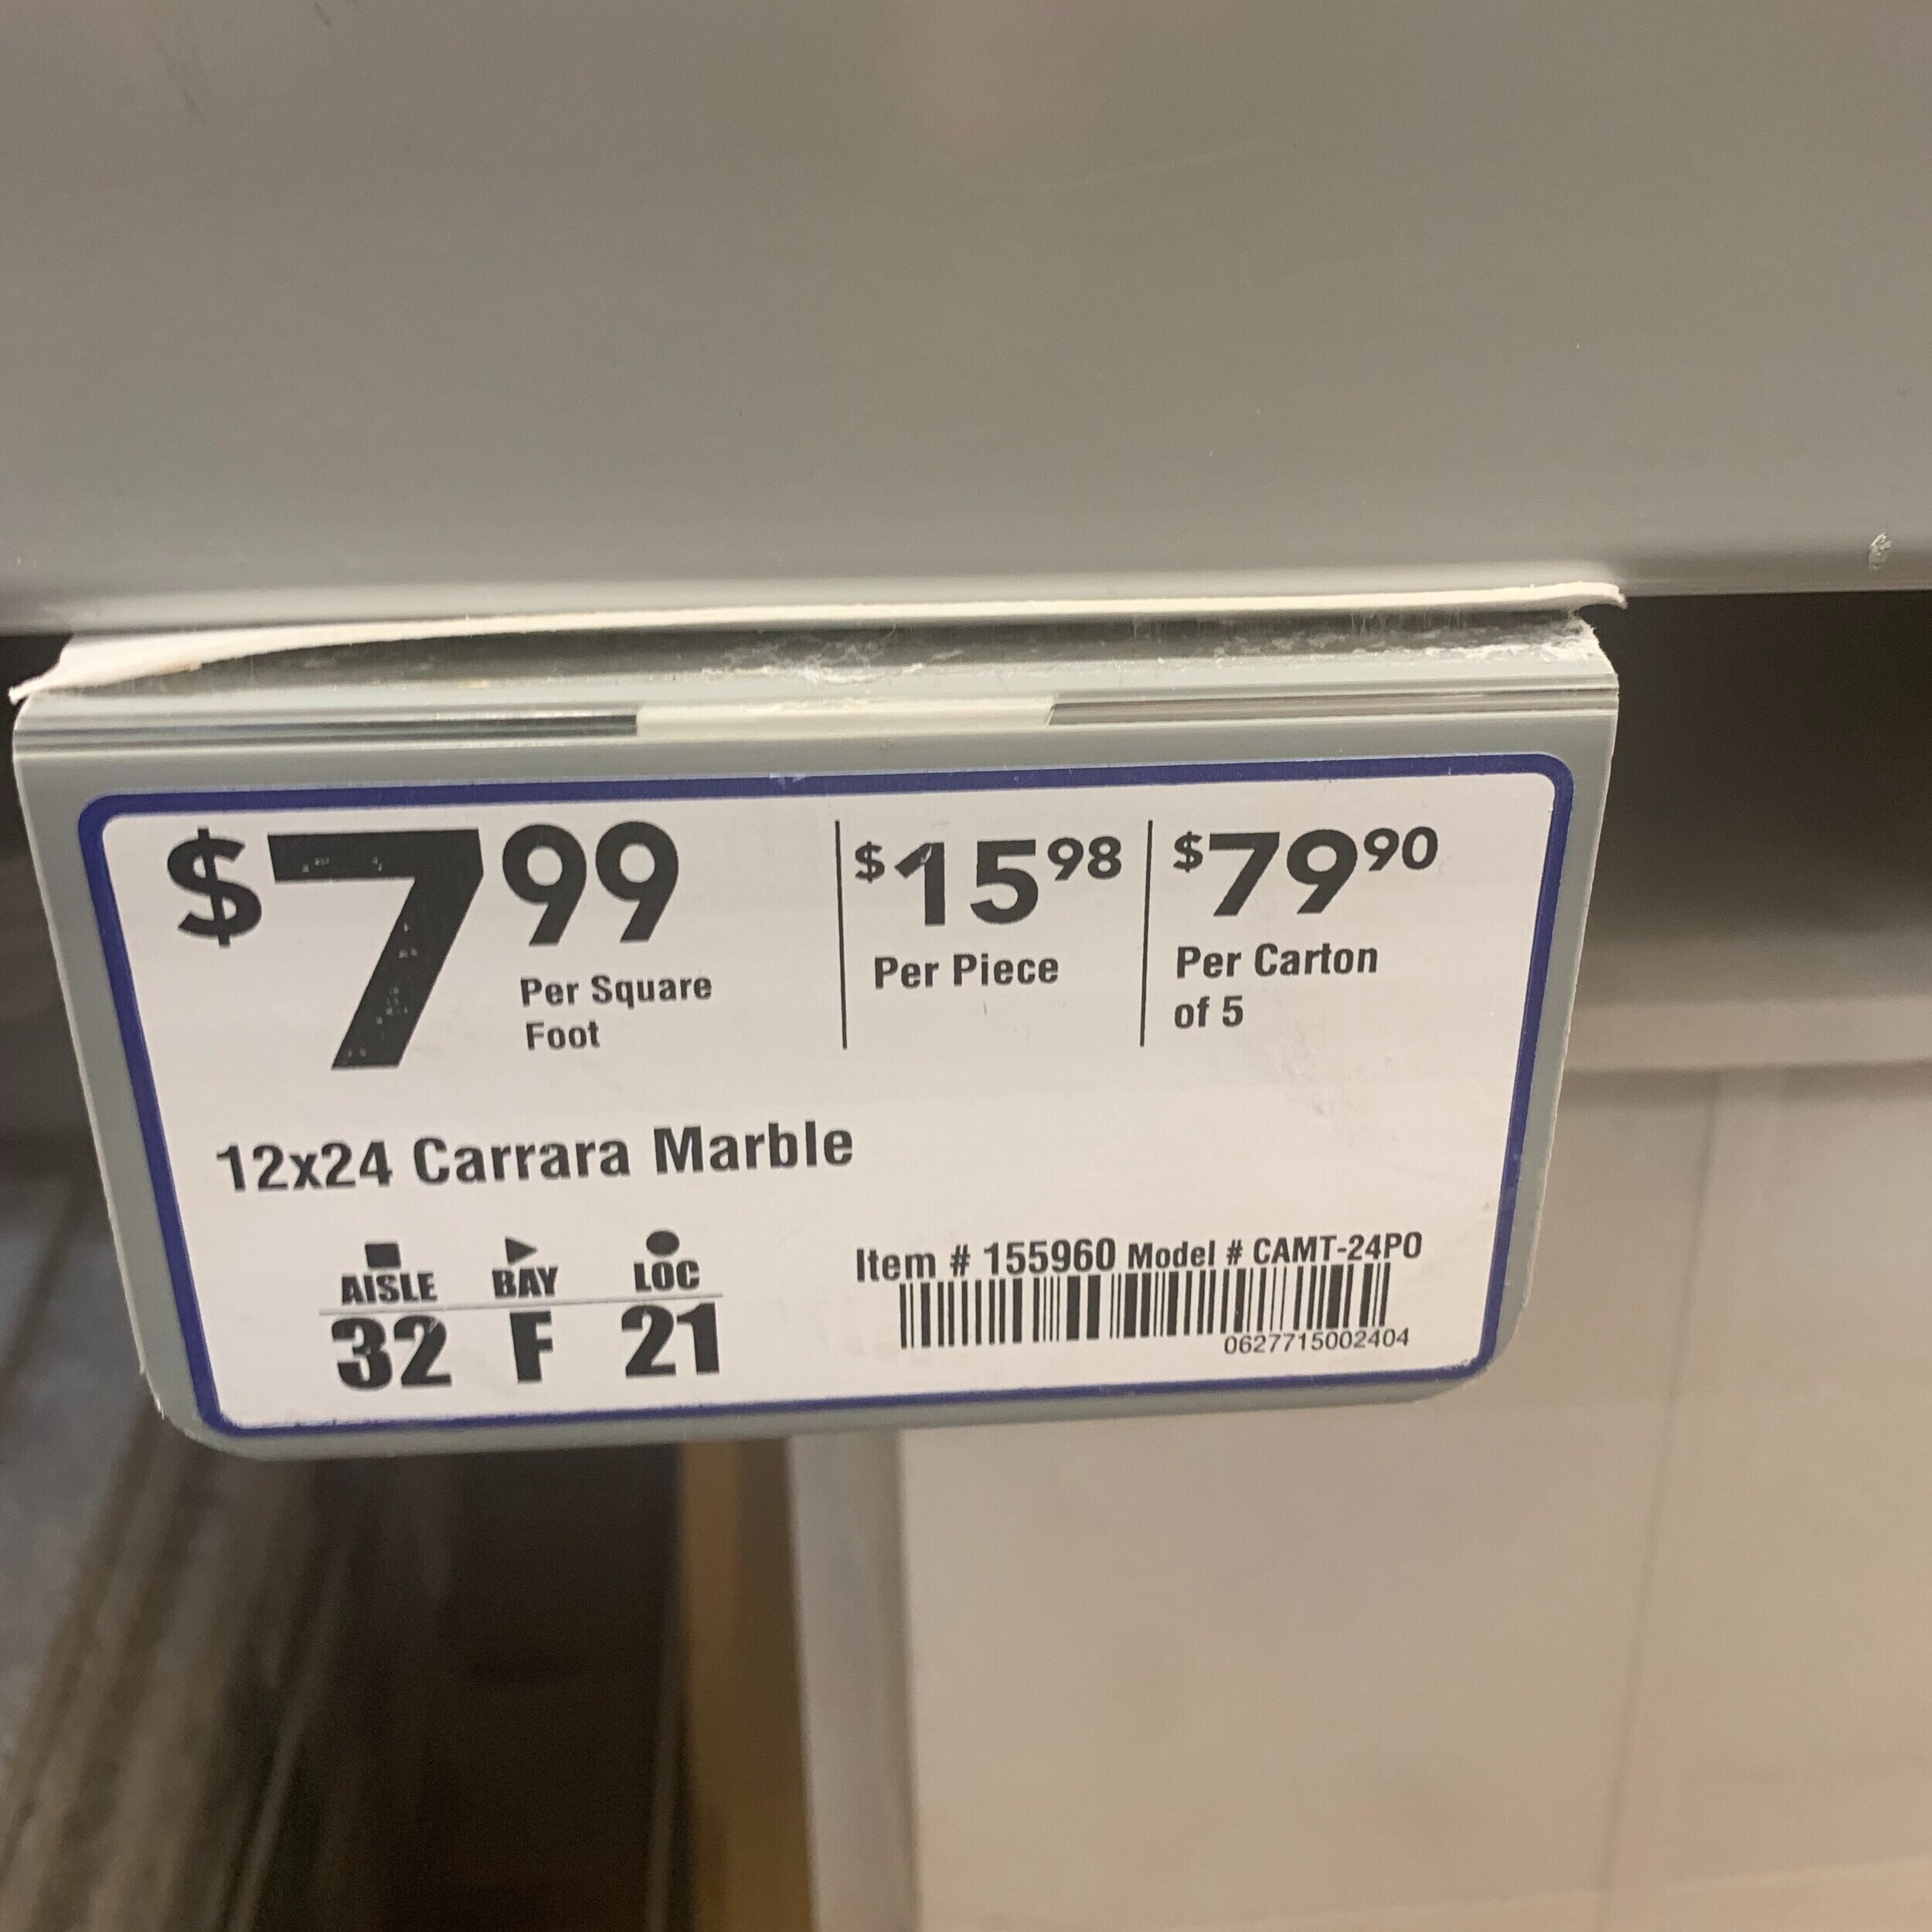
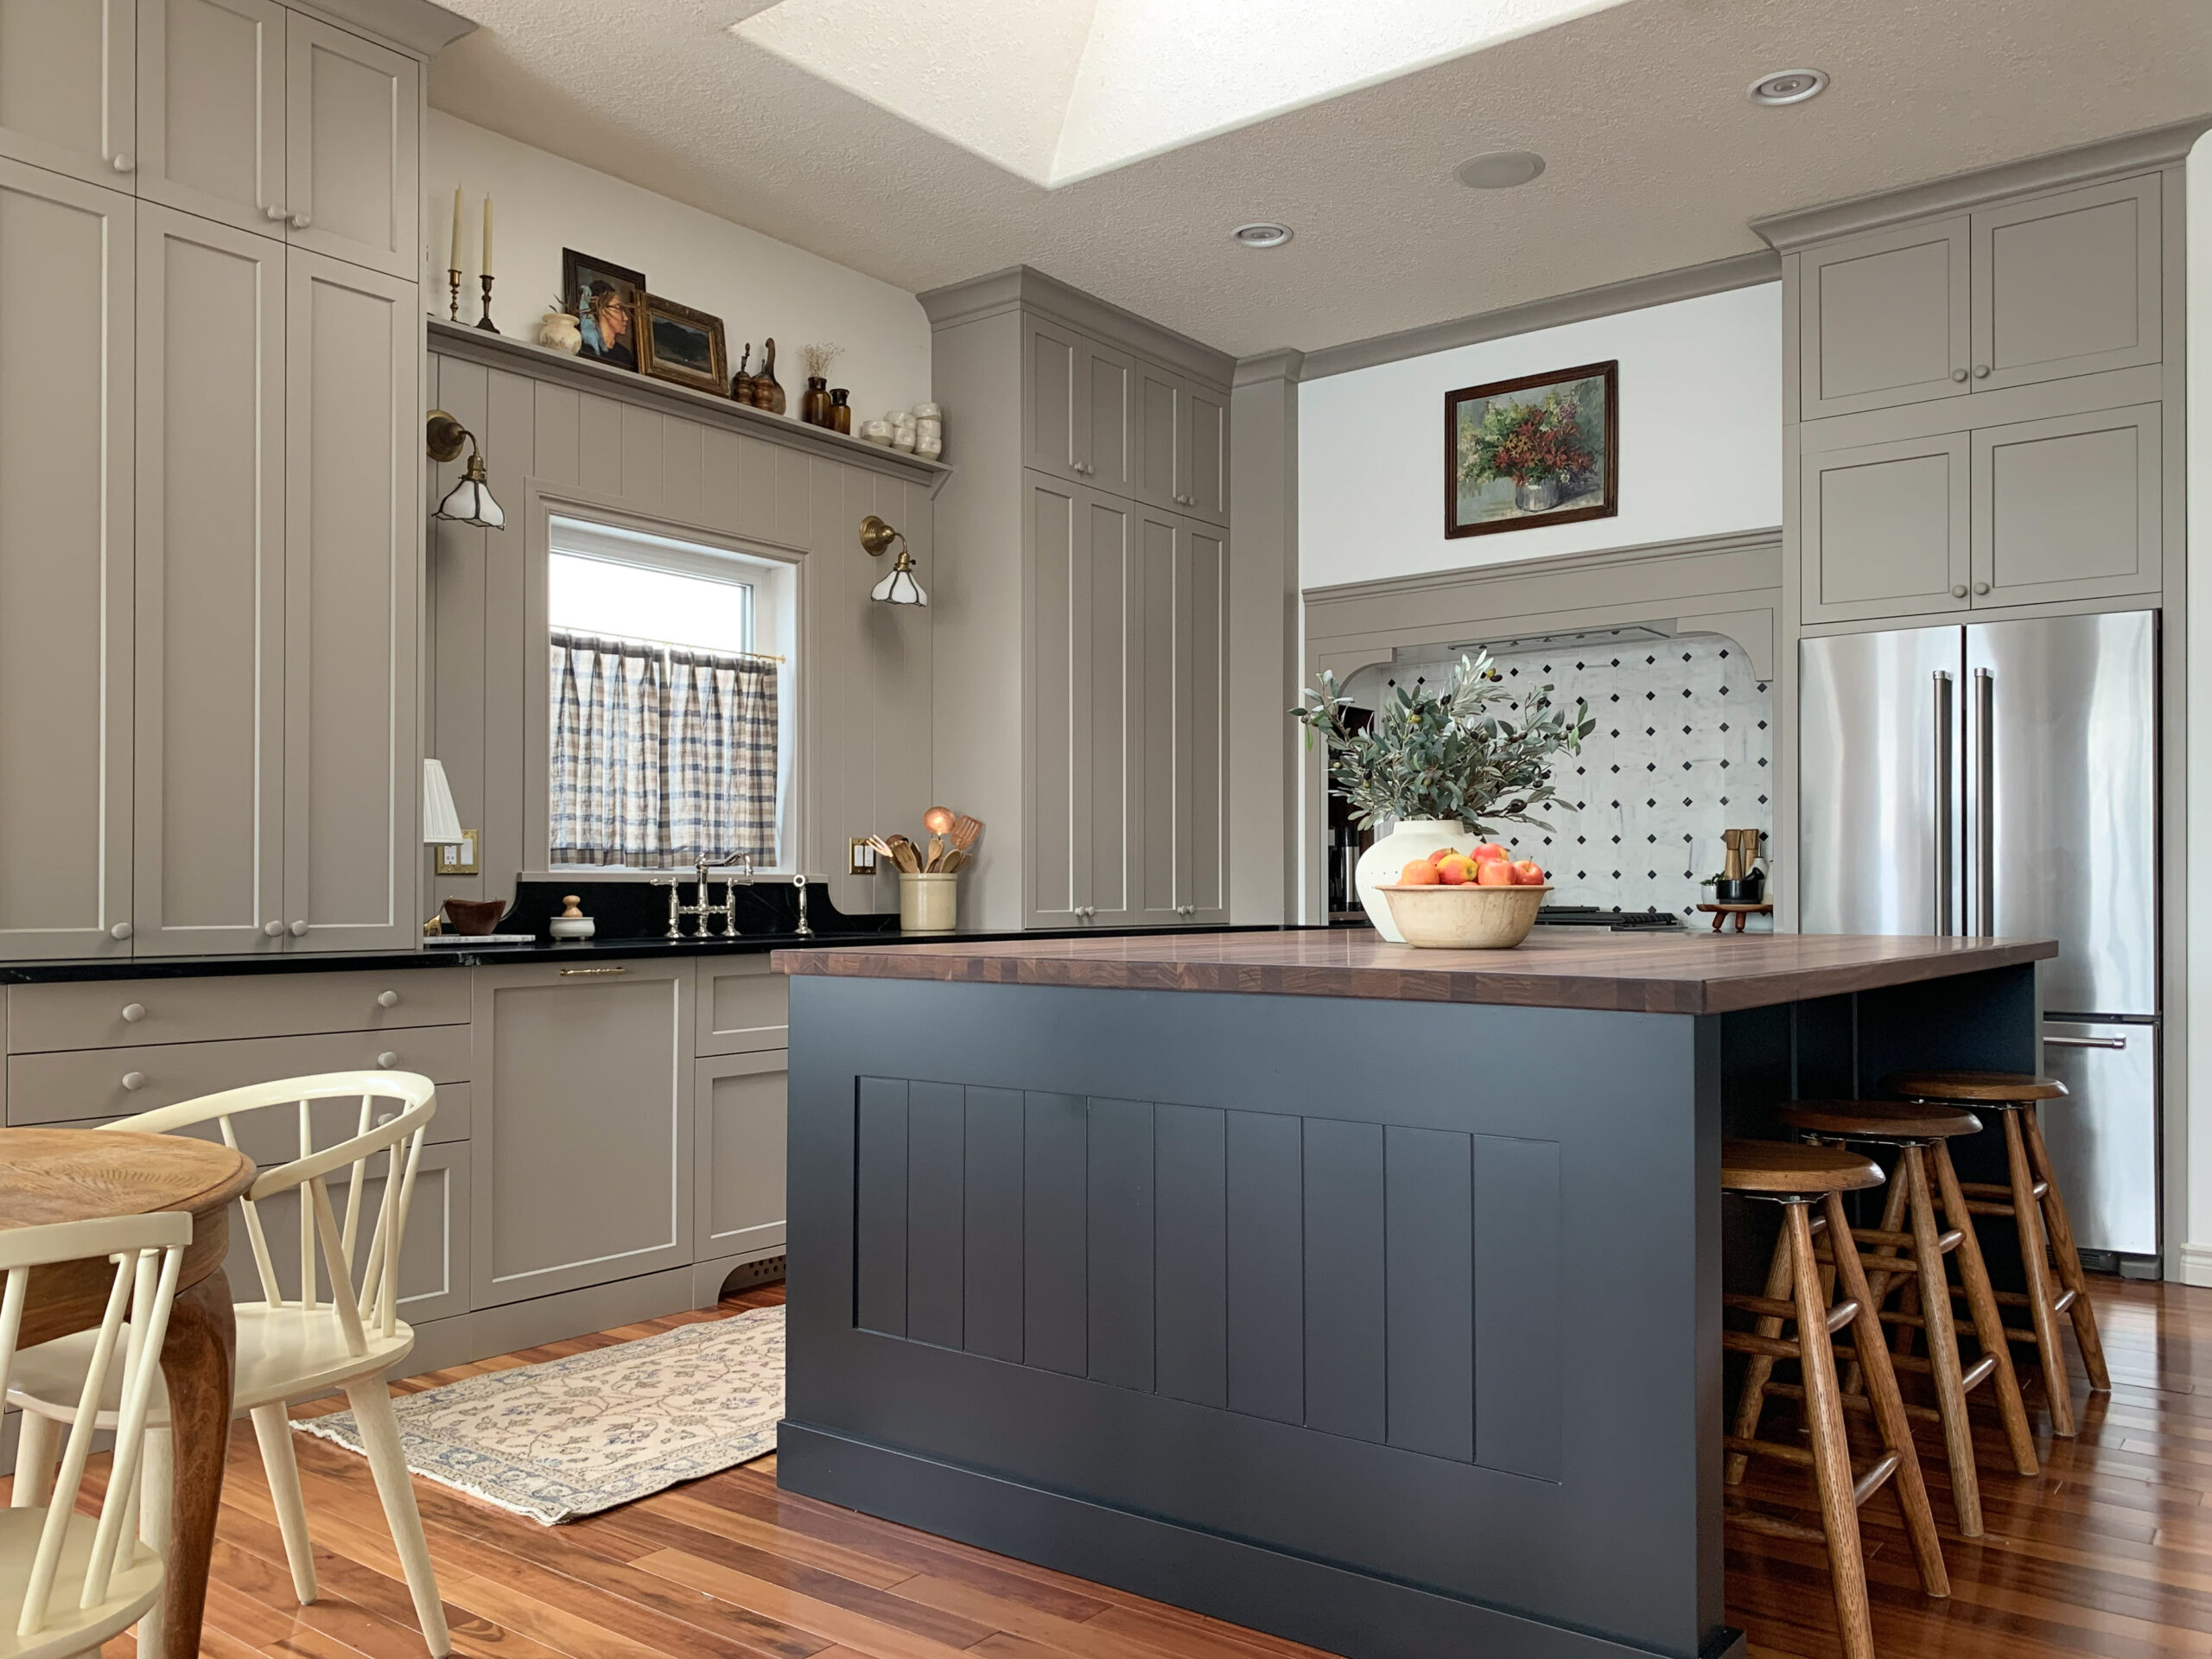
I remembered seeing a white carrara marble tile at Lowes for about $8/ square foot. I had a few pieces of the black marble leftover from my fireplace project, enough to do this for sure, and how cool would that be that the same materials repeat into the kitchen. So I set out to make a prototype!
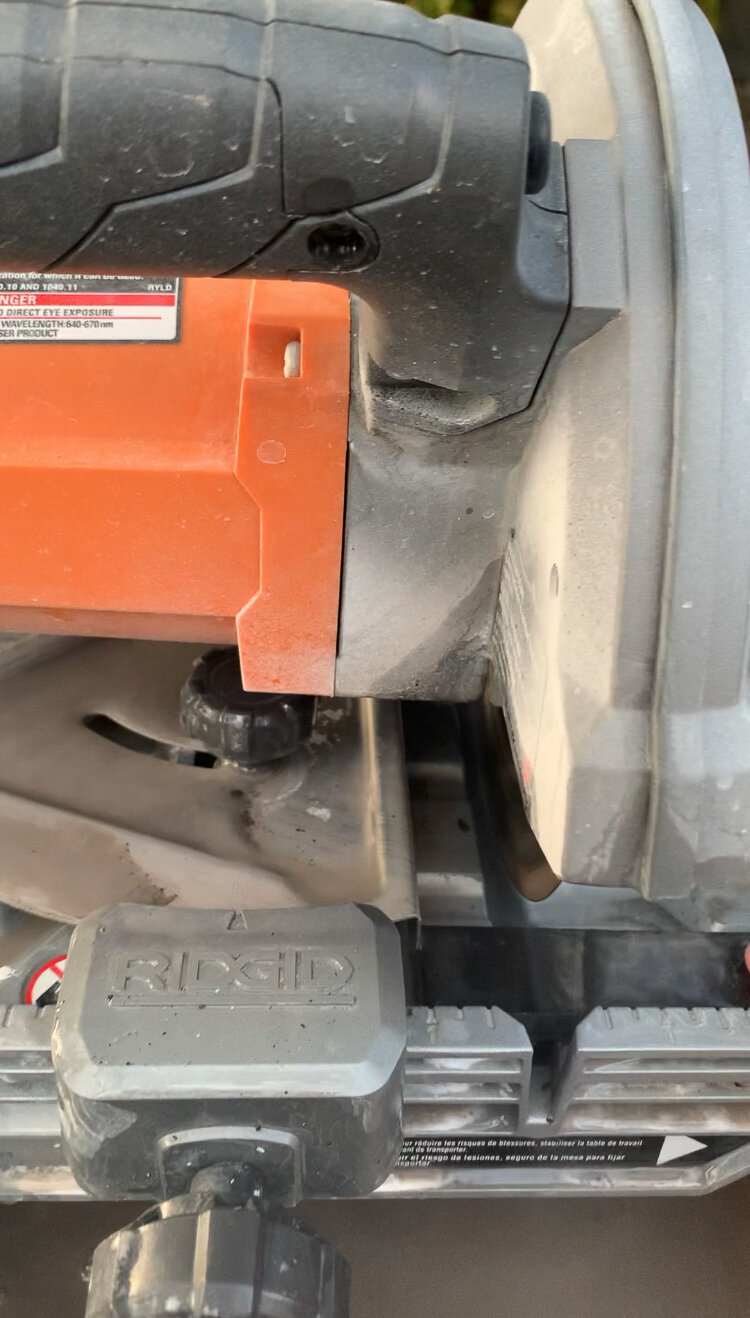
I was worried about the edges chipping too much from all the cutting, and while they did chip a little it really wasn’t too bad. I googled how to reduce chipping on a tile saw and found that if you sharpened your blade on the saw using a tile cutter’s stone after every few cuts, you can keep chipping to a minimum.
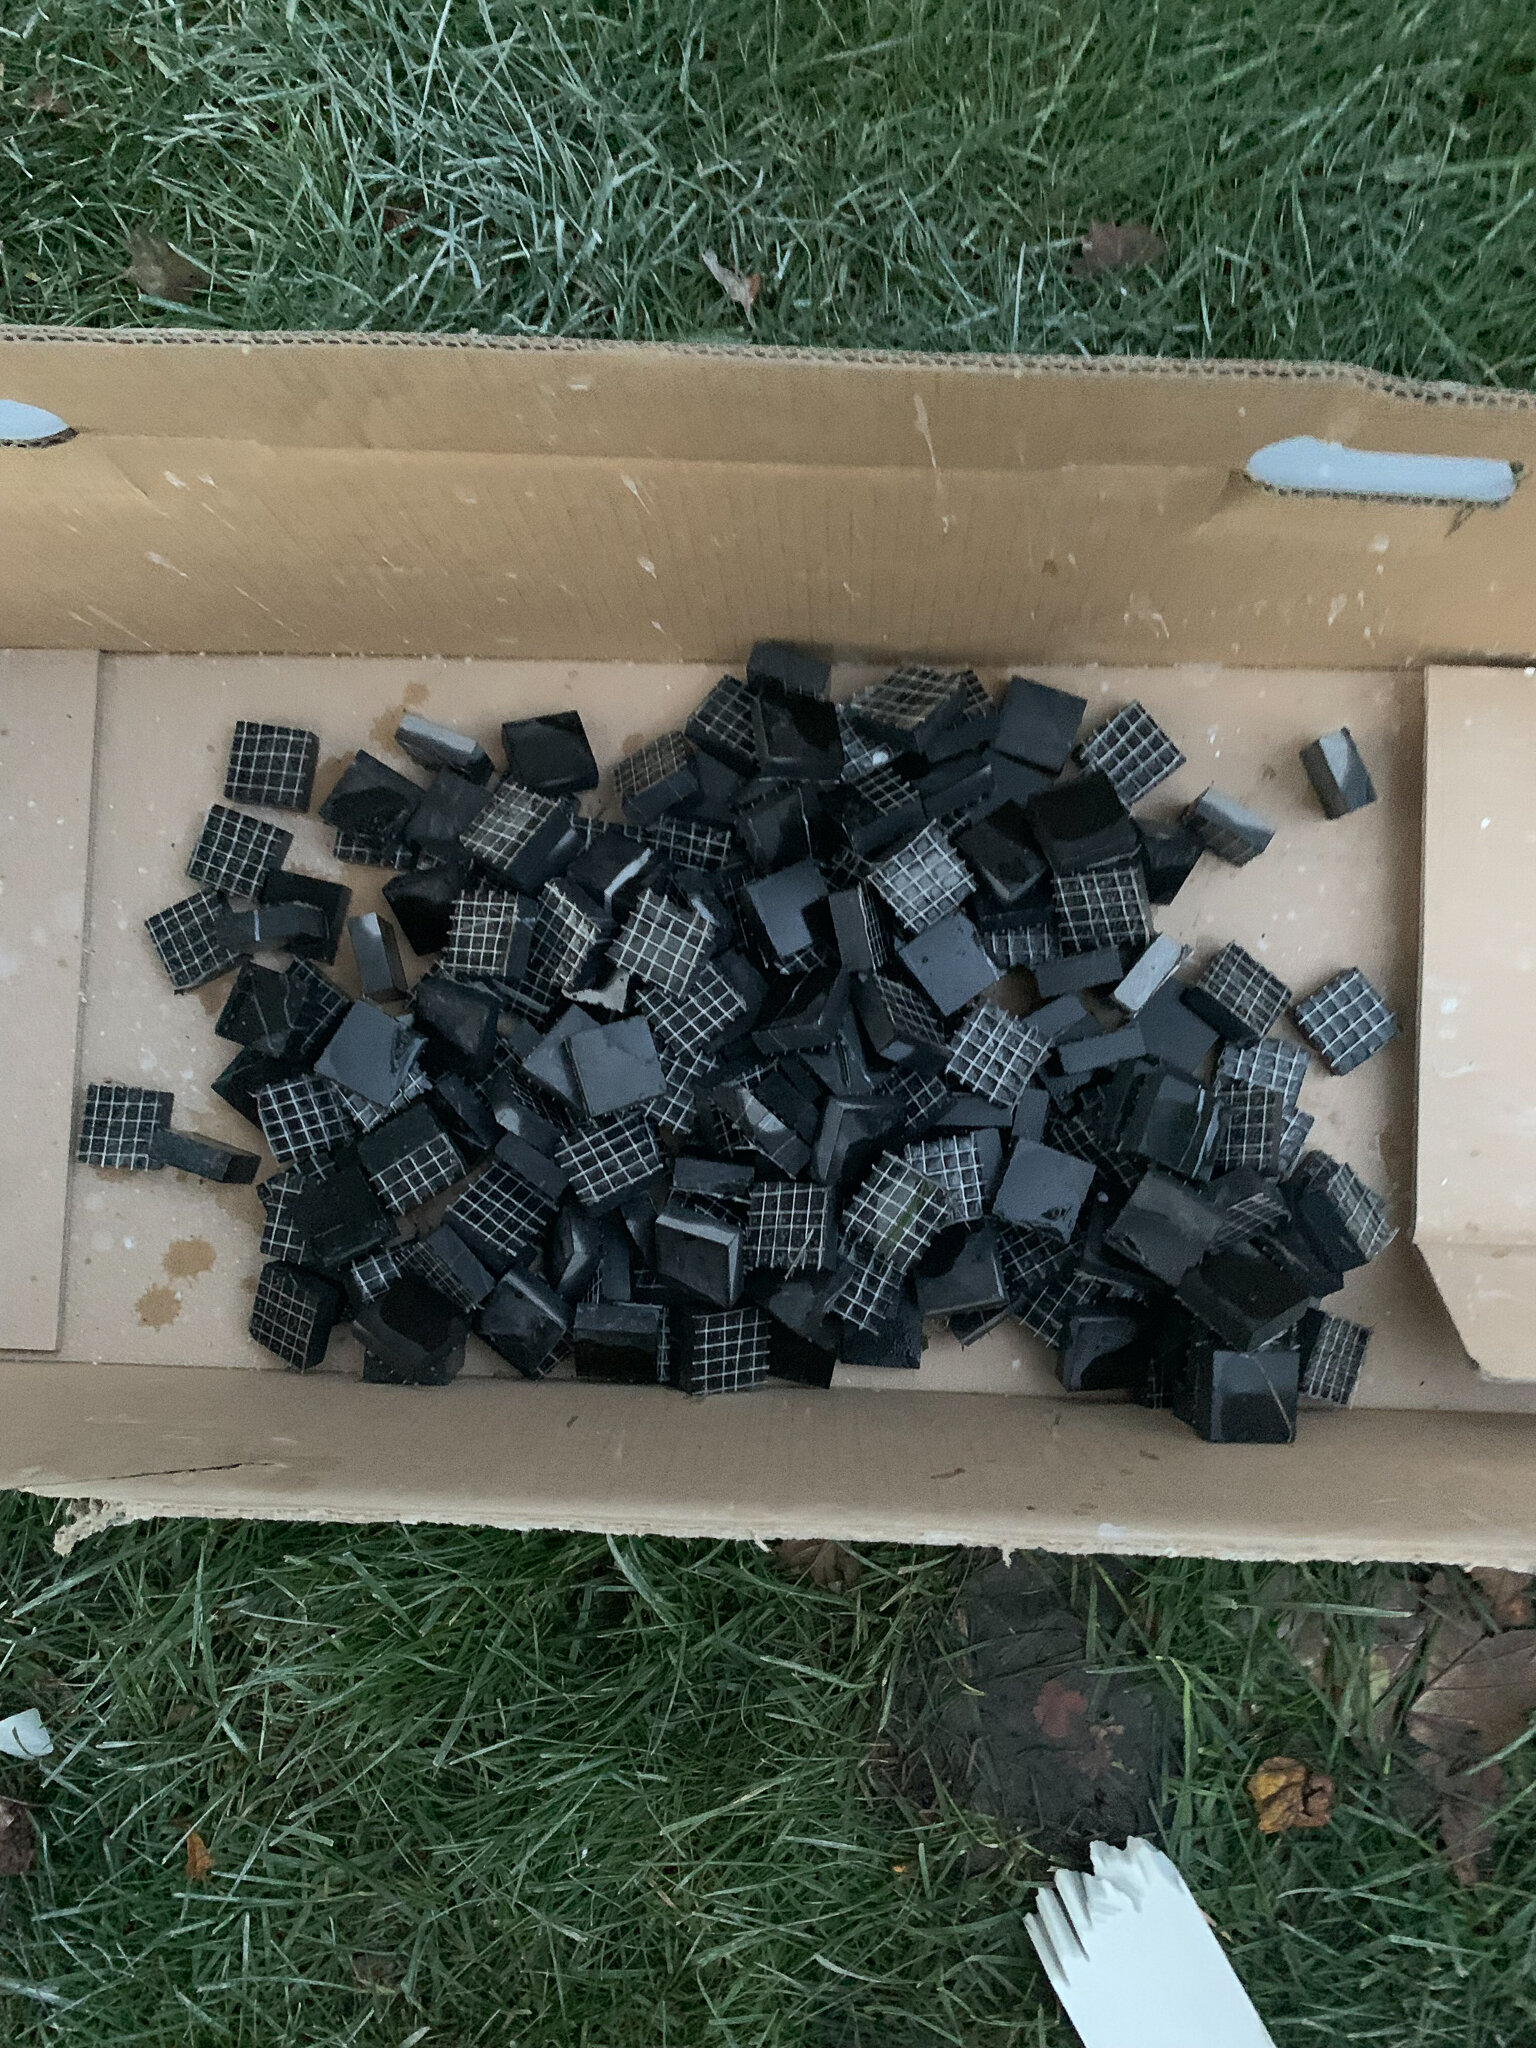
I was also worried about cutting the small 1” squares evenly but that proved quite easy, once I set the guide on my saw for 1” it was a breeze to cut a bunch of these.
The hardest part of cutting this tile was cutting the corners off the white tile for the “octagon”, but with a little 8th grade geometry I was able to make a jig to make those uniform! Let’s get into how I did it!
Quantity
I calculated the height and width of my opening and determined that I would need 8 rows (vertically) and 15 Rows (horizontally) of the 5” tile. (Example calculation: the height i want to install the tile is 40”, so dividing that by 5” (the height of my tile) gives me 8 rows.) For the black tile, you are actually counting the spaces between the white tile. So, if you have 8 rows you have 9 spaces between them counting the two sides. (In my case, I have 9 rows (vertically) and 16 rows (horizontally) to give me a total number of black tiles needed of 9×16 = 144 black tiles.)
Materials and Tools
Disclaimer: Before we get in to the materials, I should mention that this needs to be a natural stone. Natural stone is generally cut without a ‘bevel’ on the edge, so you don’t have to worry that when you cut it, there is a factory edge and a cut edge that look different. Also, natural stone, I find, cuts a little cleaner with less chipping so works well for this project. If you use something besides marble, I would do a test run to see how cleanly they cut before attempting this project! Ok, so here’s what I used for this:
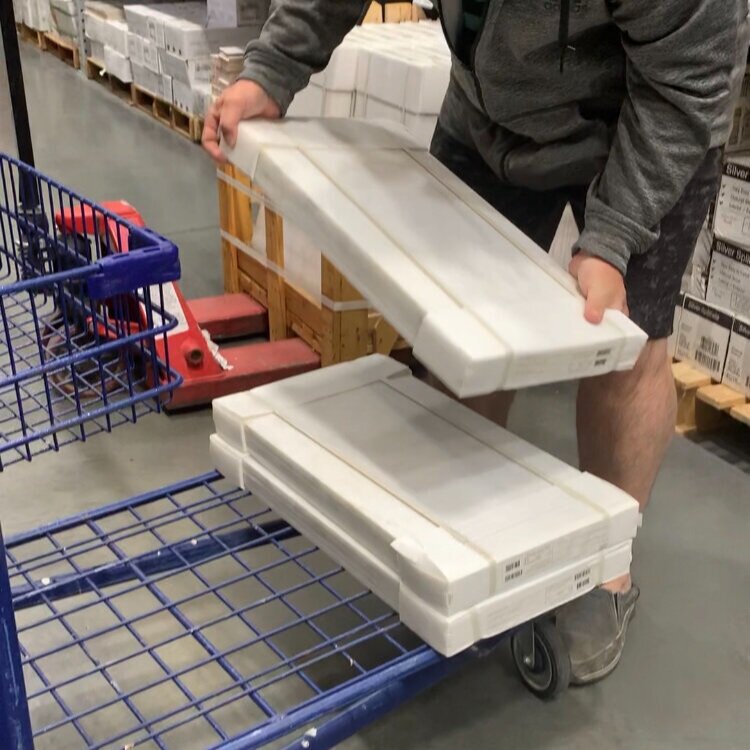
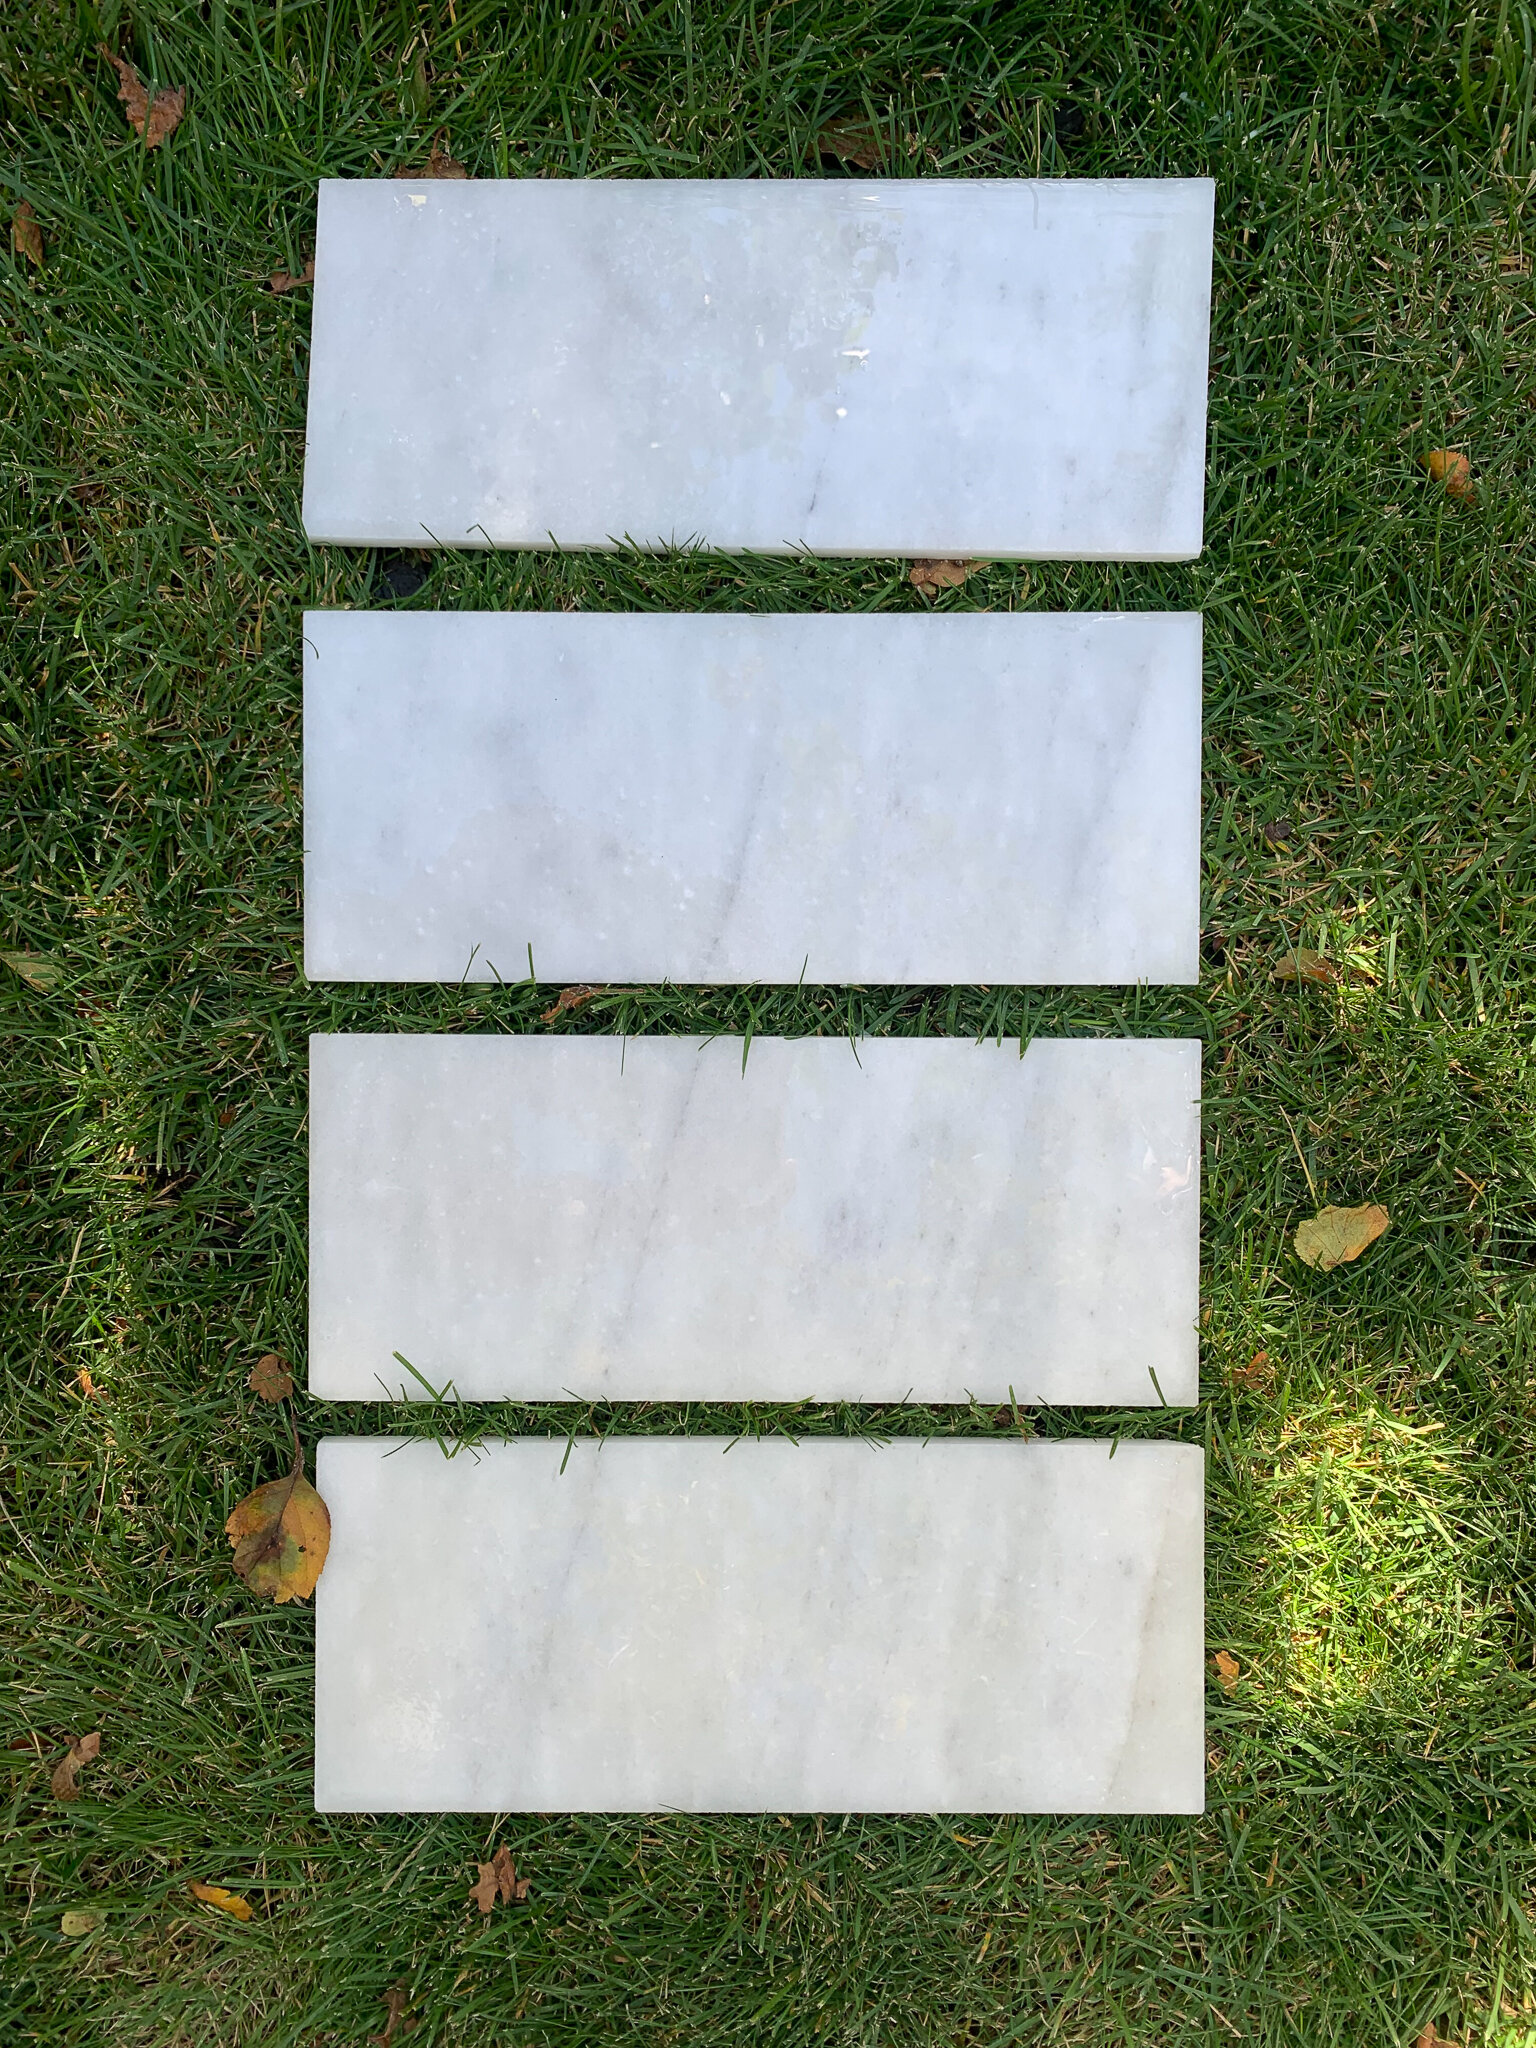
White carrera marble tile (I used off the shelf marble tile from Lowes which I couldn’t find online. It was $7.99/ft2. (This tile from Home Depot (USA) is similar)
Black marble tile (these are harder to find – I had these leftover from my fireplace. This is the tile I used from Wayfair or similar from Home Depot (USA)
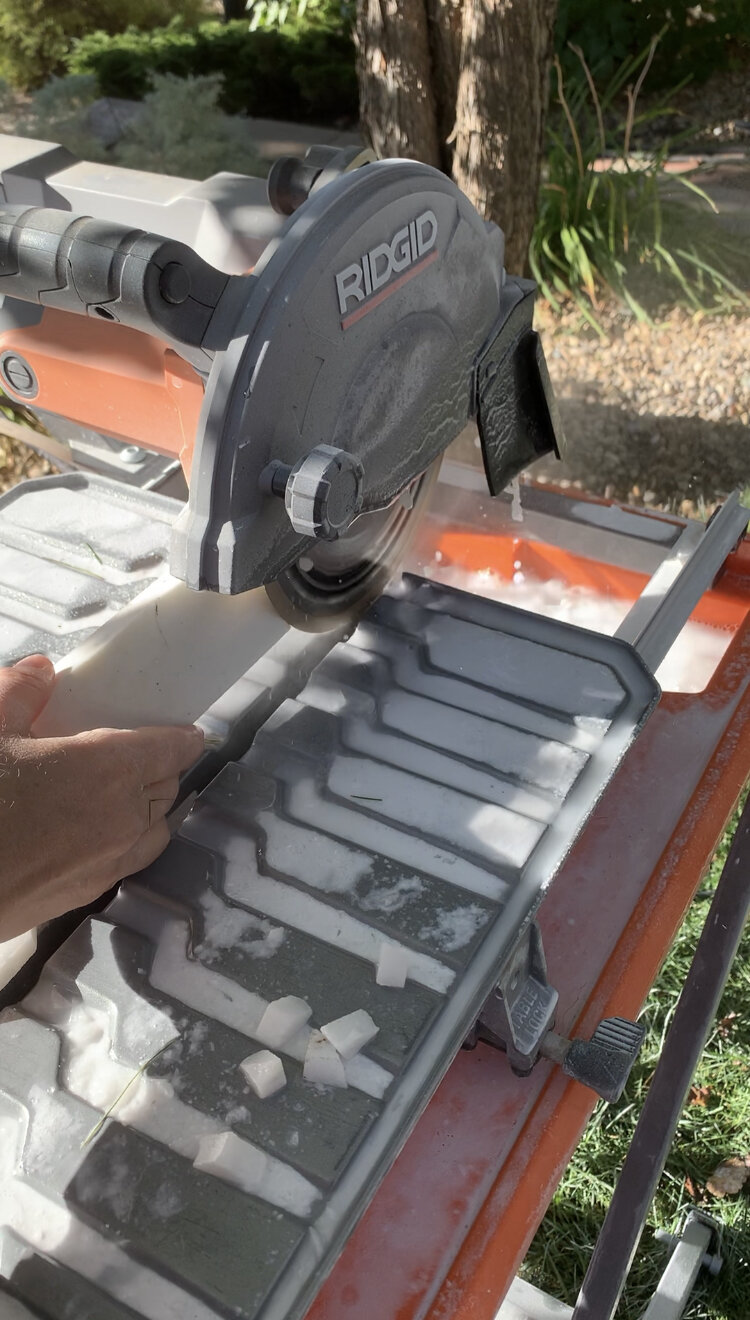
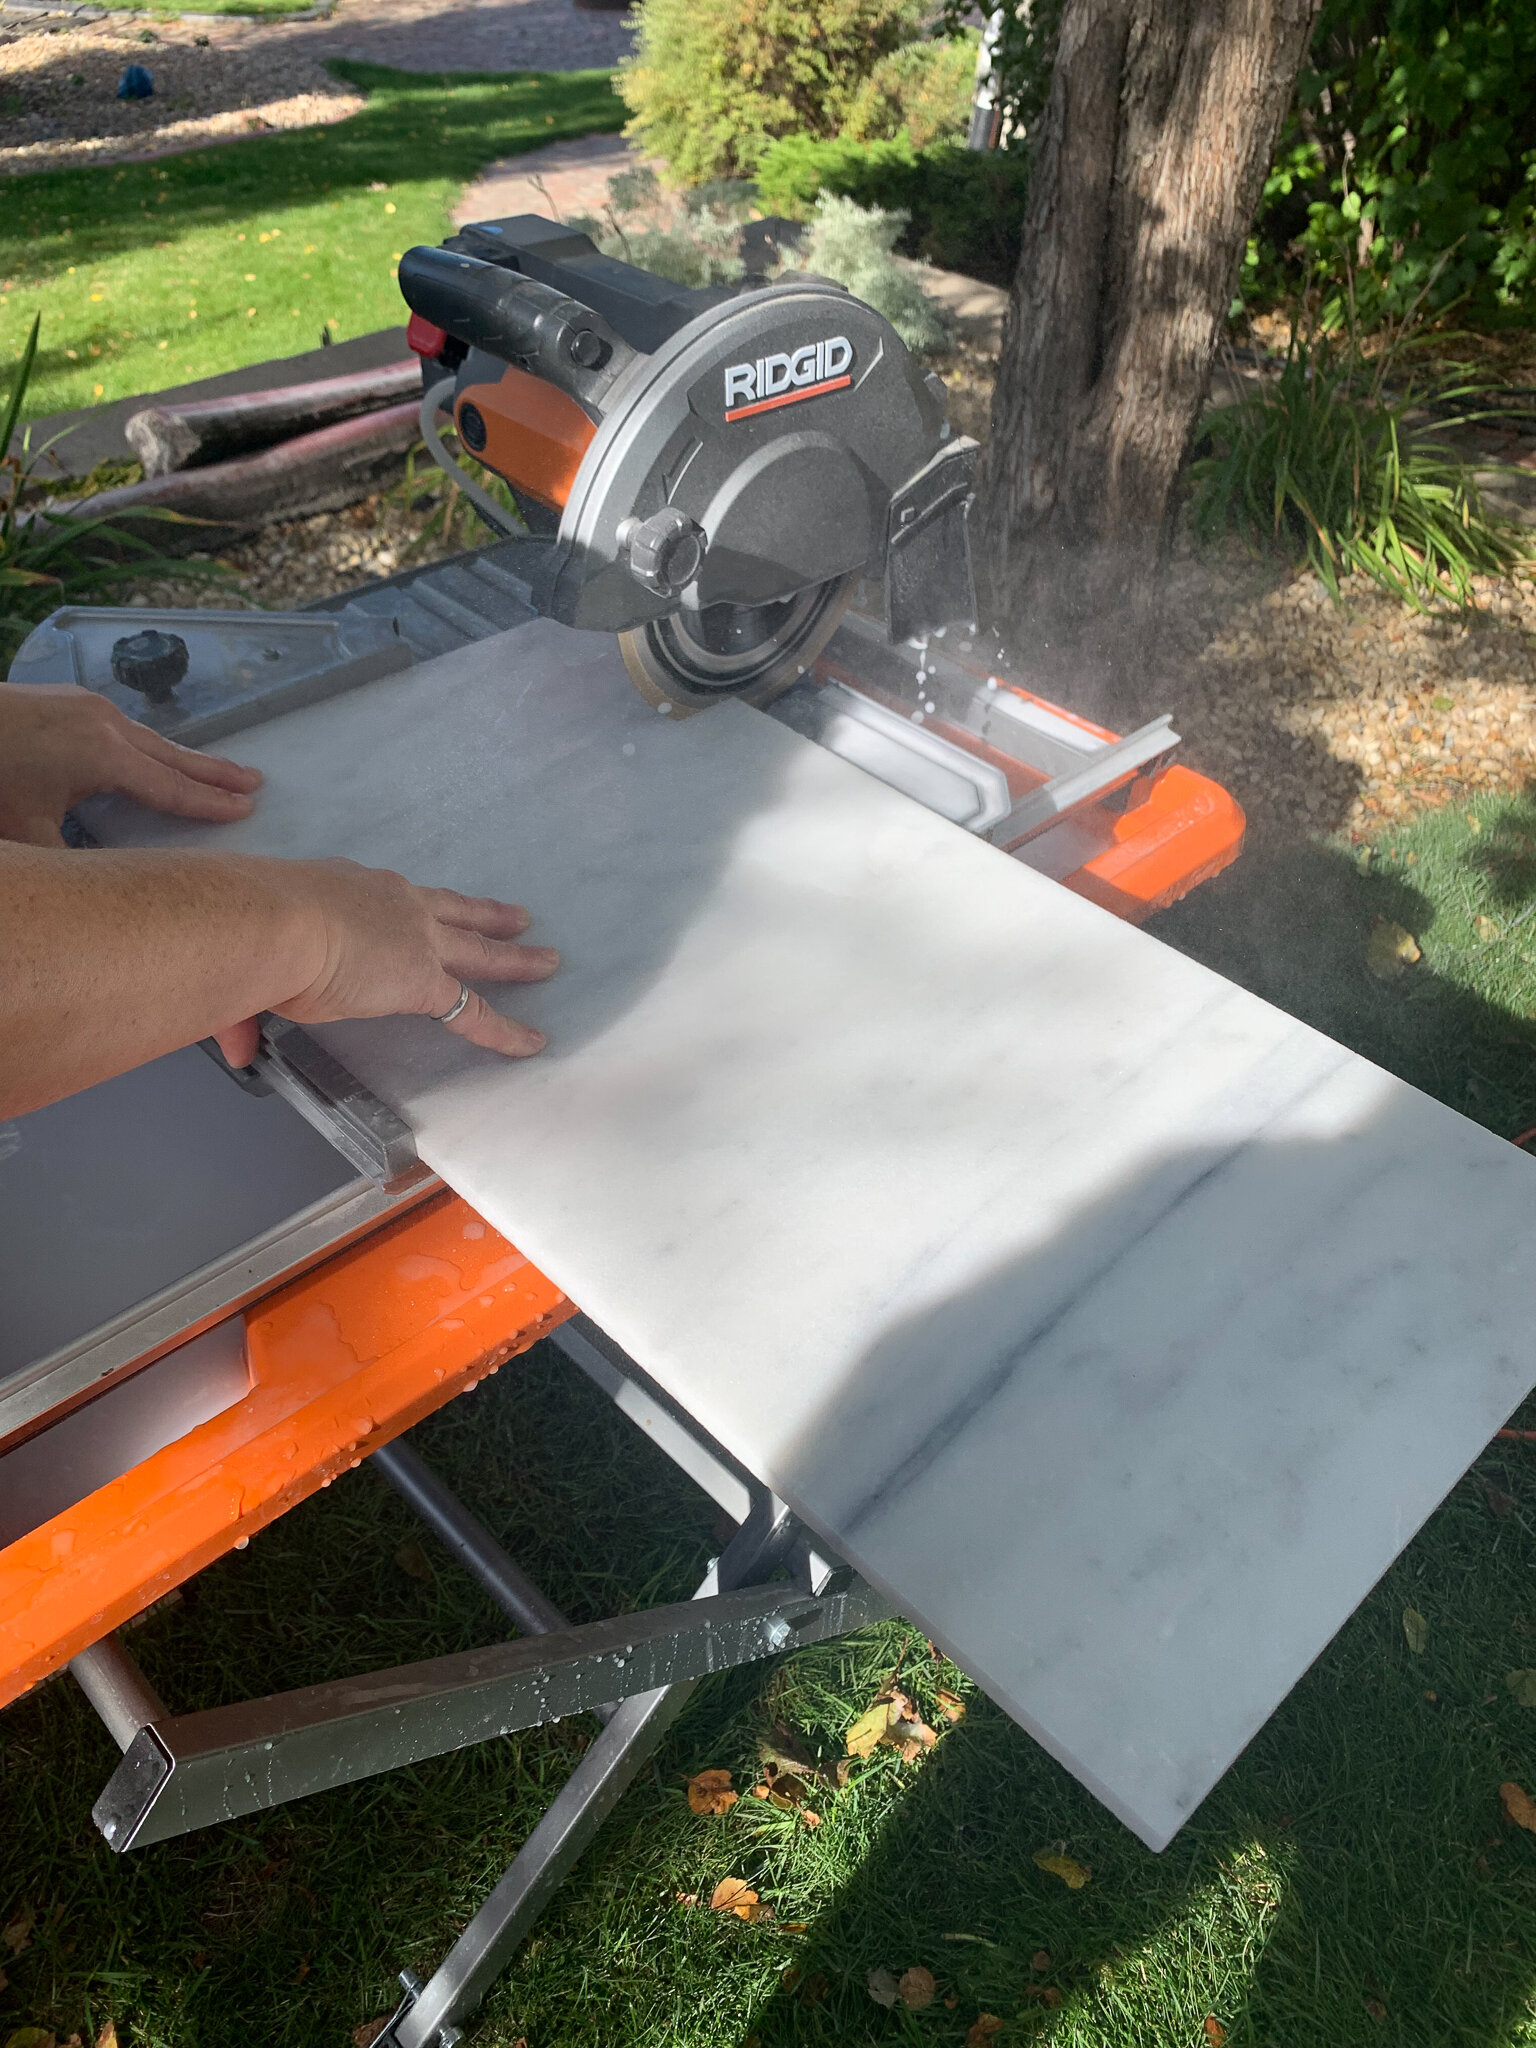
Tile wet saw – I do think that something that slides and with a guide is necessary, and probably a new blade. This is the one I have, I have loved it so far. You can also rent these, but if you do, check with the rental company to make sure that the blade is sharp, or request that they put a new one on.
Scrap wood for a jig
Saw to cut the jig (mitre saw for precise angle cuts works best, but you made need a small saw like a hand saw or jig saw to cut out the corner)
Clamp to clamp the jig to the wet saw
Stone for sharpening the saw and filing off chips on the cut tile – I used THIS.
Making The Jig
I made a jig out of scrap plywood just using some basic geometry. Here are the dimensions of the jig if you are doing the same size as I did – 5” larger squares and 1” smaller squares.
To make the jig, it’s important that the angles and dimensions be very accurate, as I found that even a millimetre or two makes a difference in the size of the corner that is cut off.
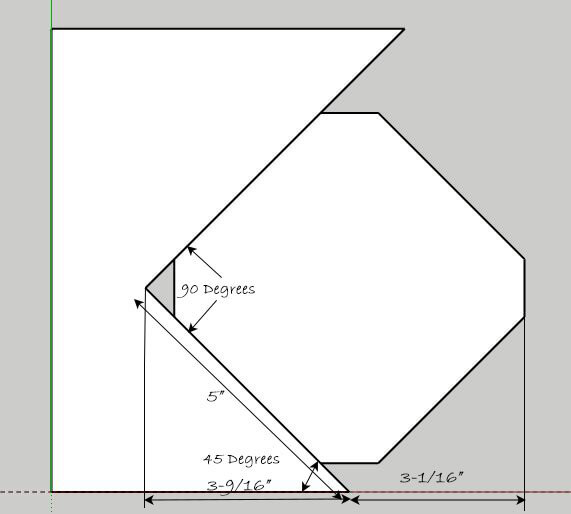
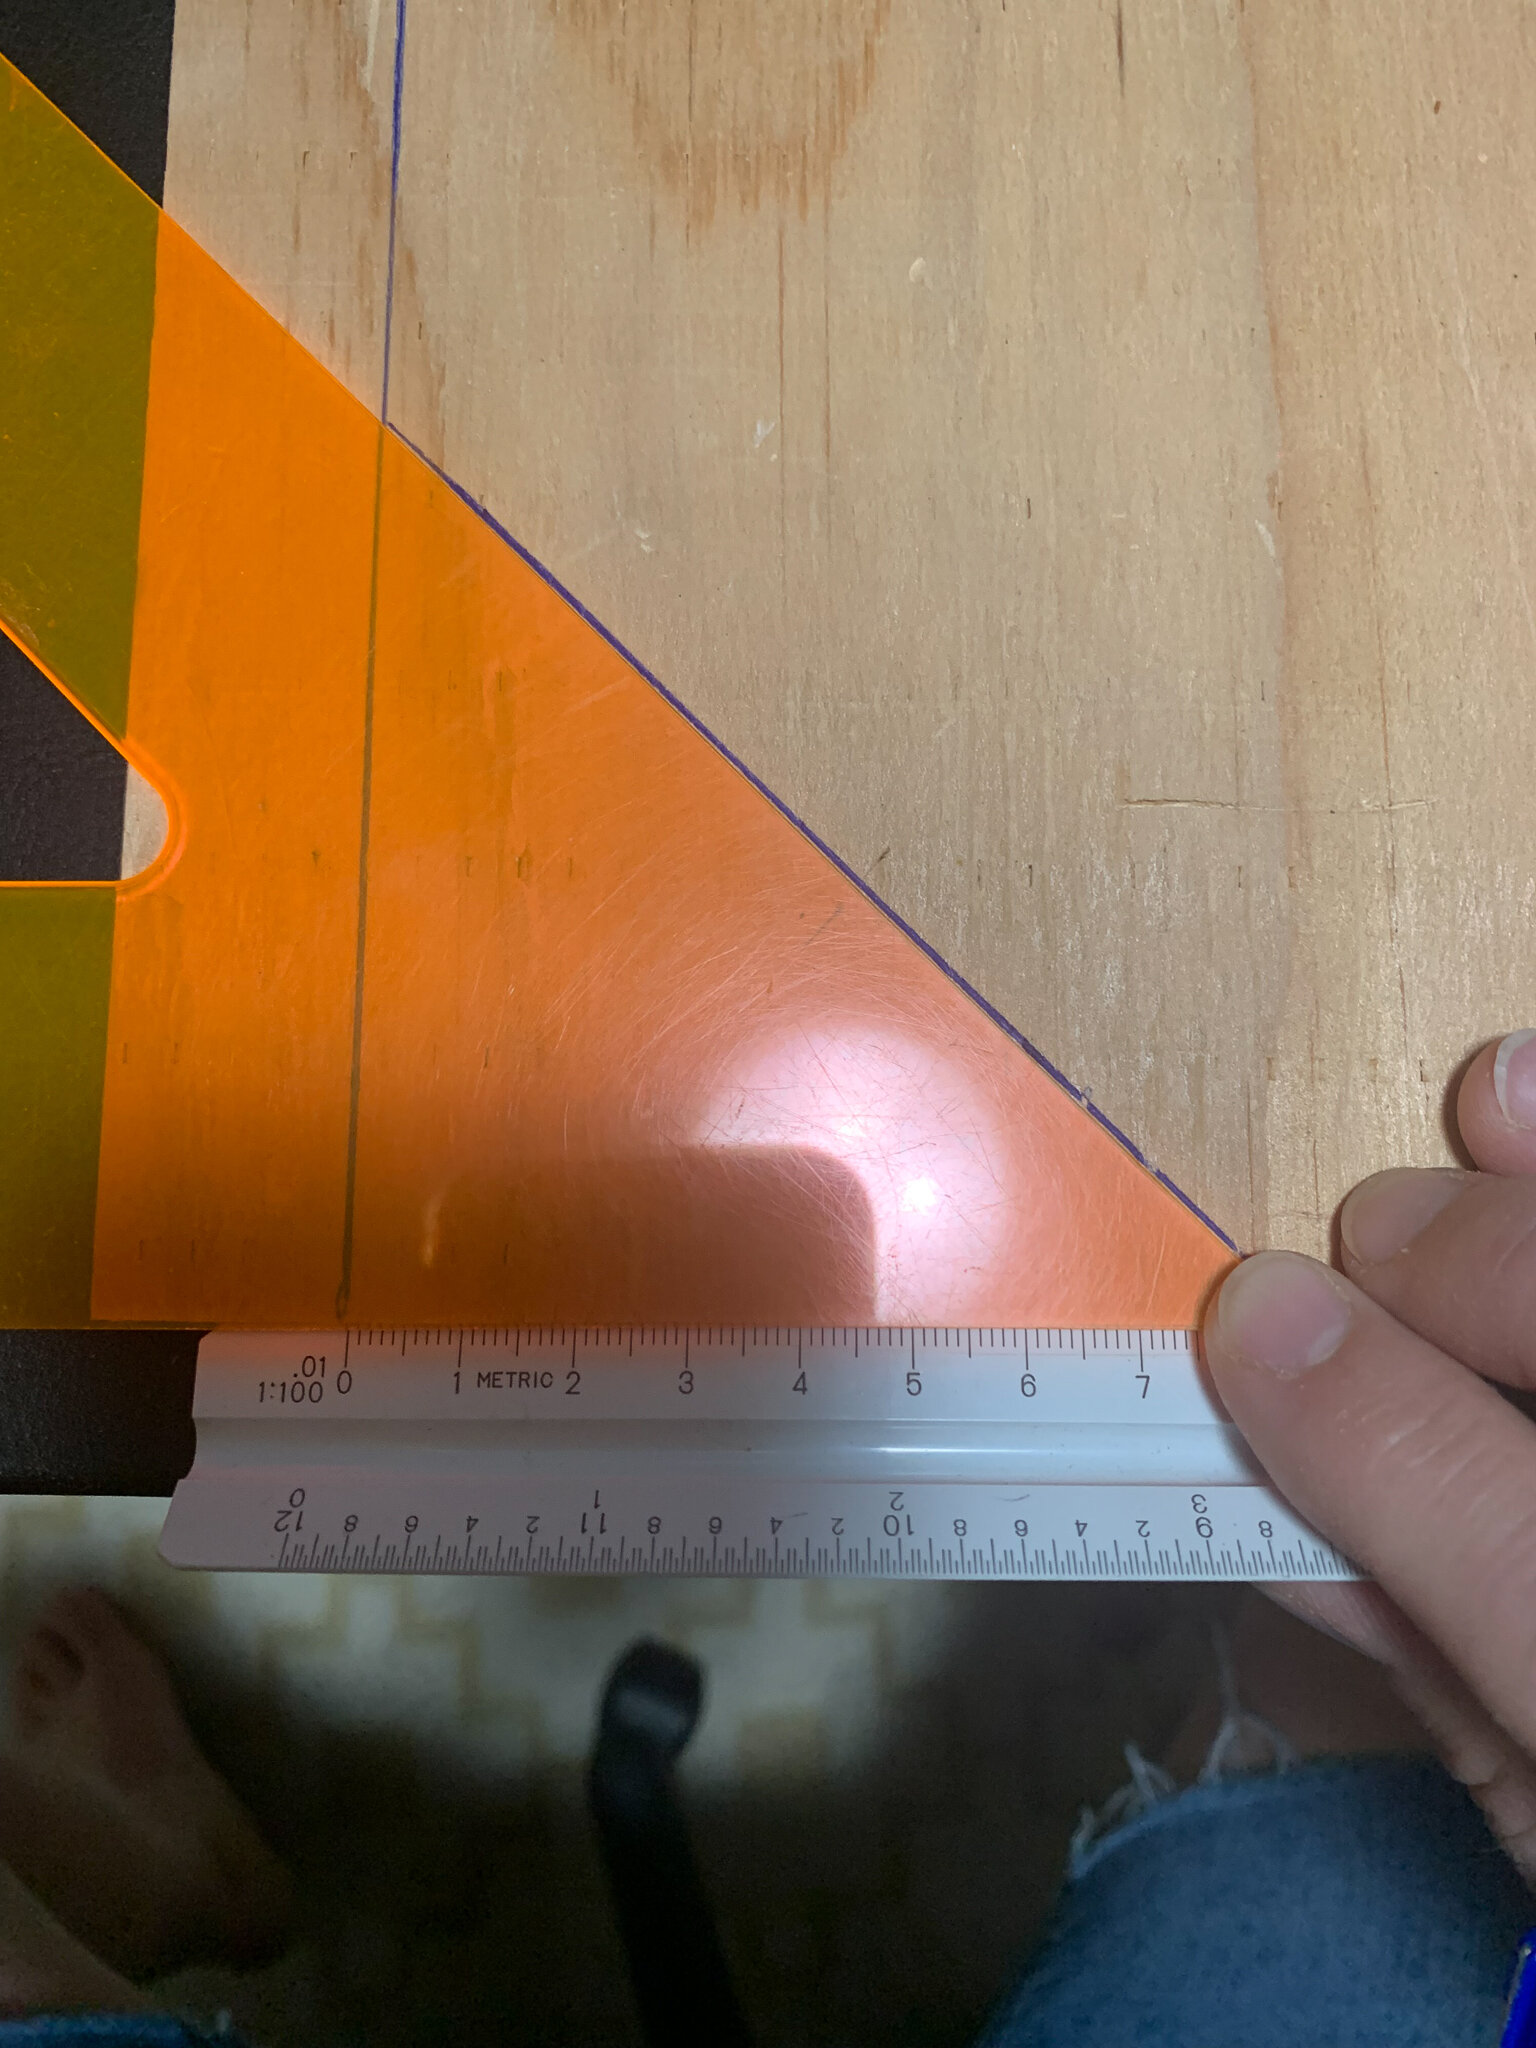
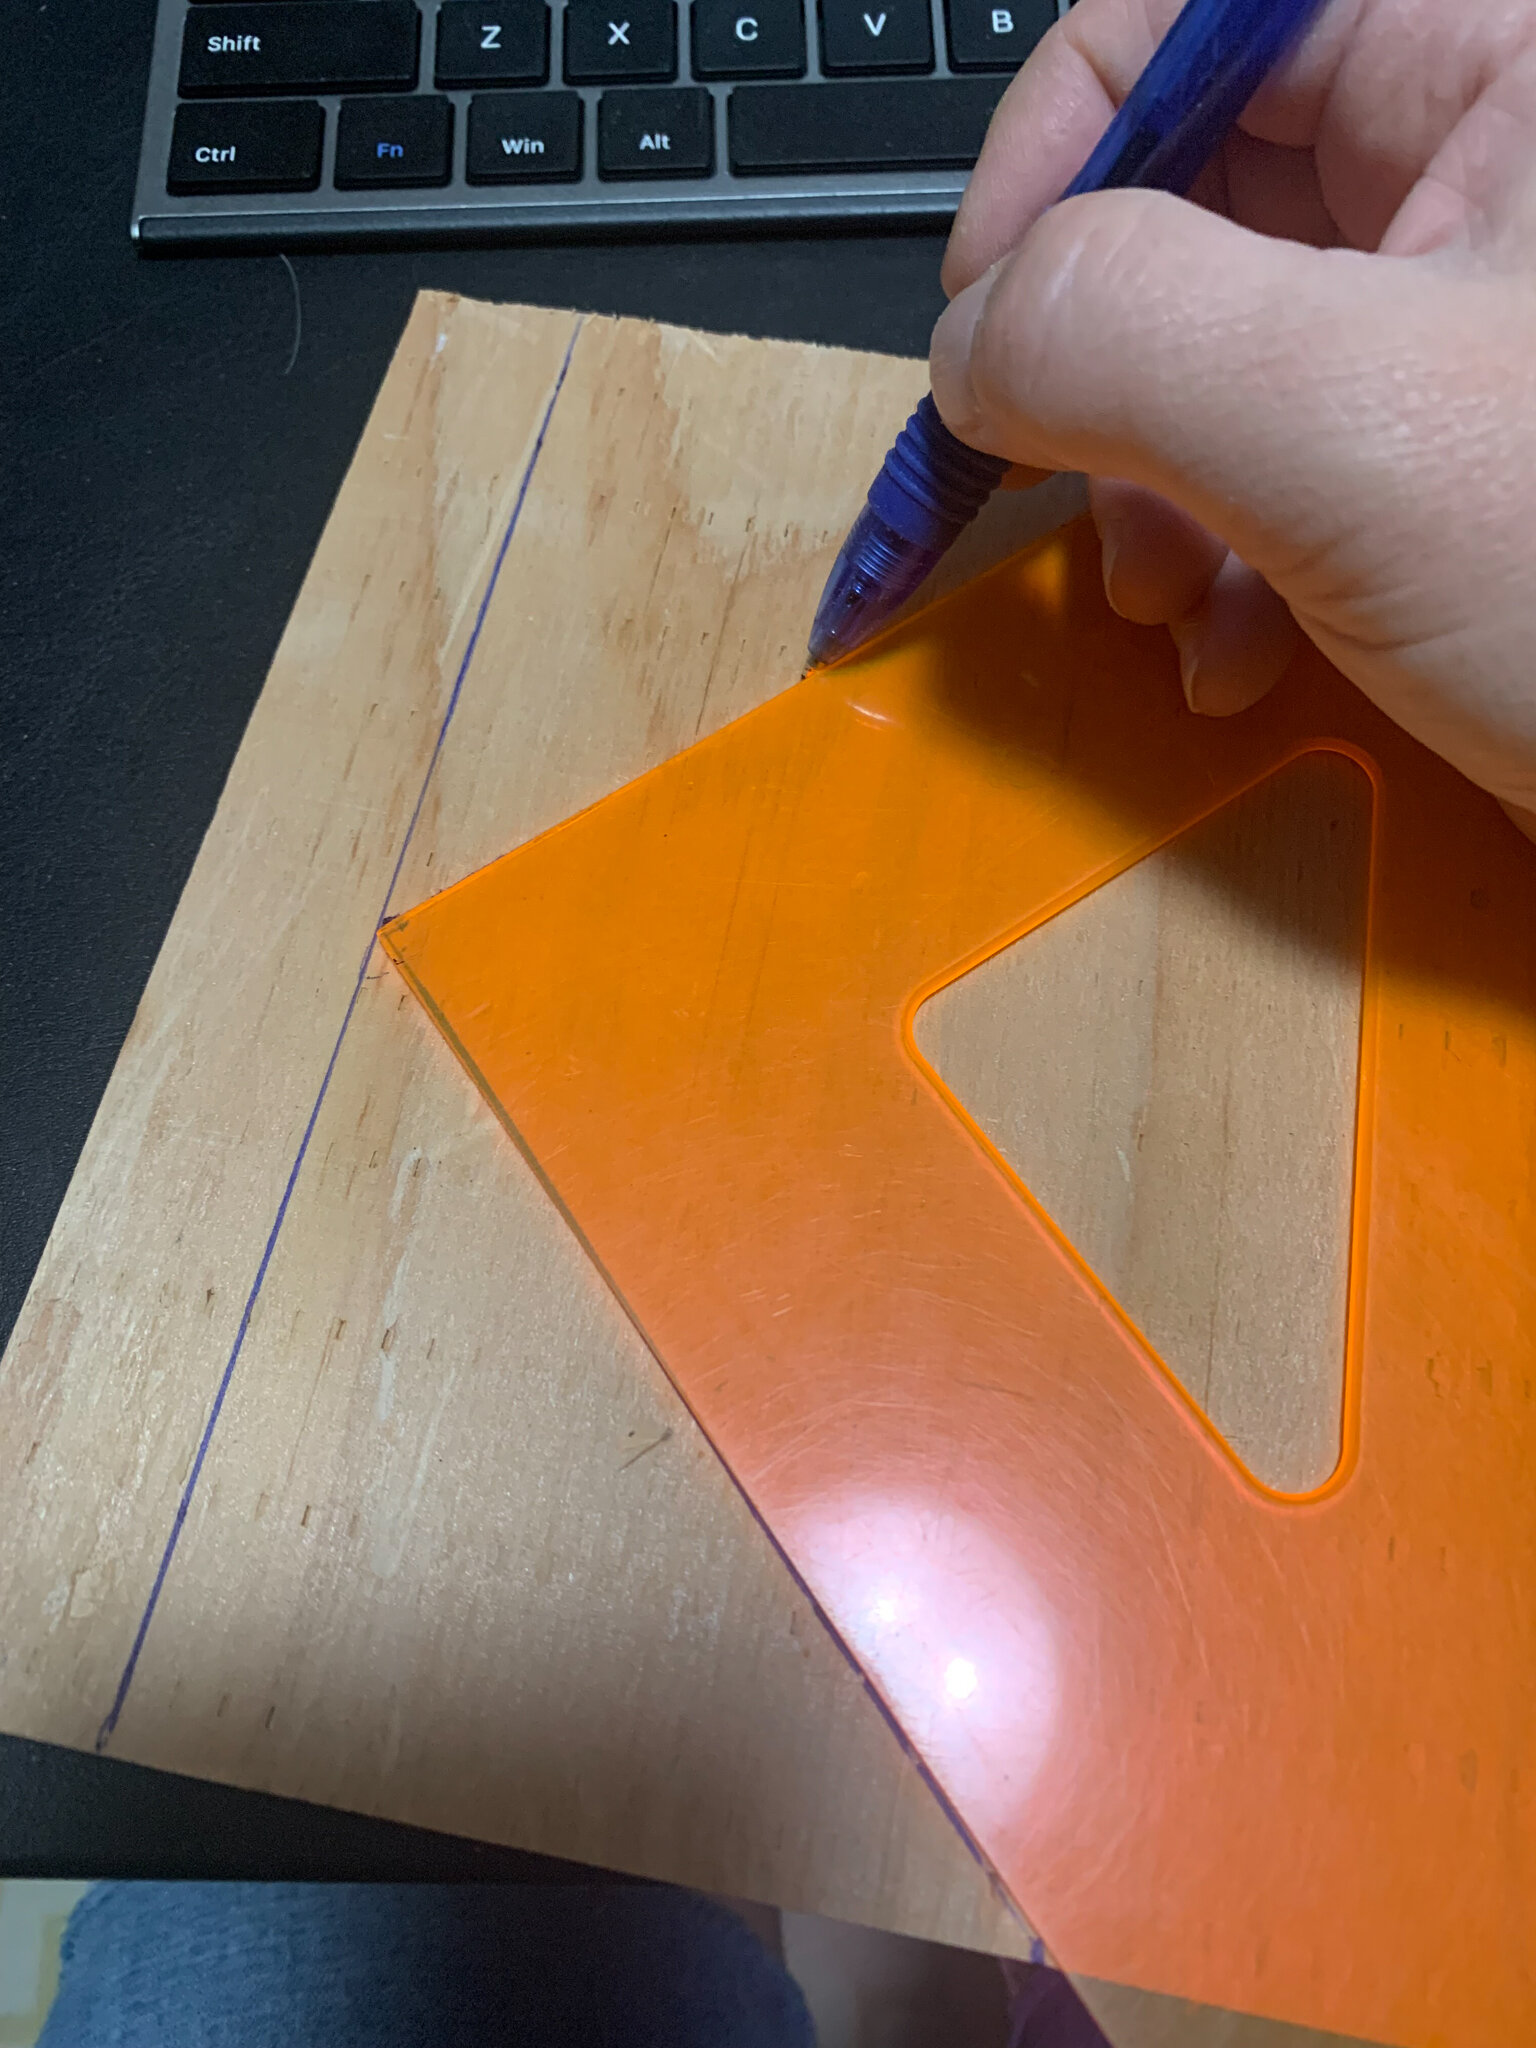
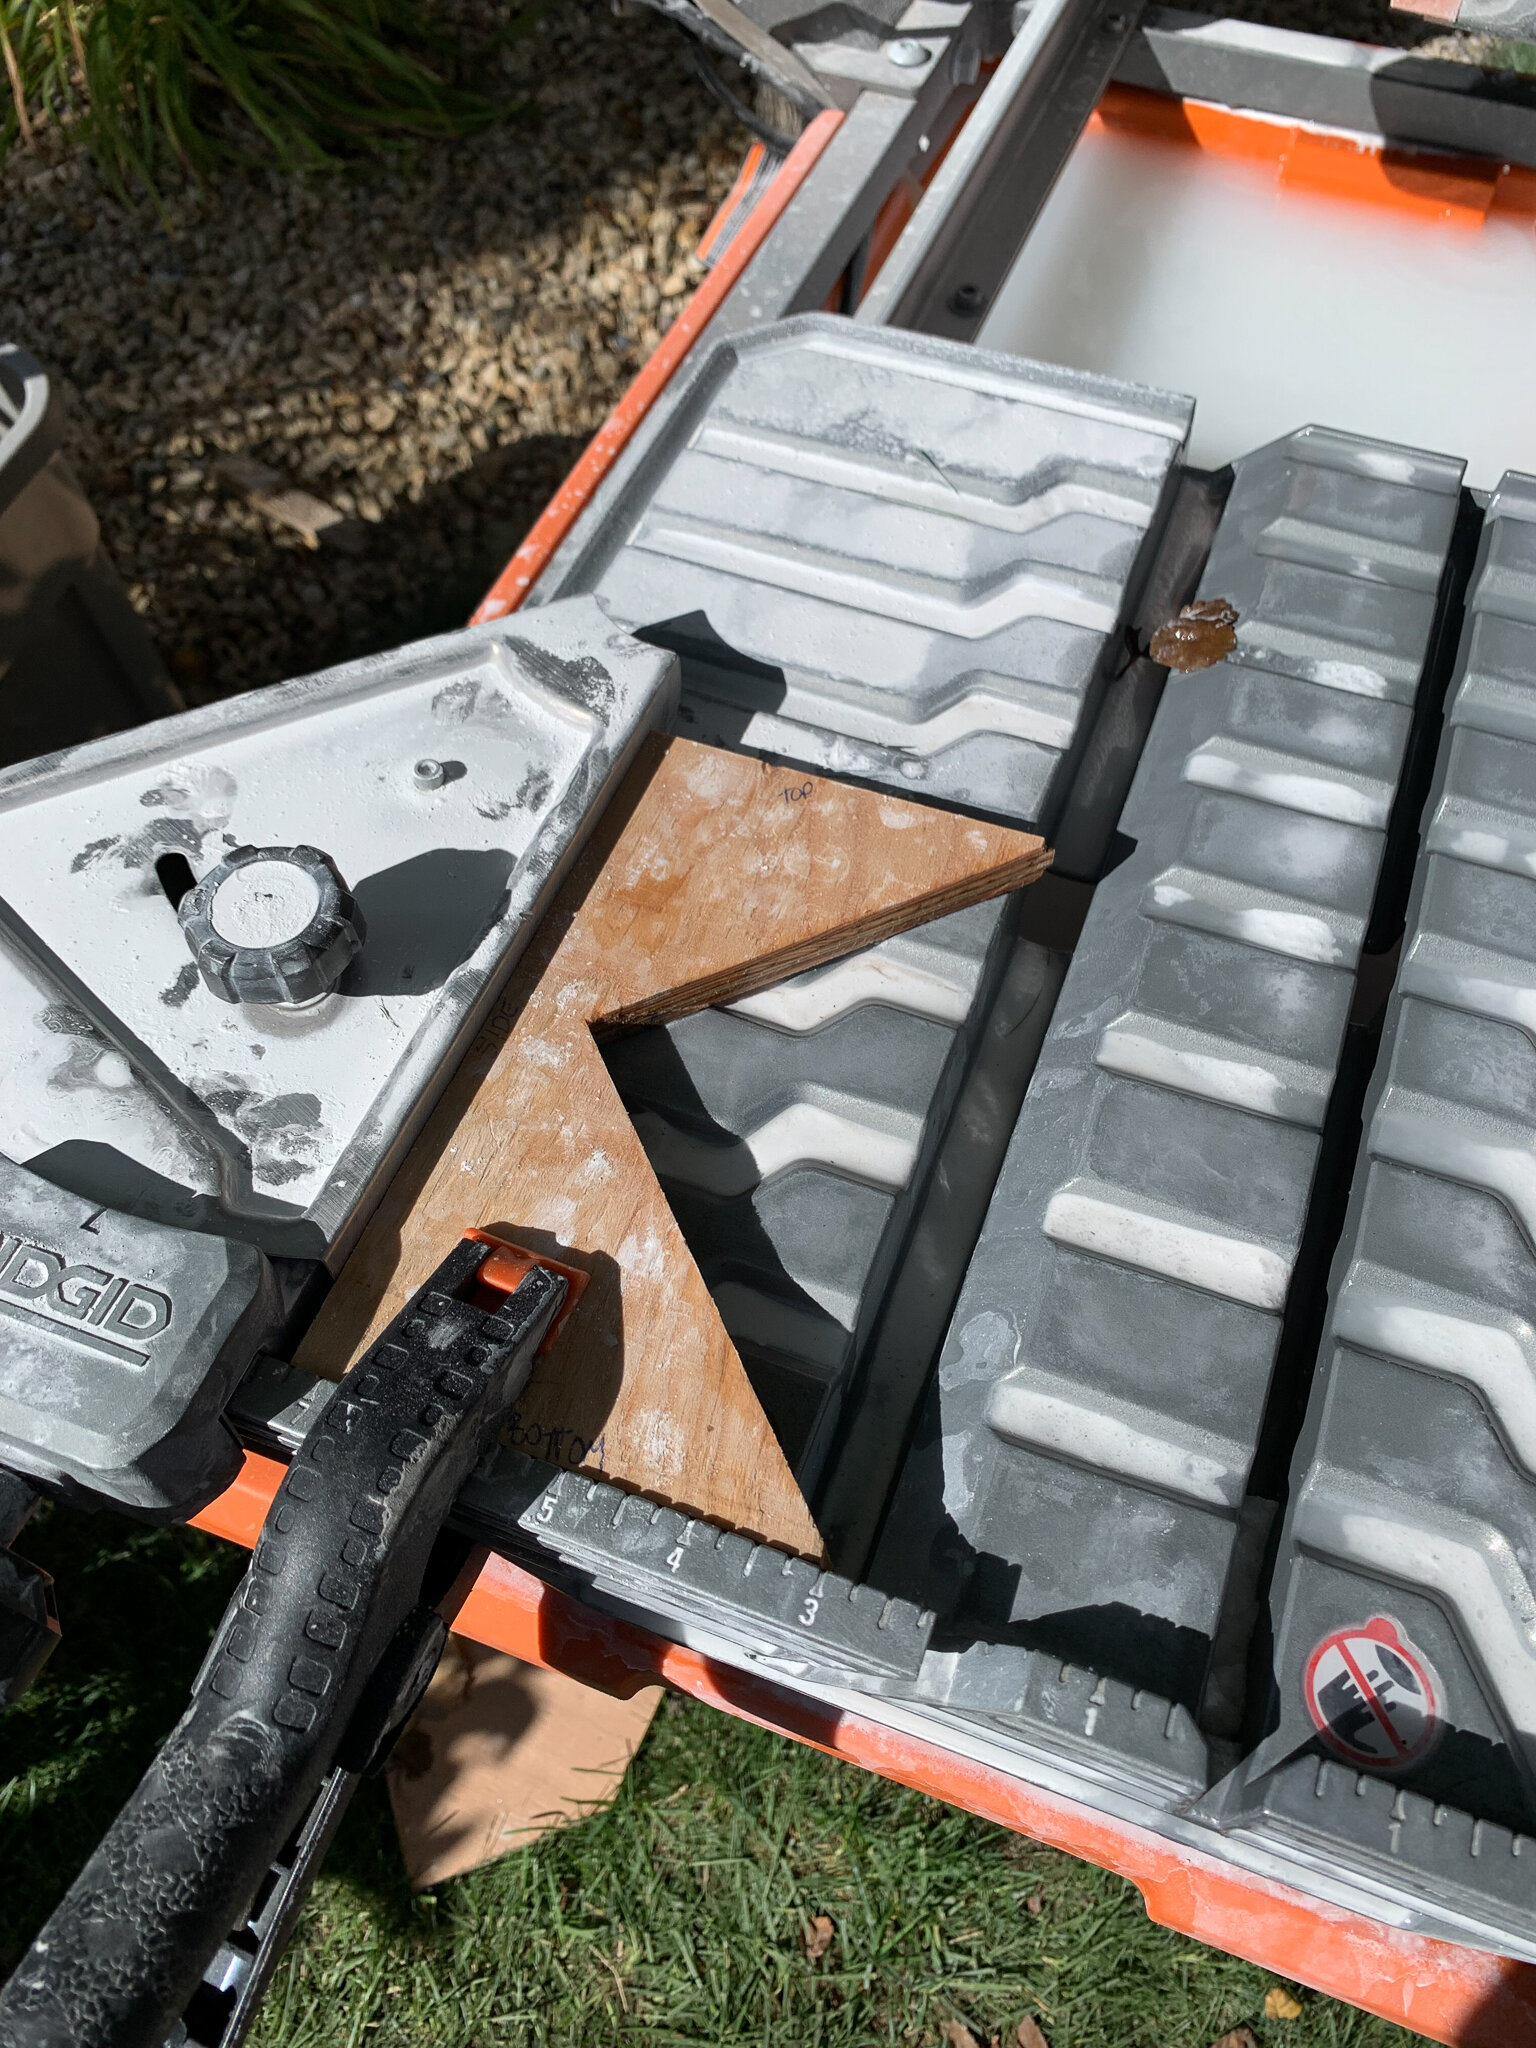
I started by marking out the measurements on a piece of wood. I used a ruler and a square to mark everything in pencil, and then I used my mitre saw to cut the angles out. (I was not able to cut into the 90 degree corner all the way with a mitre saw so I finished up that little bit with a hand saw.) I ended up making all my marks in Millimeters because it was easier for me to do the math that way! Once I had cut the jig, I tested it to make sure it was cutting perfect 1” corners uniformly. (Reasons why it may not cut the tile perfectly include a misake on the jig, setting the jig in the wrong location on the saw, or not cutting the tiles to exactly 5”. I ended up making a few adjustments while I perfected the jig, and I must say, it is VERY sensitive to accurate measurements, so take your time!
Cutting the Tile
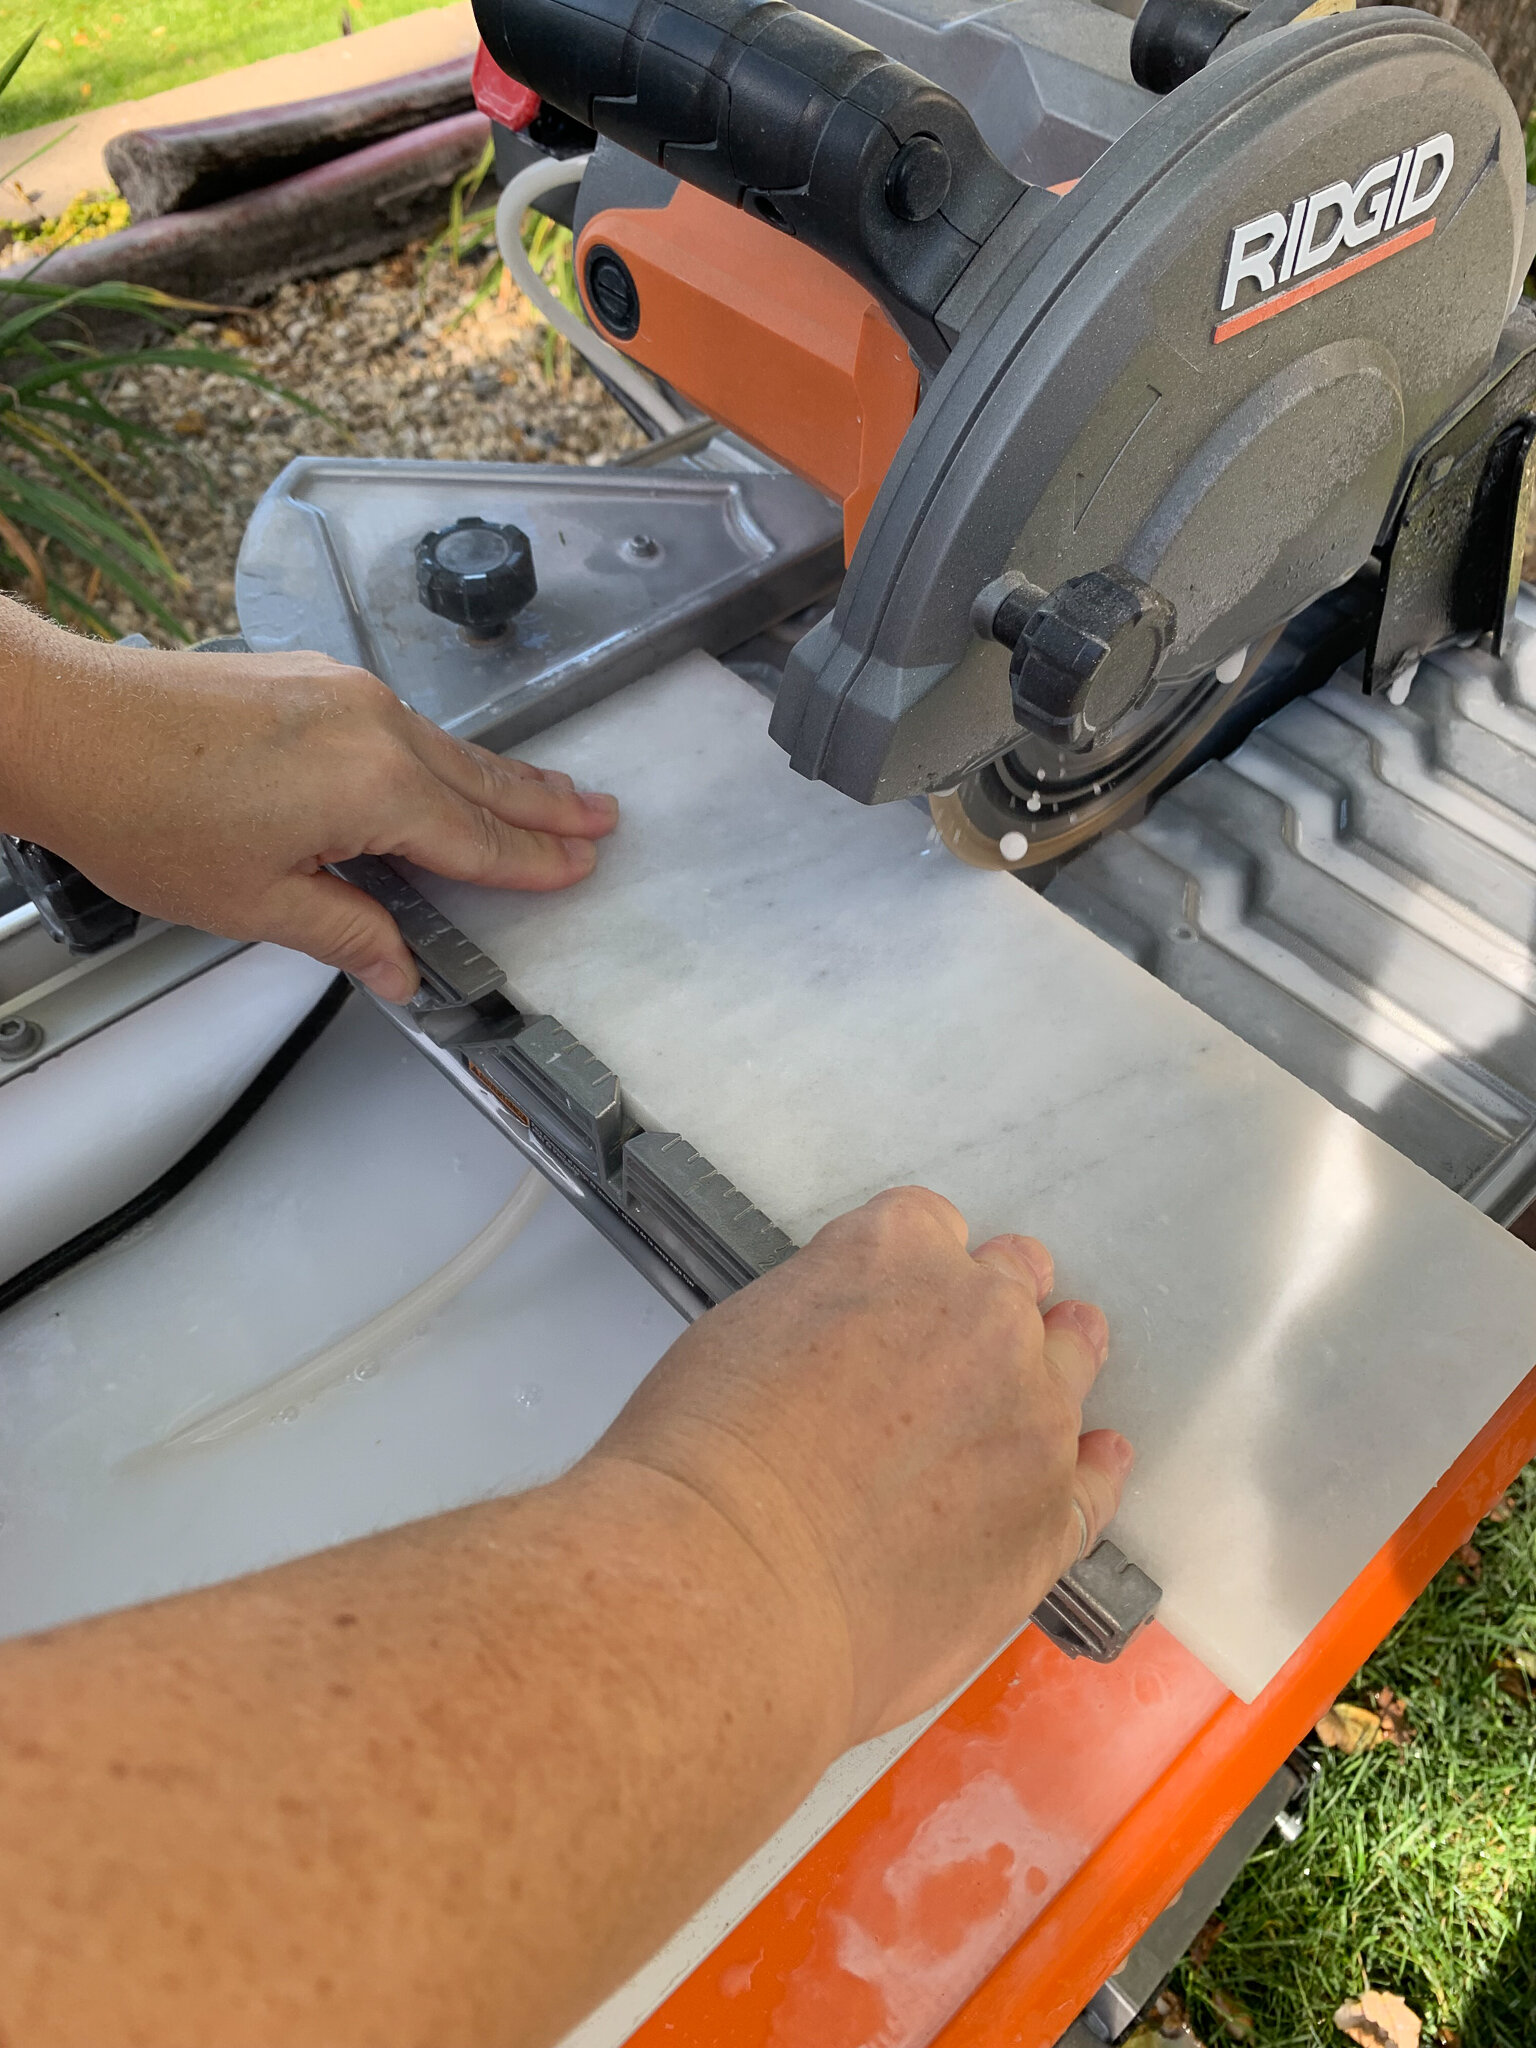
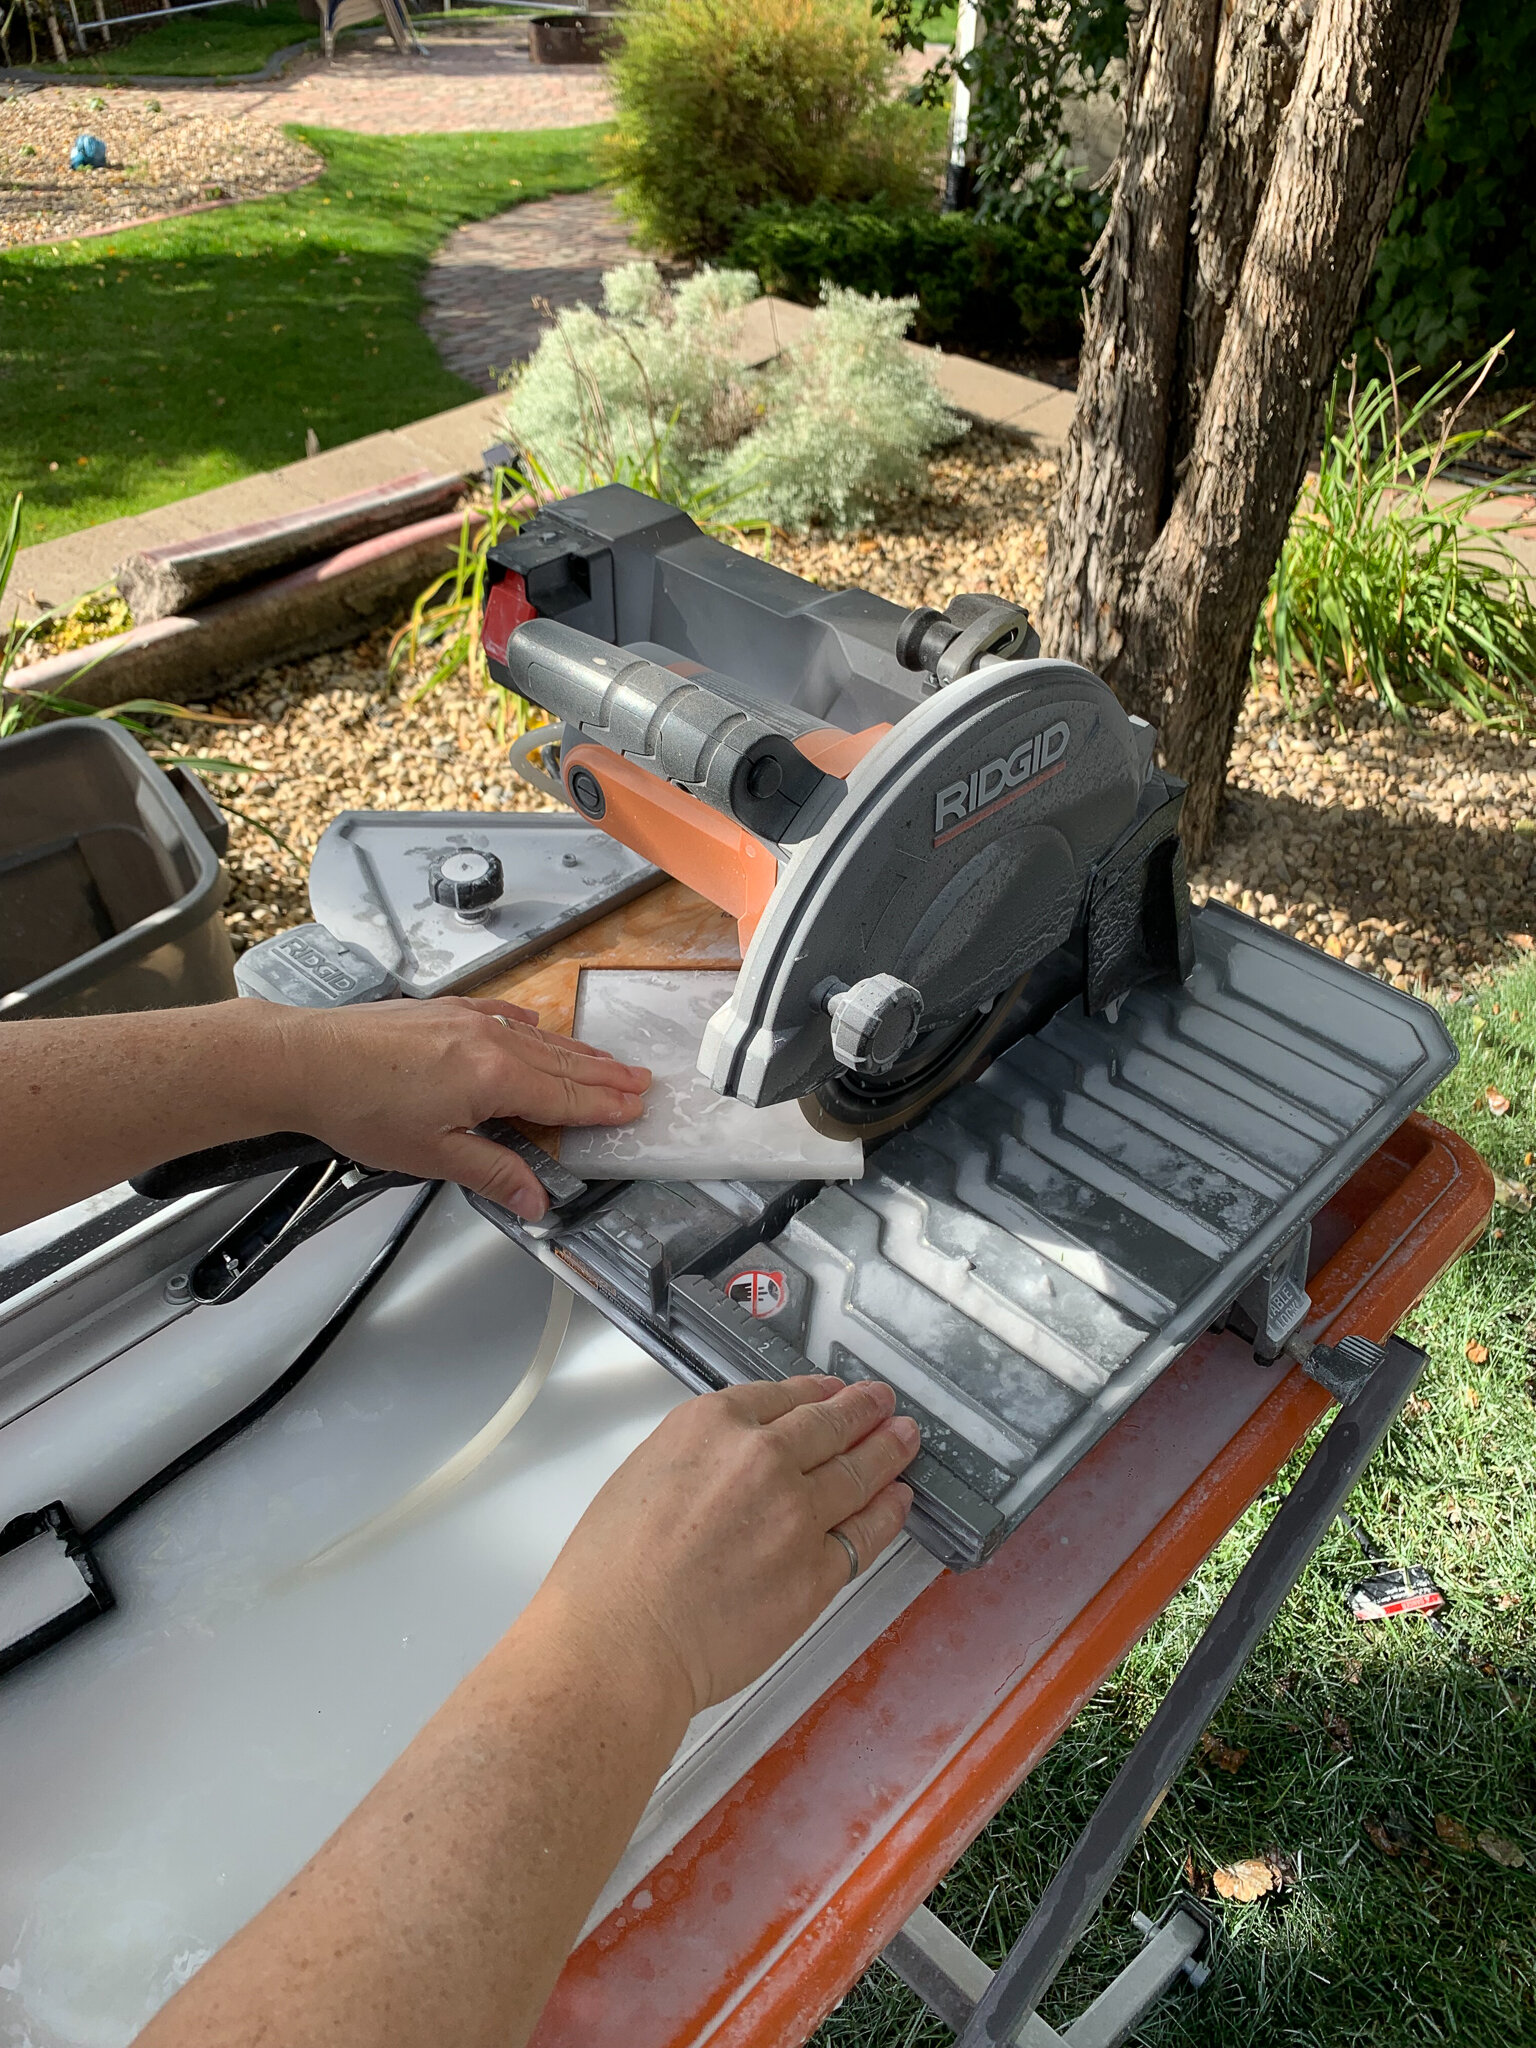
First, I cut the white squares: I set the saw guide and did some test runs to make sure my tile was EXACTLY 5” after it was cut. I have said it before but I’ll say it again – these tiles are very dependent on very accurate measurements for everything – if the tile is a tad smaller or larger than 5” the corner jig will not work properly. Once I was happy with how the guide was set, I cut all the squares at once so I could be sure all the white squares were exactly the same. I cut my 12×24” tiles into 5’ strips first, then turned them the other way and cut those into 5” squares. I was very careful not to move the guide once it had been set.

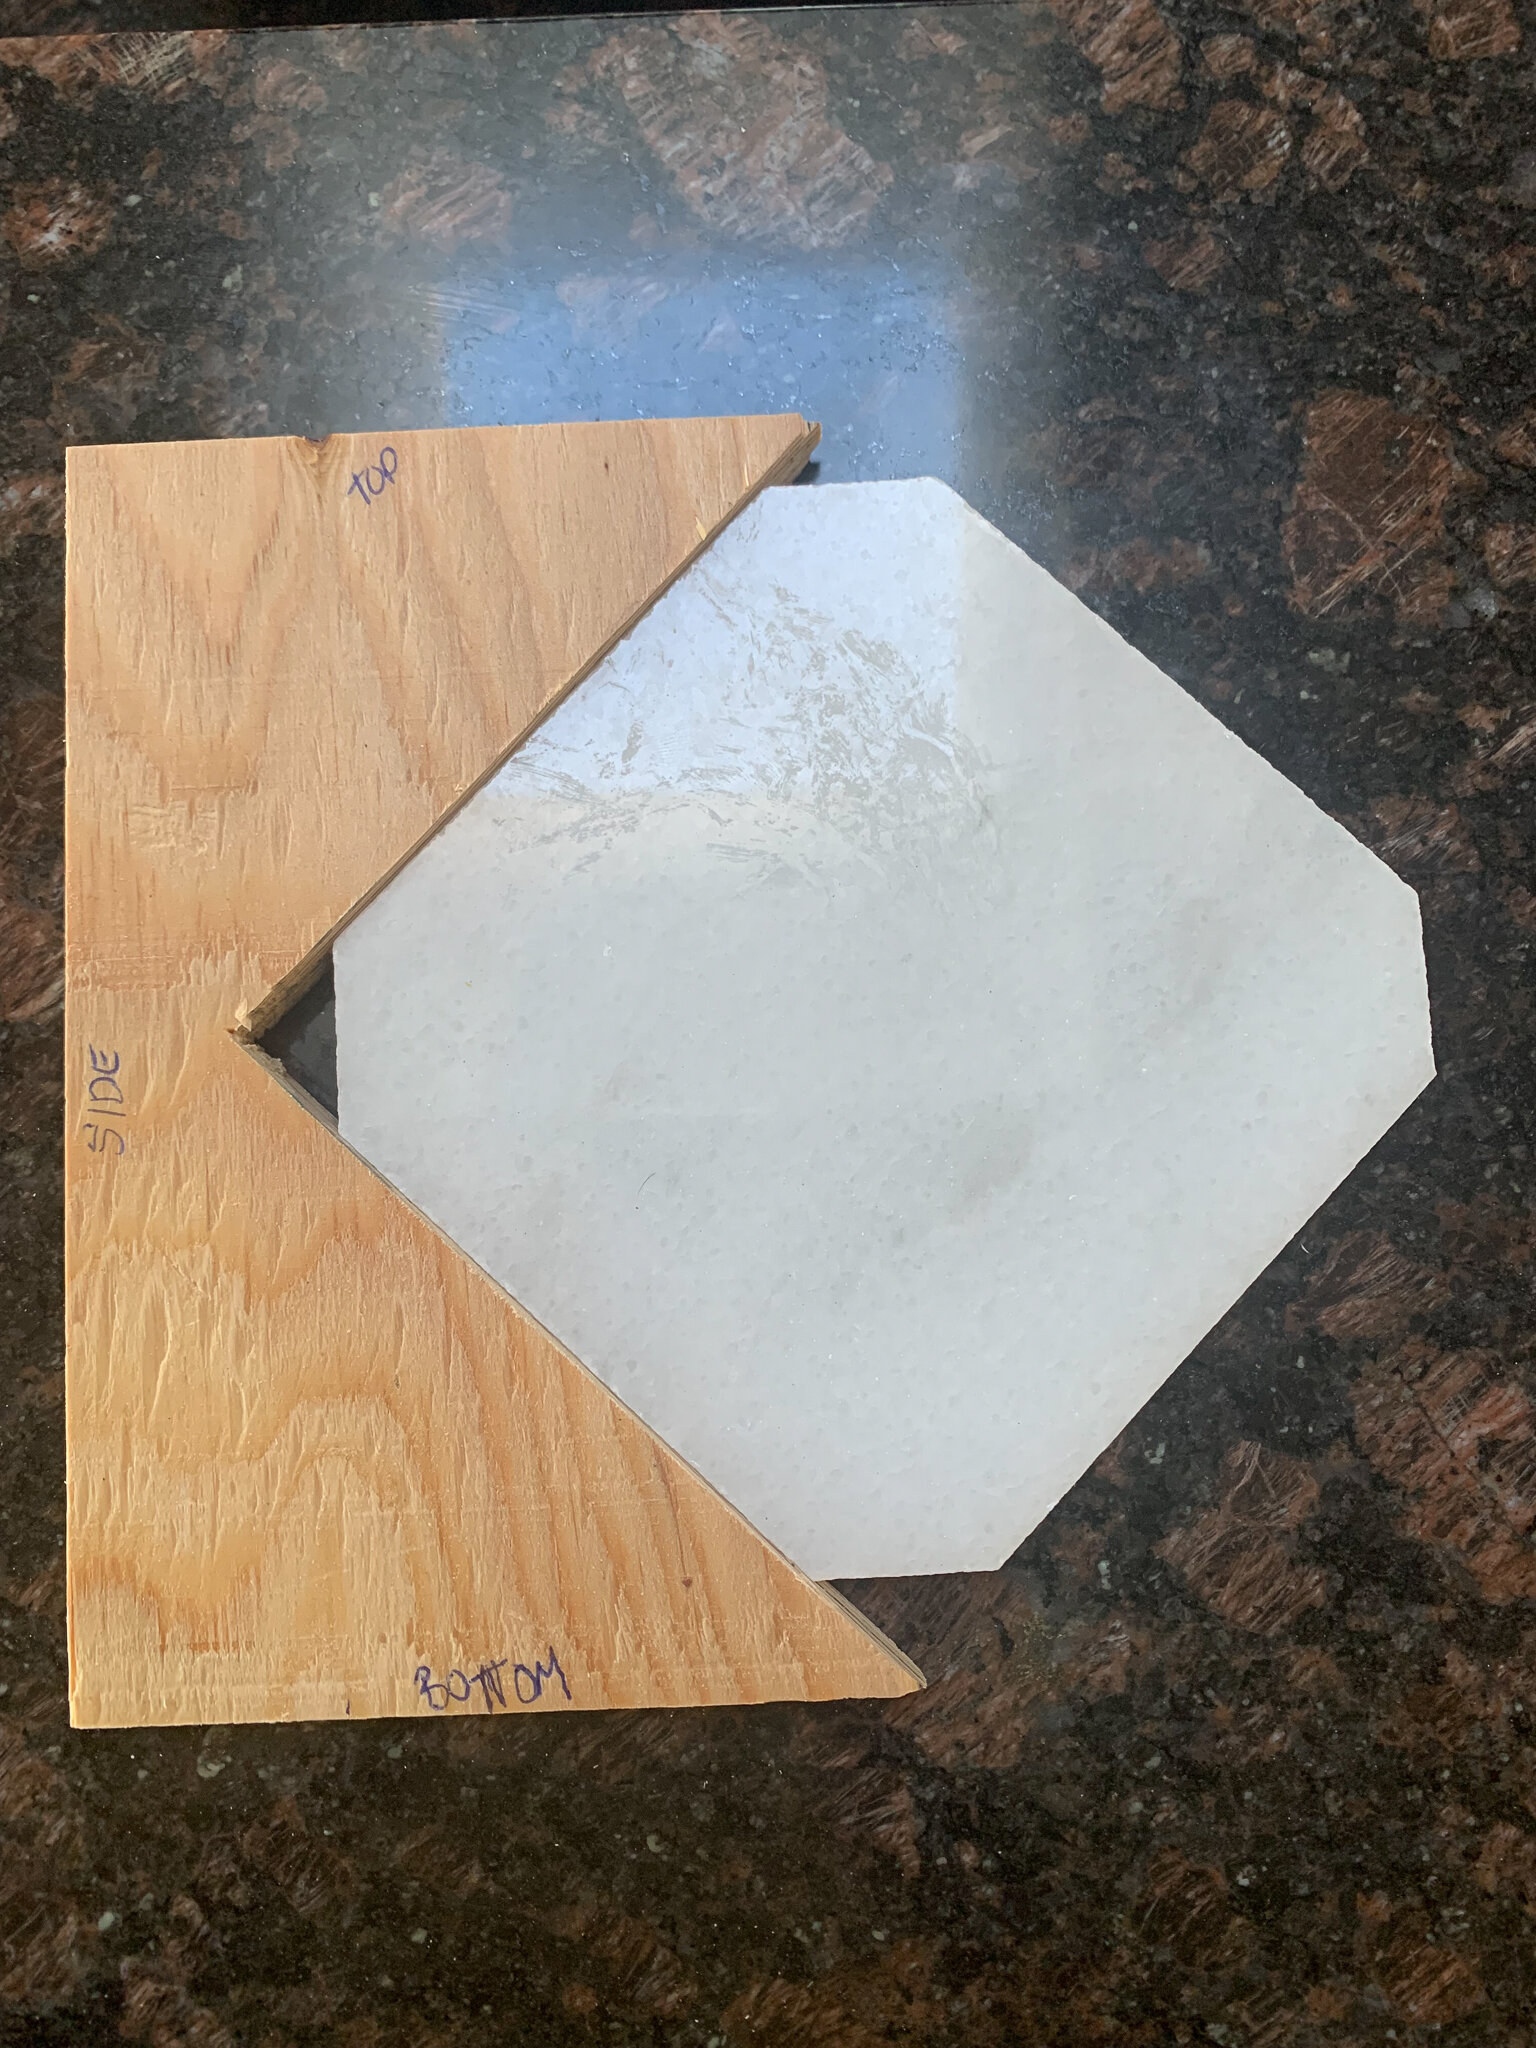
Next I cut the corners off of the white tiles using the jig. Once I had the jig cut, it needed to be placed in the exact right location on the saw in order to have the same cut on every corner. I determined the distance from the bottom corner of the jig to the cut face on the blade would need to be 3-1/16” (See diagram above). I placed the jig there and clamped it to the saw, and used the guide on the saw to support the left side.
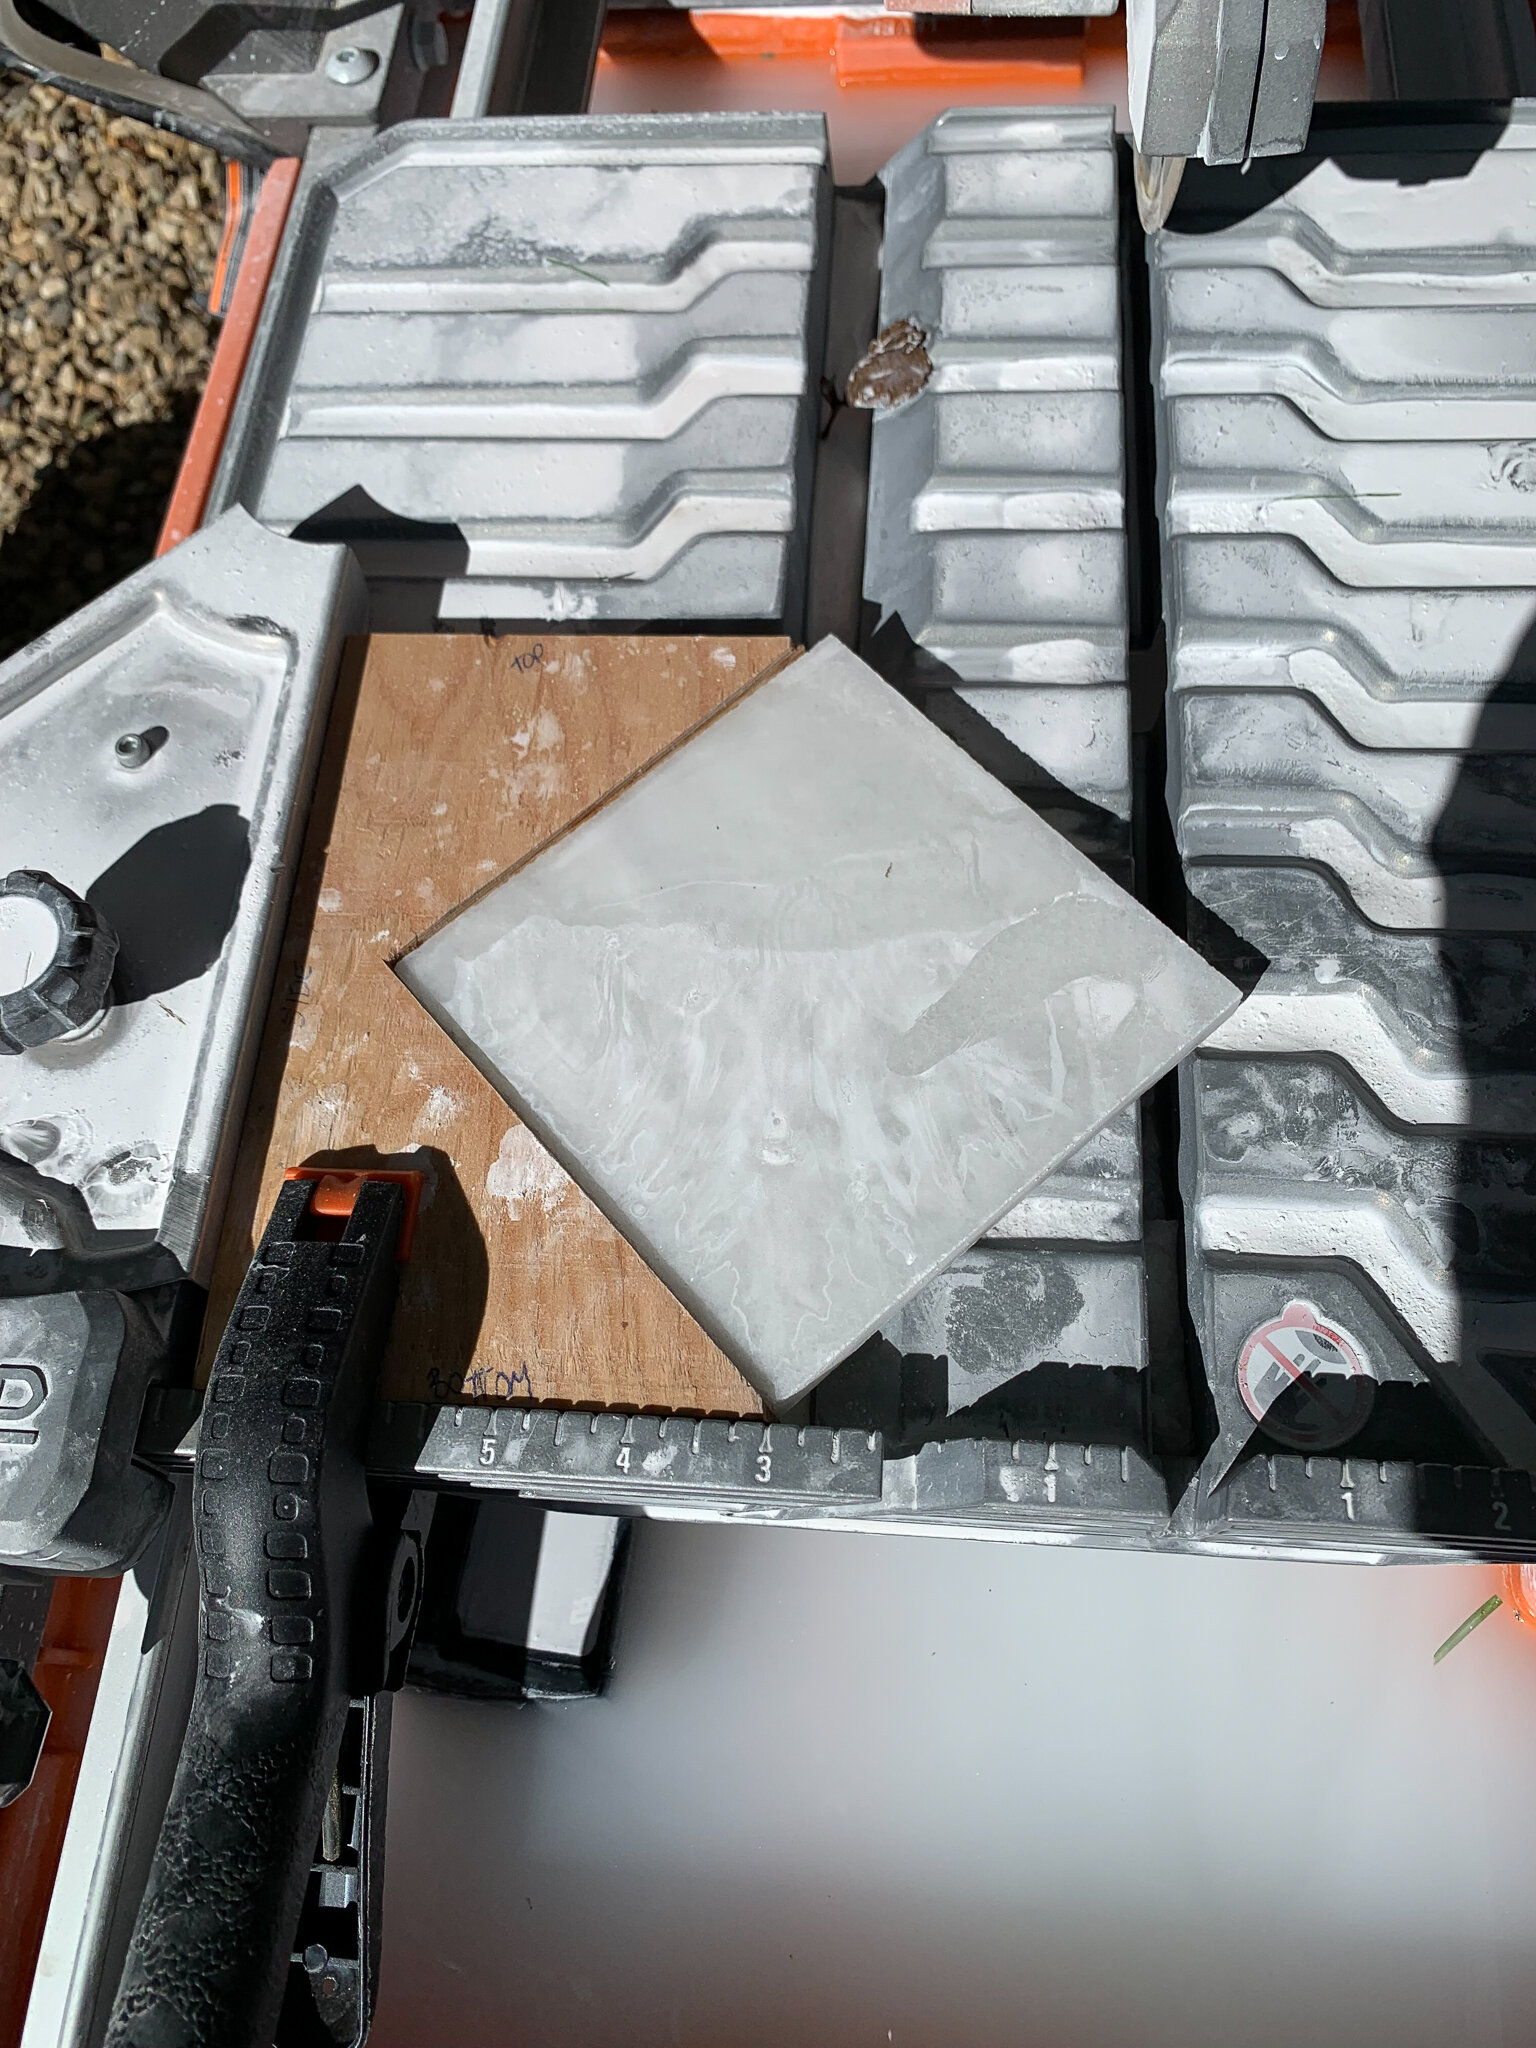
Once the jig was made and clamped, it was just a matter of cutting the corners off, turning it each time to fit tightly in the jig and sharpening the blade every few times.
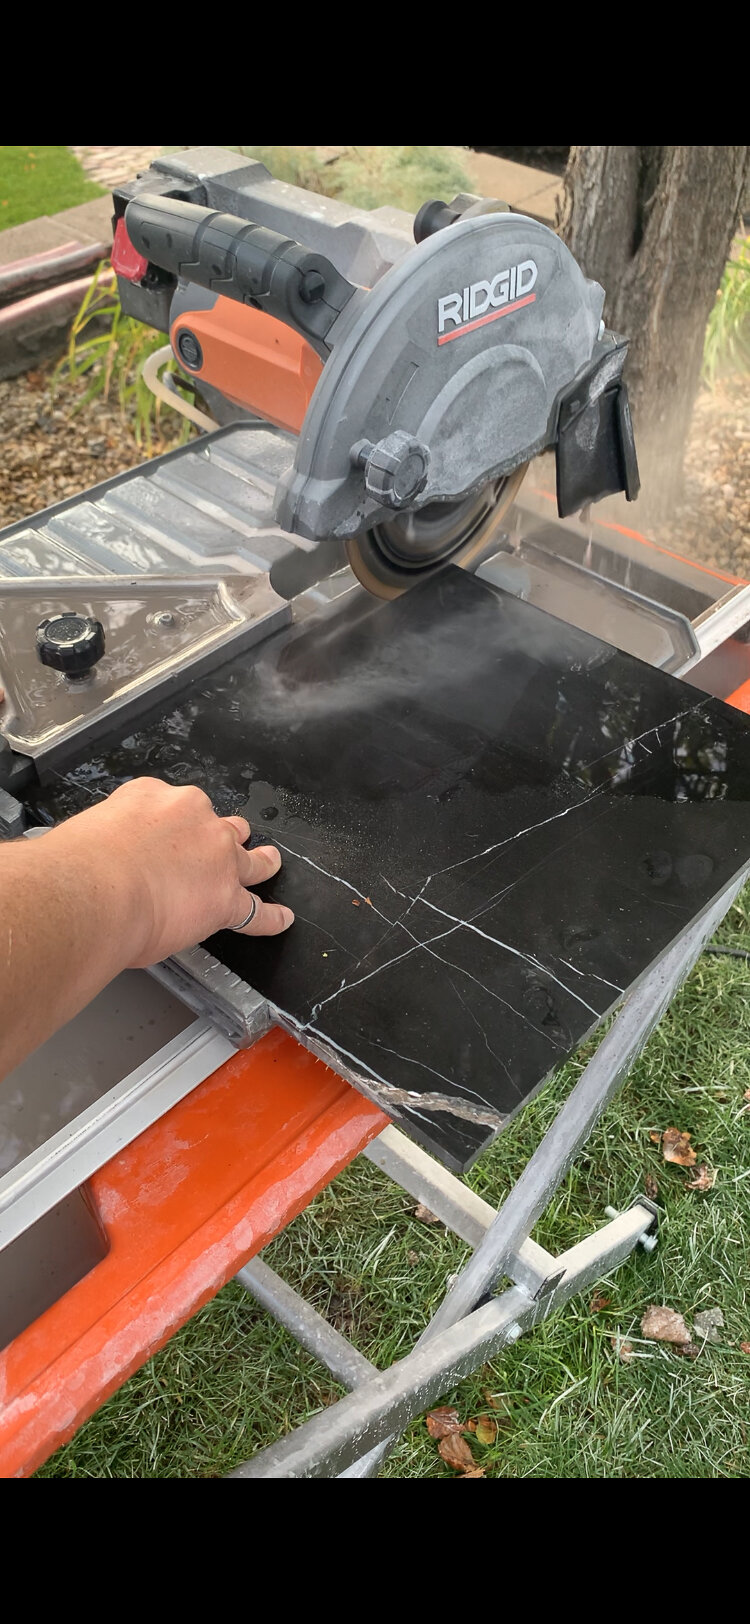
Lastly, I cut the black squares. I carefully set the saw guide to 1” from the blade. I made a sample cut and measured a few times to ensure what I was getting at the end was exactly 1”, but once I had that set, this was easy. I cut 1” strips off the black tile, then turned those strips the other way, making 1” squares.
That’s it! I mean, repeat about 457,342 times, but other than that, that’s it! It took me about 6 hours to cut enough tile for 20 square feet, so if you are planning to do this, you can gauge your time accordingly! Now all that’s left is to install them, using whatever spacing I would like. I think I will go with a fairly tight grout line and white grout to minimize any imperfections that there might be in my cuts. However, after laying them out, I can say that there are very few imperfections, these turned out pretty perfect!
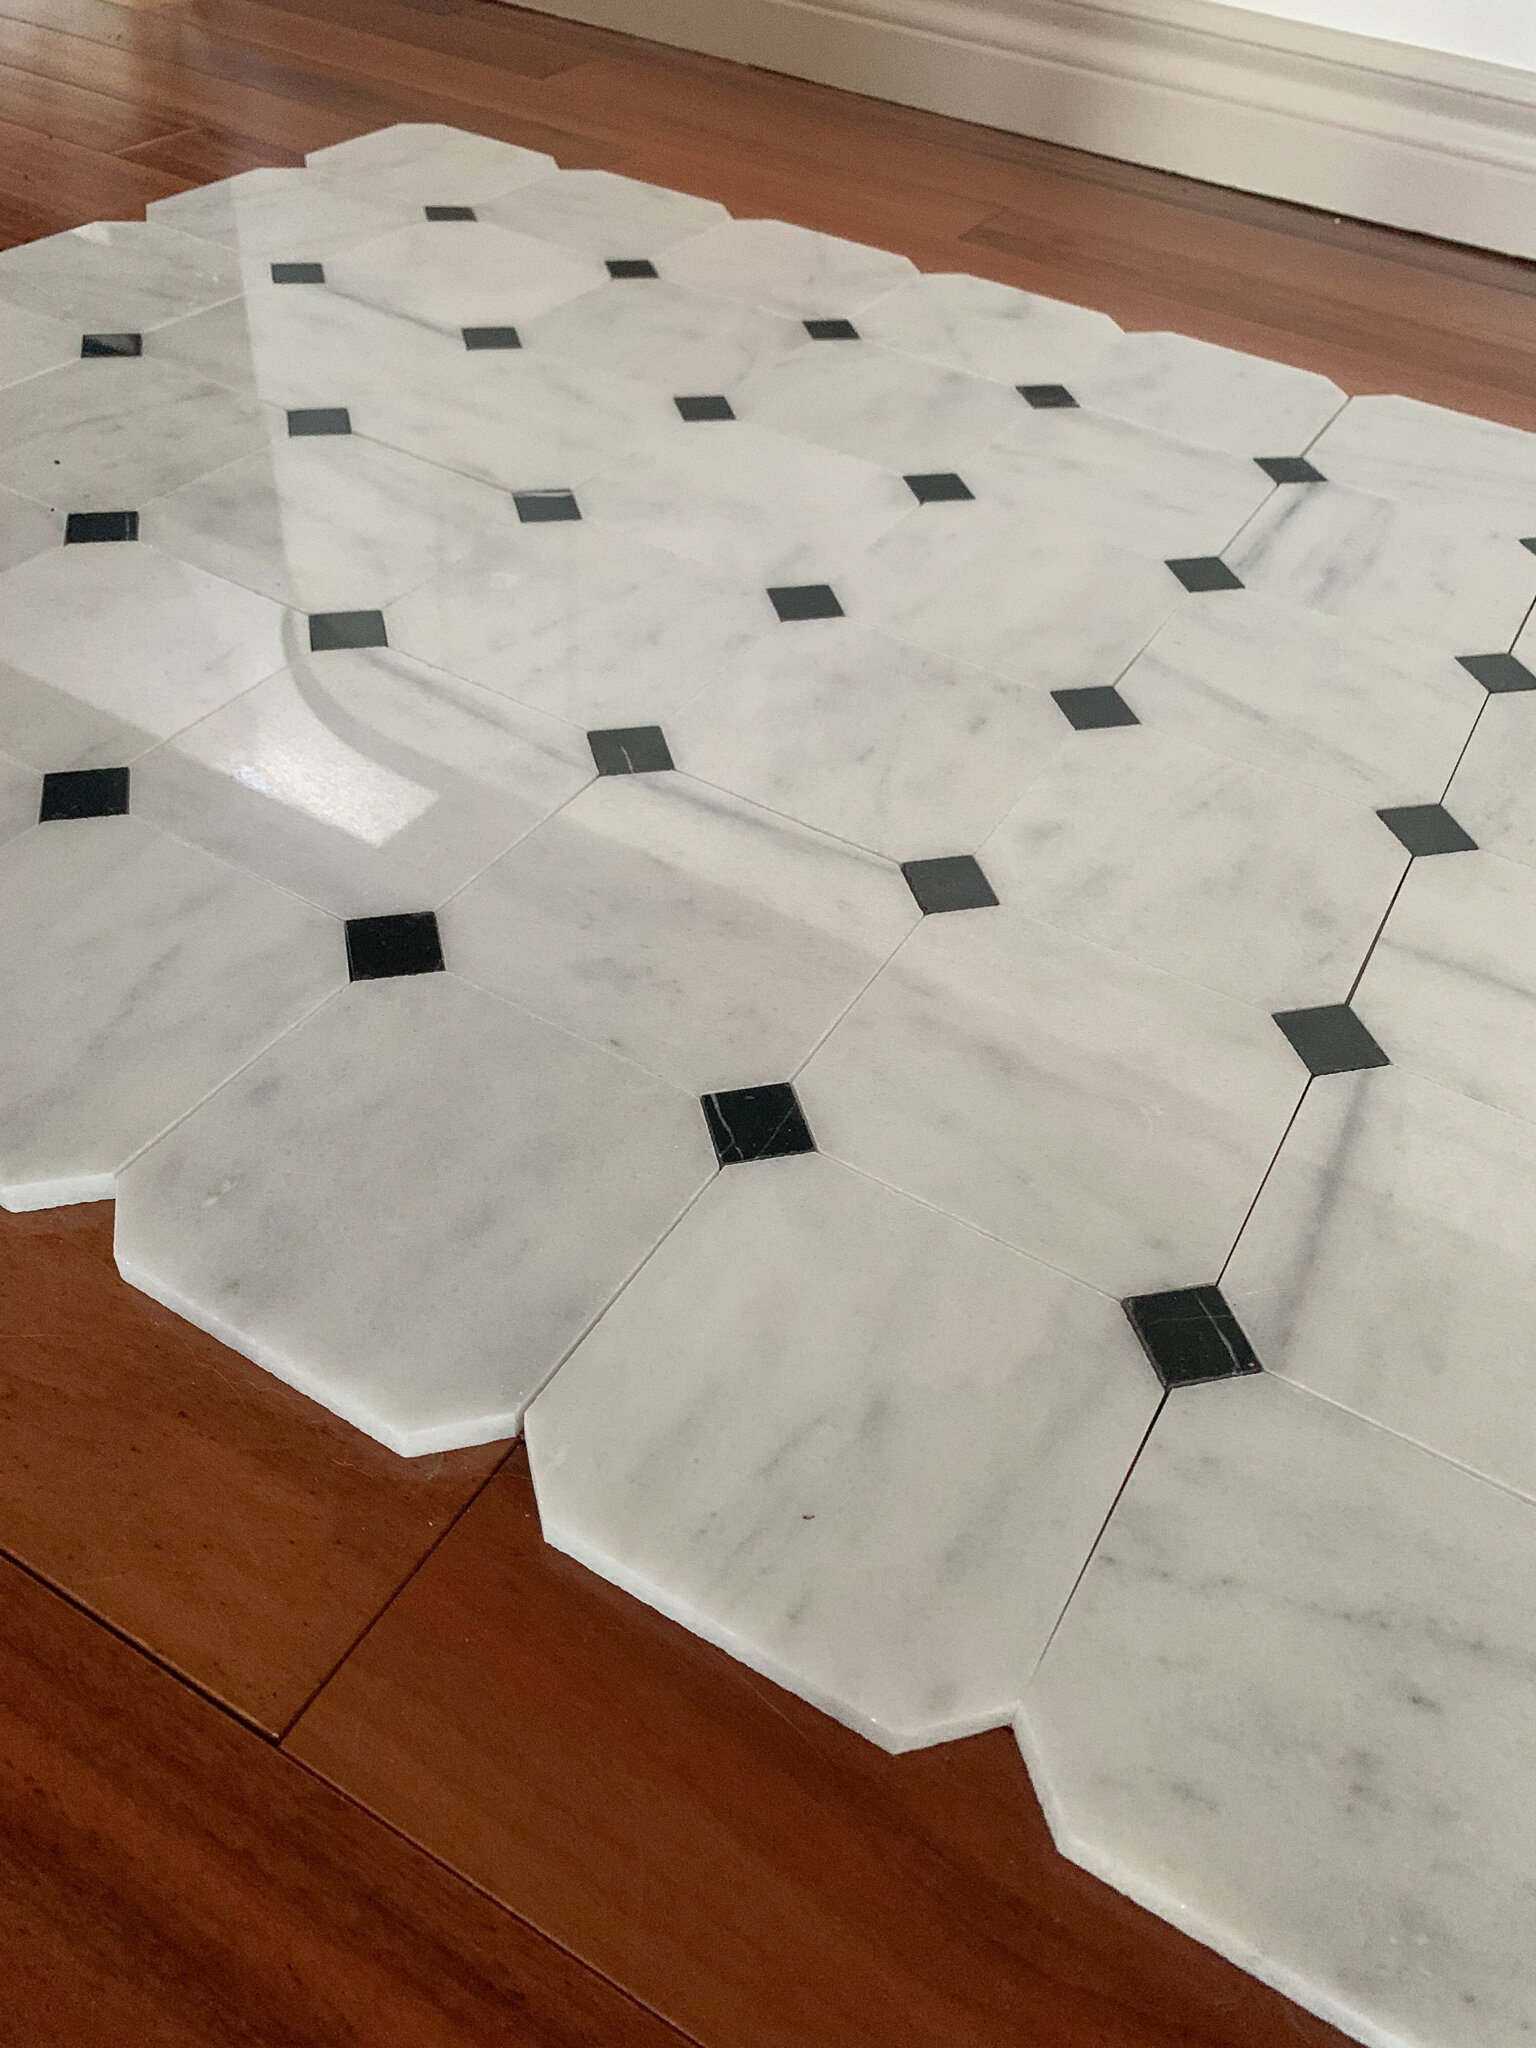
As for the savings – the custom tile was going to cost me in the order of $55/ft2, and taking into account waste, it was about $10/ ft2 for this tile. I’m pretty excited about this, its going to save me a ton of money and I feel like because I cut it myself I’m surely going to love it forever!
You might also like:
- DIY Pinch Pleat Curtains
- DIY Wood and Brass Spice Rack
- DIY Pull Out Tray for Appliances (Using a Stone Remnant!)
- How to Make Your Refrigerator Look Built-In
- DIY Laundry Room Countertop (Using an Old Door!)
- How Much does it cost to DIY a Kitchen?
- Historic Bathroom Tile Designs using Fireclay
Whoa, get out of here! This is insanely amazing!
So impressive!! Thank you for sharing your experience and process ♥️
Thank you so much!
Thank you for this! I have been thinking about doing the same thing and then I found you post! Great to know im not alone.
Let me know if you do it!