How to Make Printed Art Look Like a Painting
I love art. Art can make or break the design of a room and breathes personality into it. It tells a story about those people that live there. Sometimes it reflects their travels, their likes and dislikes, or invokes memories of their childhood. Real, original art is beautiful but can also be super expensive, and if you realize just how much art one needs in their home you can invest a fair bit in art, alone. Art prints can be a great alternative, but especially with a print of a painting, it can be super obvious that the art is printed and not original. However, there is a quick and easy way to make printed art look like a painting, and I’m going to show you how!
This post may contain affiliate links. That means if you purchase anything from these links I earn a small commission, at no extra cost to you! This helps support my blog, so thank you!
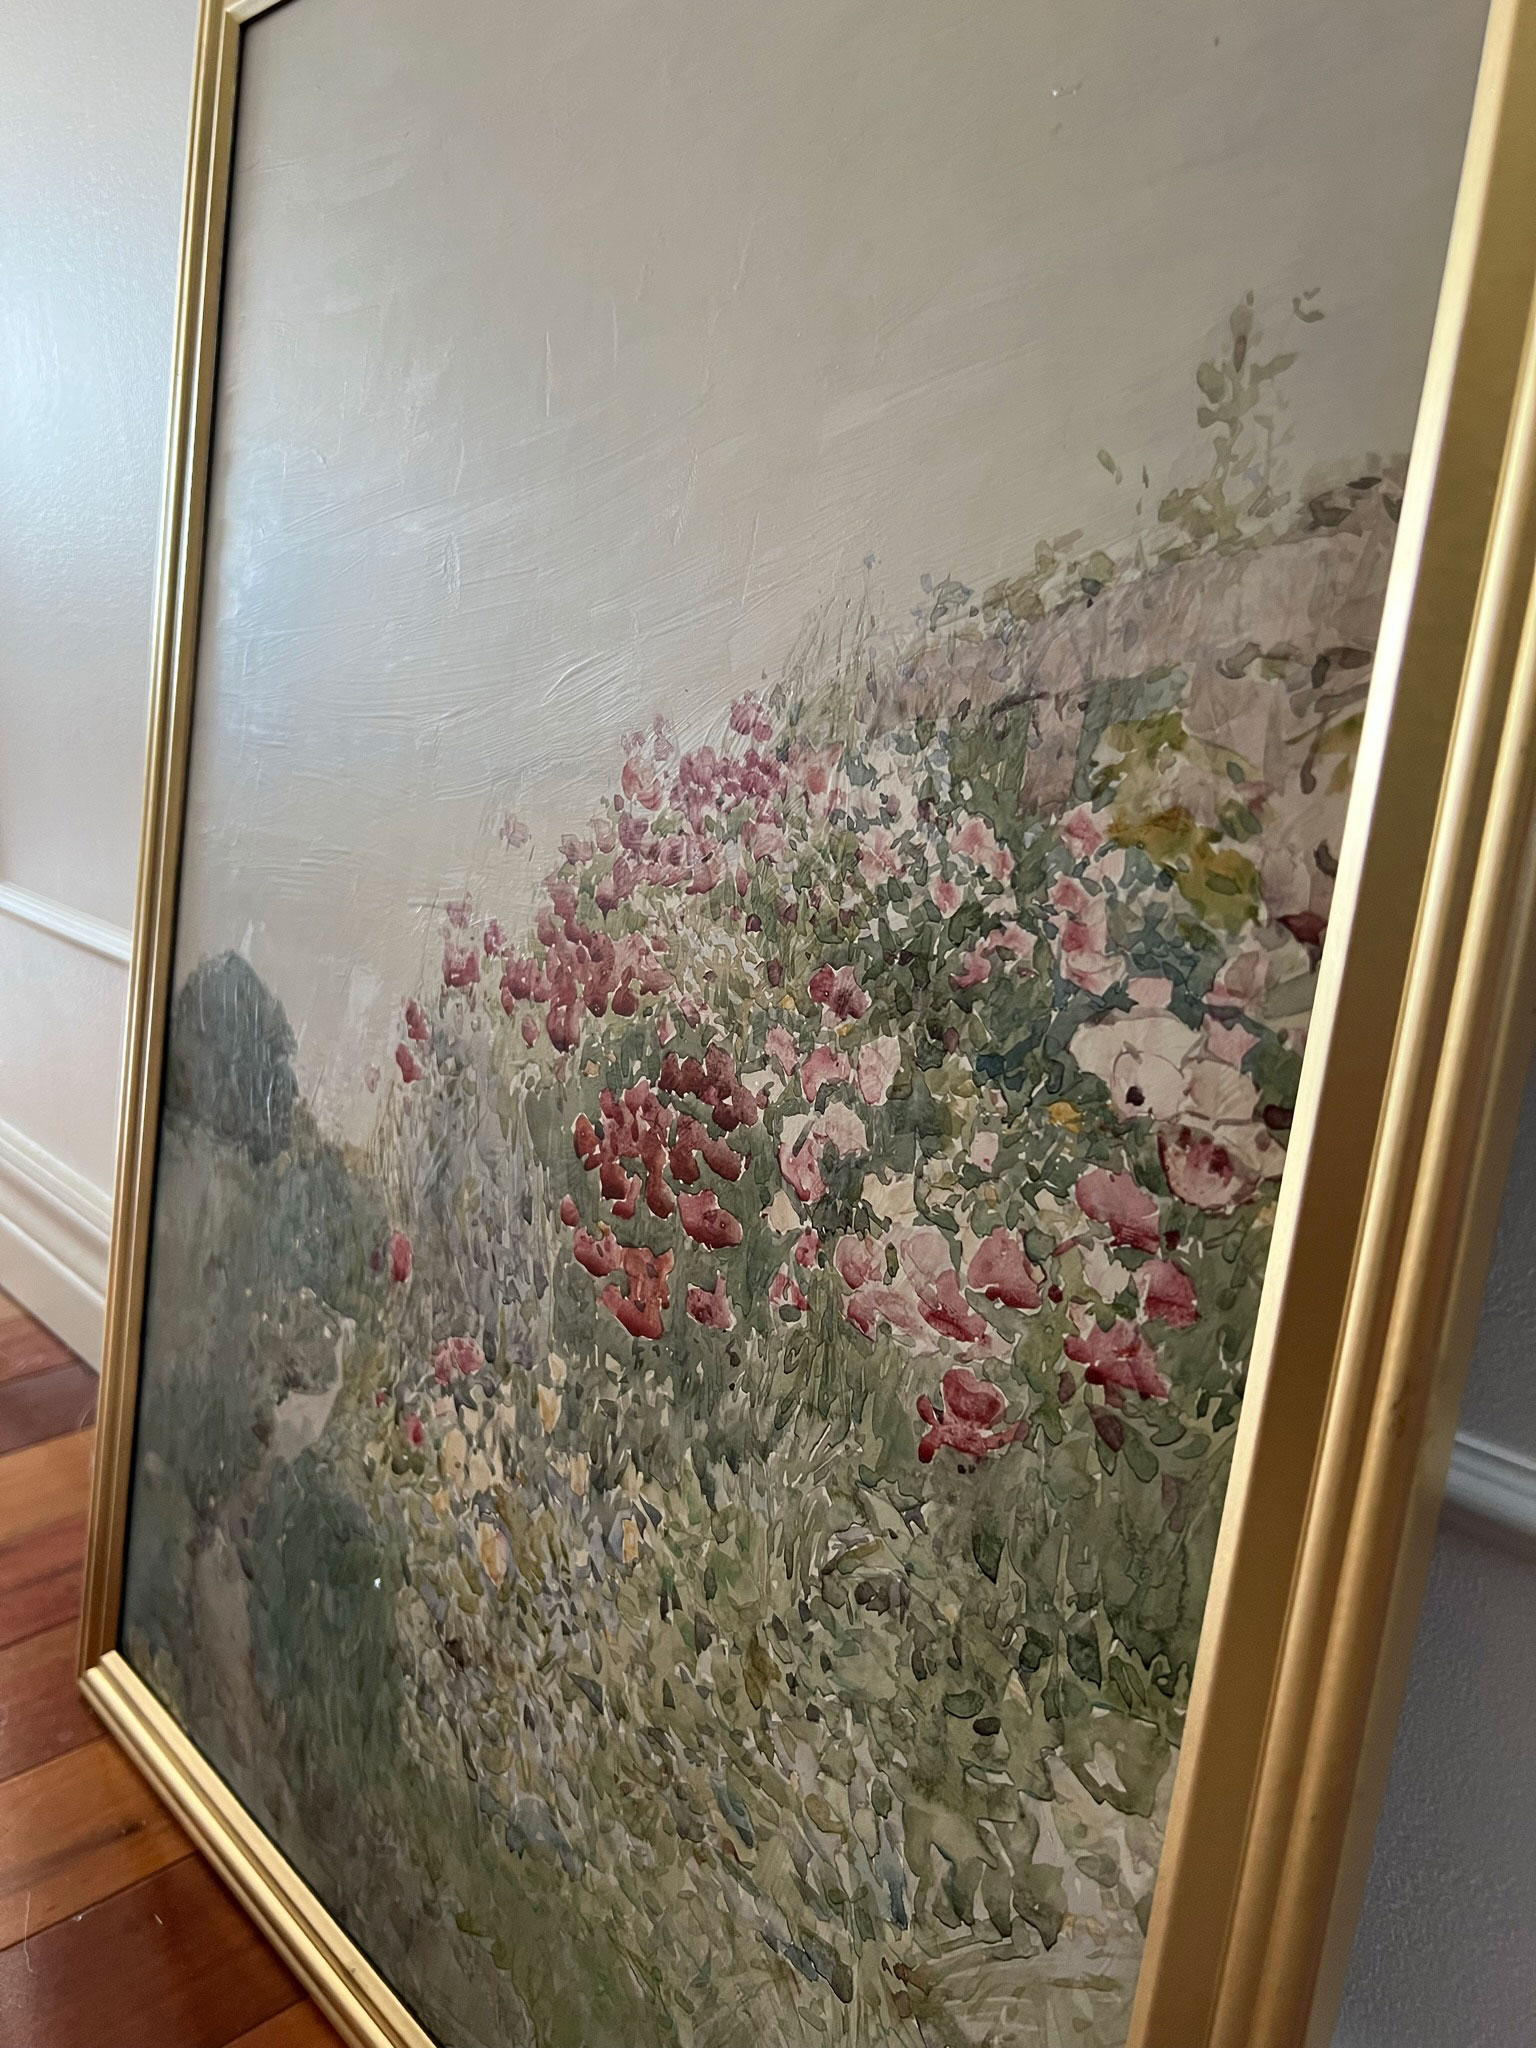
Table of Contents
- Where do you find digital download prints?
- How do you print your art prints?
- Where do you find frames?
- How do you make printed art look like a painting?
- Shop This Post
- You might also like:
Where do you find digital download prints?
Did you know that there is actually a ton of free art out there? Yes, I just said FREEEEEE. Where do you find such a thing? Many museums and other websites out there have digital images of art that are copyright free, usually, because the copyright has expired or never existed in the first place (because the art is old enough.) The Met, and the Smithsonian, among many others all have loads of copyright-free art. I wrote a blog post about Affordable Art and talk about it in that post. A Home is Announced currently has a website that curates links to the beautiful art that can be downloaded for free! She also gives some tips there on how to resize your art and what to look for in the art you are enlarging. The downside to this type of art is that you often have to spend some time re-sizing or editing the download to print in the size you want, so you do have to have a few digital skills to get it from the museum website to a printer.
There are also many print shops on sites like Etsy that sell digital downloads. One of my favourite print shops is Juniper Print Shop, they have a great collection of art from either vintage sources or by partnering with artists and they sell paper prints as well as digital downloads. Most print shops will have different sizes of downloads so you can choose what size you want and send that right to the print shop, which makes things easy. The benefit of buying from a print shop is that they have already done the work to ensure that your digital image can be printed to a larger size without losing quality.
How do you print your art prints?
There are a ton of places you can print your art. I used to print mine almost exclusively at Costco but they recently shut down the photo lab in my store, so I’m using London Drugs currently. I have also used Staples with pretty good results, and I’ve heard good things about VistaPrint!
Where do you find frames?
My #1 favourite place to find frames is second-hand, from a thrift store or Facebook Marketplace. Often, people will sell their art super cheap because the art that is inside of it is not that nice but sometimes the frame is of great quality. I love finding great frames and printing art to fill them.
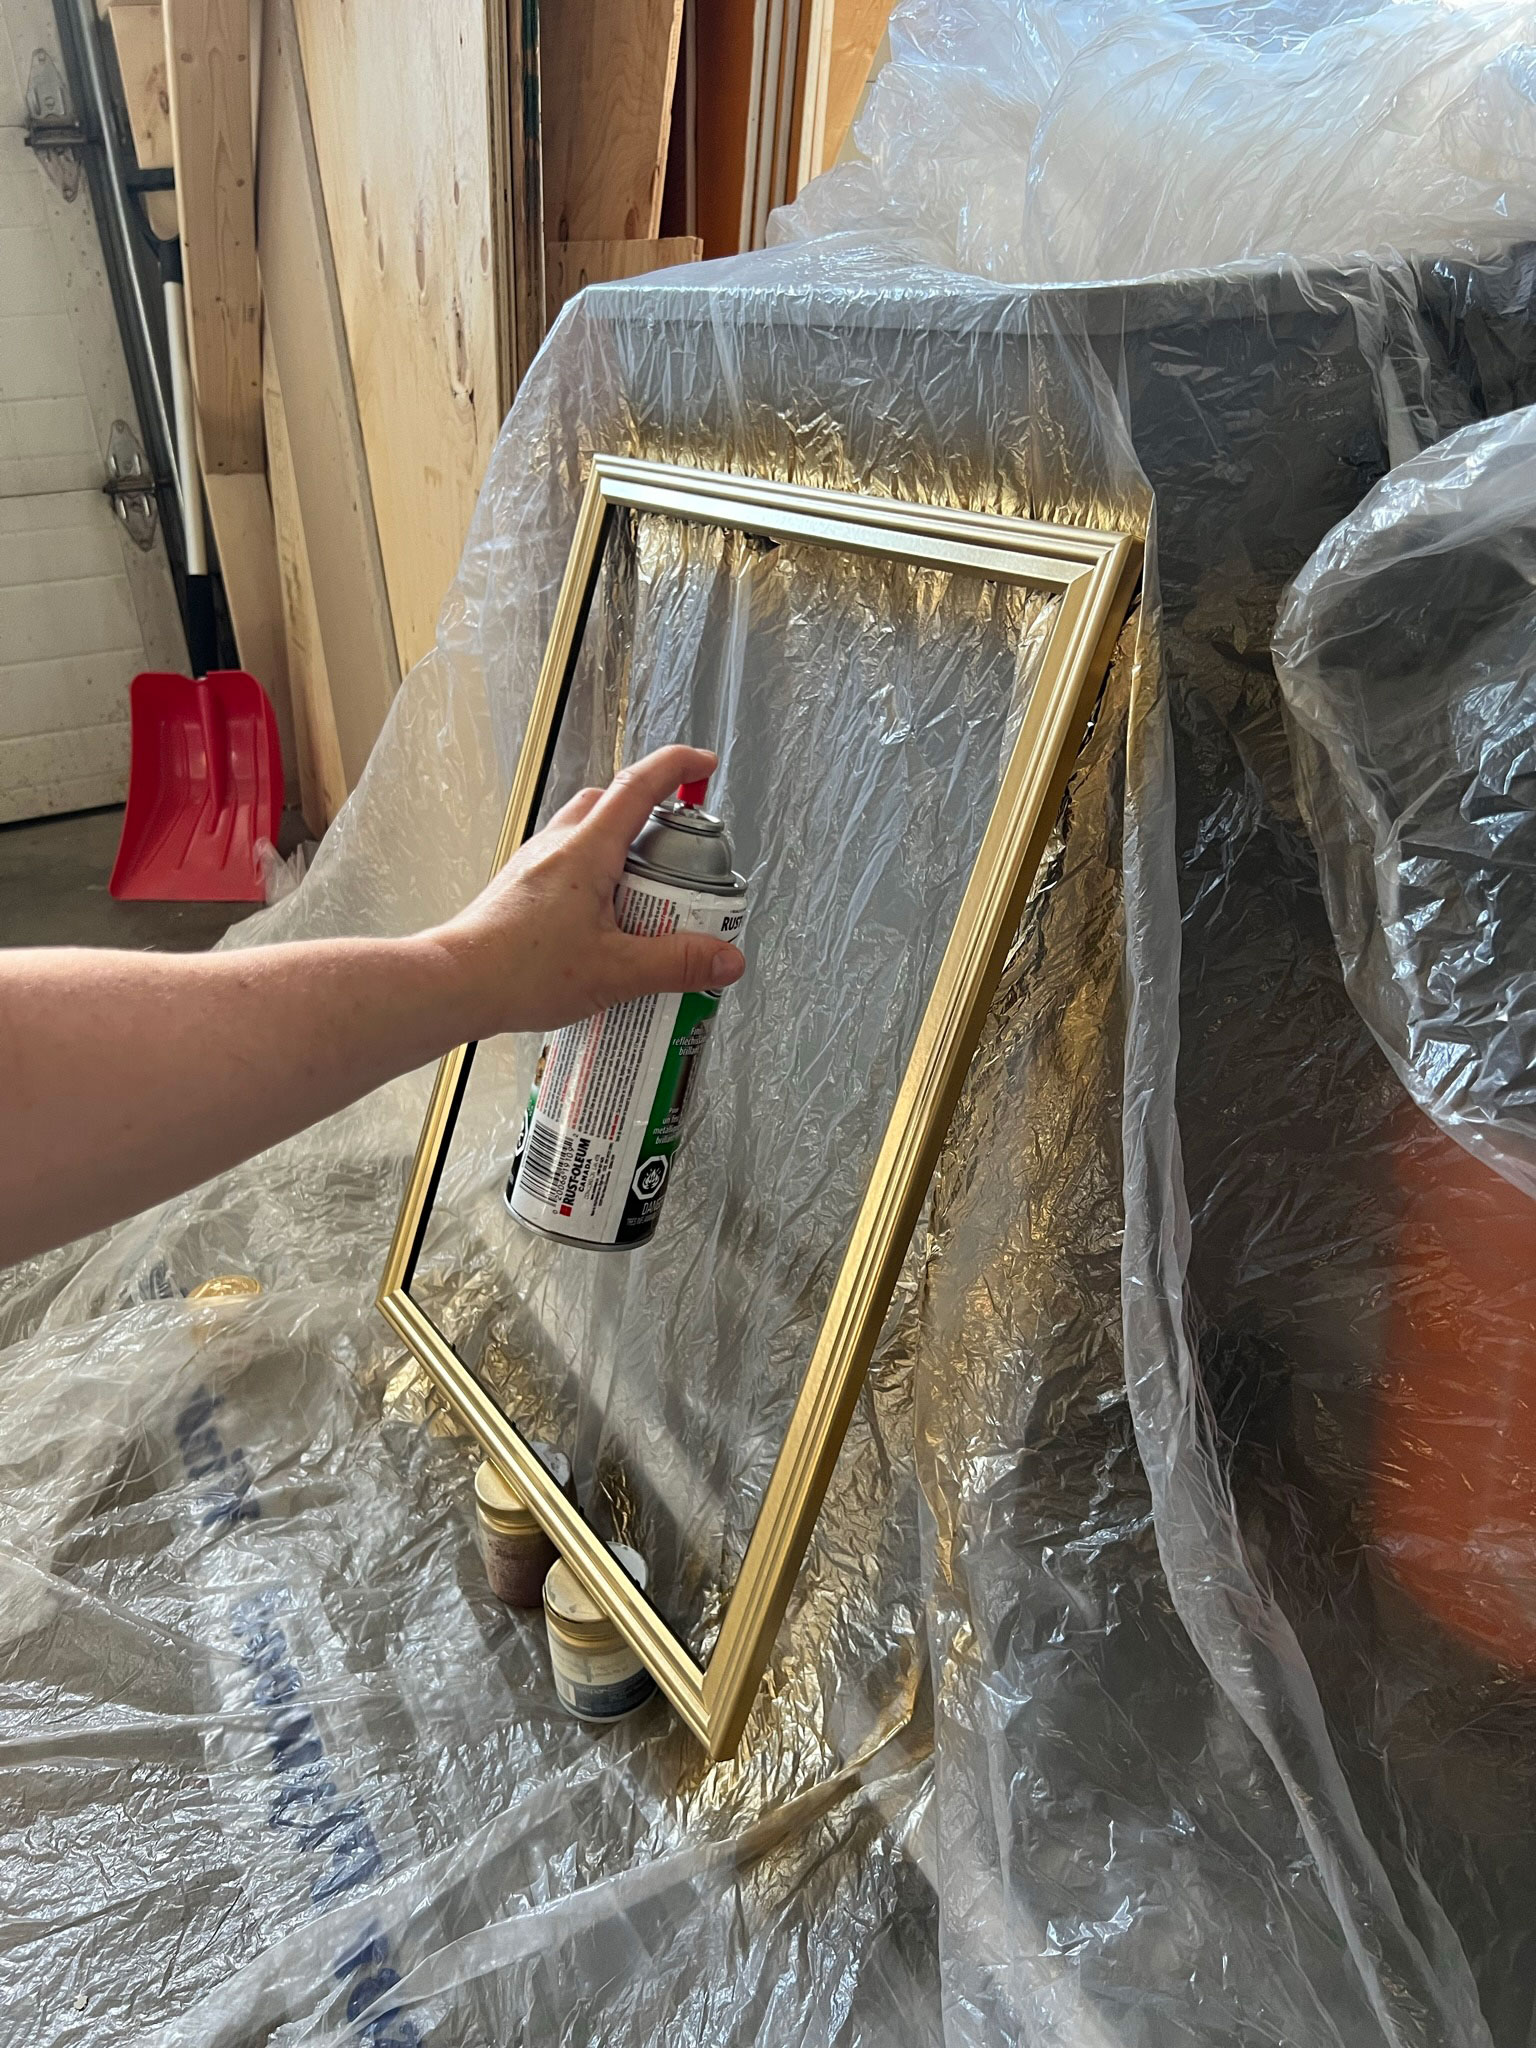
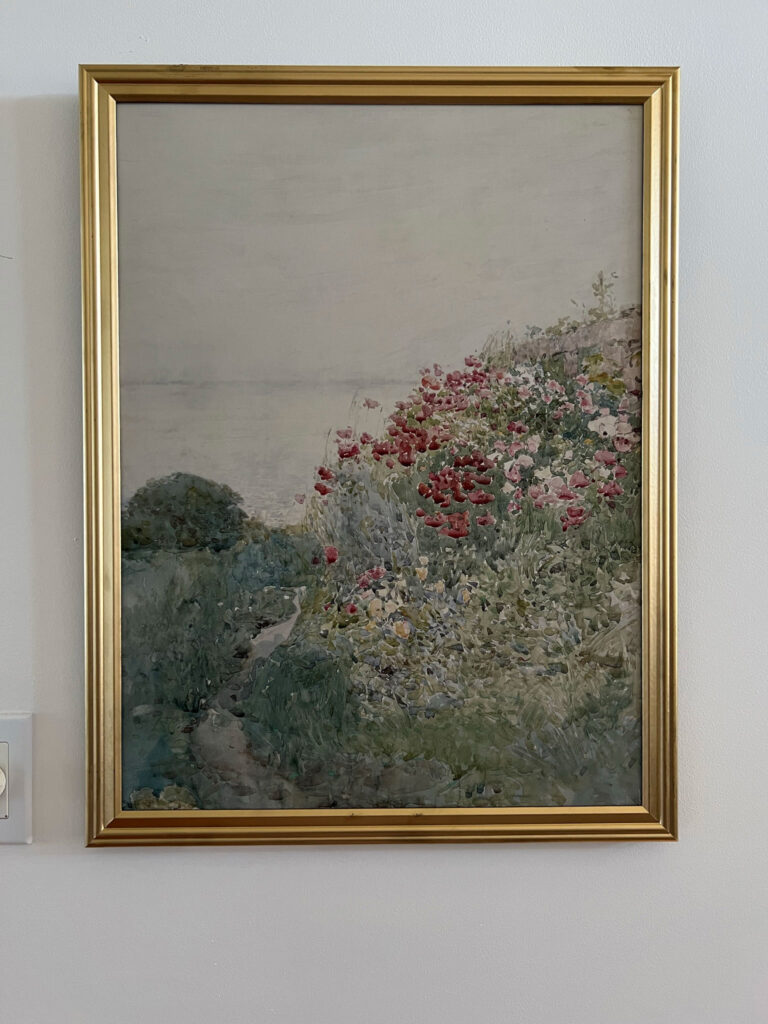
Another place I have found a lot of frames is Michaels. They have a pretty good selection of basic or more modern frames if you want the art to be the star. I usually just buy their basic/ most inexpensive frame. I bought this one recently from Michaels and spray-painted it using my favourite gold spray paint, and it came out great.
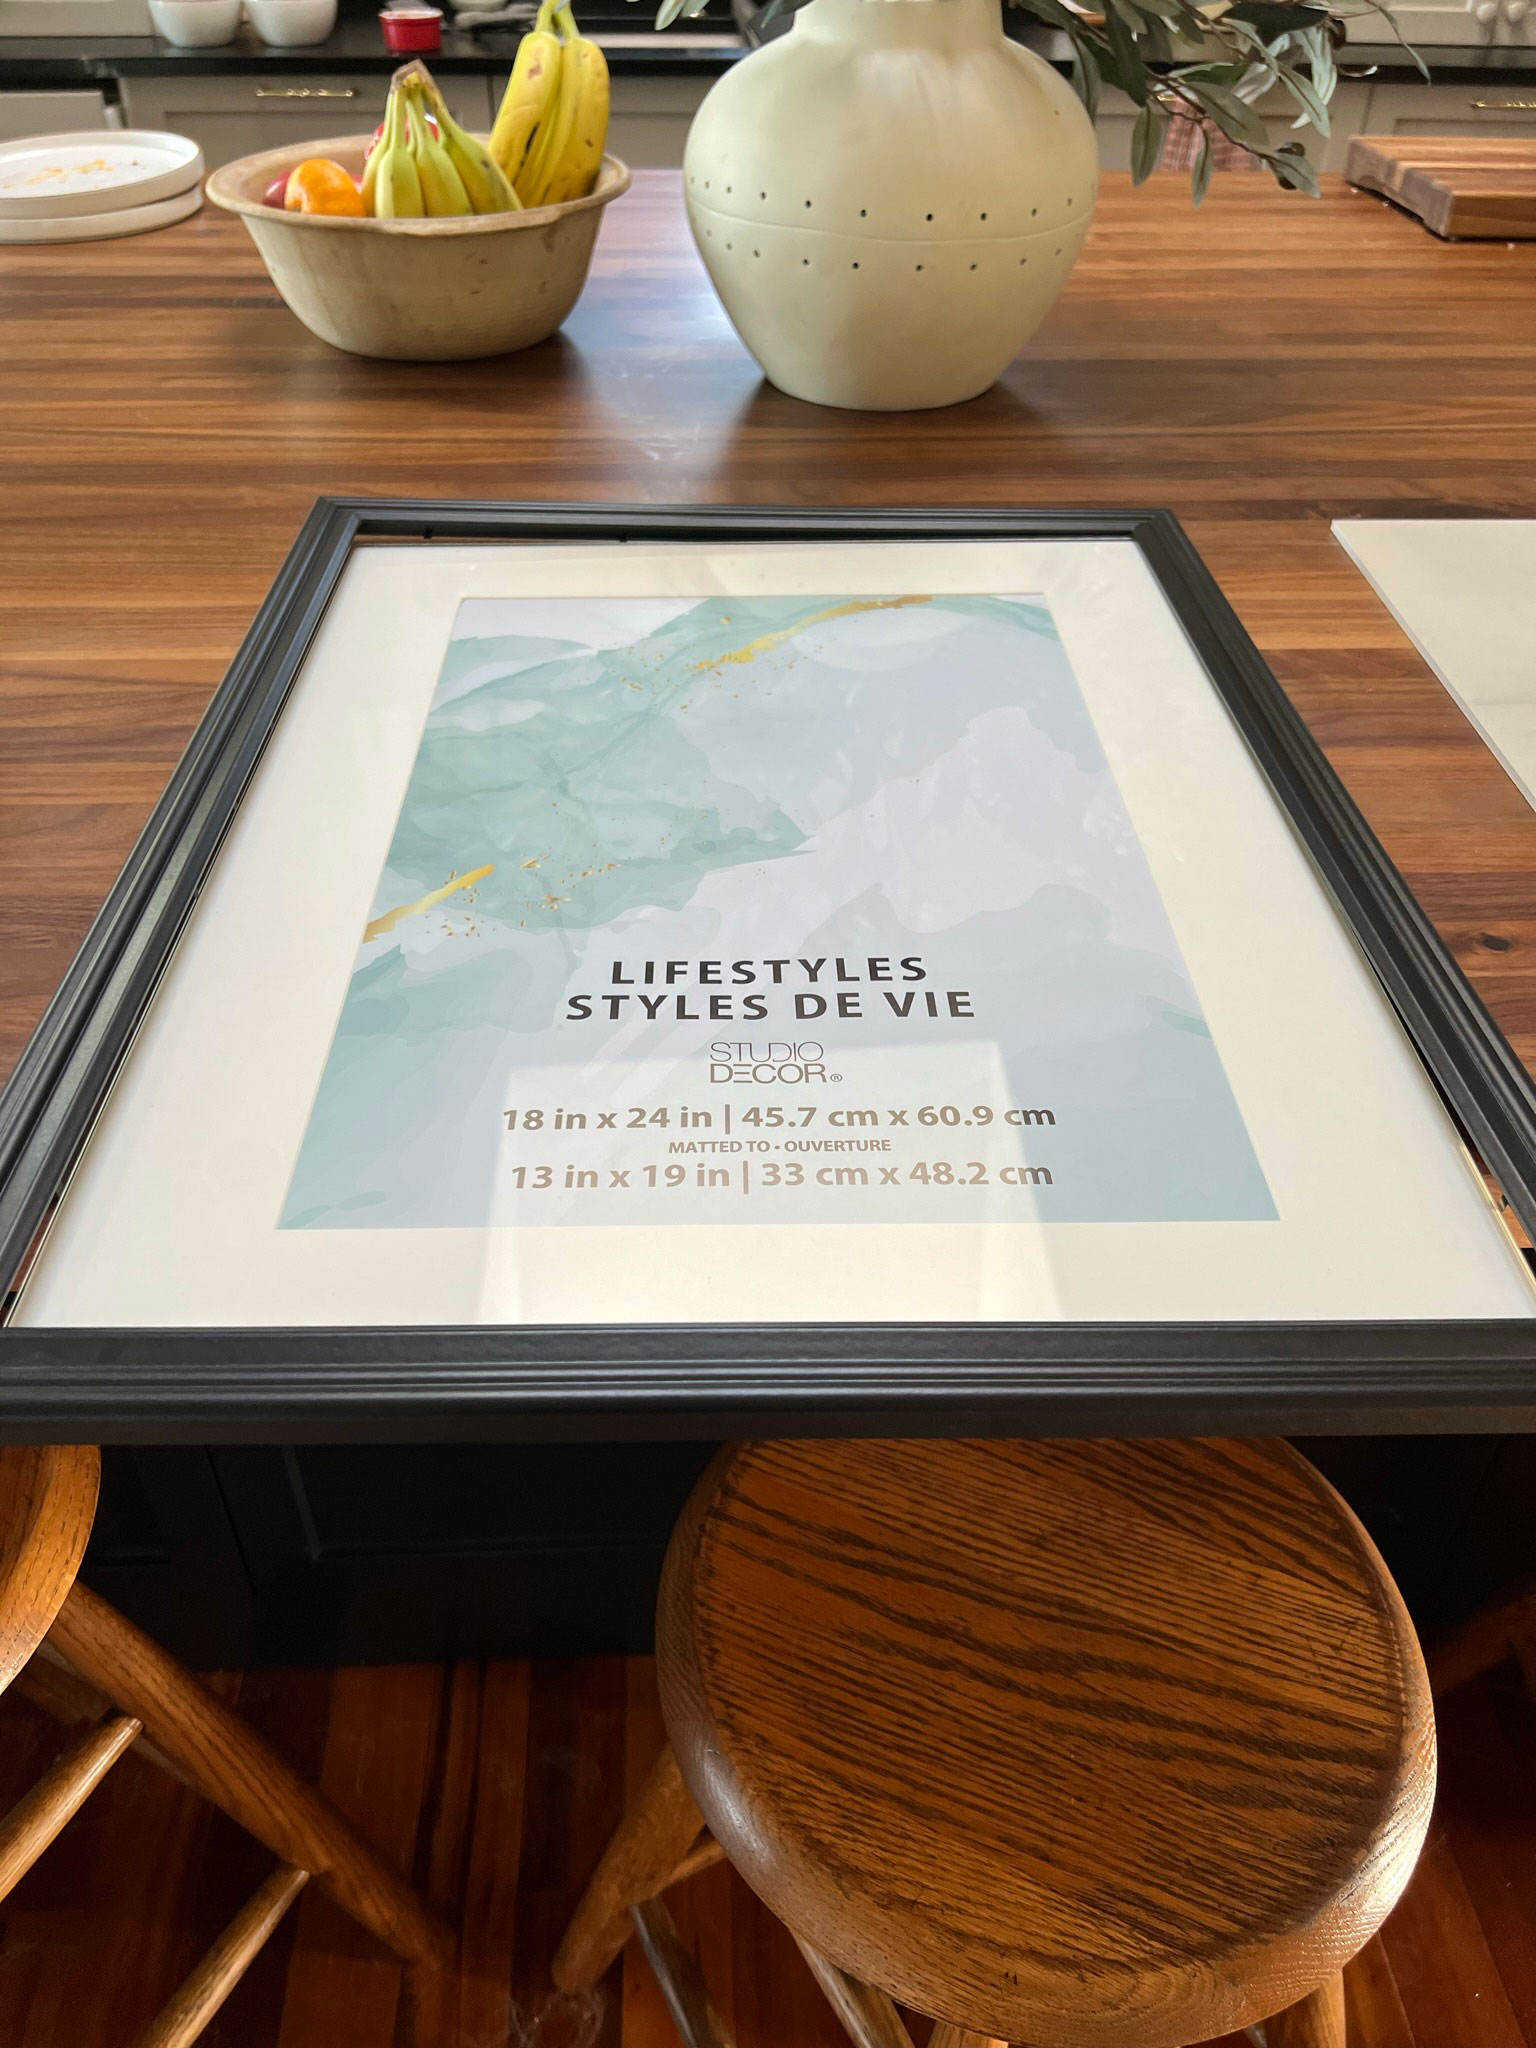
Heere are a few inexpensive frames:
How do you make printed art look like a painting?
This is such an easy project that you can do in a few hours, you are going to be upgrading all the prints in your house! Read on to find out how to make your printed art look like a painting in just an hour or so!
- Step 1 – Choose your frame. I almost always pick a frame before I choose my print to keep things affordable. It is easier to print art to fit a pre-made frame that is the right size for your space than to find a frame for an odd-sized image. (I used this frame and spray painted it with this gold spray paint).
- Step 2 – Choose your art. If you have chosen free public domain art, you will need to digitally resize and enhance it. Or, if you have chosen it from a print shop, down it onto your computer in your chosen size.
- Step 3 – Have your art printed on a foam board. Places like Staples will have a photo lab where you can upload your digital image directly, online. Usually, it is fairly intuitive, you will want an enlarged print and I usually go for the matte or pearl option if they have one to cut down on the glare as much as possible. Be sure to check the crop before you finalize your order, they will show you if your image will need to be cropped before you order and you can see just what might be cut off, and make sure you are happy with it. Lately, I have been having my art printed directly onto a foam board. A foam board provides some rigidity to the print and helps the print look more real when you do the next step because it stays nice and rigid. London Drugs will print to a foam board for a small upcharge, as will Vista Print. I have also bought a self-adhesive sticky foam board at Staples to attach my print to as well but they don’t always have those in stock. The last (but least preferred option, in my opinion) would be to buy a foam board separately and use some spray adhesive to stick the print down onto the board. If you choose to do that, be sure to have help to make sure the print goes on smoothly without any bumps or wrinkles.
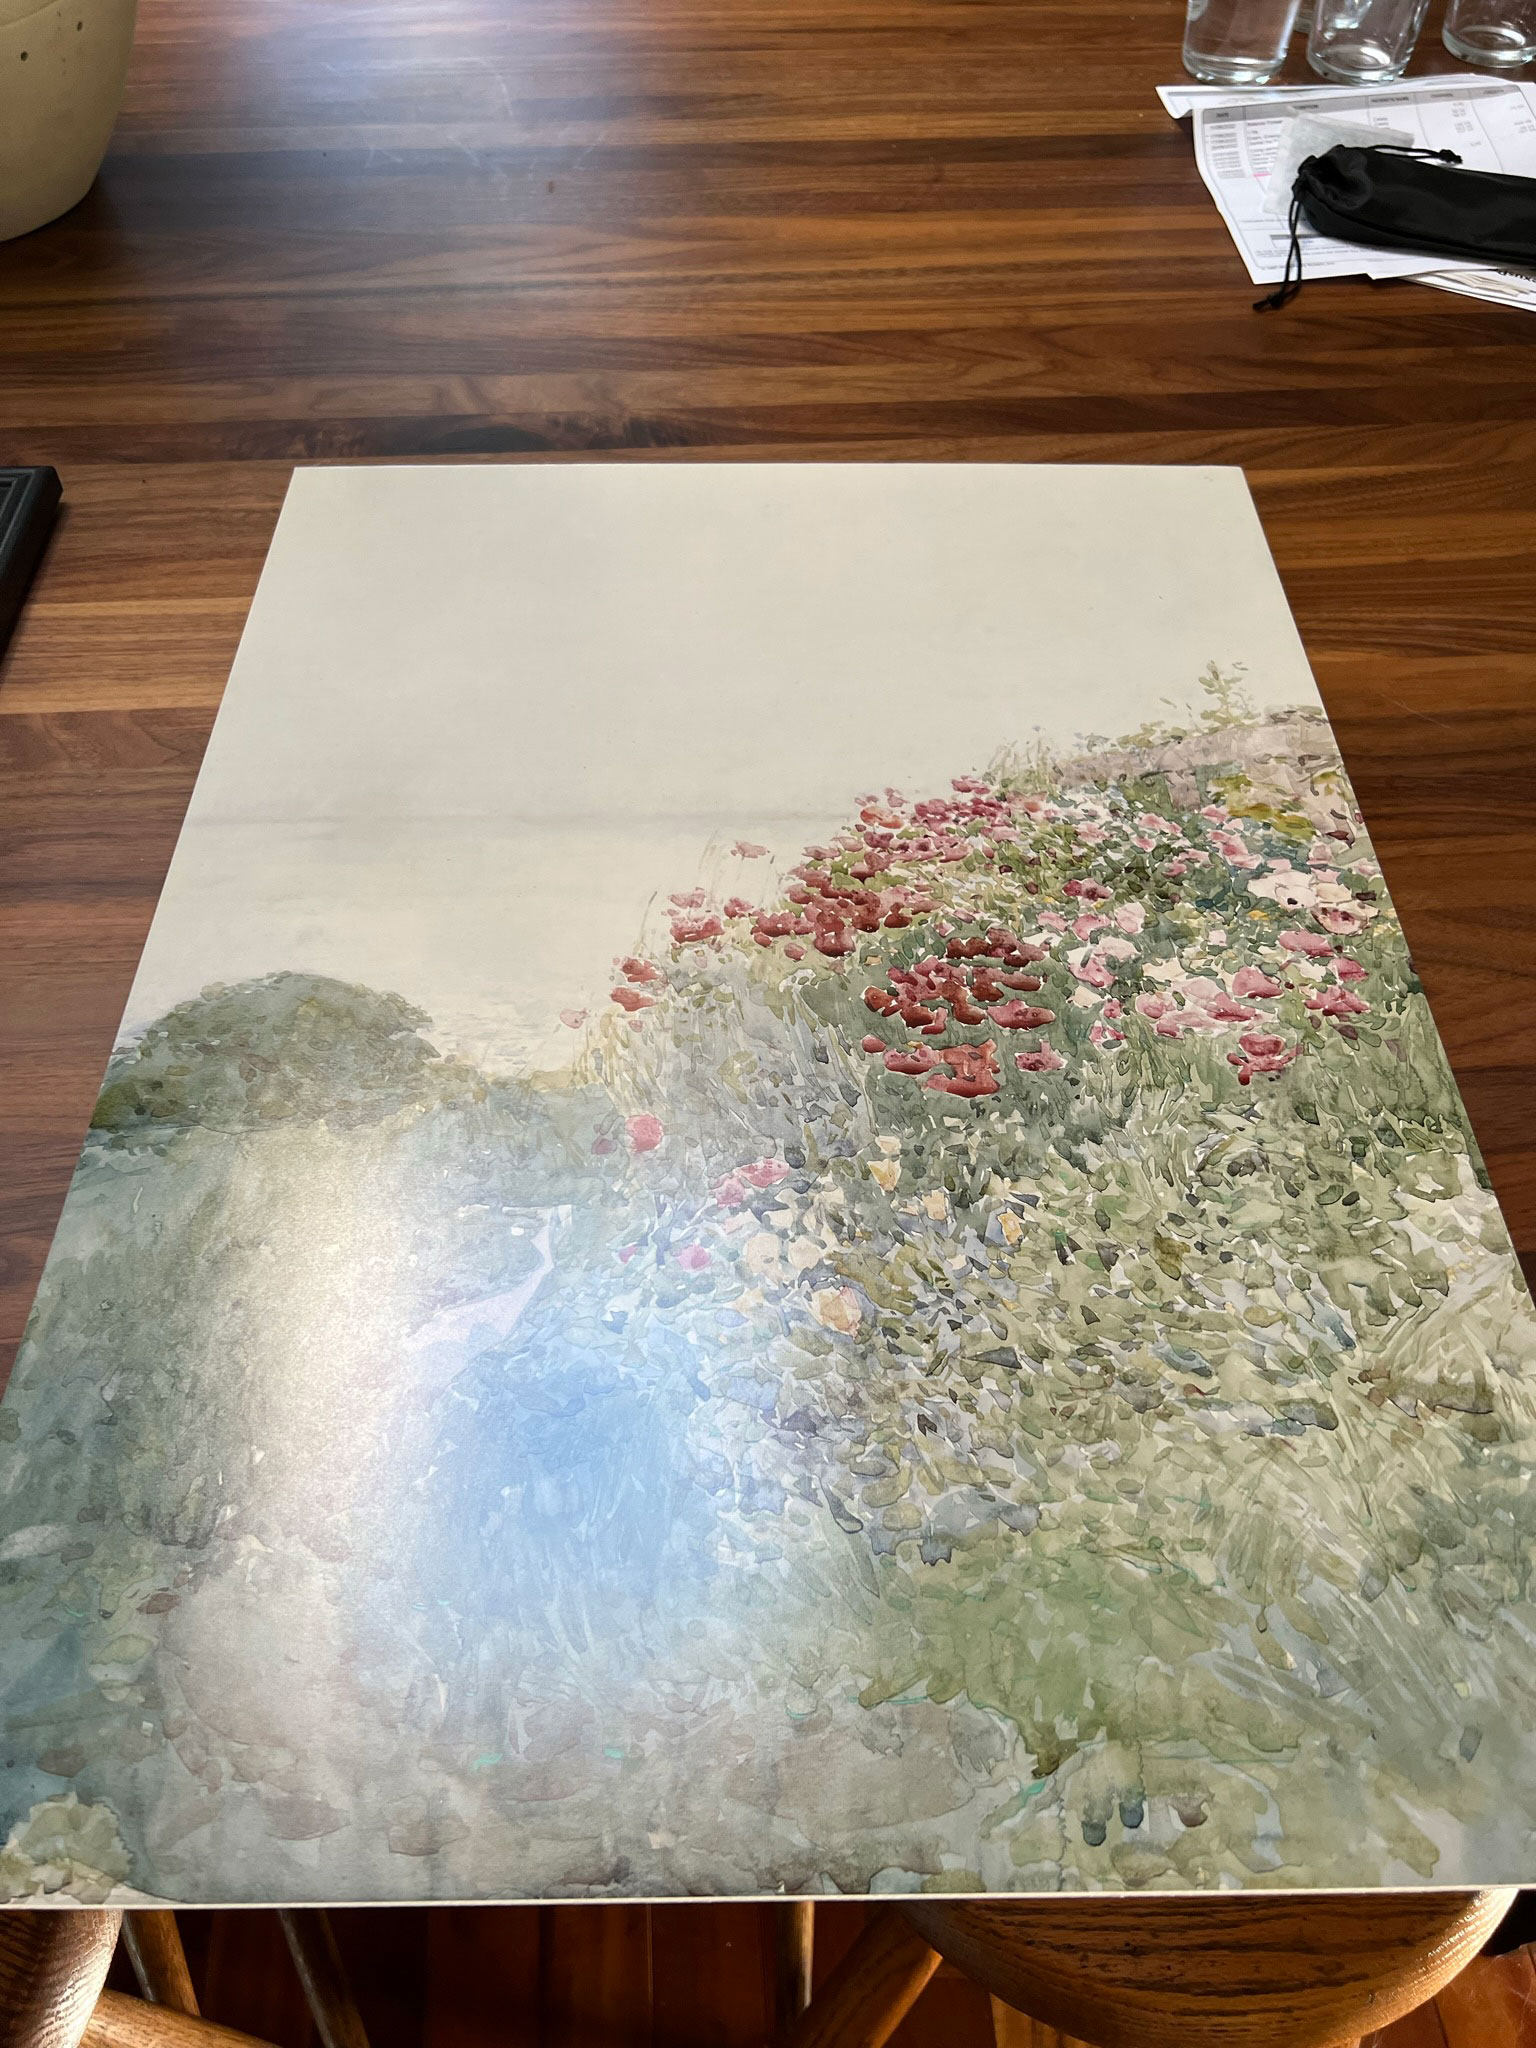

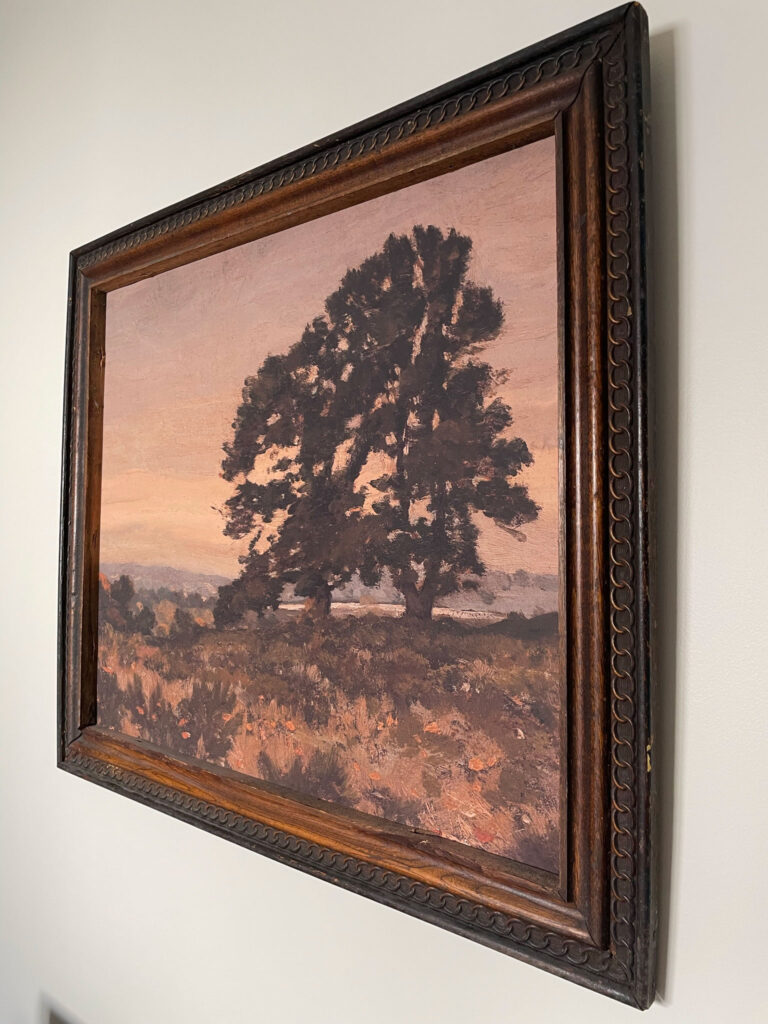
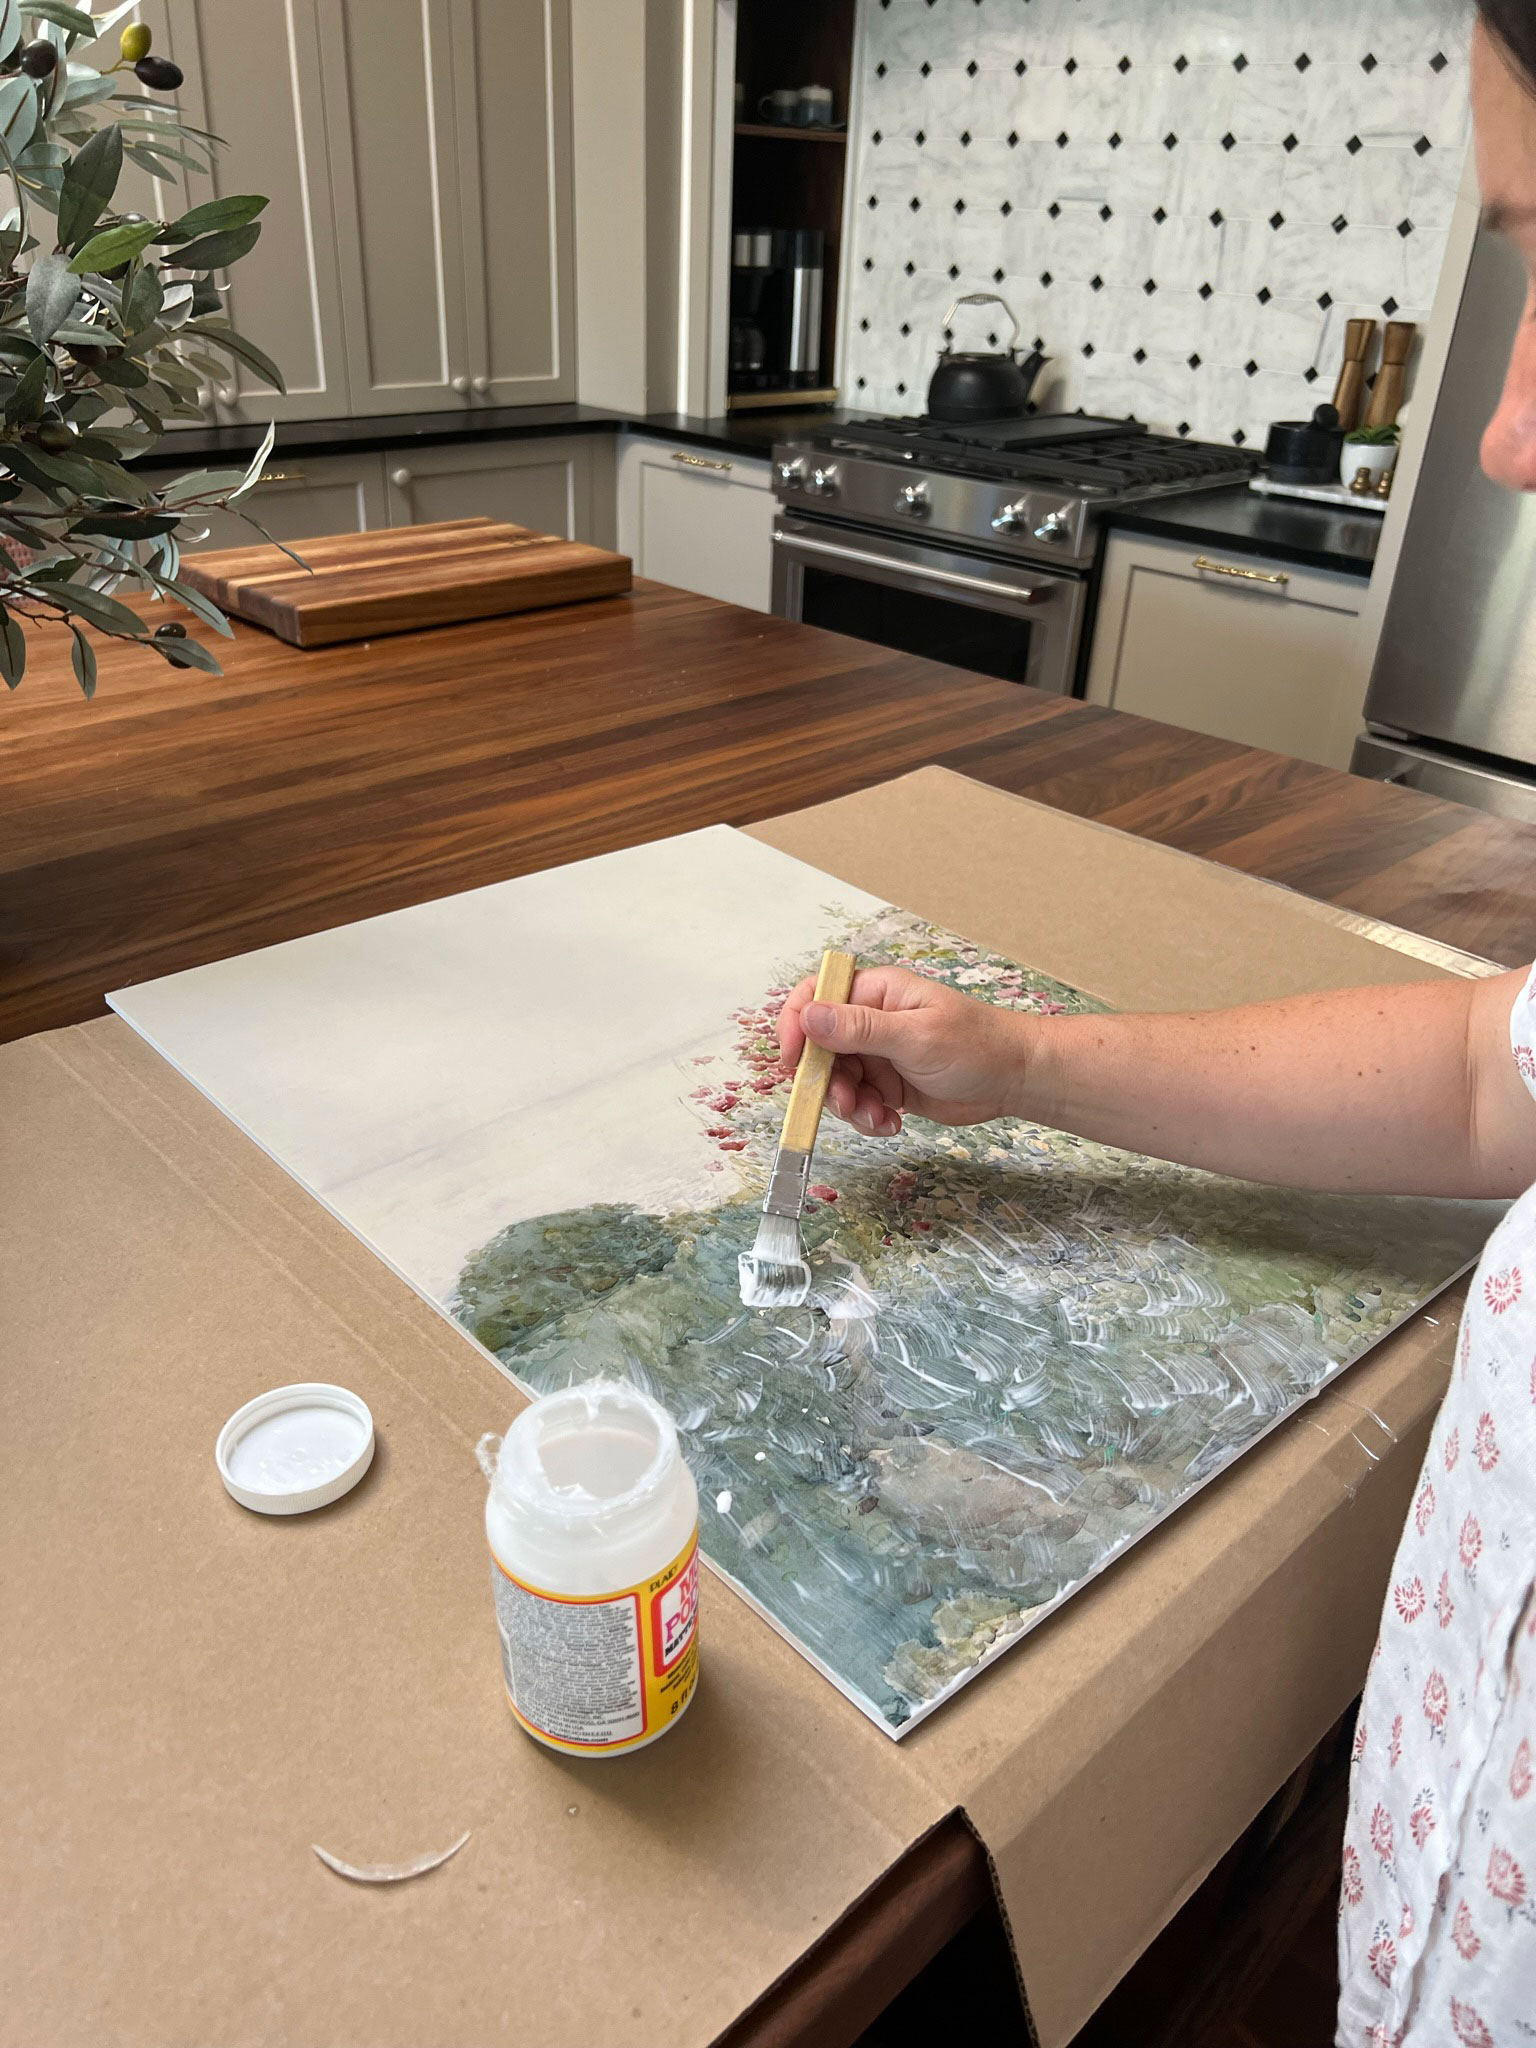
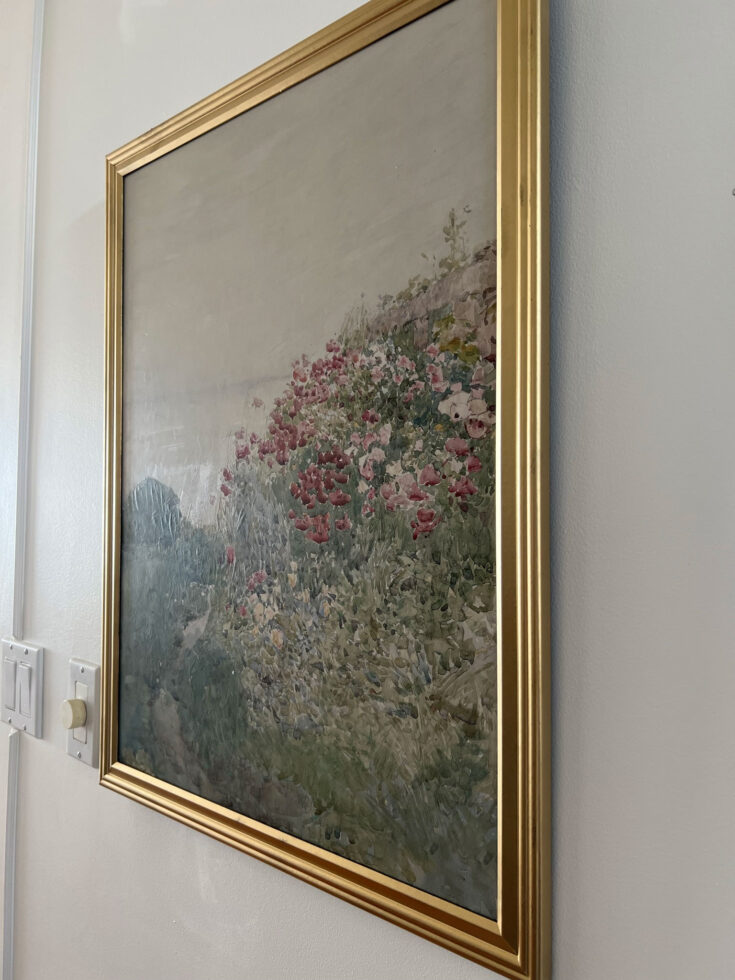
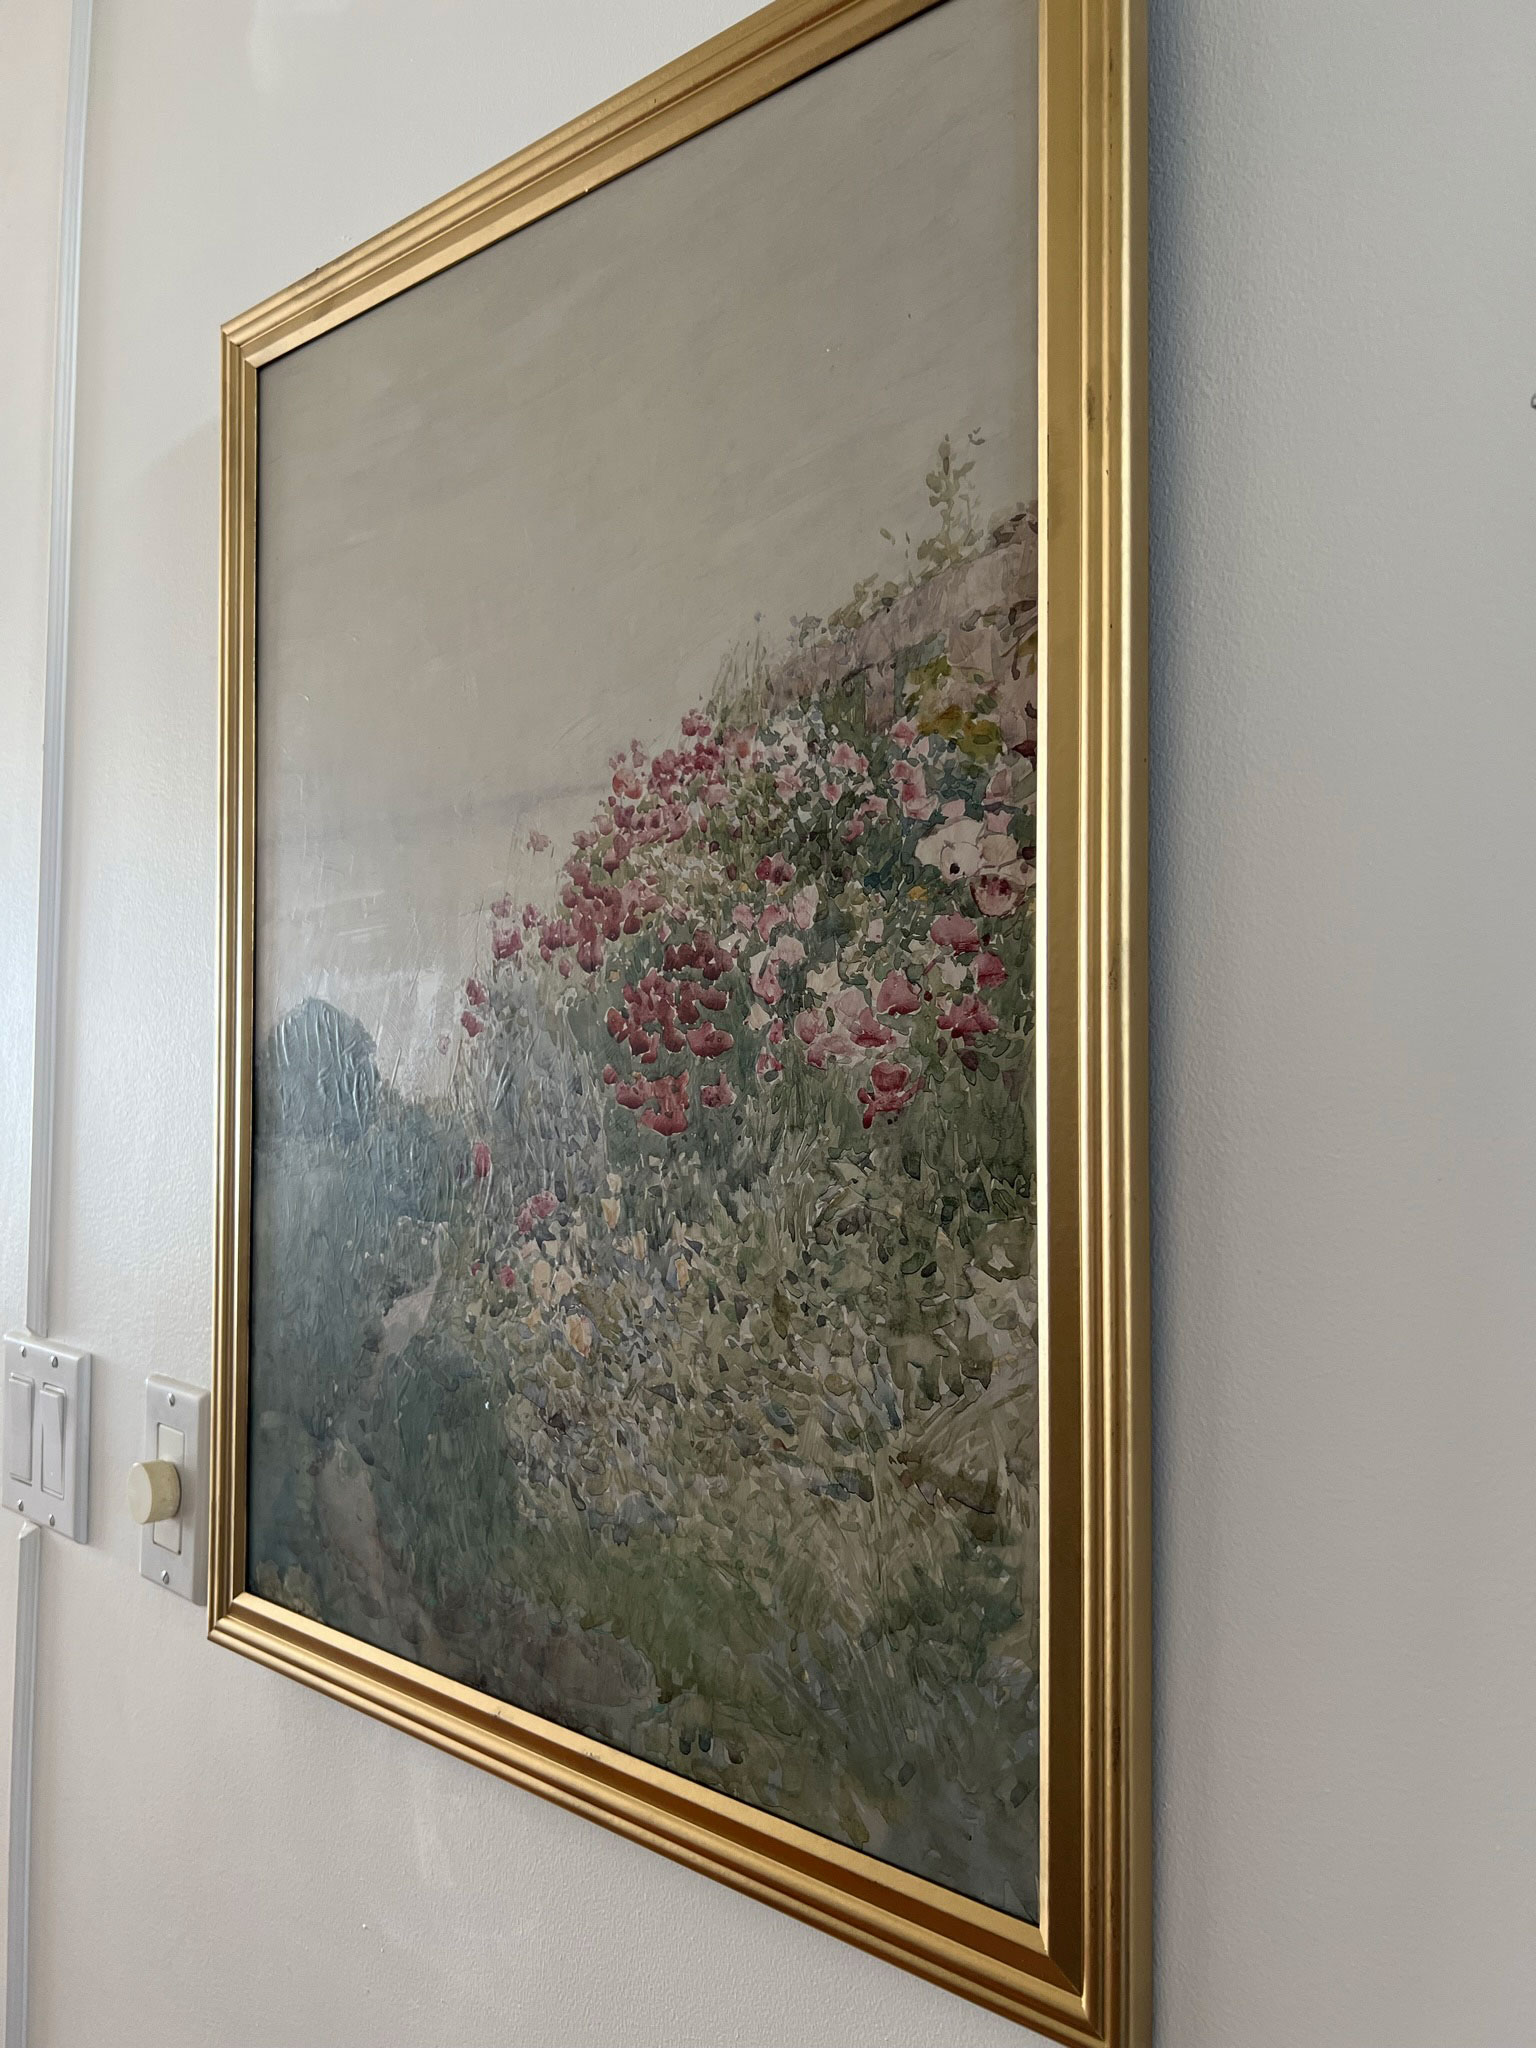
- Step 4 – Once you have your print on a foam board, the next step is pretty fun. Take some matte modge-podge in a matte finish and unleash your inner artist. Try to mimic the brush strokes you see on the print for the most realistic effects, but if you aren’t that good at following that it doesn’t matter too much. A pretty heavy coat on the print is good. Once it is dry, if it doesn’t have enough texture for you, you can always do another coat. Let it dry, usually a few hours or overnight.
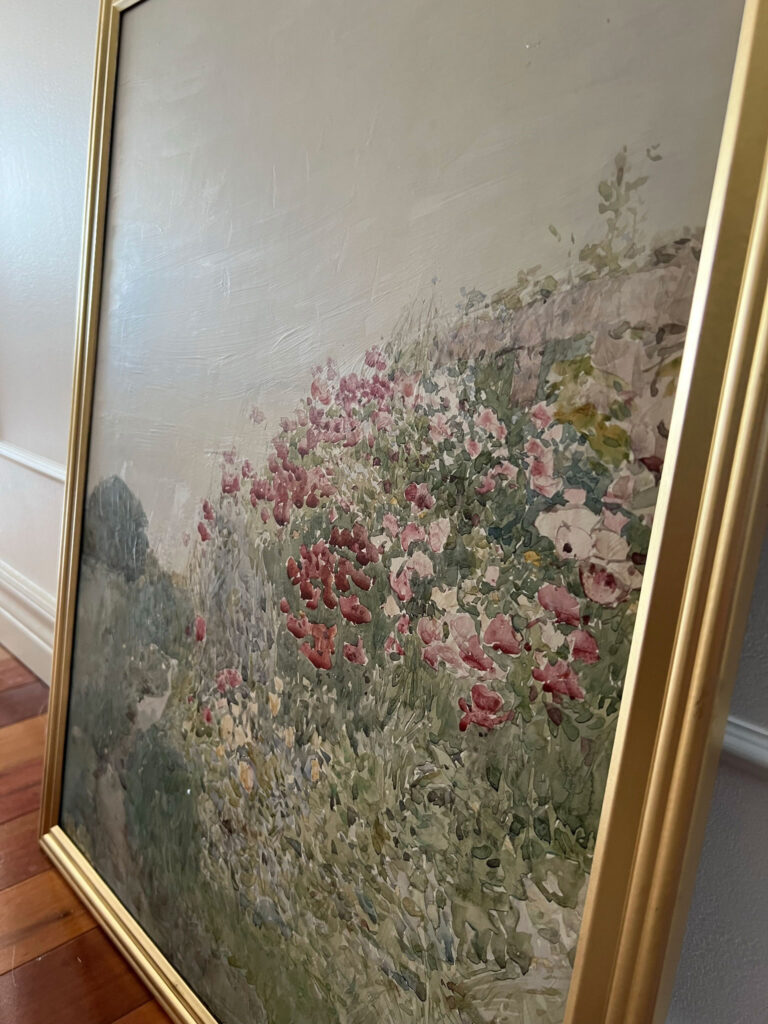
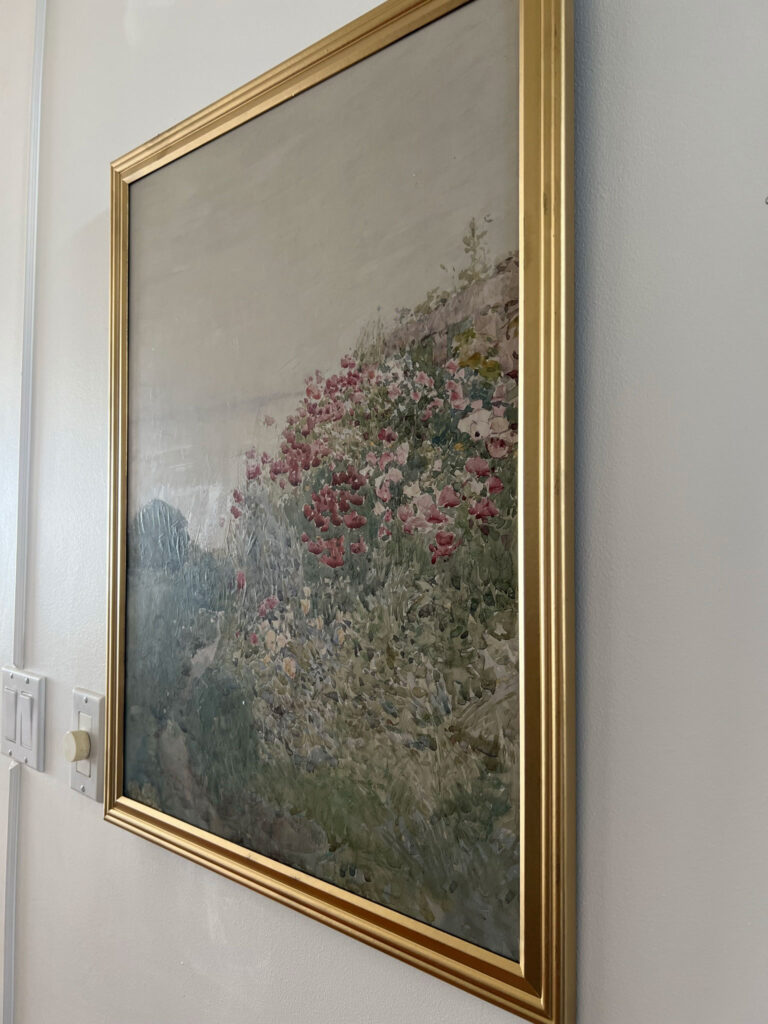
- Step 5 – Frame your print with the modge-podge texture but remove the glass! Paintings are not usually framed with glass, so if you want your print to look like a real painting, forgo the glass. Remember the print you bought was inexpensive and you just basically put glue all over the front of it, so you can wipe it off if it becomes dirty and it’s not an heirloom that needs to be protected. A huge bonus to this is that there will be almost no glare on your new painting, which means it will photograph better and be visible from all angles! And that’s all there is to making your printed art look like a painting!
Shop This Post
How to Make Printed Art Look like a Painting
An easy way to take prints and make them look more realistic, with basic supplies.
Materials
- Frame of Choice
- Digital Art of Choice
- Matte Modge Podge
Tools
- Small Paint Brush
Instructions
- Choose your frame for your space and take note of the dimensions
- Choose your digital art, and have it printed in a size to match the frame. Choose an option where you can have it printed directly onto a foam board for best results. Usually, these are labelled "Foam Board Posters" and they are available at printing shops like Staples, London Drugs and Vista Print.
- Use your paintbrush to paint brush strokes with the modge-podge all over the print. Try to follow the brush strokes that you can see from the painting. The modge podge will look really cloudy but will dry clear.
- Let dry a few hours or overnight until dry to the touch.
- If more texture is desired, you can add a second coat at this point.
- Insert your image into your frame, leaving the glass out.
- Hang on the wall and enjoy!
You might also like:
- DIY dollar store wreath
- DIY Halloween Decorations using Dollar Store Supplies
- A Gallery Wall Using Public Domain Art
- How to Hang a Rug over a TV
- DIY Pinch Pleated Cafe Curtains
- Bathroom Remodel Checklist and Guide!
- How to make a DIY Wall Tapestry using Mod Podge
- DIY Ottoman – How to Make an Upholstered Ottoman
- Picture Rail Molding and How to Hang Art from It



I love this tip Erin, it really makes all the difference. You did such a great job explaining it too.
Wow! This looks super easy. I’m totally going to do it!
I can’t wait to see how it turns out!
Thank you so much Joannie! I’m glad it will be useful!
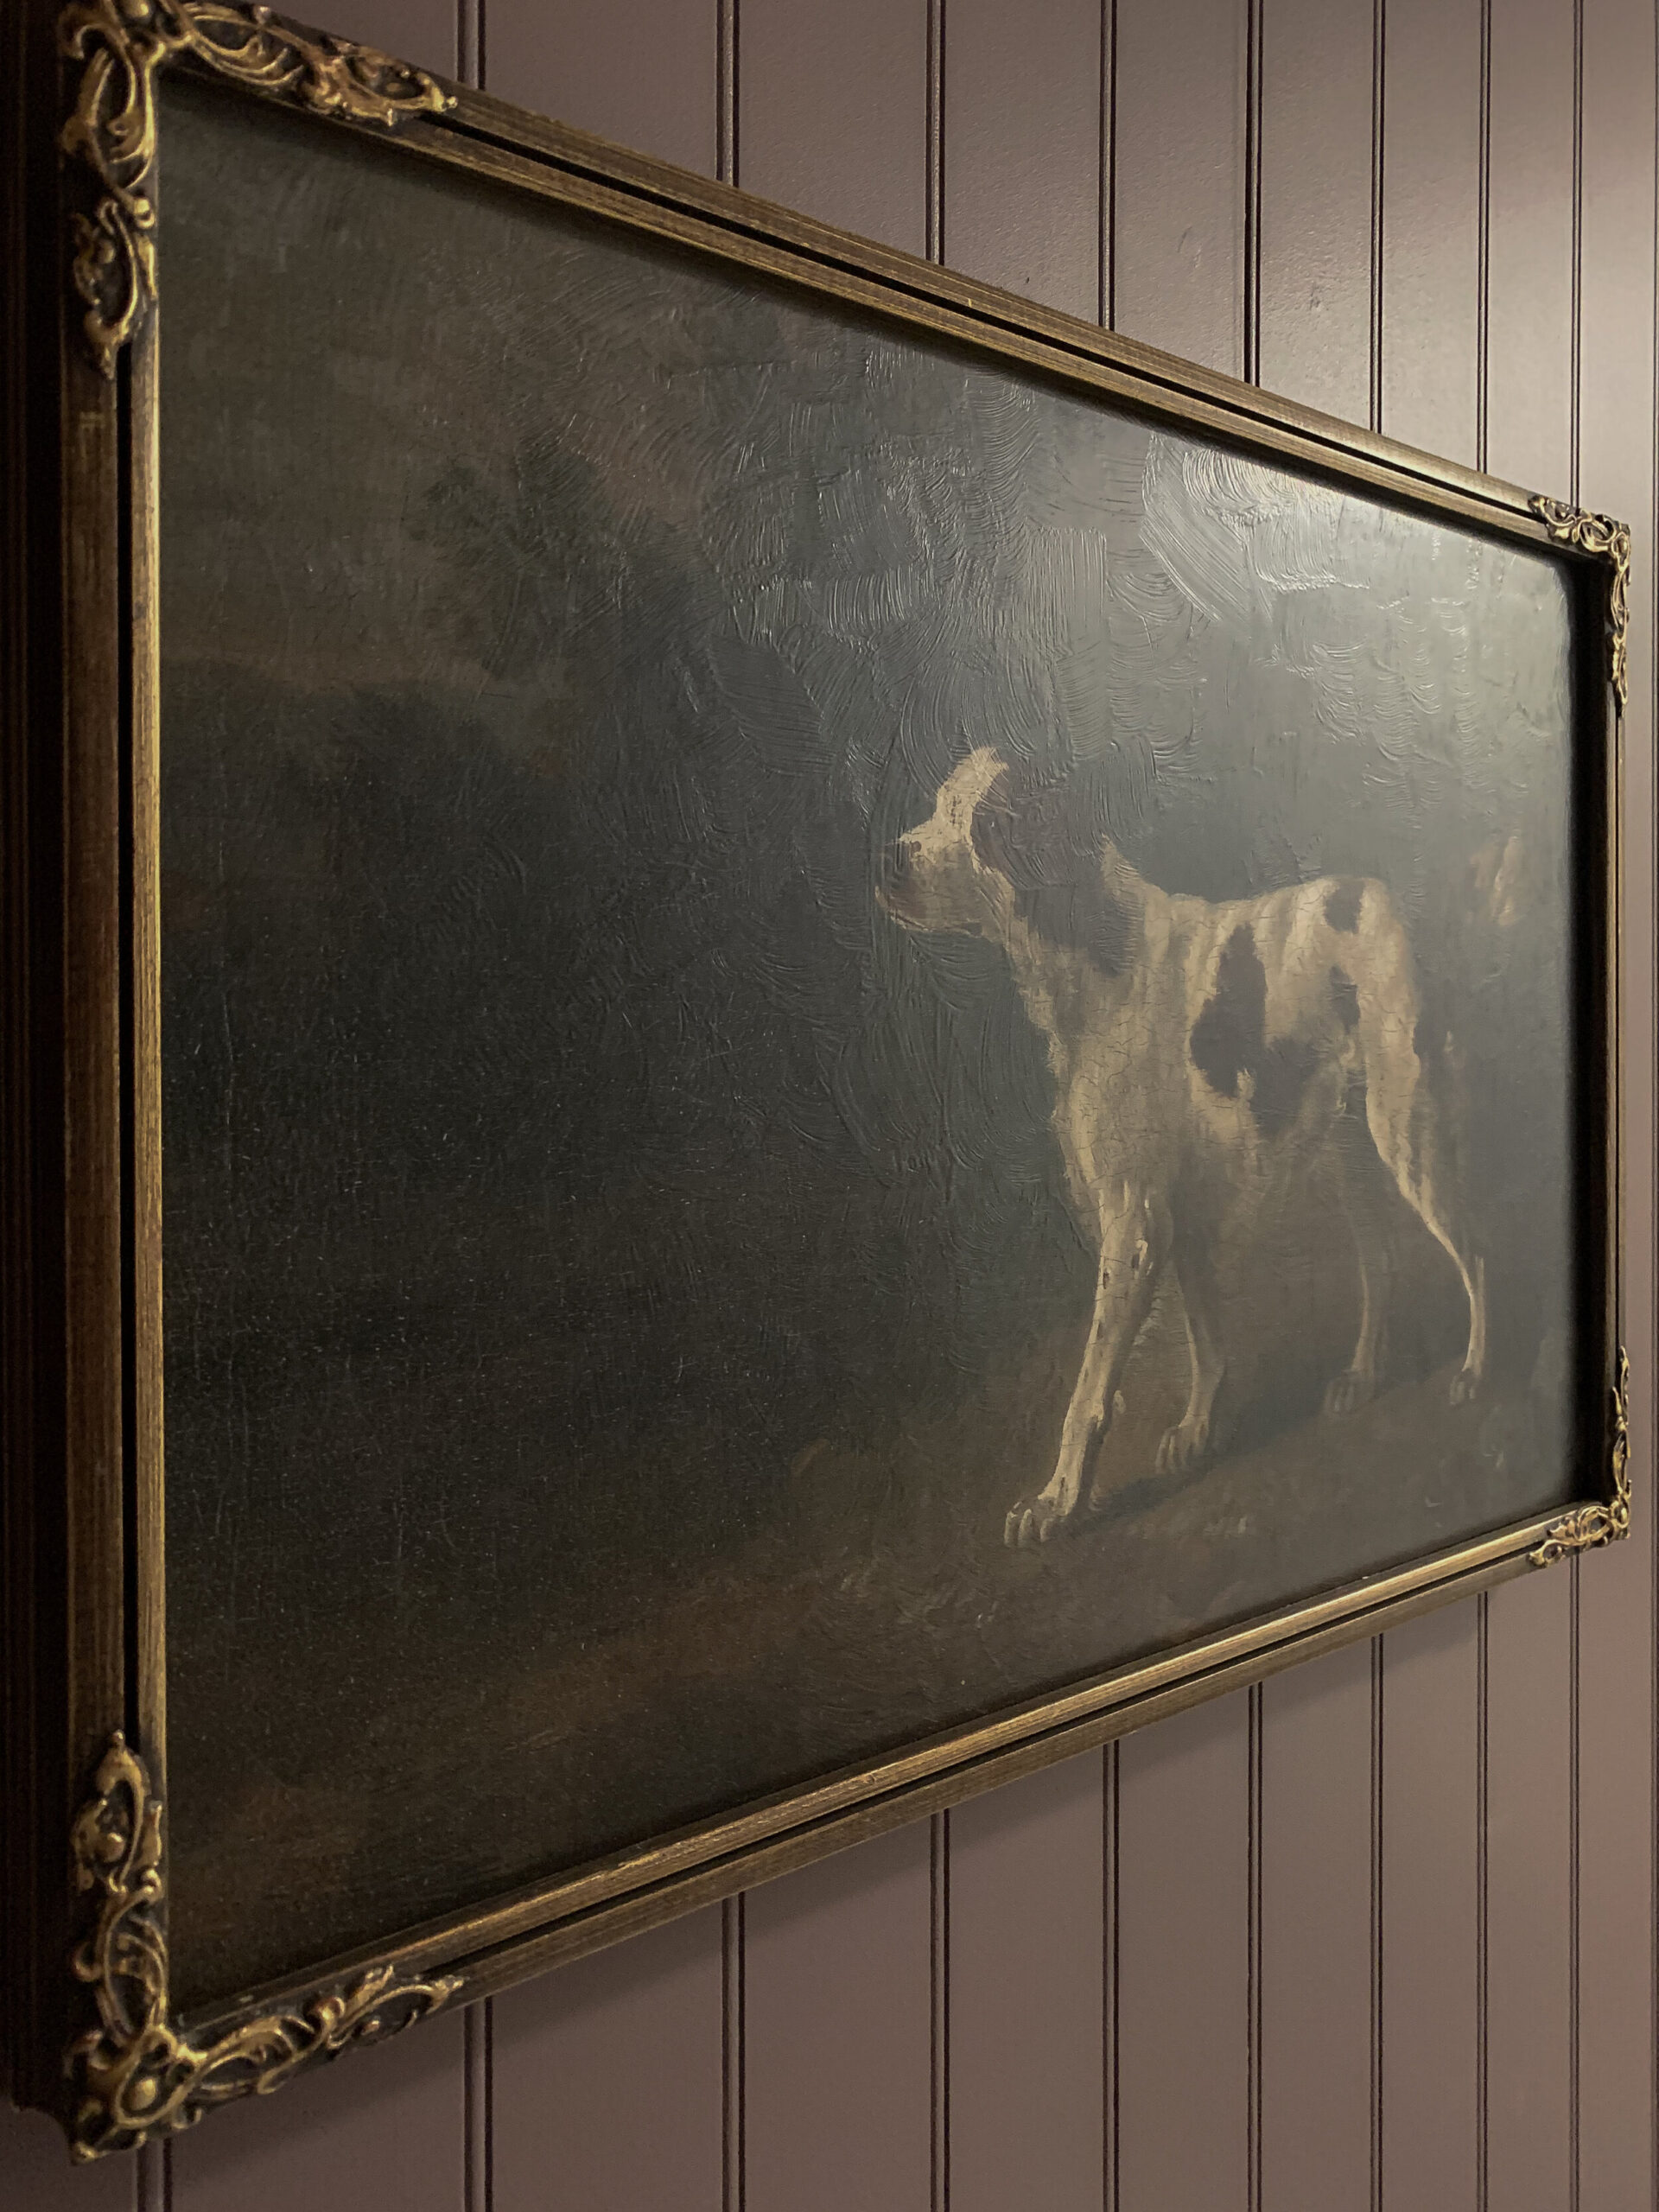
I love,love this dog print…do you mind sharing where I can find.
It was a museum download, you can find it here: https://collections.britishart.yale.edu/catalog/tms:54296
Hello, I love this idea. Would mat board work as an alternative? I need a 24 x 36 size and the self adhesive foam boards are rather expensive.
Yes, I think that would work, just stick the print on it first with some spray adhesive. The only reason that you need the print on a board is so that it doesn’t wrinkle when the mod podge dries.
Did you enhance the Poppy Hill photo before you had it printed? I love the colors in yours! But it looks different on the Juniper Prints website. Just wondering if it’s something I can easily recreate. Thanks!
I didn’t change the look of the Poppy Hill print at all, that is how it printed for me! Good luck!
Please, no offense. I achieve a more realistic effect than what you described above as follows.
#1. I have the desired image printed directly on canvas and stretched on a wood frame, “Just like a real oil painting!
#2. I use artist brush and “ paint over the image with clear artist Liquitex semi gloss making sure to replicate or creat realistic brush strokes, let dry over night & frame. The file effect is very difficult to distinguish from a real oil on canvas hand done painting !!! 🙂
Hello,
I have a large print on a canvas, would the modge podge still work?
Thank you
Yes I am sure it would work great on canvas! Even better I imagine!
Sounds like that would work well!
This is such a cool tip! I have my own photos that I want to put on canvas or board and make it look like a painting.
Thank you so much for explaining this so well😊
I love that you are trying this with your own photos!
Super good article sir. Thanks for sharing! I shared it on my Facebook. Hope that is okay!
Thank you very much for sharing!
Genius. Thank you so much.
Doing this on the weekend.
Good luck!