How to DIY Cabinet Filler Strips for a Custom Look
Filler strips are an important part of any cabinet project. Even with custom cabinets, there are still places where a filler strip is recommended, such as adjacent to a wall. In our recent office desk build we used a ton of cabinet fillers to make our desk have a built-in look. In this post, I will go through how to DIY cabinet filler strips for a custom look in your cabinet project!
This post may contain affiliate links. That means if you purchase anything from these links I earn a small commission, at no extra cost to you! This helps support my blog, so thank you!
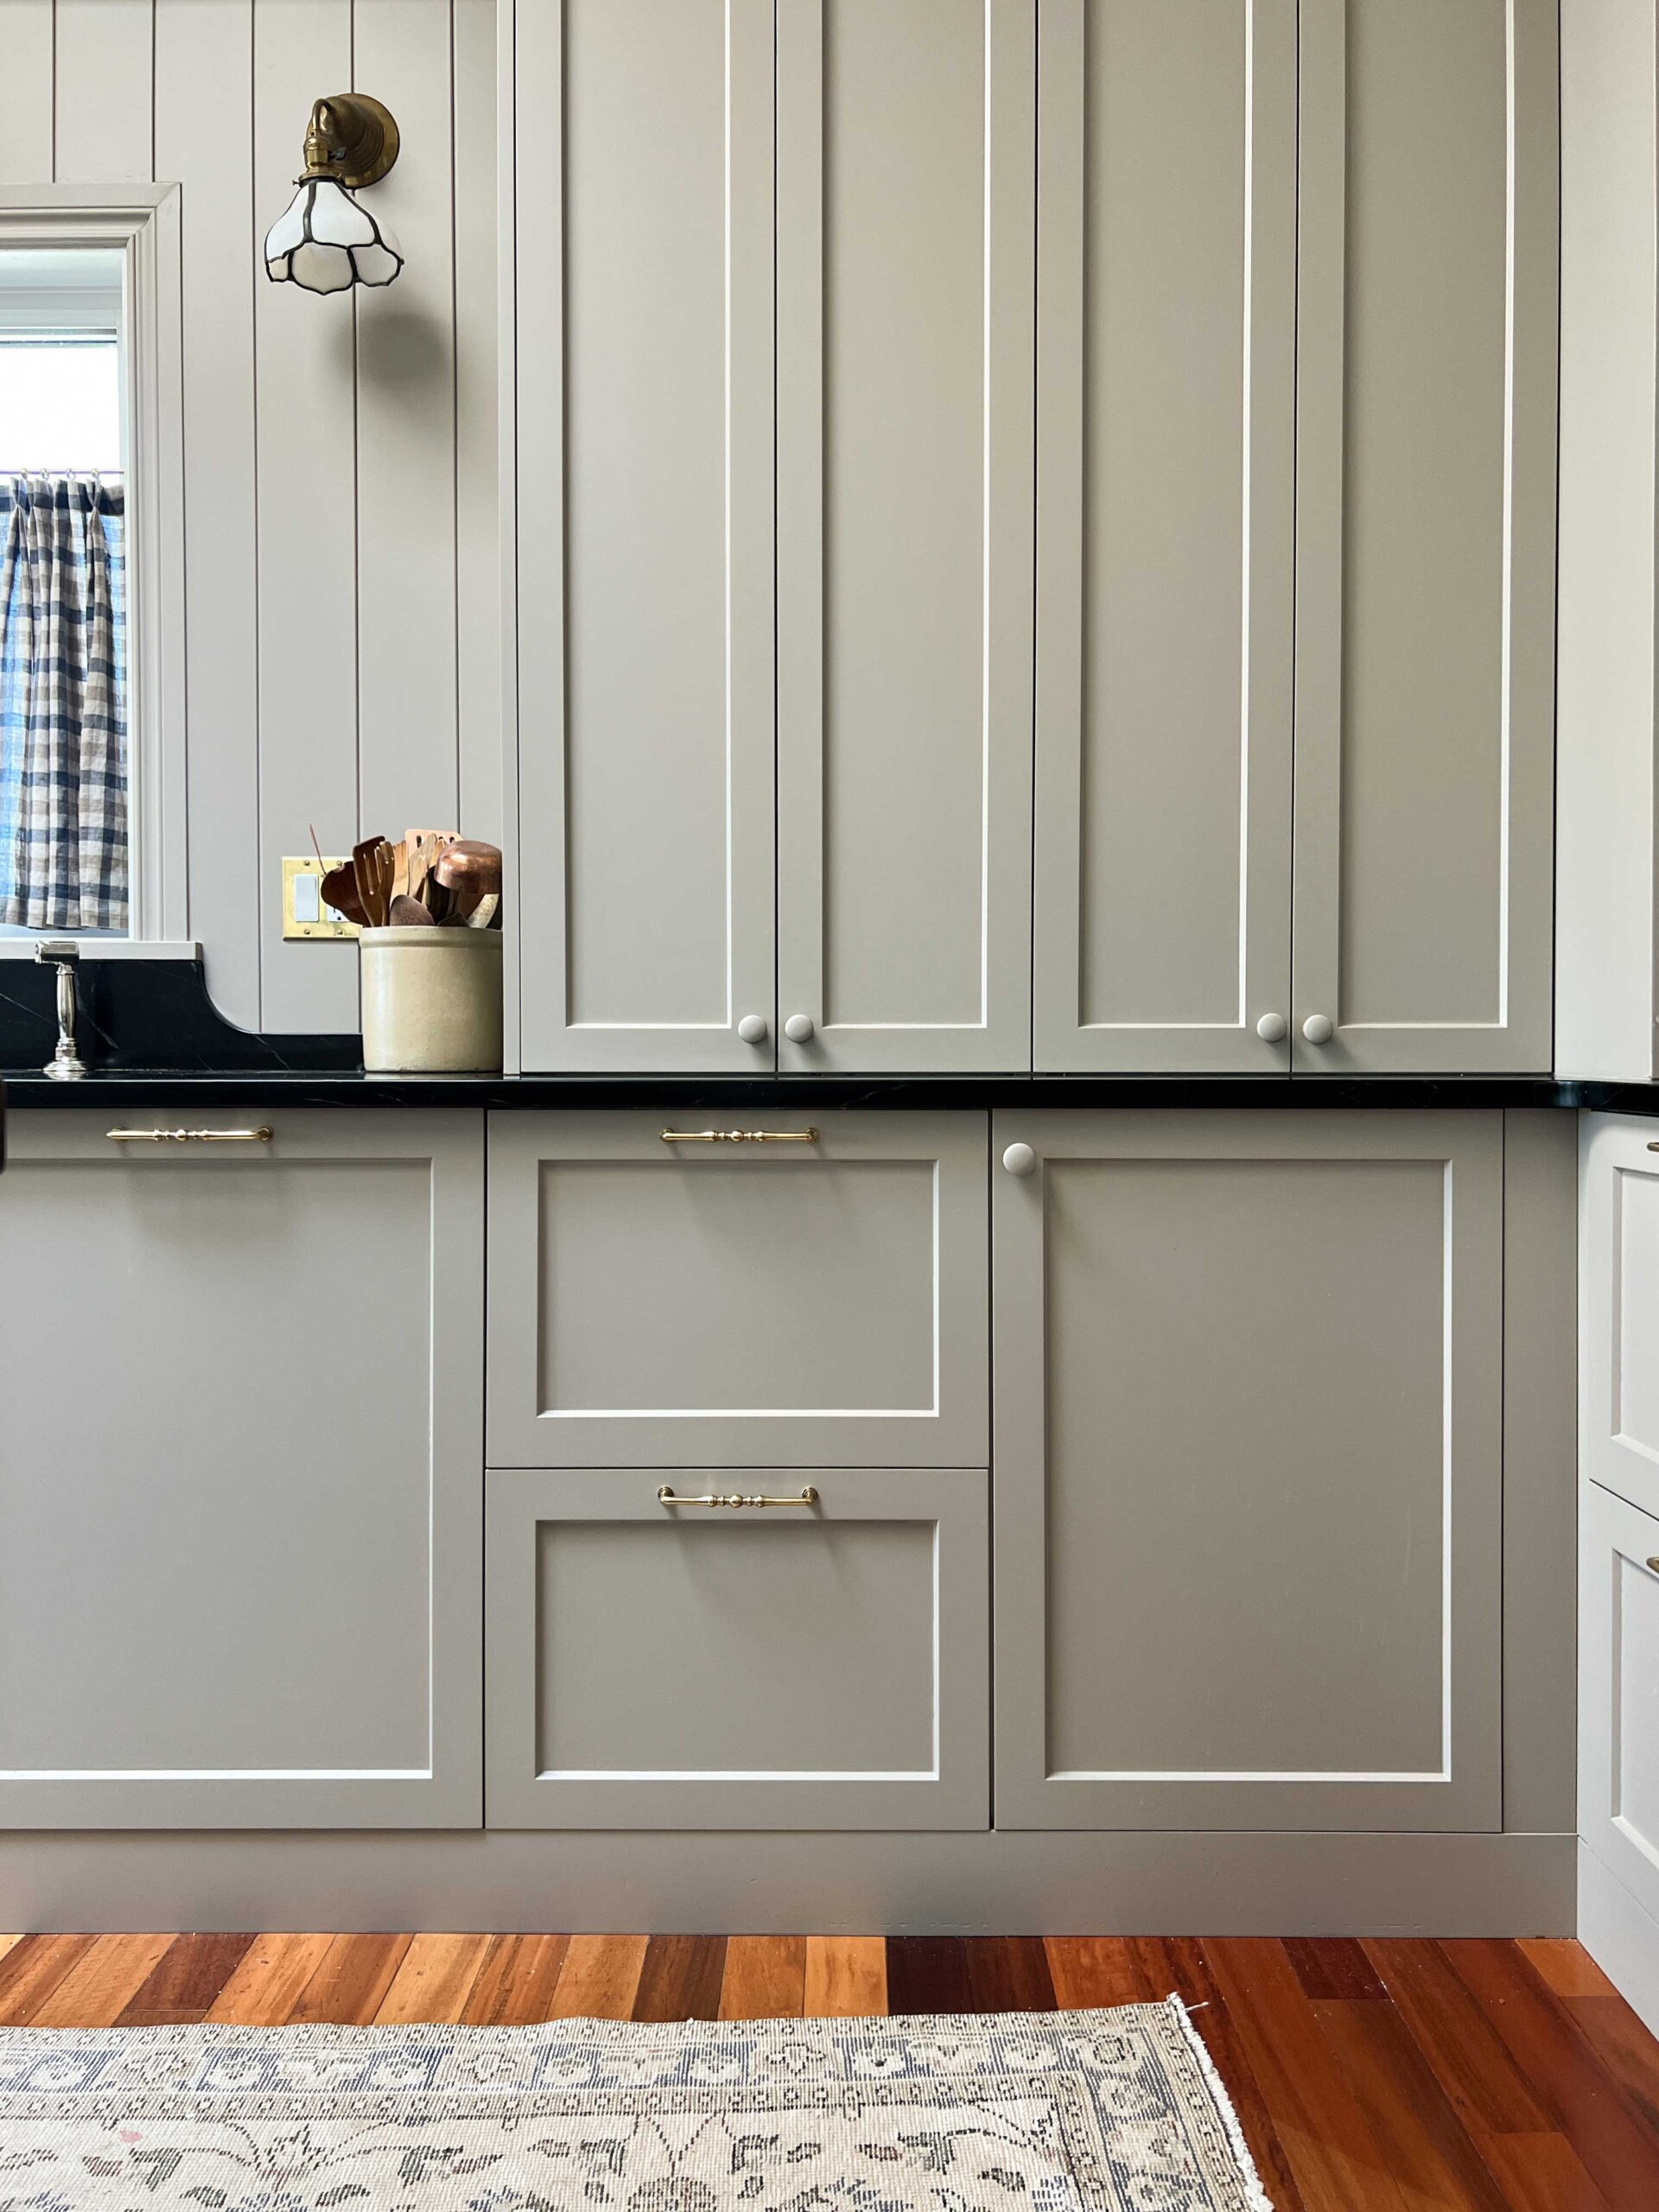
Table of Contents
- Office Desk Project to Date
- What is a Filler Strip
- How to Plan for Fillers
- How to DIY Cabinet Filler Strips
- How to DIY Cabinet Filler Strips Between a Cabinet and a Wall
- Toe Kicks
- What's next for Our Office Project
- You Might Also Like:
Office Desk Project to Date
We just finished installing a bunch of filler strips in our office desk cabinet build, but before we get into the details of how to do a filler strip, I thought I would talk about the progress in this room since I haven’t blogged about it since I wrote this post on the plans.
We started this in November with a plan to finish up before Christmas, HA!! I know that is funny looking back on it now. Life has been busy and this project is substantial but we still have made some significant progress!
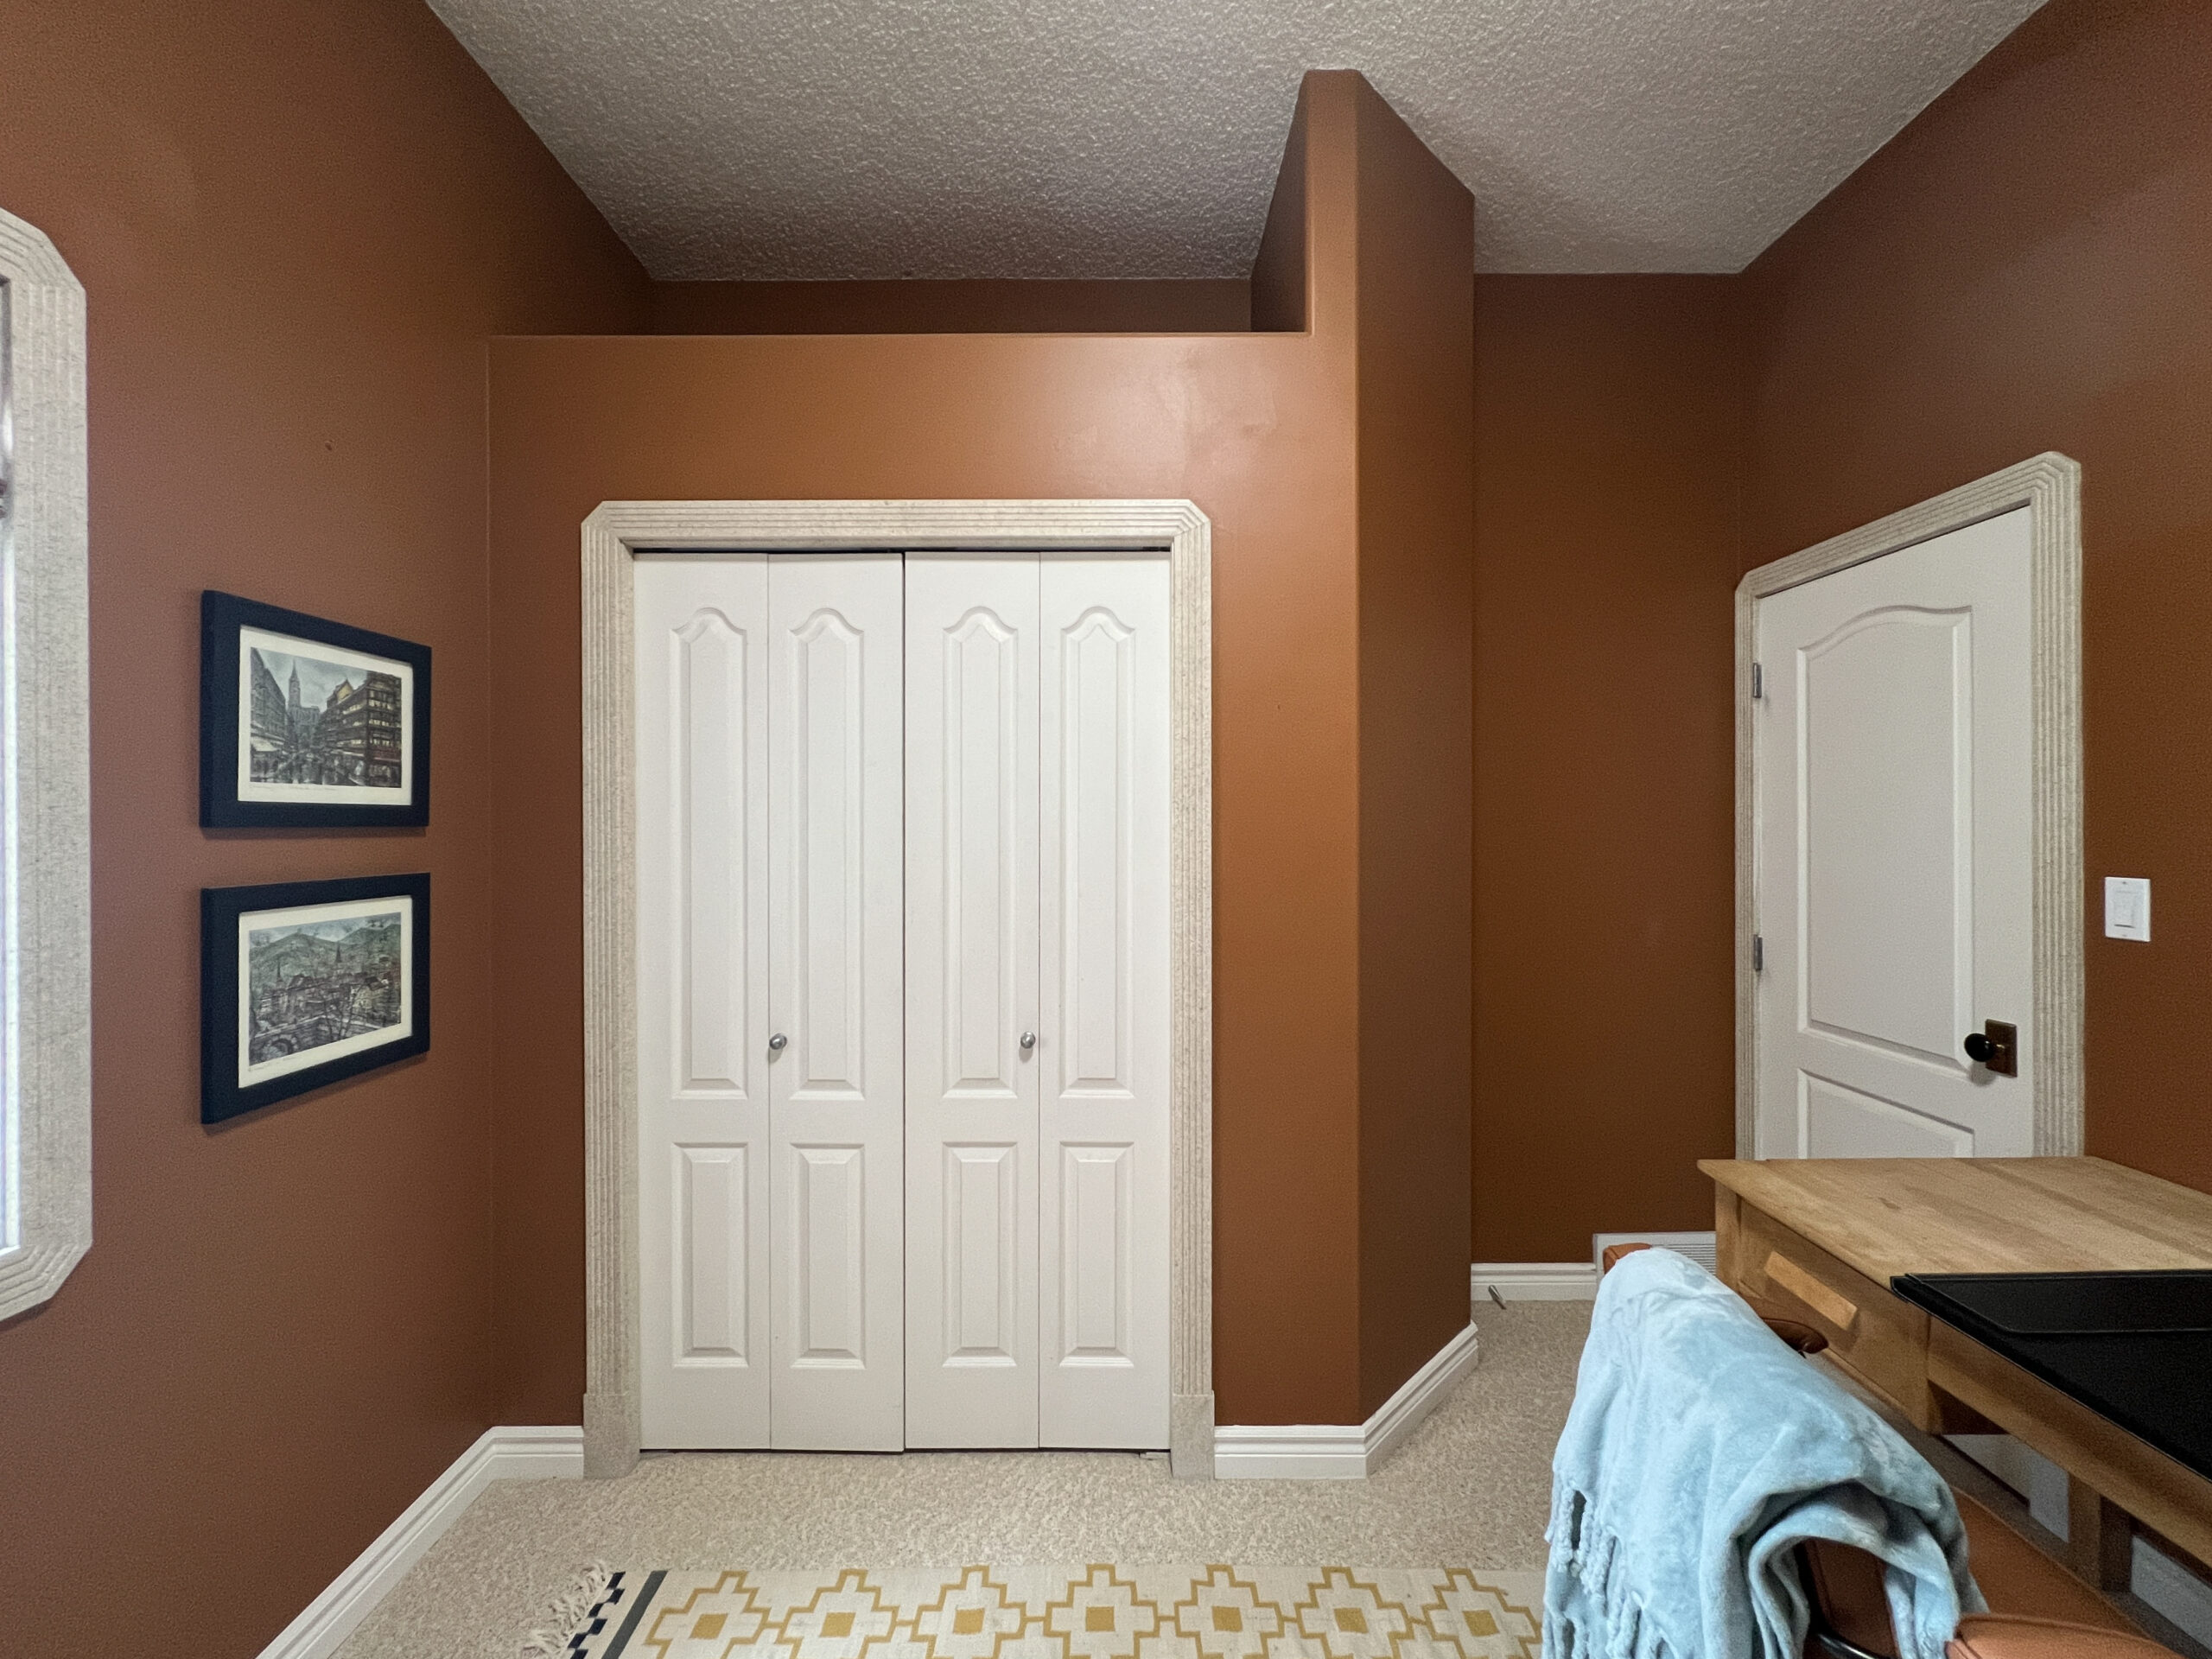
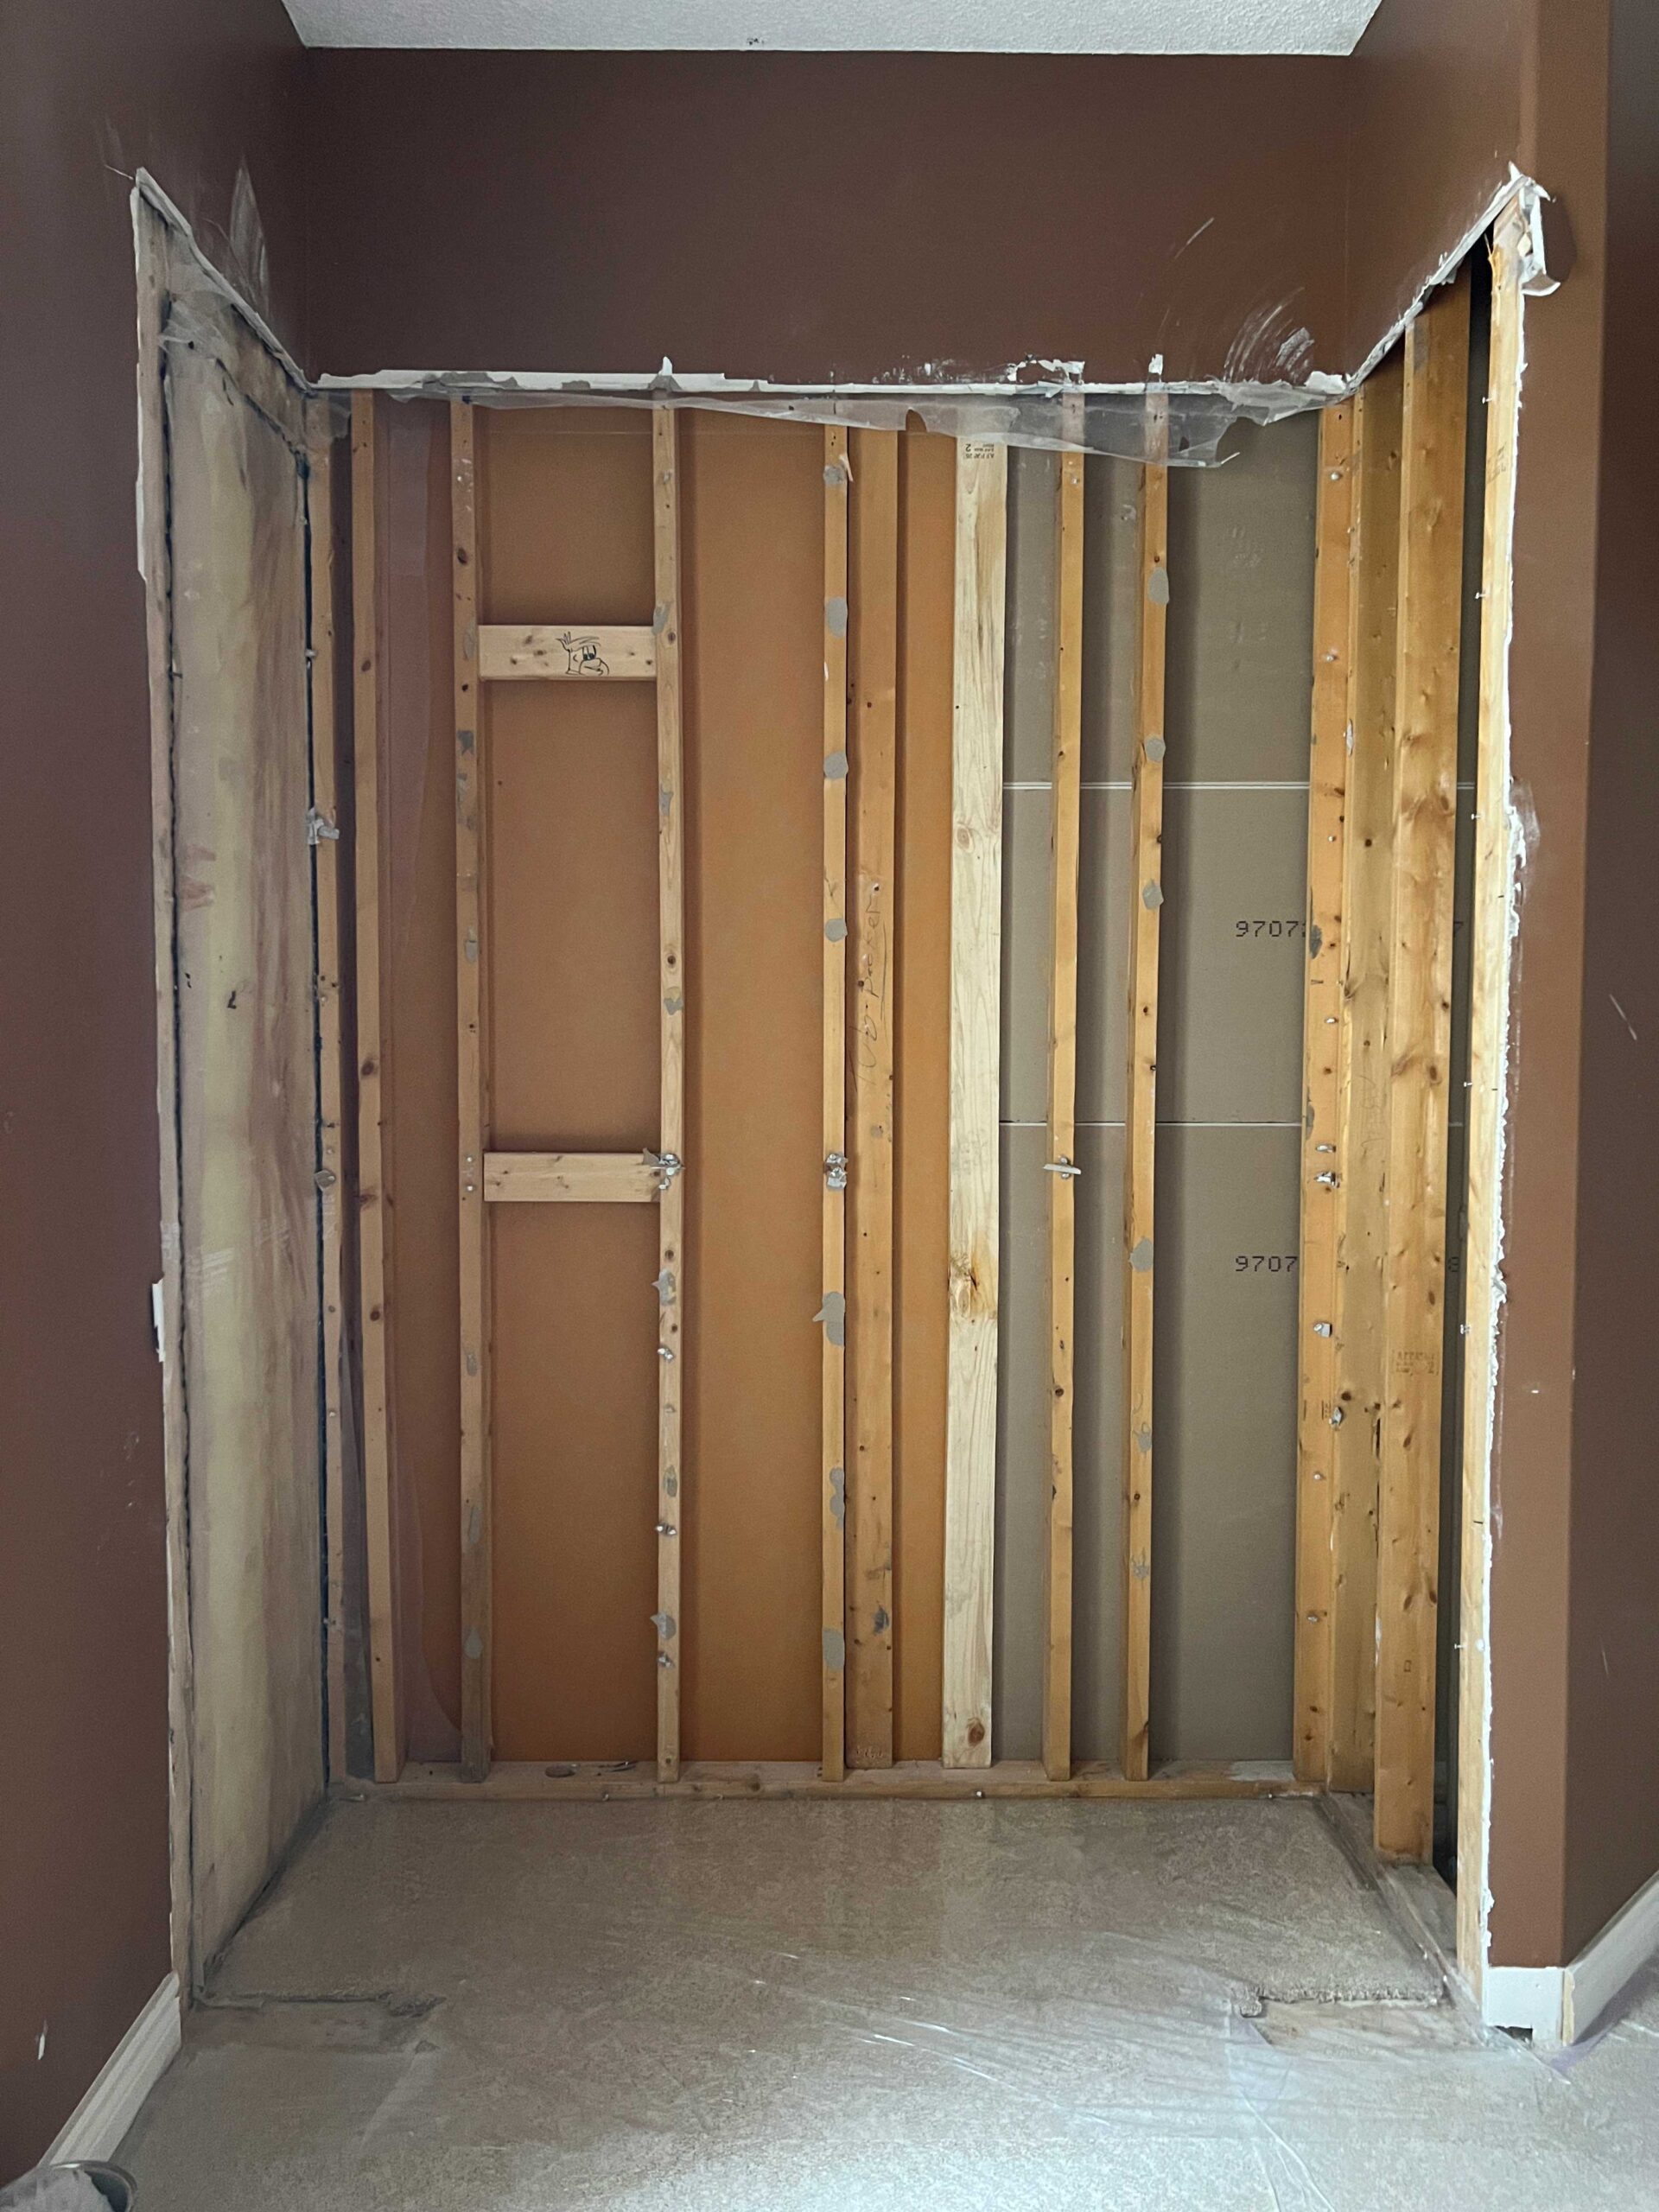
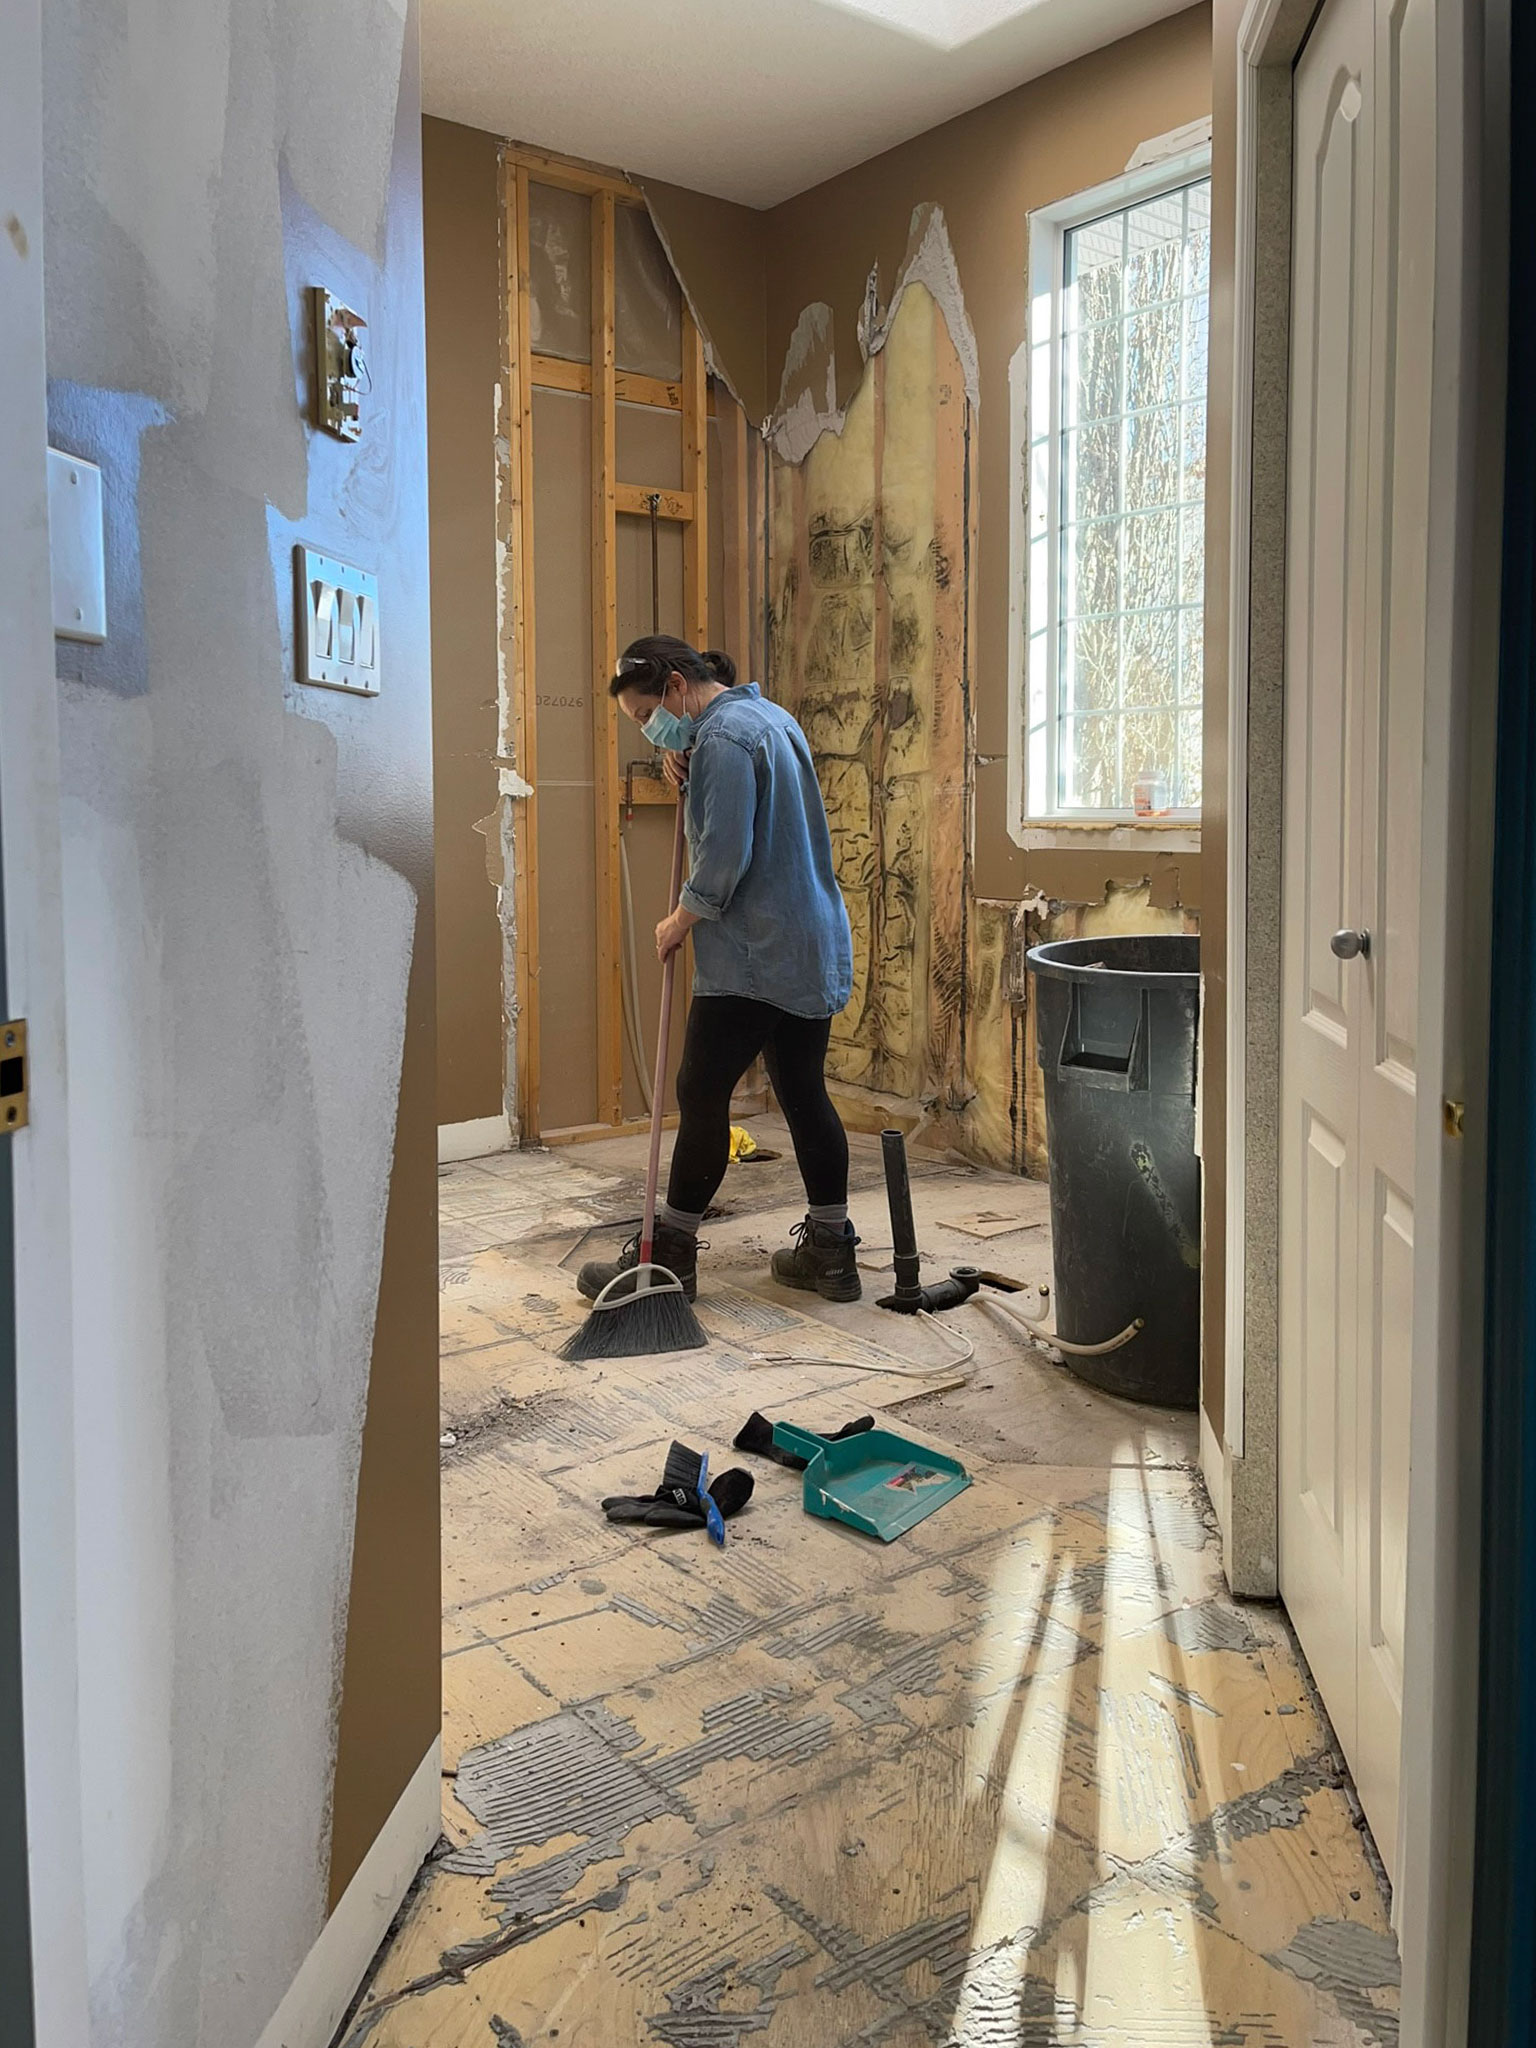
We started by demolishing the old closet. We added some electrical for our computer and some lighting and then drywalled it all back up again.

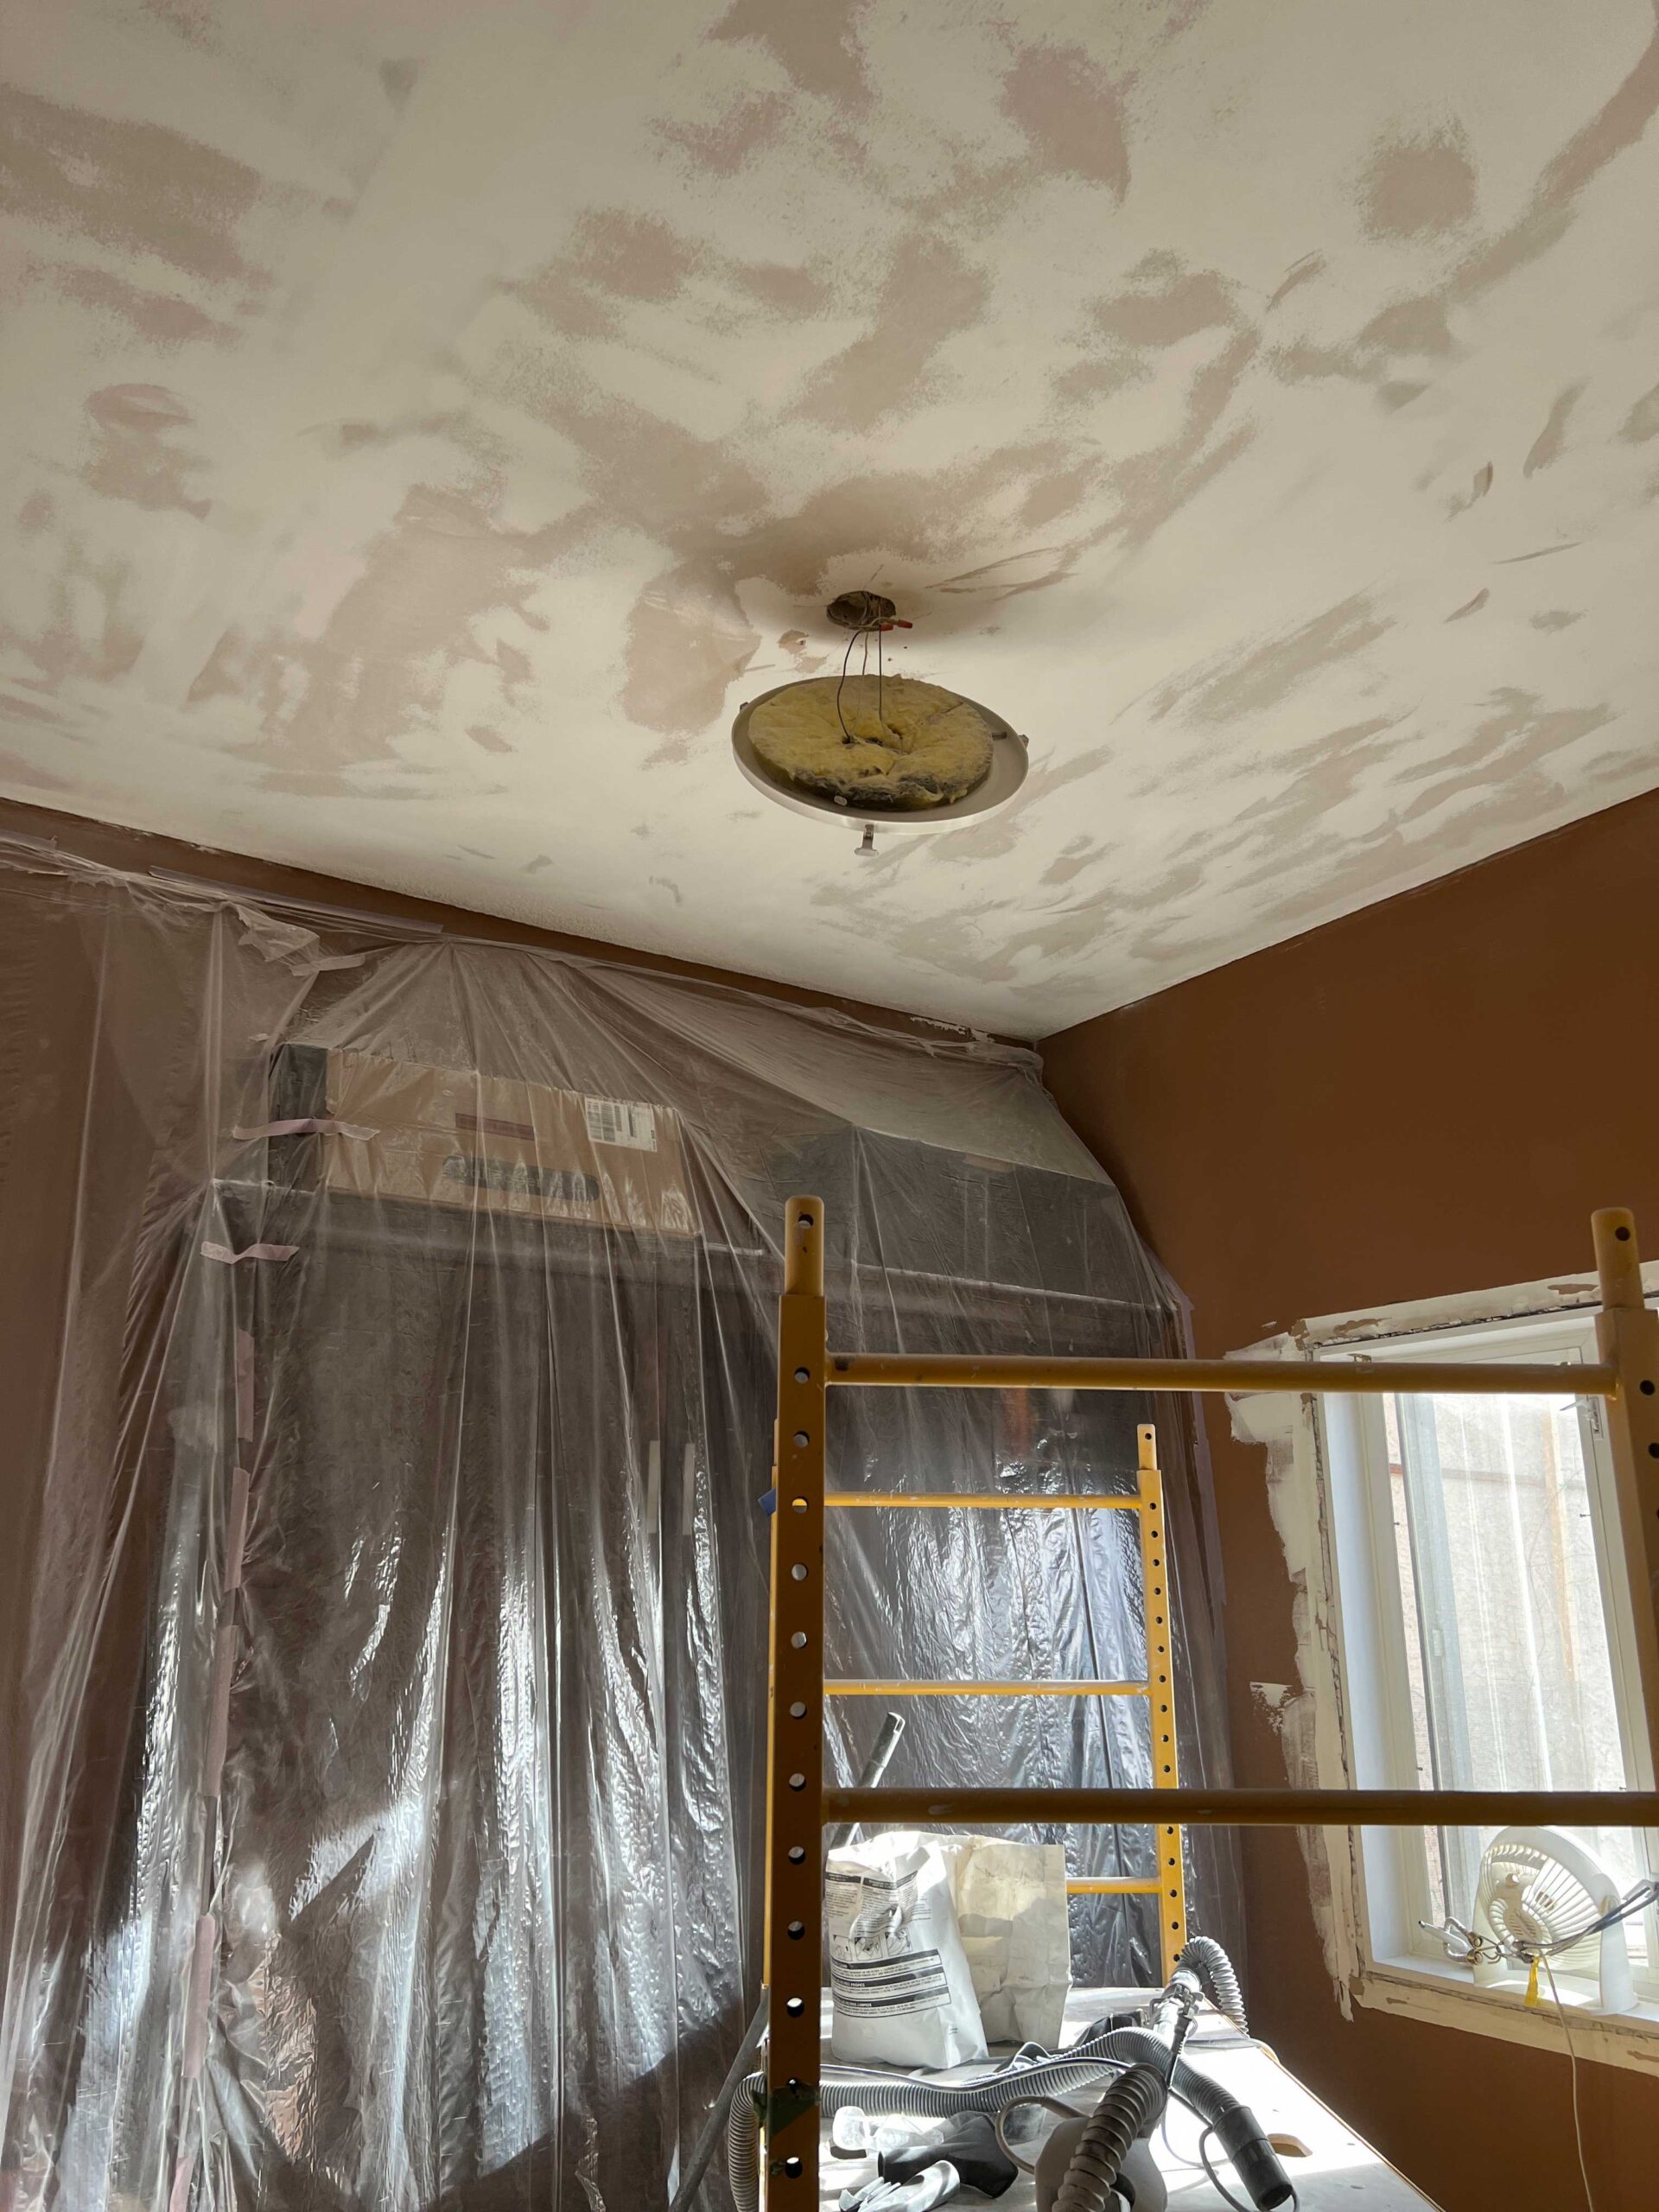
We removed the popcorn ceiling using our drywall sander (I wrote a post about removing popcorn ceilings here if you are curious about that process!)
Once all that messy drywall business was behind us we painted the walls and ceiling a nice warm white. I chose Benjamin Moore Dove Wing because I love that colour so much in our ensuite, and this office faces the same direction and has the same light exposure.

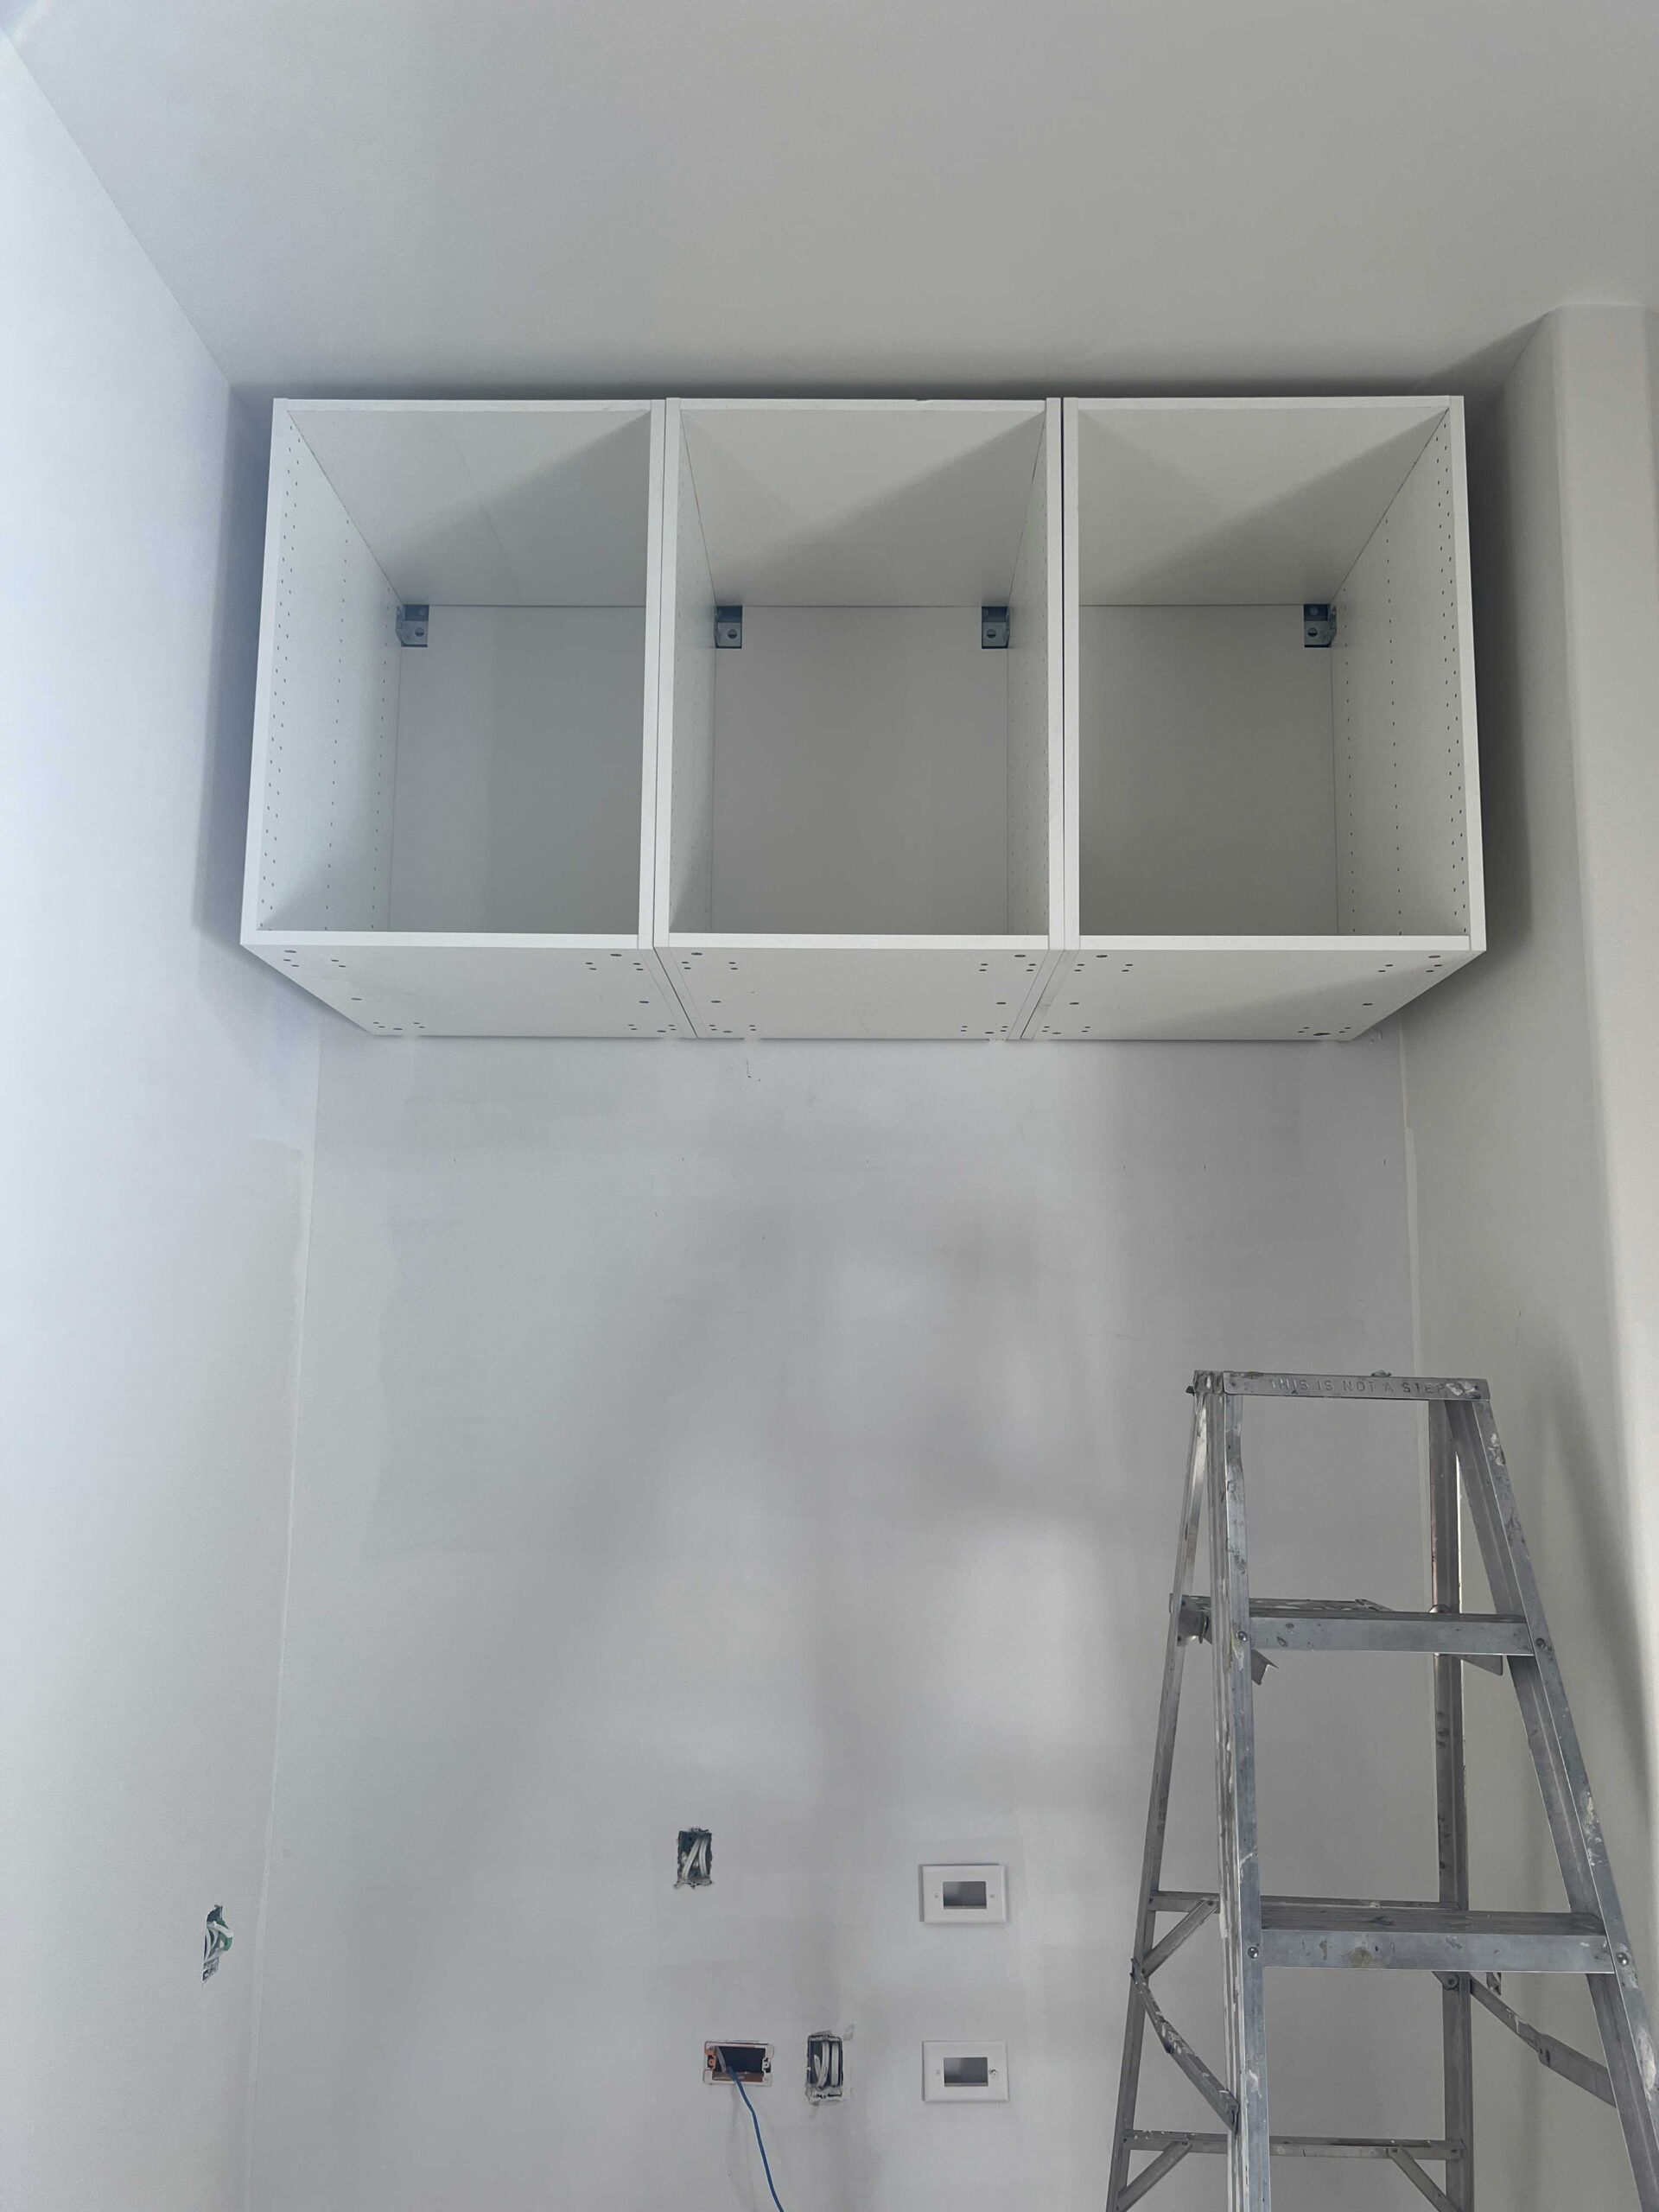
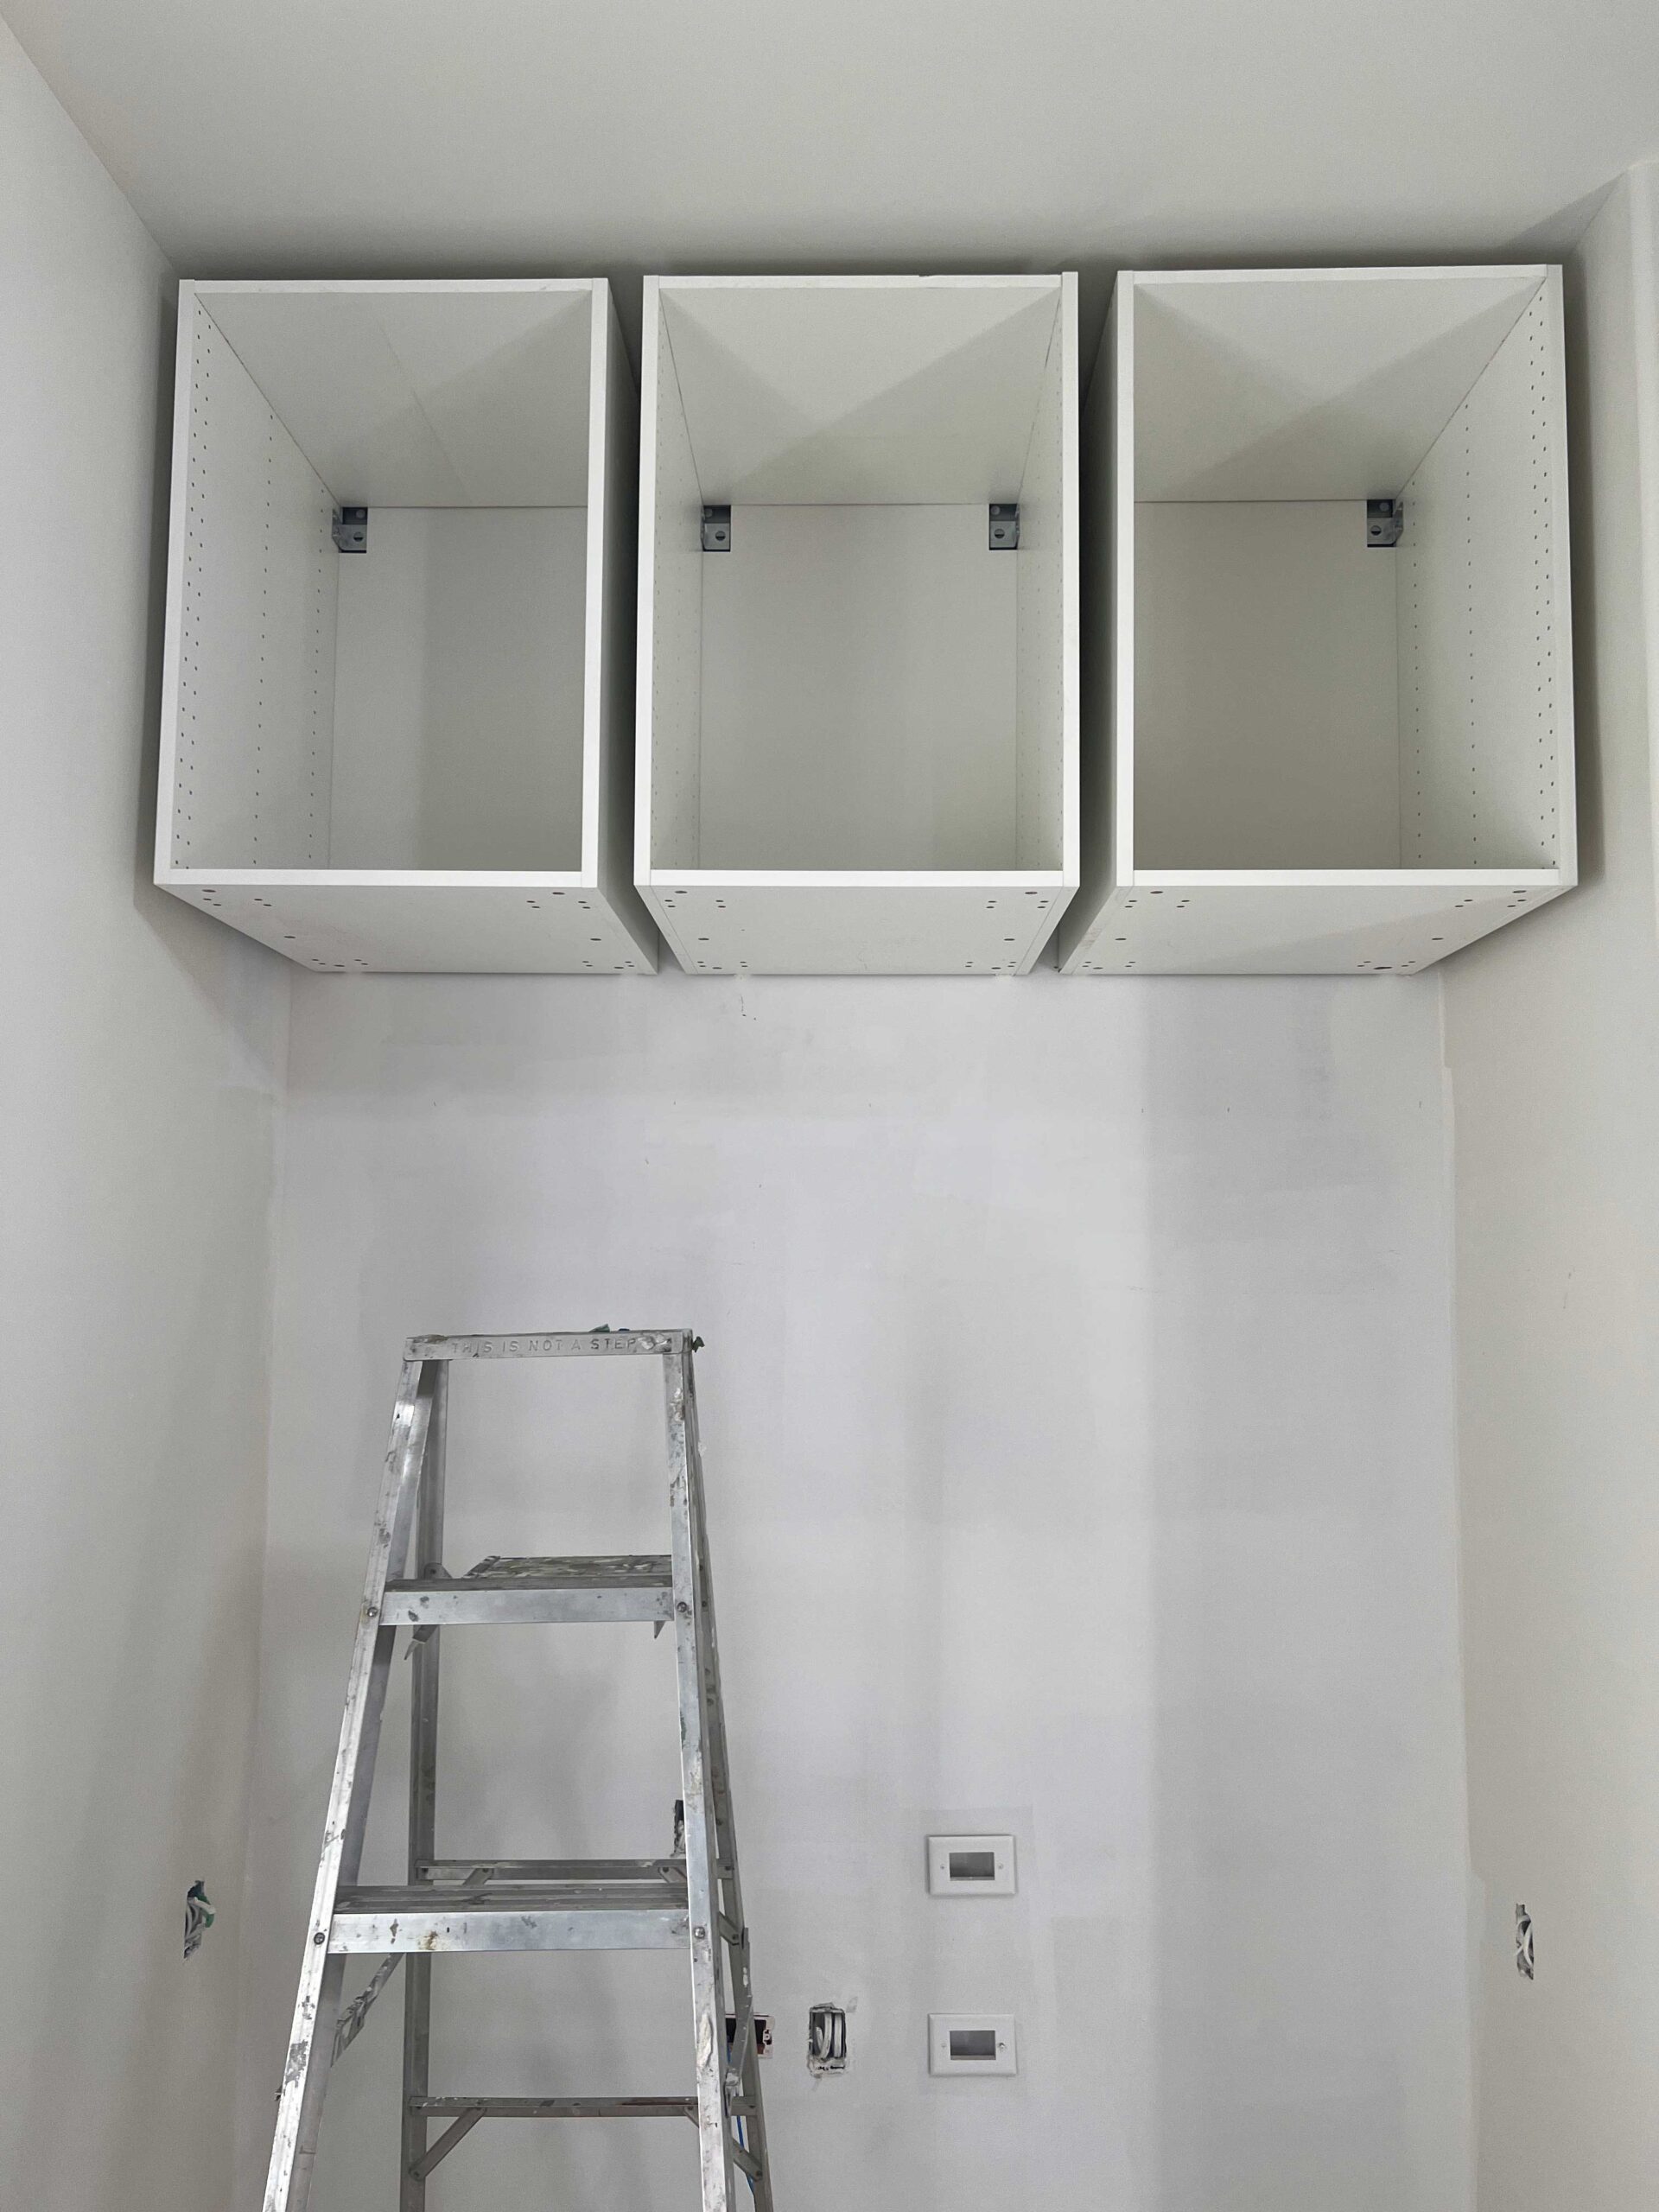
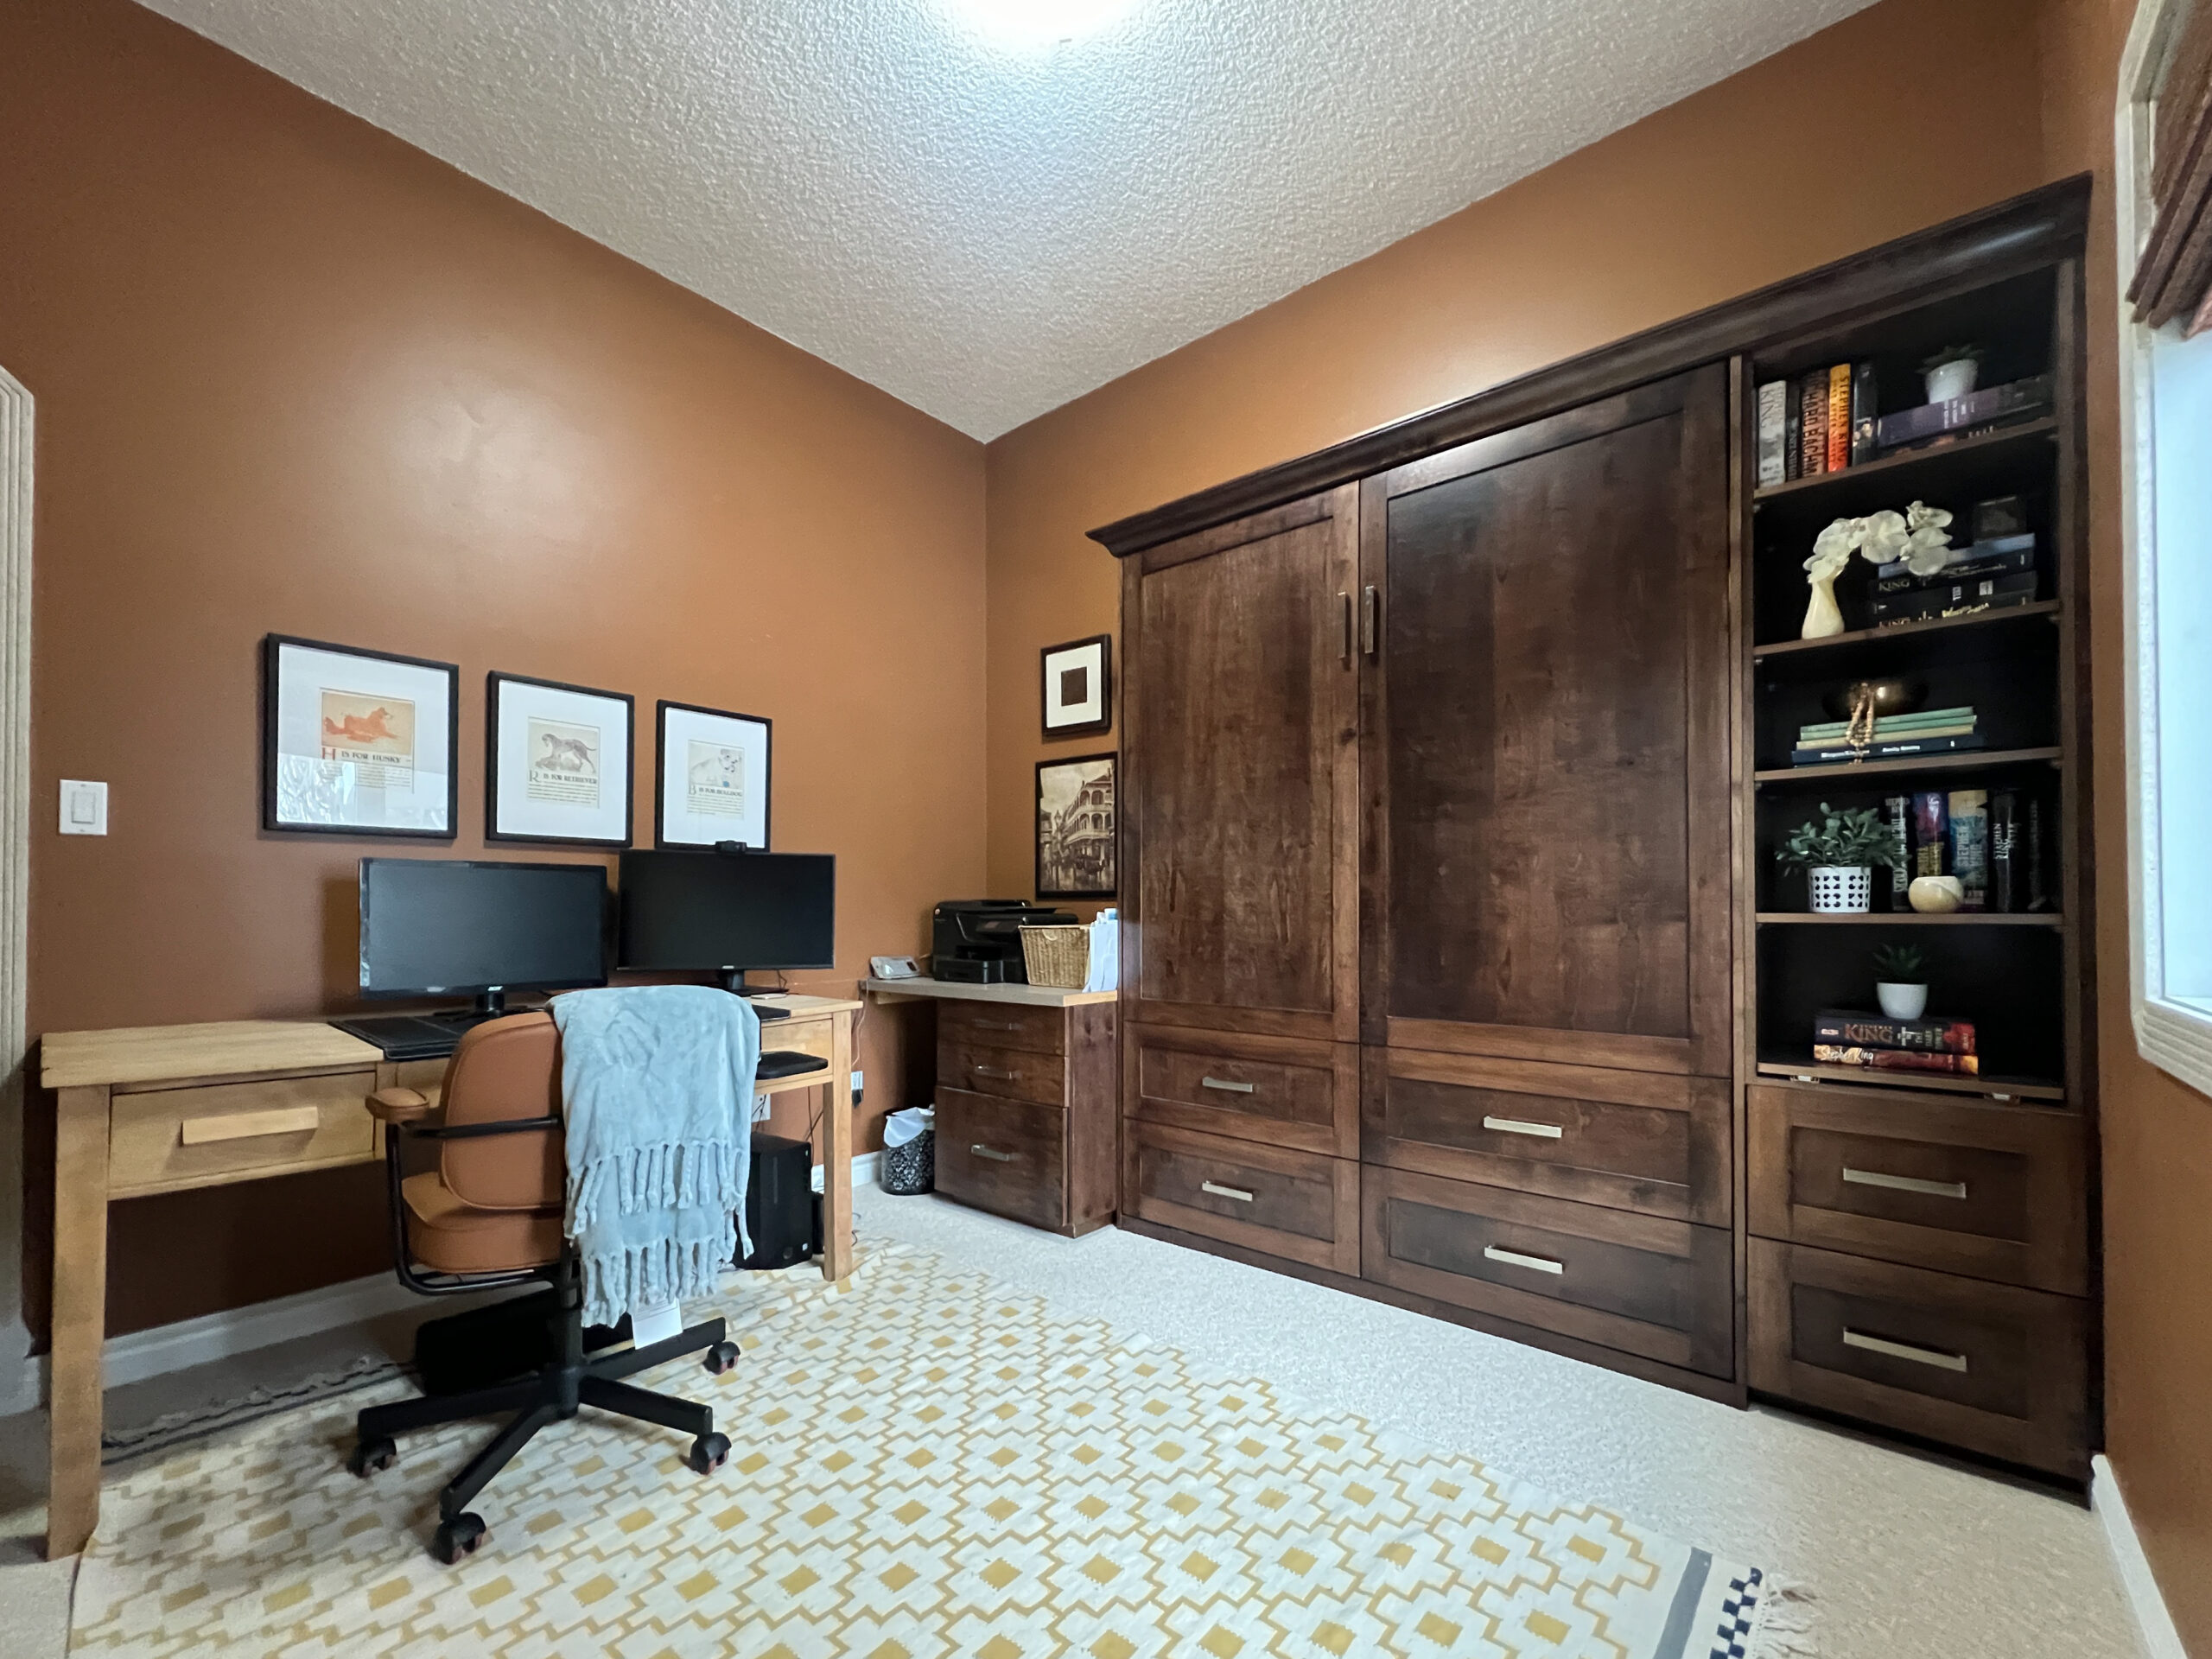
We then installed some Ikea Kitchen Cabinets up near the ceiling. We used lower cabinets for this because I wanted the additional storage space that they would provide.
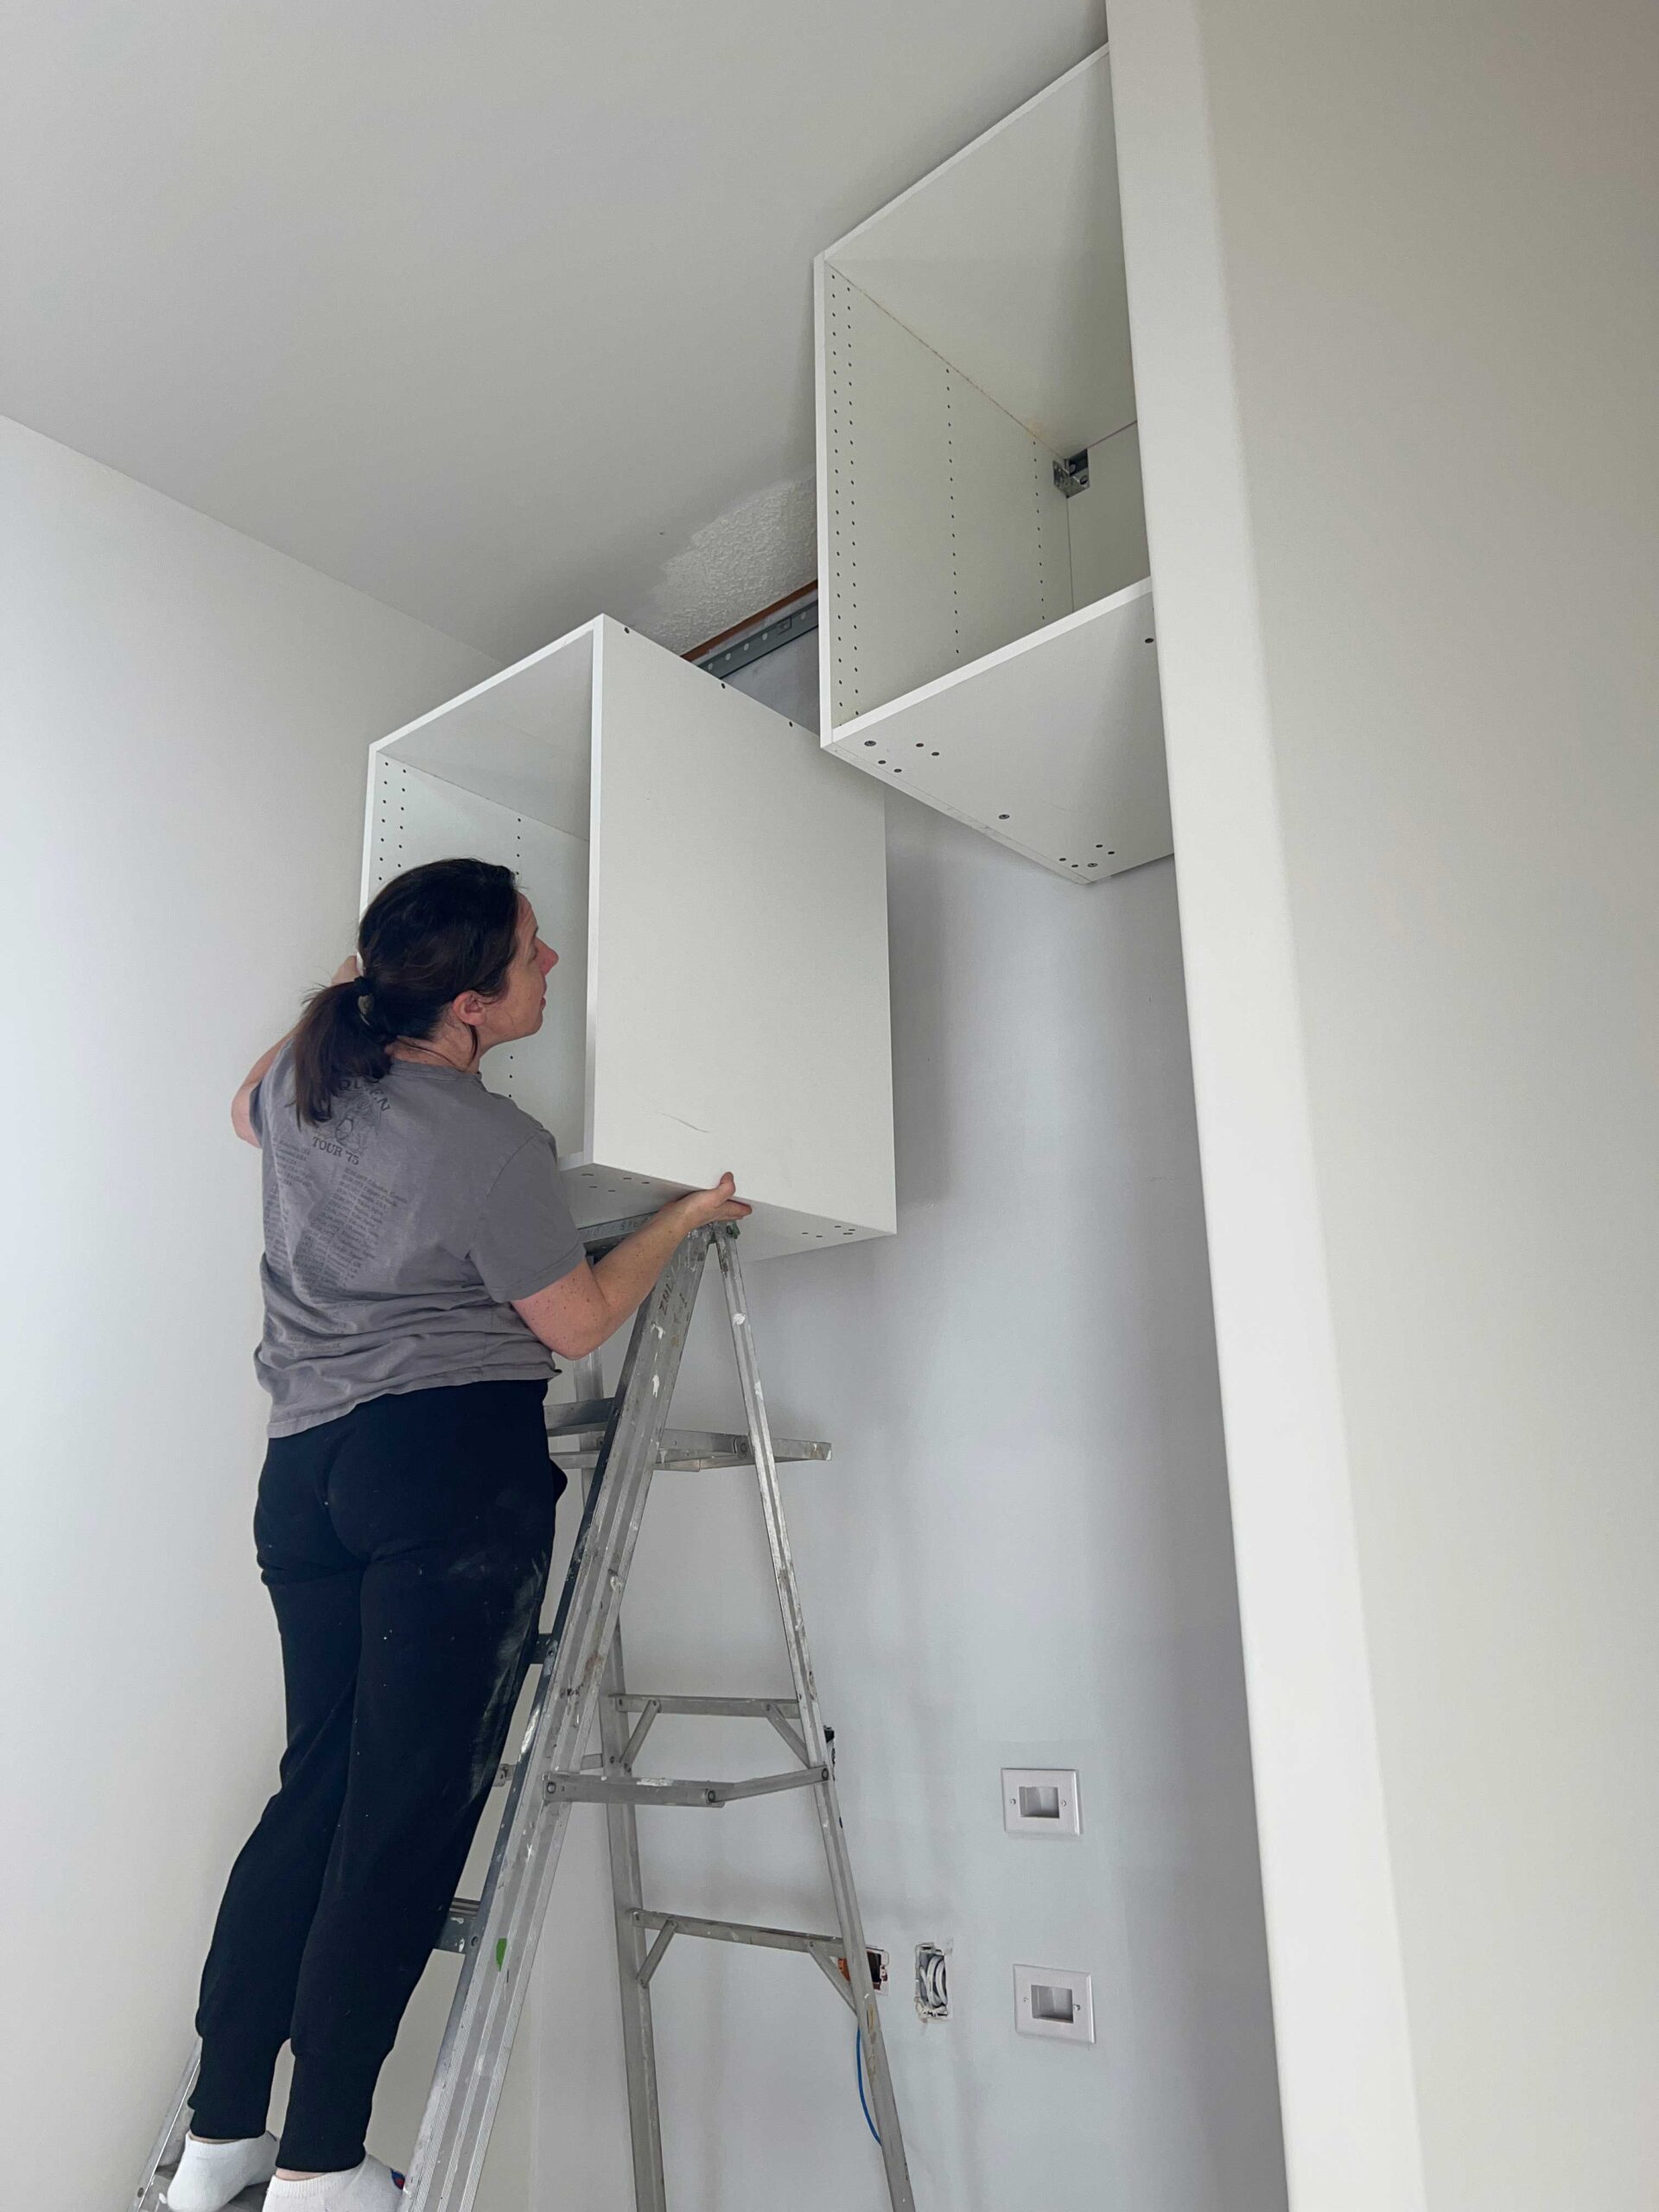
Since lower cabinets do not generally have a top on them, we cut a piece of melamine for the top, screwed that on through the side walls and then edge banded the front of it. This is just so that when the cabinet doors are opened, you don’t see the ceiling and the base cabinets have a top on them.

Ikea cabinets are very easy to install due to the rail system they use. You install a rail level on the wall, using a stud finder to ensure that you attach it securely to studs. Once the rail is up, you simply have to hang the cabinet box onto the rail using the hook that Ikea’s cabinets have on the back of the cabinet.

We planned to install a library ladder in here so we added some framing along the bottom of the upper cabinets to make sure the ladder rail has something strong to attach to. That was just some simple 2×4 framing that was firmly attached to the wall studs.

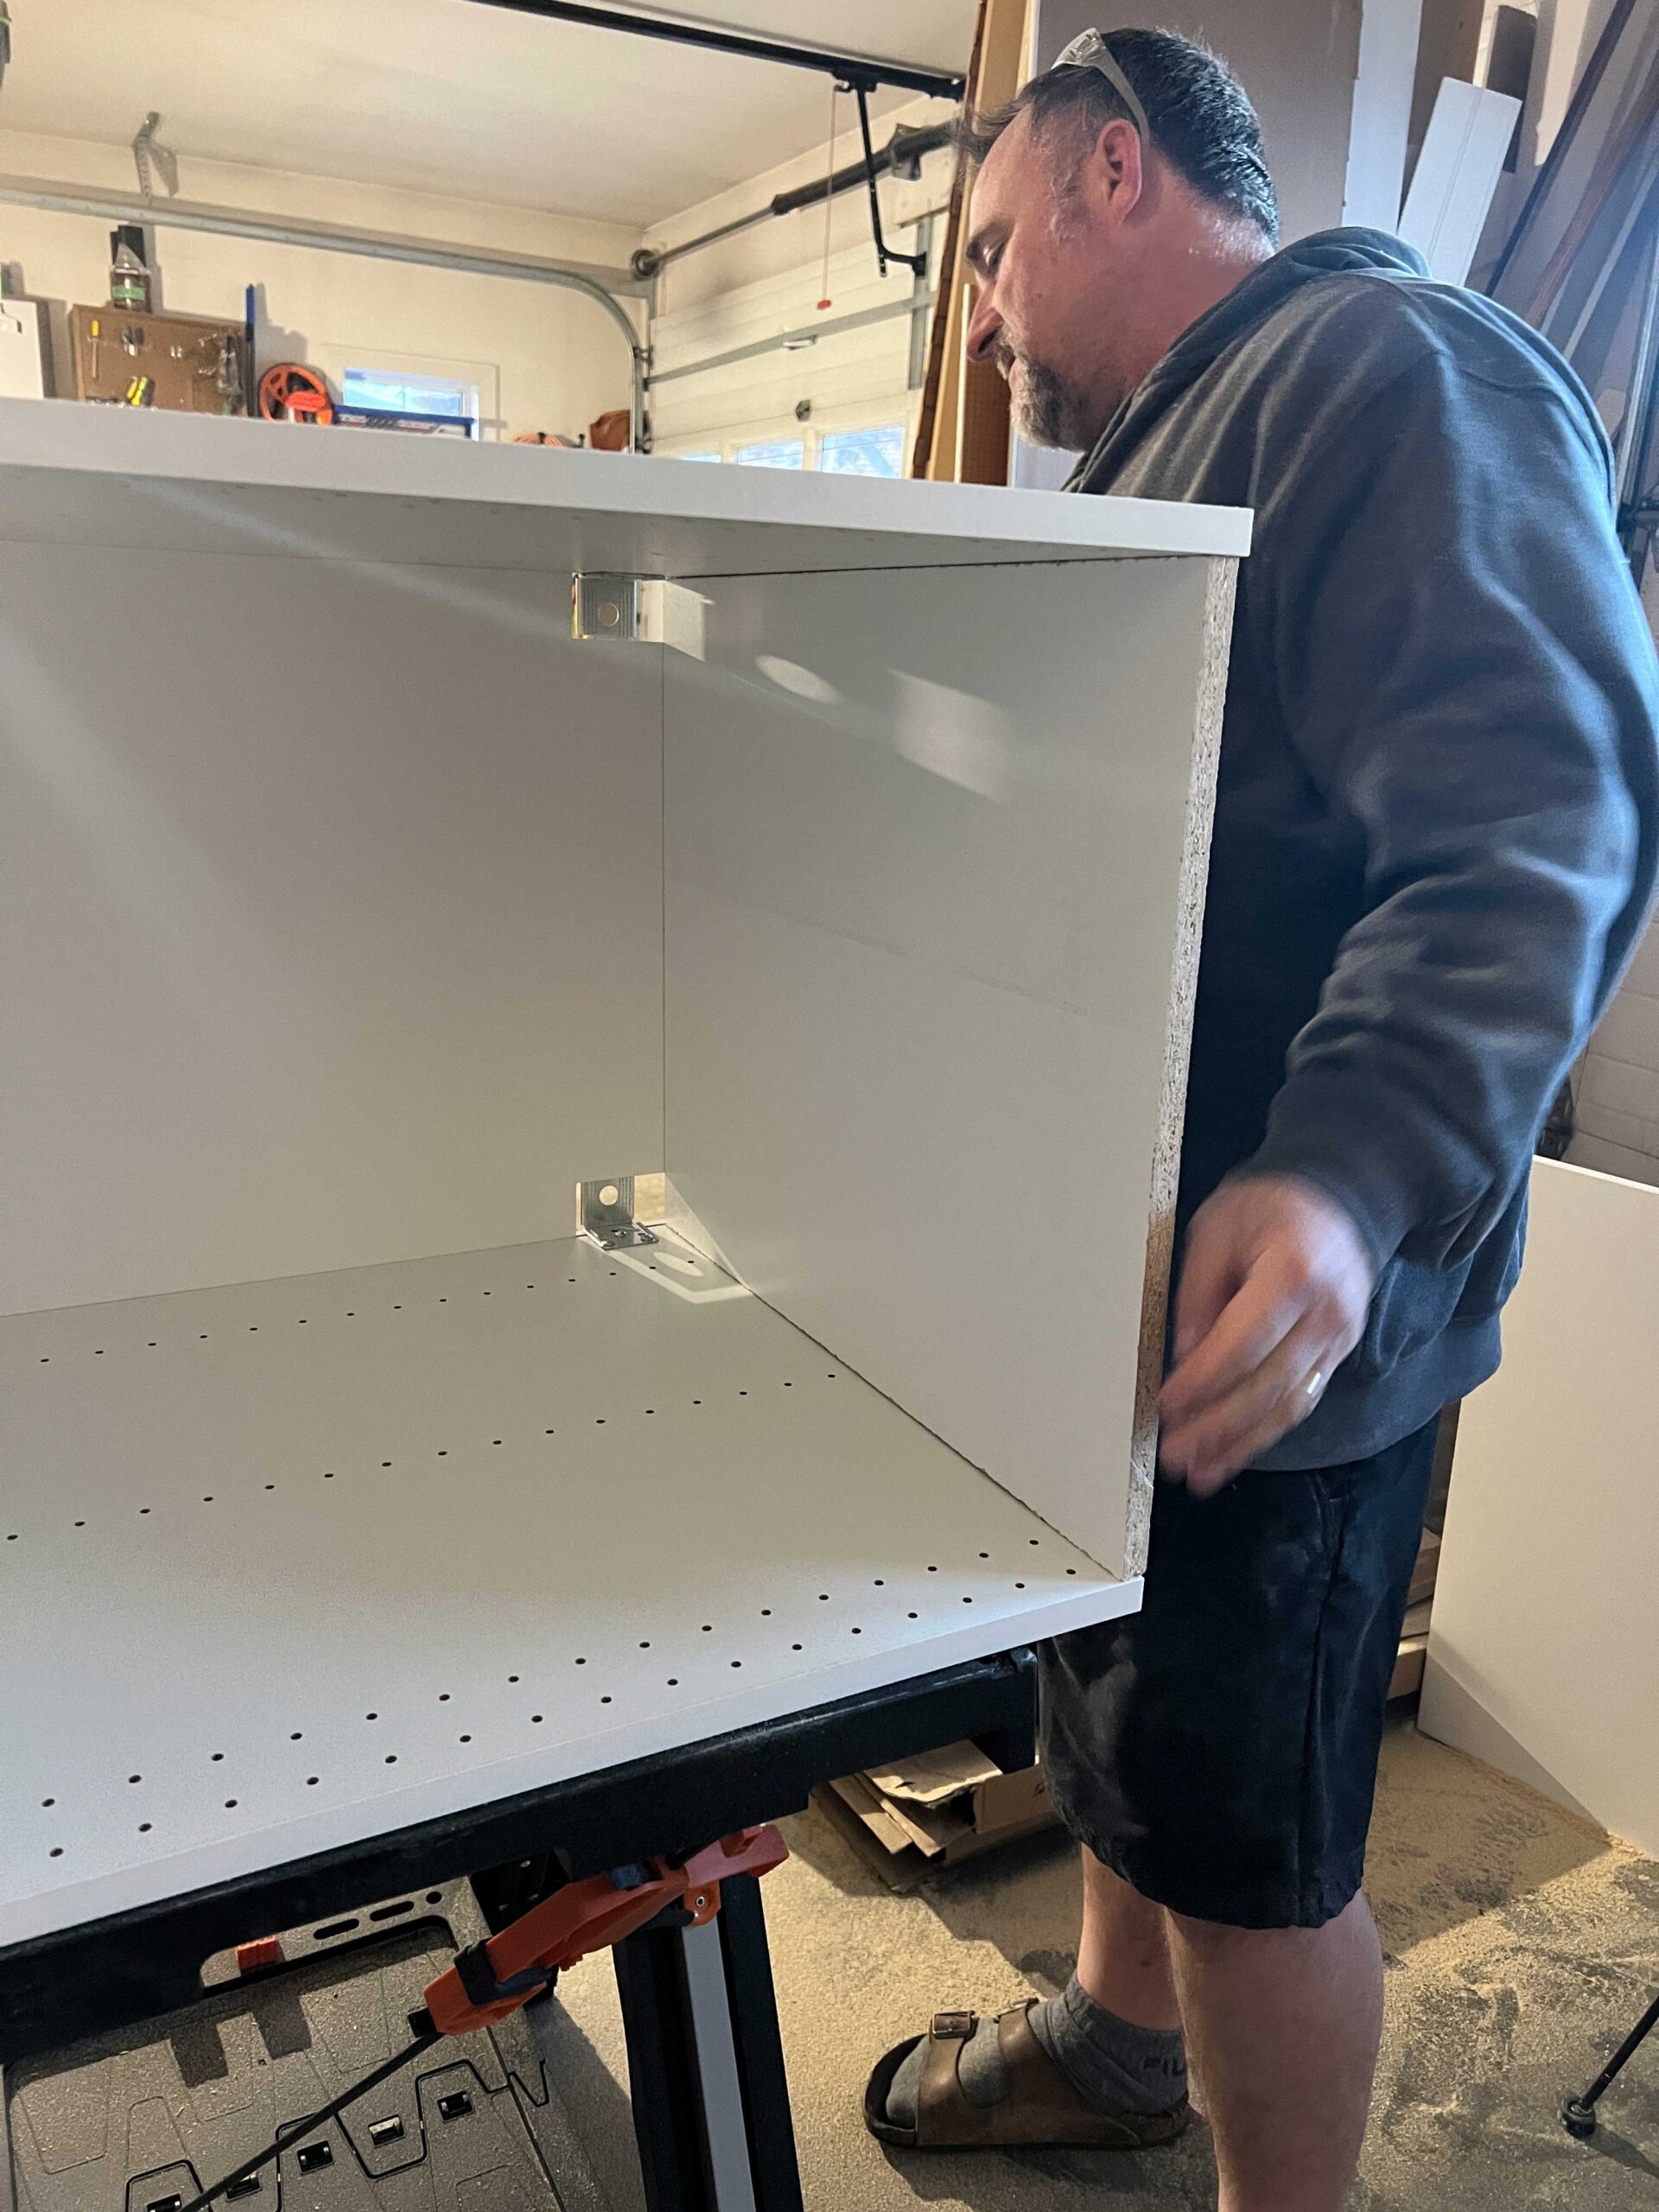
The old cabinets in this room included a bank of drawers that we wanted to reuse for one side of the desk base. We planned to use an Ikea base cabinet for the opposite side, but they were not the same height. We assembled the Ikea cabinet and then cut the top off of it to make it the same height as the bank of drawers.


We also made a base for the Ikea cabinet by ripping down 2×4’s to match the base of the old cabinets as well.
Once those modifications were done, we removed the carpet from the area where the cabinet bases would go and screwed them down to the subfloor. We used shim where necessary to make sure the bases were level.
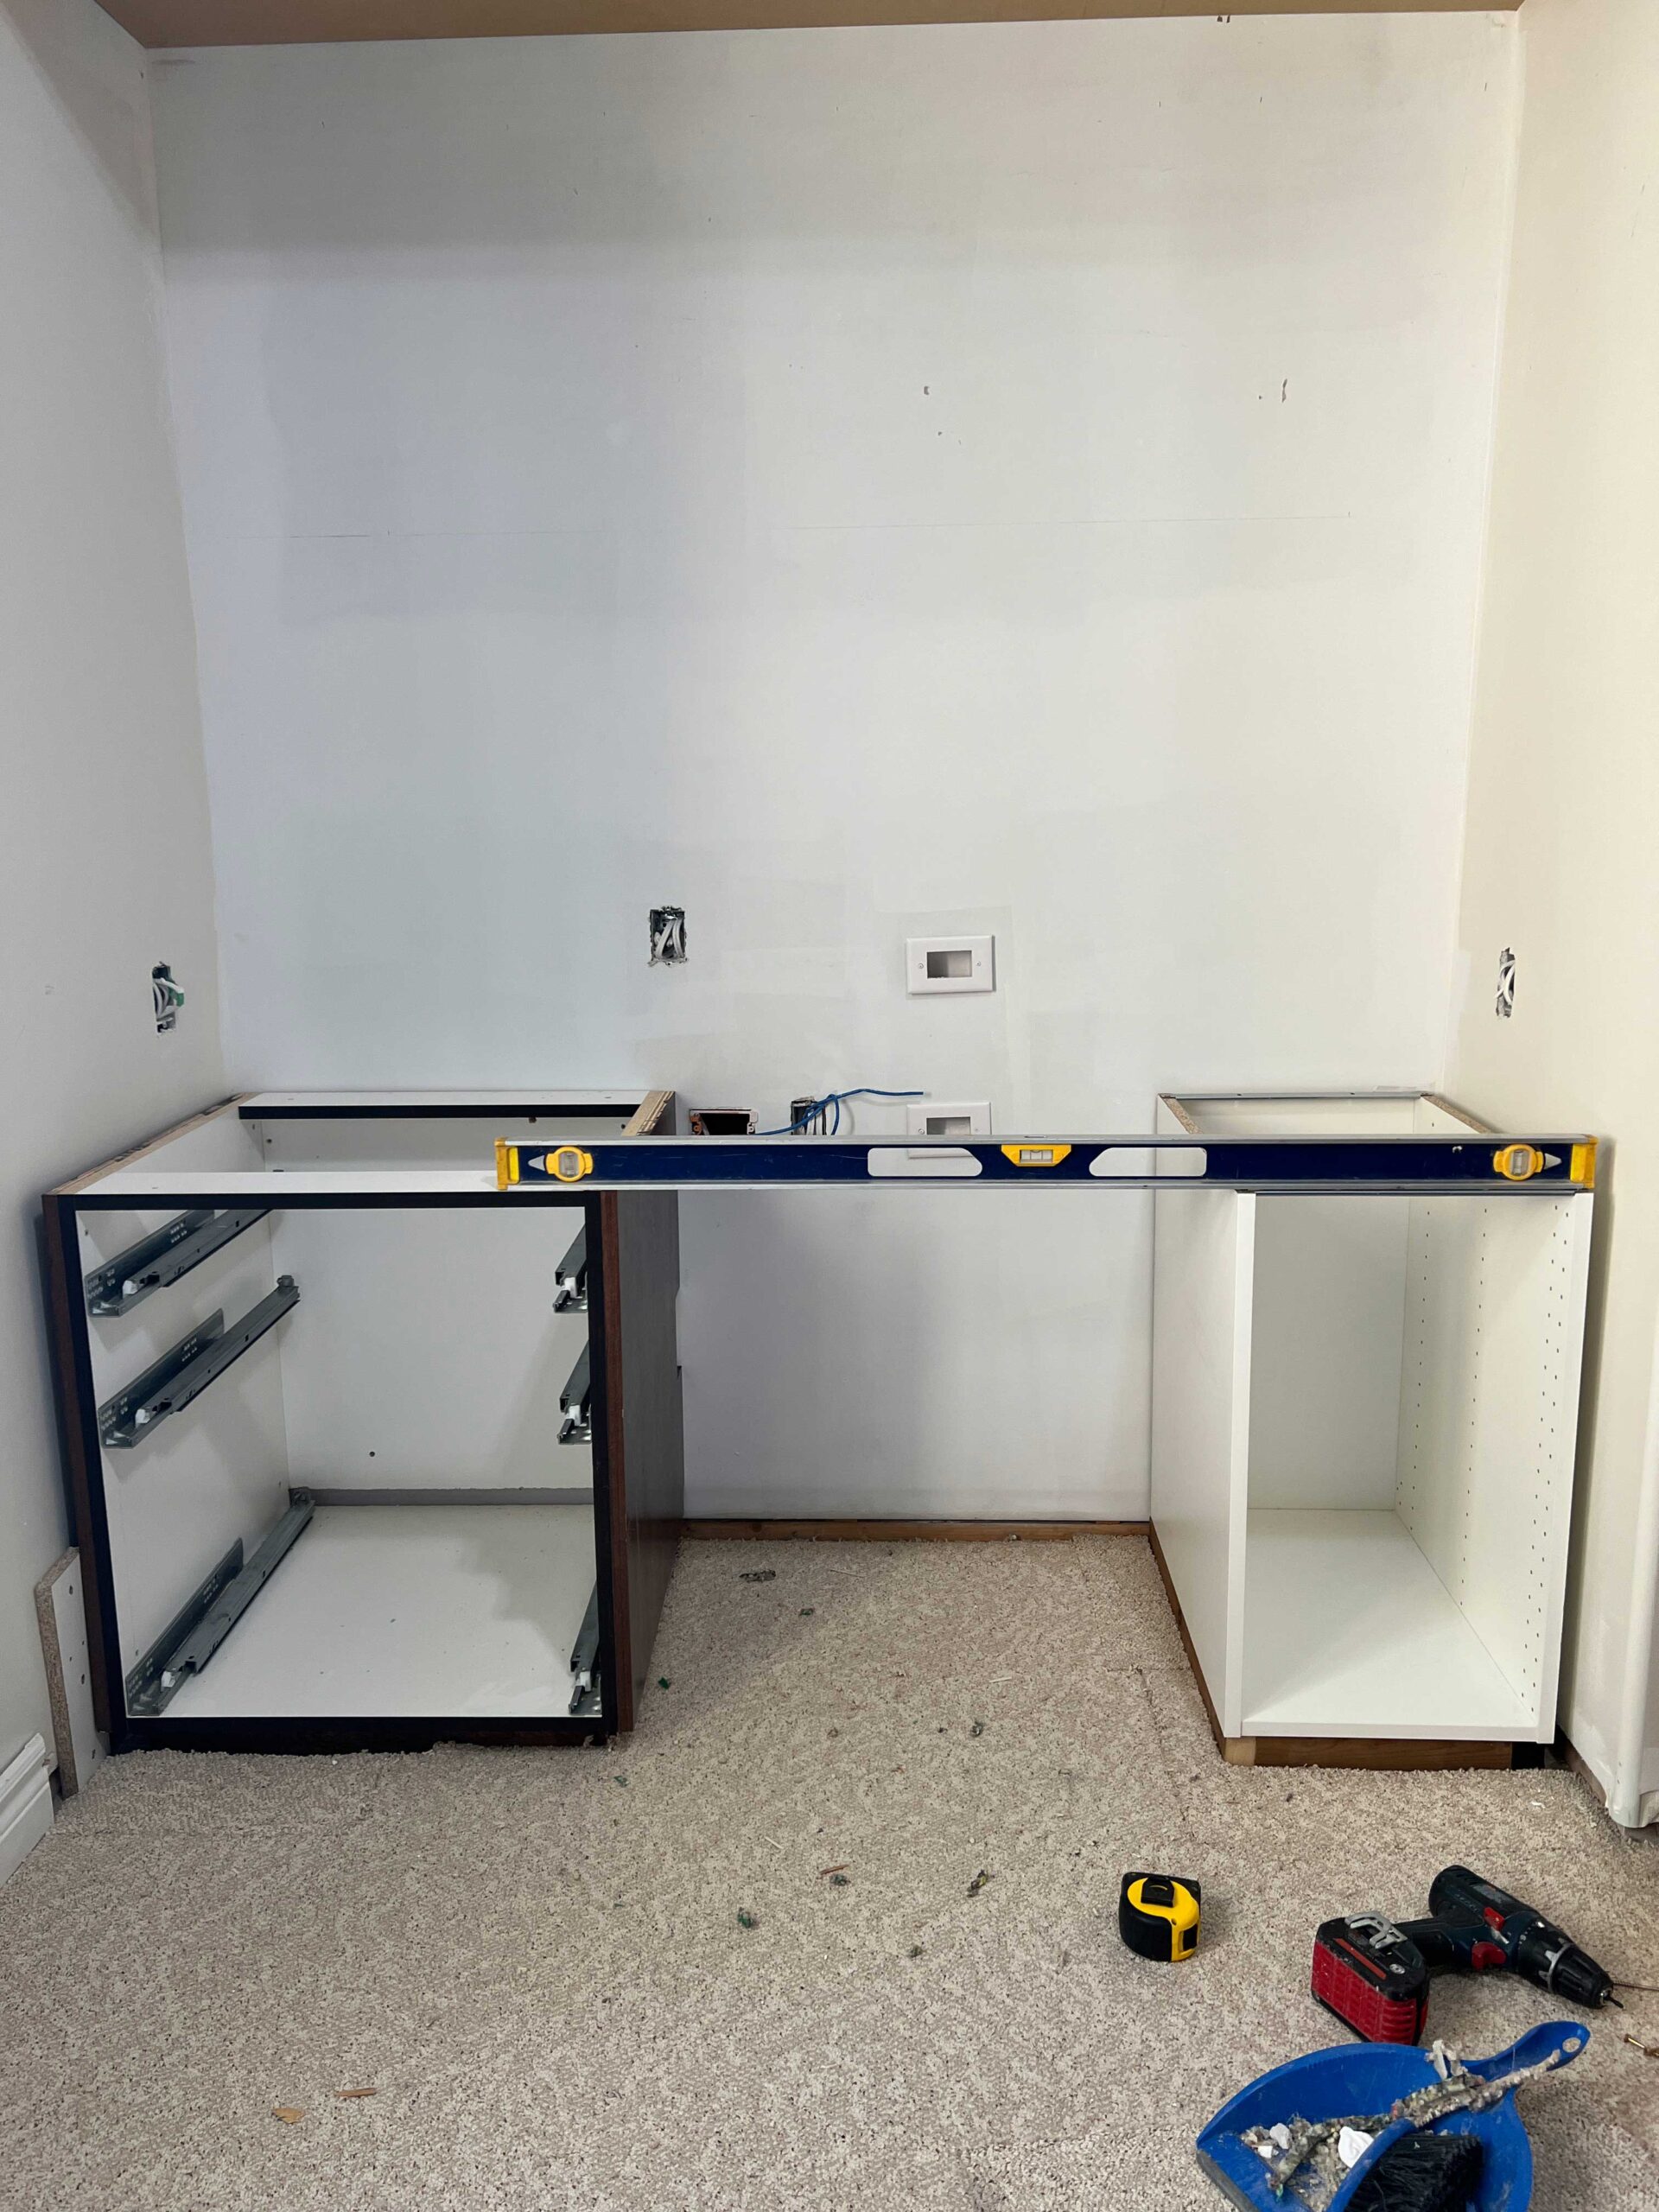
We installed both cabinets about 1 – 1/2″ away from the side walls to allow room to install a filler piece.
Once the base cabinets were nice and level with each other we added an Ikea Countertop. I chose this countertop because it is real oak veneer so it could be stained, but it didn’t have the typical butcher block appearance that I thought might make it look a little kitchen-y.
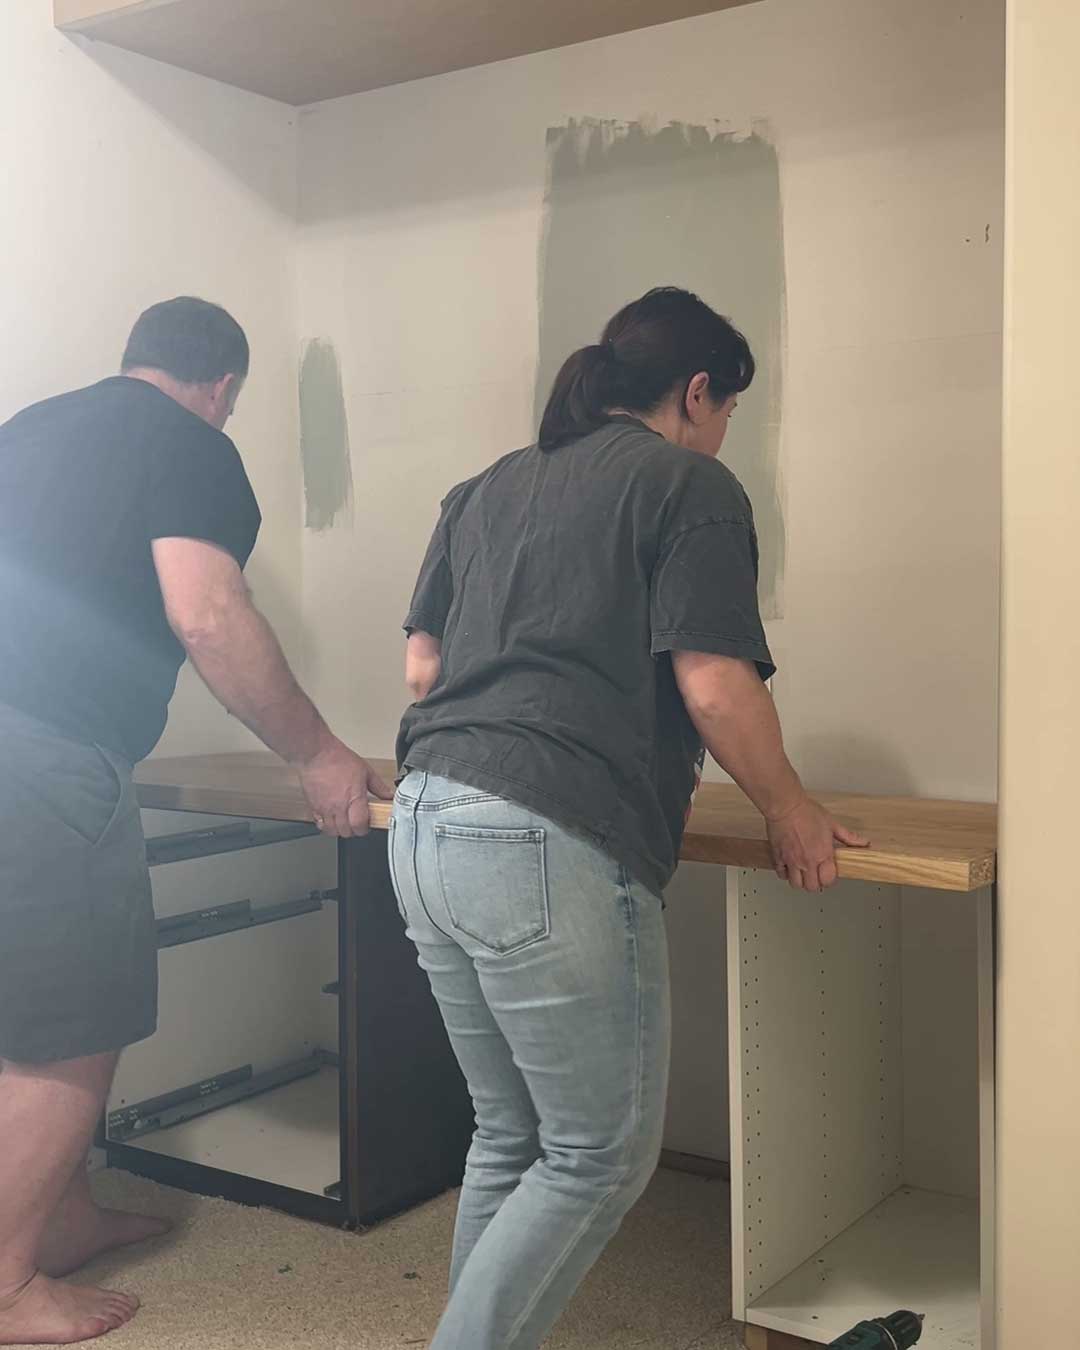
Once the counter was in place, I lightly sanded it and then stained it a little bit darker using Osmo Wood Wax Finish.
Then it was time to add all the fillers! We started with filler panels on the sides of each of the base cabinets and then added the filler strips next.
What is a Filler Strip
A filler strip is just what it sounds like really, a strip of material that matches the cabinet doors that are used to fill a space.
When you are using off-the-shelf cabinetry (like in our IKEA kitchen) you often have to get cabinets that are just a little smaller than the space you have available so that they will fit. Different cabinet manufacturers have different standard-size cabinets that they use to piece together the kitchen. Once you put all the cabinet boxes side by side, there is a little space left over between cabinets, and that is where you would use a filler.
Fillers are used to fill the space between cabinets to make it look built-in.
Often there are spaces where you need to plan to have a filler, such as in the corner of a kitchen to prevent doors and drawers from running into each other, or up against side walls where you don’t want a drawer slide against a wall or hit a baseboard when it’s opening.
How to Plan for Fillers
It is one thing to know that you need a filler piece somewhere, but another thing to plan the most aesthetically pleasing place to put it. Function comes first but form is right behind, am I right?
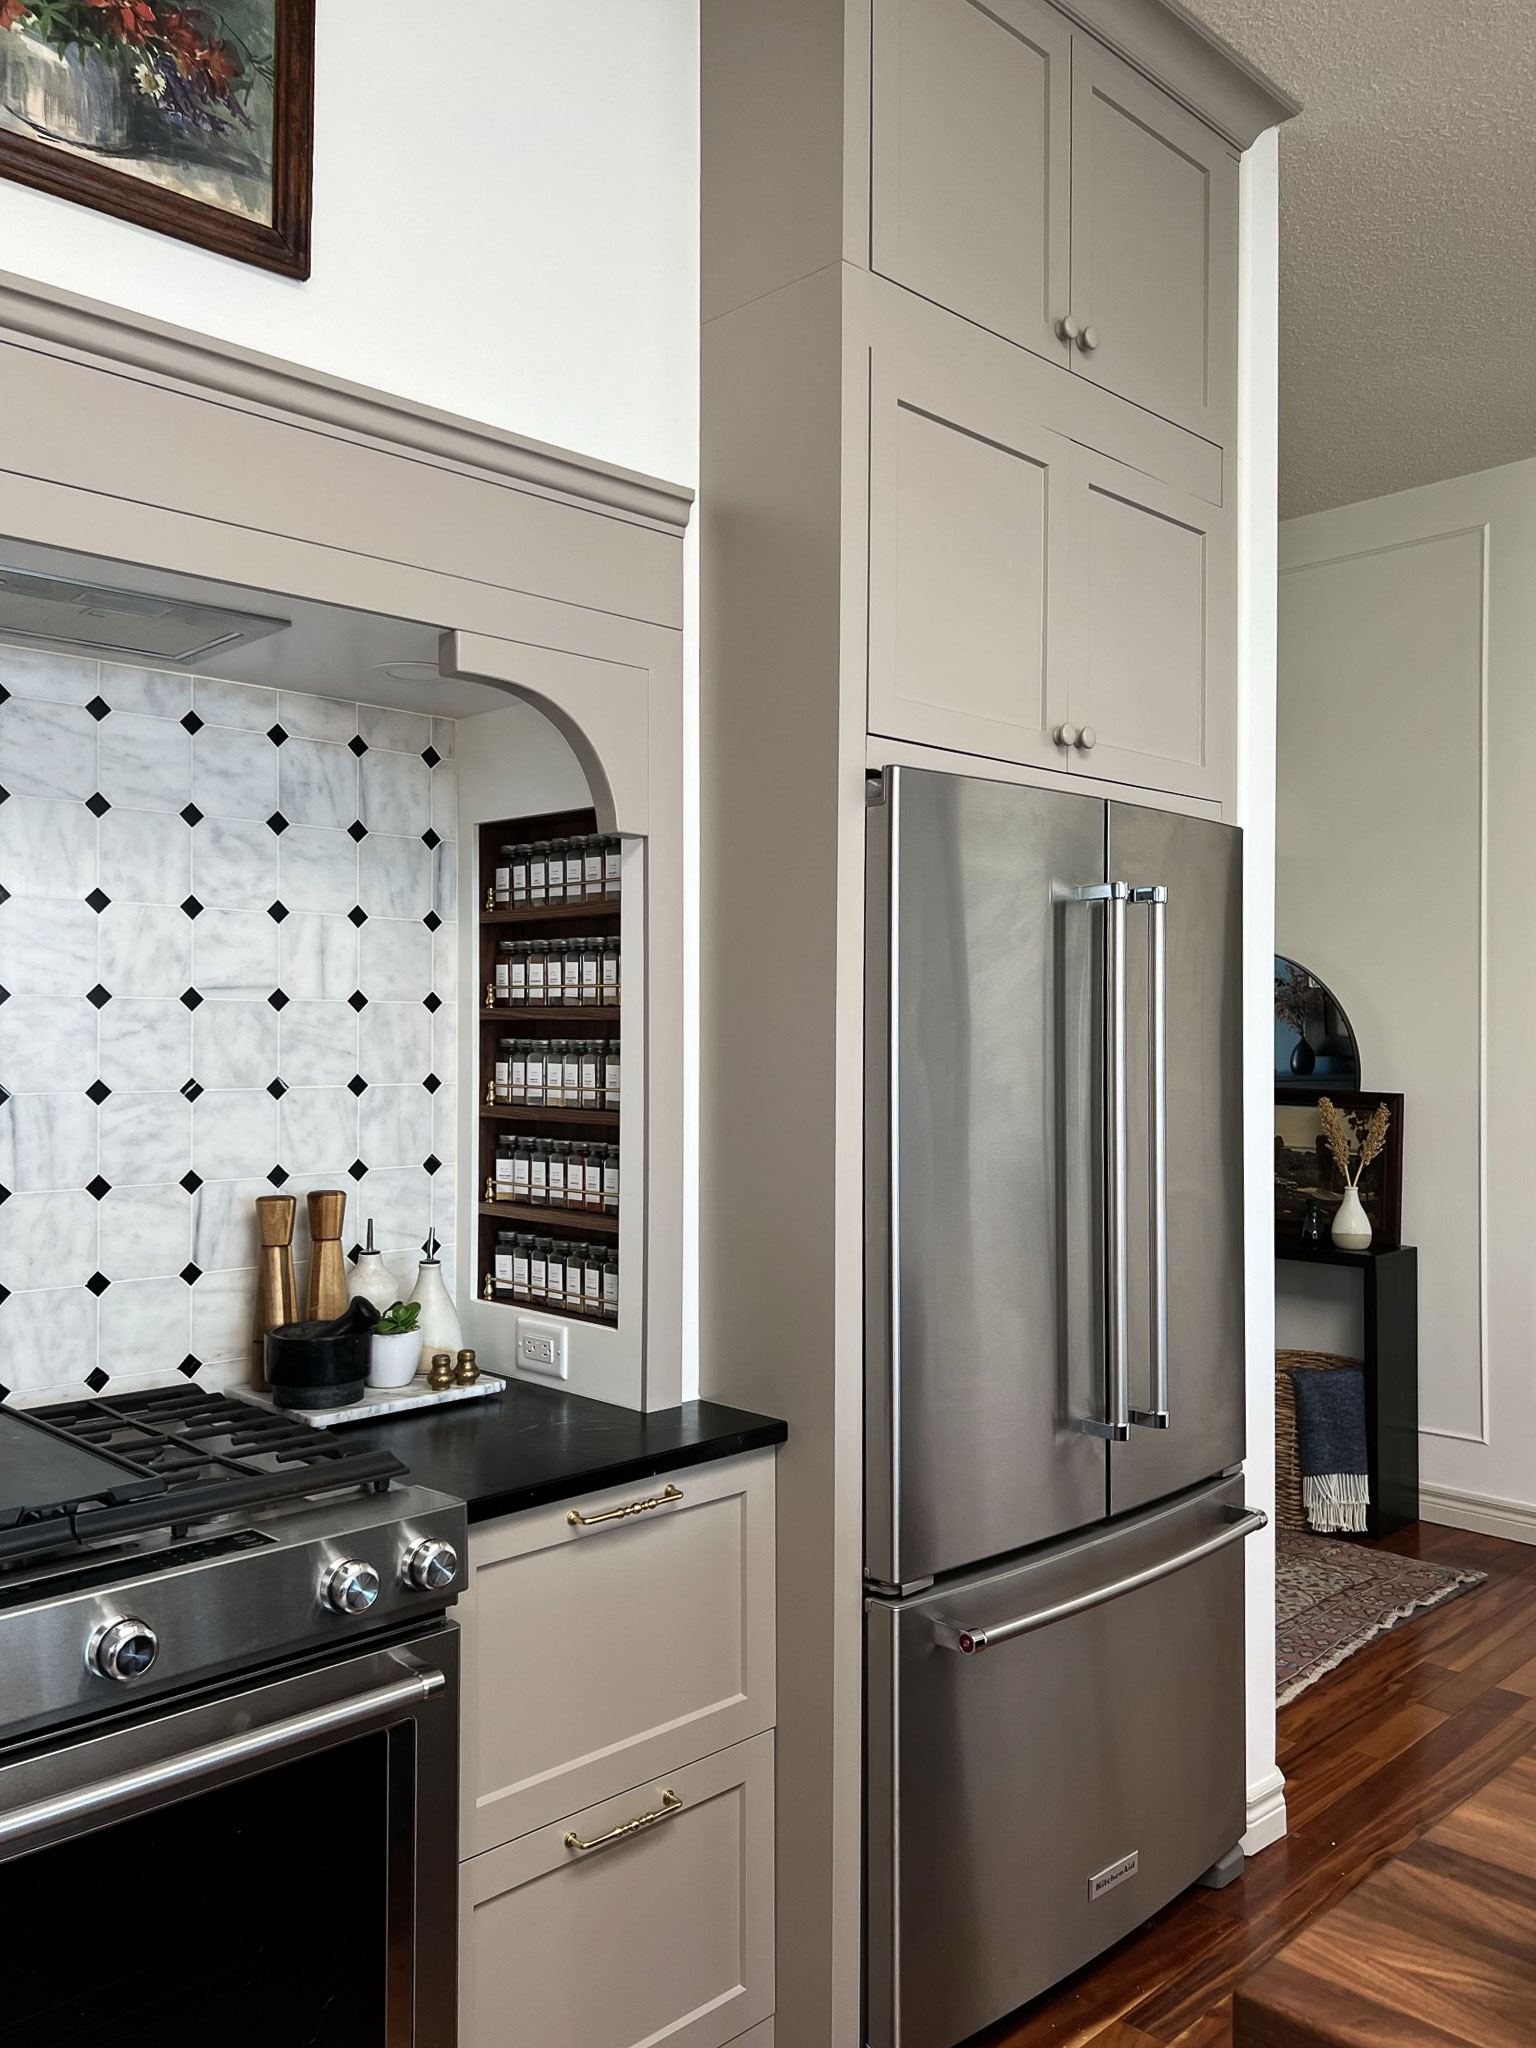
In our kitchen, the cabinets on the “business side” of the island was longer than the cabinets we wanted to use on the back side. We knew we were going to need some fillers.
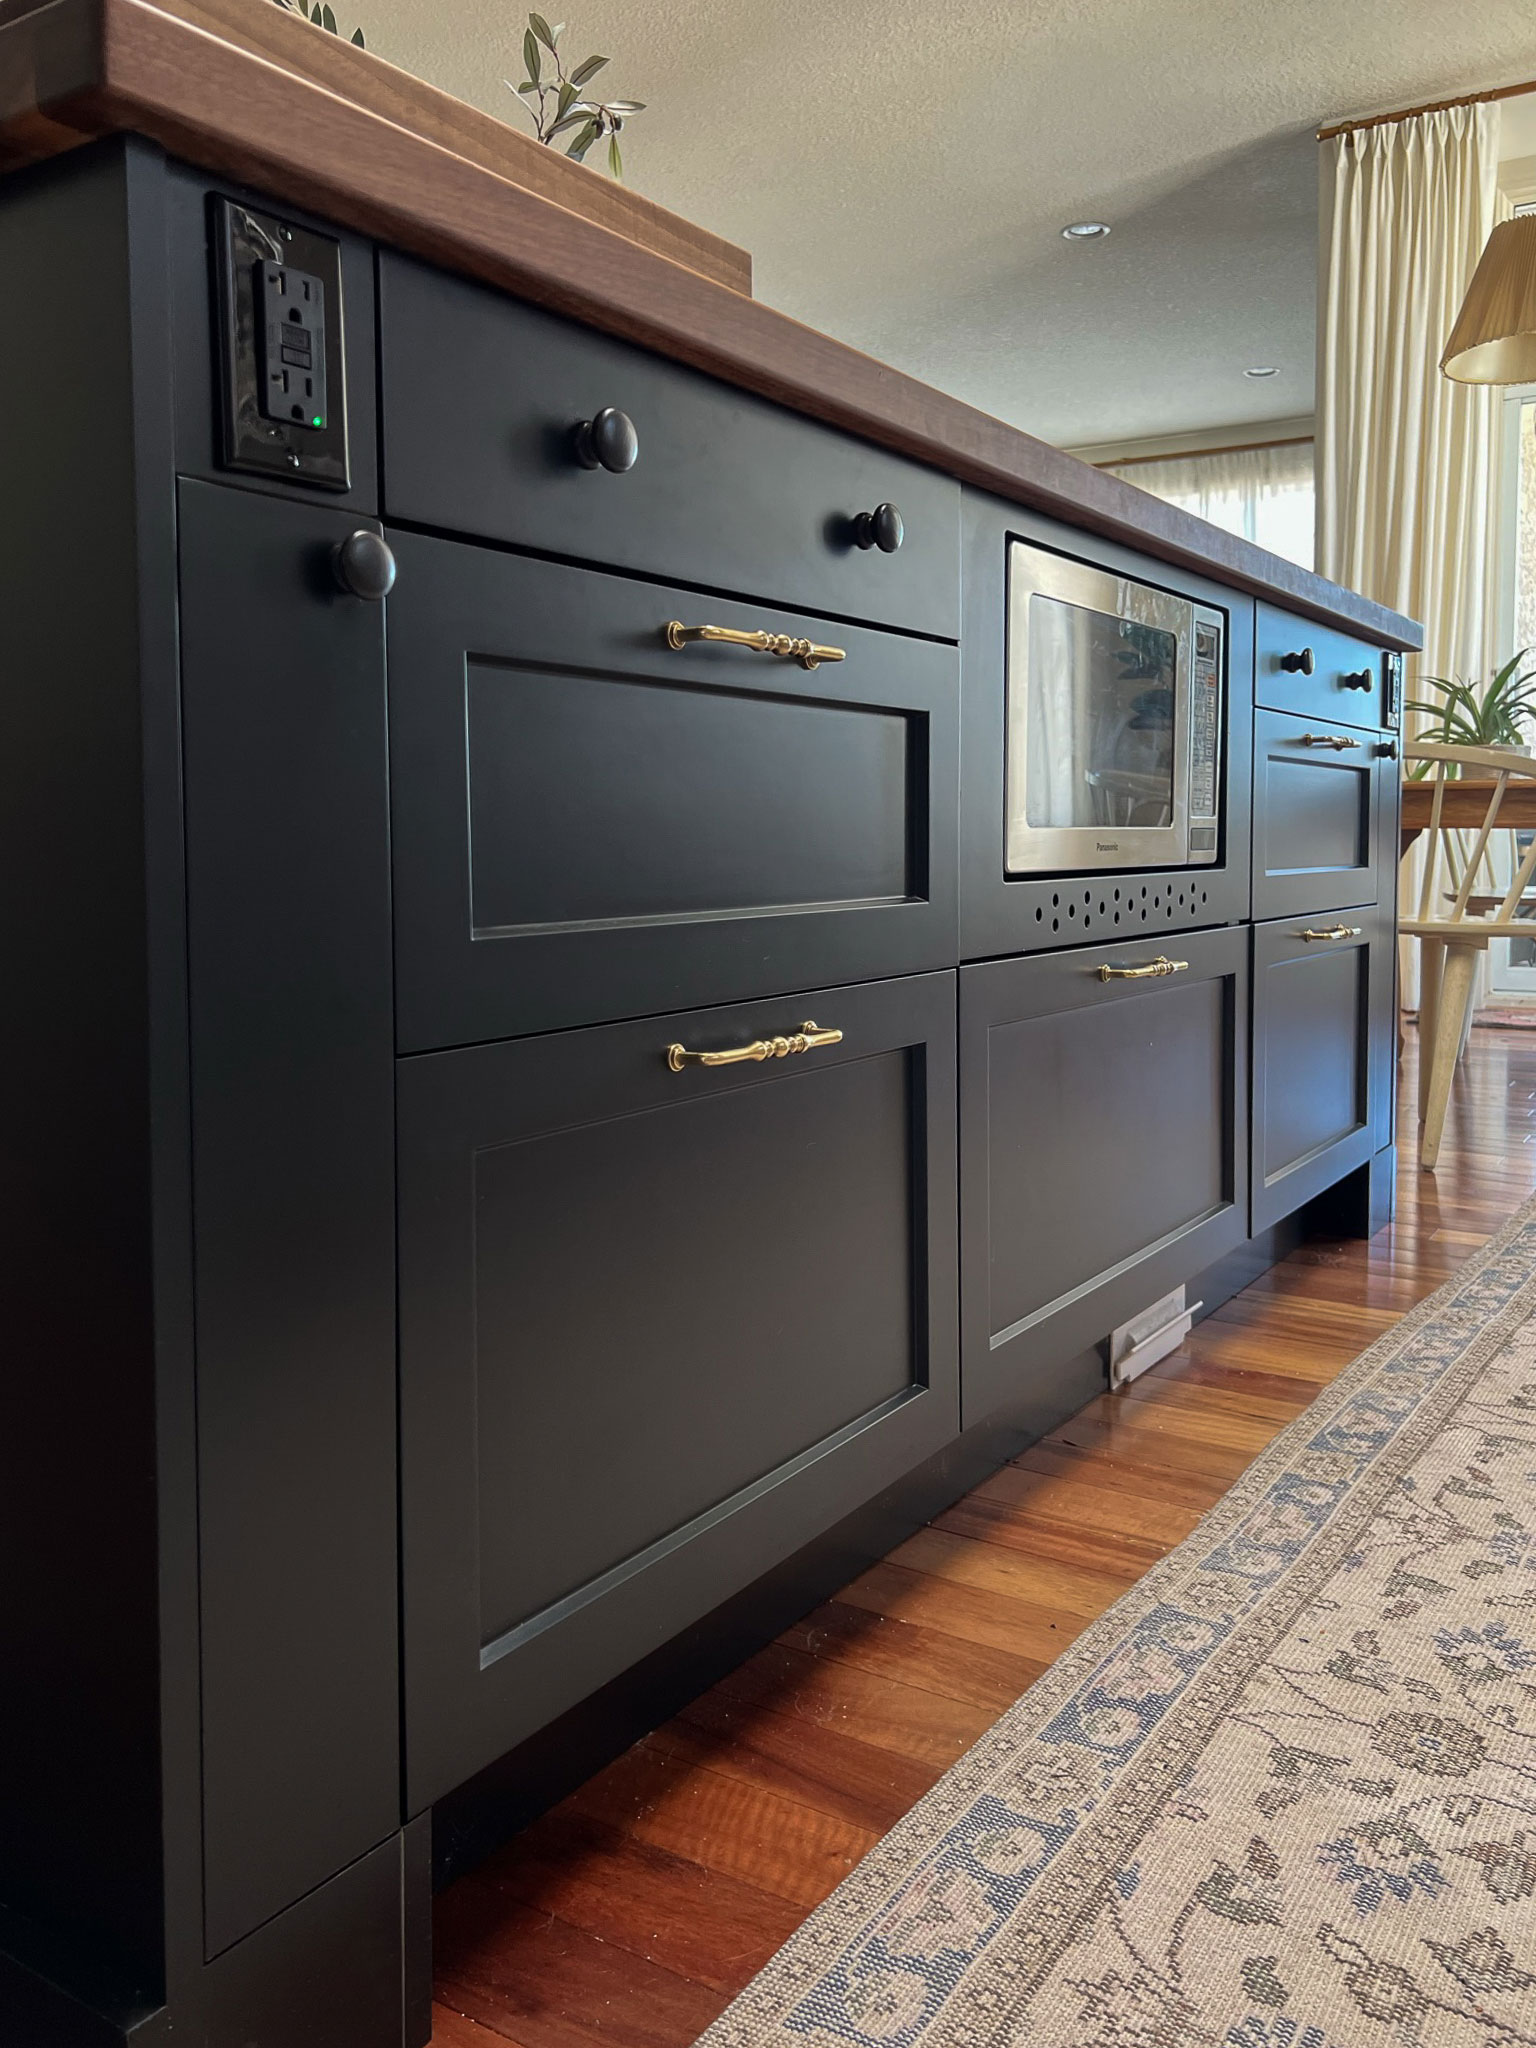
We could have put those kitchen fillers anywhere but what looked best in that case was to split the fillers between each cabinet and at each end. That way the fillers look balanced and intentional instead of just a space filler closing up unsightly gaps.
We also chose to bring our fillers forward so that they would be flush with the front face of the cabinet, and give the look of a face frame cabinet. It looks a lot better to have those fillers flush with the doors instead of flush with the cabinet boxes and gives it a built-in look.
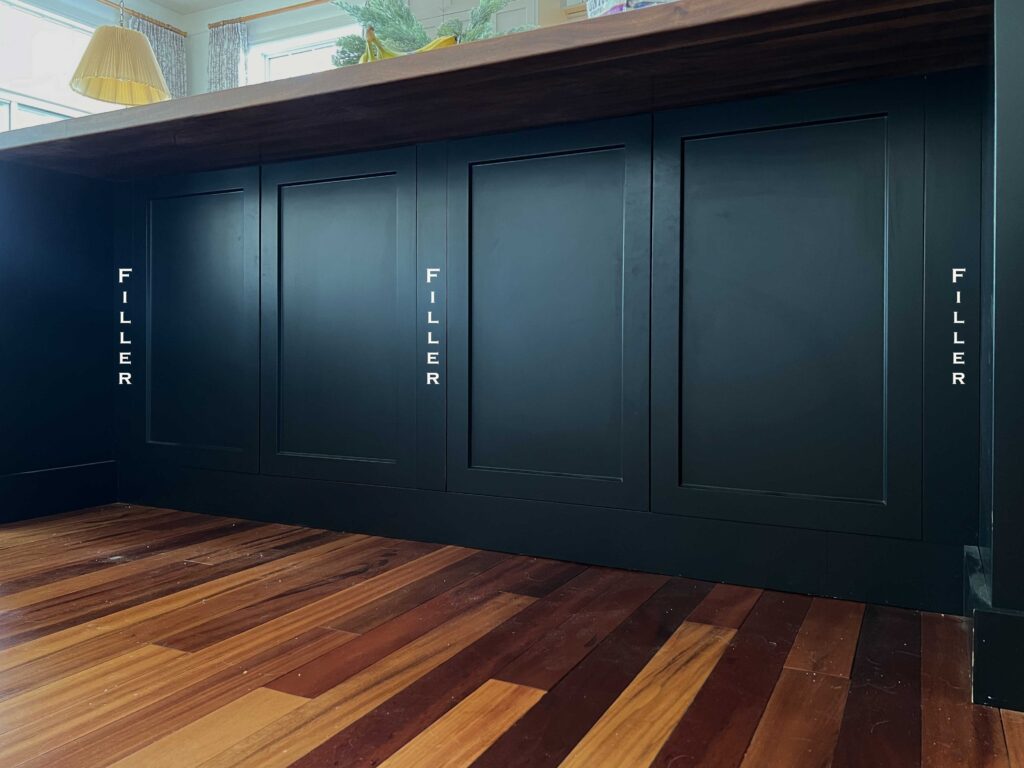
In our office, we had something similar. We easily could have put the fillers on either end of the cabinets but instead, we chose to split them evenly between all the spaces. We added trim pieces on the top and bottom of the cabinets as well so it does look like a face frame or inset cabinets (but they are just Ikea cabinets!)
If you have an end cover panel like this one in our kitchen, if you make it deeper so it sits flush with the front of the cabinet doors instead of flush with the cabinets, it has a similar effect and has very minimal extra effort.

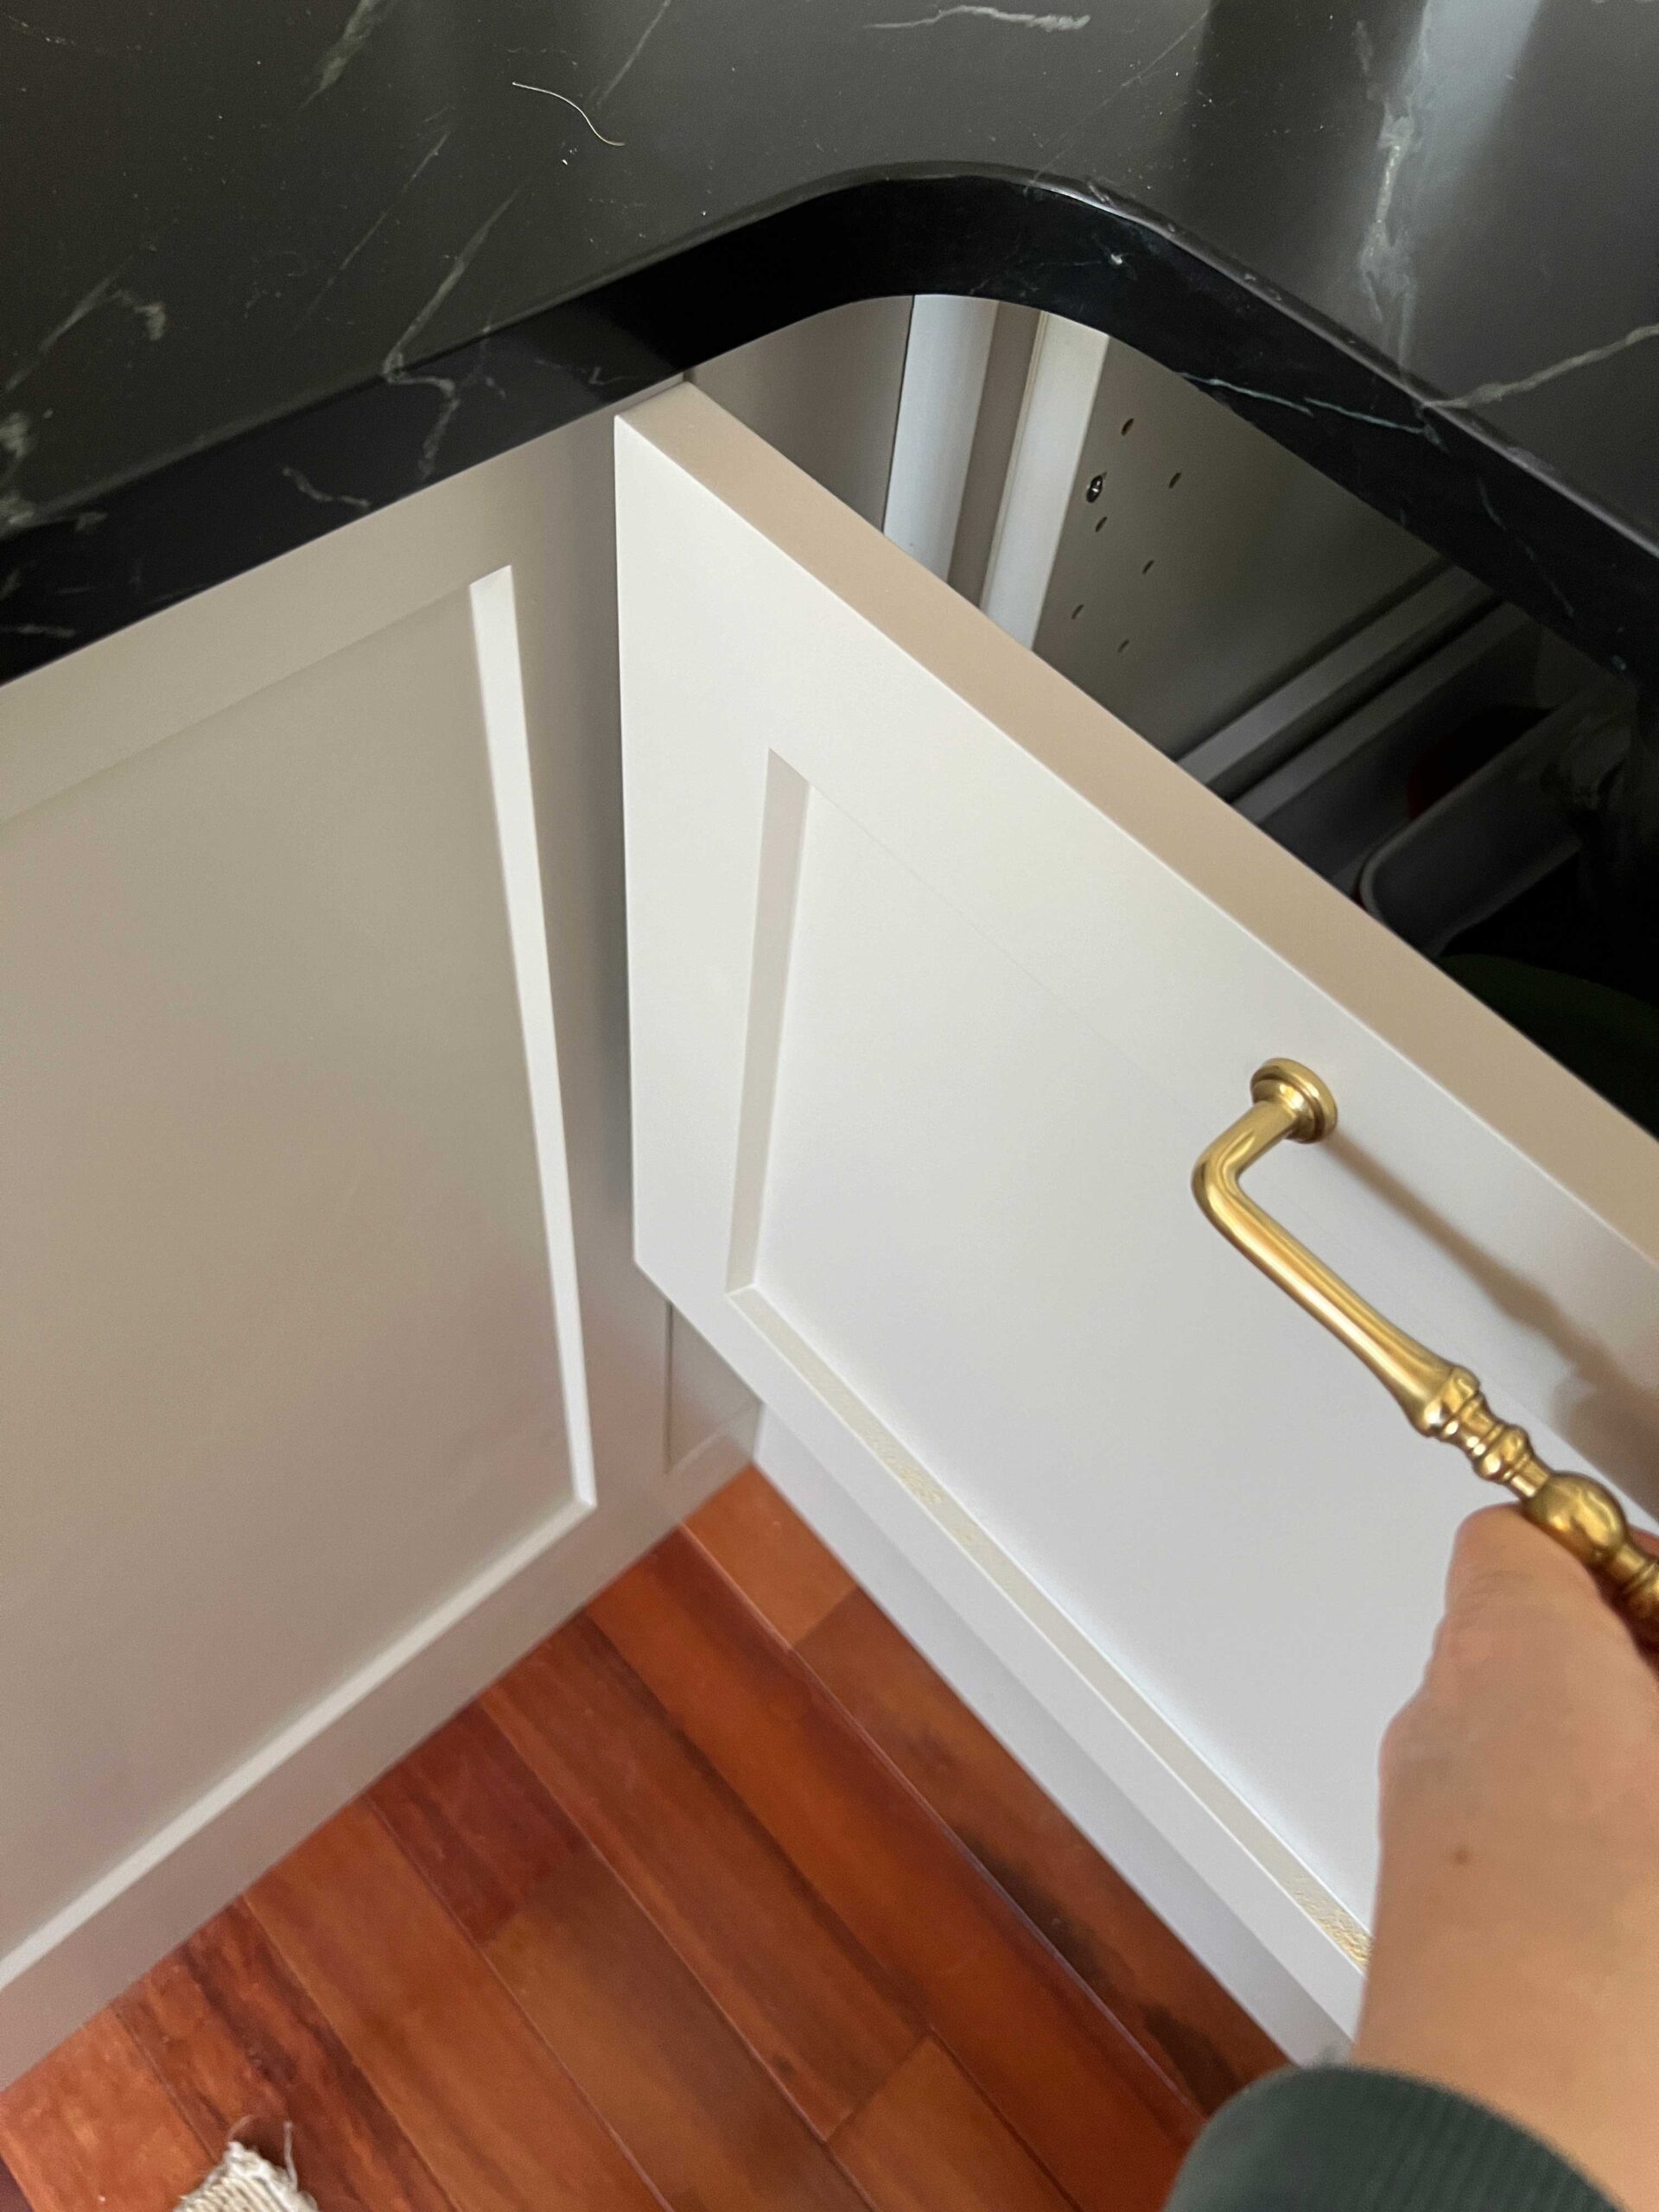
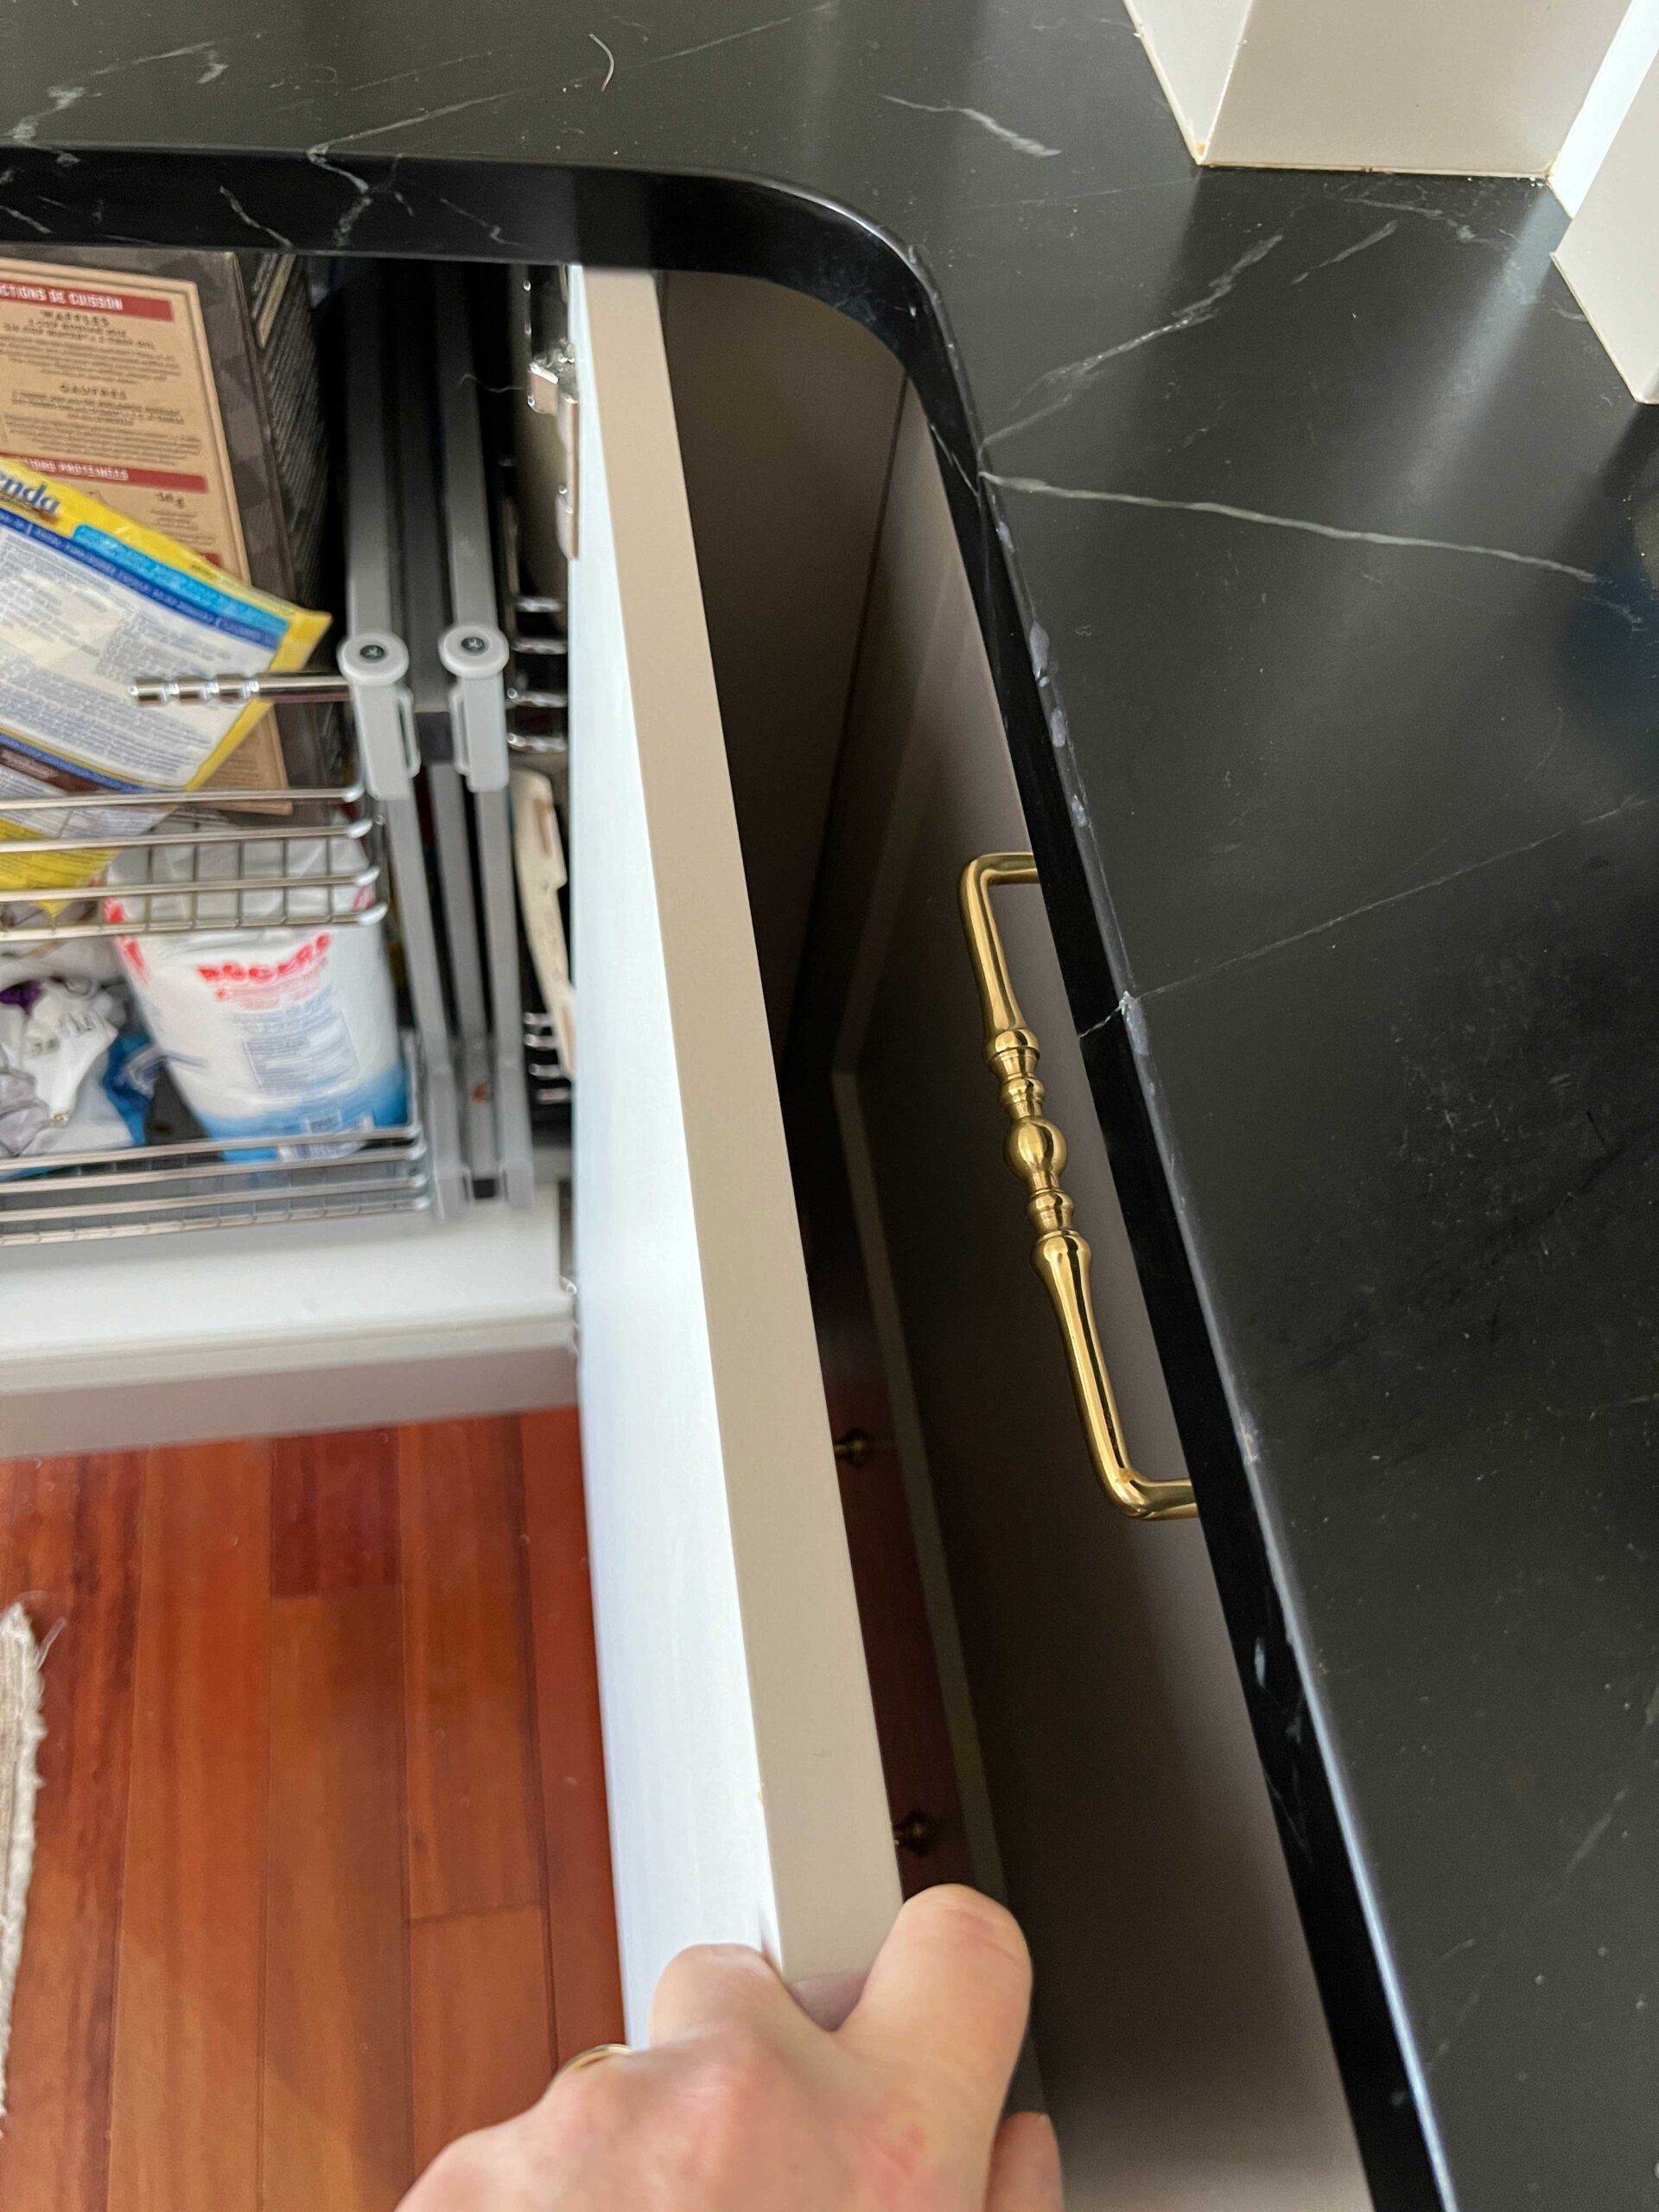
If you have corner cabinets in your kitchen, make sure you include a corner cabinet filler. The purpose of this is to ensure that your cabinet drawers don’t bump into each other when you are opening them. Once you add hardware to your cabinet door it sticks out even further into the room so you want to make sure there is enough space there.

How to DIY Cabinet Filler Strips
Filler thickness for Face Frame Style Fillers
When you order your kitchen doors and panels they will likely send along some MDF panels that are painted the colour of your cabinets that you would then use to cut to size as needed for the cabinet fillers.
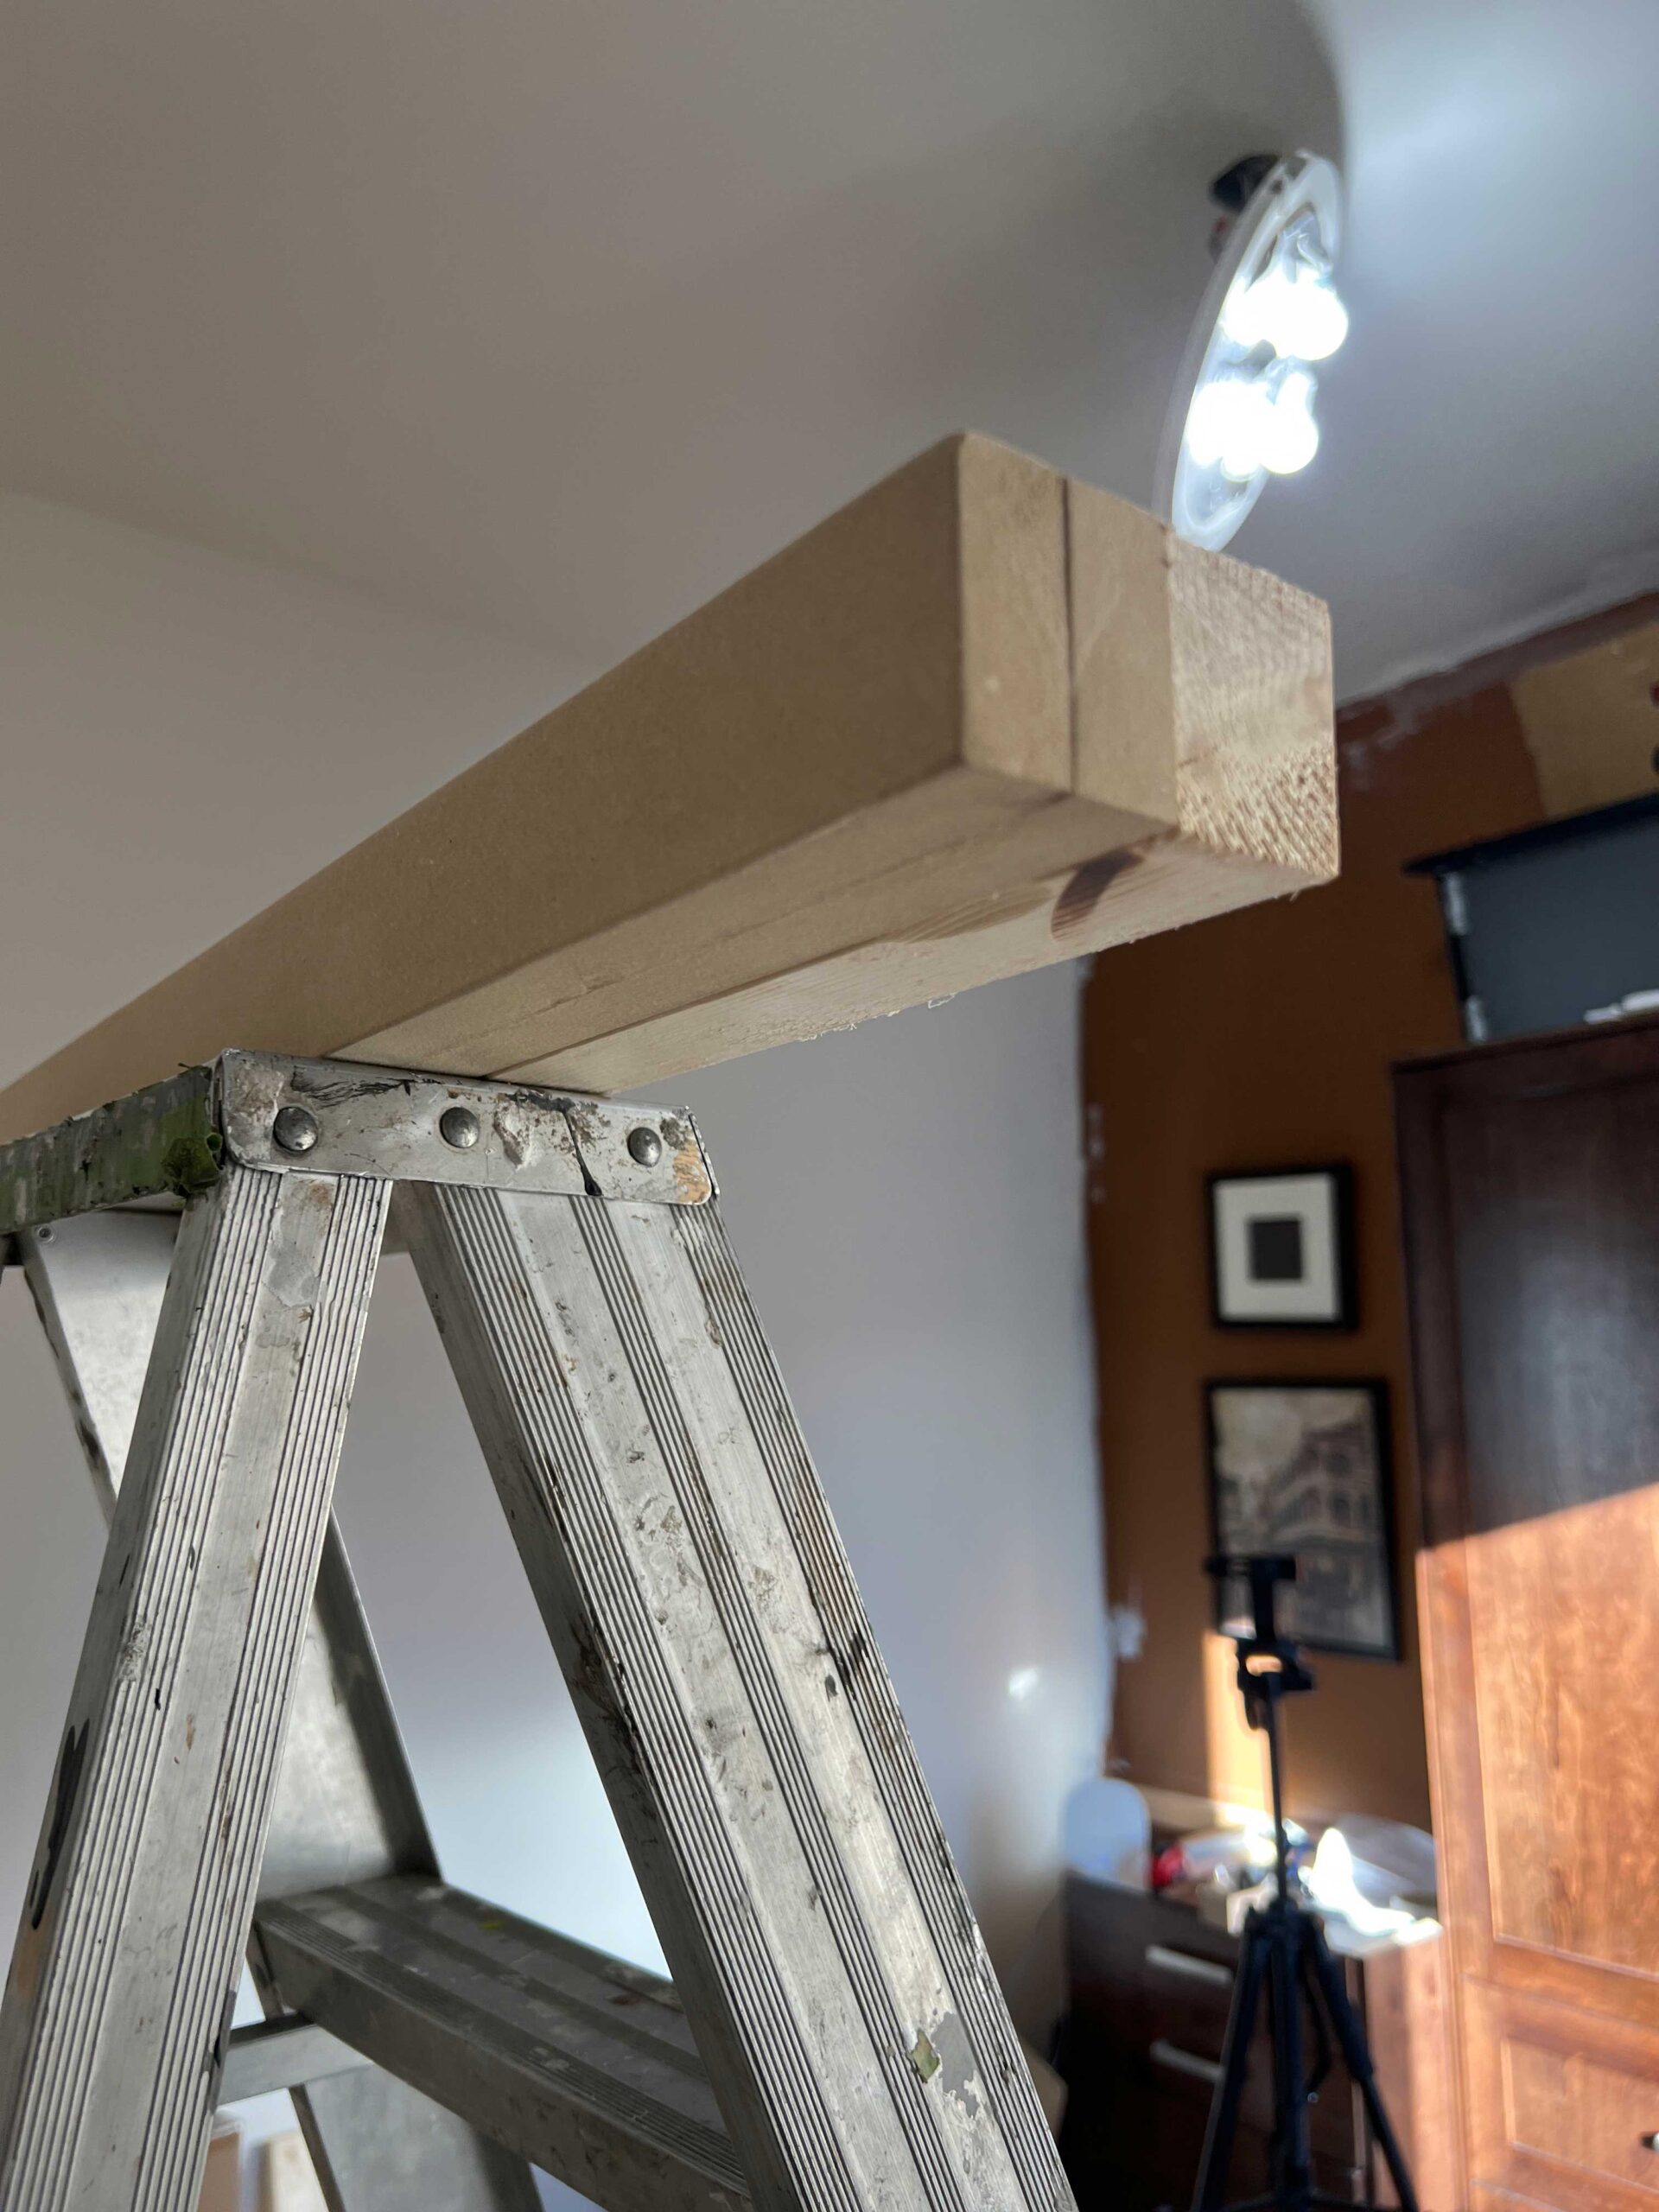
If you are doing everything from scratch like we are, you can also use MDF or wood the same thickness as your cabinet doors to make your filler strips. They must be the same thickness (or thicker) than your doors. In our office, our doors are a full 1″ thick so we built up MDF by gluing and screwing together strips of MDF 1″ and 1/4″ so that the final strip was as thick as our doors.
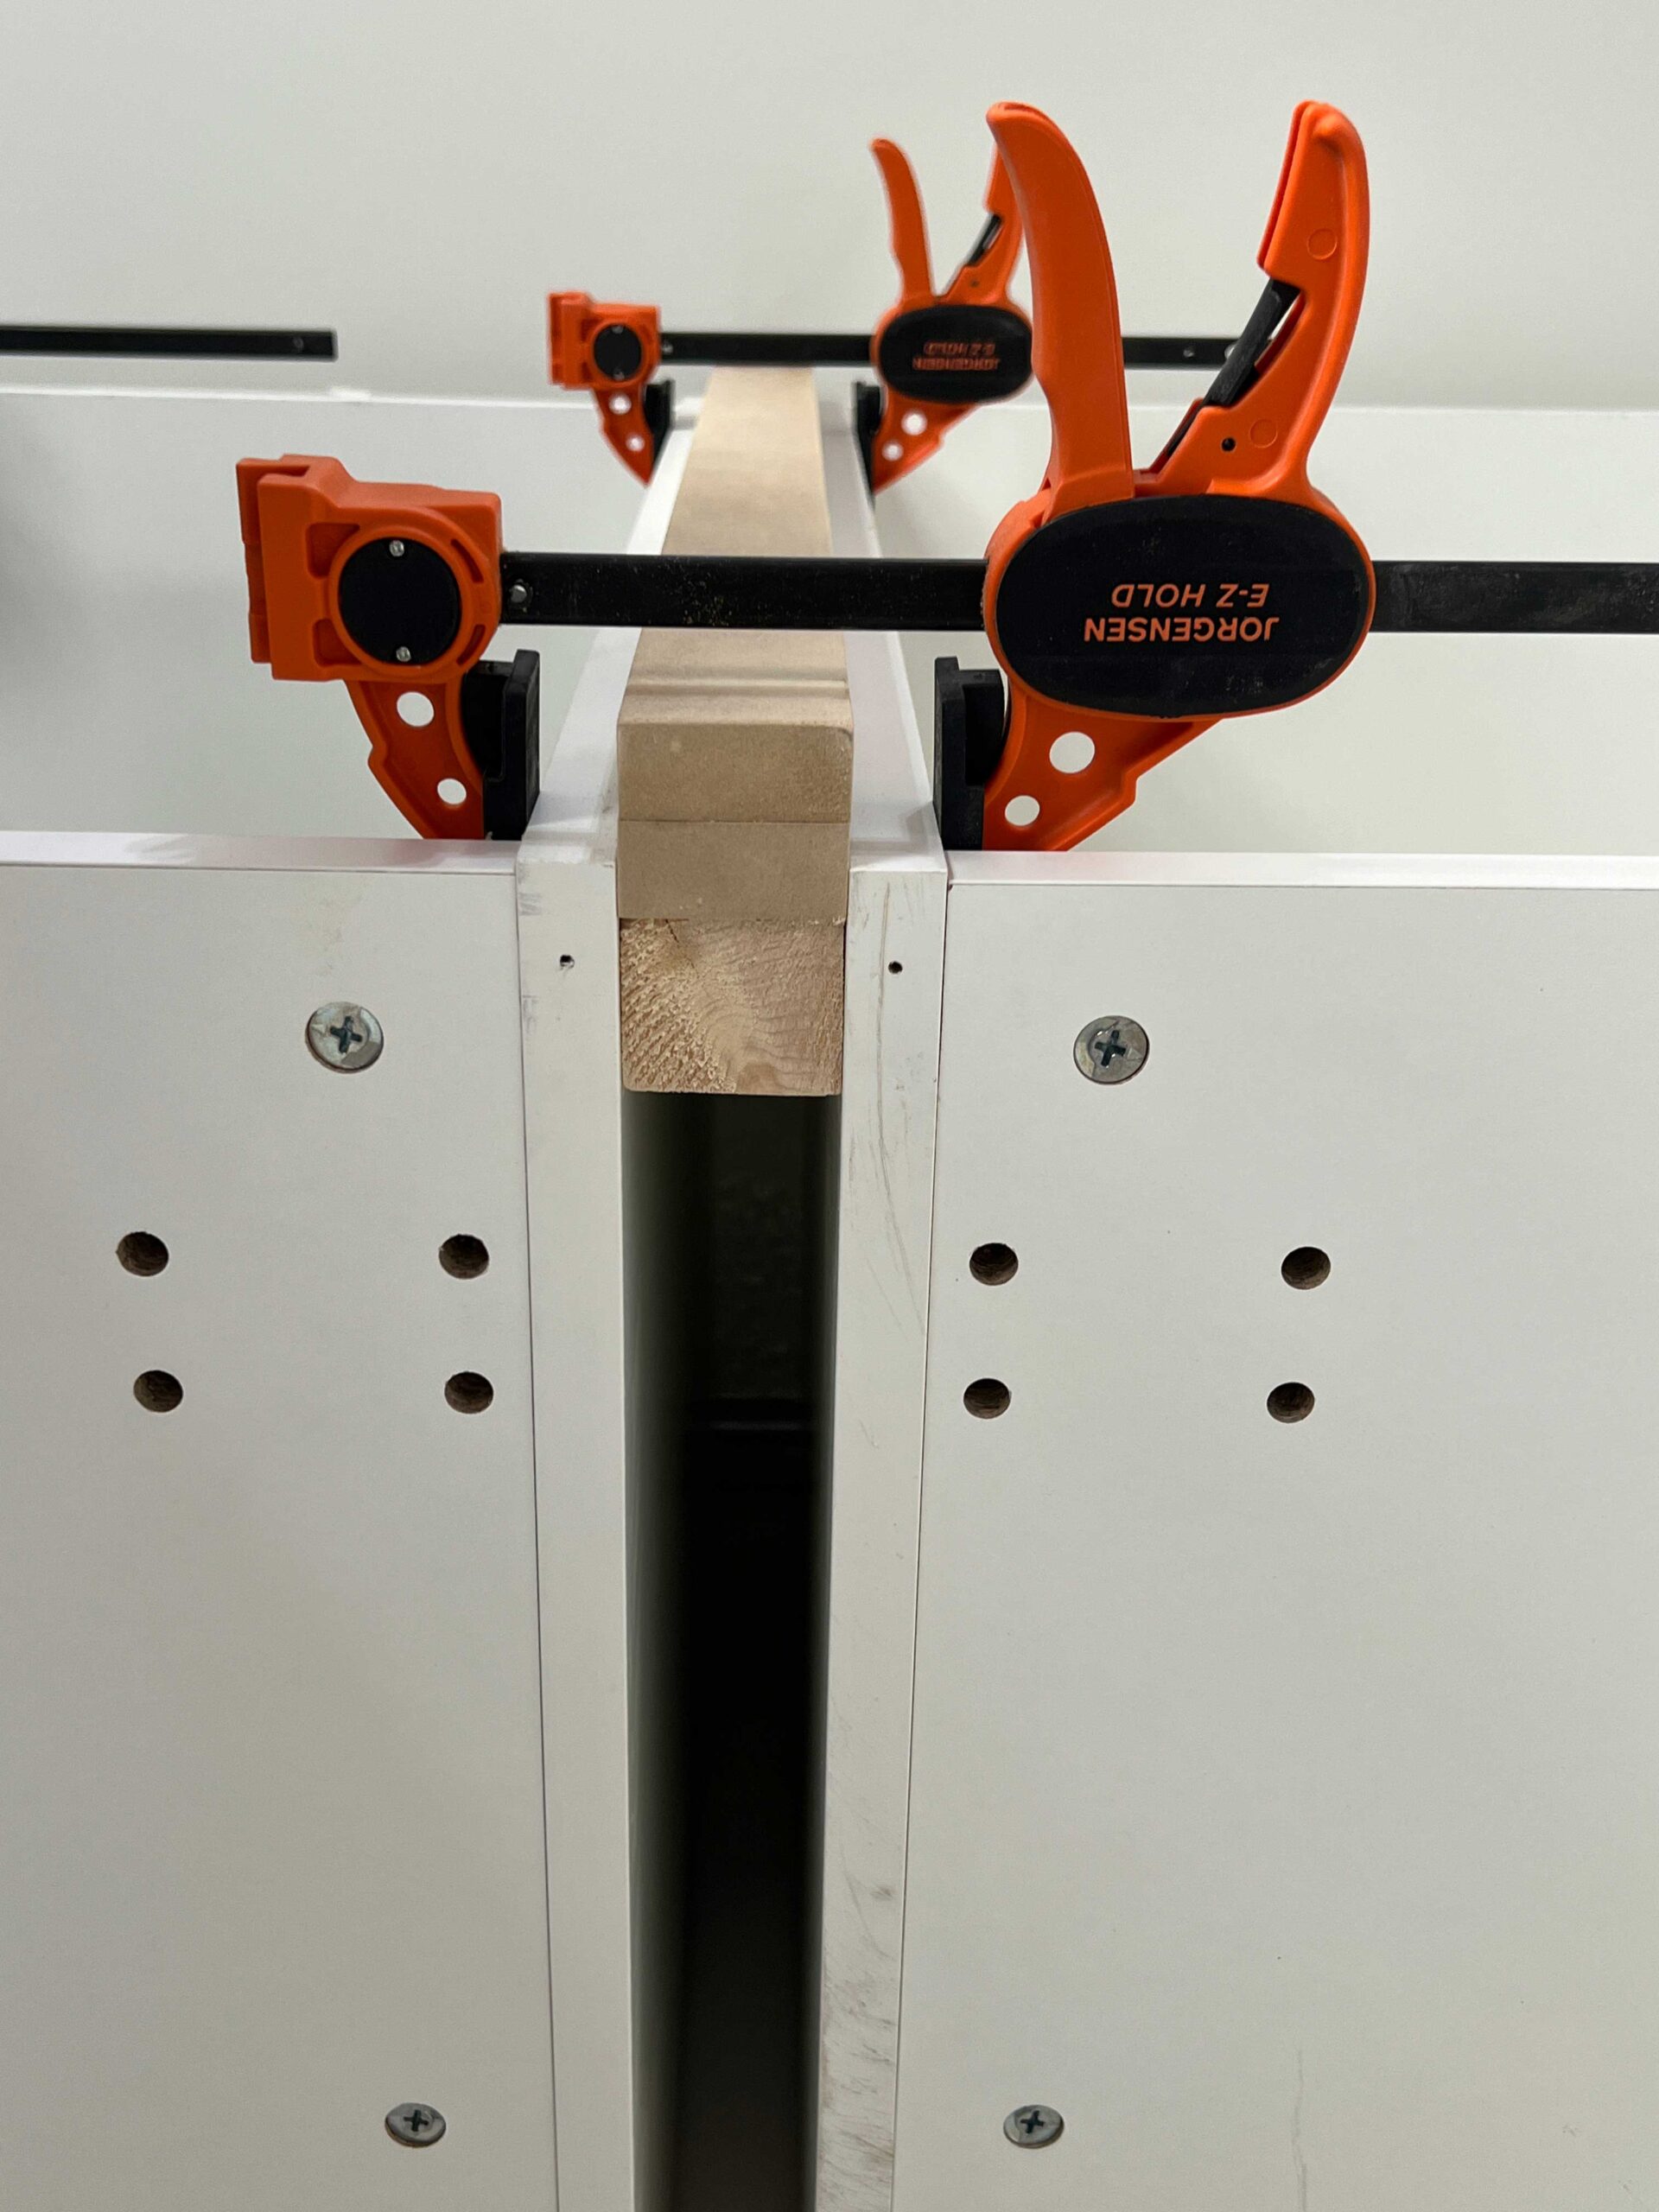
To have the fillers “stick out” past the edges of the cabinet boxes to look like a faux face frame, you will need to attach something to the back as a nailer strip. The nailer can be anything – we generally use whatever scrap wood we have lying about to make some strips of wood.
How to DIY Cabinet Filler Strips Between Cabinets
The easiest fillers to do are those between cabinets because if the cabinets have been installed level, the fillers will be perfectly square.
All that needs to be done is to measure the space between the two sides of the cabinets and cut a filler to match.

What we found worked best for this type of filler is to start with a slightly wider filler and attach a nailing strip to the back. We used glue and a few screws from the back to attach them. Then, we cut the final size on the table saw, cutting the filler and the nailer simultaneously to the final dimension.
Once cut to size, you can screw the nailer from the inside of the side of the cabinet into the nailer to hold it in place. Screwing (or nailing) from the inside of the cabinet ensures that your filler strips don’ have any visible nail or screw holes to patch.
You can also install fillers flush with the face of the cabinet box, which is what most people do and it is quite a bit easier as you don’t have to add any kind of nailer.
In that case, you would line up the filler with the edge of the cabinet box and finish nail or screw from the inside of the box into the filler.
How to DIY Cabinet Filler Strips Between a Cabinet and a Wall
Fillers between cabinet and walls are a little more tricky to do because of uneven walls. Most walls are neither straight nor square.
If you measure your perpendicular gap and find it fairly square, the easiest way to cut this filler is to just cut it square and fill any space leftover with caulk, or leave a small gap.
However, it’s likely going to be pretty wonky so you might want to try to scribe the filler to fit against the wall for the most professional look.
Scribing is the process of cutting a piece to exactly follow the ups and downs of an irregular surface. It is a little difficult to wrap your head around, but it is not hard to do!
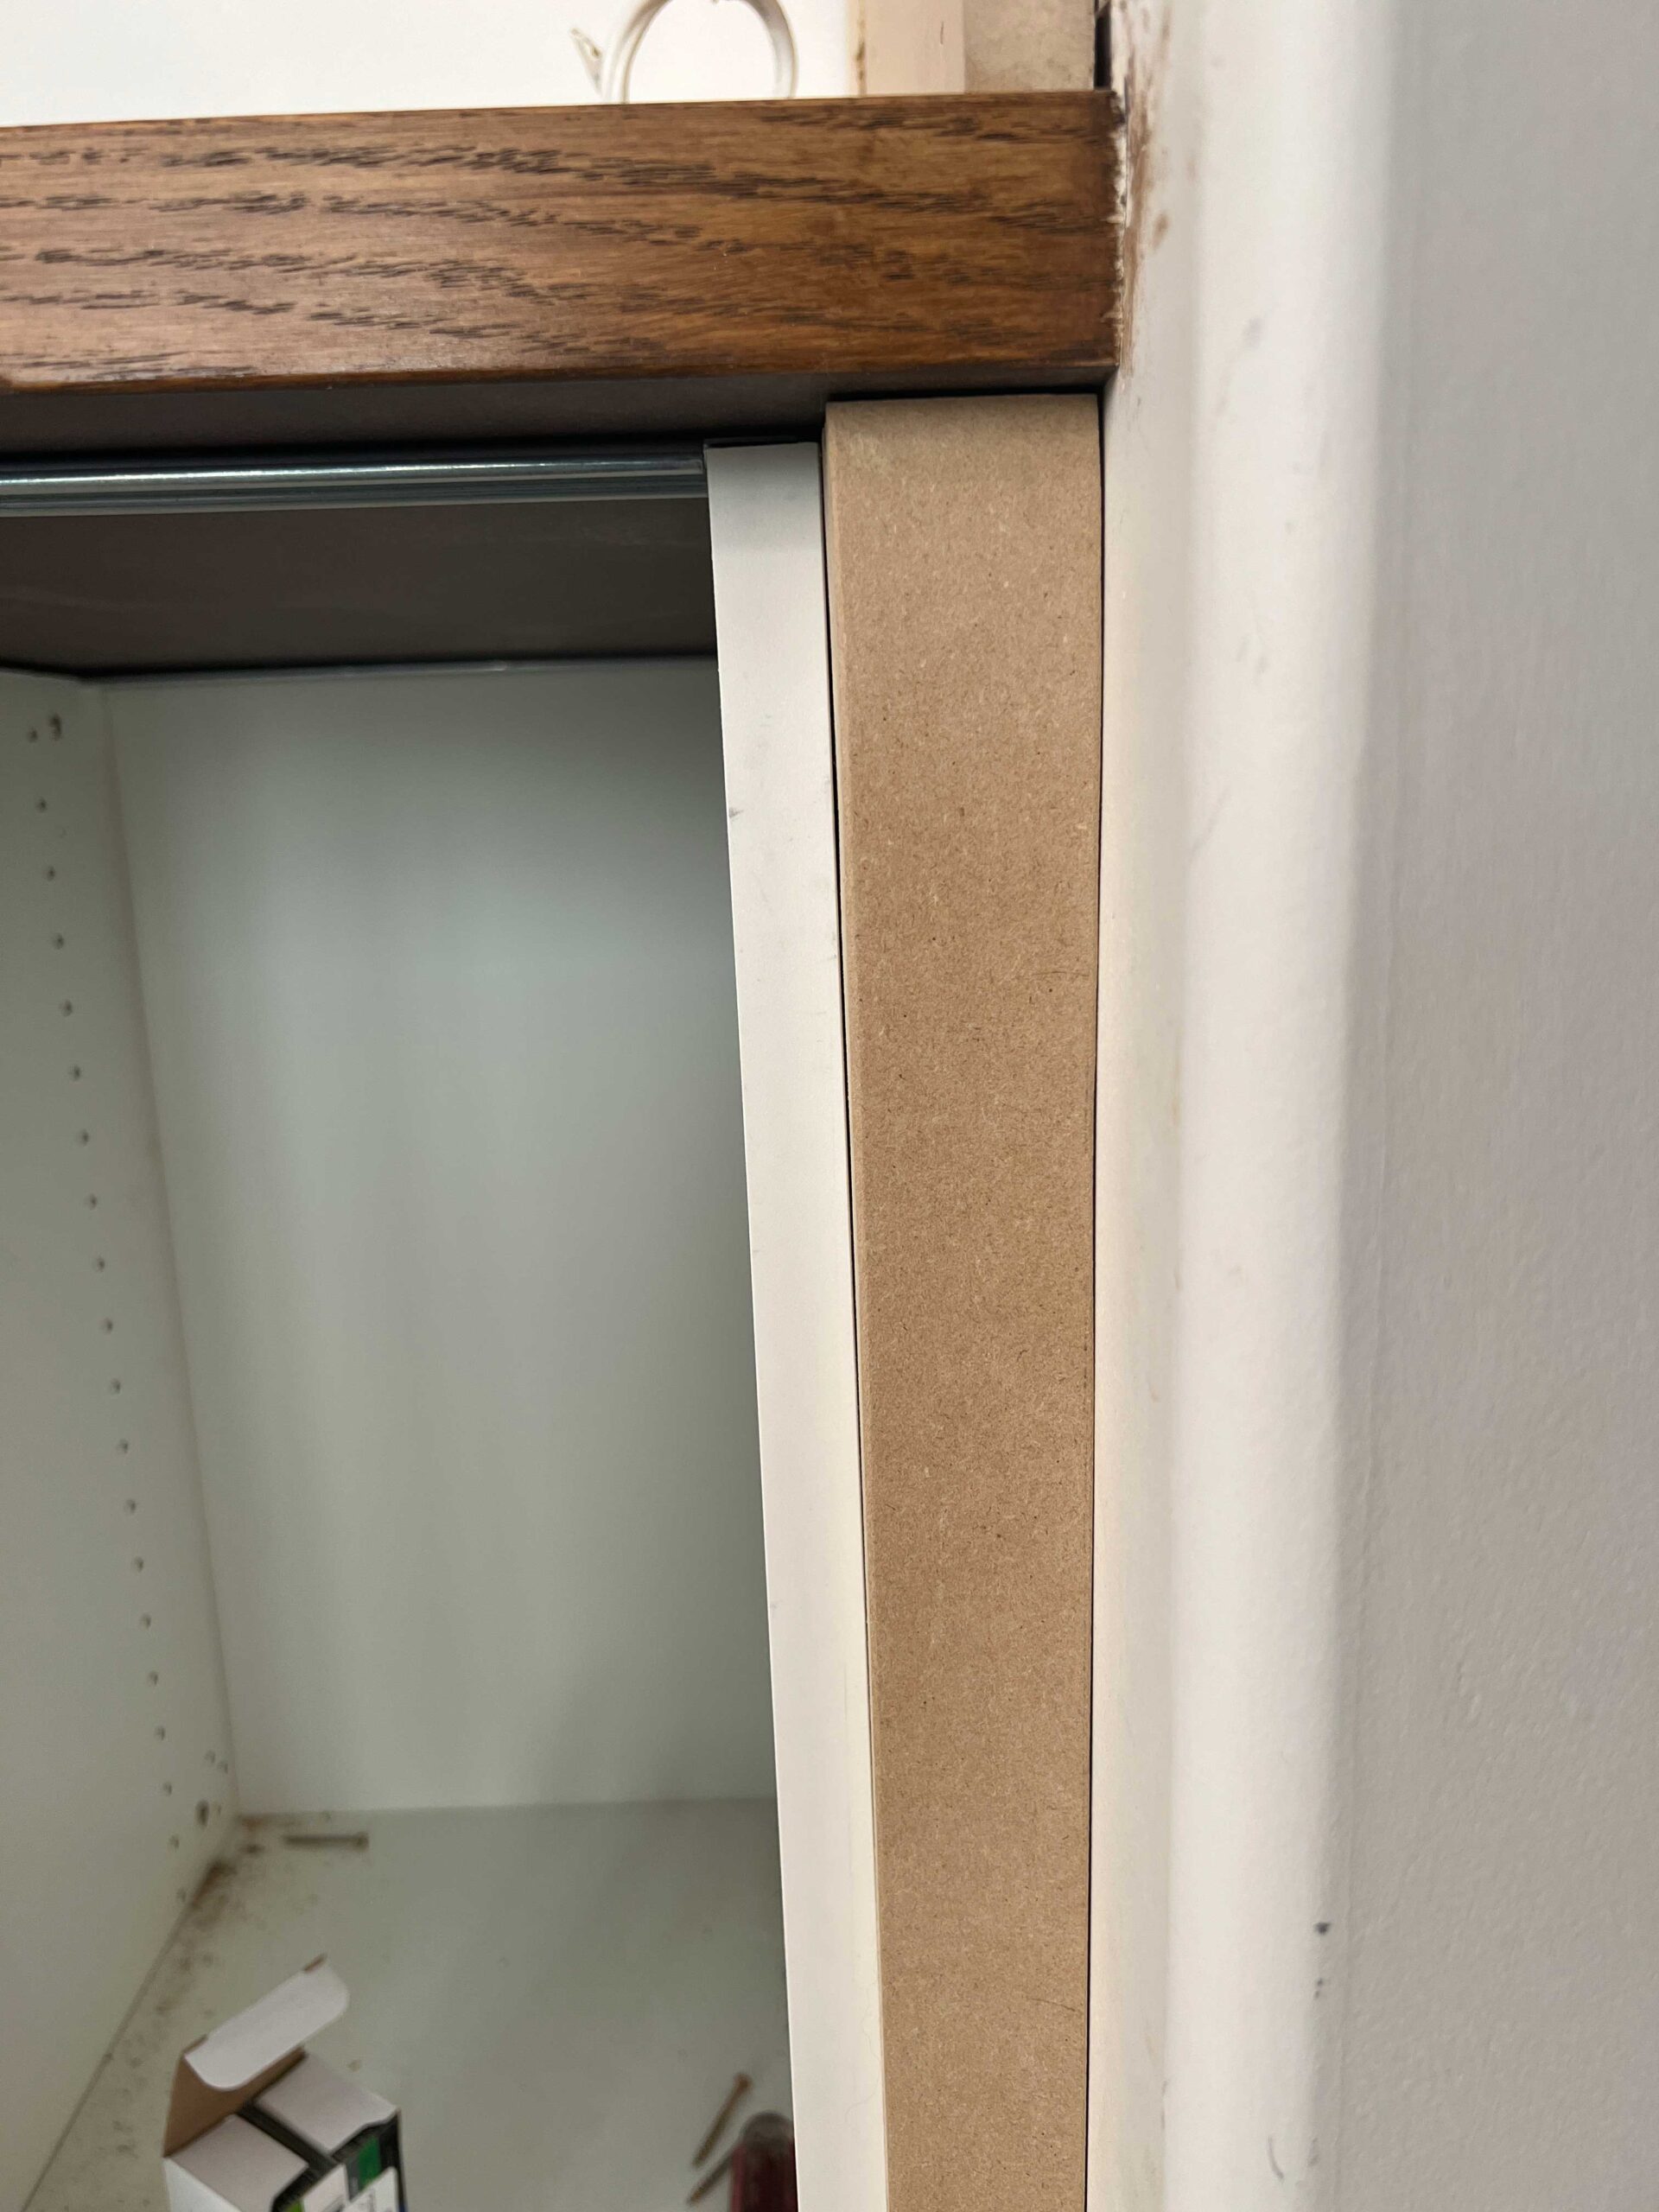
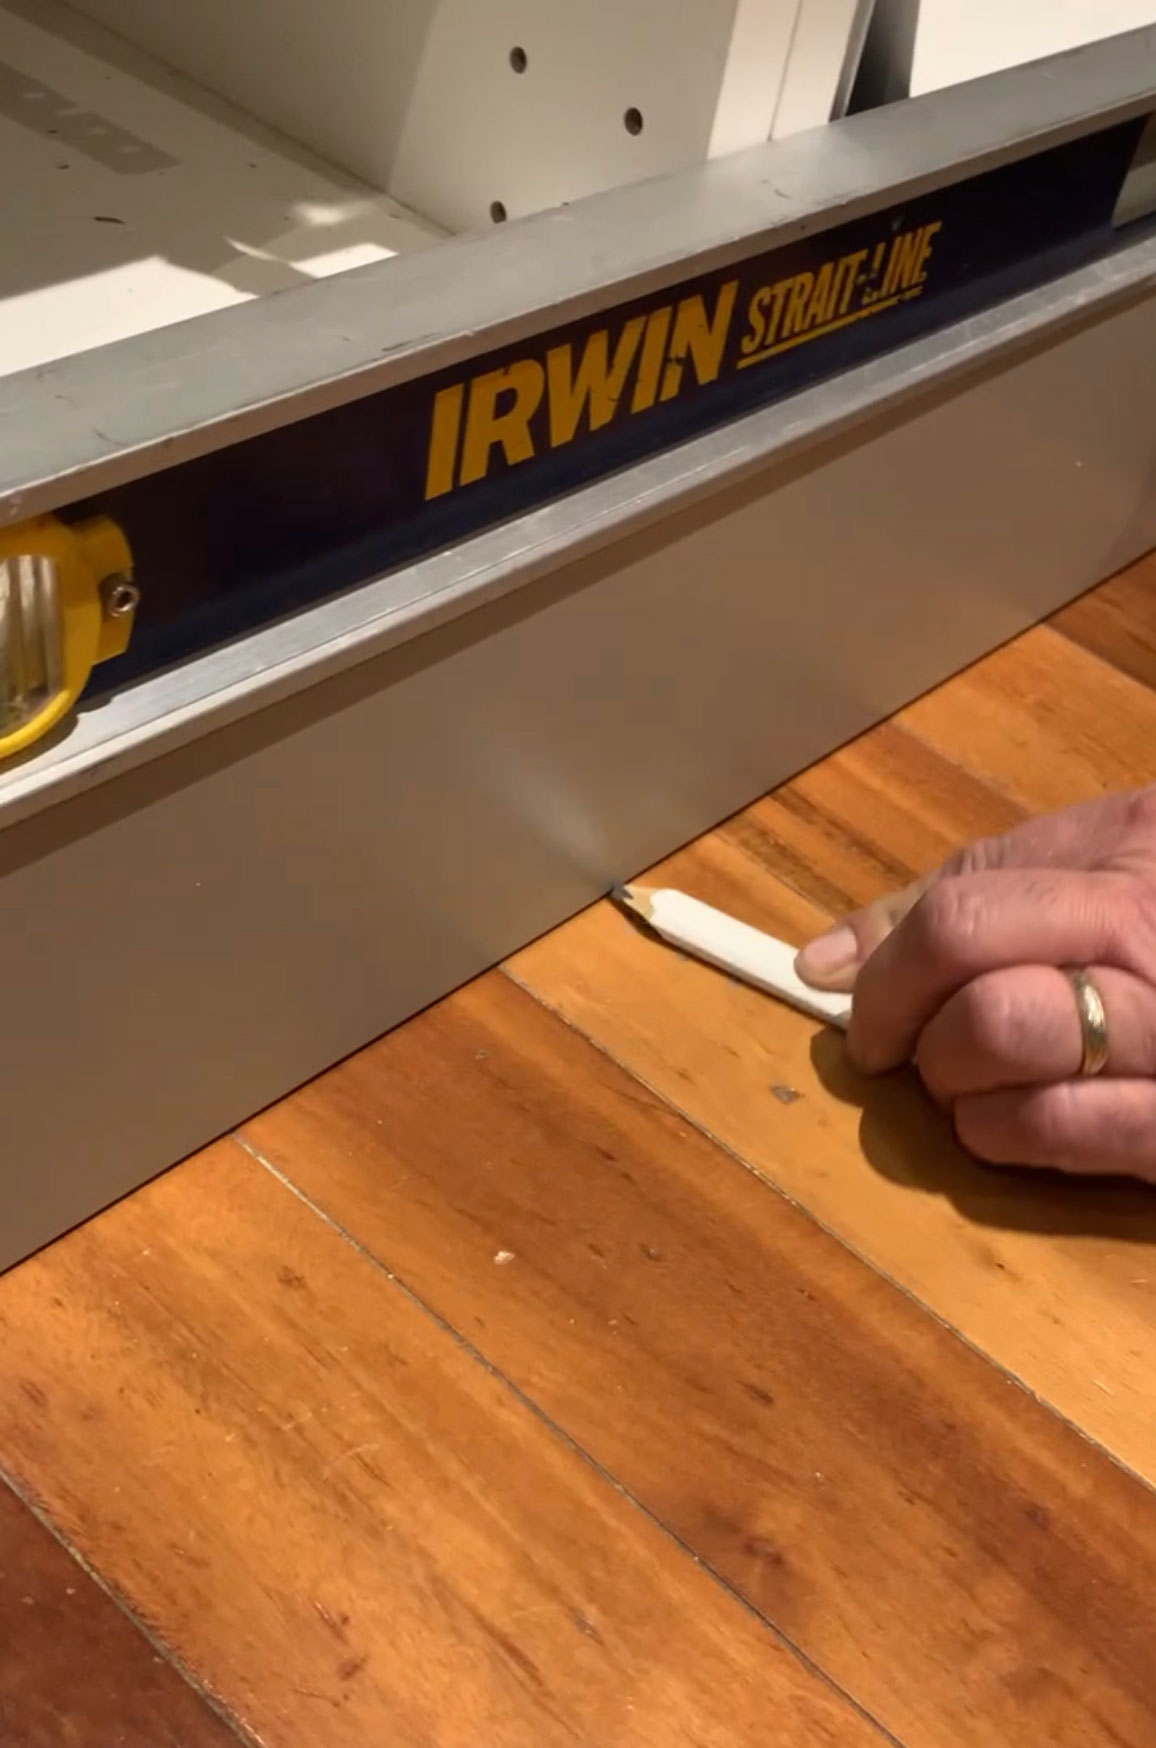
This is how I marked this scribe piece that I installed next to the wall. I cut my filler to be the largest dimension of the perpendicular gap between the cabinet and the wall.
Next, cut a scrap piece of wood with the same dimension to use as your template to scribe with.
Hold or clamp your filler piece flush against the edge of your cabinet frame. Hold your spacer piece of wood against the wall. Grab a pencil and mark a line along the edge of the filler piece as you slowly run it down the wall. The pencil will follow the ups and down of the wall and make an irregular line along your filler.

Once that has been done cut or sand your filler until the pencil mark disappears. We use a belt sander to make this go quickly.
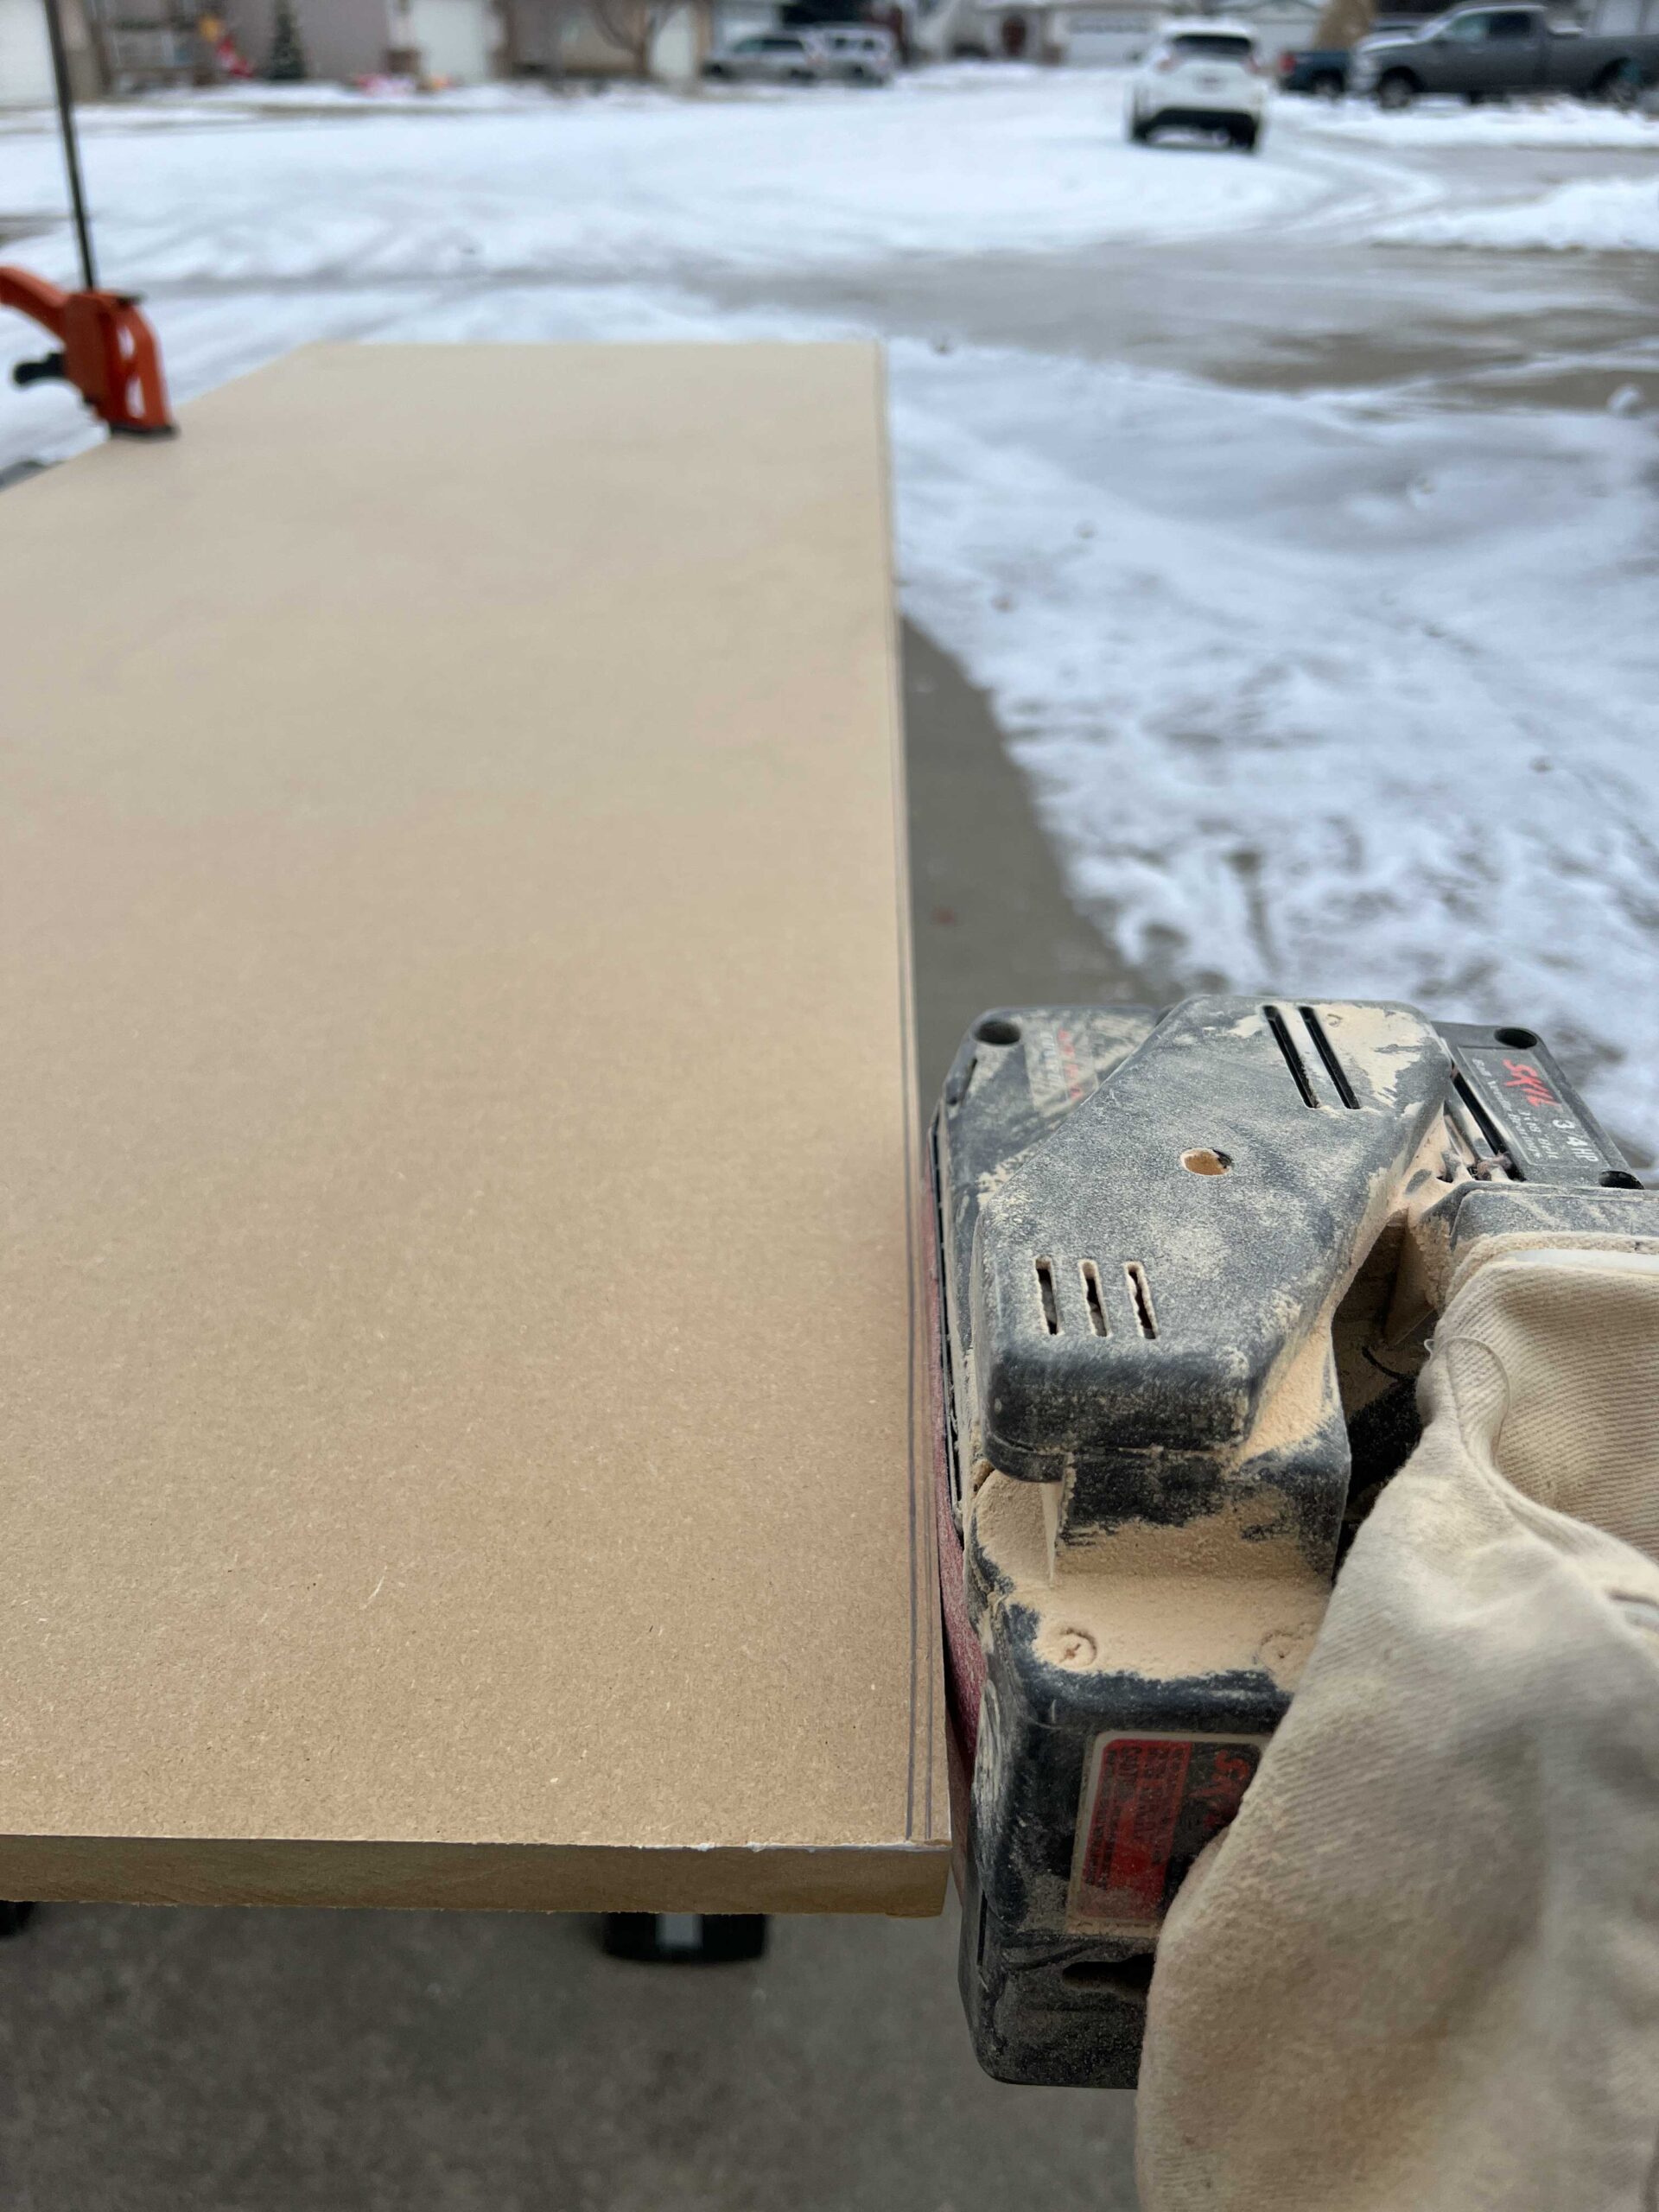
Once sanded the piece should be a perfect fit in that gap!
Toe Kicks
Toe kicks that are made to come out flush with the cabinets are done the same way. I wrote a whole post dedicated to toe kicks and how to do flush toe kicks, so you can read more about those here. They are just a horizontal version of a filler and are done the same way you would do one along the wall.
What’s next for Our Office Project
Since we finished the fillers we have made our cabinet doors to match the ones on the Murphy bed wall. It was our first time making cabinet doors and we learned a few things. I am going to save the making of the doors for another post, as we have some tips and tricks to share with you!

Next up we are going to make a keyboard tray (similar to the way I did it on my antique desk!). I’m also going to add some planks to the back wall to add a little interest and add a shelf under the deep upper cabinets.
Once all of the construction is over it will finally be time to PAINT! After paint, the desk build will be complete.
I was about to say that the desk would be done at that point but I almost forgot about the library ladder and rail that we are adding.
Once that is done, it’s only one side of the room and we will flip to the other side to work on the Murphy Bed wall. My goal for 2024 might just be to finish this behemoth of an office project!
So helpful! Thank you!
You are welcome I’m glad it’s useful!
I love the color of your kitchen cabinets! Can you share what color that you used? It’s the tan/beige/taupe color. I am trying my best to get ideas to remodel my home. Thank you!
They are Benjamin Moore Indian River!
Thank you for sharing the detailed process – looks great!! What was the size of the filler pieces you used in-between the cabinet boxes? 1.5″?
They were about that size yes but I just made them equal, I measured the space I had and then divided it up.
Thank you kindly for taking the time to do your blog and your efforts.
It is much appreciate from my wife and I here in rainy United Kingdom.
Well thank you! I’m glad you enjoy it!