How to Build Simple DIY Closet Shelves Into a Corner
I have a pretty standard closet at my front door with bi-fold doors, and some wasted space in the corner. I made some shelves to make that space more functional! This is a step-by-step on how to build easy DIY shelves in a closet!
My house has pretty limited closet space. We use our mud room to come and go, and the front closet I mainly use for storage space for cleaning supplies and some off-season coats. It also serves as the spot where my guests put their coats so it’s a little embarrassing when someone opens the door, to be honest.

Because it’s a new year and I’m feeling like everything needs to be cleaned and organized, I decided to make a bit of a closet system that works for what I use mine for. I think there is enough room in here, it’s not a super small closet. It just needs some side shelves to help me keep my cleaning supplies within reach. Then I can put larger and less used things on the existing top shelf.
I thought about tearing everything out and putting in some sort of closet organizer, but when I considered what we use this closet for, some new shelves on the side of the closet and a little DIY closet organization system were all I needed to do. I used scrap wood from my garage to make these shelves, so it was by far the cheapest option.
I found scrap pieces of 3/4″ MDF in my garage so that is what I built this all out of! You can buy 4×4′ sheets of hobby plywood or MDF and that would be plenty of wood to make these shelves.
Let me show you how to build shelves in a closet into that wasted corner!
Tools used:
Table Saw (or circular saw with a guide, or track saw)
Nail Gun (I have one that uses my compressor but a cordless one works well)
Step 1 – Layout Your Shelves
The first step might seem obvious, but before you begin, make sure you take a minute and plan. What do you want to store on these shelves? How much space do you need between them? Is there something you want to place on the floor under the first shelf?
The best way that I find to visualize something like this is to tape it out using painter’s tape. Keep in mind the shelf itself will have a little bit of thickness, so take that into account when you calculate the space between them.

In my case, I made sure to leave enough height between shelves for my cleaning supplies and room on the floor for my mop bucket.
That awkward space on the sides of the closet is often unused. Putting some shelves in there makes such great use of that space! In my case, the depth of those shelves is only about 8″ deep, but that is still enough to store plenty!
Step 2 – Install Shelf Brackets
Mark out all the studs on your wall where you want the shelves to go using a stud finder.
Cut strips of wood to use as the shelf brackets. You can use whatever you like for these. I used MDF that I cut to size on my table saw to 2″ inches width, but you can use 1×2’s or strips of plywood, whatever you have that is the right size.

Cut the length of the strips to fit the space. I cut one to fit along the back first, and then the two side ones but against that piece.

Attach the wood strips to the wall using an ordinary construction screw to screw into the wall studs. Make sure you use a level when you are attaching them to make sure the strips are level! An easy way to do this without trying to balance a bunch of tools at once is to mark a level line on the wall, and then all you have to do is line up the wood strip to the line you made. Or, you can use a laser level!

(Note: Make sure you hit at least two studs for each strip you install. If you must, you can use drywall anchors in place of a stud. Just drill through the shelf support into the wall to drill a pilot hole so you know where the anchor needs to go in the wall.)

Step 3 – Install the Shelf
I cut my shelves out of 3/4″ MDF that I had sitting around but you can use any sheet goods. If your shelves are small like my small corner shelves, you can use something as small as a 0.5-inch thick plywood or MDF, but I wouldn’t use anything thinner than that. I prefer 3/4″ for shelving usually because it is much stronger over longer spans so that is what I would recommend.
The next step was to cut the shelves to fit inside this little alcove. Now that may seem simple, but if your home is not perfectly square (spoiler, it isn’t) then this is harder than you would expect if you are a perfectionist like I am.
Cut the shelf to the shape of the alcove using a circular saw and guide or a table saw. Measure the width and depth of the shelf and cut accordingly.

For the first shelf I made, that is what I did, and I found that the back corner was really not very square causing pretty big gaps in my shelving. So, for the other two shelves, I used a piece of paper and made a bit of a template of each shelf size and used that to cut the next two pieces more precisely.
This is probably overkill for the inside of a closet but I am who I am, ha! Please do not feel like this has to be perfect. It is, after all, the inside of a closet!
Set your plywood or MDF shelf on top of the shelf supports. Using some brad nails, attach the shelf board to the top of the brackets so they don’t shift around.

Repeat for all the shelves you built.
Step 4 – Optional – Attach a Bottom Piece
This next step is optional and depends on your situation and how you want your shelves to look, because it’s purely cosmetic. You can attach a thin board to the bottom of your shelf to cover up the brackets entirely and make them look like solid pieces of thick wood.
That was my original plan, but in my case my highest shelf was only about 4′ off the ground so from a standing position, you can not see the underside of my shelves, so I did not bother to add this.
If you do want to cover the bottom, I would recommend a thin piece of plywood or hardboard (1/4″ thick) and cutting it to the size of your shelf as you did in step three, then attaching it to the bottom of the shelf brackets using brad nails.
Step 5 – Add Trim to the Front
The last thing to do is to cover all the exposed edges and add a strip of wood to the front of the shelf. Cut a piece of wood to fit and use a nail gun to fix it in place. I used a strip of the same 3/4″ MDF that I used for everything else.


Step 6 – Fill and Caulk
Look at that you have shelves! Now let’s make them look a little nicer. Fill any nail holes with wood filler or spackle, and caulk around the spaces where the shelves meet the wall.
If you have larger gaps you can use some gap filler before caulking so you don’t loose a whole tube of caulk to the void!

Step 7 – Paint
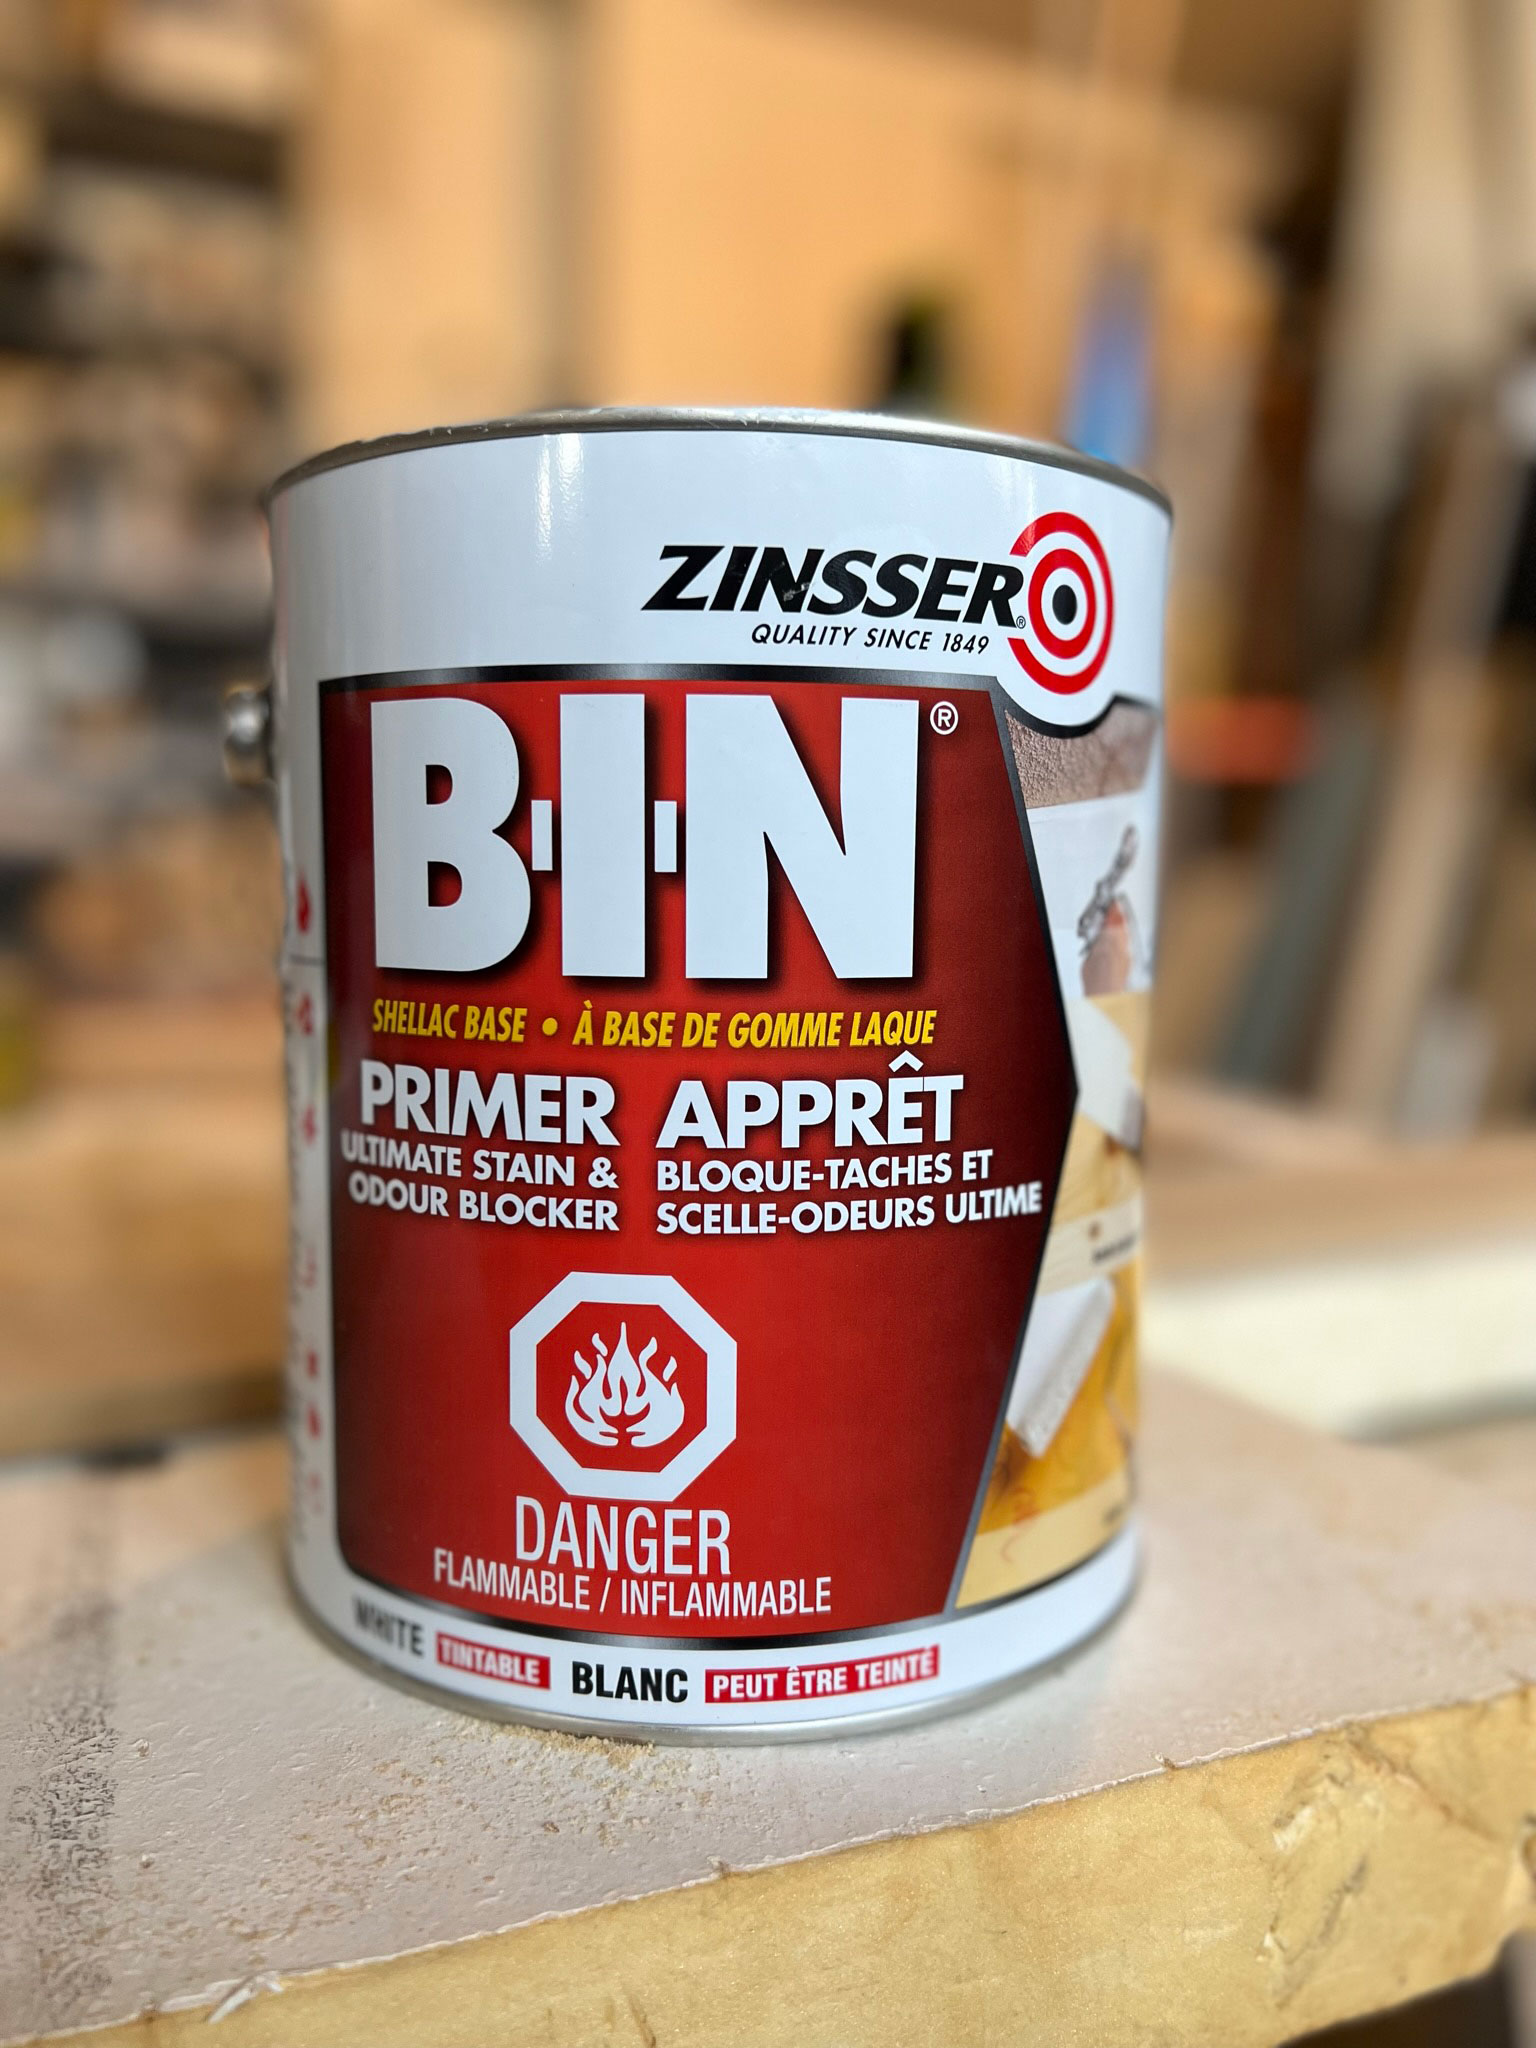
If you used raw MDF as I did, remember to prime it first using an oil or shallac-based primer! If you prime MDF with latex primer, it will soak up a little of the water in the paint and it will always feel rough. I always recommend my favourite Shellac Primer for MDF (You can read more about my favourite primer in this post).
Once primed you can use whatever paint you like on the shelves. Go ahead and give the whole closet a fresh coat of paint at this point, because you know it needs it!

Optional Extra Details – Stripes and a Peg Rail
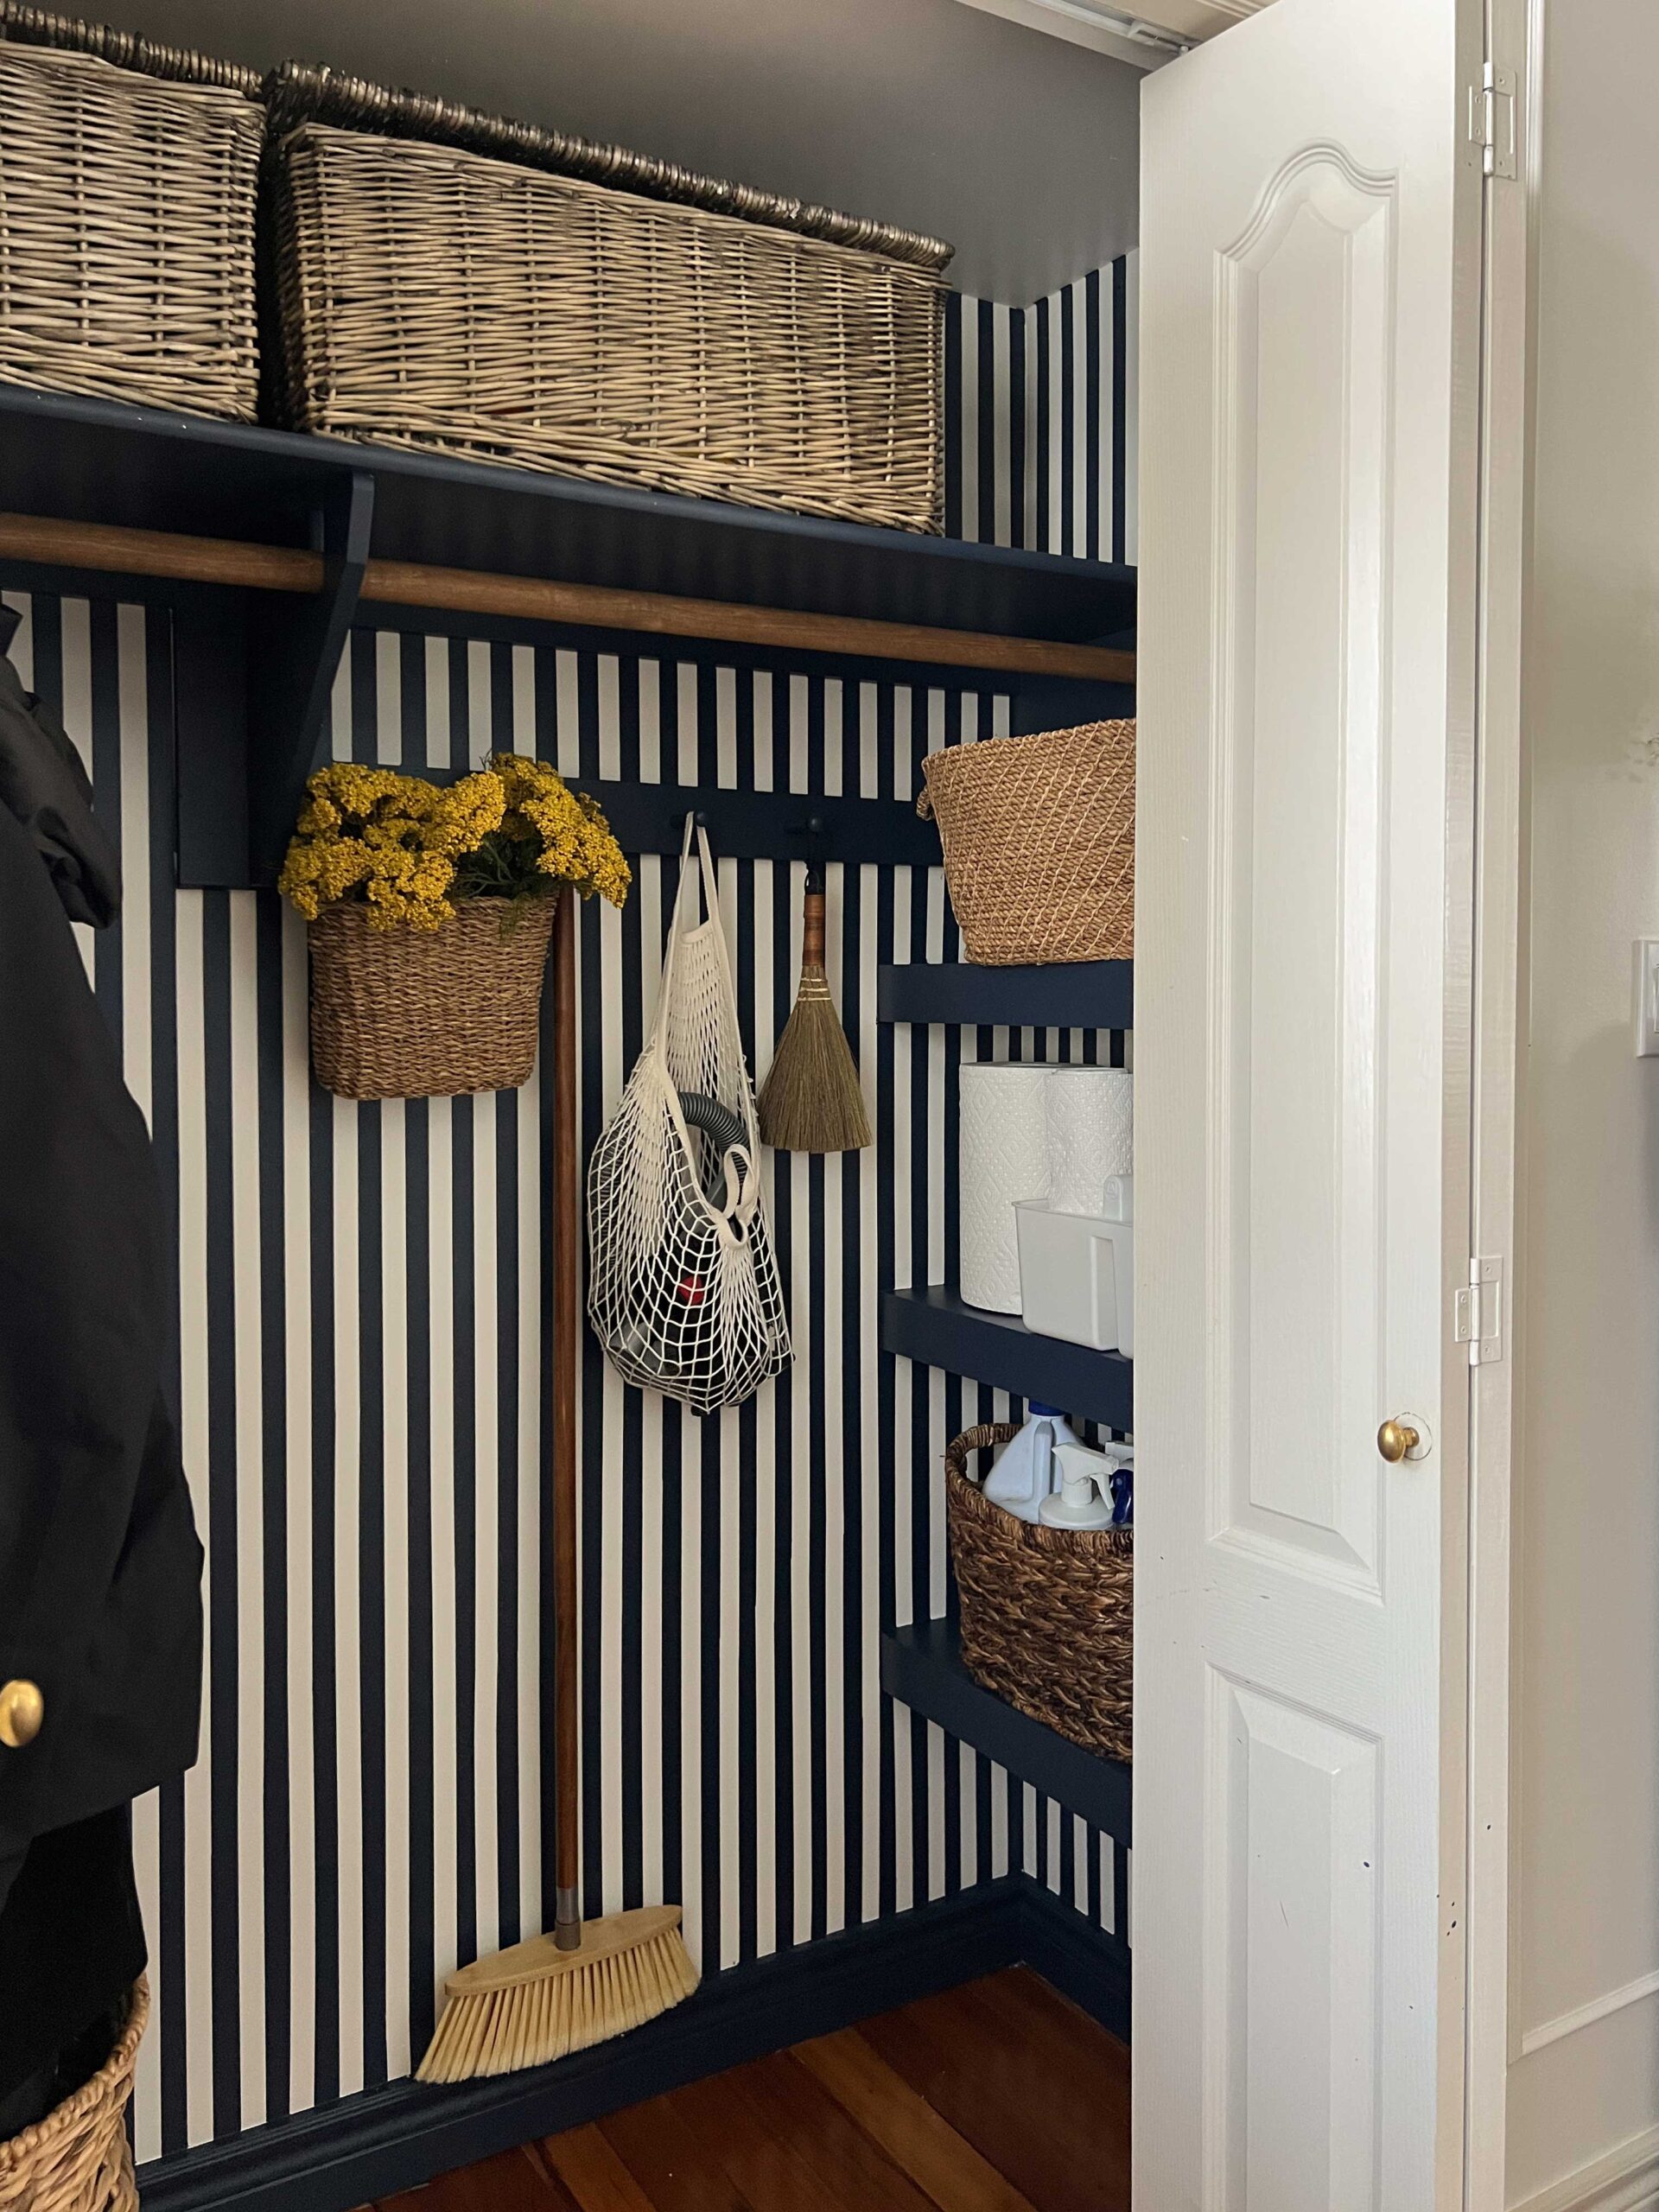
I decided it would be a great idea to go bold. I really wanted this to be a wow moment when the doors opened! I painted my closet Creamy White by Rustoleum (which is such a good, creamy white with no weird undertones!) and taped off the back wall and added stripes for a fun pop inside there! I worked with Rustoleum to create a reel for them for Instagram so I used their Colour Spark line in Light Cream and Stellar Navy for the stripes!
To do the stripes, I considered a few different spacings but in the end, I thought that the easiest thing to do would be to keep the blue and the white stripes the same size. I am glad I did as measuring for each stripe would have taken way longer.

I set up my laser level to keep the stripes straight and keep them continuous above and below the shelf. In the back corner, I was not able to use the level continuously above and below the shelf, so I used a piece of tape to space out the pieces instead. That worked well and it made me very happy that I didn’t choose a more difficult stripe spacing!


After taping (about 4 hours!) I went over all the tape with a credit card to make sure it adhered tightly to the wall.

Next, I painted the white (background colour). Doing this seals the tape and makes sure if there is any bleed through the tape, that it does not show because it will match the background.


Finally, I painted two coats of blue.

Peeling the tape was extremely satisfying!


I also added a peg rail to the back wall. Peg rails are really easy to install and they are so functional, especially inside a closet! All I did was add a solid piece of wood to the back wall (screwing to the studs). (Be sure to use solid wood for this as MDF does not hold the screws for the pegs very well). Next, I drilled a few pilot holes wherever I wanted a peg, and screwed a peg into the hole.

I also replaced my existing metal closet rod with a wood one! I found a wood dowel that was the same size as the metal one, stained it and popped the old one out and the new one in. It was that easy, and it looks so much nicer! I considered removing the hanging rod from the right side of my closet entirely, but at the end of the day, I still want to have the versatility to change my mind about what I want to put in here.

It was looking so nice after its paint job, I didn’t want to mess it up with all my ugly cleaning supplies. I found some baskets from around the house to use to house my cleaning supplies on the shelves and bought a new white non-descript cleaning caddy. I got two large trunk style baskets from Bouclair recently and I put all the ugly stuff in there.


And finally, there was my vacuum hose to deal with. I thought about hanging it up but then I had this large basket that the hose fit in pretty well. It is much easier to stuff it in there than to hang it the way it was before, I’m so glad that worked out!

I love how I was able to add so much functionality and customize this closet for my exact needs. As far as DIY projects go, I think that this is very beginner-friendly! It would be a good place to practice your DIY skills in a place that isn’t all that important or visible on the day to day.


How do I subscribe to your blog?
Hi Anna! There is a popup that opens up every time you visit, you can subscribe there!