A Guide for Standard Kitchen Cabinet Dimensions
If you are thinking about designing your own kitchen, the place to start is always the layout. If you want to save a little money on your renovation, than keeping in mind standard sizes and working with those as much as possible will really keep things on the affordable side. There are also some standard dimensions that are used in all kitchens that have been found to be the most functional for most people. I thought I would put together this guide for standard kitchen cabinet dimensions to help you with the planning process.
Table of Contents
- Standad Kitchen Cabinet Dimensions – Vertical Dimensions
- Standard Kitchen Cabinet Dimensions – Cabinet Depths
- Using Shallow Cabinets as Lowers
- Kitchen Cabinet Dimensions – Standard Cabinet Widths
- Laying our Your Kitchen – Tips and Tricks
- Clearances Between Cabinets
- When the Standard Kitchen Cabinet Dimensions Just Don't Work
- Modifying Kitchen Cabinets
- Shop This Post
- You Might Also Like:
This post may contain affiliate links. That means if you purchase anything from these links I earn a small commission, at no extra cost to you! This helps support my blog, so thank you!
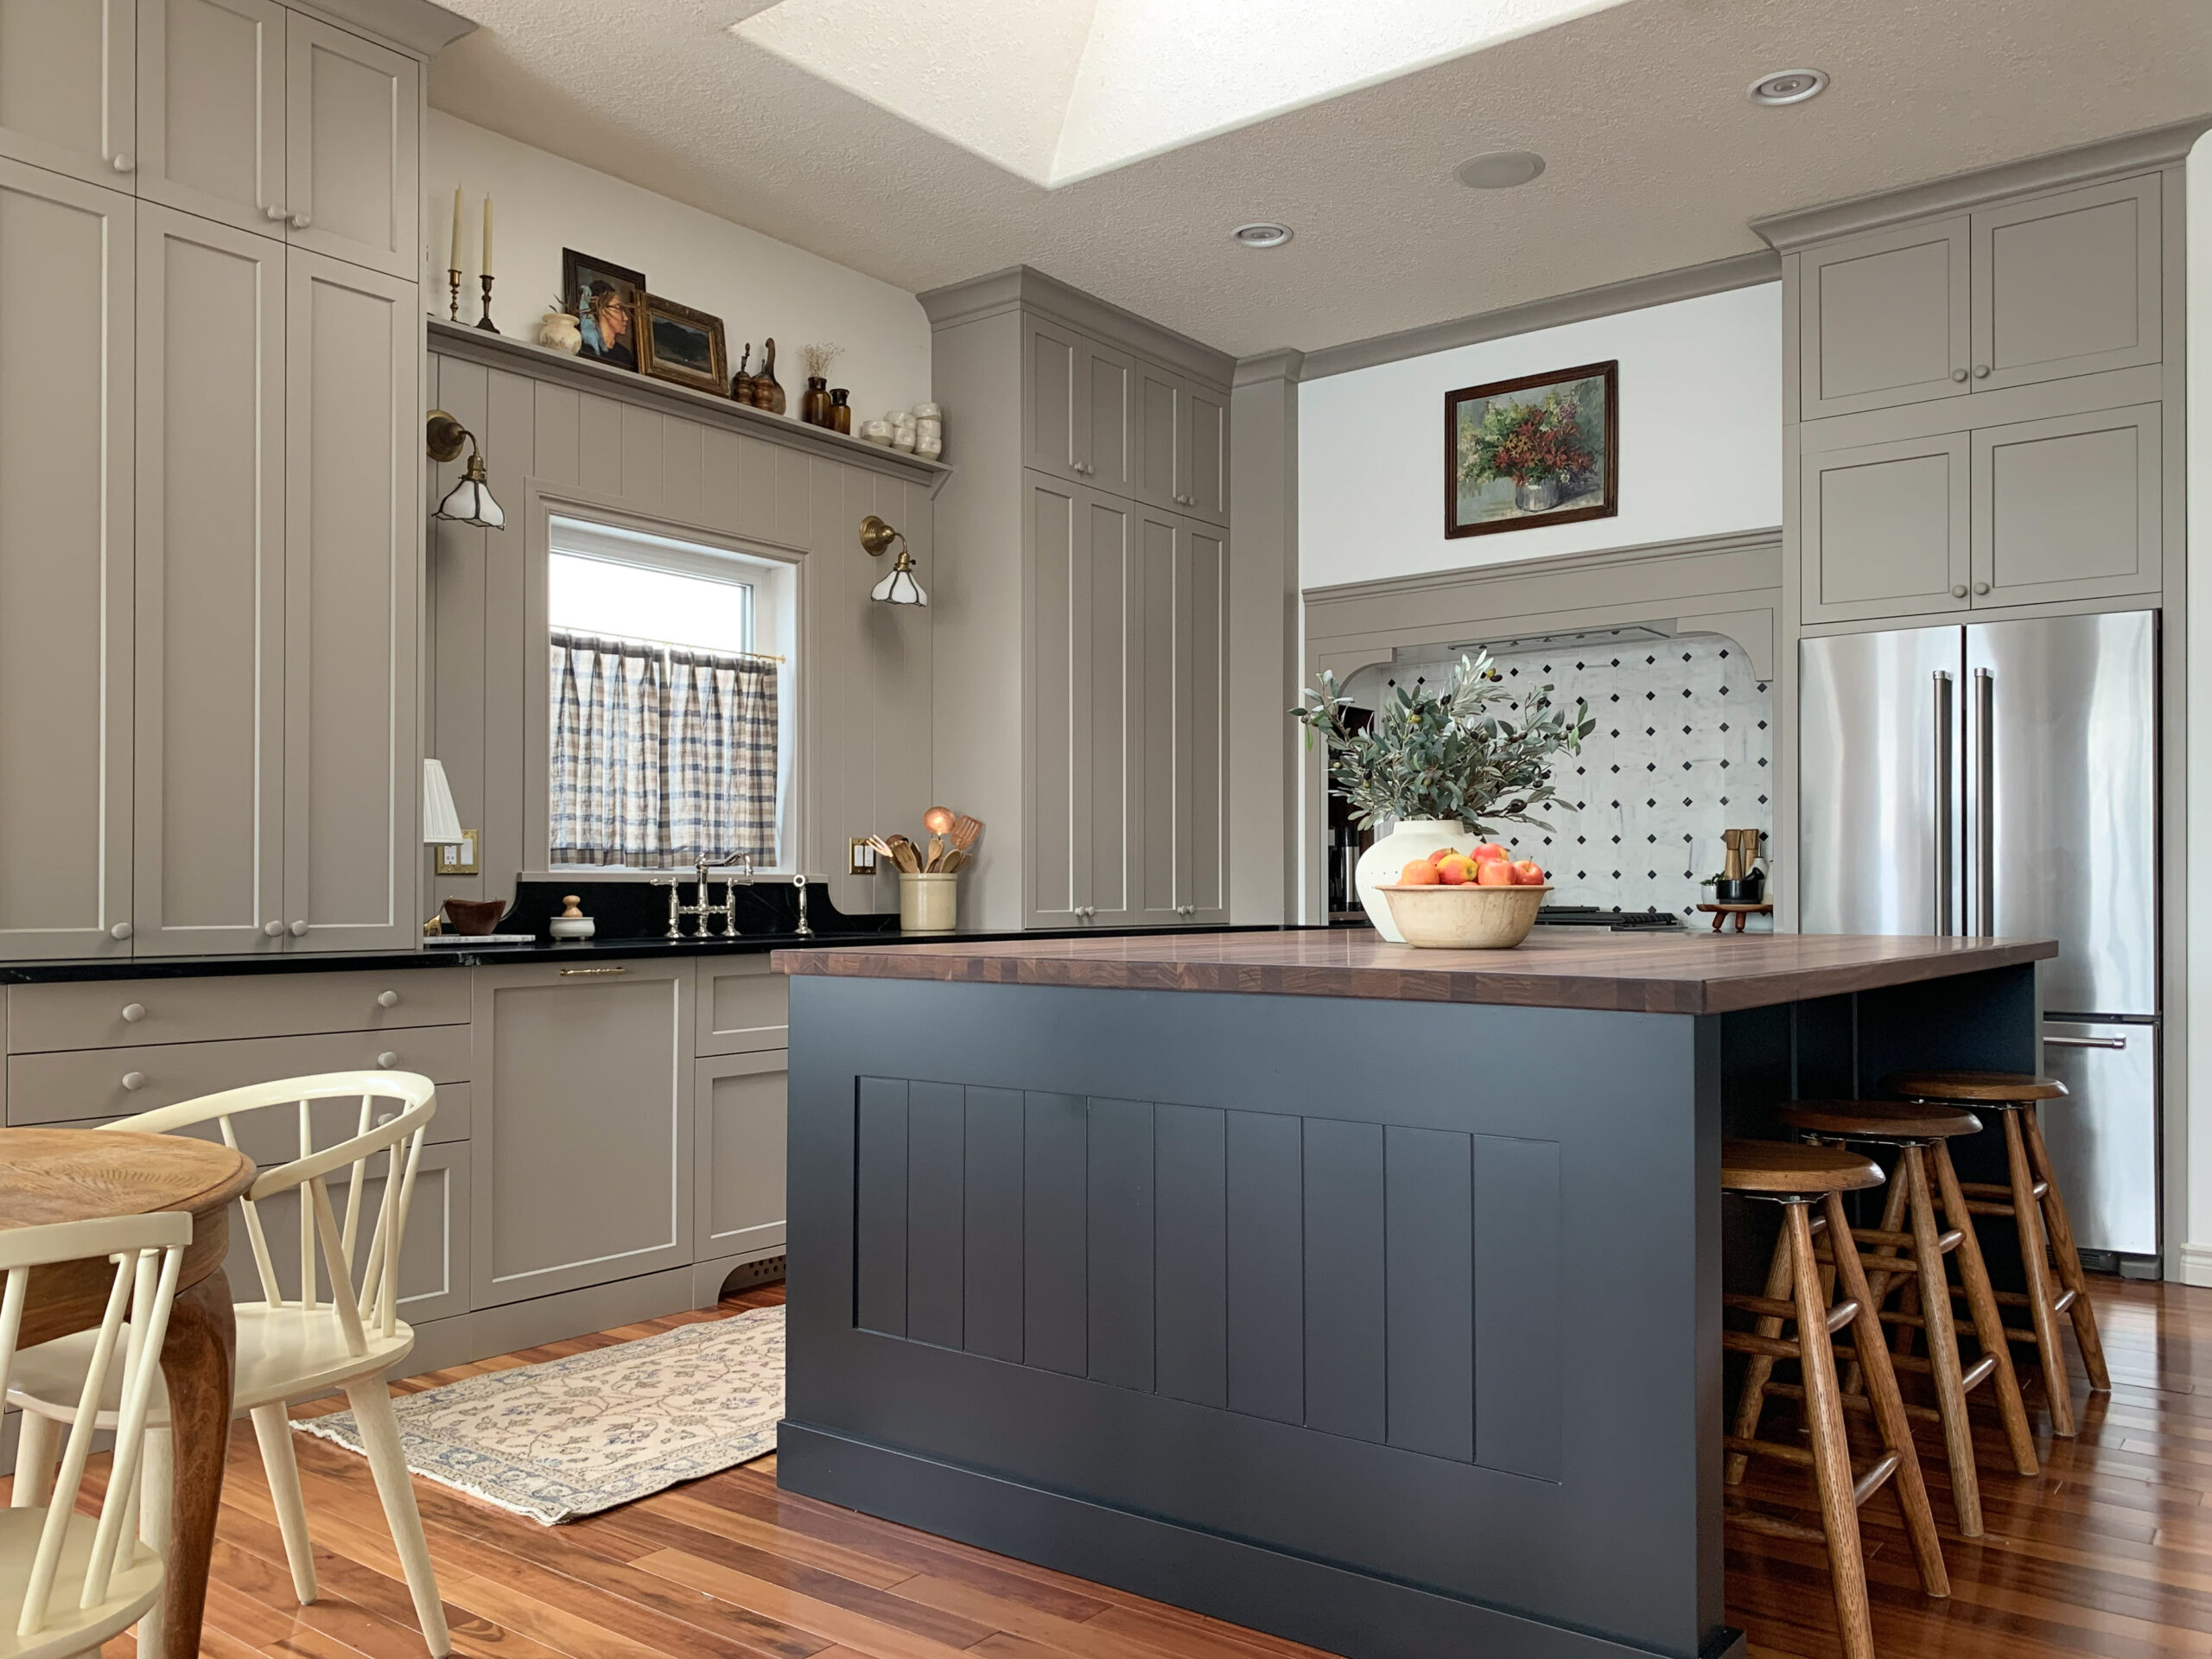
In our kitchen renovation, we used Ikea cabinets and we used a lot of tips and tricks to make it look very custom, and knowing all the standard dimensions of a kitchen was key!
Standad Kitchen Cabinet Dimensions – Vertical Dimensions
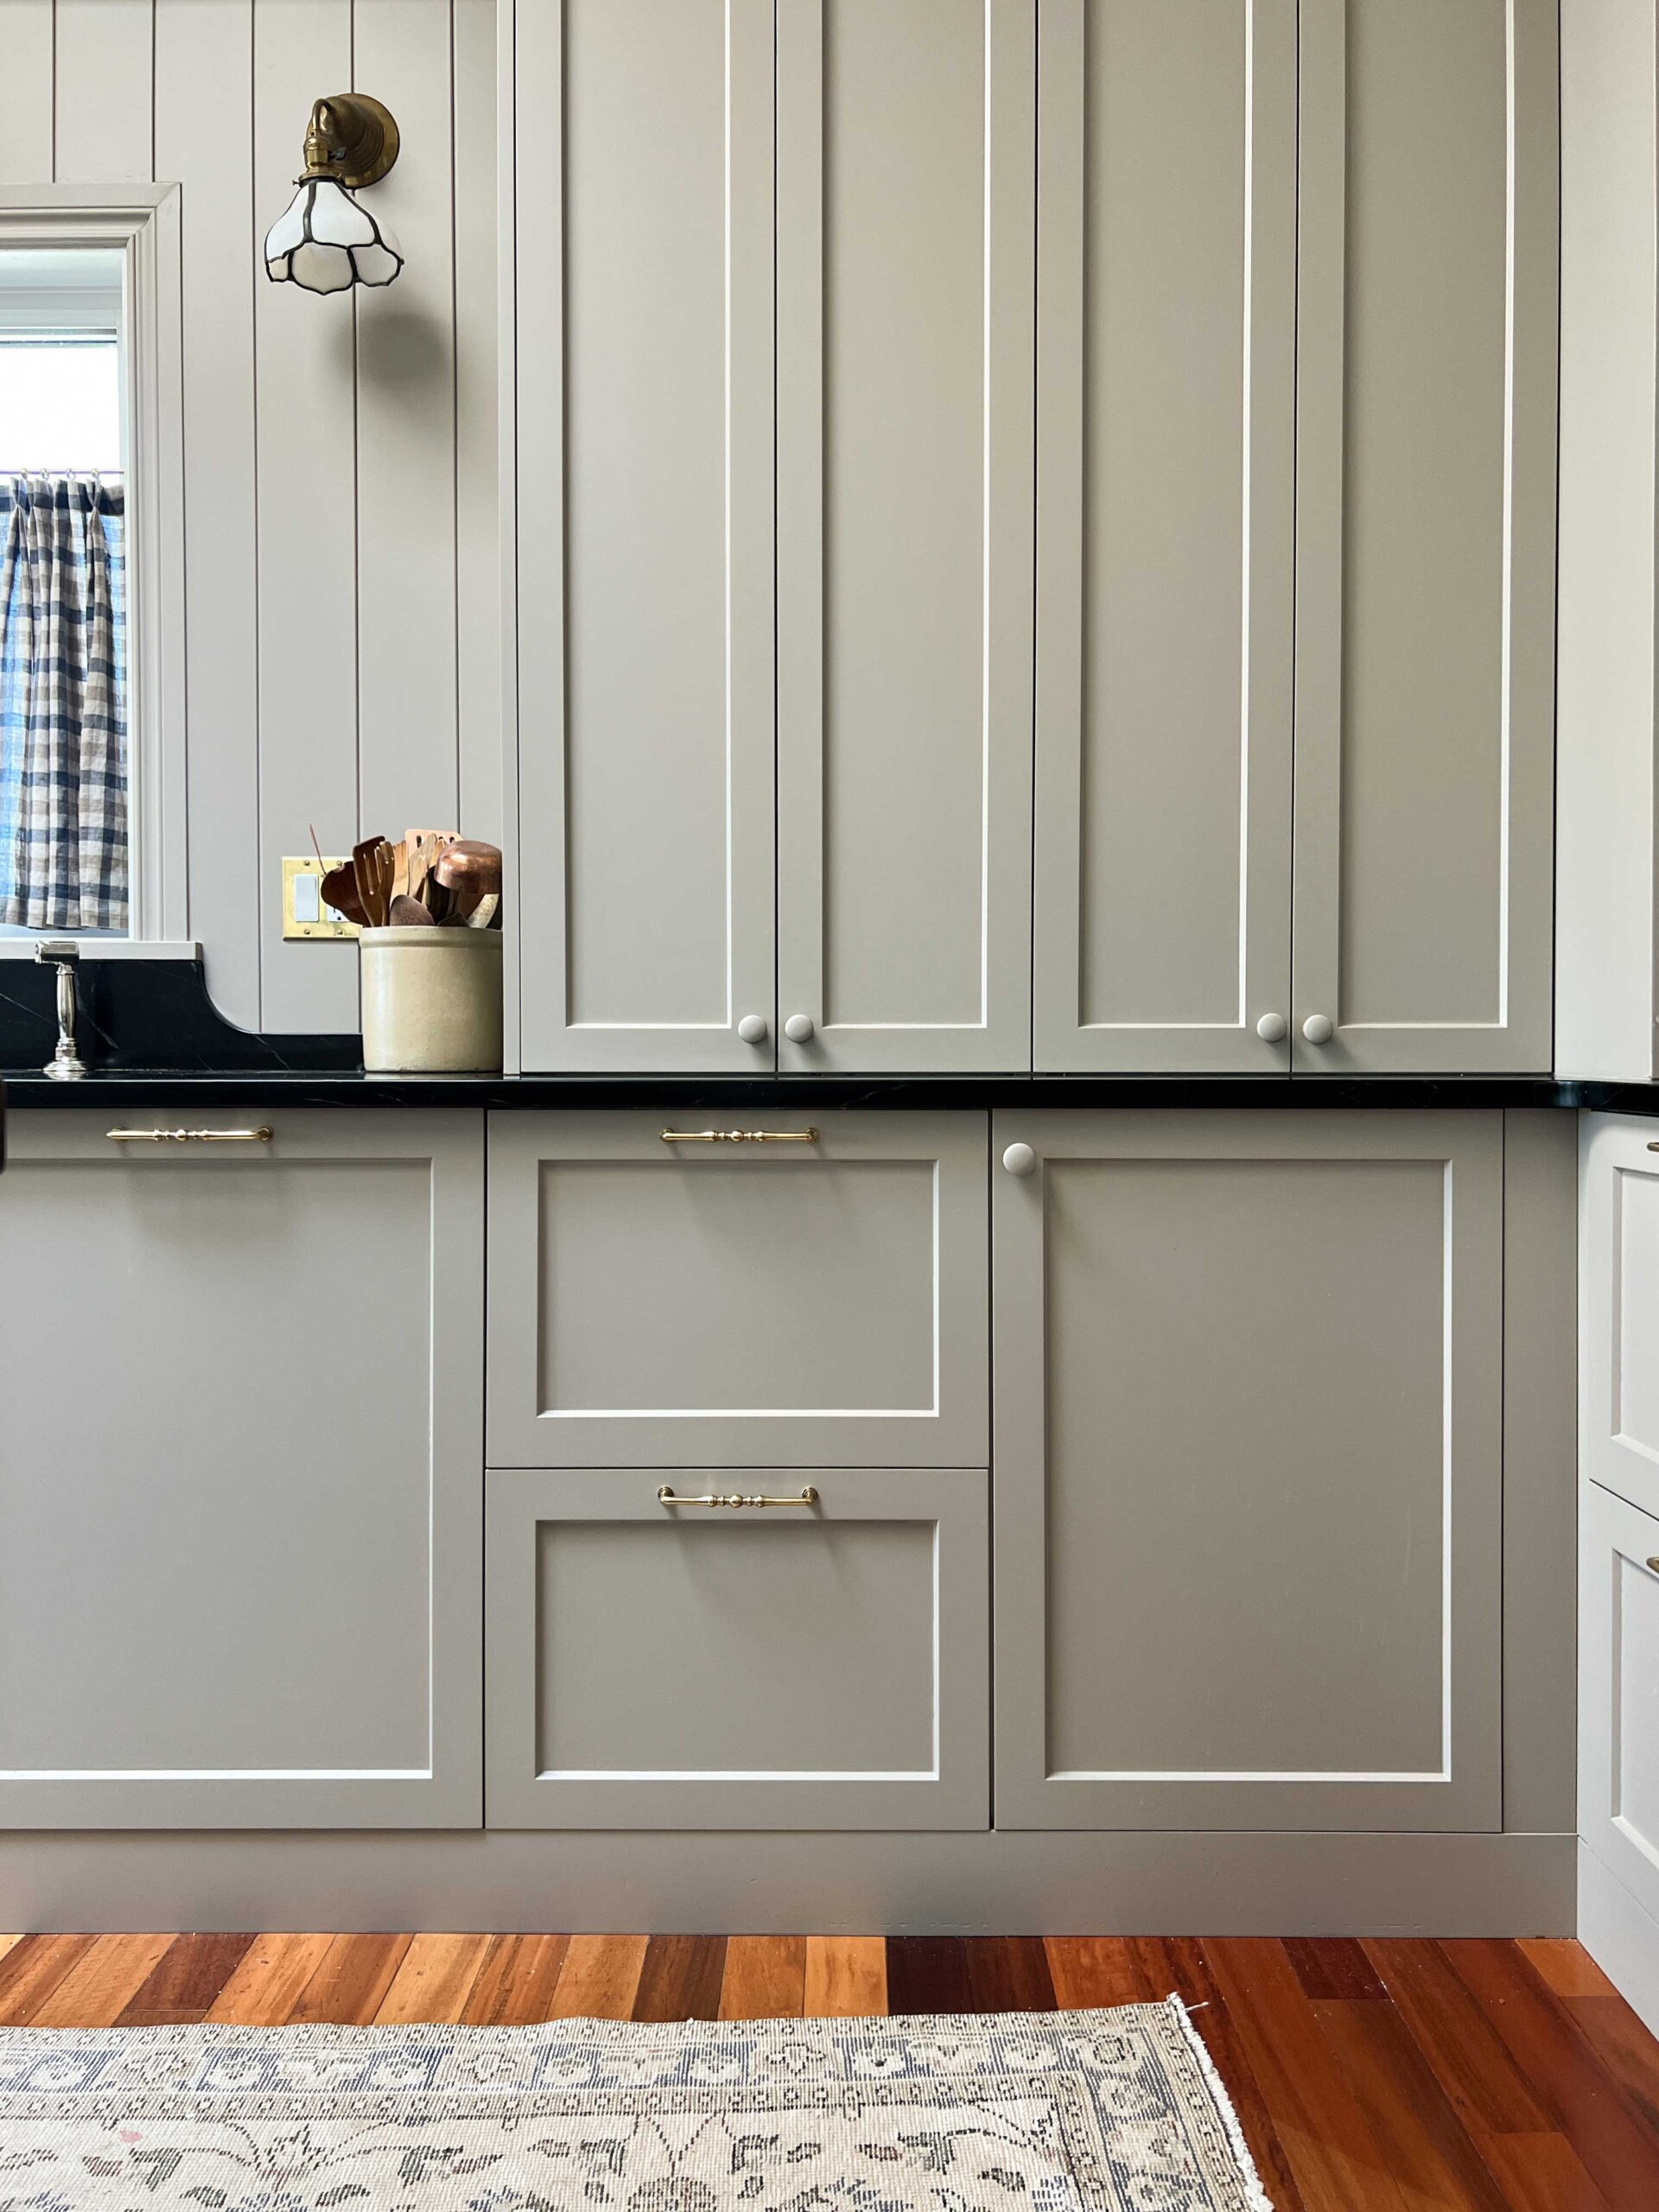
The height of most standard base cabinets is 30″ with a 4″ toe kick and about 1-1/2″ – 2″ thick countertop for a total countertop height of 36″.
People may choose to make their cabinets slightly higher or lower based on personal preference, but for most people, the standard base cabinet height will feel the most natural for working at.
Standard toe kicks are 4″.

The upper cabinets should be 18 – 20″ above the countertop.

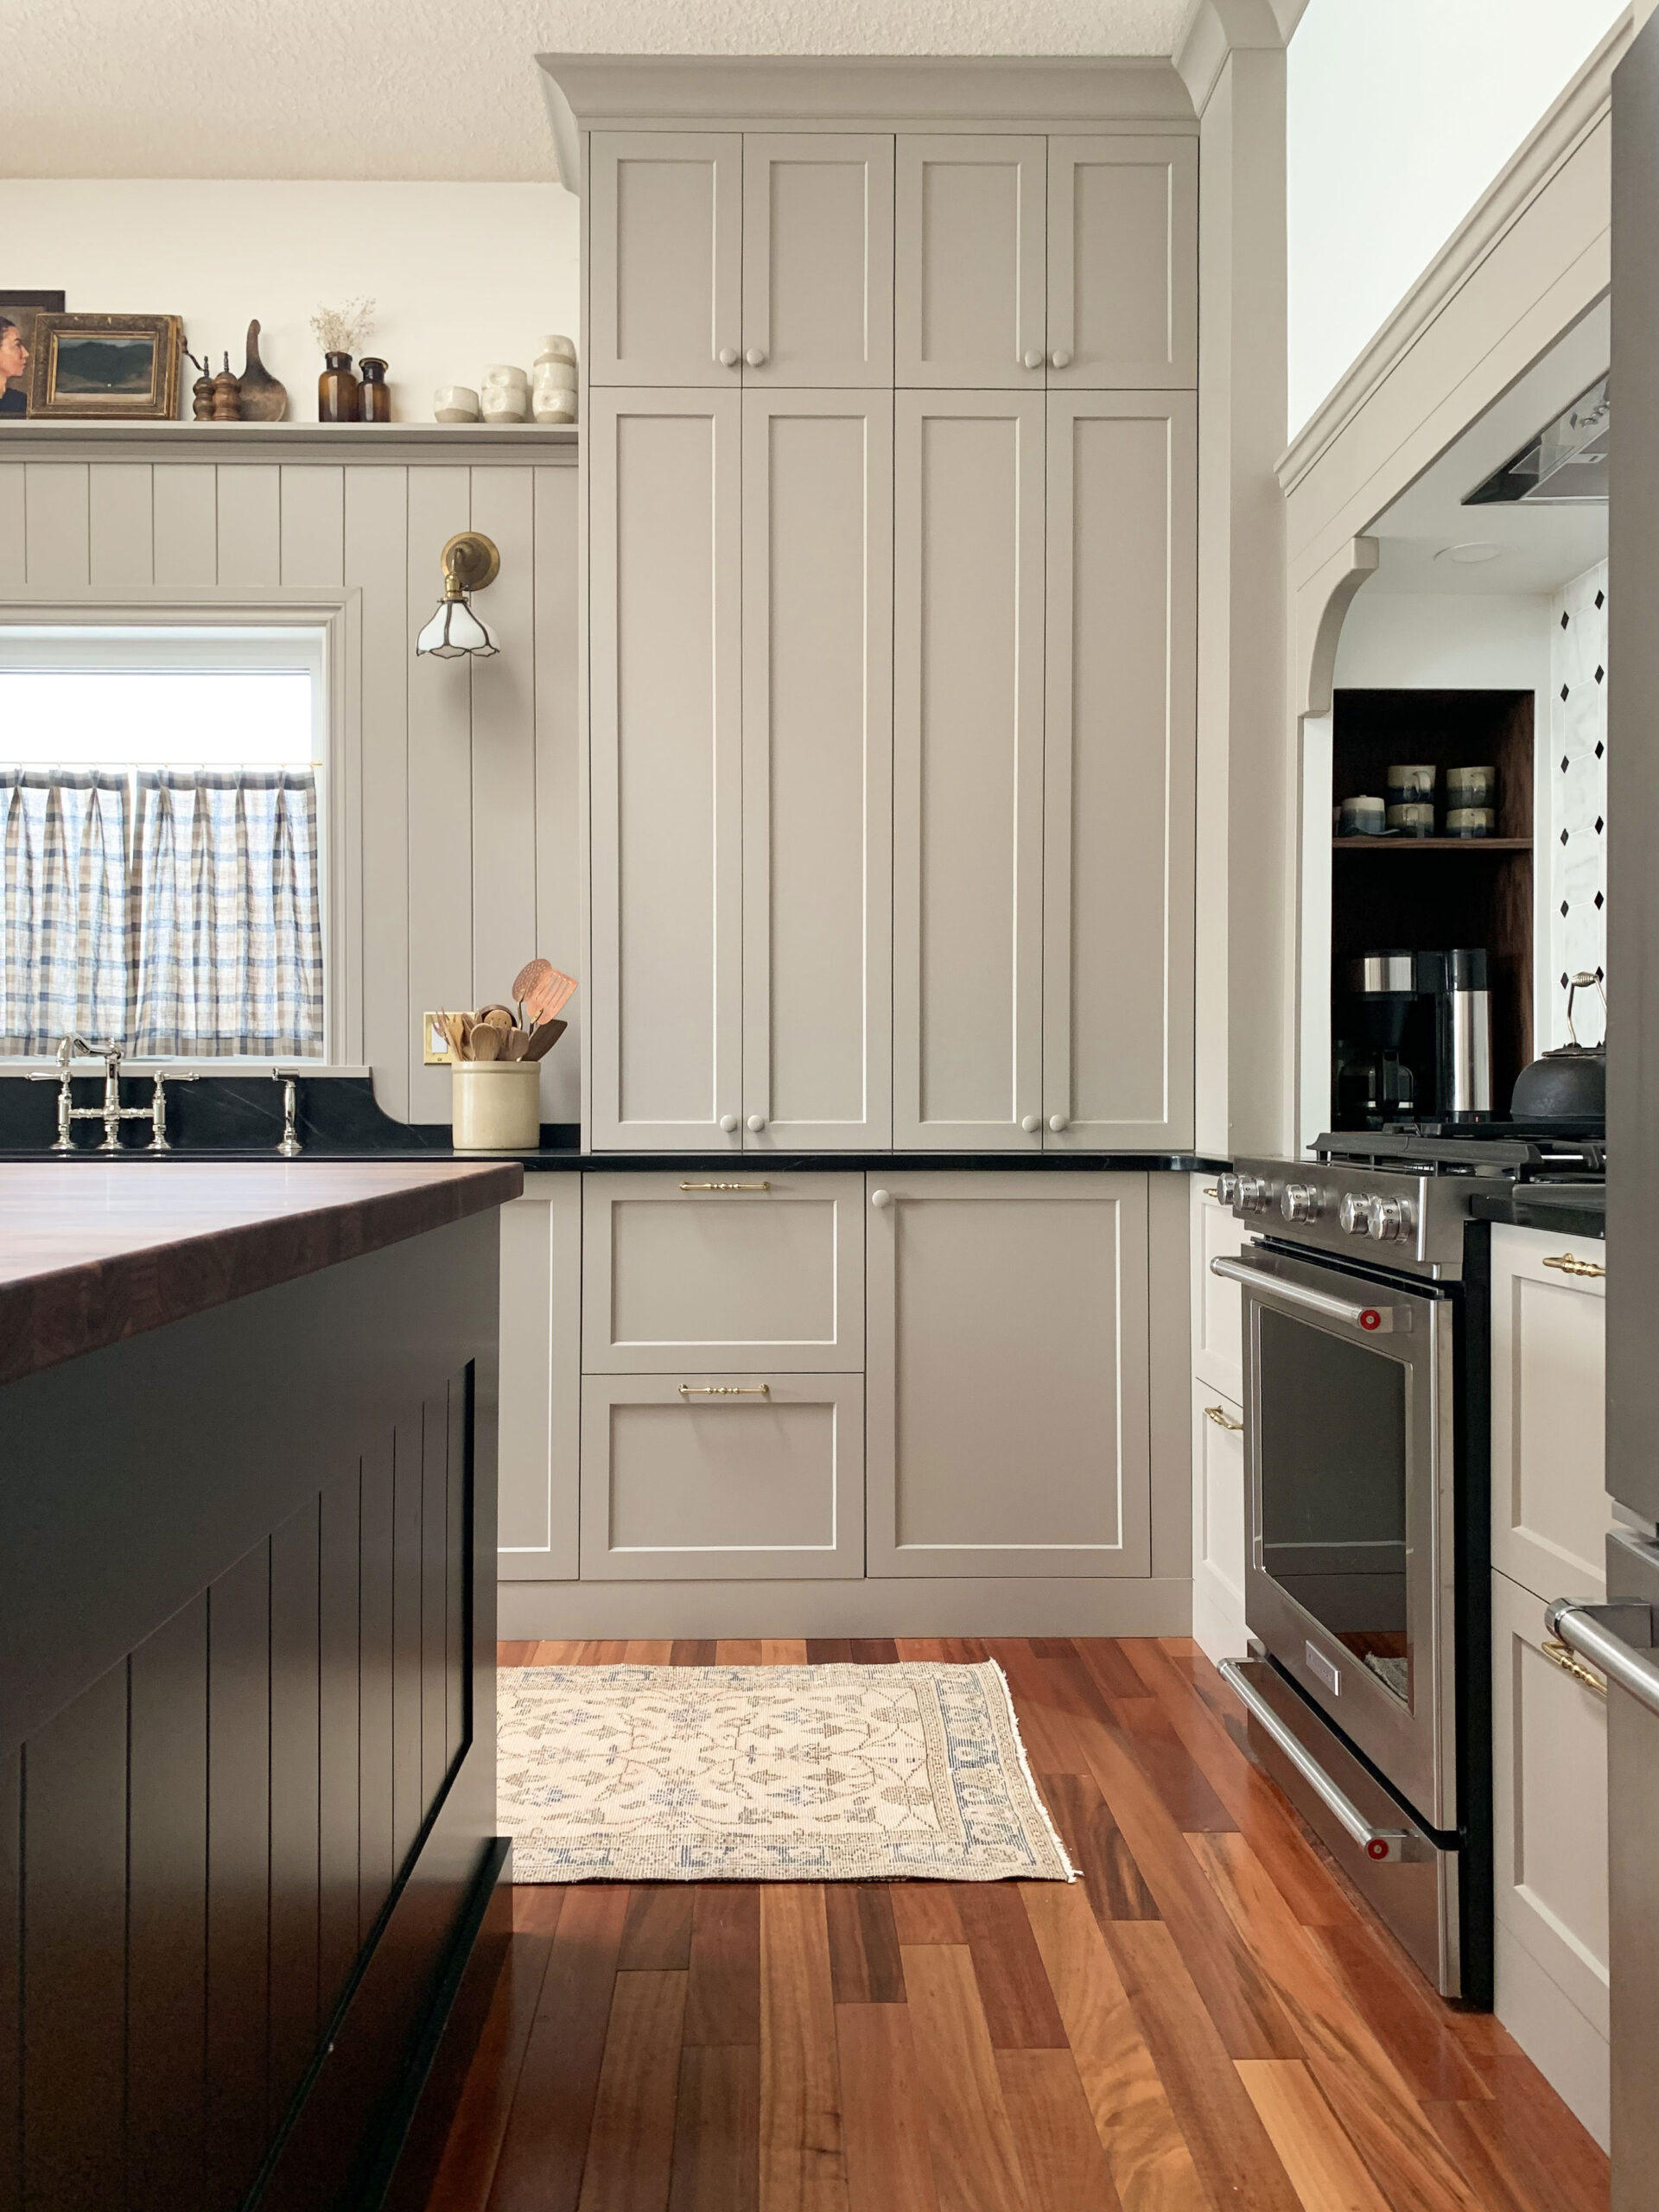
The upper cabinet height can range from 30″ to 40″ and beyond and varies based on your ceiling height. Stock cabinets or standard kitchen cabinets can be stacked to make up the total height desired for the cabinets.

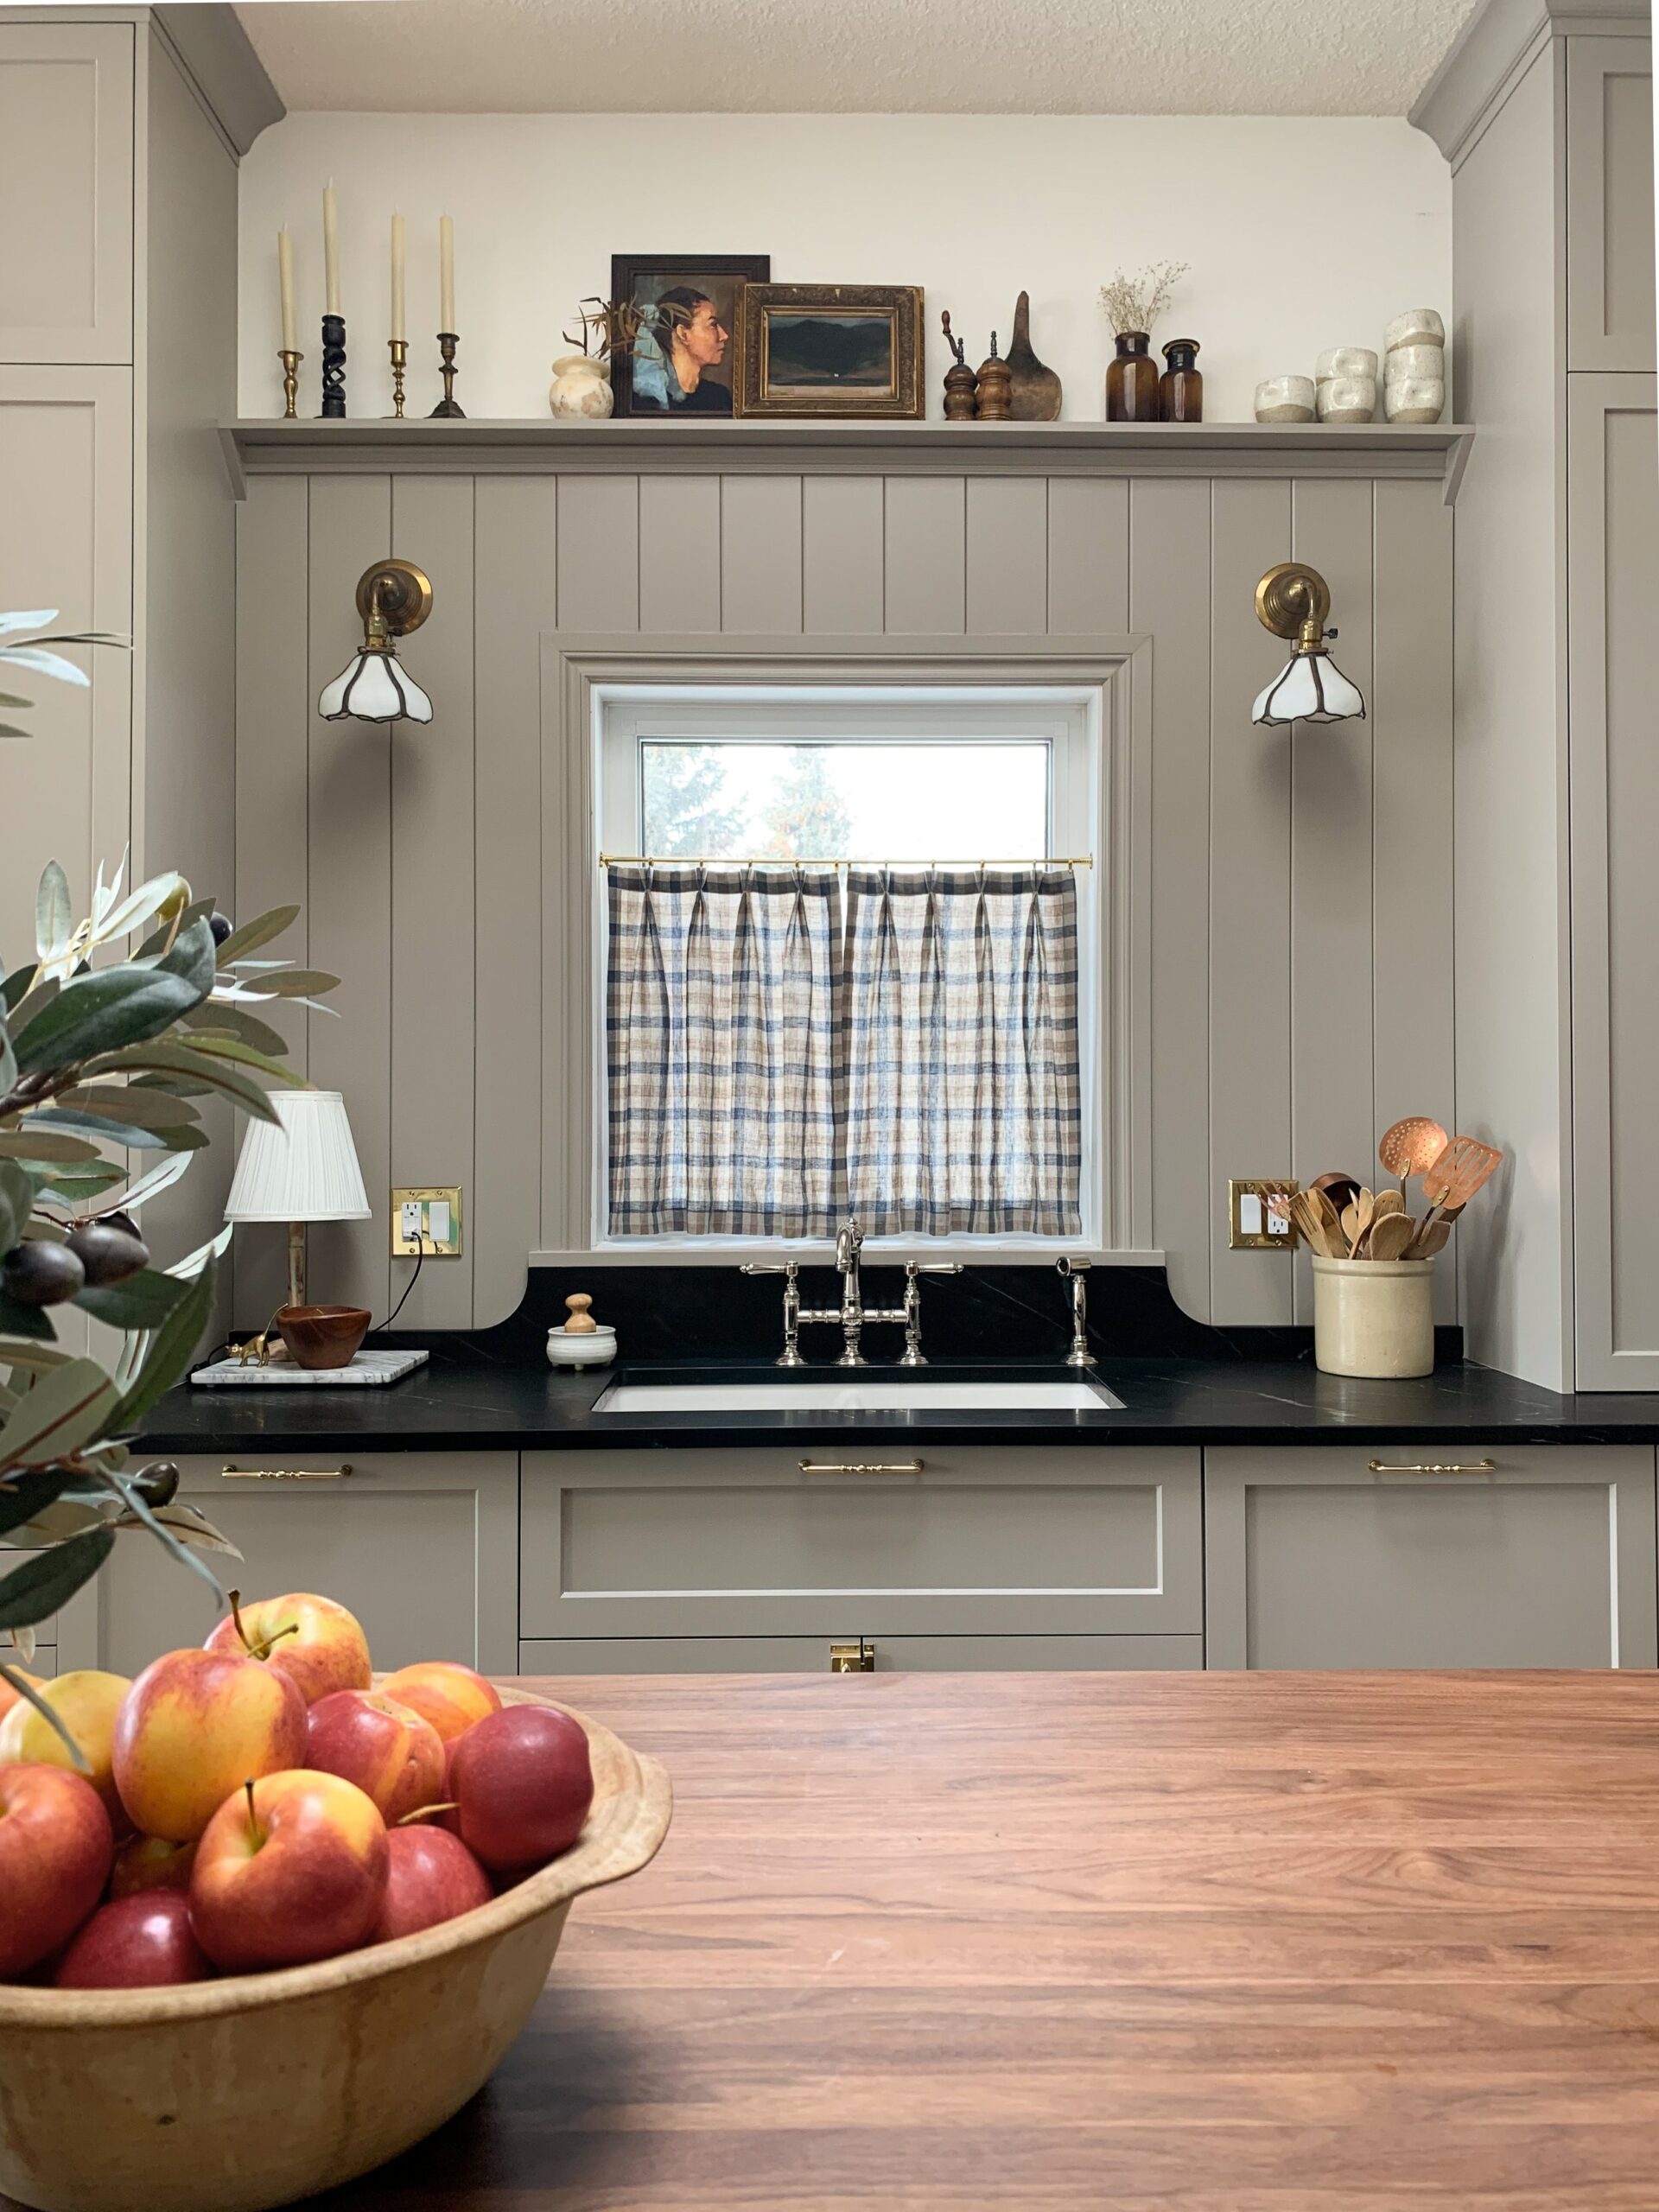
There is no rule about how high your cabinets should be in total. If you want to avoid the dust ledge that occurs on the top of upper cabinets, then having the cabinets go right up to the ceiling is a good option. For an 8′ ceiling this might look like the black and white kitchen above.
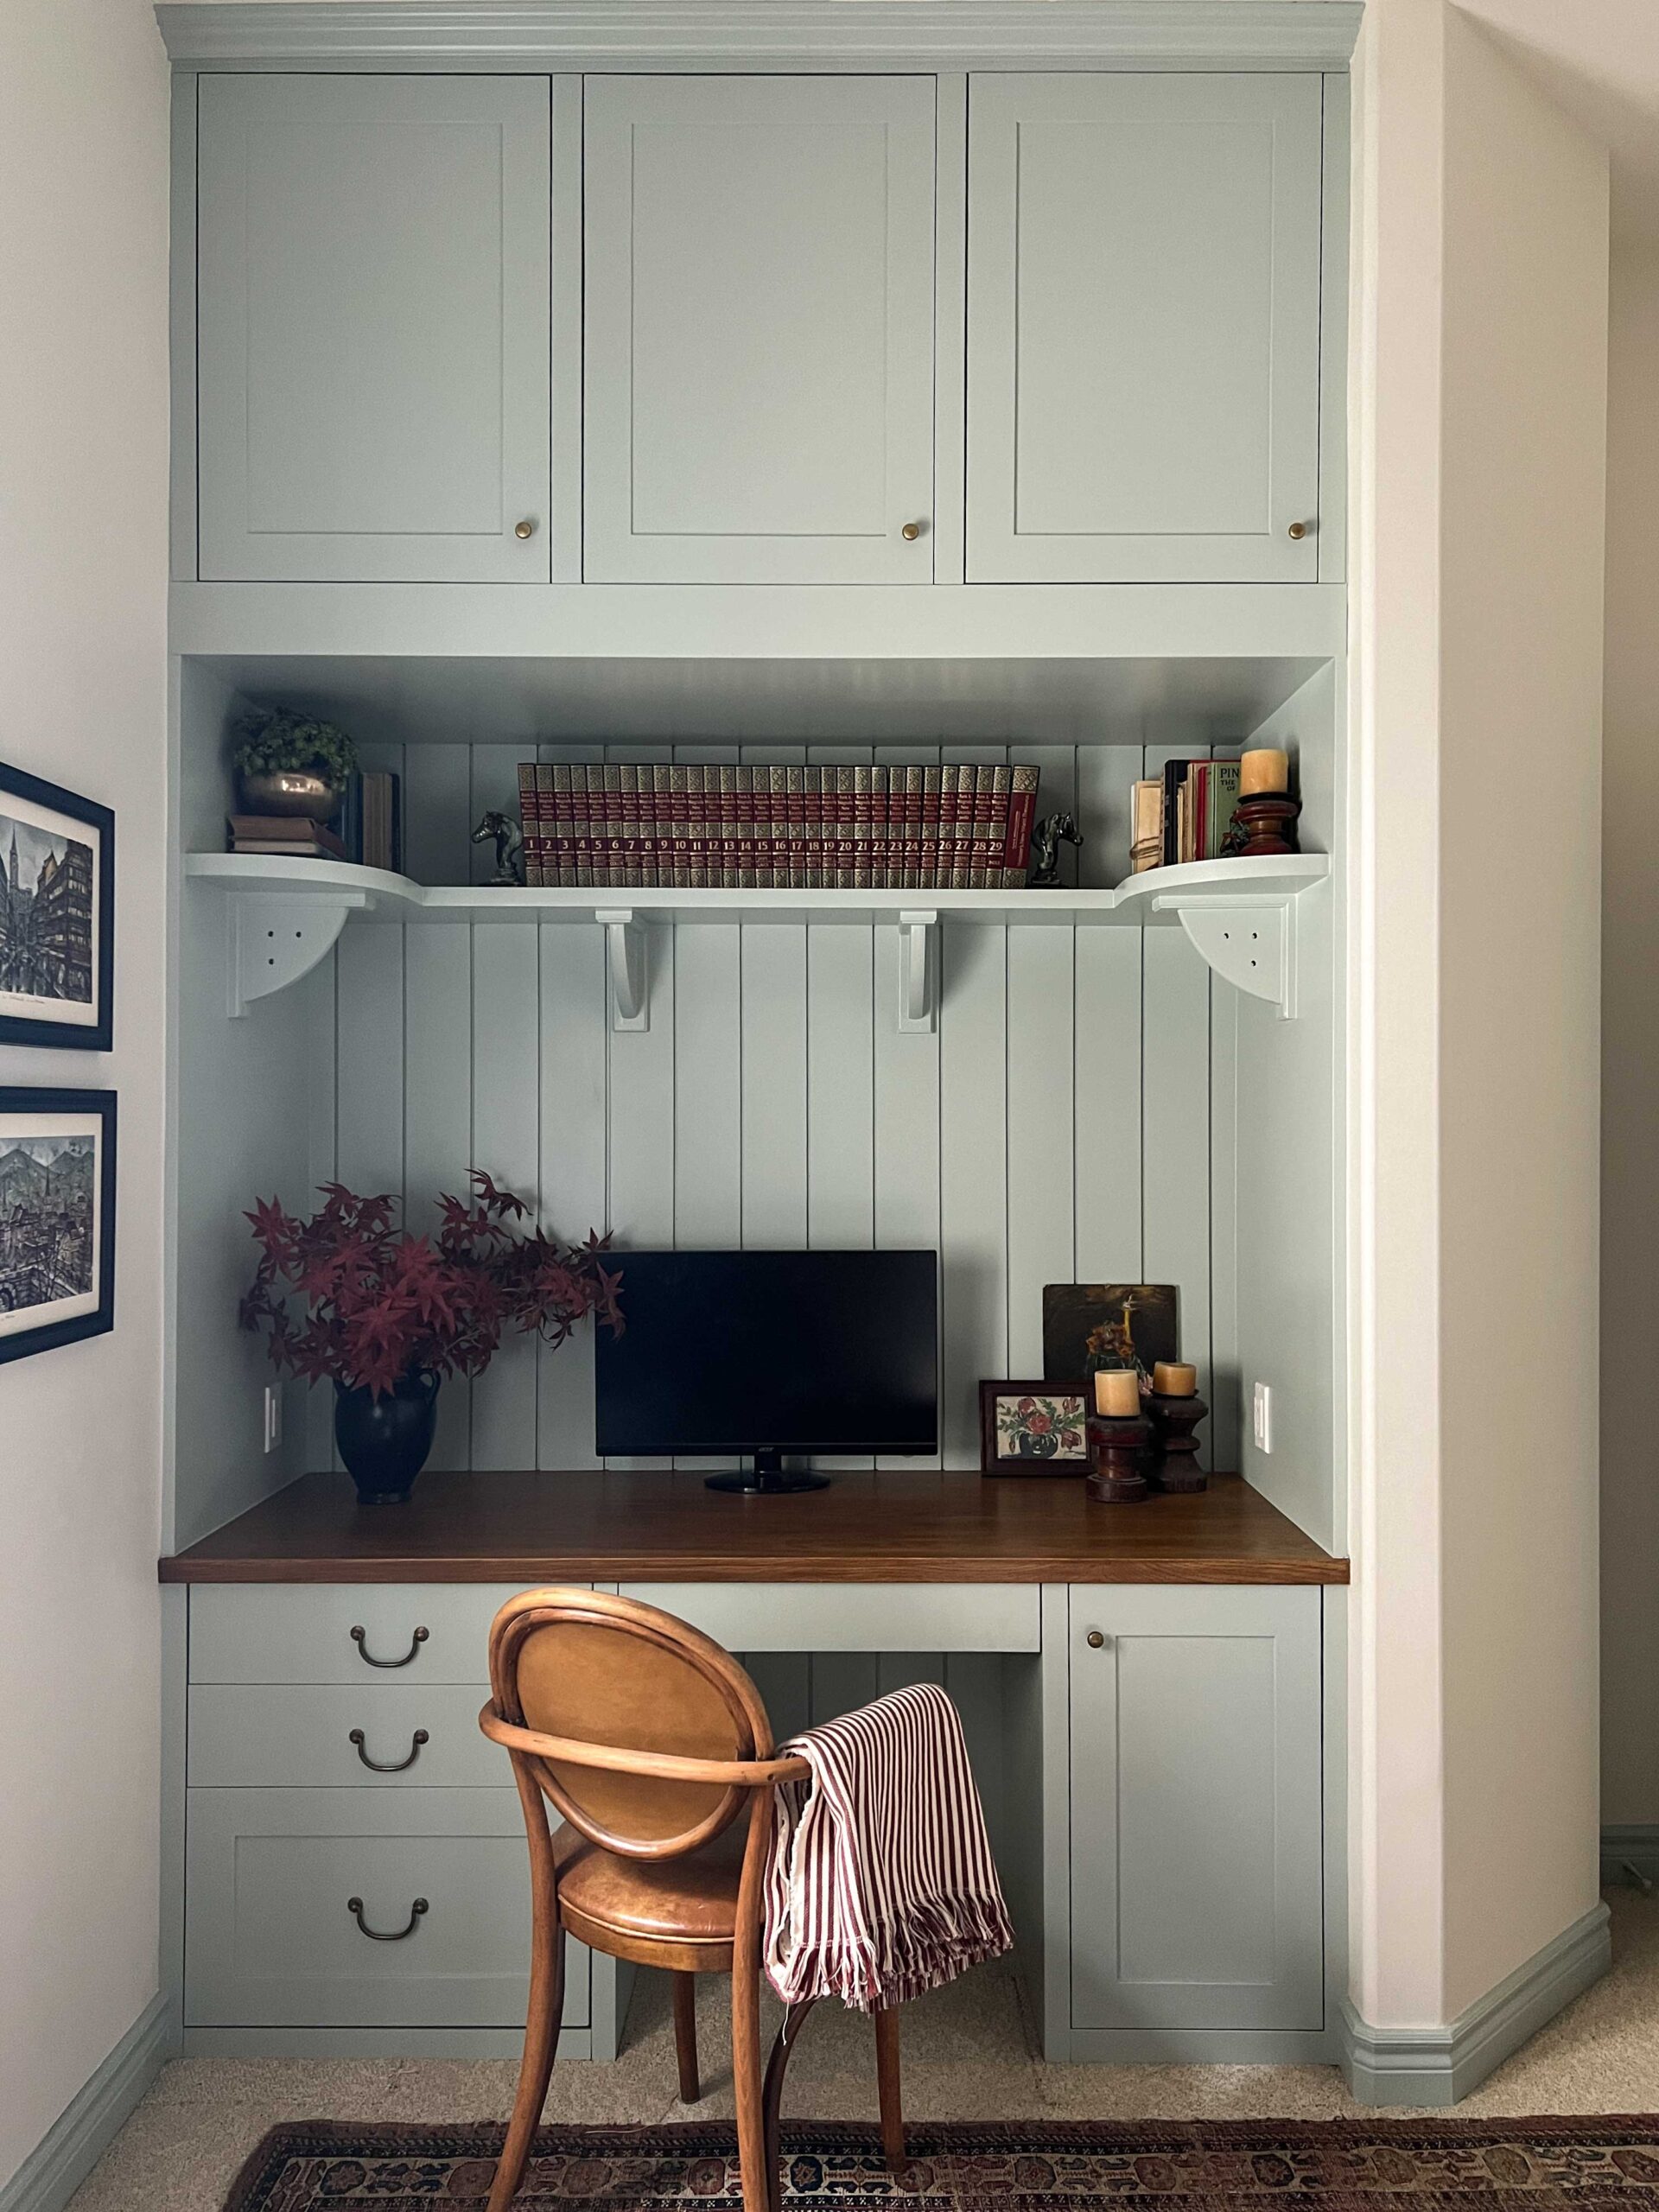
In my kitchen, I have a 10′ ceiling and I chose to have my kitchen wall cabinets go right up to the ceiling by stacking two 40″ stock kitchen cabinets on top of each other.
I then used a longer 60″ door and a 20″ door to make up the total wall height. The upper cabinets are very high up, however, so to reach them I have to climb up on the countertops or get a ladder. We don’t store everyday items in there though so we seldom have to access it and I prefer the extra storage space to climbing up there just to dust!

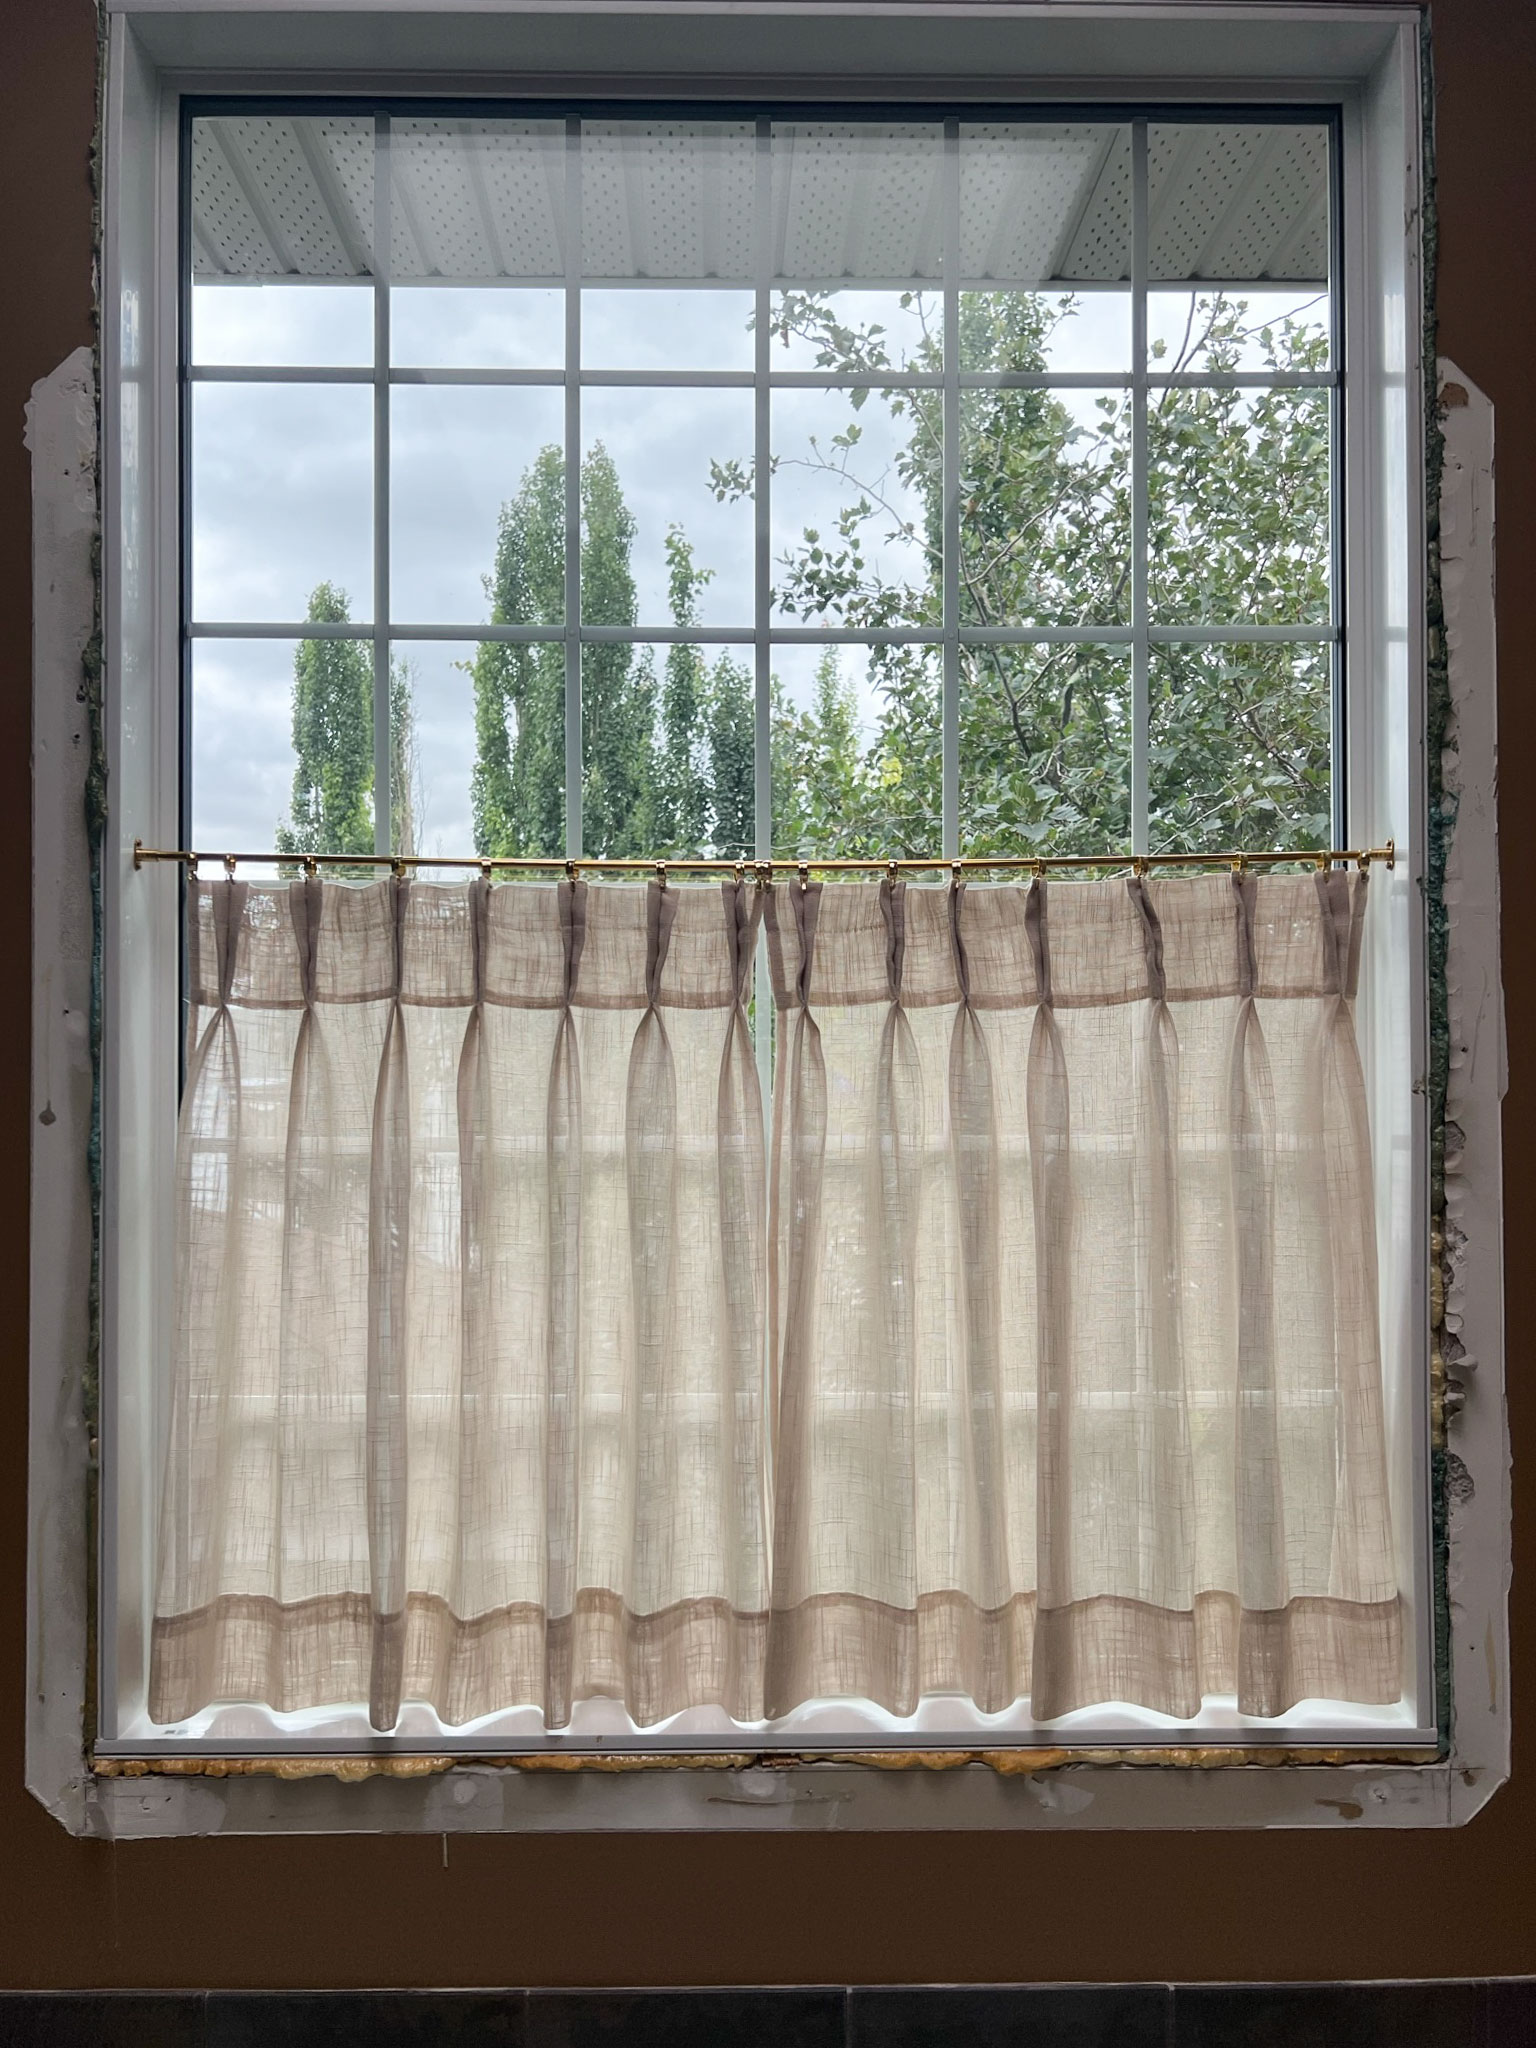
Floral Curtains – Cafe Curtain Fabric – Pulls
Once you know the countertop height, you can choose different options for stock cabinets to make up the distance to the ceiling. Keep in mind that you can also add a riser and crown molding to finish off the top of the cabinets.
In our case we used a riser of about 6″ with crown molding to make up the total wall cabinet heights.
Standard Kitchen Cabinet Dimensions – Cabinet Depths
The standard depth of base cabinets is 24″.
The standard depth for an upper cabinet can vary somewhat but most are in the order of 12 – 15″.

The upper cabinet depth should not exceed the base cabinet depth.
Deeper upper cabinets are generally used over appliances, like a fridge, as they are easier to access. In my kitchen, I used a cabinet with a 24-inch depth over the fridge and further bumped it out with a little framing behind it to make it more flush with my fridge. (You can read more about that here).
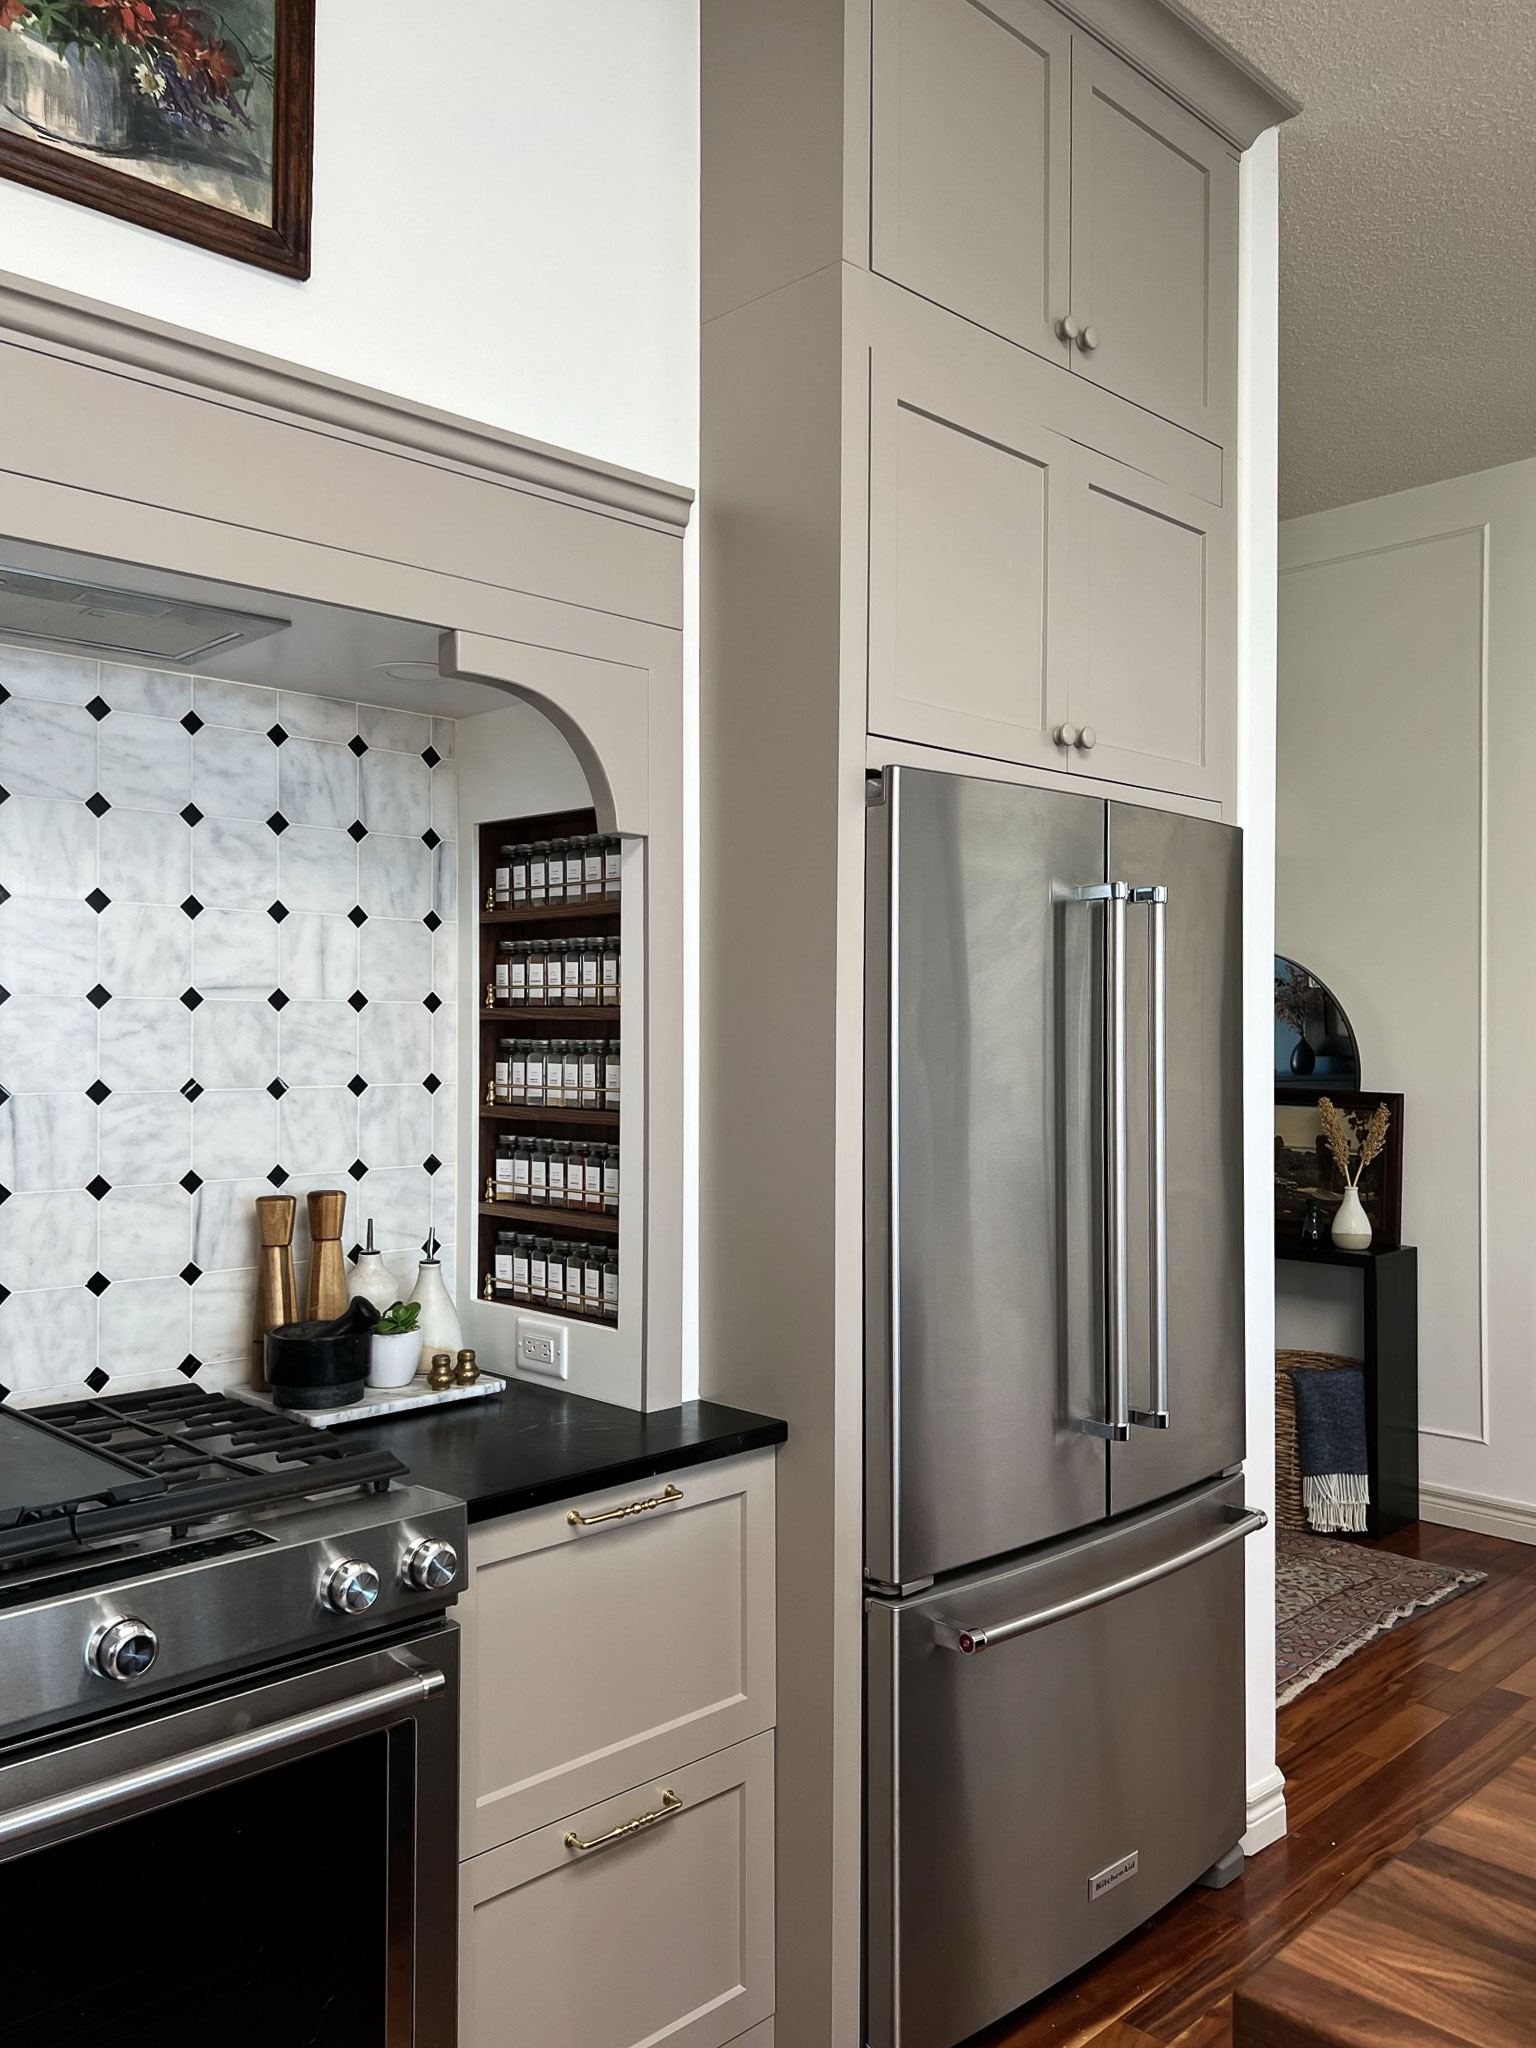
Fridge – Pulls – Spice Jars – Stove
Deep cabinets are also often used for tall cabinets, or full-height base cabinets and pantry cabinets.

Generally, deep cabinets are not used as upper cabinets where there is a countertop below, as they stick out too far to make the countertop very usable.
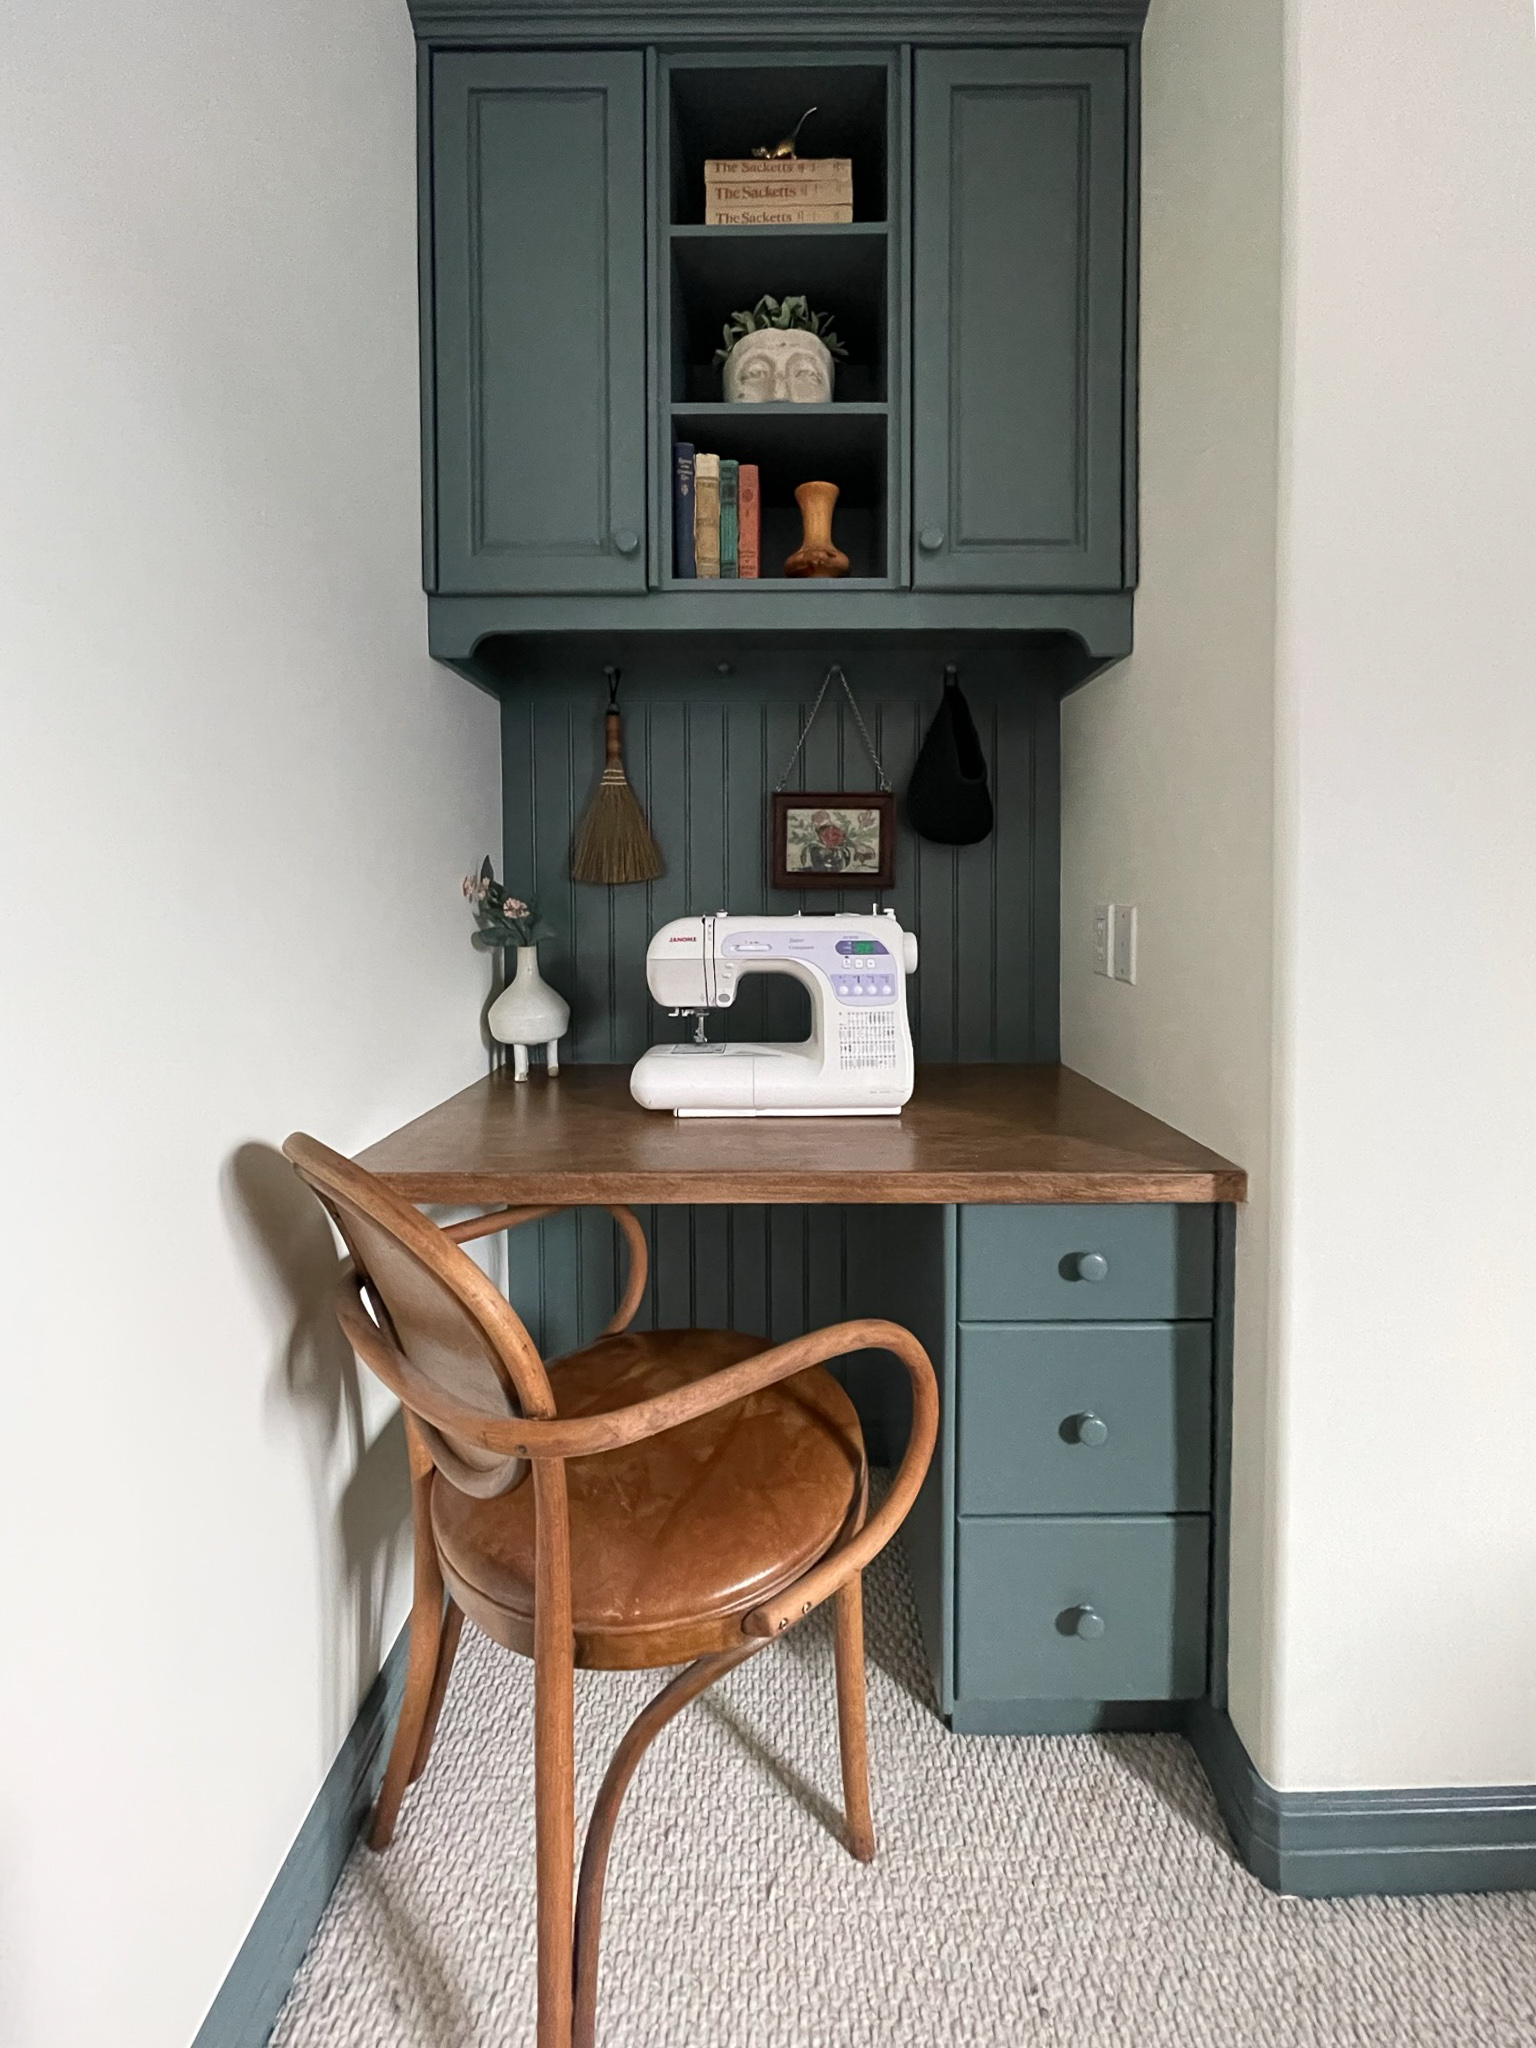
There are always exceptions to the rule and in my new office desk build, I used deep upper cabinets with my 10′ ceilings. However, because I have such a tall ceiling height, there will still be 53 inches of space between the upper cabinets and my desktop, so the desk is still very functional.

Using Shallow Cabinets as Lowers
There may be instances where you might want to consider using a shallow base cabinet for the lower cabinets as well. An example of where this might be useful is if cabinets are being extended into a dining area and used as more of a hutch, and the deeper cabinets won’t provide enough clearance to a table. In that case, you would have a narrower countertop surface as well but in a dining room, that is probably not an issue.
You might also consider shower cabinets where you have an issue with space and deep cabinets just don’t fit. However, keep in mind the countertop will be very shallow as well and won’t be a very functional workspace.
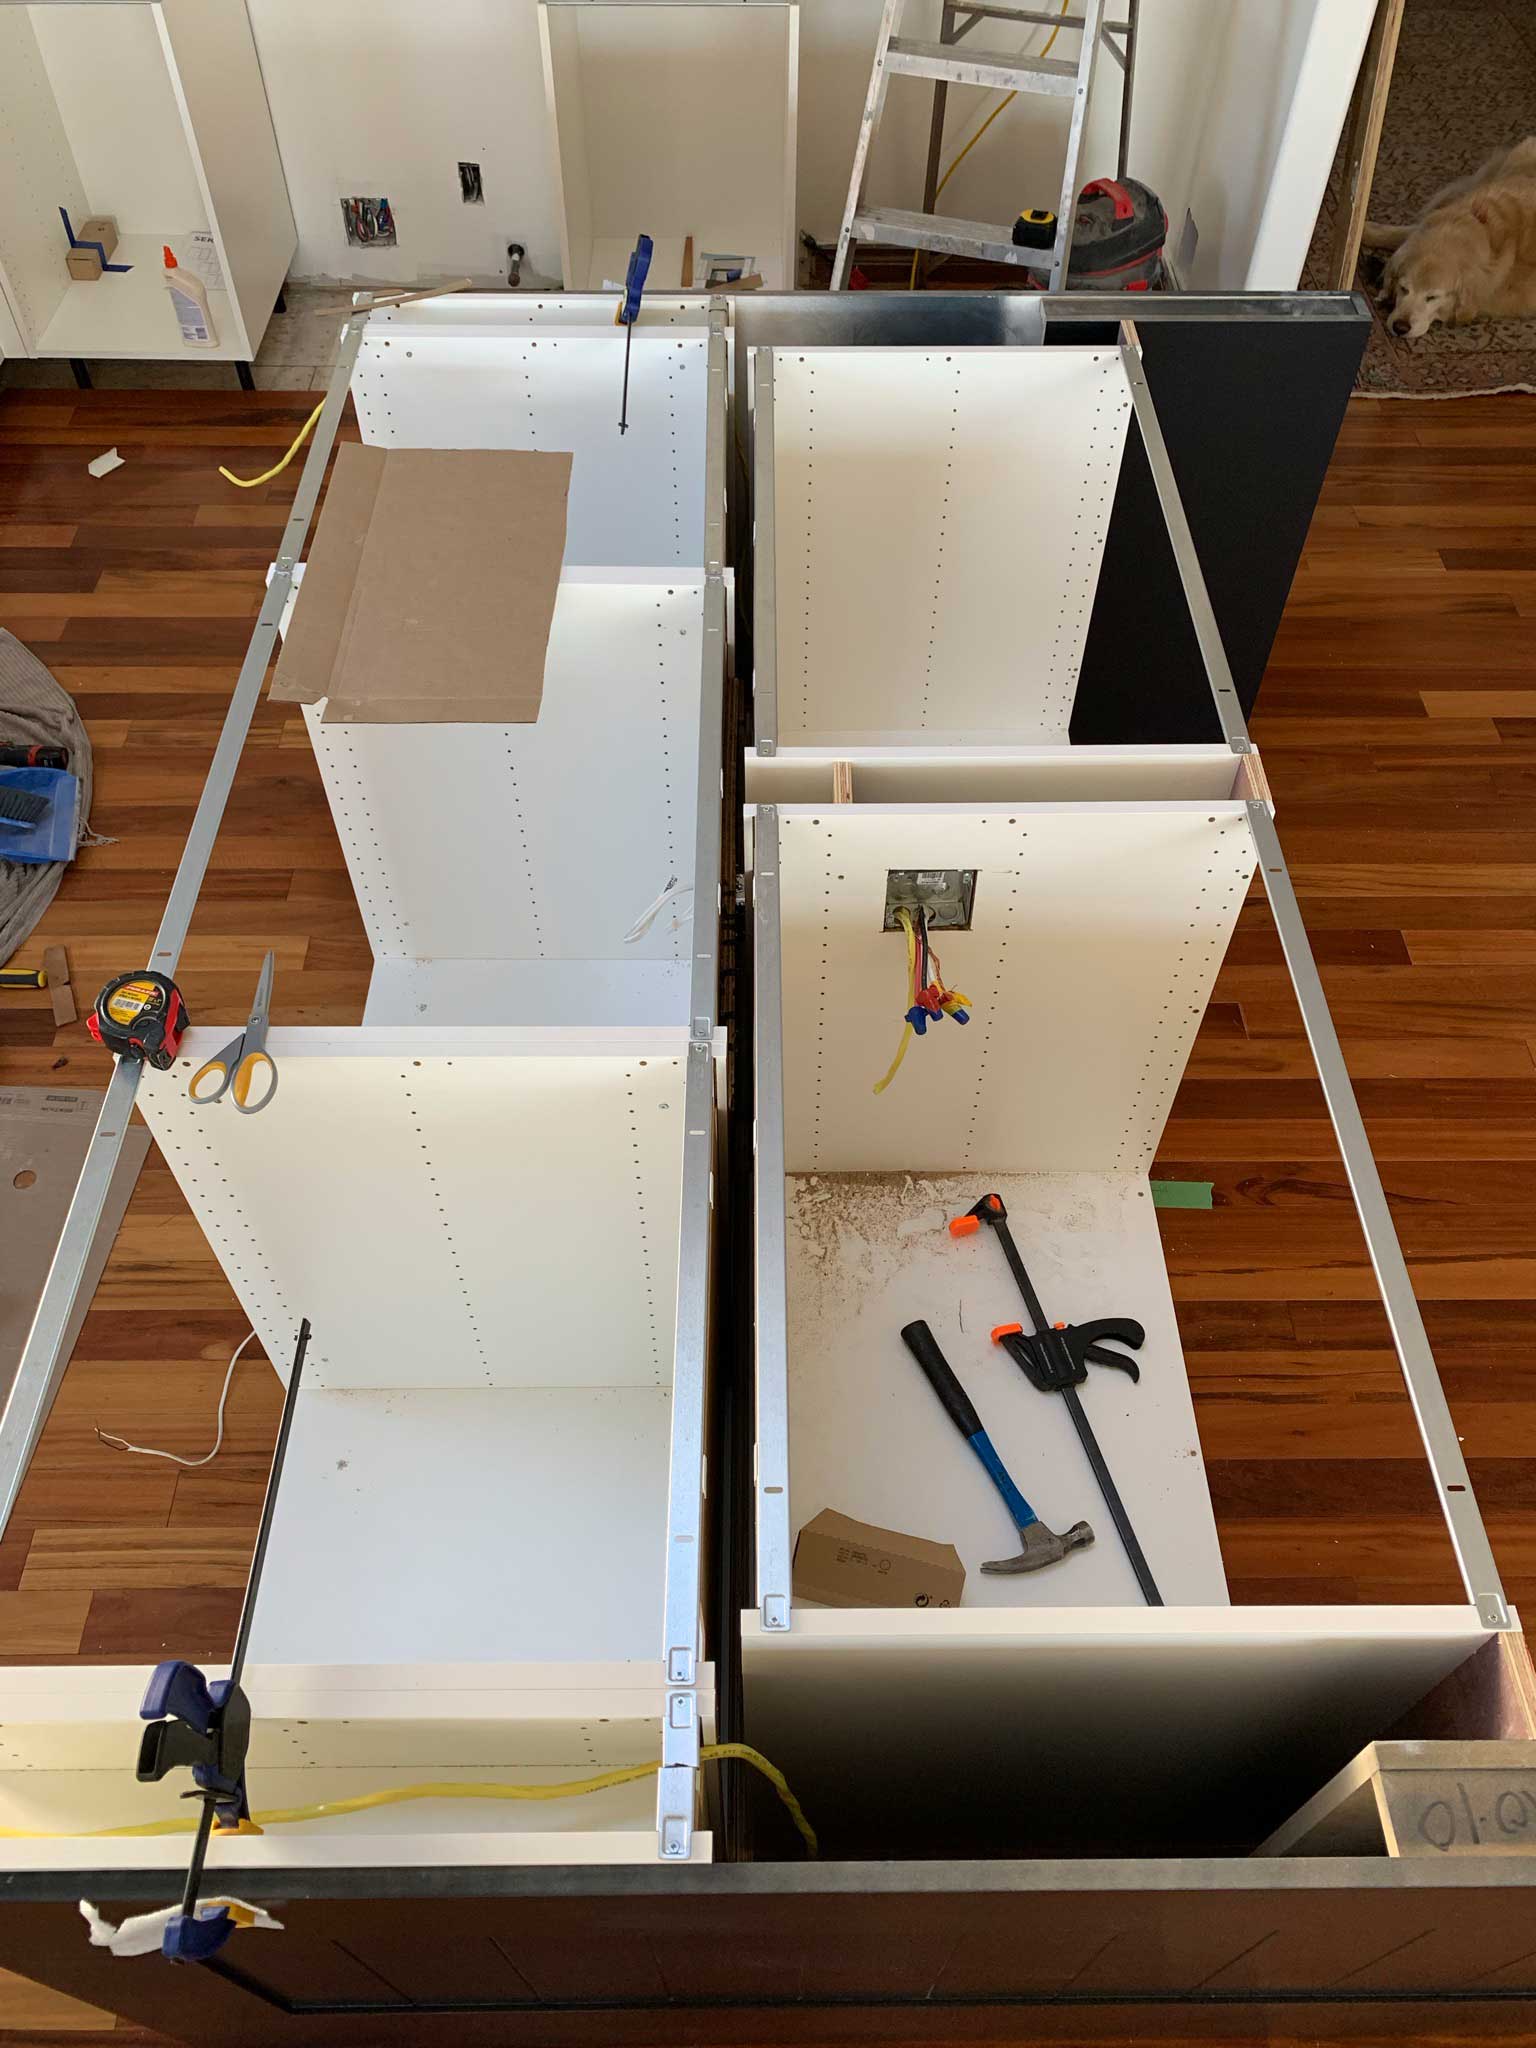
Another place you might want to consider shallow lower cabinets is on a kitchen island. If you have a full-depth cabinet on the front of the island, adding shallow base cabinets to the back of the cabinets will result in a narrower overall island depth than if you used two deep cabinets back to back. I wrote a lot more about considerations for making a kitchen island out of stock cabinets in this post.
Kitchen Cabinet Dimensions – Standard Cabinet Widths
Some commonly used standard widths for cabinets are 9″, 12″, 15″, 18″, 21″, 24″, 30″, and 36″. Cabinet manufacturers can vary this a little so it is important to look into the cabinets that you are planning to use to see what is readily available with the cabinets you plan to use.
Sink cabinets are usually 36″ and should not be less than 30″ to allow for a standard sink.
Laying our Your Kitchen – Tips and Tricks
When deciding on the layout, start with the appliances and the sink. If you have a pantry or want to build a pantry using cabinets, add that next. Once you know where those will go, you can fill in the rest of the space with base kitchen cabinets or tall cabinets.
If you have a corner in your kitchen, then think about what kind of cabinet you want in the corner. Corner cabinets can be tricky, so I wrote a whole post about blind corners and kitchen corners here.
If you can use standard kitchen cabinet sizes as much as possible, that is going to save money.
When deciding on different sizes for different locations, remember that symmetry is your friend and it will always look more pleasing to the eye to have the same-sized cabinets repeated. For example, a row of 3 – 24″ cabinets along a 6′ wall will look better than a 36″ cabinet, a 24″ cabinet and a 12″ cabinet. If you have a 36″ wide sink, try to place the same size cabinets on either side of it.
Clearances Between Cabinets
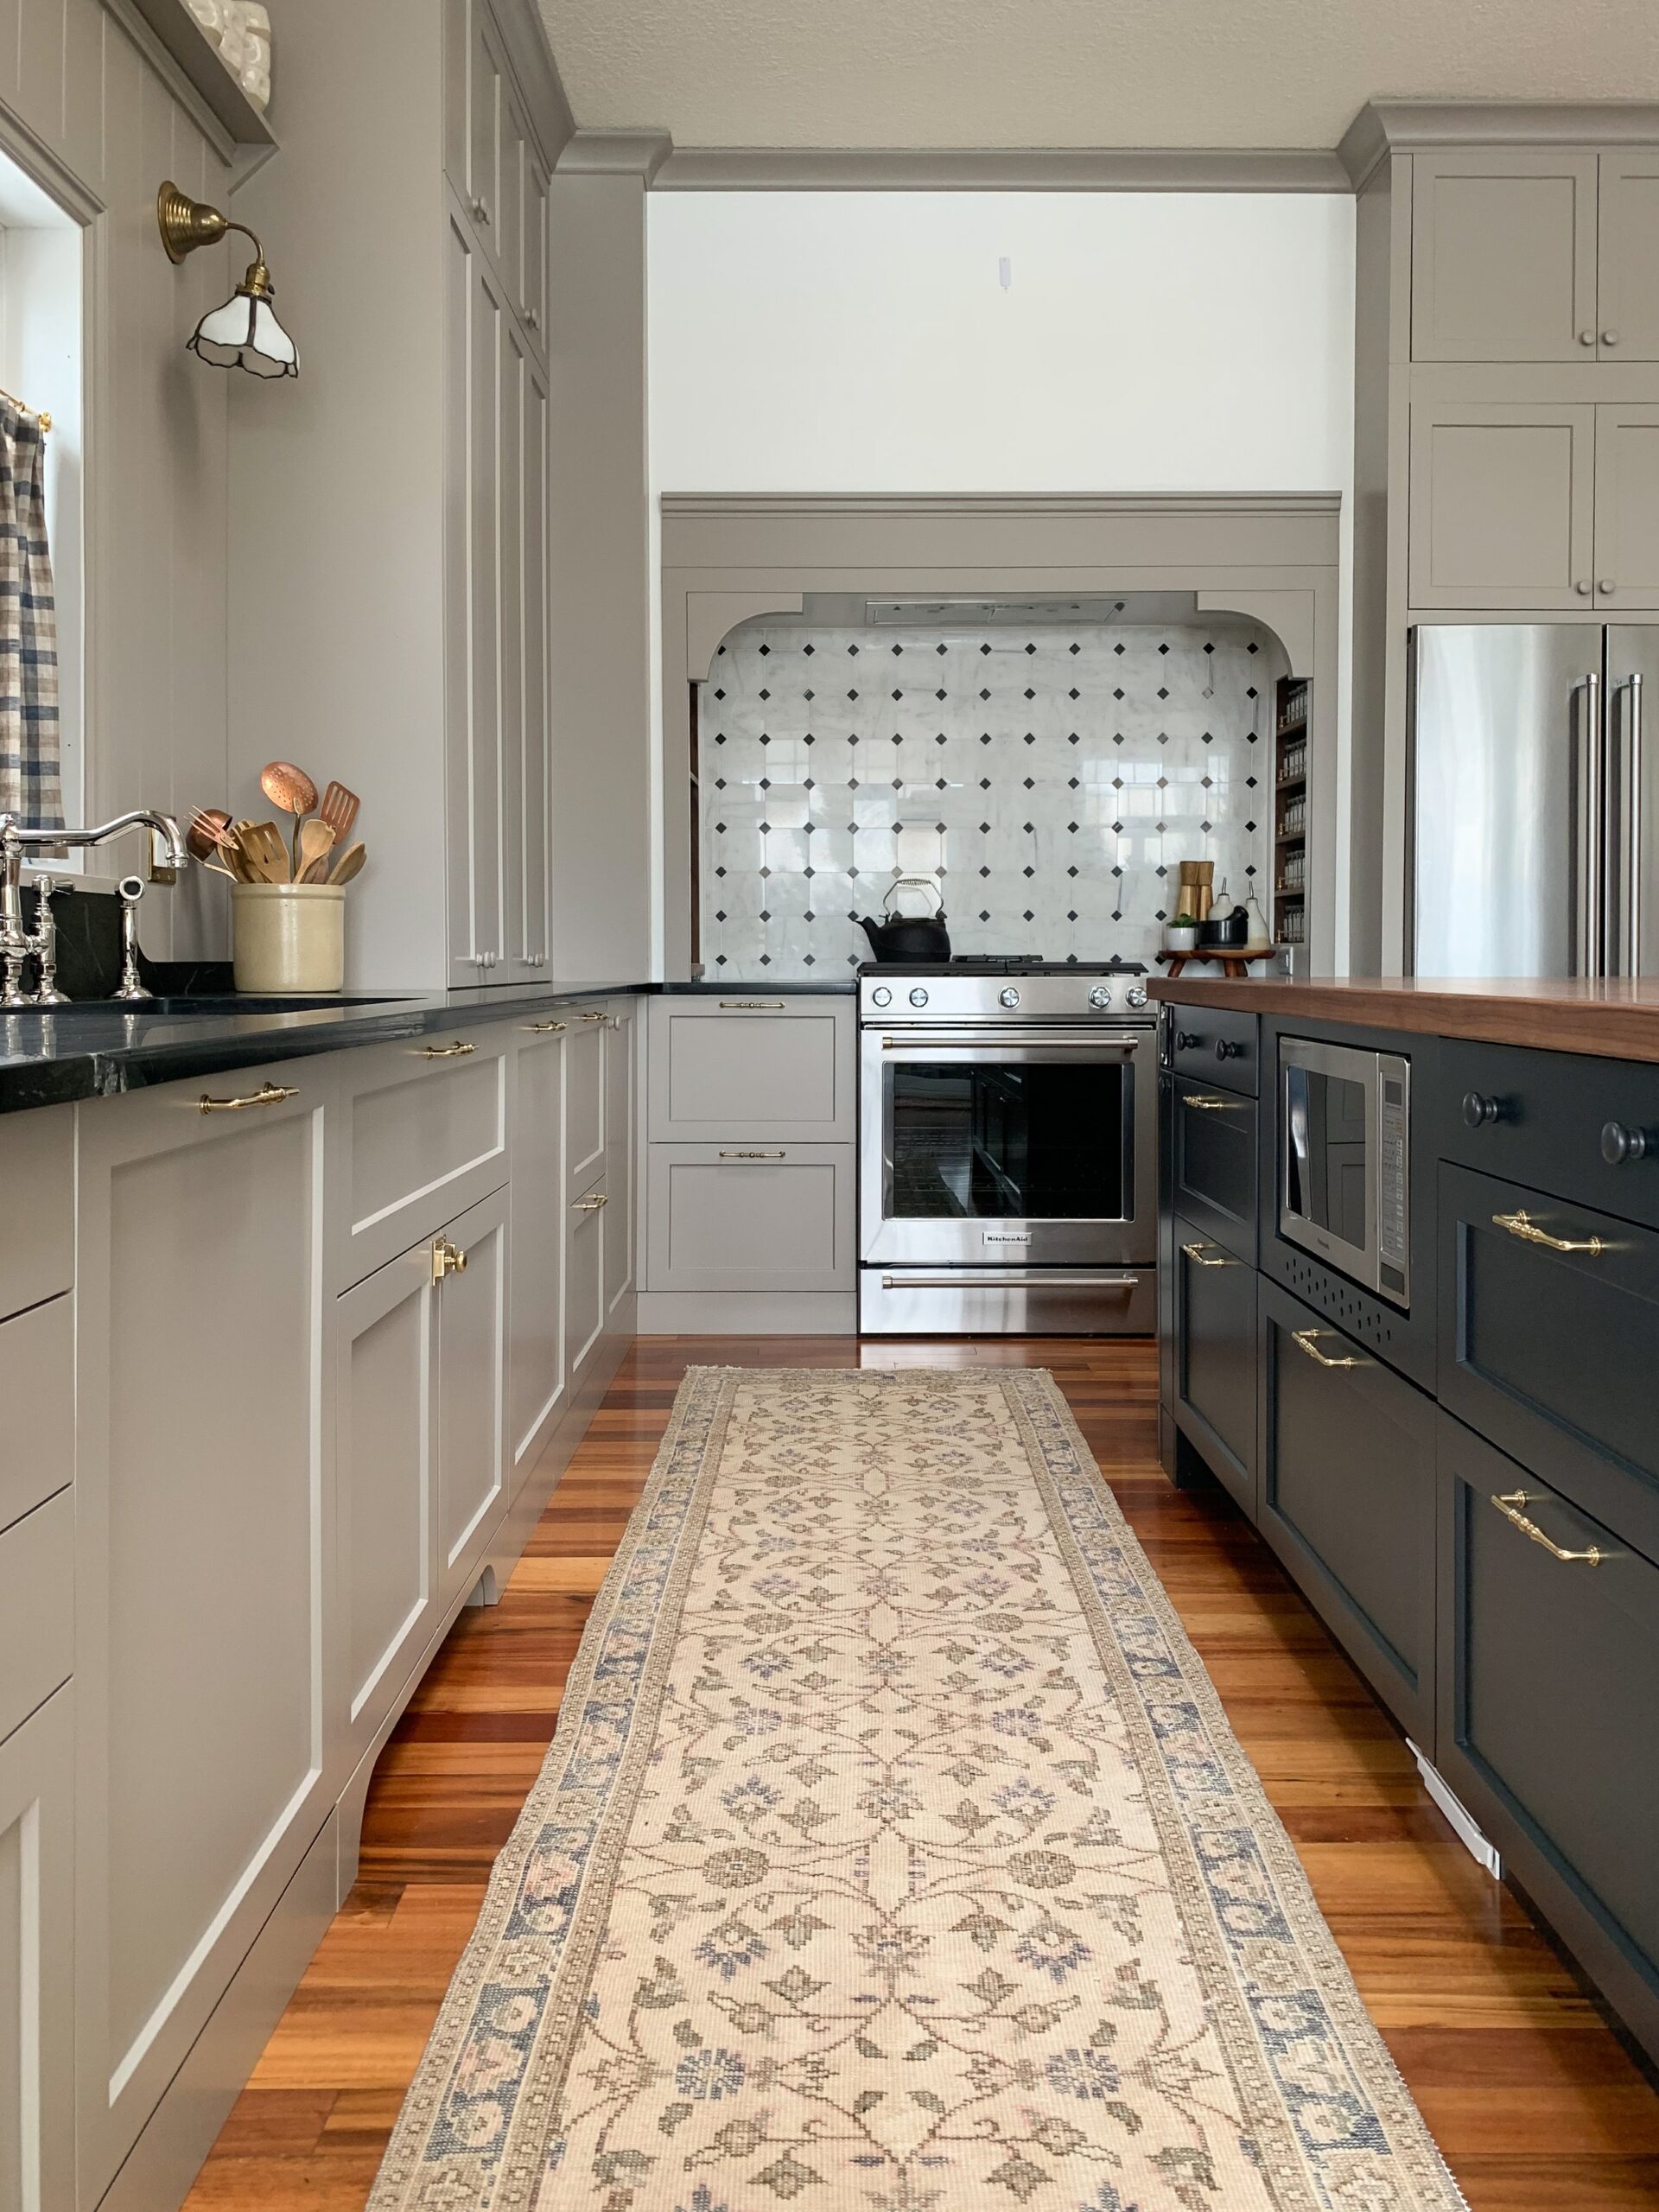
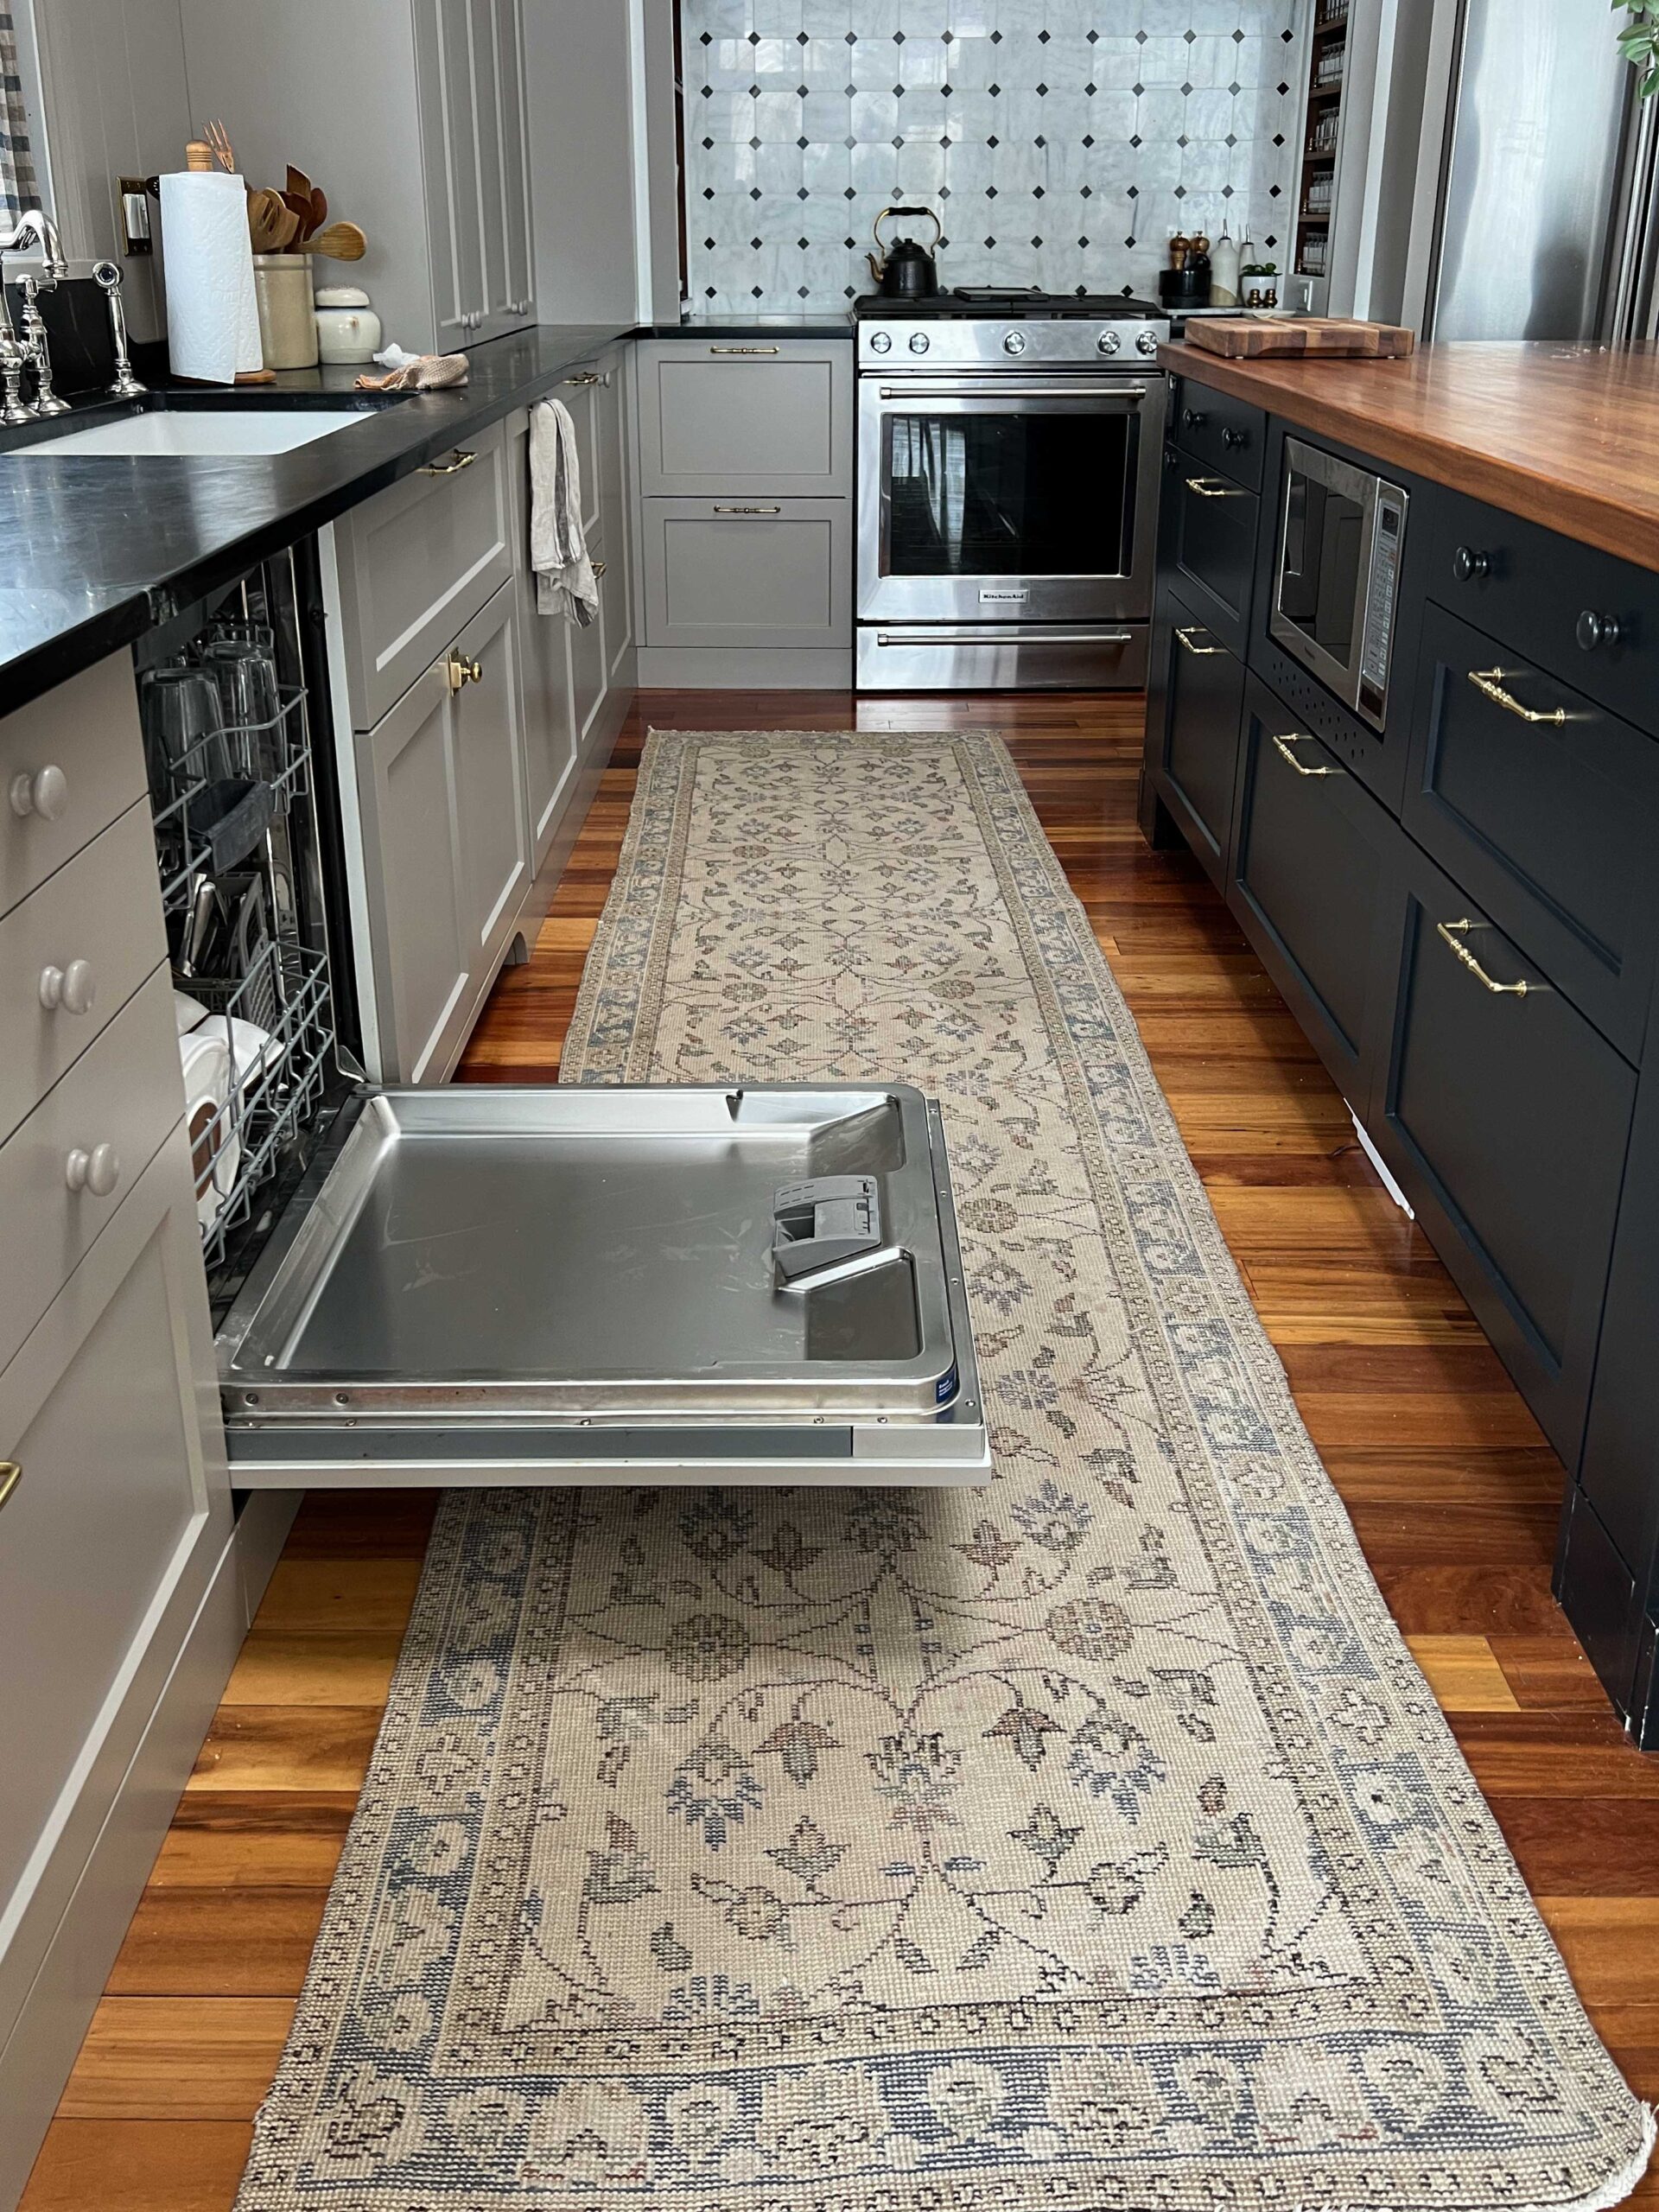
When coming up with the best option for your kitchen cabinetry you want to have a good idea of what comfortable clearances are. In our kitchen, our island and sink wall are 42″ apart and that is a very comfortable distance. You should ensure you have at least 36″.
On the fridge side we have about 38″ (and even a little less if you account for the handles of the fridge, and that is about as narrow as I would suggest.
You need to make sure that you have enough room in front of appliances like a dishwasher and an oven so that you can open it and still stand behind it. If you have an oven and dishwasher across from each other, for example, if you try to open them at the same time the doors will hit.
Think about traffic flow in the kitchen. You might not want to make your primary workspace right in front of the fridge where the kids are coming and going every 5 minutes!
You might have heard of the work triangle. This is the walking space between the sink, the fridge, and the stove and in general, it is thought that these should be near each other for the most efficient workspace.
Also, consider where the primary prep space will be and if you can create a prep space that is right in the middle of the work triangle, that is going to be the most efficient.

When the Standard Kitchen Cabinet Dimensions Just Don’t Work
If you can not puzzle out a way to use all standard cabinet sizes in your kitchen layout, there are a few ways you can deal with this. The first one is to get custom cabinets made for your space, but that is going to be the most expensive option. Still, if you are planning a kitchen renovation, I think it is always a good idea to at least get a quote as sometimes this is worthwhile!
If you are determined to buy off-the-shelf cabinets, there are two other ways you can deal with cabinets that don’t fit exactly. The first one is to add fillers, and the second is to modify cabinets. Let’s talk about these two options a little bit.
Modifying Kitchen Cabinets
Kitchen cabinets are just big boxes. Modifying them is not difficult, it is usually a matter of cutting them down in one direction or another. I wrote a post on cutting down standard cabinets here.
Keep in mind that if you cut down a cabinet, you will have to make your own door for it. In our kitchen, we cut a cabinet down to the size of one of our toe kicks and used that for a door. In our office, we made our own cabinet doors.
You can also cut a cabinet down and leave the door off for an open shelf. In my son’s room, there was a built-in desk that had an open shelf in the middle and we cut that down to the size of the ones next to it. If your cabinet is finished nicely on the inside this is a good option.
If cutting down a cabinet seems too intimidating, then you are likely going to need to add fillers. Fillers can look really nice if they are well thought out. In our office renovation, we spaced the fillers out so they looked like inset cabinetry.
I wrote a post all about how to add fillers to cabinets and everything to think about here.
I hope this helps when you are considering laying out your dream kitchen! When planning our kitchen renovation, I spent months thinking about all of these items and maximizing the kitchen cabinet measurements to create the perfect kitchen. I am thrilled with how it turned out!
Shop This Post

Hi! Thanks for all the tips! Your kitchen is gorgeous! I am planning my own kitchen remodel and had a question. I love the look of the cabinets that come down to the counter, but now that you’re living with them, do you feel like they are practical? I am concerned about the finish wearing off when brushing up against them while cleaning the counters. Any thoughts? Thank you!
I don’t find that there are any issues with the finish on the doors, but that of course depends on where you get your doors. If I had to do it again, however, I would not have installed the bottom “shelf” of those cabinets that sit on the counter and instead just had the countertop continue in there. Right now, I find that that spot is where crumbs like to reside. It’s not a big deal by any means but it would be an improvement to eliminate that bottom shelf!
Hi Erin, your kitchen designs are beautiful and so functional! I love your use of space. You can never have too much storage in a kitchen! Thank you for this post. I love your creativity with standard size cabinets. I have a question about the gorgeous colors. Did you prefinsih them yourself or were the finished for you? If you did them yourself will you be covering that process in another post?
Thanks for sharing your talents!
Hi! This is such a great and comprehensive guide! Your kitchen turned out beautifully and I love learned about the nitty gritty of the decisions that you made. Thanks for taking the time to share 🙂
Thank you so much!
Hi! We are getting ready to do some minor cabinetry changes/additions to our kitchen, so I clicked on your site. Thank you for your helpful information. At the same time, I agree with Leslie above. If you painted the cabinets yourself, could share the brand and color you used in your first photos, that would be great! I know images on the computer can make colors look different. To me, it looks either beige/taupe or greige. But I also know there are many in that family, so if you have that color name, thank you.
Hi there! I didn’t paint the cabinets myself but I did choose the colour and it’s a Benjamin Moore Colour, Indian River.
Hi
I love your kitchen. The cabinets color are beautiful. What would you choose for the wall color with this cabinet color except what you have done already? I am thinking of refinish the cabinets to Indian River.
Thank you!
Indian River is really very netural in my opinion so I think it would pair well with a lot of colours. I don’t know which way you are leaning in terms of colour but I would suggest just getting some swatches and seeing what you like together to start!