How to Customize the Width of an Ikea Cabinet
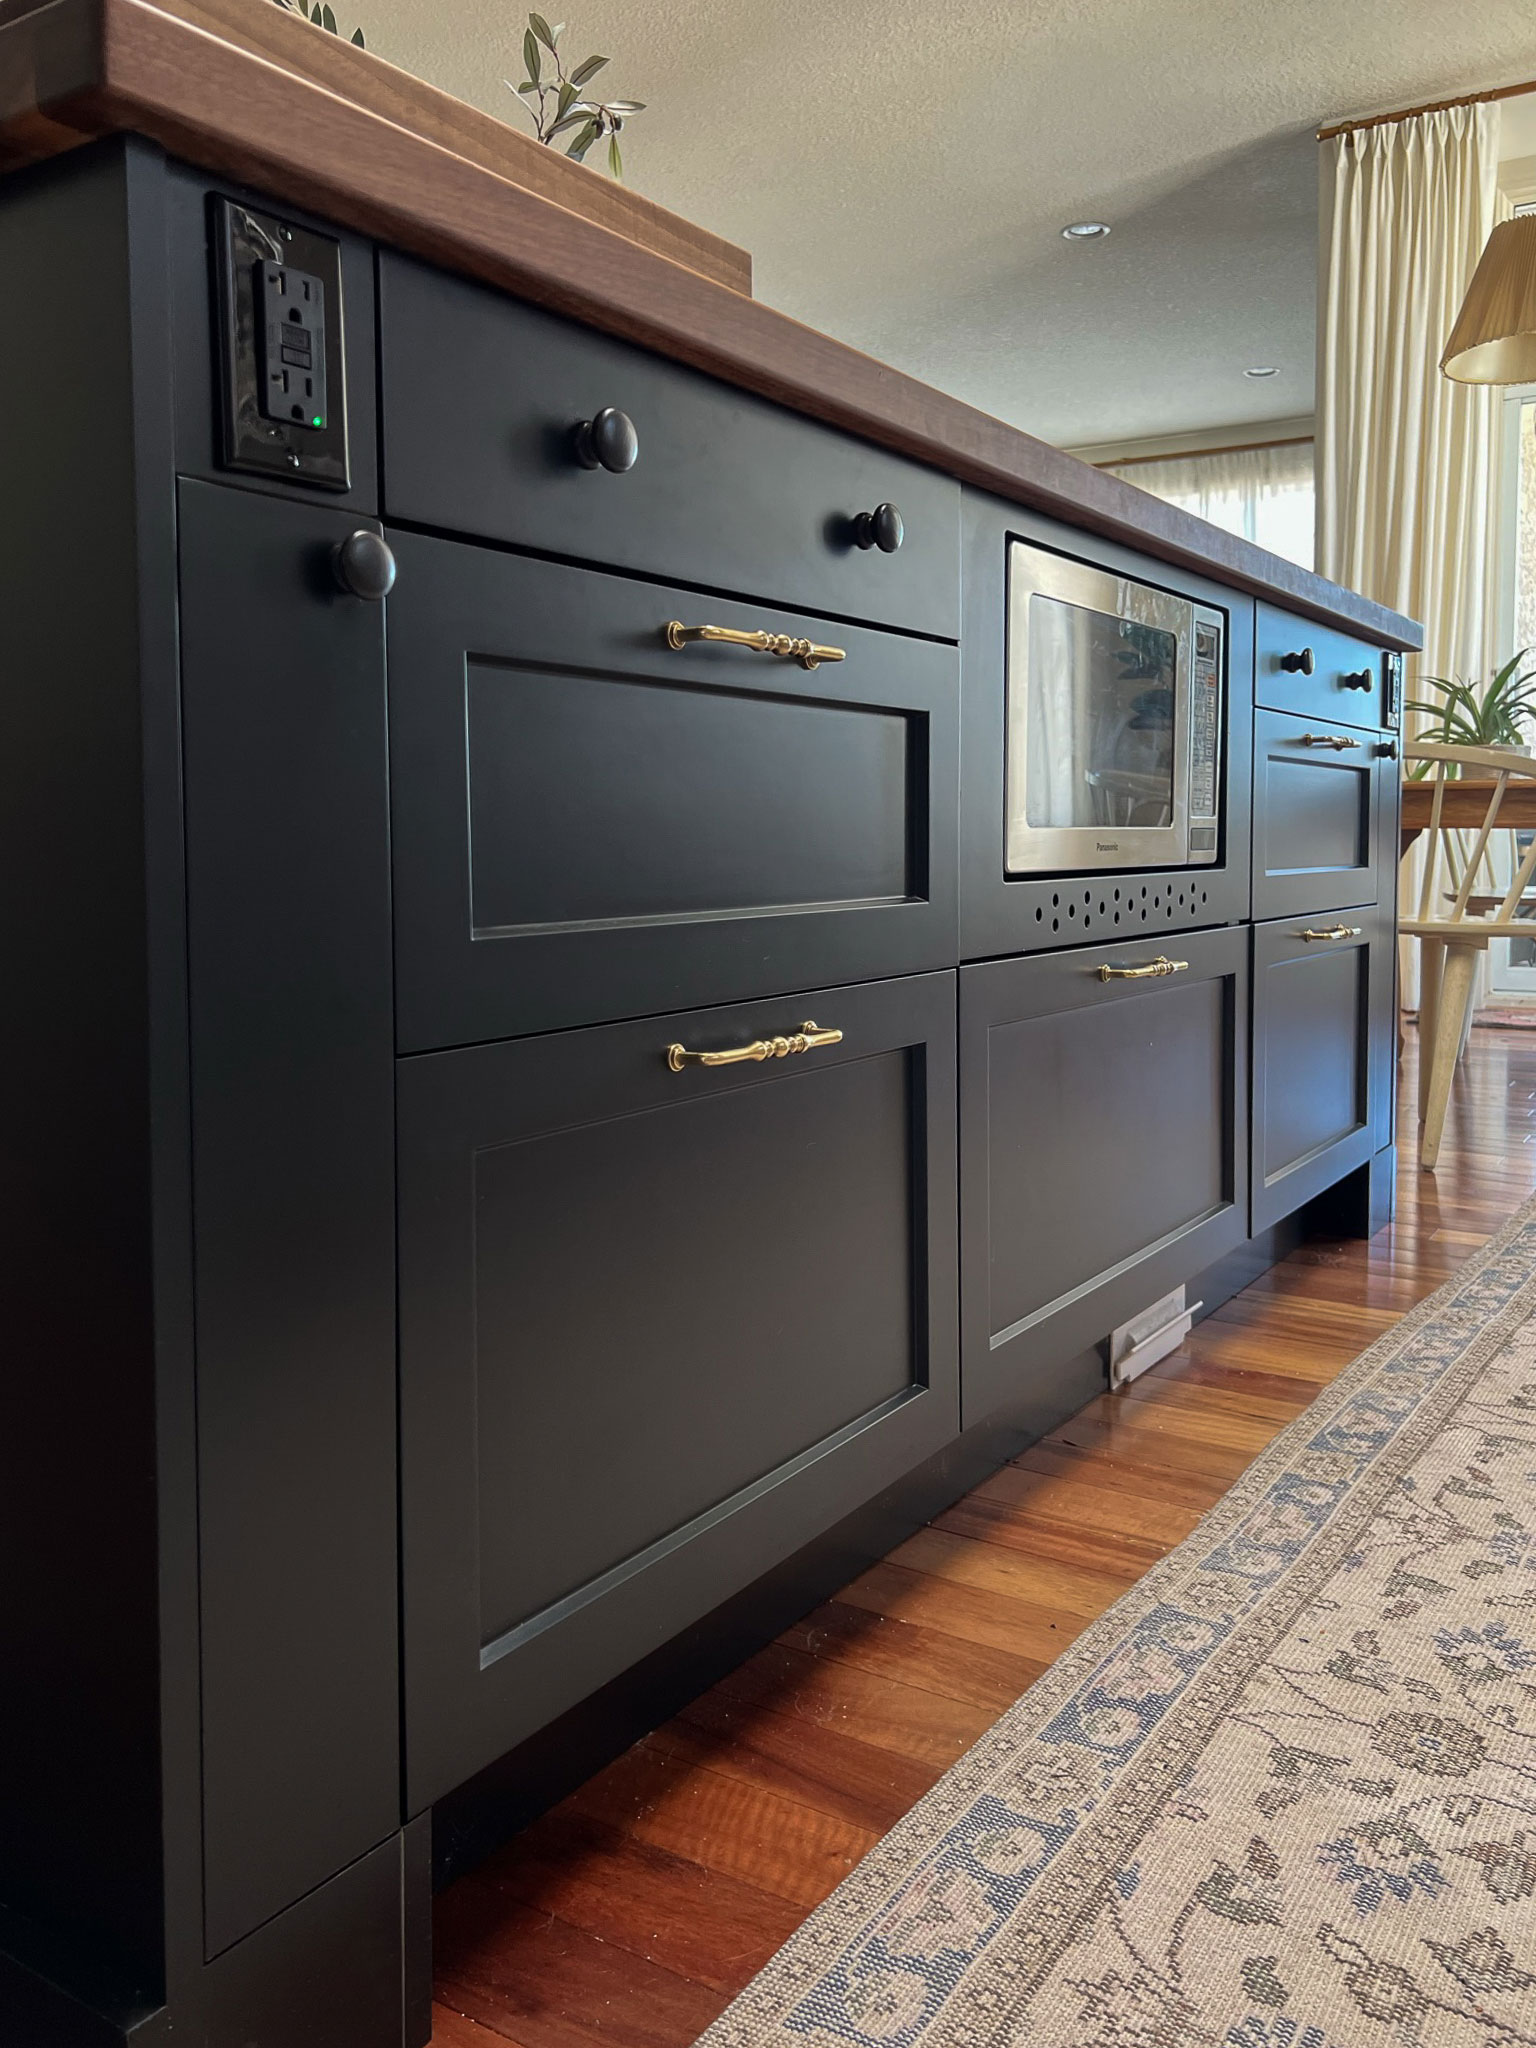
In my kitchen island, according to the electrical code as well as for convenience, I needed at least two plug-ins. At the last minute, I dedicated to add a filler on either end of the island in order to have a place to house these outlets. Instead of just adding a filler, however, I thought maybe I could make use of that skinny space and cut a cabinet to fit there. I had pre-finished 4 – ½” filler pieces coming as a part of my cabinetry package so I decided to make a cabinet that was exactly 4 – ½” wide and use the toe kick as the door. So this is how to customize the width of an Ikea cabinet – it’s not hard at all!
This post may contain affiliate links. That means if you purchase anything from these links I earn a small commission, at no extra cost to you! This helps support my blog, so thank you!

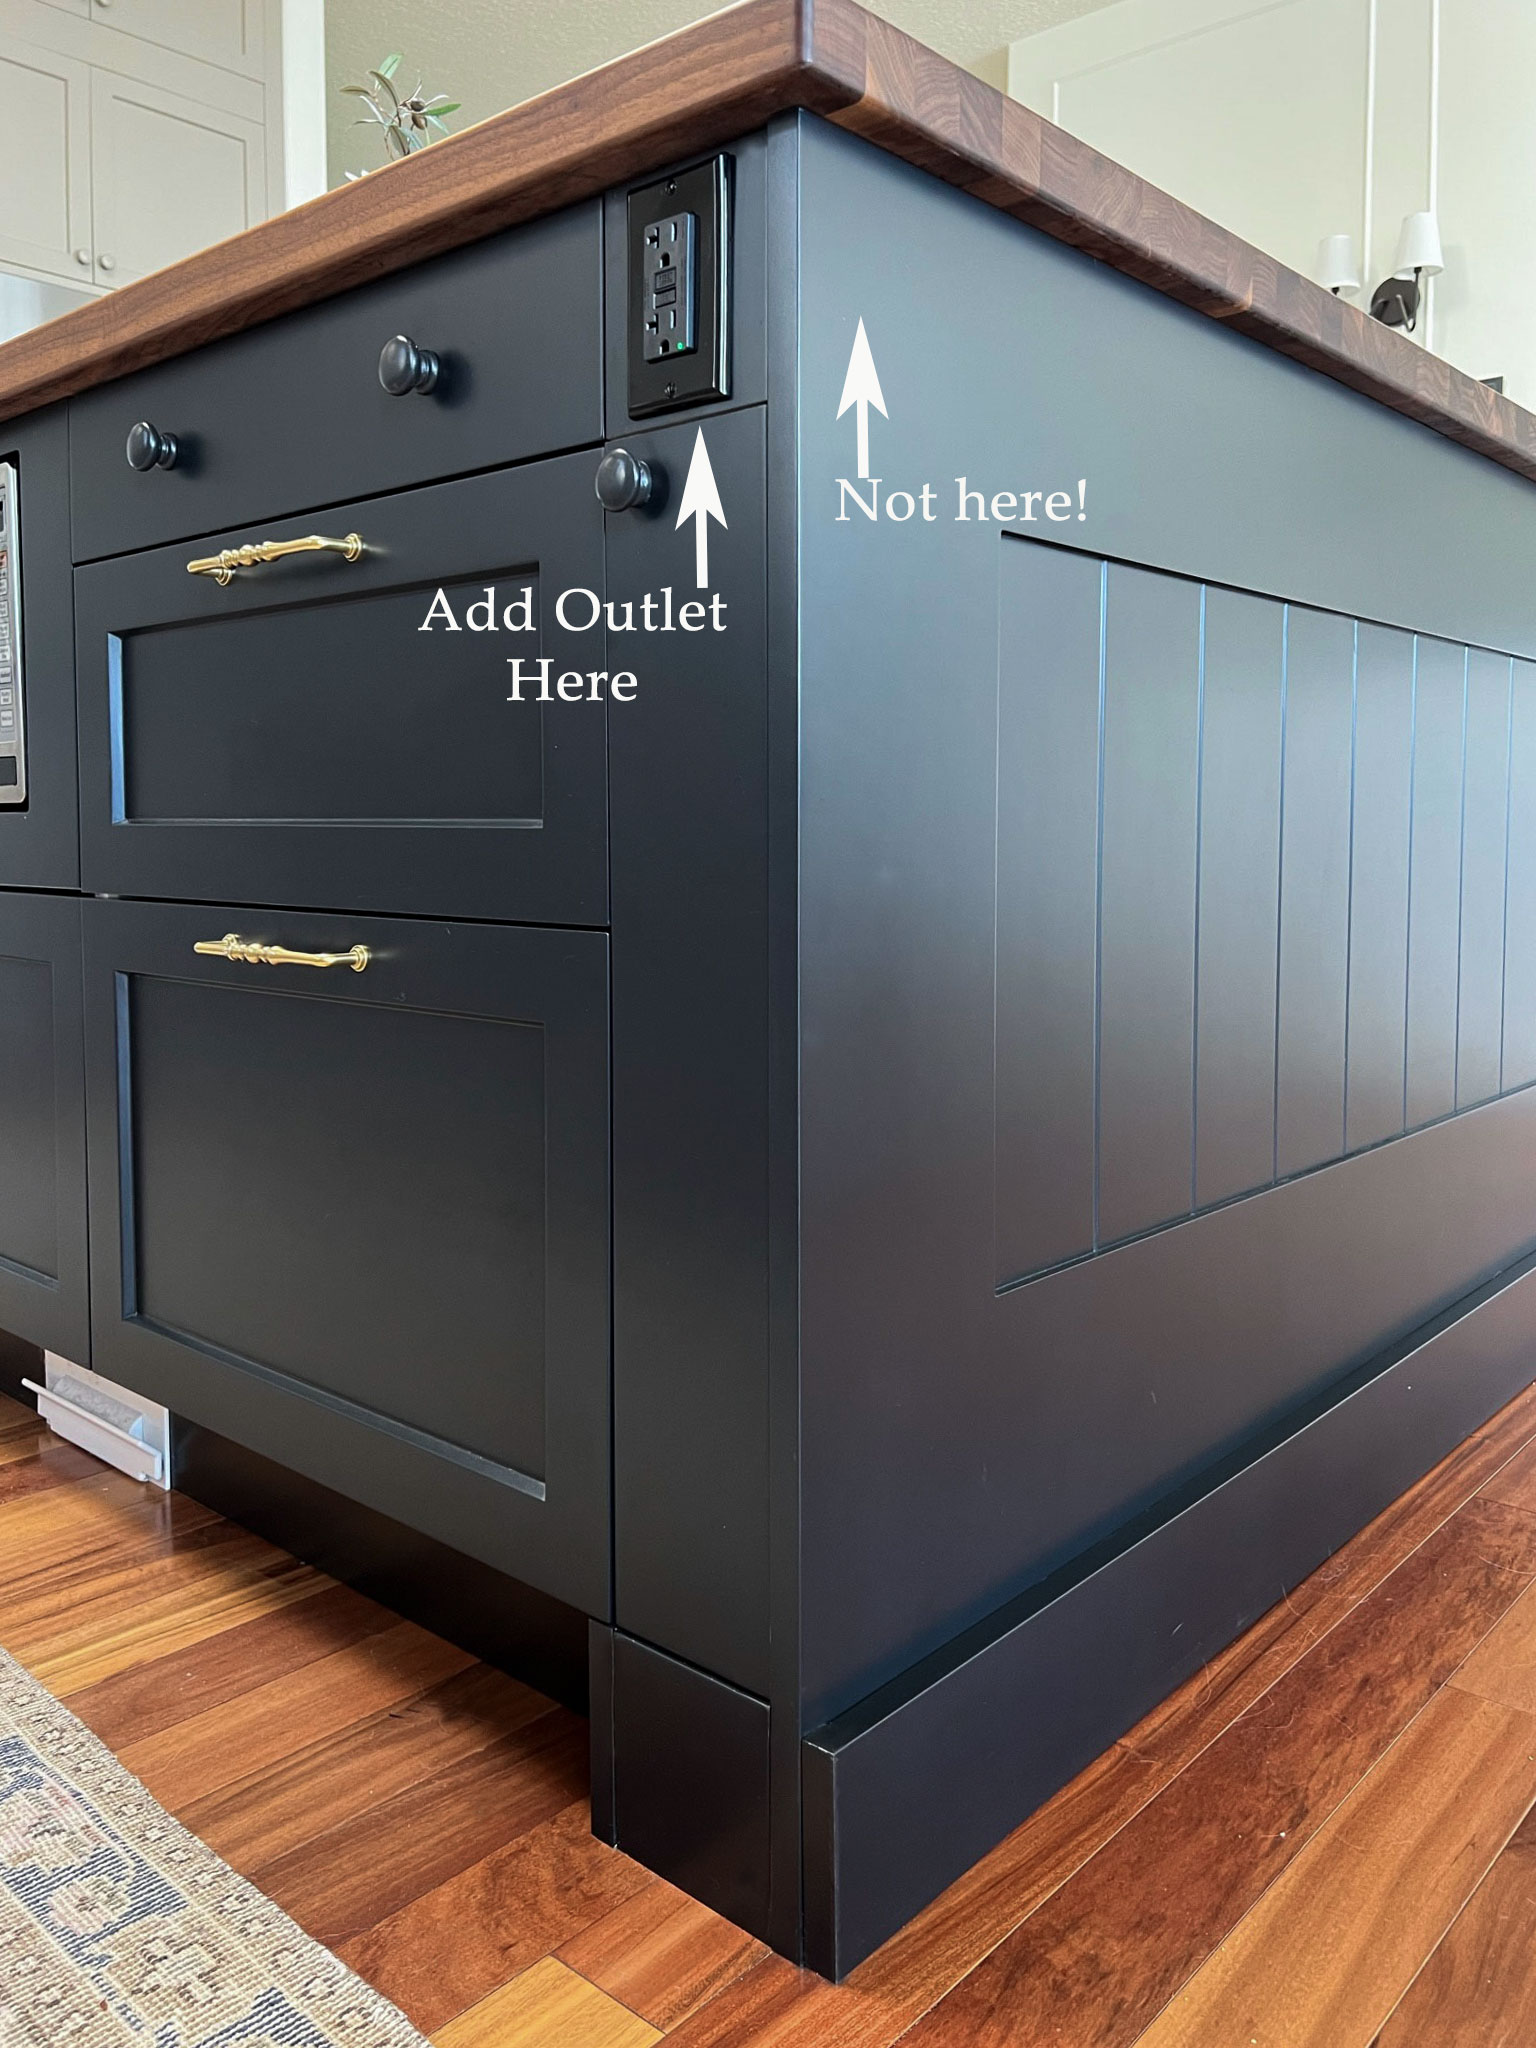
Why add fillers instead of putting the outlet at the end of the island?
If you think about an electrical outlet, there is the space you see from the front that is flush with the wall or surface, and then the “box” that is behind the wall cover which is a few inches deep and contains the wire. I realized that if I had not made a designated space for this box to be, it would be inside my island drawers, potentially getting in the way of the drawer contents. (And that top drawer is my junk drawer so let’s be honest, there is no space to spare in there!) In addition, the face of it would have faced my dining area and been very visible on the finished island even if I tried to disguise it with a painted cover or something of the sort. In the end, I thought if I could create a “dead space” inside the island for wires to run and the box to live, I would be much happier with that.
Why did you customize the width of the Ikea cabinet to 4 – ½”, specifically?
I bought all my door fronts from Allstyle Retrofit including the prefinished toe kick and fillers which were 4 – ½” wide. I had already ordered all of my doors when I decided to make this change, so I thought I could make a door out of a piece of the toe kick. In order to make use of the prefinished edges of this toe kick and its factory-applied finishes, I decided to make these cabinets exactly 4-½” wide. That way, I could cut and paint only one side of the prefinished piece (the bottom, which doesn’t really show and isn’t subject to wear) and the rest would have the same factory finish as the rest of the cabinet doors. I will show you how I cut mine down to 4 – 1/2″, but this tutorial works for whatever size you might need for your cabinet, just adjust the amount that you cut off!
I will show you how I made the door out of the filler later on, but if I had to do this again I would have just ordered the skinny door directly from AllStyle with my cabinet order to save myself this step! Another alternative would be to order an additional drawer and turn it sideways – the 5″ drawers are standard at Ikea. You would just adjust this turtoral to make your final box size 5″ instead of 4.5″.

Why not just add a filler for the outlet and not use a cabinet here?
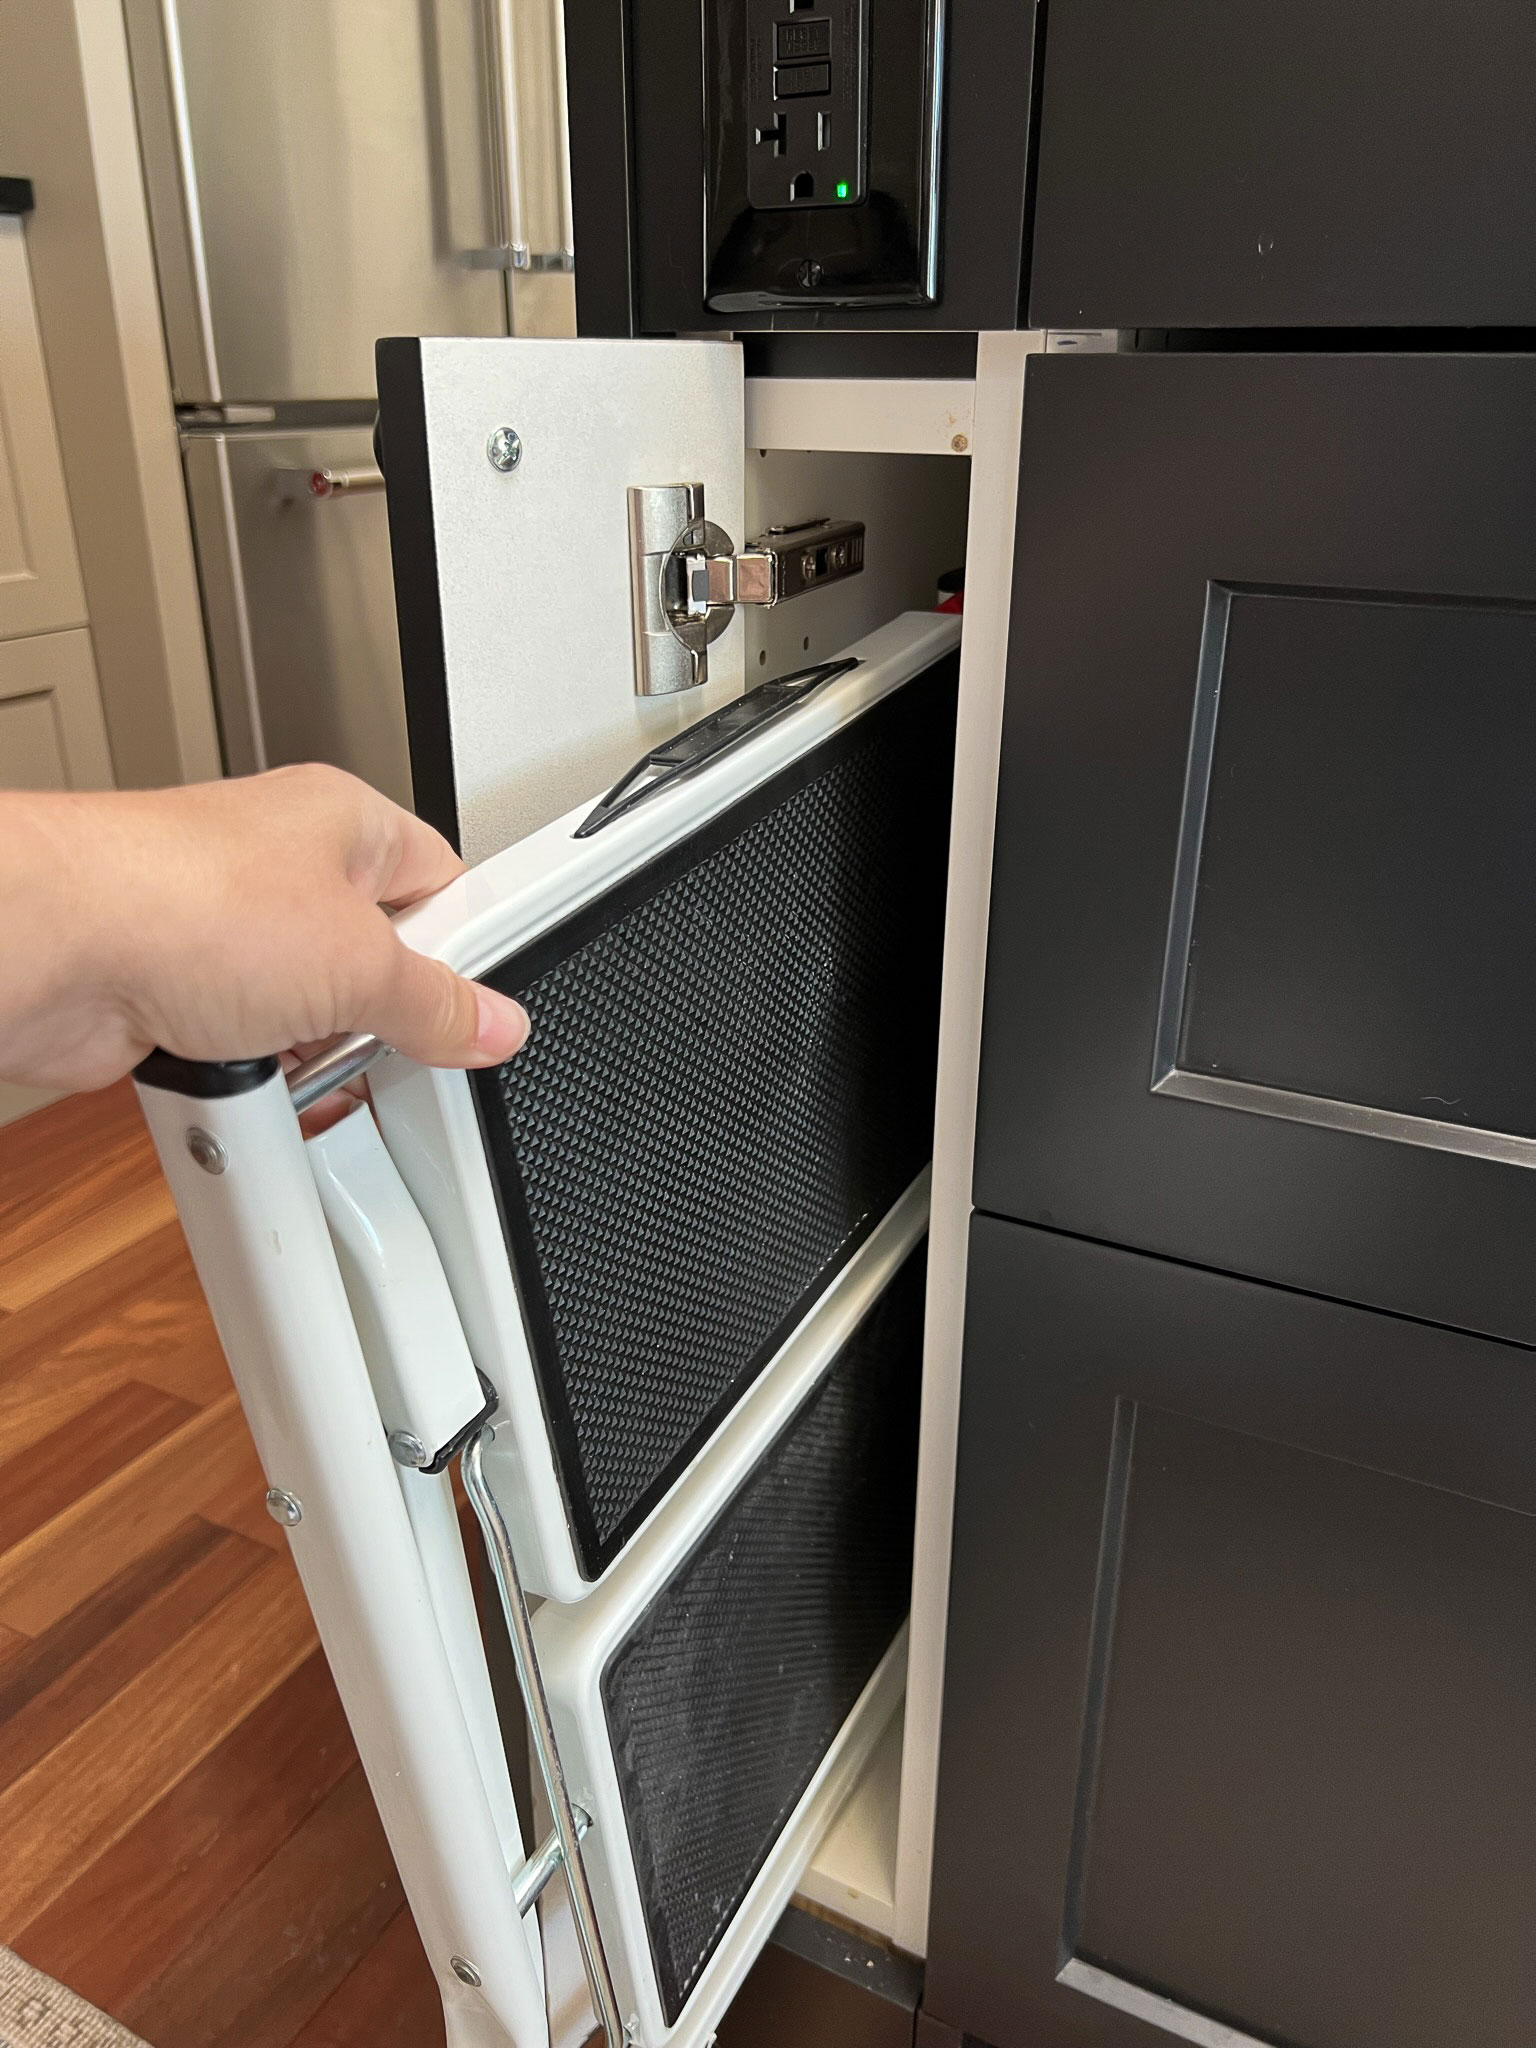
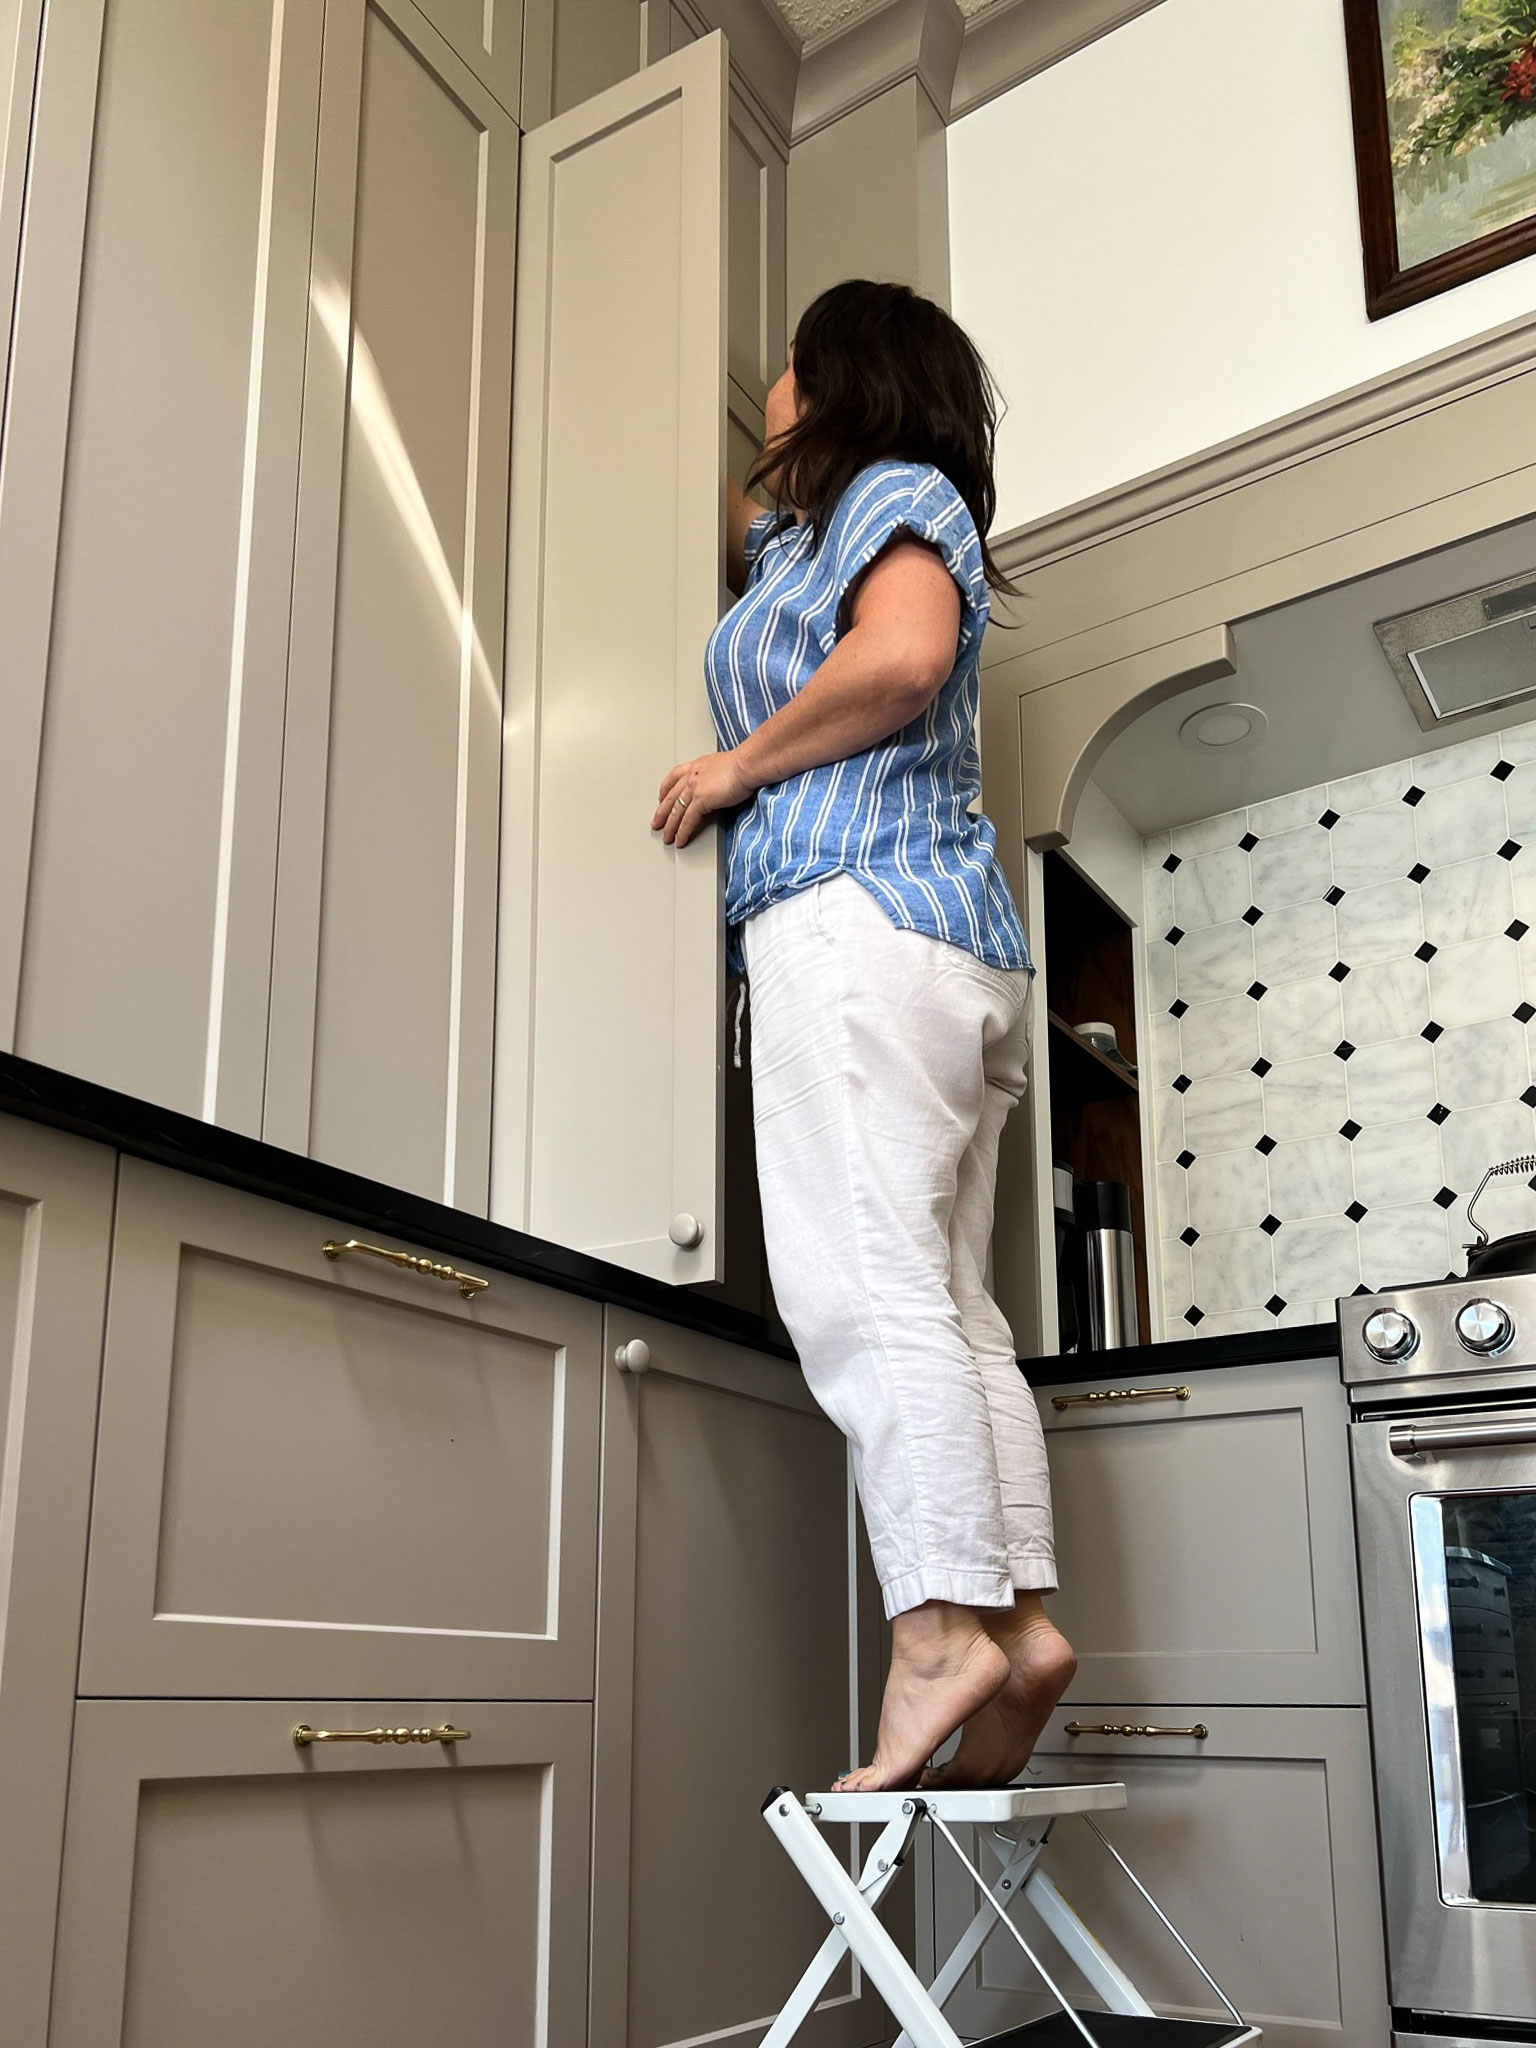
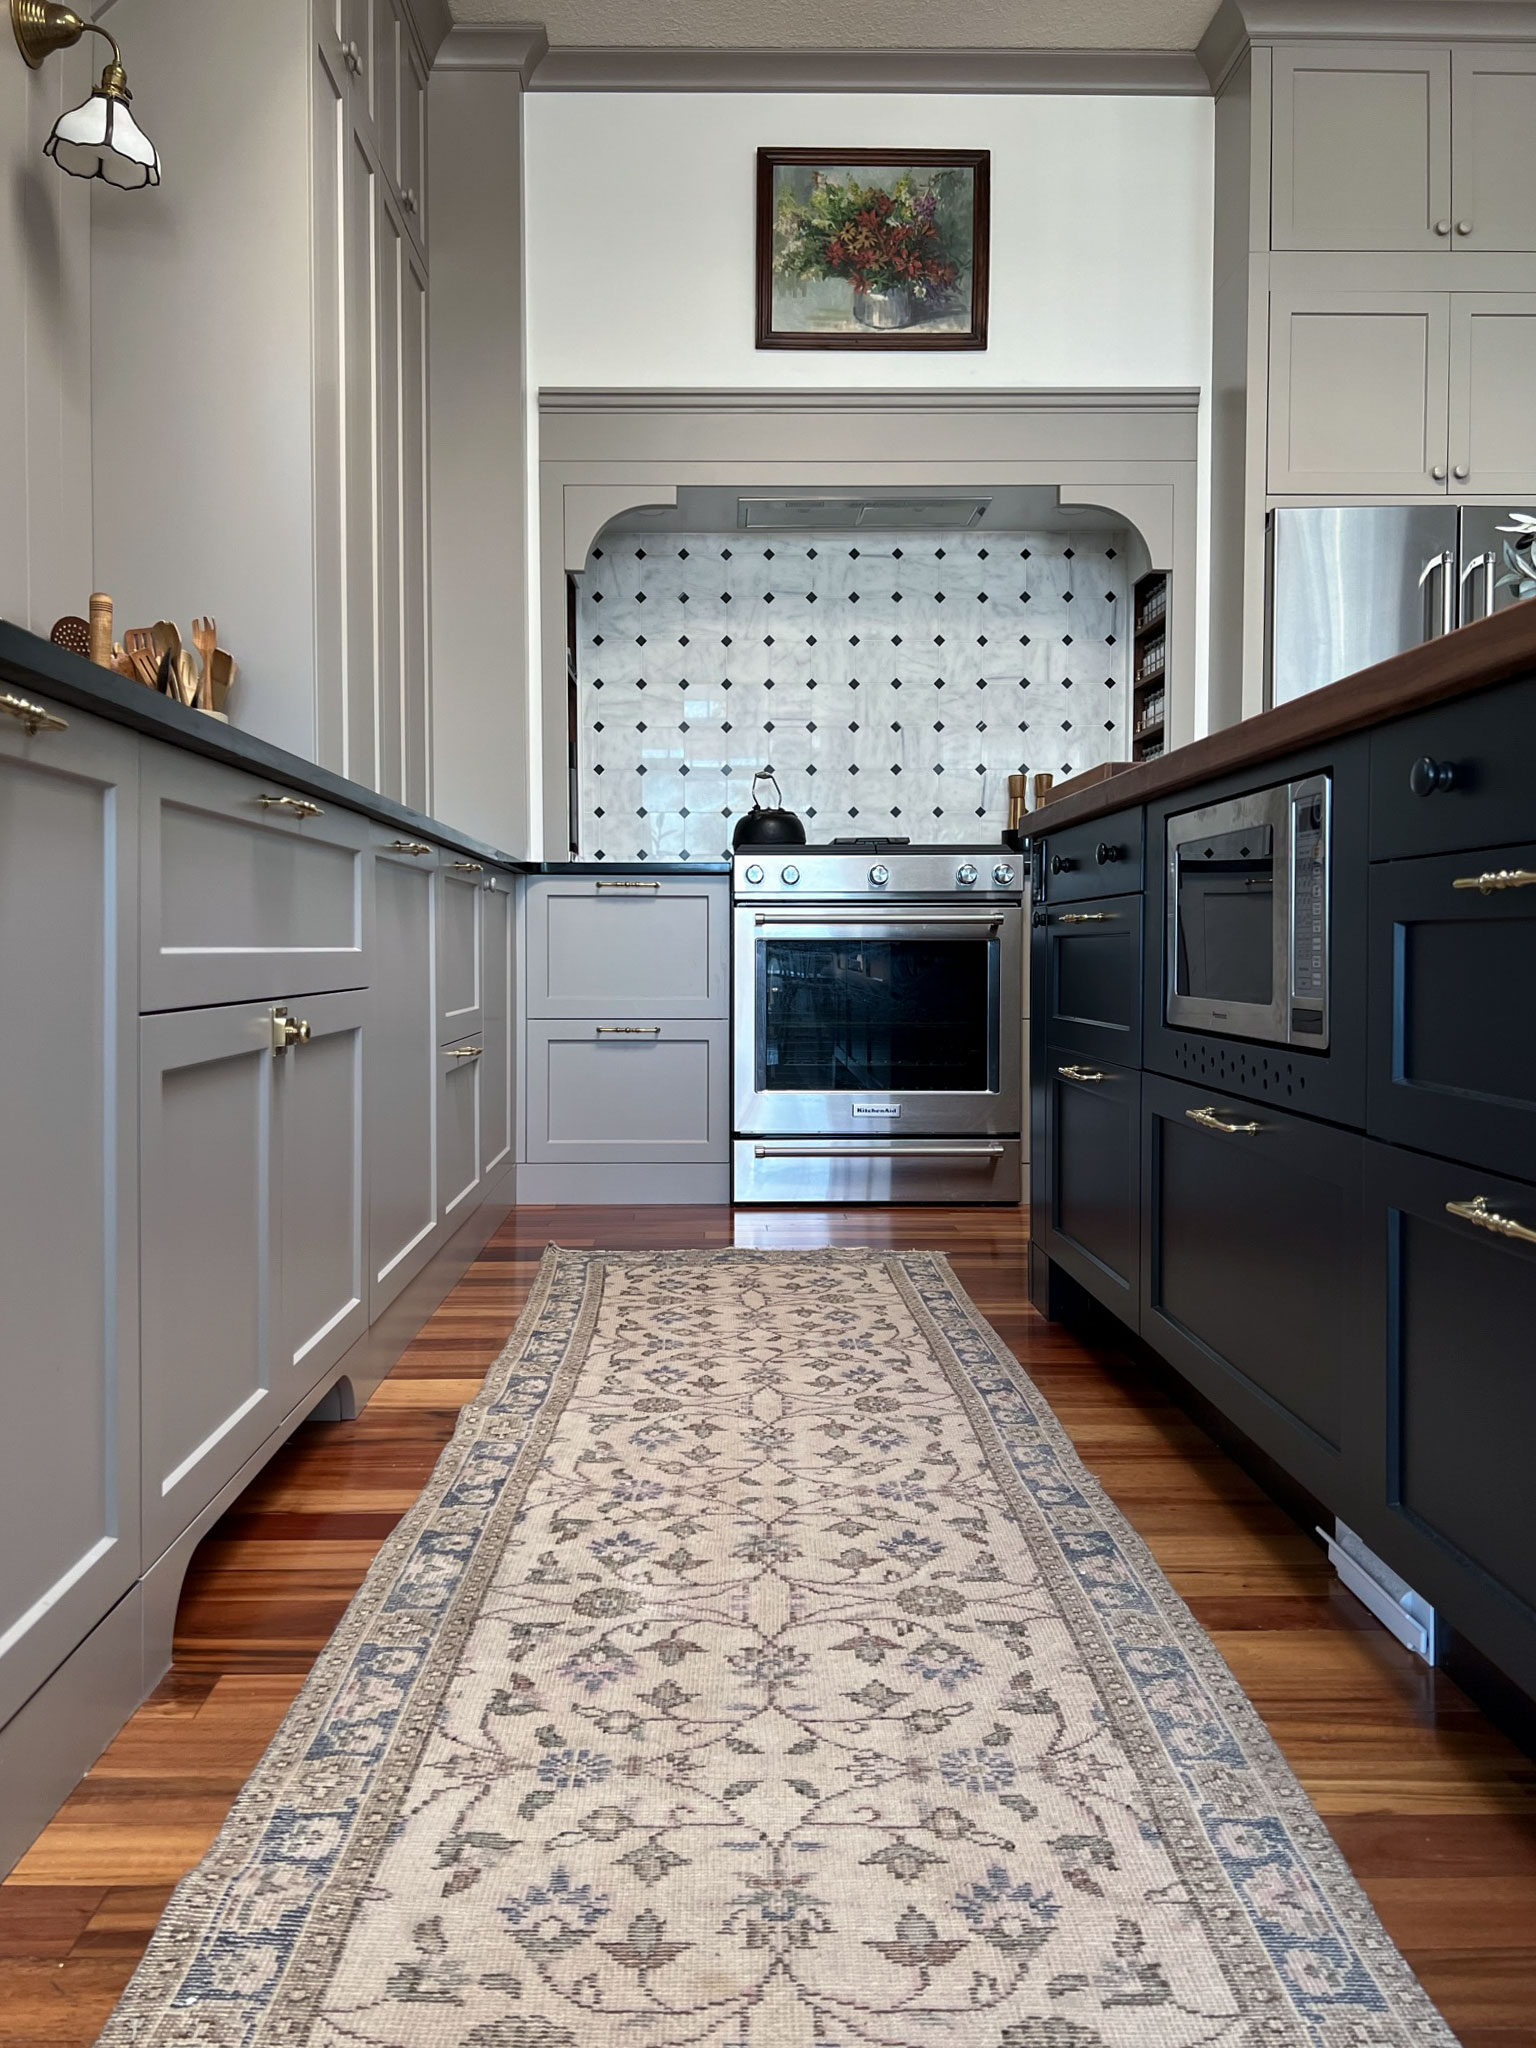
We definitely could have just added a filler to house our electrical box and it could have been a bit narrower if we did that, but I was also trying to think of a place to hide a stool, as my cabinets are very tall and I am very, very short! I thought that maybe a skinny cabinet would be useful, so thought it was worth a shot. I ended up sourcing the skinniest of step-stools and I keep that inside one of the cabinets. In the other skinny cabinet, I have cutting boards! As it turns out, customizing the width of this Ikea cabinet was not that hard at all, so I’m glad we did it.
Customizing the Width of an Ikea cabinet to 4 – ½”
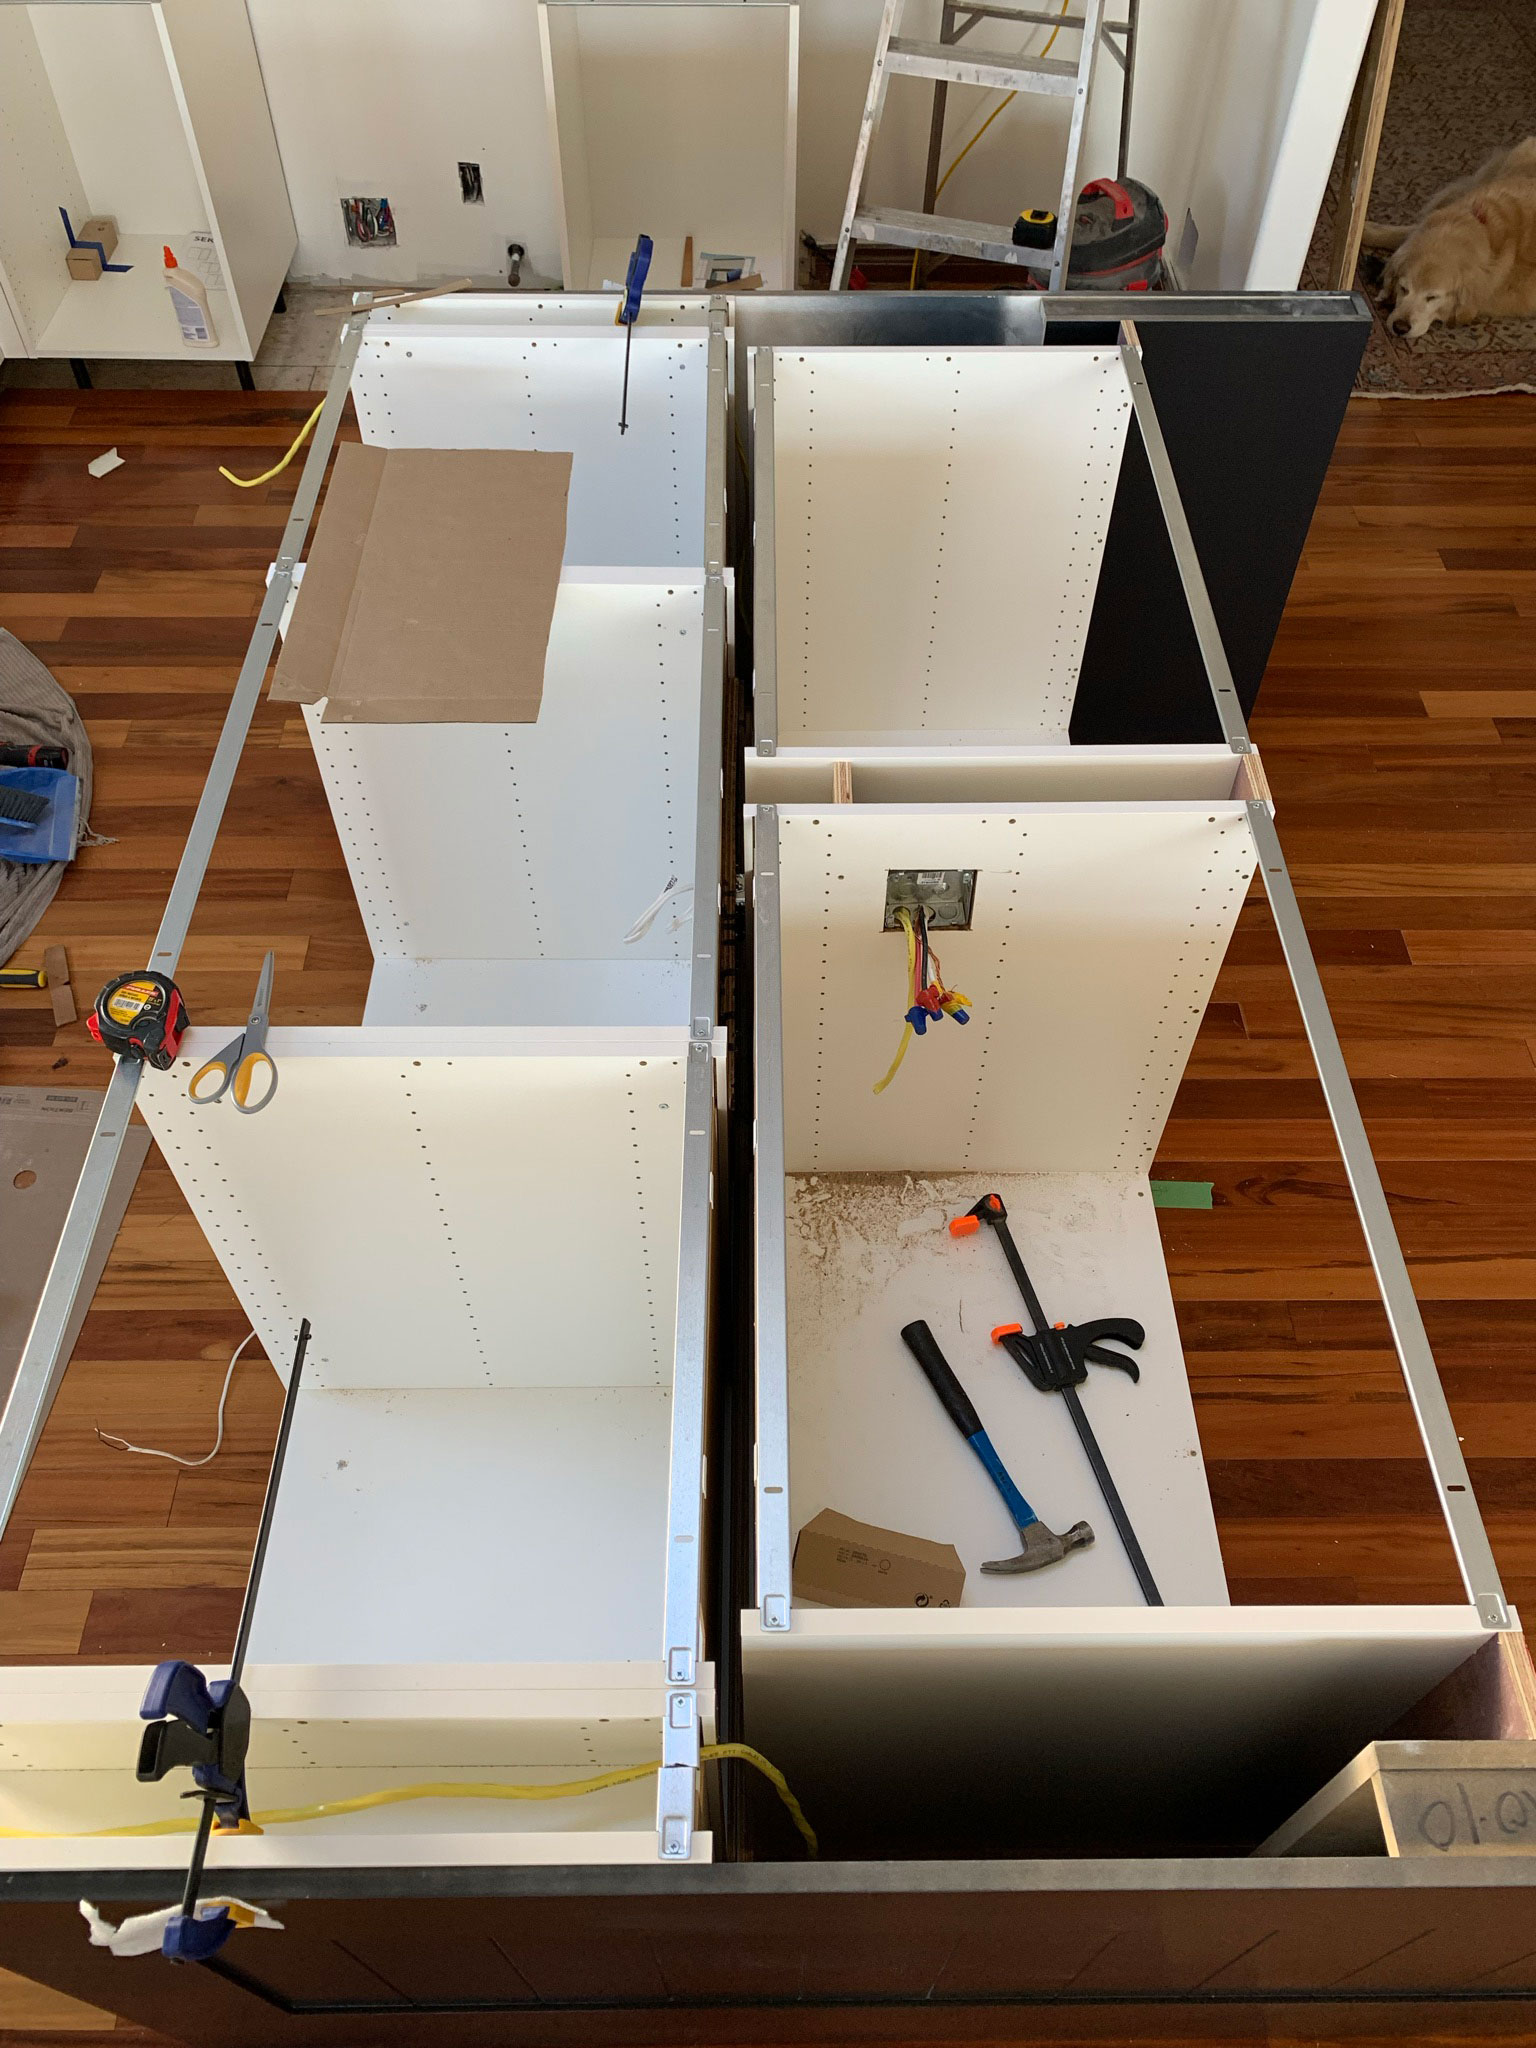
Customizing the width of an Ikea cabinet to 4 – ½” was not too difficult. We purchased the skinniest base cabinet that Ikea sold, the 12” size. Or rather, we purchased two of them, one for either end of the island.
Ikea cabinets are a standard depth and height, with the only thing that varies in the different sizes being the base and the back. The top is open with only a metal brace. Therefore, in order to customize the width of an Ikea cabinet all you really have to do is modify the base and the back.
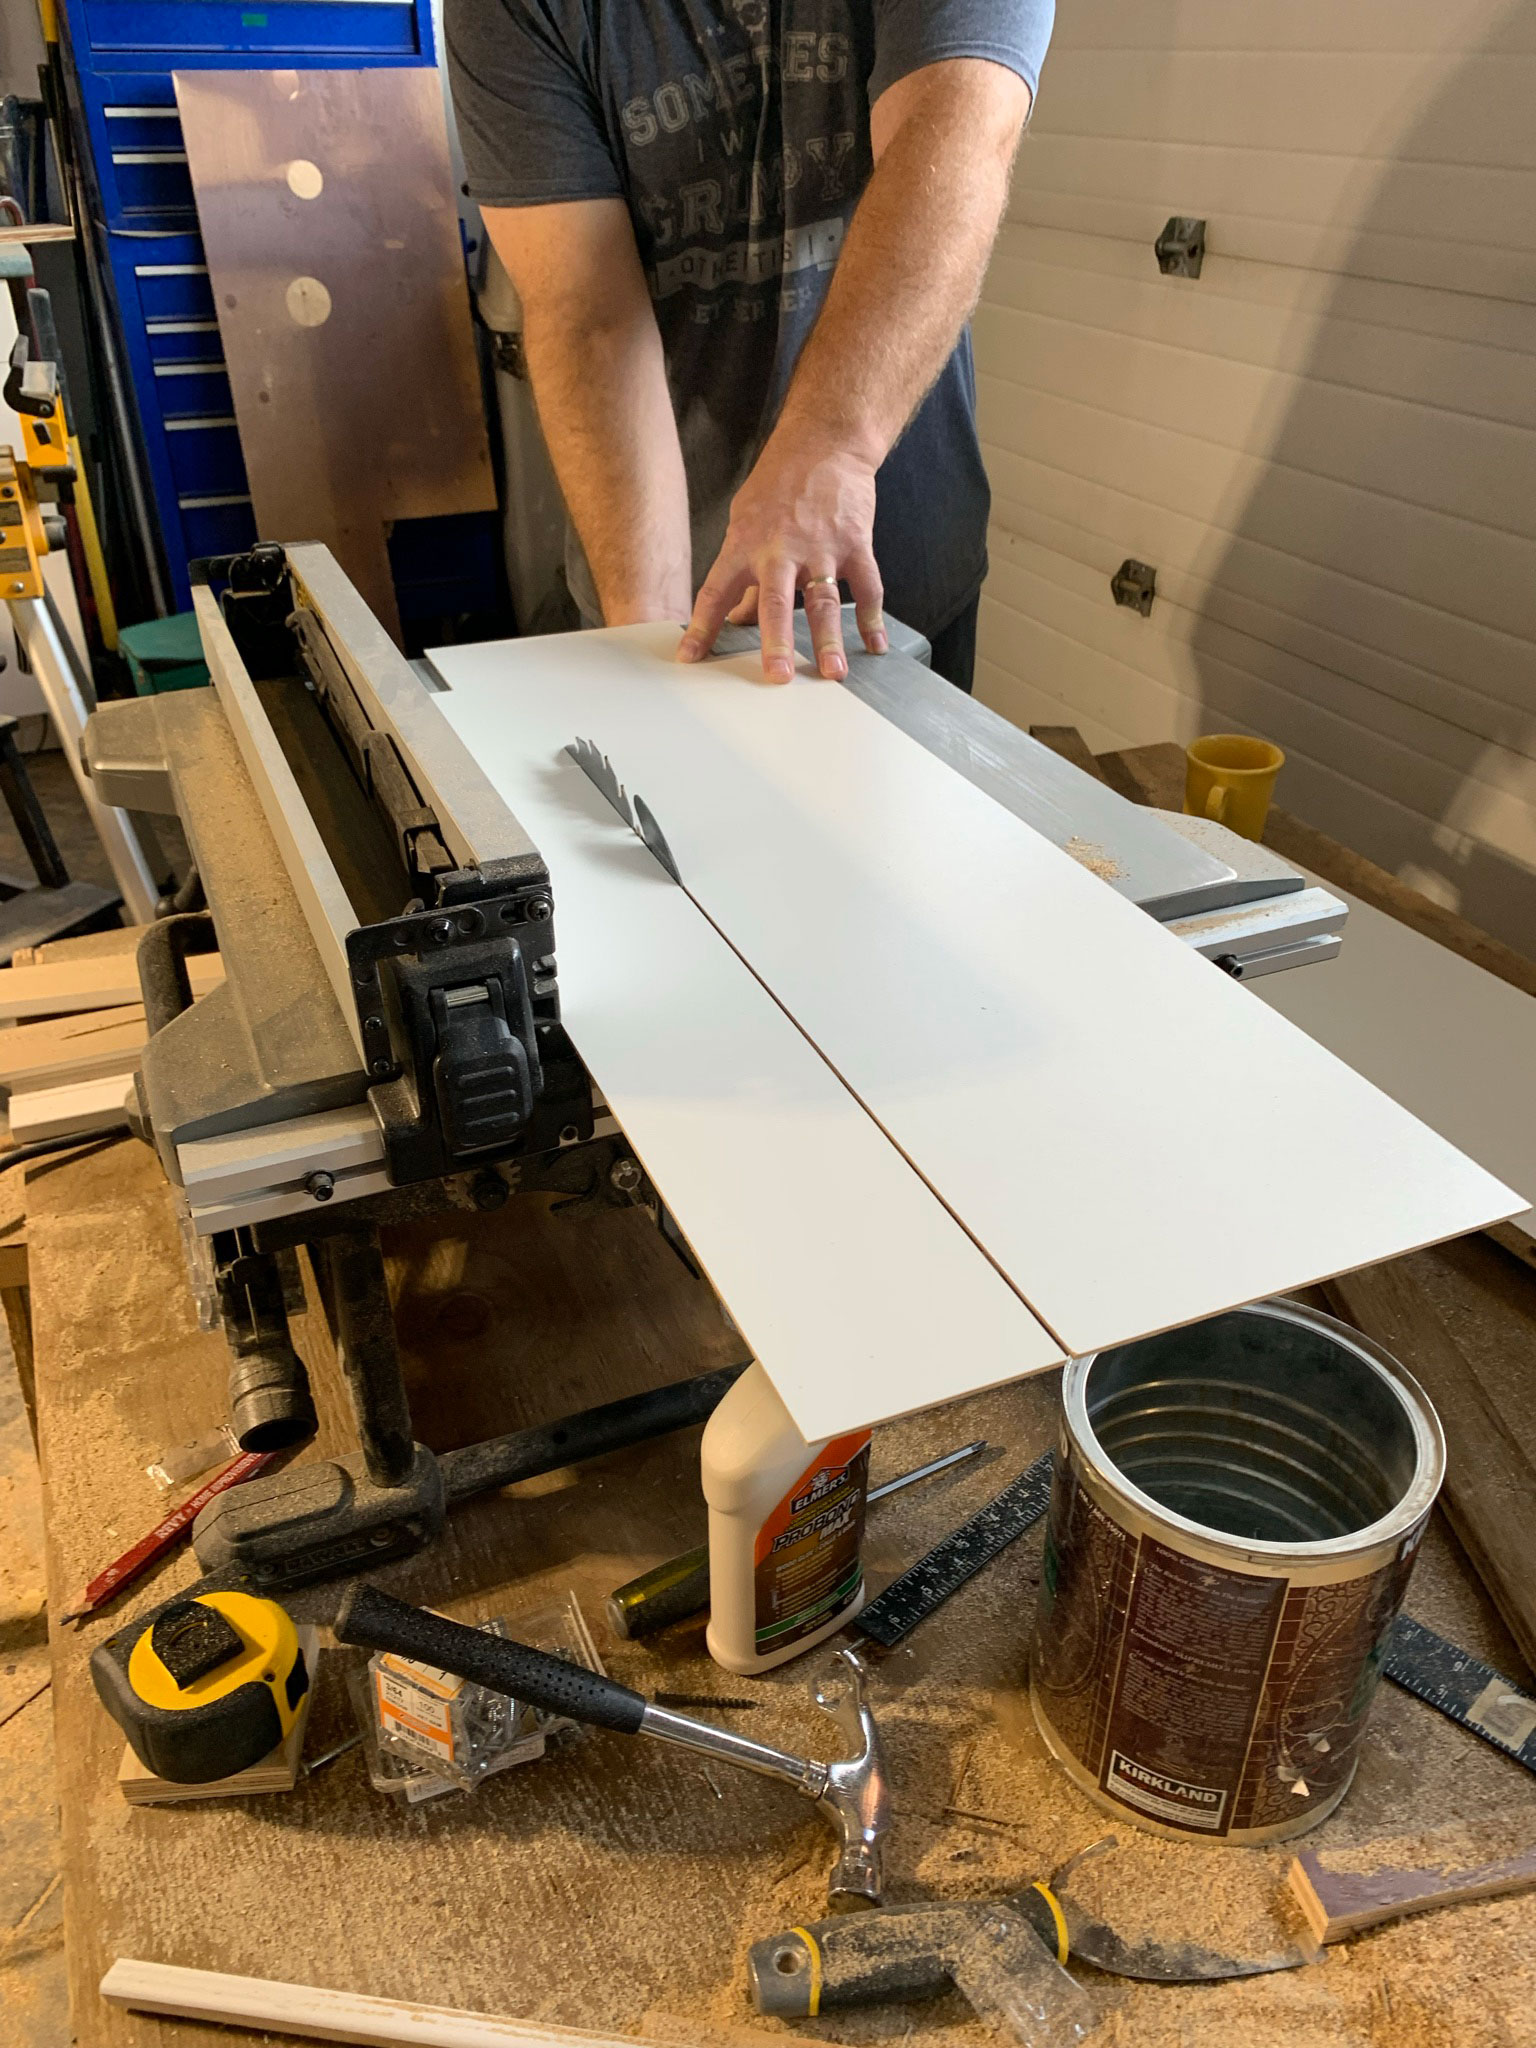
First of all, remember that the finished width I wanted was 4-½” but that was the door size which would overlay the side walls. The side walls are 0.75” and so both walls together are 1.5”, so that means that the bottom would need to be 3” (4.5” – 1.5” side wall thickness = 3”).
Before assembling the cabinet, find the bottom piece and use a table saw (or a circular saw with a guide) to cut the bottom down to 3” by cutting off one side. (If you want a different final width, just take your final dimensions and subtract 1.5″ for the width of the sidewalls and cut your base down to that dimension.)

Next, we cut the back. The back piece of an Ikea cabinet is a thin hardboard that slides into little grooves on the side pieces. Therefore, the back piece would need to be just slightly wider than the bottom piece so it can slide into these grooves. We cut the back piece down to 3″ at first and realized our mistake, but luckily there was enough left over to cut another one a tad wider. I can’t remember exactly how much wider it needed to be, but something like 1/4″, just enough so it would slide into the little grooves on the side walls when you go to install it.
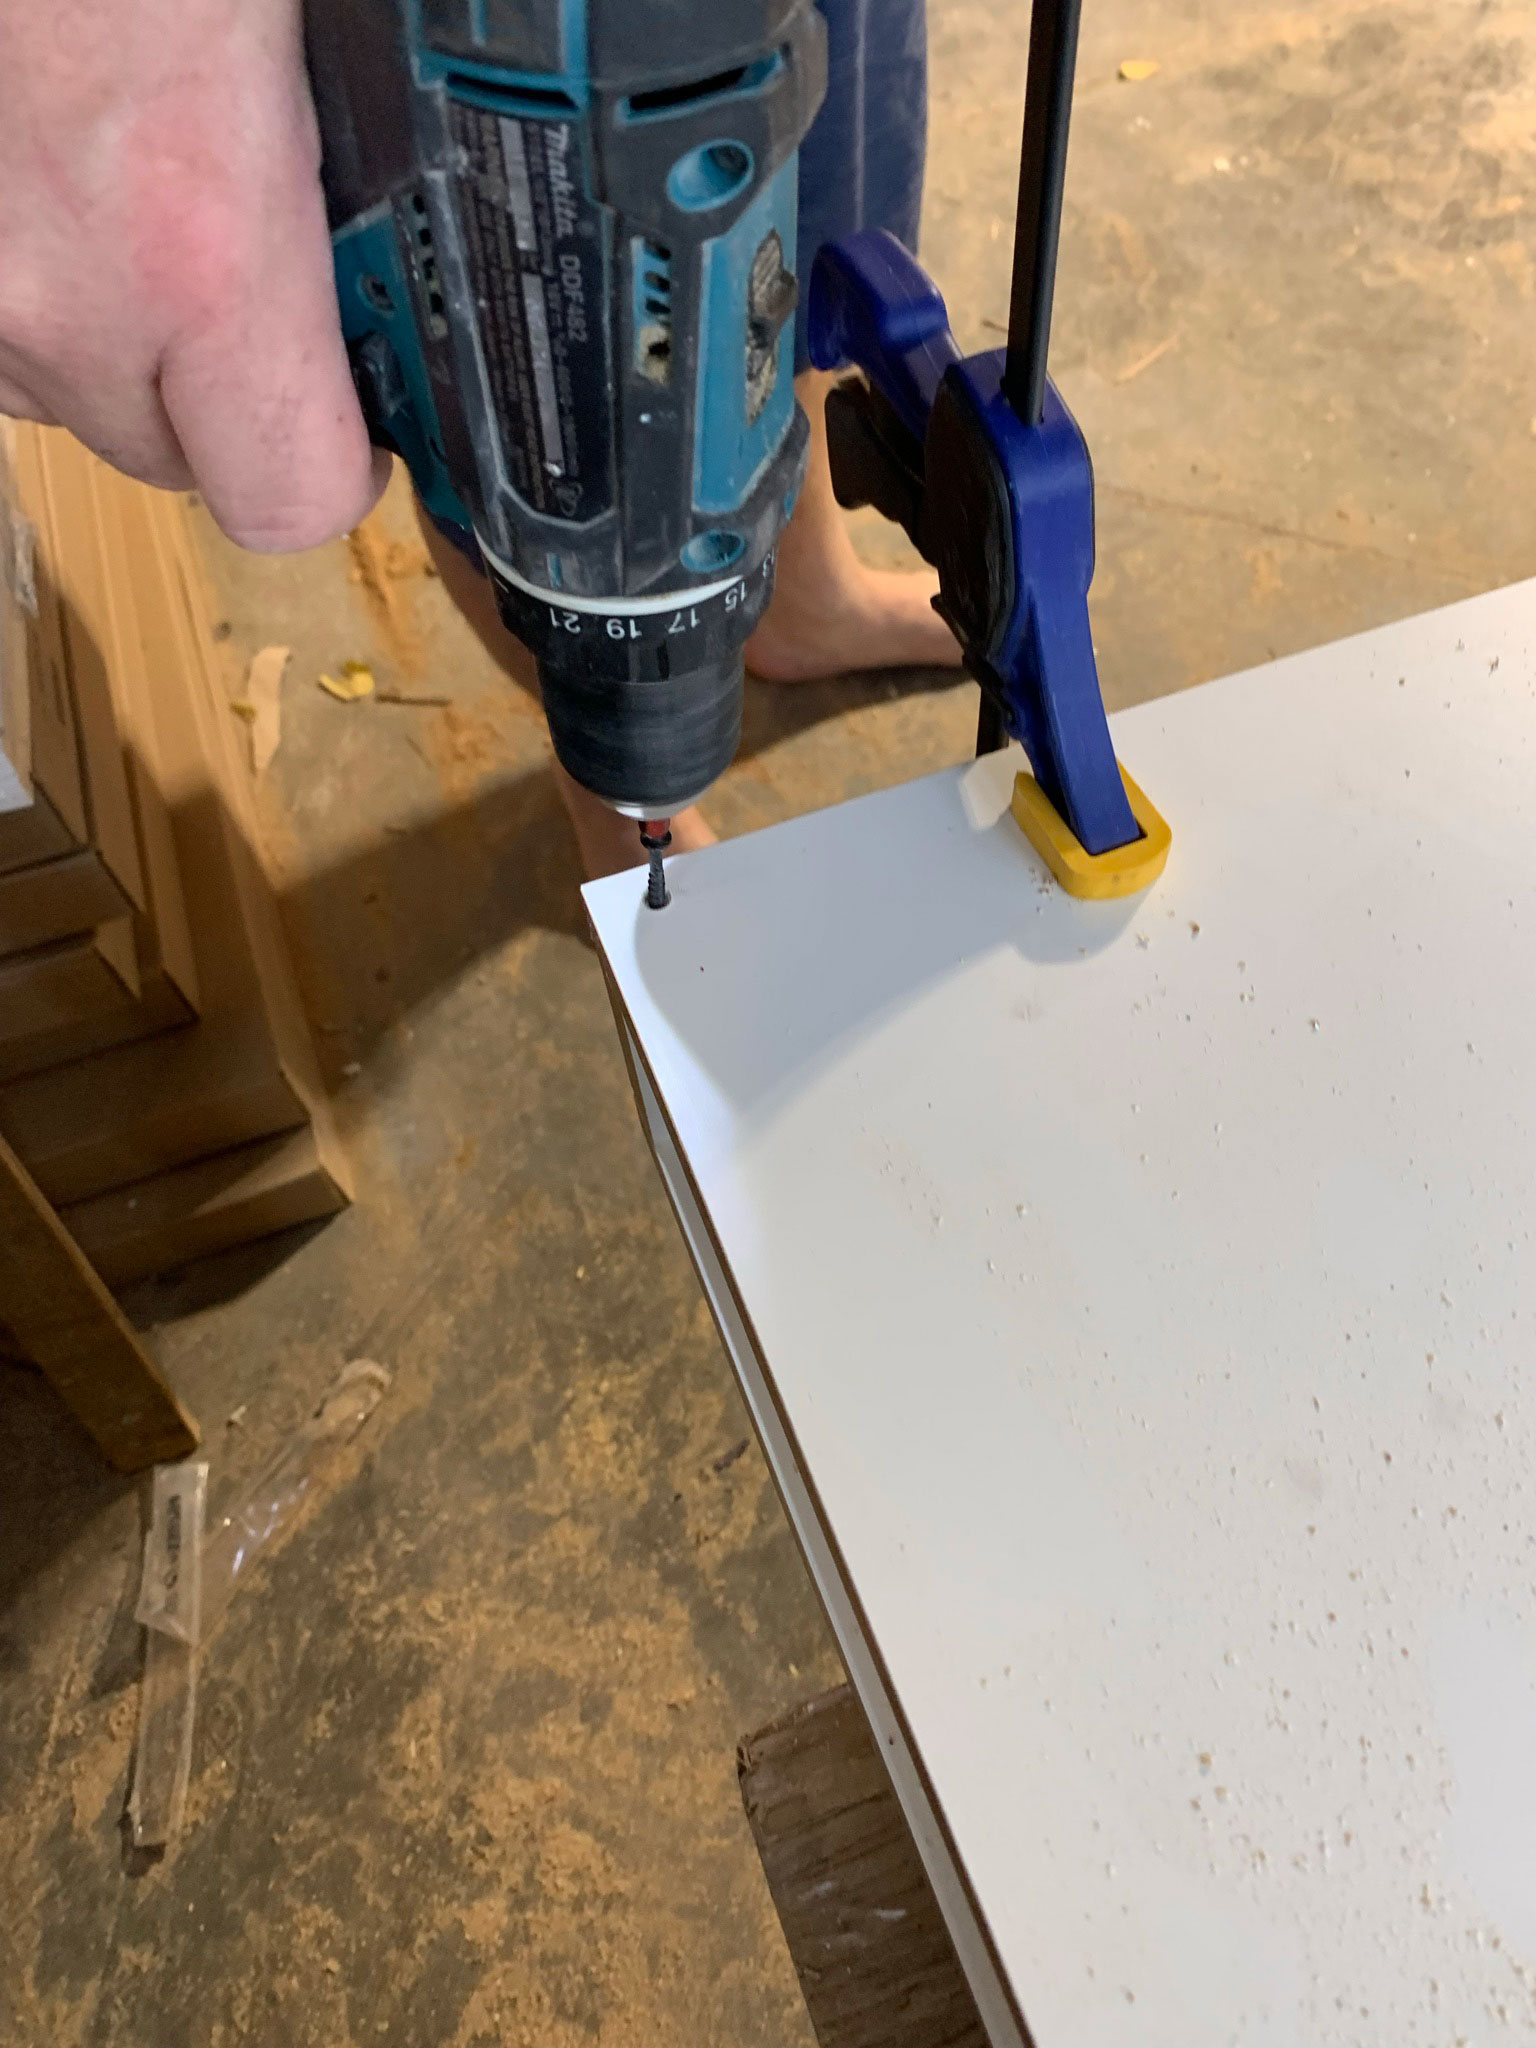
Next, we assembled the cabinet. Add one side of the Ikea cabinet to the un-cut side of the bottom of the cabinet as per the directions that came with the cabinet.
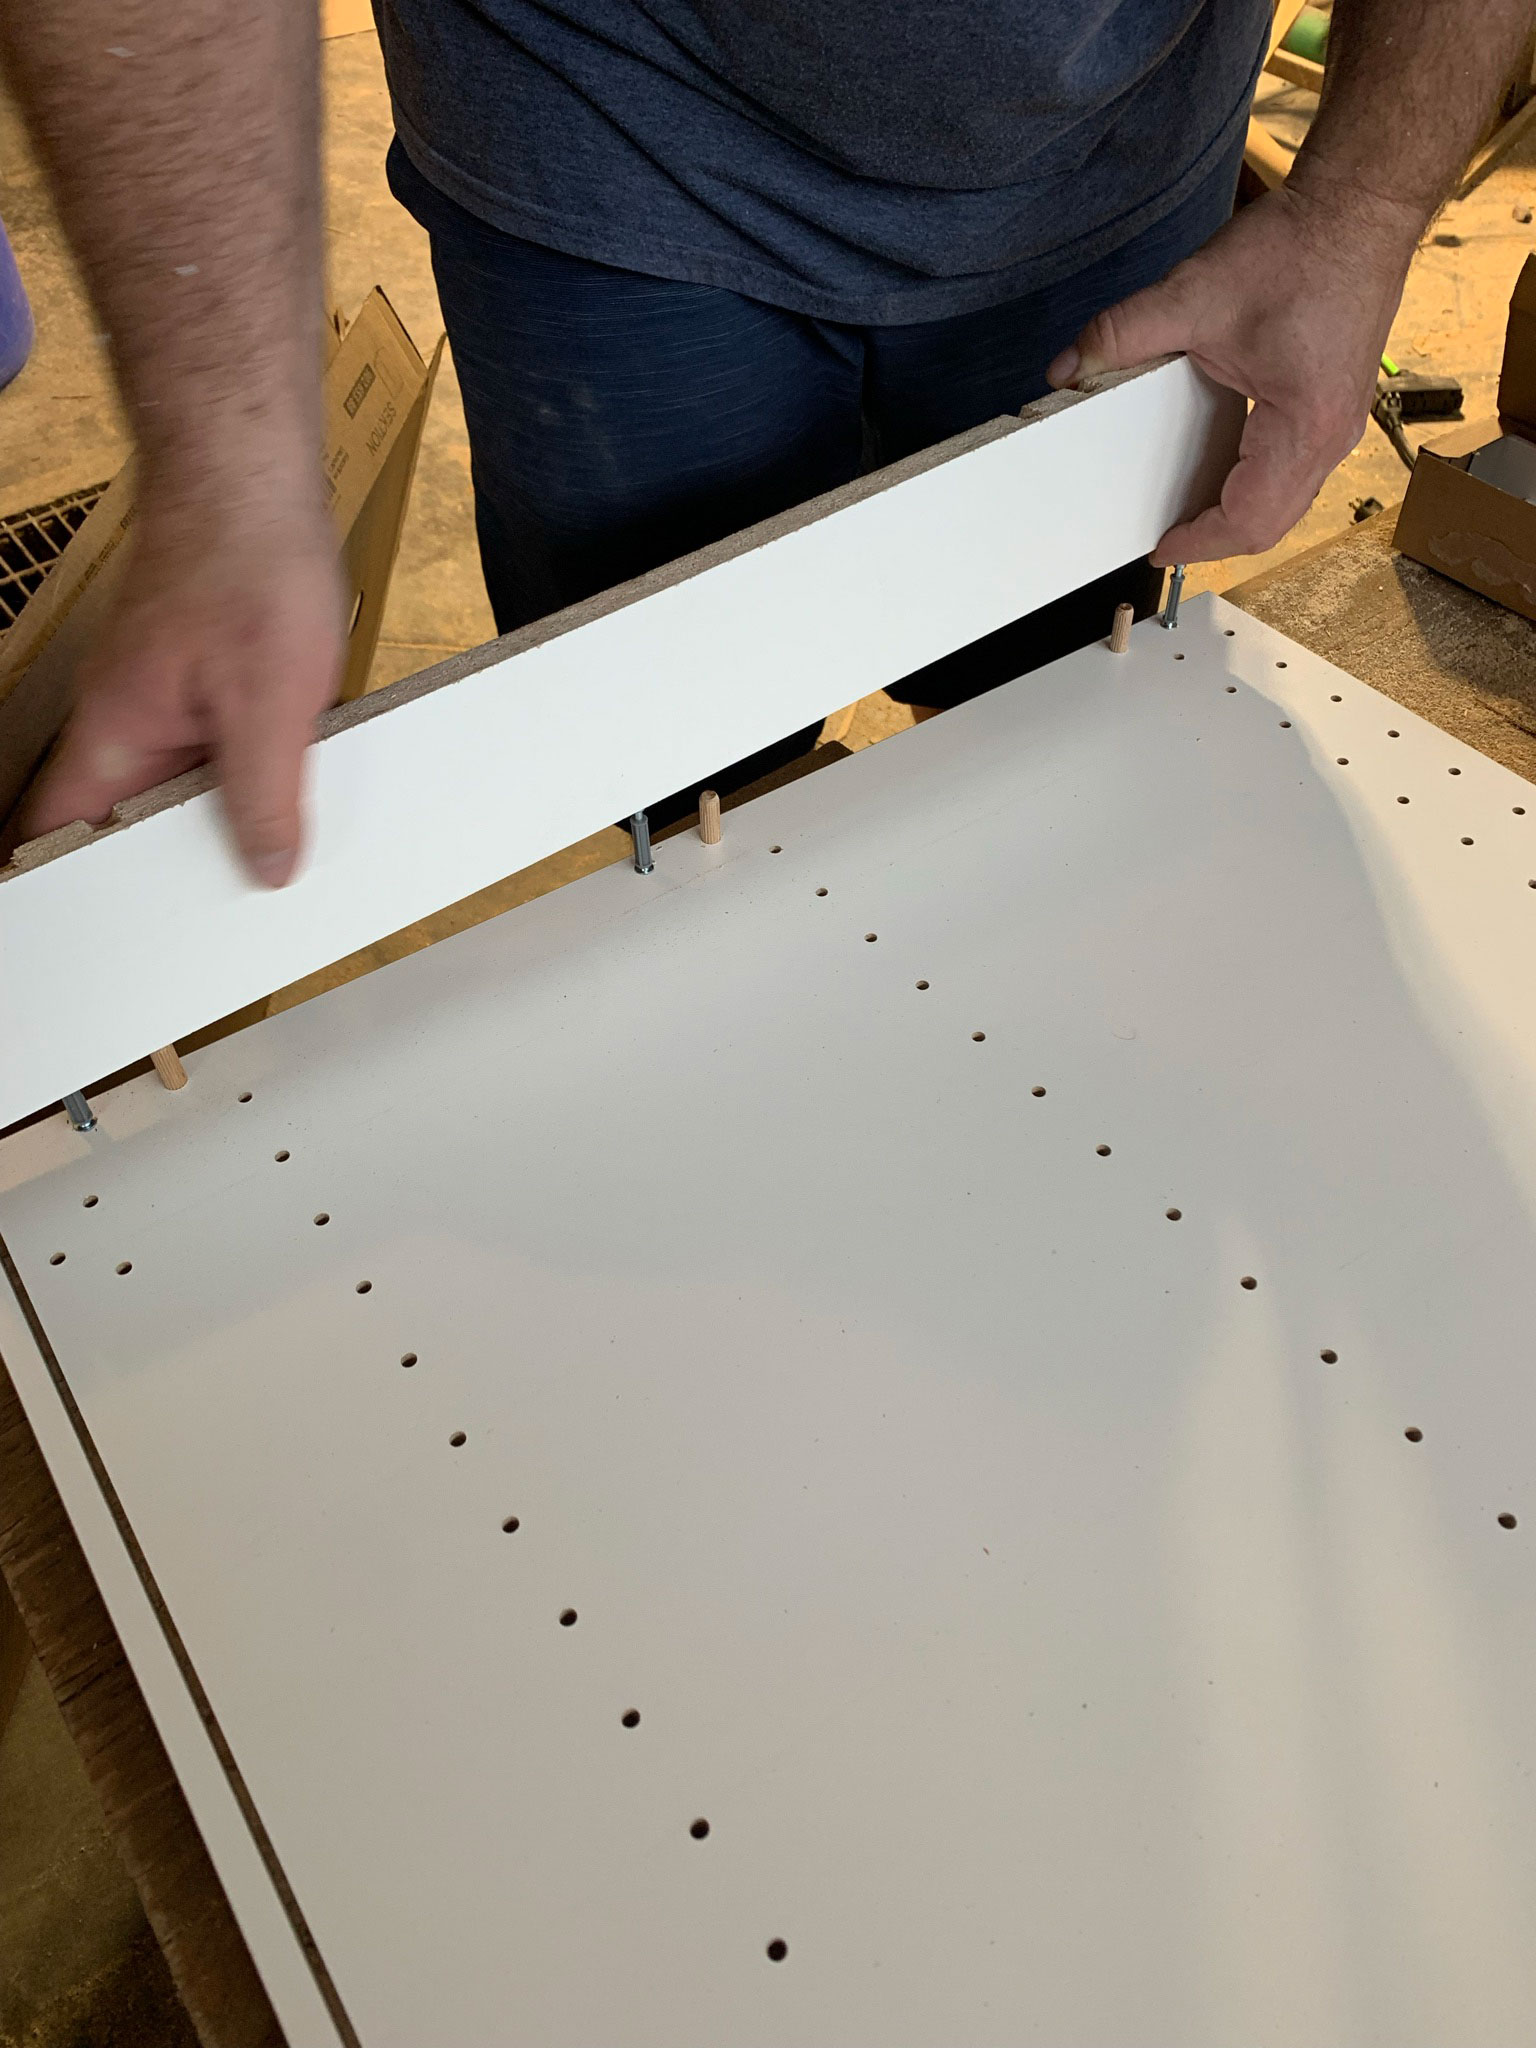
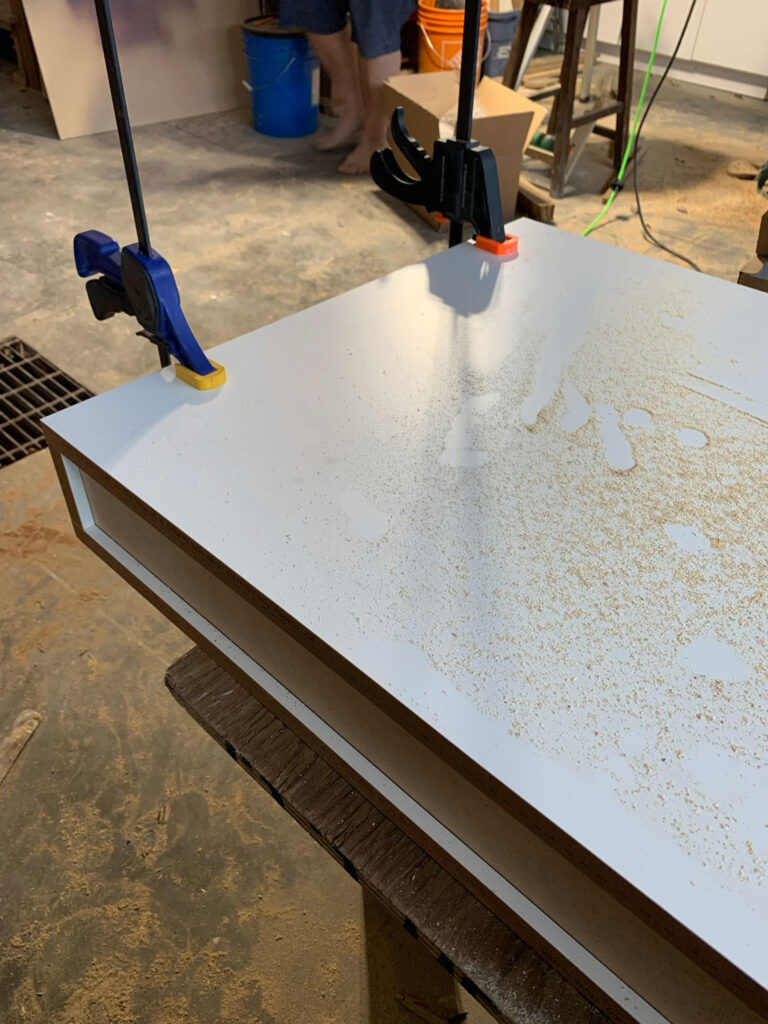
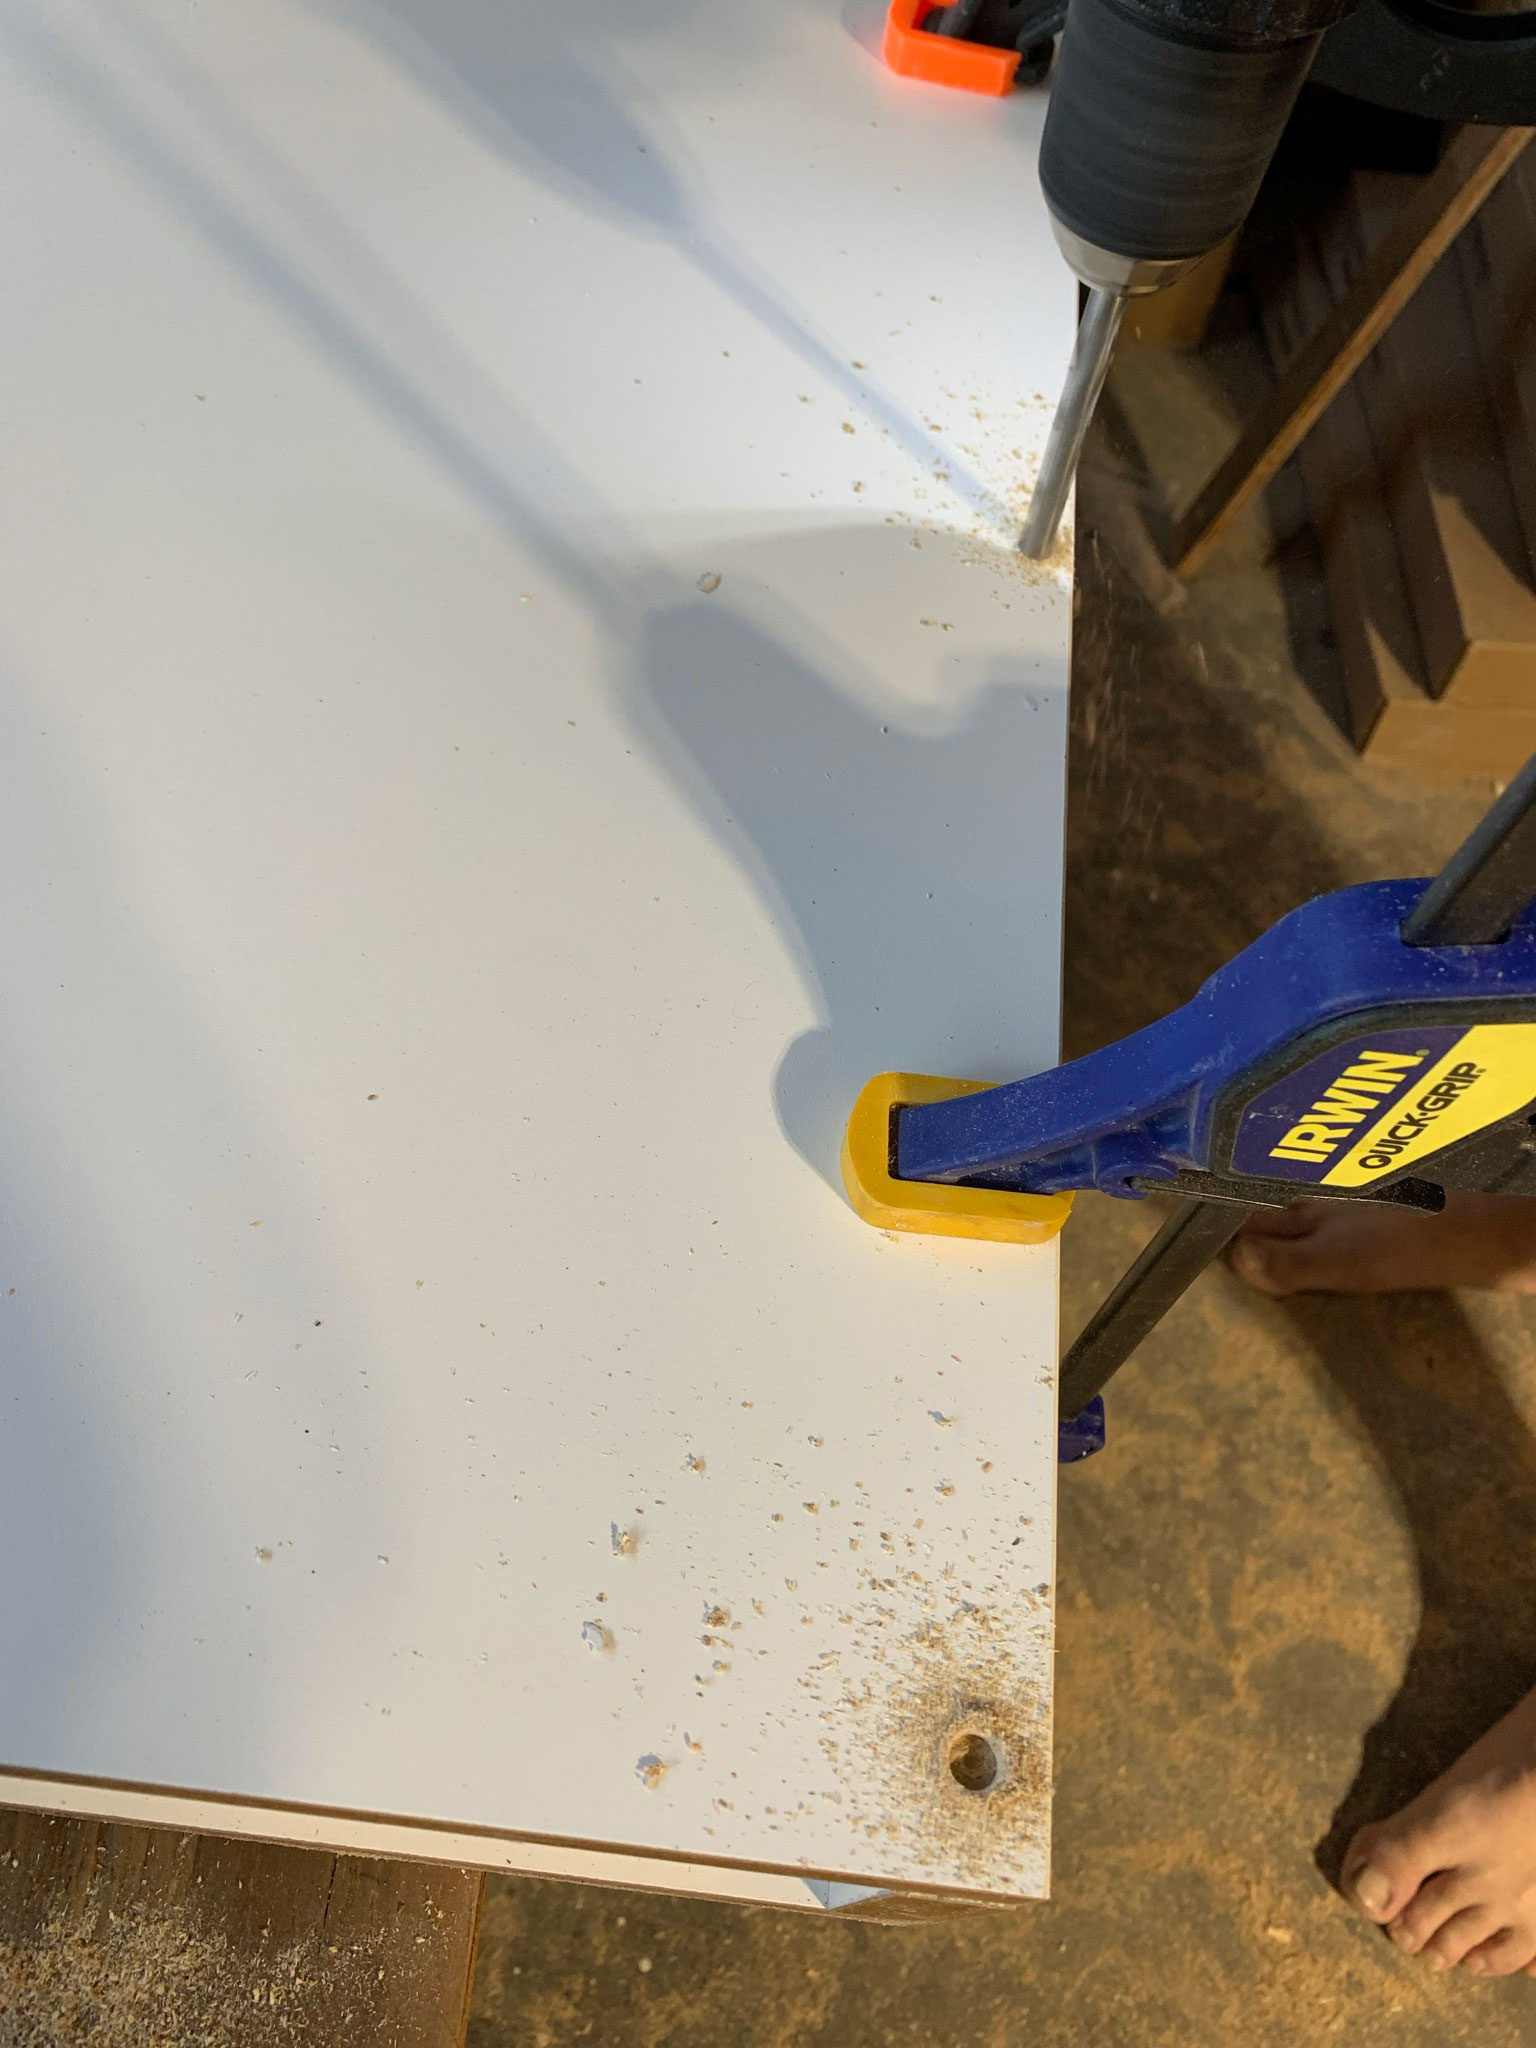
However, when you go to add the other side, you will not be able to use the supplied hardware to attach to the bottom piece because you cut the pre-made holes off. We just used screws and screwed the sides directly to the bottom and it worked out fine. We slid the back piece in to help hold the cabinet’s shape, clamped the second side in place, predrilled a hole and screwed it together all along the side. (None of the screws will show in the finished kitchen.)
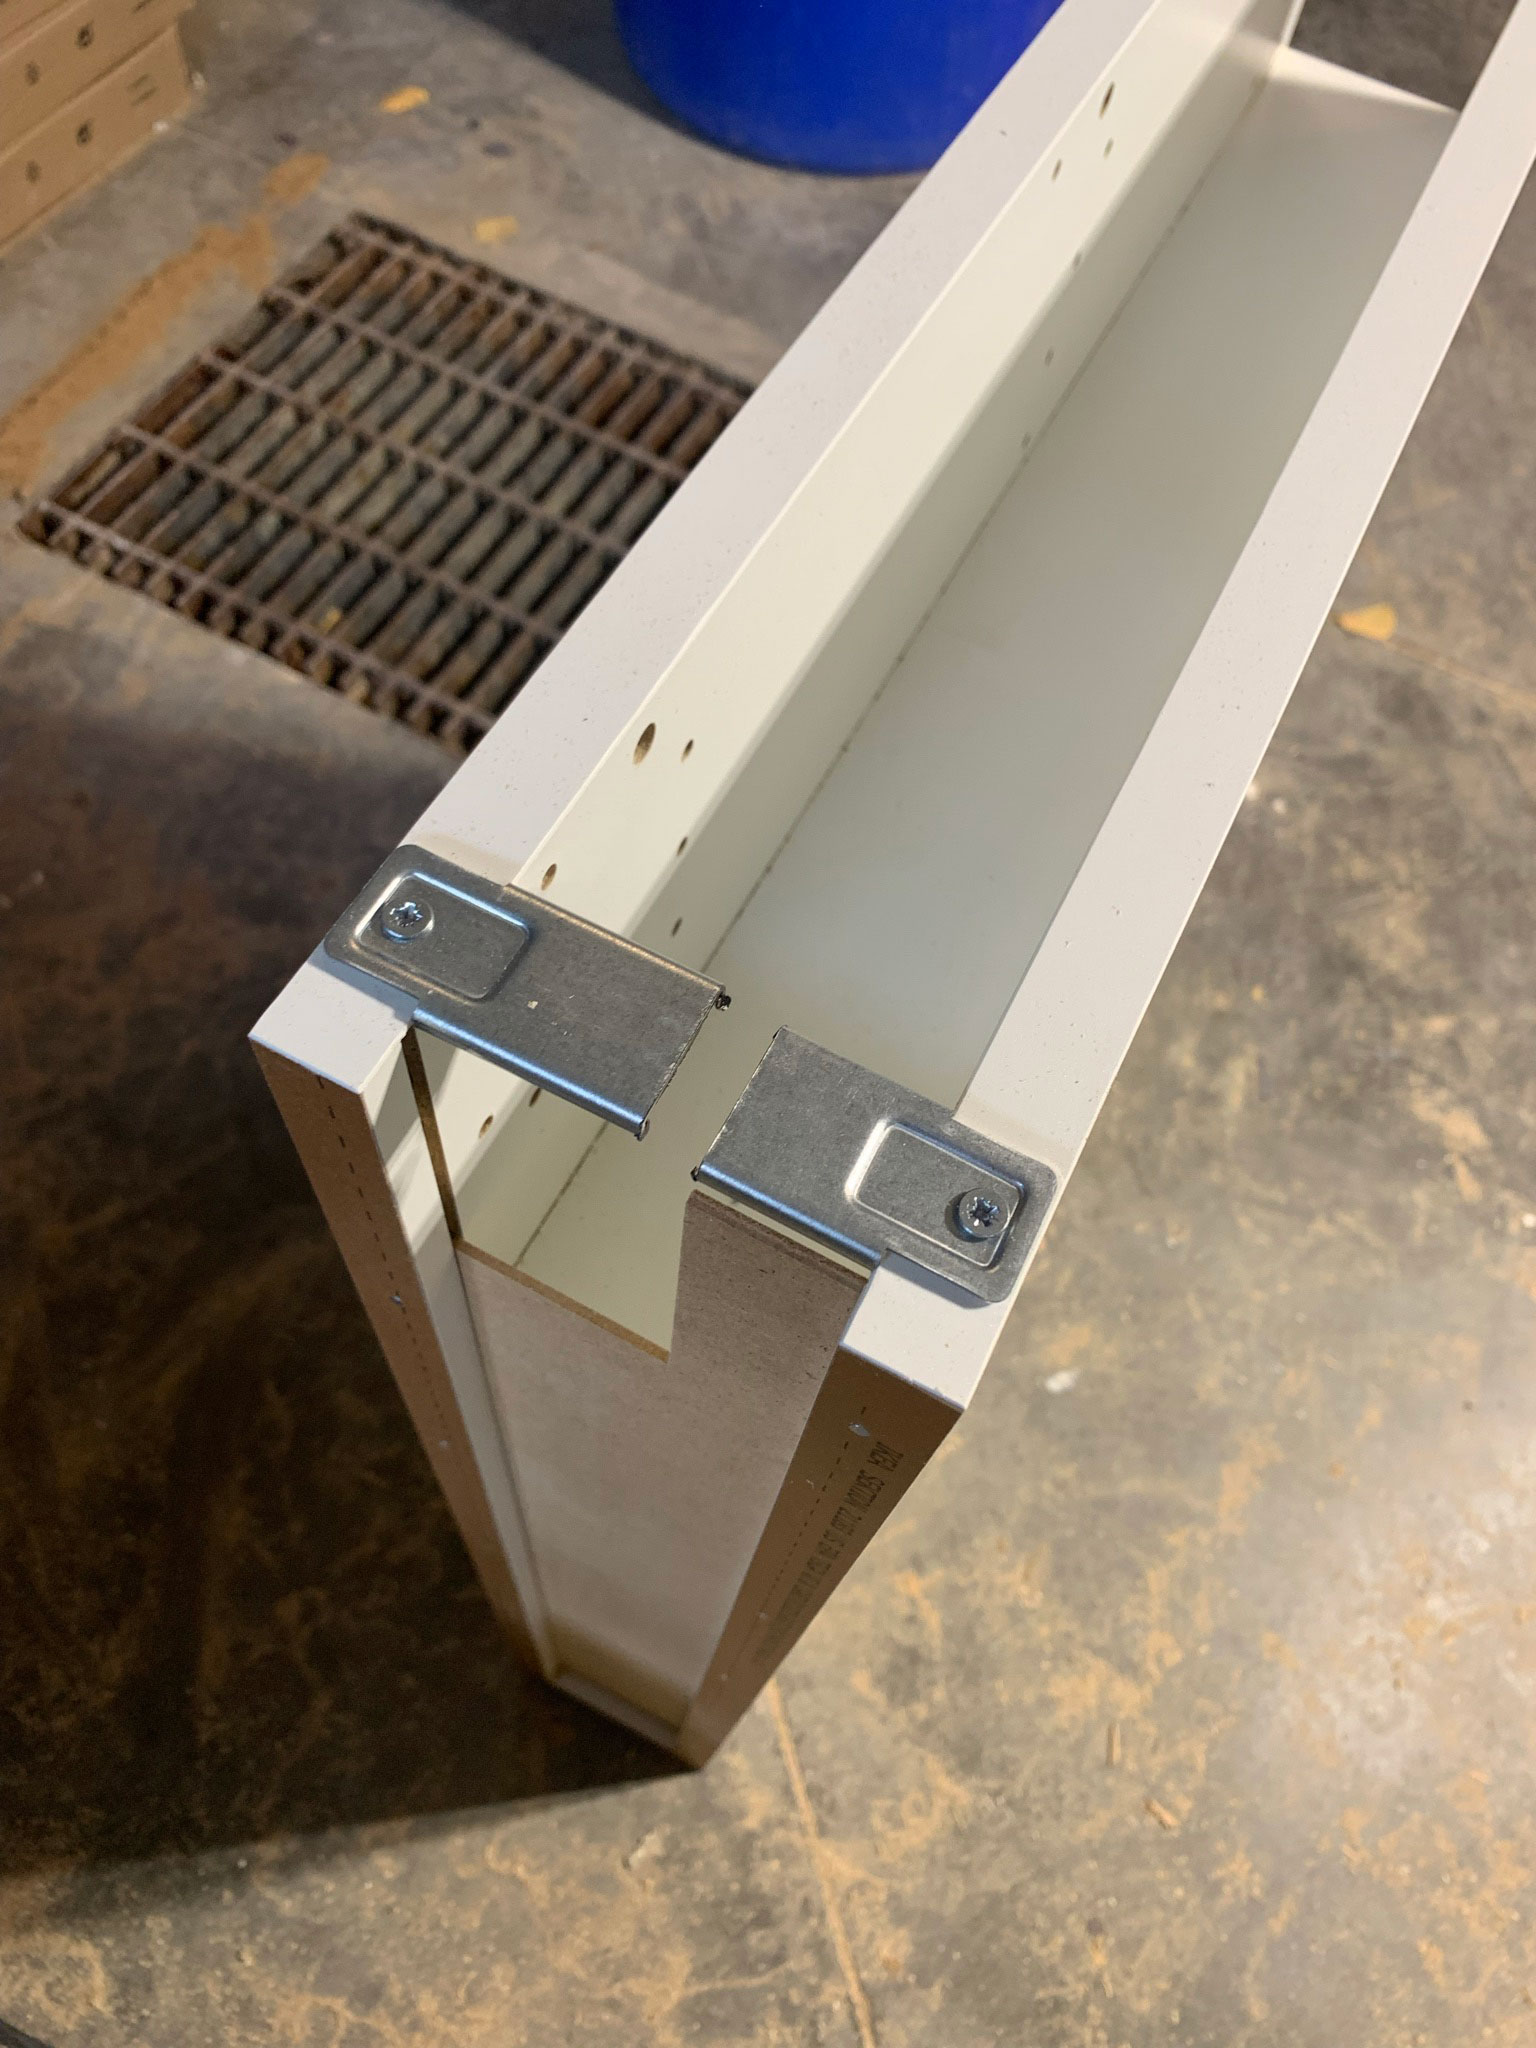
Ikea’s cabinets come with a metal brace that spans the front to give it some stability. Now that the Ikea cabinet has been customized to be only 4 – ½”, its skinny width is pretty rigid and that piece is not really needed. We also added a shelf part way down (more on that later) so that also helped to stiffen this up. However, that metal piece does create a bit of space between the top of the cabinet and the countertop and if you don’t have it, we found the countertop would not sit flush compared to the other cabinets that do have it, so we cut the metal brace to be a few inches long on each end and attached it so it would have the same spacer as the rest of the cabinets.
If we were customizing the width of a bigger Ikea cabinet and wanted to keep the brace, I think we would have cut it to size using a grinder, drilled a new hole in it and attached it. It would have not been cute but it does not show, so that doesn’t matter.
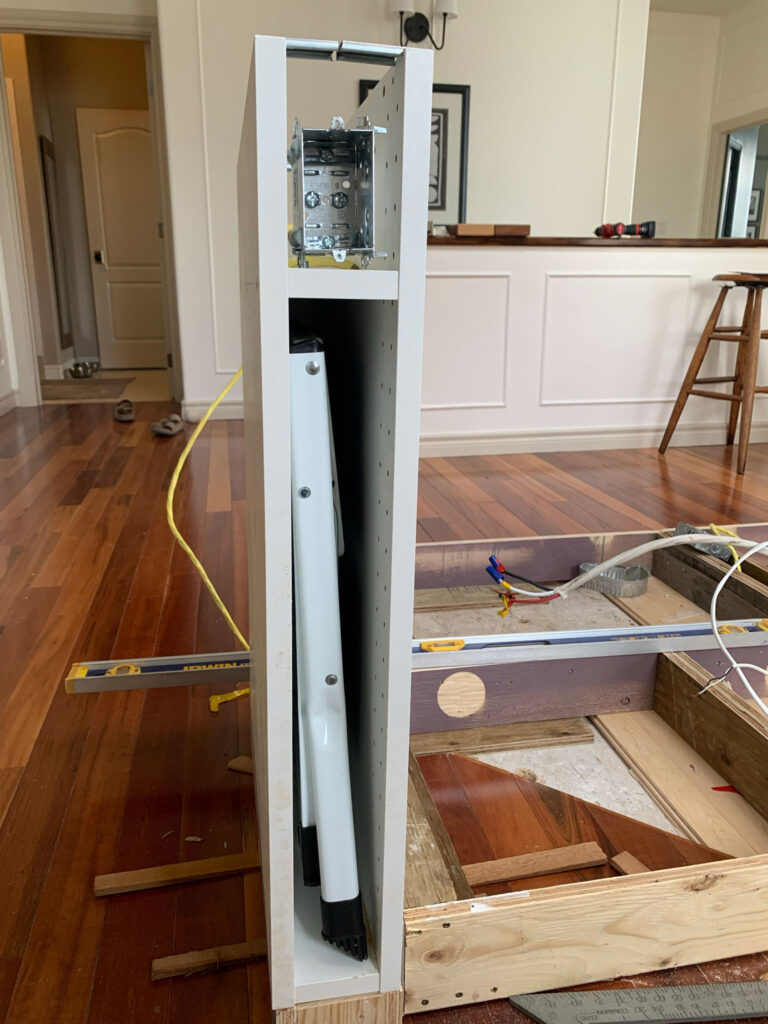
Something that we did is add an interior “shelf” to separate where the plug would be from the open cabinet part, to provide a bit of an electrical chase for the wires. We cut another 3” wide strip out of the bottom piece we had leftover and inserted that into the cabinet about 6″ inches down from the top, screwing it into place the same way we did on the bottom piece. This also helped to provide some stability since the top metal bracing would not be present.
How to make a door for the customized width Ikea Cabinet
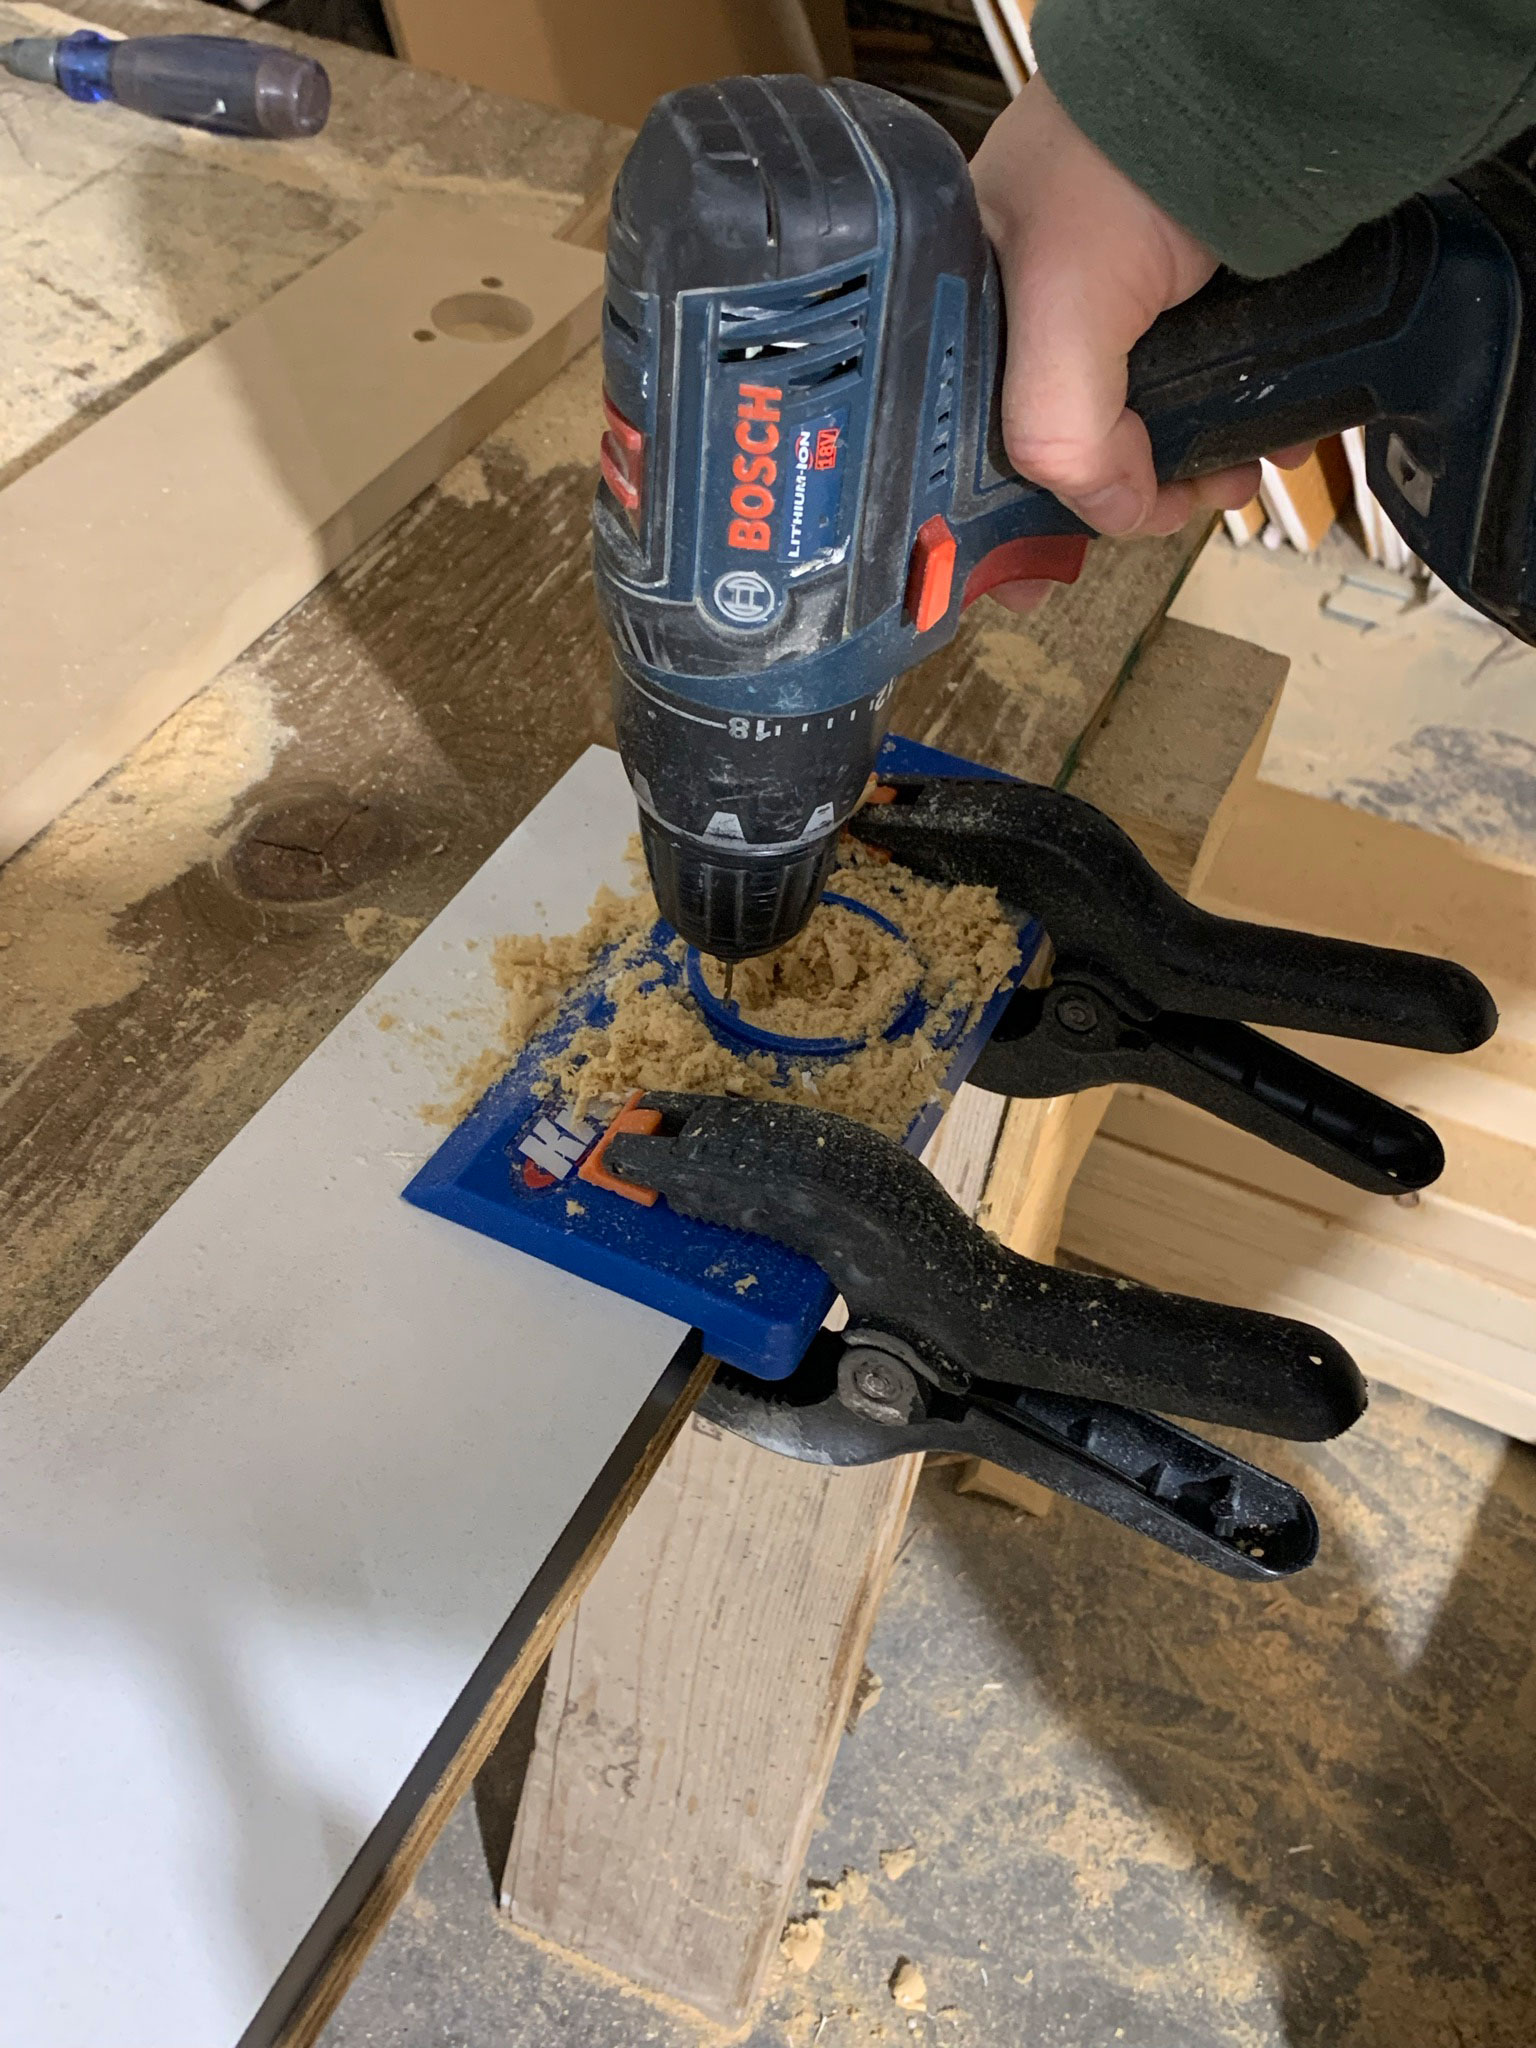
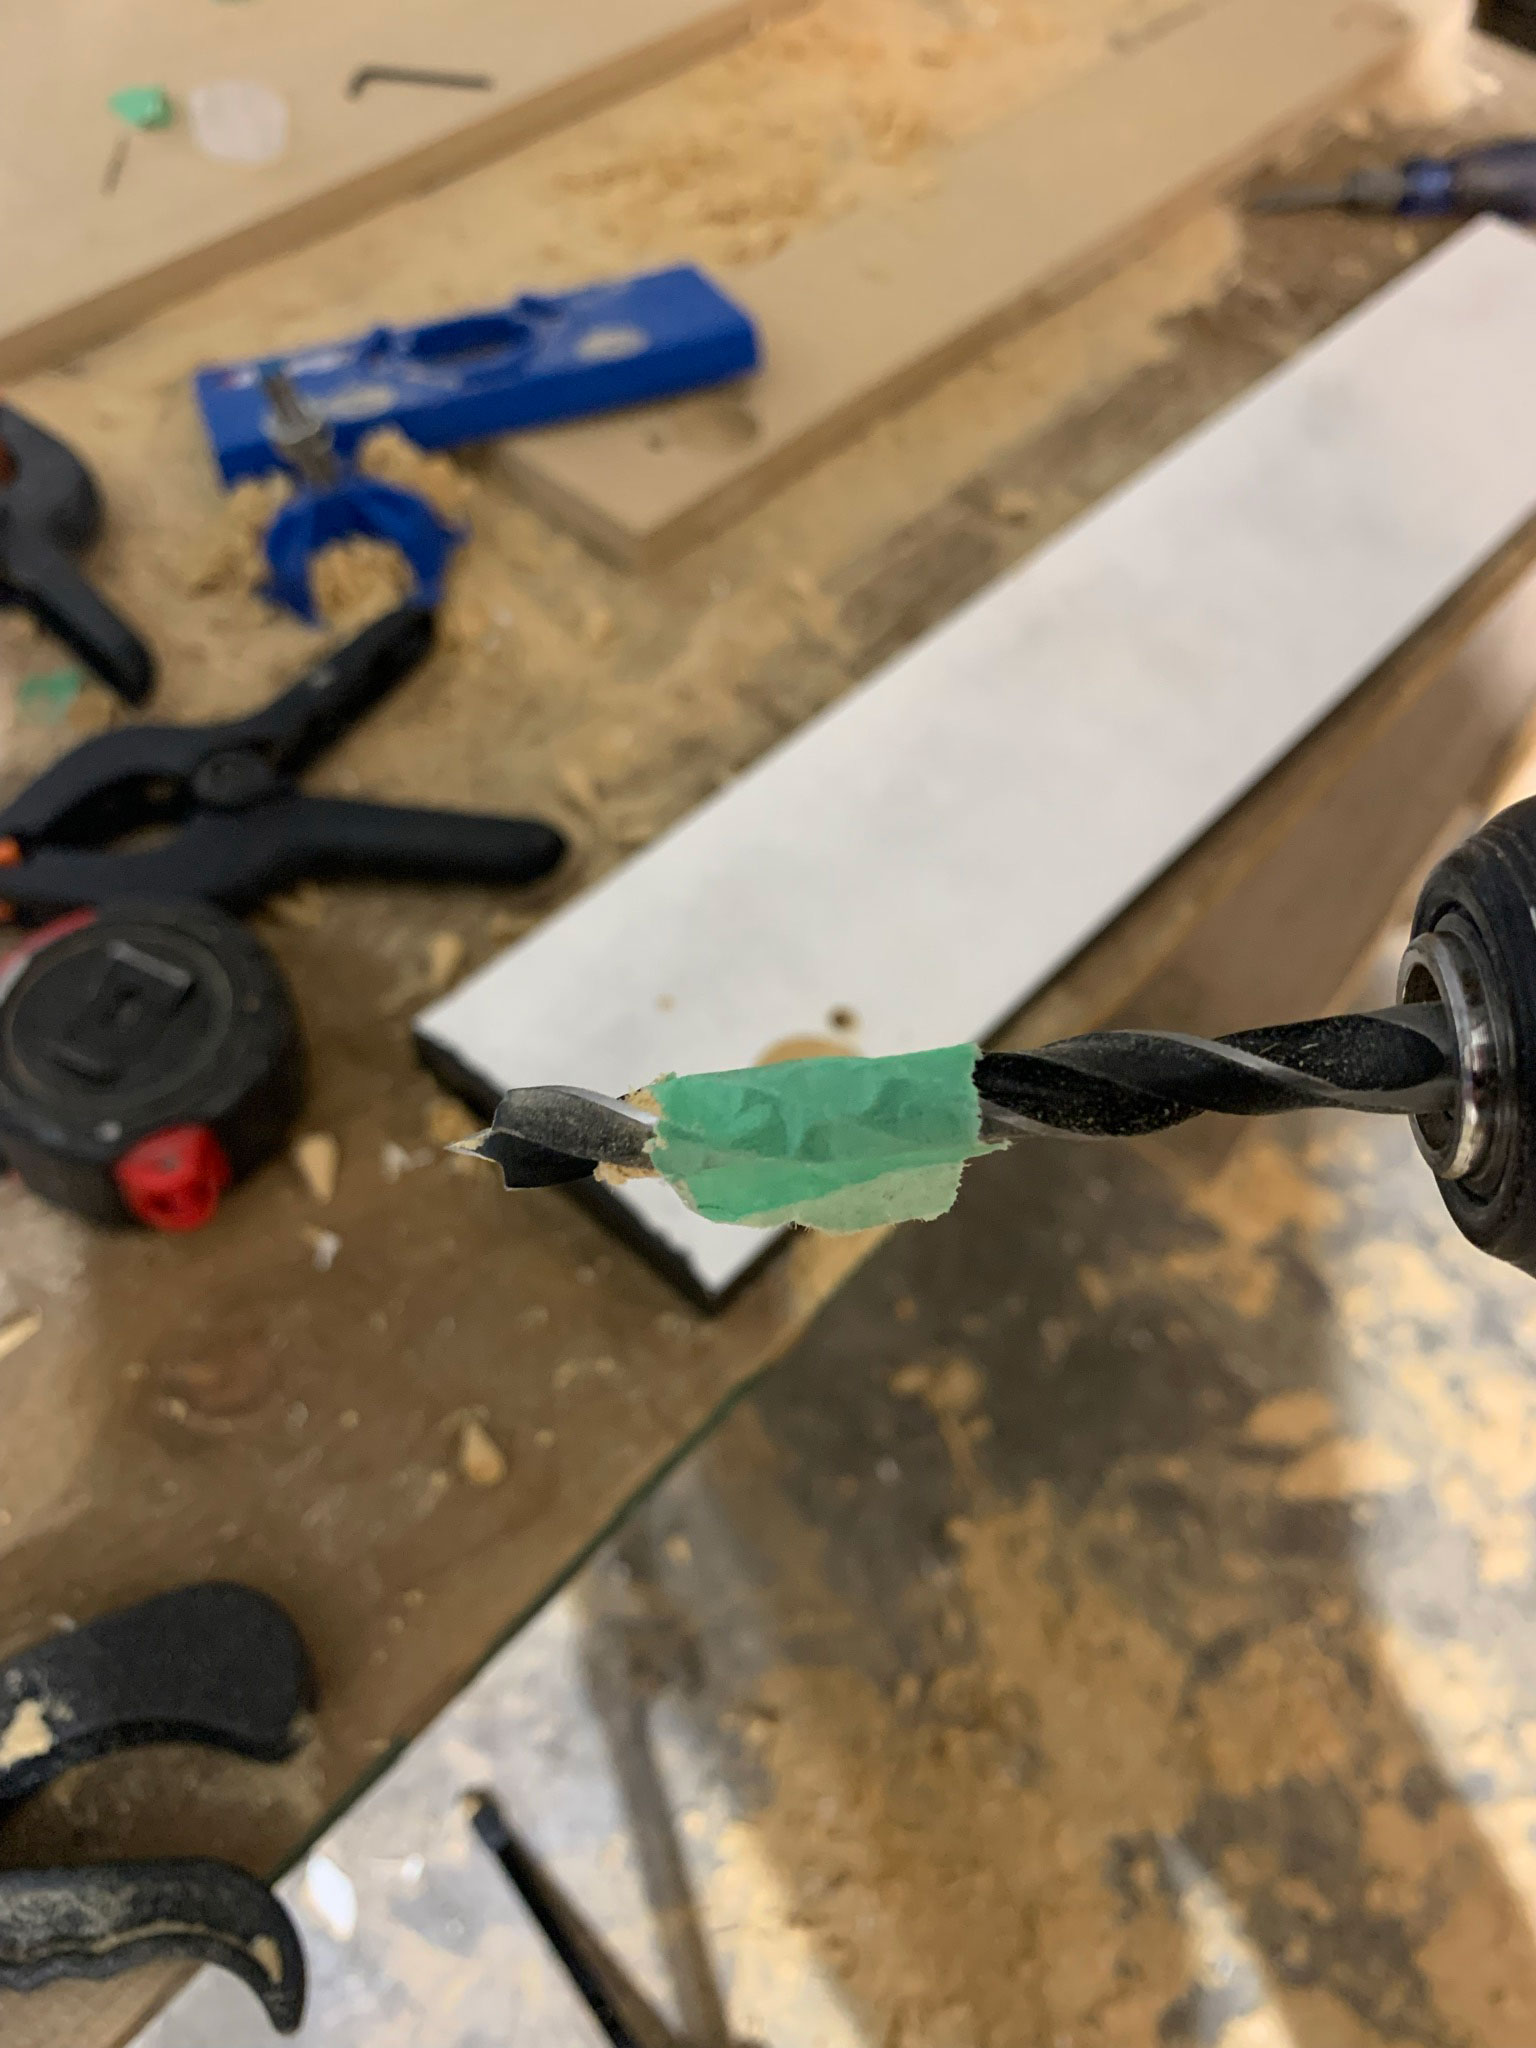
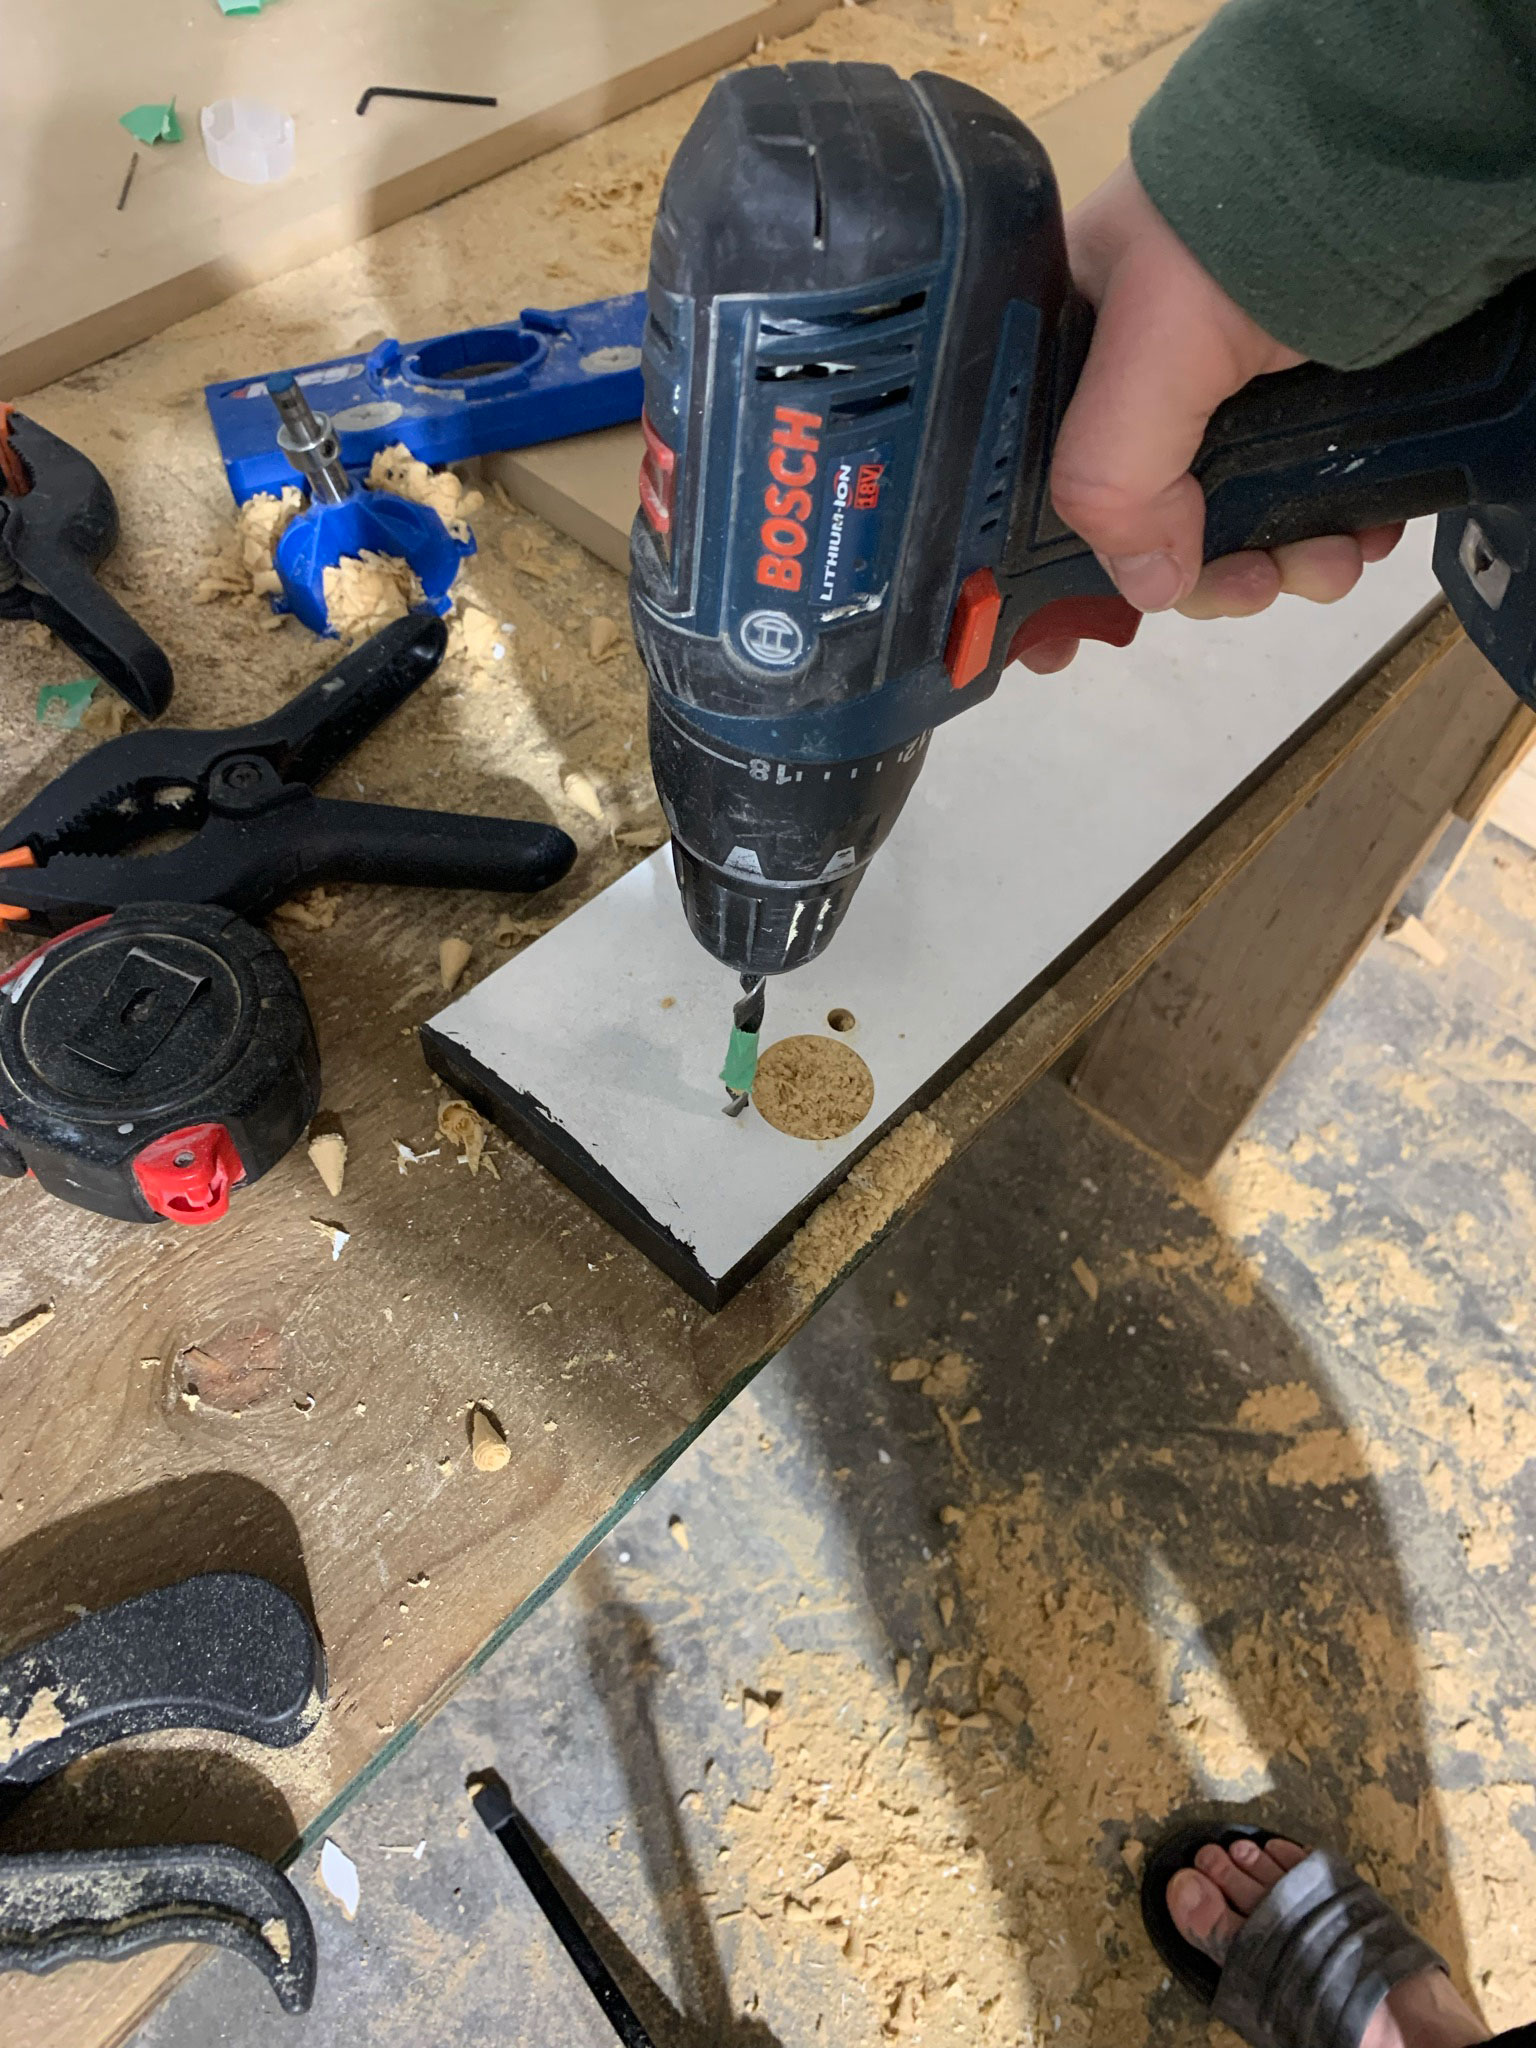
I purchased this jig for making holes in the door to accept hinges. Since I had never made a door before, I practiced making the door on a piece of scrap MDF, and I highly recommend that. Making sure you know how the jig works, and exactly where to locate the holes is very important!
I first cut a piece of filler to fit the top part of the customized Ikea cabinet, where the electrical box would sit. I cut that part at 5″ long. I cut a hole for the electrical box and installed the filler over the top part of the cabinet using finishing nails.
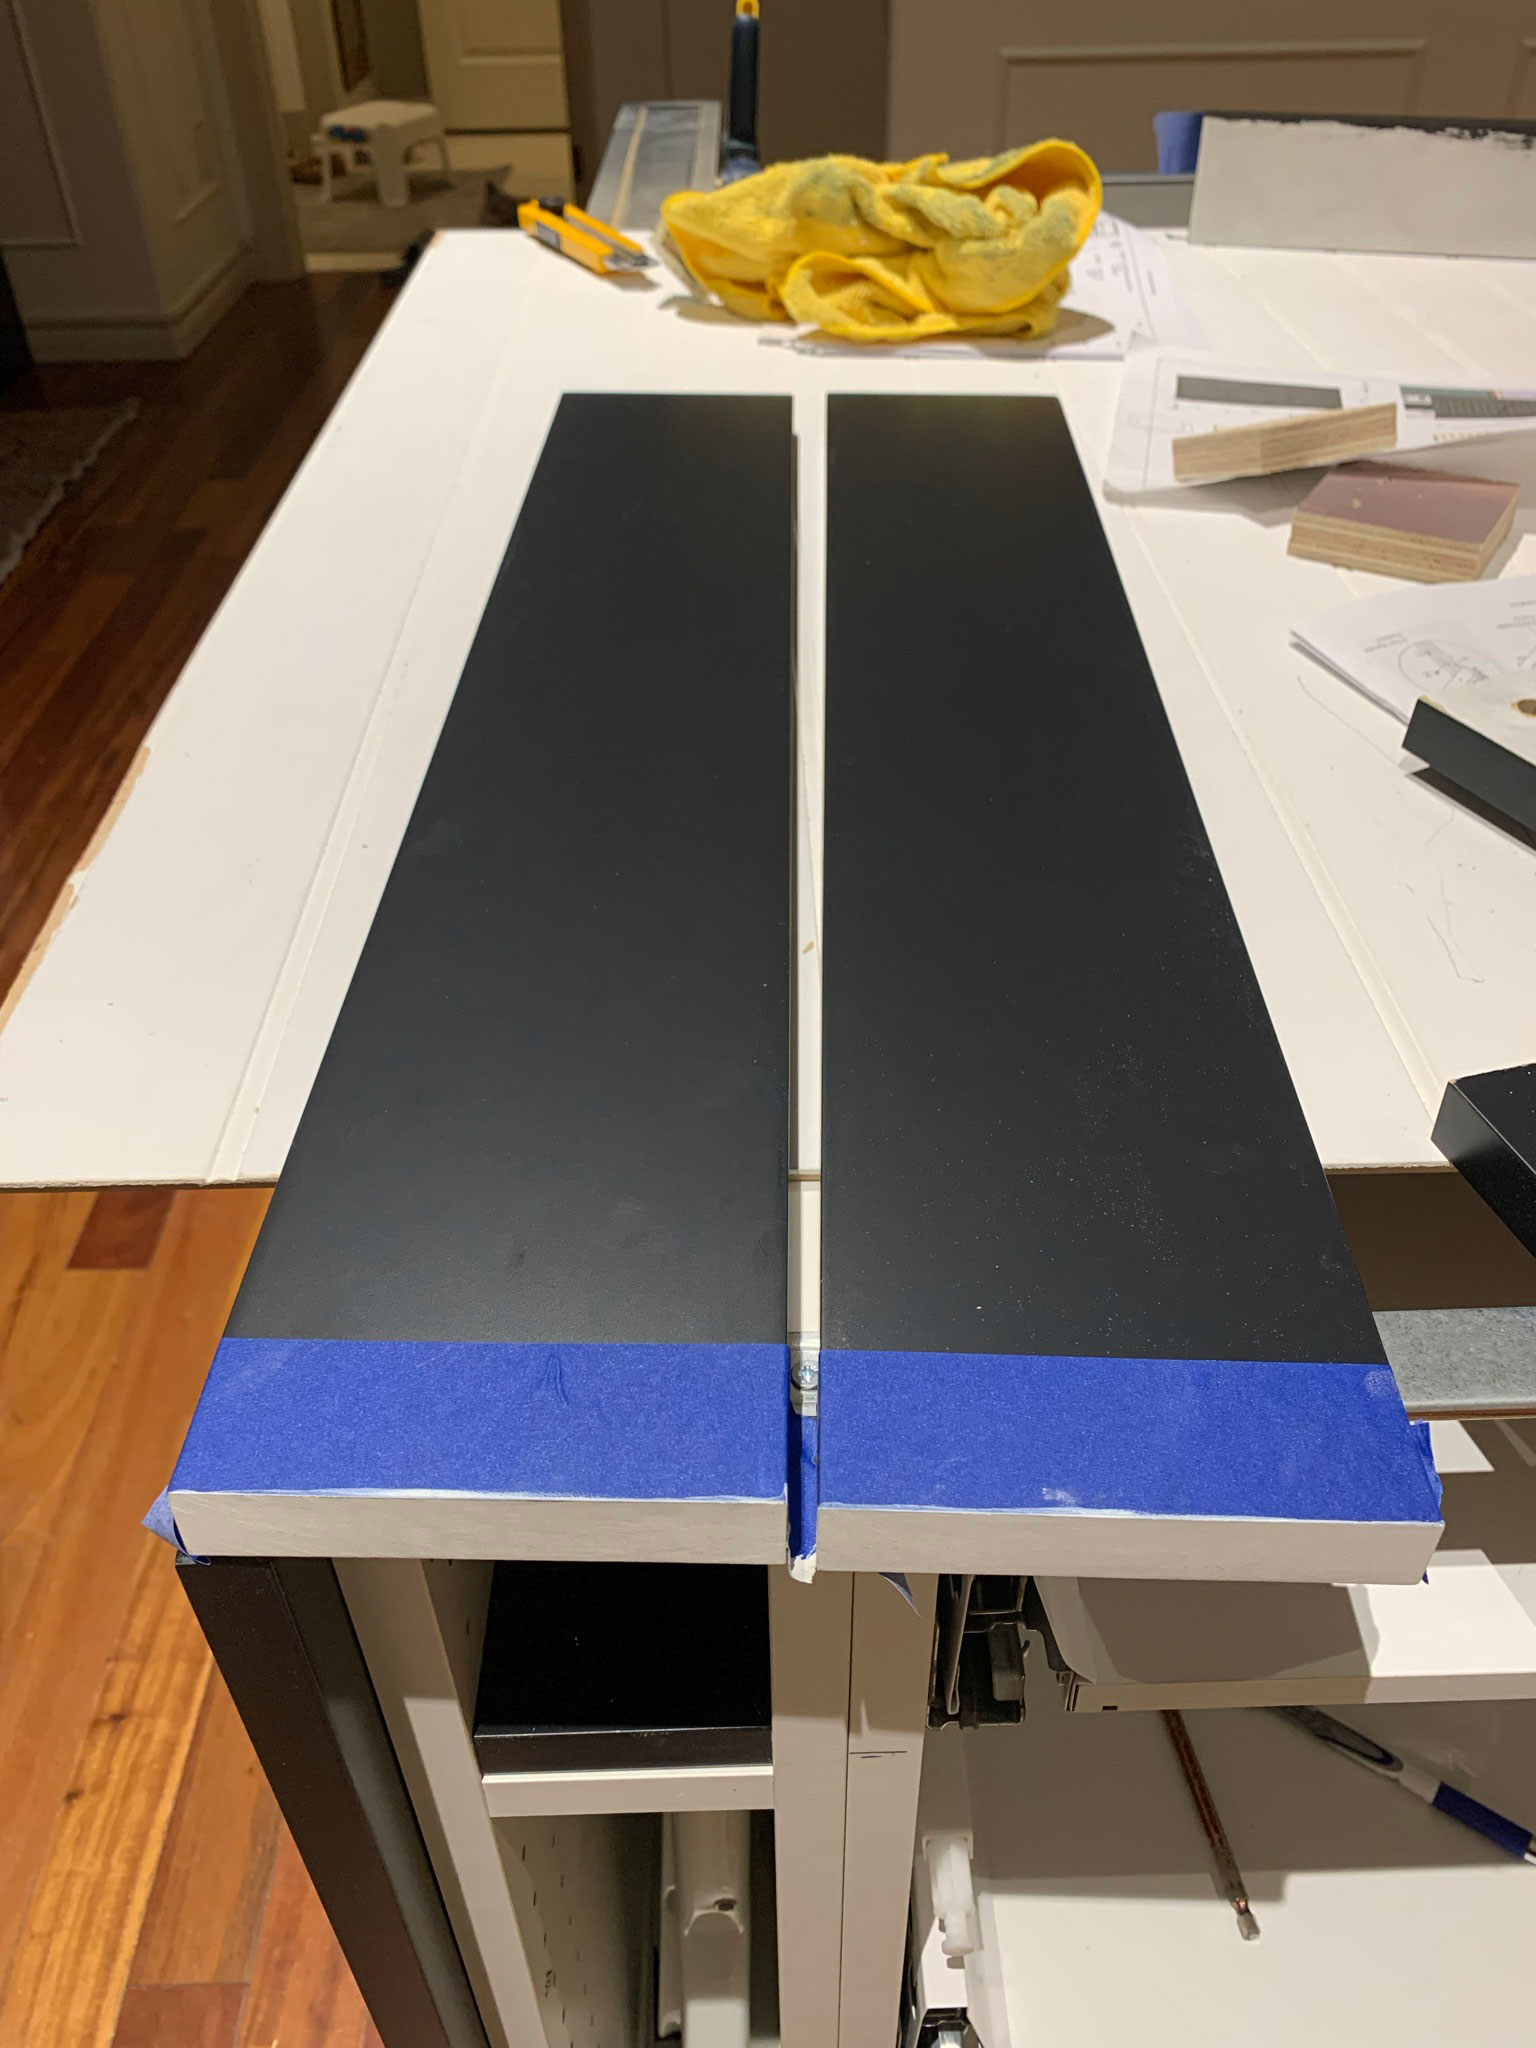
Next, I cut the “door” out of a 4 – 1/2 “ piece of filler. The height of an Ikea base cabinet door is 30″ inches, so with the 5″ inches at the top for the filler, I cut my door to be 25″ inches long. I used the end of my 4 – ½” toe kick that had a finished top edge which left me just one cut edge to finish myself. I added a little shellac-based primer to the cut edge and then painted the edge using Benjamin Moore Advance that I had colour matched to my island.
Next, I followed the directions on the jig to make holes for the Ikea hinges. I measured 2.5″ inches down from the top and set my hinge location. I wasn’t sure if this would line up properly with the holes in the sidewall of the cabinet so I did a test run first with a scrap piece.
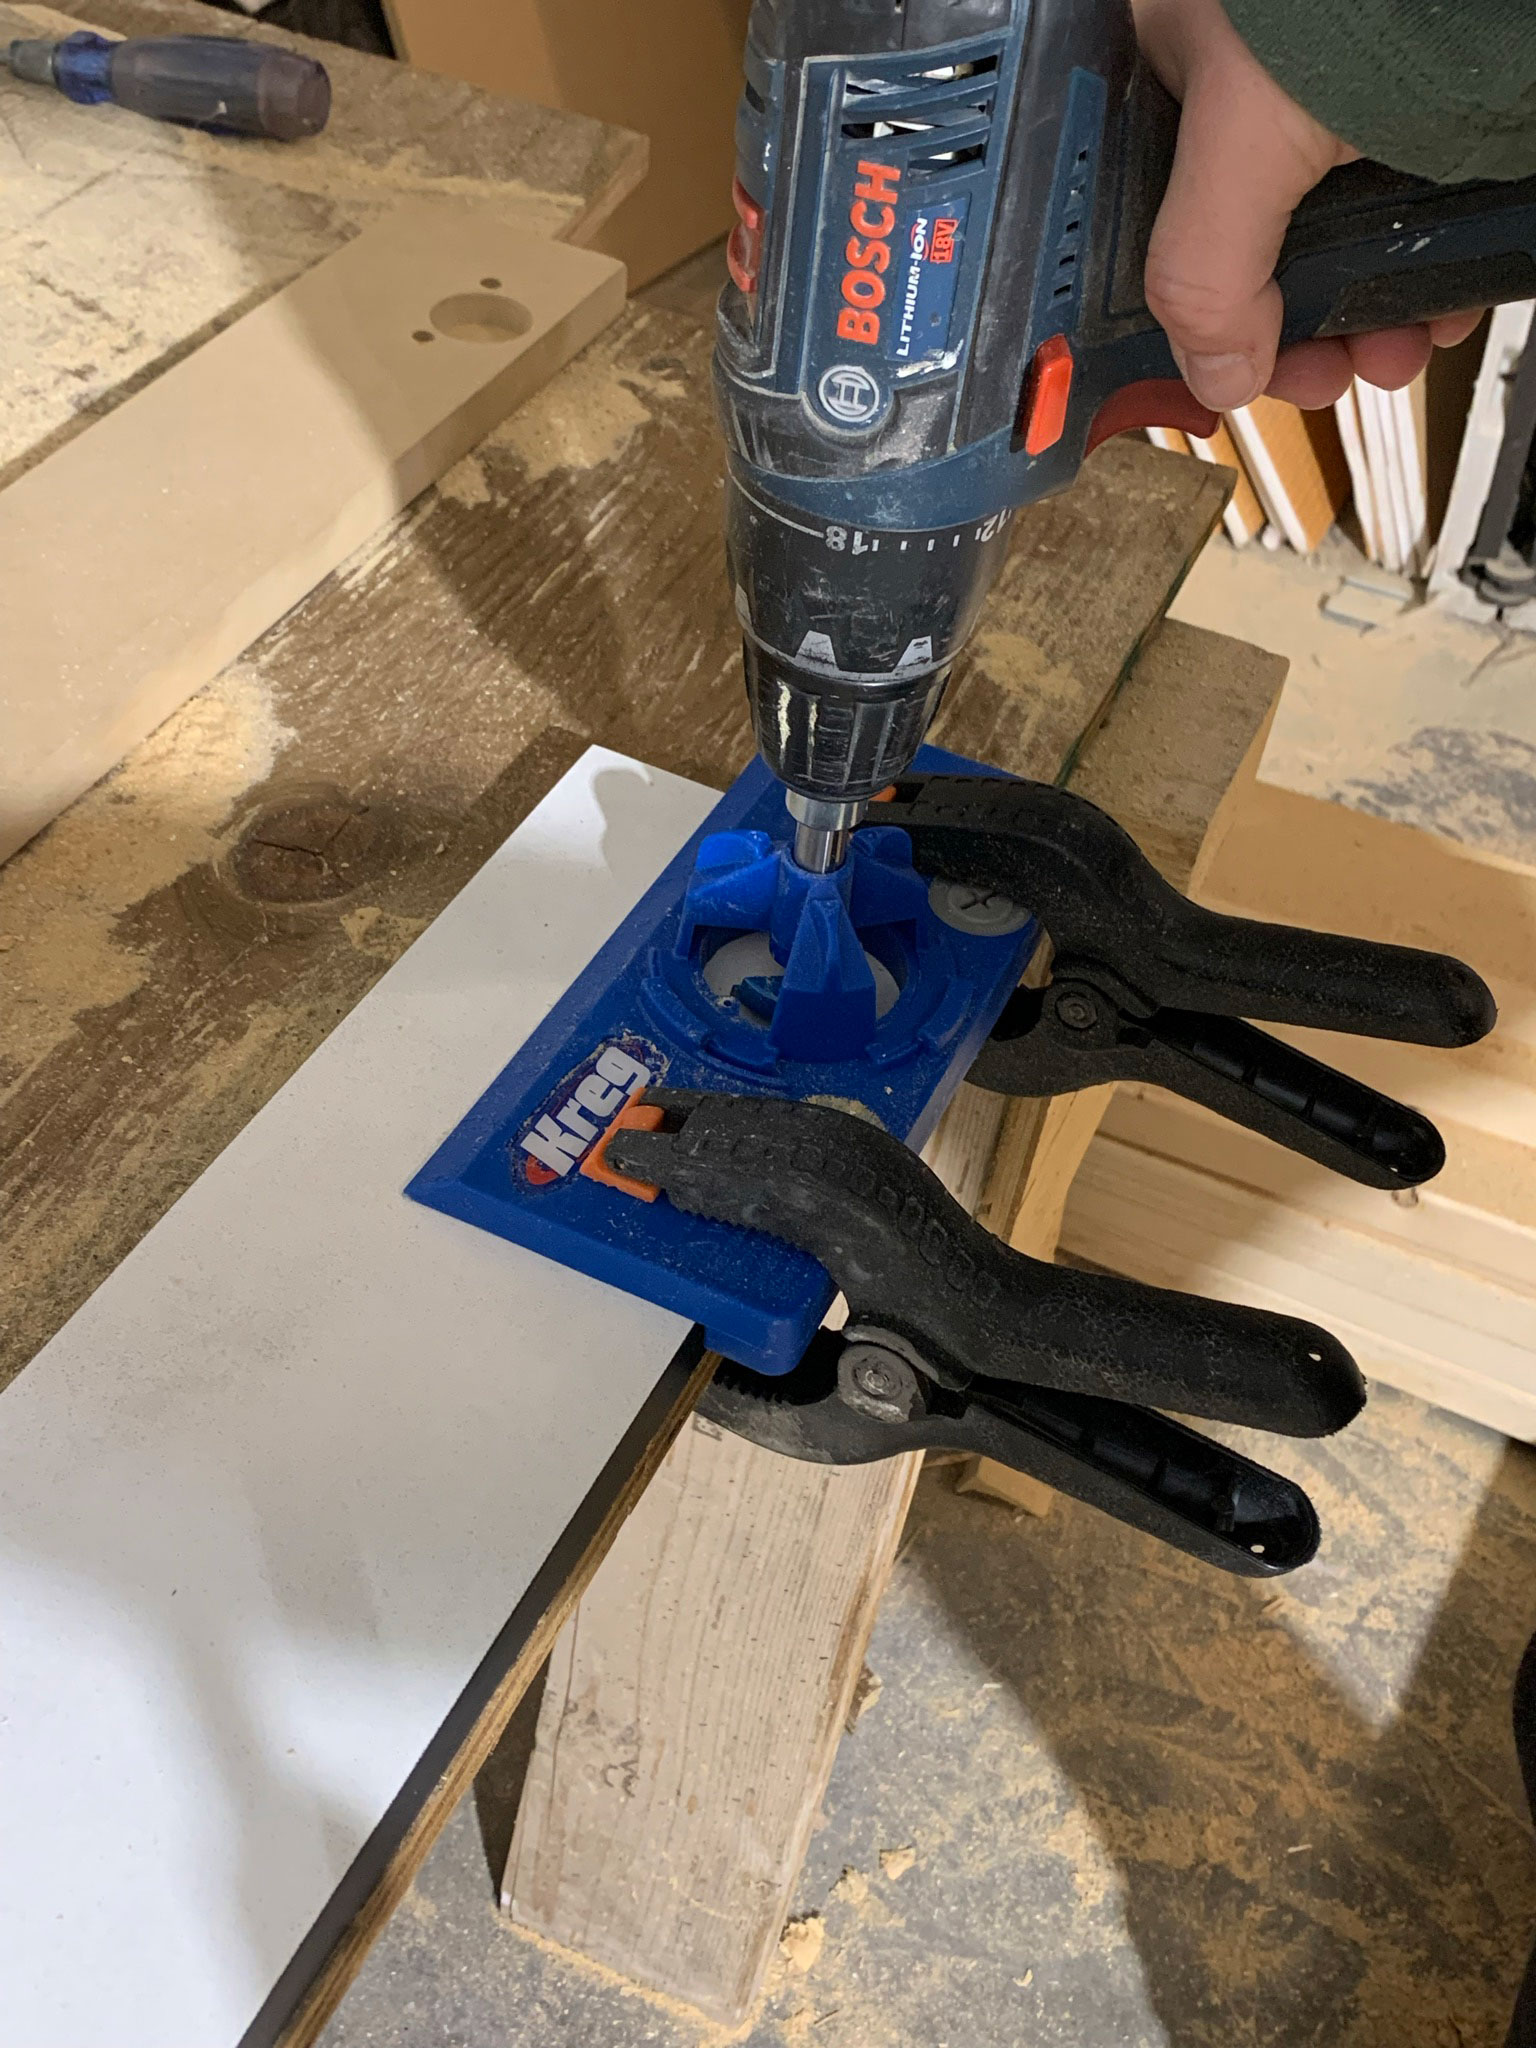
Then I used regular Ikea hinges and installed them in place according to the directions on the Ikea hinges, which really is a simple process of just popping them in the hole the jig made and snapping the lock in place. The other part of the hinge is installed on the door, and then it’s a simple matter of popping the door in place.
The sloooooow close…
One thing I did not anticipate when customizing the size of this ikea cabinet with such a skinny door was just how difficult it would be for these doors to close against the slow close function of the hinges. Normally, the hinges provide some resistance to the door slamming giving it a nice soft, slow close. In this case, because the cabinet was cut down to only 4 – ½”, the door itself is not really heavy enough to work against the slow close function of the door. The Ikea hinges have a little switch on them where you can disengage the slow close and even with those disengaged, the door closes pretty slowly. But it does close!
Originally I was planning to put the push-to-open hinges on these so that they wouldn’t look like a door and it would be sort of a secret, hidden cool thing I could show off as a party trick. However because of the narrow size of the door, there is too much resistance for the push-open hinges to work, so I had to scrap that idea and put a knob on it.
Adjusting the other cabinets on the island
As I mentioned, we decided to add this skinny cabinet to the ends of our island sort of at the last minute. However, our island consists of two rows of cabinets placed back to back, and we only added the 9” to one side for the skinny cabinets. Instead of adding more skinny cabinets to the back side of the cabinets, we decided to just add in some dead space that we covered with fillers. We split the 9” out between our two cabinets so there is 3” on either end and 3” in the middle. It turned out to work out great as a place for the wires to all run inside of the cabinets without them going into the visible part of the cabinets, and a place to add the junction boxes we needed. So that actually worked out pretty well, almost like I thought of it in advance (I didn’t!).
So that is it! We had never customized a cabinet before but it turns out it is not that hard, they are just boxes, after all. Another thing that seems hard until you do it, and realize it’s actually not hard at all!
You Might Also Like:
My good friend, the very talented Joannie from the blog “Hambels Get Real” also wrote about this topic, including how to make a cabinet bigger! The possibilities are endless. You can read her very detailed tutorial HERE.
- One Room Challenge Spring 2021 – Week 5 – The Vanity Glow-Up
- Guest Room Reveal!
- A DIY Kitchen with Ikea Cabinets – the Kitchen Reveal!
- How to Make Your Refrigerator Look Built-In
- How to Design and Install Cabinet Toe Kicks for Your Kitchen
- The Best Primer for Cabinets
- Closet Mudroom DIY
- DIY Pull-Out Cabinet Organization for Hair Tools
- Easy DIY Ikea Multi-Drawer File Cabinet Makeover
- The Easy Way to Make a Shaker DIY Cabinet Door