The Home Office Nook (Ideas for the Built-in Desk!)
We are about to start a new project wheeeeeeeee!!! Gosh, I’m excited. The last big project we finished was the ensuite bathroom, and it was a doozy so we took a little time off to rest. Well, we didn’t really rest, I did a few projects for my mom (her kitchen refresh, recovering some stools), I recovered my ottoman, and we finished up some landscaping and yard projects. Then I went a little Halloween Decor crazy. All the while, I’ve been dreaming up plans for my office! We will do the office in phases, and I want to tell you all about the home office nook ideas for the built-in desk, the first part of the office renovation!
This post may contain affiliate links. That means if you purchase anything from these links I earn a small commission, at no extra cost to you! This helps support my blog, so thank you!
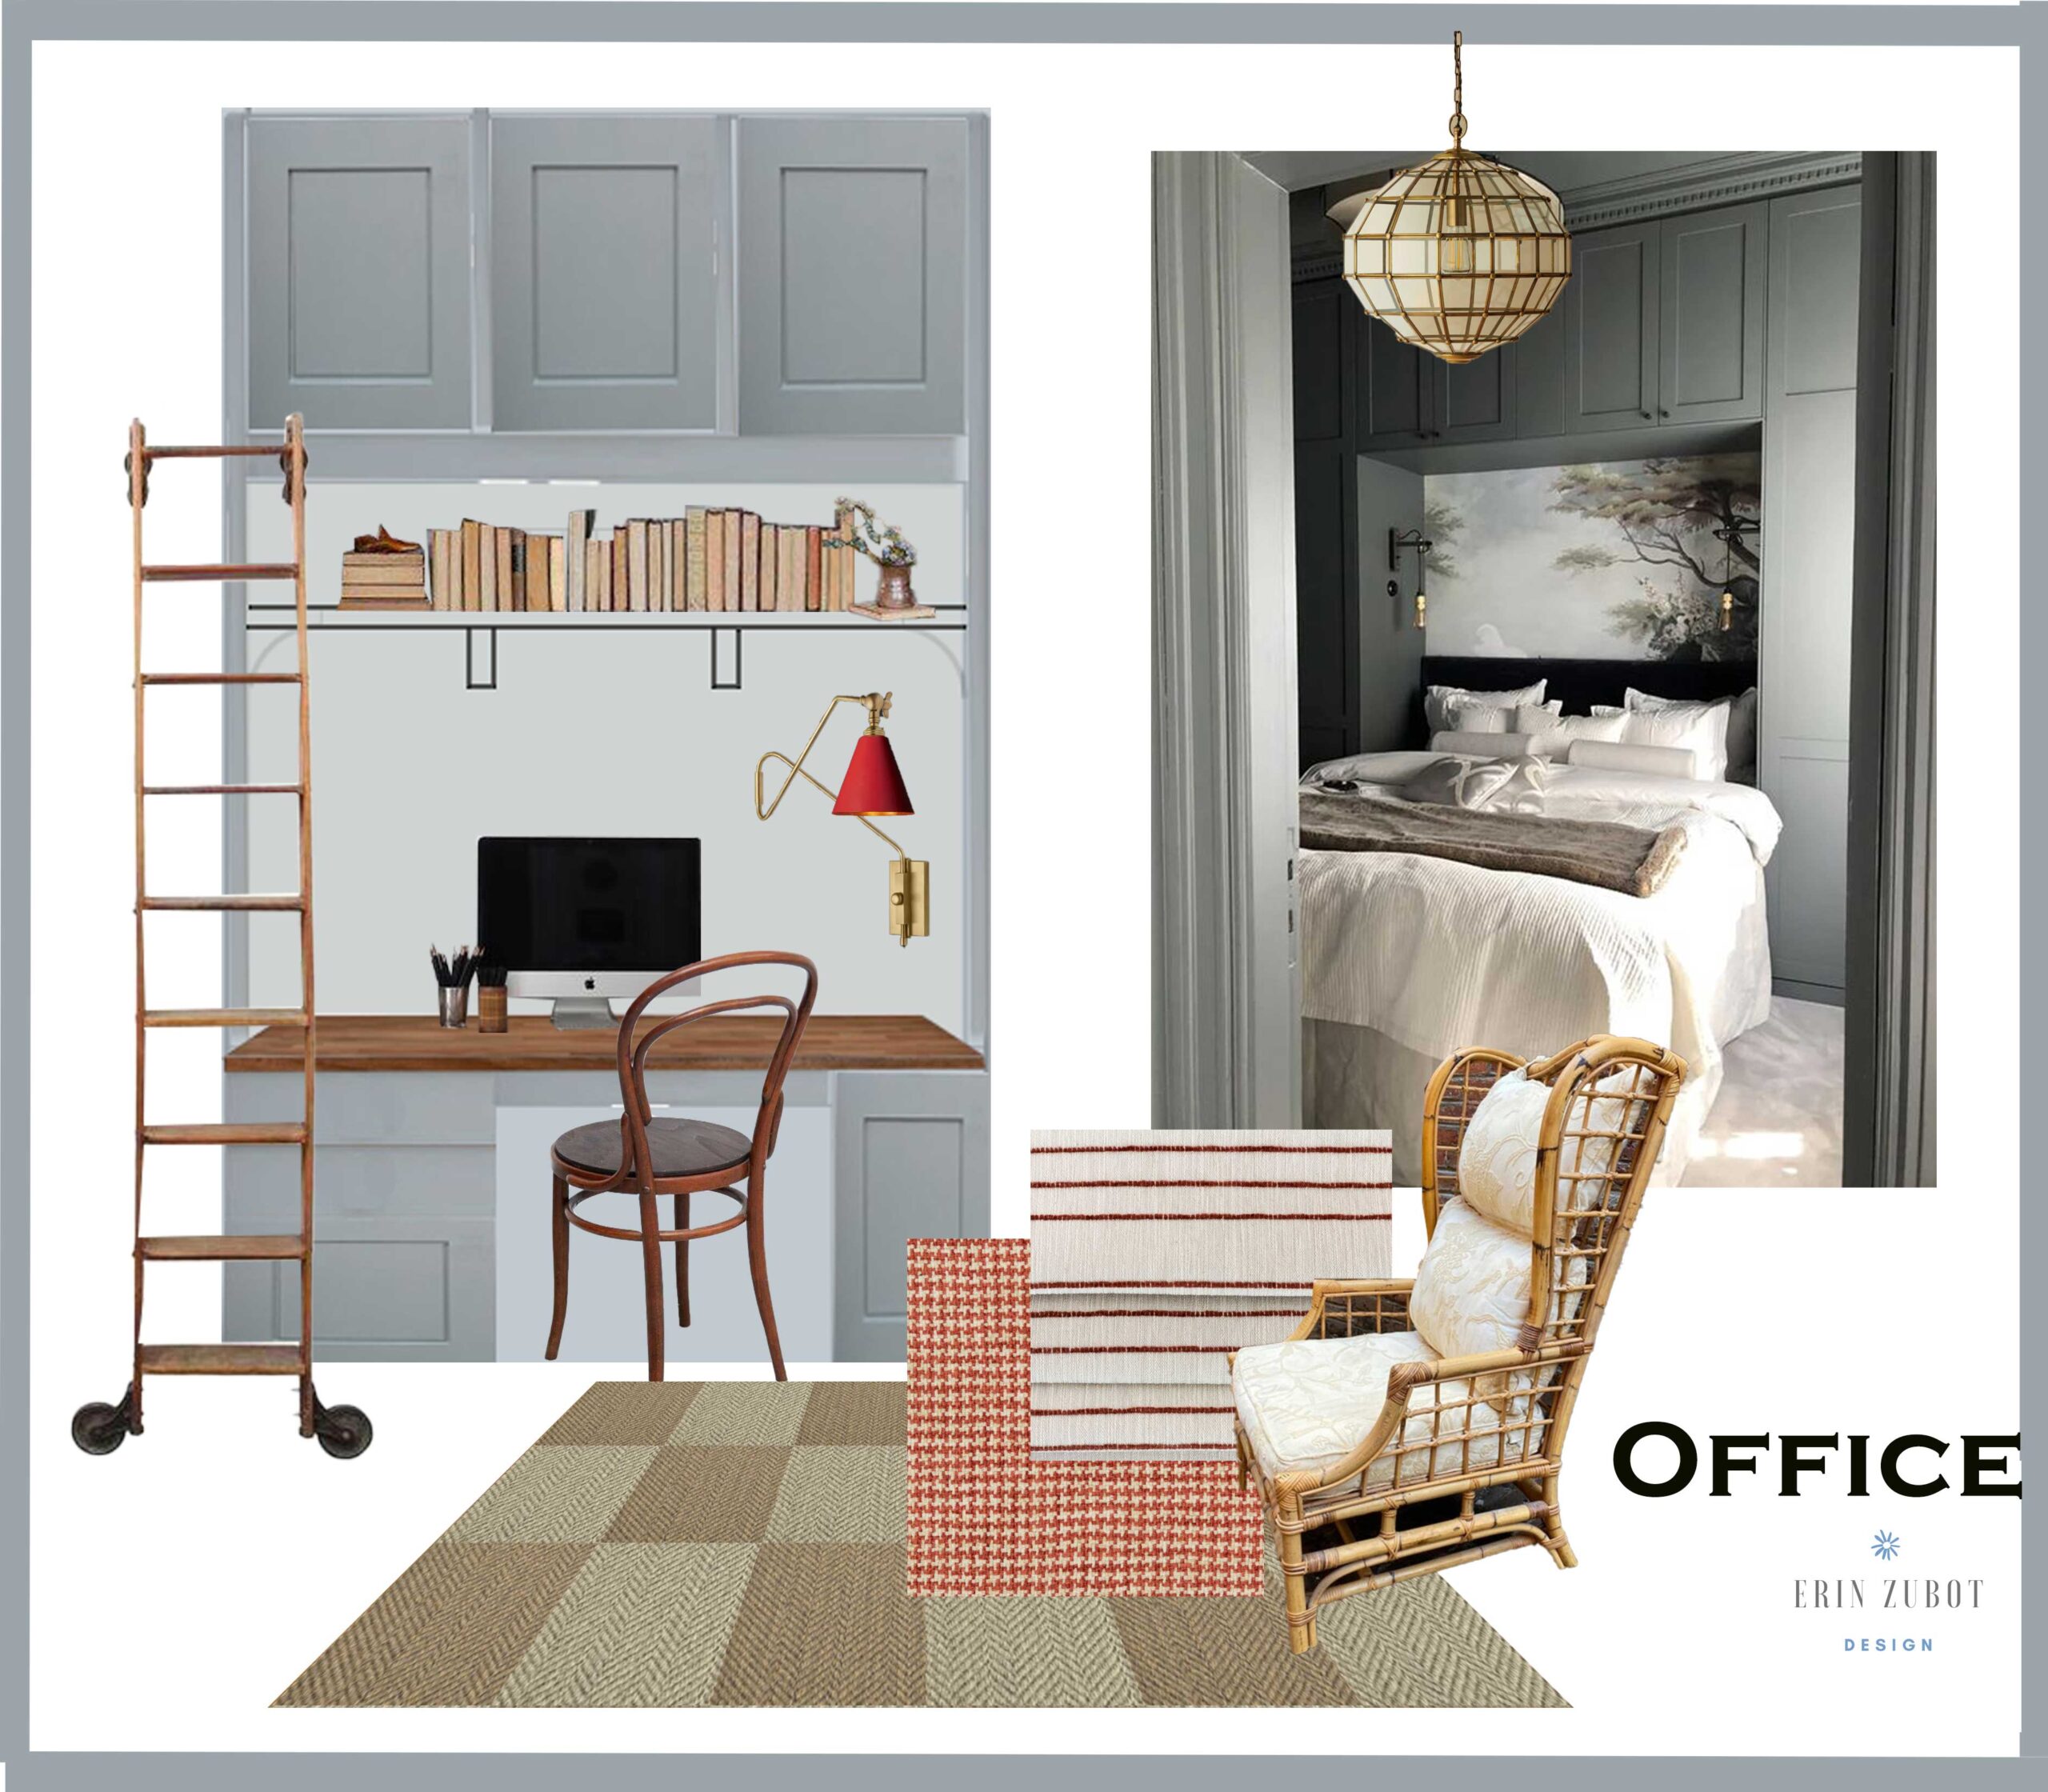
Table of Contents
- The Before
- The Options for the Desk Area
- The Home Office Nook
- The Murphy Bed Wall
- Colour and Design Details
- You Might Also Like:
The Before
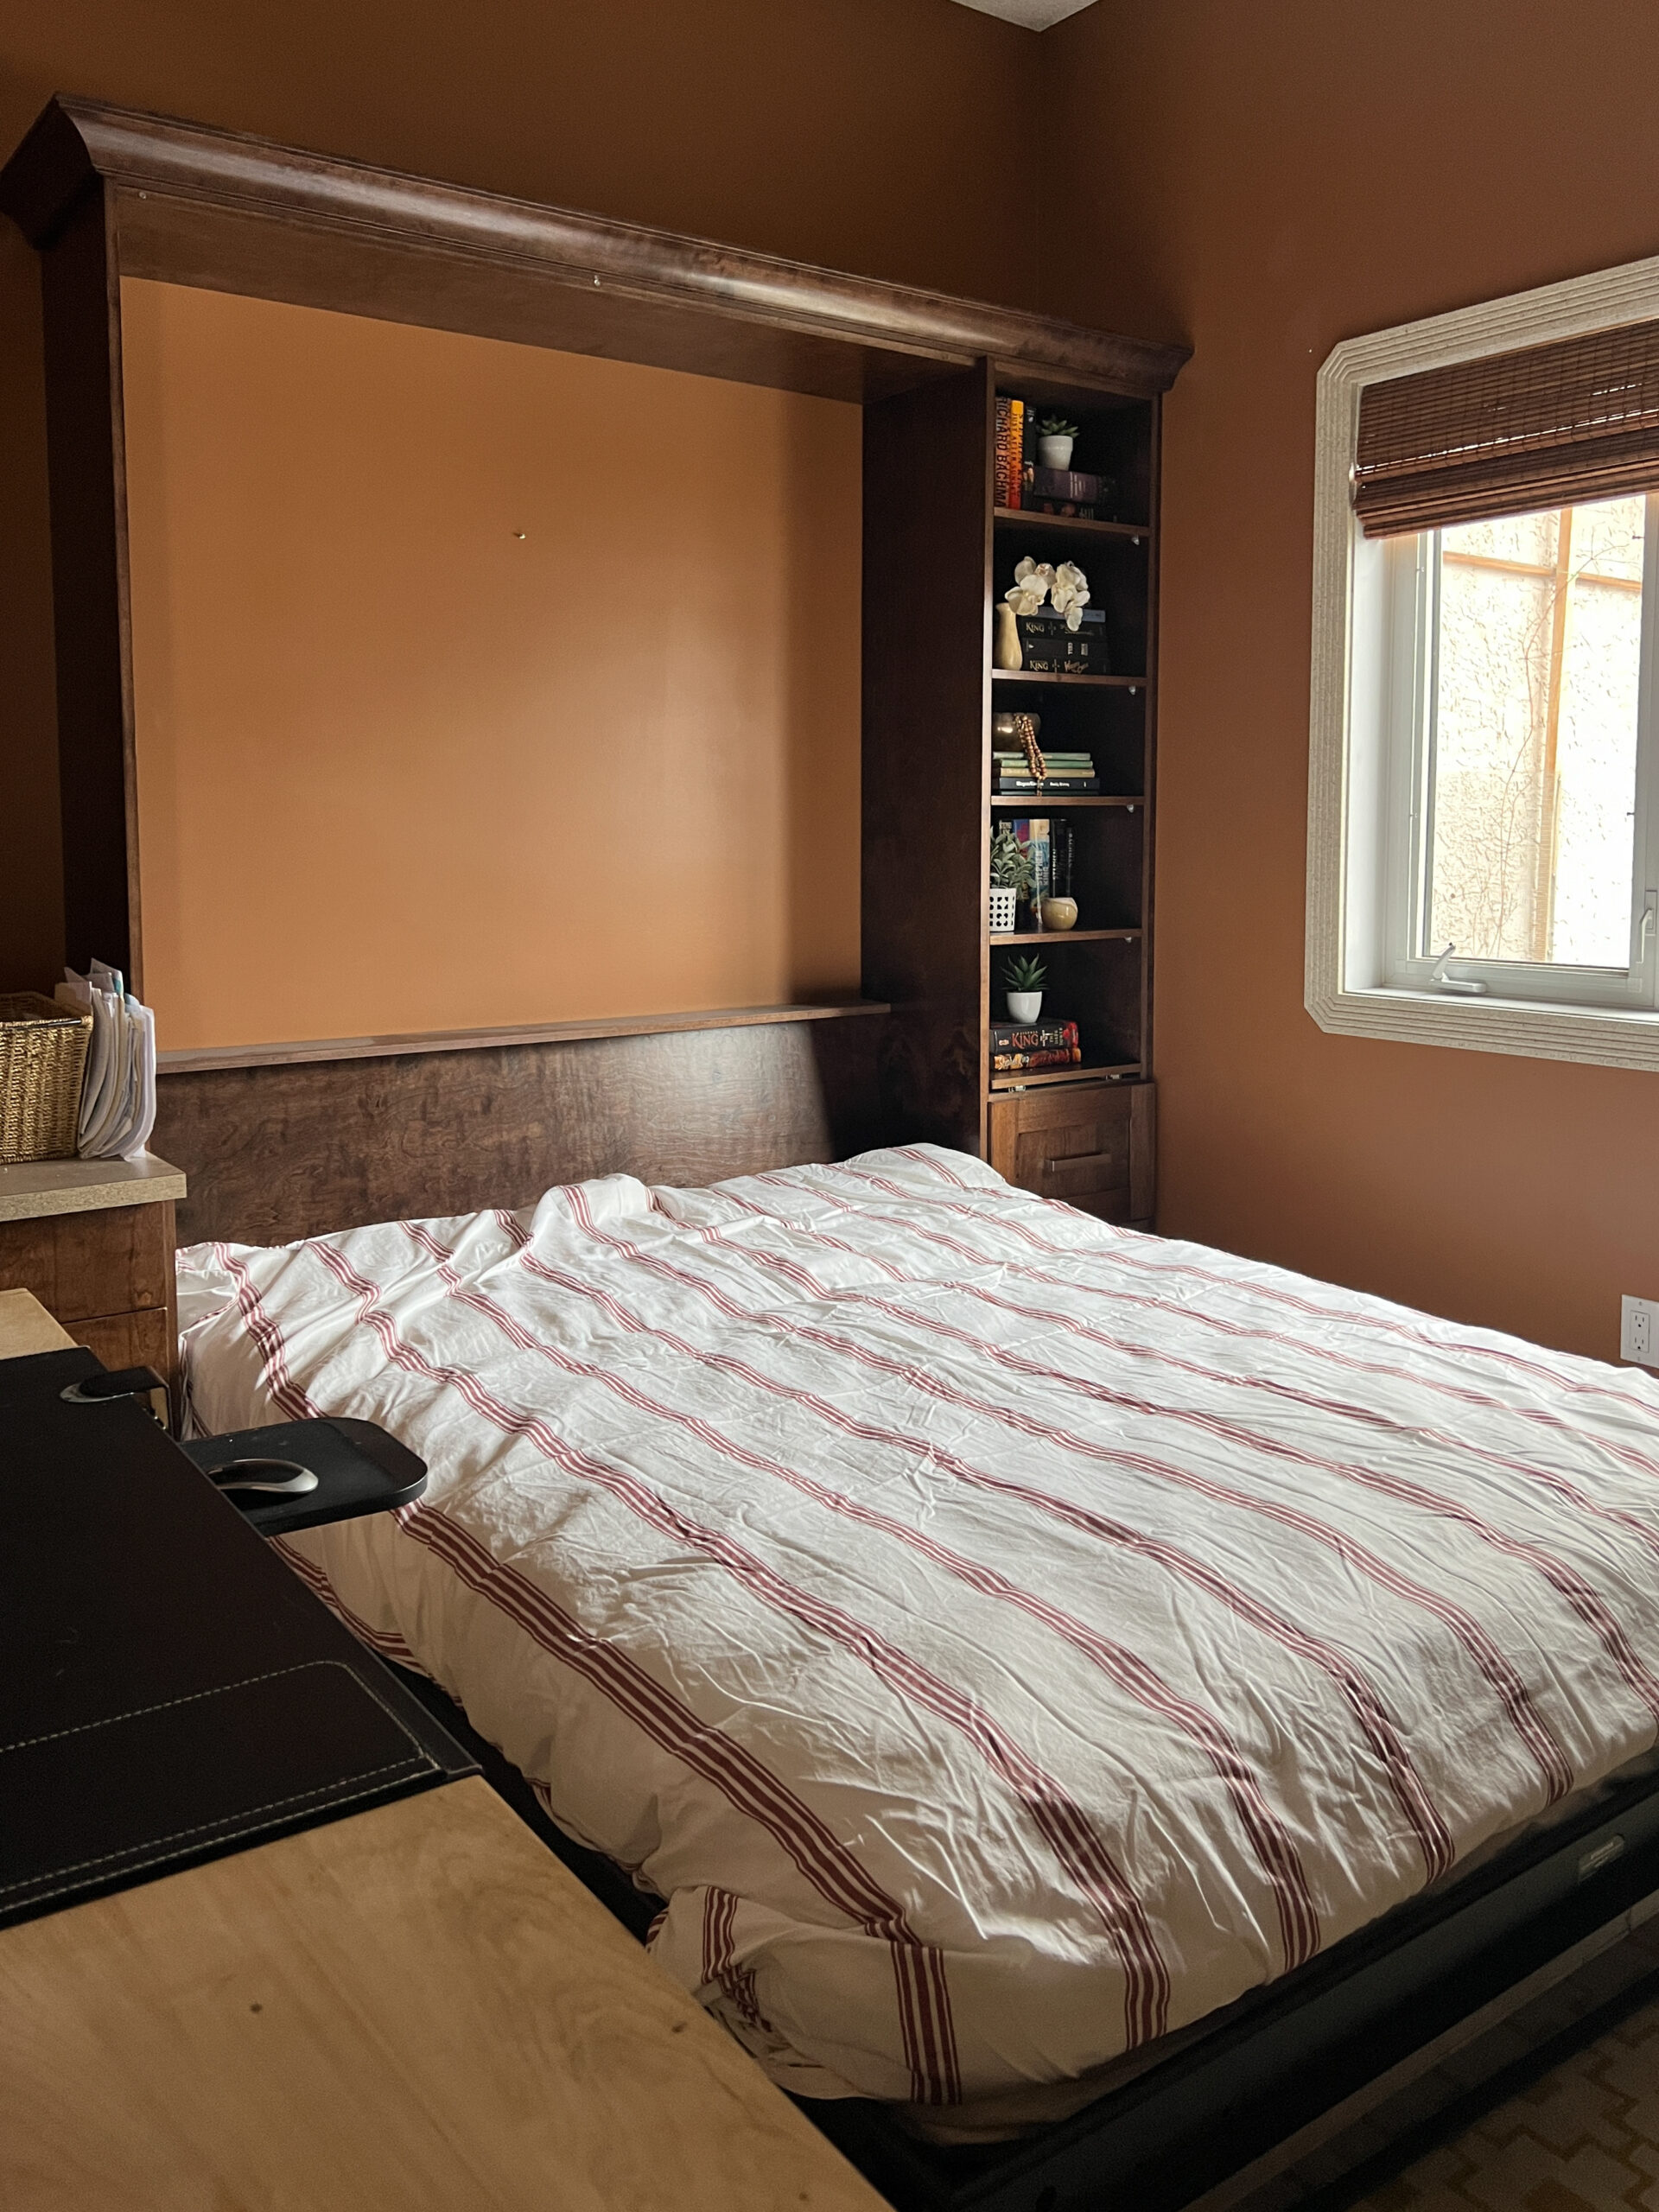
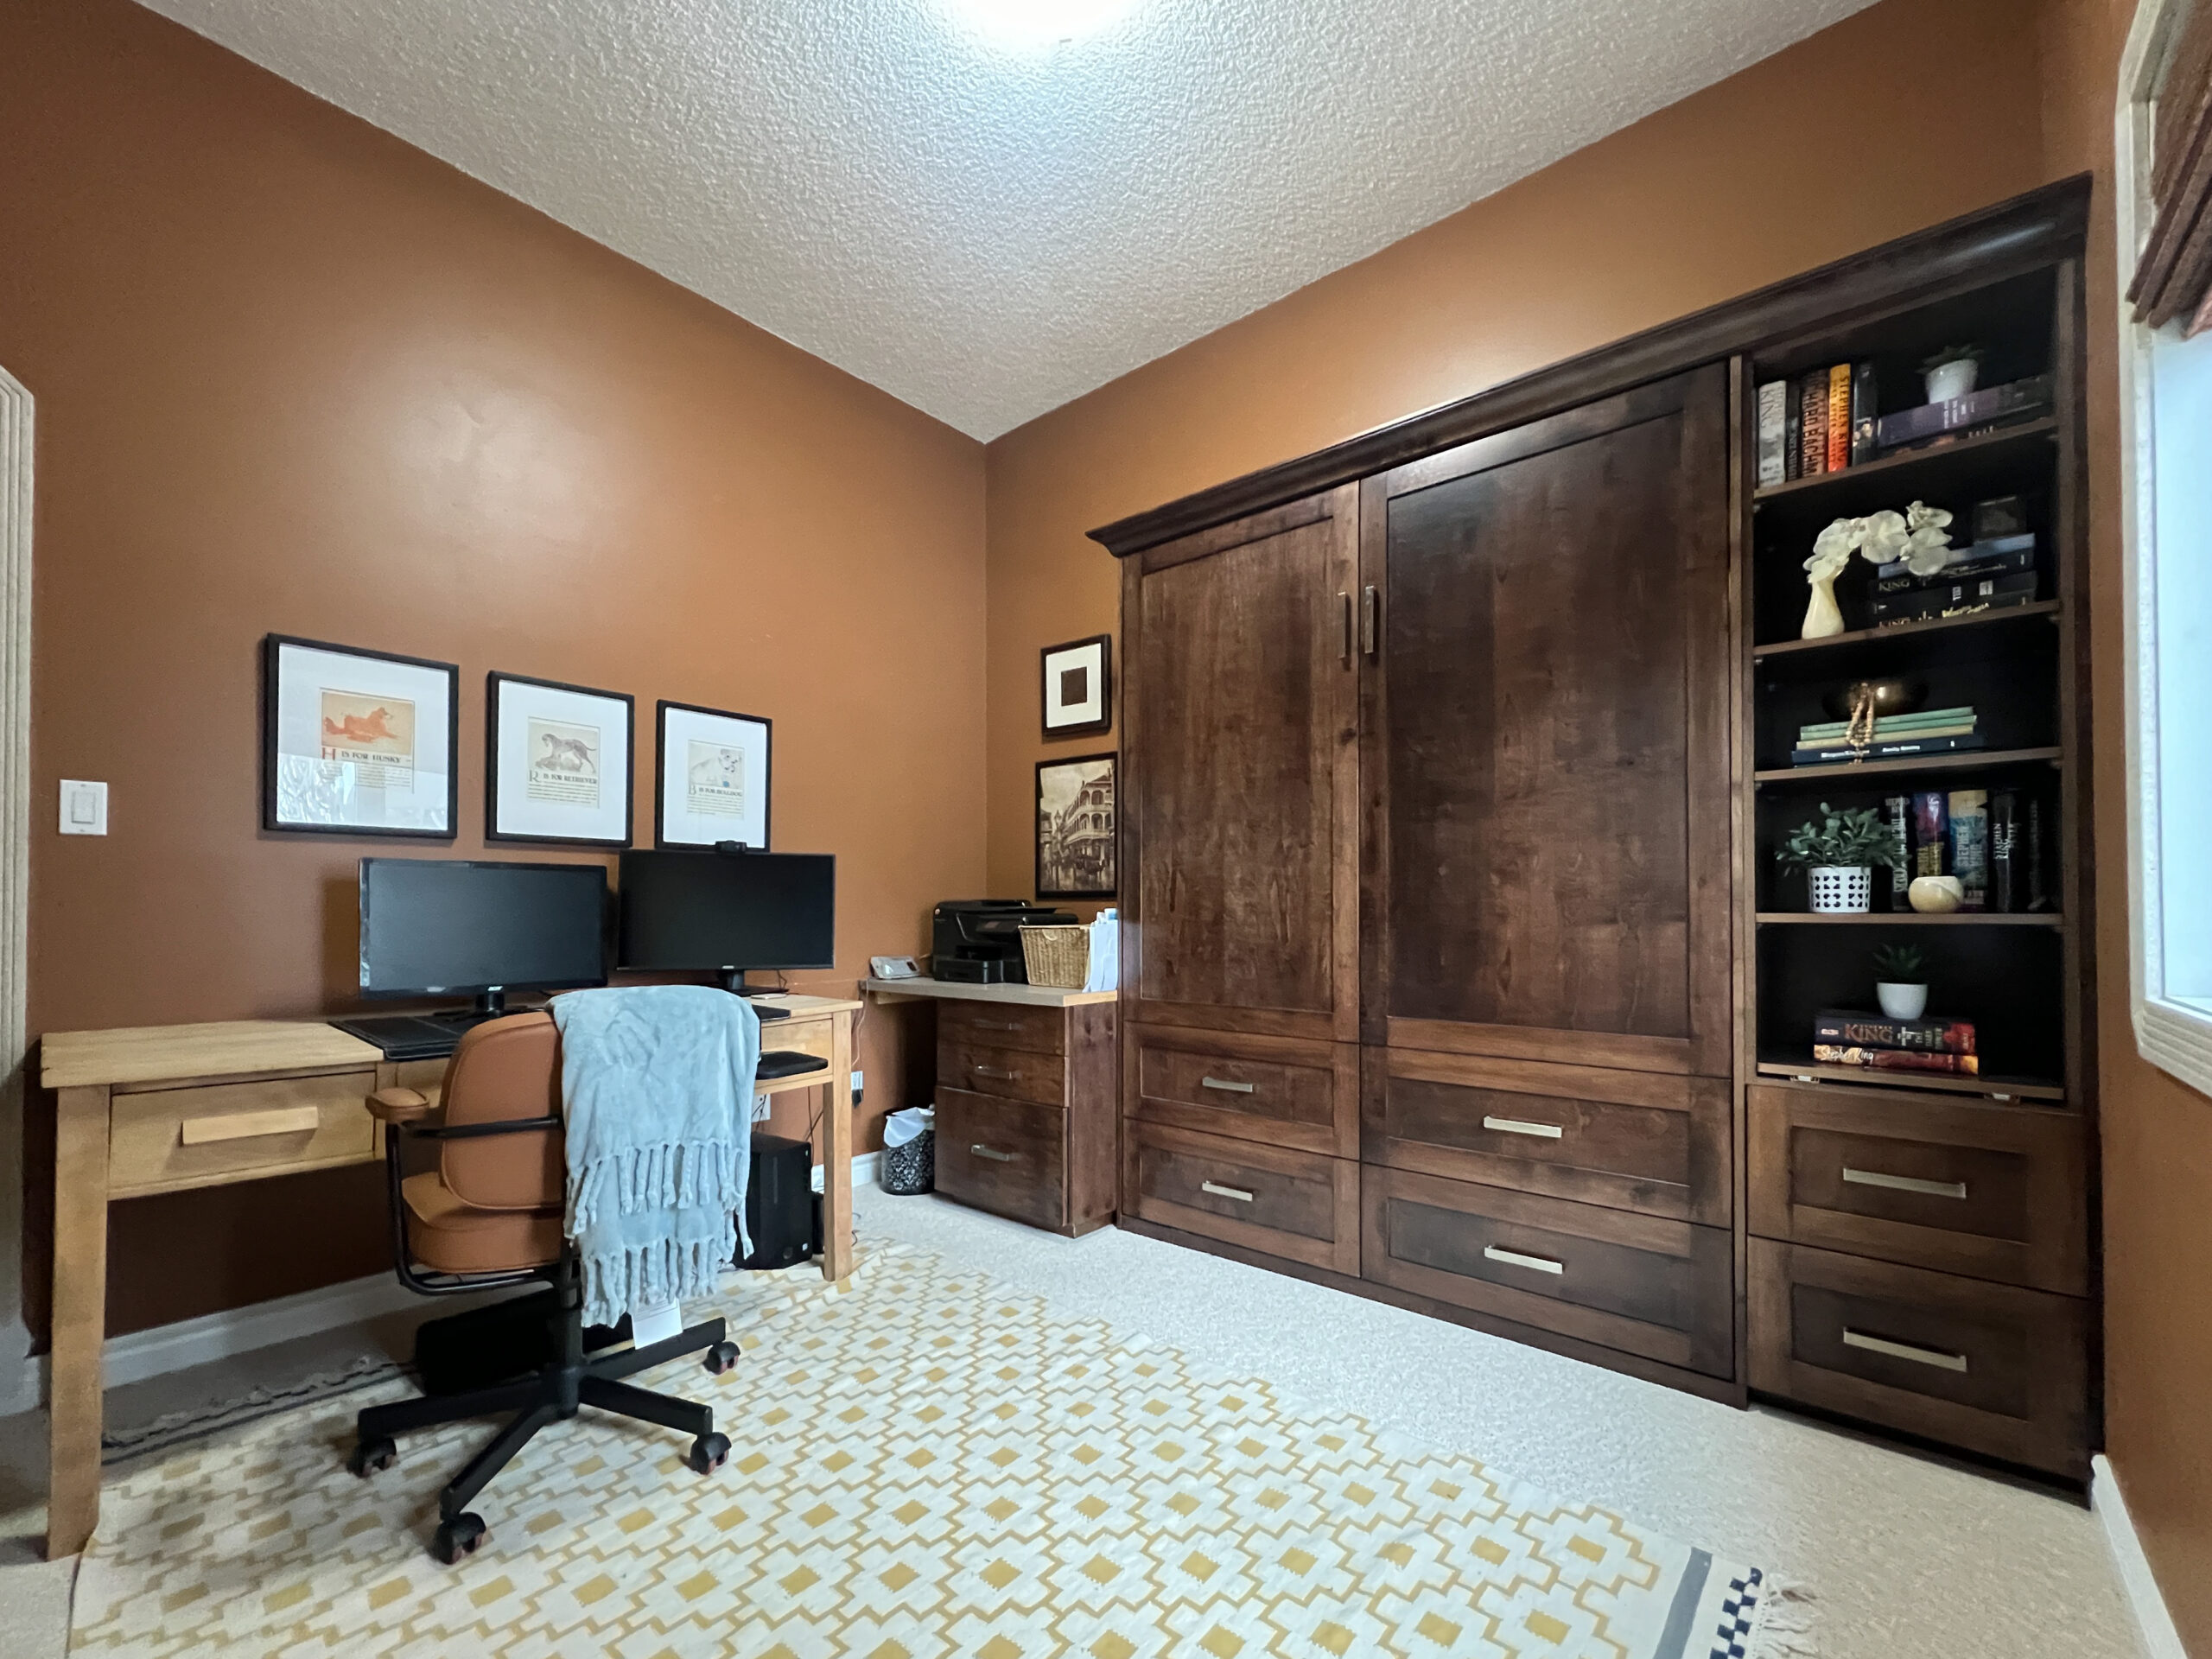
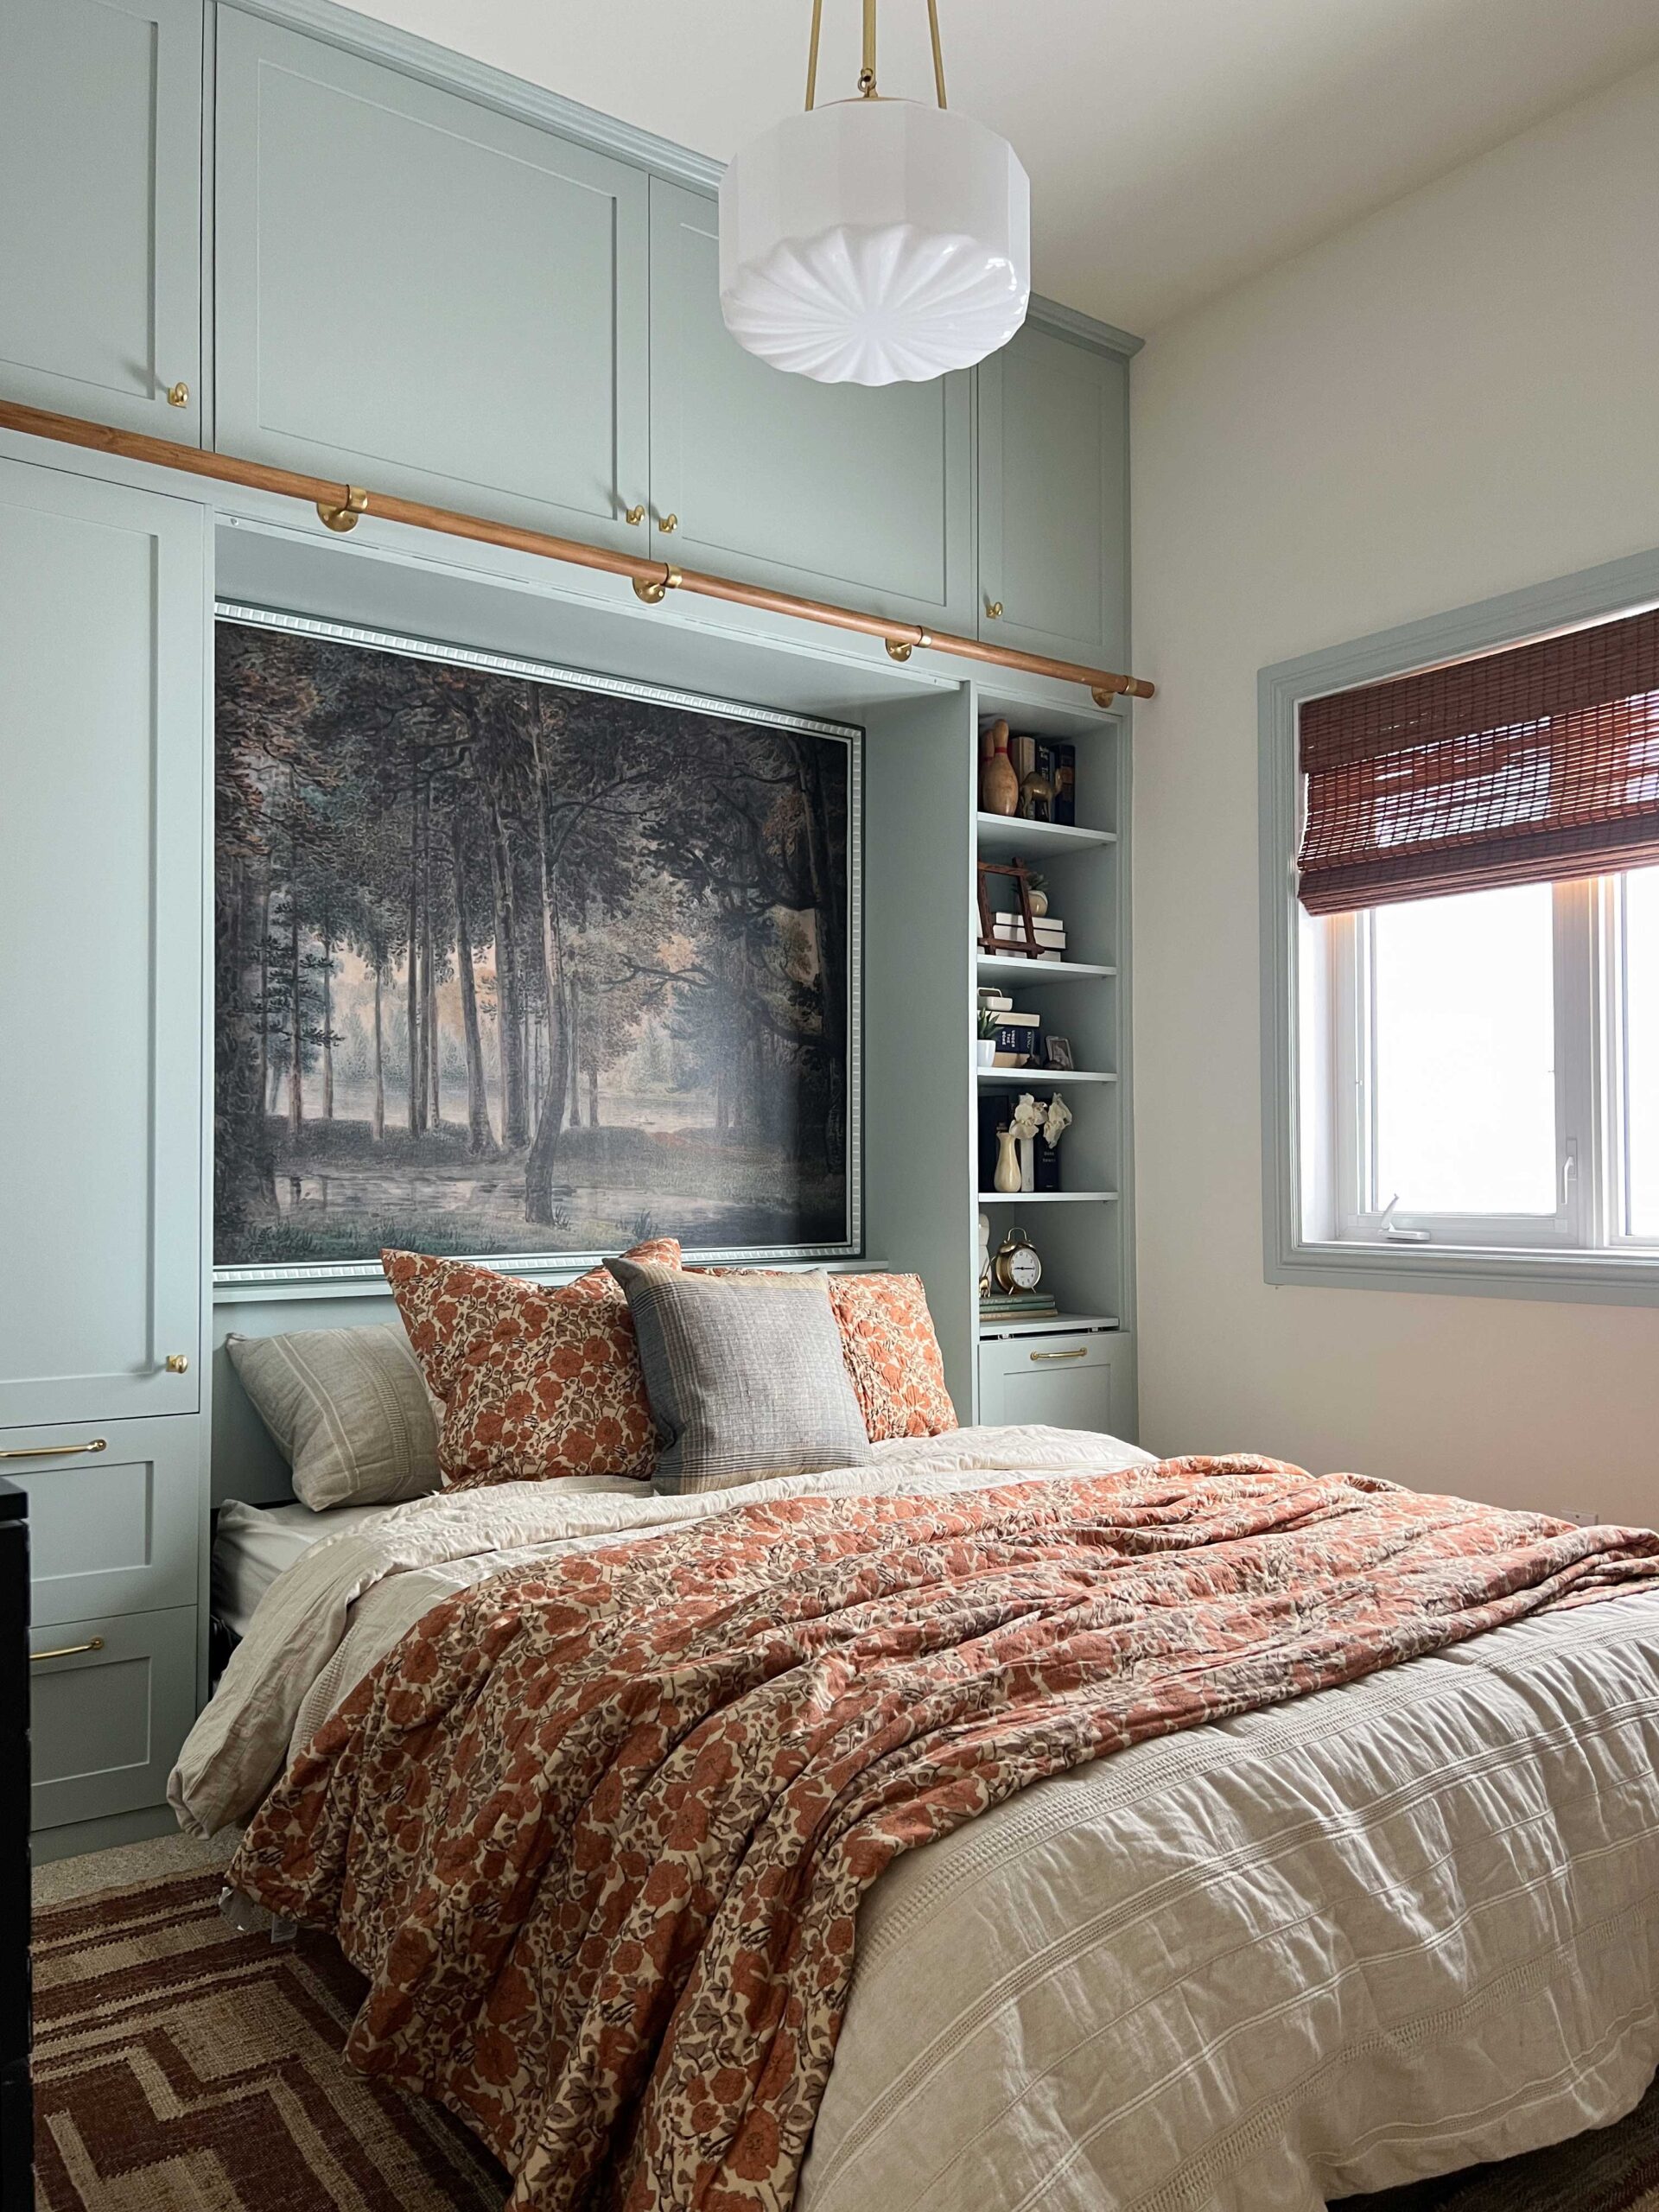
So when we moved in, this room was already a dedicated space for an office. It had a built-in L-shaped desk that was attached to a Murphy bed. The Murphy bed is actually super cool and such a great asset to have in a spare room.
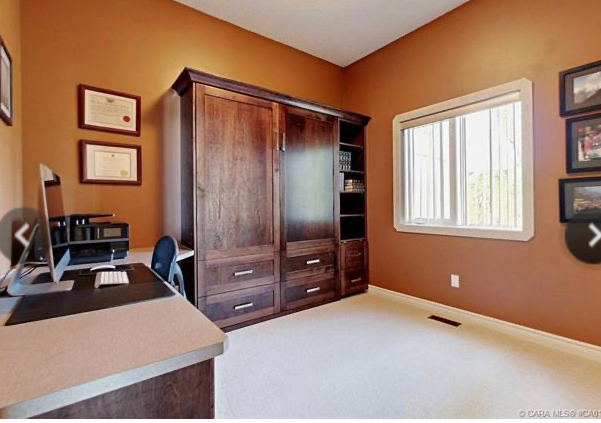
95% of the time the bed stays tucked into the wall, and this room functions as my home office setup. When we have guests, we move a few things around, drop the bed, and voila… guest room. I love that this home office space can double duty as a guest space without a dedicated room being wasted for a rarely used guest room.

I knew I didn’t want to keep the existing built-in corner desk. I had an antique desk that I wanted to keep and it wouldn’t fit into the room with that countertop in place, so on about day 3 of living here I tore that out. Before I had even unpacked.
I cut off a piece of the countertop and moved the desk drawers that were at the end of the L-shape next to the Murphy bed as a makeshift solution.
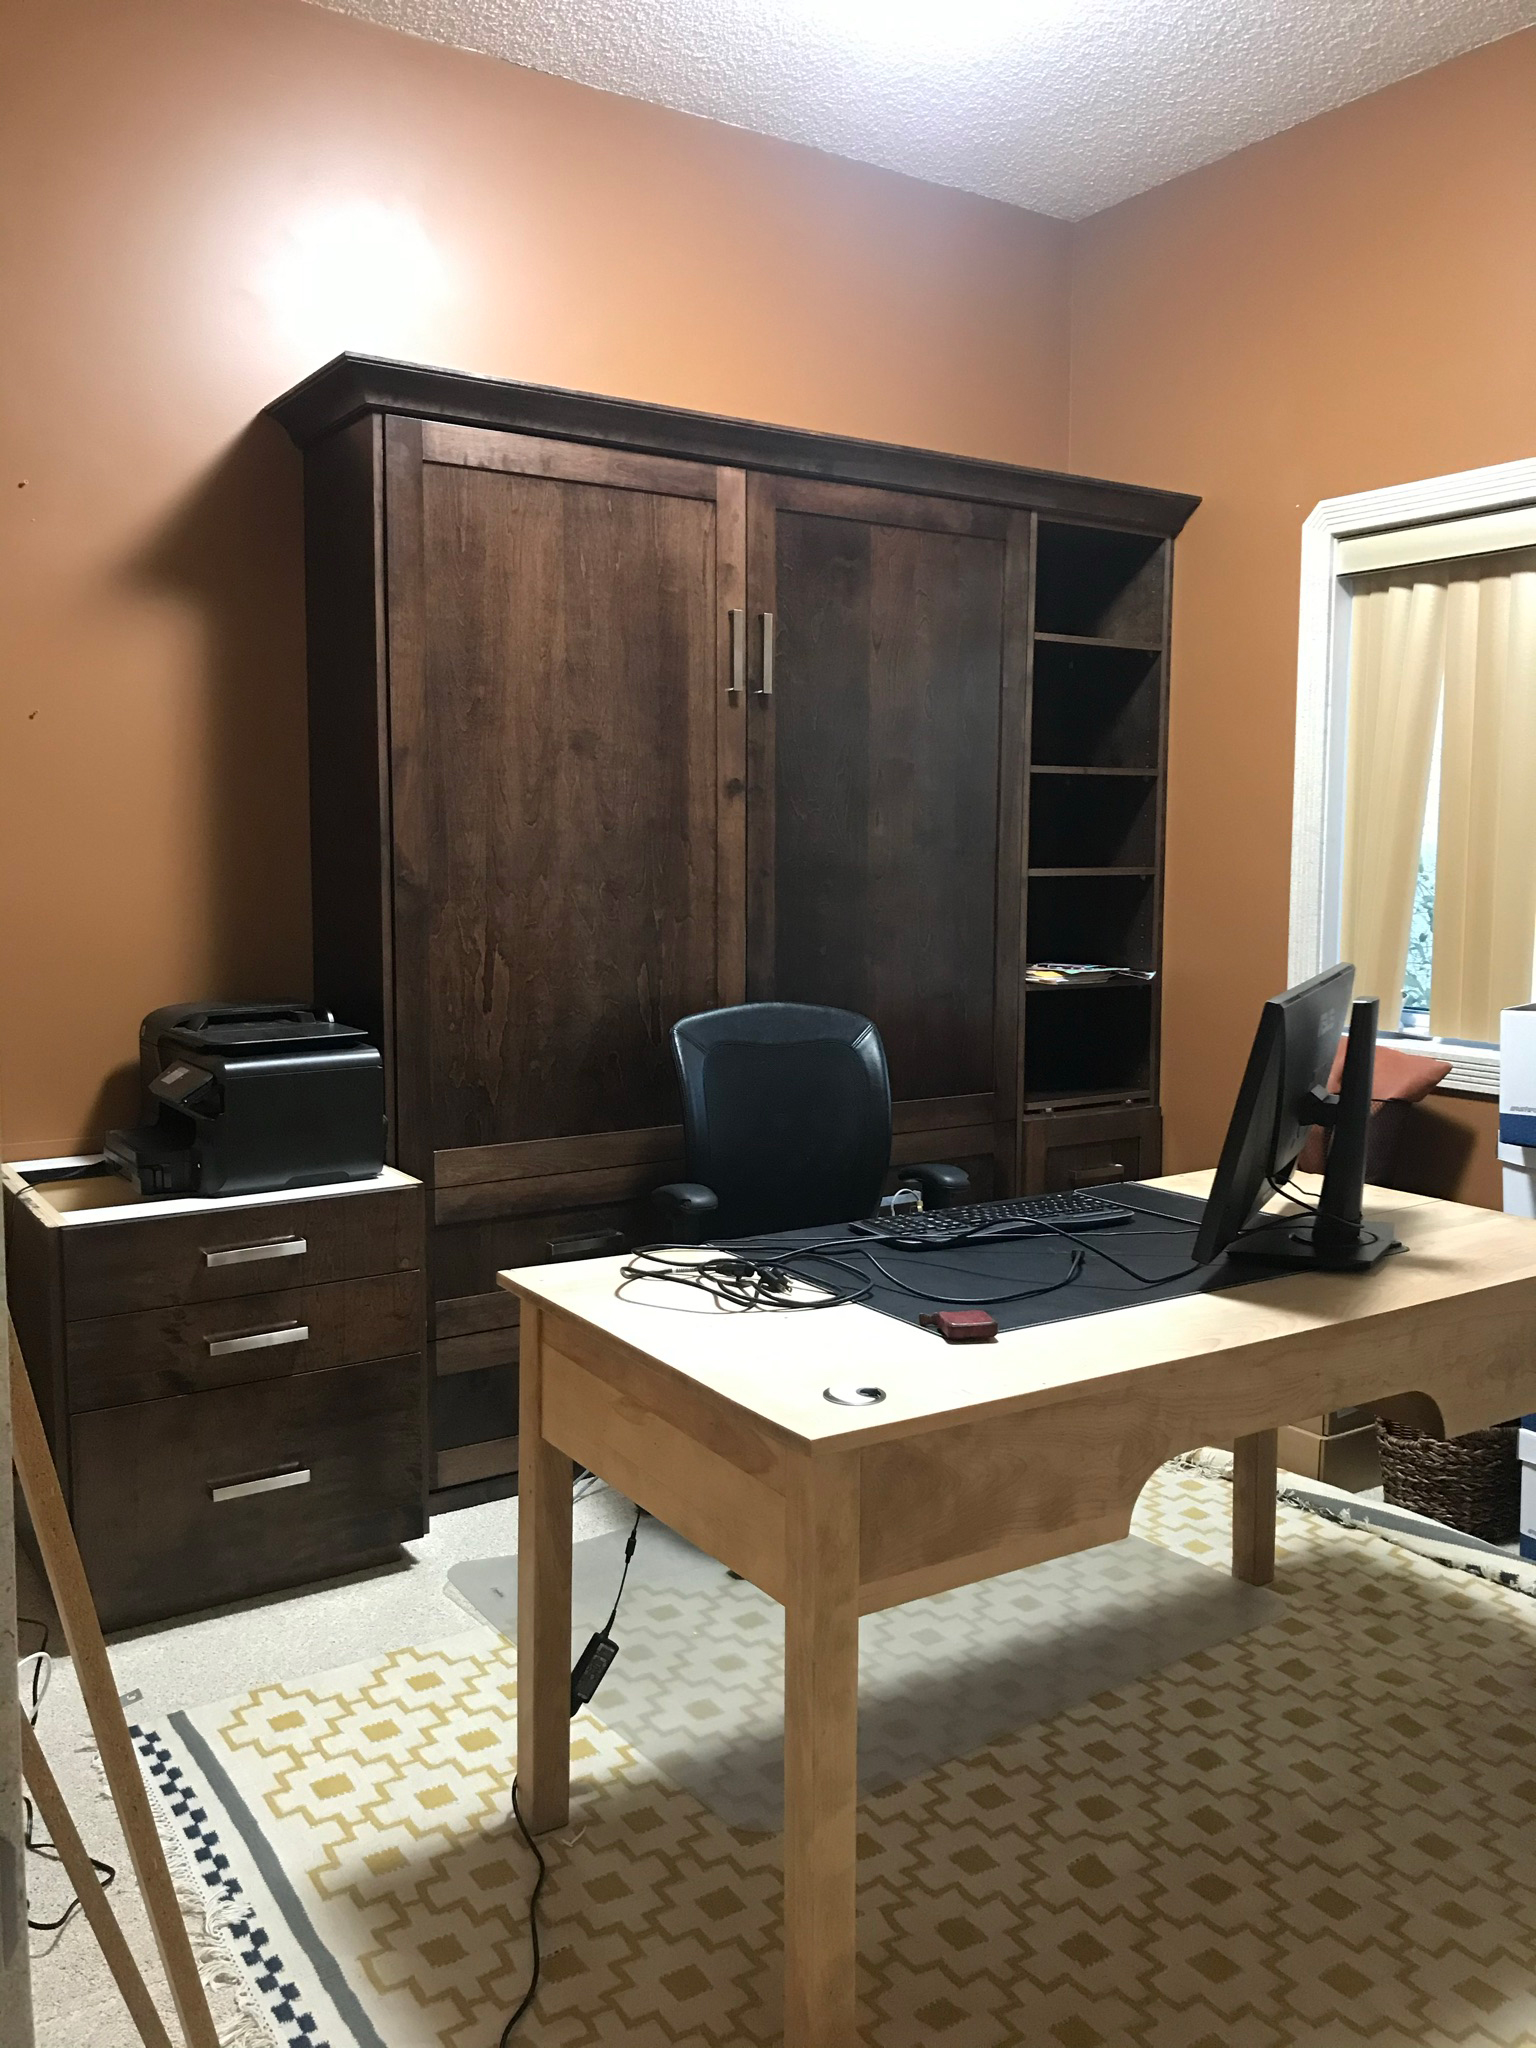
I placed my antique desk in the middle of the room and lived with it for quite some time. I had envisioned a floating desk with built-ins behind it, the Pinterest and swoon-worthy office spaces I had all over my pin board. There was one big difference between those office spaces and mine, however. MONITORS.
I like a lot of screens open when I’m working and a ton of monitors. and when the pandemic hit, I used this room as my full-time office as we worked from home on a permanent basis. After my dog knocked my monitor off my desk when he tripped on some cords I finally faced the truth. I couldn’t have that Pinterest-worthy desk floating in the room because I had too many wires and monitors.
Even if I had managed the wires some clever cord storage or floor outlets, you were always going to walk in and look at the back side of my computer, and that just looks messy to me.
At some point during COVID, I moved my desk up against the wall and it’s been awkwardly sitting there ever since. It is too big for this spot and narrows the entrance into the room. I am writing this blog post from this ugly office with this awkward layout as we speak!
The Options for the Desk Area
I tossed around the idea of getting a slightly smaller desktop float in the middle of the room and placing my monitors and small desk space to the left of the Murphy bed where I have my printer. However, I decided that that tight space was not going to have enough room for me to spread out or give me enough work space.

I started looking at other ideas for where to put a desk. I started to wonder if I had jumped the gun a little when I ripped out that long countertop! Maybe that was the best solution after all? But no, there has to be something more visually appealing!
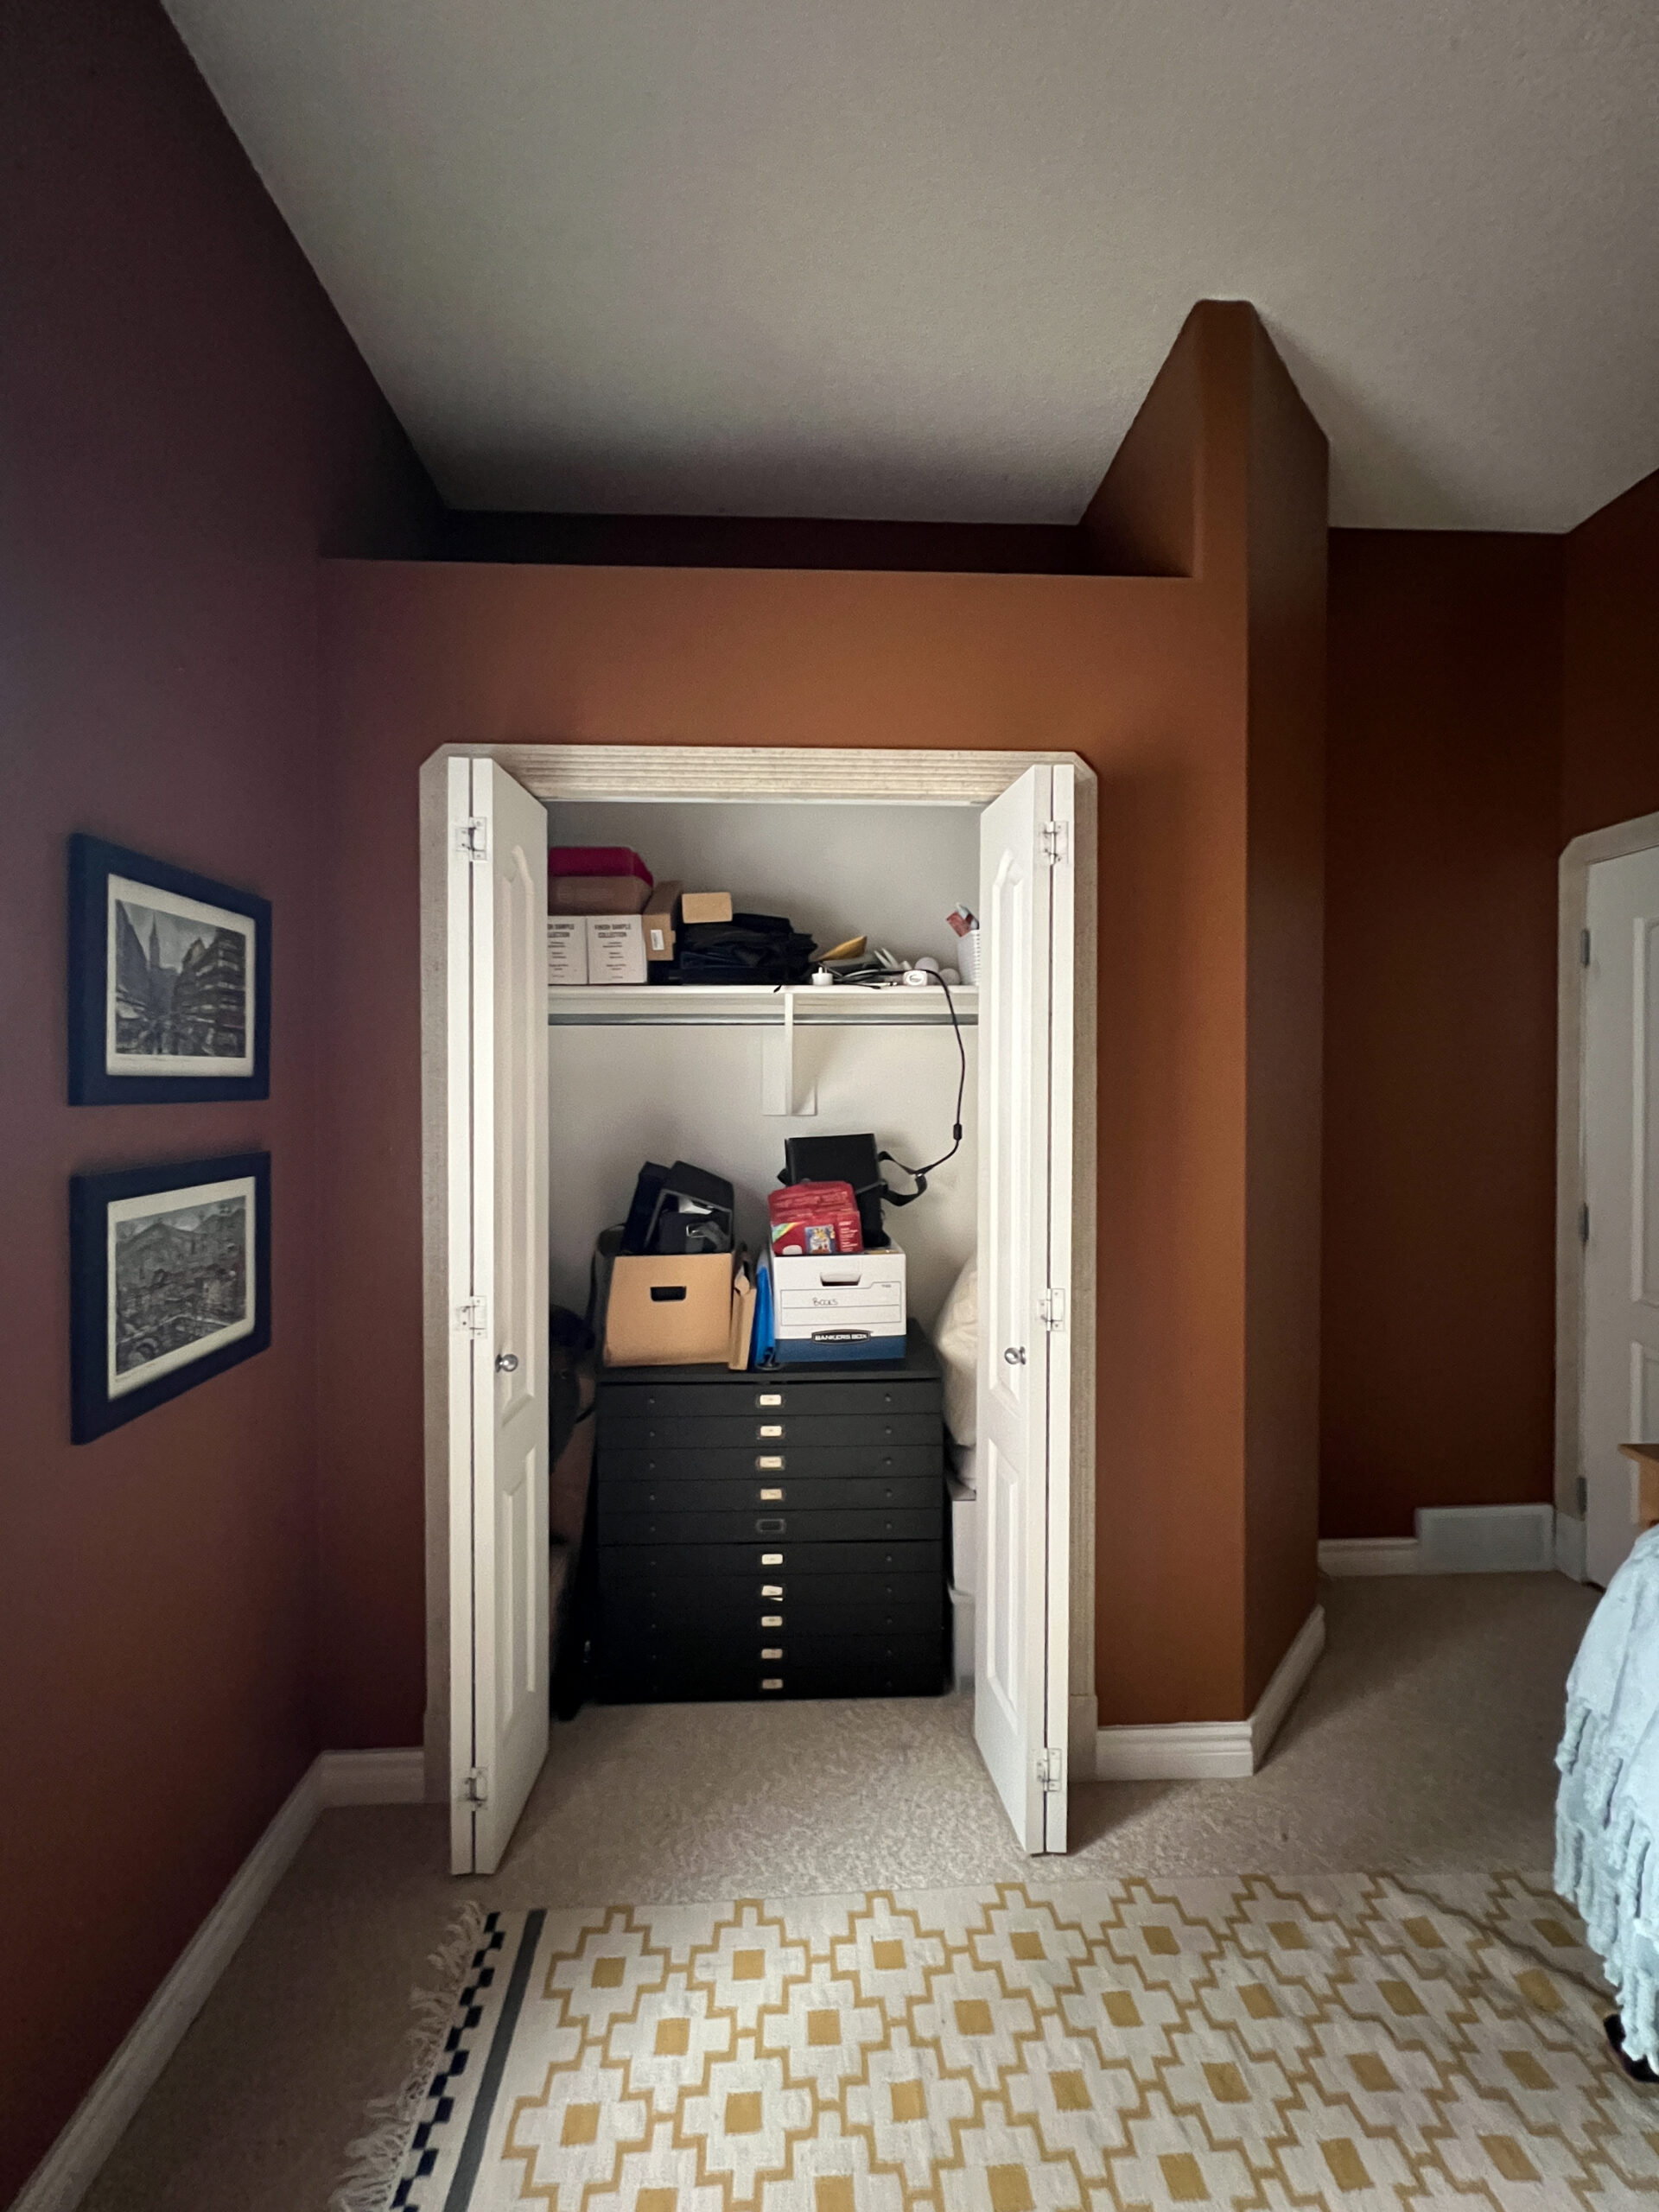
There is a closet in this room which is a major junk collector. I have the filing cabinet in there as it is the only place it can go currently and not be in the way of the Murphy bed when it’s open. Other than that, it’s just random junk and we are not making good use of that square footage whatsoever.
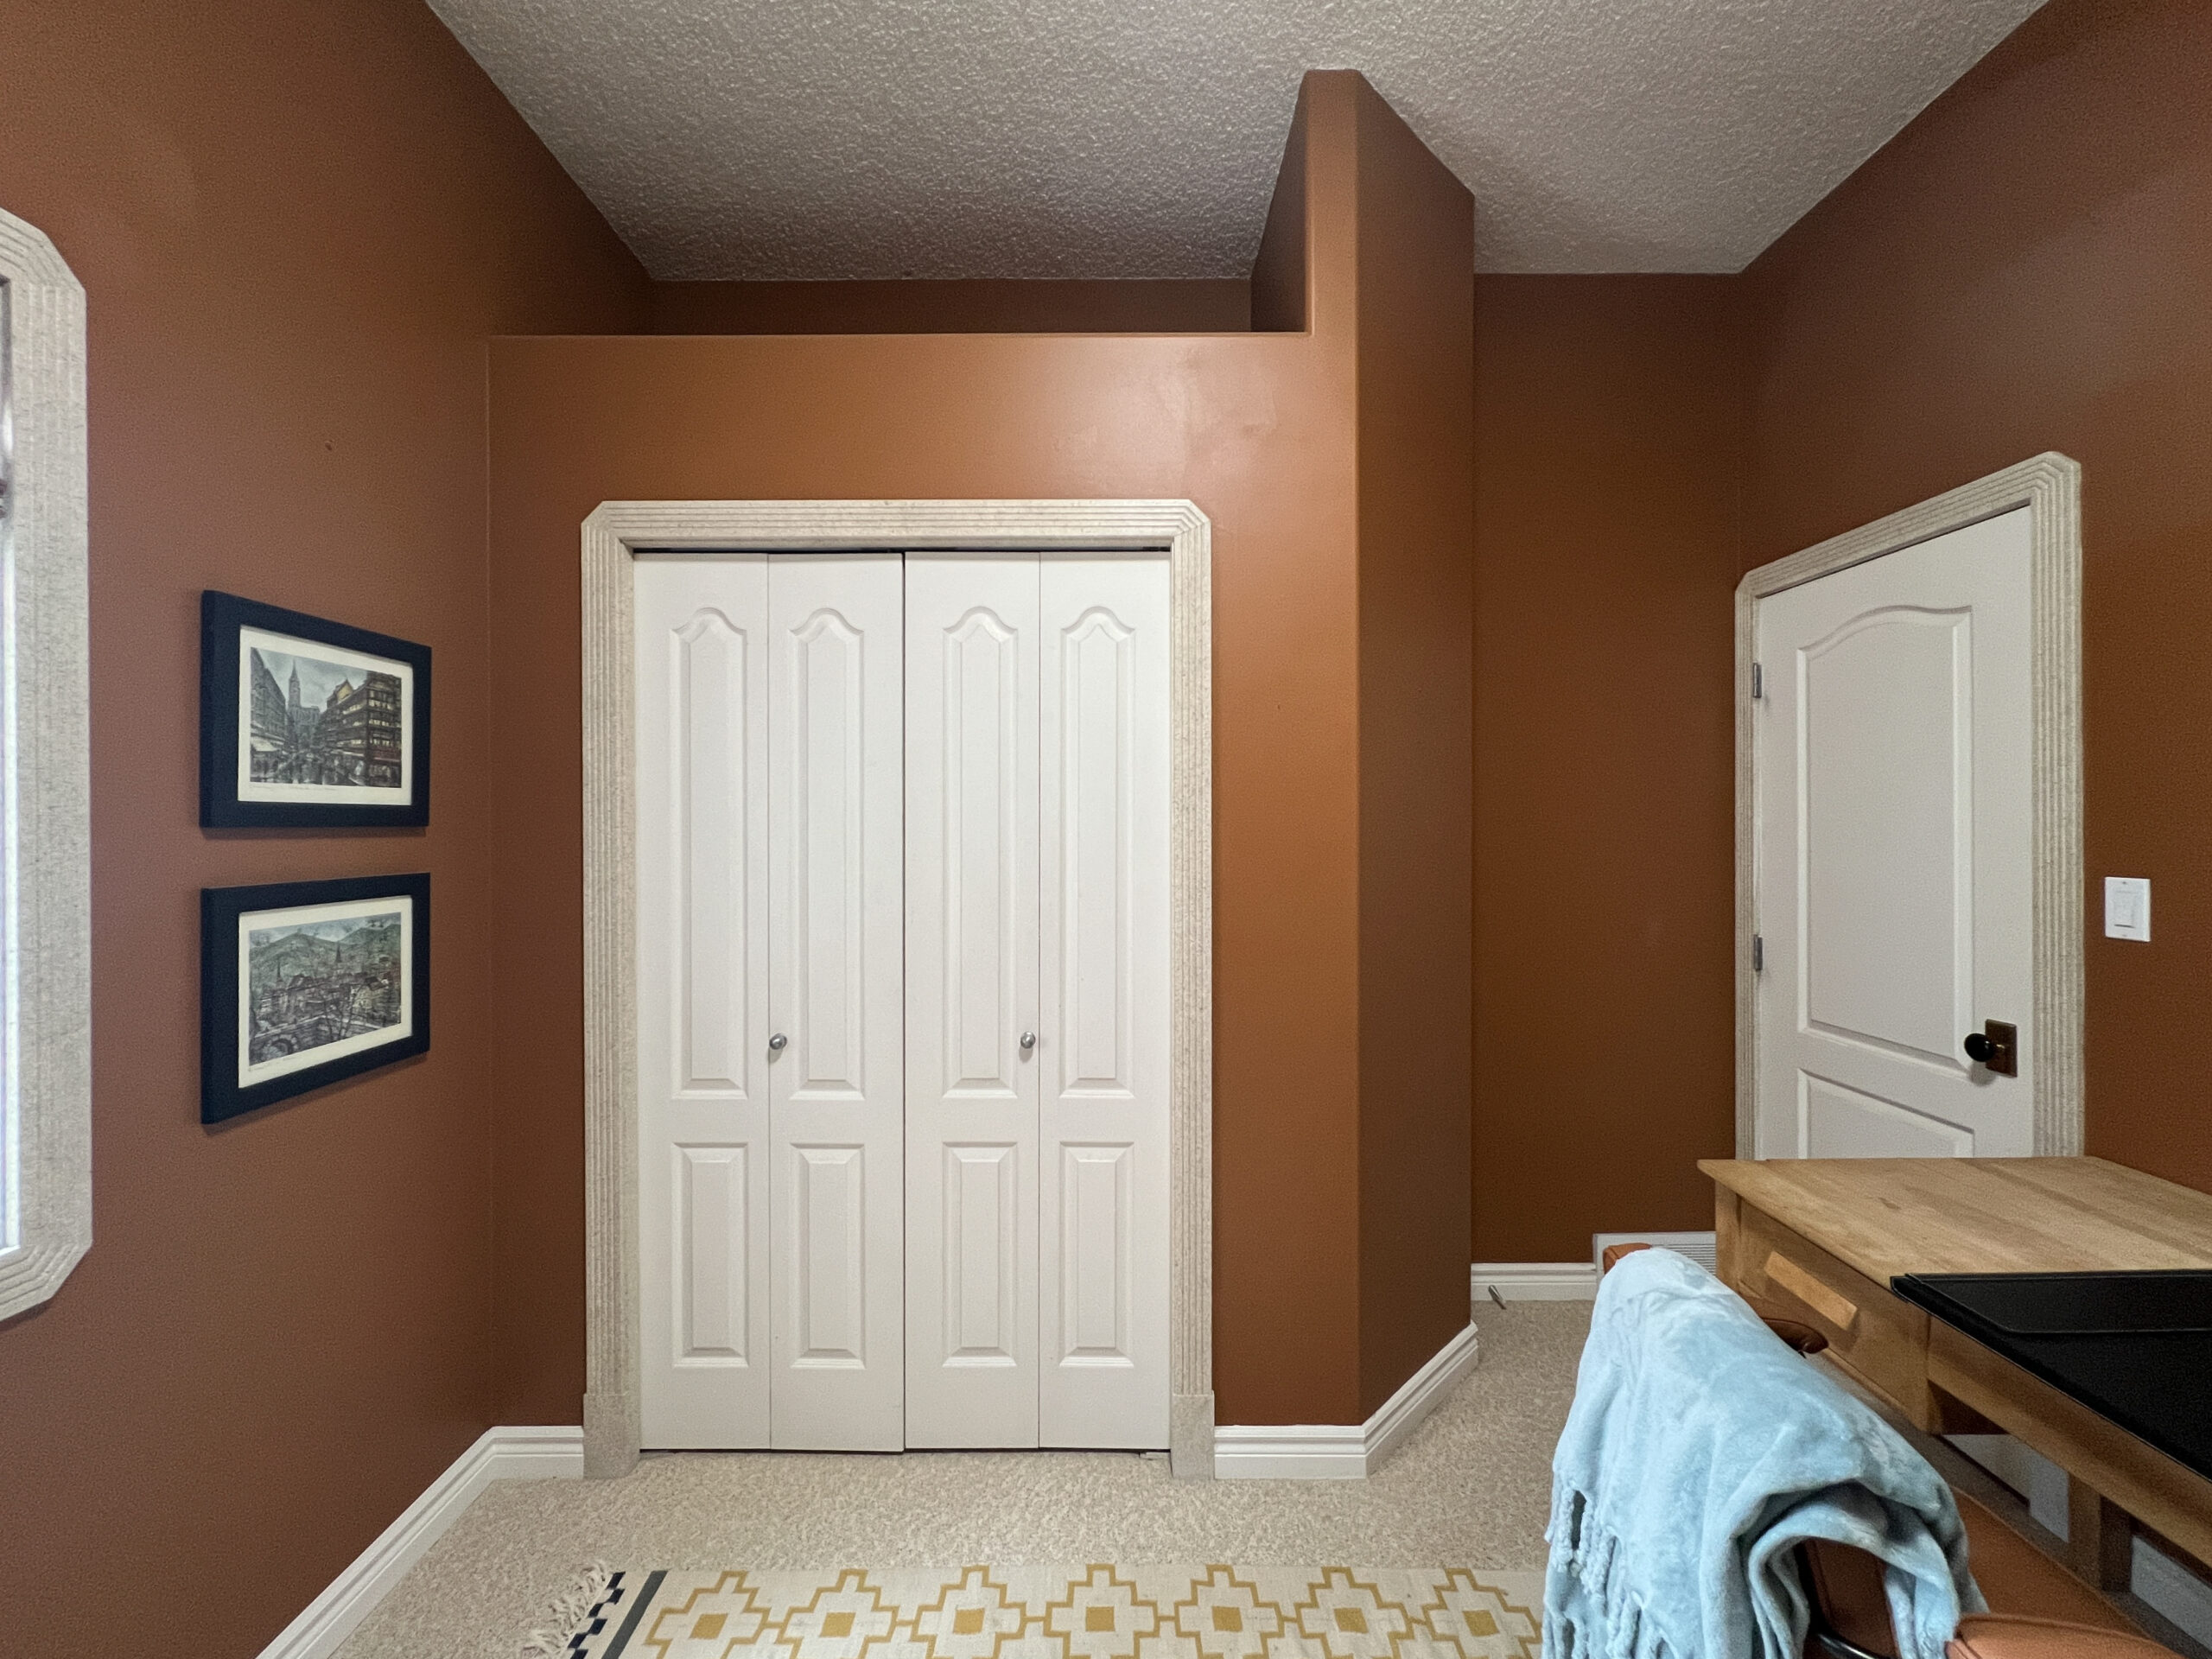
I started to wonder if I should turn the closet space into a desk area. It would be a great place and maybe the best option for a place to put the desk. Inside a small nook sort of out of the way around the corner, not in view of the door. I could have my monitor up on the walls there and no one has to look at the back of it.
For a hot second, I considered the fact that we would be permanently removing the closet and therefore this room may no longer be considered a bedroom, which might hurt us for resale. However, at the end of the day, we need to live here, I need a desk, and if someone wants to turn this back into a bedroom, it would not be that hard to do. Hopefully, my beautiful home office will be a selling feature!
There is an eye sore of a “niche” above the closet that is a useless collector of filth. I have never been up there so I am a little afraid of what I will find! I thought that there was probably a better use of that vertical space, storage is one thing that we desperately need more of in this home.
So the desk is going in the closet, the filing cabinet can go where my desk is now against the wall, and that’s that. We will build up the Murphy bed wall with built-ins eventually and build storage above the nook desk.
The Home Office Nook
I have seen a lot of people transform their awkward nooks or closets into a “cloffice” and I thought about doing that too without actually ripping out any framing. Just built in a countertop and some storage inside the existing closet. However, there is quite a bit of dead space to the left and right of the closet door, and I wanted to make better use of that space.
The ceilings in here are 10′ tall and to make the best use of vertical space, and maximize storage (and beauty!) we want to bring the cabinets up. We know from experience in our kitchen that cabinets that high up are extremely difficult to access. What’s a beautiful solution and a great way to access that storage? A library ladder, of course!
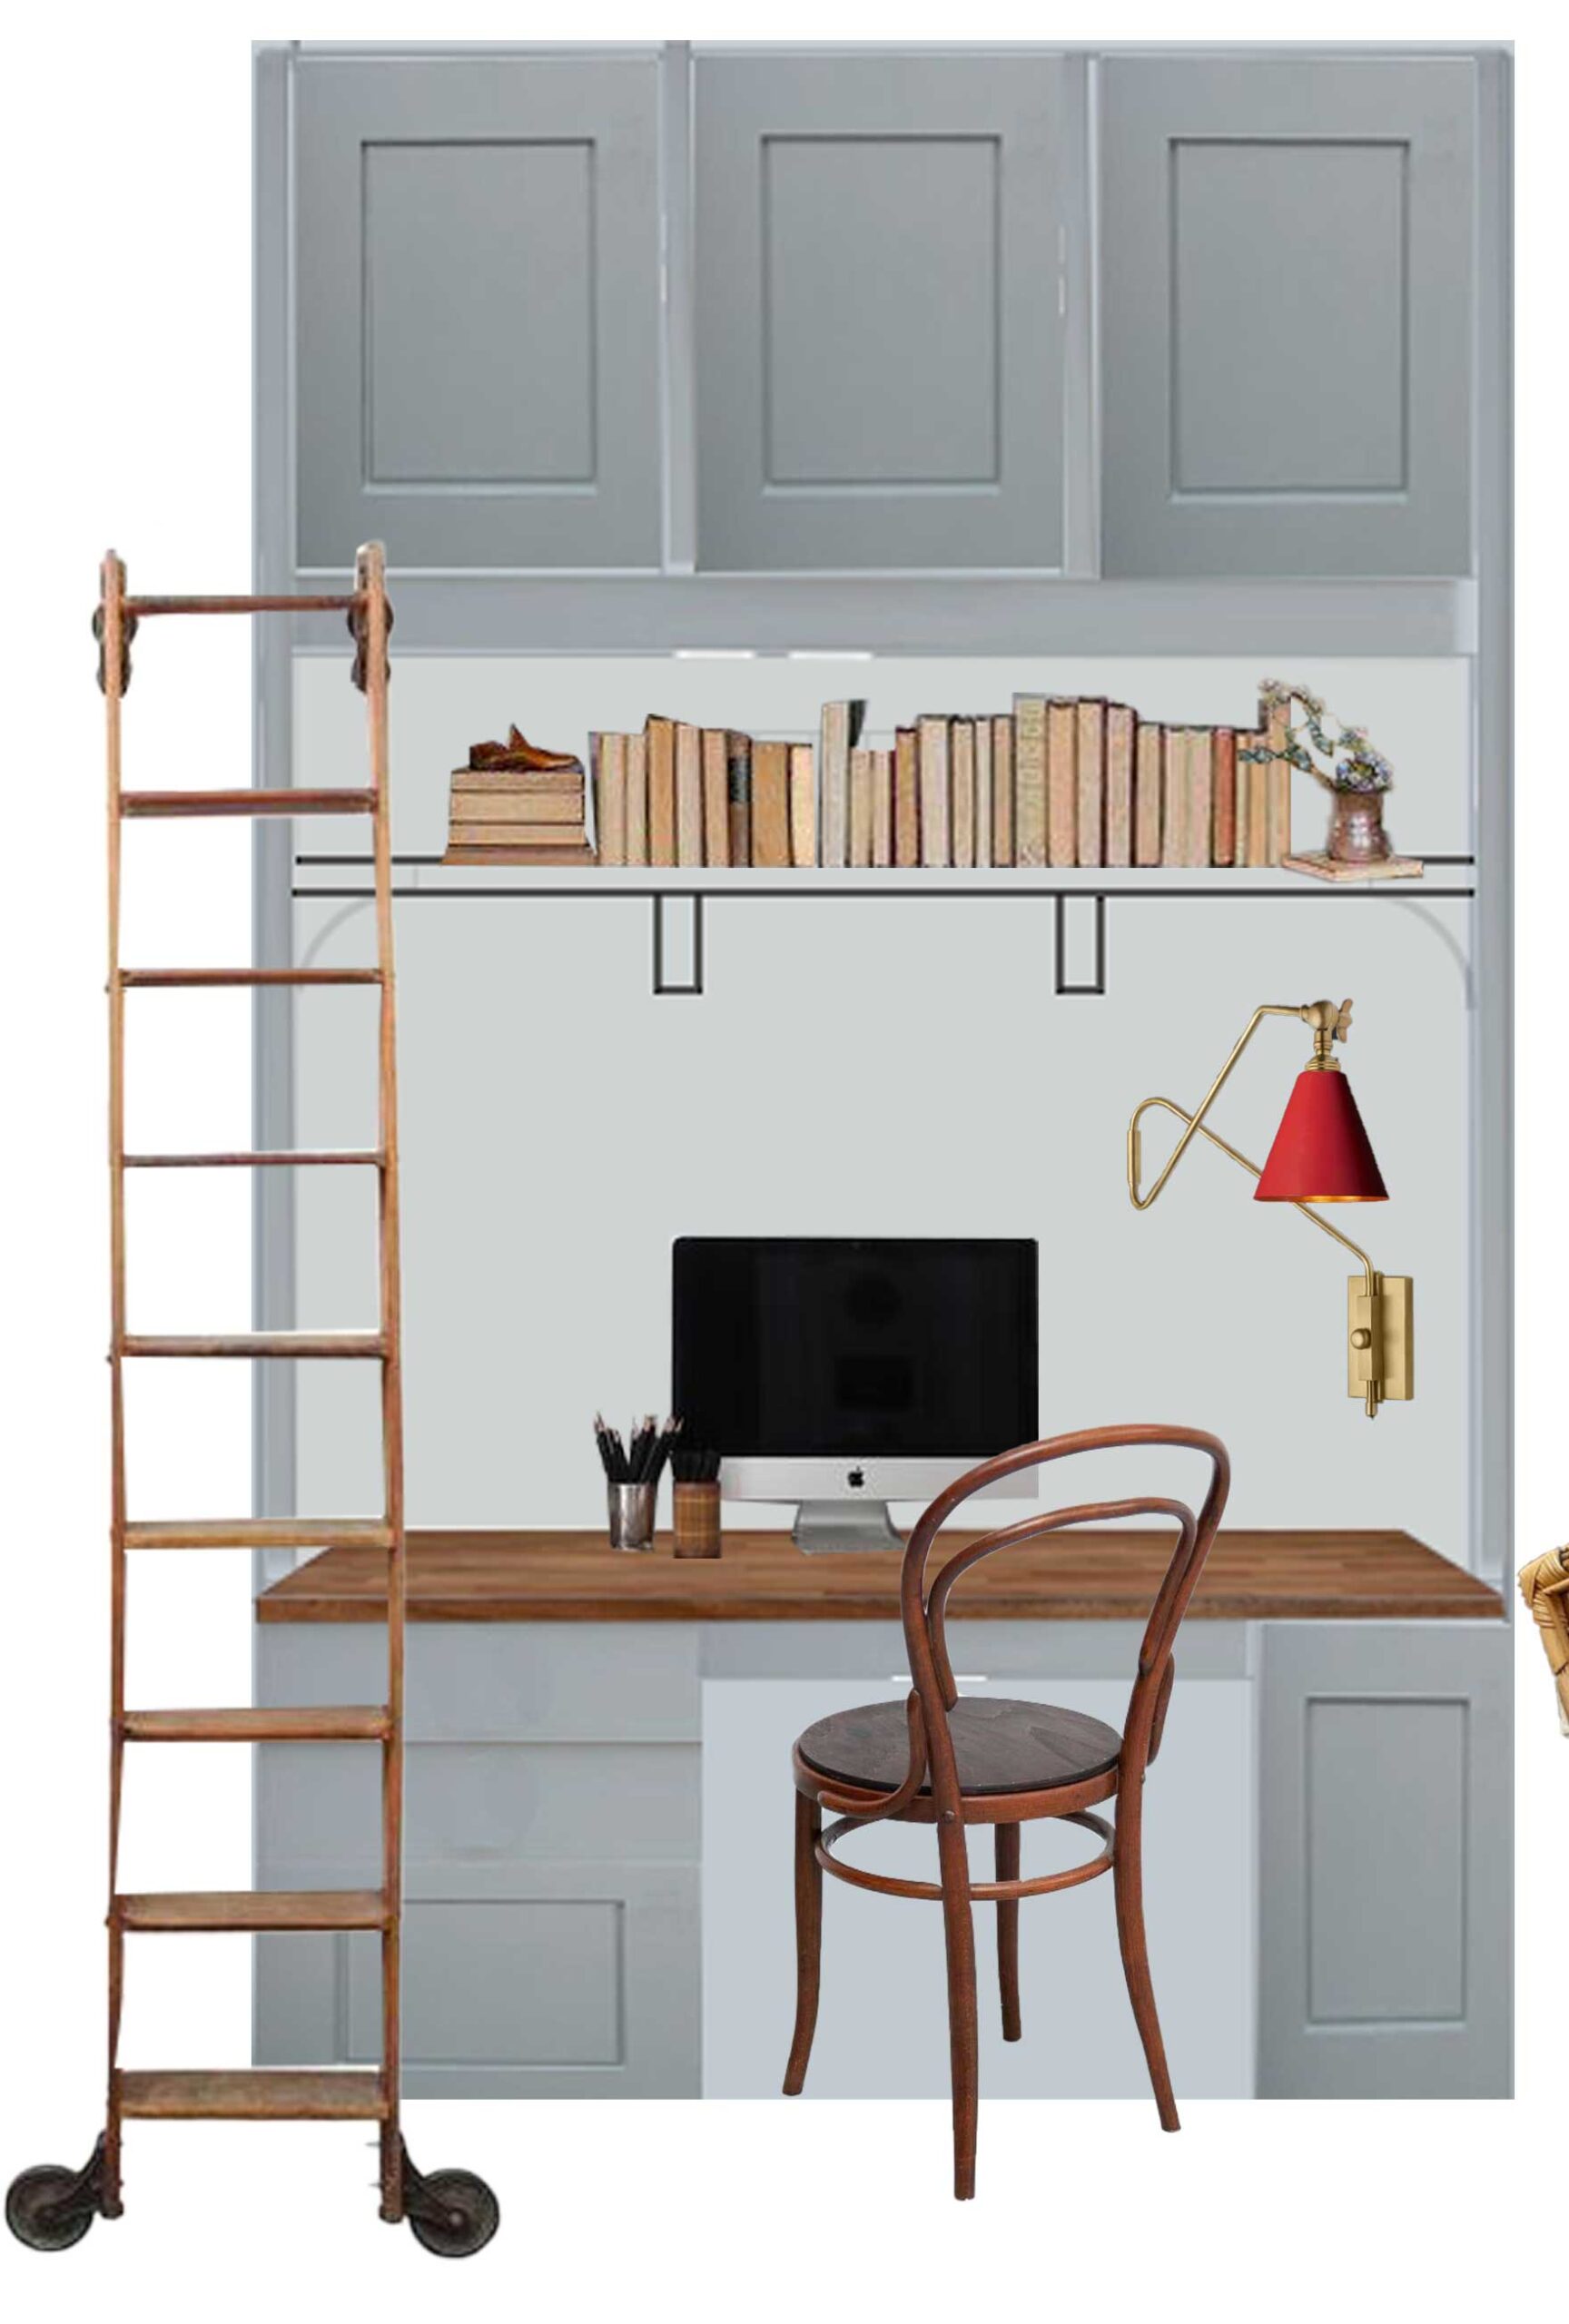
The other reason that we need to rip out the whole closet area is related to the ladder. If we make a ladder, the rail for the ladder should be at the same elevation around the room. Since the height of the Murphy bed is set, and we are keeping that, the rail for the upper storage will have to go just above the bed. This means that we need to mimic the rail height of the other side of the room, and the current bulkhead that is in there is not in the right spot for that.

Since we are building in some cabinets up high to give us enough space for storage, it only seemed fitting to build a desk below it as well. We have a set of three drawers from the old desk we are going to reuse and build in, and then we will add another cabinet on the floor for the desk to house my desktop computer. (Am I the only person on the planet that still has one of those?)
Of course, I will have to build another flip-down tray for my keyboard, that’s a given!
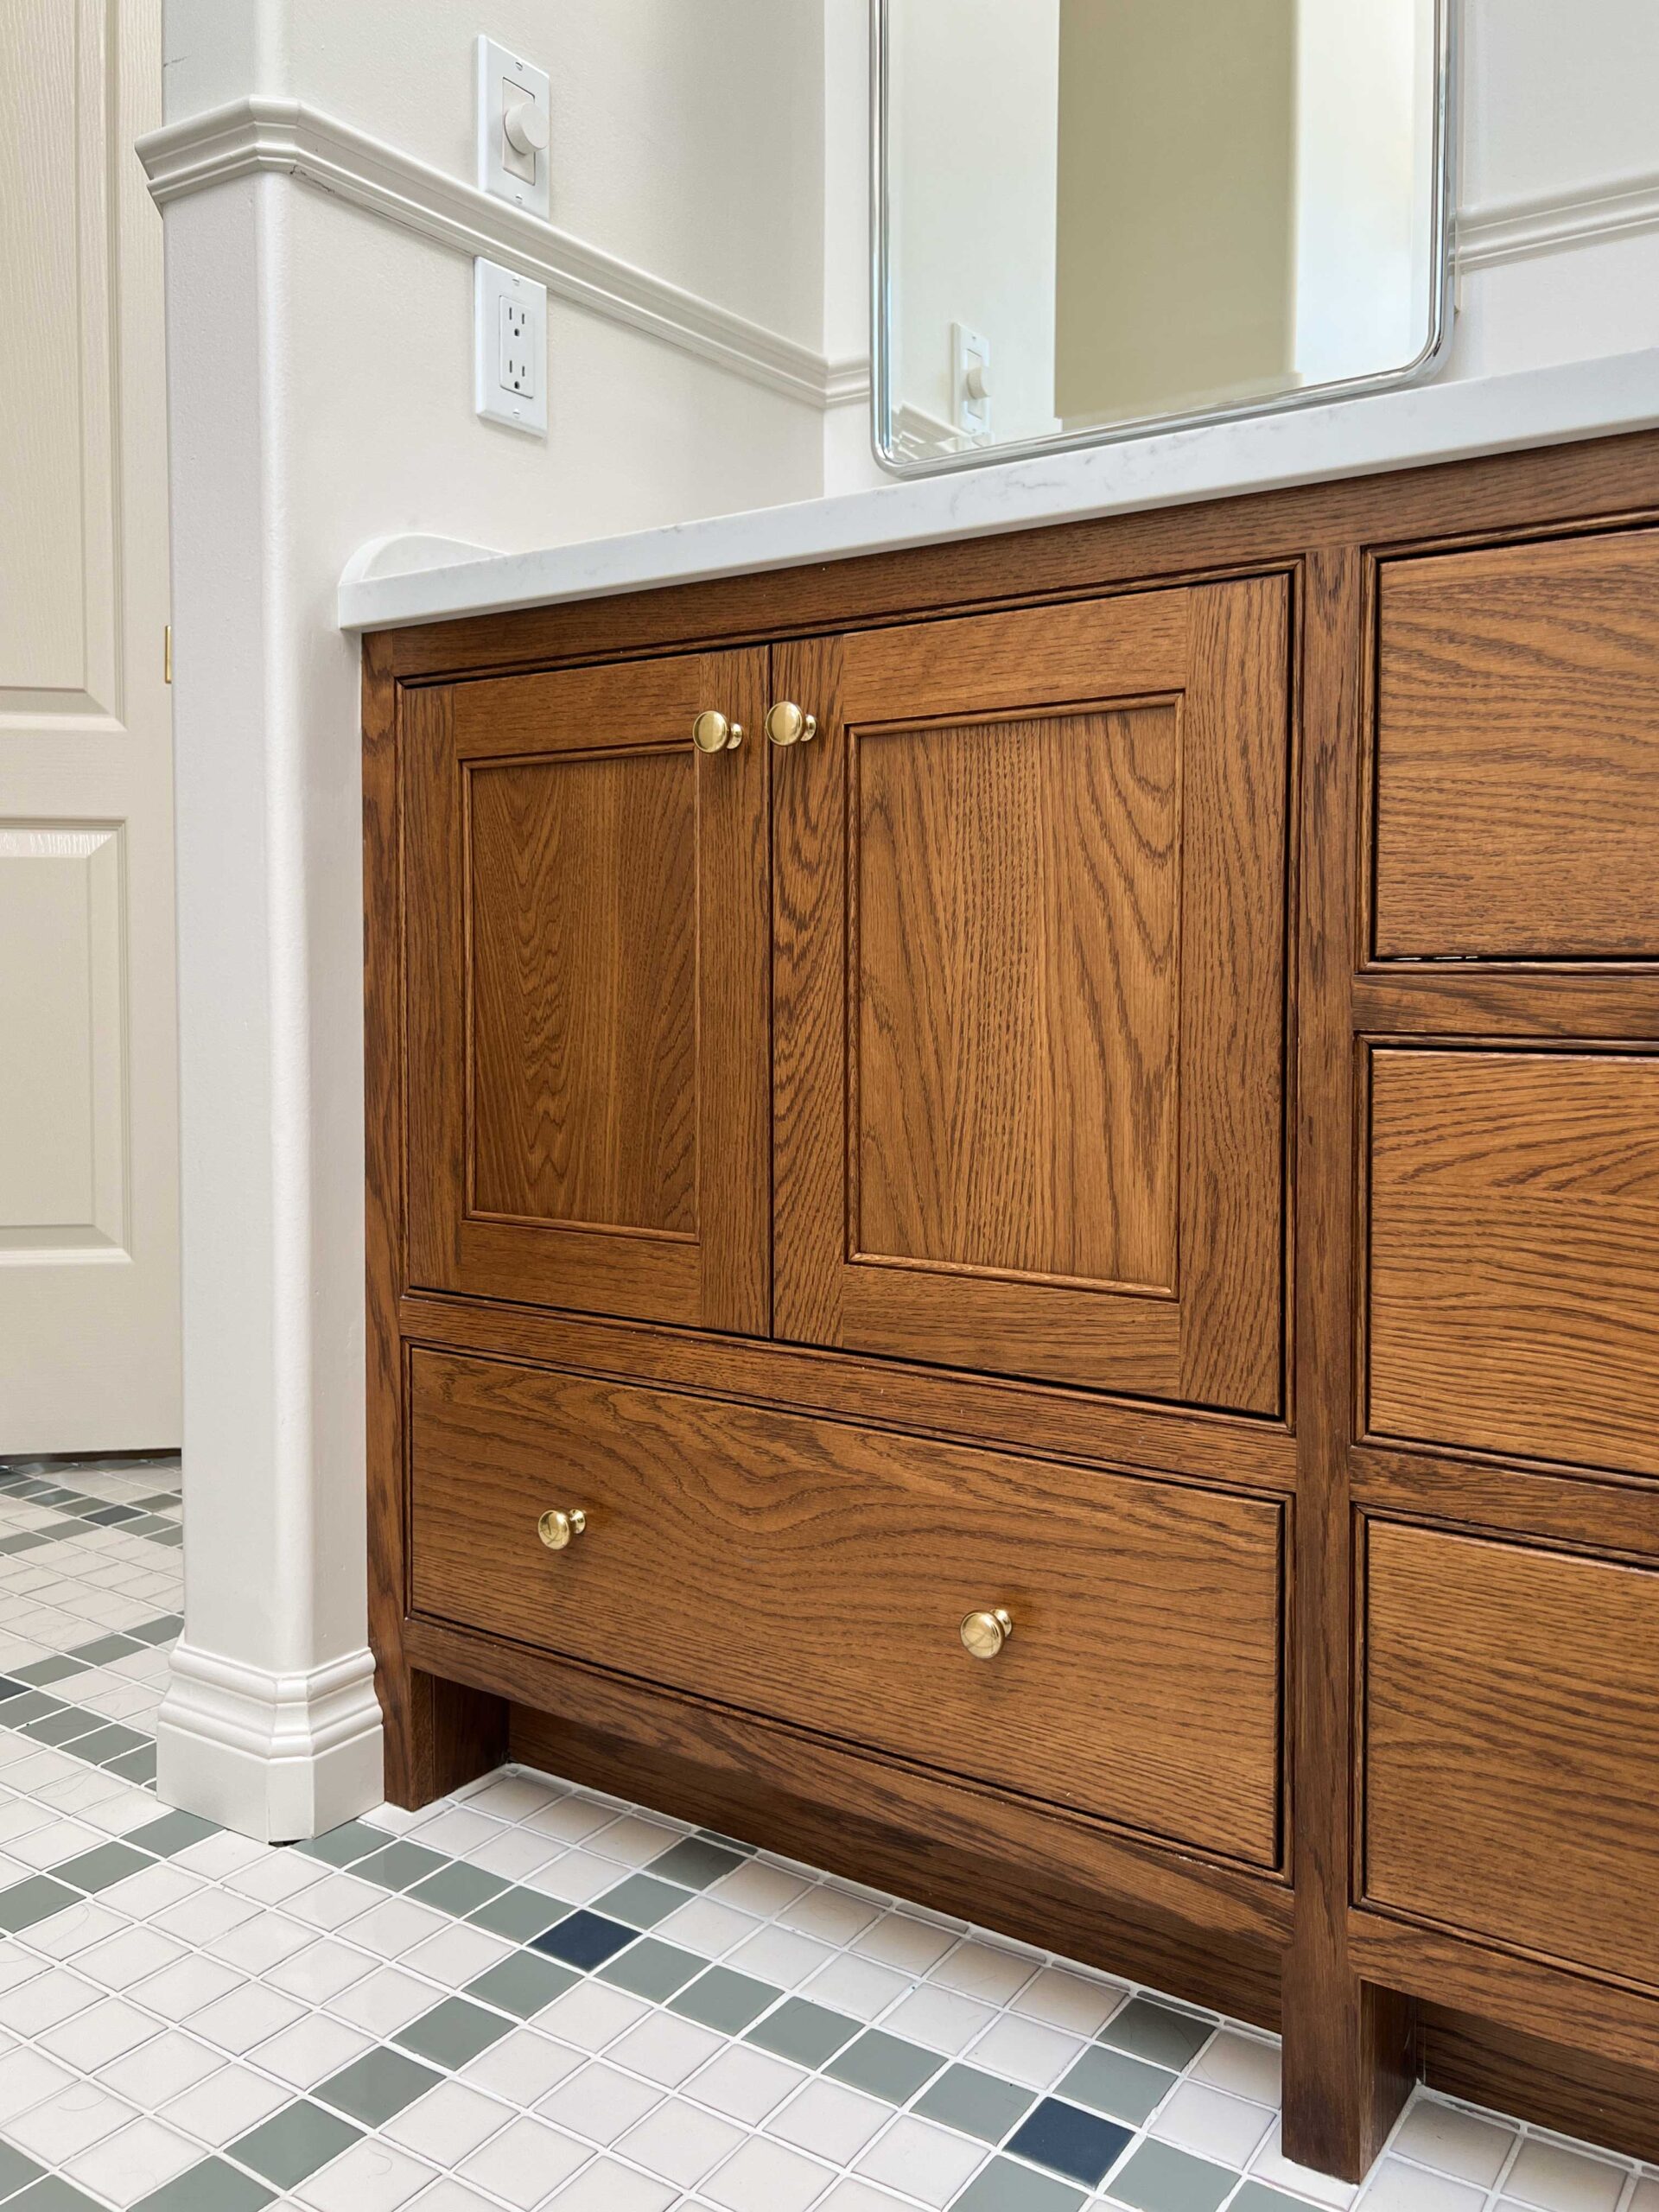
I have been searching for MONTHS on Facebook Marketplace for a solid wood table I could repurpose the top of to use for my desktop but I have not been successful. I’m still keeping my eyes open, but if all fails I will be using this countertop from Ikea. I didn’t want to use a butcherblock as I feel it looks too kitchen-y, but this one is more of a wood grain tabletop surface and since it’s oak veneer, I should be able to stain and finish it how I would like.
Now the area between my desktop and the upper cabinets is something I’m still a little fuzzy on. Should we do a set of shelves? Another row of cabinets? A desktop cabinet? Panelling? Wallpaper? I saw a pantry from Plain English Kitchens that got me kind of excited to try something new for the shelving. I know that people are expecting my signature corner brackets like my stove nook, my mudroom, my laundry room and ensuite, and that still may come into play too! Check out my Office Pinterest Board to see what I’ve been pinning!

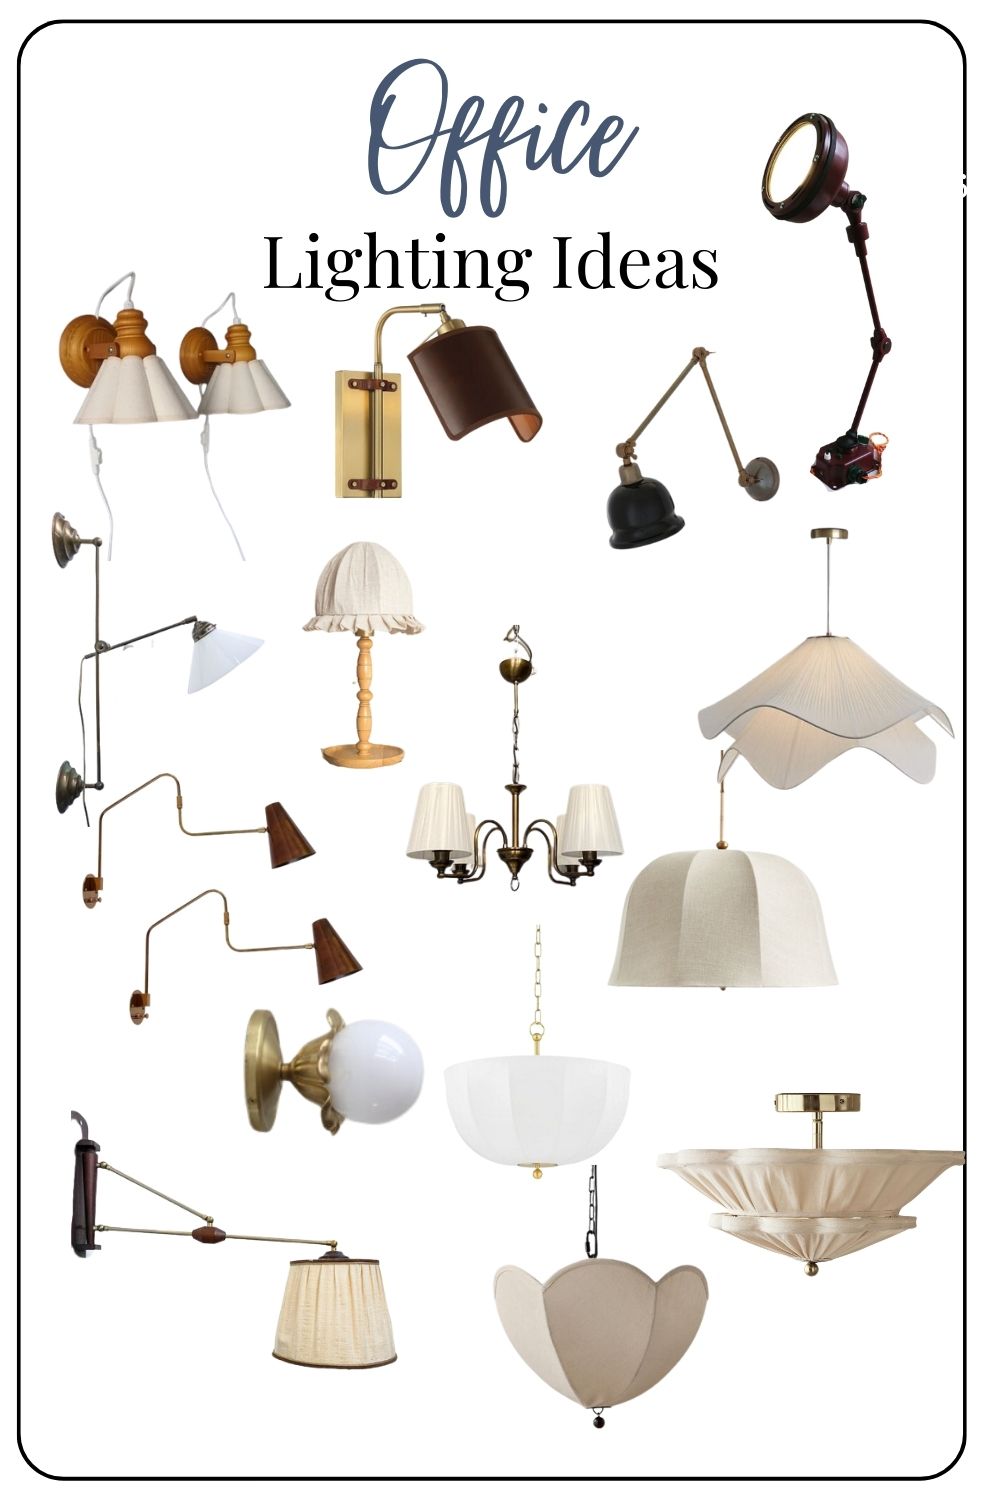
I’m also obsessing over whether I want a pair of hard-wired sconces, a wall-hung asymmetrical plug-in swing arm lamp, or just a desk lamp in that space for lighting. I know I want a statement light but beyond that, I’m not sure. Since any wiring is something we will be doing pretty much as soon as the demo is over, I need to sort that out pronto!
The Murphy Bed Wall
Although I would love to just finish this whole room at once, the idea of all the built-ins and all the painting was actually kind of paralyzing me from wanting to get started. It feels like such a big job. It was my husband who suggested that we start in a small area and just do one part at a time rather than the entire room. We can do a little area and finish it without burning ourselves out and maybe get it all done by Christmas.
So the Murphy Bed Wall is going to wait until next year, but of course, I had to ensure that whatever we do on one side is going to work on the other, so I do have the plans sorted for the whole space. On the Murphy bed wall, we will add vertical storage by adding cabinets above the Murphy bed and fill in the area to the left of the bed with more storage for office supplies and all my interior design samples.
I also want to add a small mural or paint something on the wall where the murphy bed drops down for a bit of fun when that is opened up!
Since those cabinets are going to be specific in size, we are probably going to have to make them (or modify the ones we buy) which is not something that we have done before and feels kind of scary. Also painting that behemoth is a job unto itself so I’m happy to put that off a little bit longer.
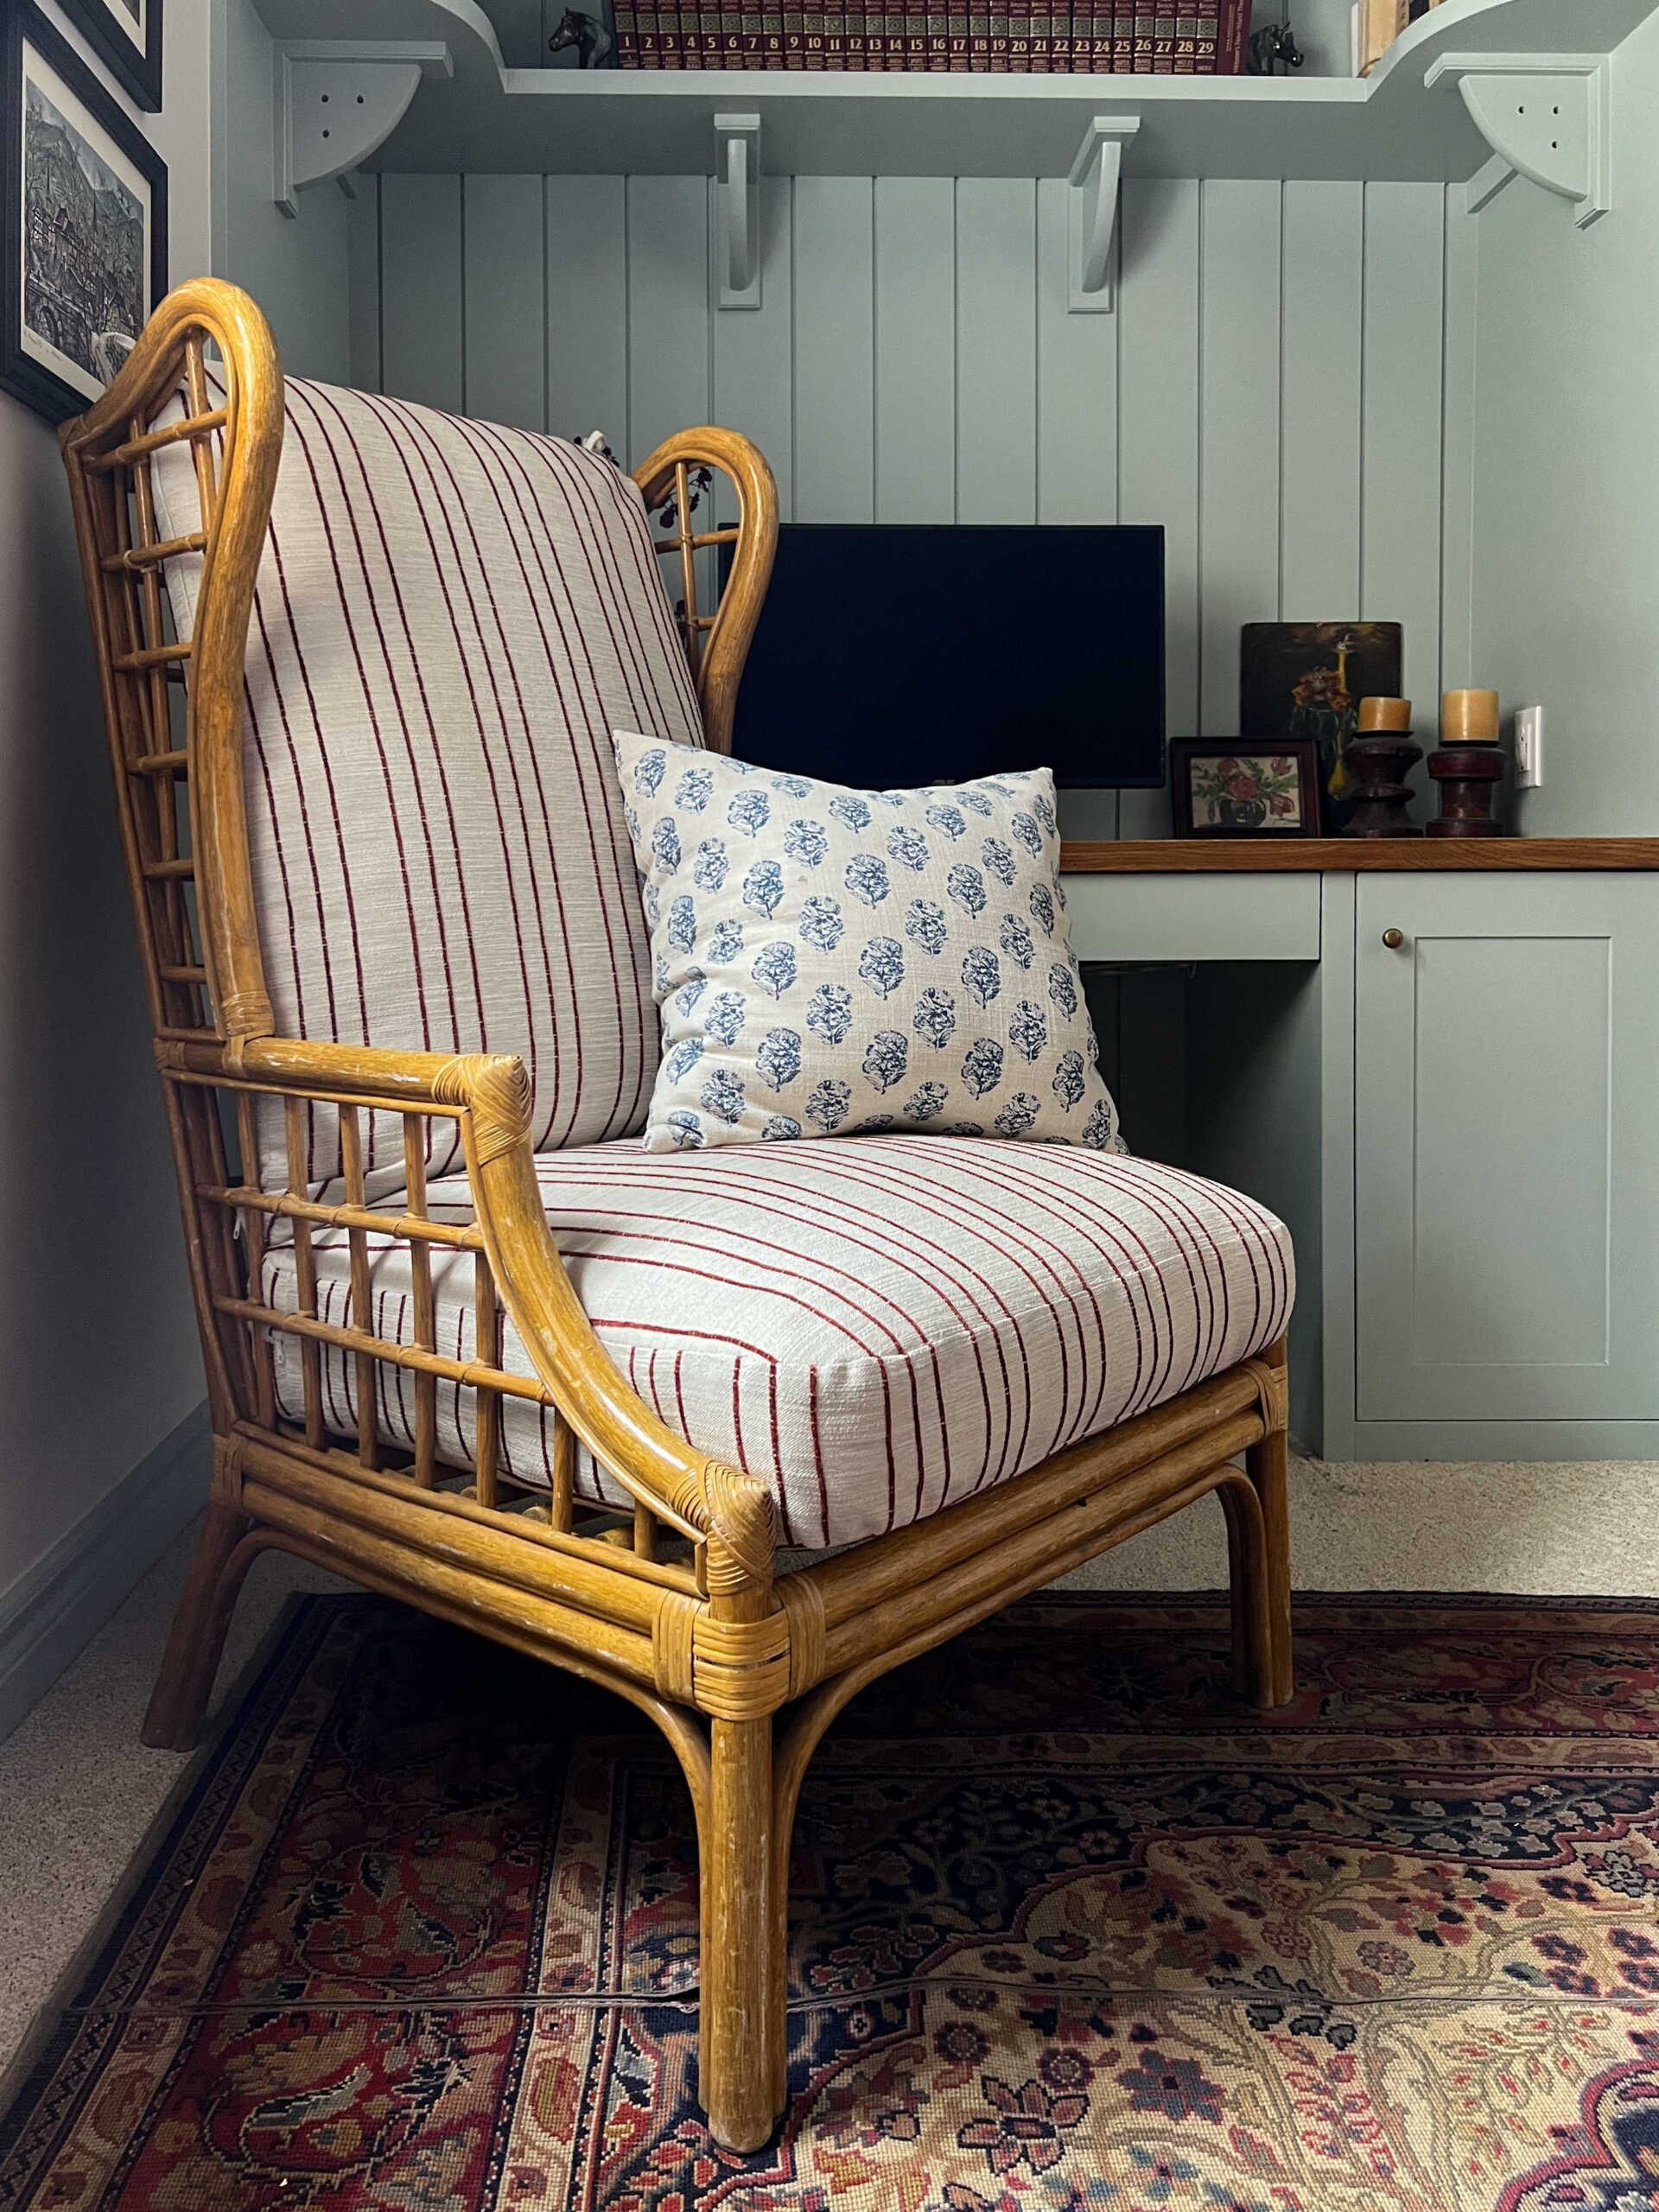
In front of the murphy bed wall and to fill up a little of that empty real estate, I bought this wicker chair off Facebook Marketplace that I intend to sew a cushion for. No room is complete without a little vintage!

Colour and Design Details
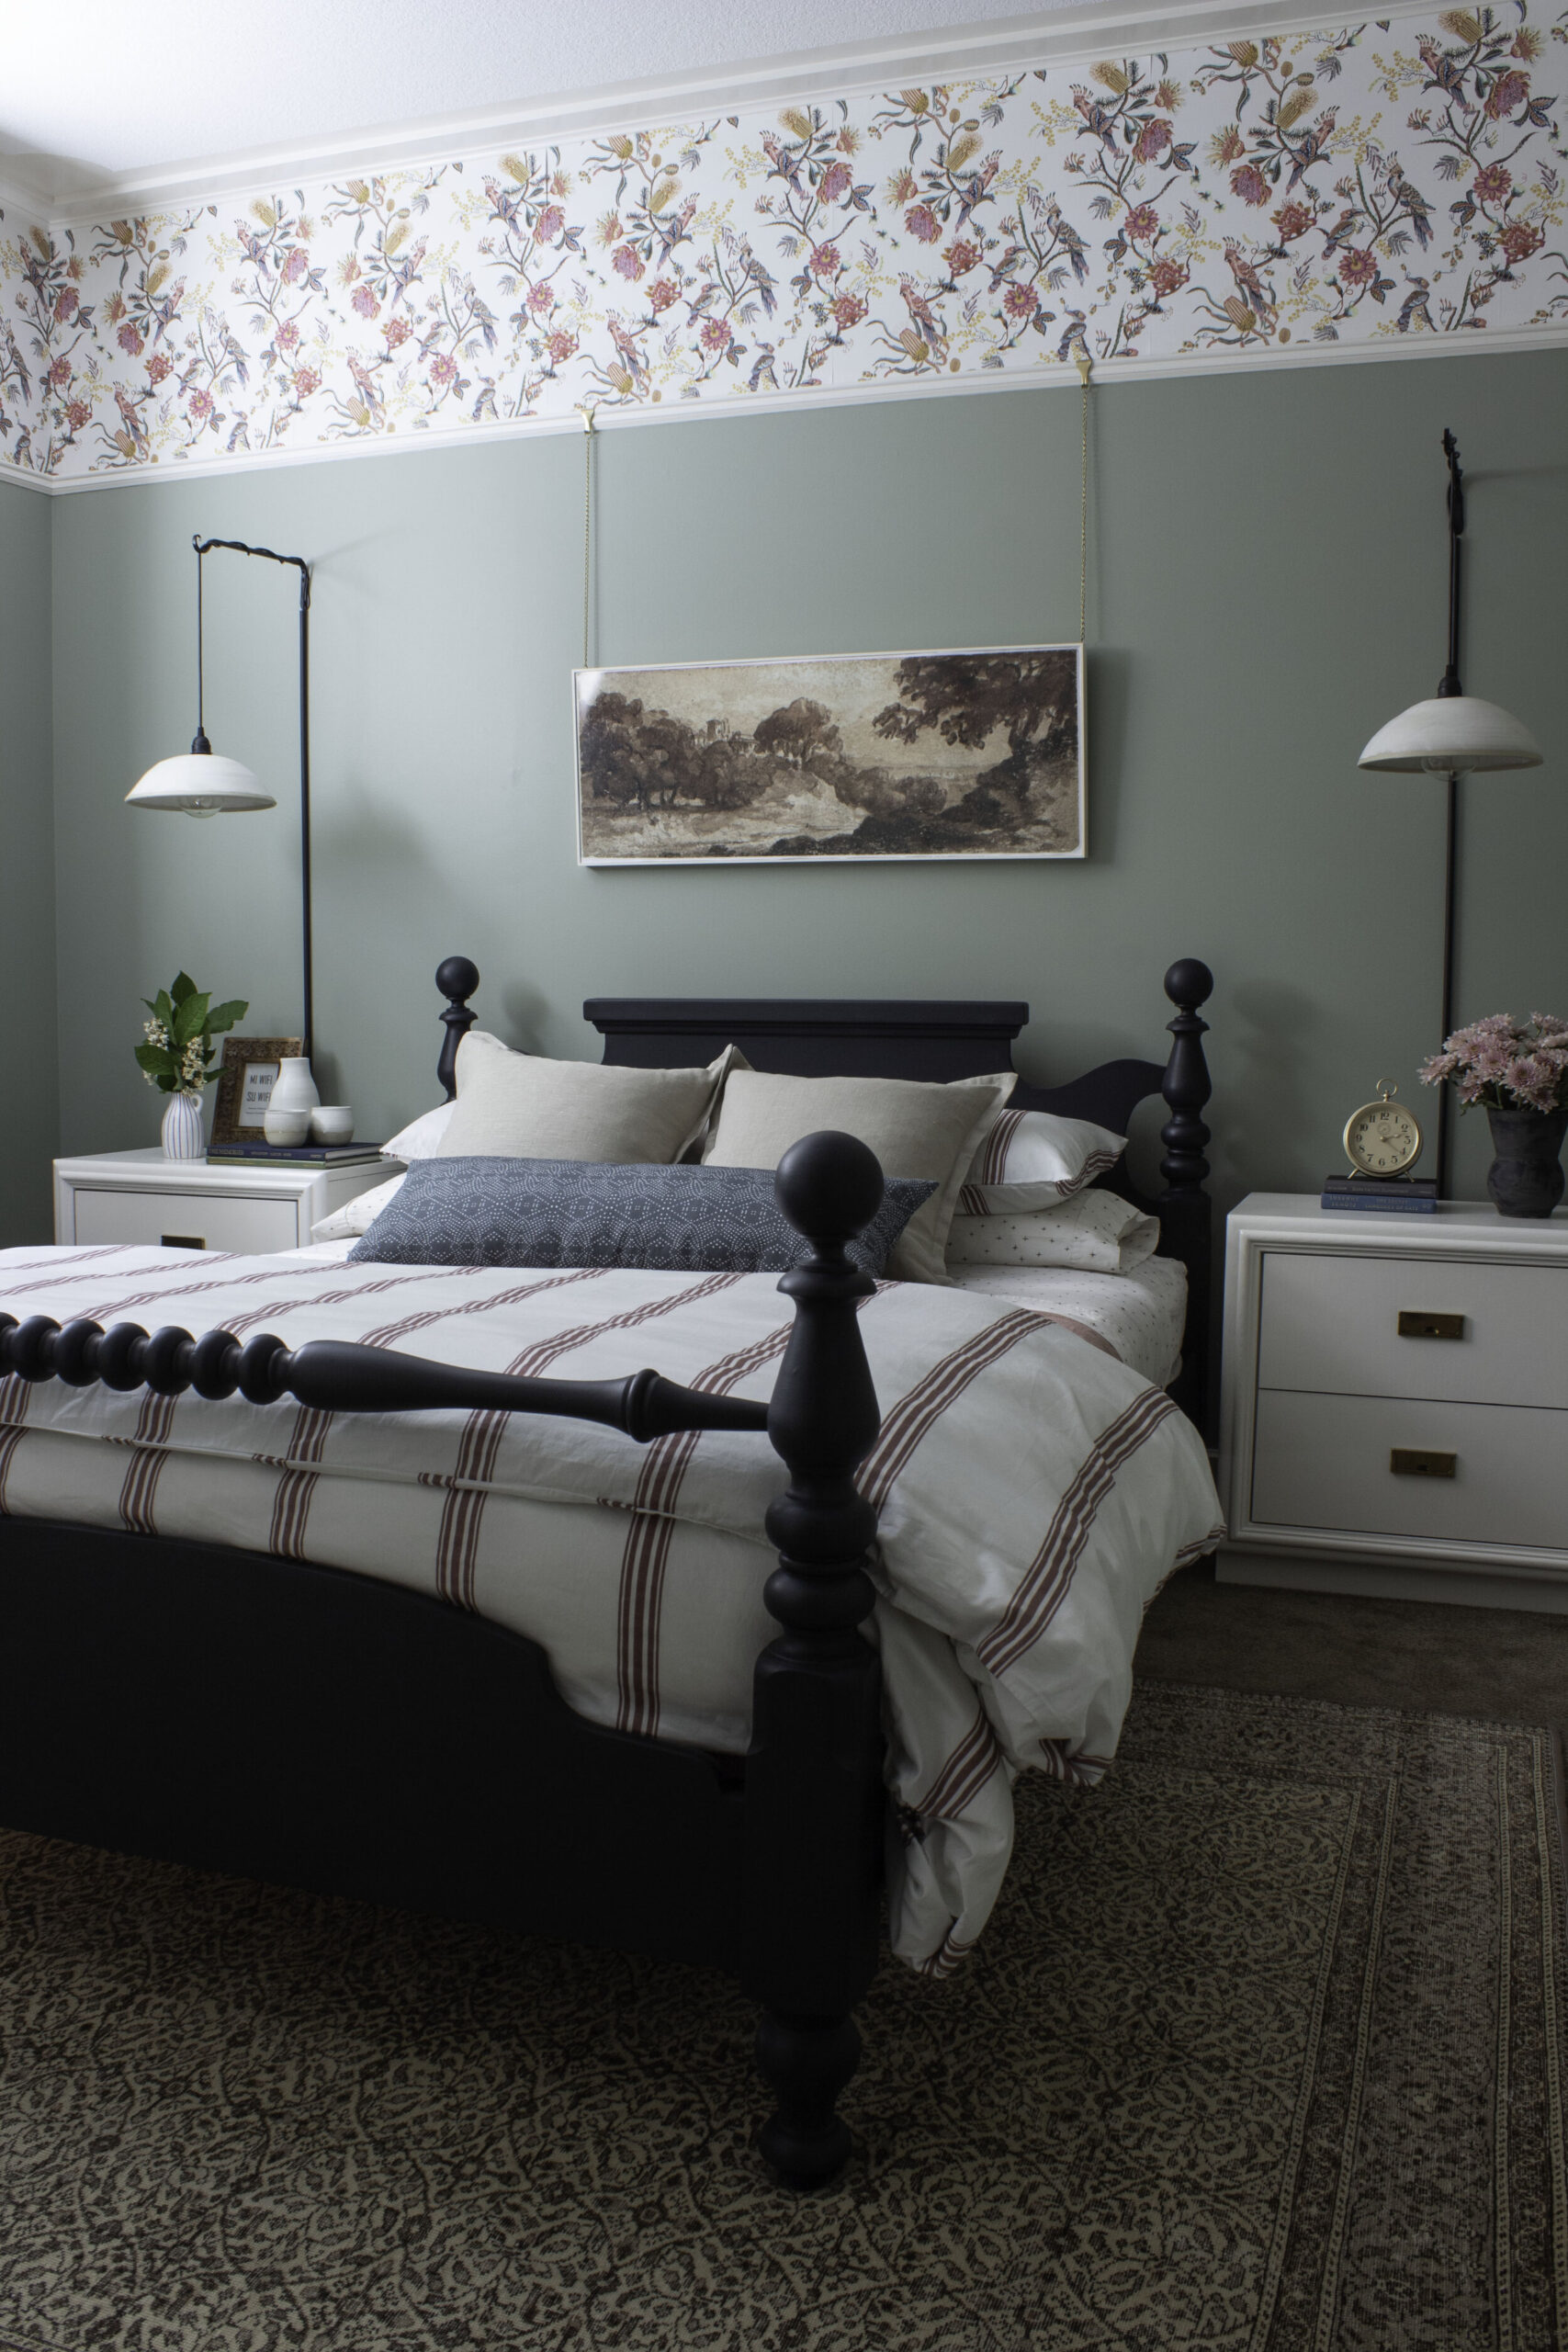
I have been thinking about the colour palette for MONTHS. It is the very first thing I set my mind on. I have been loving the colour palette of pale blue and deep red lately and I am super excited to give it a try.
Of course, red is a strong colour and so I think the best way to use it will be with a small pop of color here and there. In the area rug or some fabric on the chair perhaps and a few accessories.
The main colour I would love to be a soft blue-grey. I’m going to do my very best to actually stick with blue and not venture into the blue-green territory, as I tend to do. For a minute I worried about tiring of the colour for the built-ins and going with something safer and more neutral, but in my last house I had blue cabinets in my laundry room and I still think they are fabulous, and I put those in way back in 2012. It goes to show if you love something deep down you will always love it, so just do what you love!
I got a sample of Farrow and Ball’s Light Blue, but it might be a tad too light for the cabinets, so I will test a few more blues before I make the final call on paint.

I am tossing around the idea of grasscloth on the walls eventually, but for now, I think I will paint the walls a light beige or even just go with white walls for now.
I am going to make sure I balance the cool blue with lots of warm wood tones too.
I have been looking for interesting lighting for both the ceiling and the desk area for such a long time, here are some of the favorites I have saved!
So what do you think? This whole project is going to be very heavy on the DIY and very light on the wallet if we can do it. We have bought some cabinet bases from Ikea and everything else we are going to DIY. I think we are even going to build the ladder from scratch, the ladder kits you can buy are CRAZY expensive and I have been looking at creative ways to get a ladder without breaking the bank.
Stay tuned, this is going to be a fun one! Be sure to follow along on Instagram for the behind-the-scenes as demo begins this weekend!!
I’m excited to see this come together. Have you considered a roll up garage appliance type door to hide your monitors in the office nook? Not that you would use them everyday, but would be cozy when you have company. Just a thought.
That is a great idea! I’ll definitely think about that one!
I am so excited for this project! I also work from home, with a desktop computer and a HUGE monitor (CAD work, I’m a Landscape Architect) and I also drool over the beautiful office setups with a floating desk. Those floating desks don’t work at all for me either, and 99% of the desks on the market are so dainty, with no space for a tower. I guess they think everyone works with a laptop, but there are several professions where a laptop doesn’t cut it. Your ideas are terrific and I can’t wait to see how this progresses. Thank you for sharing!!
If it were my office, I would add a fabric covered cork board on the wall above the desktop & below the upper storage cabinets. I would fill the whole space wall to wall. Top to bottom. And then layer the shelf over it. But that’s just me. 😉 I love to add a fabric wherever possible.
I find breaking down projects into smaller pieces makes it mentally more manageable. Your husband has got the right idea.
oooooo exciting Erin!
I can’t wait to see this unfold Erin! Love that you still blog. Maybe I should dust off my blog!
Love your ideas and the color scheme. You didn’t mention whether you need much actual desk surface, but if you do, have you considered mounting your monitor(s) on the wall just above your desk surface? I’ve seen them mounted on articulating arms, sort of like a TV. You could still install a pretty wallpaper. Looking forward to what’s coming!!
Thanks Barbara! I’m excited for this one!
Thank you Ramona!
Hi Mary – I actually had a cork board on my mood board but I just removed it so the mood board wouldn’t look to busy, but I will probably put the final product so we are on the same page there!
I love my desktop and I can not see ever switching to a laptop either. I am glad you are behind my not-so-Pinterest-worthy desk arrangement, haha! I need to actually WORK in here. I hope it will actually be Pinterest worthy too, of course!